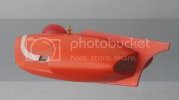
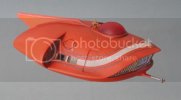
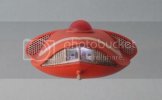
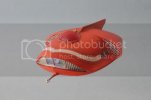
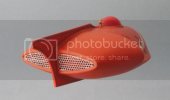
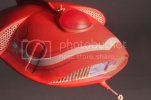
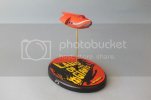
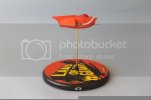
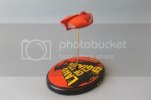
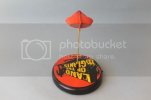
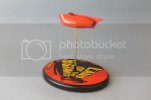
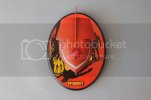
Spindrift from Land of the Giants

Update on the base...

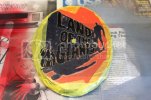
First thing was to gently pry the mask for the black areas away from the granite tile and smoosh it down nice and tight onto the black wooden base:
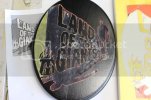
IMG_2003.jpg

Orange areas are airbrushed:
IMG_2004.jpg

After the orange paint has dried the orange masks are prised from the granite and applied. Then yellow enamel is airbrushed over the letters:
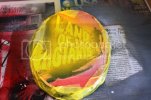
IMG_2008.jpg

Once the masks were removed I could see there was no small amount of paint bleed to deal with.
After removing as much of the offending paint as I could with a microbrush and paint thinner the letters and black silhouette areas were touched up with a brush:
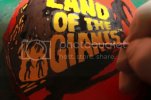
IMG_2011.jpg

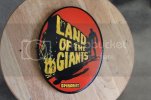
The painted base after touchup. Still wet. You can see where I added some more details to the left side of the block lettering.
Once dry, I'll remove the masking tape from around the edge and give it about 3-4 coats of future to seal the paint. Then probably a few shots of Krylon clear satin.
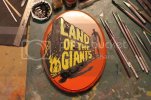
IMG_2013.jpg

Thanks for reading along.

Next up... more work on the Spindrift...

:)
 
Hey fellow Addicts! Update for today...

I really like how the stand is turning out.
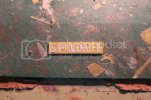
The only thing missing was the name of the ship itself so I took some styrene sheet and made a nameplate.
I painted it yellow.
Then I cut some letters out of masking tape and stuck them down:

IMG_2014.jpg

Then I coated the whole thing with Future to seal the edges of the tape.
Then I shot it with grey Tamiya primer.
After the primer dried I shot it with Testors flat black folowed by a coat of Future then a final coat of Krylon Satin acrylic spray.
I then glued it to the base with CA.

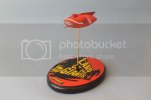
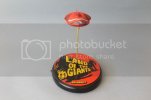
Here's the finished base:

IMG_2021.jpg

As far as the Spindrift goes, I removed the engine masks, repainted the front window frames, and carefully painted the engine intake and exhaust grills with Testors aluminum.
Then I shot her with Testors Glosscote as preparation for decaling:

IMG_2017.jpg

IMG_2018.jpg

Wish me luck folks!

;D
 
WOW! This build kicks serious modeling butt! I love the curbside finish you got on the Spindrift, you could put that out at a car show!
 
the Baron said:
WOW! This build kicks serious modeling butt! I love the curbside finish you got on the Spindrift, you could put that out at a car show!

Thanks Baron! I did a lot of filling and sanding to get rid of the seams-mostly on the top and rear of the hull; more than you'd expect for such a small model. I do have to say, this baby is really smooth.
That shiny finish though is only for the decaling phase. Once the decals are on and sealed with more Glosscote I'll be dulling the finish down; she'll have a satin semi-gloss look when finished, more like the studio model.
 
What a great build of this little ship! And I especially like it's diminutive size. :) Looking forward to seeing the light tests!
 
Thanks Guys! Had a little mishap with one of the decals. Part of the right tailfin stripe decal, a curved section about 1/4" long, tore away as I went to apply it to the fin. Where it went I have no idea! Must've been that black hole where stray socks go to die.
Anyway, the rest of the decal work went well; I just have a small gap in the stripe at the lower rear rightside of the tailfin.
So, not wanting to have to buy a whole 'nuther kit just for a fragment of a decal, I contacted Moebius and they said it cost $2.95 for a new decal sheet.
I'll be sending them payment in the mail this week so hopefully I'll be able to splce in the missing piece and apply clear coats next week.
Then I'll be ready to post the final pics!
 
Well I heard back from Moebius and the decals went out last Friday so I should see them in a few more days. Hoelfully I can finish the decaling and application of clear coats thsi weekend.
:)
 
Well she's all done! :)
Here are a few pics... more in the morning...

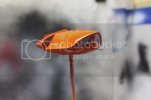
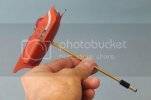
Spindrift on a Stick

IMG_2056-1.jpg

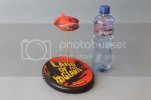
Hitting the Bottle
IMG_2054-1.jpg

I also have a video but that will take a little while to download to YouTube.

Hope you guys enjoy the pics and want to see more!

8)
 

Latest posts

Back
Top