trekriffic
Well-Known Member
- Joined
- Jan 6, 2012
- Messages
- 955
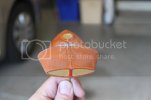
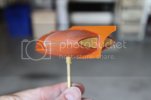
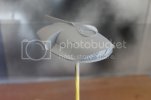
This is my current project, the small palm-sized Spindrift from...

Box Art...
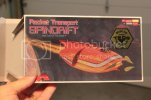
Purported to be at 1/128 scale, the full size shp would measure out to about 40 feet long not counting the tail which sounds about right.
I have the larger Polar Lights kit too but from everything I've seen and read this tiny Moebius kit is actually more accurate than it's larger cousin.
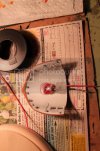
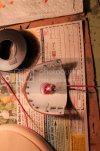
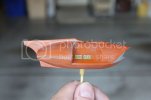
First thing I did was to fold and glue up the paper interiors for the passenger and pilot cabins.
A squirt here and there with 3-IN-1 craft glue did the trick...
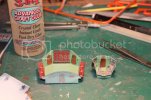
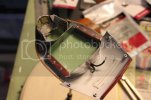
I plan on lighting this little jewel so the interior was sprayed with flat black enamel for light blocking followed by Tamiya white surface primer for even illumination.
Adhesive foil was taped to the upper engine compartment for good measure...
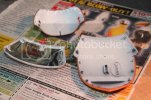
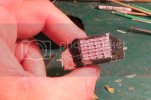
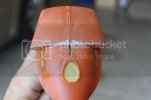
I drilled out the holes in the engine exhaust and intake grills with a pinvise. Tedious work but not all that difficult.
I used progressively smaller bits for the holes along the rim of the indented grills.
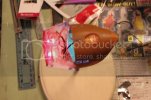
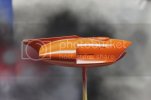
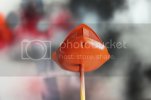
I then applied a coat of Testors Italian Red with a brush.
I'll mask off the grills later and paint around them with International Orange (per the kit instructions) which looks to be pretty close to the screen color...
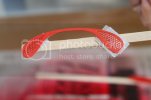
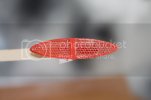
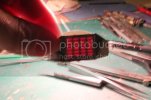
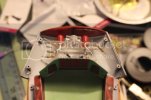
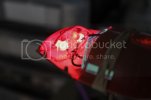
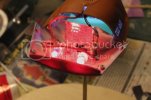
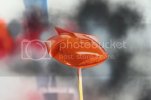
Red bits for gluing behind the grills were cut from clear sheet syrene and sprayed with Testors transparent Candy Apple Red...
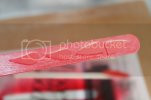
Looks pretty good with just room light shinig thru from the backside...
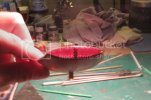
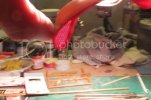
I did the same thing for the grill under the upper dome after drilling the holes out...
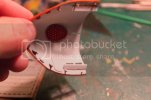
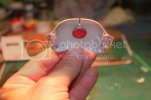
The shelves under the passenger windows seen above were Evergreen strips I glued into place.
The paper passenger cabin wood-grain counters will slide in and be glued to them with 3-IN-1 glue.
Wiring for the LEDs will pass thru this brass tube I glued into the lower hull with CA.
The original slot for the kit stand was then packed with AVES.
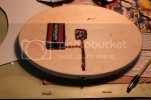
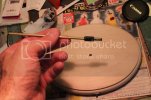
Another longer brass tube will fit inside this tube eventually for mounting to the base which will be a custom job and will house a 9 volt battery.
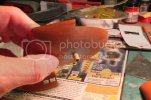
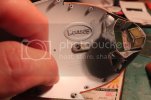
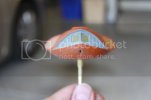
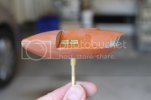
Here are the front windows glued in place.
The windows were a clear part so I stuck small narrow strips of adhessive foil to the inside of the frames for light blocking.
The pilot cabin was glued in place with 3-IN-1 GLUE.
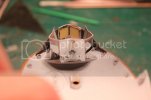
So tiny but so cool...
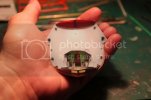
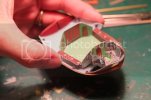
Test fitting with the passenger cabin. It's too far forward in this pic.
I'll have to slide it back a touch.
This will make for a tight fit with the engine LEDs...
That's all the pics for now.
My lighting scheme will involve a collection of white and red LEDs.
I figure one white LED mounted forward to shine down above the pilot's cabin and one just behind it to illuminate the passenger cabin.
Light from these LEDs should hopefully be enough to illuninate the dome in the ceiling; if not, I may have to add a red LED facing upward under the dome grill.
This would than be covered underneath with adhesive foil to prevent light leakage into the interior.
In the engine compartment will be a white (or red) LED in the center shining downward from above with two smaller red LEDs facing rearward in front of each engine exhaust grill.
Facing forward behind the rear cabin "reactor" wall and shared between the two paisley shaped intake grills will be one self-flashing red LED to give the intakes that pulsing effect.
I'm trying to keep the LED count to no more than 6 if I can.
Anyway, thanks for reading along.
Comments welcome!

Box Art...

Purported to be at 1/128 scale, the full size shp would measure out to about 40 feet long not counting the tail which sounds about right.
I have the larger Polar Lights kit too but from everything I've seen and read this tiny Moebius kit is actually more accurate than it's larger cousin.
First thing I did was to fold and glue up the paper interiors for the passenger and pilot cabins.
A squirt here and there with 3-IN-1 craft glue did the trick...

I plan on lighting this little jewel so the interior was sprayed with flat black enamel for light blocking followed by Tamiya white surface primer for even illumination.
Adhesive foil was taped to the upper engine compartment for good measure...

I drilled out the holes in the engine exhaust and intake grills with a pinvise. Tedious work but not all that difficult.
I used progressively smaller bits for the holes along the rim of the indented grills.
I then applied a coat of Testors Italian Red with a brush.
I'll mask off the grills later and paint around them with International Orange (per the kit instructions) which looks to be pretty close to the screen color...


Red bits for gluing behind the grills were cut from clear sheet syrene and sprayed with Testors transparent Candy Apple Red...

Looks pretty good with just room light shinig thru from the backside...


I did the same thing for the grill under the upper dome after drilling the holes out...


The shelves under the passenger windows seen above were Evergreen strips I glued into place.
The paper passenger cabin wood-grain counters will slide in and be glued to them with 3-IN-1 glue.
Wiring for the LEDs will pass thru this brass tube I glued into the lower hull with CA.
The original slot for the kit stand was then packed with AVES.
Another longer brass tube will fit inside this tube eventually for mounting to the base which will be a custom job and will house a 9 volt battery.


Here are the front windows glued in place.
The windows were a clear part so I stuck small narrow strips of adhessive foil to the inside of the frames for light blocking.
The pilot cabin was glued in place with 3-IN-1 GLUE.

So tiny but so cool...

Test fitting with the passenger cabin. It's too far forward in this pic.
I'll have to slide it back a touch.
This will make for a tight fit with the engine LEDs...

That's all the pics for now.
My lighting scheme will involve a collection of white and red LEDs.
I figure one white LED mounted forward to shine down above the pilot's cabin and one just behind it to illuminate the passenger cabin.
Light from these LEDs should hopefully be enough to illuninate the dome in the ceiling; if not, I may have to add a red LED facing upward under the dome grill.
This would than be covered underneath with adhesive foil to prevent light leakage into the interior.
In the engine compartment will be a white (or red) LED in the center shining downward from above with two smaller red LEDs facing rearward in front of each engine exhaust grill.
Facing forward behind the rear cabin "reactor" wall and shared between the two paisley shaped intake grills will be one self-flashing red LED to give the intakes that pulsing effect.
I'm trying to keep the LED count to no more than 6 if I can.
Anyway, thanks for reading along.
Comments welcome!

