After seeing the amazing work by Prince of Styrene II on his Spaceman Spiff build, I decided to do my own.
All Praise to P.O.S. II for his idea and advice.. thanks so much mate...

Currently I'm putting a shout out for spare parts (with no real luck) to my local Aussie mates for bitz to make a Starblazers style conversion of a Tamiya 1/350 Enterprise and while looking for something to tide me over while this occurs...
BINGO!! SPACEMAN SPIFF the complete (almost) scratchbuild.
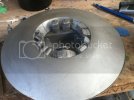
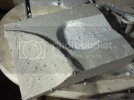
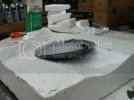
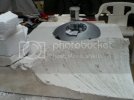
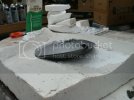
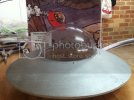
I had to go out and buy a small puzzle/game thingy just for the plastic sphere it came encased in, just for the canopy. As this was pretty much the only thing I couldn't fabricate myself, the size of the ship was determined by the canopy size. After drawing it up to scale, A diameter of approx 9" eventuated. After resigning myself to making a plug then a mould and pulling a couple of fiberglass ( yes we spell it differently down here (( LOL I've done it again P.O.S. II))) parts from it, which would have been a long and laborious process, my wife came to the rescue.... one word... WOK and SPROING!! two parts were born in about six hours
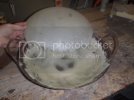
Initial trim and a test fit
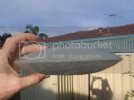
Another pic with canopy on
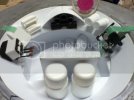
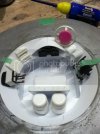
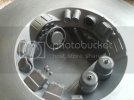
Trialling parts on the cockpit drawing,scavenged out of my teeny tiny spares box.
My god, I feel so inadequate after seeing whats in the background of some of the photo's and vid's on some of the builds on this site. ENVY!!!
You'll see felt tip pen lids, wheels, seats ,foot pedals and battery boxes from a Nascar model my older brother made (25 years ago!!! no less), lights and muffler parts from a motorbike thats FAR older than that, and sheet styrene, which is the only other thing I've purchased specifically for this build. The seats are forming the base of the single seat in the ship. They've been covered in sheet styrene, but I'm a little stuck on what to do next. Real upholstery or sculpey replica??
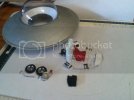
The build continues...
Anyway, another part of the diorama ( did I forget to mention that?) THE DREADED ZERG!!.
None of them look the same, and my limited abilities in scuplting has made a kind of mash up of several different pictures the end result. Starting with a PVC tube.. (ignore the Killer Mutant Monster Snow Goon base in the foreground for the moment..)
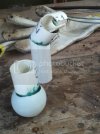
Add some Super Sculpey
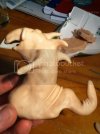
Citadel base coats and a wash..oops, photo of my finger too..
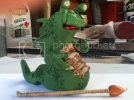
And then more stuff happened ..yes, it needs a flat wash cos it's shiny...
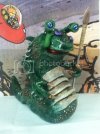
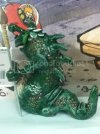
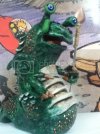
And the build continues..
Thanks for looking.
All Praise to P.O.S. II for his idea and advice.. thanks so much mate...
Currently I'm putting a shout out for spare parts (with no real luck) to my local Aussie mates for bitz to make a Starblazers style conversion of a Tamiya 1/350 Enterprise and while looking for something to tide me over while this occurs...
BINGO!! SPACEMAN SPIFF the complete (almost) scratchbuild.
I had to go out and buy a small puzzle/game thingy just for the plastic sphere it came encased in, just for the canopy. As this was pretty much the only thing I couldn't fabricate myself, the size of the ship was determined by the canopy size. After drawing it up to scale, A diameter of approx 9" eventuated. After resigning myself to making a plug then a mould and pulling a couple of fiberglass ( yes we spell it differently down here (( LOL I've done it again P.O.S. II))) parts from it, which would have been a long and laborious process, my wife came to the rescue.... one word... WOK and SPROING!! two parts were born in about six hours

Initial trim and a test fit

Another pic with canopy on

Trialling parts on the cockpit drawing,scavenged out of my teeny tiny spares box.
My god, I feel so inadequate after seeing whats in the background of some of the photo's and vid's on some of the builds on this site. ENVY!!!
You'll see felt tip pen lids, wheels, seats ,foot pedals and battery boxes from a Nascar model my older brother made (25 years ago!!! no less), lights and muffler parts from a motorbike thats FAR older than that, and sheet styrene, which is the only other thing I've purchased specifically for this build. The seats are forming the base of the single seat in the ship. They've been covered in sheet styrene, but I'm a little stuck on what to do next. Real upholstery or sculpey replica??

The build continues...
Anyway, another part of the diorama ( did I forget to mention that?) THE DREADED ZERG!!.
None of them look the same, and my limited abilities in scuplting has made a kind of mash up of several different pictures the end result. Starting with a PVC tube.. (ignore the Killer Mutant Monster Snow Goon base in the foreground for the moment..)

Add some Super Sculpey

Citadel base coats and a wash..oops, photo of my finger too..

And then more stuff happened ..yes, it needs a flat wash cos it's shiny...


And the build continues..
Thanks for looking.

