WtShark
Active Member
- Joined
- Jun 25, 2025
- Messages
- 100
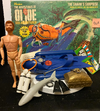
I bought this kit years ago with the intention of getting back into modeling, (it didn't happen then and sat in the closet for years). It's on my bench now and I am moving along. This kit is.... different. First, it's molded out of a vinyl/plastic mixture, so not typical model material (styrene). I didn't know that when I bought it. Regular model glue won't work, neither will PVA so you'll need CA or epoxy.
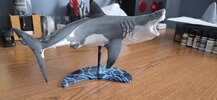
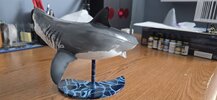
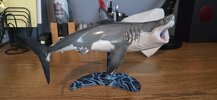
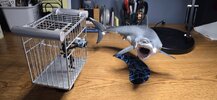
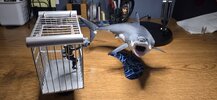
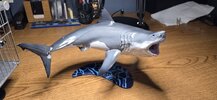
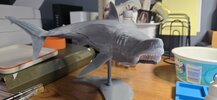
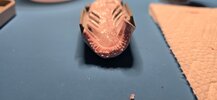
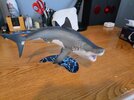
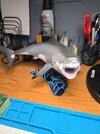
The animal is nice and it was sculpted by an amazing artist. I am a bit of shark "fin-atic", and have been around them multiple times, including 2 trips to Guadalupe island and in a cage with these magnificent (and often misunderstood animals) many times. I have been obsessed with sharks since Jaws in 1975 and the shape of this shark is, well, off. The shark is based on a female and her body is too long and her head is too small. The closed mouth version looks more like a Mako than GW, giving the shark a strange bulbous shape. The open mouth version is better, (you get both options with this kit and I chose the open mouth, pictured) albeit still a bit too long, it's not as noticeable.
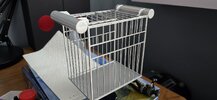
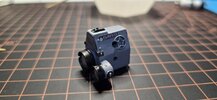
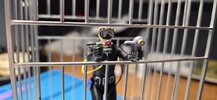
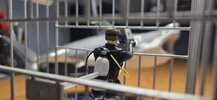
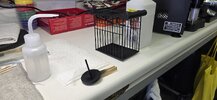
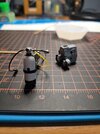
The scuba tank and diver are also off, but I understand the average person (not being a diver) won't notice this. I made some changes, removing the diver's fins (you don't wear fins in a cage, they just get in the way) and added some details to the tank, such as hoses and other missing items. The hoses were molded in, but they didn't look right so I removed them from the sculpt.
Of course, I'm being picky, and the overall kit is a nice build. Not a lot of pieces, I think the total count was around 30 or so.
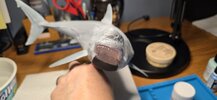
One other issue (one that found to be most significant) the vinyl/plastic/rubber mixture is very flexible and doesn't sand easily. I really struggled trying to fill the seams. I tried Mr. Hobby Putty, Tamiya putty and when dry both flaked and fell off. I was finally able to get Milliput (fine, white) to stick and work, but once hard and when I tried to level/blend it into the material, again, the material doesn't sand well, more "pilling" up into little pieces and chunks, like you were trying to sand an old pink rubber eraser. Removing seams, they don't sand, tried using X-acto to slowly, carefully remove mold lines and flash. The black line in the top photo is black Sharpie, I was using it as a guide coat to see the mold line seam, trying to remove it. Ultimately, a mix of slicing, grinding with files and fine grit paper, along with Mr. Surfacer helped to hide some of the seams, but some will simply be visible at completion.
I am upgrading and adding details where able, this is a nice kit, I don't want to put anyone off, and I will admit it's my own lack of experience that is causing the working issues, I am hoping to have this finished up next week sometime. Need to add some more paint, details and final assembly.


Last edited:

