NYLON GAG MK 1 - FINISHED
- Thread starter The Nylon Gag
- Start date
The Nylon Gag
New Member
- Joined
- Nov 14, 2011
- Messages
- 829
Re: NYLON GAG MK 1?
Evenin All,
Thanks for the comments Guys
Been building along with Scott today on the RatRod Marathon since 9:30am eastern time, this is what i managed to get done........PIX
First started working on the underside of the hitch support
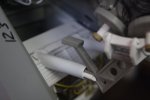
Found the right buffer 'look' i was after
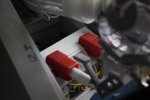
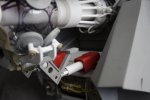
Next i started work on detailing the surrounding area
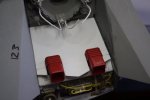
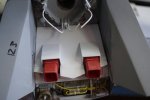
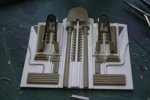
And in position, still only dry fit
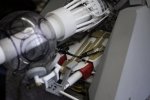
Wired up the vacuum magnetic pads
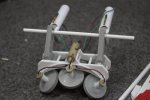
Then started the fine positioning booster thrusters, first the internal nozzels
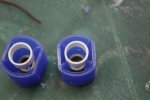
Then the main nozzel, the frame is for the stearing vanes.
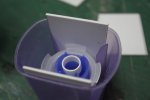
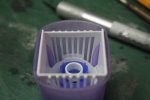
Thats all for now, will get back to it for another couple of hours.
Thanks for stopping by.
See ya
Gag
Evenin All,
Thanks for the comments Guys
Been building along with Scott today on the RatRod Marathon since 9:30am eastern time, this is what i managed to get done........PIX
First started working on the underside of the hitch support

Found the right buffer 'look' i was after


Next i started work on detailing the surrounding area


And in position, still only dry fit

Wired up the vacuum magnetic pads

Then started the fine positioning booster thrusters, first the internal nozzels

Then the main nozzel, the frame is for the stearing vanes.


Thats all for now, will get back to it for another couple of hours.
Thanks for stopping by.
See ya
Gag
JohnSimmons
For Spud: I was once Merseajohn
- Joined
- Jan 4, 2011
- Messages
- 5,645
Re: NYLON GAG MK 1?
 yeah that's quite something gag!
CTspeedshop
I picked the wrong week to stop sniffing glue. : )
- Joined
- Apr 17, 2011
- Messages
- 1,388
Re: NYLON GAG MK 1?
Gag, I know it is redundant to say but, Damn, this build is AWESOME!!! ;D
Gag, I know it is redundant to say but, Damn, this build is AWESOME!!! ;D
The Nylon Gag
New Member
- Joined
- Nov 14, 2011
- Messages
- 829
Re: NYLON GAG MK 1?
Afternoon All,
Thanks for the positive feedback peeps, very motivating.
Well after a marathon build day of my own along with Scott, i managed to get some serious bench time the next couple of days also, put in a couple of 8 hour days. If only i could do this for a job, don't think my better half would like it some how, but anyhoo, lets see what did i manage the last couple of days.........PIX
Continued building the cages that will support the steering vanes
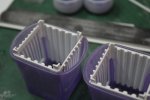
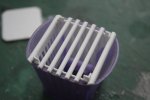
Made detail and a back plate for the nozzle
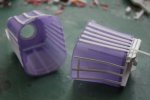
Hinges and steering vanes
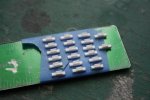

Assembled
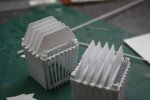
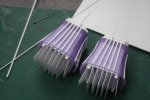
And primered
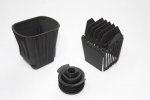
This next piece i was building at the same time as the nozzle assemblies and was one of the hardest i have done so far. The fit was tremendously tight and for some reason i glued it in place before i'd finished the whole assembly. But in the end it turned out good.
These were the pieces i wanted to use
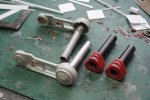
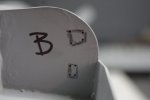
Marked and drilled holes for the cut down frame to fit in
Cut and assembled the card board tubes, this is a functioning joint
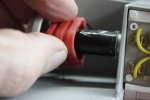
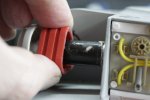
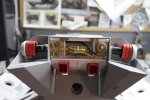
Tested the look of the assembly
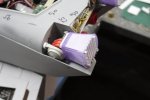
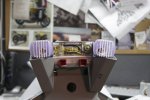
Then i added some detail to make the cardboard tubes look better, all this was done with everthing in position, very fiddly
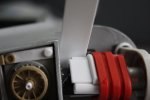
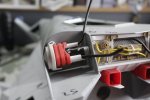
And finally with its coat of primer
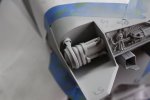
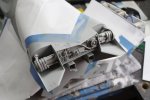
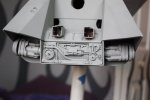
Thats the story so far, just gave the whole hitch assembly a coat of primer. Not sure of the final colours yet.
Need to start the detail on the back of the main wing but that ties in with the skinning of the upper wing surfaces, i want to incorperate some steering flaps on one of the upper wing surfaces at the back and i need to think about how i want it to look before i start, so i need to think about it for a while.
I do have another detail tub to do for the top of the wing, just behind the radar/cannon cut out that will be some kind of pumping hub/distribution area, so i might start on that next.
Stay tuned folks
Thanks for stopping by
Gagster
Afternoon All,
Thanks for the positive feedback peeps, very motivating.
Well after a marathon build day of my own along with Scott, i managed to get some serious bench time the next couple of days also, put in a couple of 8 hour days. If only i could do this for a job, don't think my better half would like it some how, but anyhoo, lets see what did i manage the last couple of days.........PIX
Continued building the cages that will support the steering vanes


Made detail and a back plate for the nozzle

Hinges and steering vanes


Assembled


And primered

This next piece i was building at the same time as the nozzle assemblies and was one of the hardest i have done so far. The fit was tremendously tight and for some reason i glued it in place before i'd finished the whole assembly. But in the end it turned out good.
These were the pieces i wanted to use

Marked and drilled holes for the cut down frame to fit in

Cut and assembled the card board tubes, this is a functioning joint


Tested the look of the assembly


Then i added some detail to make the cardboard tubes look better, all this was done with everthing in position, very fiddly


And finally with its coat of primer


Thats the story so far, just gave the whole hitch assembly a coat of primer. Not sure of the final colours yet.
Need to start the detail on the back of the main wing but that ties in with the skinning of the upper wing surfaces, i want to incorperate some steering flaps on one of the upper wing surfaces at the back and i need to think about how i want it to look before i start, so i need to think about it for a while.
I do have another detail tub to do for the top of the wing, just behind the radar/cannon cut out that will be some kind of pumping hub/distribution area, so i might start on that next.
Stay tuned folks
Thanks for stopping by
Gagster
JohnSimmons
For Spud: I was once Merseajohn
- Joined
- Jan 4, 2011
- Messages
- 5,645
Re: NYLON GAG MK 1?
Gee Gag you really are on fire!
Gee Gag you really are on fire!
CTspeedshop
I picked the wrong week to stop sniffing glue. : )
- Joined
- Apr 17, 2011
- Messages
- 1,388
Re: NYLON GAG MK 1?
 Nuff said.
The Nylon Gag
New Member
- Joined
- Nov 14, 2011
- Messages
- 829
Re: NYLON GAG MK 1?
Evenin all,
Well, Tuesday night is model night......well, this week anyway. Just noticed i've had over 10000 views and nearly 375 comments on this thread. . WOW, what can i say guys, thank you so much for your interest i never thought that many people would be interested in my little scratch build. In 2012 i had been keeping an approximate tally of the hours i spent at the bench, 875 hours
  . Its not an exact figure because i had to average it a bit, but its pretty close, i think. ;D
Ffanx M8, glad i altered your mind. ;D
Coming from you John 8), that means a lot, thanks mate ;D.
Thanks Myke.
Scratch build another one of course!!!! ;D
Thanks Iain, only 9 weeks from Sunday mate. Not sure if i can last that long. but we do have World Super Bikes in February.
Cheers Mr CT.
Thanks Q, glad you like it mate. ;D
Sooooooo, whats been doin then.......PIX
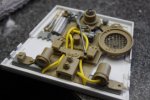
Made the center pumping hub/distribution detail tub for the top area behind the Radar/Gun cutout. When this is attached there will be lots of lines running to various points on the wings surfaces & it also incorperates the top strobe light.
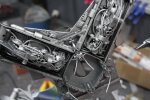
Then i did a bit of painting, base coating the hitch assembly components with crome silver after first primering them with black.

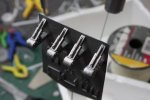
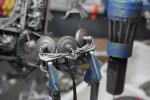
I then moved on to the back flaps that will be on the top rear edge of the wing, this first part looks a little out of place but it is setting the style for the rest of the upper flaps so trust me, i'm a doctor? ;D
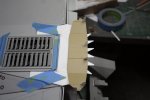
Then it took forever to line the back of the wing with 1mm styrene and get this detail piece lined up how i wanted it, again its just the base, it will have a lot more detail added over the top
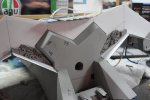
Gave most of my Christmas money to Scott at Elm city hobbies in exchange for some some Vellejo paints and some AK stuff, will finish the detail painting when they arrive. Nice bloke that Scott.
Thats all for now, still working on the upper wing flaps so, stay tuned my friends.
See ya. ;D
Gag
Evenin all,
Well, Tuesday night is model night......well, this week anyway. Just noticed i've had over 10000 views and nearly 375 comments on this thread.
peza said:wow dude there`s another bit of mind altering modeling!top marks mym8!

Ffanx M8, glad i altered your mind. ;D
JohnSimmons said:Gee Gag you really are on fire!
Coming from you John 8), that means a lot, thanks mate ;D.
Myke said:Awesome!
Thanks Myke.
stretch said:*POP*
Aw great. Thanks very much Gag, my minds finally blown...
What to do now...?
Scratch build another one of course!!!! ;D
Igard said:Looks like she'll fly straight and true. Superb!
Thanks Iain, only 9 weeks from Sunday mate. Not sure if i can last that long. but we do have World Super Bikes in February.
CTspeedshop said:Nuff said.
Cheers Mr CT.
Quaralane said:Amazing stuff, Gag
Thanks Q, glad you like it mate. ;D
Sooooooo, whats been doin then.......PIX
Made the center pumping hub/distribution detail tub for the top area behind the Radar/Gun cutout. When this is attached there will be lots of lines running to various points on the wings surfaces & it also incorperates the top strobe light.

Then i did a bit of painting, base coating the hitch assembly components with crome silver after first primering them with black.


I then moved on to the back flaps that will be on the top rear edge of the wing, this first part looks a little out of place but it is setting the style for the rest of the upper flaps so trust me, i'm a doctor? ;D

Then it took forever to line the back of the wing with 1mm styrene and get this detail piece lined up how i wanted it, again its just the base, it will have a lot more detail added over the top

Gave most of my Christmas money to Scott at Elm city hobbies in exchange for some some Vellejo paints and some AK stuff, will finish the detail painting when they arrive. Nice bloke that Scott.
Thats all for now, still working on the upper wing flaps so, stay tuned my friends.
See ya. ;D
Gag
Glorfindel
Active Member
- Joined
- May 2, 2011
- Messages
- 1,504
Re: NYLON GAG MK 1?
You have some Mad Skill there son, just completely running wild.
You have some Mad Skill there son, just completely running wild.
Igard
New Member
- Joined
- May 16, 2011
- Messages
- 2,004
Re: NYLON GAG MK 1?
Loving every update! The detail is just breath-takingly cool man!
Yeah, but we've got car launches this month, testing in February, and the first GP of the season in March. Lot's to look forward to.
Loving every update! The detail is just breath-takingly cool man!
The Nylon Gag said:Thanks Iain, only 9 weeks from Sunday mate. Not sure if i can last that long. but we do have World Super Bikes in February.
Yeah, but we've got car launches this month, testing in February, and the first GP of the season in March. Lot's to look forward to.
The Nylon Gag
New Member
- Joined
- Nov 14, 2011
- Messages
- 829
Re: NYLON GAG MK 1?
Welcome my friends,
Thanks for the comments guys, i appreciate everyone taking the time to comment, it means alot.
Had a couple of deliveries this week
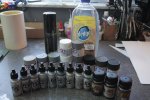
Thanks again to Scott for his prompt service, and the SMA discount. Thanks Buddy. ;D
Had been dabbling on and off in the mid-week but then Friday came and the wife was away all evening until very late so, i hit it hard on Friday, one of those 'set your alarm so you remember to eat deals'.
Had to pop into work for a few hours Friday morning but sat down at the bench at 11am and didn't leave until 12.30am Saturday morning, smashing.
I was working on the rear flaps for the upper wings, i wanted the flaps and the airbrakes to work, sometimes i make it so hard for myself but boy, was it worth it on sunday when i put it all together.
This is going to go fast so pay attention, there will be a quiz...
Basic shape
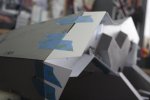
Cut out wing and removed airbrake portion
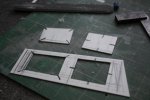
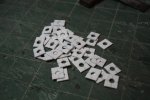
Cut, punched and shaped the various components.
Wing Struts
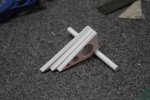
Airbrake arms.
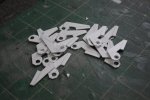
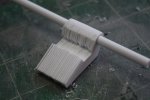
Basic hinge shapes
I used clear plastic tubes i found for spacers between the various struts, and glued it all together. This was after much cutting, adjusting, correcting, swearing, tantrums etc.......
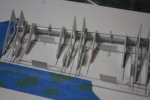
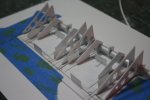
The first test. Yippee, it works. ;D
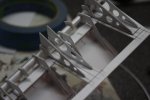
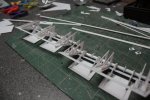
Then basically the same process with the smaller inner wings, these would not move but the airbrake flaps would still operate.
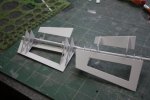
Then fitted each airbrake flap with a larger outer flap
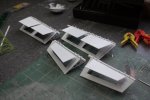
I then went about attaching the flap assemblies to the main wing back detail plate
First, small allignment hinge back plates
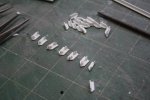
These were attached to the main wing back plate at the correct spacing.
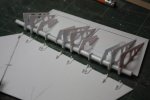
The small hinge was then attached to these alignment back plates, being careful not to use to much glue so the whole thing got stuck.
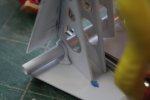
Test.
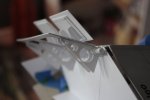
And in position
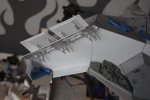
Are you still with me...............good.
I ran into an interference problem between the large and smaller inner flaps. but a small modification solved this, i can dress it up a bit later with detail. The smaller inner flaps were attached straight to the detail back plate , no hinges needed
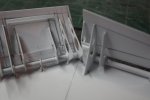
Everything was then put in position on the ship
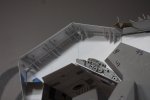
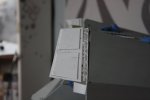
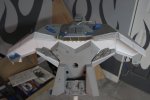
And tested the flaps.
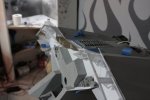
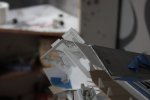
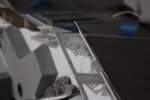
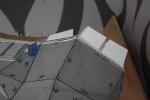
And breath.
I am so happy with how it turned out, i think it looks perfect with the rest of the wing assemblies and the ship.
The flaps will be detailed later when i skin the outer surface of the wing.
Now its on with the detailing of the main wing back plates so stay tuned
Thats all folks
Take care my friends
Gag
[attachment deleted by admin]
Welcome my friends,
Thanks for the comments guys, i appreciate everyone taking the time to comment, it means alot.
Had a couple of deliveries this week

Thanks again to Scott for his prompt service, and the SMA discount. Thanks Buddy. ;D
Had been dabbling on and off in the mid-week but then Friday came and the wife was away all evening until very late so, i hit it hard on Friday, one of those 'set your alarm so you remember to eat deals'.
Had to pop into work for a few hours Friday morning but sat down at the bench at 11am and didn't leave until 12.30am Saturday morning, smashing.
I was working on the rear flaps for the upper wings, i wanted the flaps and the airbrakes to work, sometimes i make it so hard for myself but boy, was it worth it on sunday when i put it all together.
This is going to go fast so pay attention, there will be a quiz...
Basic shape

Cut out wing and removed airbrake portion

Cut, punched and shaped the various components.
Wing Struts

Airbrake arms.


Basic hinge shapes

I used clear plastic tubes i found for spacers between the various struts, and glued it all together. This was after much cutting, adjusting, correcting, swearing, tantrums etc.......


The first test. Yippee, it works. ;D


Then basically the same process with the smaller inner wings, these would not move but the airbrake flaps would still operate.

Then fitted each airbrake flap with a larger outer flap

I then went about attaching the flap assemblies to the main wing back detail plate
First, small allignment hinge back plates

These were attached to the main wing back plate at the correct spacing.

The small hinge was then attached to these alignment back plates, being careful not to use to much glue so the whole thing got stuck.

Test.

And in position

Are you still with me...............good.
I ran into an interference problem between the large and smaller inner flaps. but a small modification solved this, i can dress it up a bit later with detail. The smaller inner flaps were attached straight to the detail back plate , no hinges needed

Everything was then put in position on the ship


And tested the flaps.


And breath.
I am so happy with how it turned out, i think it looks perfect with the rest of the wing assemblies and the ship.
The flaps will be detailed later when i skin the outer surface of the wing.
Now its on with the detailing of the main wing back plates so stay tuned
Thats all folks
Take care my friends
Gag
[attachment deleted by admin]
Similar threads
- Replies
- 28
- Views
- 2K
- Replies
- 2
- Views
- 198
