Ski- Thanks! the poster also adds some color to a rather bleak setting.Steve Ski said:I like it! Love the poster, looks authentic.
Cheers, Ski.
Not sure yet!
- Thread starter chriss67
- Start date
John- Thank you!JohnSimmons said:Looks amazing!
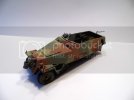
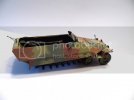
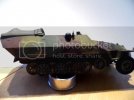
I've been making some steady progress on the first vehicle for this dio.The model chosen is a shelf queen,and fits the bill!.This kit is Tamiya's SDKFZ.251/1 although not a new one,but still a very good one.I decided to add some stowage to the crew compartment,and will paint this 251 in a late-war scheme.
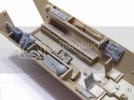
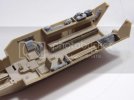
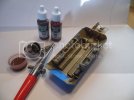
Ready for primer.......
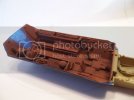
now onto the inside......
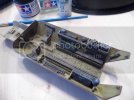
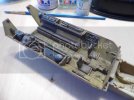
Stowage colors blocked in,and some of the chipping&weathering in progress


Ready for primer.......

now onto the inside......


Stowage colors blocked in,and some of the chipping&weathering in progress
geegad said:nice extra's buddy you can't beat a tamiya kit fits together like a glove love the camo
GeeGad....Thank's mate! all I had to do was shake the box
andrei383 said:looking forward to seeing this dio come together! excellent work!
Andrei-THANKS! I'am glad you like it mate.
I have a question about your painting process, as I am always eager to learn and just returning to the Hobby only recently.
Did you prime the interior with all the boxes, helmets and bags in place? Or were they removed first and then primed. Or did you prime and paint them in place?
Thanks for the info,
Did you prime the interior with all the boxes, helmets and bags in place? Or were they removed first and then primed. Or did you prime and paint them in place?
Thanks for the info,
hook1169 said:I have a question about your painting process, as I am always eager to learn and just returning to the Hobby only recently.
Did you prime the interior with all the boxes, helmets and bags in place? Or were they removed first and then primed. Or did you prime and paint them in place?
Thanks for the info,
Hi Ya Hook.....In regards to your question I prime the entire interior and all its contents the same color(in this case oxide red)I then spray the same with it's base color,then go back and block-in each piece of stowage with its own color.I find painting it this way ties everything together,and speeds the process,some folks paint them seperate,and that works fine to.I hope this answers your question,and like yourself I'am always looking for new tips&methods
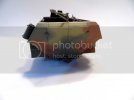
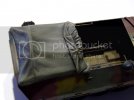
Lastnight I had a chance to really delve into the weathering on the 251 ;D and tried a new method of drybrushing the camo colors in successive lighter tones(with Vallejo colors) then wash,filter,blend with AK products&oils.So far i'am pleased with the results,and now some detail painting is due chipping and the like,lay some color on the handtools,paint the MG&shield and put some straps on the tarp.
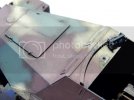
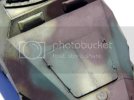
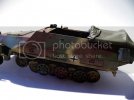
The tarp is from Plus Models and looks killer!
As always thanks for stopping by


The tarp is from Plus Models and looks killer!


As always thanks for stopping by
andrei383 said:the halftrack is looking mighty good Chris! i particularly like the dirt effect above the running gear!
Thanks Andrei! I'am using some new ideas for the mud&dust,was never my strong suit
Steve Ski said:Some really nice camo and interior work Chris, looks pretty good so far for "not sure yet", lol!
Cheers, Ski.
P.S. That's what's so cool about this Sport, you can decide on the fly, as you go along.
Ski.....((((LOL))) thanks bro! this one just seems to fall into place.
Ravhin said:Looking great ! I'm enjoying your build, keep at it
Ravhin.....Thanks! I'am glad ya like it! you guy's keep me going

