
You are using an out of date browser. It may not display this or other websites correctly.
You should upgrade or use an alternative browser.
You should upgrade or use an alternative browser.
MPC 1/25 Vending Machine
- Thread starter Tommergun
- Start date


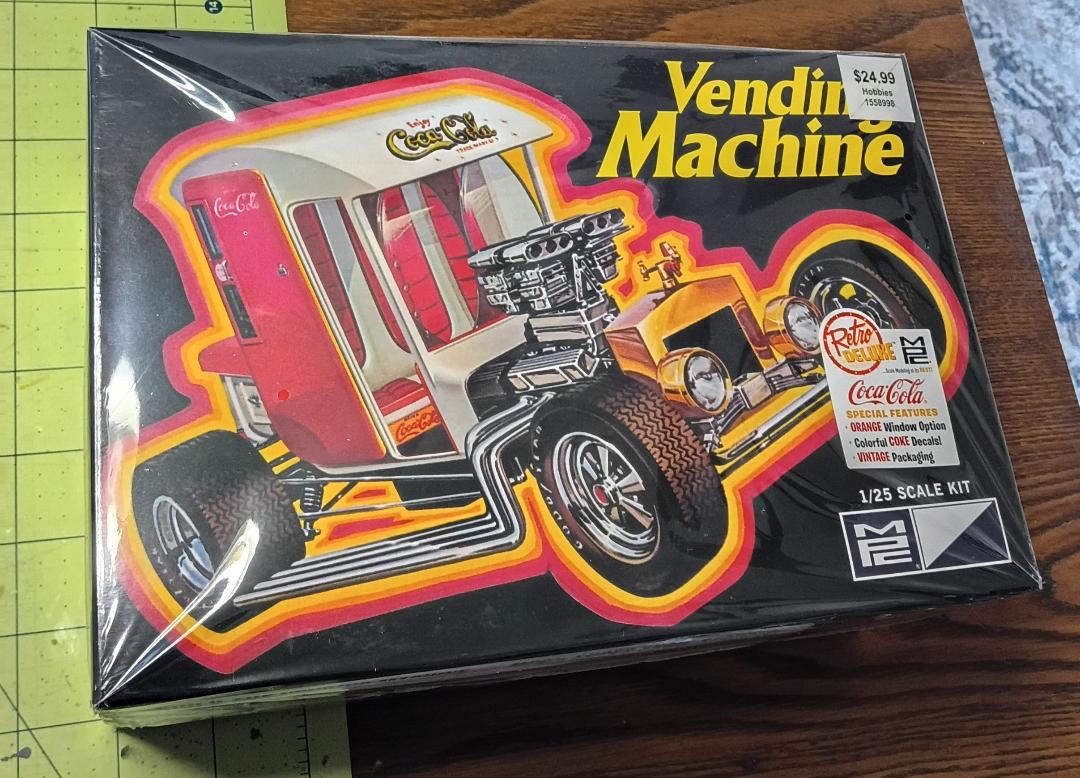

That'll be a blast!
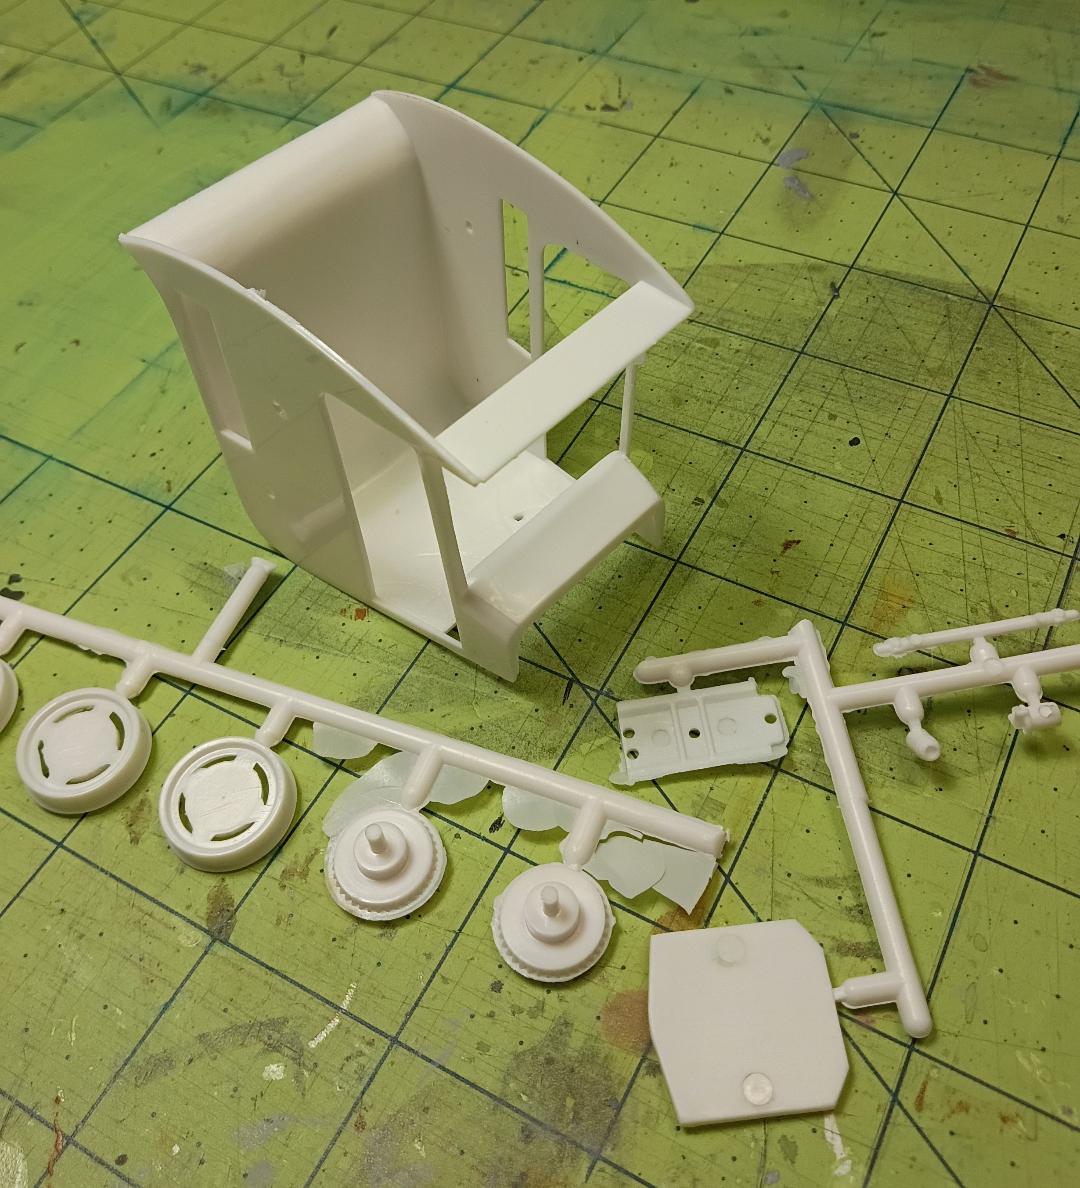
Old mold has a lot of flash. Nice that the cab is in one piece.
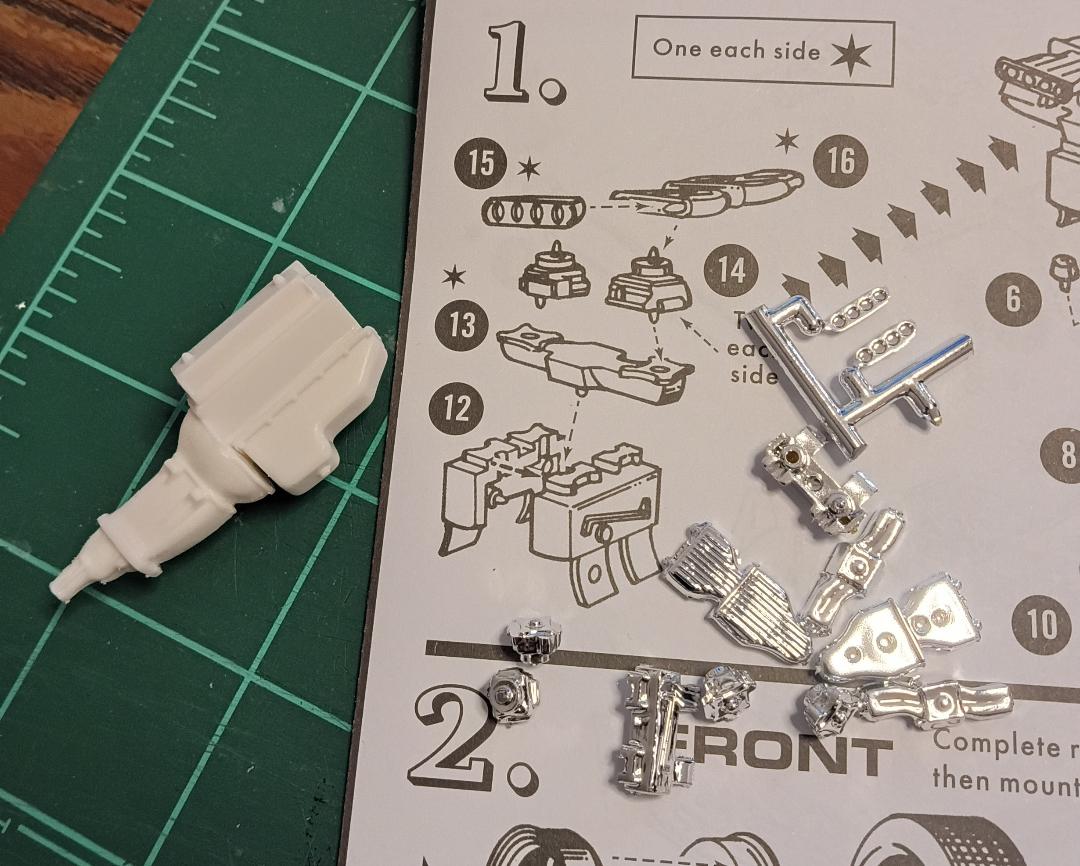
I don't want these engine parts in chrome, so I'll de-chrome them and paint them aluminum.
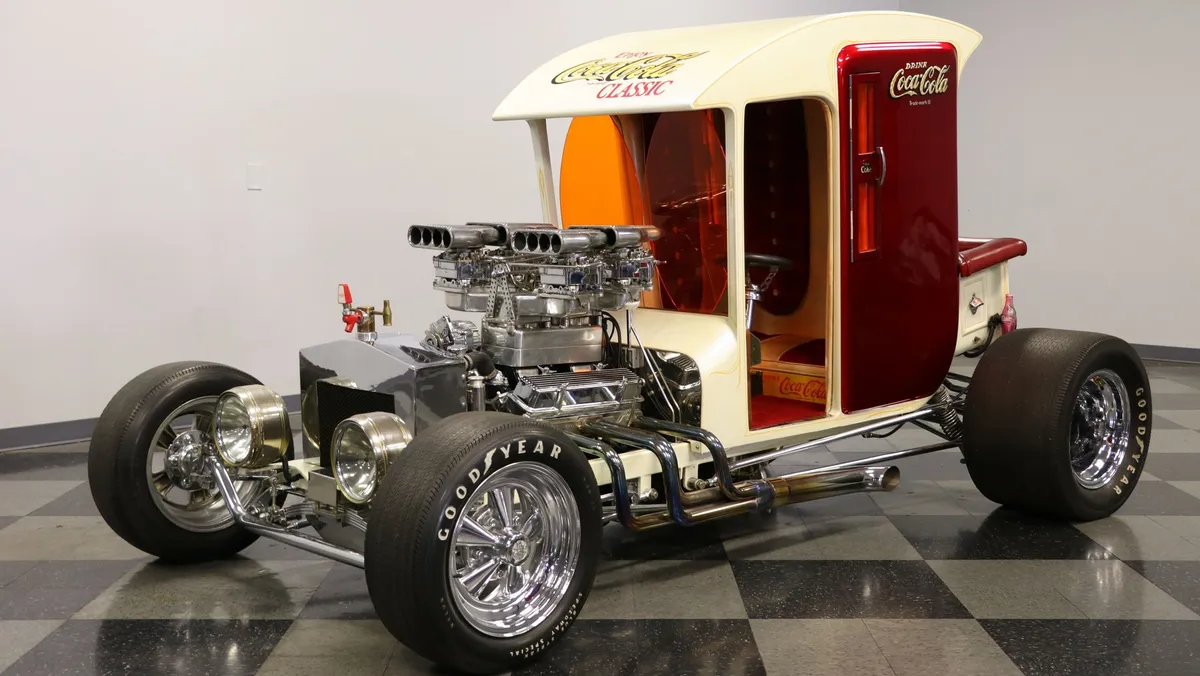
I found some great detail photos of the actual car.
https://www.classic.com/veh/1967-ch...la-vending-machine-str-mvin104492ind-45we29W/
I don't want these engine parts in chrome, so I'll de-chrome them and paint them aluminum.
I found some great detail photos of the actual car.
https://www.classic.com/veh/1967-ch...la-vending-machine-str-mvin104492ind-45we29W/
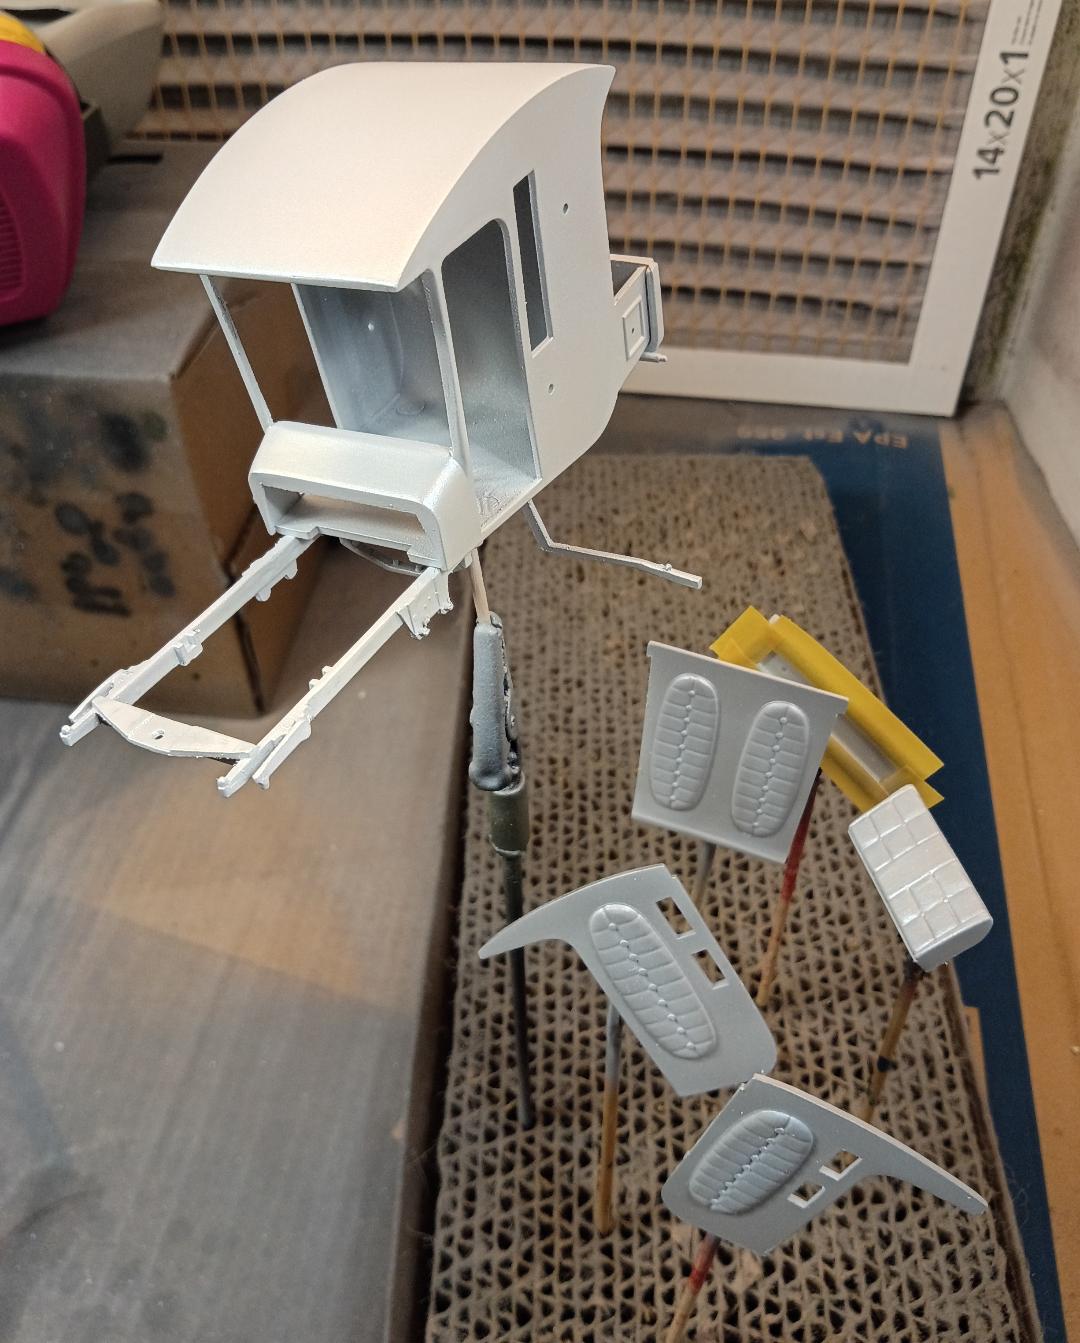
I tend to assemble a kit in a different order than the instructions. It might be a bit harder to assemble but in the end it works out better as far as painting and finishing.
Instructions have you paint an assemble the entire interior before glueing the roof in place. I figured out I could assemble the cab with the roof first, then insert the finished interior panels and parts through the windshield and door openings. This will help getting those nasty roof seams filled and sanded, while not damaging the painted interior.
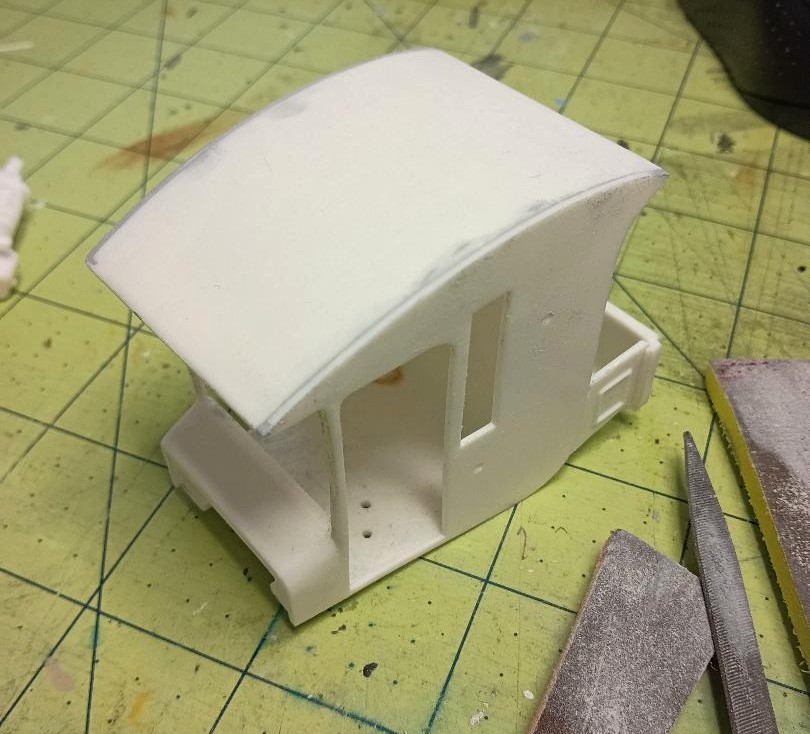
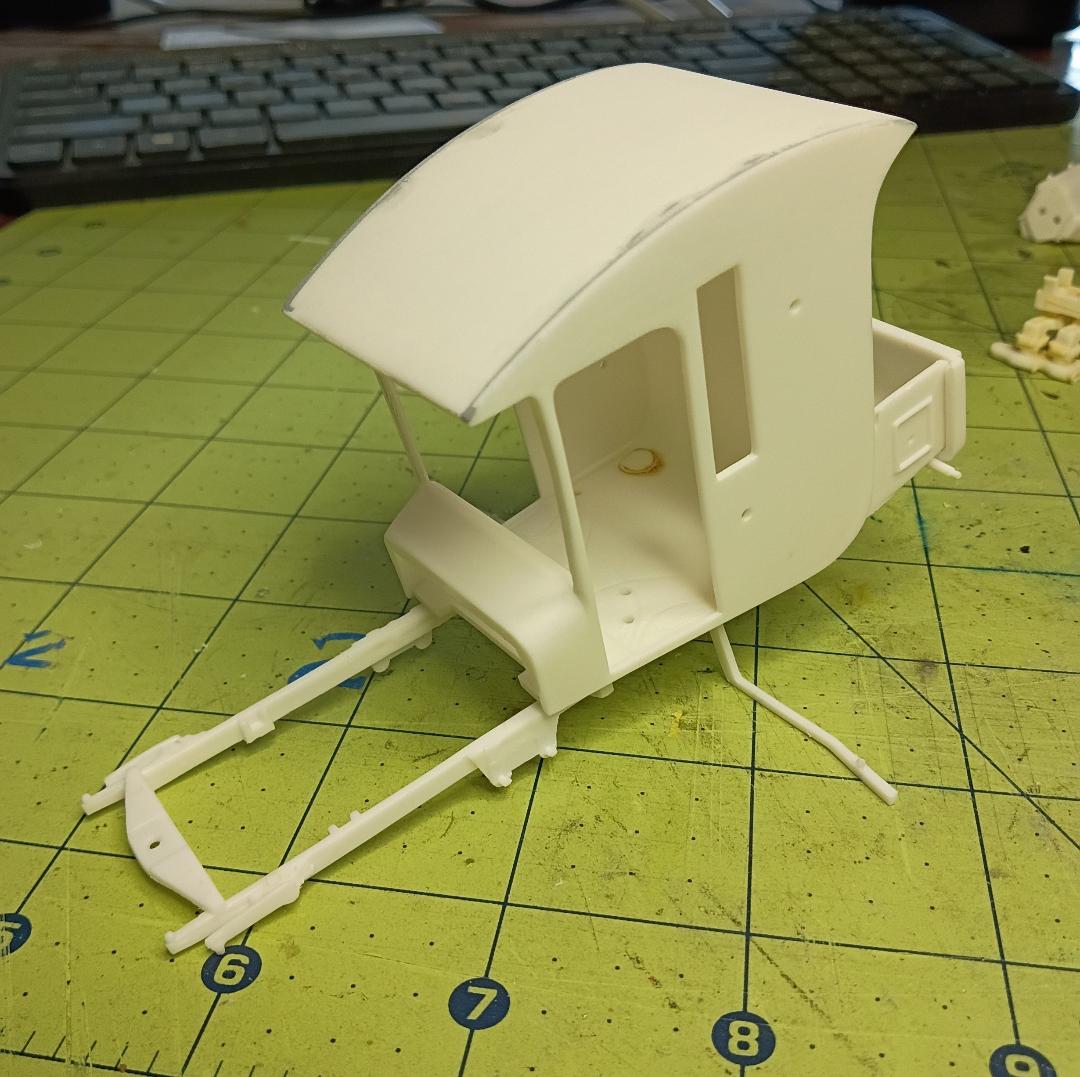
I decided to then attach the cab to the frame now rather than after the chassis is done. These parts are really brittle and the location tabs are awful, I could see the chassis easily getting broken if I waited until it was done.
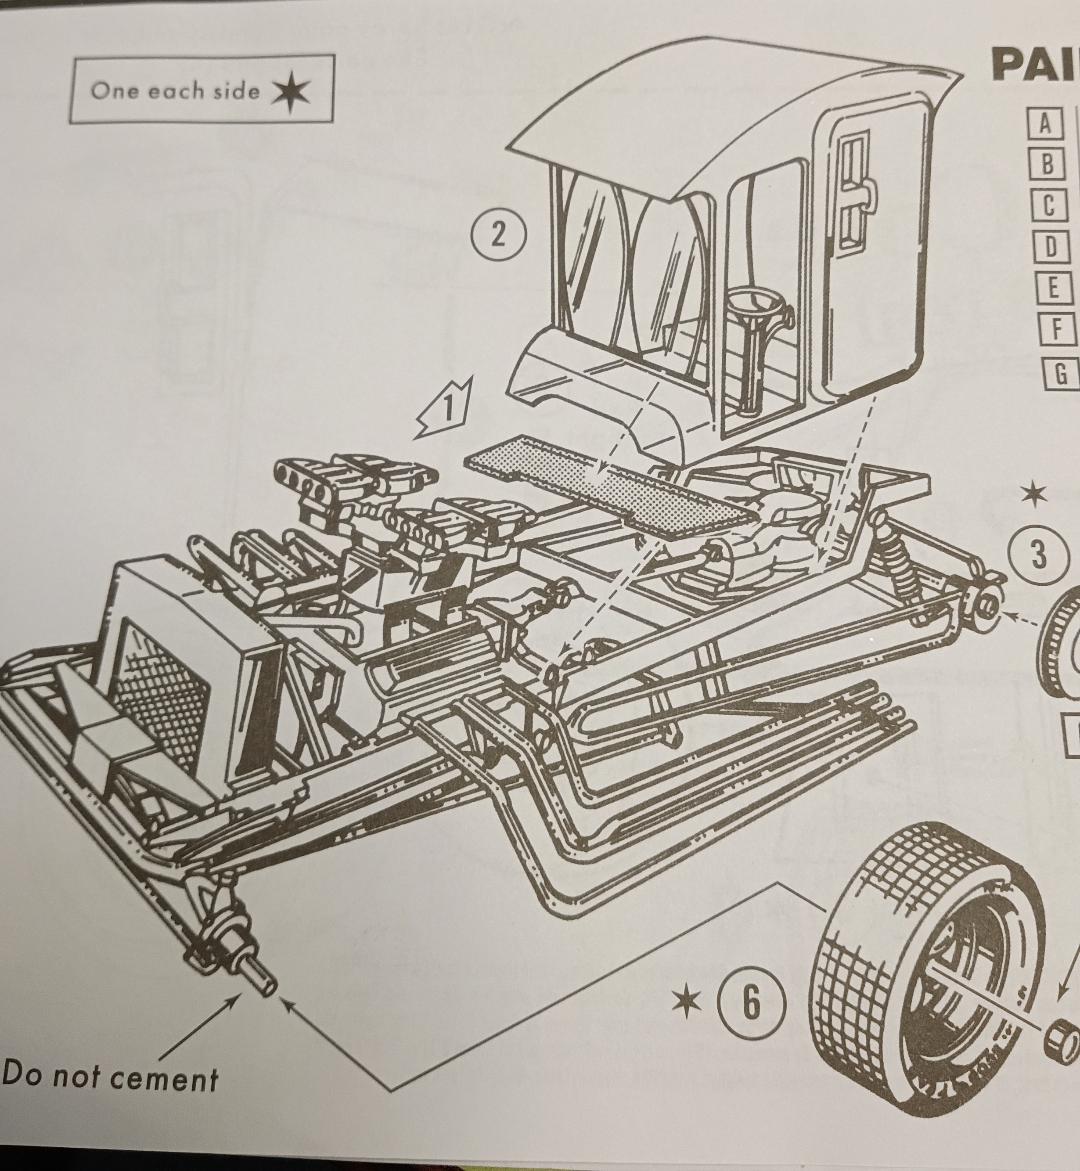
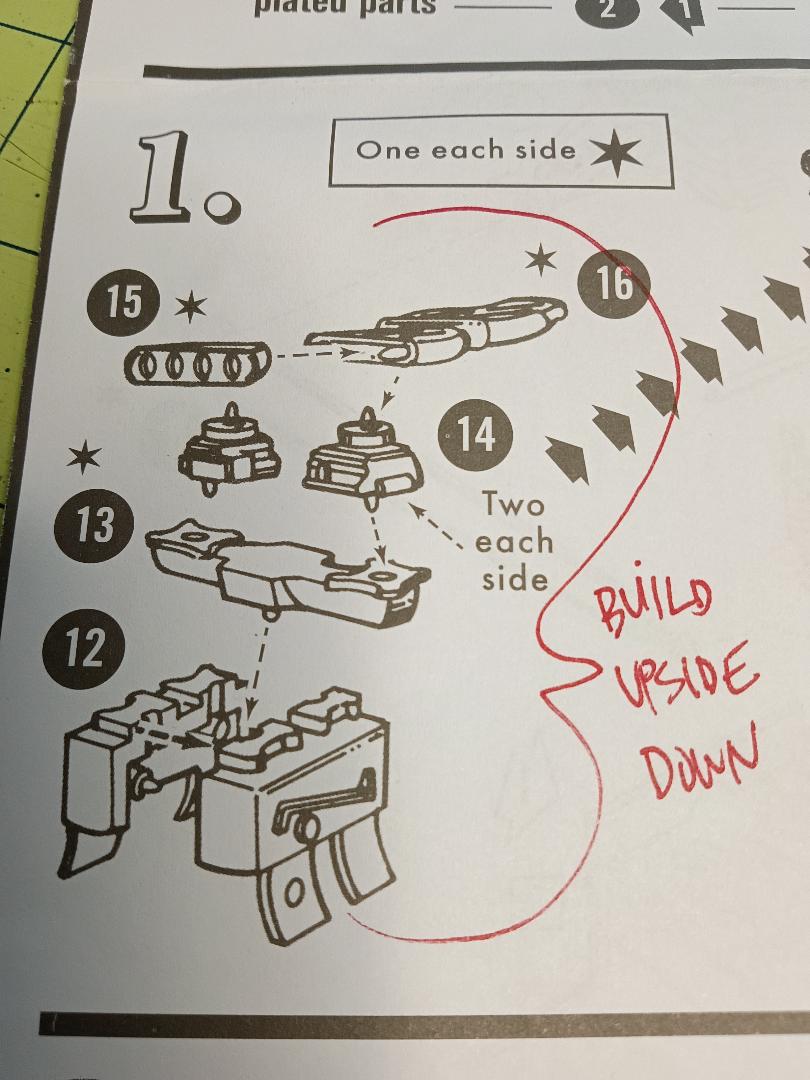
After stripping some engine parts of the chrome, I realized it would be easier to assemble them upside down to get better alignment and again, to avoid breaking them.
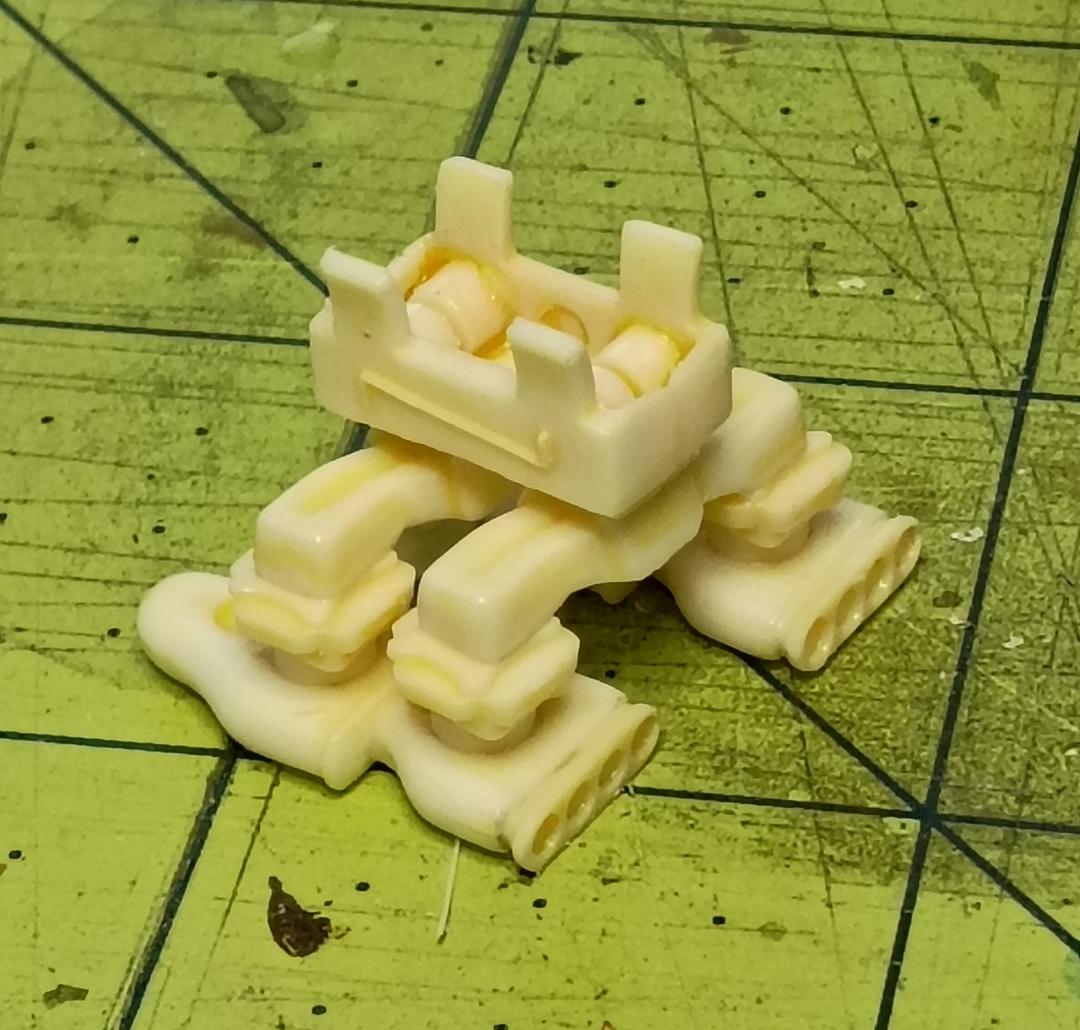
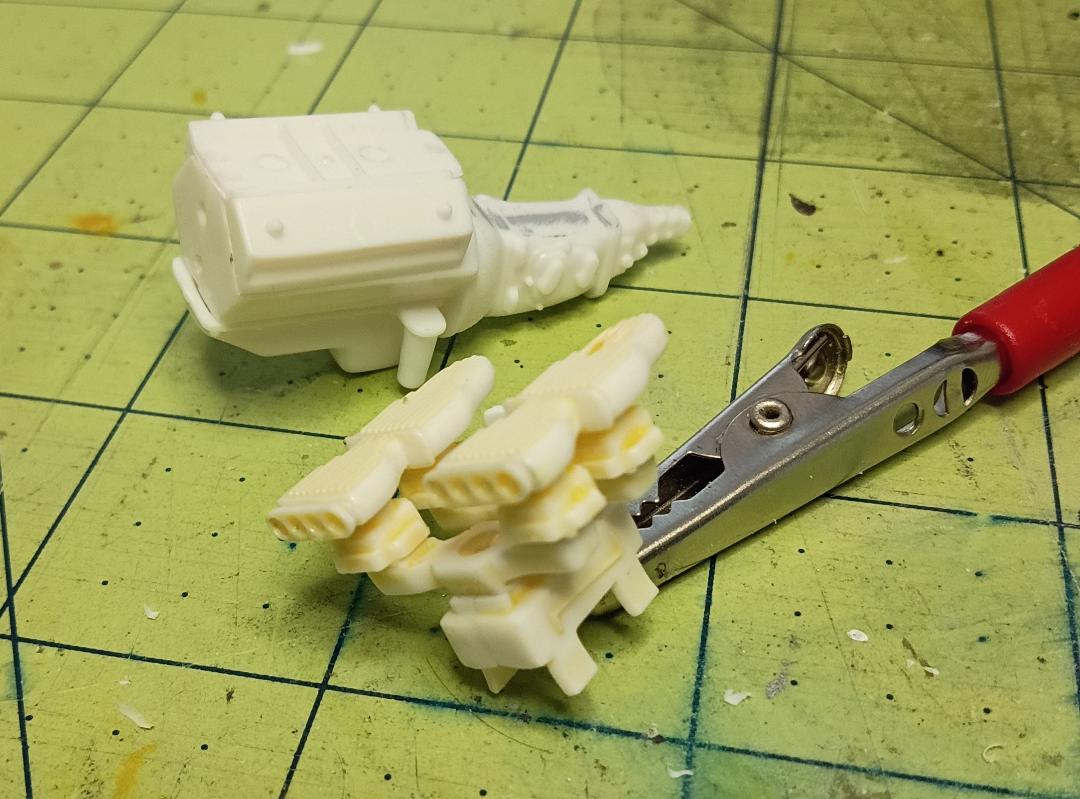
Got a lot done on this kit this weekend and here is where I'm leaving off, with some sub-assemblies done and all the parts sanded and ready for primer.
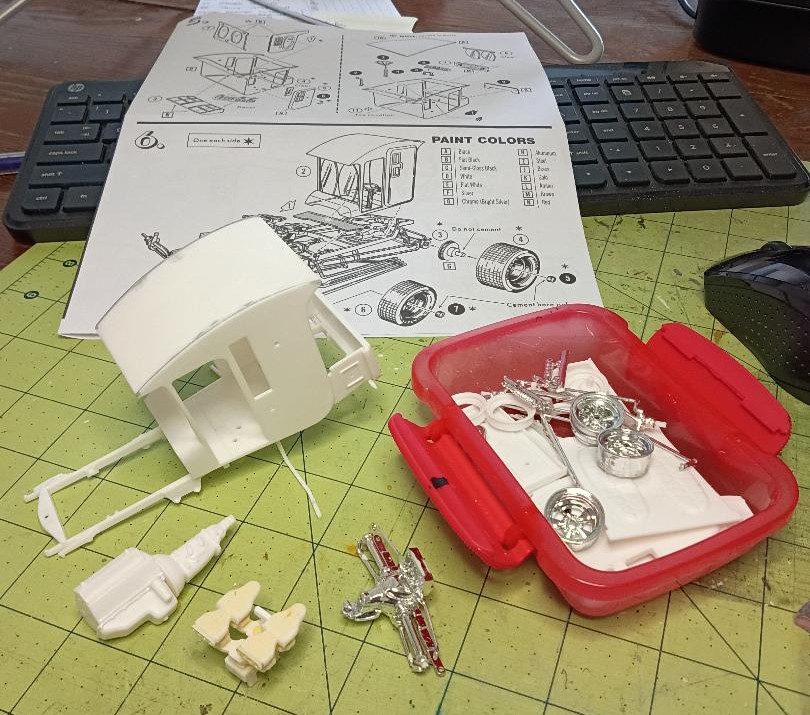
Instructions have you paint an assemble the entire interior before glueing the roof in place. I figured out I could assemble the cab with the roof first, then insert the finished interior panels and parts through the windshield and door openings. This will help getting those nasty roof seams filled and sanded, while not damaging the painted interior.
I decided to then attach the cab to the frame now rather than after the chassis is done. These parts are really brittle and the location tabs are awful, I could see the chassis easily getting broken if I waited until it was done.
After stripping some engine parts of the chrome, I realized it would be easier to assemble them upside down to get better alignment and again, to avoid breaking them.
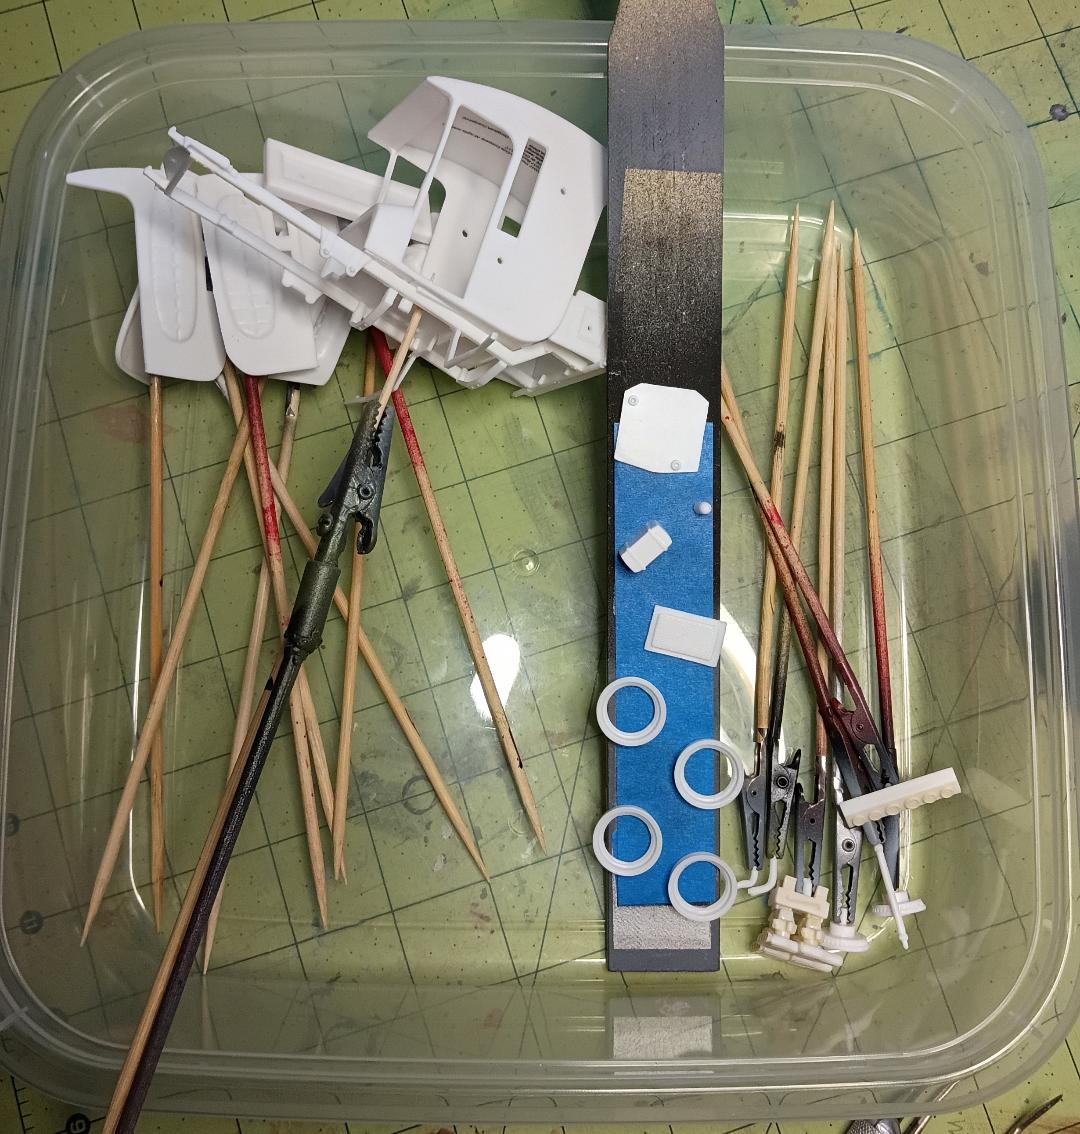
Got a lot done on this kit this weekend and here is where I'm leaving off, with some sub-assemblies done and all the parts sanded and ready for primer.
Looking good!
A good read of the instructions and a healthy portion of know-how can avoid frustrating mishaps!
A good read of the instructions and a healthy portion of know-how can avoid frustrating mishaps!

JerseyDevil
Member
I like your take on fixing the roof! I was thinking about stuffing paper towel on top of the finished interior to mask it off, but more often than not some stray paint will find its mark! I had this kit before, and I was thinking about dealing with the roof; except it was the version with the non-copyrighted or generic decals which were really dissapointing. I ended up selling it on ebay and decided to buy the new realese when I am ready for it.


![Pampers Sensitive Baby Wipes, Clinically Proven, Fragrance Free, Unscented, Water Based, Hypoallergenic, Multi-Use, Hand Wipes 336 Wipes Total (6X Flip-Top Packs) [Packaging May Vary]](https://m.media-amazon.com/images/I/41KLBHu9CAL._SL500_.jpg)





As an Amazon Associate we earn from qualifying purchases. Product prices and availability are accurate as of the date/time indicated and are subject to change.

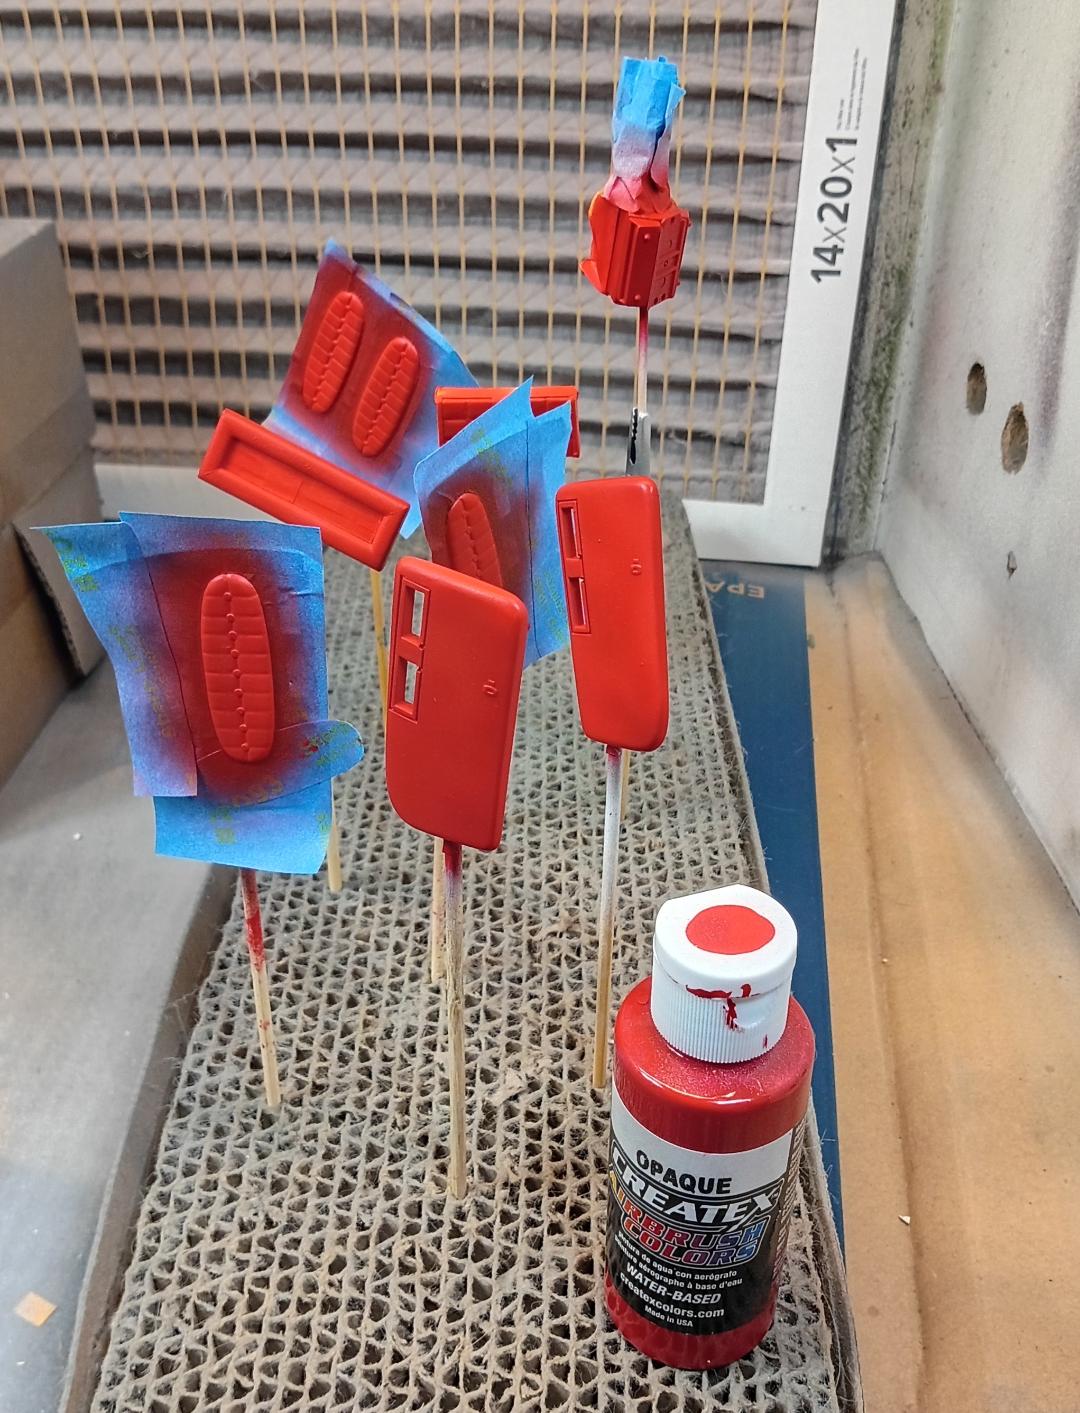
I knew from the bottle that it wasn't a deep red, but I had hoped it would be a little darker than this especially since I used a red base coat. Looks a bit more rose. Hopefully the gloss clear will darken it some. Live and learn.
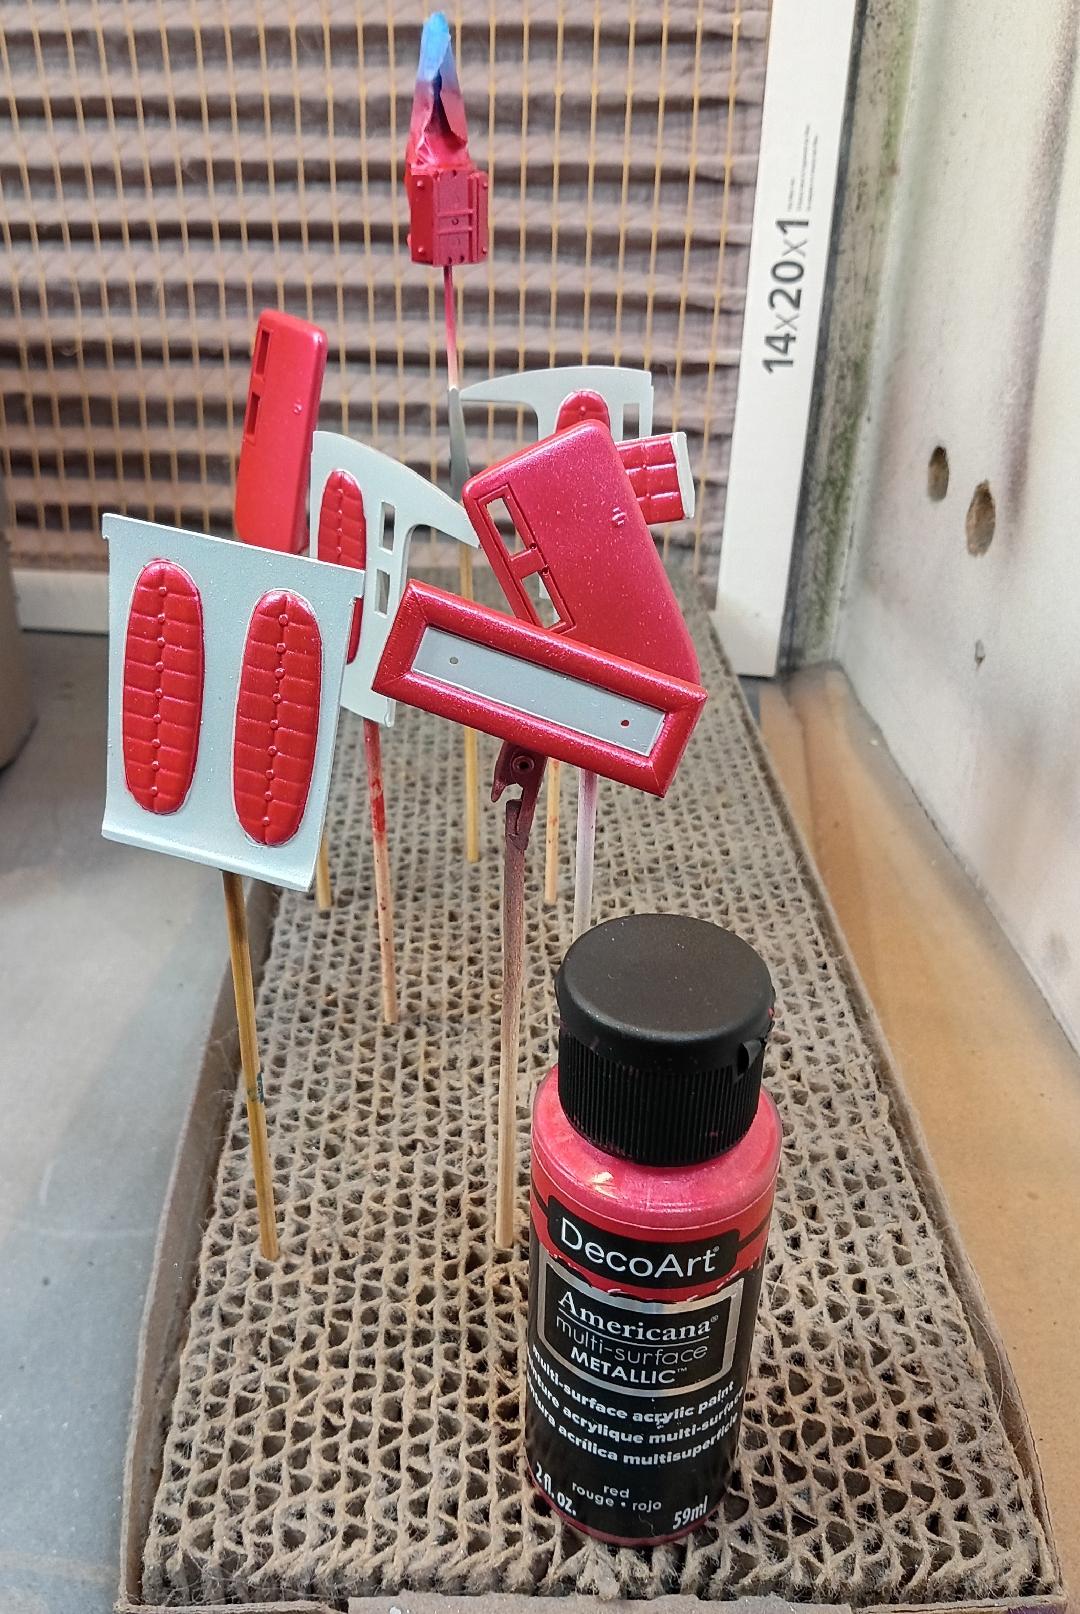
You could add a touch of black to it.I knew from the bottle that it wasn't a deep red, but I had hoped it would be a little darker than this especially since I used a red base coat. Looks a bit more rose. Hopefully the gloss clear will darken it some. Live and learn.
View attachment 195477
JerseyDevil
Member
Really excellent job of documenting your build!
I noticed you are using acrylic paint; which I think is a smart move! That paint reminds me of Testors Dusty Rose Pearl.
I knew from the bottle that it wasn't a deep red, but I had hoped it would be a little darker than this especially since I used a red base coat. Looks a bit more rose. Hopefully the gloss clear will darken it some. Live and learn.
View attachment 195477
I noticed you are using acrylic paint; which I think is a smart move! That paint reminds me of Testors Dusty Rose Pearl.


