Chris S
Its a bit like being handcuffed to a lunatic !
- Joined
- Feb 14, 2011
- Messages
- 4,573
Hi chaps 
Been a little while since I built a wingy in here ....But I've been working on this project for a customer for the last few weeks and thought I should share it here with you too . Not finished yet ,but certainly getting there ,once its finished I can get back to a few of my own projects ;D
The aircraft Im aiming for is this one ........

This is Werner Ringel's mount during the Russia campaign 1942 .
The Kit I had to start with is the oldd Matchbox kit ( 1977) To be honest its not too bad ,yes it requires detailing but the overall shape is near perfect and the fit is actually quite good given the age !!
Two areas which do require a lot of work ....The cockpit , or lack off it
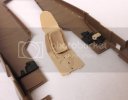
The wheel wells ....there really is nothing in there !! just holes ,I have to make up the whole well !
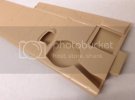
So I started with the cockpit ,scratched up the side walls ,added some detail around the seat ,made up the seat cushion with Milliput ,and scratched up the belts .....
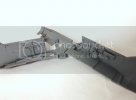
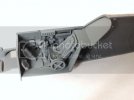
The cockpit was then painted and the fuselage closed up
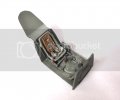
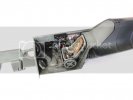
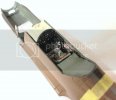
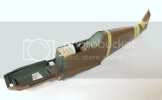
While the fuselage dried I set about making the wheel wells ,there isnt much to put in there tho so its not difficult . I scratched them up with thin plasticard and lined the well with foil to represnt the canvas cover .
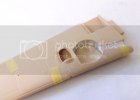
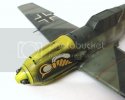
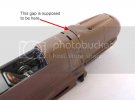
The cowlings were added to the front of the fueslage ,making sure the gap at the rear of the top cover was there as its meant to be
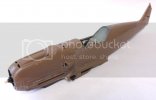
With that done ,before joining the wings I went over the whole airframe adding all the missing rivet detail ,using Trumpeters rivet tool ......
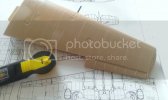
After some filling ,sanding & rescribing it was onto primer
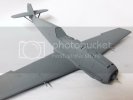
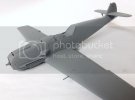
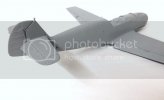
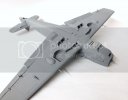
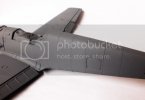
I also drilled out the holes for the rudder cables ....
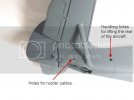
Next up ...Pre shade ,I added some white to all the areas which will later be painted yellow .
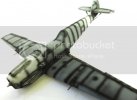
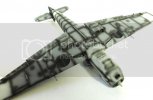
Then on with the yellow
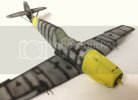
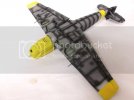
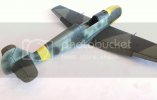
Once dry I got straight onto the camo ....
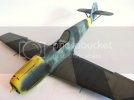
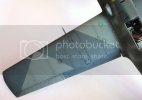
The paint brought out the rivets nicely
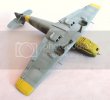
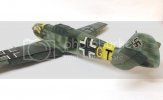
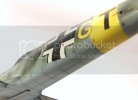
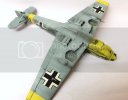
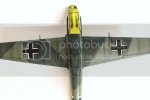
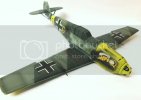
And so ...Here's where Im at now ,After some Klear Im adding the decals ,nearly done with them now .
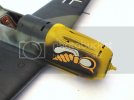
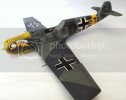
And thats all for tonight ;D ...more up tomorrow .
Thanks for looking.
Chris.
Been a little while since I built a wingy in here
The aircraft Im aiming for is this one ........

This is Werner Ringel's mount during the Russia campaign 1942 .
The Kit I had to start with is the oldd Matchbox kit ( 1977) To be honest its not too bad ,yes it requires detailing but the overall shape is near perfect and the fit is actually quite good given the age !!
Two areas which do require a lot of work ....The cockpit , or lack off it

The wheel wells ....there really is nothing in there !! just holes ,I have to make up the whole well !

So I started with the cockpit ,scratched up the side walls ,added some detail around the seat ,made up the seat cushion with Milliput ,and scratched up the belts .....


The cockpit was then painted and the fuselage closed up


While the fuselage dried I set about making the wheel wells ,there isnt much to put in there tho so its not difficult . I scratched them up with thin plasticard and lined the well with foil to represnt the canvas cover .

The cowlings were added to the front of the fueslage ,making sure the gap at the rear of the top cover was there as its meant to be


With that done ,before joining the wings I went over the whole airframe adding all the missing rivet detail ,using Trumpeters rivet tool ......

After some filling ,sanding & rescribing it was onto primer


I also drilled out the holes for the rudder cables ....

Next up ...Pre shade ,I added some white to all the areas which will later be painted yellow .


Then on with the yellow


Once dry I got straight onto the camo ....


The paint brought out the rivets nicely


And so ...Here's where Im at now ,After some Klear Im adding the decals ,nearly done with them now .


And thats all for tonight ;D ...more up tomorrow .
Thanks for looking.
Chris.

