M6 Gun Motor Carriage WC-55 2025-06

Scale Model Addict - Model Tips, Guides, Tools & Tech, Tutorials, and Community

Help Support Scale Model Addict:

an hour drive one way
I'm spoiled... just about every other trip to Costco involves me dropping off the shoppers then making a beeline to not one, but two hobbyshops less than a quarter mile away!
And when I'm feeling like it, there are three more in town, across town, and a little out of town that I'll drive to, non-rush hour; hallelujah for retirement travel flexibility!
How do we have so many? Maybe it's the Canadian winters?
One of the shops has been in pretty much the same location since I was a kid.
 
Old modelling books and articles used to recommend making things like this from stretched sprue: cut it and hold it near a flame so the end curls up into a mushroom shape. I suspect the ones you buy are more consistent in size, but it's a method that might come in handy if you need ones of several different sizes?
 
come in handy
... quite likely! I remember making antennas, and heating a blade to flatten the end of an axle inside a wheel to hold it in place and still be able to turn... of course today the model engineering is more sophisticated, with rubber washers and other ingenious ways to assemble wheels along with carbon fiber antennas, Evergreen, and my newfound obsession with brass!

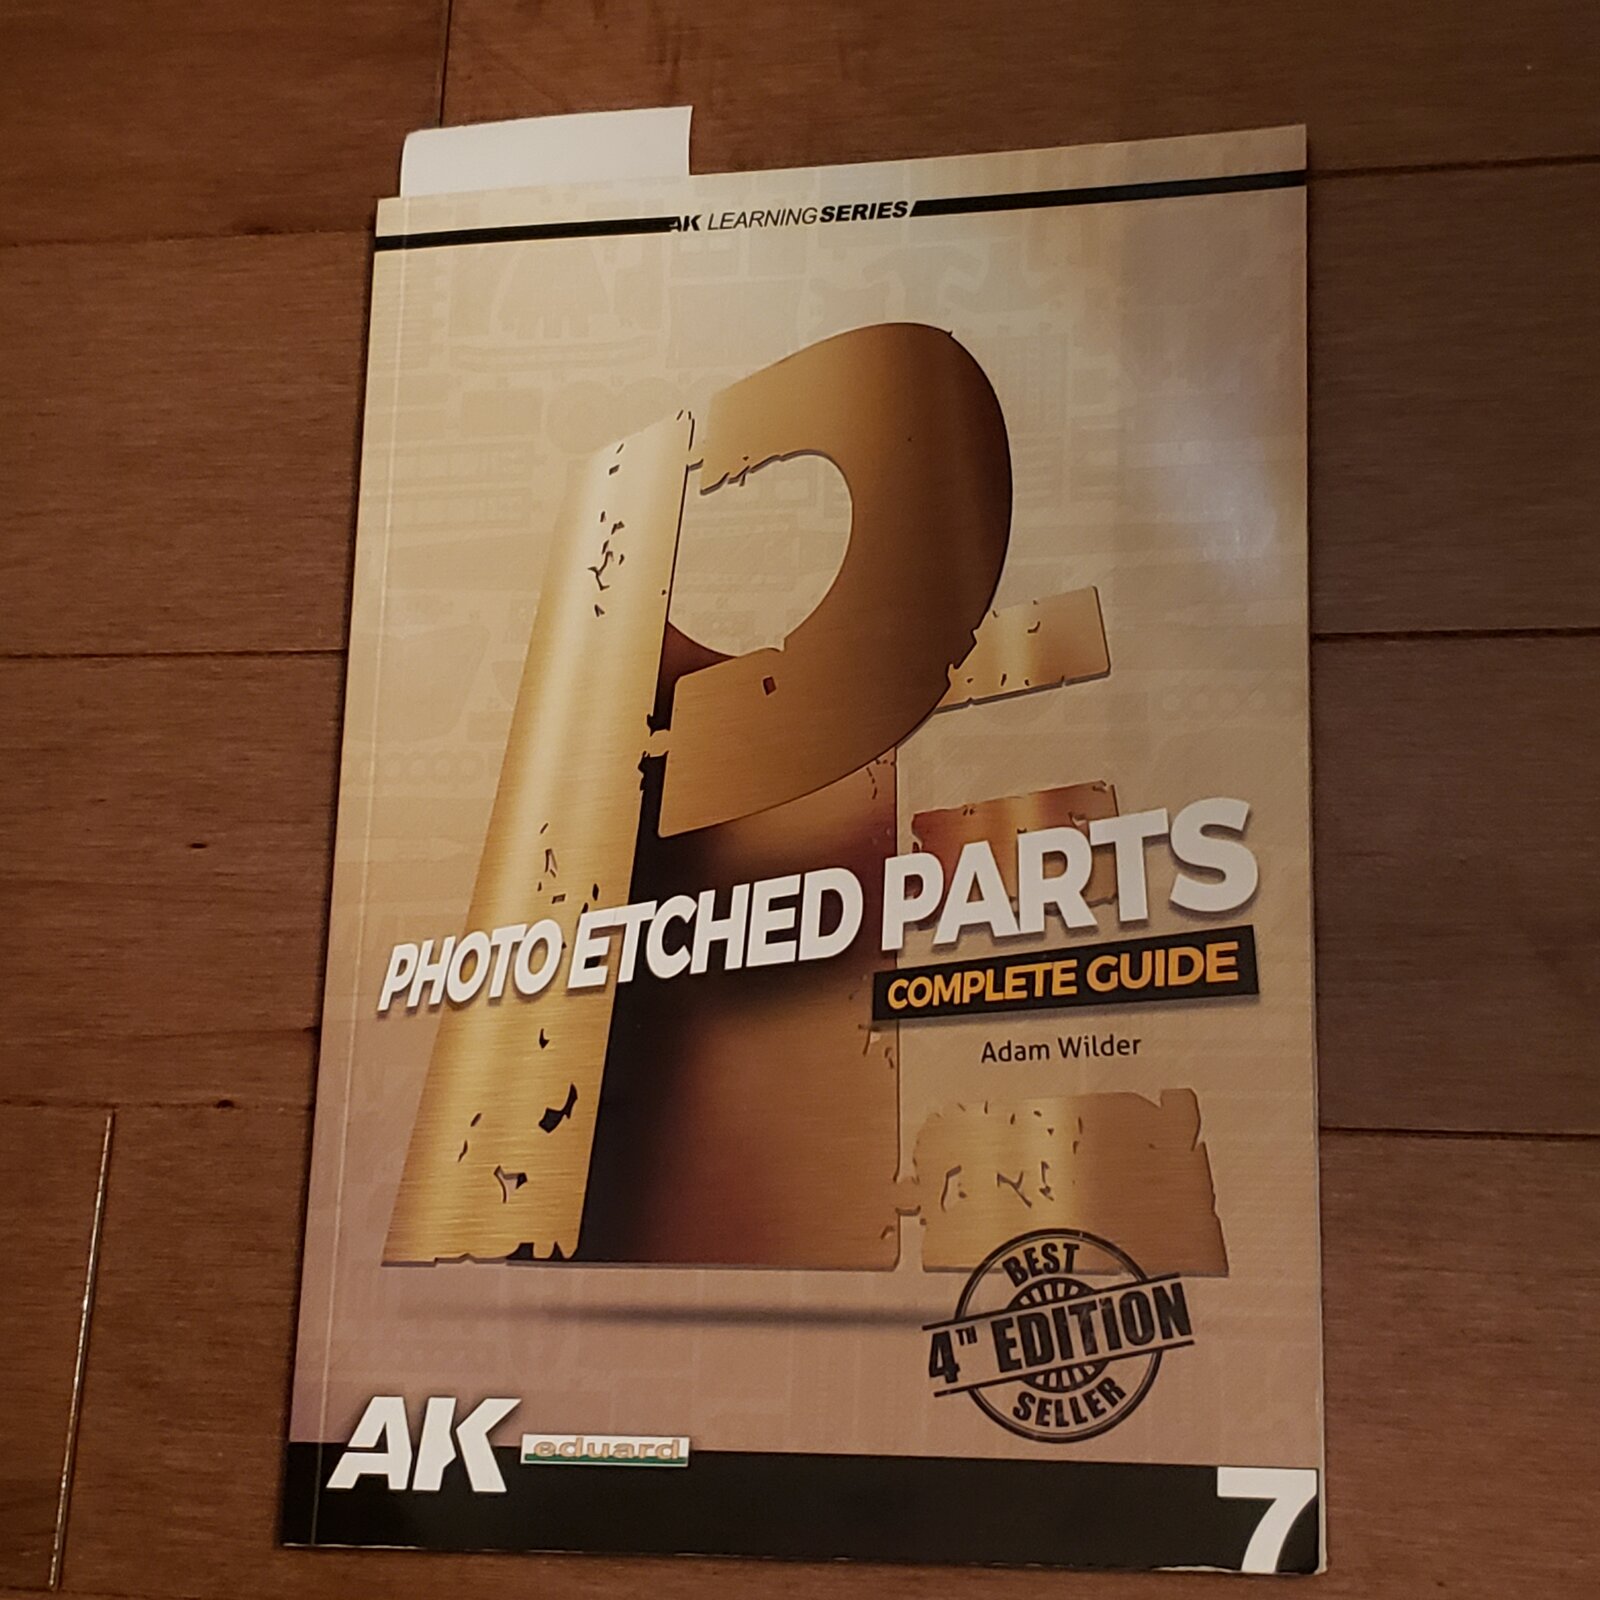
I'm reading this AK book on PE, and was amazed to see that folks used to make it themselves à la DIY before it was commonplace for a PE sprue to be included in a kit! Have you ever tried that?

1754572468913734222694272233334.jpg
 
No, but I know how to do it in theory :) I also have the skills to draw the parts and make masks for them, but I dislike in general almost everything that requires a lot of preparation and clean-up, so — much like casting my own resin parts — the hassle with chemicals puts me off actually trying it. That, and that I don't like wasting materials, which I would inevitably do trying to actually learn the technique for either of those :)
 
As an Amazon Associate we earn from qualifying purchases. Product prices and availability are accurate as of the date/time indicated and are subject to change.
What's more, there are companies that will photo-etch sheets to your drawings :) Not that I've ever used one, but since discovering that some years ago, there have been a few times when I thought it might be a good solution for things I wanted to make.
 
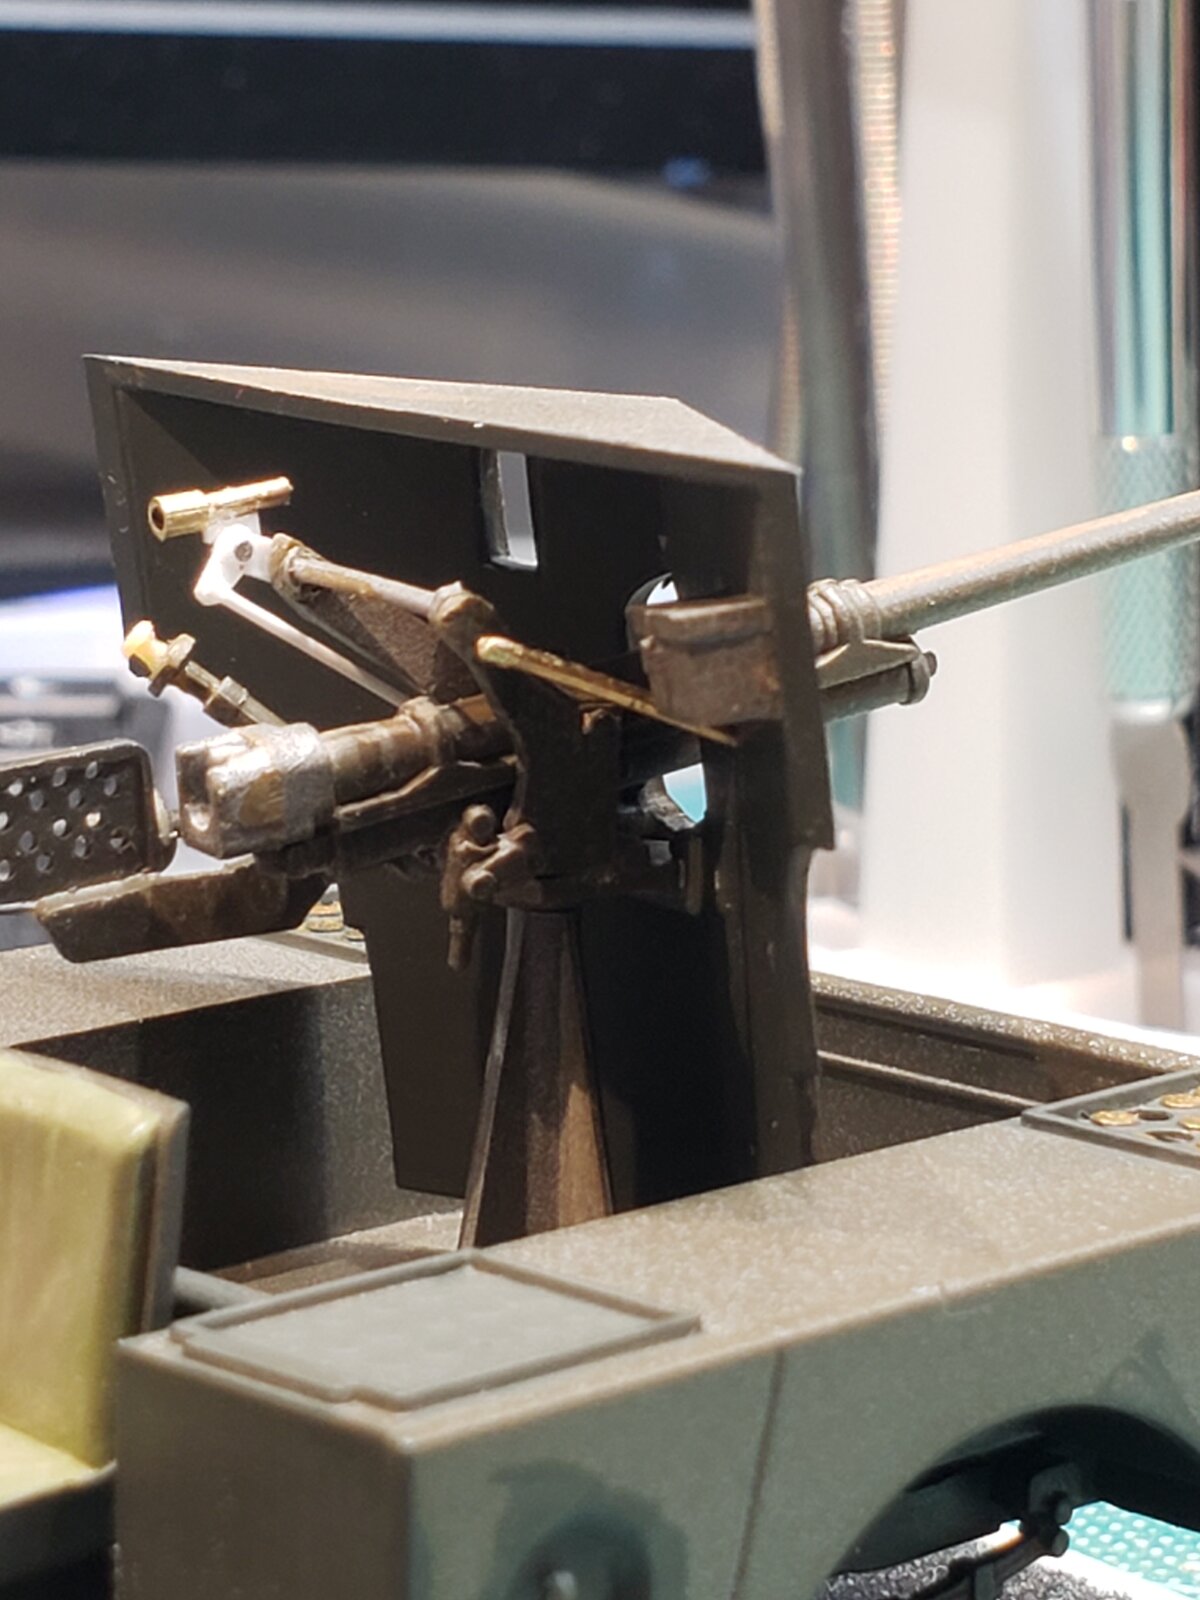
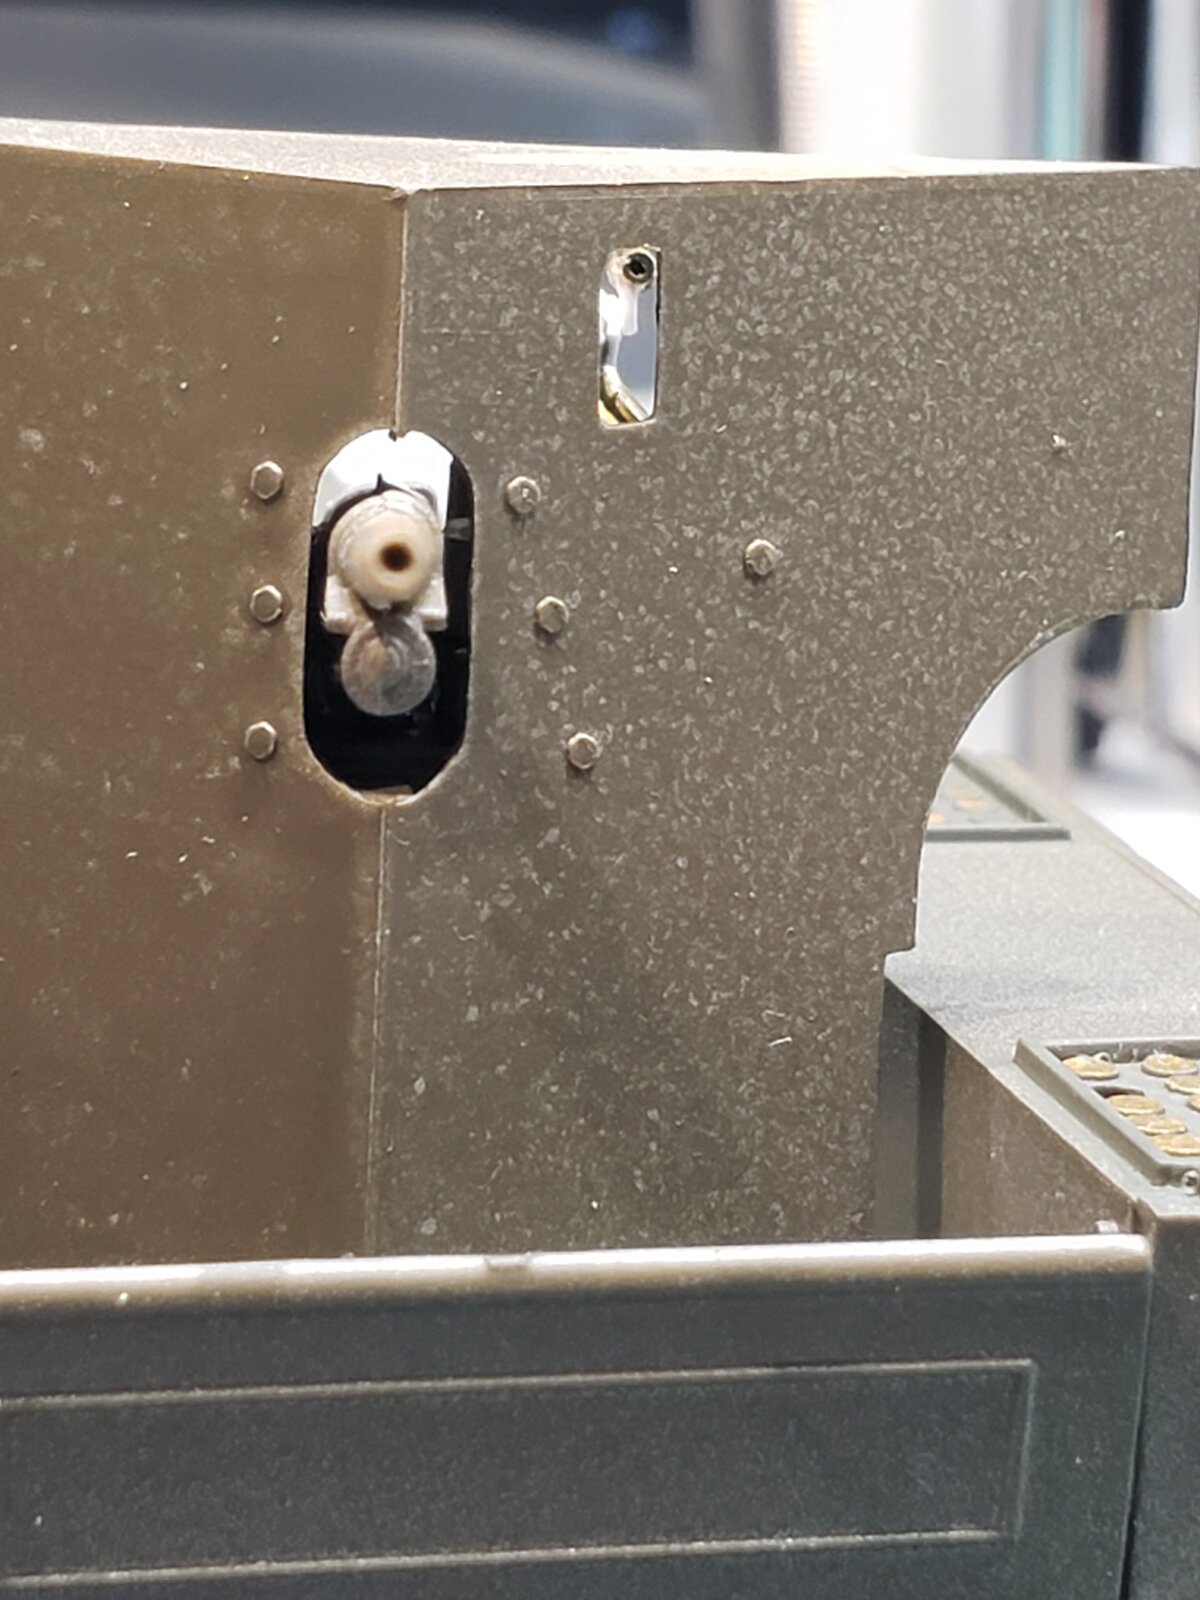
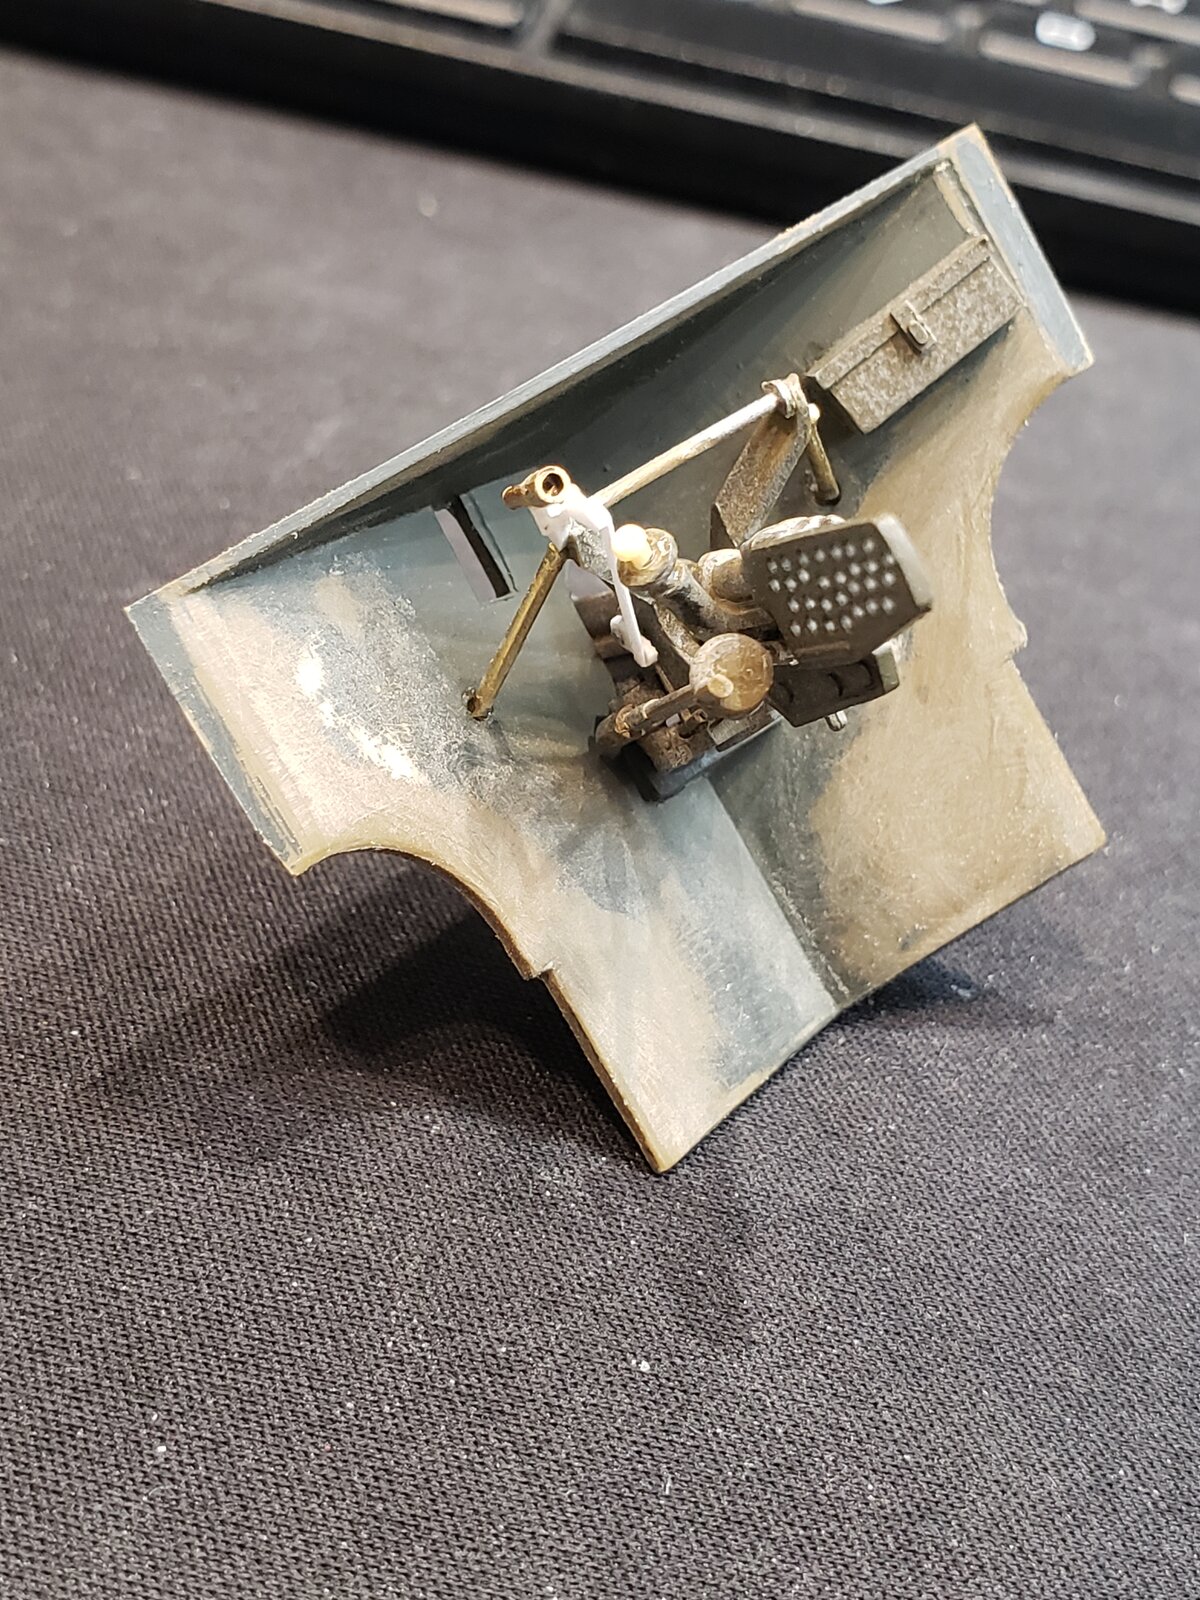
More work on the gun.
The kit didn't provide sights, and the guard was solid.
Earlier, I had drilled out the perforations in the guard.
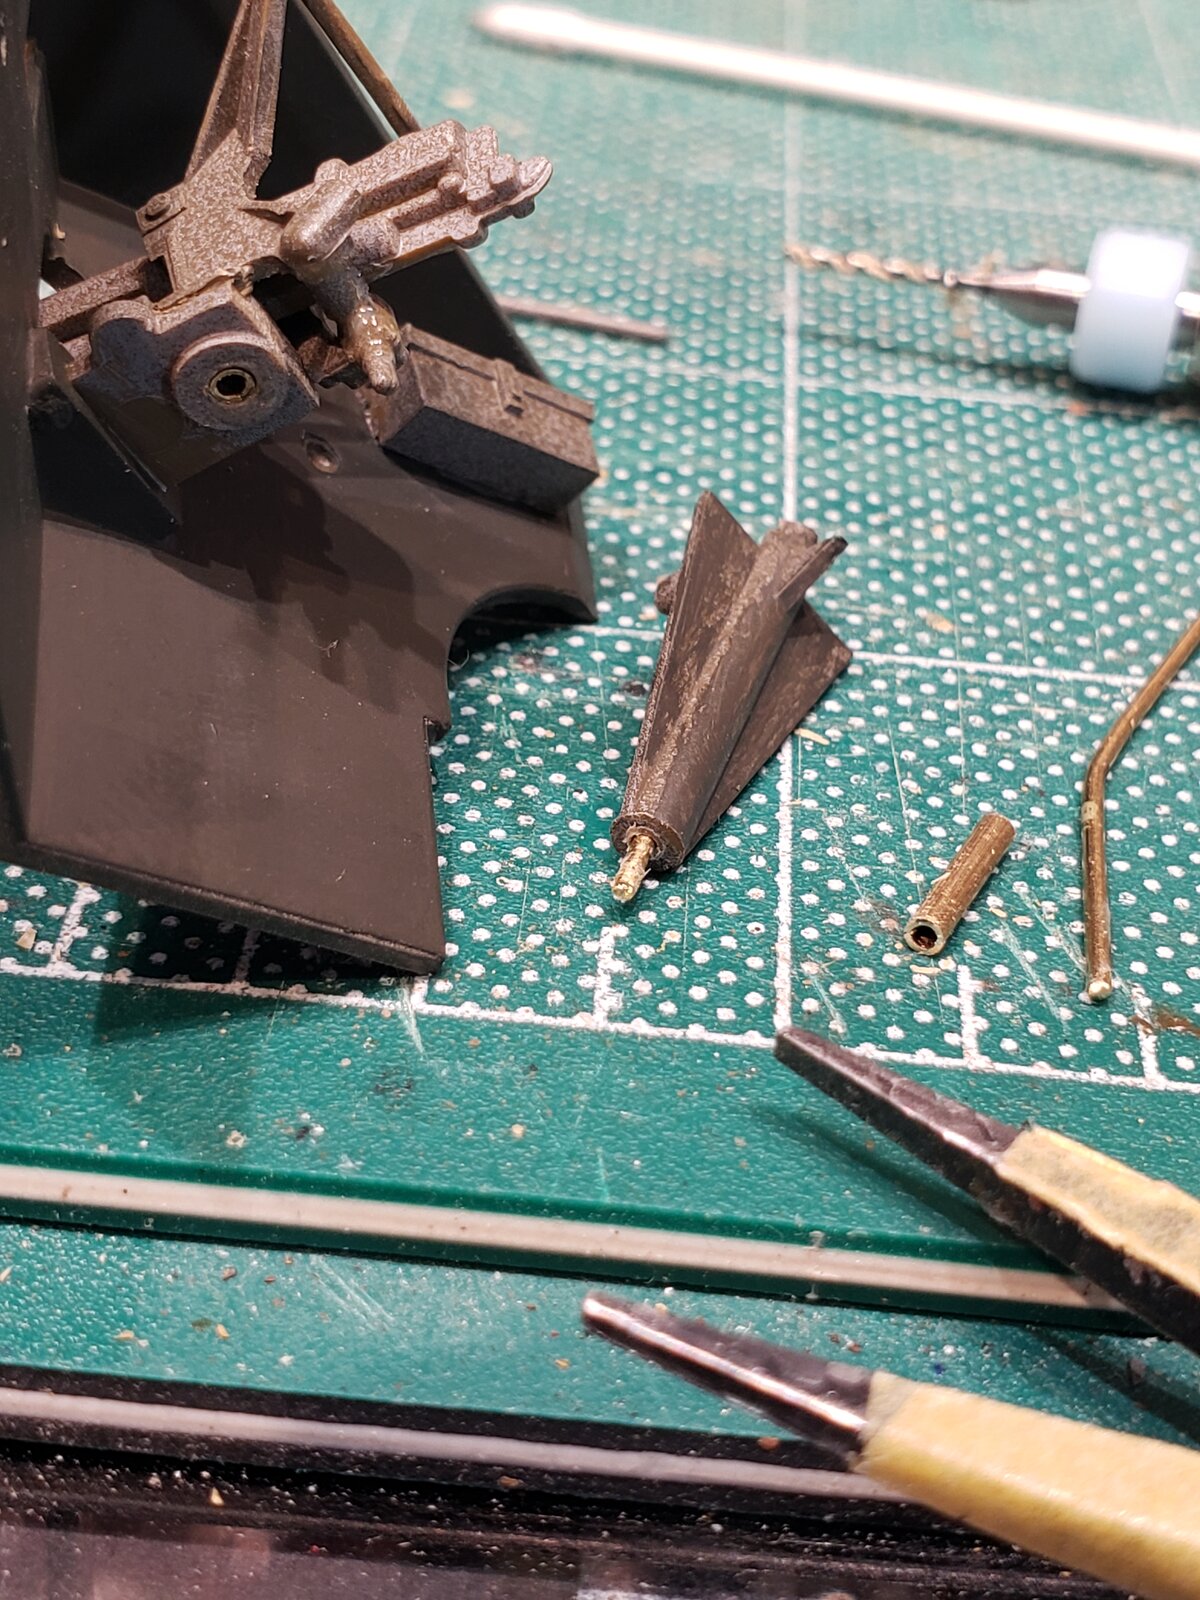
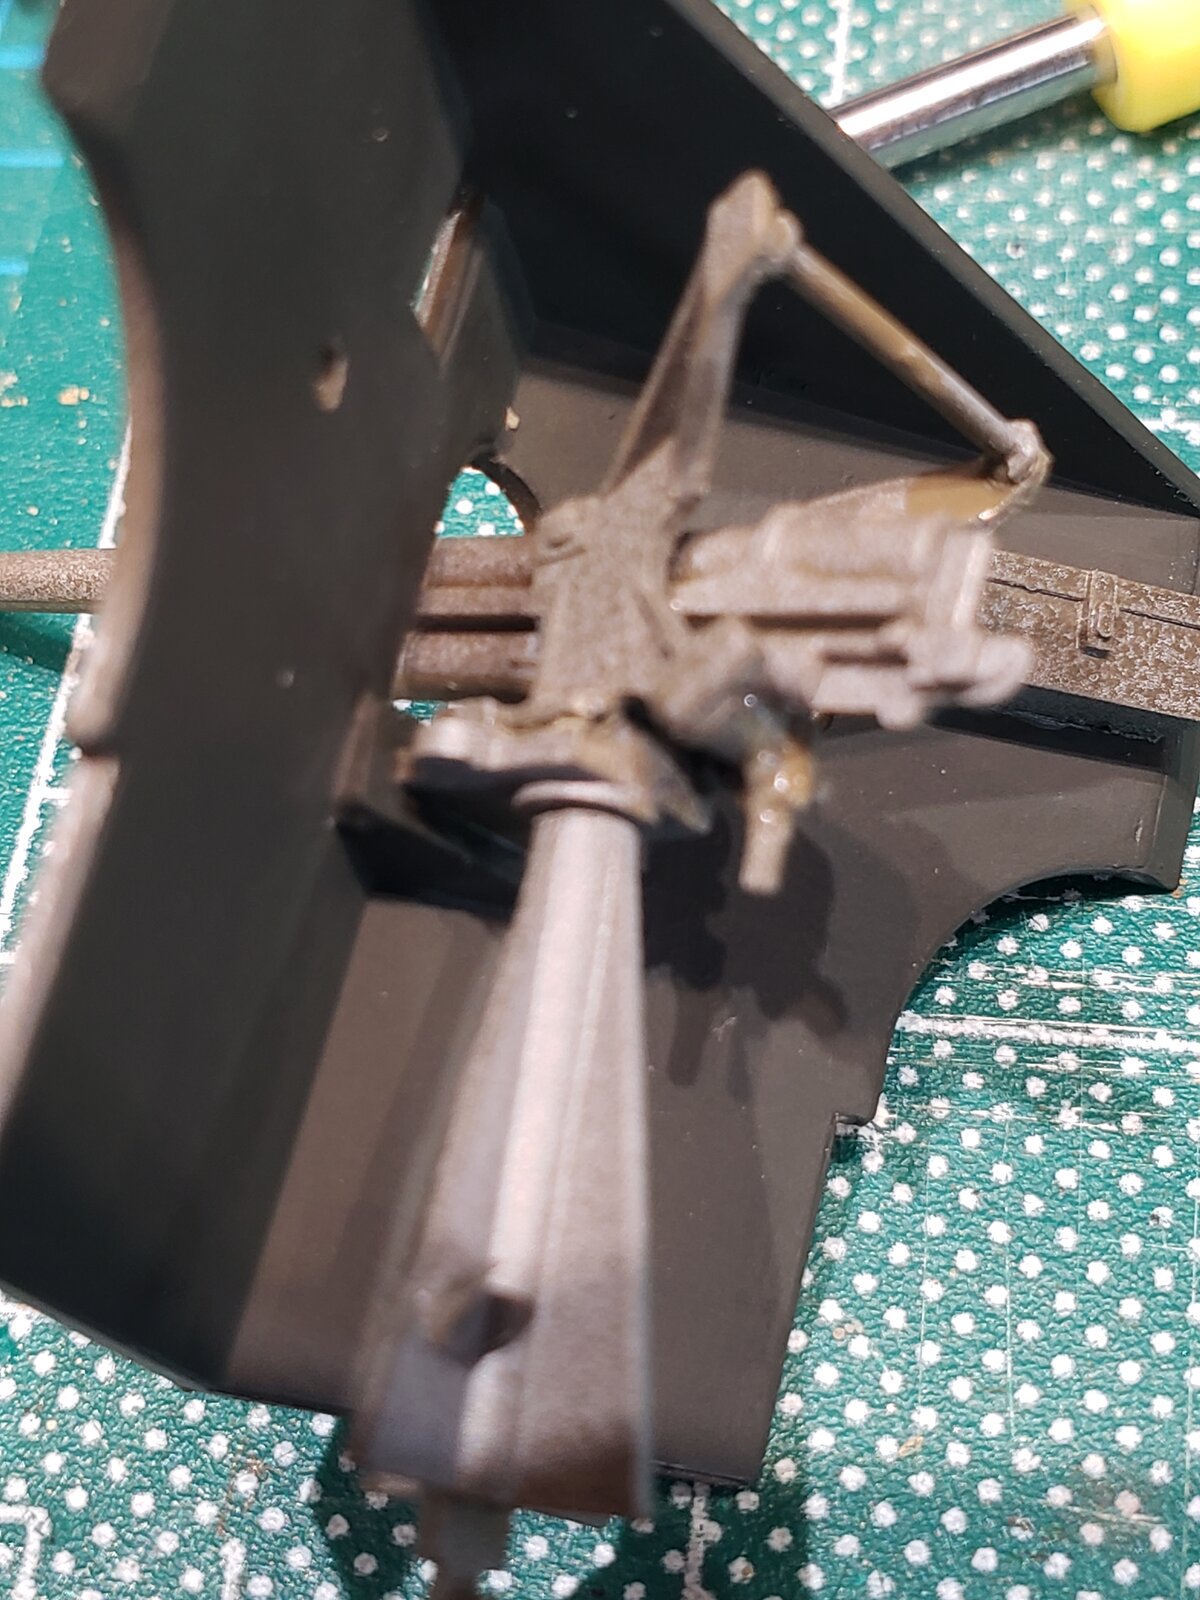
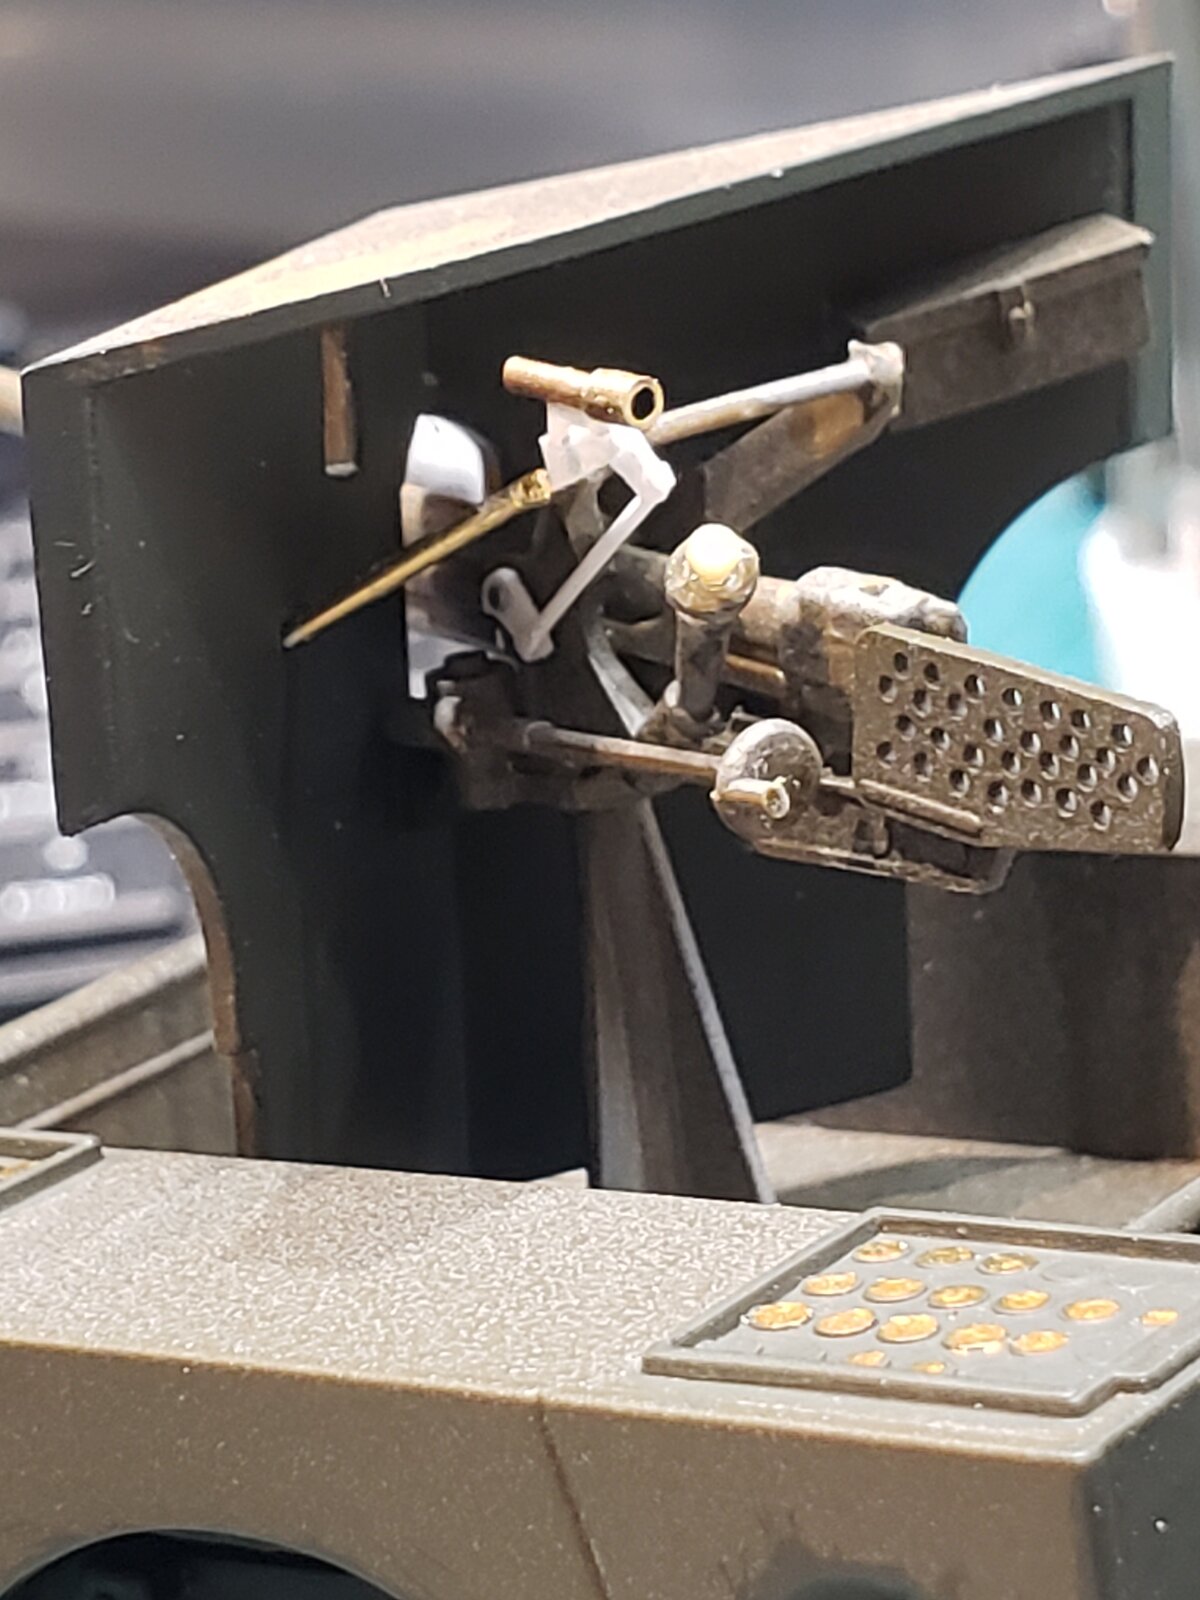
Tonight I built a sight with mechanism out of brass and styrene.
Drilled out the barrel.
Added some detail to the gun mechanism wheel... some kind of plunger...
Replaced the two stabilizer rods that attach to gun mount and shield with brass.

20250810_000137.jpg

20250810_000225.jpg

20250810_000249.jpg

Now it's looking like a gun!
 
That's a good fix, and nice detail being added too :)

May I suggest thinning the edges of the gun shield? It looks very clunky as it is.
 
nice detail
Thanks. An improvement that makes it seem more plausible, IMHO... going up against DAK armour, those boys need all the help they can get.
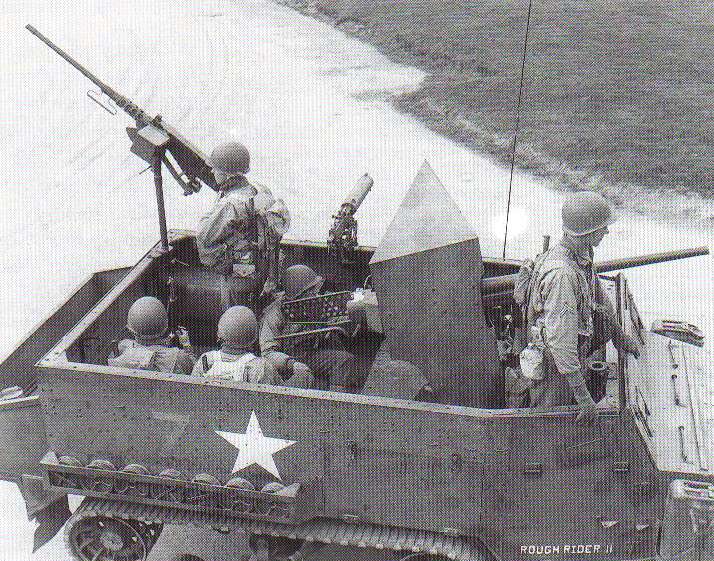
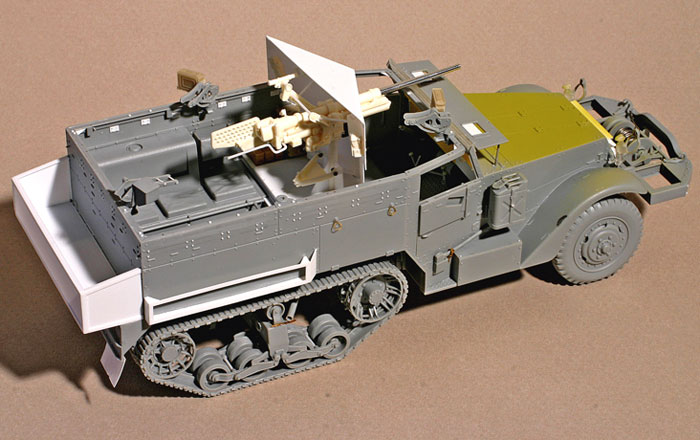
From what I understand, the M6 combo was pretty much obsolete, and after North Africa, many had the guns removed for use of the truck.

thinning the edges
...sort of tapering so they don't appear so thick?
If I do, from the inside I suppose. The outside needs to stay flat, and I'd have to make sure the edge was a consistent width... and no need to touch the bottom (as it's not visible).
I'm assuming the large shield as opposed to the perforated guard, though that is a bit hefty too!

Looking at the shield, I might have to remove the box on the right, as it is close to the edge, and make sure it still fits flat... not so straightforward!

I had a terrible time assembling the mount, the fit and the instructions just awful. I feel like it is going to spring apart at any moment!
 
Last edited:
Yes, from the inside. If you bevel the edges, they will look thinner without actually being so for most of the shield.

And yes, the guns were taken off. Some were repurposed on M2 halftrack cars:

M3-halftrack-with-37mm-M3-41ADiv-England-1944-usasc-1.jpg


And Steve Zaloga's model of one:

m2halftracksz_2.jpg
 
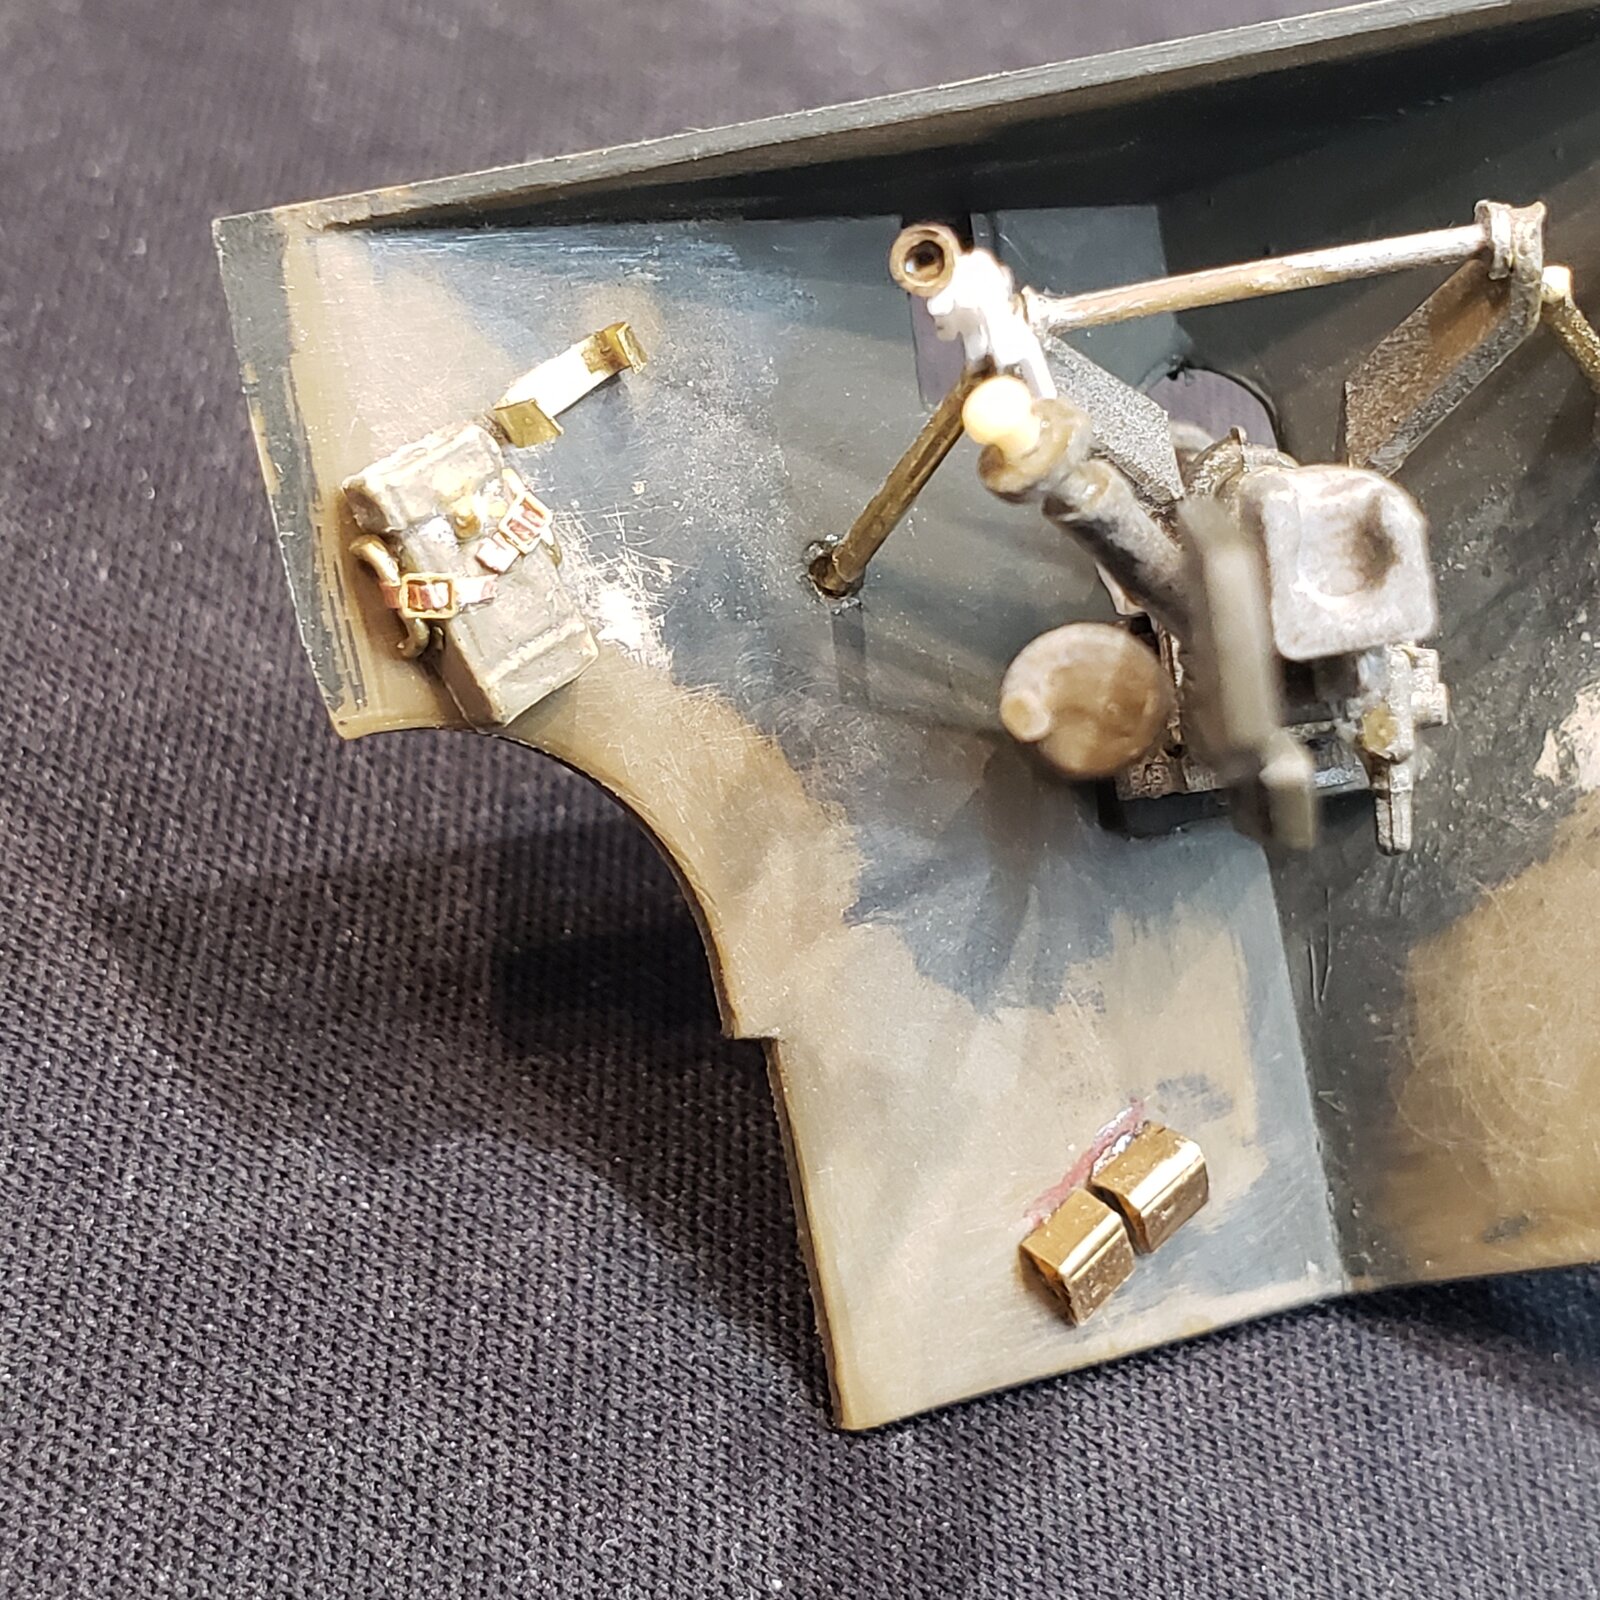
A bit more work on the gun shield... holder for two rifles, and thin pocket case strapped to handles, with two buckles. Don't know if that was for adjustment tools, or to stow the sight...

20250819_233543.jpg

Copper tape makes good strap that can be threaded through the buckles.
 
Last edited:
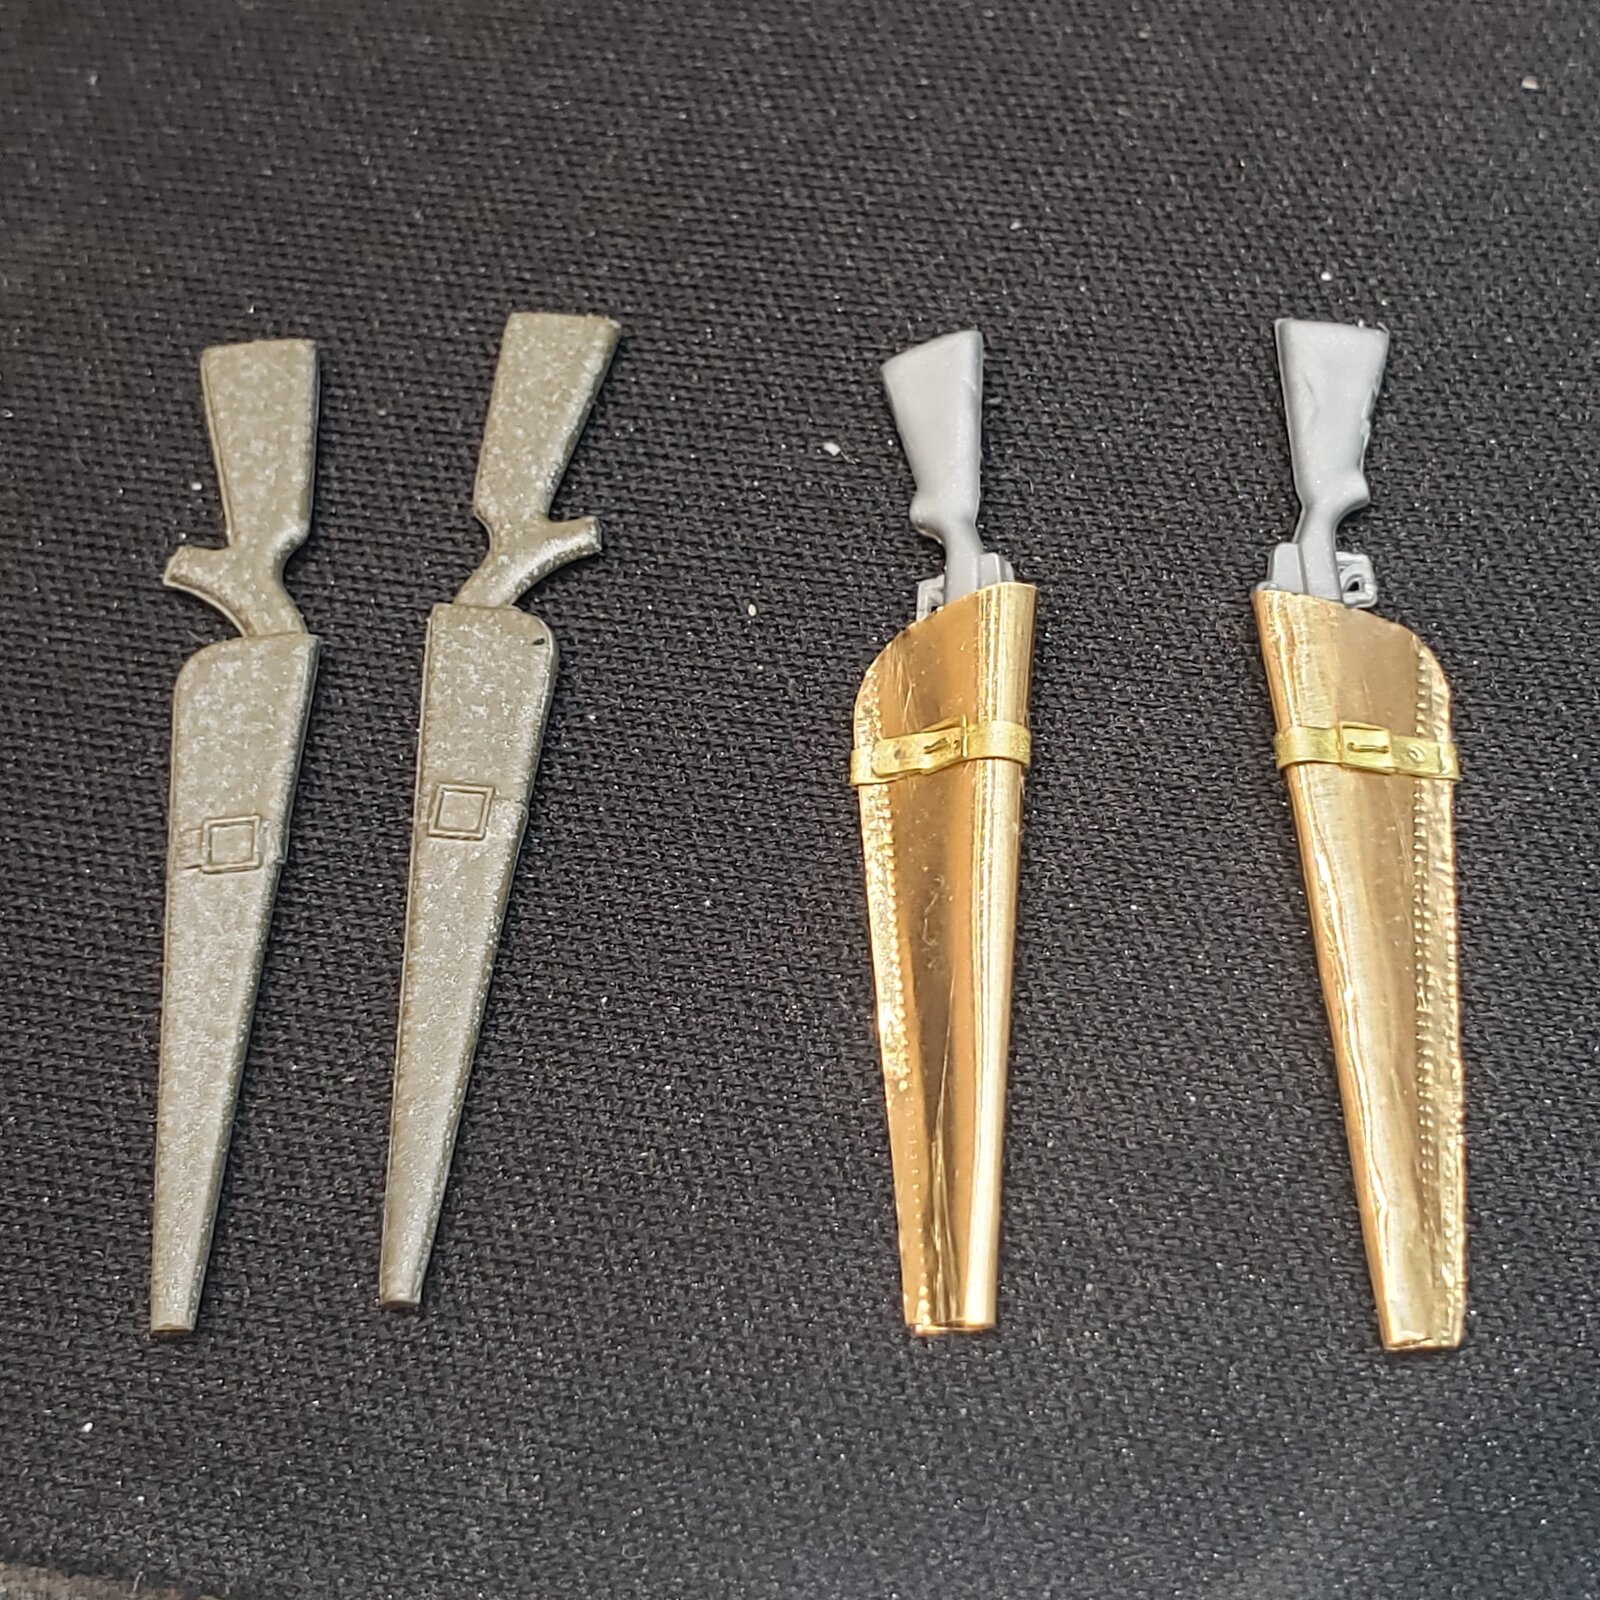
A perfect hour this afternoon, tooling at the bench, and with something to show for it: two riffle scabbards to be mounted on each side.
Brass foil, PE belts cut to size, rifles from the weapons stash.
And stitched seam with recently acquired pouncing wheel tool... :p

17557256682835414698202419403344.jpg

The somewhat lackluster kit provided ones for reference.
 
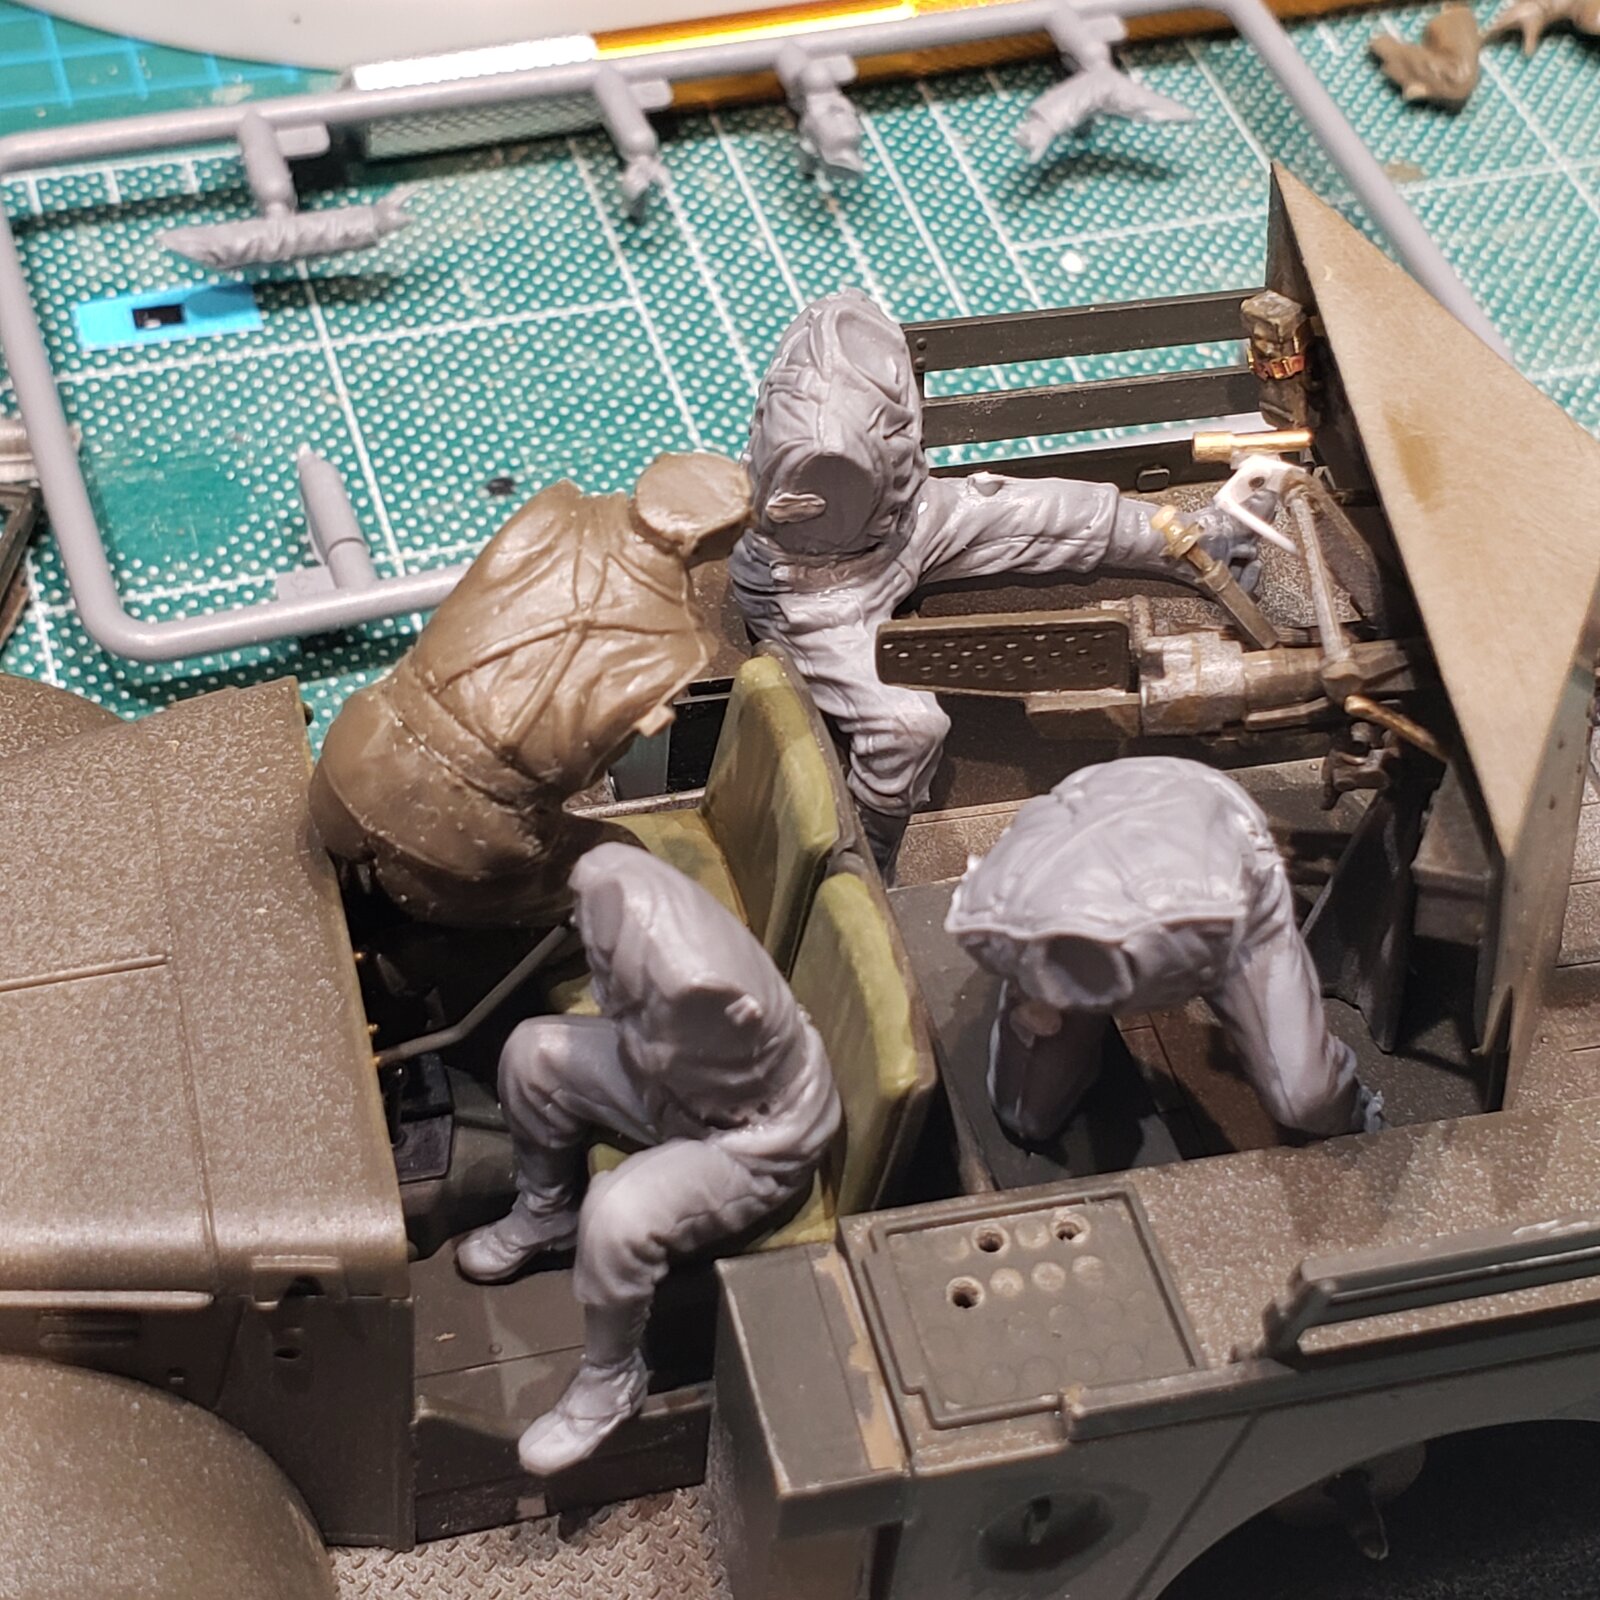
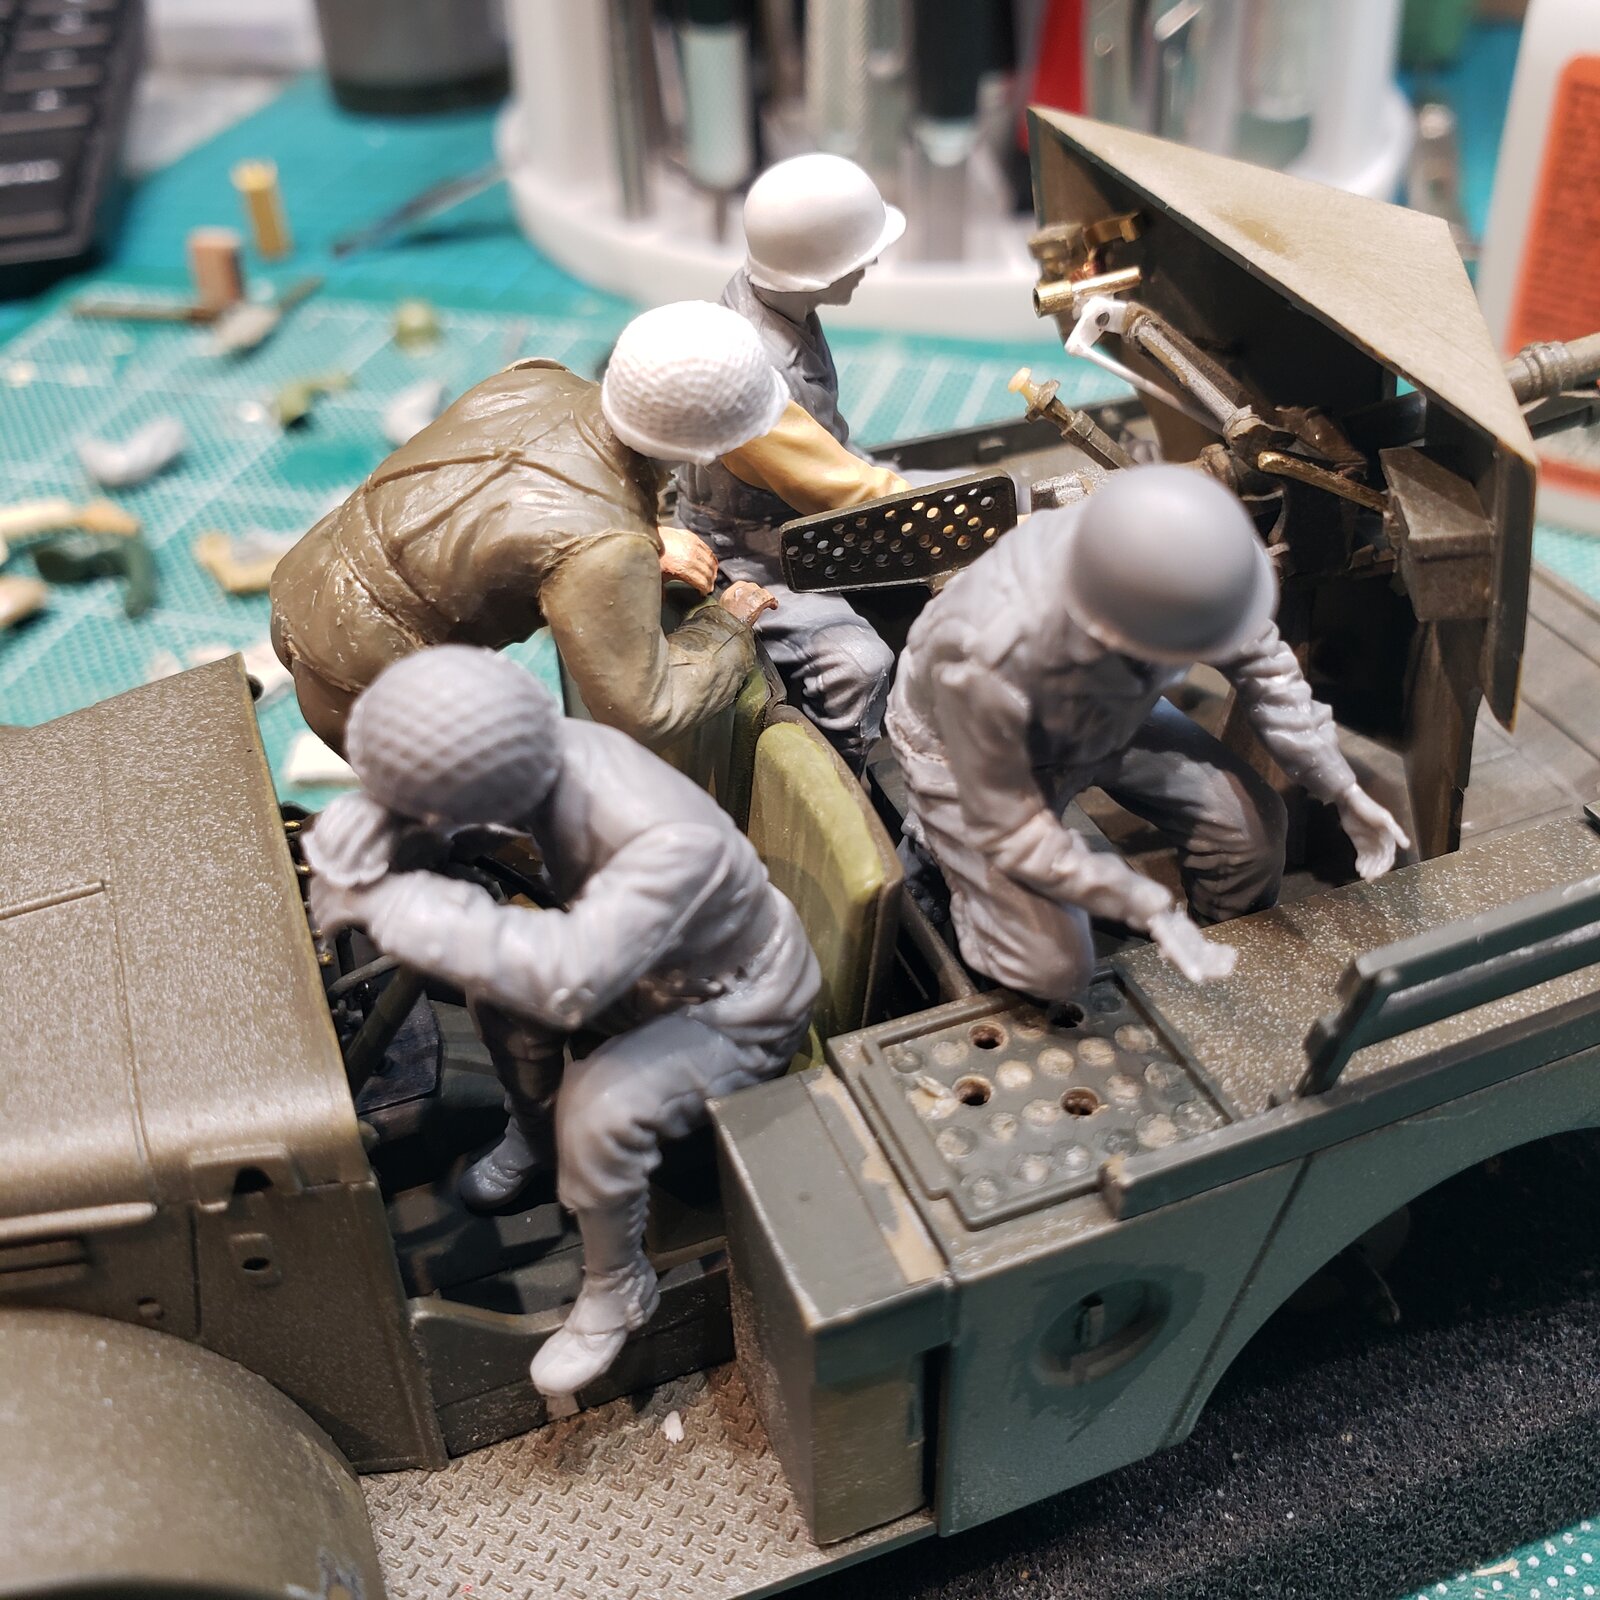
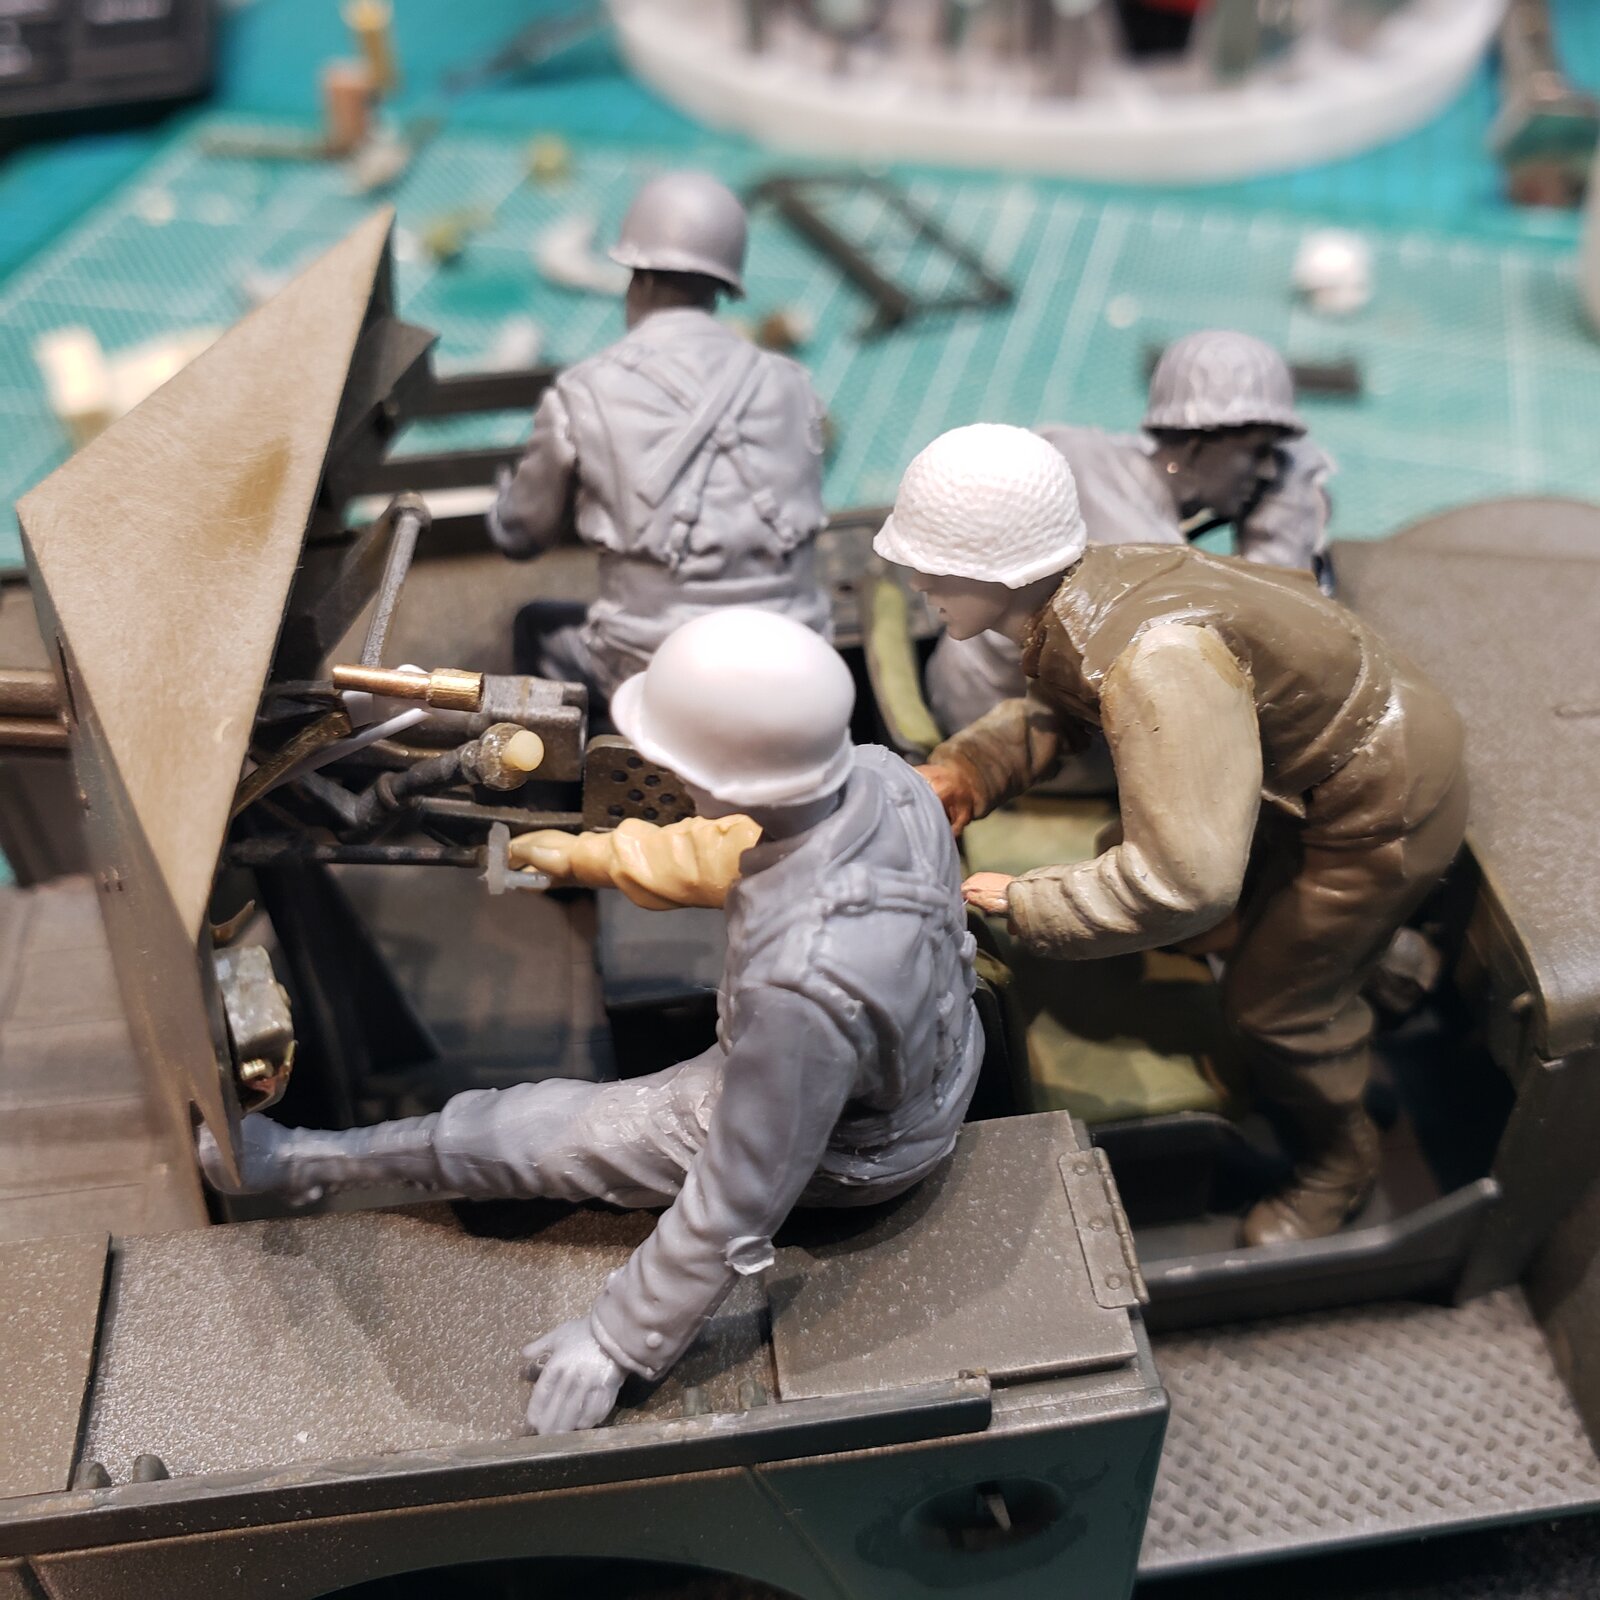
Some early staging of figures... picked from three different sets.

17558290028495668268031069204655.jpg

Driver, loader, gunner, commander; once I'm satisfied with general staging, arms, hands and heads with helmets will be adjusted individually, then cleanup of flash, putty and sculpting if necessary, sanding and primer.

Painting figures takes a while if I continue on my oils journey, so better get them positioned so I can start painting them while I work on the truck.

The truck and gun will need stowage to be worked out, and I'm hoping to base it on the El Guettar photos I posted at the top of the thread.
 
17578223256148244638666013617847.jpg

17578224141004189276058267171544.jpg

I guess there's only so much I can do with assorted heads, hands, arms and body parts!
I'm gonna have another look at them later, but I think I'm getting close.
The guys are about ready for trimming, filler, sanding and accessories.

It's fun to think of them as an ensemble, not only occupied with their own tasks, but positioned in such a way as they seem to be interacting with each other.
A big ask from lumps of plastic! :rolleyes:
 
Is there a way to get the gunner closer to the telescope? Right now he seems to be sitting back waiting for the others to do their thing. You would probably want to cut his left leg off at the knee so you can bend it to get him closer to the gun shield, and also swap his right arm for one that's bent so he can still reach the controls with it.
 
Yup, considered that... along with getting him to lean in a bit... after several hours of futzing around though, I started thinking about good enough versus best... maybe I'll have more energy when I go back to it! :rolleyes:

Otherwise, the gunner is waiting for the loader to turn around with the shell, and exchanging a few words with the commander who is leaning in, which I could make more obvious by tilting their heads together.
 
That would not really make it look like they're in action, though. The loader can load the gun while the gunner is aiming it, after all, and definitely would if there's an enemy tank near :) Of course, if you intend it to be a day at the range or something, they can be a lot more relaxed.
 
Back
Top