Looking for some advice - Apollo Saturn V

Scale Model Addict - Model Tips, Guides, Tools & Tech, Tutorials, and Community

Help Support Scale Model Addict:

devylinn

New Member
Joined
Dec 9, 2023
Messages
2
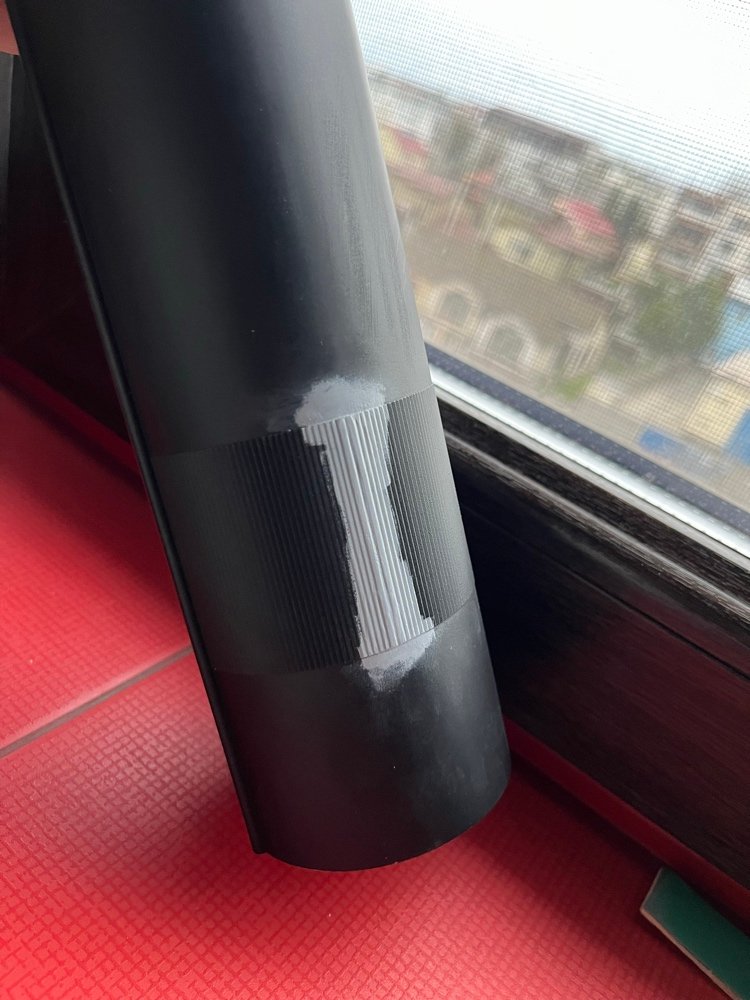
Greetings! I'm currently working on a Revell Apollo Saturn V. Still a beginner with this hobby but I had this kit for quite some time hoping one day I will have the courage to try It and I did. Thing is, I f… up and big time. While working on the stage one doing some sanding and again sanding and because I like things to look decent I tried sanding a bit the raised area like in this photo here. Only that I touched the corrugated pattern too much. How much? Well… much… to the point its not a pattern anymore in that area.

Anyone has any advice on how I can try and repair it? Because I'm so frustrated with this atm I'm actually thinking to throw this kit away and buy another but I rather not to.

Thank you very much in advance!
 
Greetings! I'm currently working on a Revell Apollo Saturn V. Still a beginner with this hobby but I had this kit for quite some time hoping one day I will have the courage to try It and I did. Thing is, I f… up and big time. While working on the stage one doing some sanding and again sanding and because I like things to look decent I tried sanding a bit the raised area like in this photo here. Only that I touched the corrugated pattern too much. How much? Well… much… to the point its not a pattern anymore in that area.

Anyone has any advice on how I can try and repair it? Because I'm so frustrated with this atm I'm actually thinking to throw this kit away and buy another but I rather not to.

Thank you very much in advance!
Hi , I would probably sand it all off completely and find a sheet of corrugated material, possibly a thin plastic piece ideally but card if not, then just stick it on.

Another option might be to use a fine surface filler on the area you removed, let it dry and scribe the line's back.
Pantherman
 
Pantherman is quite right, about all you can do is sand it all the way off and then add something corrugated. Depending on the length, you might be able to use a matched pair of gears, like the scrapbookers use for corrugating paper.

The other alternative is to sand it off and NOT replace it, and just finish the thing as-is. You said you're still a beginner, so chances are good that something else will go wrong. Use this kit as a test bed, then build another. You'll discover where the kit's weaknesses are (maybe your's as well.)

It's disappointing, but don't beat yourself up about it too much.

I'm ALWAYS screwing up models- that's why I usually like to build old, less expensive "beater" kits, just to see what I can make with them. I have some better, more expensive kits, but those I'm saving until I become an "expert," which at the rate I'm going will be when I'm around 135 years of age (I'm 64 now, btw) Good luck!
 
Sand it all off ?
You guys are savages .

Best thing to do it cover the existing texture with masking tape where it abuts the damaged portion and tape over the surrounding smooth , adjacent panels .
Then spread a thin layer of lacquer putty like Tamiya Basic Putty over the damaged area .
Let that cure fully .
You might need to do a couple of thin layers until the cured layer of putty is the same , or slightly thicker than the existing , undamaged texture as it shrinks quite a bit during cure .

Then use round jewelers files or sandpaper rolled into narrow tubes to sand that profile back in .

Easier than it sounds .
Way easier than sanding everything off
 
The other alternative is to sand it off and NOT replace it, and just finish the thing as-is.
I'm new here but I agree. Just take that patch and mask it off, apply a different shade of paint to it to make it show up and stand out. I think that will help hide the missing corrugation, only a Saturn V aficionado would even notice.
 
Sand it all off ?
You guys are savages .

Best thing to do it cover the existing texture with masking tape where it abuts the damaged portion and tape over the surrounding smooth , adjacent panels .
Then spread a thin layer of lacquer putty like Tamiya Basic Putty over the damaged area .
Let that cure fully .
You might need to do a couple of thin layers until the cured layer of putty is the same , or slightly thicker than the existing , undamaged texture as it shrinks quite a bit during cure .

Then use round jewelers files or sandpaper rolled into narrow tubes to sand that profile back in .

Easier than it sounds .
Way easier than sanding everything off
I did offer that as option 2..... Pantherman
 
As an Amazon Associate we earn from qualifying purchases. Product prices and availability are accurate as of the date/time indicated and are subject to change.
Repair, resurface it. It will be good experience for the next time you encounter an issue like this, don't worry, it'll happen again.

Then on the other hand, there is .......
The FLACKHAMMER.
 
Greetings devylinn

Once or twice I almost used my rocket as a frisbee and threw it across the room lol, I nicknamed it sandy because that's all I did for the majority of a month sanding putty seams smooth.

I went slow and easy when I sanded that part checking progress now and then with every second pass. I still went a little overboard here and there though but luckily not too heavily where I completely removed the detail.

Fortunately for me those parts of the kit were molded thicker than the rest of the model so I was able to use a scribing tool to carefully re-scribe the lines back into the areas where I got too carried away with sanding.

Depends on how much detail you've removed from the area you could perhaps try scribing the lines back in.

I don't know anything about the corrugated plastic sheet mentioned as I've not used it before.

Don't bin it, try your best to dress it up and detail it to where you're happy with it.

Even when I look at my Saturn V now I still think I could've improved it here and there but that's just me.

Good luck and keep us updated on your progress.

Cheers
rastanz
 
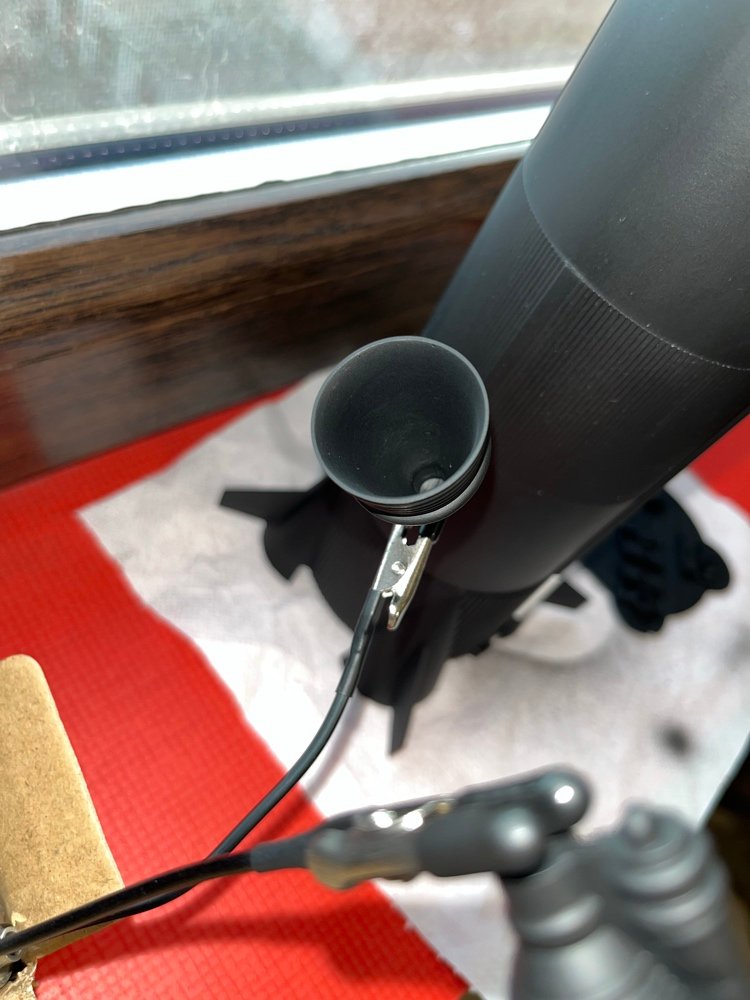
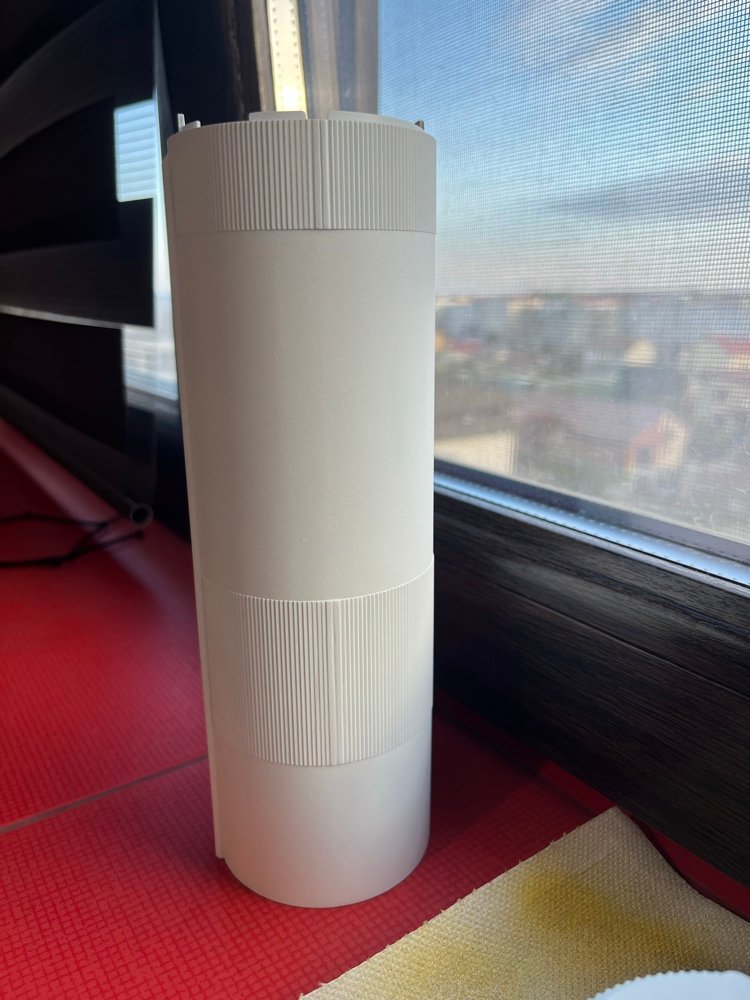
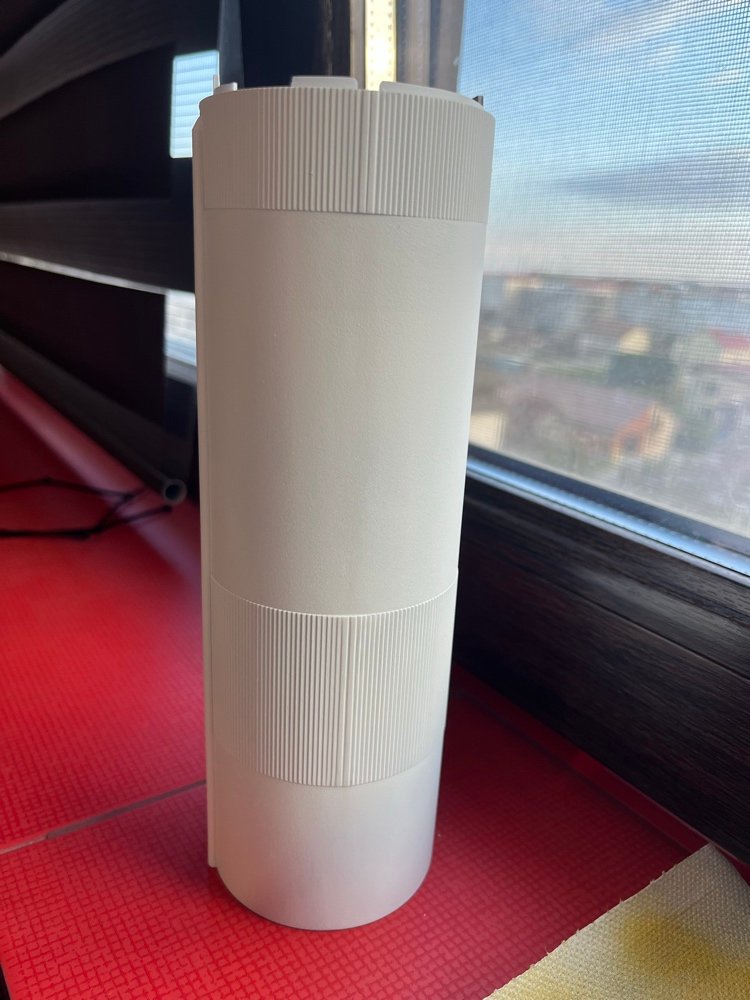
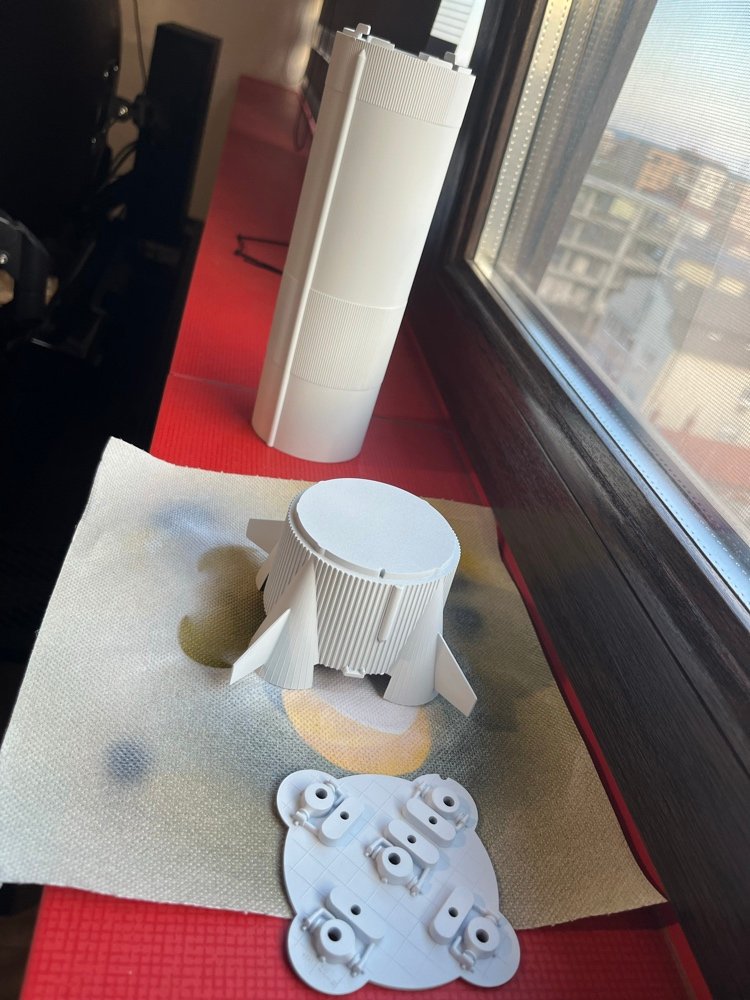
Hello again, I know it's been 2 years since my post and i'll like to thank you all for the advices and i'm so sorry I was not active since then, life has been tricky the past years for me and the apollo saturn v has been in a box since then.
Recently I had some time to spare again and what a better opportunity to resume the work on this model I put on pause 2 years go.
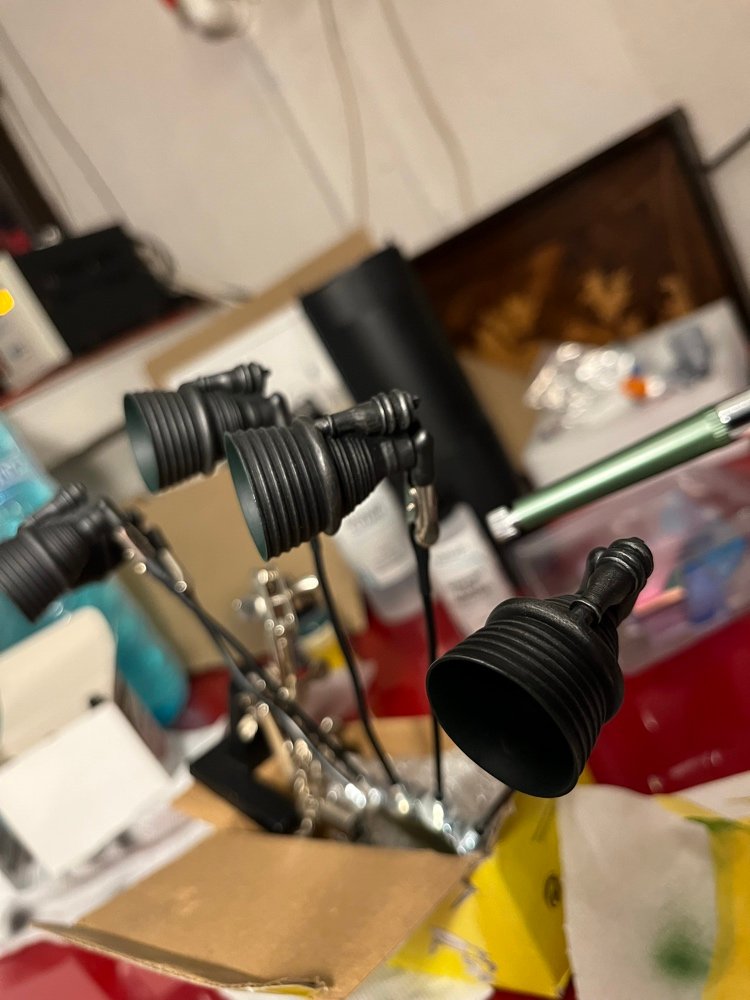
I'll leave you with some pictures with how I managed to do some repairs. I took my time to explore a bit and I used a lot of putty, sanding sponges and even some scribing. Sadly the molding on stage 2 is as bad as this one and will be again quite the adventure. One thing is for sure, this hobby has teached me to have patience... a lot.
Also I'm using vallejo model air for the white and other colors and i'm quite pleased with them but not with the vallejo primer, is absolutely horrible.
If you could recomand some good primer for airbrush I'll gladly appreciate.

Thank you once again
 

Attachments

  • 1cba5189-114e-4058-844f-1e7c83da1936.jpg
    1cba5189-114e-4058-844f-1e7c83da1936.jpg
    106.7 KB
  • f3cf8bbf-77fc-43f5-9de5-5cab059e74c9.jpg
    f3cf8bbf-77fc-43f5-9de5-5cab059e74c9.jpg
    90.9 KB
  • 5199eff2-8d43-4f26-a915-126094a2a76e.jpg
    5199eff2-8d43-4f26-a915-126094a2a76e.jpg
    94 KB
  • 5bb466ec-3f3c-41c9-be36-311a4e8adc22.jpg
    5bb466ec-3f3c-41c9-be36-311a4e8adc22.jpg
    109.2 KB
  • d4cdad80-54cd-4d62-9677-acd7e329f10d.jpg
    d4cdad80-54cd-4d62-9677-acd7e329f10d.jpg
    101.6 KB
  • b9131c49-211b-4555-944f-49ba0dc70c60.jpg
    b9131c49-211b-4555-944f-49ba0dc70c60.jpg
    130.3 KB
Back
Top