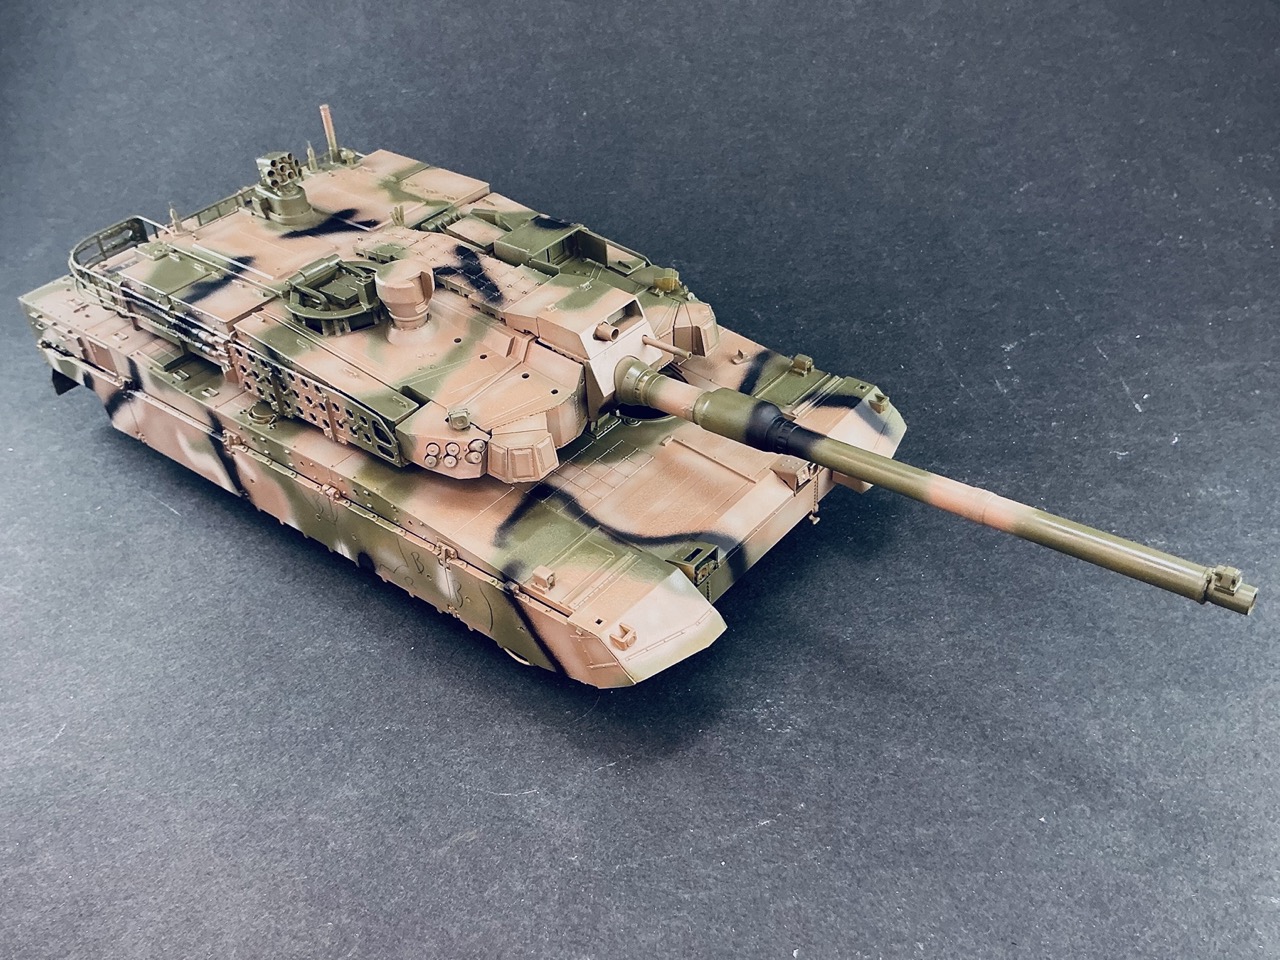
K2 Black Panther

Scale Model Addict - Model Tips, Guides, Tools & Tech, Tutorials, and Community

Help Support Scale Model Addict:

Jakko

Well-Known Member
Joined
Oct 9, 2024
Messages
2,425
City & State/Province
Netherlands
About a year ago, I bought Academy's K2 Black Panther, their kit of the current South-Korean MBT. I don't really know why, but it just has something about it that makes me find it much more interesting than yet another Leopard 2A61784V or M1A2-modern-acronym Abrams :) I started building it in May last year at a club meeting, intending to finish it fairly quickly afterward, but it hasn't been out of its box since I got home from that … Until tonight :)
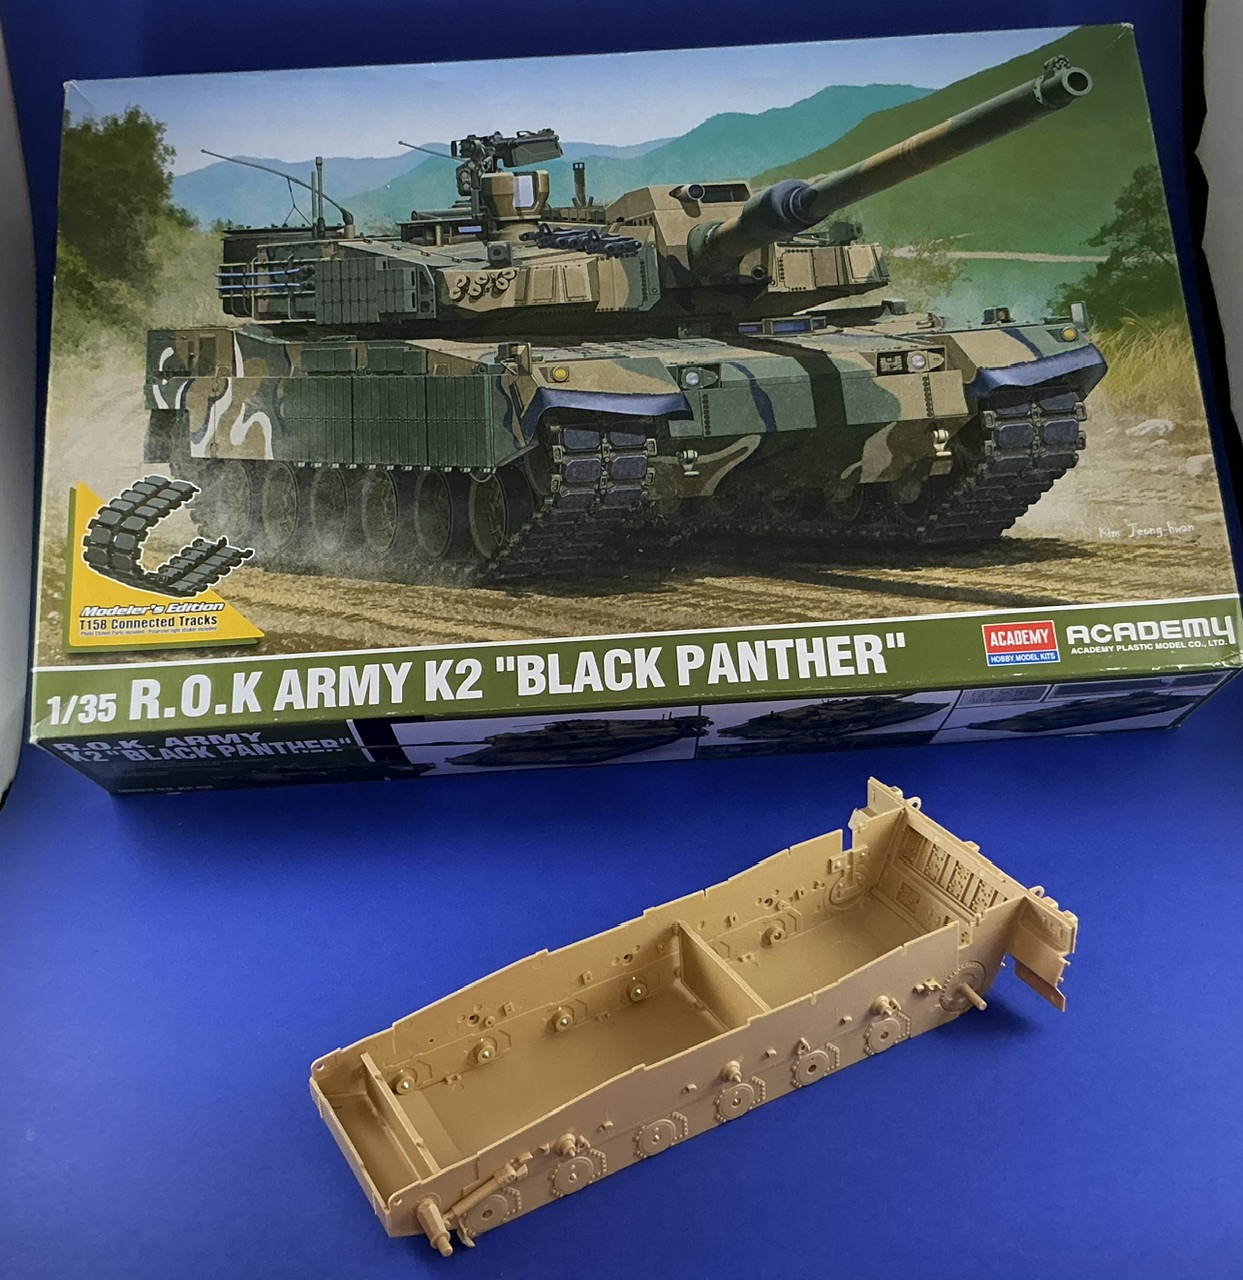
IMG_3497.jpeg


I built much of the lower hull at the time but nothing more. Now, the intention is to build a model quickly (by my standards, anyway) for a change. Just straight from the box to turn it into a nice model. Also helped by the fact that someone loaned me an H&S airbrush last October to try out, that I have to give back in mid-February, but I haven't used it at all yet. This tank's camouflage will be a good test :) It will be a South-Korean one, by the way, and not Polish, in case you're wondering.
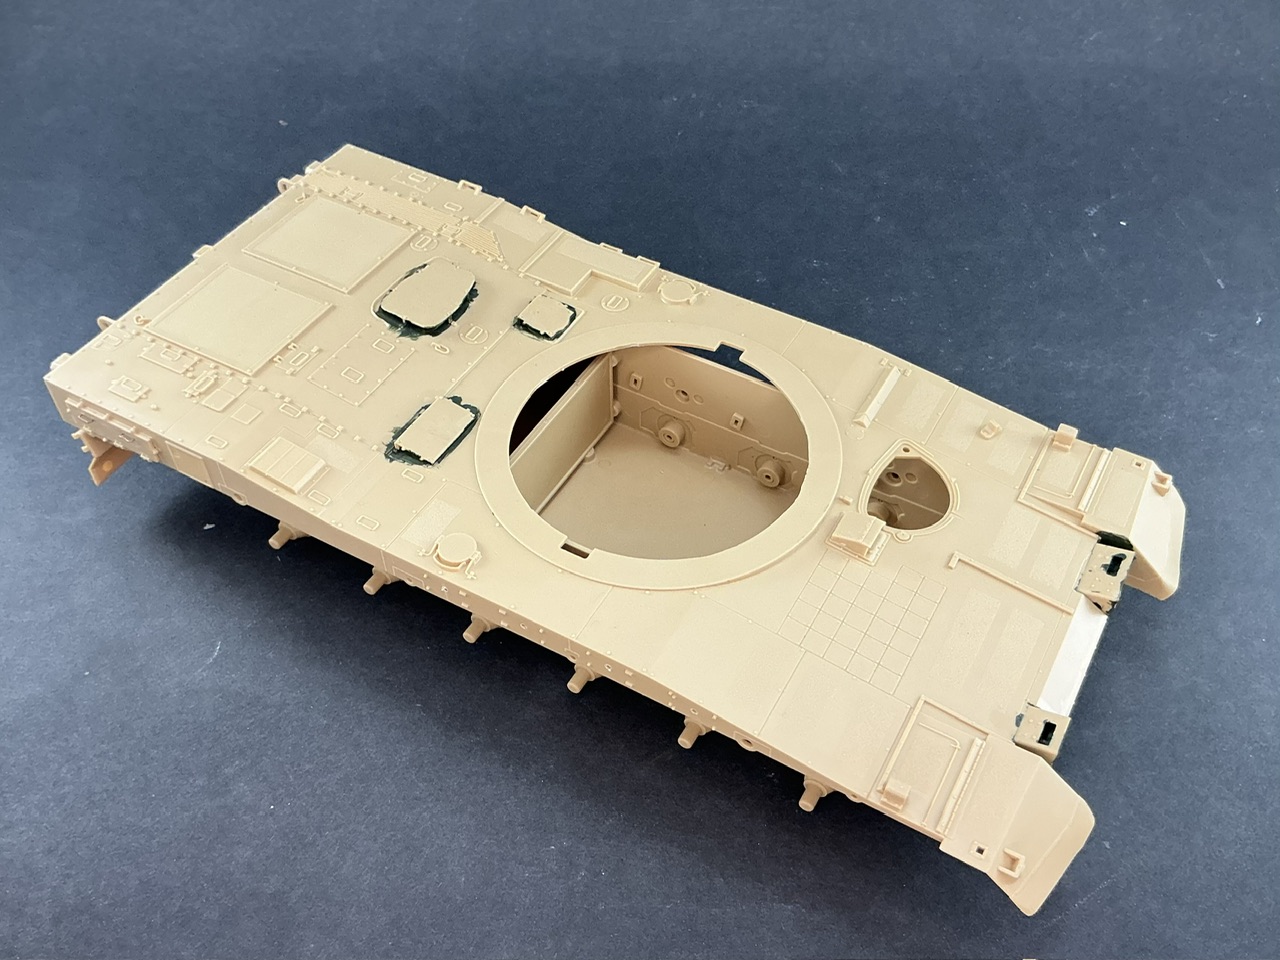
 
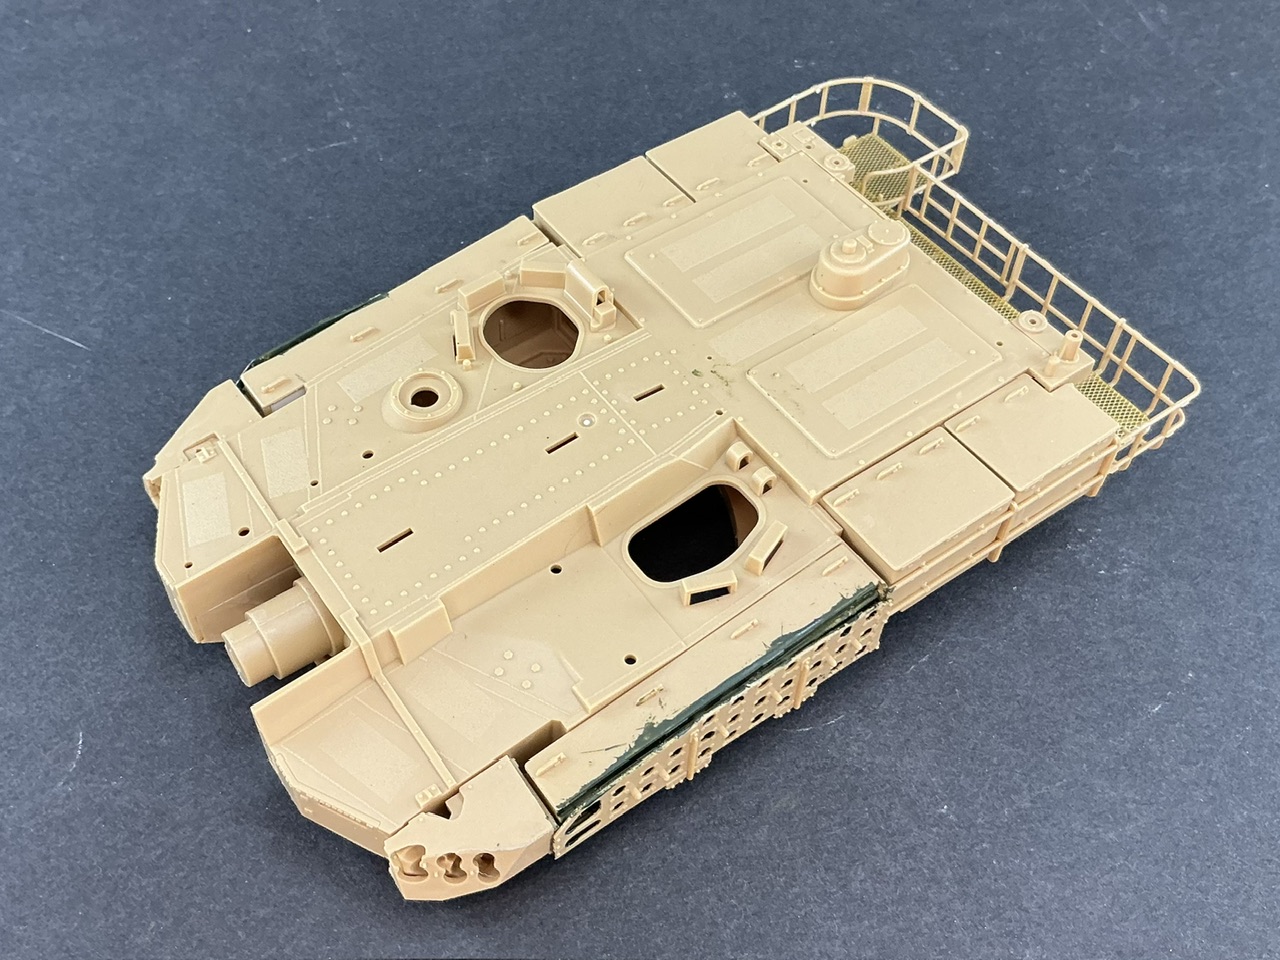
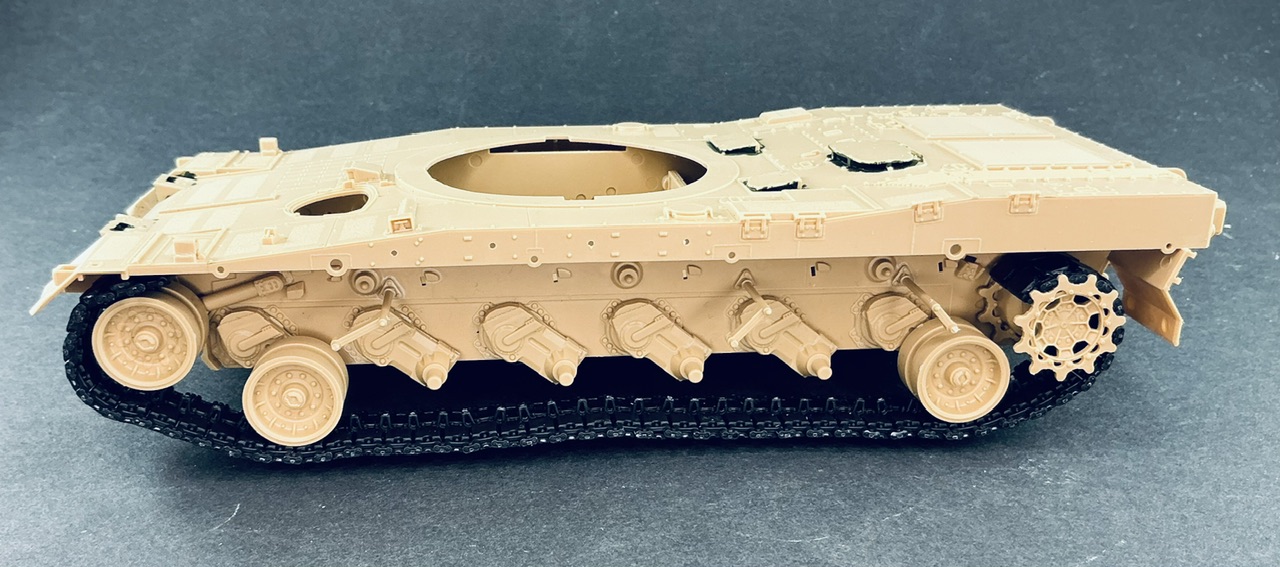
After building and adding the suspension arms to the lower hull, I also stuck the upper hull on:

IMG_3501.jpeg


Everything fits perfectly and has been well-moulded. I very much have the impression that Academy did its best on this kit.

I did shave off the handles on the little hatch at the right rear of the hull side to replace them with copper wire. The paint you can see in some areas is because they will be hard to get paint under later on, so better to just brush some on before glueing the parts together.

The suspension arms, BTW, can also be built to conform to terrain in a diorama. They're attached by an axle and a locating pin, so if you cut off that pin the arm can go in any position. The kit also includes a bunch of parts for the lower hull sides, but because they'll disappear behind the side skirts, they'll disappear into my spares box instead :) Additionally, the model has a Tamiya-ism in that there are no floors for the sponsons, but because of those same side skirts I didn't bother putting one in myself.

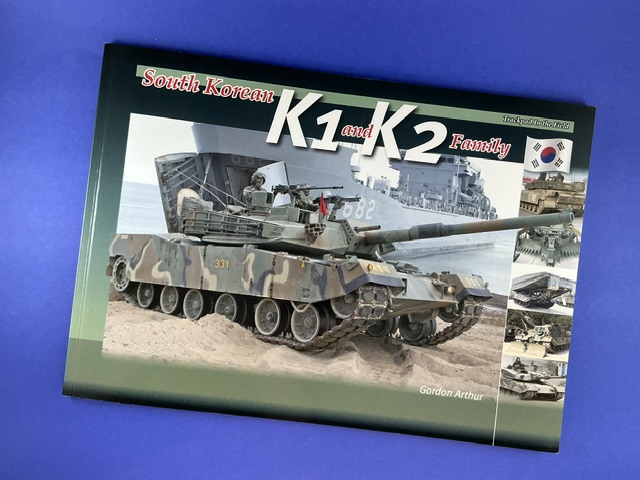
For those wanting to build this kit too, this is a good book to get:

IMG_3499.jpeg
 
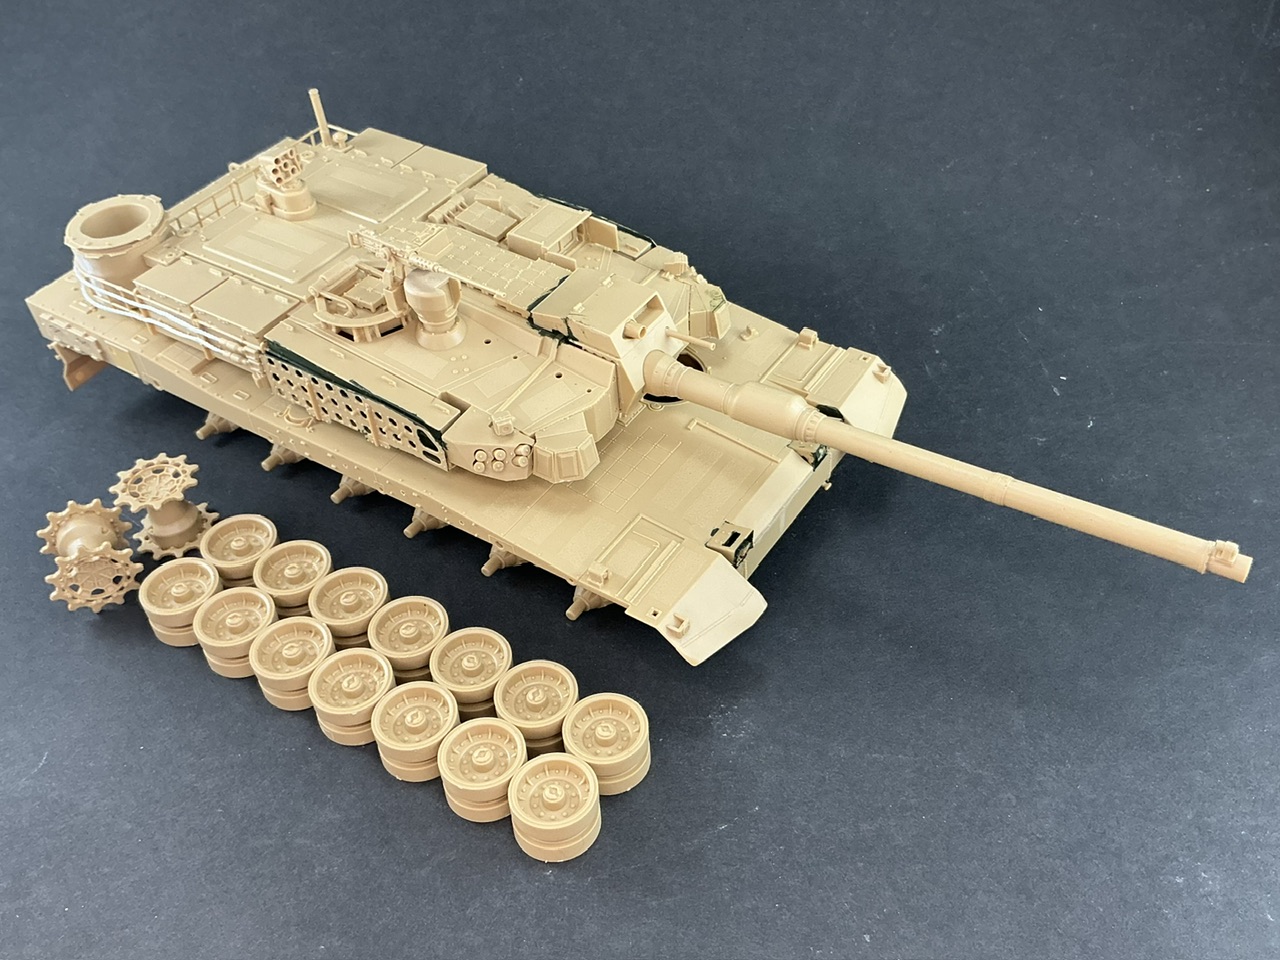
The odd thing is that, aside from one part that I overlooked, the hull is complete here — at least in as far as I intend to build it before painting, anyway. I also built the wheels, but not the track yet (I should really start on that) but I'll only add those, and parts like the side skirts, once they're all painted.

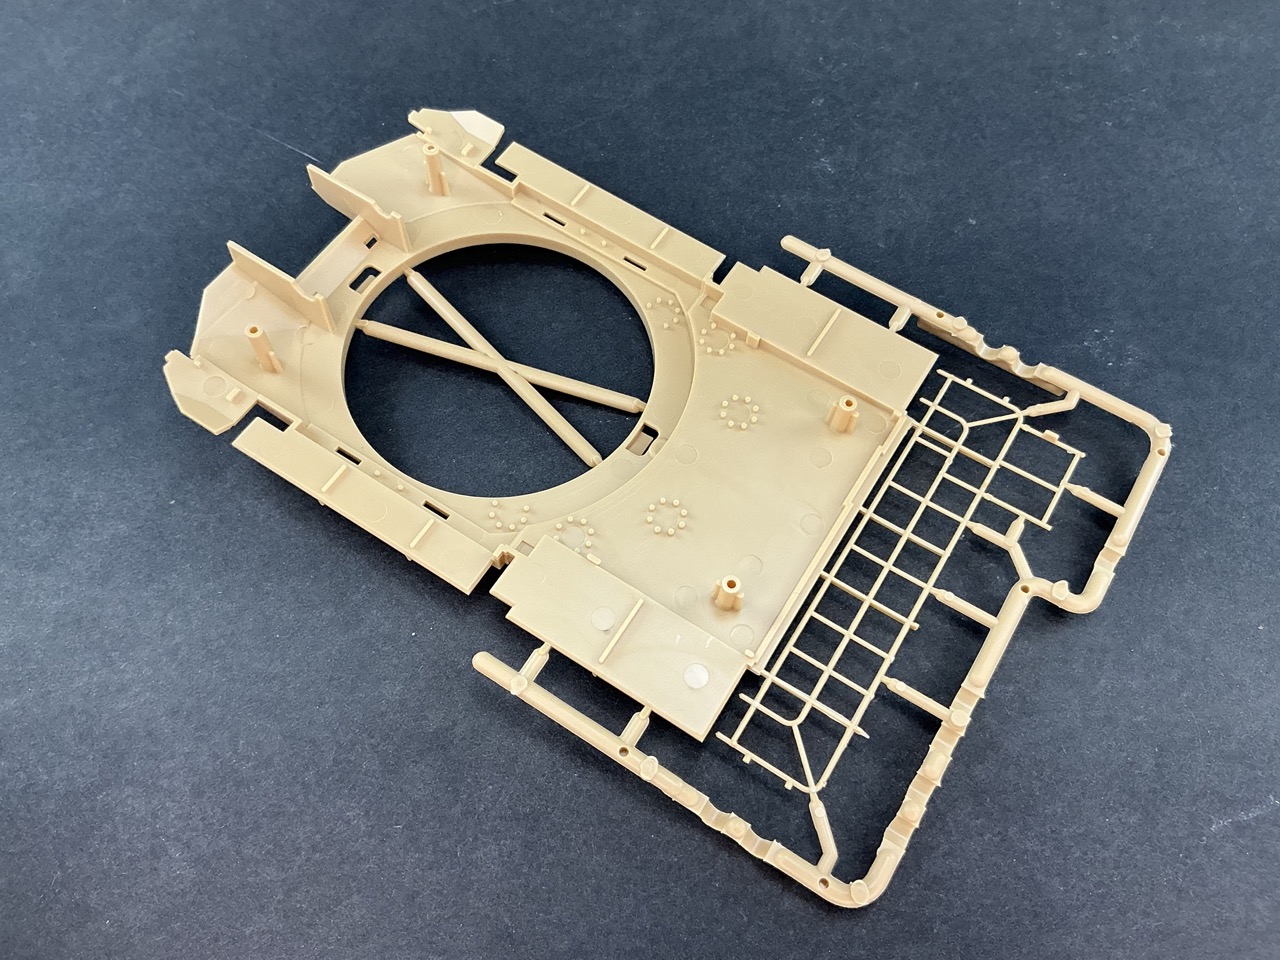
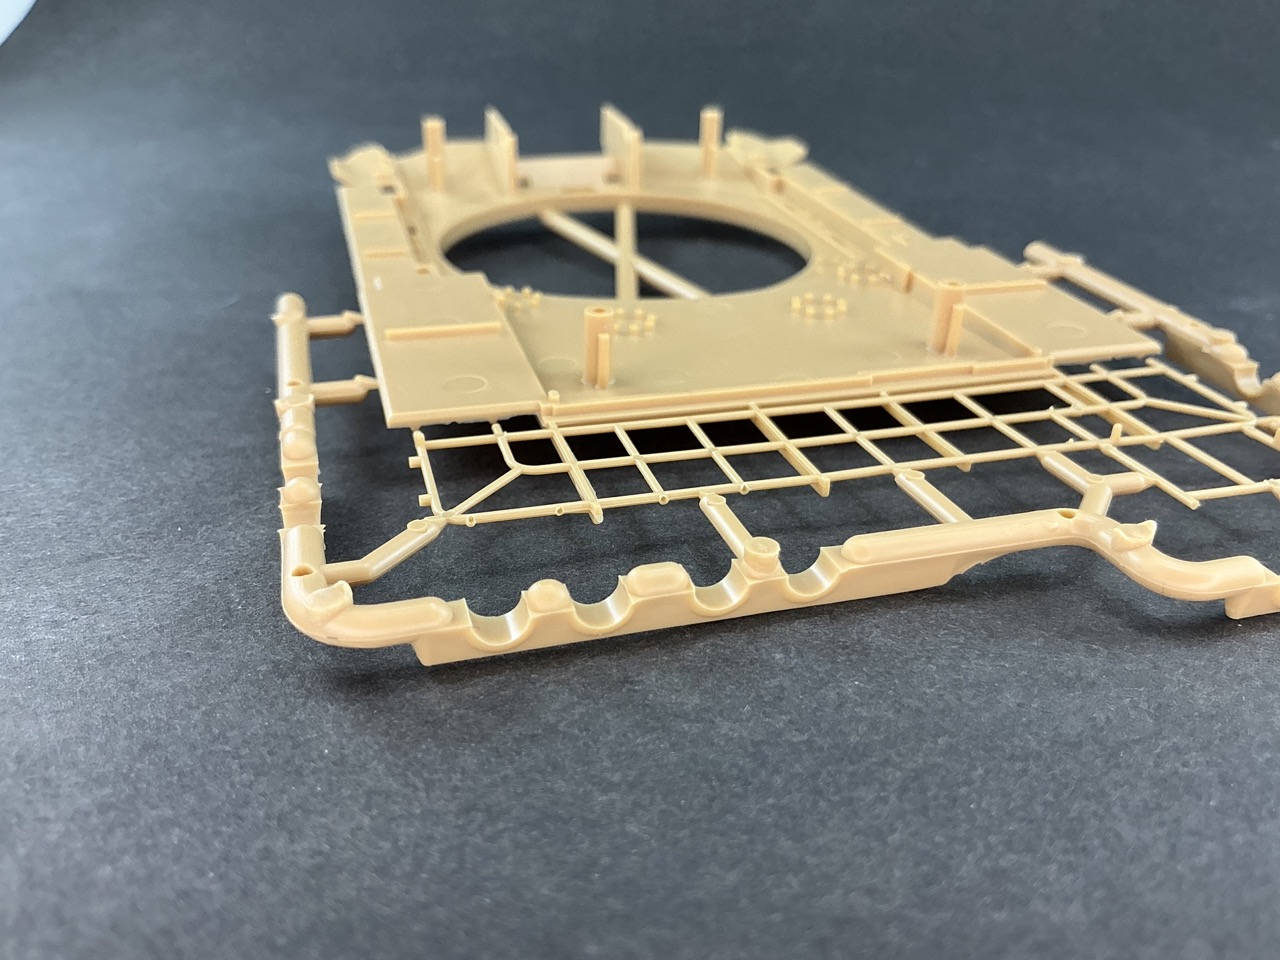
On to the turret, then — which is where Academy actually wants you to start building this kit. The lower part of it really shows what I mentioned earlier about Academy appearing to take pride in this kit:

IMG_3506.jpeg
IMG_3507.jpeg


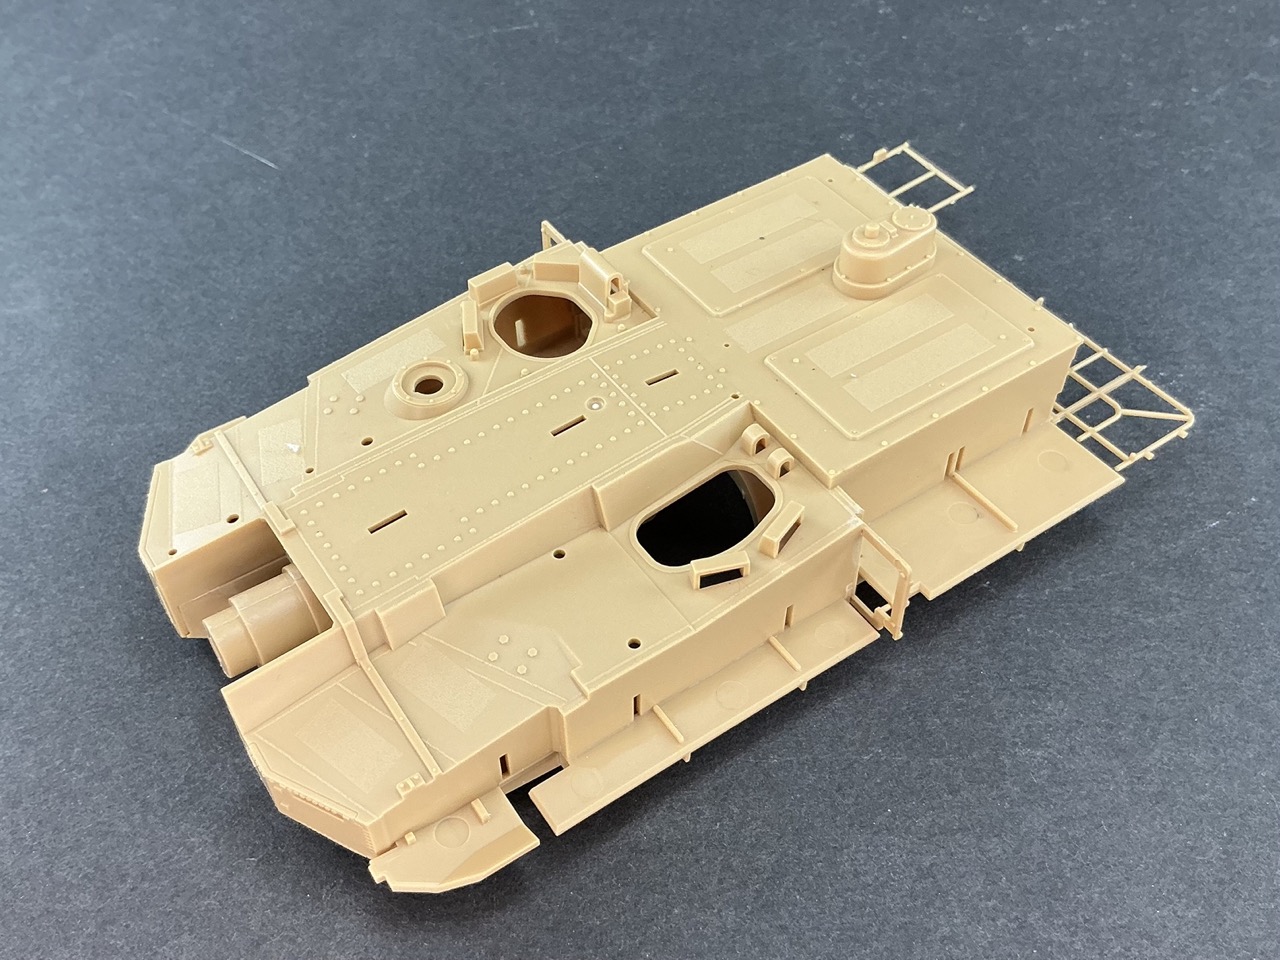
The upper part needs only a few bits glued to it before adding it to the lower:

IMG_3509.jpeg


There are two things to pay attention to here. First, and most importantly, is that you cannot dry-fit these two parts! Well, you can, but if you push them together all the way, you're never going to get them apart again without breaking something. In the photo of the lower part, you can see four tubes, into which the locating pins on the upper part fall. They're as tight on a snap-together kit.

The second thing is that it's not difficult to accidentally let glue run down the seam between the turret parts to the gun trunnions. This happened to me, and because of thing number one, I couldn't get the halves apart anymore to let the glue dry "safely". So I just set the gun in a roughly horizontal position and glued it on both sides.
 
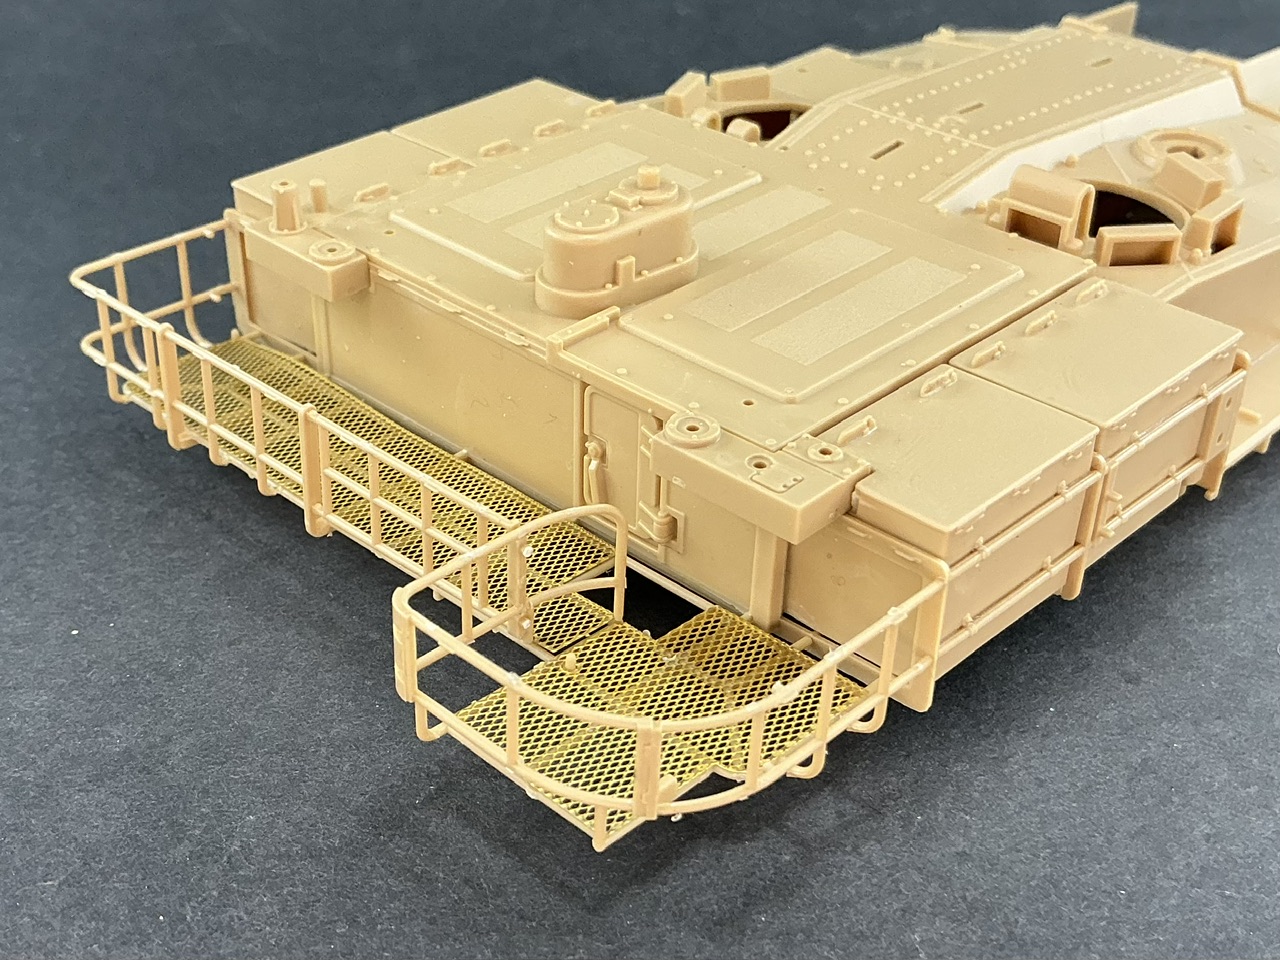
The stowage rack on the back is made up of quite a few parts, including two etched ones for the mesh at the bottom:

IMG_3510.jpeg


Academy does direct you to fit the (stowed) deep-wading shaft at the rear right at this stage, with three pieces of rack around it. But that shaft will be painted grey when the rest of the tank won't be, so I cut the locating pins away to let me fit it after painting.

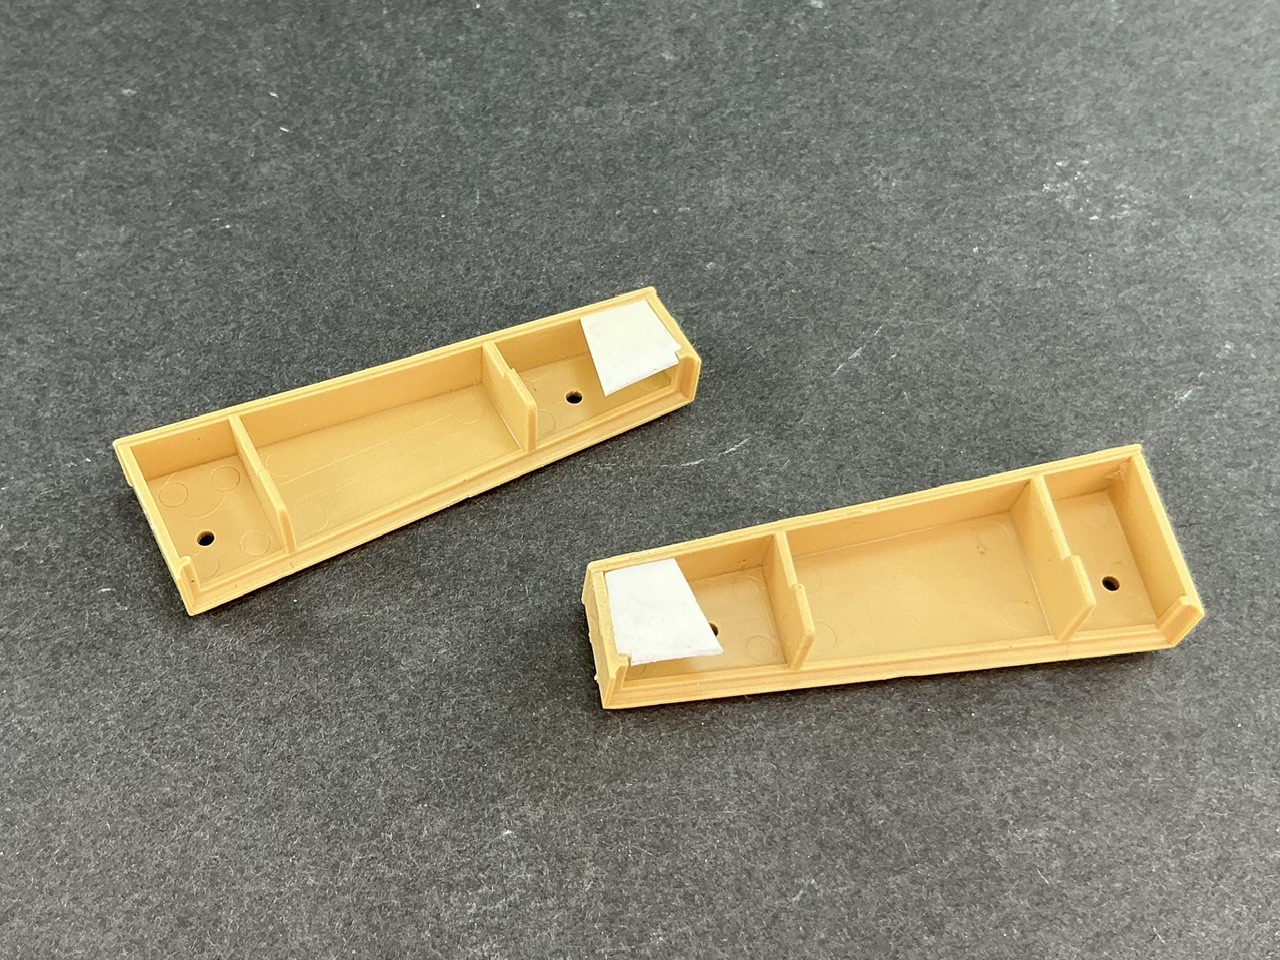
The stowage bins at the front have a section where you can see the hollow back, which is easy enough to solve with some bits of plastic card:

IMG_3511.jpeg


Here's how far I've gotten with the turret:

IMG_3512.jpeg


You can just see the plastic card in the photo, too.
 
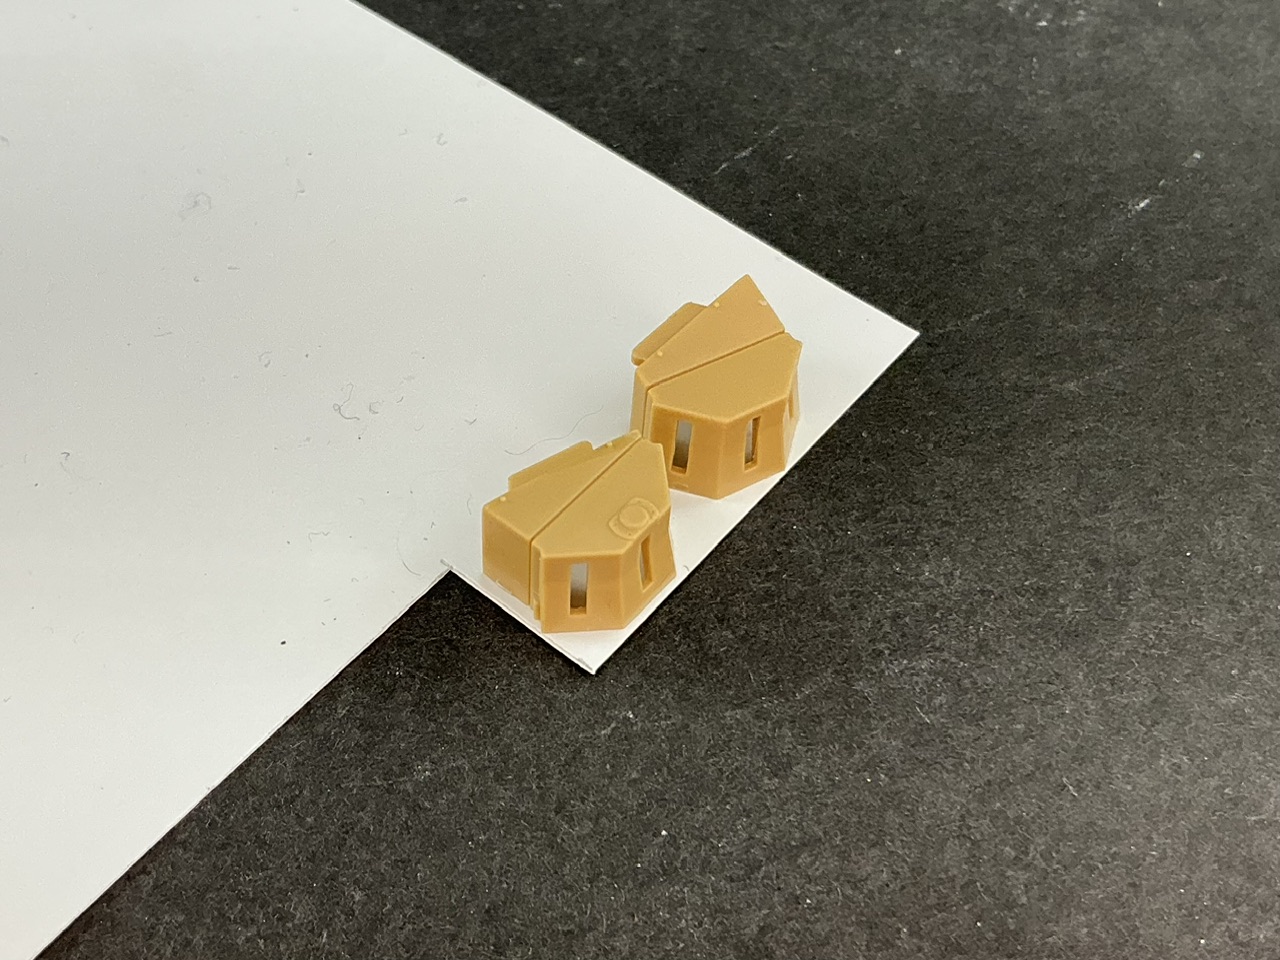
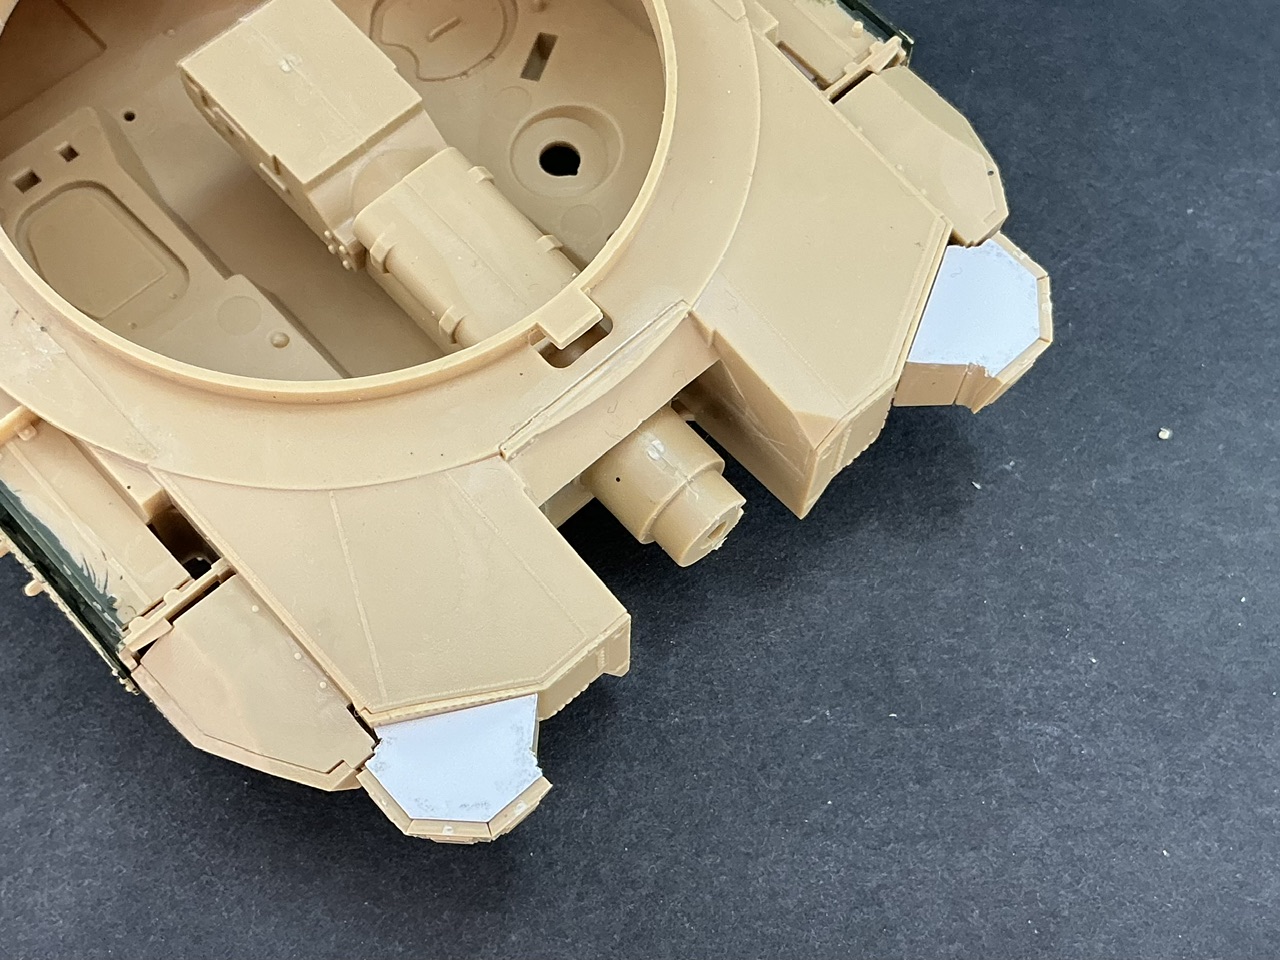
The front of the turret has sensors (or whatever these things are), but they've been moulded open on the underside. It's hard to make out in pictures, but when I look closely at those in the book I mentioned earlier, it seems they're actually closed so I glued them to 0.13 mm plastic card:

IMG_3513.jpeg


When the glue had dried, I cut them out, cleaned them up and glued them to the turret:

IMG_3514.jpeg
IMG_3515.jpeg


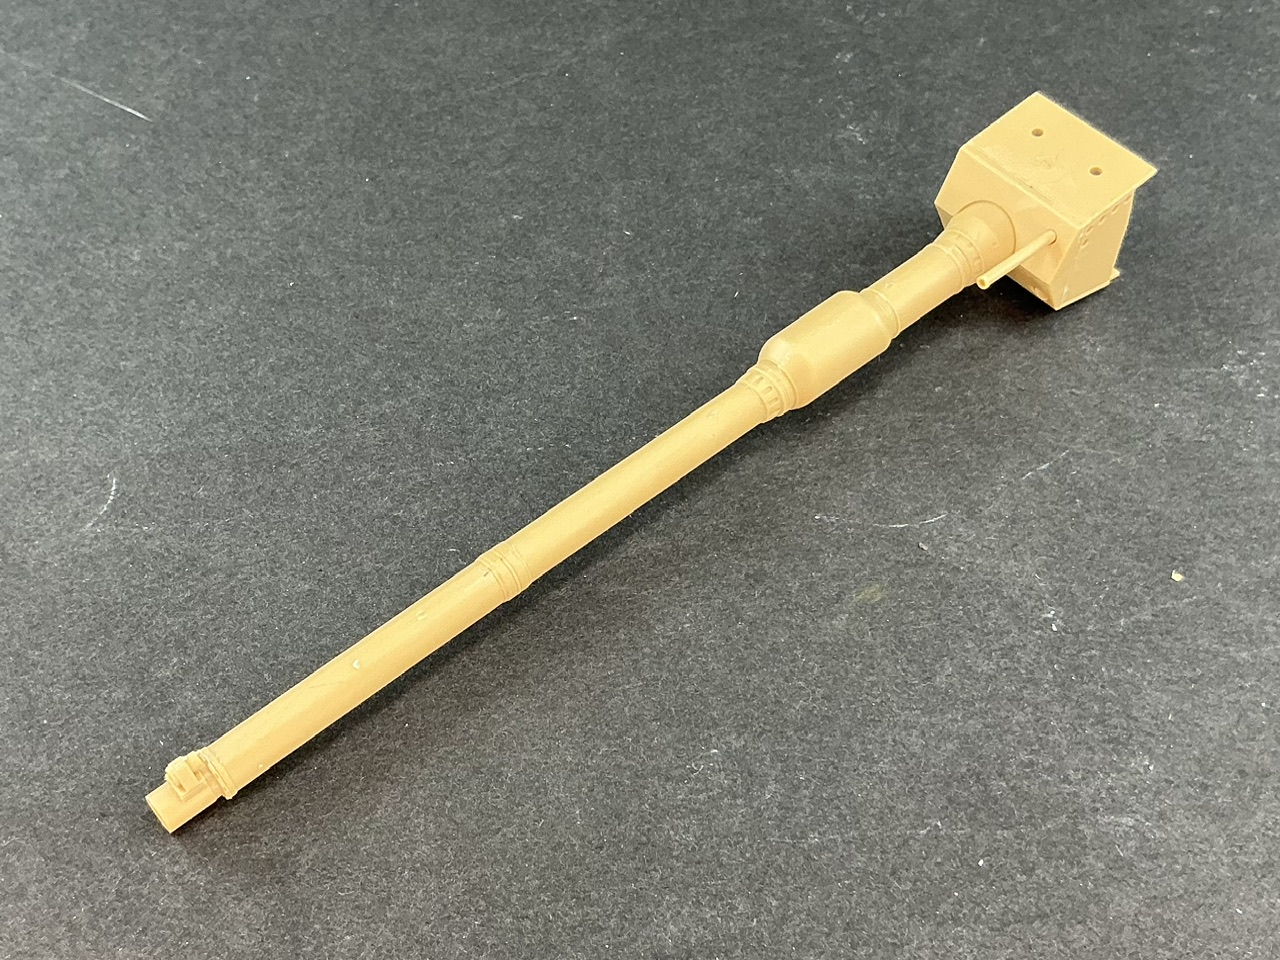
The gun is fairly impressive:

IMG_3516.jpeg


Not just the length (because 120 mm L/55) but it's made up of just three parts: a short bit with the fume extractor, a longer piece for the rest of the barrel and the muzzle. All three have been moulded with a hole in the front so they fit together, but that fit is a little loose so you need to take care to line them up properly so the gun is actually straight.

Add some more details to the turret, and the model is pretty much ready to paint:

IMG_3519.jpeg


… except that I ordered paint for that and got a notification that it'll take a week or so to arrive.

A bunch of parts are still missing, that's true, but I'll add those after painting. Things like the antennas, which I'd only end up breaking off if I put them on already. The deep-wading shaft and the machine gun are still loose. I drilled out the smoke launcher on the rear roof, because else it would only have had shallow dimples in it. If I were to build another K2, BTW, I would add the launcher tubes at the front before glueing the surrounds for them to the turret, as that should make it much easier to install them than it was now.
 
You definitely have my attention with this build and you've got an excellent start up going on it @Jakko . LOTSA detail going on. I hear you on a "quick build". It's rare that any of my builds take less than 4-5 months. Will be watching this one.
 
I deliberately said "quick build" because I made up my mind beforehand to not go wild on this model, but just build it :) Else it, too, would take me that kind of time, and I needed something to actually finish sooner rather than later. After this one, I intend to finally finish the two Shermans I started over a year ago and last summer …
 
I'm digging the 1980s NATO camouflage!
I much prefer it to the alternative option: Polish three-colour NATO camouflage (though this kit doesn't cater for that, it only has decals for a South Korean tank, but there's a rebox by Hobby 2000 that does).

Those are part of the APS I would think, are they only on the front quarters?
Yes, only the front corners of the turret. But there are also square sensor things just above the smoke launchers at the front and at the lower edge of the turret, just behind the plates with holes (on which ERA blocks will be mounted later). These sensors cover a larger arc, as the rear ones face about 45° to the back. Also, the launcher on the rear roof gives every impression of being able to turn 360° so it's probably linked to a computer that monitors some or all of these sensors and fires smoke grenades (?) in the direction of threats it detects.
 
IMG_3520.jpeg


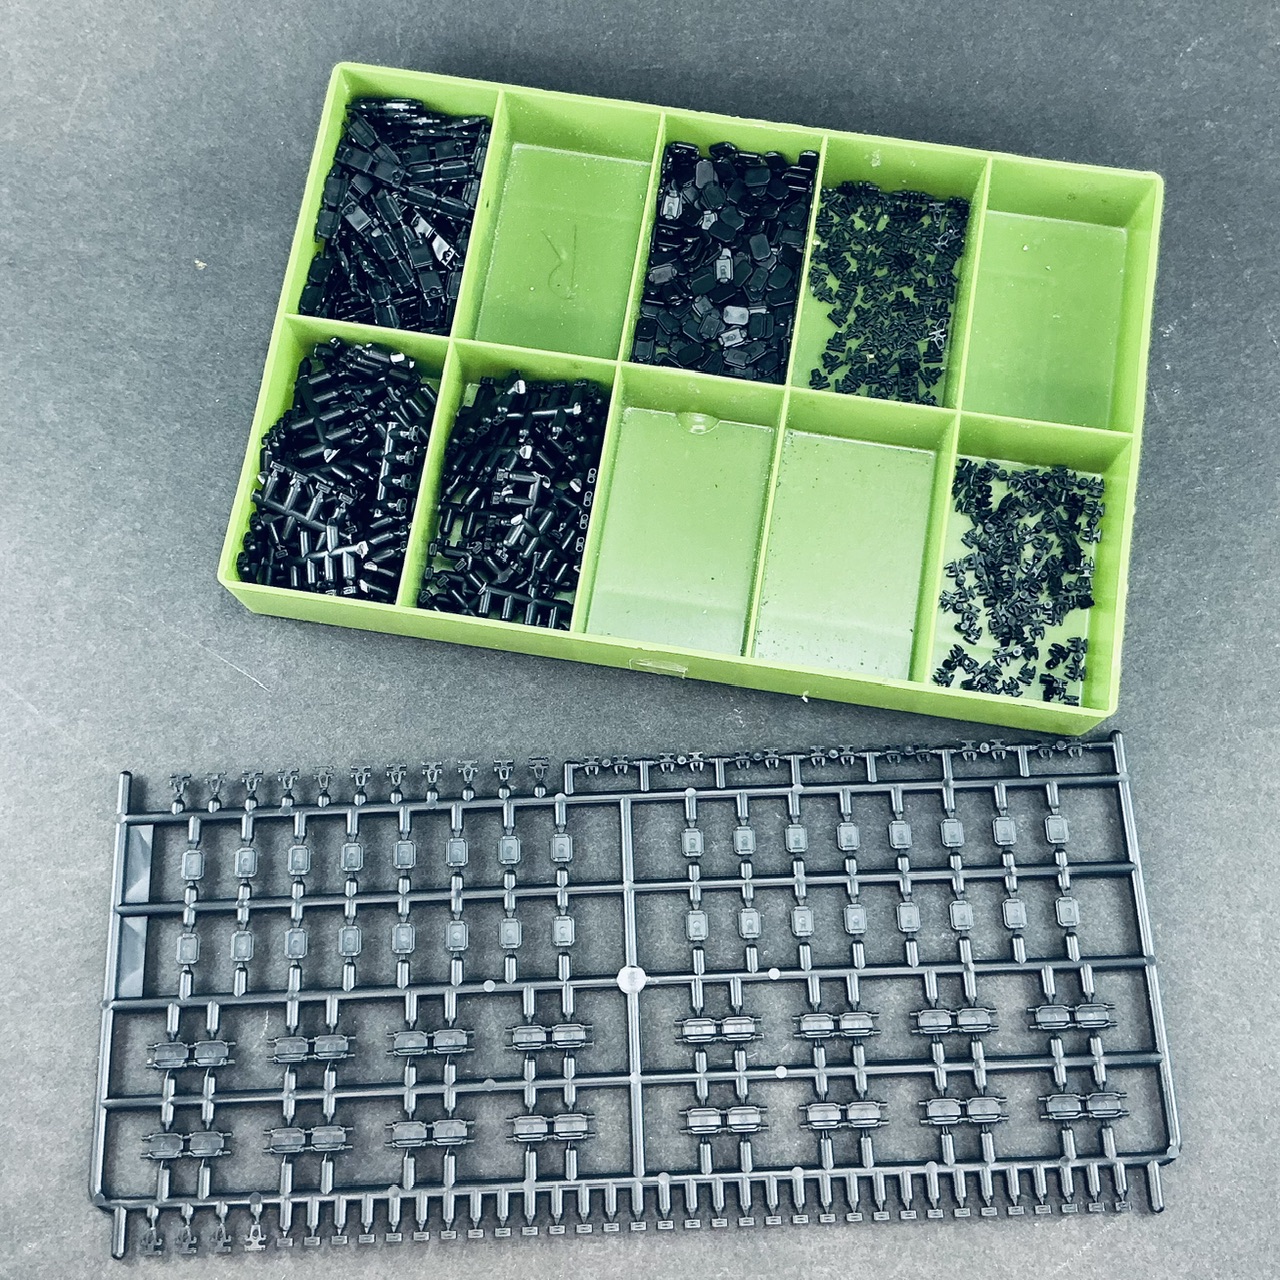
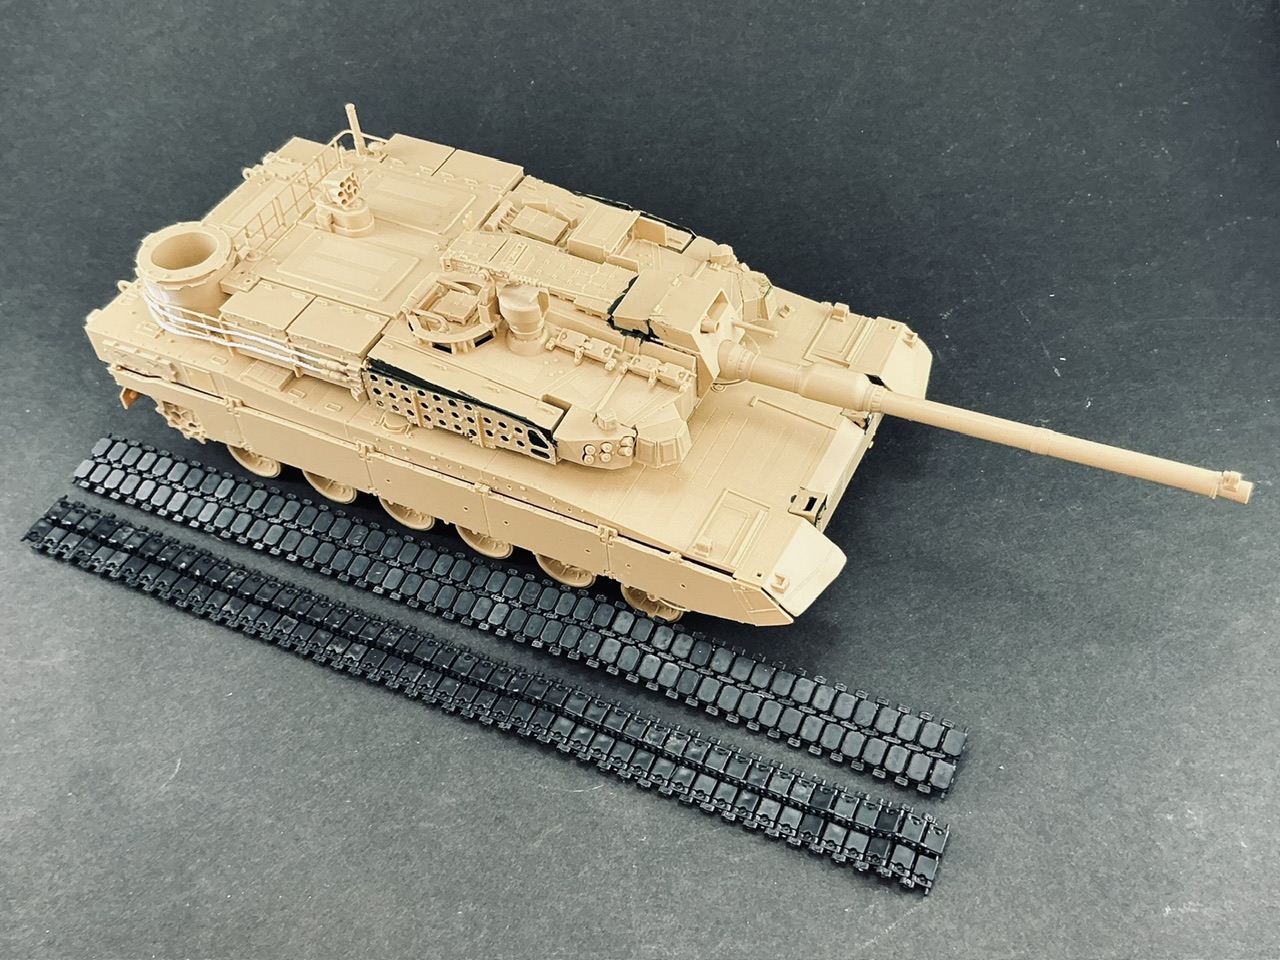
These are the cleaned-up parts for 96 track links. The kit gives you eleven sprues of sixteen links each, one of which is visible at the bottom of the photo, and Academy says you need 78 links per side. That makes 156 in all, but you get 176. That should be plenty, but I don't see the point of making the top run of the track if that's completely hidden behind the side skirts, so I counted the links in the top run in one of the illustrations in the instructions. That's about thirty per side between the drive sprocket and the idler wheel, so that cleaning up six sprues should be sufficient. As long as the ends are out of sight, it's fine by me :)

The links are moulded with separate rubber blocks for the outside. That looks like extra work at first sight, but the tracks have been cleverly designed so that the ejector pin marks will be invisible once the parts are together. There are also two types of guide teeth, one for the M1 Abrams and the other for the K2. Though I must add that the rubber blocks all ended up statically charged for some reason, sticking to my fingers much of the time. I even saw one jump out of the plastic container when I put some in, purely by the force caused by the others.
 
That does sound like a lot of work with the separate rubber blocks but definitely worth the effort if it 1.) hides the ejector pin marks and 2.) adds that extra level of detail. Funny about the static charge on the blocks. lol
 
That does sound like a lot of work with the separate rubber blocks
I recently built a Bradley AFV from Meng and each link had the two separate pads as well. It did make painting them easier, but as you said...lots of effort.
 
That does sound like a lot of work with the separate rubber blocks
At least the parts are large enough, unlike some sets of workable track where you have to glue tiny and/or fragile bits together — or keep them free from glue.

hides the ejector pin marks
It also prevents shrinkage of the plastic, I suspect. They could easily have moulded the links in one piece, with both rubber blocks in place, but I wouldn't be surprised if that would have left sink marks on the inside or the outside, plus an ejector pin mark on the other. Filling and filing those would be a lot more work than cleaning up and glueing these blocks.

Funny about the static charge on the blocks. lol
It got mildly annoying quite fast :) The blocks are light enough that you don't feel them on your fingers, so every time I put them into the box I had to check to make sure none were stuck to my fingers. And I found some outside of it several times, probably from having dropped off my fingers just before they went in.

each link had the two separate pads as well. It did make painting them easier
I considered leaving the blocks on the sprue and only glueing them on after painting the tracks, but that would mean having to touch up the sides of all of those blocks. My way of painting tracks like these is to assemble them, spray them medium/dark grey and then further paint that to represent the metal, and only then paint all of the rubber parts with a brush.
 
At least the parts are large enough, unlike some sets of workable track where you have to glue tiny and/or fragile bits together — or keep them free from glue.
Right??!! I did, however, get turned on to the Panzerwerk and T-Rex tracks not too long ago. No glue required and everything just goes together with snap in retaining pins. Fully workable and easy to work with. A bit pricey but it sure beats me having face the issues you mentioned here. lol
 
I used QUICKTRACKS Panther tracks last year, and was pretty impressed with them. However, assembly was somewhat tricky because they're a little hard and brittle, so it wasn't as easy to snap them together as it might have been. Still, I would recommend them, at least for a Panther :)
 
Forty-eight links per side is a little more than necessary, but not too many:

IMG_3527.jpeg


Fun job, as always … One of those wax-pen-type things proved ideal for picking up the rubber blocks. Put one in place on a link, apply a little glue to either side of it, next. After the glue had dried I started putting the track together: first click a guide tooth to each link, then click four links together by those guide teeth, add four end connectors to both sides and cut off the sprue from those. However, you can't put the end connectors on both sides before removing the sprue, because that puts a little tension in the track which spreads the pins on the opposite side apart too far to put the connectors on.

Tomorrow (or thereabouts) I'll make the second one :)
 
I came across one in a shop a few years ago and thought it might come in handy. I don't use it much but it definitely has its uses.
 
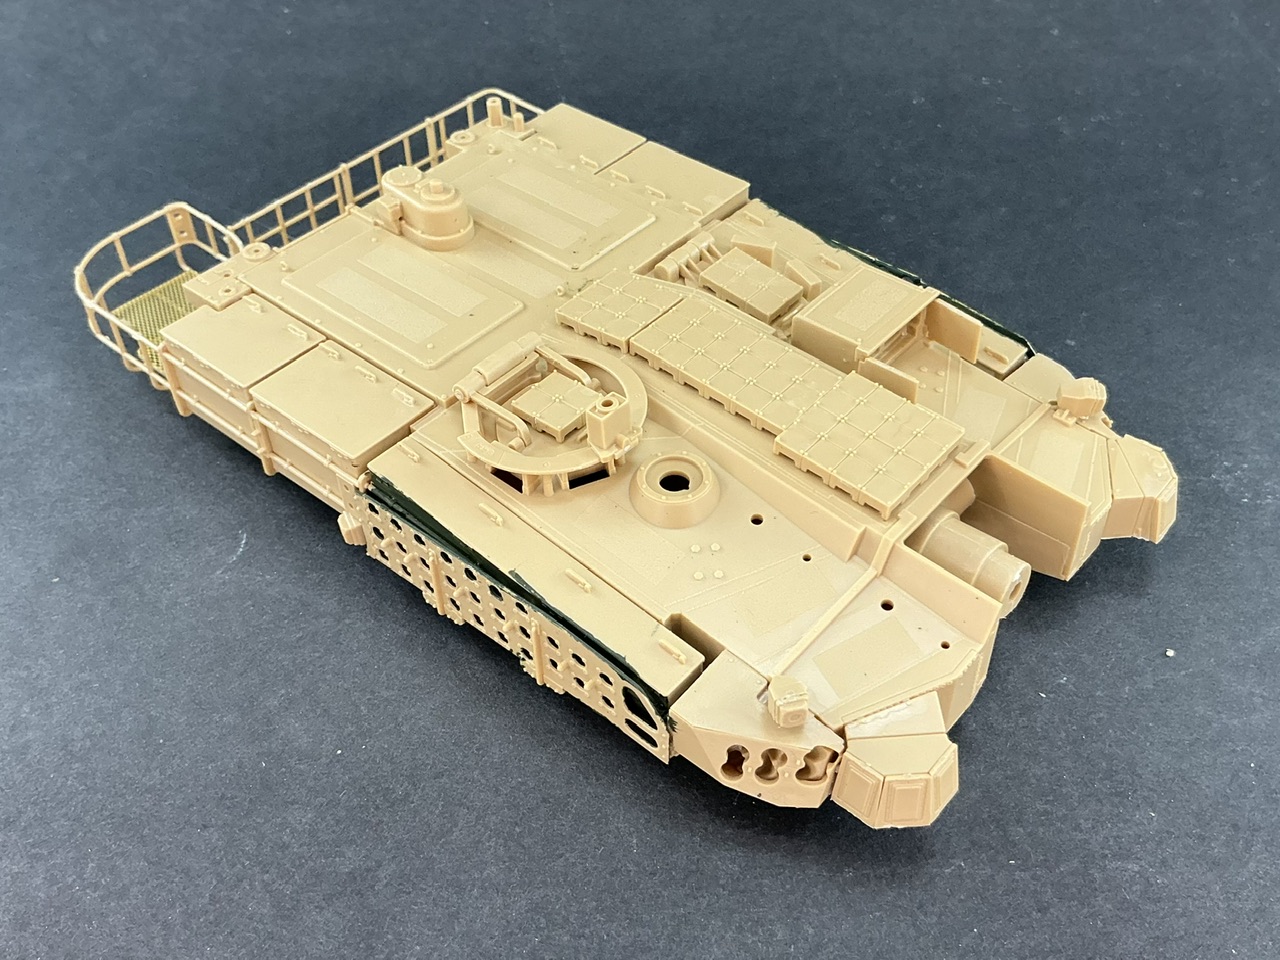
Construction is now truly complete:

IMG_3531.jpeg


The side skirts, wheels, machine gun, driver's hatch, spare track links and deep-wading shaft are still loose, and some parts that will be added after painting aren't in the photo.

Since the paint I need for this model arrived about an hour ago, I'll soon put some primer on the metal bits so I can start putting the colours on sometime soon(ish?).
 
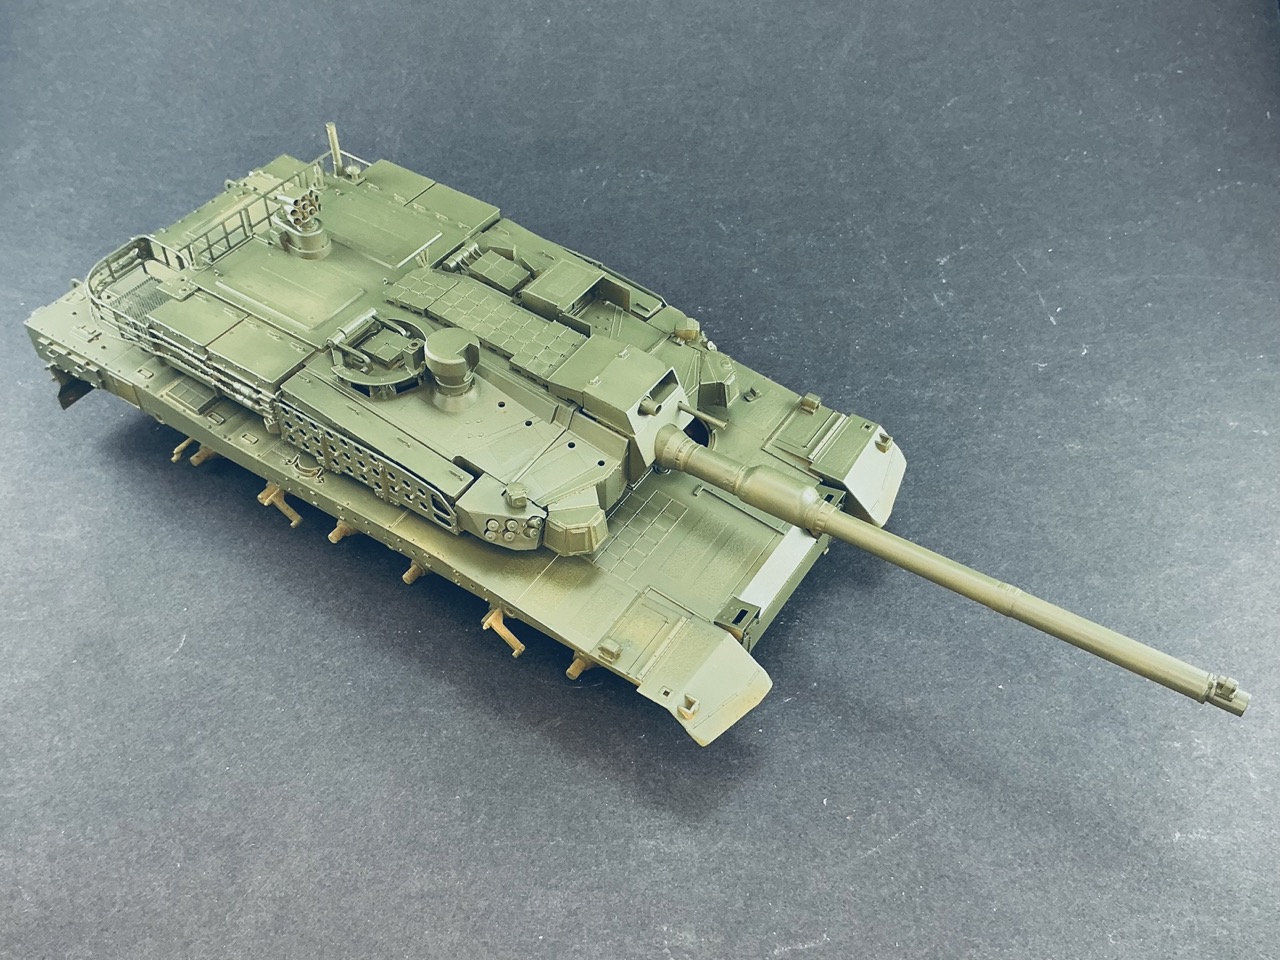
And then there's colour on it:

IMG_3539.jpeg


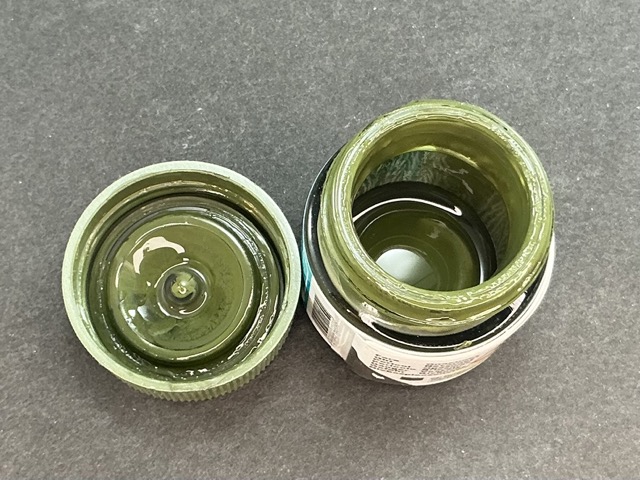
From a new bottle, and this was left after spraying:

IMG_3540.jpeg


The last drops that wanted to come out were just enough to paint the tank, and then I noticed that some of the reactive armour panels, that I've left off so far, also need to be painted in this colour … I think I'll get enough out with a brush to paint them that way, and if not, I'll have to mix some paint to approximate this.
 
I think I may have had the pressure up a little high, but I was using my Aztek for this and it needs more pressure than a metal airbrush, and I don't think it was higher than I normally use for that. Also, this is only a 10 ml bottle. I really wish Mr. Aqueous would also come in larger sizes, because I'd buy those every time. Which probably is why they sell it only as 10 ml, I suppose …
 
Good GRIEF man!! You are moving fast on this one Jakko. Can't view pictures on my computer at work from this forum so I have to wait till I get home where I don't have much time---maybe even less than at work. lol

Good lookin' color you've got on this one. Will be watching for more bud.
 
I have that problem as well … The K2 by now has its camouflage pattern but I still need to touch that up and spray highlights before I can continue, but instead of doing that I find myself doing non-modelling stuff instead.
 
The front of the turret has sensors (or whatever these things are), but they've been moulded open on the underside. It's hard to make out in pictures, but when I look closely at those in the book I mentioned earlier, it seems they're actually closed so I glued them to 0.13 mm plastic card:

View attachment 176301

When the glue had dried, I cut them out, cleaned them up and glued them to the turret:

View attachment 176302View attachment 176303

The gun is fairly impressive:

View attachment 176304

Not just the length (because 120 mm L/55) but it's made up of just three parts: a short bit with the fume extractor, a longer piece for the rest of the barrel and the muzzle. All three have been moulded with a hole in the front so they fit together, but that fit is a little loose so you need to take care to line them up properly so the gun is actually straight.

Add some more details to the turret, and the model is pretty much ready to paint:

View attachment 176305

… except that I ordered paint for that and got a notification that it'll take a week or so to arrive.

A bunch of parts are still missing, that's true, but I'll add those after painting. Things like the antennas, which I'd only end up breaking off if I put them on already. The deep-wading shaft and the machine gun are still loose. I drilled out the smoke launcher on the rear roof, because else it would only have had shallow dimples in it. If I were to build another K2, BTW, I would add the launcher tubes at the front before glueing the surrounds for them to the turret, as that should make it much easier to install them than it was now.
Nice. Pantherman
 
You may like it even better with more colours on, then :)

IMG_3604.jpeg


The camouflage is on now, as are highlights in that. The larger brown areas are Mr. Aqueous, but by using a different airbrush (a borrowed H&S Evolution) I only needed a few millilitres instead of a whole bottle. With hindsight, I should probably have drawn the camouflage on the model before spraying the green, so I could have painted only those areas with it, which would have saved about half the paint. The reason I didn't is because I generally spray a camouflaged model all in one colour first to give a good foundation for the other paints to go over, but because I was using alcohol-based acrylics for both colours here that was actually kind of pointless.

A few days later, I sprayed the sand-coloured and black lines with the same airbrush, using Hataka and Vallejo airbrush-ready paint, partly to see how well the H&S handled those. The lighter spots I sprayed with my own Iwata HP-A, using Ammo/MIG and Vallejo paints.
 

Latest posts

Back
Top