You are using an out of date browser. It may not display this or other websites correctly.
You should upgrade or use an alternative browser.
You should upgrade or use an alternative browser.
Iteleri Bugatti Type 35B
- Thread starter KINGSLUG
- Start date

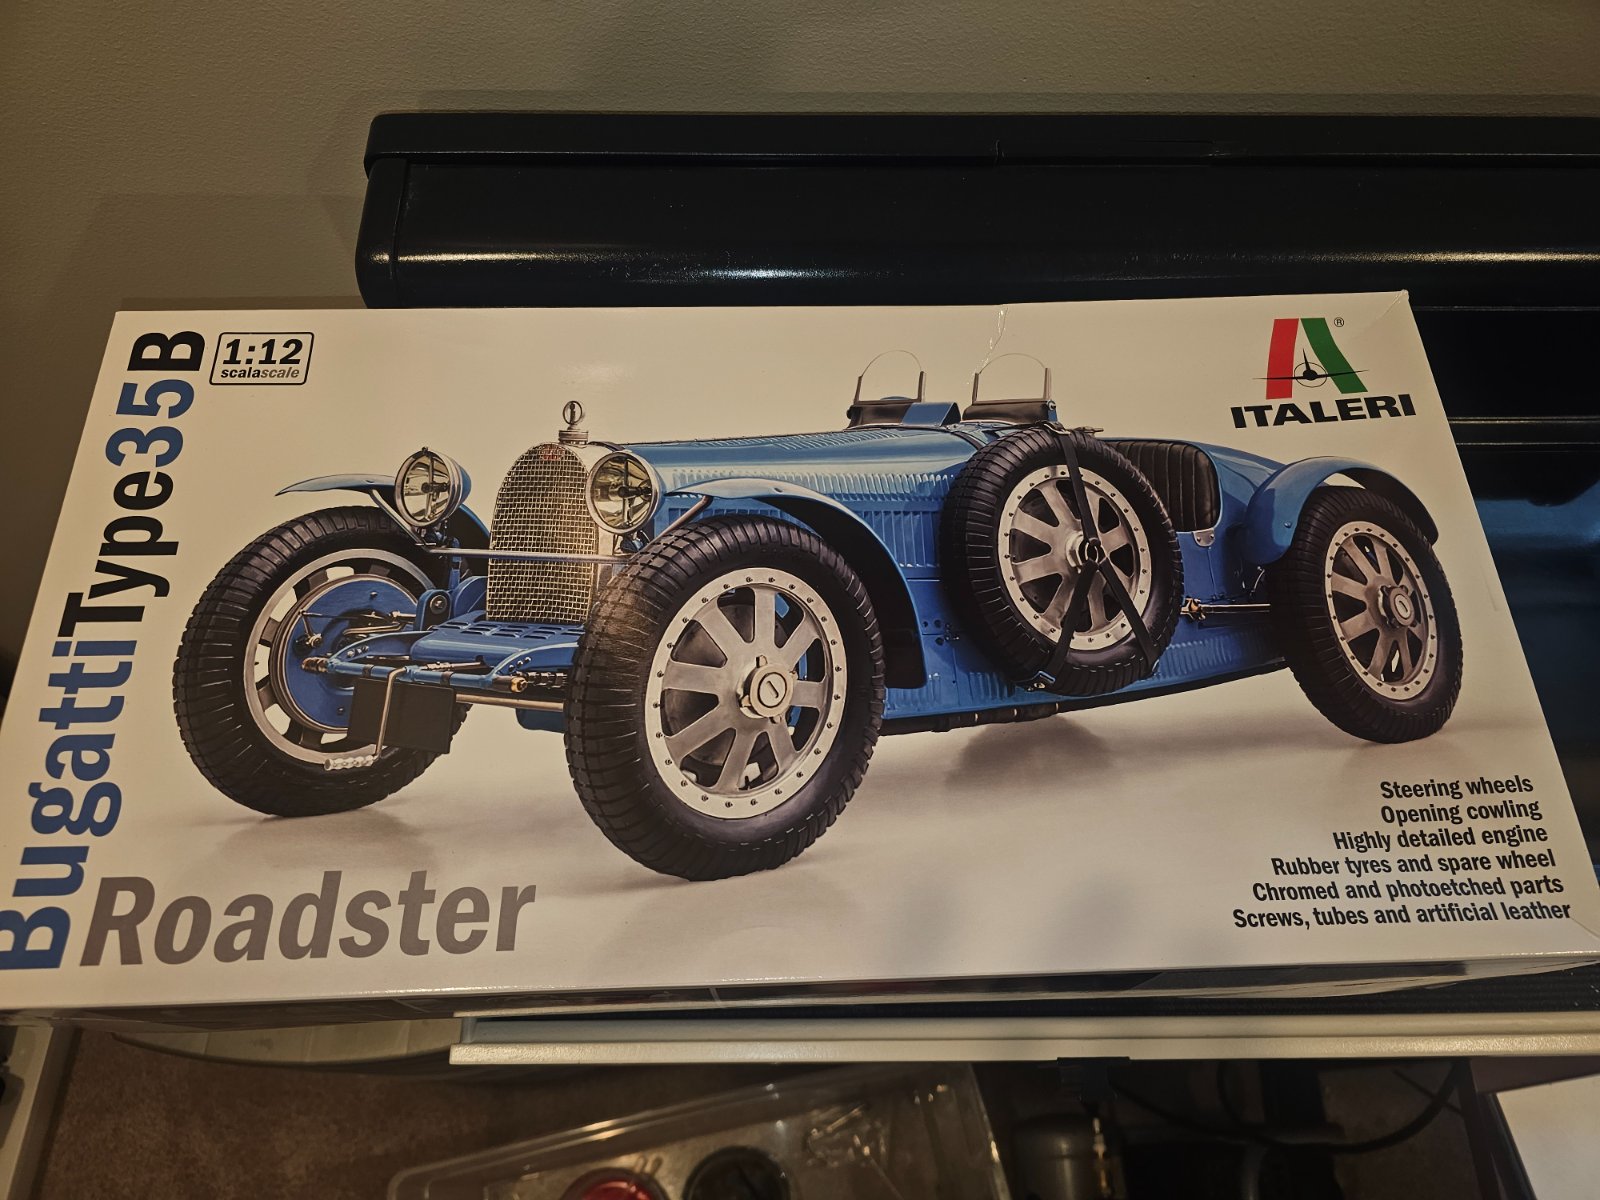
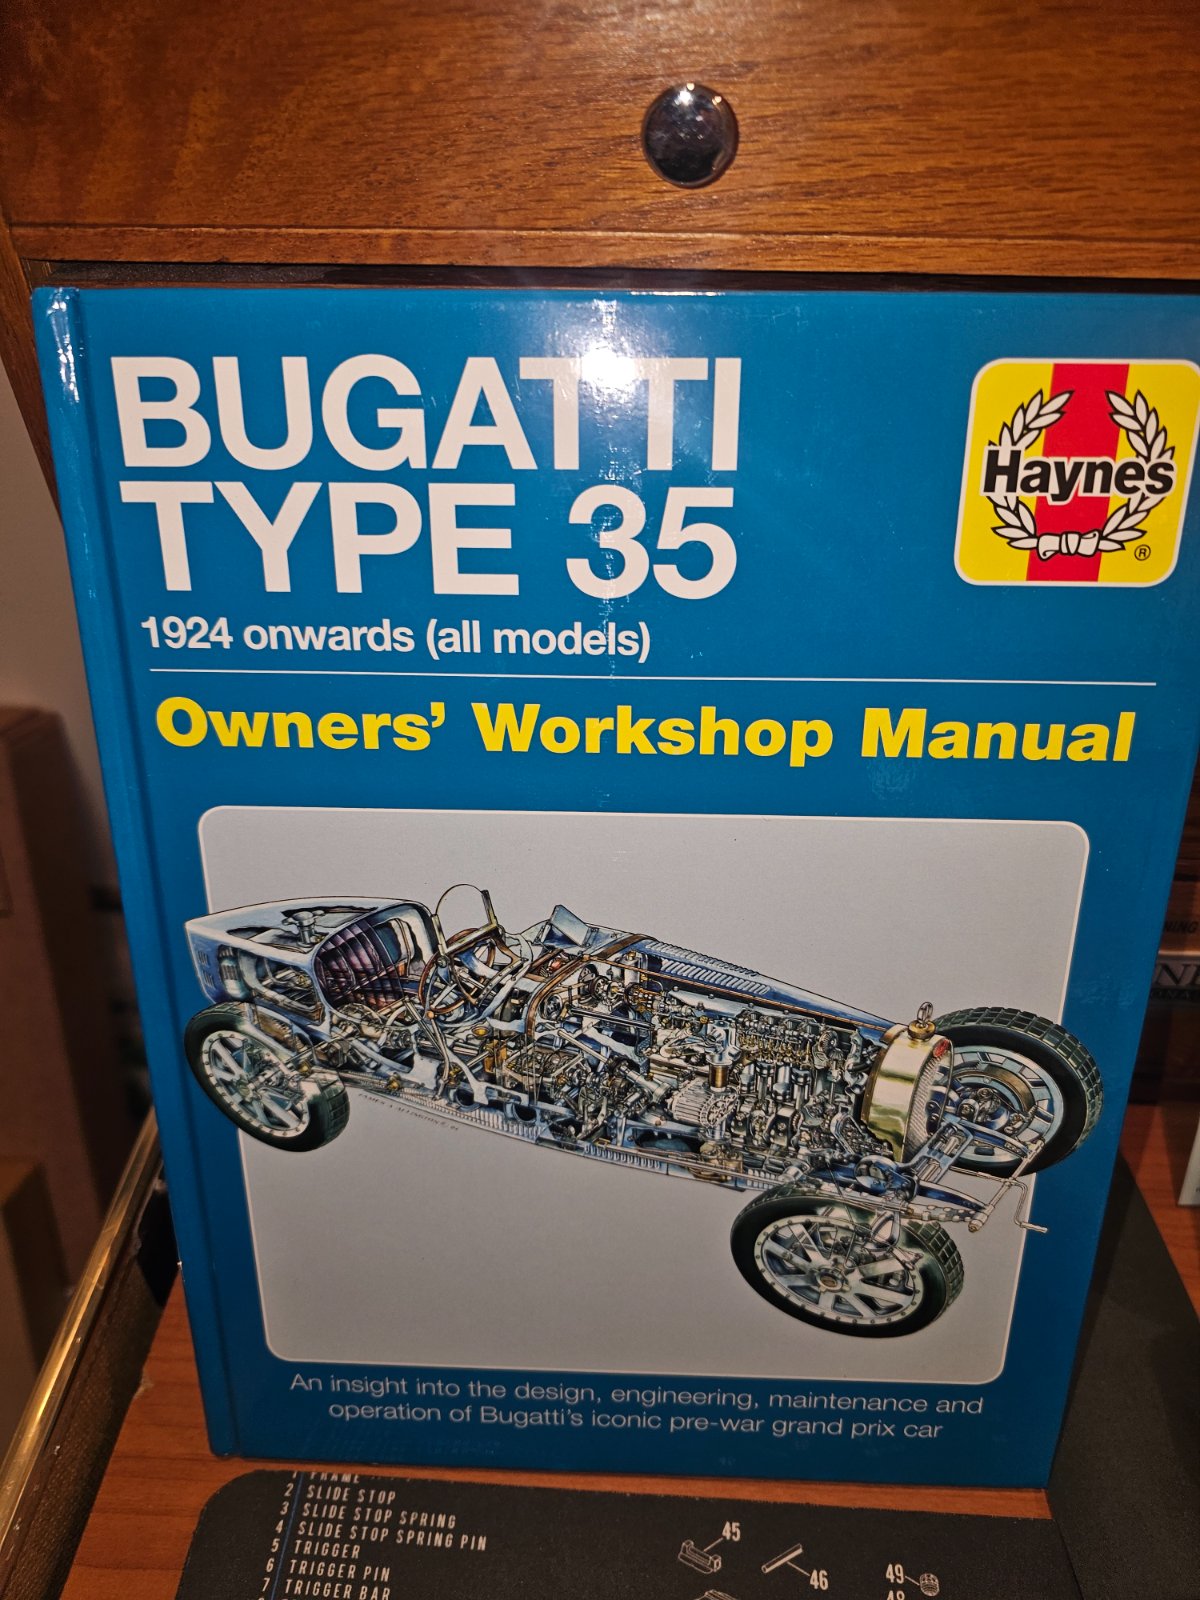
The book is interesting..not your usual shop manual at all..lots of history and stories..
I do wish it had more technical stuff..but I now have over 200 pics of these. There are even sites that have every part and fastener for sale..so you can see all the parts. The prices for these parts are very high..but if you have 350k you can get a brand new one from Argentina..an exact copy..beats driving a 5 million dollar one.
Of course Jay Leno has a room full of these in all varietys..
I do wish it had more technical stuff..but I now have over 200 pics of these. There are even sites that have every part and fastener for sale..so you can see all the parts. The prices for these parts are very high..but if you have 350k you can get a brand new one from Argentina..an exact copy..beats driving a 5 million dollar one.
Of course Jay Leno has a room full of these in all varietys..
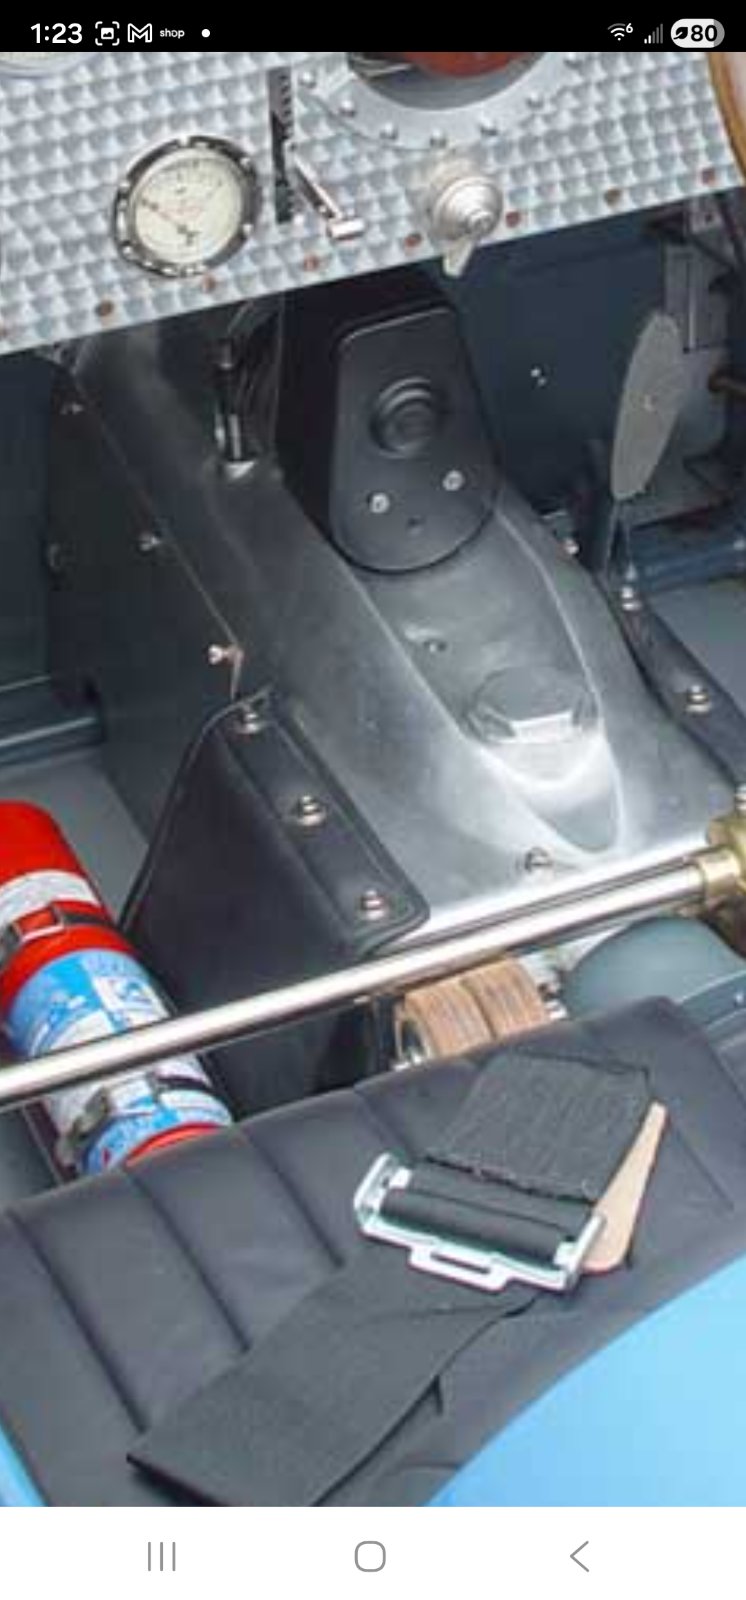
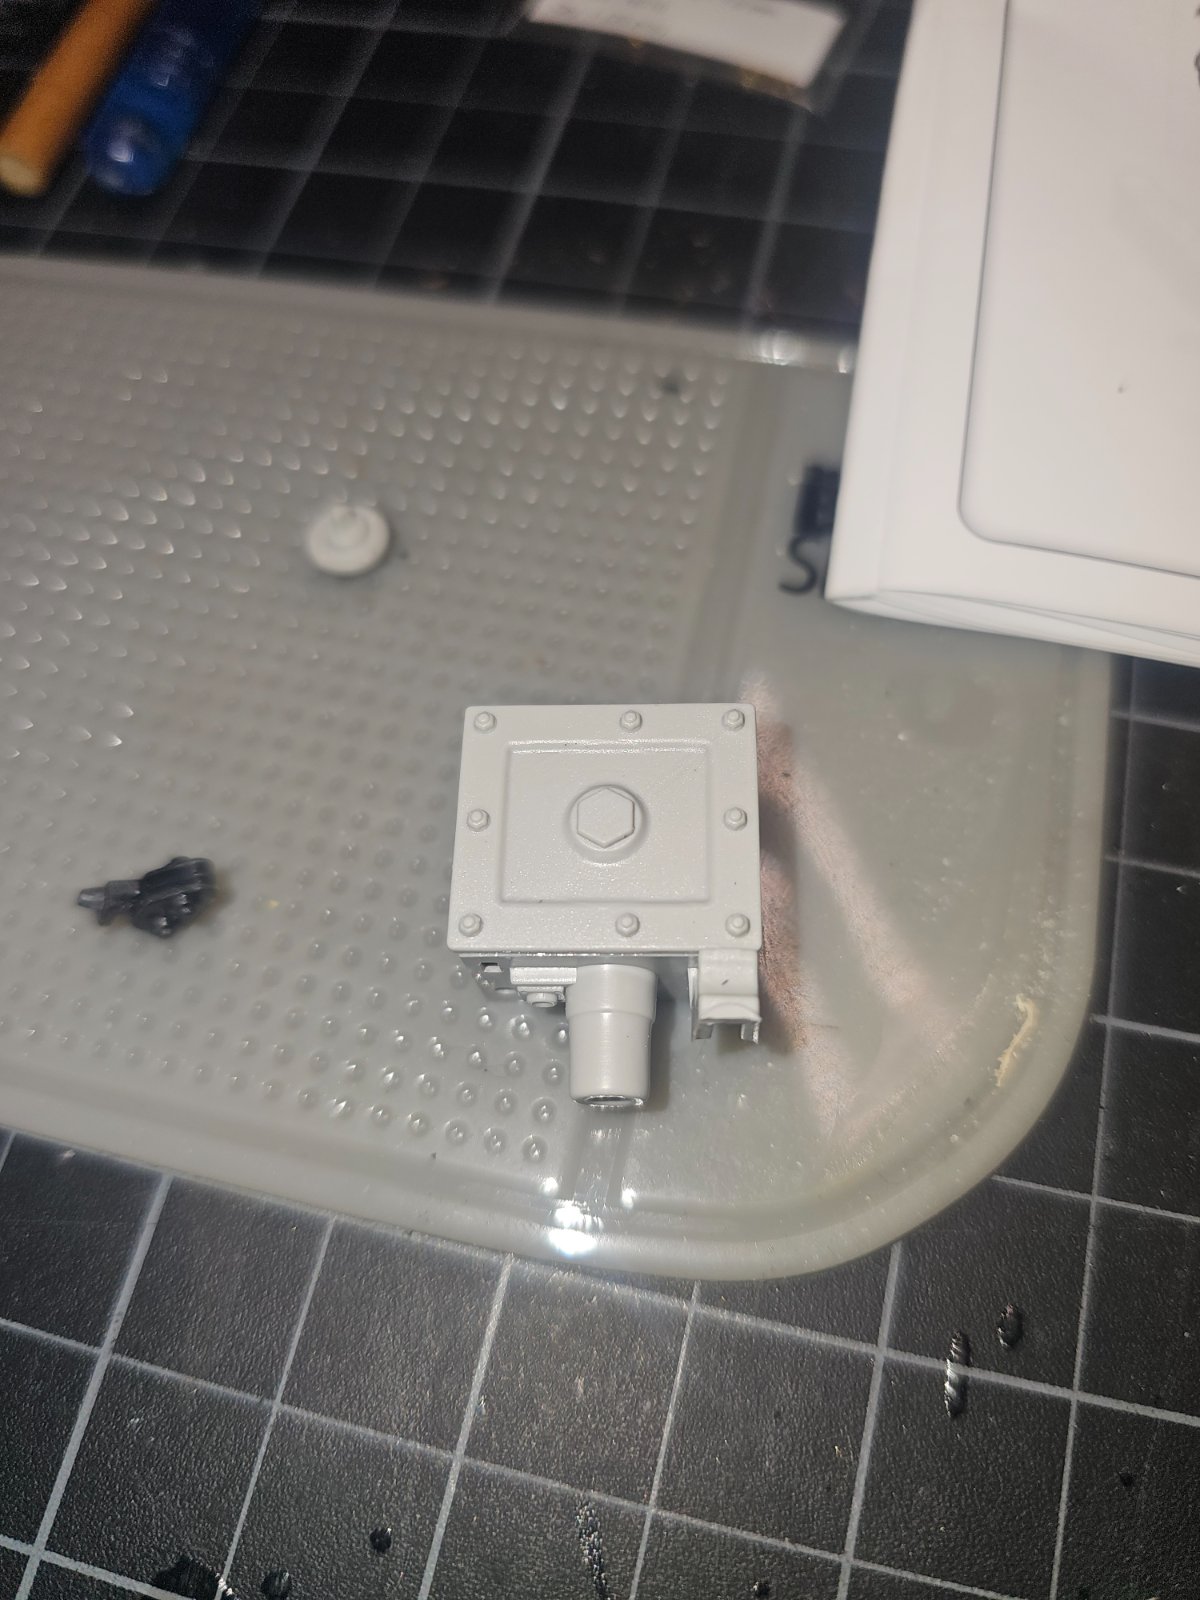
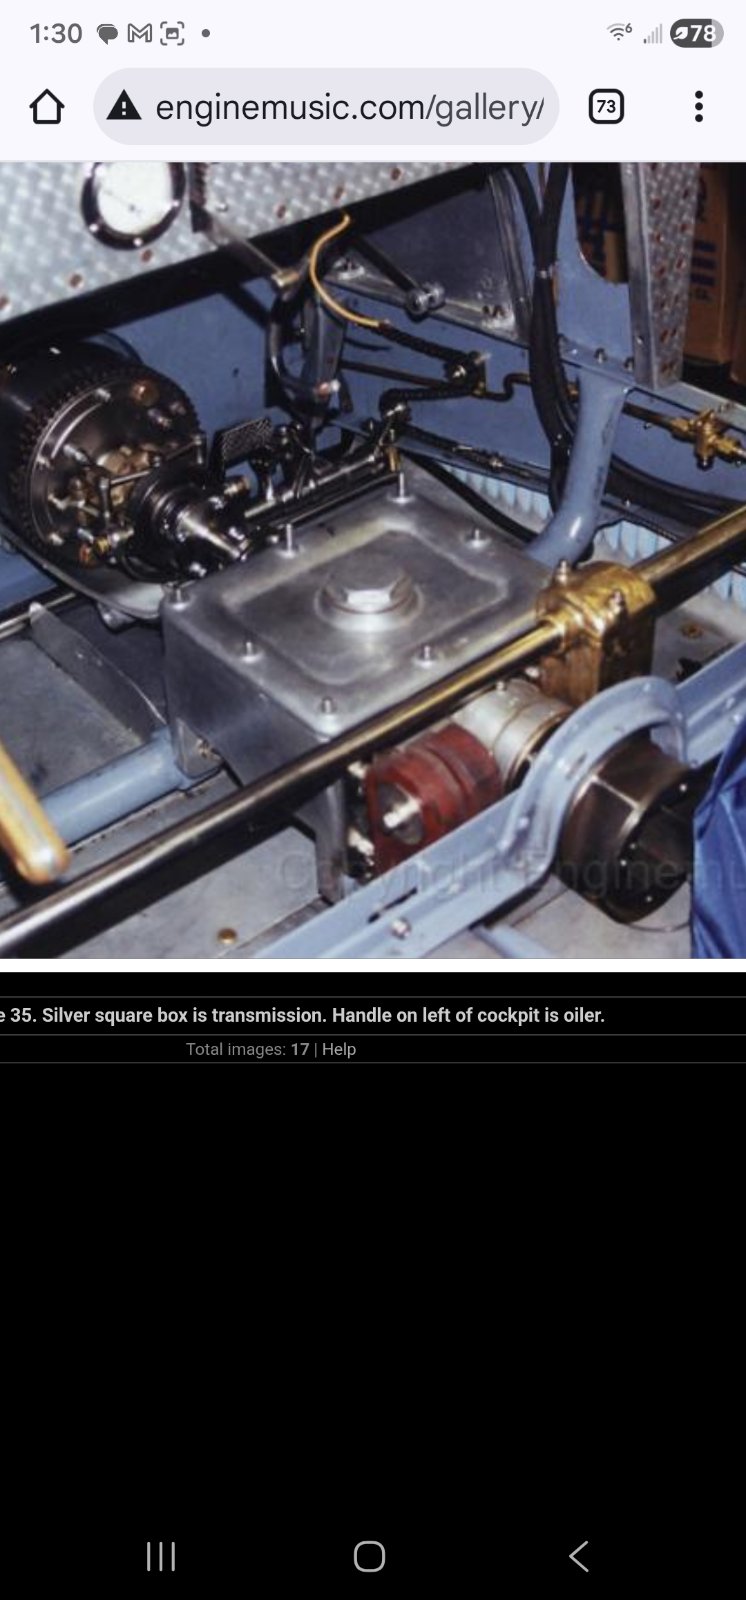
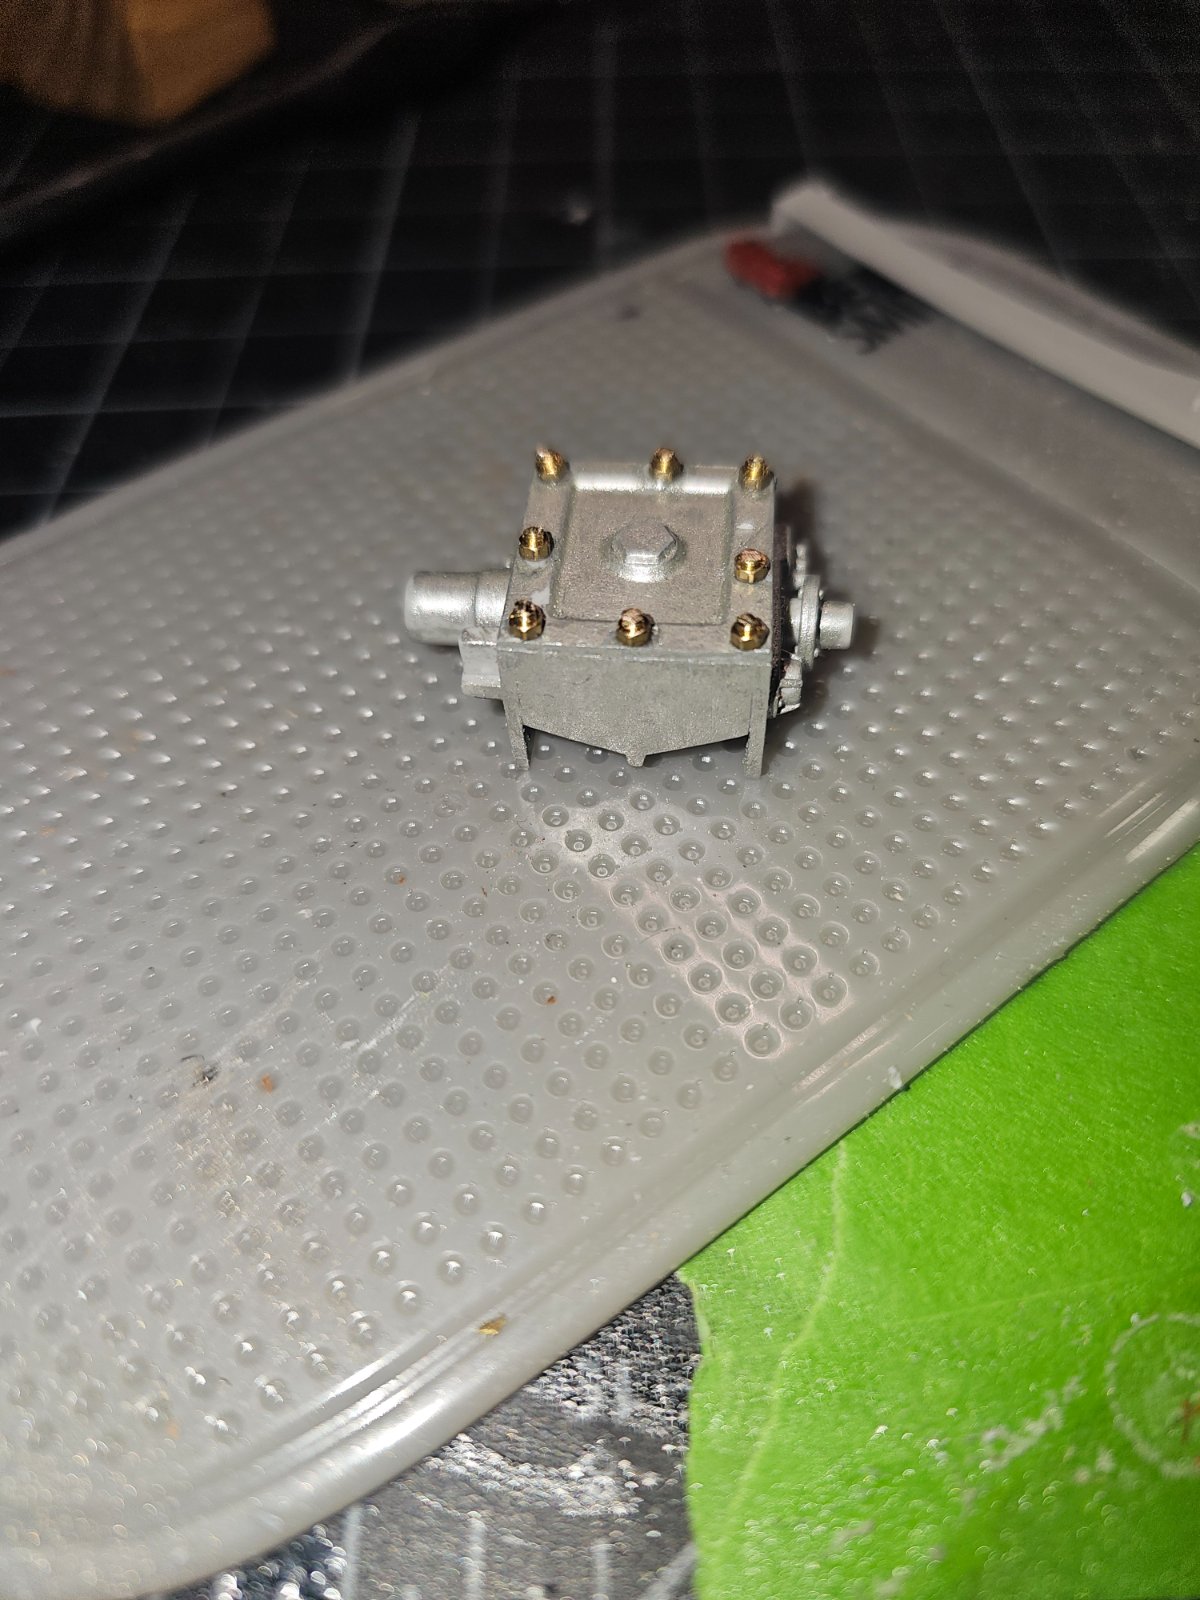
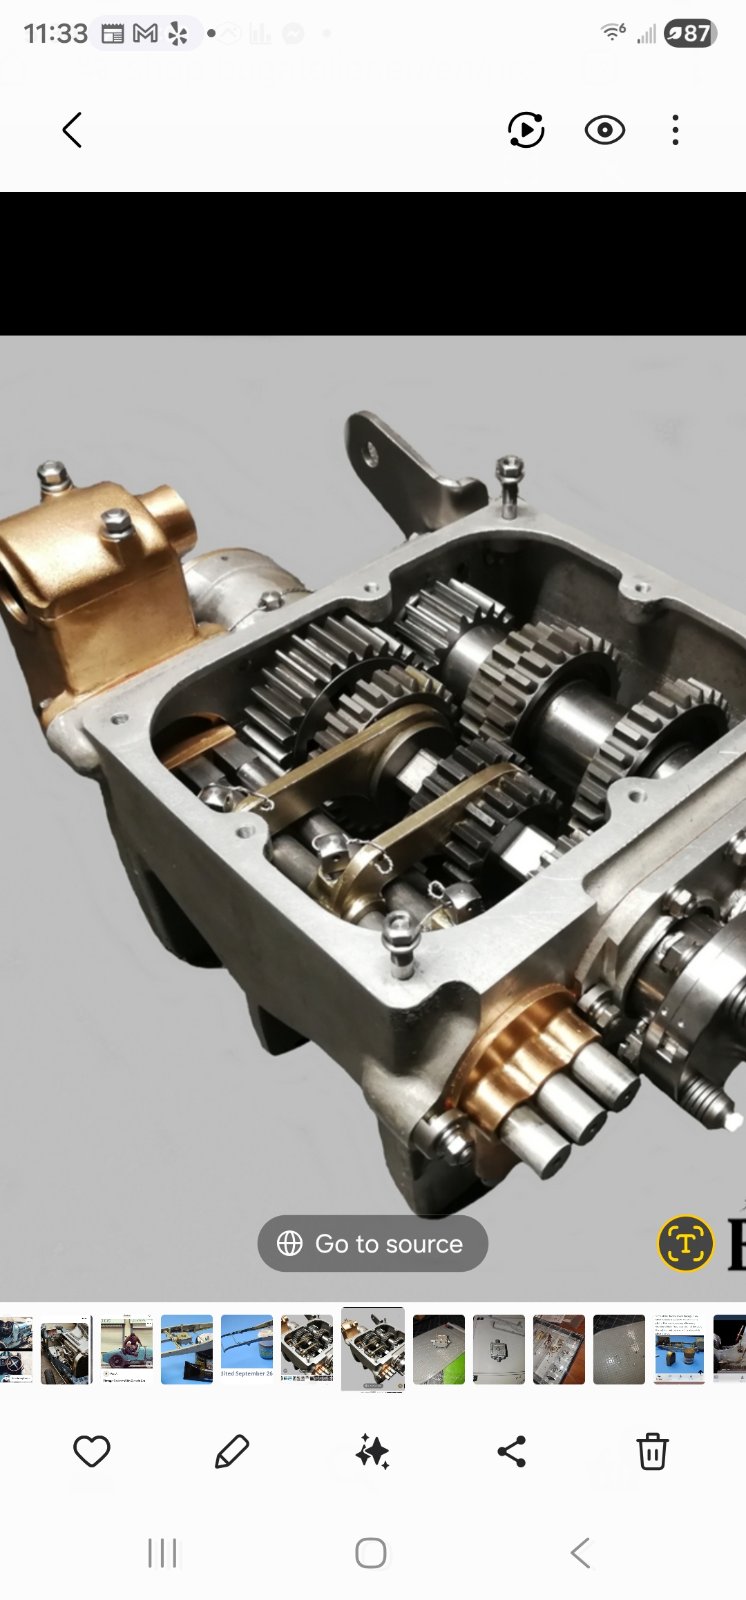
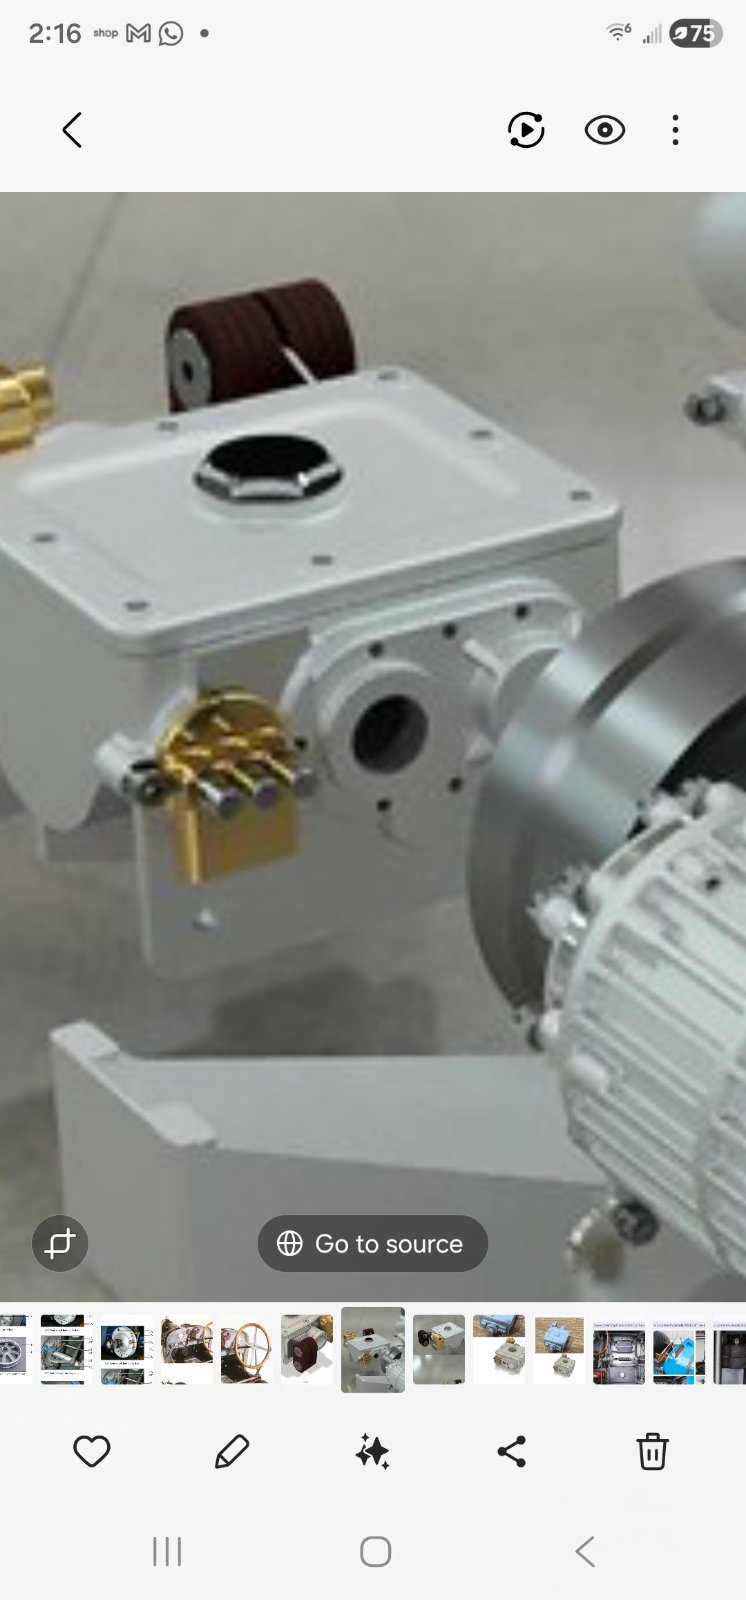
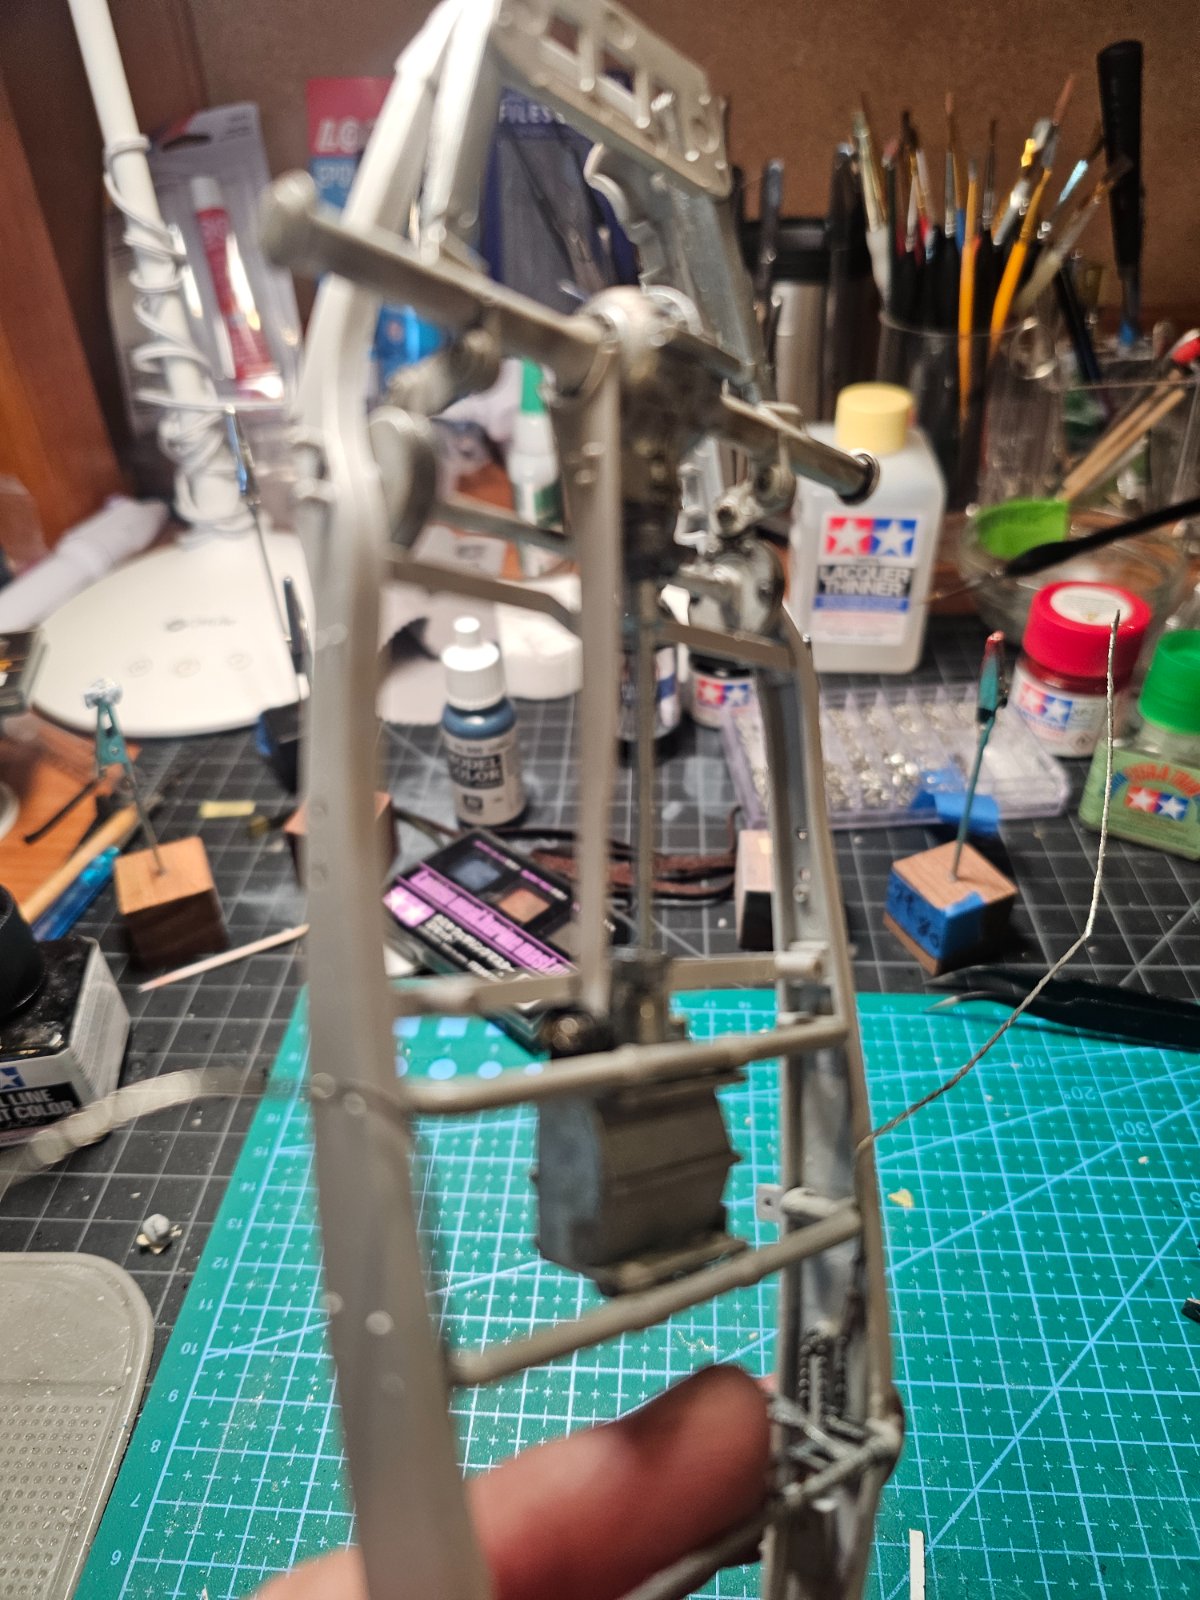
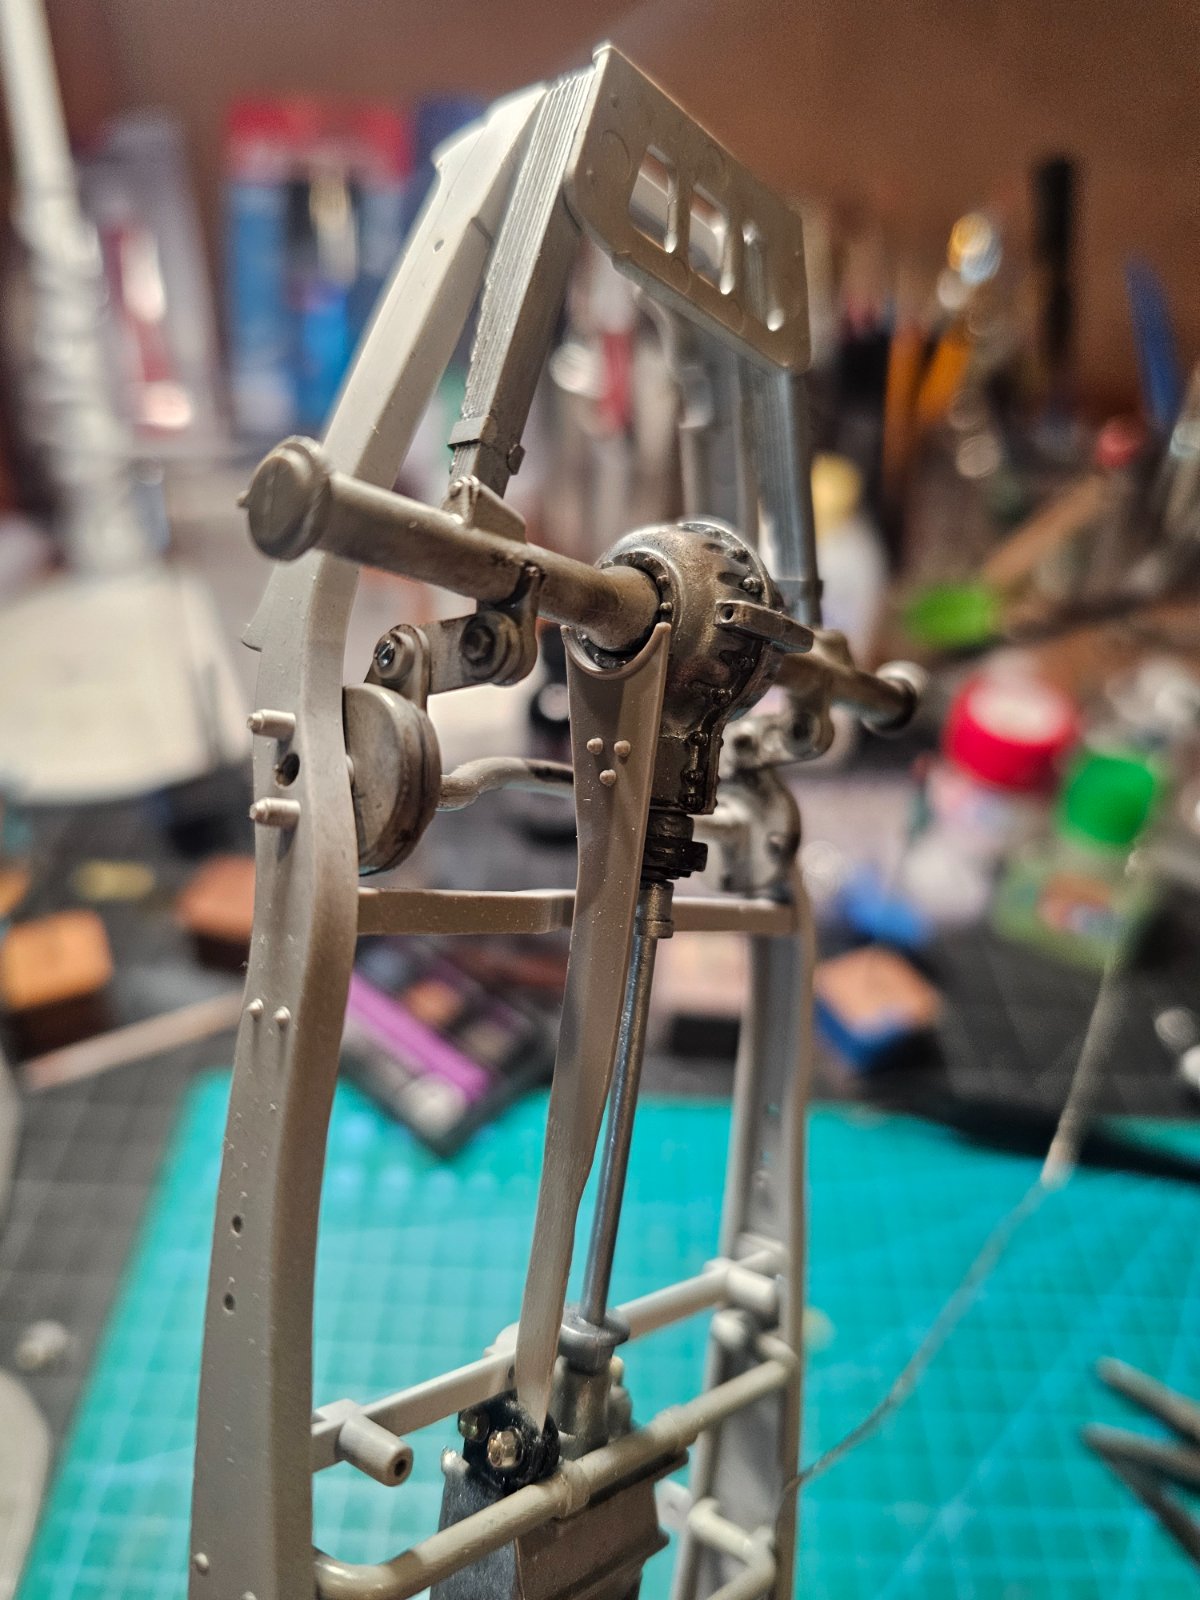
Had to fix the gearbox by cutting it a bit apart as one part they made is backwards.. as you can see on the real thing....ordered nuts and bolts for various areas..they come to almost a dollar a piece! Looks like i have to make this part and probably the whole torque arm..as its all wrong..
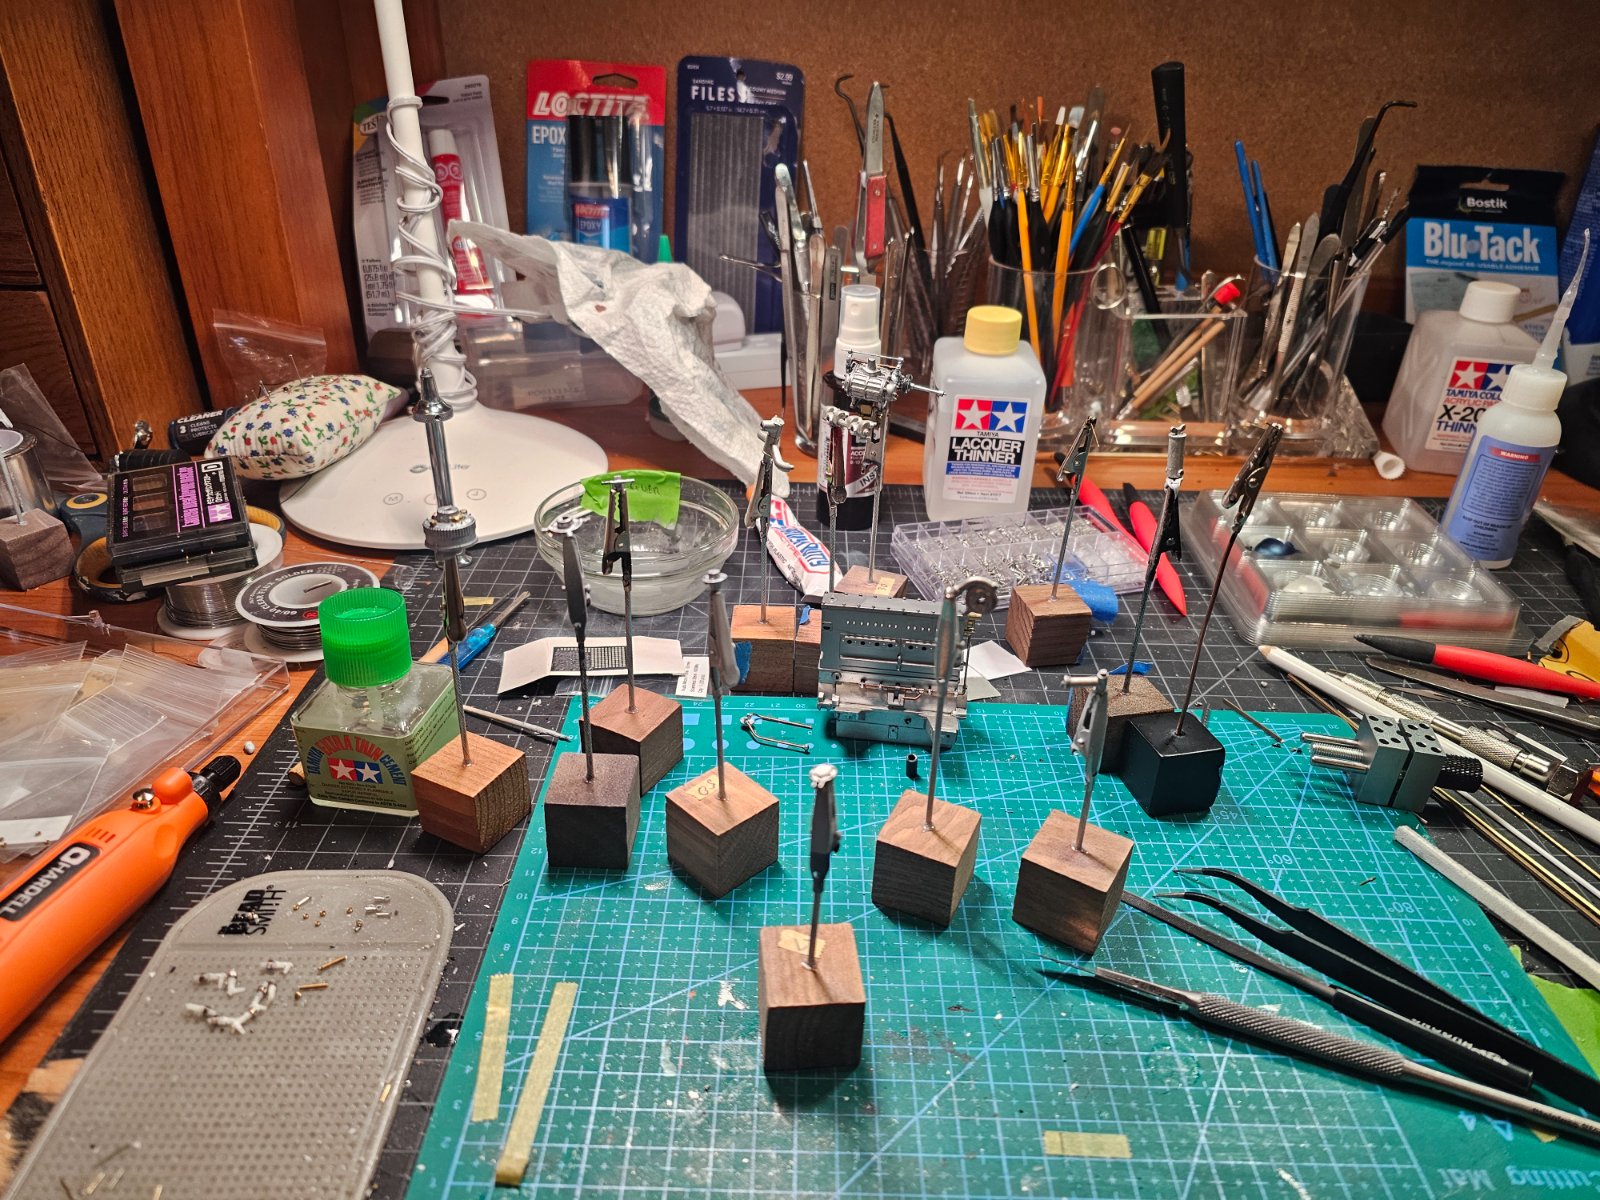
Getting ready for some primer..
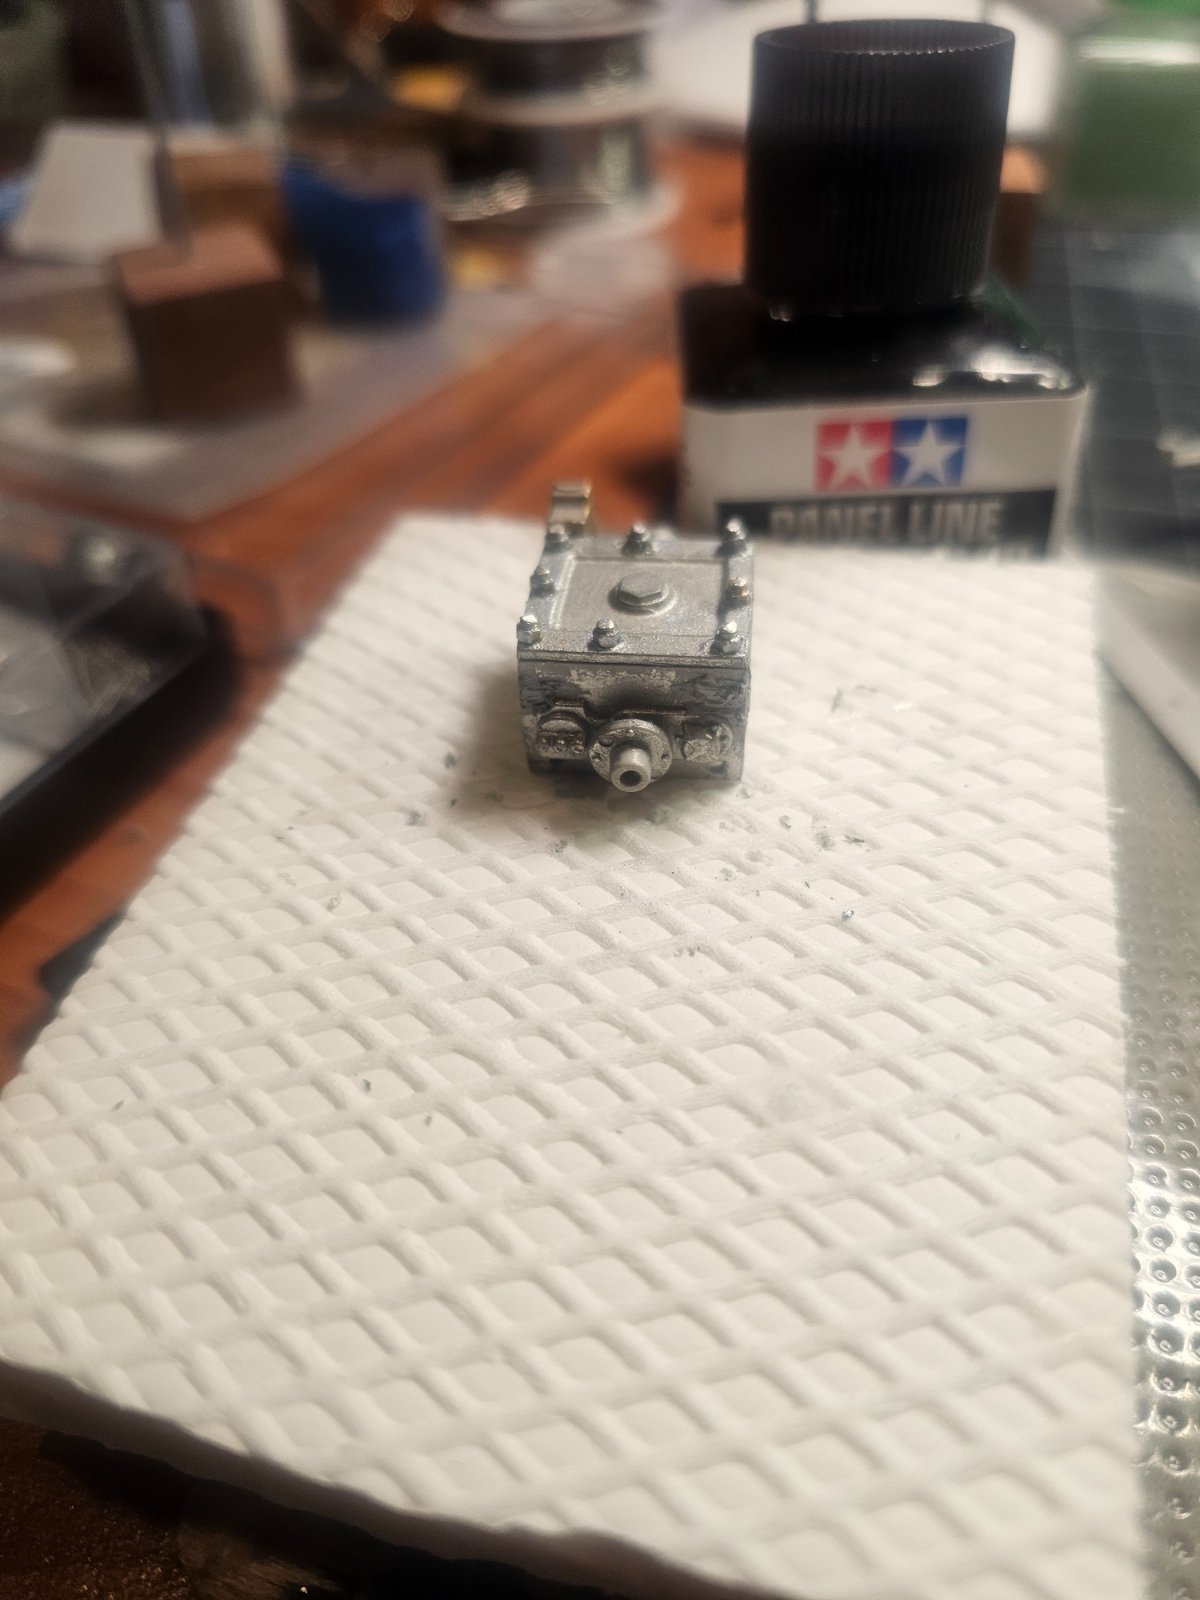
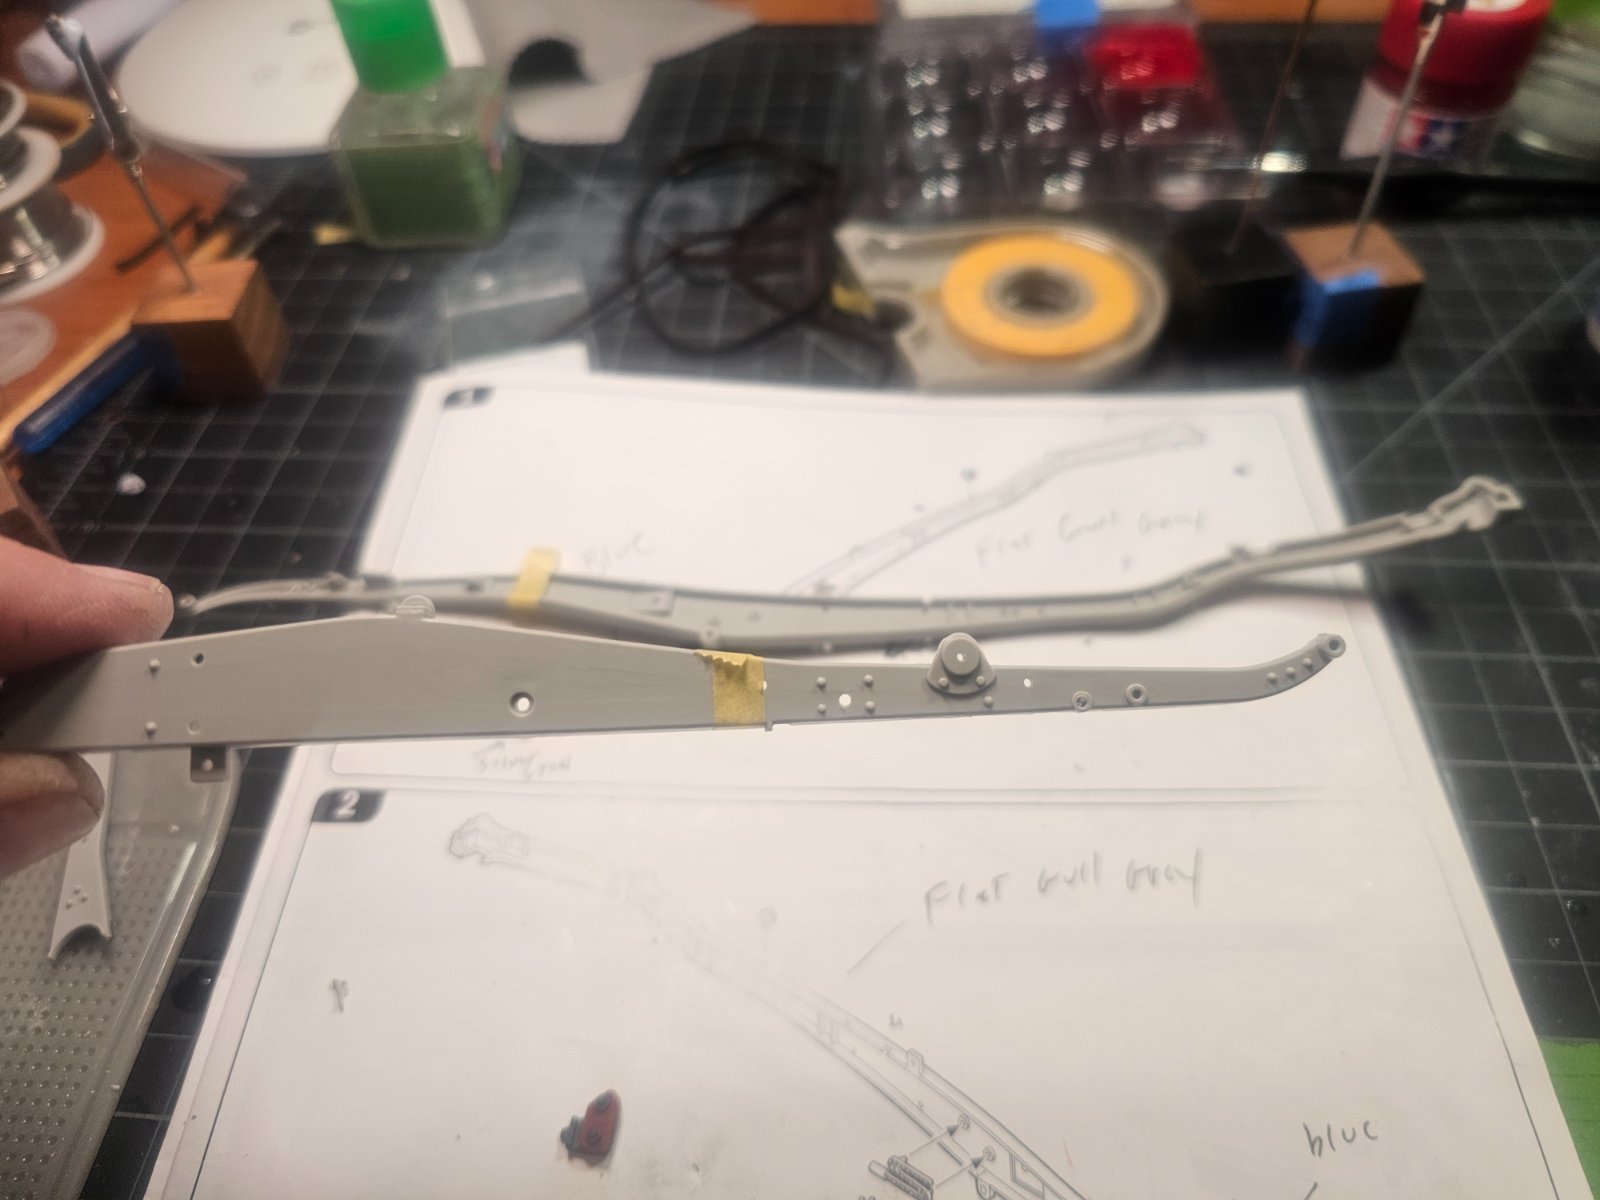
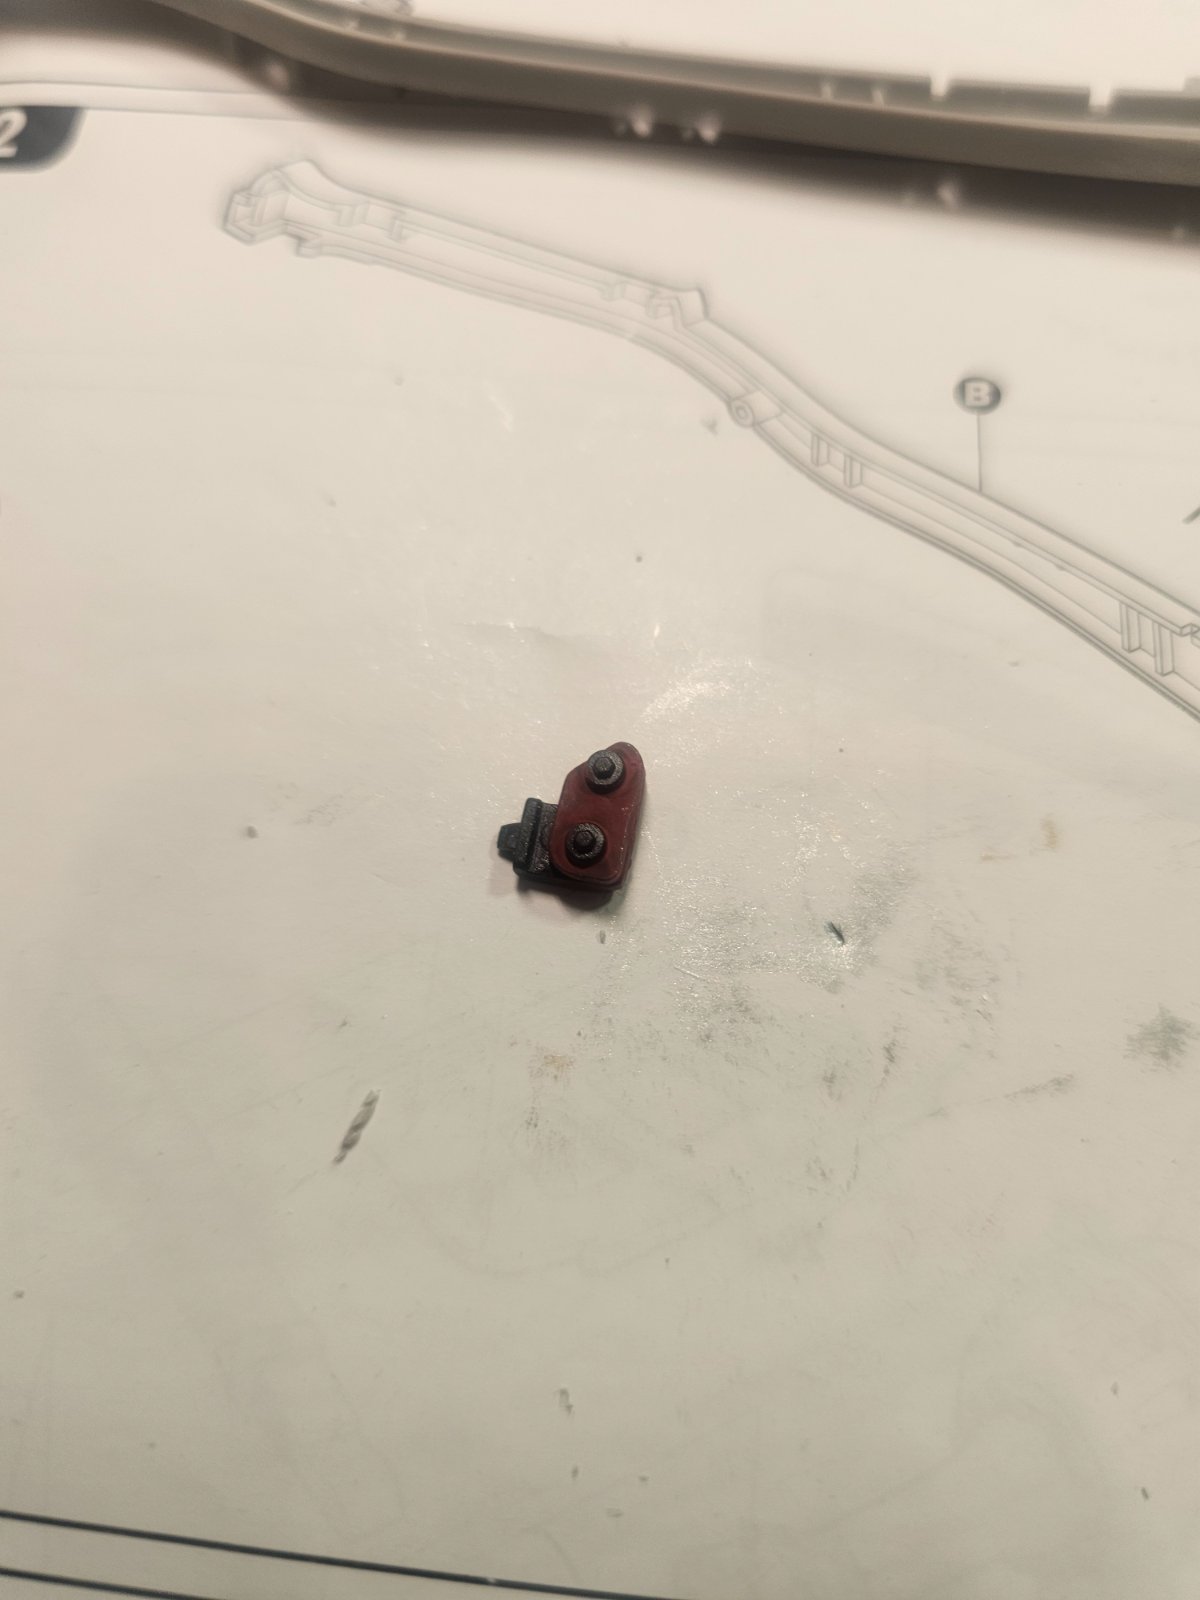
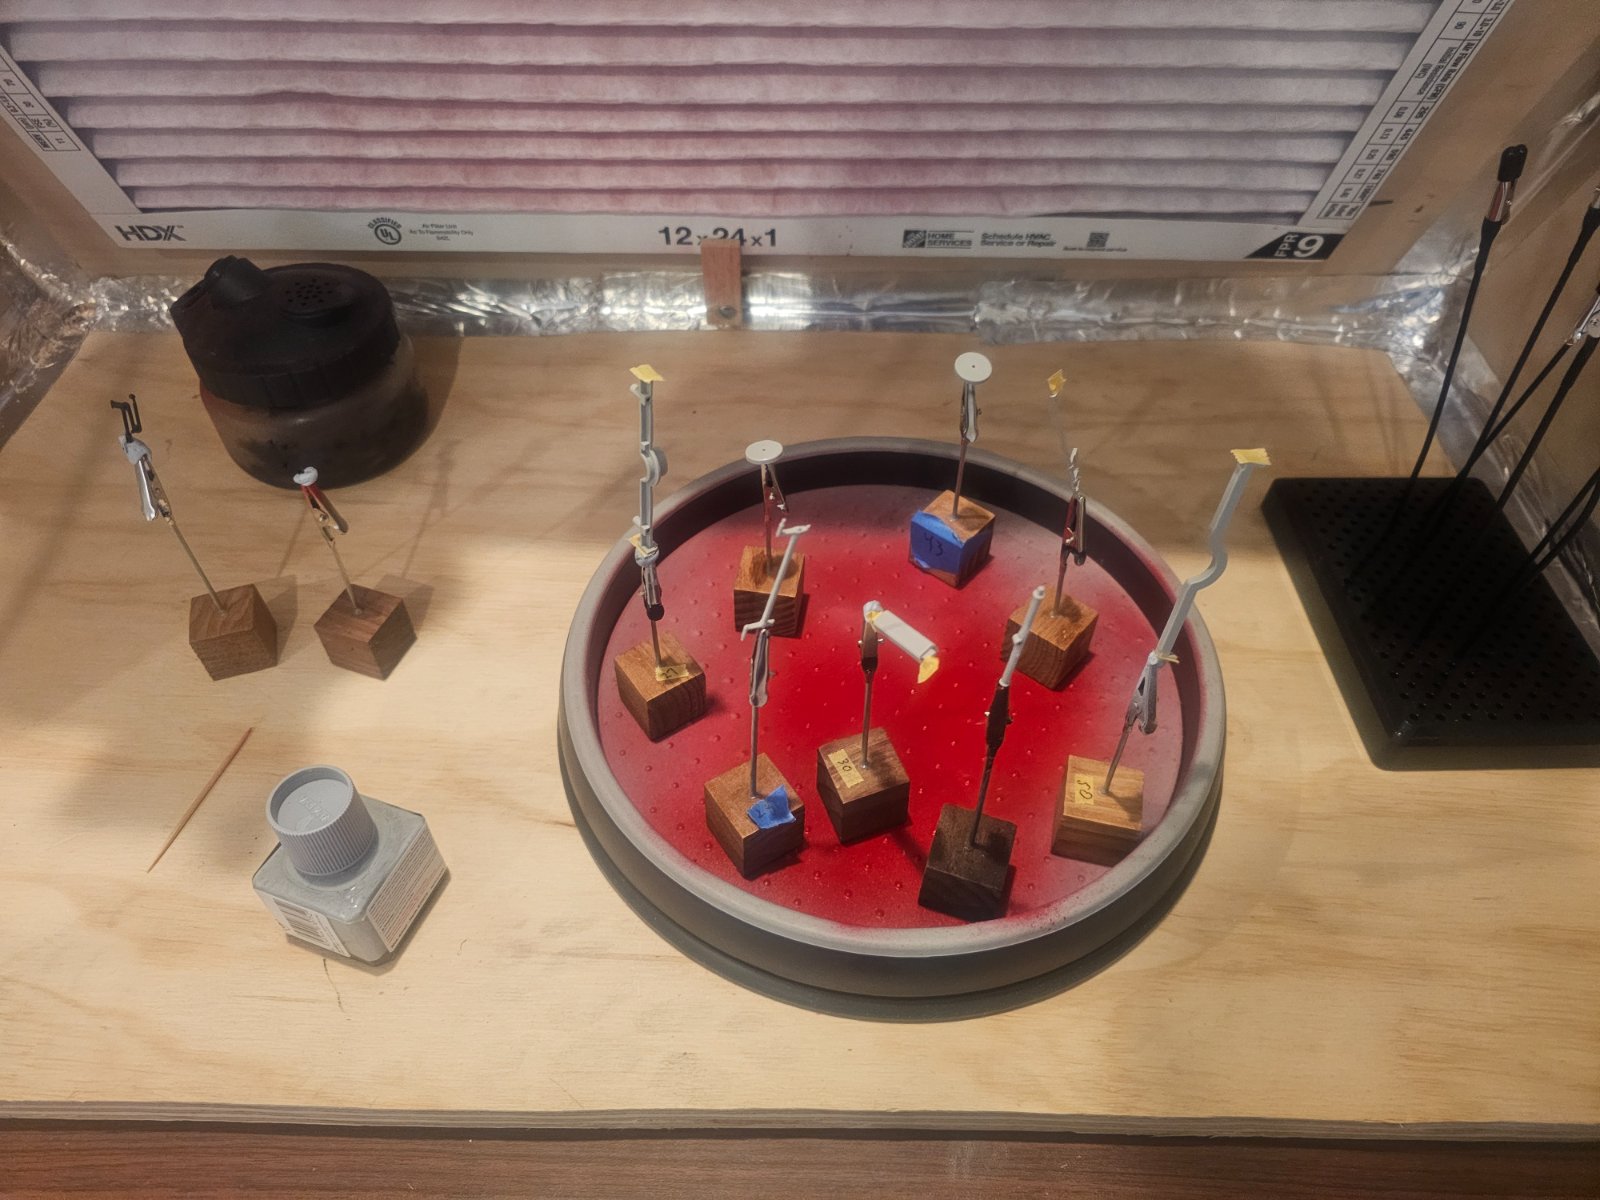
Getting ready for some primer..


![Pampers Sensitive Baby Wipes, Clinically Proven, Fragrance Free, Unscented, Water Based, Hypoallergenic, Multi-Use, Hand Wipes 336 Wipes Total (6X Flip-Top Packs) [Packaging May Vary]](https://m.media-amazon.com/images/I/41KLBHu9CAL._SL500_.jpg)






As an Amazon Associate we earn from qualifying purchases. Product prices and availability are accurate as of the date/time indicated and are subject to change.
And still working on the fiat seat..gave up trying to attach and paint the red piping..so I just ordered some 1mm red silicon tube..its used for fly fishing..this is great stuff and comes in many sizes..
Its amazing how long you can spend on a single part!
Its amazing how long you can spend on a single part!
Last edited:

You mean "how long you can spend on a single part"!amazing
Haha, but I have to admit that I'm also guilty as charged!!

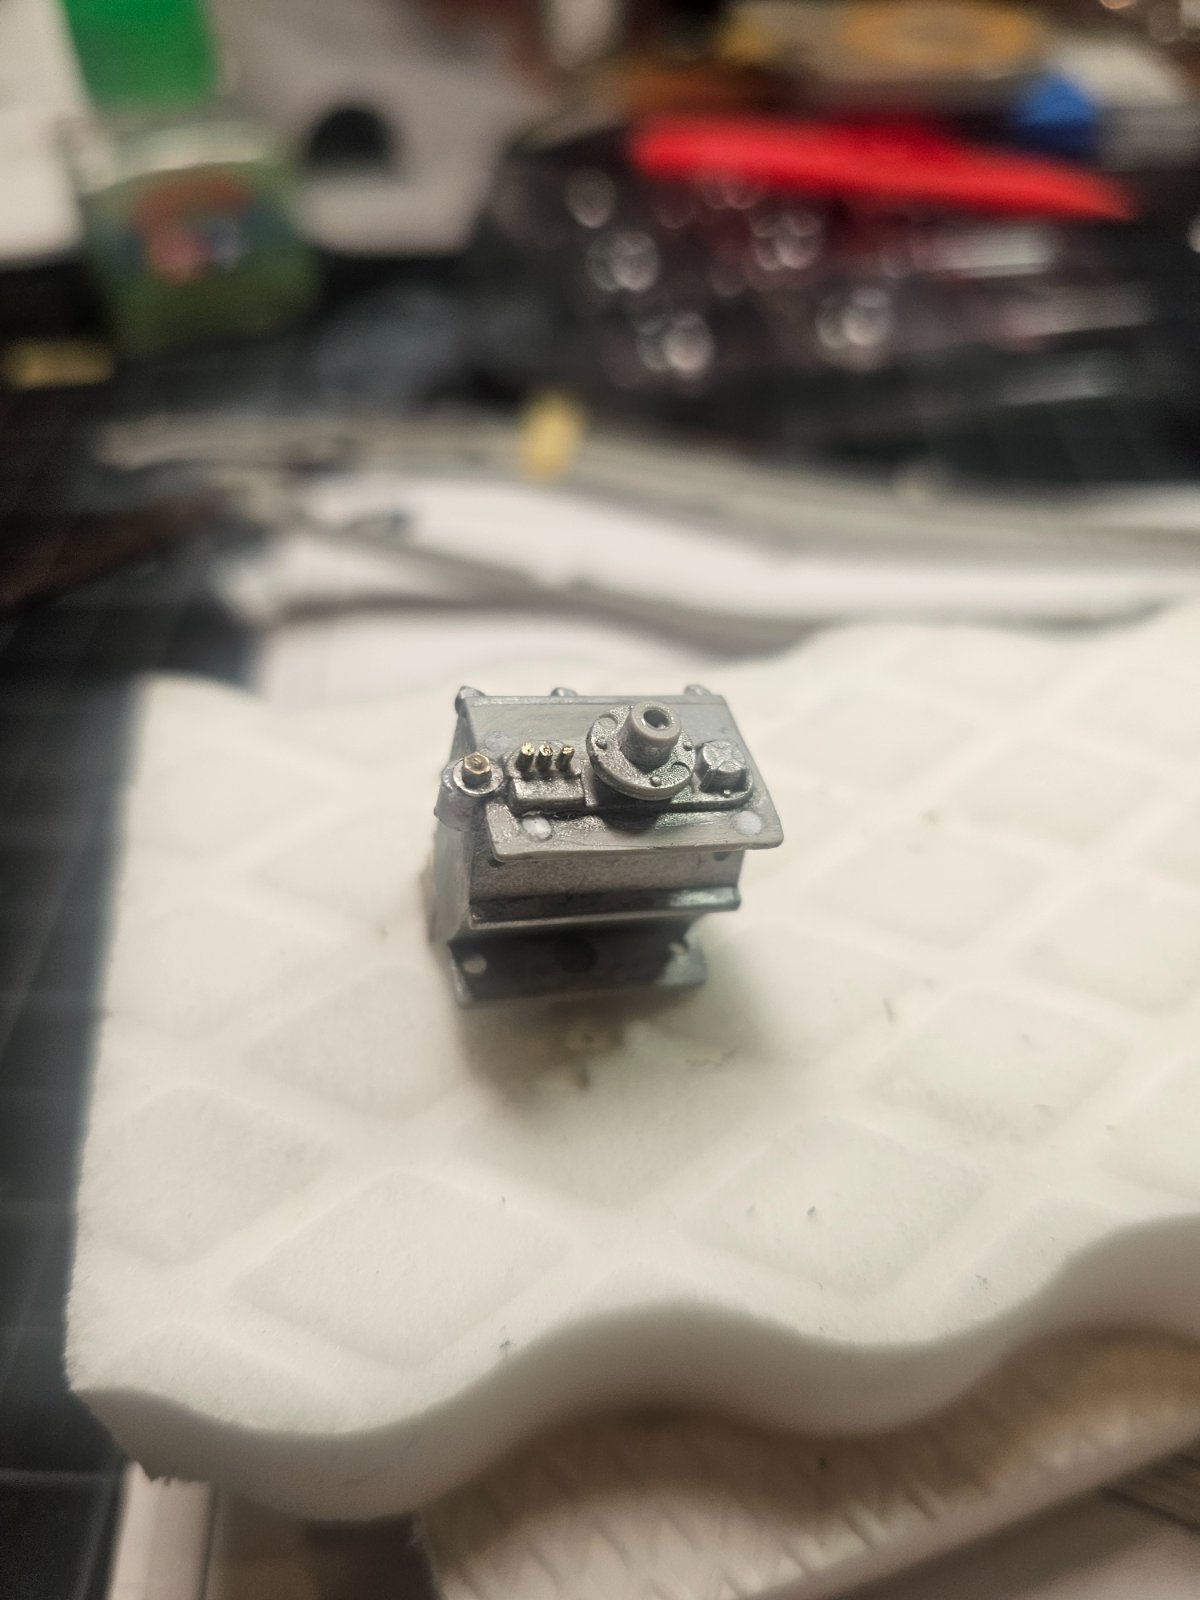
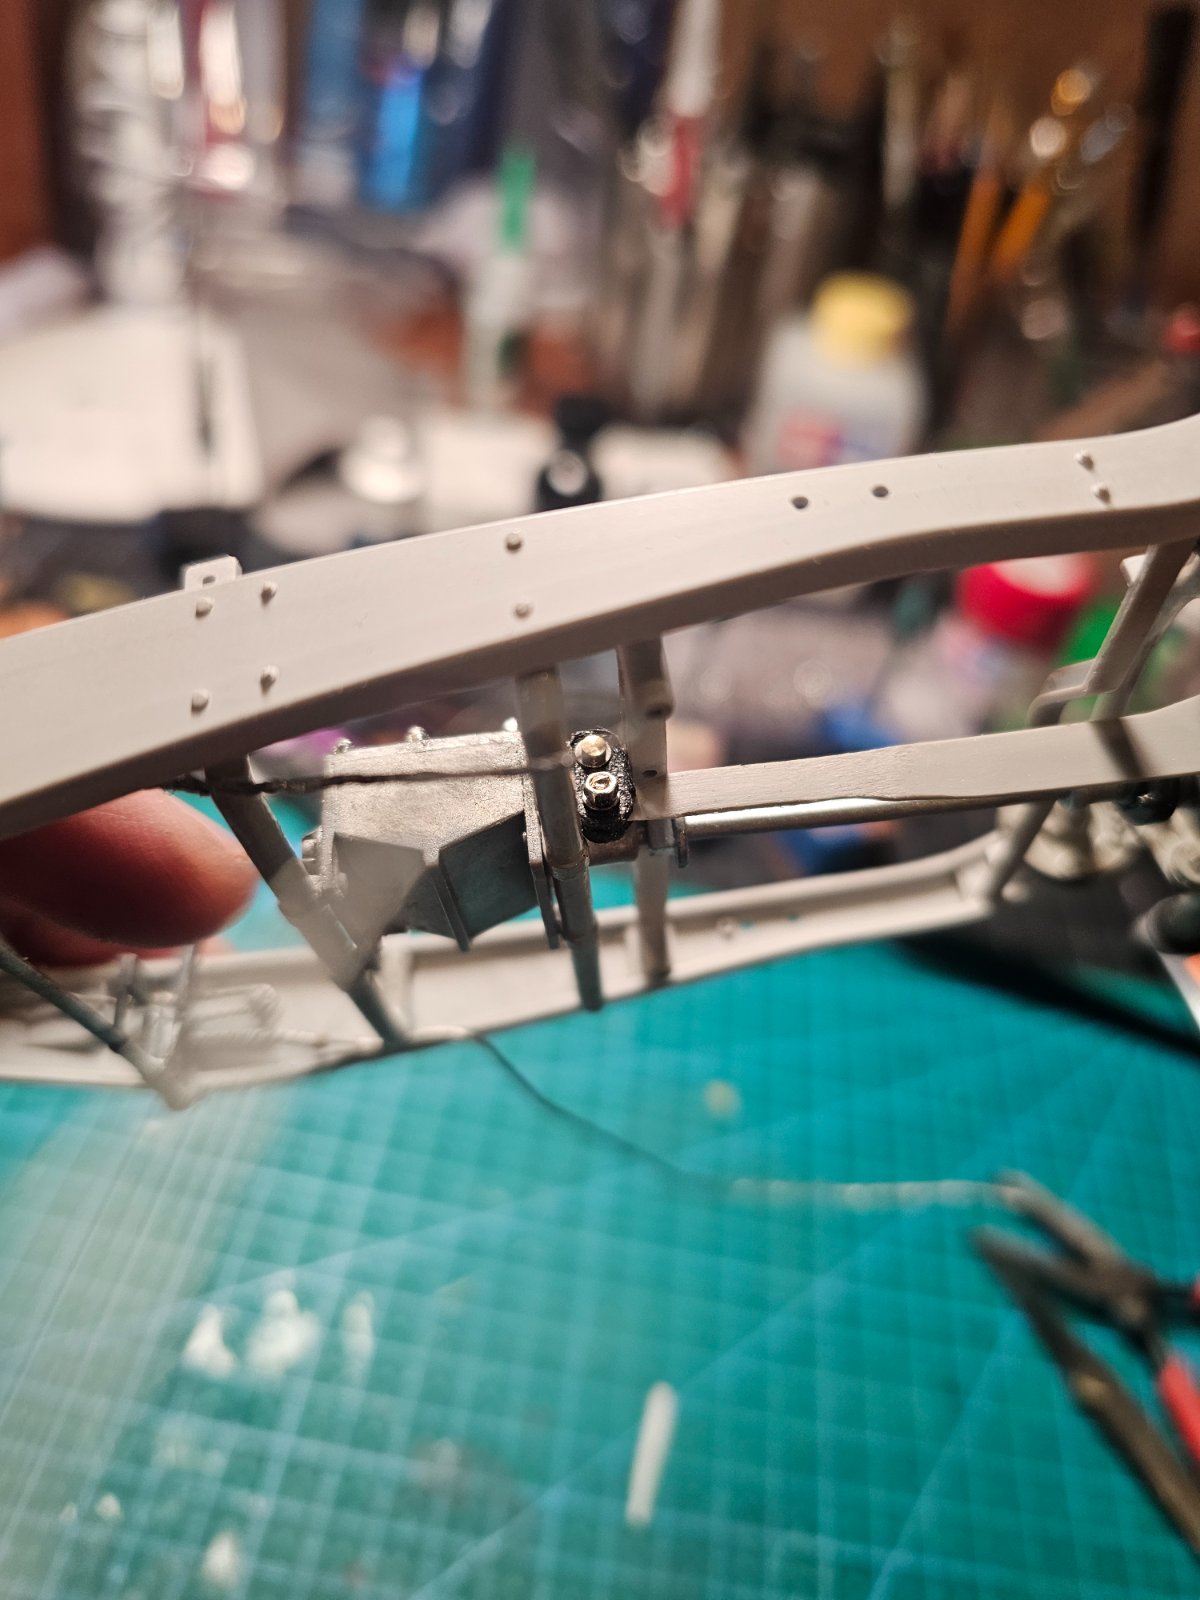
Working on the torque arm damper..made it out of leather a styrene bracket and sipe small bolts nuts and washers..have to make a new torque arm before I can finish it as it attaches to the bottom of it.
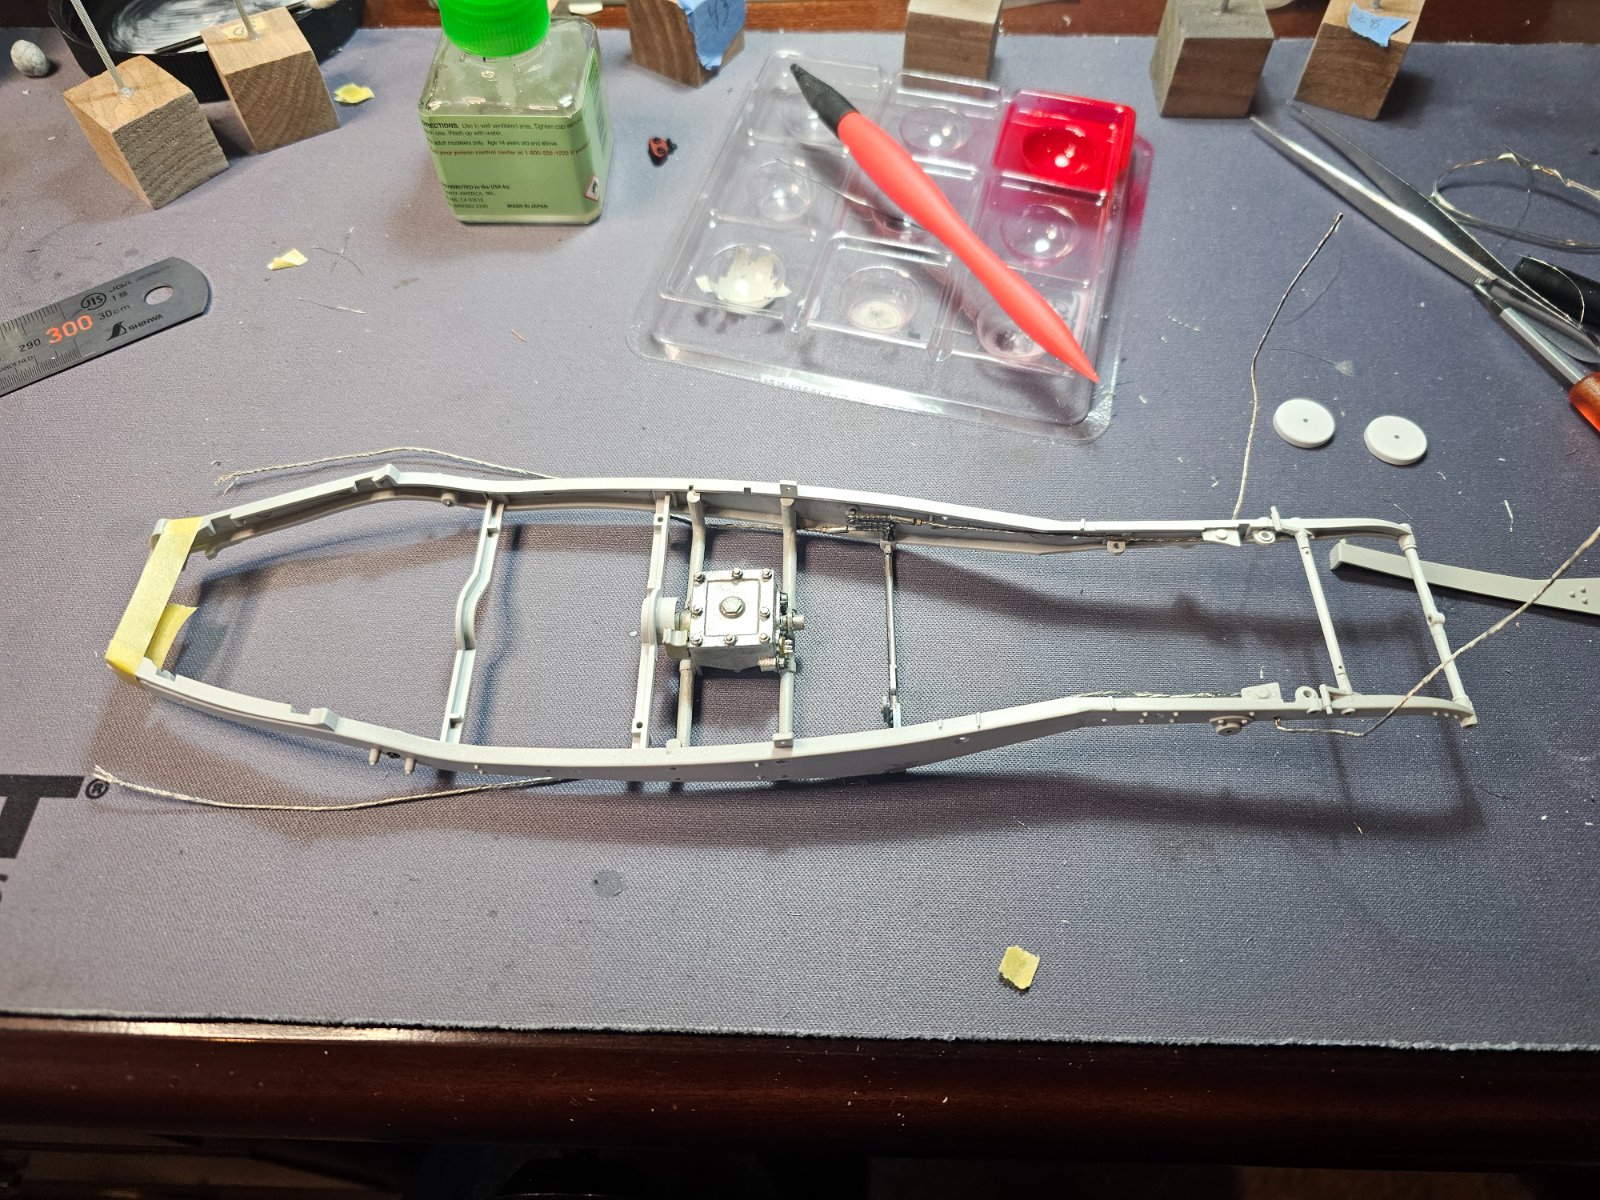
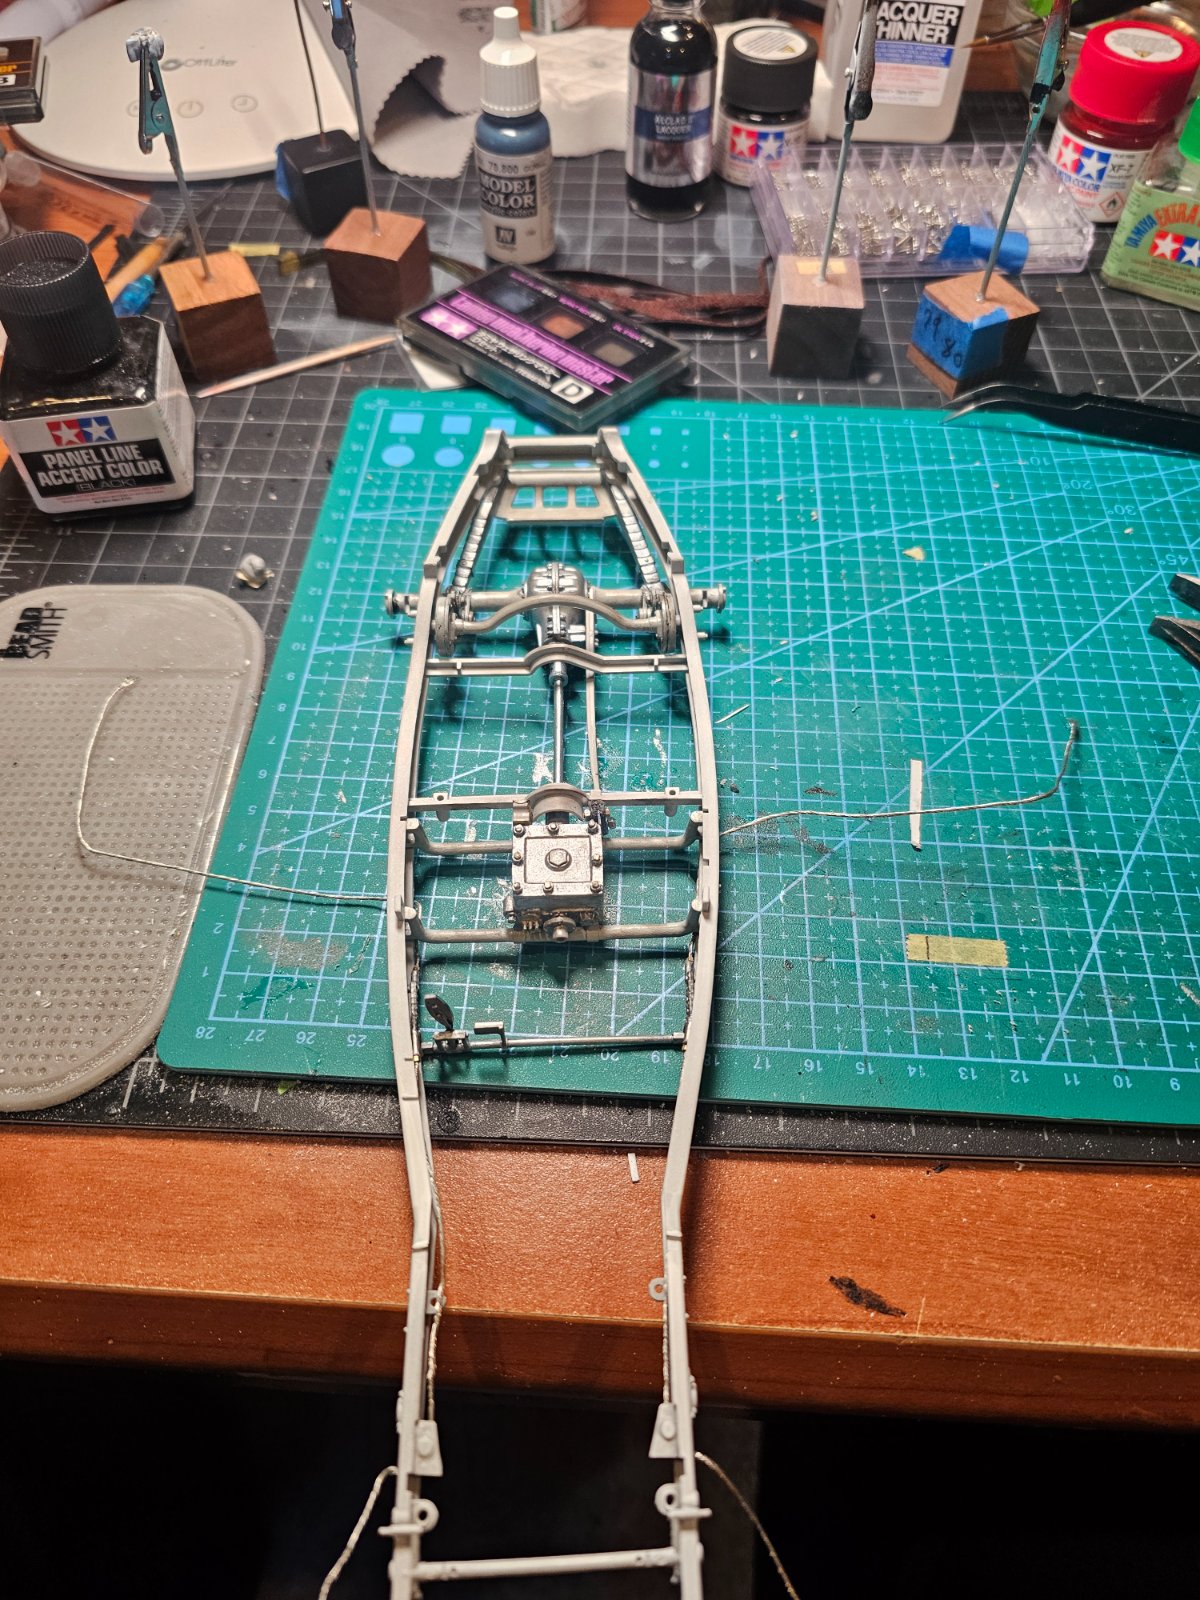
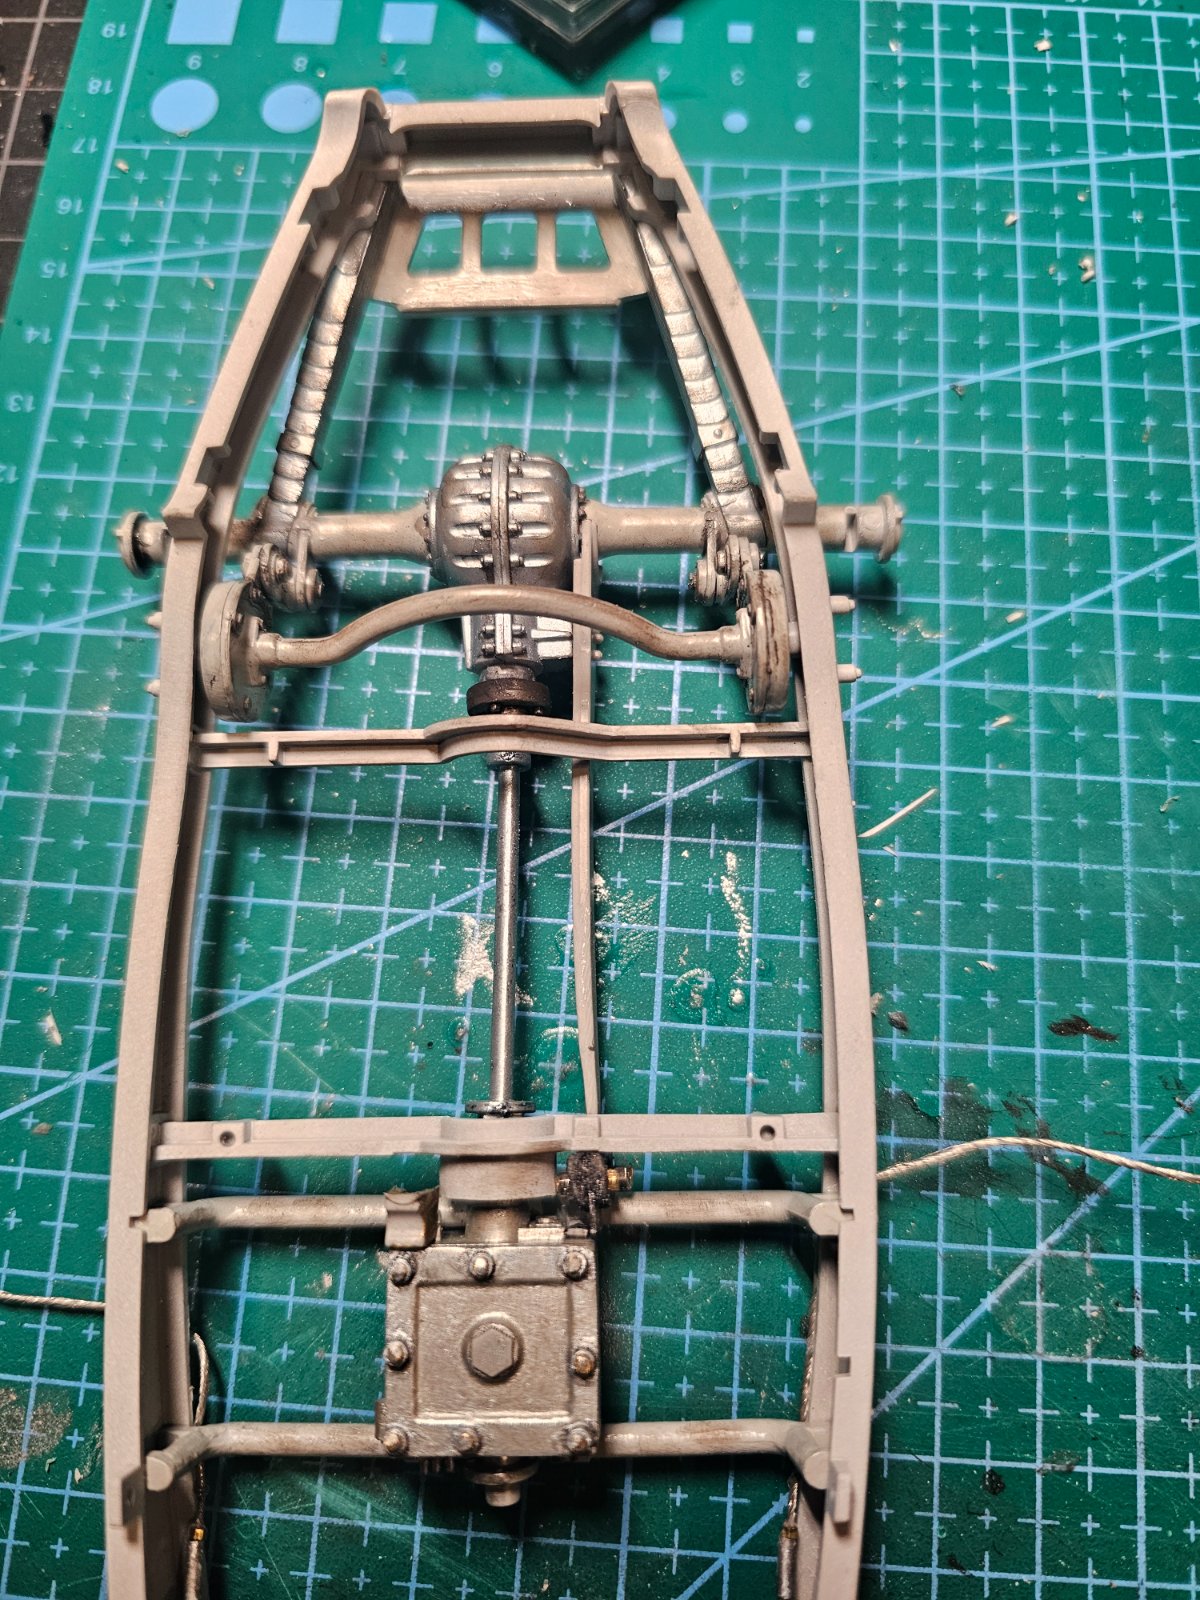
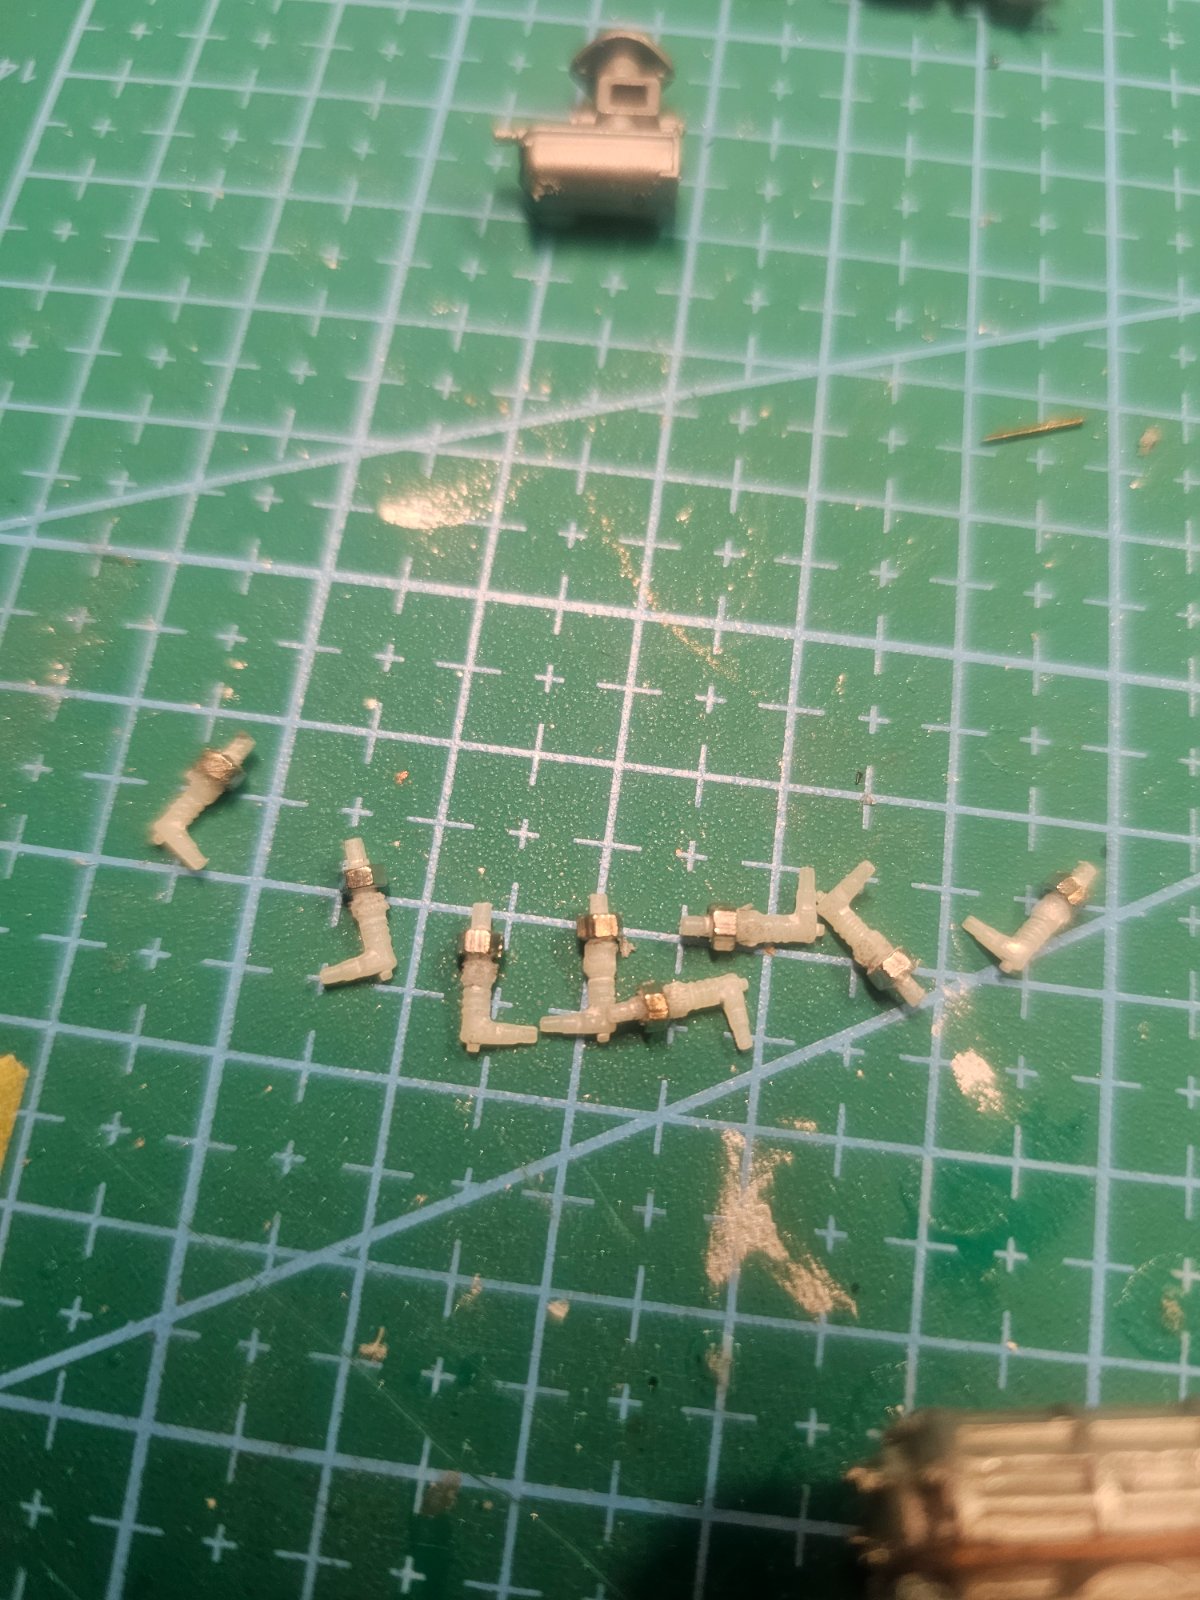
Weathered the gearbox and building some turnbuckles for the brake chain slack adjusters..the brakes are cable actuated and the chains take up the slack for even braking. They give you tube and solid wire for this..I'm going to make twisted cables and use aluminum tube and nuts..
Also started work on the frame.
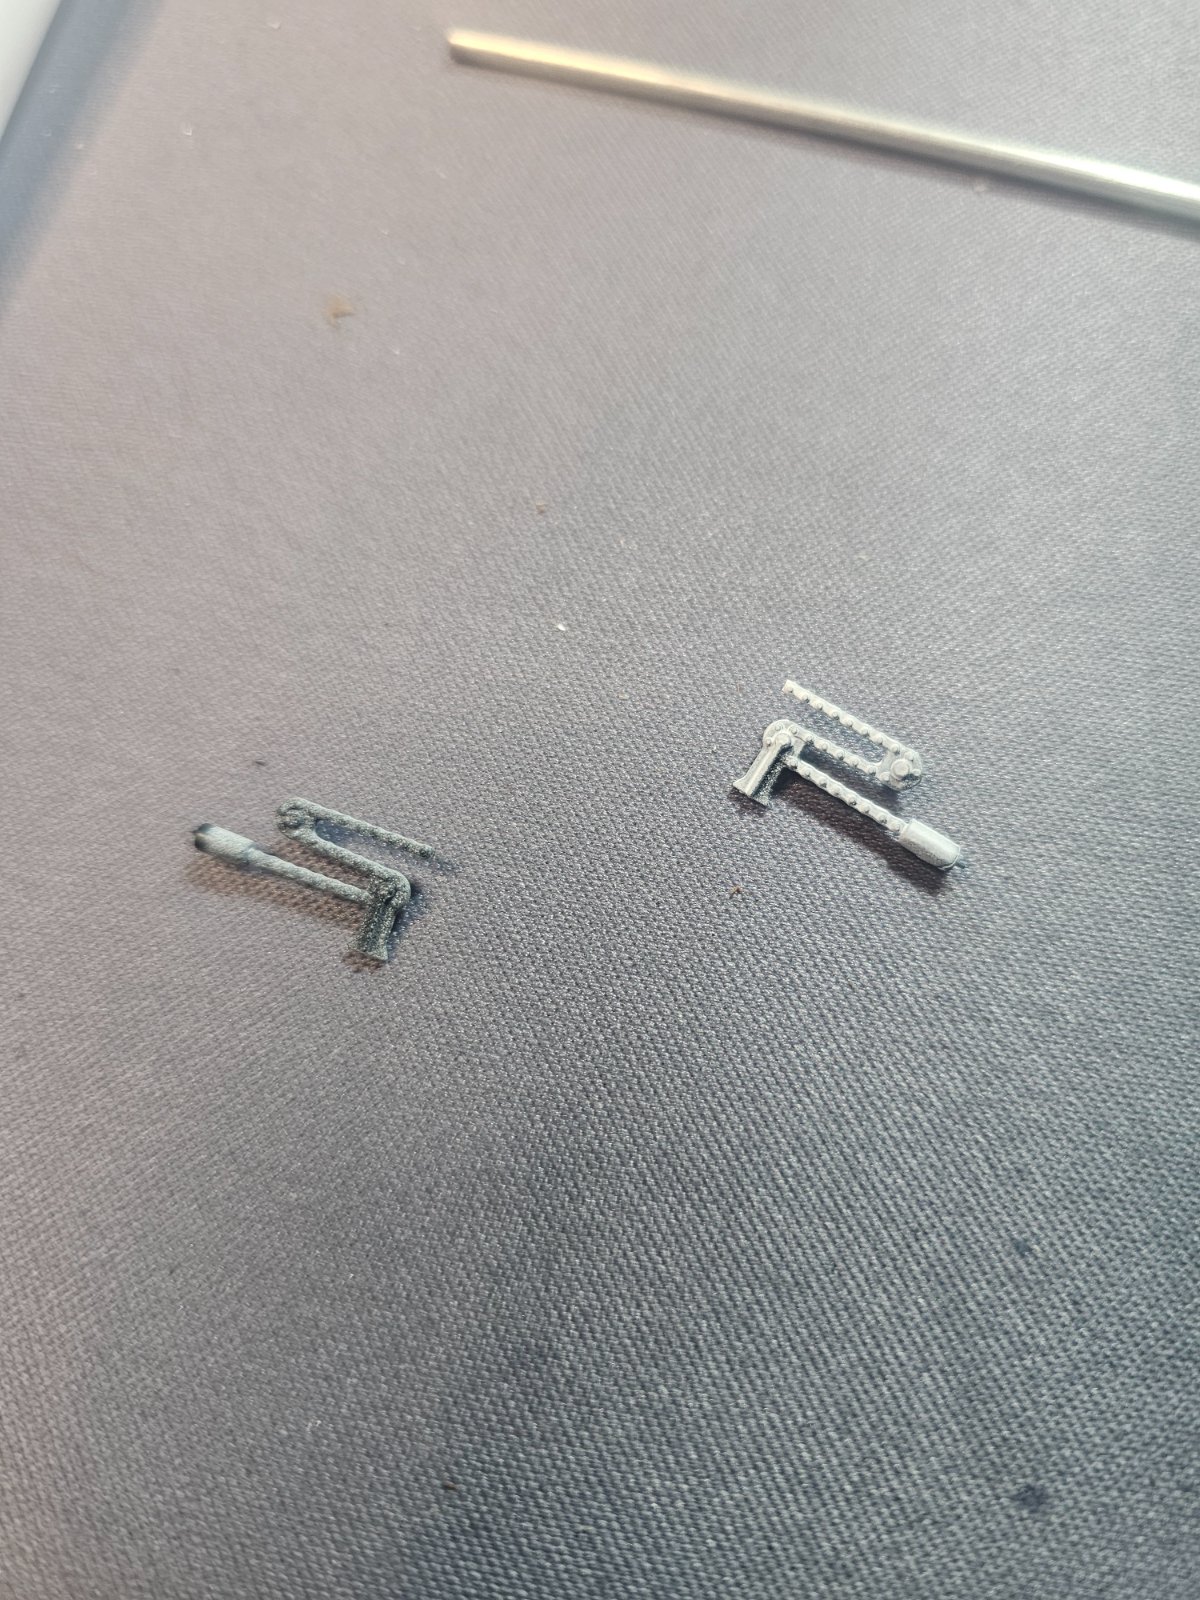
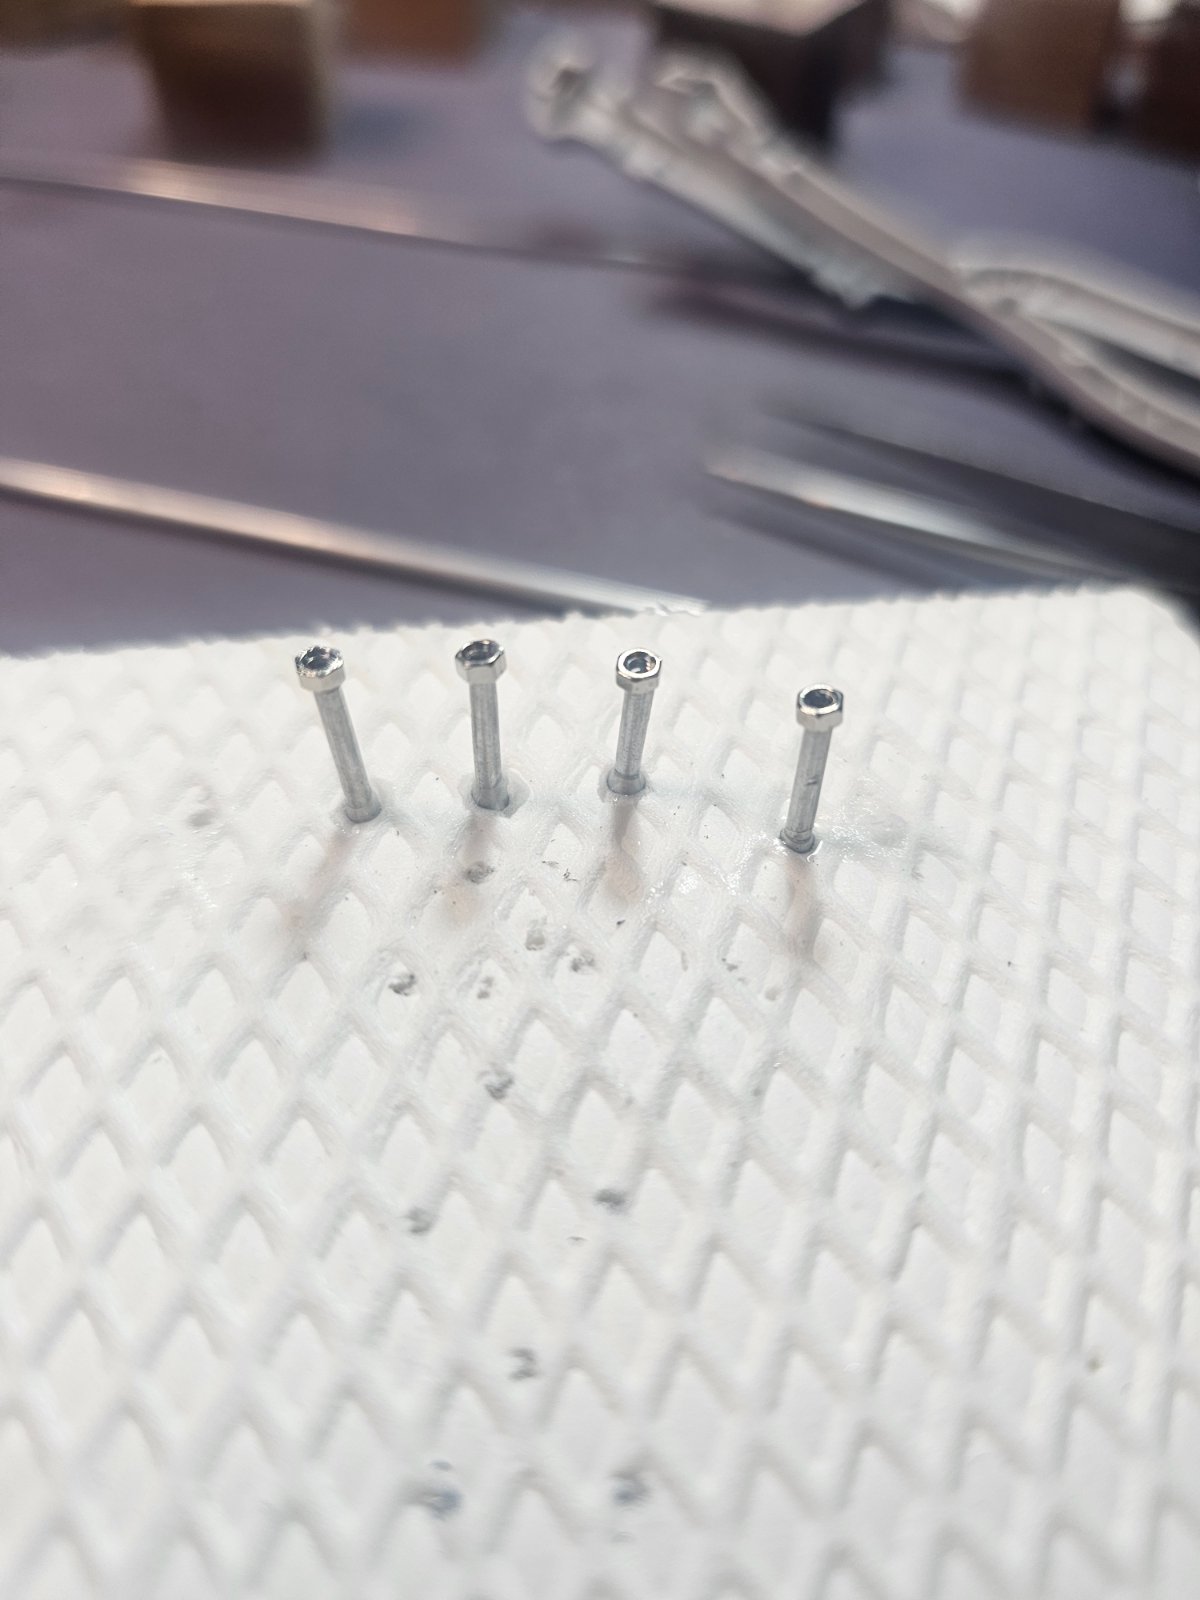
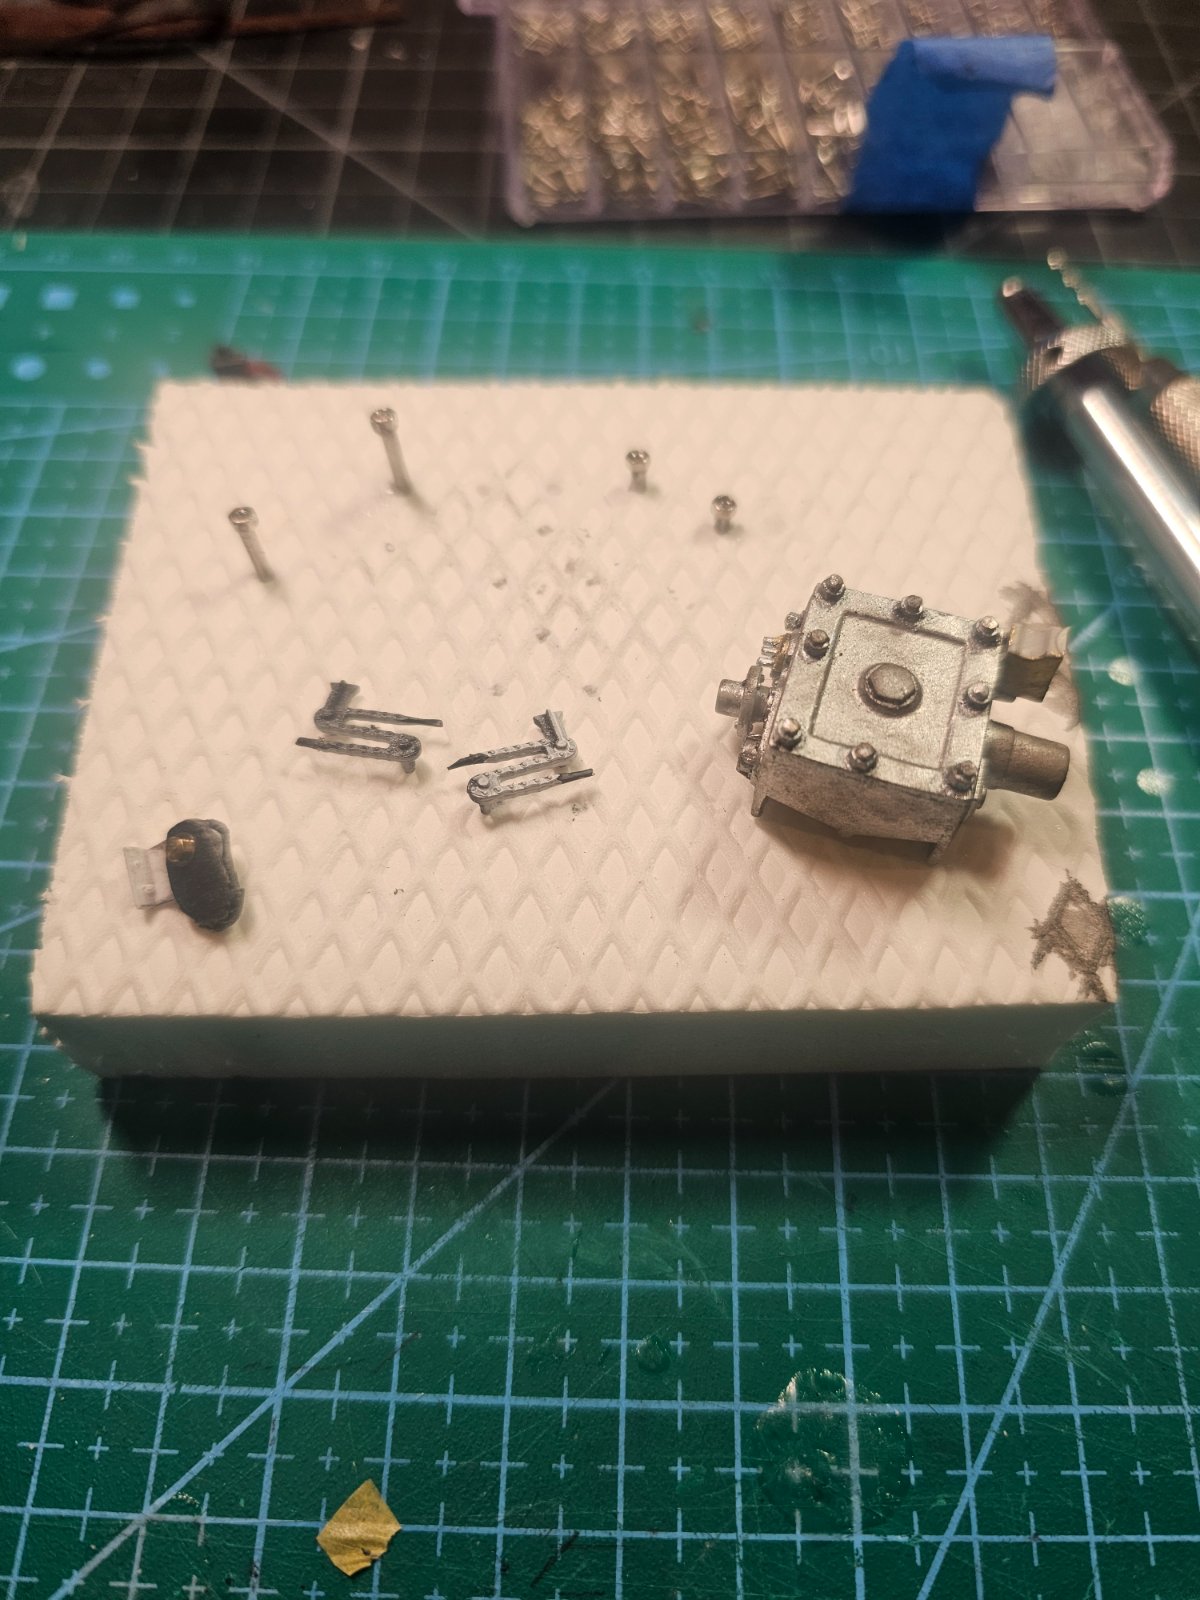
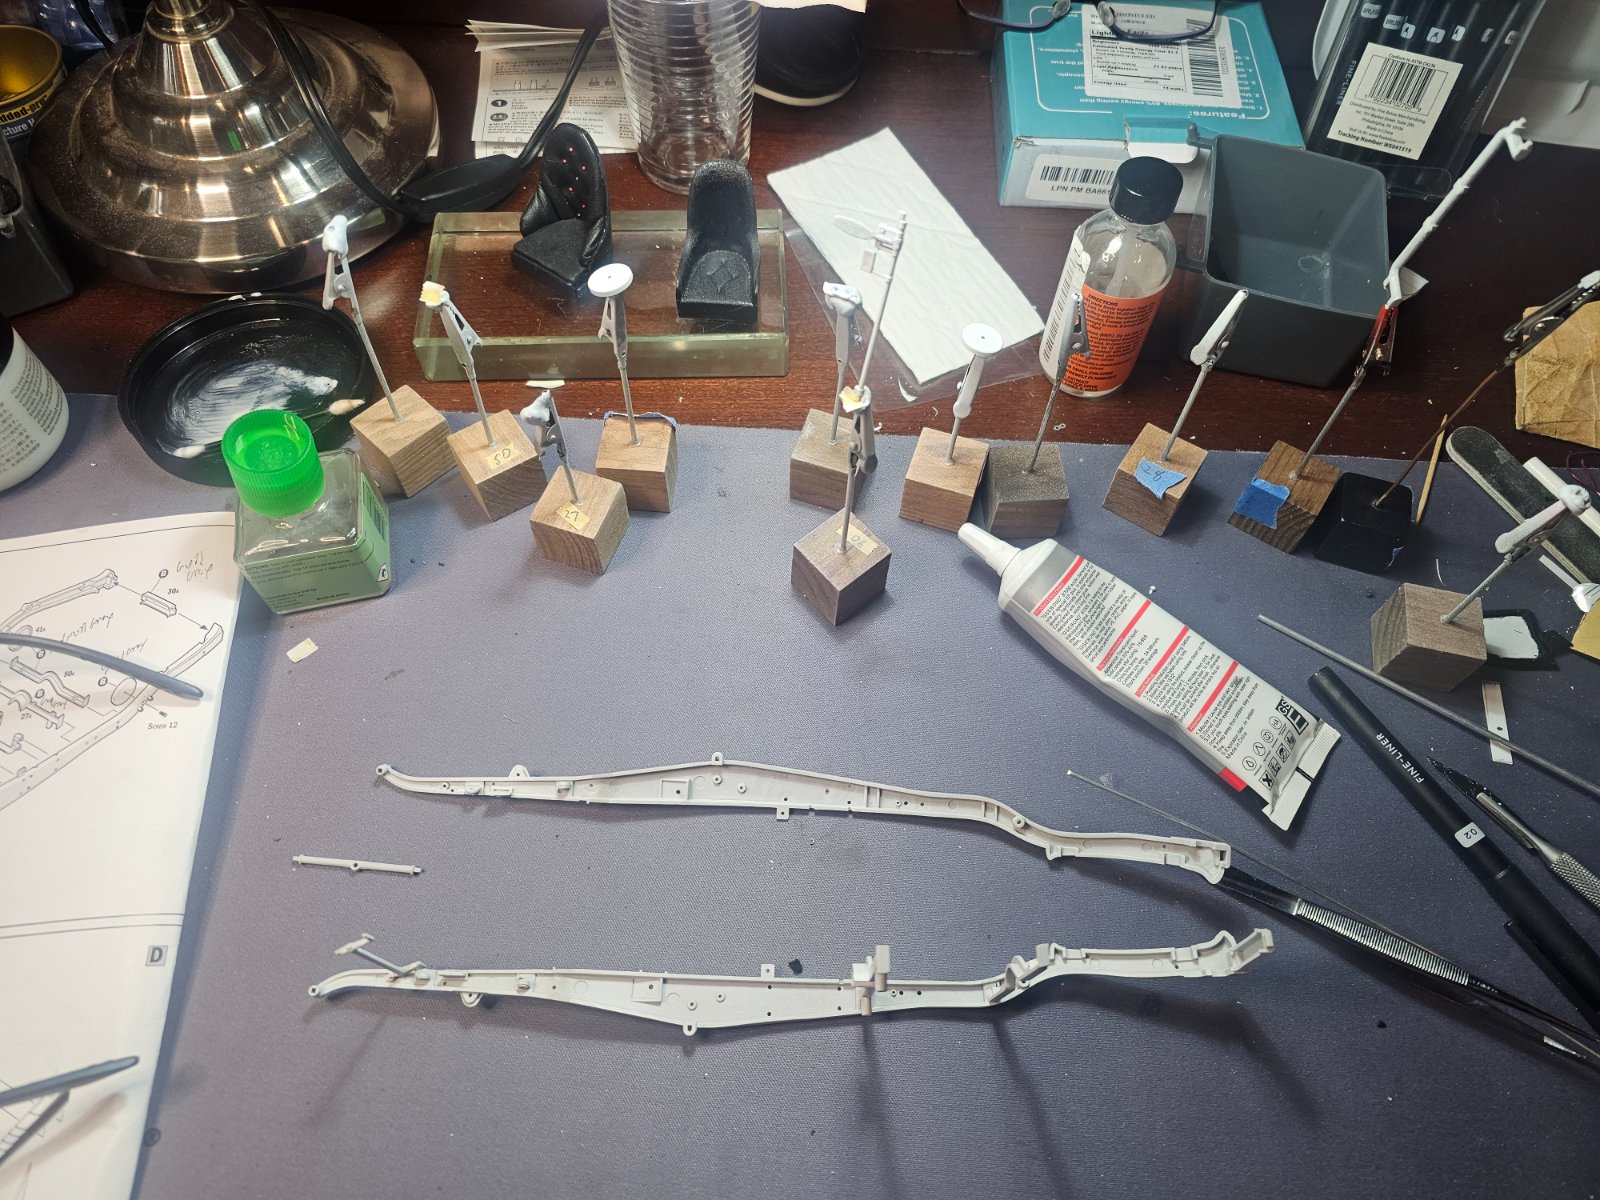
Weathered the gearbox and building some turnbuckles for the brake chain slack adjusters..the brakes are cable actuated and the chains take up the slack for even braking. They give you tube and solid wire for this..I'm going to make twisted cables and use aluminum tube and nuts..
Also started work on the frame.
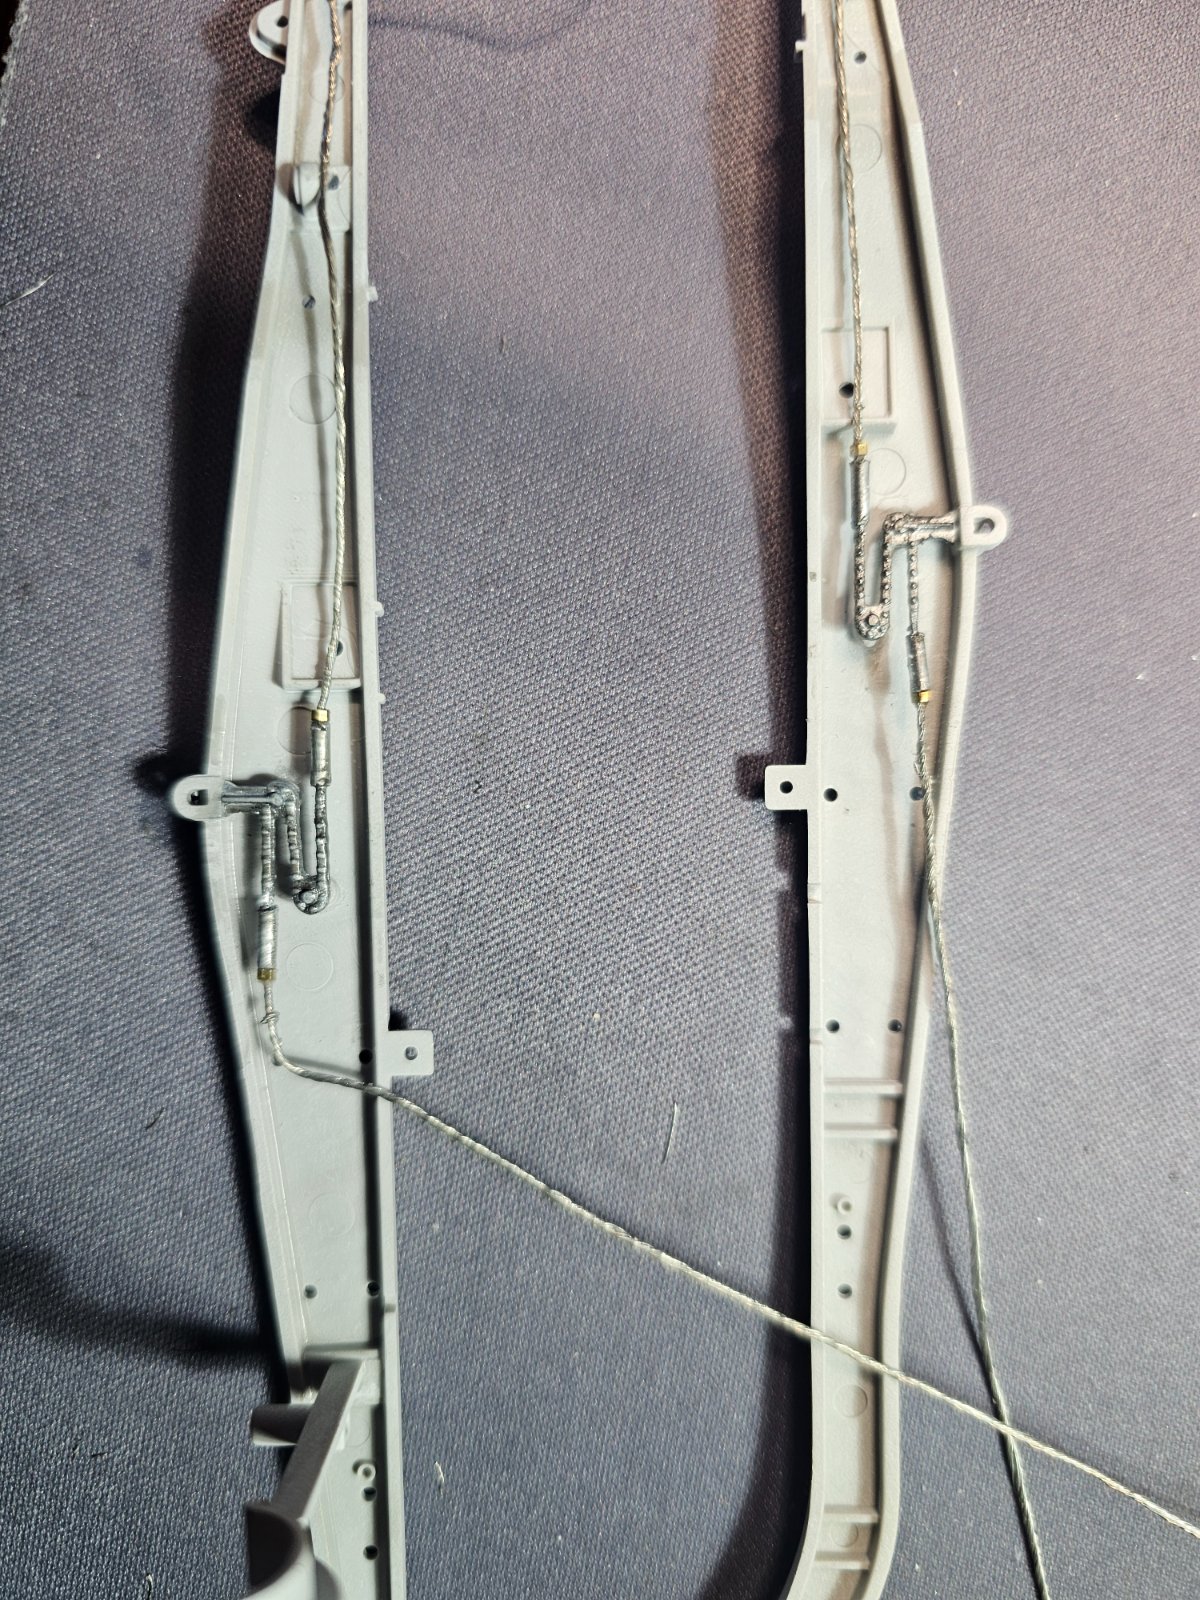
I was going to try and make these chain adjusters but the only chain even close is fusee chain for watches..and it ain't cheap..so I used whst it came with..but instead of the solid wire for the brake cables I thinned out some electric wire down to .5mm. Added a tiny nut and some aluminum tube to replicate the adjuster.
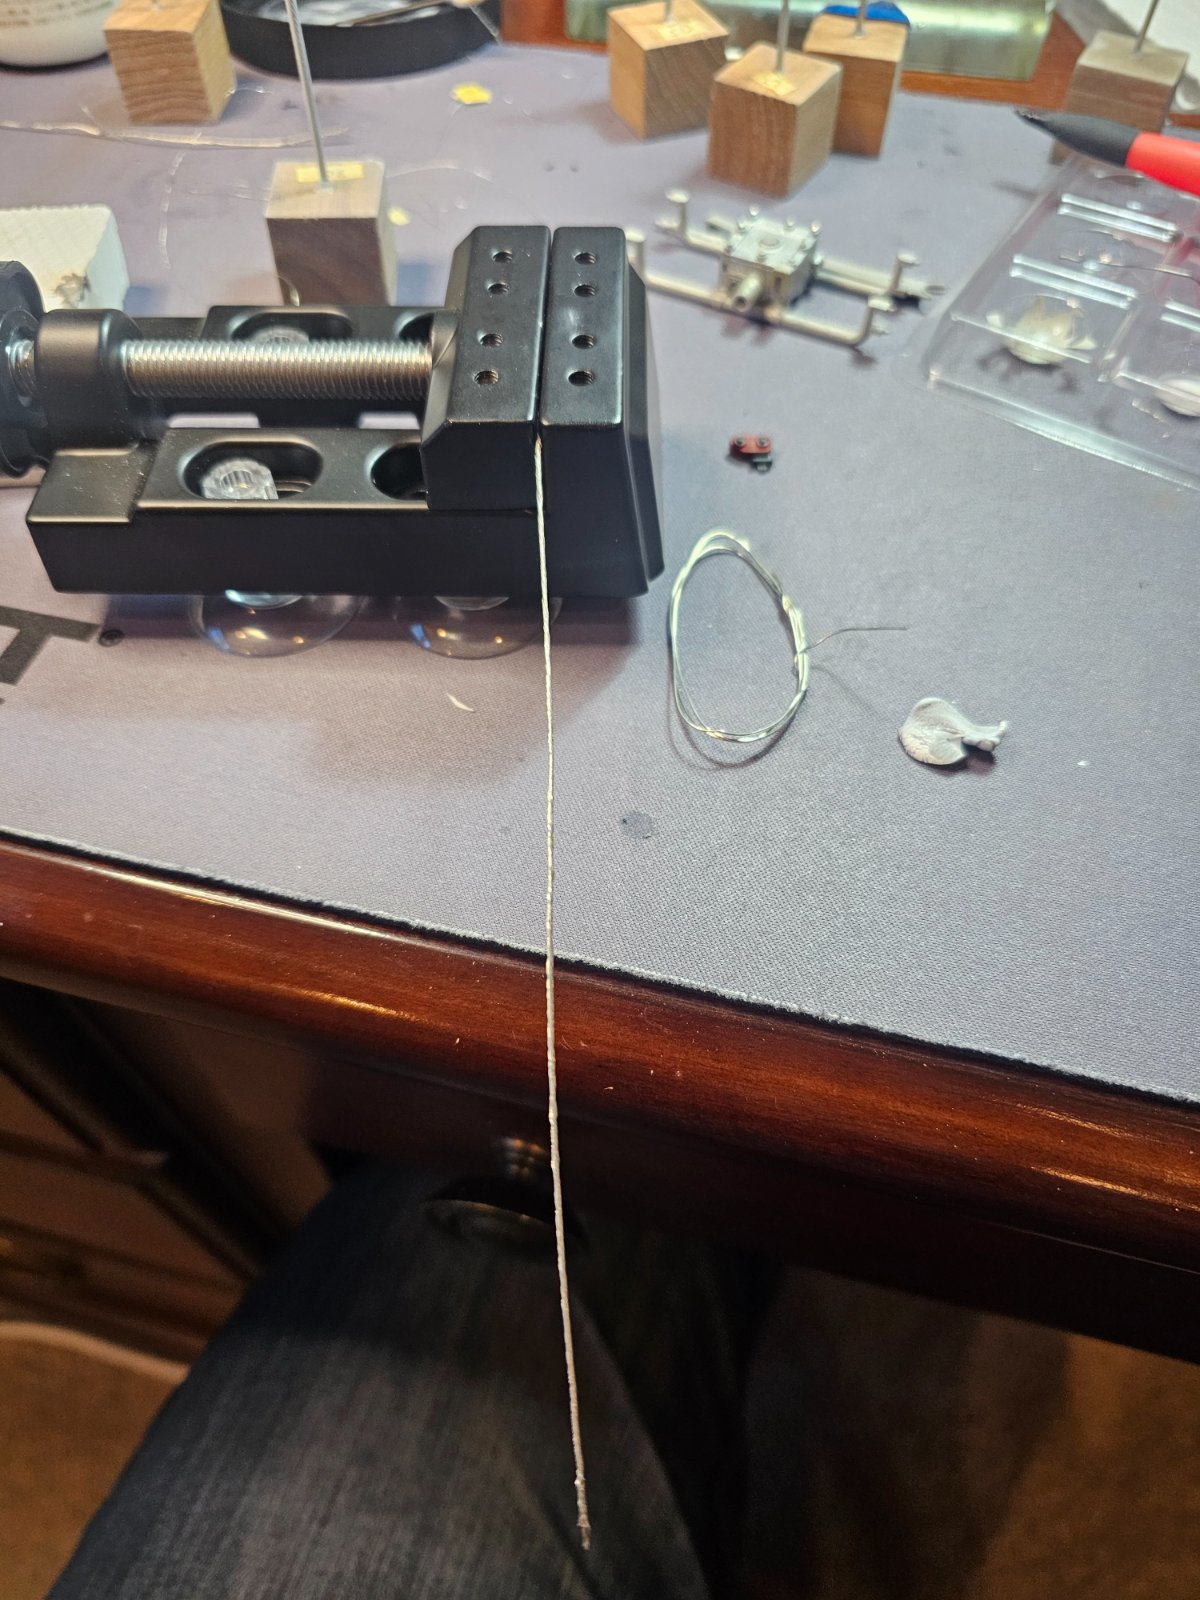
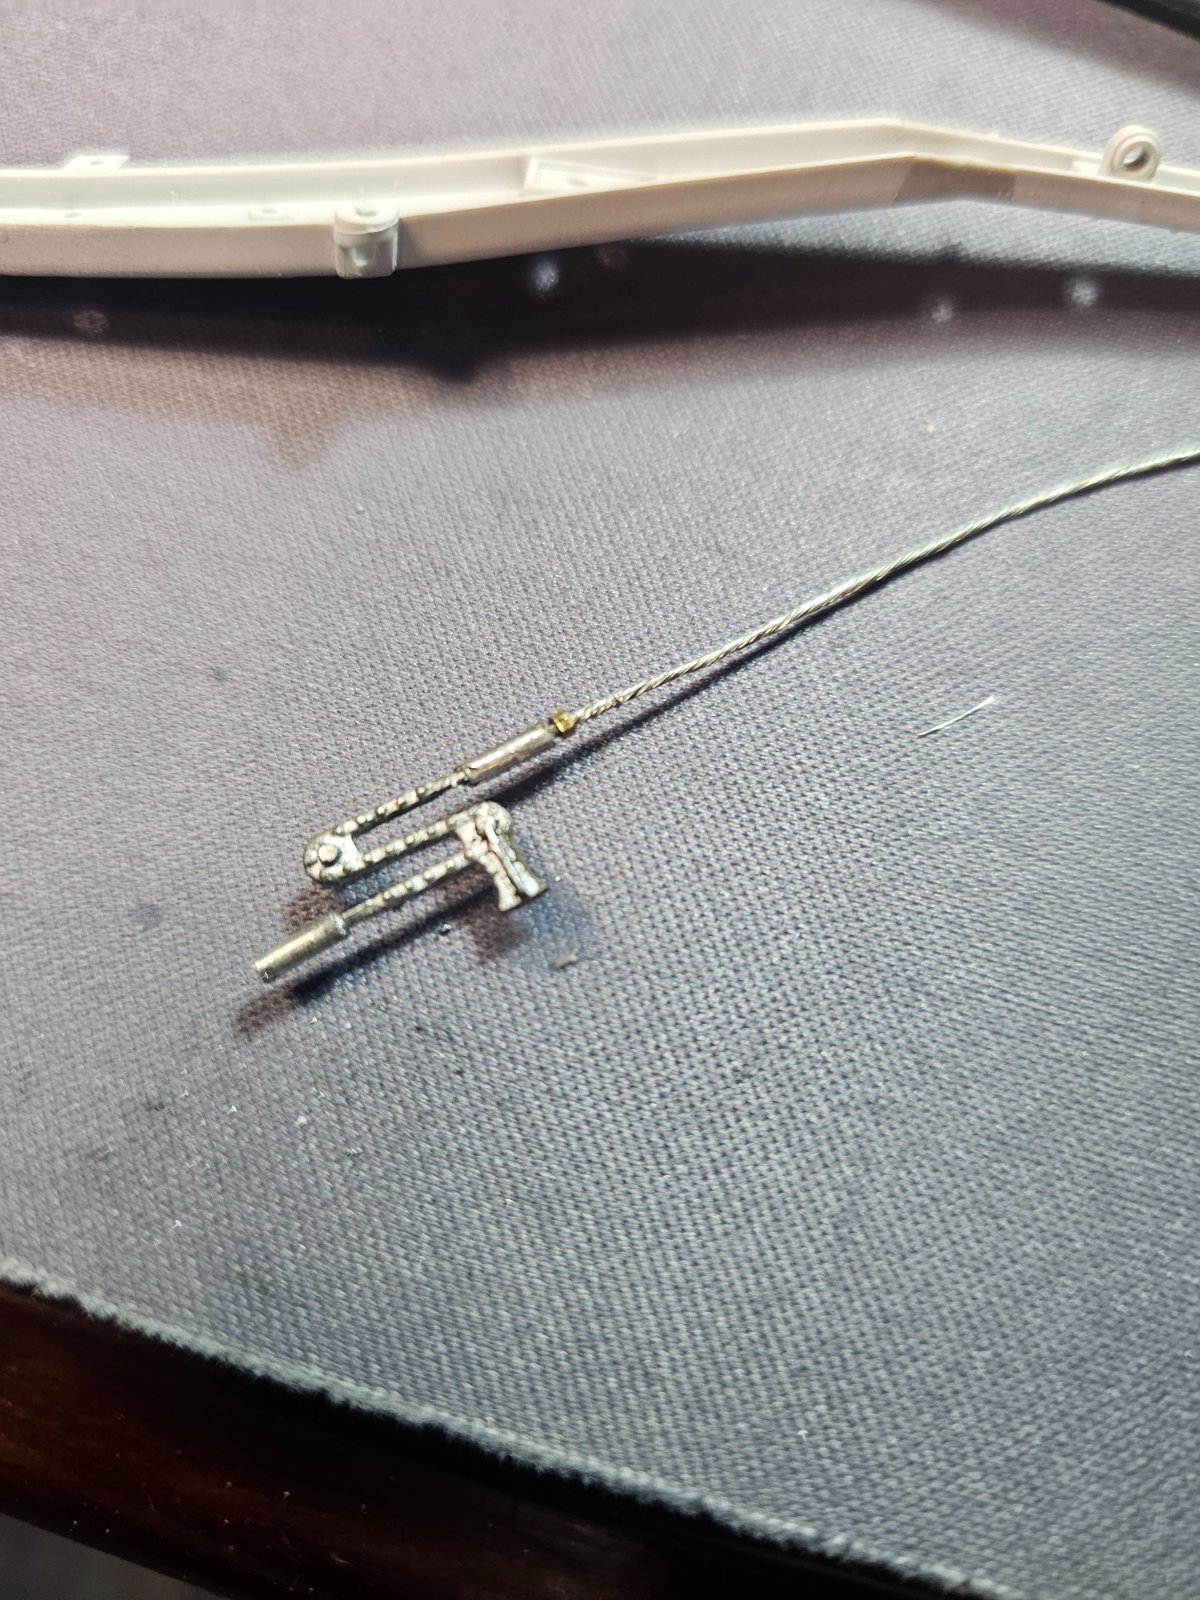
》Rant alert《
Liking it... the adjuster nut makes it; with the little bit of scratch I've attempted, that kind of 'replication' brings an aspect of modeling into focus, (and it's not for everybody):
I wonder if the advances and 'availability' of tools and fabrication methods (CAD and 3D printing, not to mention AI) will spell the end of 'replication' as opposed to exact duplication.
There is definitely an art to producing an item that fully evokes the real world thing without being an 'exact' miniaturized 'copy'.
In the late 70s, a similar debate in the art world revolved around the worth of hyper realism in painting: why not just use a camera?
Personally, I find the challenge to pull off the trick of scratch building very satisfying, and the appreciation of others' efforts, 'magical'.
Liking it... the adjuster nut makes it; with the little bit of scratch I've attempted, that kind of 'replication' brings an aspect of modeling into focus, (and it's not for everybody):
I wonder if the advances and 'availability' of tools and fabrication methods (CAD and 3D printing, not to mention AI) will spell the end of 'replication' as opposed to exact duplication.
There is definitely an art to producing an item that fully evokes the real world thing without being an 'exact' miniaturized 'copy'.
In the late 70s, a similar debate in the art world revolved around the worth of hyper realism in painting: why not just use a camera?
Personally, I find the challenge to pull off the trick of scratch building very satisfying, and the appreciation of others' efforts, 'magical'.
I do it because I know how this stuff works and it bugs me when they give you something that barely looks real...plus all the parts you can buy now is great..expensive but great.
Now if I just had a small mill and a lathe.
Who knows..might get them as fir under 3k you can get pretty decent ones.
I built an entire machine shop at work..but retired before we even turned it all on..
I follow a guy on Facebook that machines all these tiny engine parts..
Gives me ideas..
Now if I just had a small mill and a lathe.
Who knows..might get them as fir under 3k you can get pretty decent ones.
I built an entire machine shop at work..but retired before we even turned it all on..
I follow a guy on Facebook that machines all these tiny engine parts..
Gives me ideas..
Definitely above my capabilities, but I can see where you're going with that!a small mill and a lathe
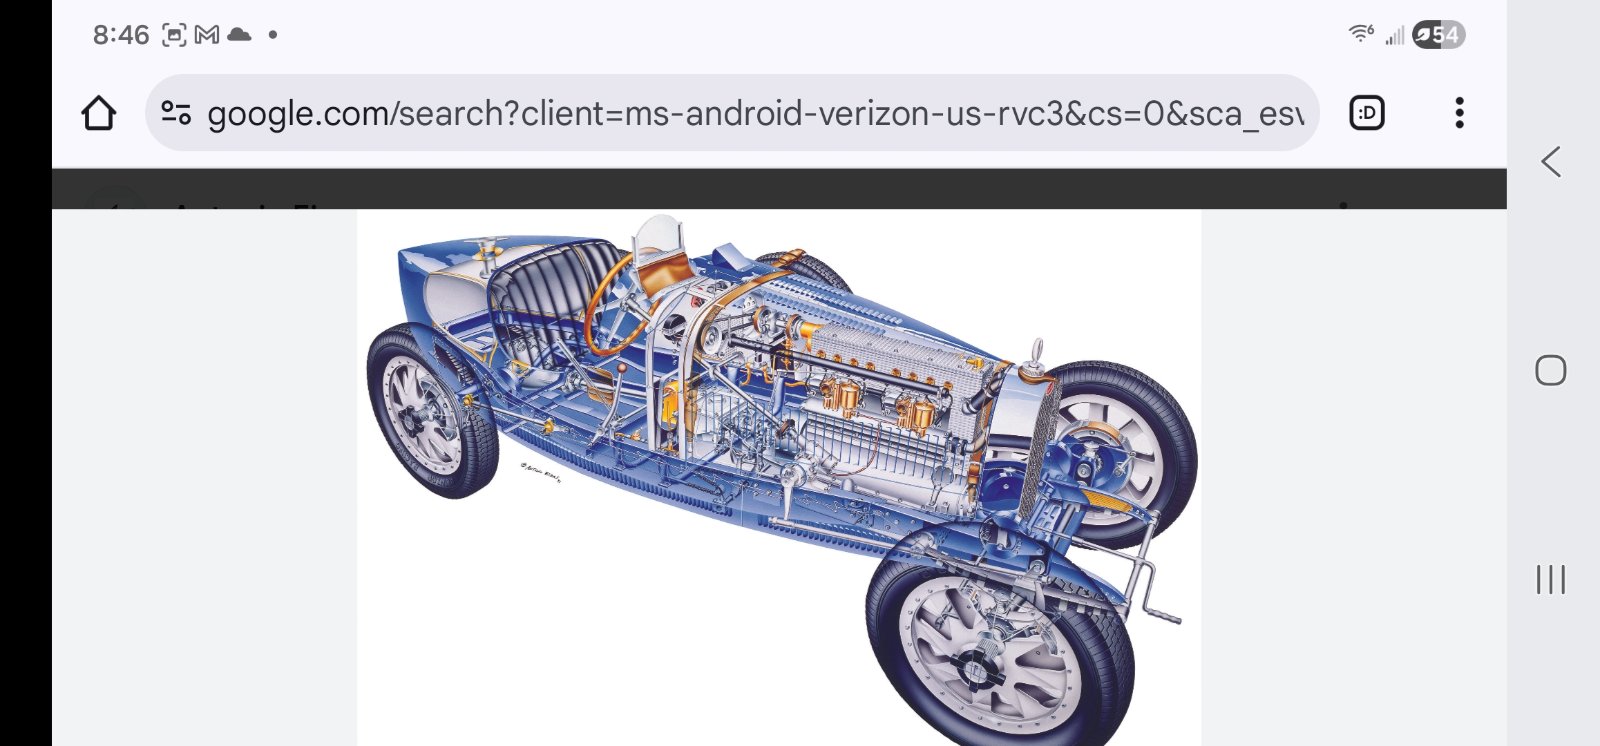
...yes, that's when you really appreciate a technical draftsman who knew how to get all the detail, from just right angles...diagrams
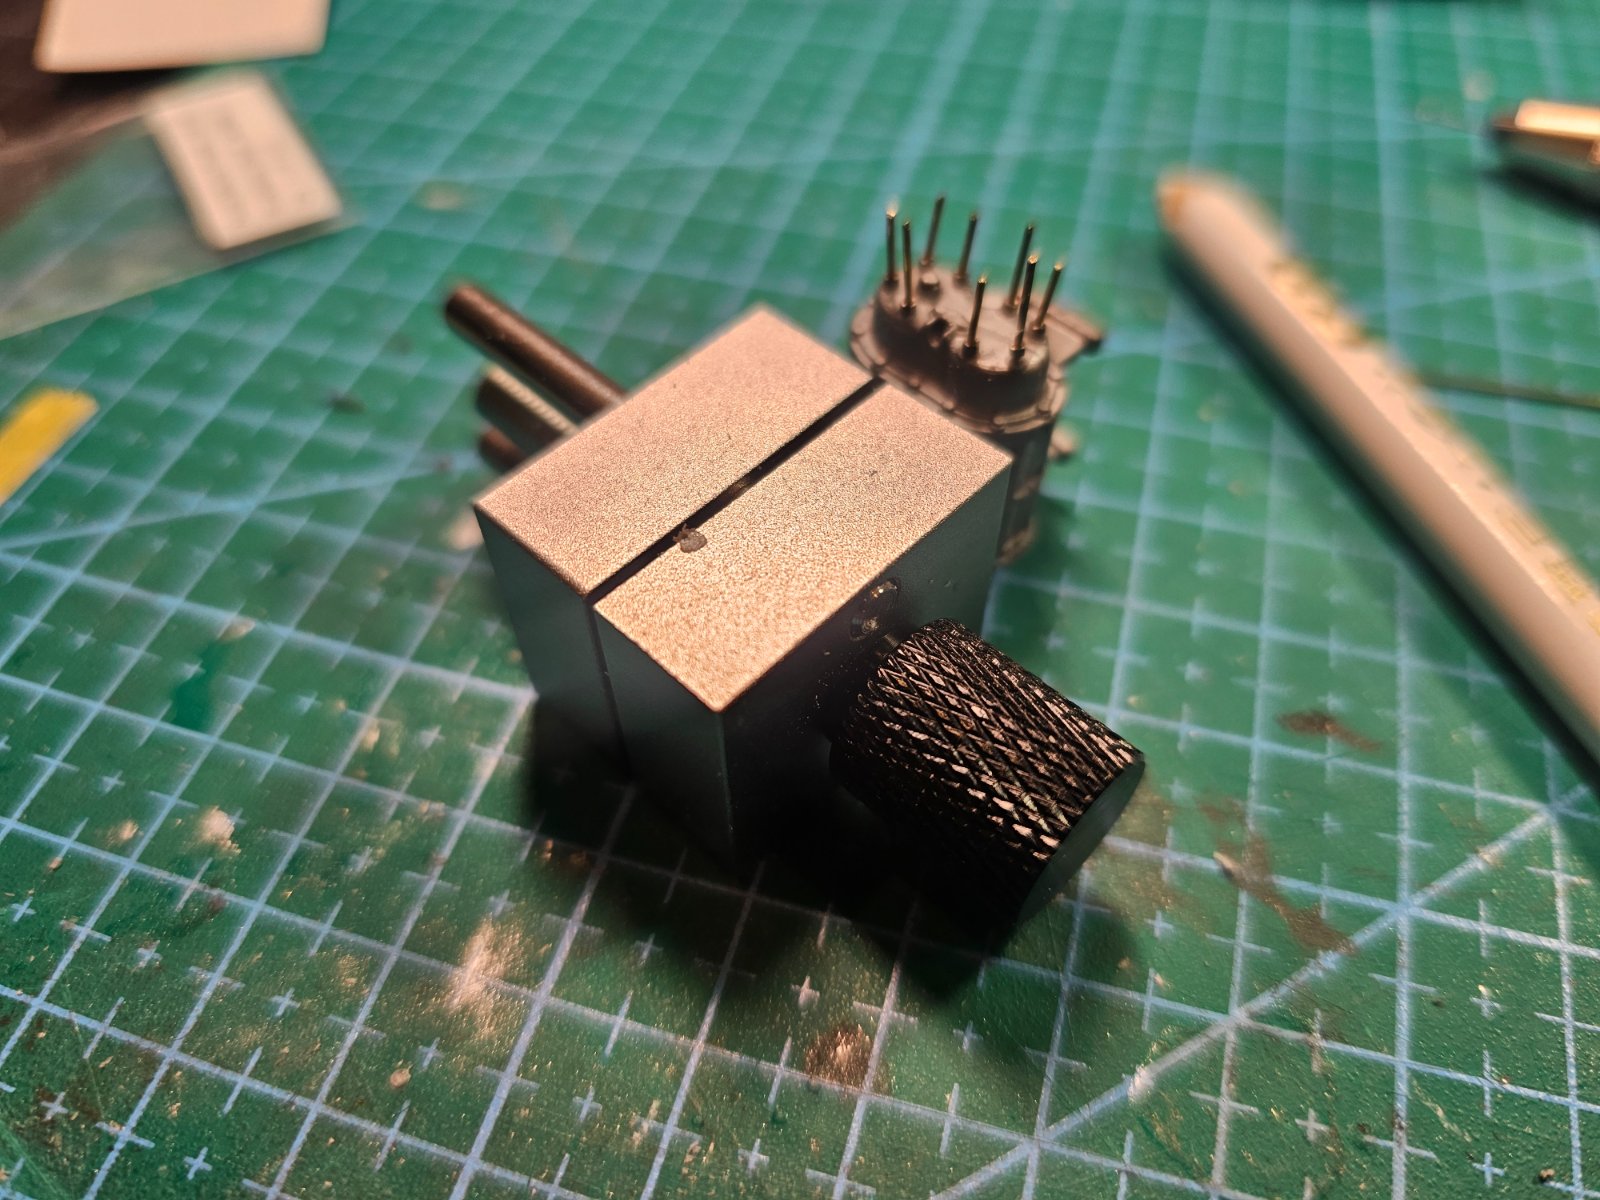
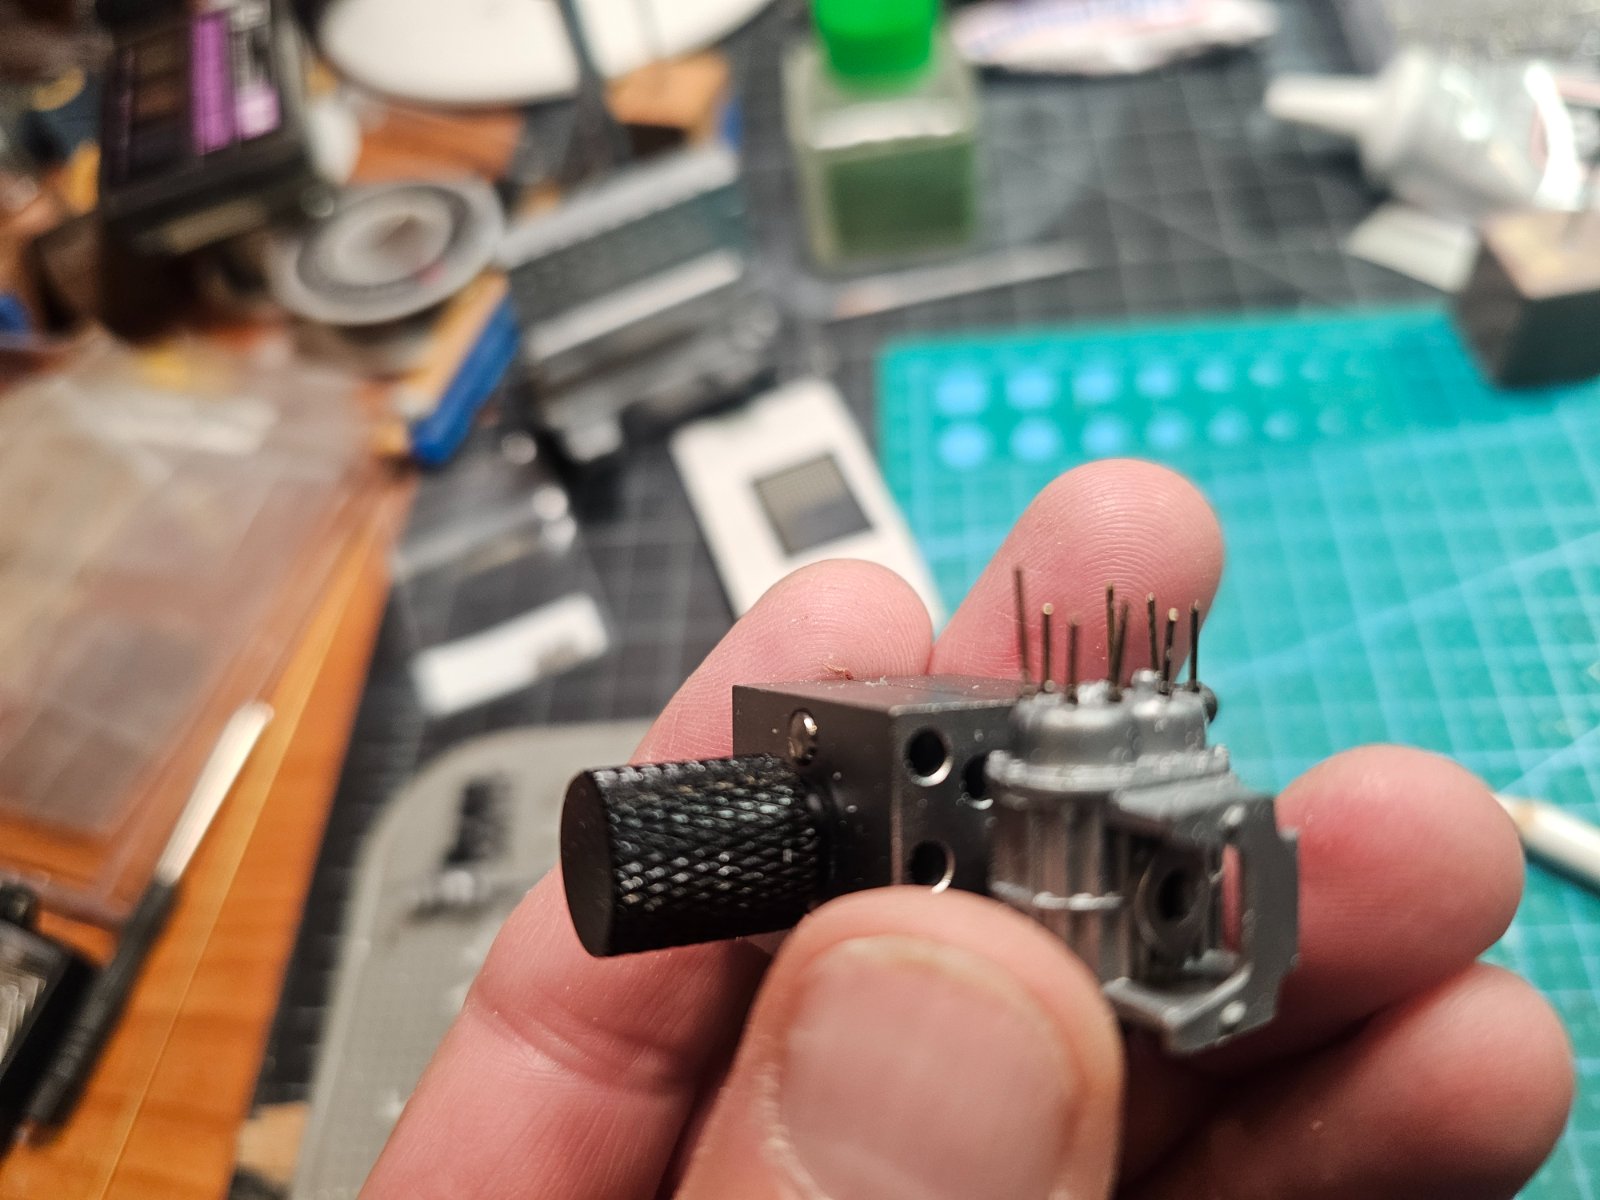
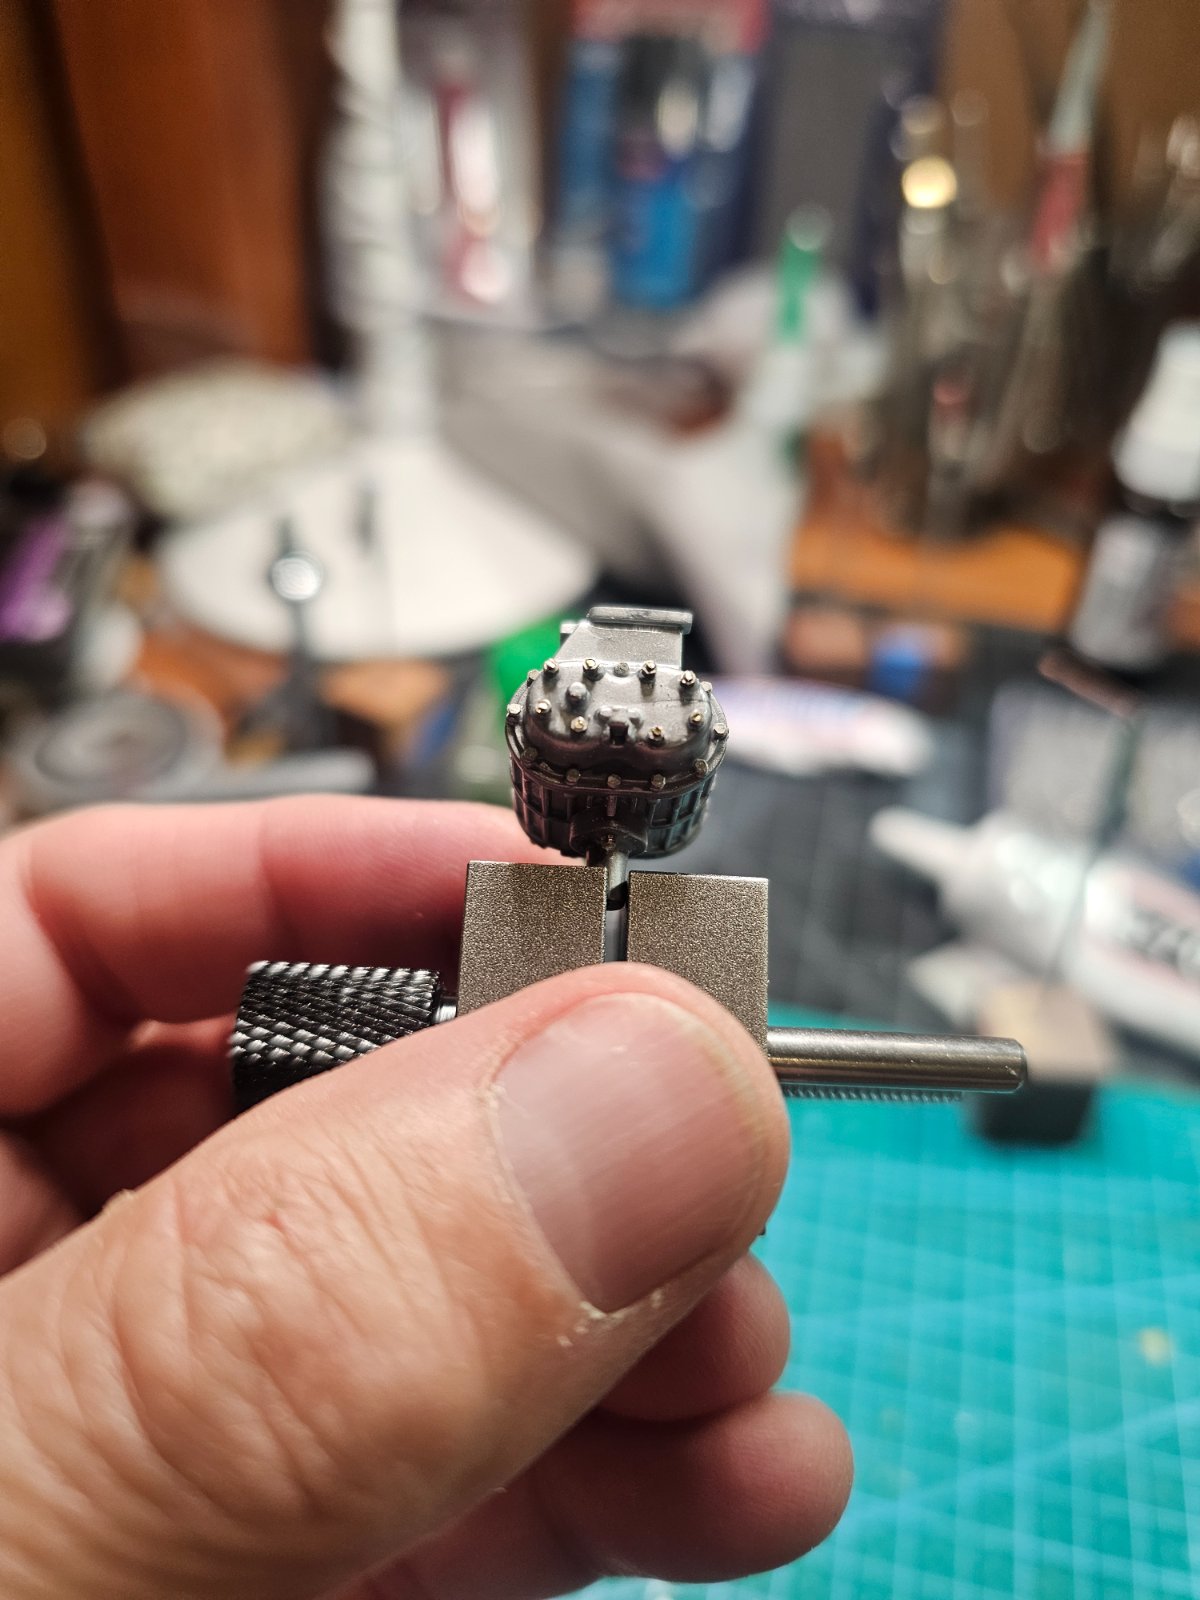
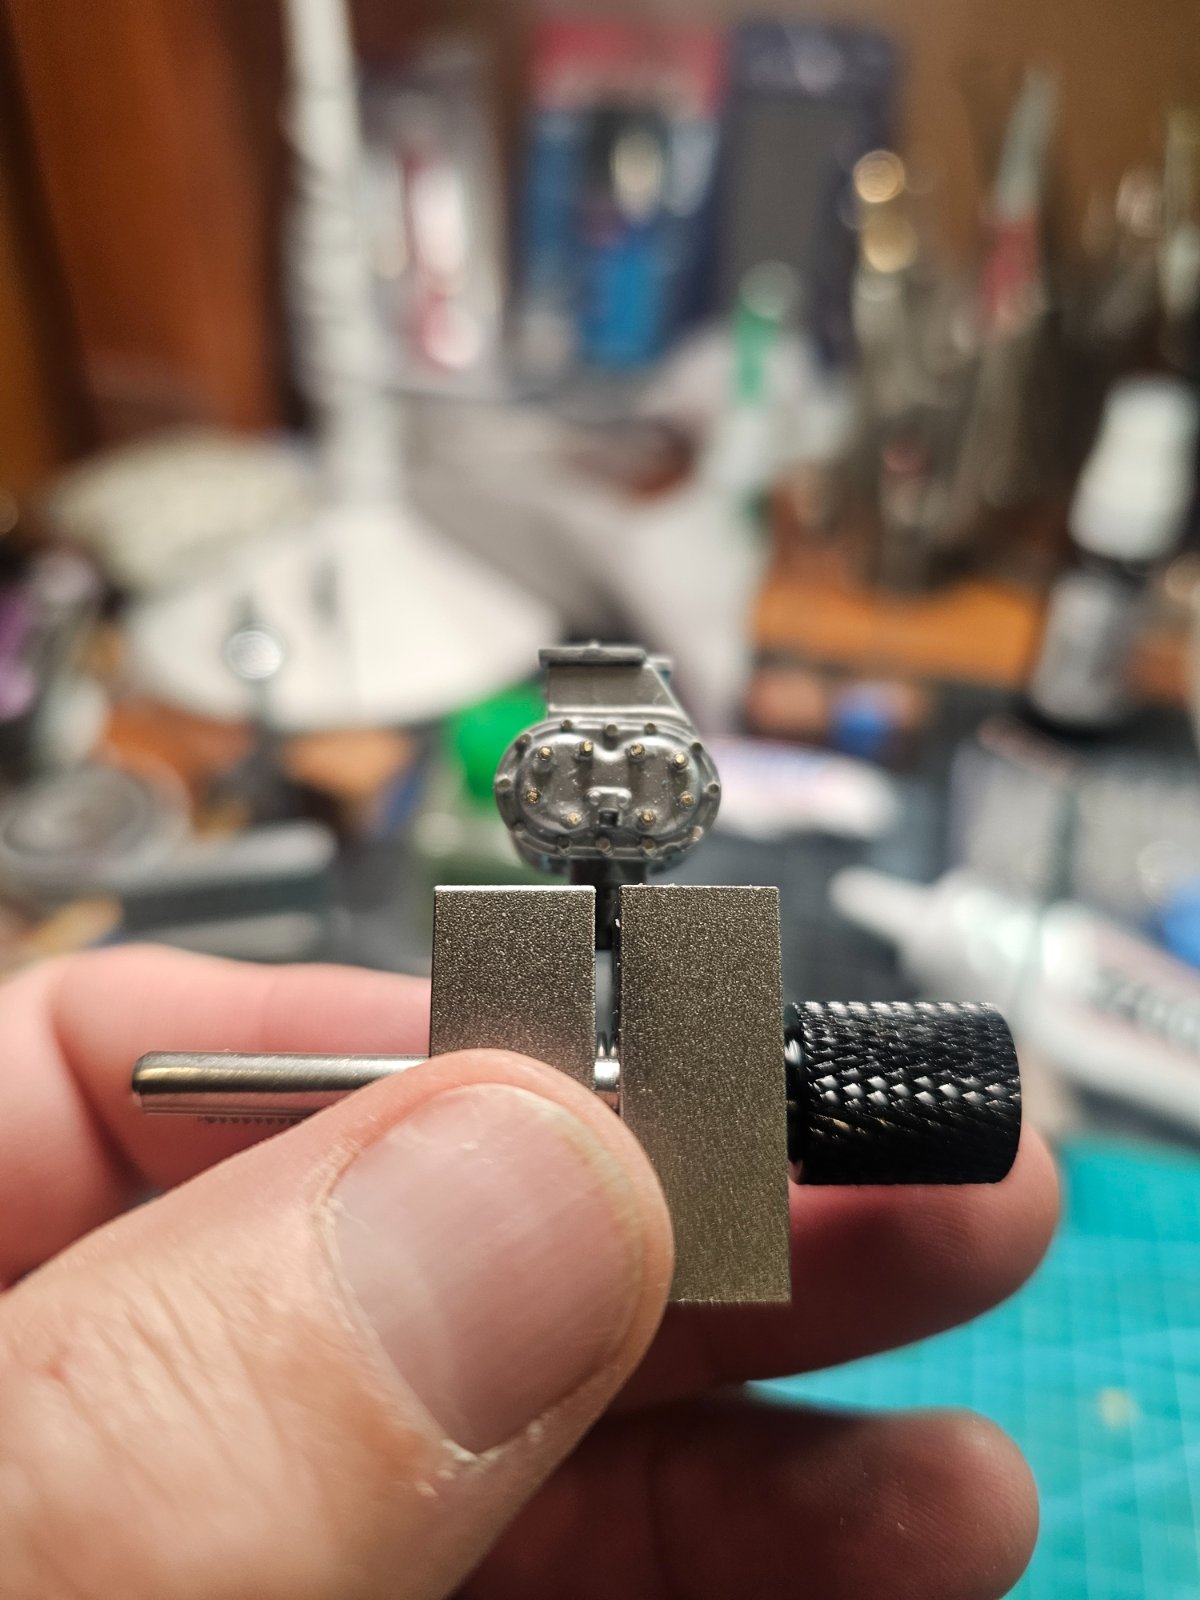
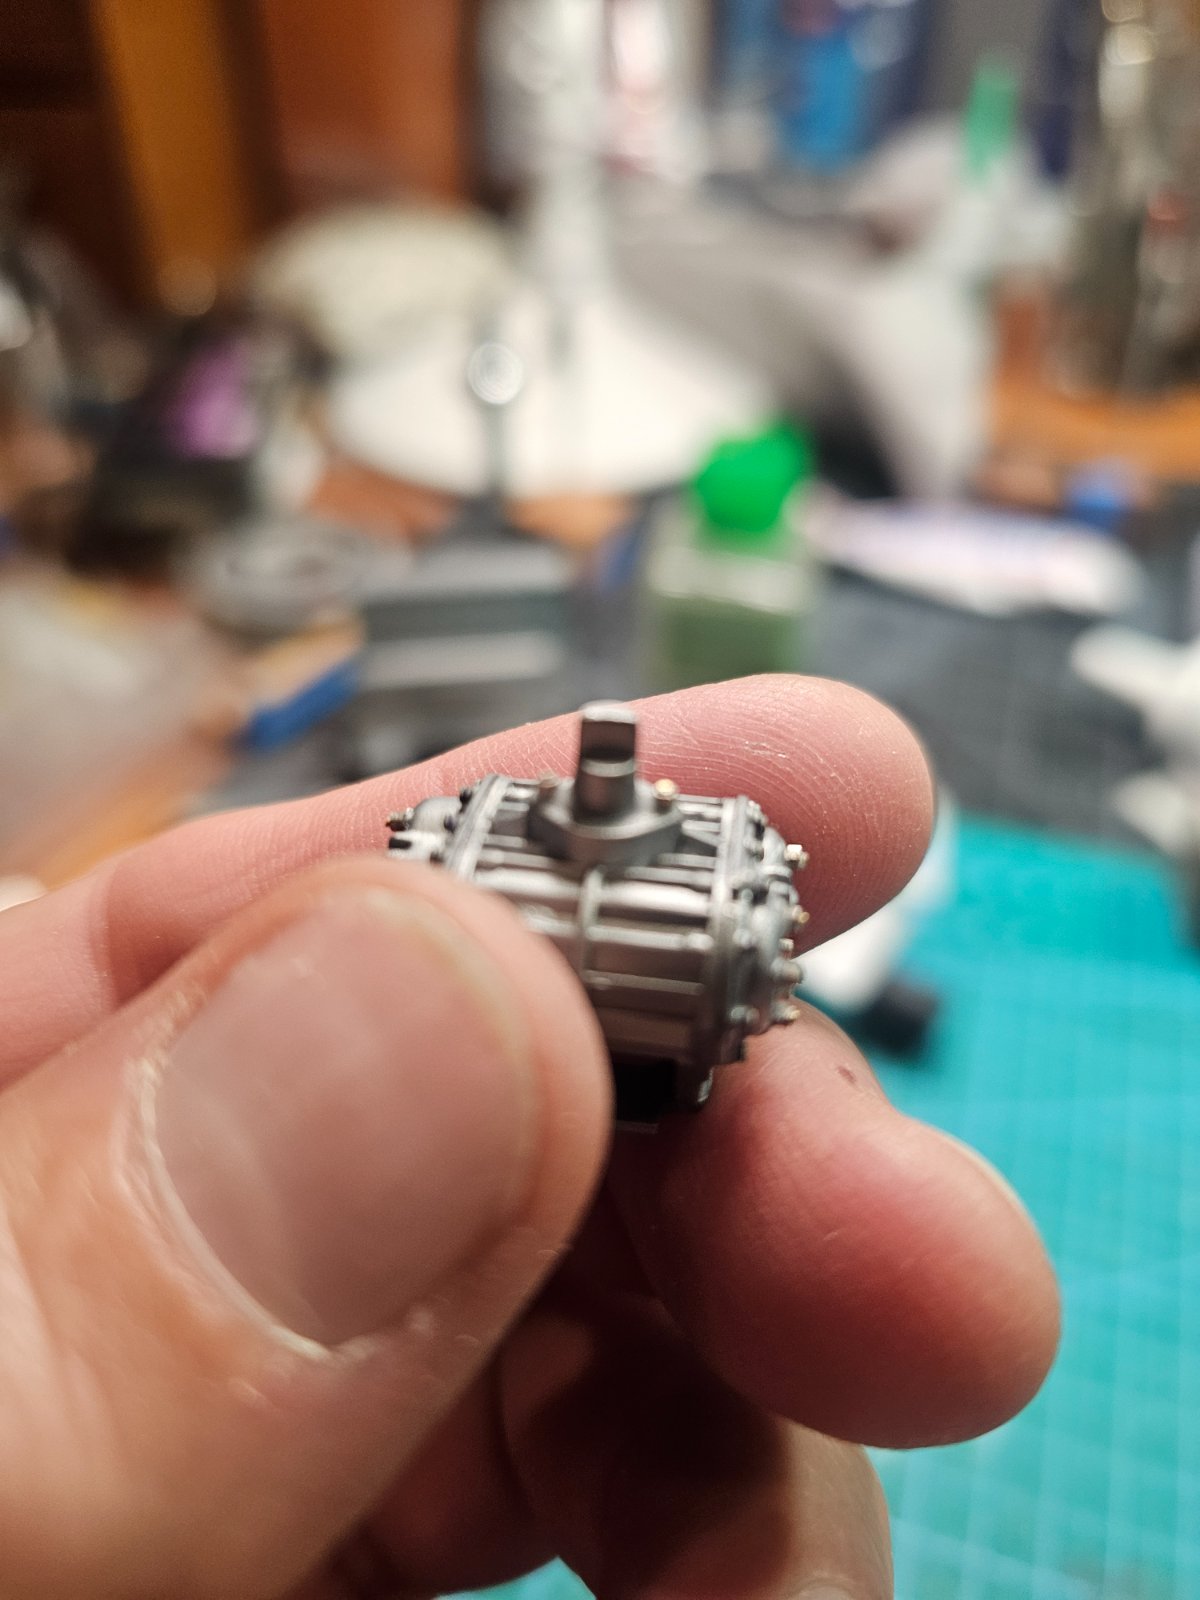
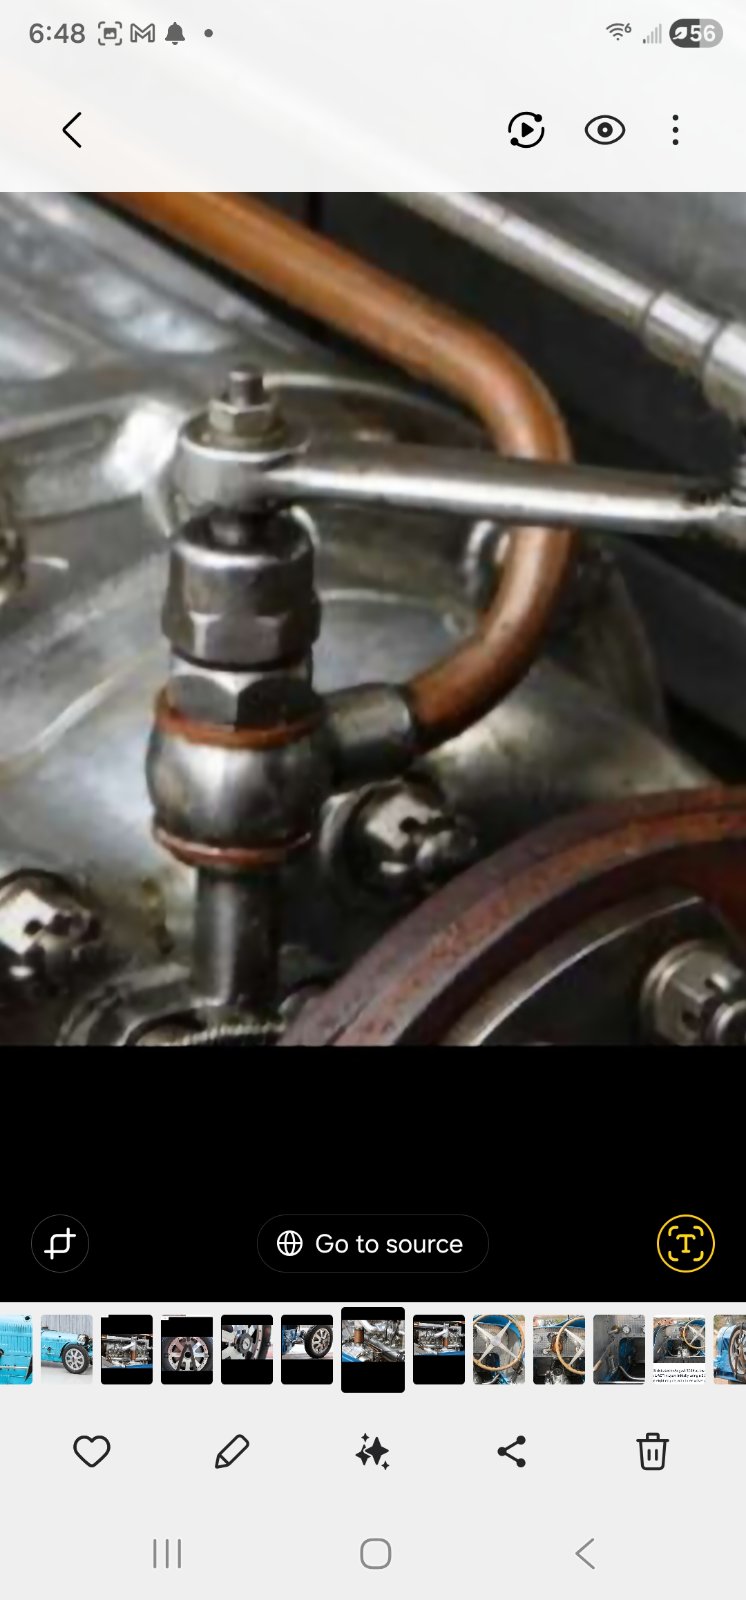
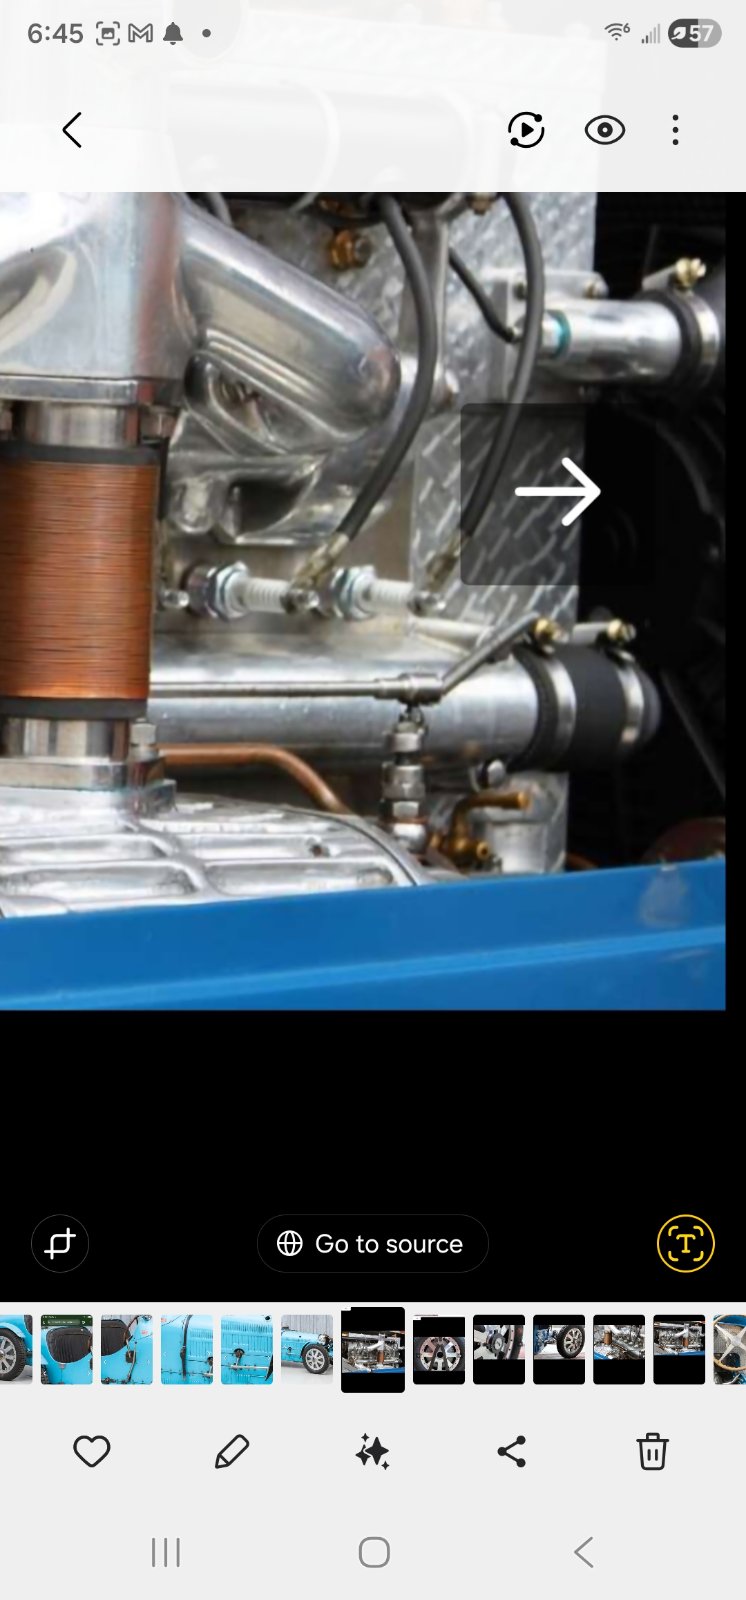
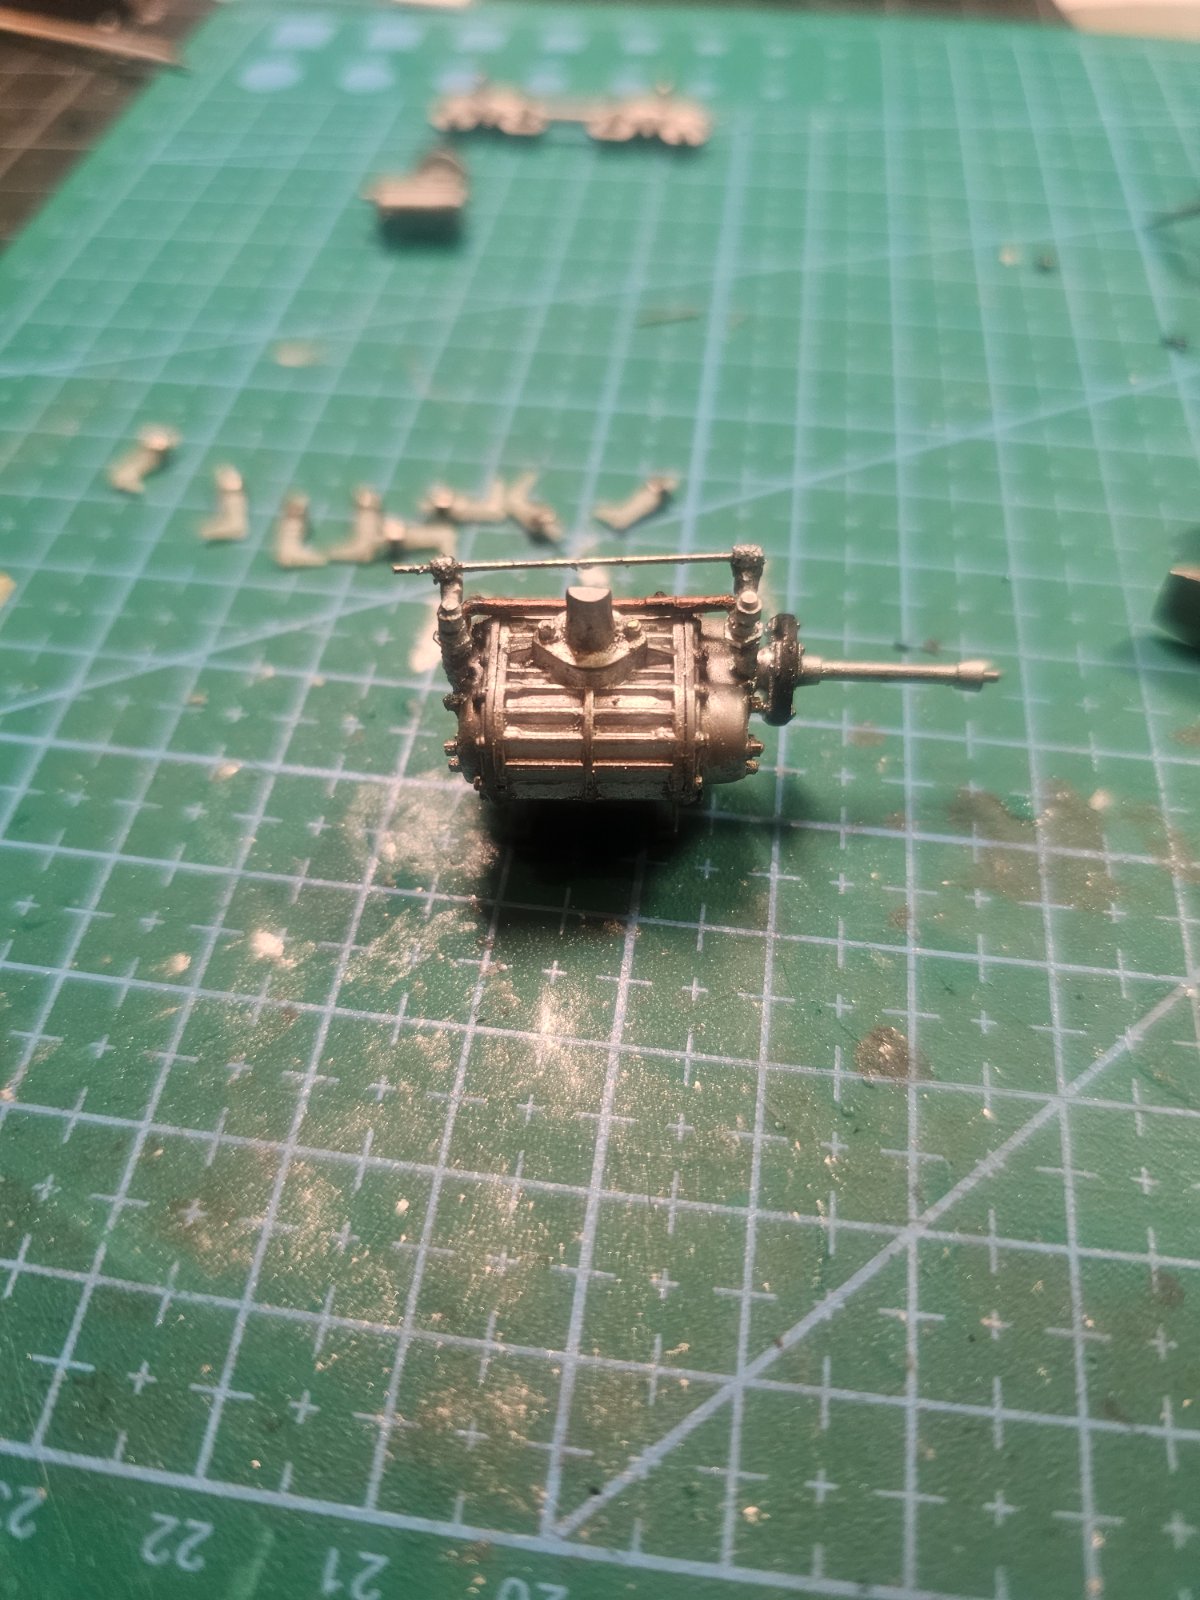
Today's eye straining session...the supercharger. Drilled out 16 holes for brass rod and .8mm nuts. The ones around the case I did in photoetch bolt heads..not really accurate as all bolts where studs with castle nuts..but they don't make those.
Yes, when you can find them, these types of resources are so rich; I'll watch several times, pausing and getting screenshots. I am often surprised how the restorer is asking many of the same questions, facing many of the same problems!restorer