the Baron
Ich bin ja, Herr, in Deiner Macht
- Joined
- May 12, 2009
- Messages
- 1,967
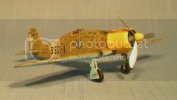
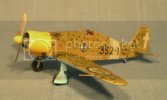
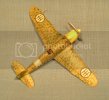
Well, I finally finished something else, a pair of Italian fighters in 1/72, the Italeri Reggiane Re2001, and Airfix' Fiat G50. I had intended these to be quick builds, but we all know how that usually turns out.
I picked up these kits for a song, the G50 at the MFCA show, for $5, and the Re 2001 at our club raffle clearance in June, for a buck. The Reggiane was bagged, with no instructions or decals. It's a pretty simple kit, so I started it right away, intending it to be an exercise in basic building and airbrushing skills. It went more or less according to plan.
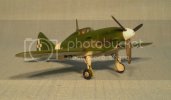
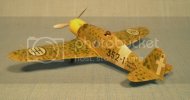
This is the first model on which I used the airbrush for all color, except for the pilot and the landing gear struts. For decals, I picked up a sheet of Colorado Decals' Macchi Veltro markings on eBay. I didn't care that they were for a completely different aircraft, I just needed the national markings.
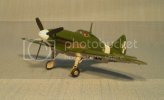
For the markings, I laid down the white for the fuselage band and the disks for the roundels, which I masked with circles cut with a drafting template.
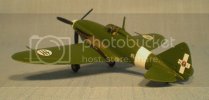
Then I laid down the black for the wing walks, and masked them, followed by the underside, and then the upper surfaces. All colors were Tamiya acrylics.
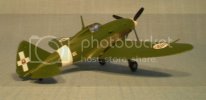
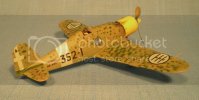
I also did not do very much in the way of weathering, apart from some paint chipping (Tamiya Flat Aluminum) and some exhaust and blast staining (chalk pastels). As an exercise, it went relatively well, with just a little overspray on the right undercarriage "knuckle", and also, a minor mistake in the national markings. It wasn't till I got the decals on, that I picked up Squadron's "Reggiane Fighters In Action" on eBay, and discovered the mistake. Can you spot it?
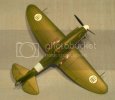
In any case, I enjoyed building this relatively simple kit, and it started me on an Italian fighter kick. In rapid succession, I picked up 9 or 10 kits of various aircraft, all in 1/72, from Italeri, Revell and Airfix, to Tamiya and Hasegawa. I plan to experiment on painting those really cool Italian camoflage schemes.
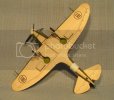
Here's the underside of the Reggiane:
I picked up these kits for a song, the G50 at the MFCA show, for $5, and the Re 2001 at our club raffle clearance in June, for a buck. The Reggiane was bagged, with no instructions or decals. It's a pretty simple kit, so I started it right away, intending it to be an exercise in basic building and airbrushing skills. It went more or less according to plan.

This is the first model on which I used the airbrush for all color, except for the pilot and the landing gear struts. For decals, I picked up a sheet of Colorado Decals' Macchi Veltro markings on eBay. I didn't care that they were for a completely different aircraft, I just needed the national markings.

For the markings, I laid down the white for the fuselage band and the disks for the roundels, which I masked with circles cut with a drafting template.

Then I laid down the black for the wing walks, and masked them, followed by the underside, and then the upper surfaces. All colors were Tamiya acrylics.

I also did not do very much in the way of weathering, apart from some paint chipping (Tamiya Flat Aluminum) and some exhaust and blast staining (chalk pastels). As an exercise, it went relatively well, with just a little overspray on the right undercarriage "knuckle", and also, a minor mistake in the national markings. It wasn't till I got the decals on, that I picked up Squadron's "Reggiane Fighters In Action" on eBay, and discovered the mistake. Can you spot it?

In any case, I enjoyed building this relatively simple kit, and it started me on an Italian fighter kick. In rapid succession, I picked up 9 or 10 kits of various aircraft, all in 1/72, from Italeri, Revell and Airfix, to Tamiya and Hasegawa. I plan to experiment on painting those really cool Italian camoflage schemes.
Here's the underside of the Reggiane:


