Help with putty!!
- Thread starter Drpepeprz
- Start date
the Baron
Ich bin ja, Herr, in Deiner Macht
- Joined
- May 12, 2009
- Messages
- 2,257
I'm not sure there's a "proper" way, as much as there are just methods that work for each of us, just as it is with so many techniques. And I don't have pictures, but I can outline how I use Squadron white putty.
I use Squadron white, and acetone as a solvent. I apply the putty to gaps in either of two ways:
1. I use a dental spatula to apply the putty to the gap, making sure to get it into the gap, then I dip a cotton swab in acetone and remove the excess putty. This has the effect of removing putty from the surrounding areas, leaving it in the gap, and reducing the amount of sanding that I have to do and the resulting loss of detail.
I have also used toothpicks, both the round and the flat kinds, to apply the putty. It all depends on my mood. The dental spatula has to be cleaned, while the toothpicks can be chucked when I'm finished.
2. I place a dab of putty in a well on my ceramic palette, and then add acetone with an eye-dropper, and stir this with a toothpick, till I get a thick liquid. I apply this to the gap with an old paintbrush. I call this my homemade Mr Surfacer, because basically, that's what it is, a filler suspended in a liquid, just thicker than the thickest grade of Mr Surfacer. But the point is the same--to get putty in the gap, and to minimize the amount that I get on the surrounding area, which would then require sanding after it dried and result in lost detail.
The liquid will dry on the palette as I work, because acetone is volatile, but I can keep adding drops to the mixture and keep it liquid, till I'm done.
When I think about it, I use method 1 more frequently than method 2. And I realize, I have some photos to show results. Here are some pieces from my 1/700 USS Essex.
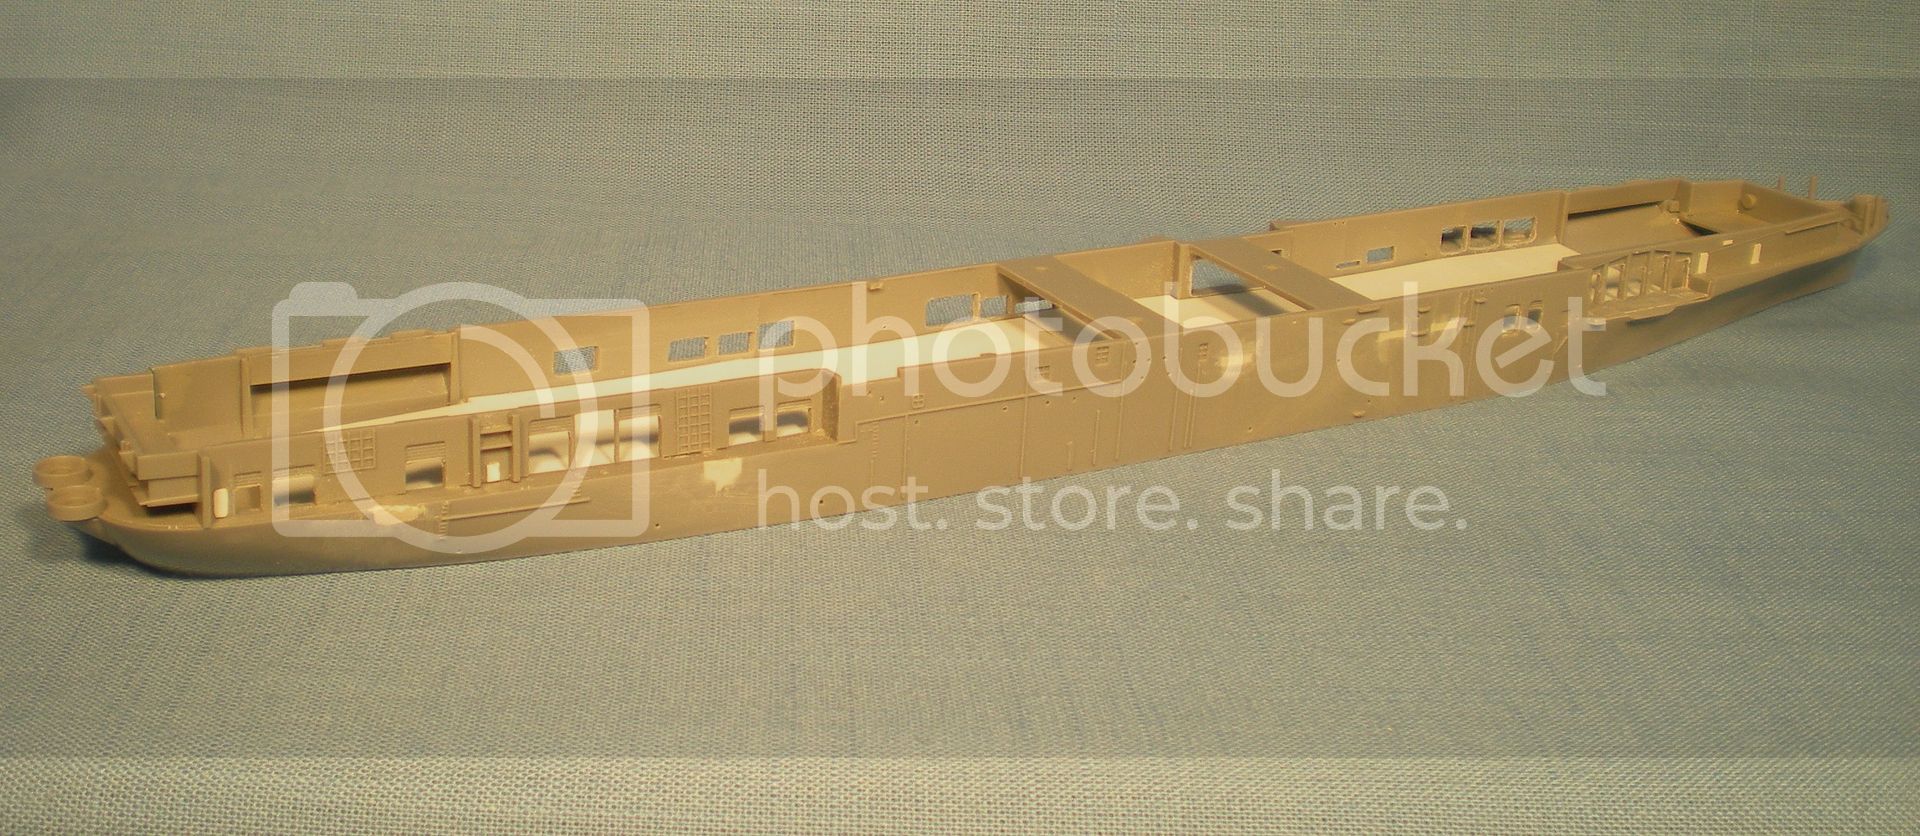
In this shot, you can see where I applied putty using method 1, to fill some slots for parts that would not be used, and some parts that had to be cut off, because they were not accurate for the Essex:

and in these shots, I filled in a catapult on the flight deck, which was not present on the Essex. The first shows the detail to be corrected:

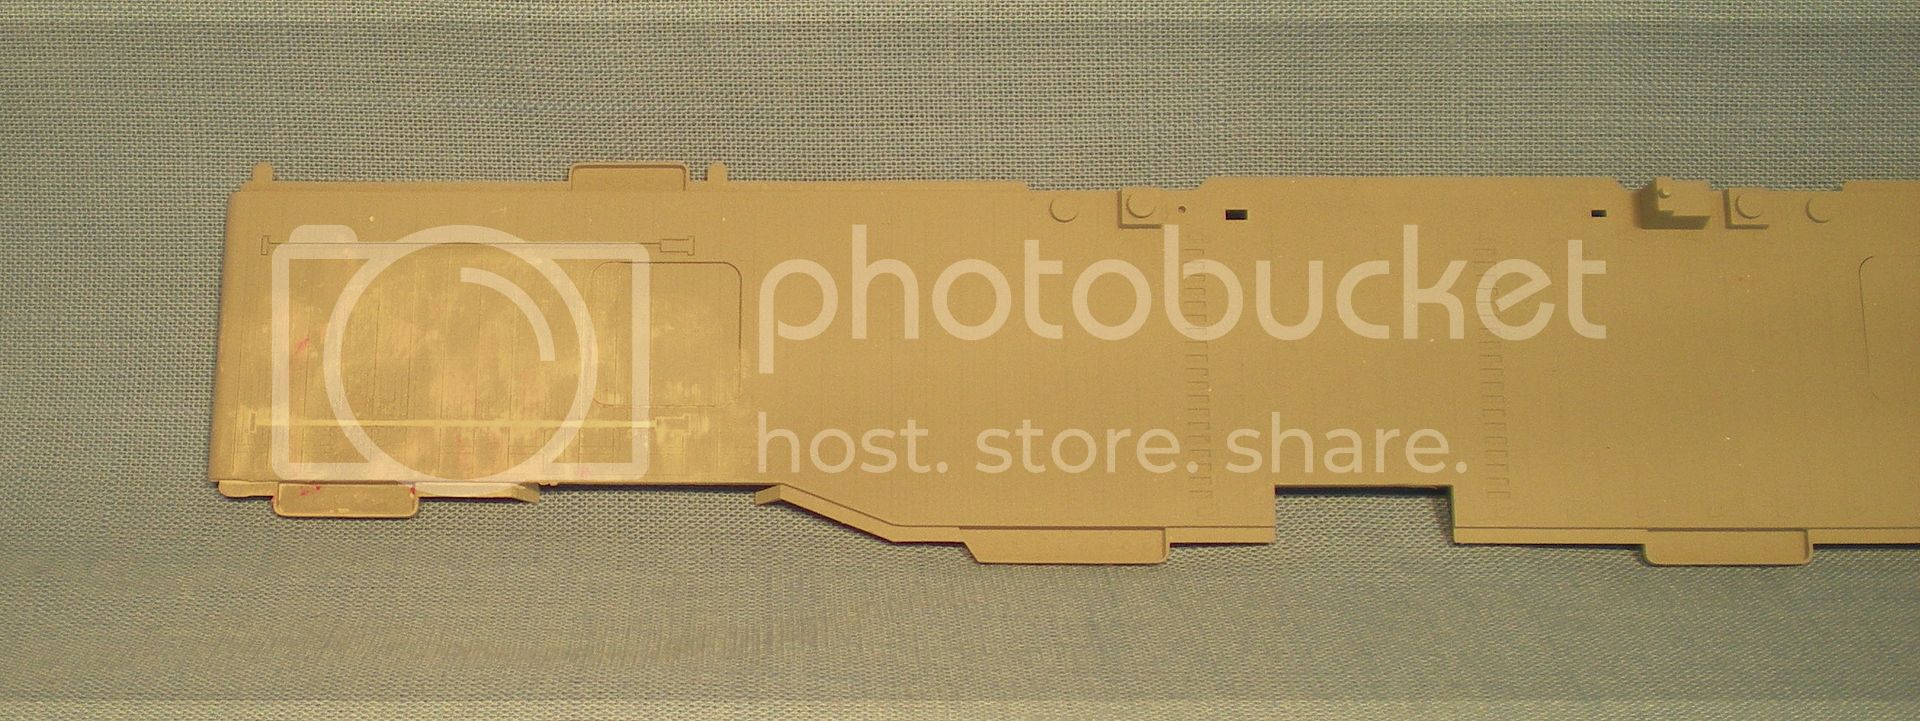
and this shot shows the catapult, after I filled it with putty, and then used a cotton swab soaked in acetone to remove the excess:

It took a couple of passes, taking care not to swab the putty out of the catapult slot. I will do a light sanding, when it comes time to paint the flight deck.
And here's another example of fixing a seam with this method, on a different kind of kit, a Raptor armored fighting suit from the Maschinen Krieger series. The seam is where the two halves of the body come together:

This gap was almost big enough that I would use sheet styrene or pieces of sprue, and liquid glue, to fill it, instead of putty. But I used the putty and acetone, and here it is, filled and cleaned:

There was some engraved access panel detail at the top of the body that was lost, it was unavoidable, but I was able to rescribe it with a fine sewing needle.
I hope that helps illustrate the results, even if I don't have pictures to show each step.
I use Squadron white, and acetone as a solvent. I apply the putty to gaps in either of two ways:
1. I use a dental spatula to apply the putty to the gap, making sure to get it into the gap, then I dip a cotton swab in acetone and remove the excess putty. This has the effect of removing putty from the surrounding areas, leaving it in the gap, and reducing the amount of sanding that I have to do and the resulting loss of detail.
I have also used toothpicks, both the round and the flat kinds, to apply the putty. It all depends on my mood. The dental spatula has to be cleaned, while the toothpicks can be chucked when I'm finished.
2. I place a dab of putty in a well on my ceramic palette, and then add acetone with an eye-dropper, and stir this with a toothpick, till I get a thick liquid. I apply this to the gap with an old paintbrush. I call this my homemade Mr Surfacer, because basically, that's what it is, a filler suspended in a liquid, just thicker than the thickest grade of Mr Surfacer. But the point is the same--to get putty in the gap, and to minimize the amount that I get on the surrounding area, which would then require sanding after it dried and result in lost detail.
The liquid will dry on the palette as I work, because acetone is volatile, but I can keep adding drops to the mixture and keep it liquid, till I'm done.
When I think about it, I use method 1 more frequently than method 2. And I realize, I have some photos to show results. Here are some pieces from my 1/700 USS Essex.
In this shot, you can see where I applied putty using method 1, to fill some slots for parts that would not be used, and some parts that had to be cut off, because they were not accurate for the Essex:

and in these shots, I filled in a catapult on the flight deck, which was not present on the Essex. The first shows the detail to be corrected:

and this shot shows the catapult, after I filled it with putty, and then used a cotton swab soaked in acetone to remove the excess:

It took a couple of passes, taking care not to swab the putty out of the catapult slot. I will do a light sanding, when it comes time to paint the flight deck.
And here's another example of fixing a seam with this method, on a different kind of kit, a Raptor armored fighting suit from the Maschinen Krieger series. The seam is where the two halves of the body come together:

This gap was almost big enough that I would use sheet styrene or pieces of sprue, and liquid glue, to fill it, instead of putty. But I used the putty and acetone, and here it is, filled and cleaned:

There was some engraved access panel detail at the top of the body that was lost, it was unavoidable, but I was able to rescribe it with a fine sewing needle.
I hope that helps illustrate the results, even if I don't have pictures to show each step.
Similar threads
- Replies
- 0
- Views
- 1K
- Replies
- 8
- Views
- 1K
- Replies
- 7
- Views
- 2K
