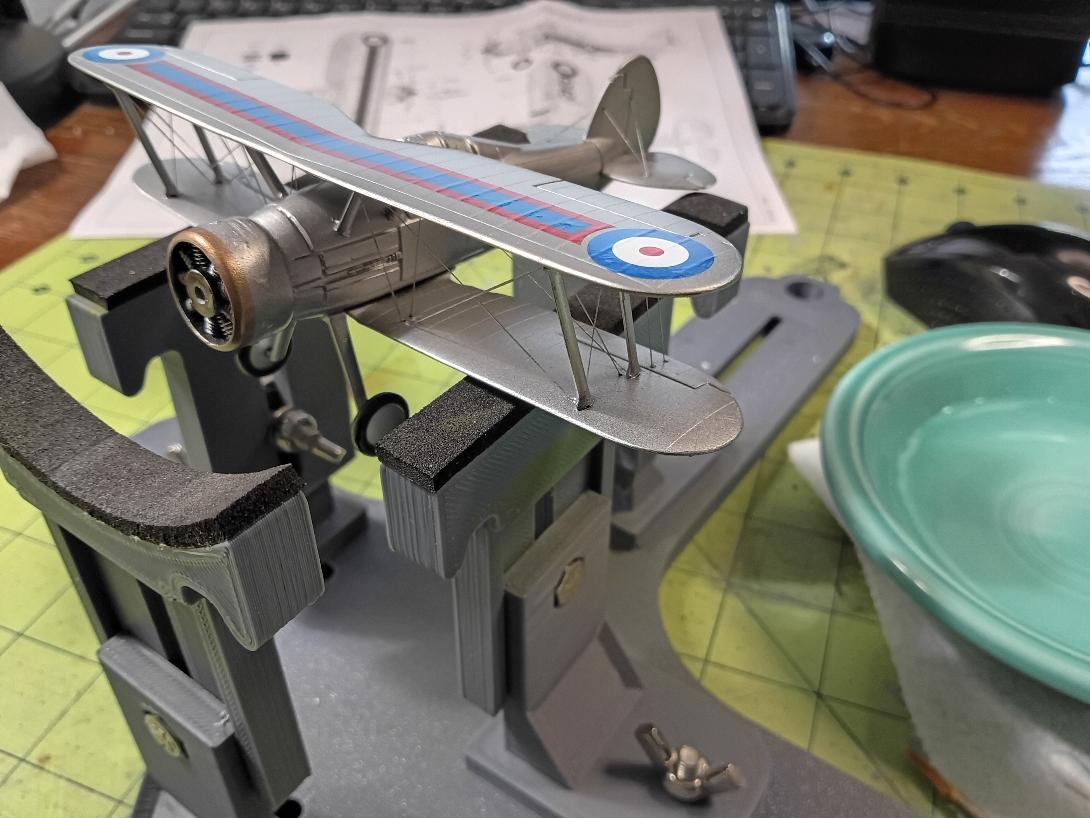
Bob T
Well-Known Member
Try search for Staggerwings for sale. Turned up quite a few, and the photos are very detailed. Mostly restored planes, but still useful.Wait there's rigging??? I hadn't pulled up any photos like these.

Try search for Staggerwings for sale. Turned up quite a few, and the photos are very detailed. Mostly restored planes, but still useful.Wait there's rigging??? I hadn't pulled up any photos like these.
Ideas, ideas, BB...thanks...Nice! Is that cable or rod? Lots of these stays seem rigid, unless of course they are under a lot of tension...


Ha! you're a mind reader too!ideas

I see what you did there!Turns out my exhaustive experience
Looks good though! Have you gotten to the internal brace for the windshield? Mine ending up snapping and I tossed it in disgust.Took me at least 30 minutes to get it to fit. It wasn't even close.

I've seen lots of warnings about MiniArt kits, but they mostly refer to armor/wehicles. I just saw one of my favorite youtubers build a Dora from MiniArt and it looked excellent. Guess the frustration levels with that kit maker depends on which kit?Suggestion for your next kit, then: a MiniArt M3 light or medium tank with interior
Can't wait....Looks good though! Have you gotten to the internal brace for the windshield? Mine ending up snapping and I tossed it in disgust.


No, that has a V8 instead of a radial engineWill an rfm Sherman with complete interior work?
A what Dora? Fw 190 D? (Because without context, that name makes me think of the railway gun, but MiniArt has no kit of that.)a Dora from MiniArt
On the skill level of the person building the kit, I'd say. Or rather, on what those people think their own skill level is. I find MiniArt kits to be "not easy" to build, which is not the same as "difficult" — but modellers who've only recently graduated from Tamiya kits likely find them rather more challenging.Guess the frustration levels with [MiniArt] maker depends on which kit?
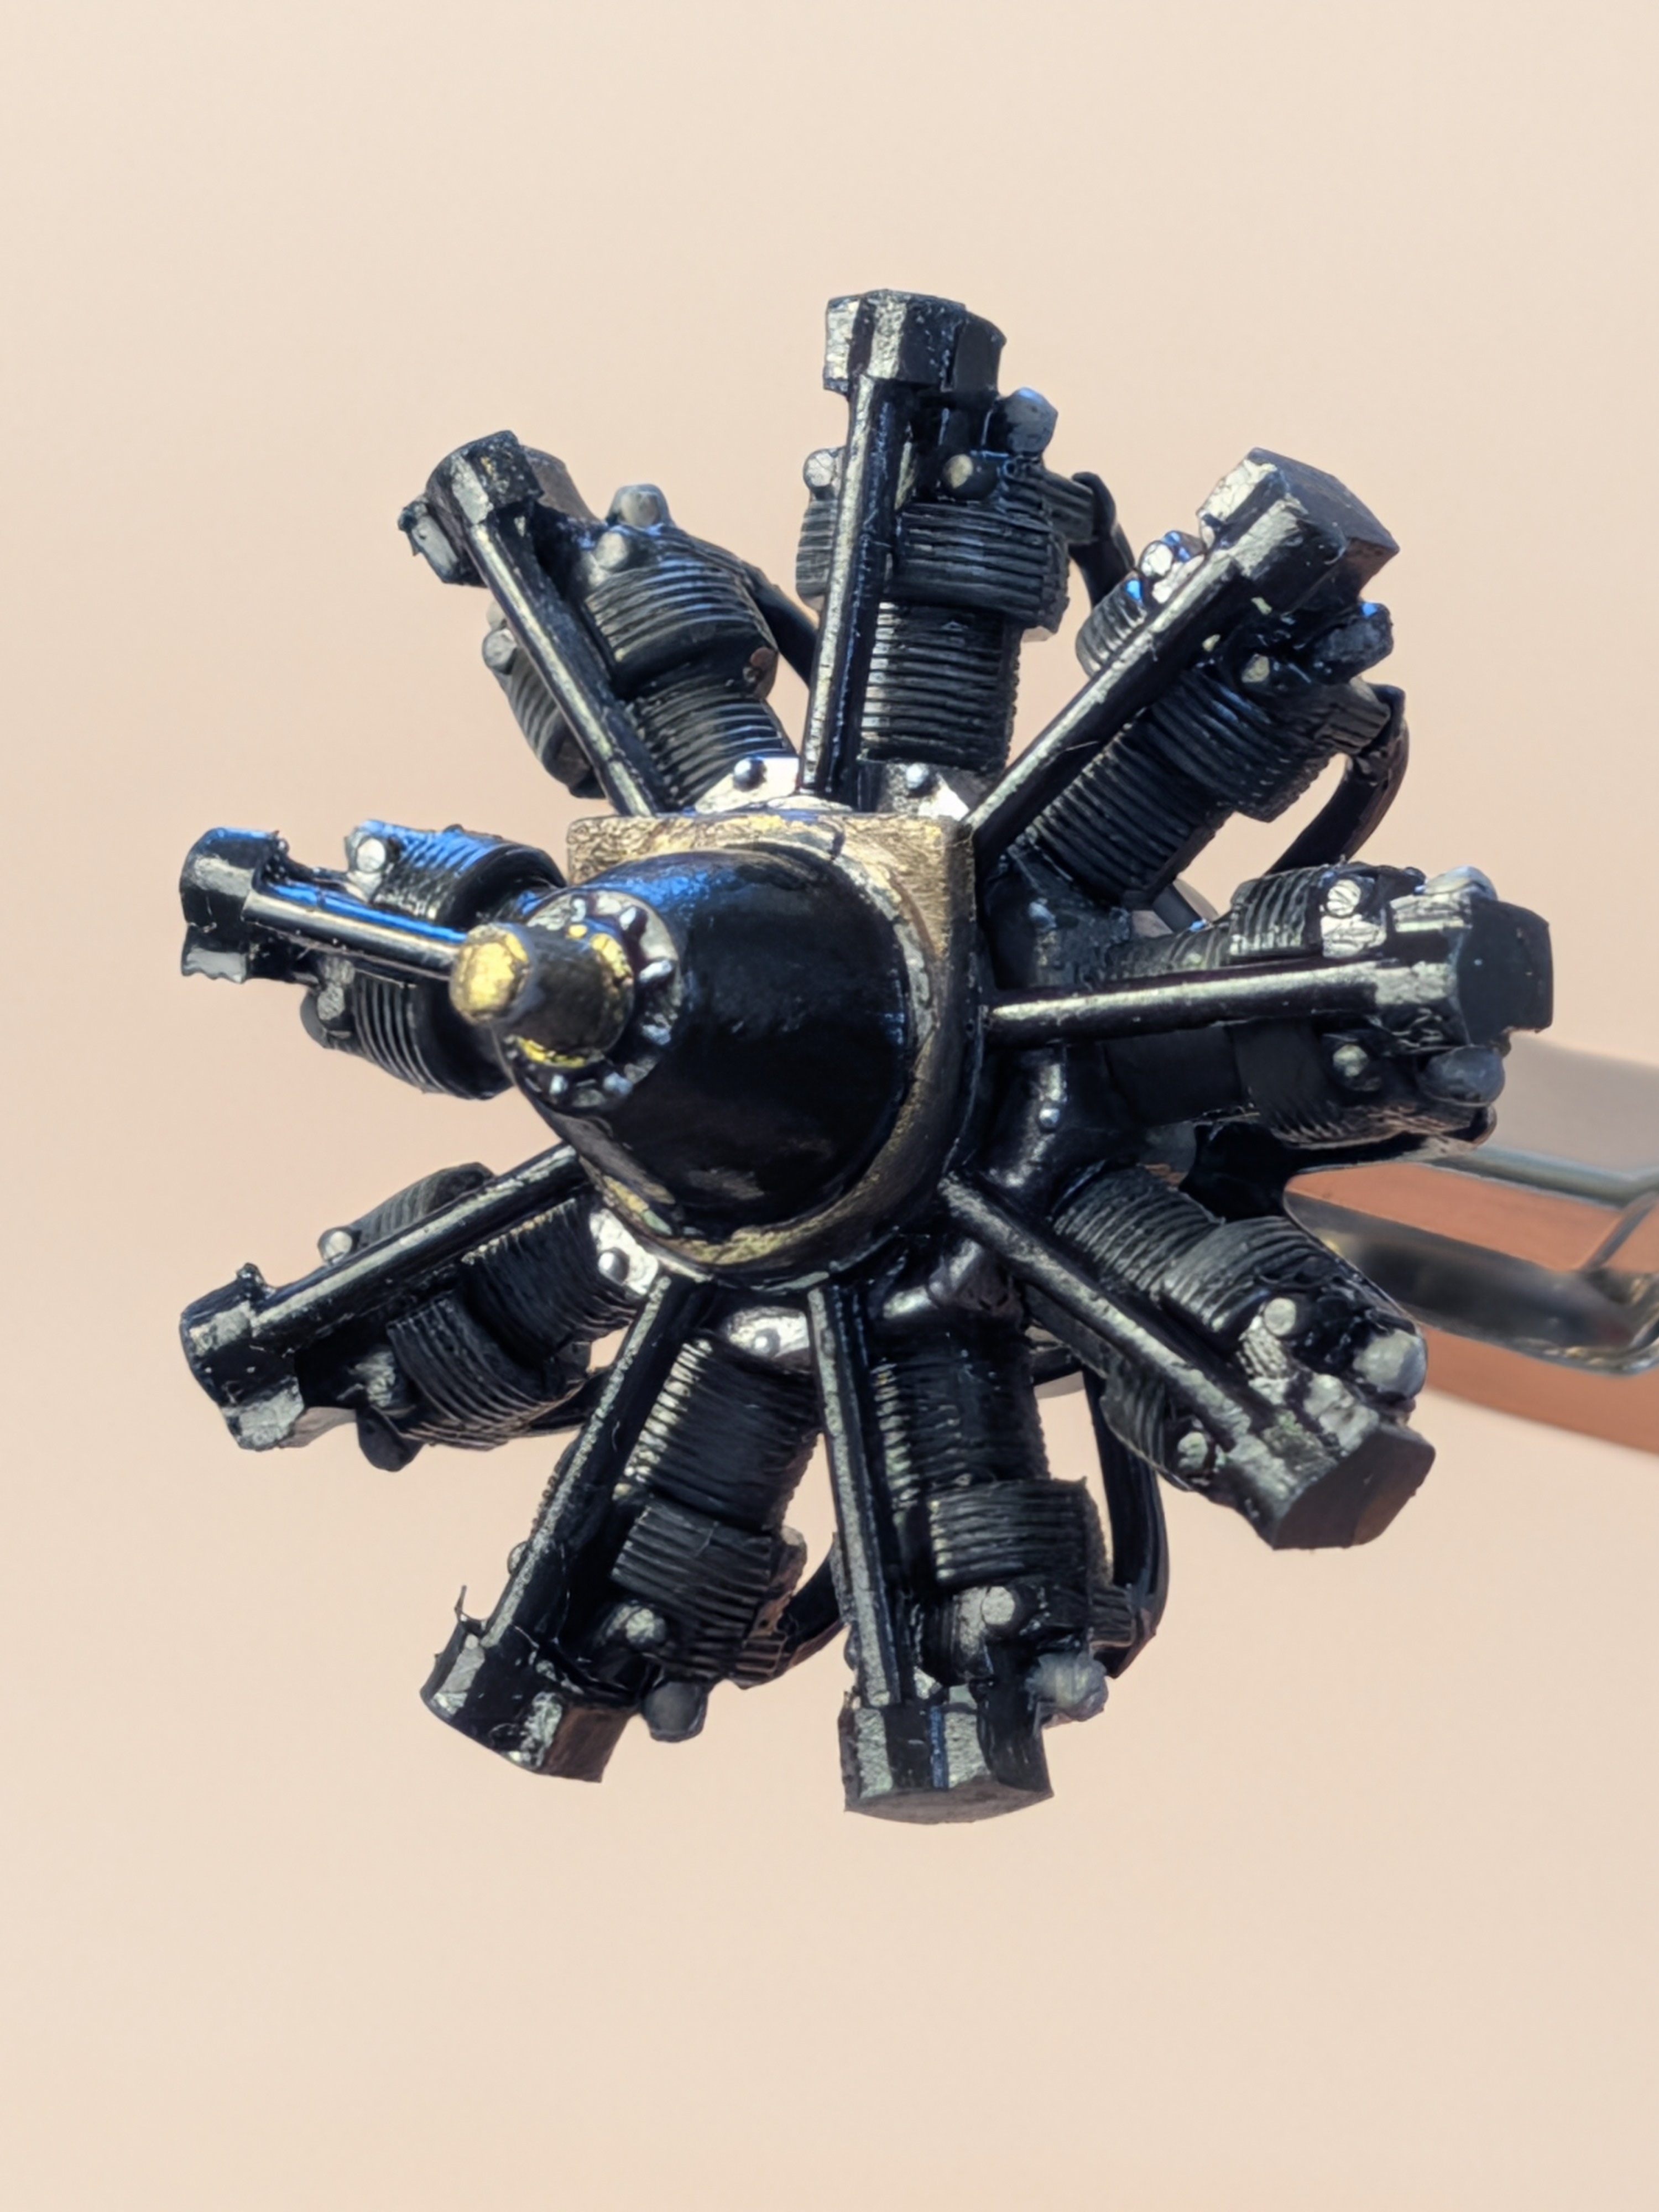
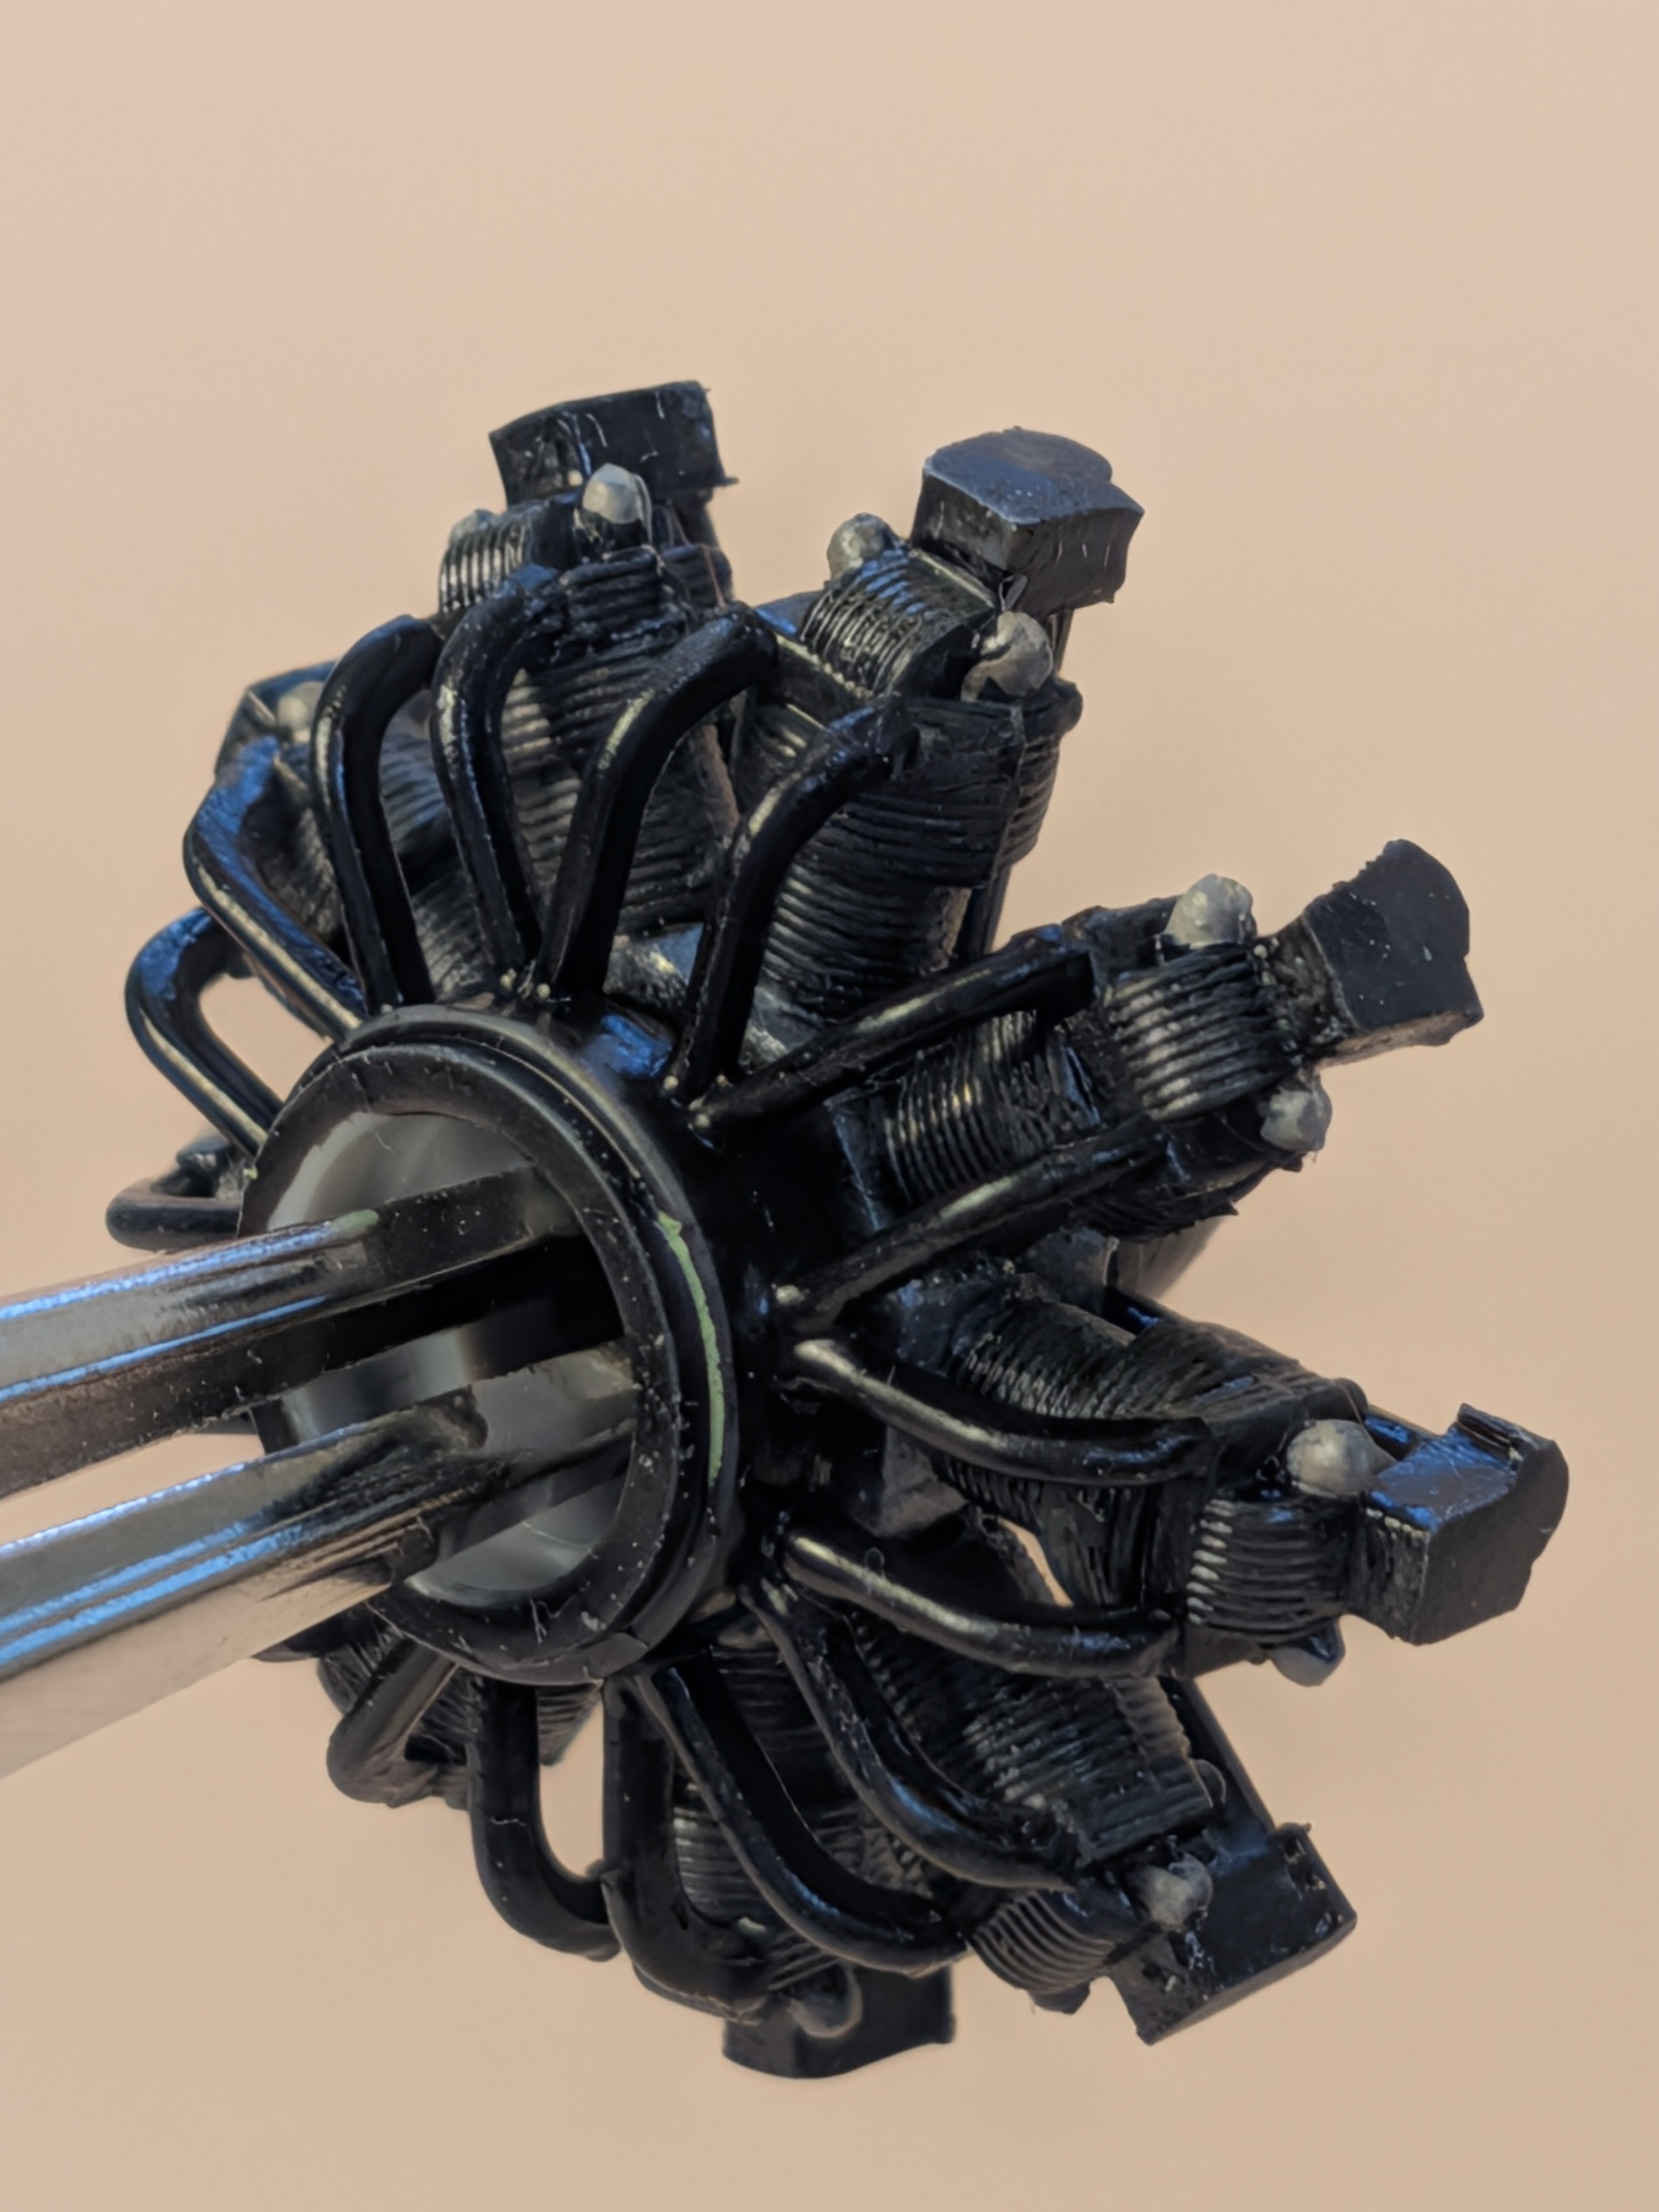
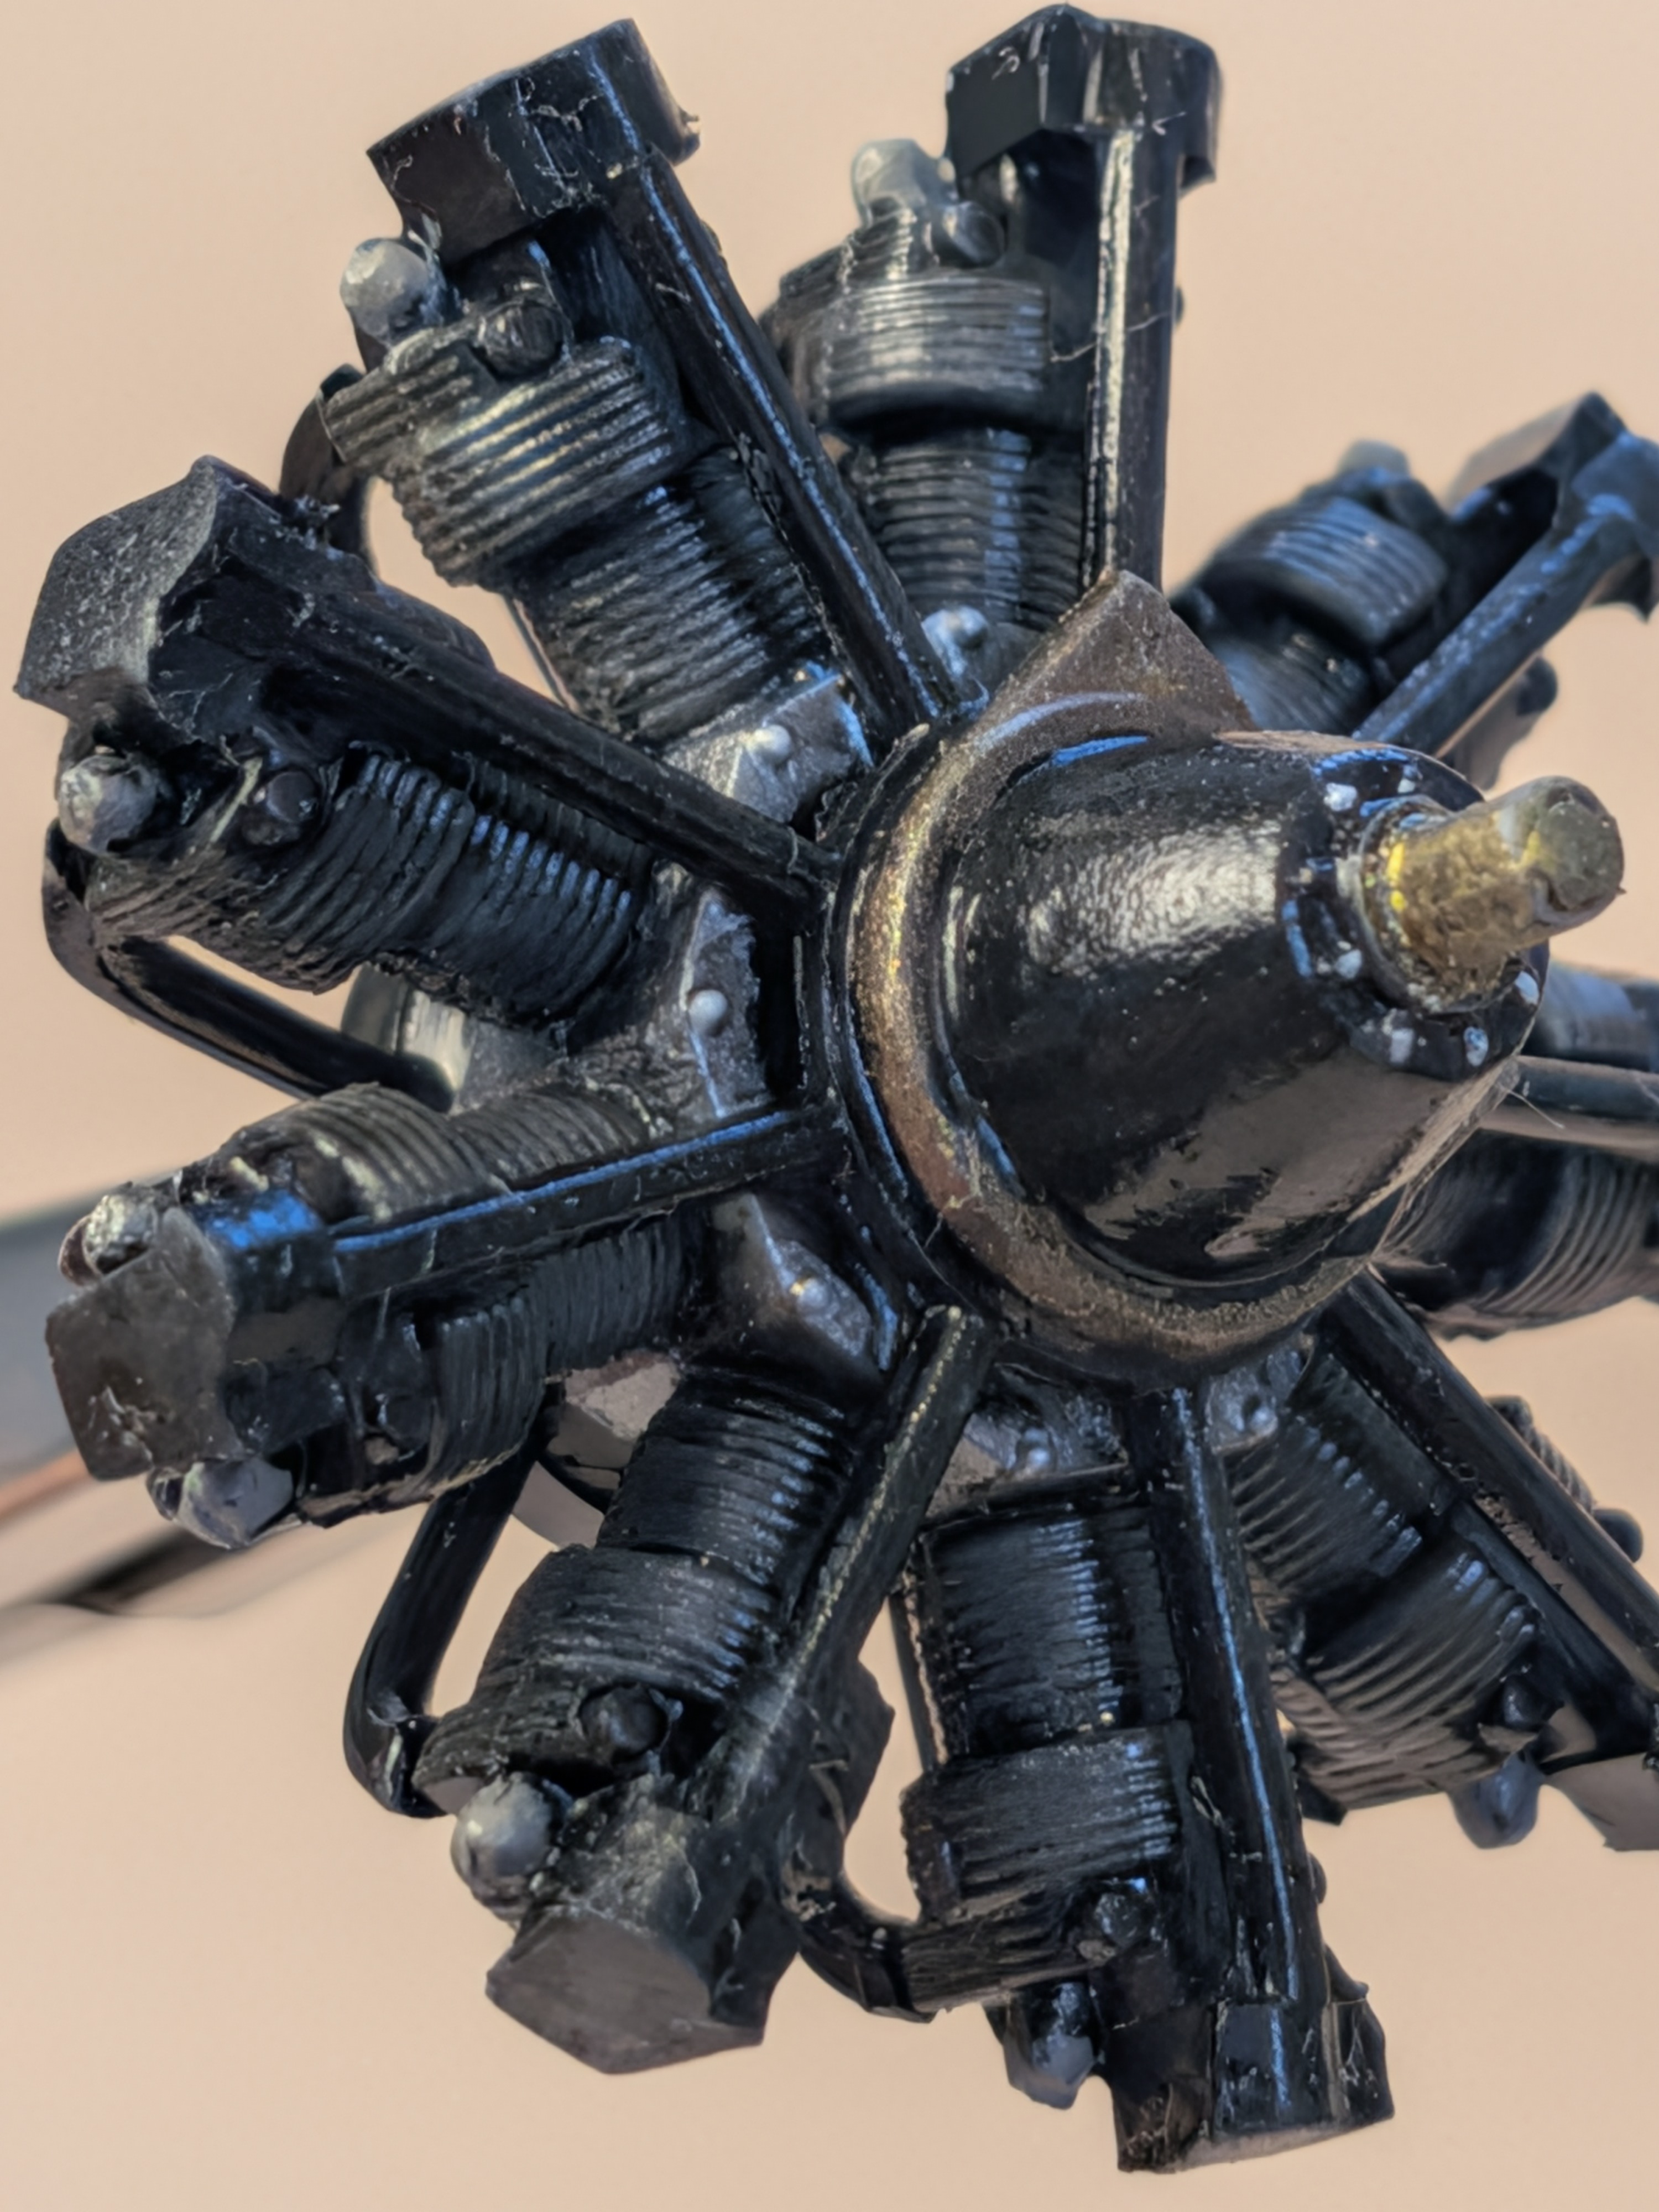
Looks good. They're neat engines, it's cool the way they could just stack the engines for more power.Bristol Mercury air-cooled, 9-cylinder radial piston engine.
View attachment 196131
View attachment 196132
View attachment 196133
...OOB, painted, no weathering, exhaust stubs to be installed once in the cowling.

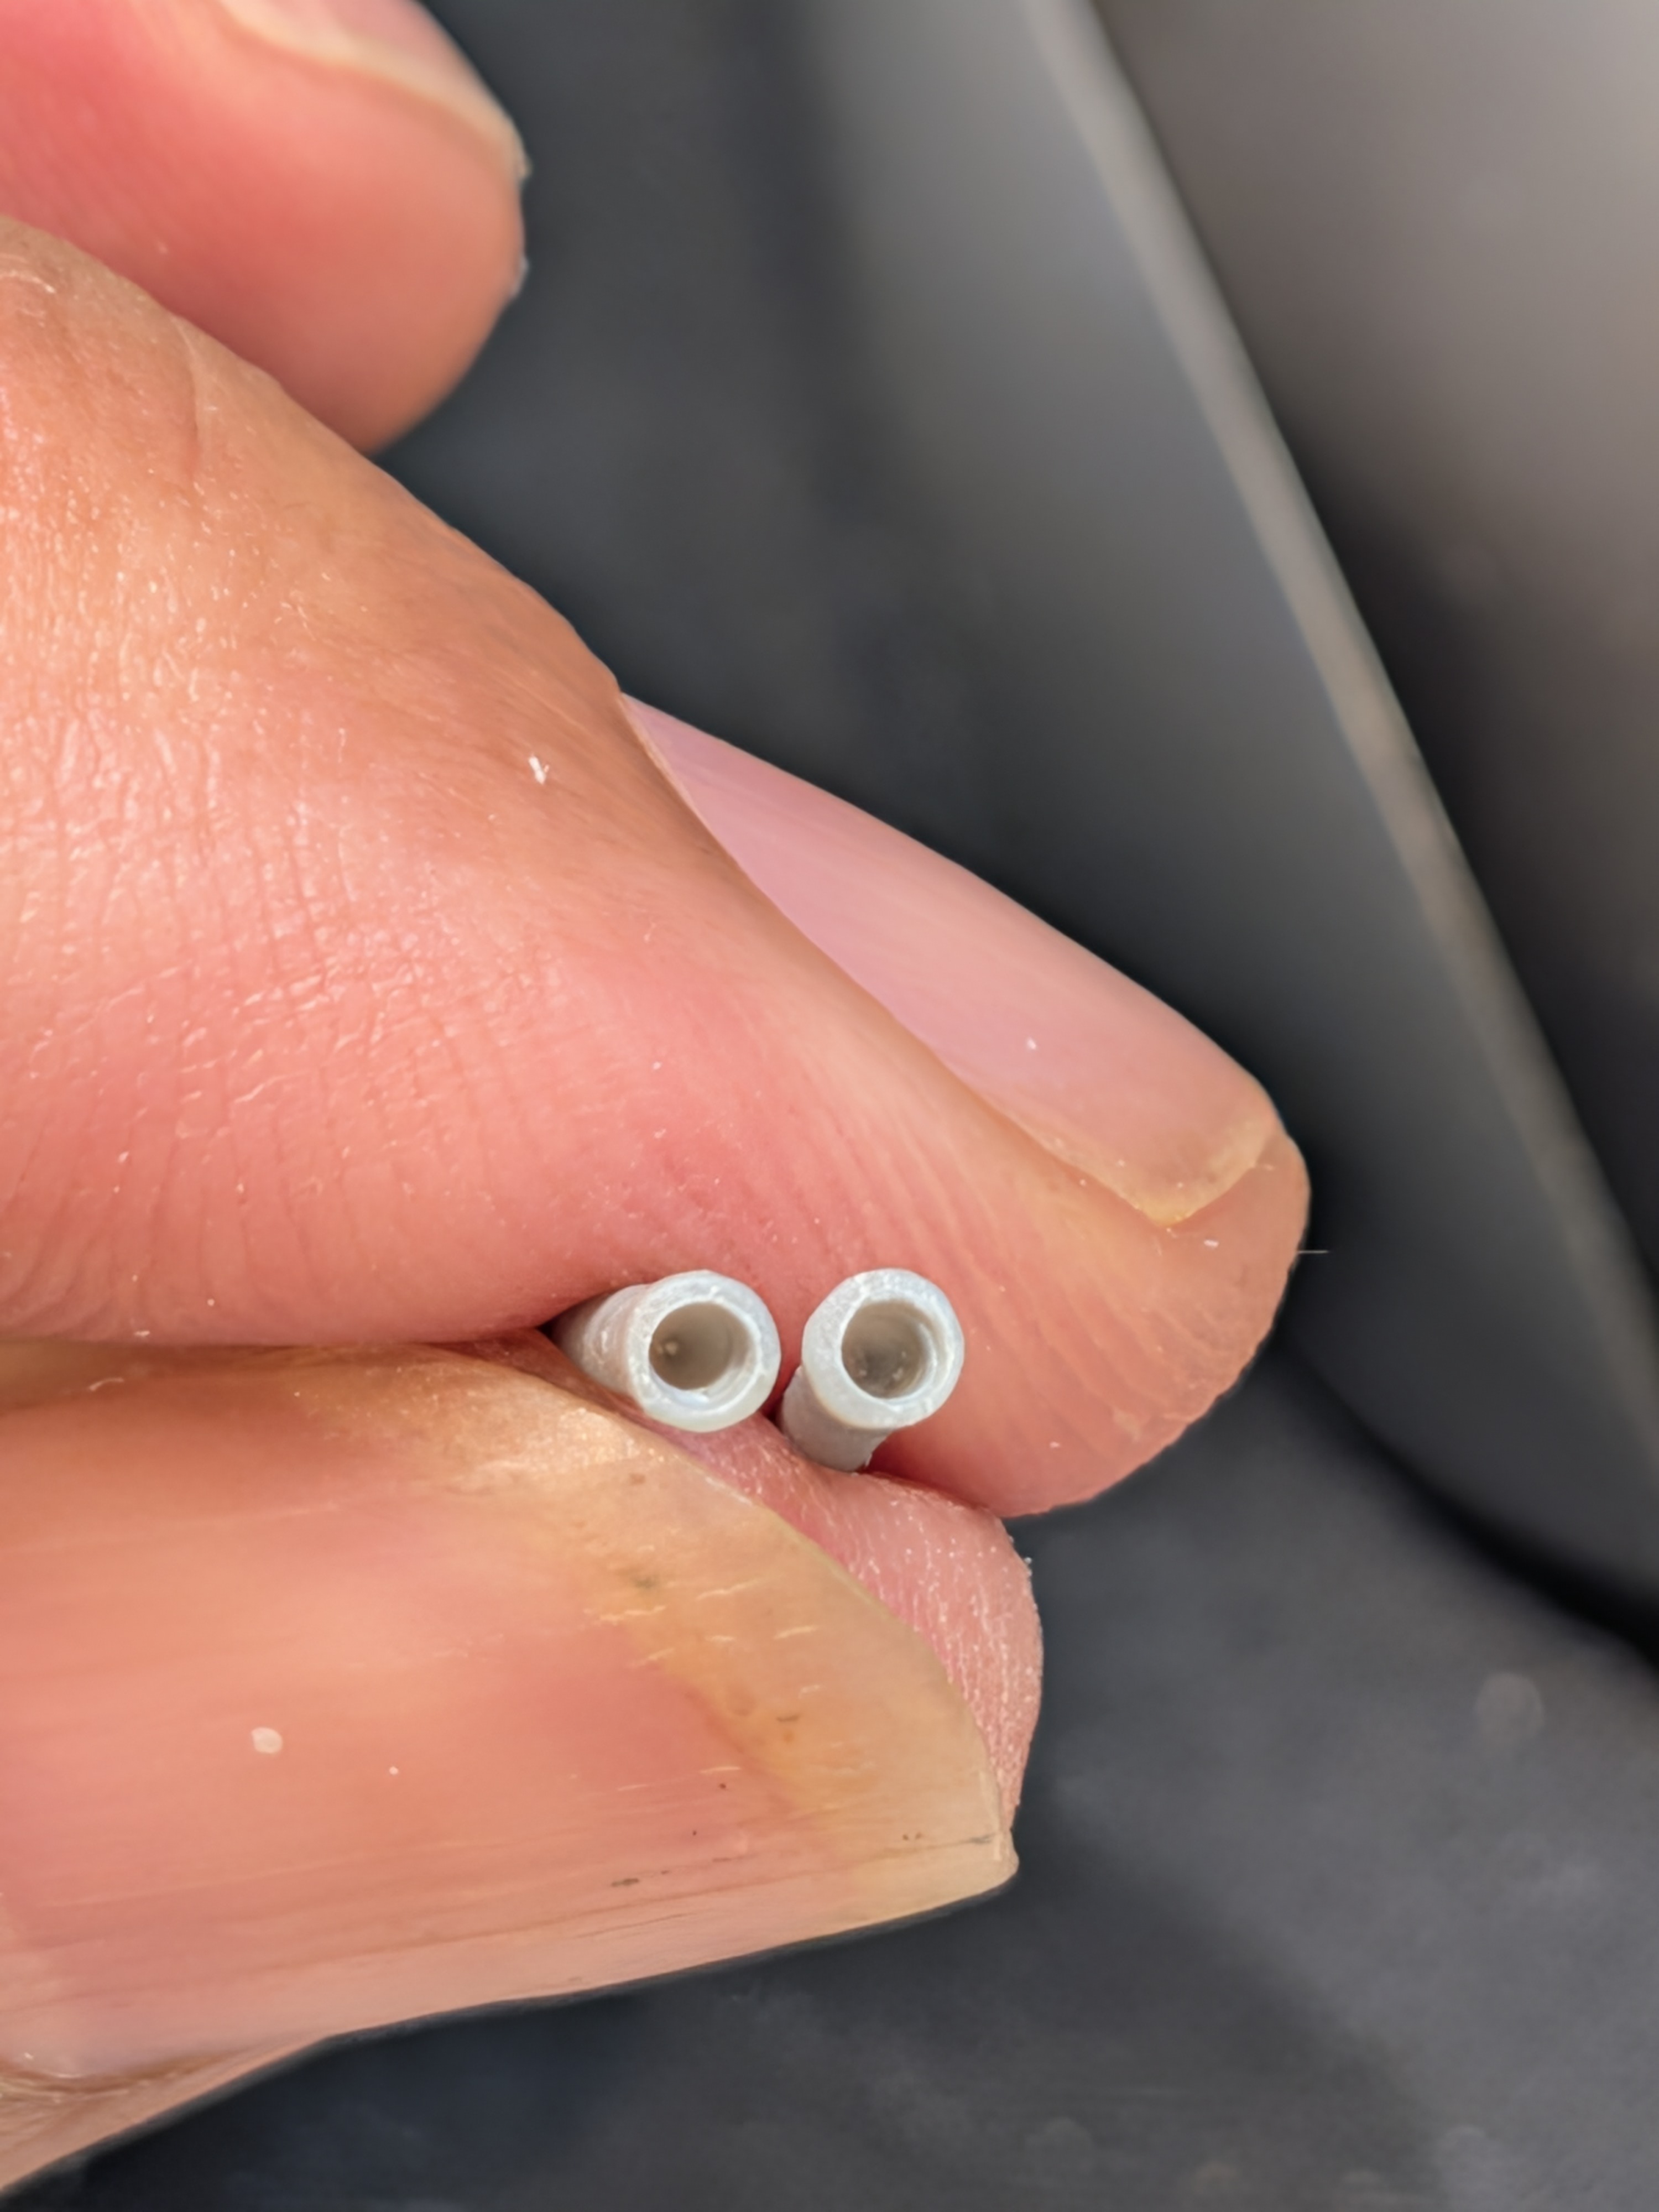
Those are nicely centered... No matter how many gun barrels and exhaust pipes I've drilled out and reamed, always a bit nervy...
View attachment 196187


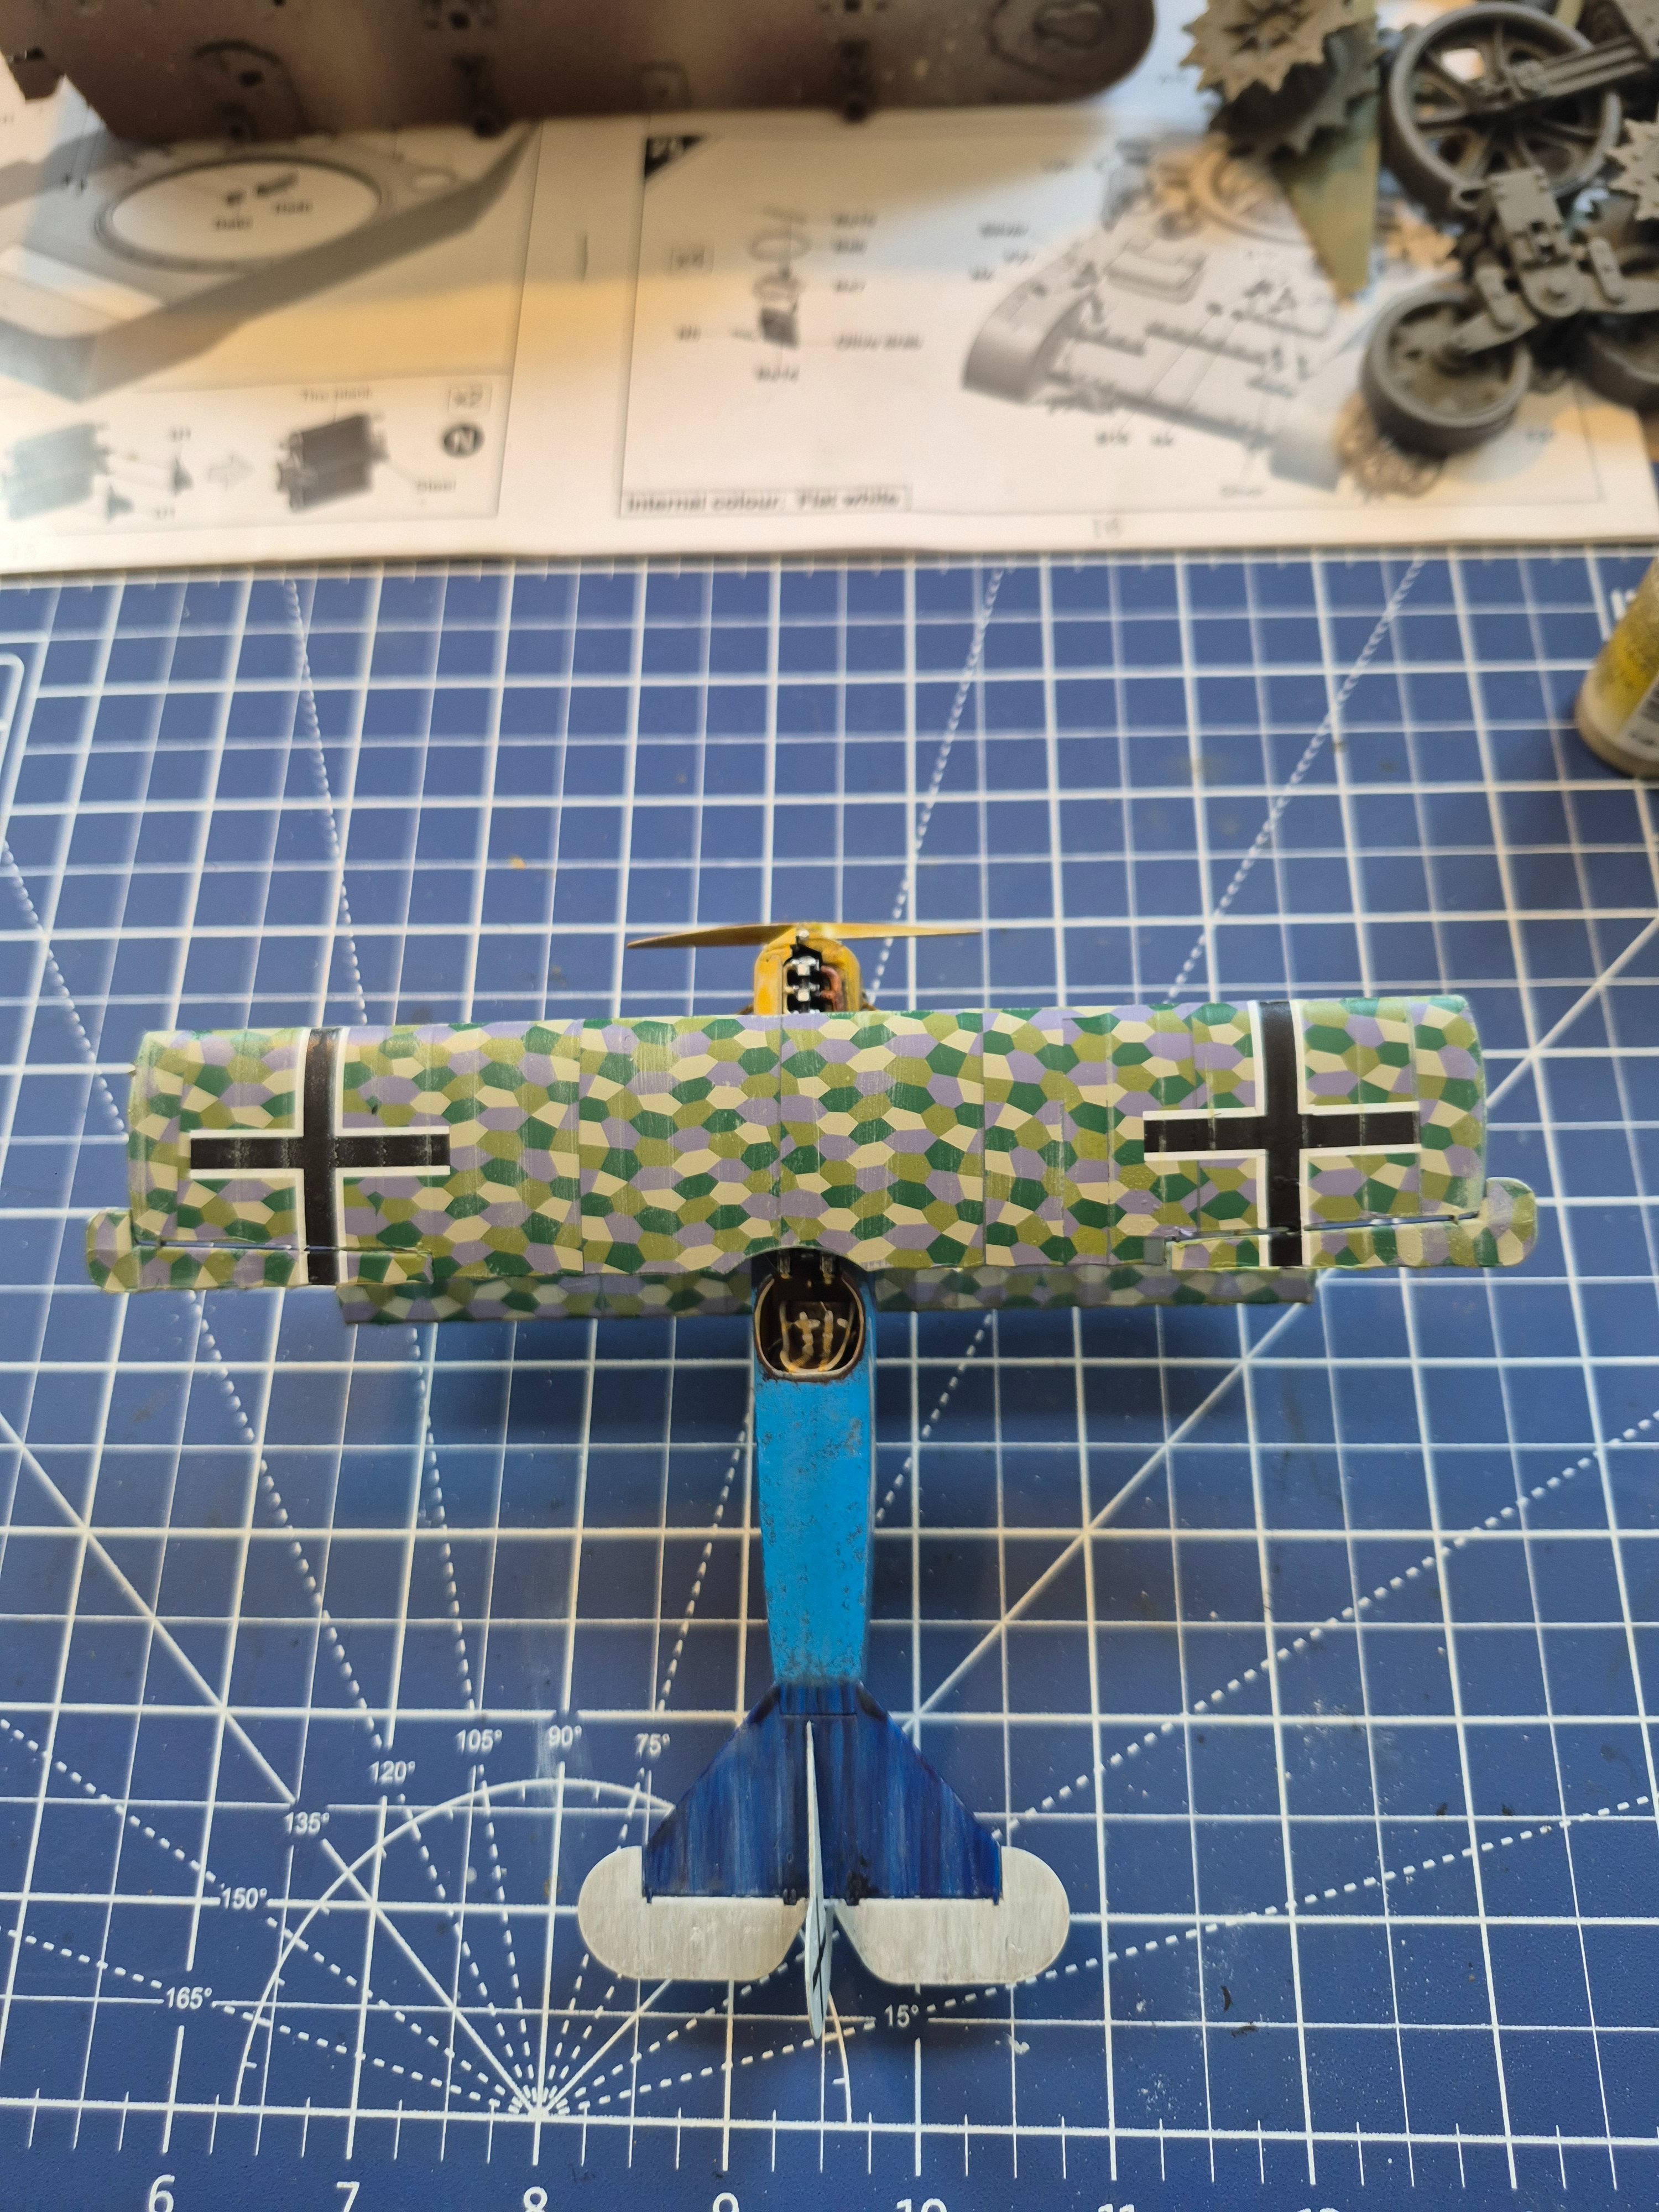
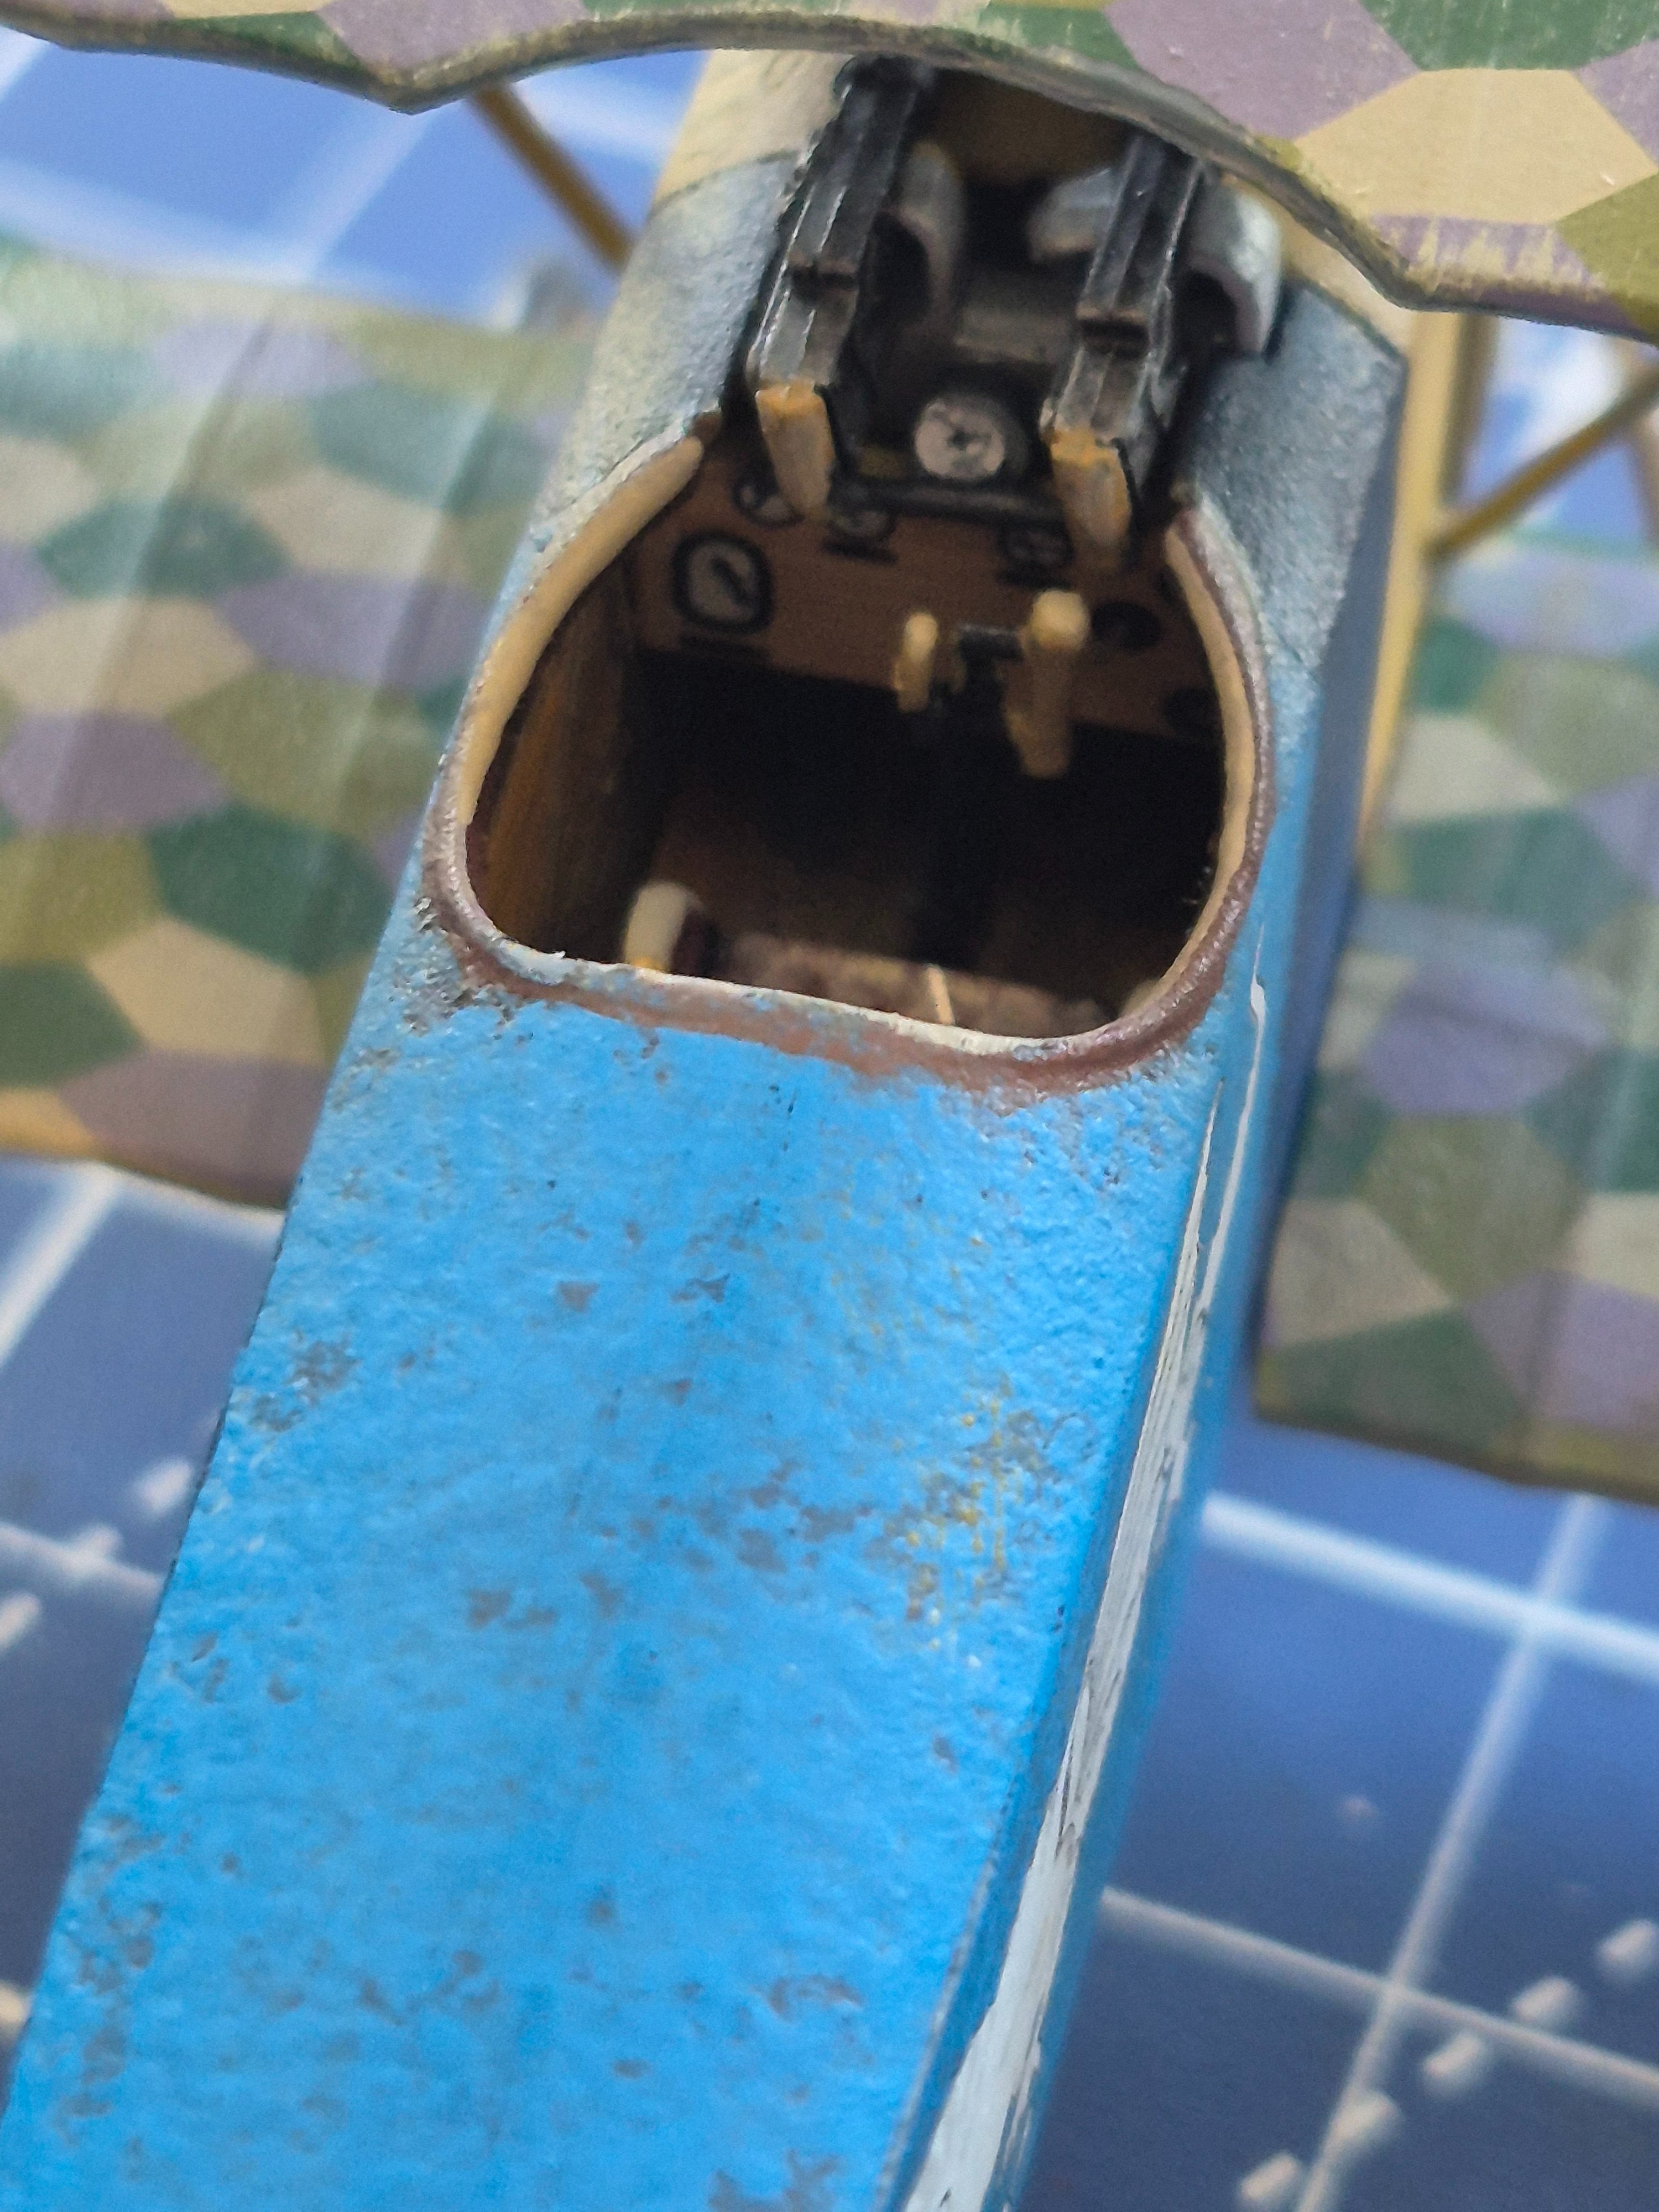
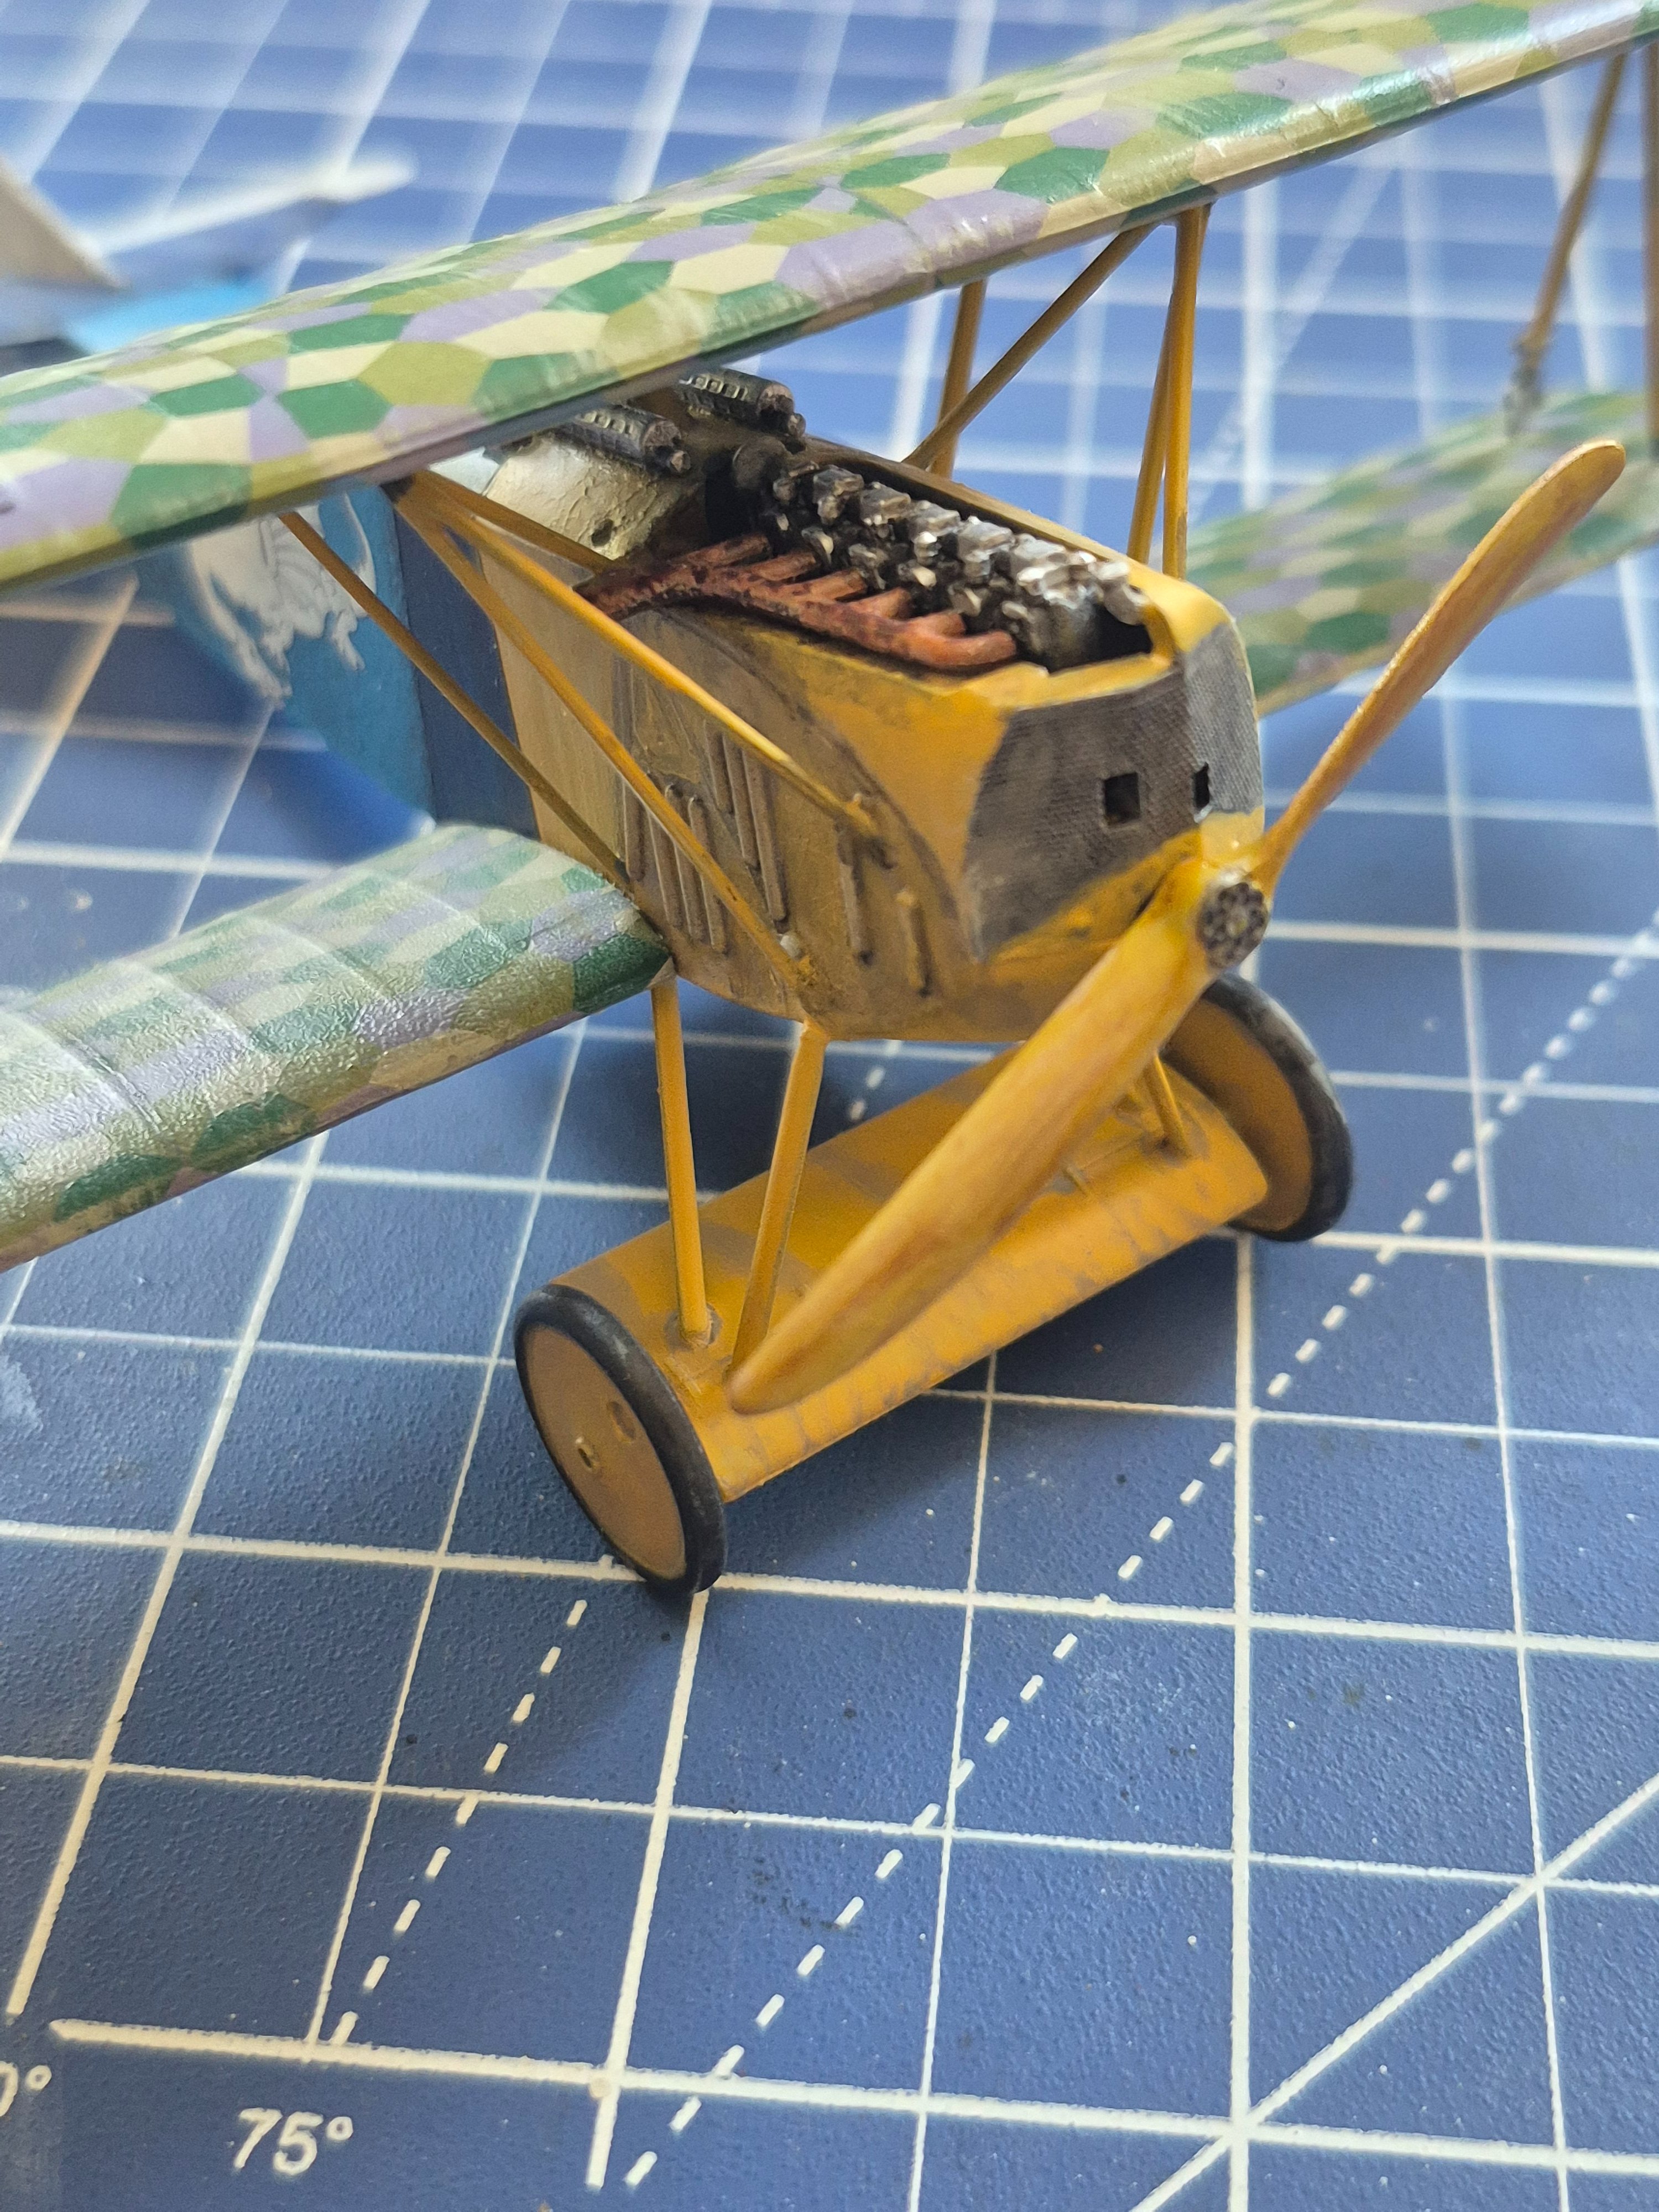
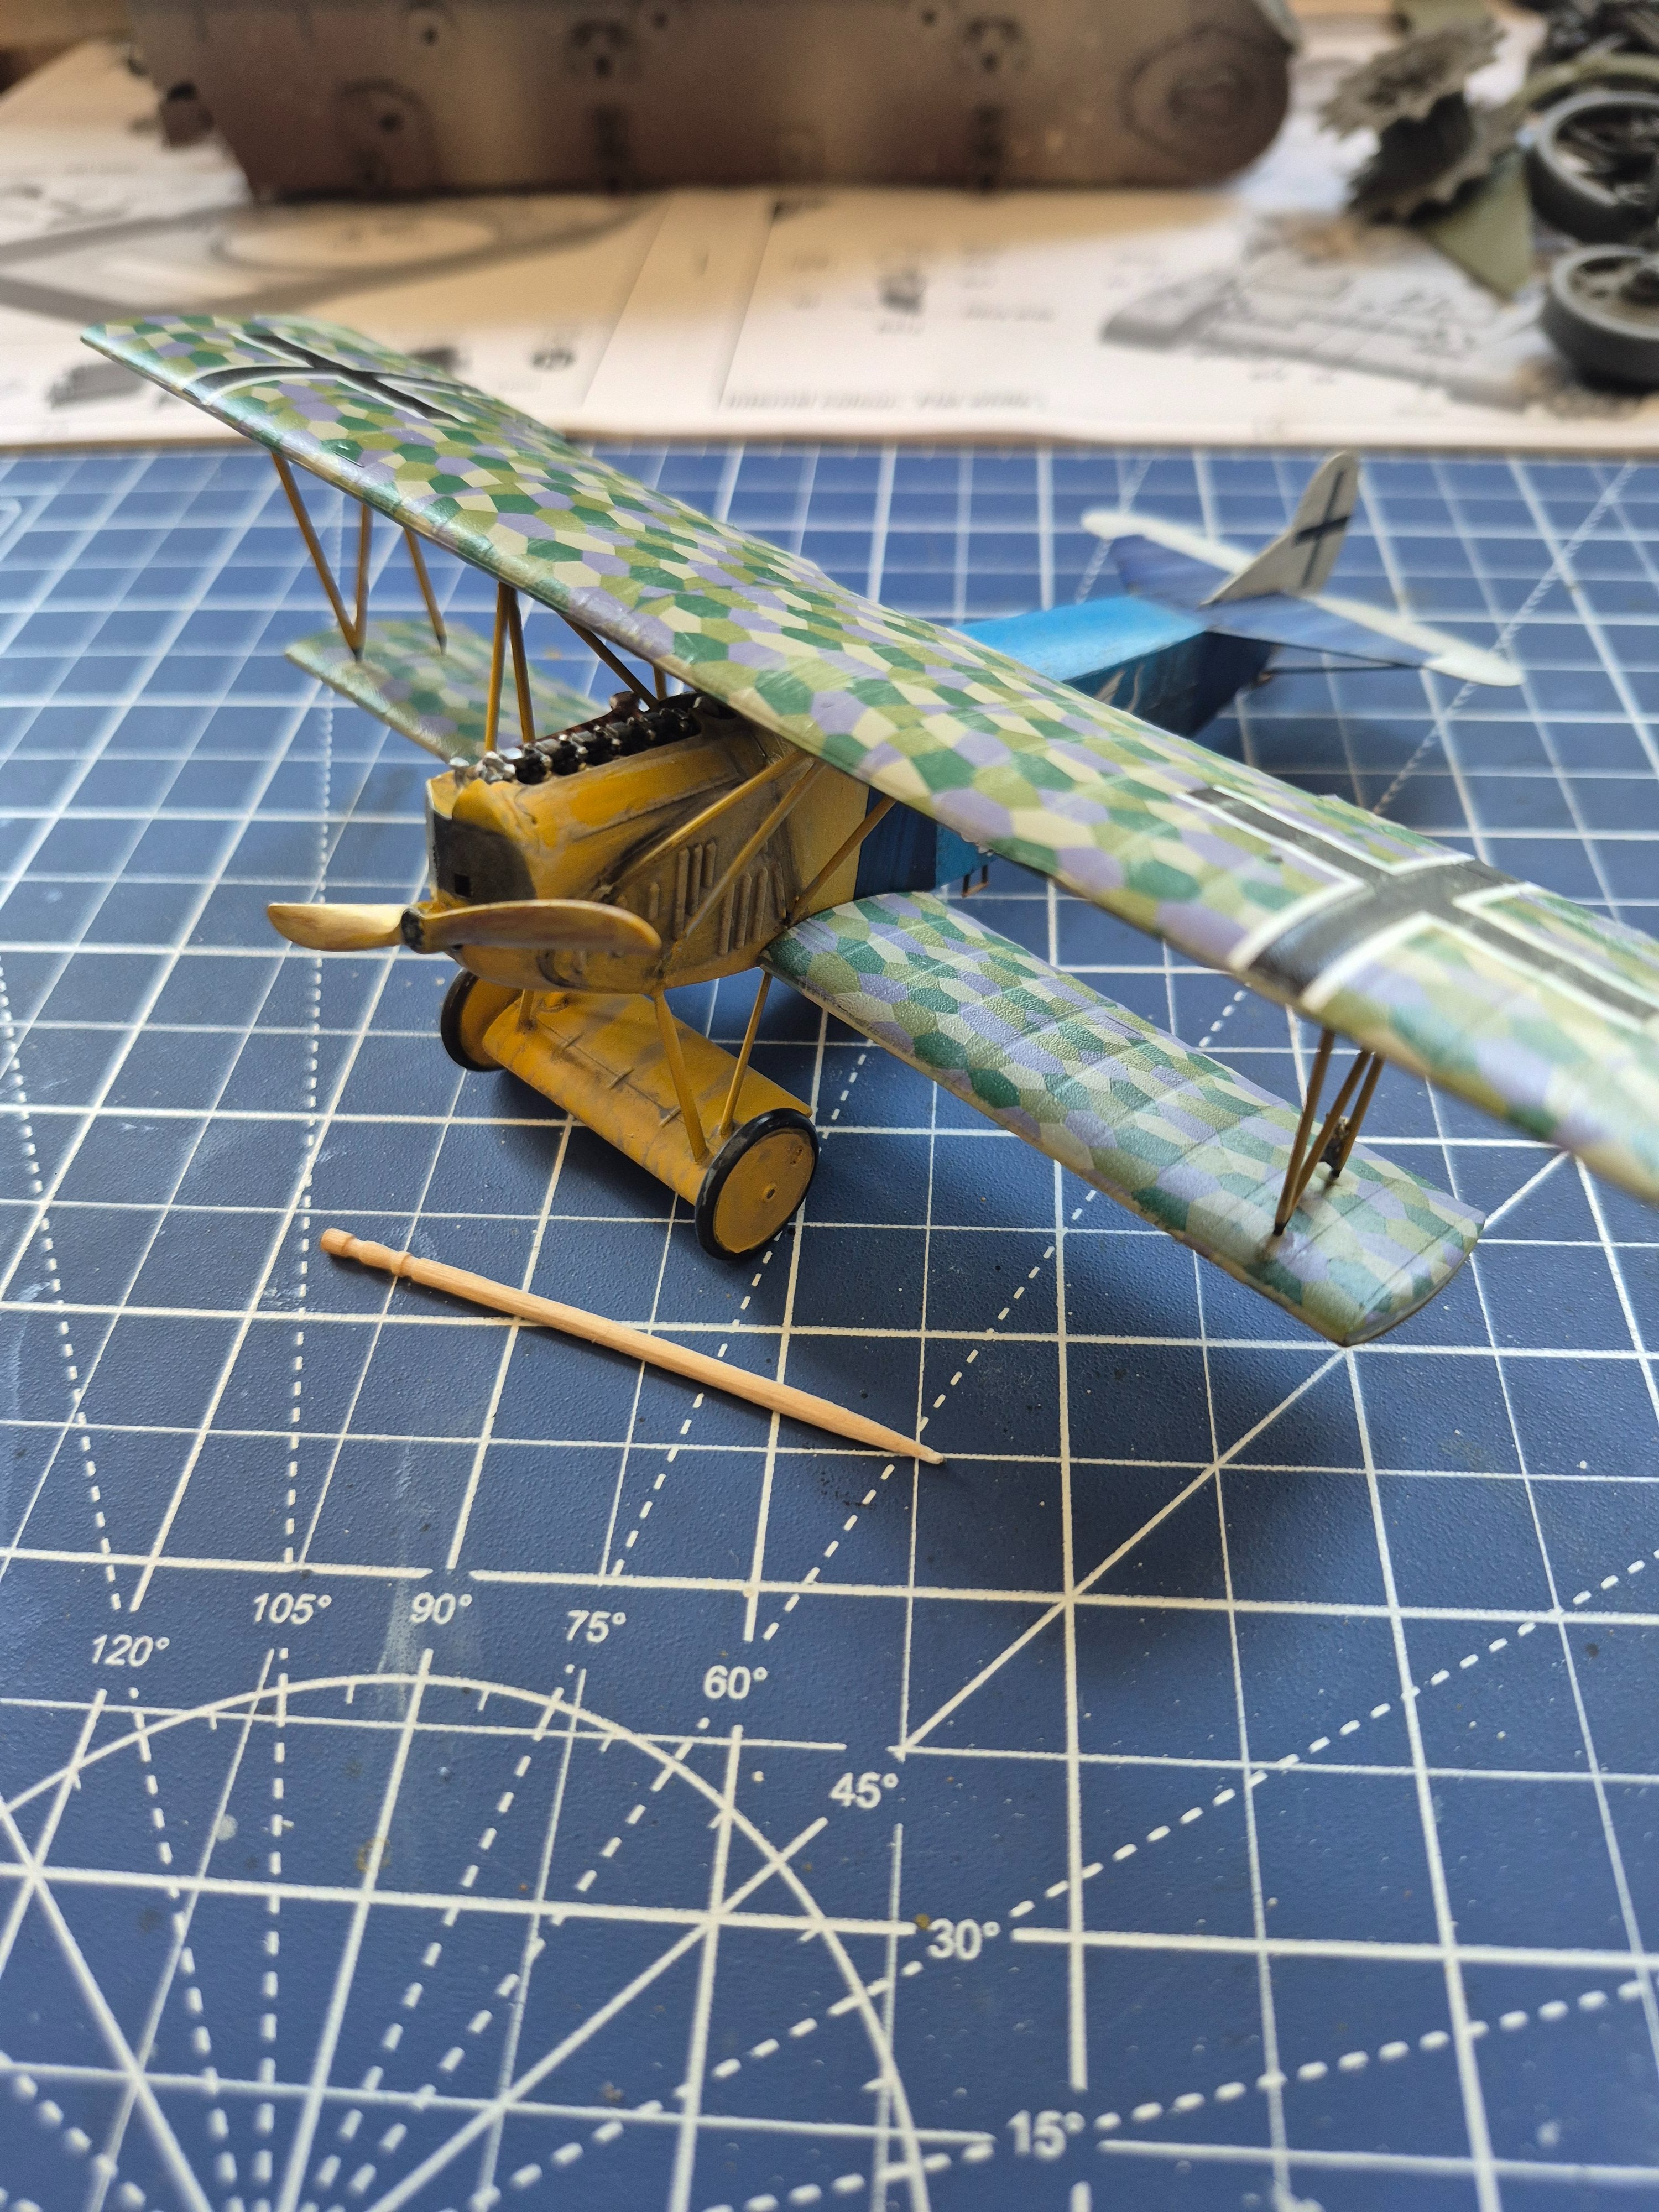
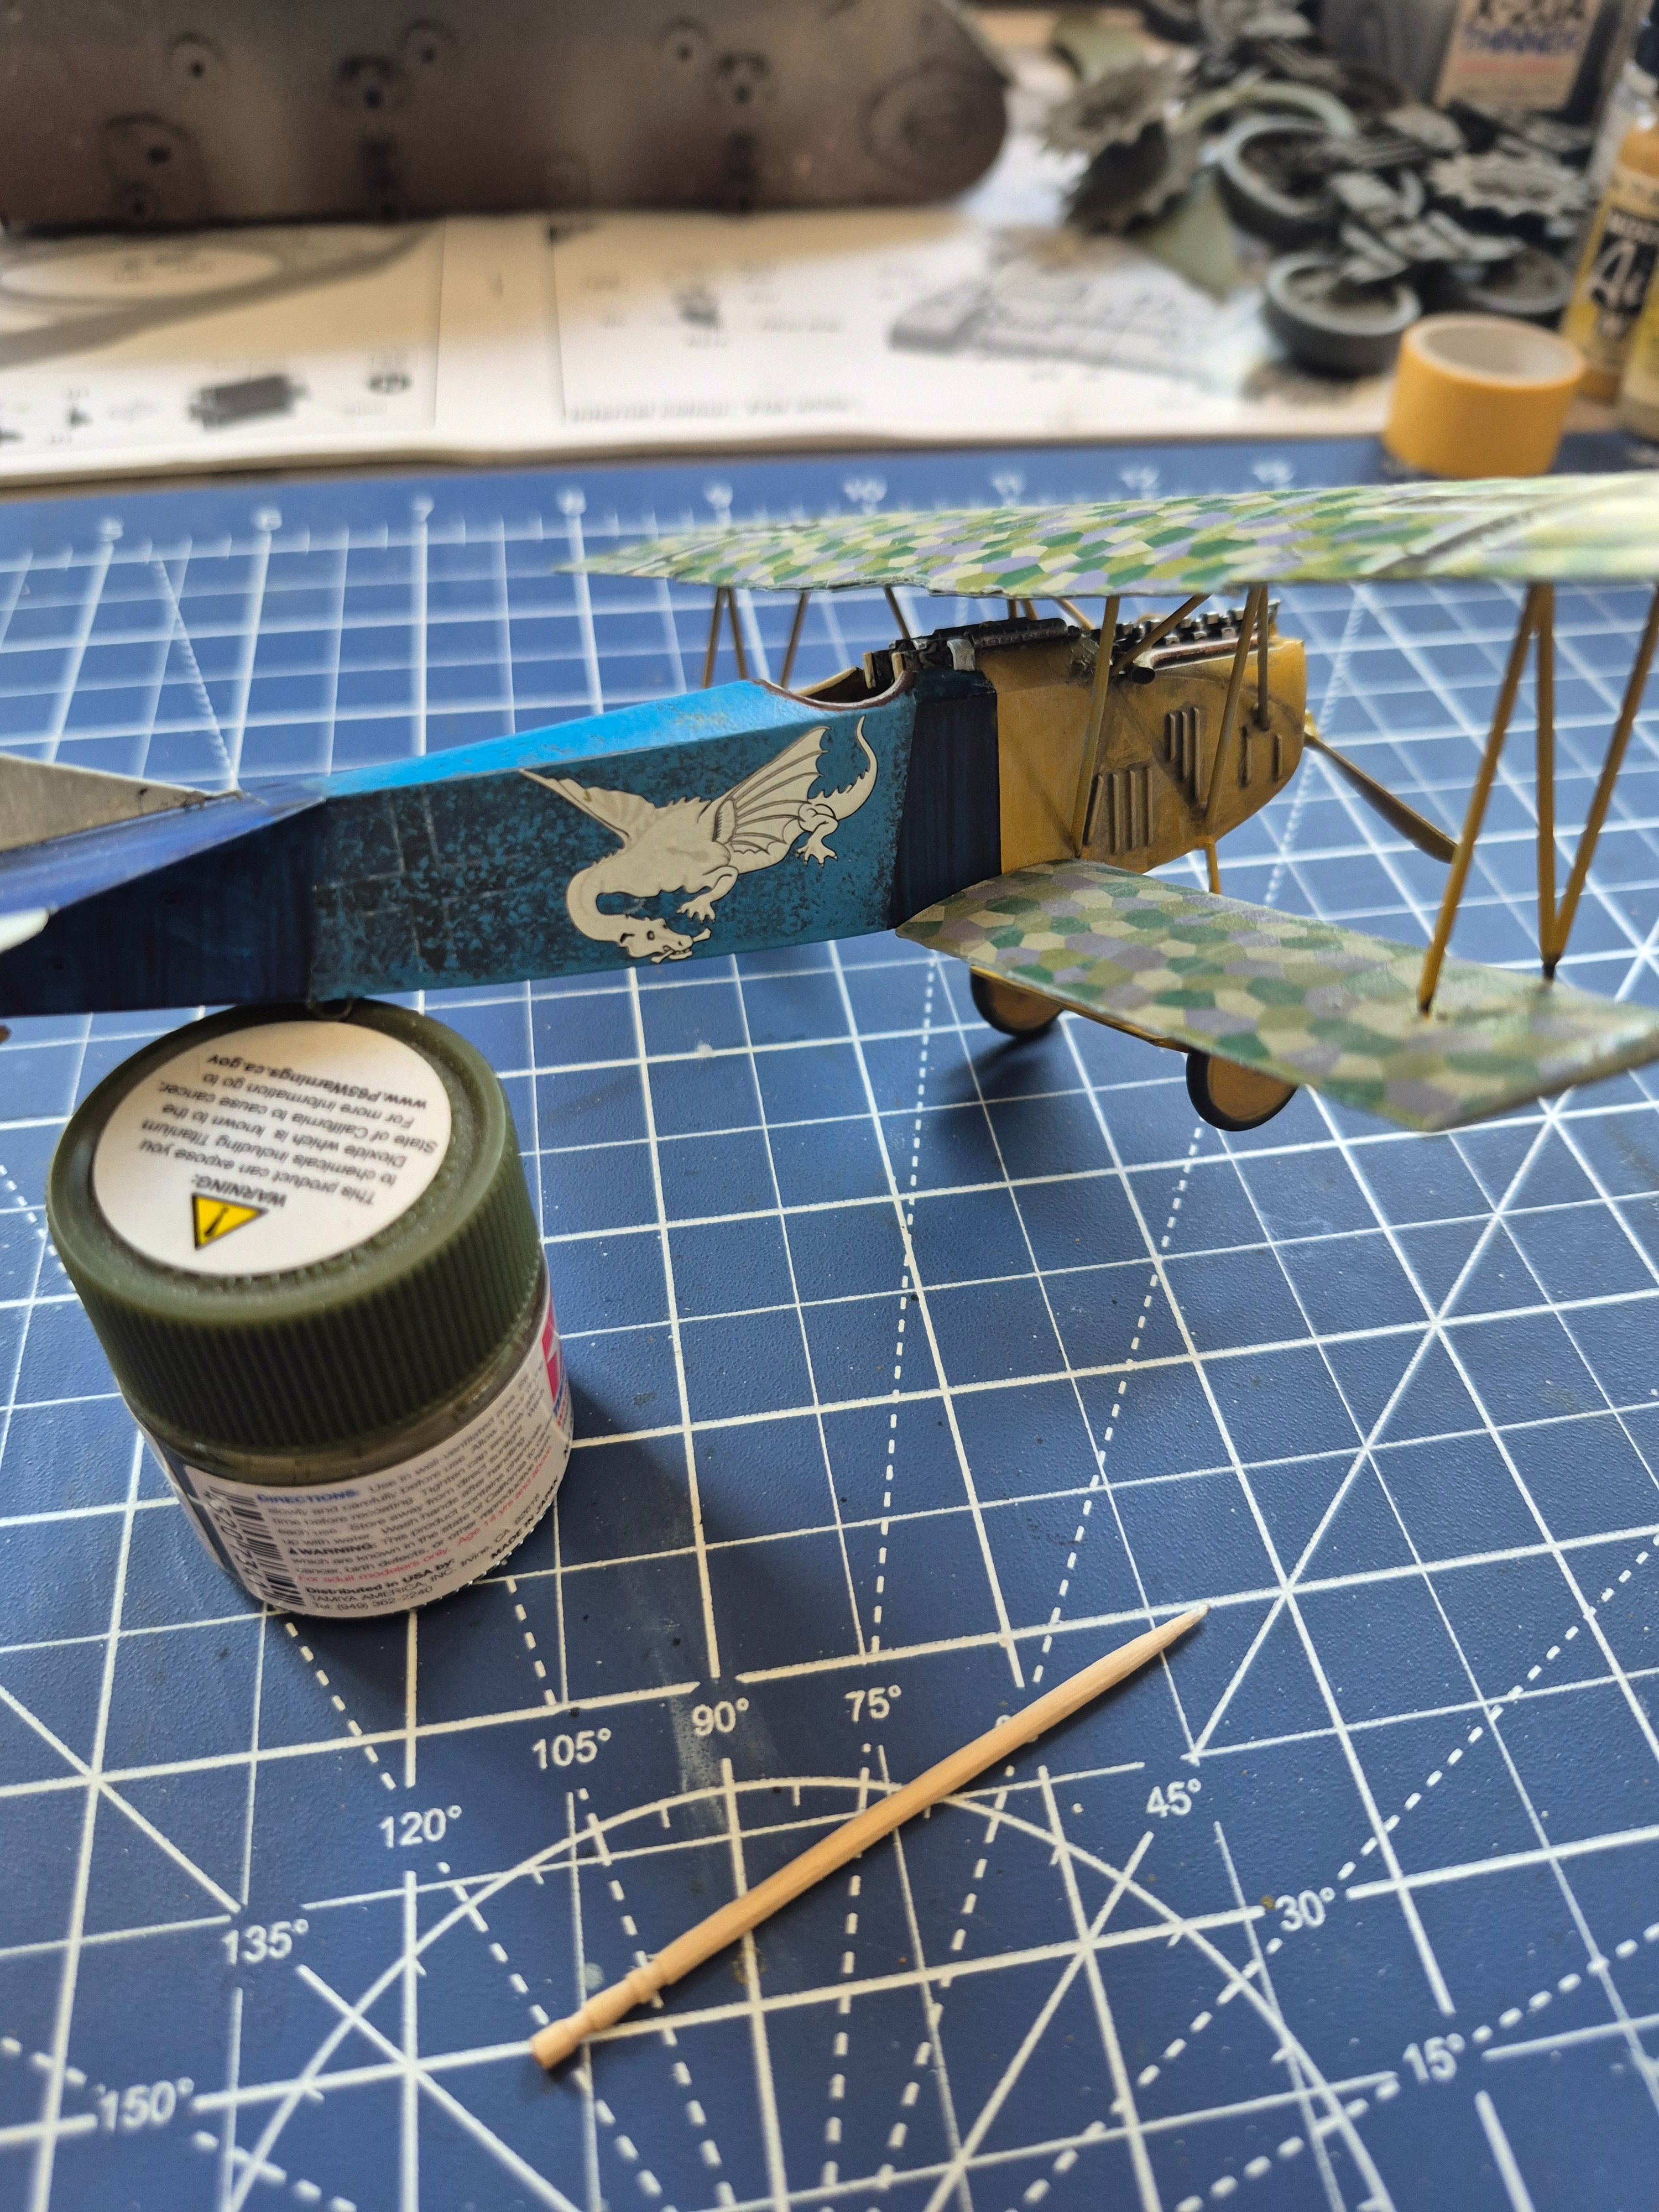
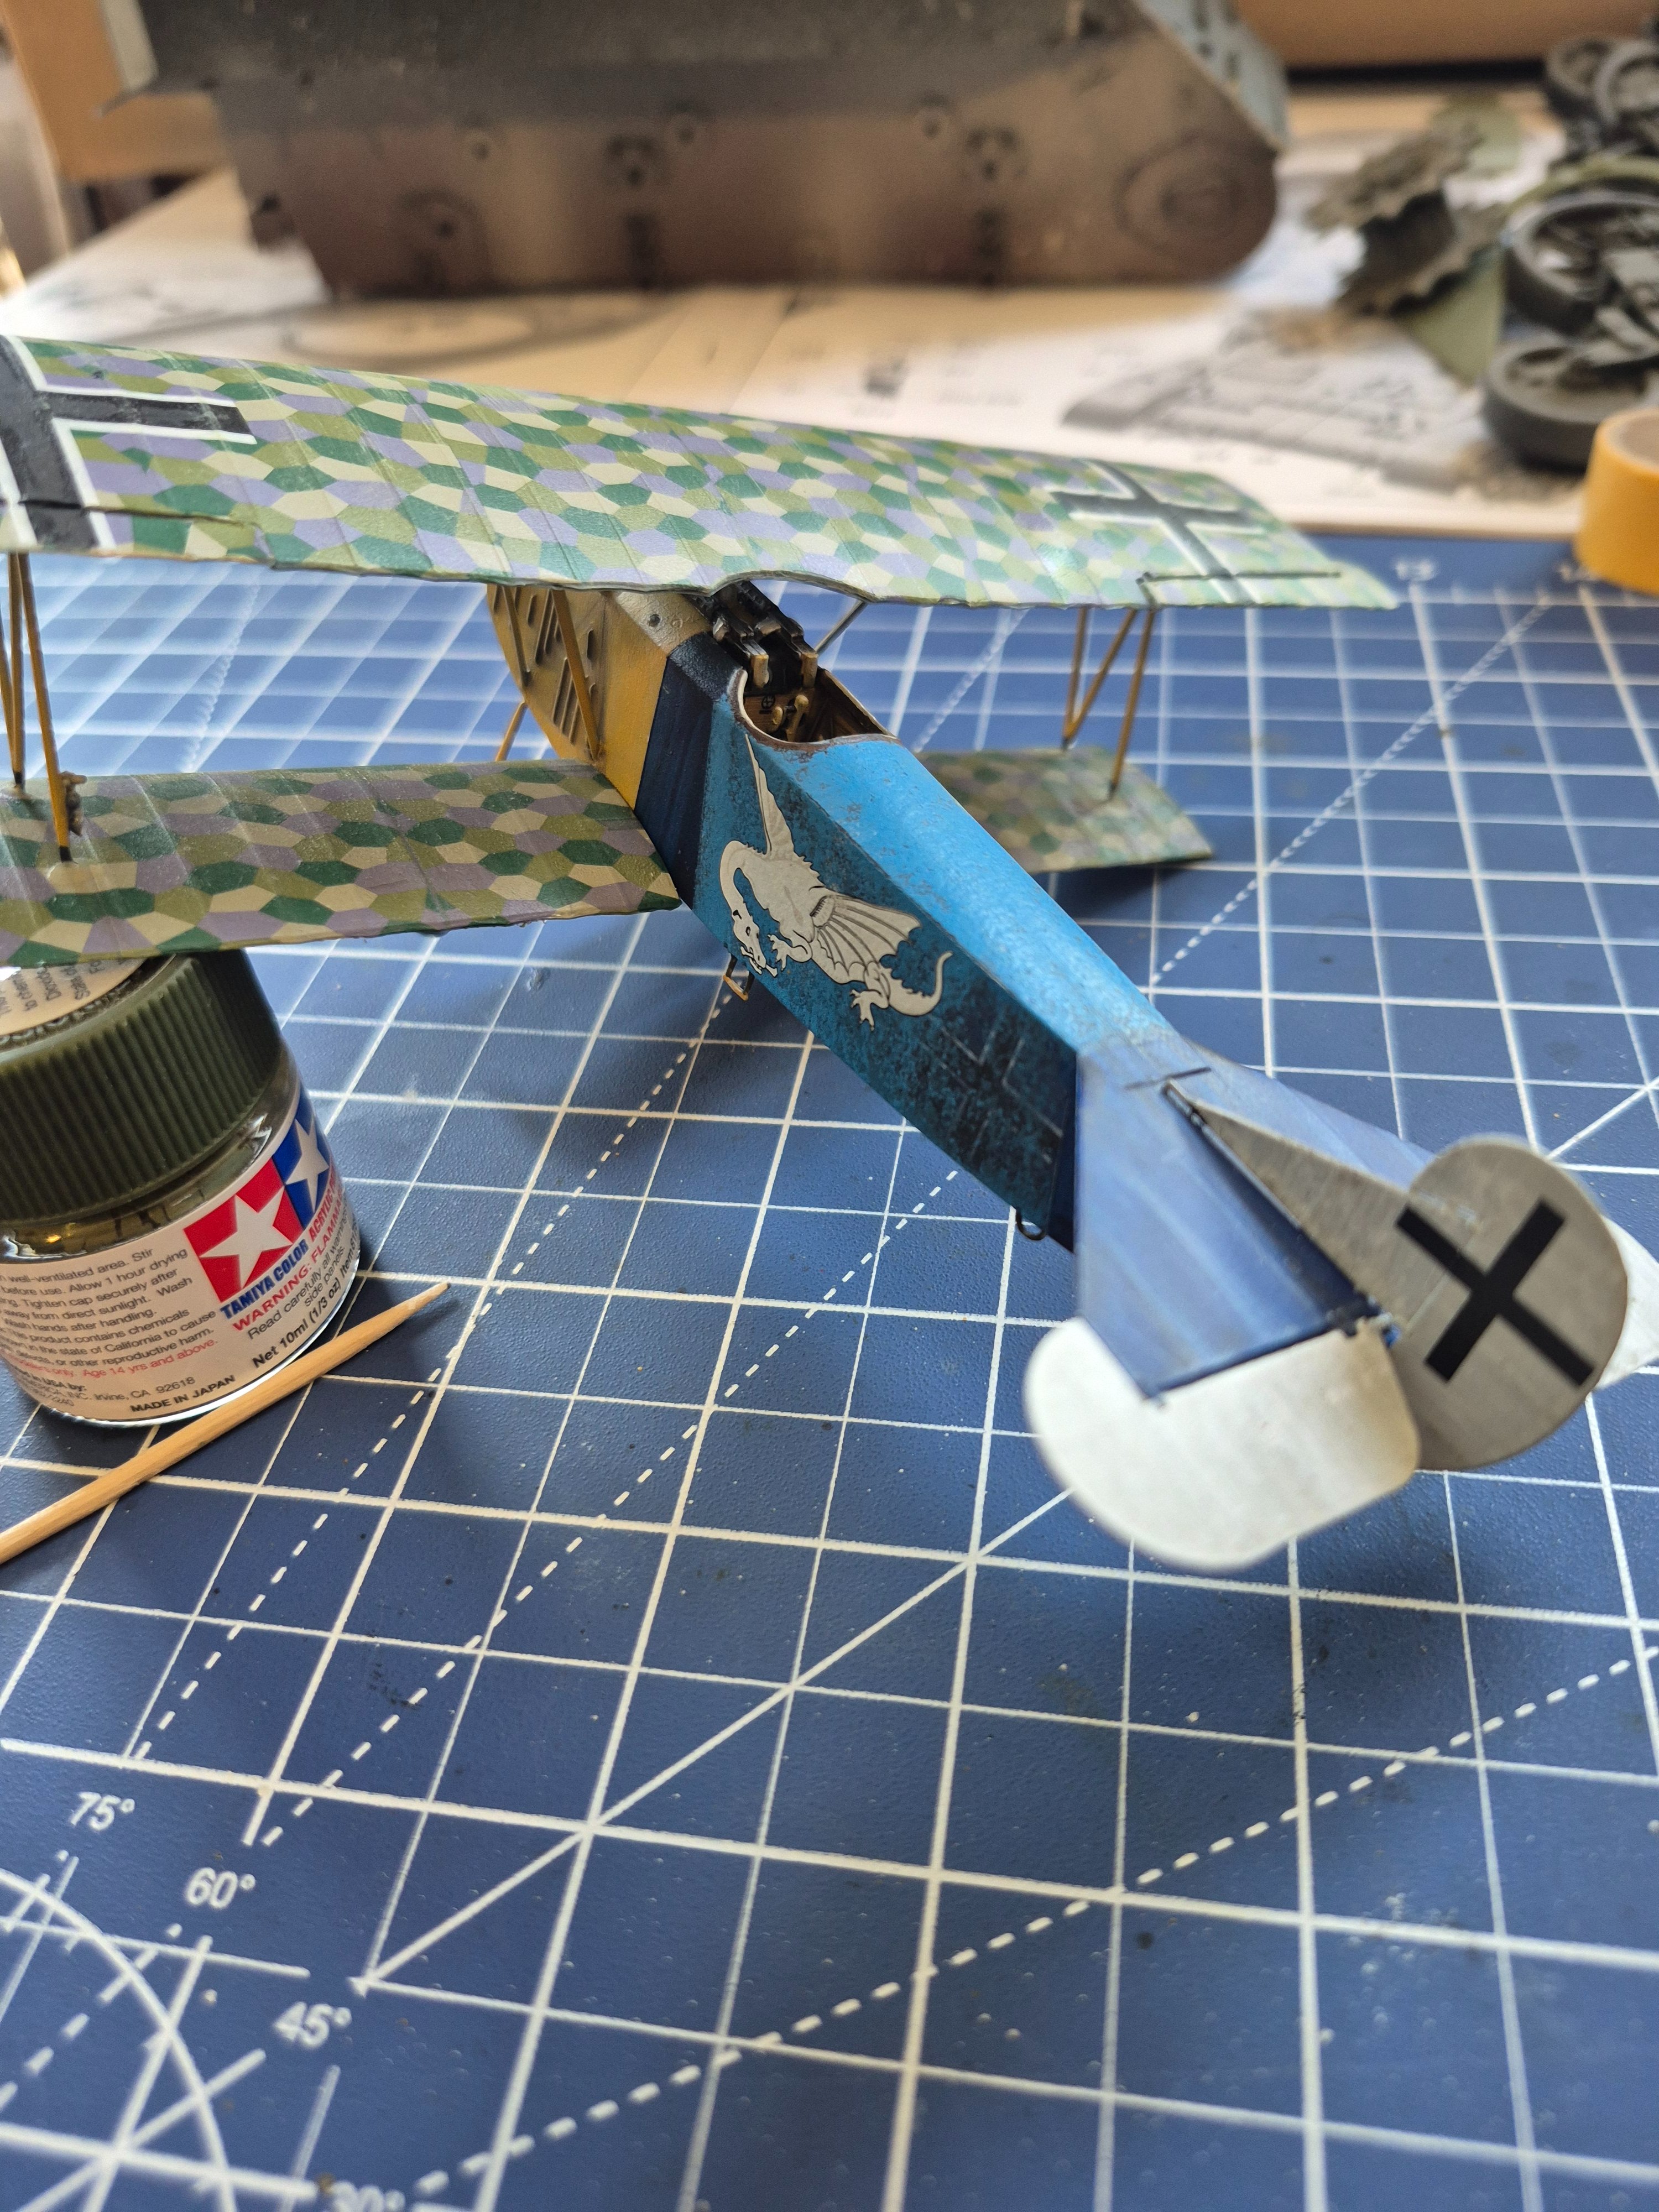
Well done!fun little build
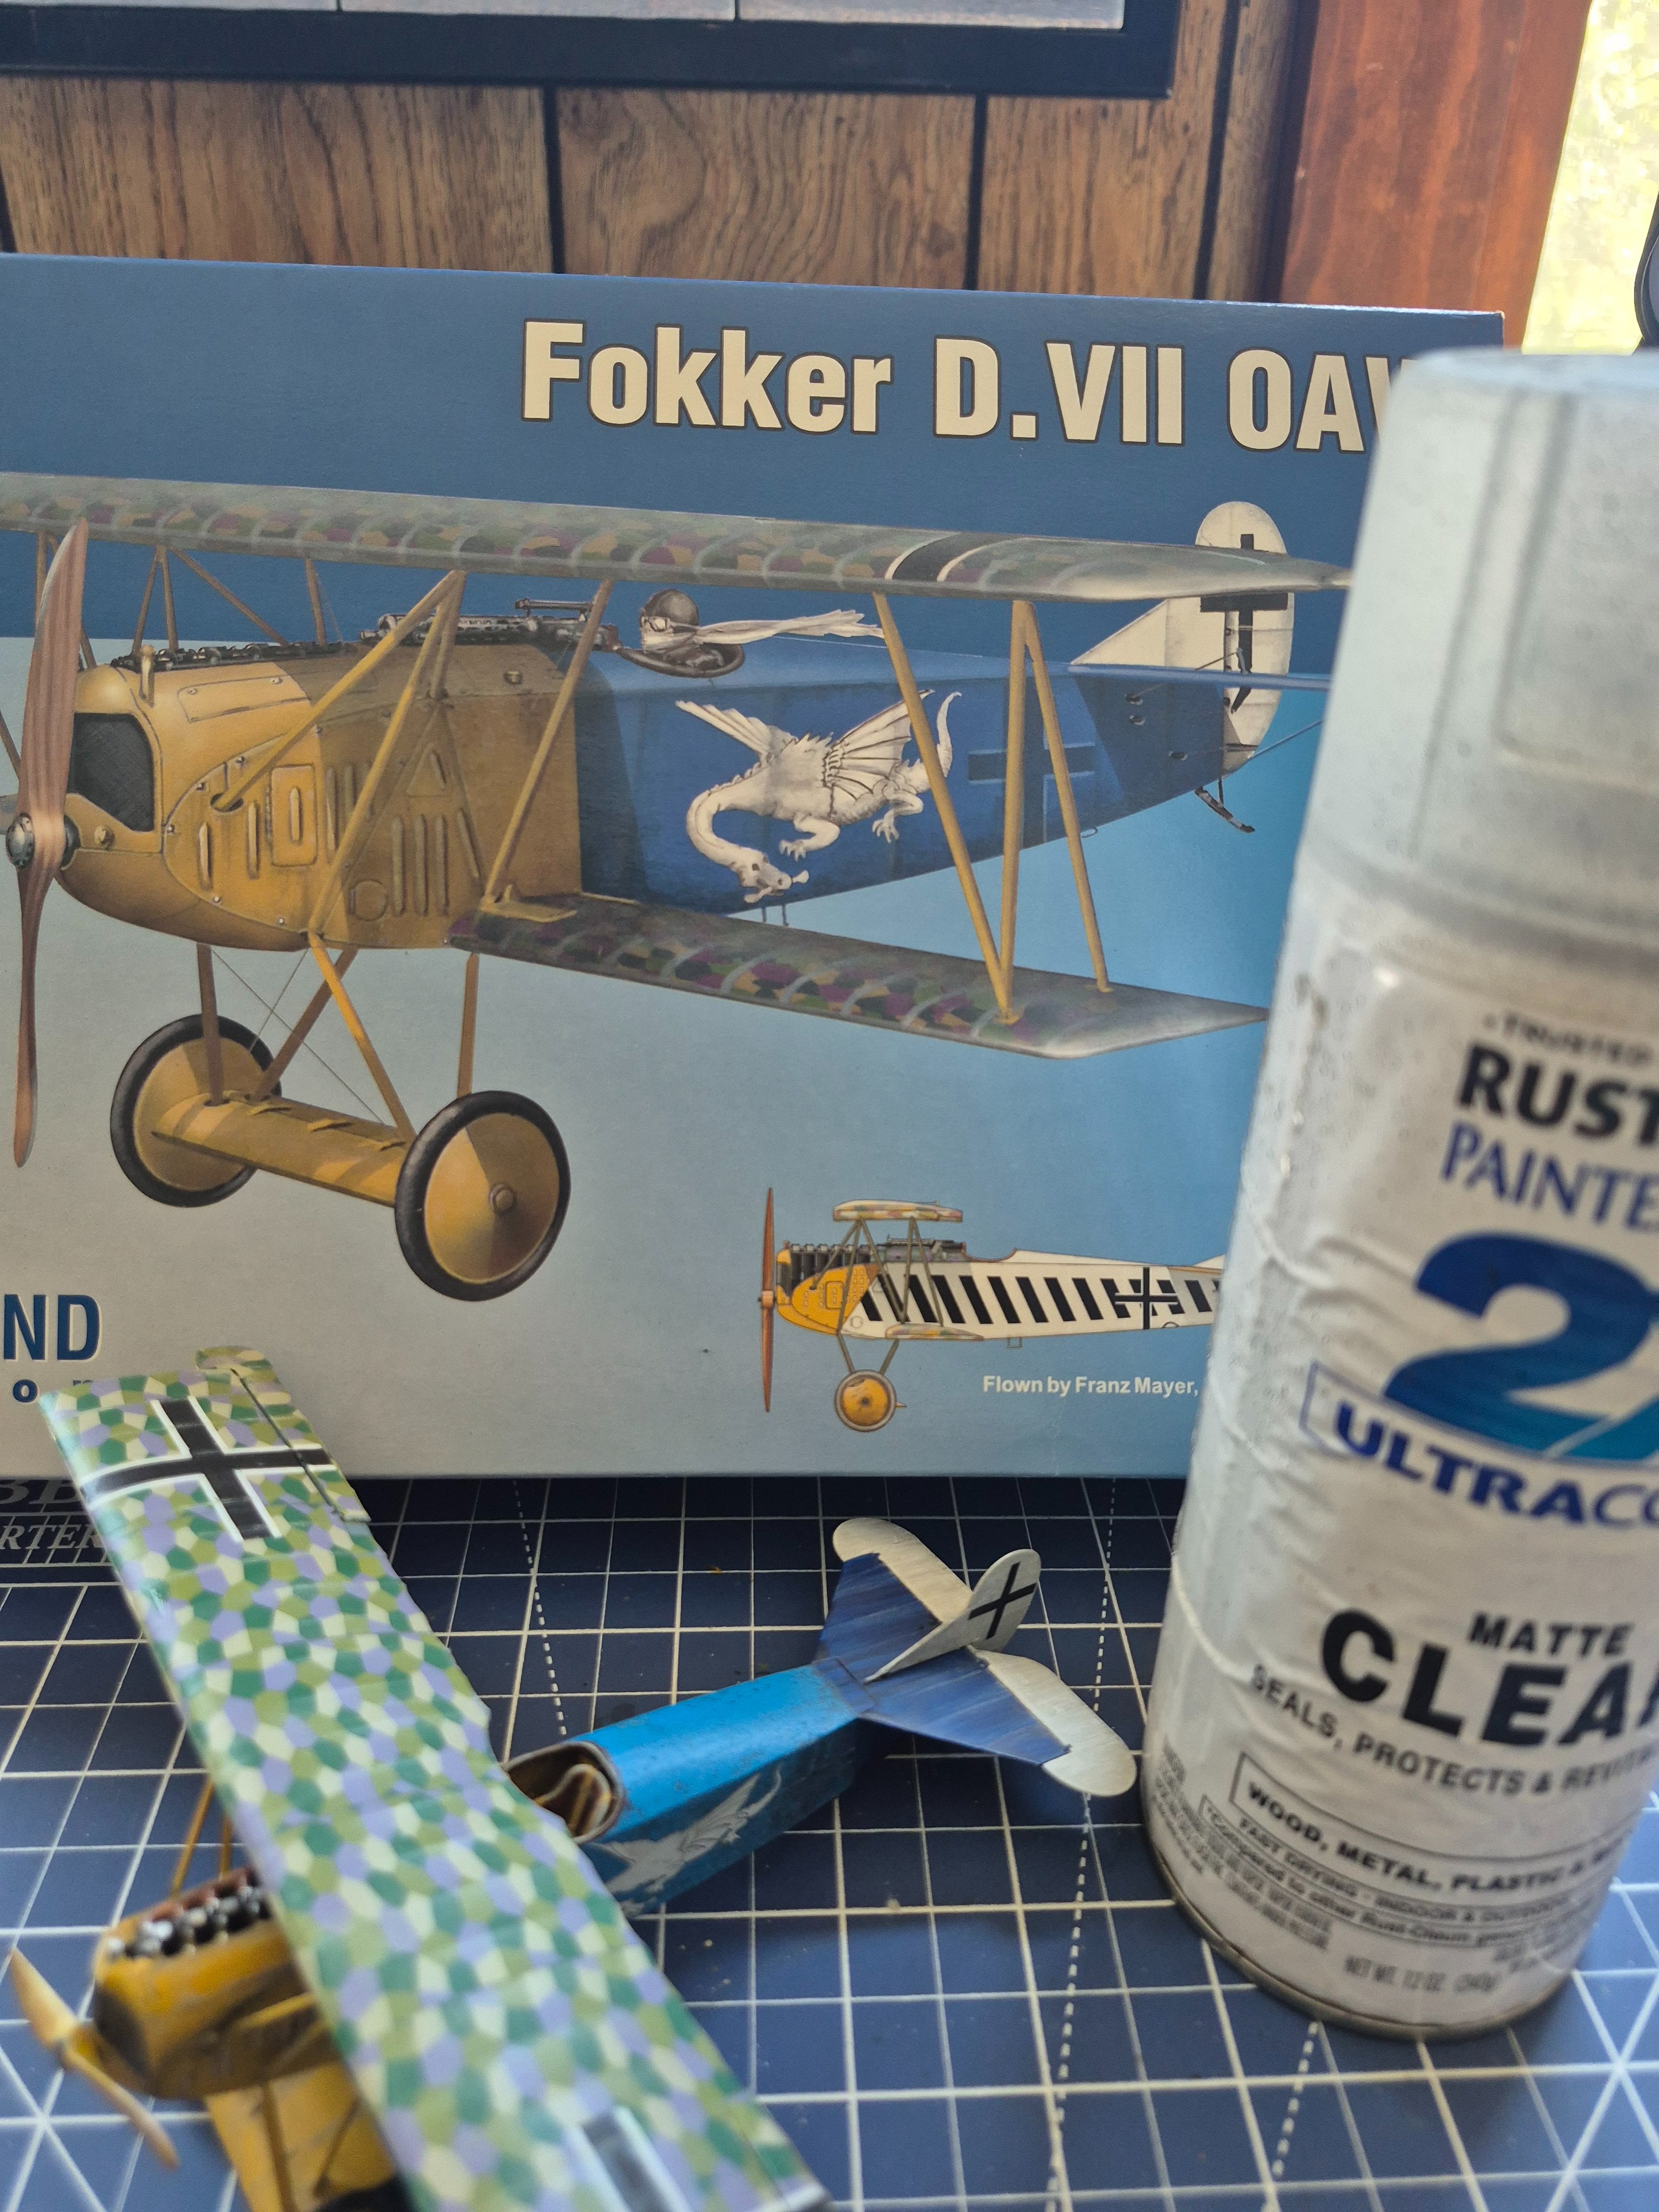
That was part of my expert plan of being too heavy handed with my clear coat of Rustoleum 2X matte clear, it krinkled the camo decals and some of the paint.Somehow it really looks like a doped fabric skin!
Yes.A what Dora? Fw 190 D?
Eduard (aircraft is all I've built) are known for using super thin stickers with little carrier film. I'm wondering if this is why they gave you troublke?I did have some problems with the decals,

Wow, a bench seat! Pretty much a minivan!productive

Nice build, I like the chipping on the cowlingEDUARD 1/48 Fokker D.VII OAW
This was a fun little build. It was my first kit from Eduard, and I wouldn't hesitate to buy another one.
I did have some problems with the decals, my clear coat, and some sloppy glue. I managed to fix them well enough and I'm mostly happy with the build. I only wish now I would have gone with a larger scale, I think I could have done better.
The instructions say Lt. Willhelm Leusch flew this particular plane in 1918. I looked him up and he was a WWI ace credited with five victories. He survived the war and was killed in a glider accident in 1921.
View attachment 196240
View attachment 196241View attachment 196250View attachment 196244
View attachment 196245View attachment 196246
The finest Corinthian leather!Wow, a bench seat! Pretty much a minivan!
Hmmm...watching closely as my Roden decals are bright as well.too bright
I agree with you about the brightness- it looks out of place compared to the paint. I'll have to remember this when I tackle one of my WN kits. Are the YT-ers using aftermarket decals?I'm at a crossroads or critical decision point.
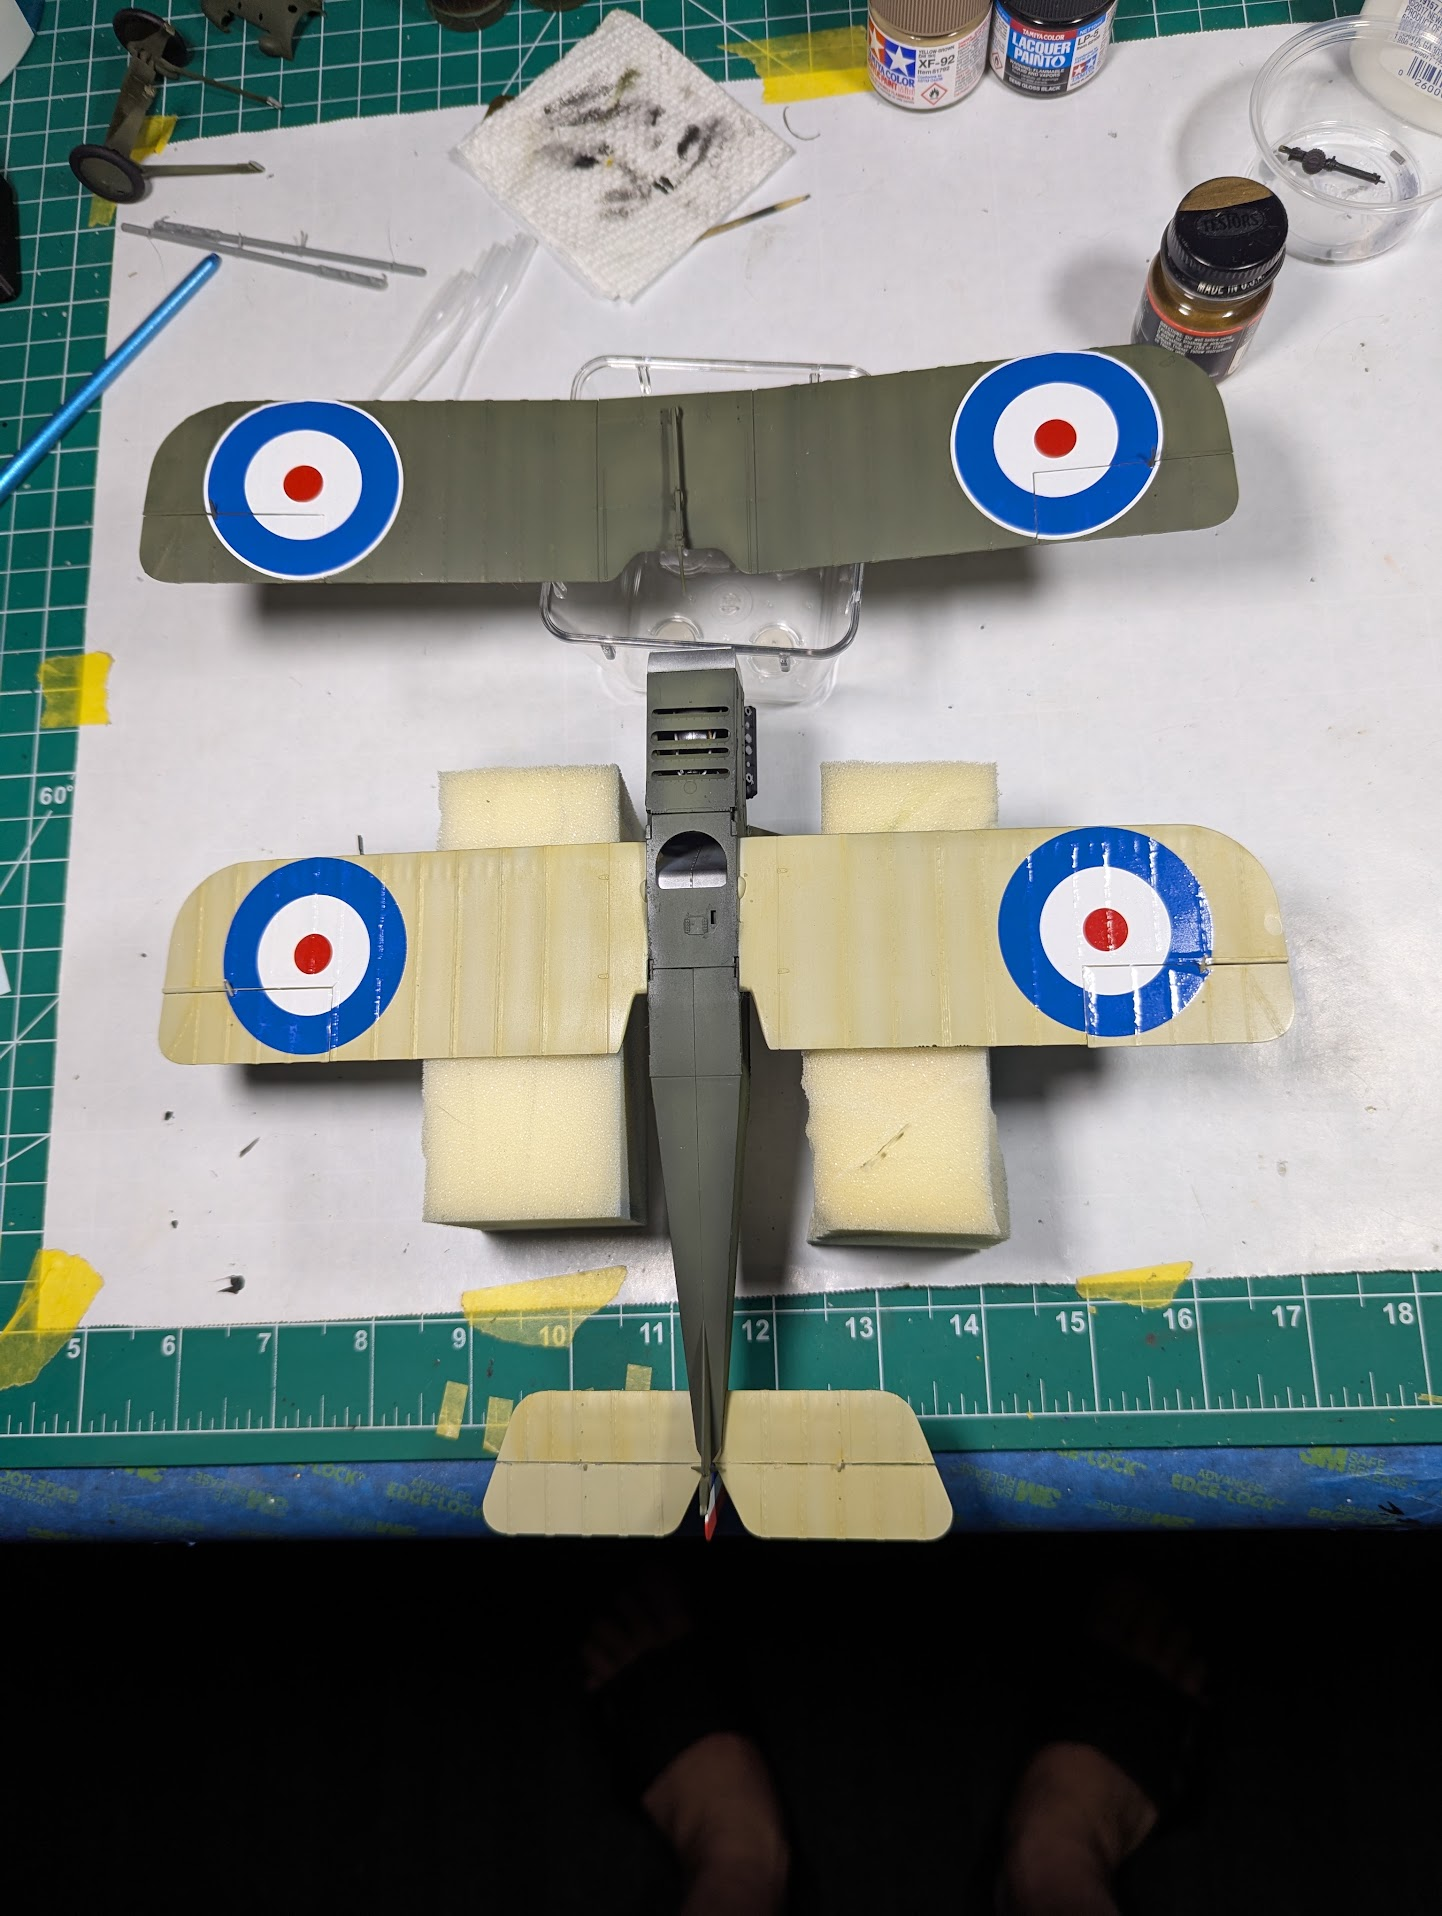
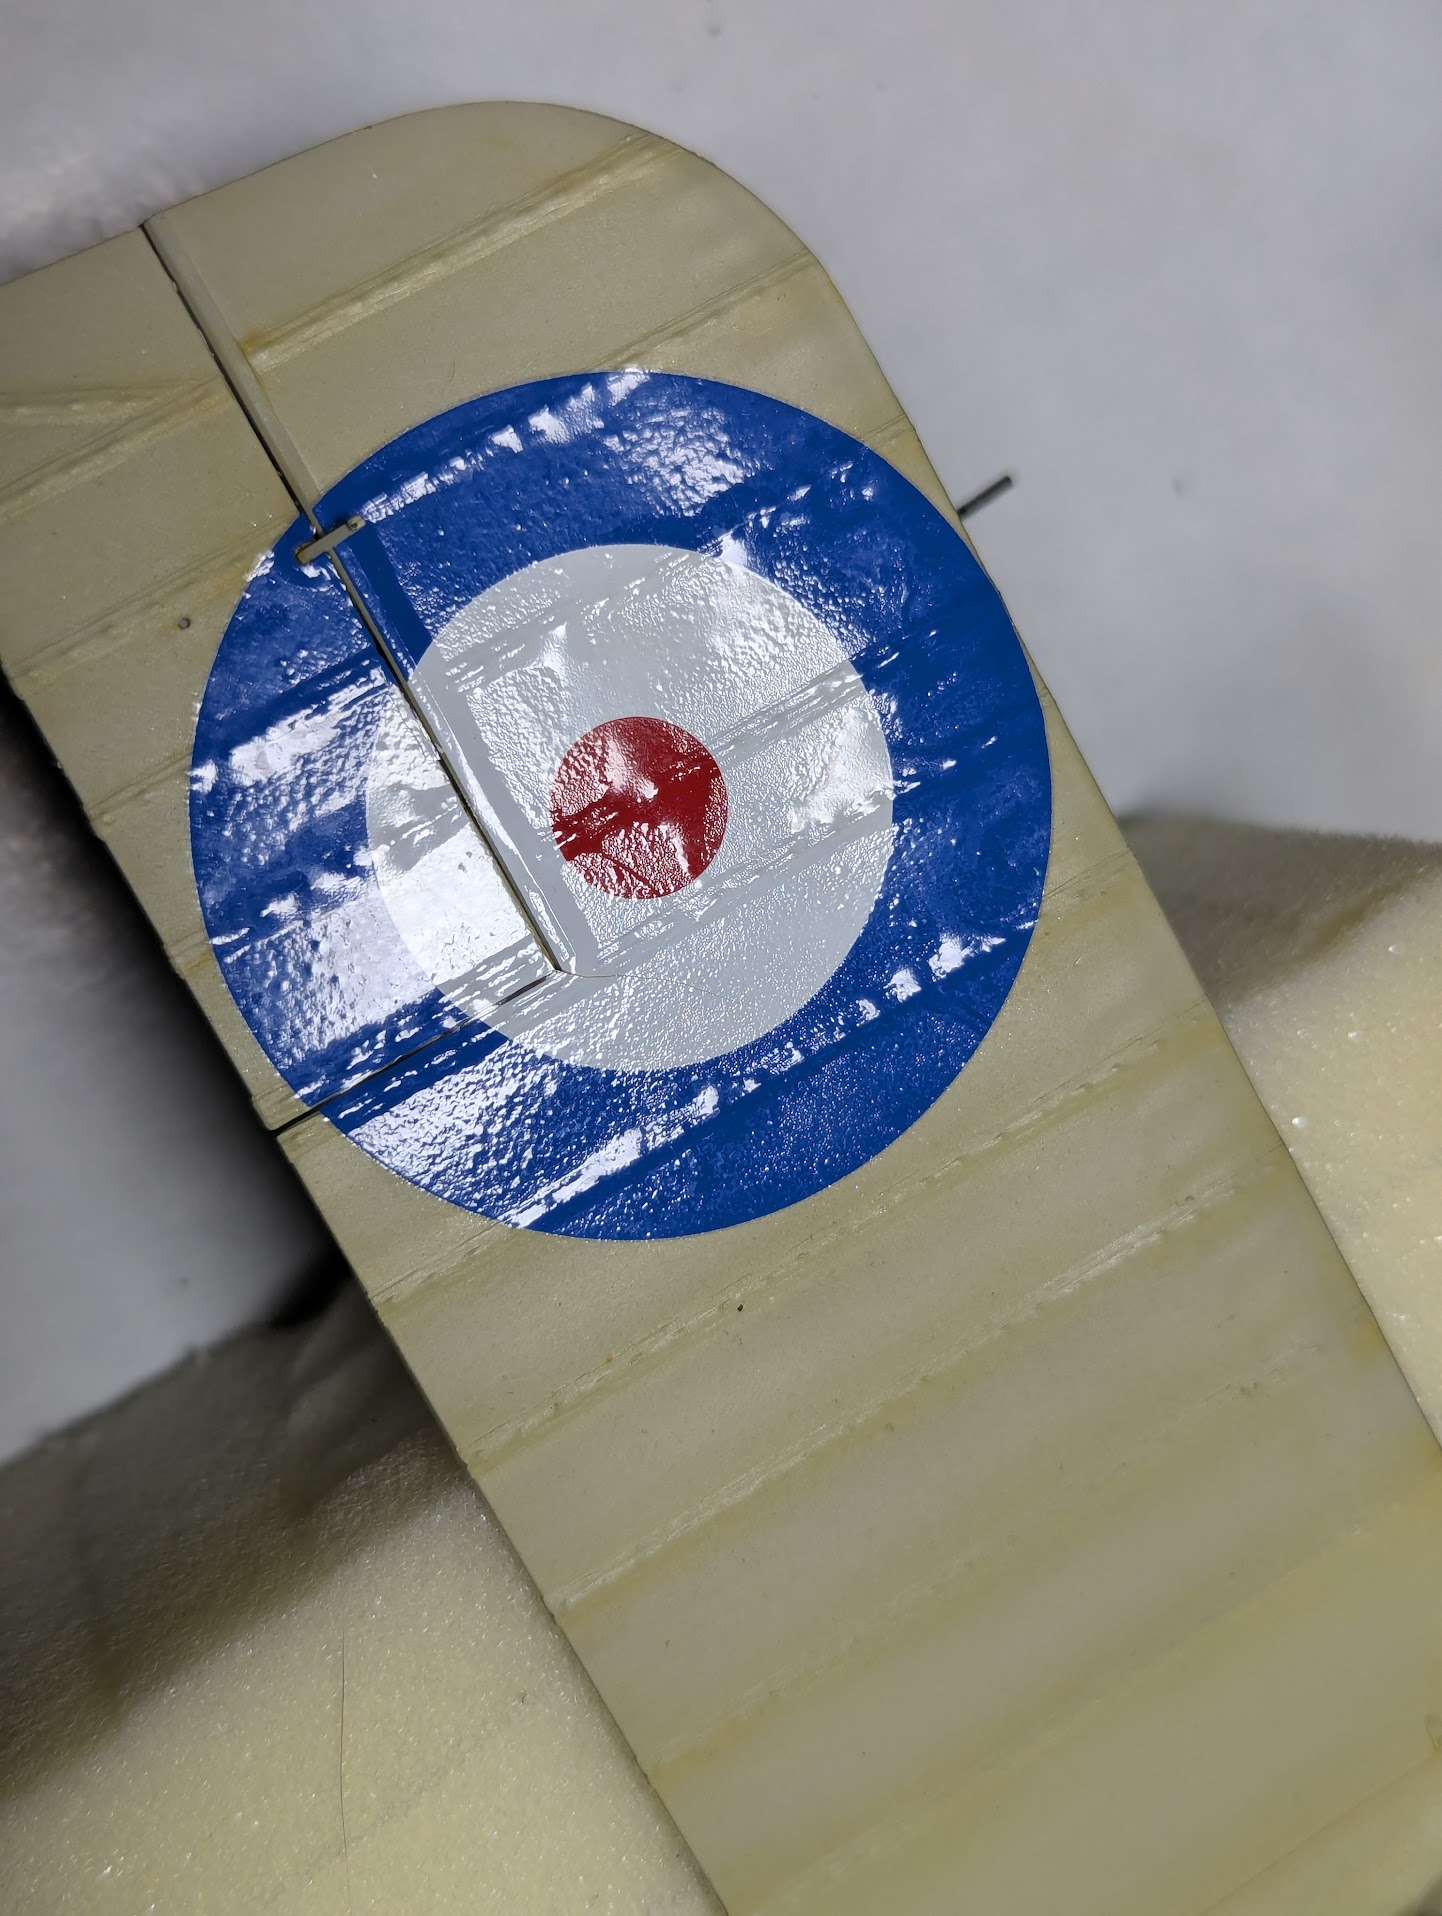
Not happy with the stickers, they are thick which helps me avoid tearing them, but they just refuse to lay down. Two days of Micro Sol, dozens of little holes poked to allow air out and solvent in, wiping with Q-tips as much and as firm as I dare. They will not lay down.
On top of that they are (IMO) just way too bright, really stark against the intentionally faded fabric.
View attachment 196288
^^^ What I mean about too bright, I could fade them with paint, but it would have to cover the whole aircraft or be noticeable.
View attachment 196289
^^^ What I mean about the bubbles air pockets and not laying down.
I've already cut circles with my cricut and confirmed the sizes are correct. I was considering going for it, ripping off the decals and painting. But the vinyl also does not adhere to the complex shapes/surfaces very well and I know there'll be overspray where the surface is not flat. So I ordered some sheets of Tamiya "tape", it is called film when not in a strip on a roll, but same stuff.
It will be here Wednesday, so I have to time to make up my mind and decide what to do.
View attachment 196290
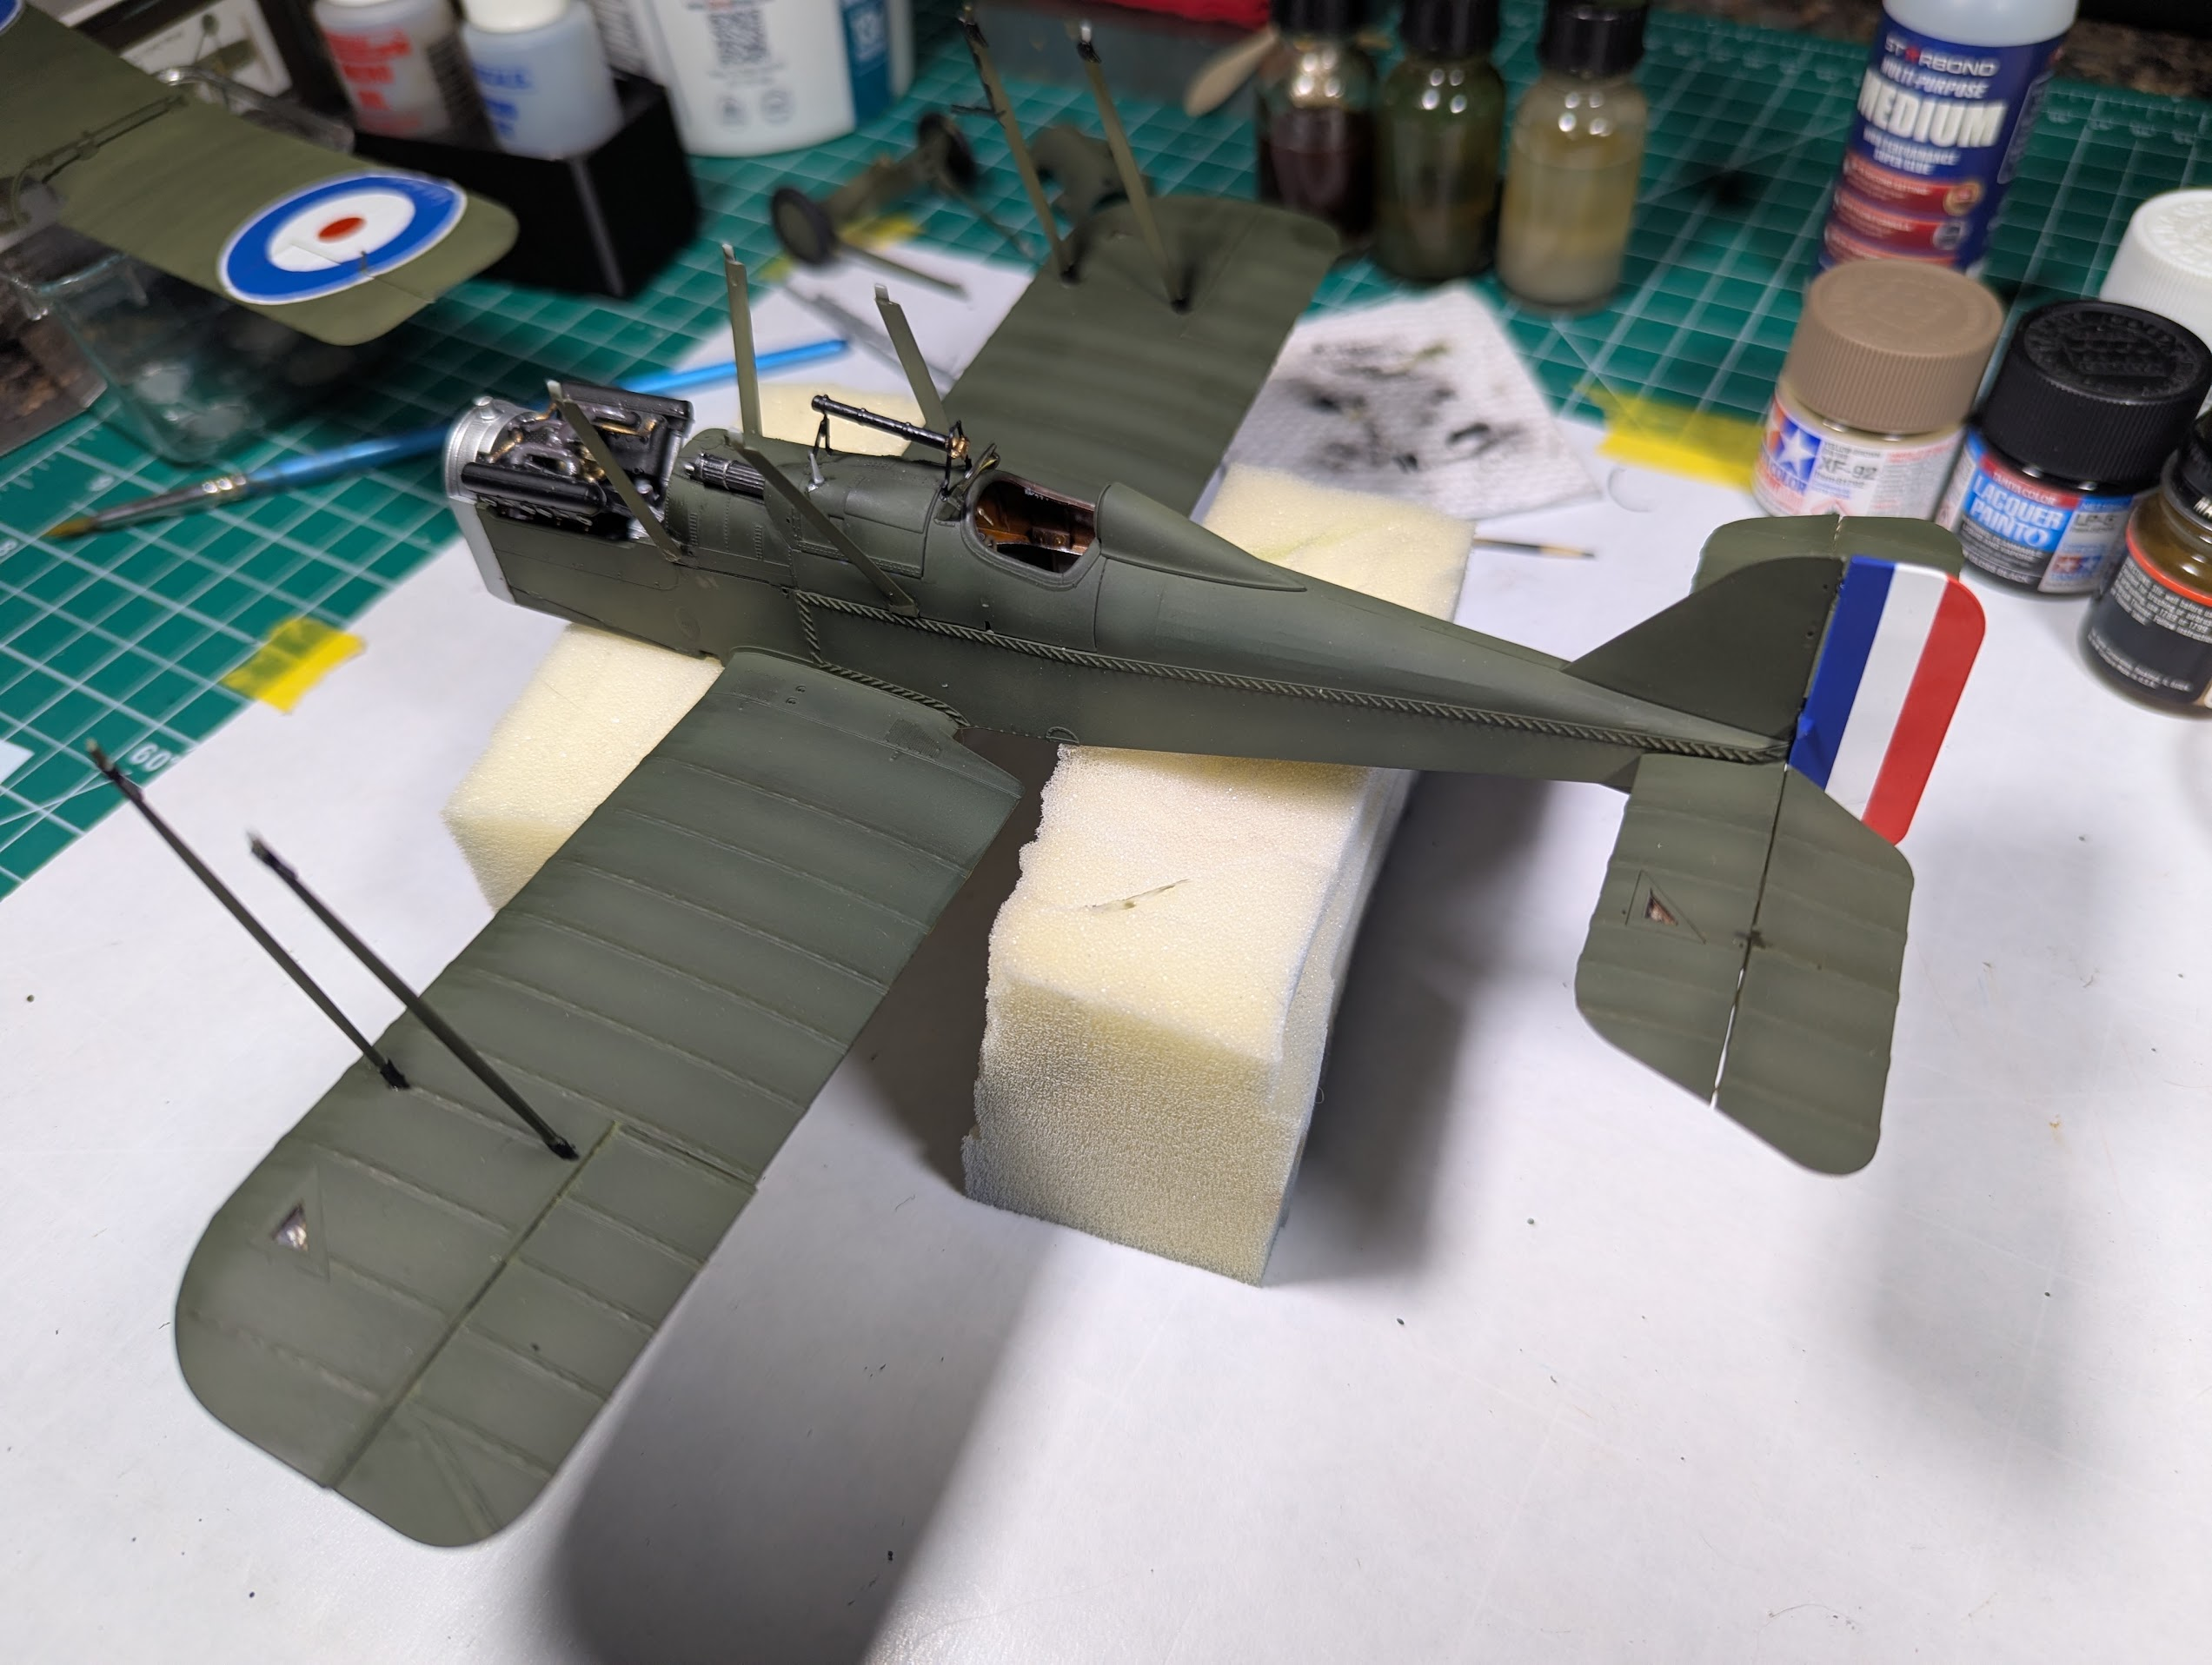
Other do-dads in place and the tail is painted. I knew the stickers wouldn't work well there. What I did not know is that by choosing to leave the engine cover "removable" meant it could not be put in place. But that bridge has been crossed, cover is off and probably going to have to stay that way.


![Pampers Sensitive Baby Wipes, Clinically Proven, Fragrance Free, Unscented, Water Based, Hypoallergenic, Multi-Use, Hand Wipes 336 Wipes Total (6X Flip-Top Packs) [Packaging May Vary]](https://m.media-amazon.com/images/I/41KLBHu9CAL._SL500_.jpg)