
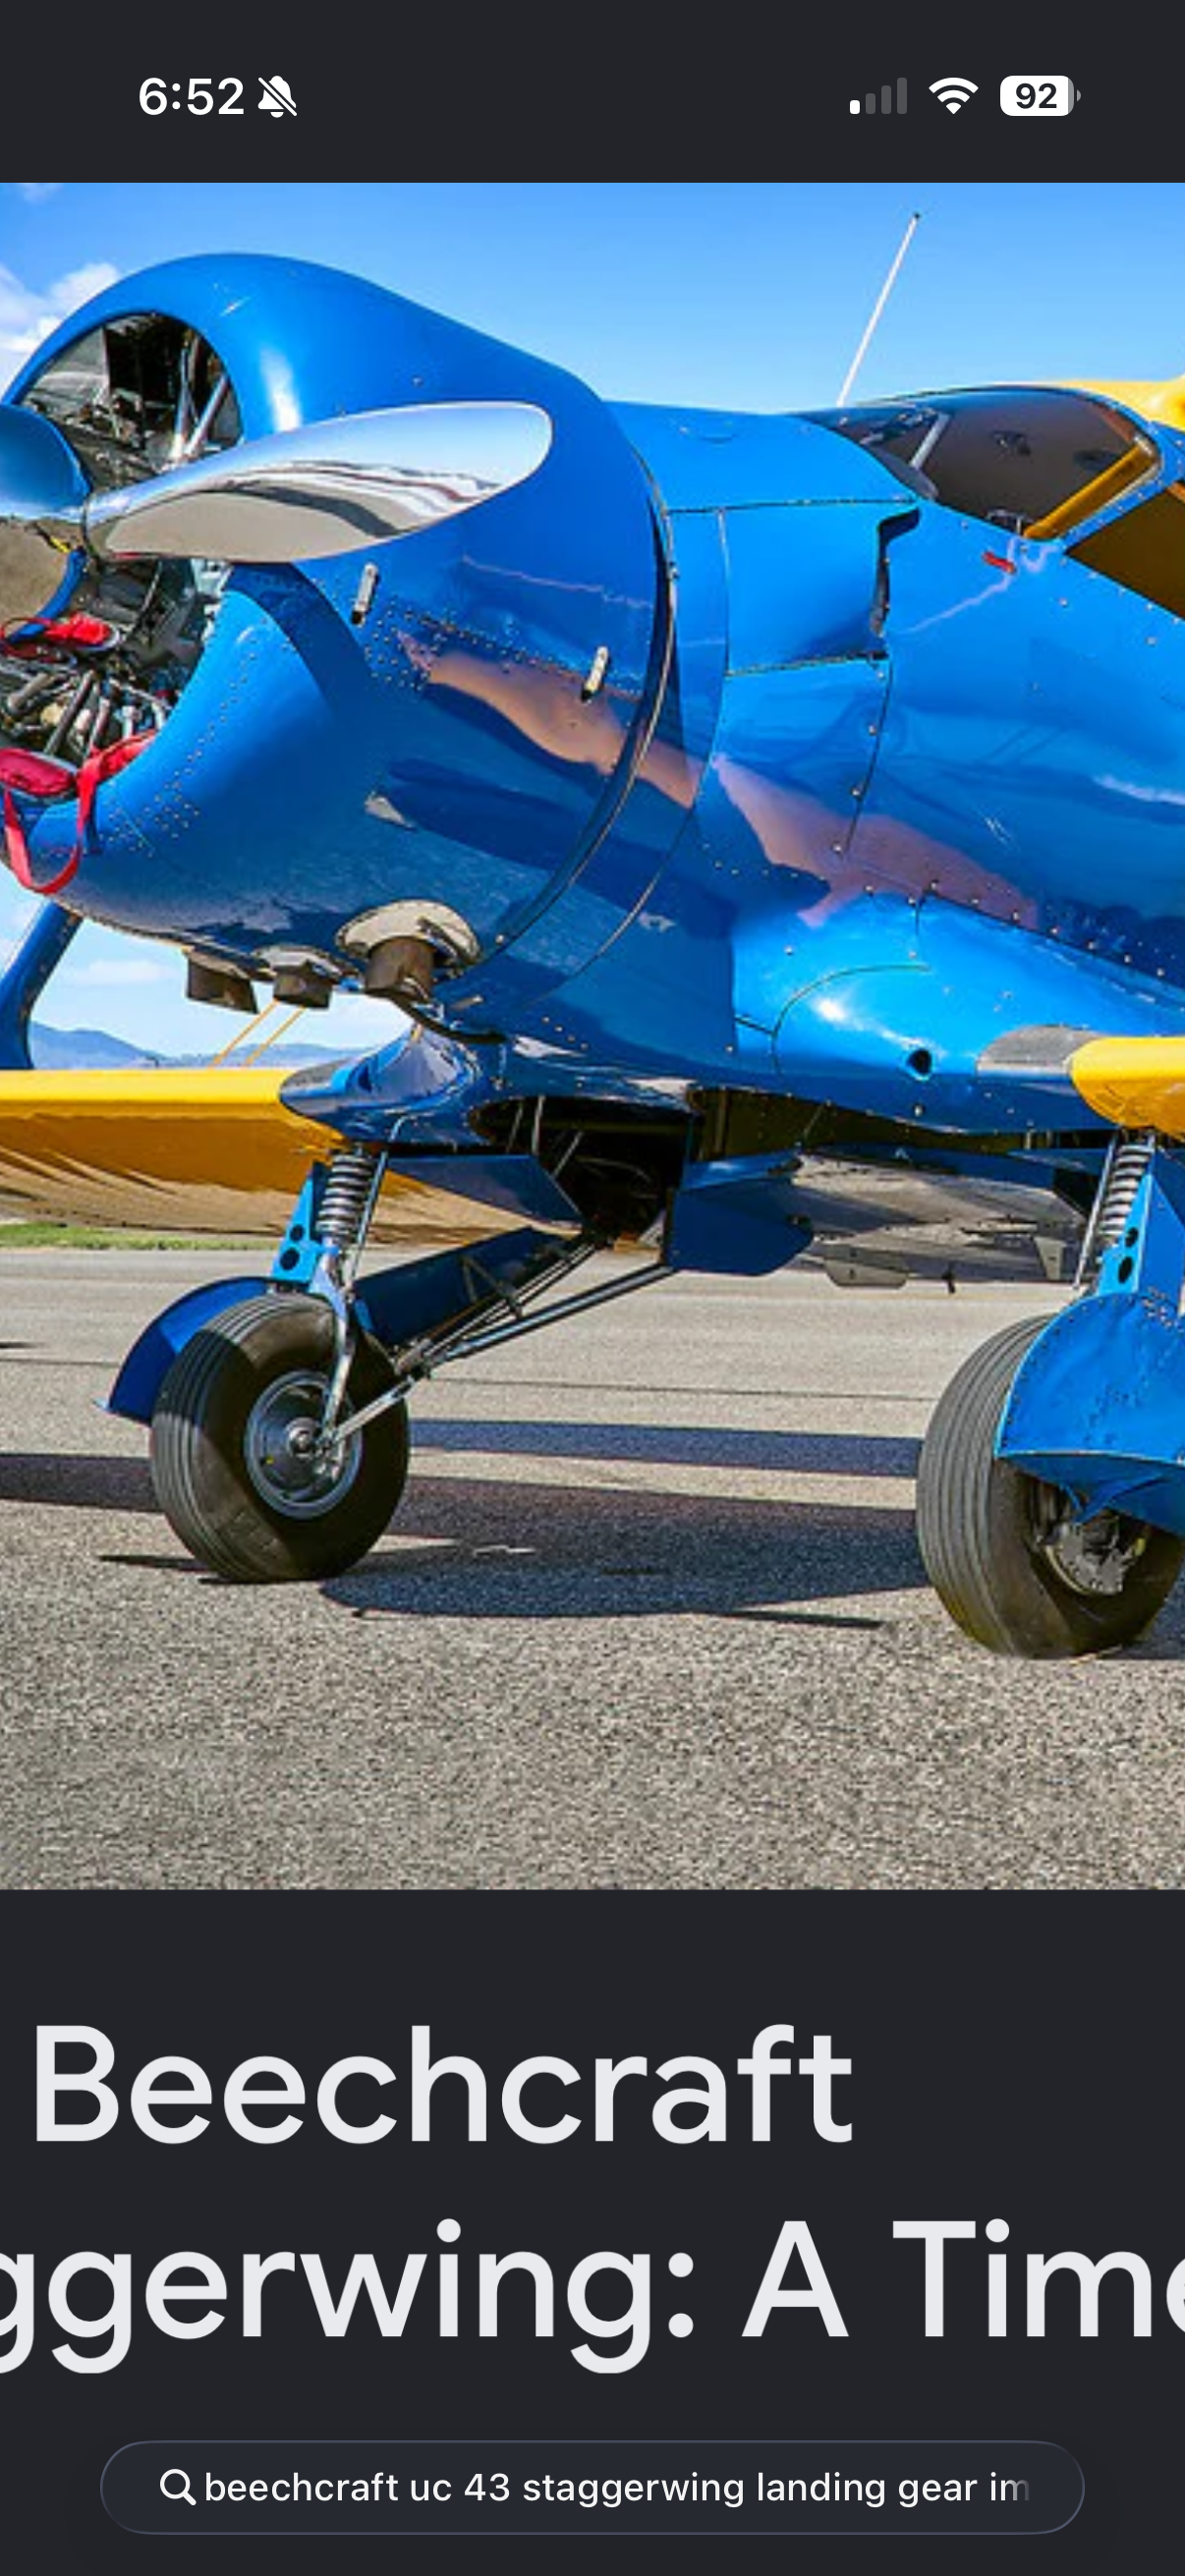
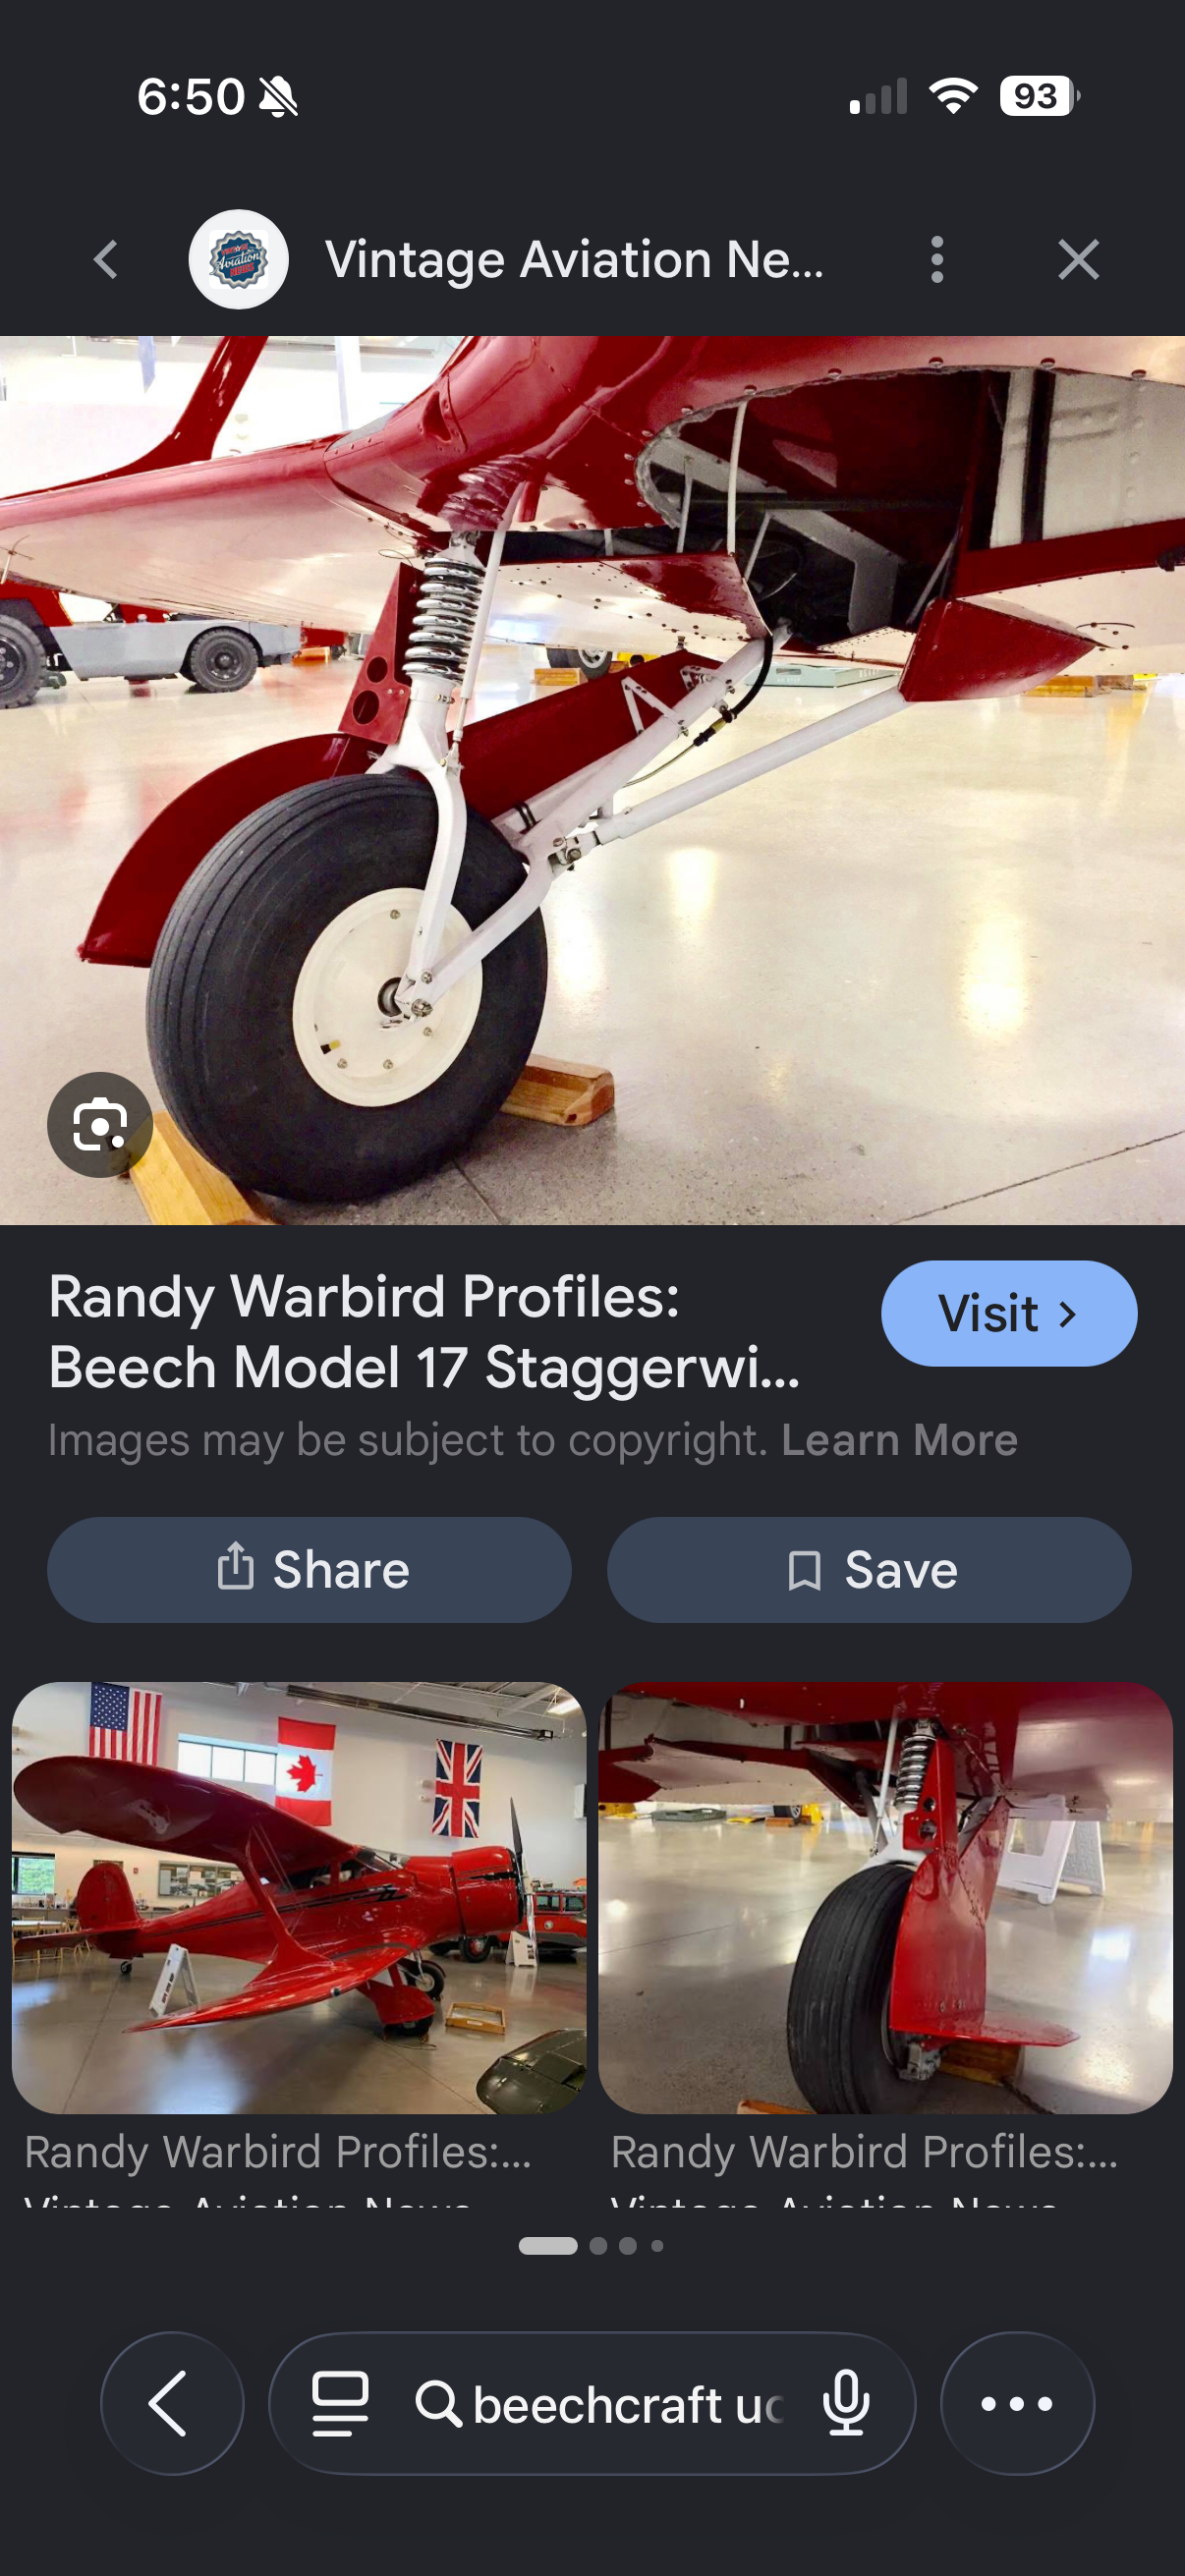
I'm having difficulty with the landing gear. These directions/diagram are awful. Spent some time last night manipulating the parts and finally called it quits.I did start it, just before we went on a six days trip. Only the first couple steps though.
Home now, and looking to get back to it.

You are using an out of date browser. It may not display this or other websites correctly.
You should upgrade or use an alternative browser.
You should upgrade or use an alternative browser.
Group Build: Biplane - barnstormer to fighter
- Thread starter BarleyBop
- Start date

Bob T
Well-Known Member
Another good resource for WW1 aircraft: https://www.ww1aircraftmodels.com/index.html
Very nice link! I am definitely going to explore this!Another good resource for WW1 aircraft: https://www.ww1aircraftmodels.com/index.html
Here's the best pic I've found of landing gear so far.Another good resource for WW1 aircraft: https://www.ww1aircraftmodels.com/index.html
Attachments

Edbert
Well-Known Member
- Joined
- May 16, 2024
- Messages
- 3,117
Just updating where I am at on this and why the pause...
I have noticed a problem with my practices recently, I really enjoy painting airplanes, it is probably the main reason I build. So when doing that I tend to be heads-down working, tunnel-vision if you will and I need to force myself to take frequent breaks to step back and assess before continuing. This hit me with the S.E.5a last week. I painted the light tan undersides without issue, applied highlights and some ultra-thin clear yellow to resemble "dope". I was very happy with the results so I just dove into applying the dark green. I should have stopped after the first part and I would have realized it was too dark, but not only did I keep going, but then I clear coated it which darkened it considerably!
The worst part of this are two things:
1.) To fix it without stripping, I'll lose the highlights of the tape/masks on top of the ribs. They are partially obscured already, but to lighten the entire thing they'll be gone.
2.) To fix it without stripping, I already have 4 or 5 layers of paint and will need at least 2 more to fix the dark. That is a lot of paint to have on the surface, too much for most of my builds, but there are few panel lines to risk filling in. So that is what I am going to attempt tonight.
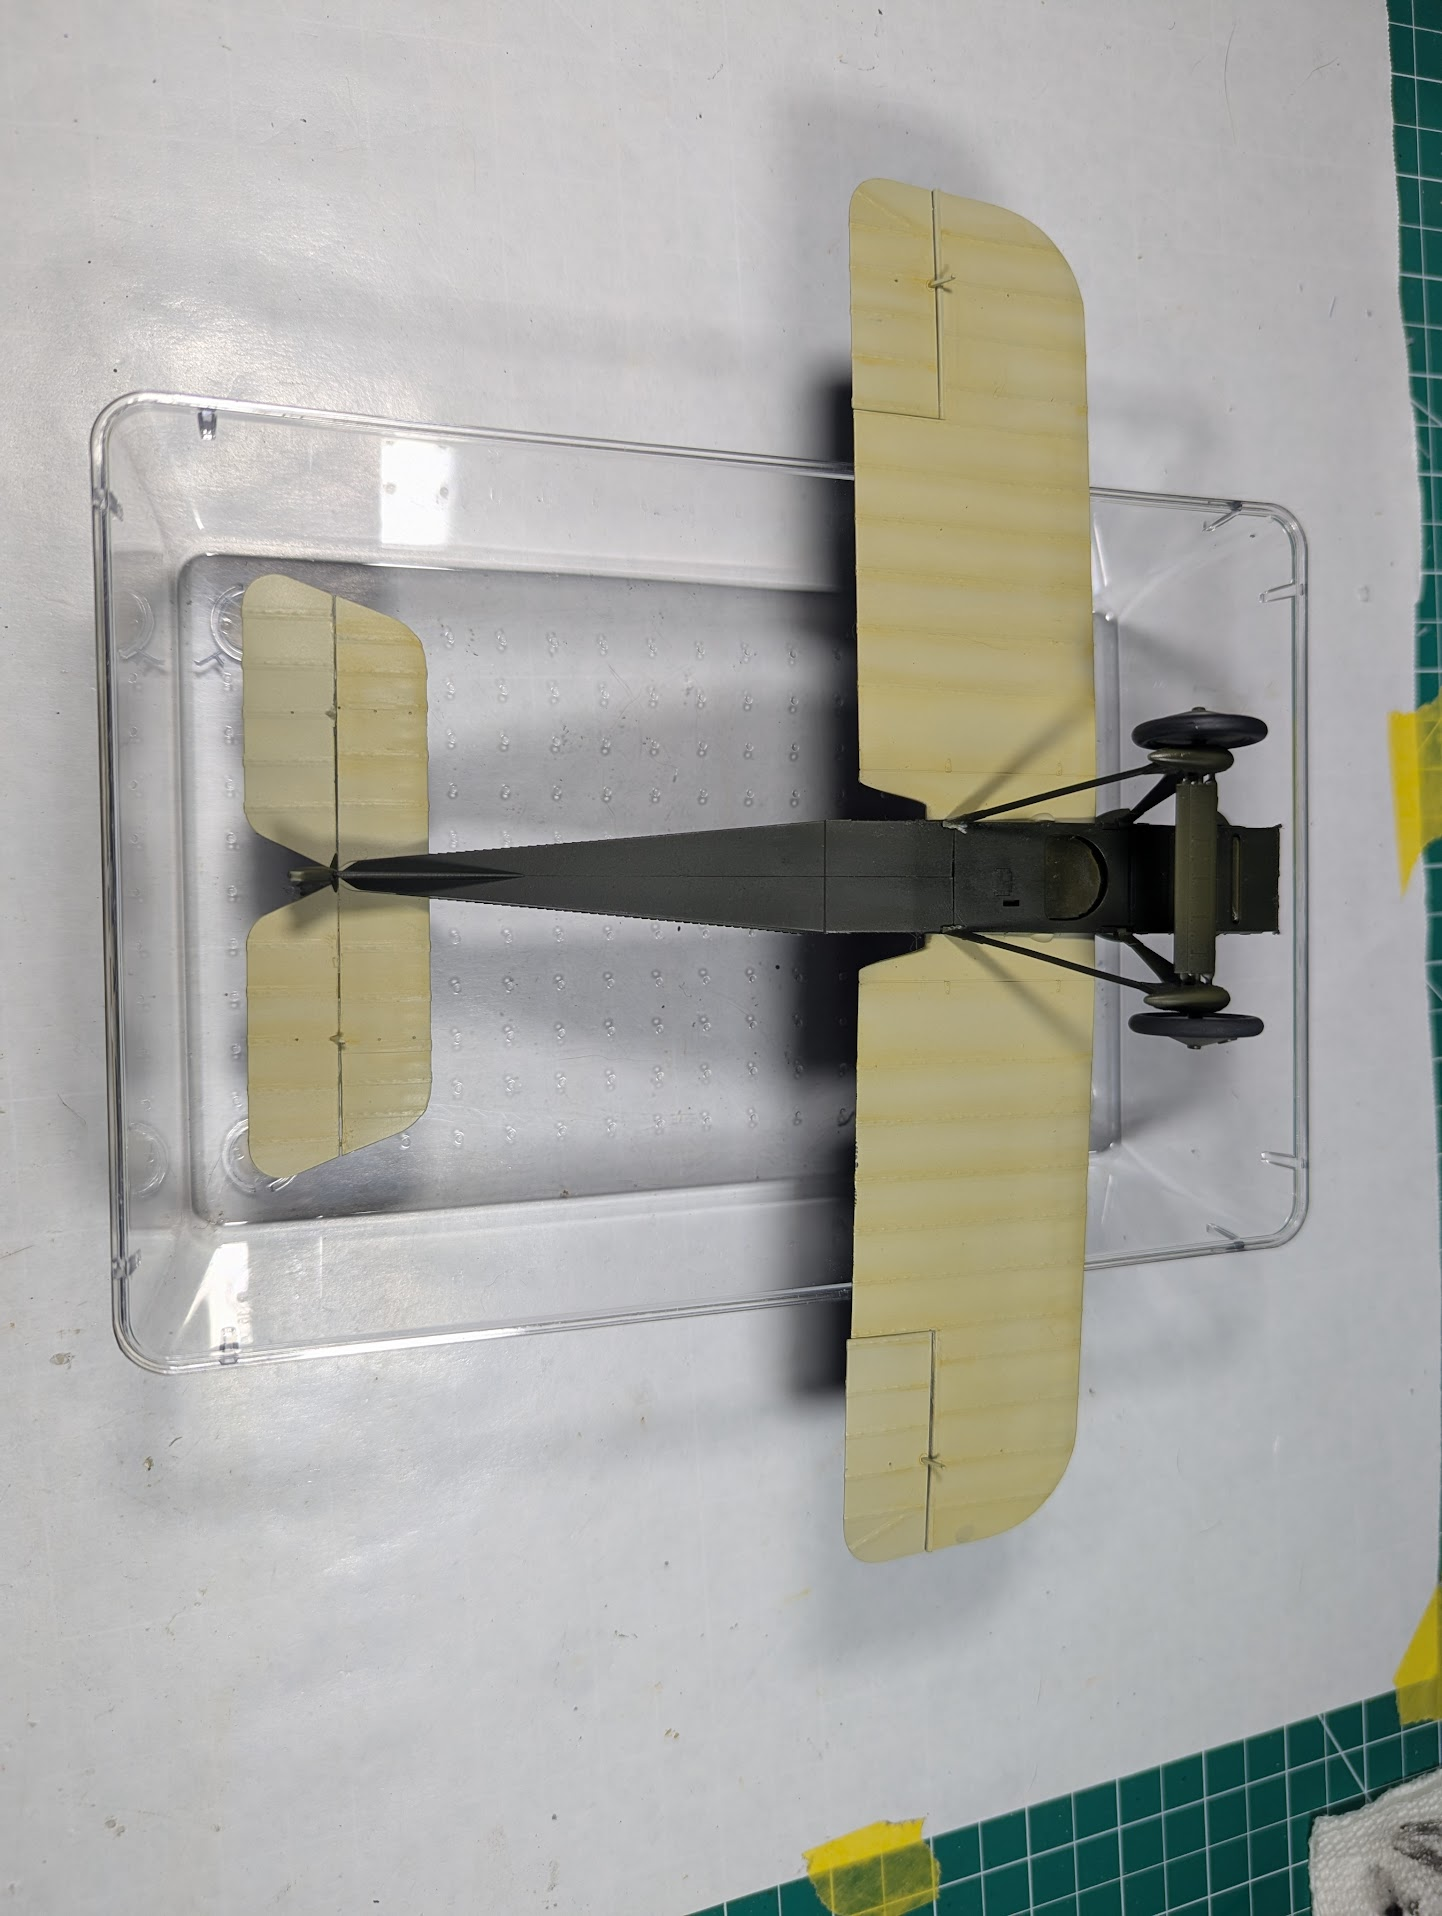
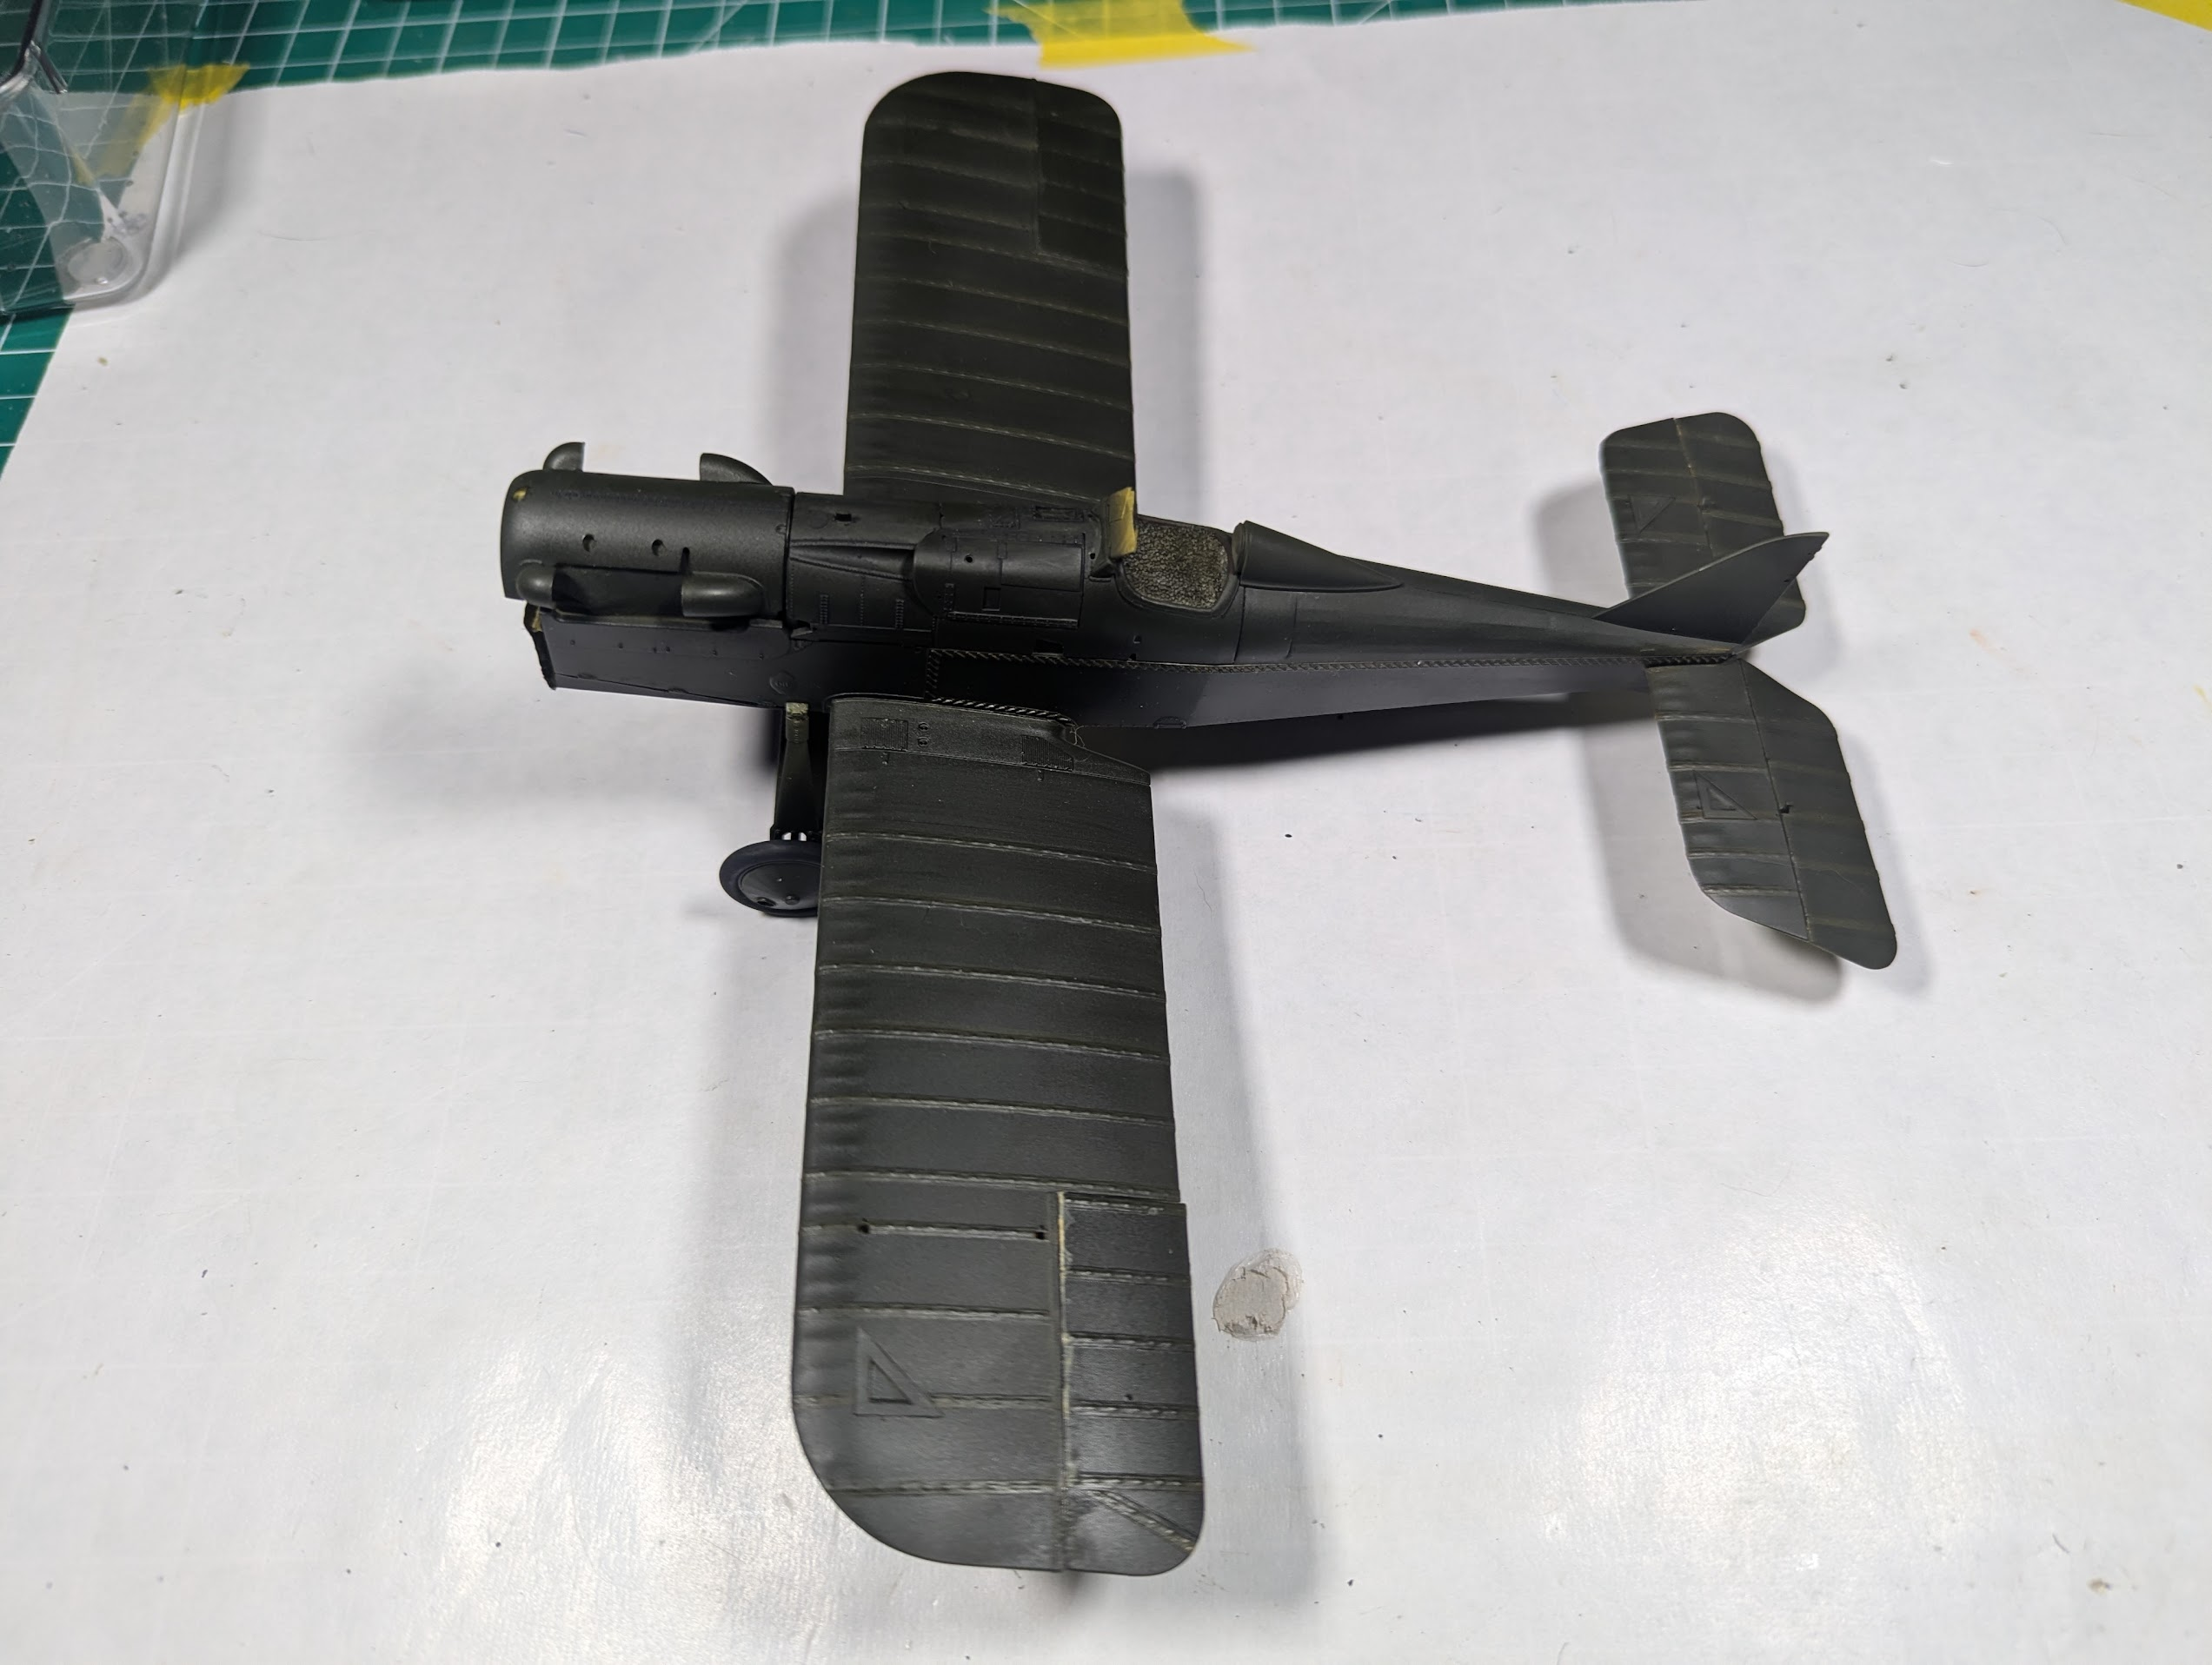
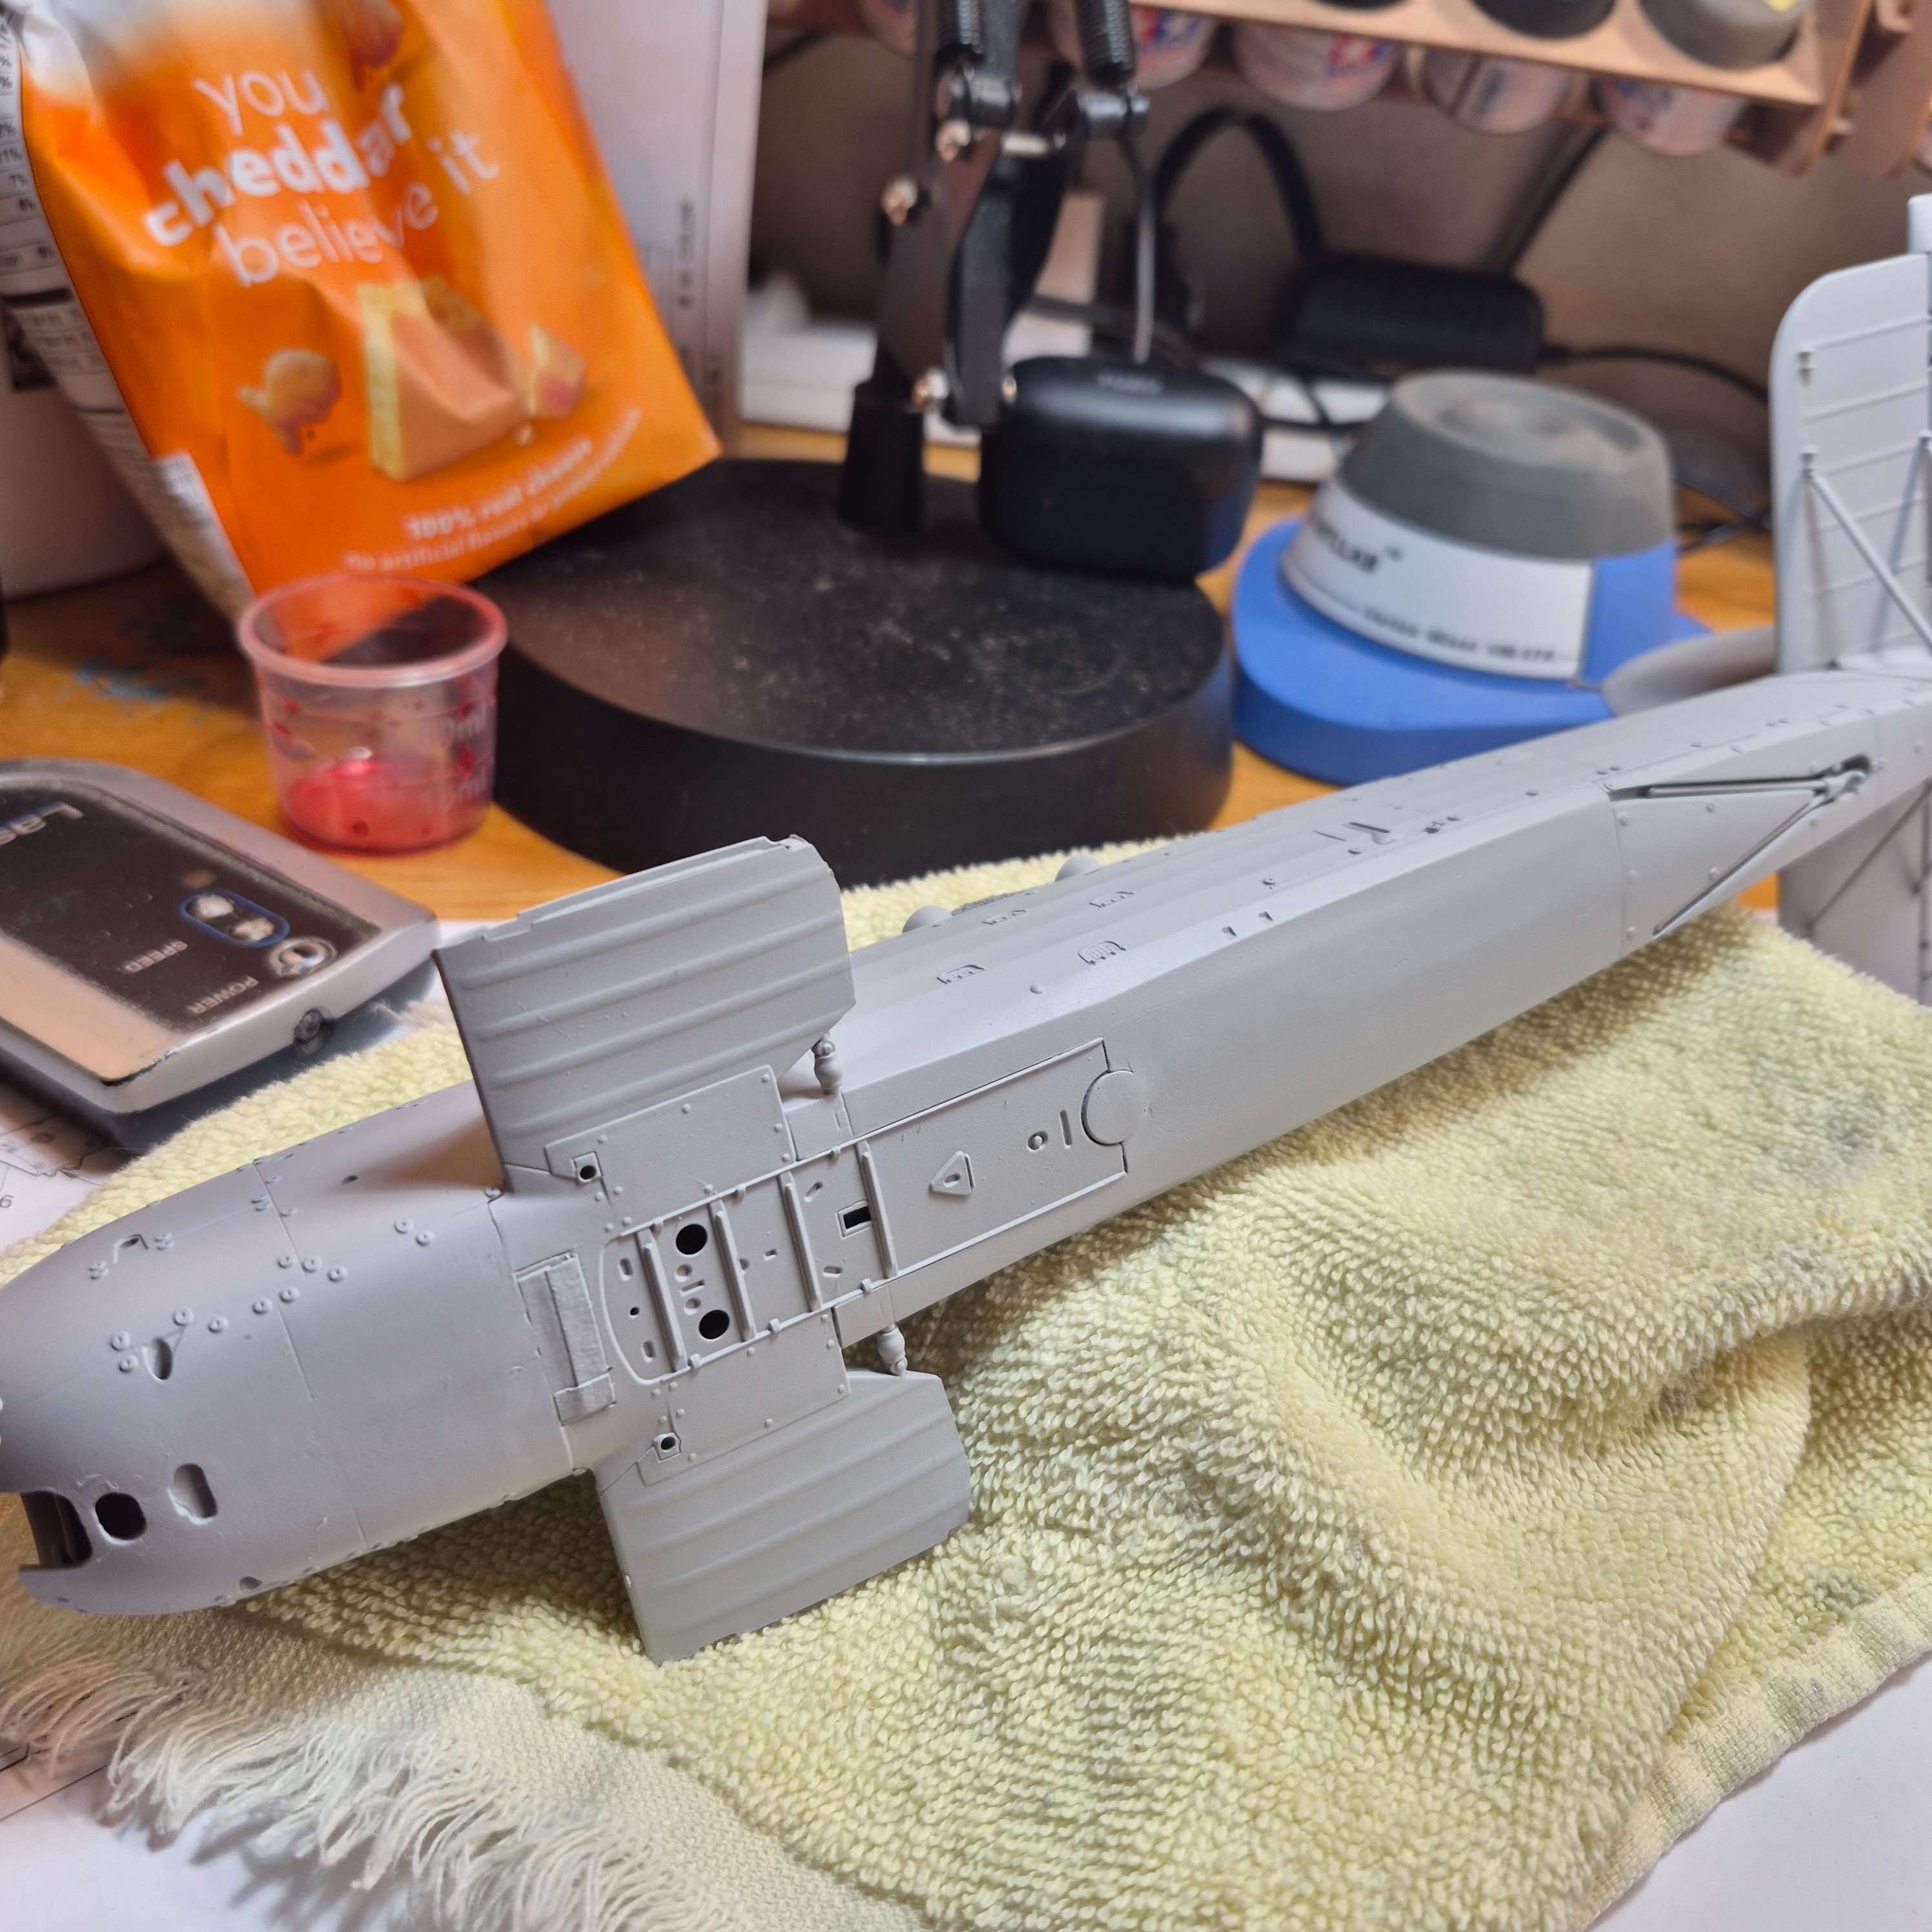
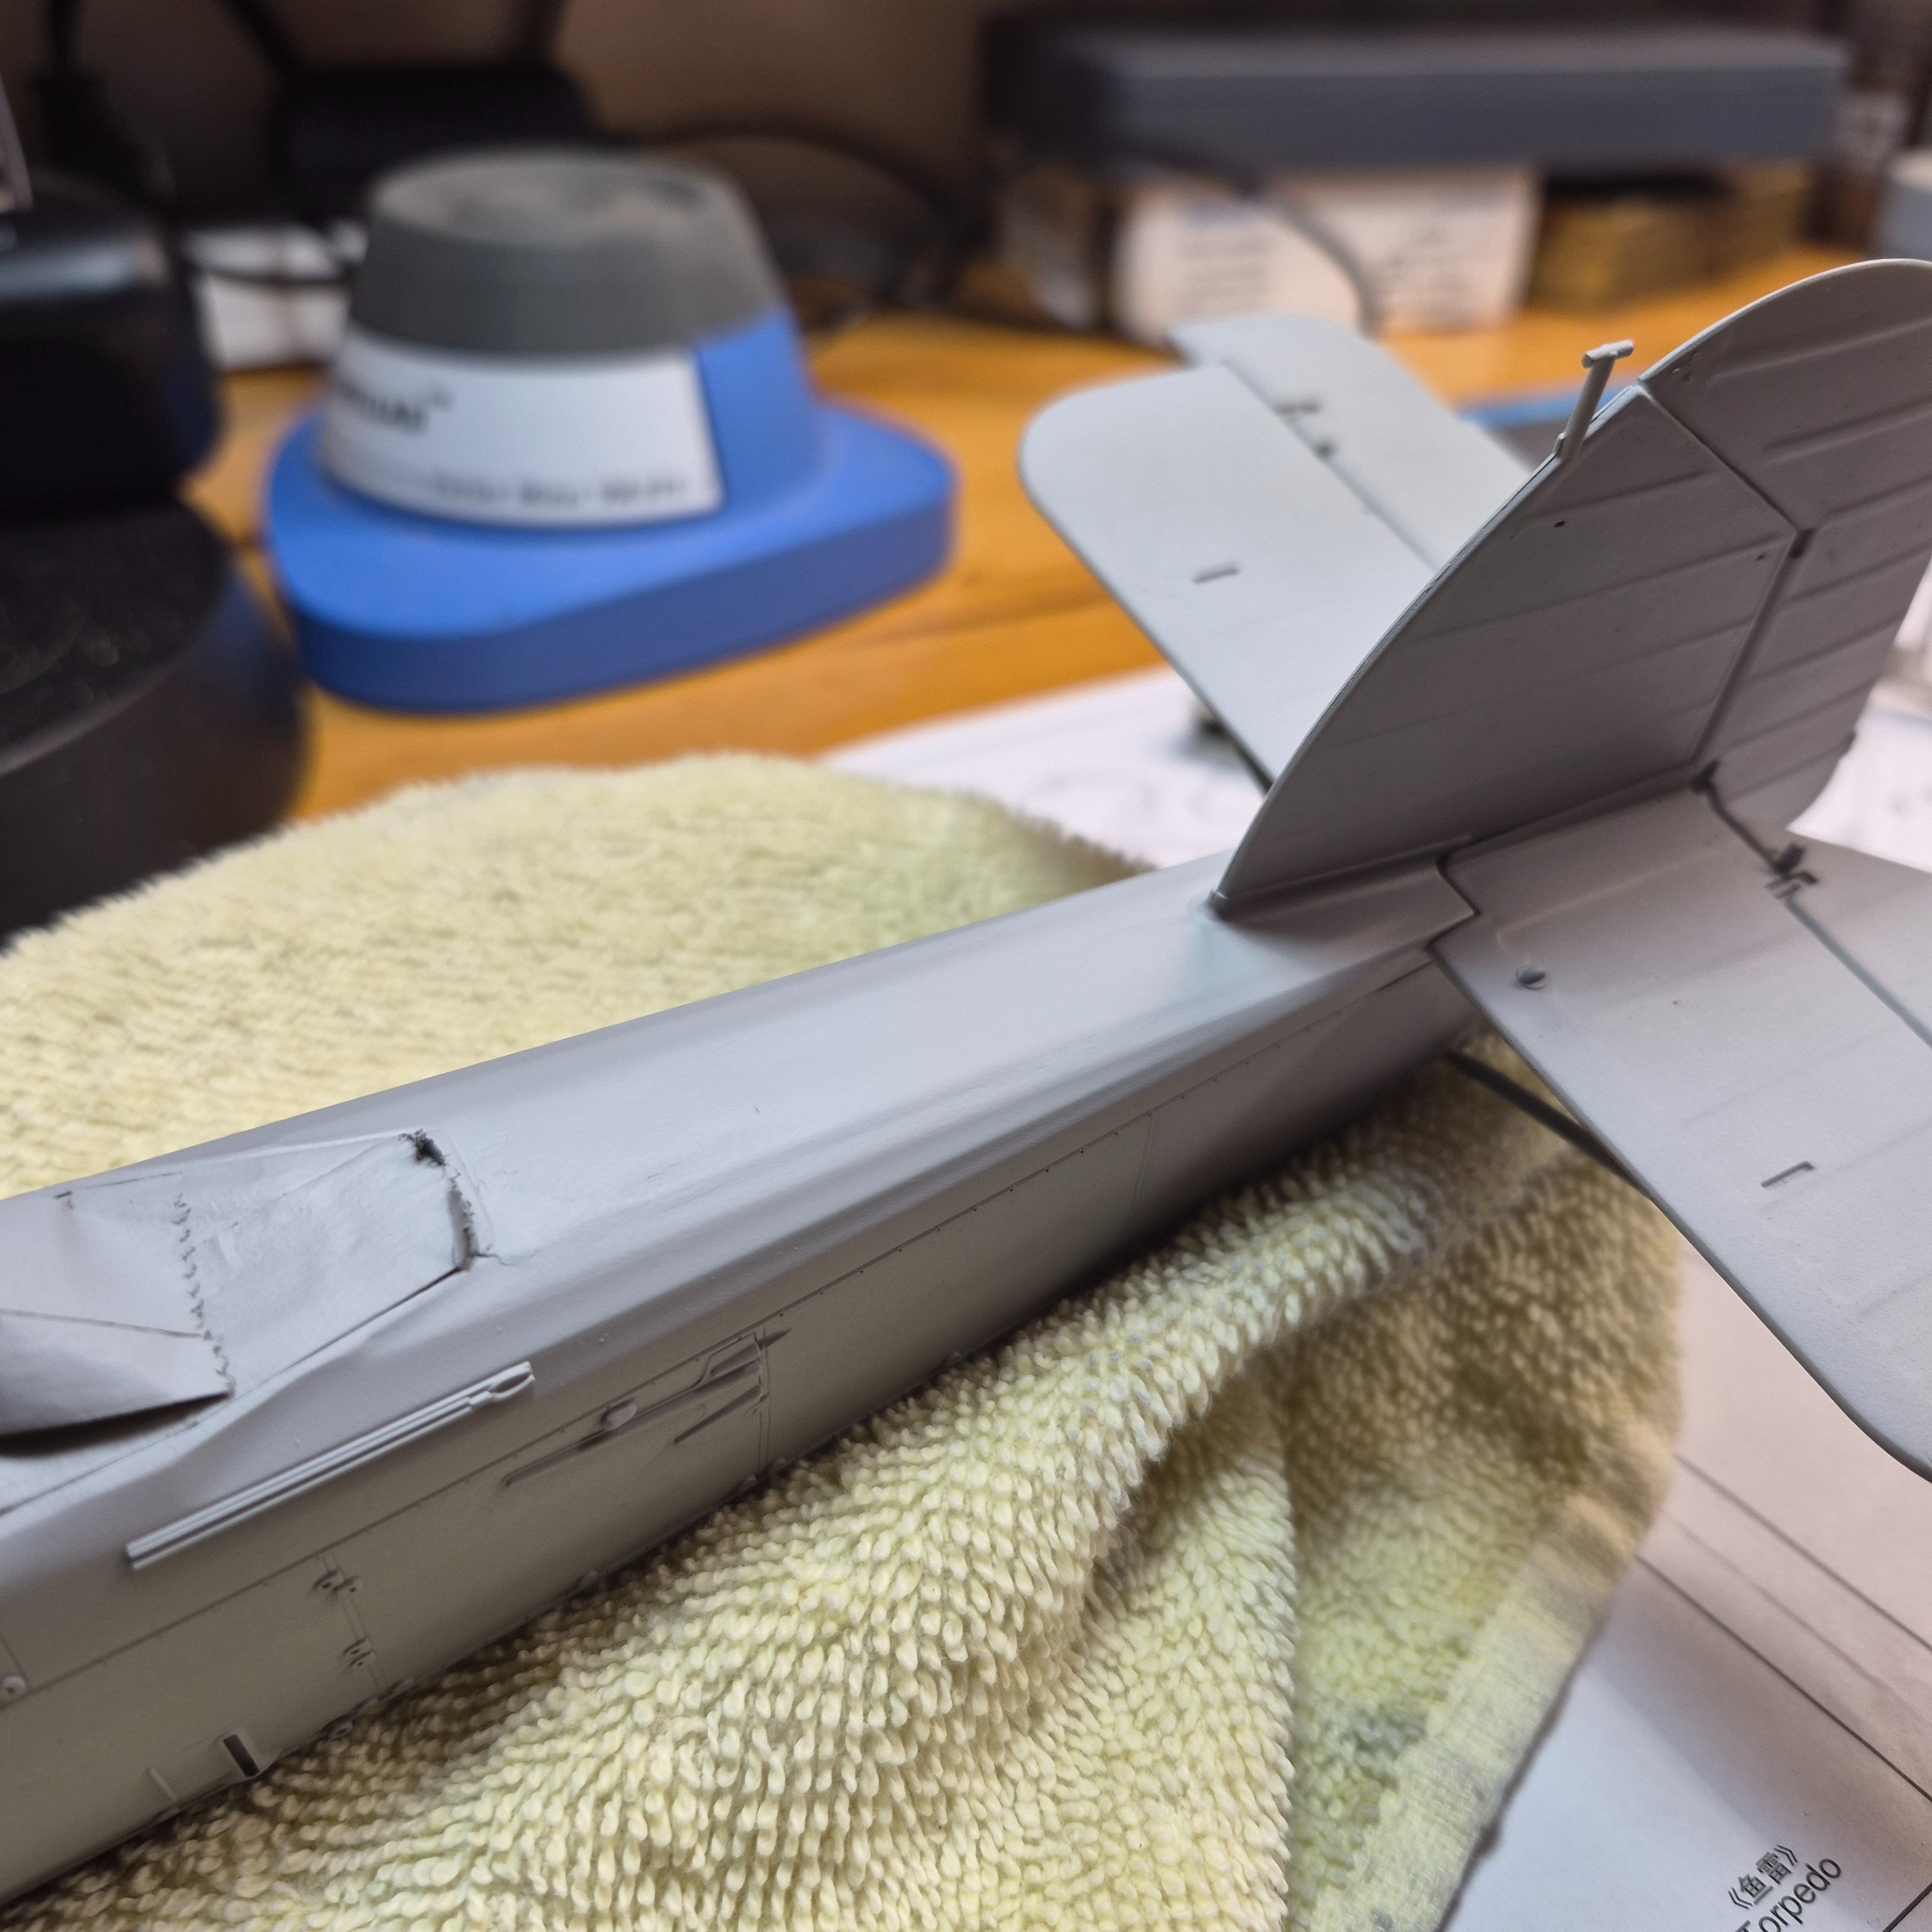
Another mistake is that I put all four ailerons on basackwards. The pictures above show the damage I caused by removing them and putting all four back on in the right place. The way I realized I had they were wrong is that the control levers (?) needed to be up on top and down on bottom. At least the repaint allows me to cover the damage.
I'm confident I can fix the shading, just worried about the tap (IRL) applied to the top of each rib being the same shade. I might have to mask all of that again and paint a lighter color, originally I allowed the pale primer to show through.
I have noticed a problem with my practices recently, I really enjoy painting airplanes, it is probably the main reason I build. So when doing that I tend to be heads-down working, tunnel-vision if you will and I need to force myself to take frequent breaks to step back and assess before continuing. This hit me with the S.E.5a last week. I painted the light tan undersides without issue, applied highlights and some ultra-thin clear yellow to resemble "dope". I was very happy with the results so I just dove into applying the dark green. I should have stopped after the first part and I would have realized it was too dark, but not only did I keep going, but then I clear coated it which darkened it considerably!
The worst part of this are two things:
1.) To fix it without stripping, I'll lose the highlights of the tape/masks on top of the ribs. They are partially obscured already, but to lighten the entire thing they'll be gone.
2.) To fix it without stripping, I already have 4 or 5 layers of paint and will need at least 2 more to fix the dark. That is a lot of paint to have on the surface, too much for most of my builds, but there are few panel lines to risk filling in. So that is what I am going to attempt tonight.
Another mistake is that I put all four ailerons on basackwards. The pictures above show the damage I caused by removing them and putting all four back on in the right place. The way I realized I had they were wrong is that the control levers (?) needed to be up on top and down on bottom. At least the repaint allows me to cover the damage.
I'm confident I can fix the shading, just worried about the tap (IRL) applied to the top of each rib being the same shade. I might have to mask all of that again and paint a lighter color, originally I allowed the pale primer to show through.
Last edited:
Bob T
Well-Known Member
I jumped ahead to the radial engine today. Be very careful with the intake and exhaust pipes (3D and 2D). The orientation of part 3D has a bunch of slop in it, and I ended up gluing it on wrong. Finally got it back apart with minimal damage, and back on correctly. And the exhaust, 2D is very fiddley to orientate.I'm having difficulty with the landing gear. These directions/diagram are awful. Spent some time last night manipulating the parts and finally called it quits.


![Pampers Sensitive Baby Wipes, Clinically Proven, Fragrance Free, Unscented, Water Based, Hypoallergenic, Multi-Use, Hand Wipes 336 Wipes Total (6X Flip-Top Packs) [Packaging May Vary]](https://m.media-amazon.com/images/I/41KLBHu9CAL._SL500_.jpg)





As an Amazon Associate we earn from qualifying purchases. Product prices and availability are accurate as of the date/time indicated and are subject to change.

kevin
Well-Known Member
I have upper wing attached. It was a little bit of a fight. There are no issues with the quality of the Eduard kit, it was just one of those times where a third hand would have come in handy.
It's on, but its not perfectly parallel with the lower wing. It's close enough that I'm not going to cry about it.
I also had some problems with the camo stickers on the underside of the upper wing. Luckily the kit supplied stickers to camo the underside of the tail if you chose not to go with the blue paint scheme. I used those to patch in the damaged areas on the upper wing.
I have some clean up to do, glue on top of finish paint and stickers.
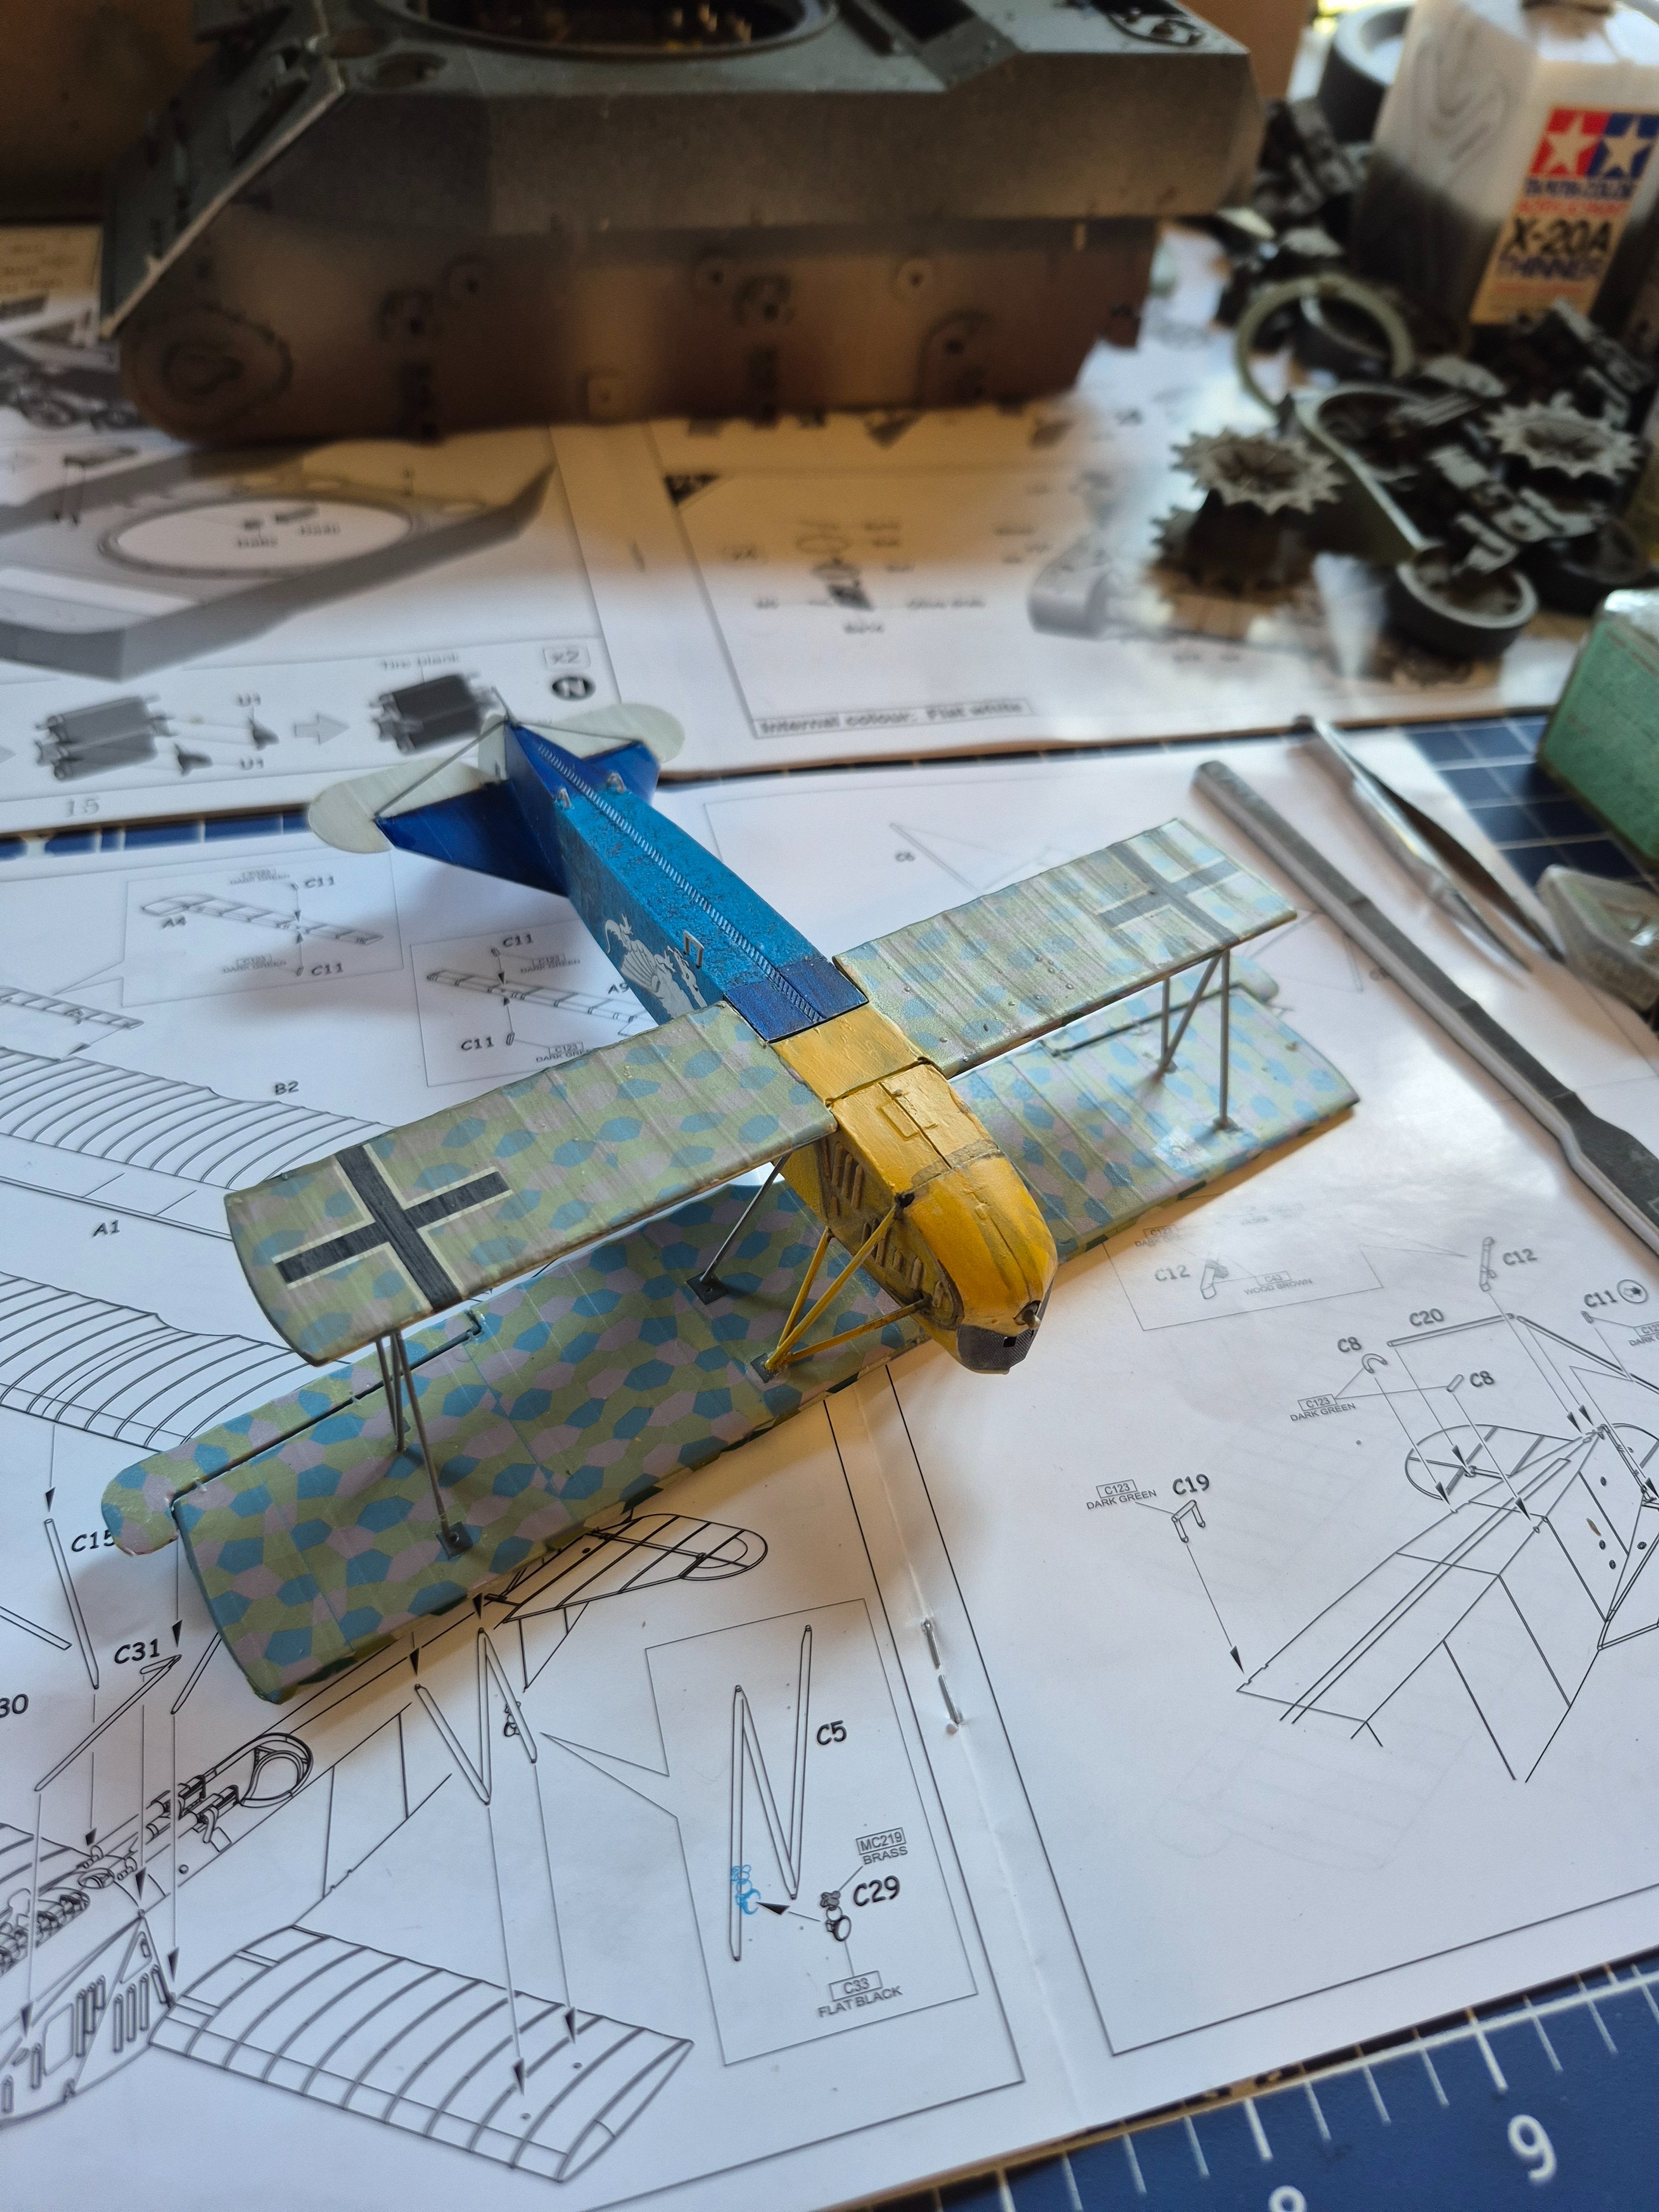
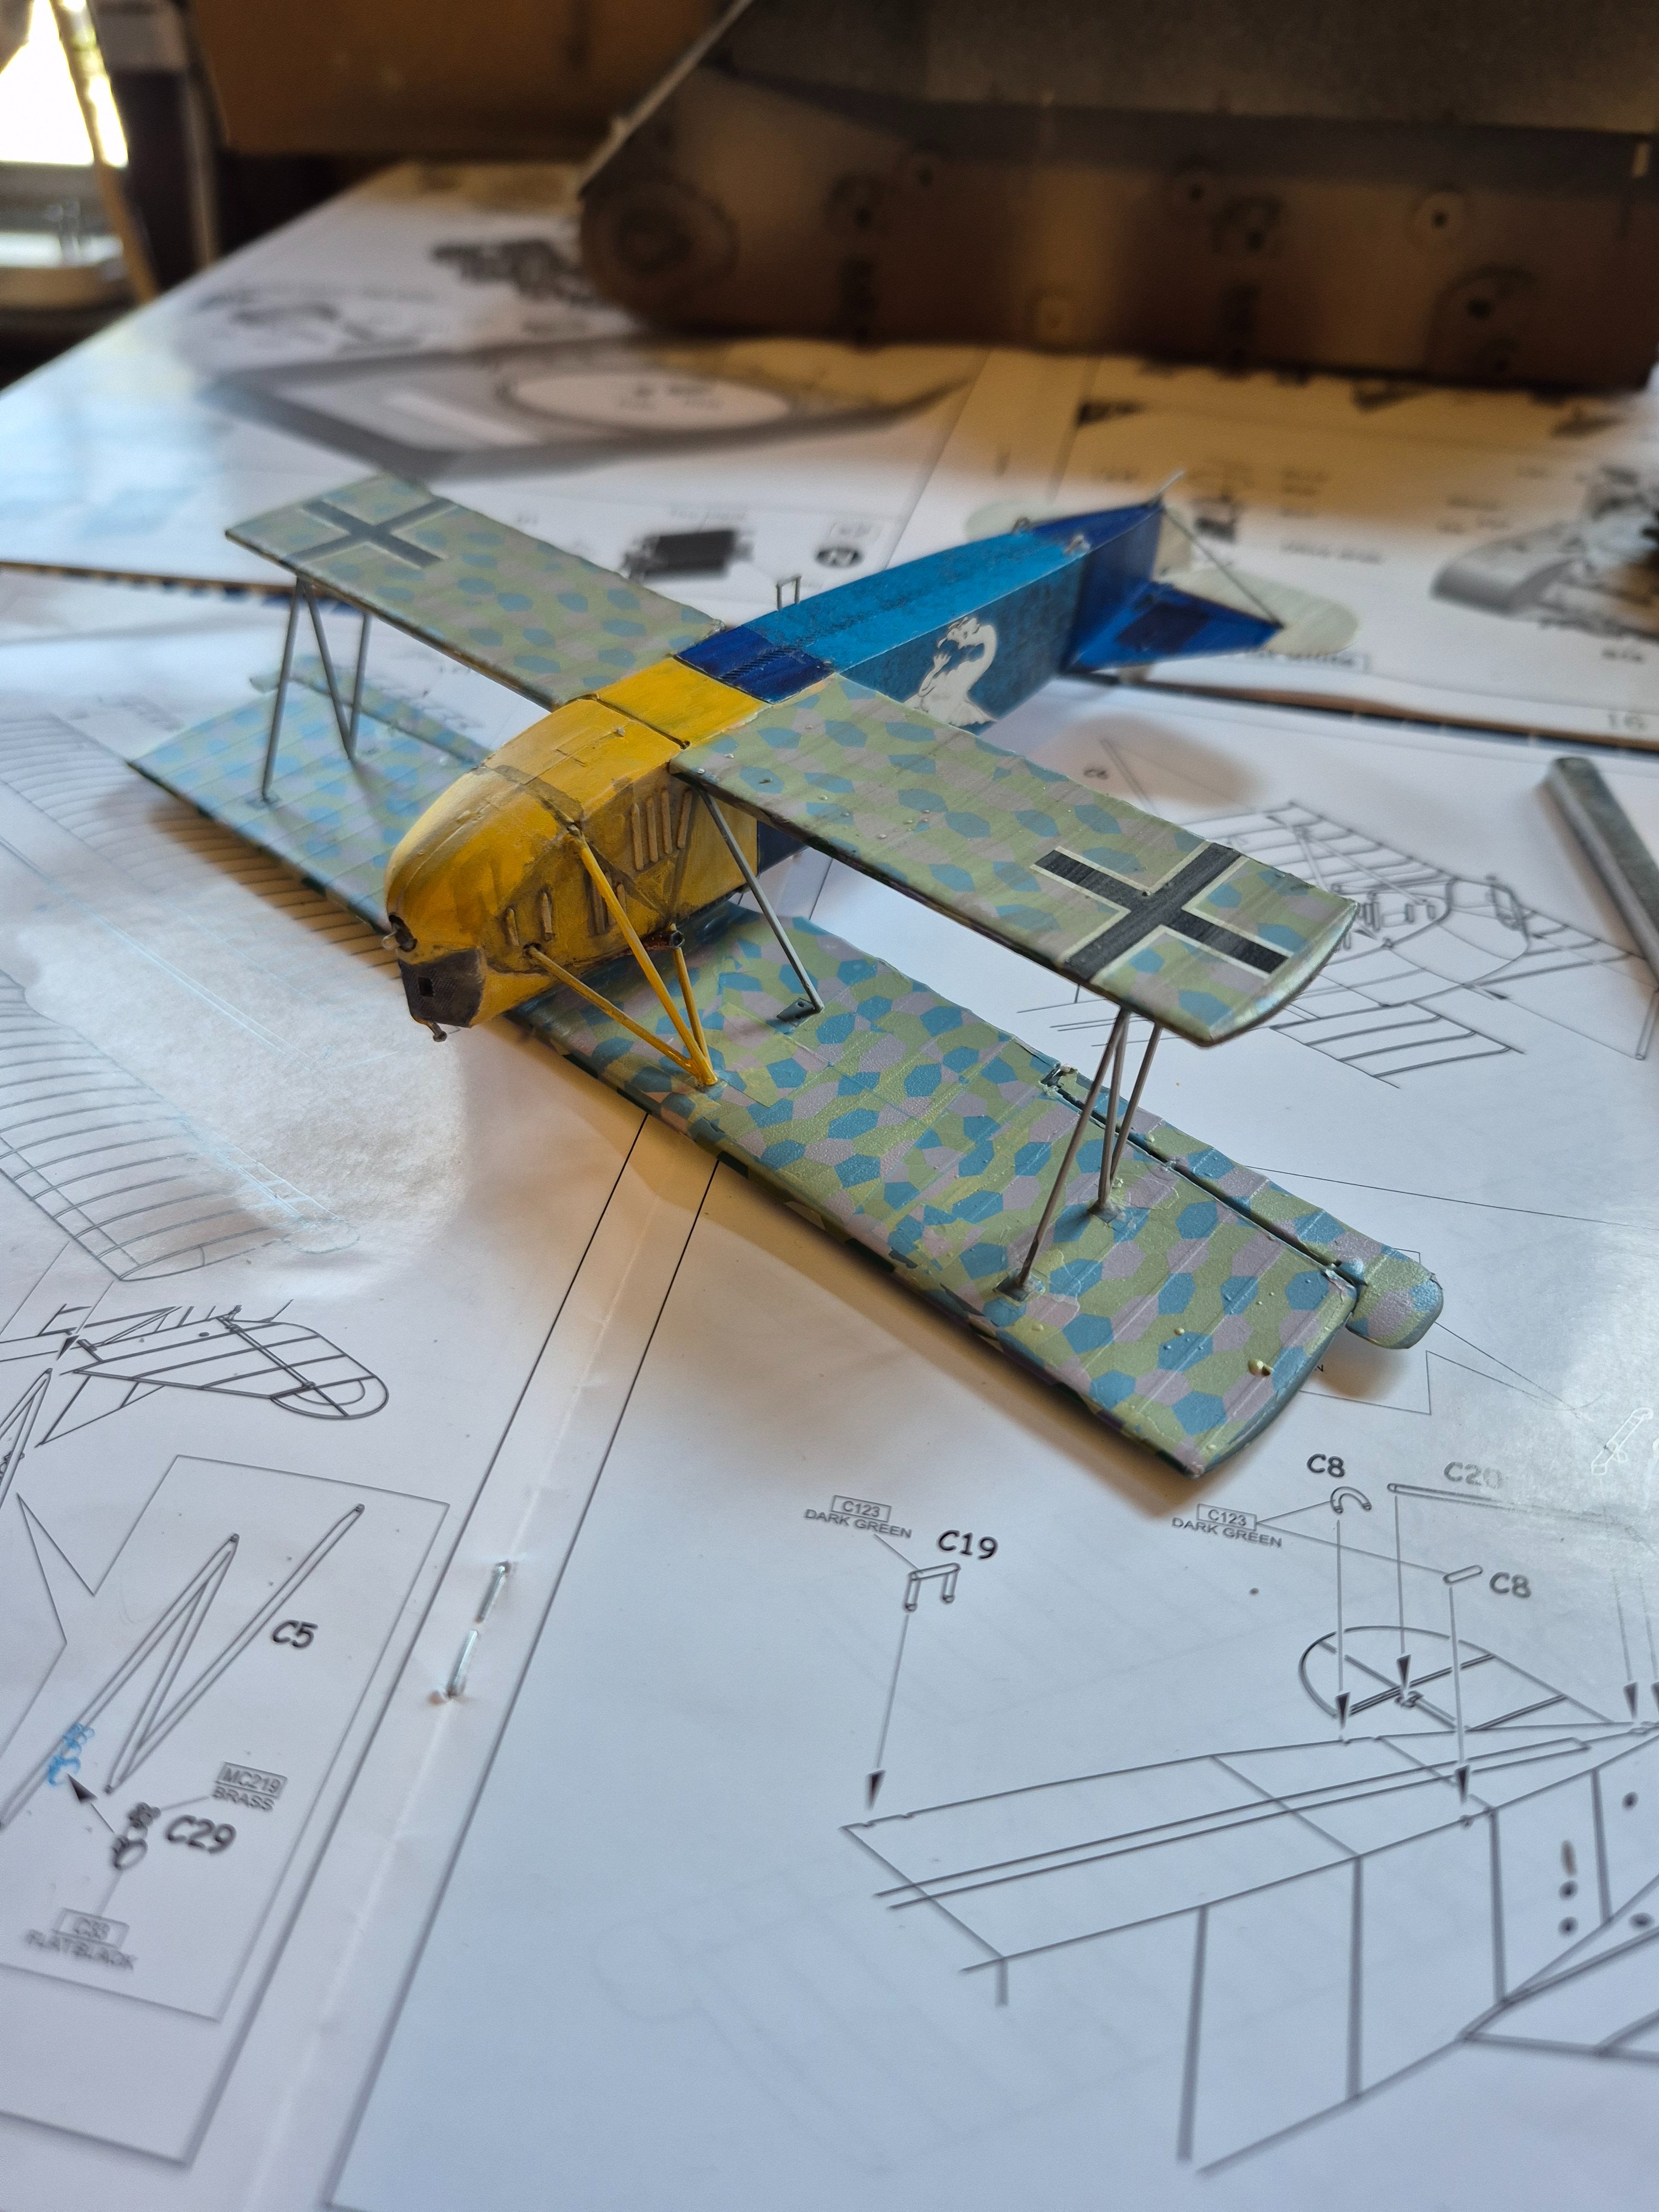
One of the cross stickers on the upper wing split, so I applied black paint over both of them to help hide this.
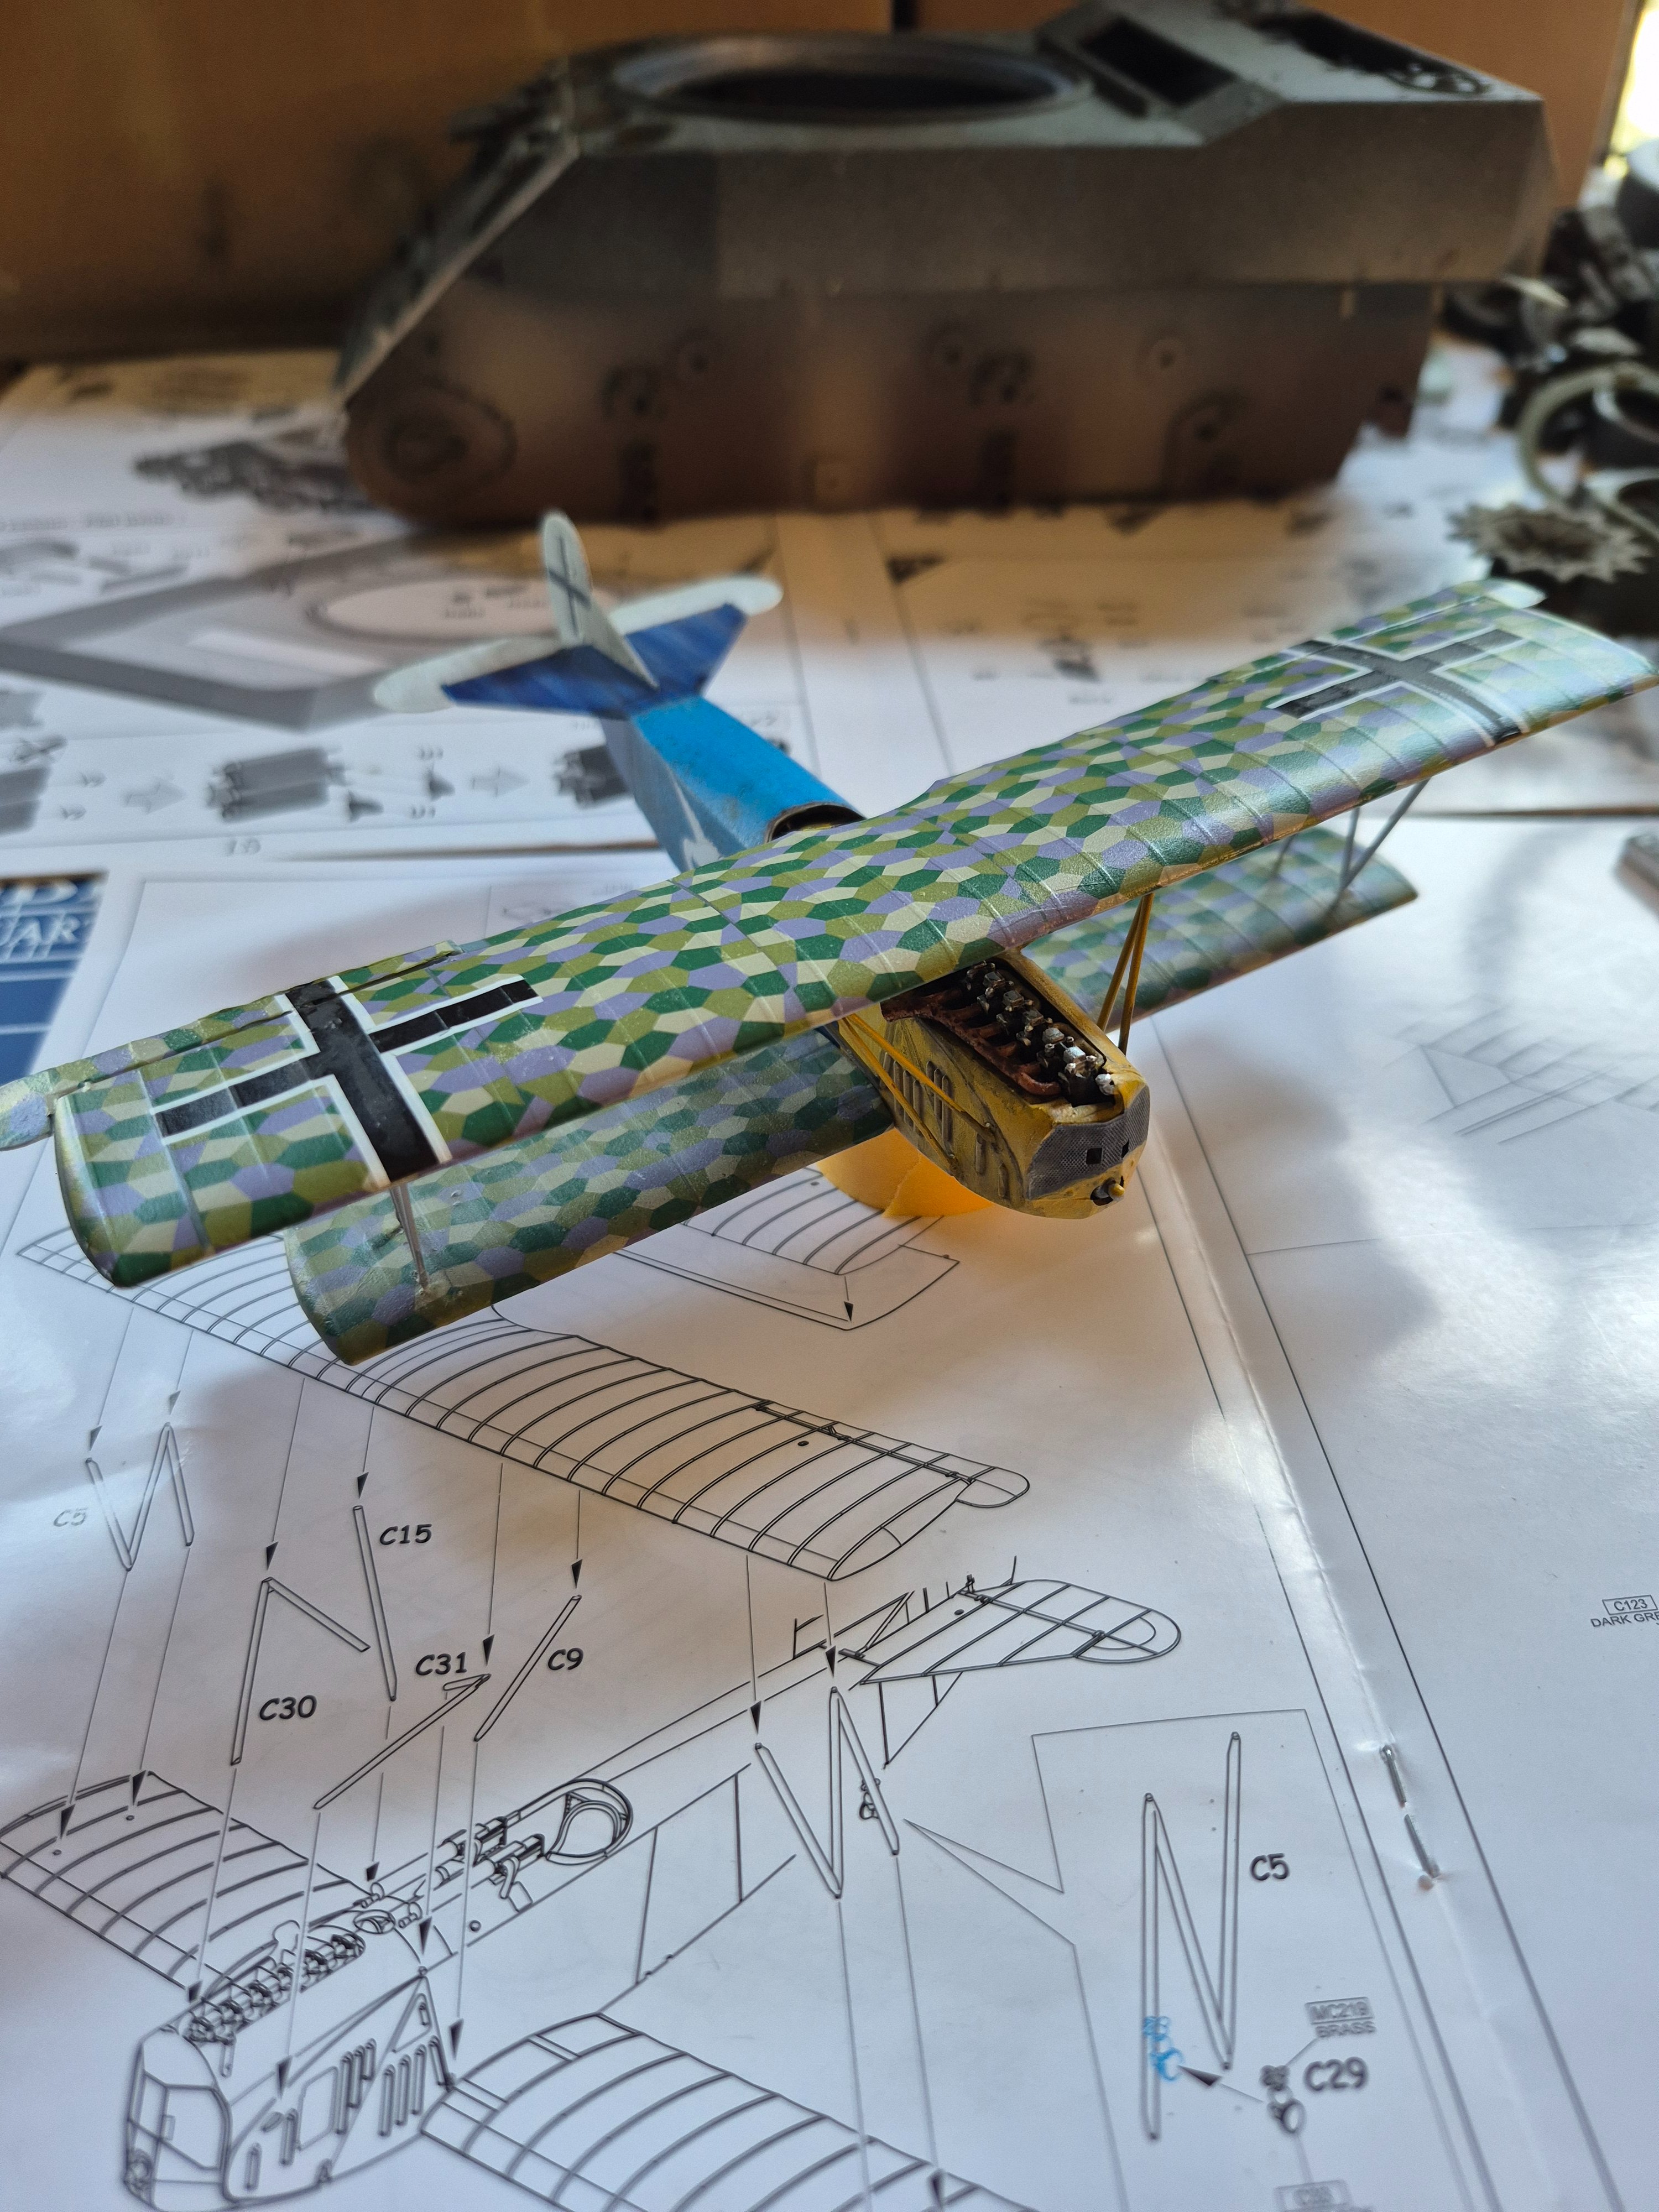
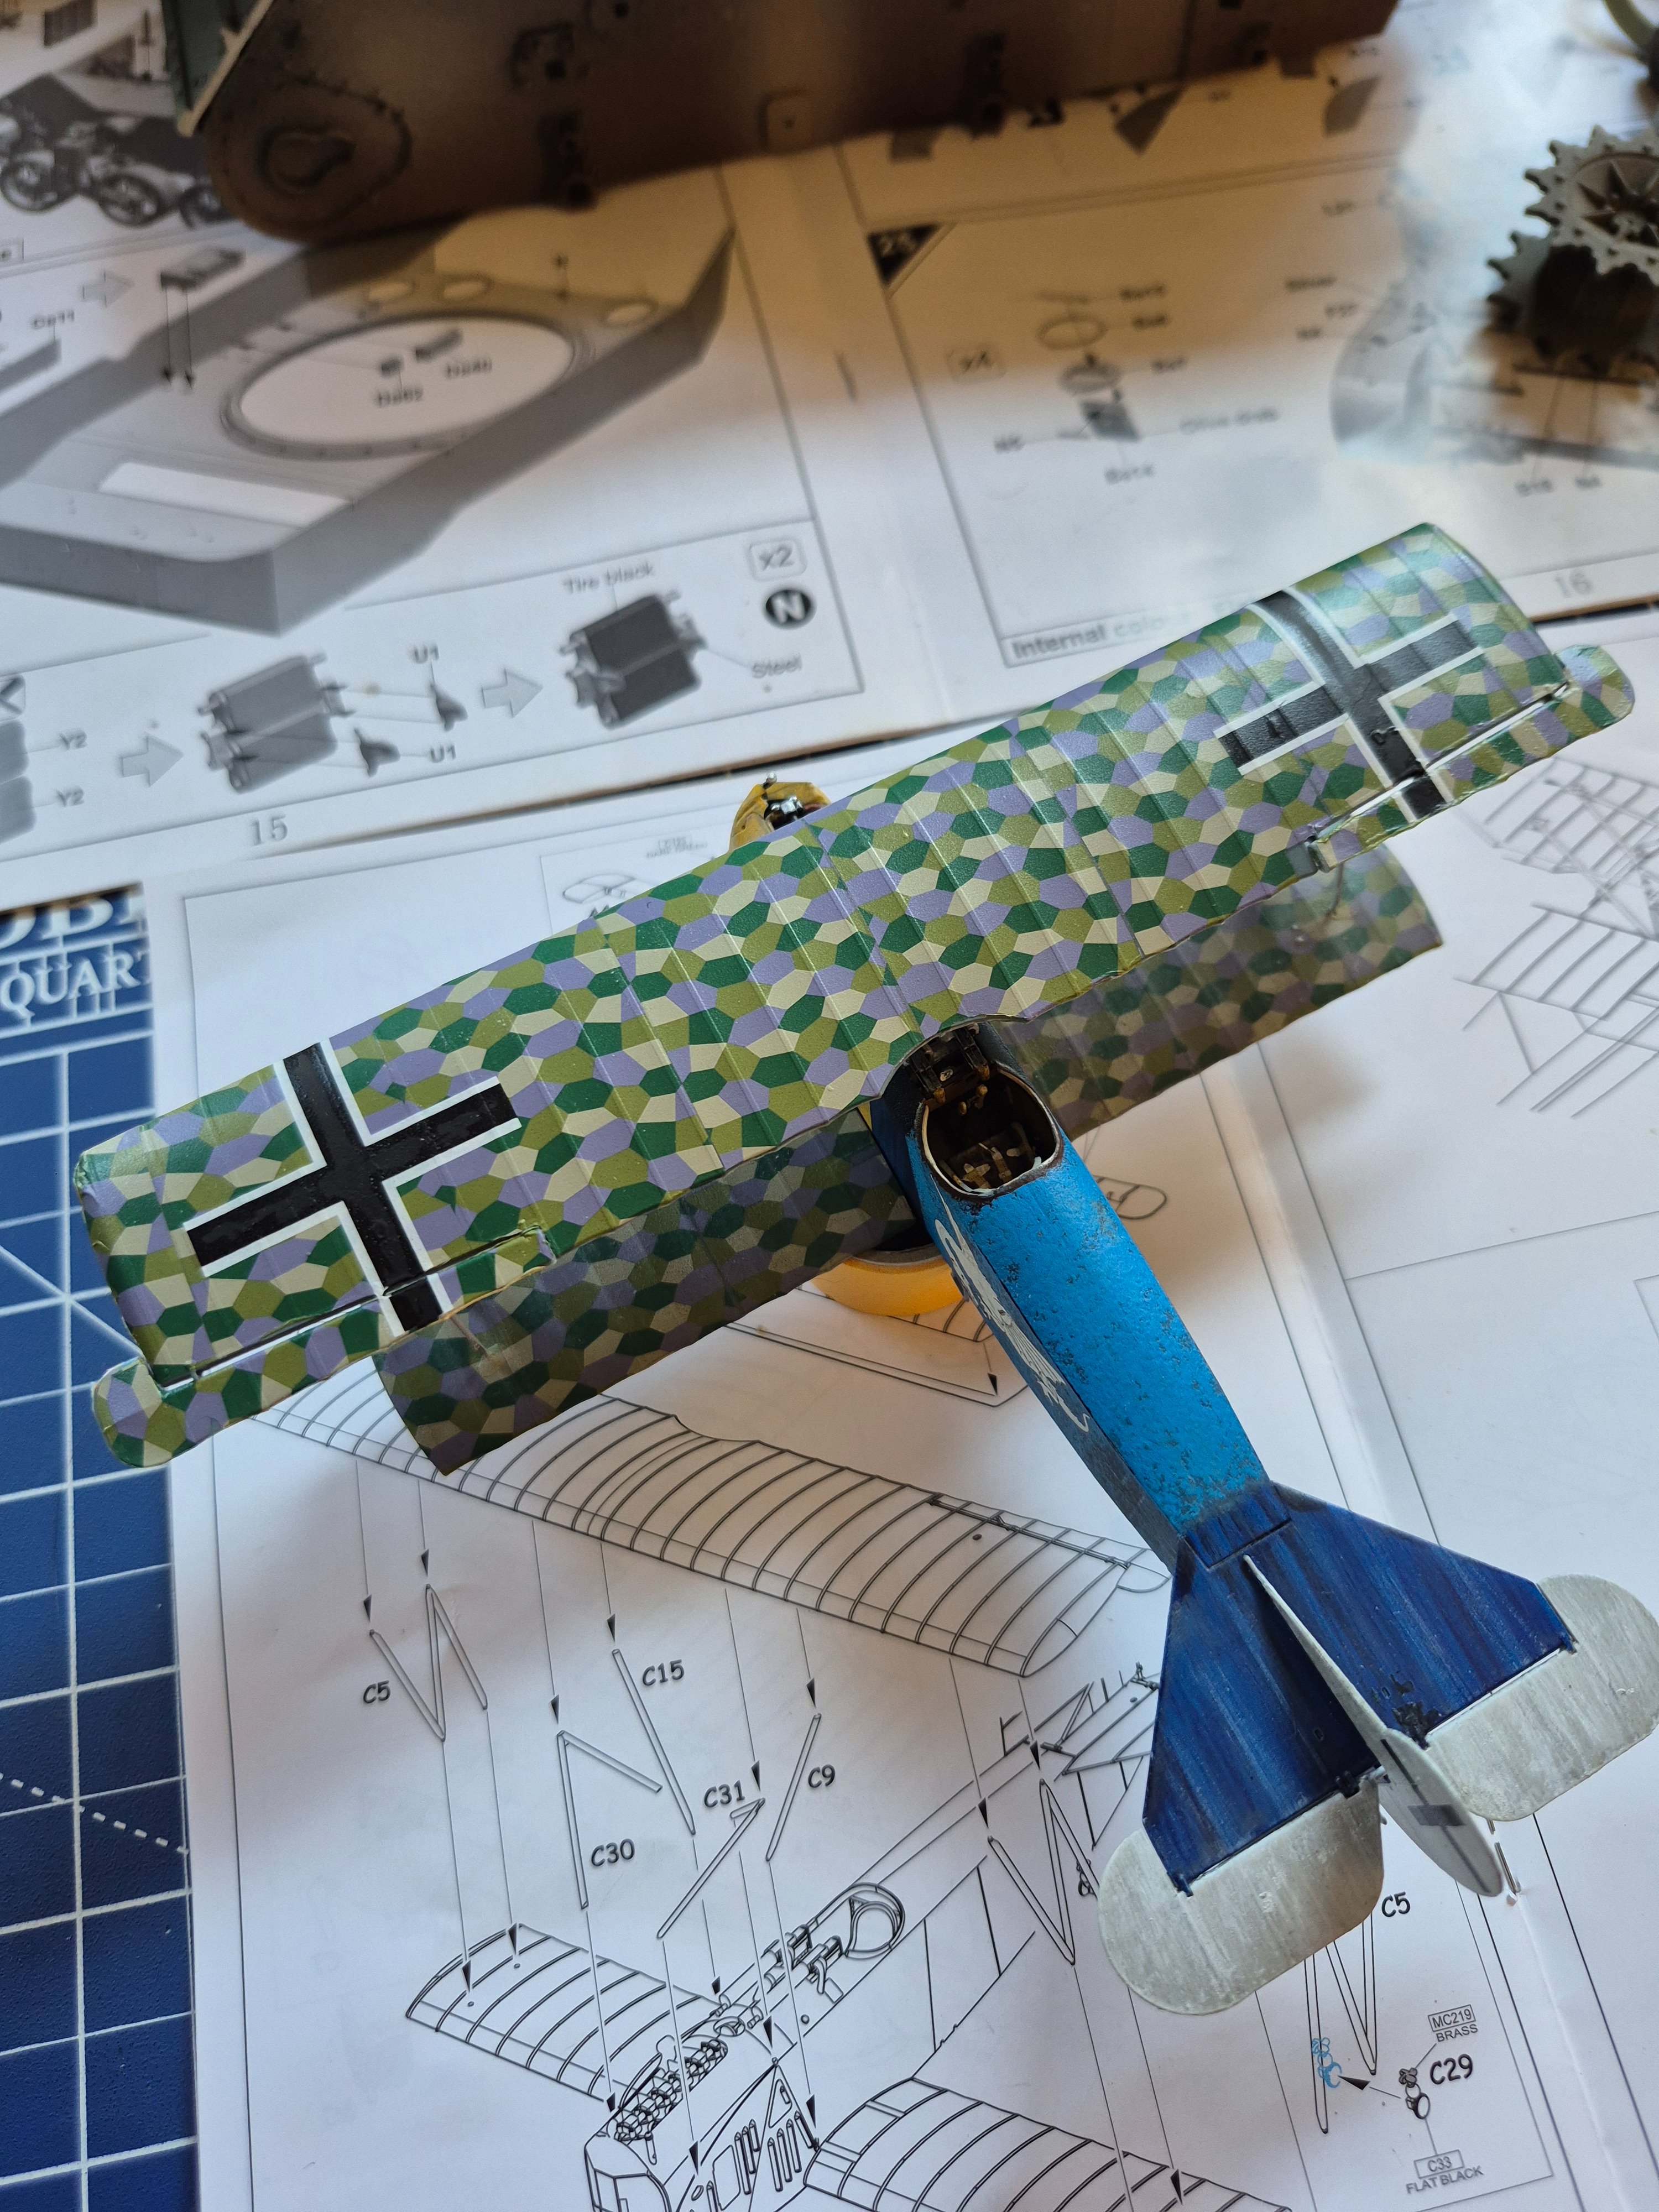
Getting close to the end, still have the prop and wheels to go.
It's on, but its not perfectly parallel with the lower wing. It's close enough that I'm not going to cry about it.
I also had some problems with the camo stickers on the underside of the upper wing. Luckily the kit supplied stickers to camo the underside of the tail if you chose not to go with the blue paint scheme. I used those to patch in the damaged areas on the upper wing.
I have some clean up to do, glue on top of finish paint and stickers.
One of the cross stickers on the upper wing split, so I applied black paint over both of them to help hide this.
Getting close to the end, still have the prop and wheels to go.

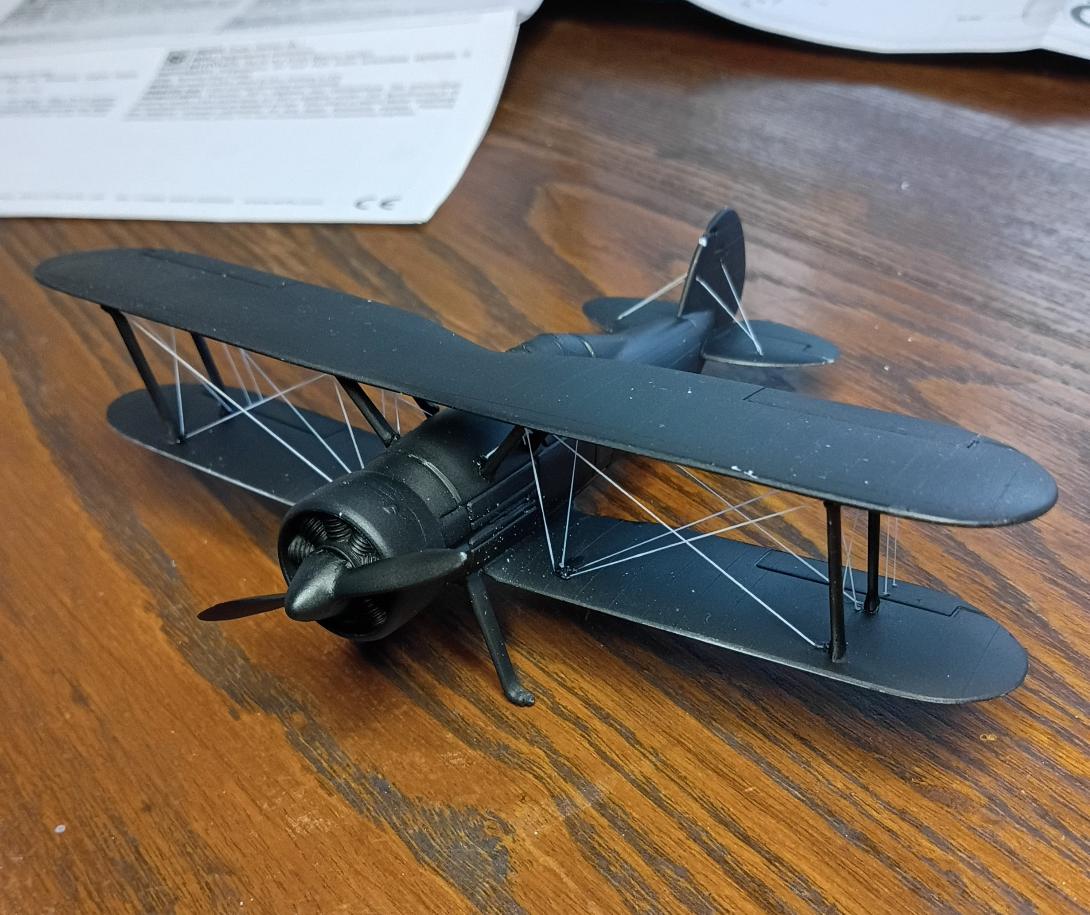
kevin
Well-Known Member
The rigging looks really good.
I'm almost done. I need to drill two holes for landing gear and then varnish and decals.I jumped ahead to the radial engine today. Be very careful with the intake and exhaust pipes (3D and 2D). The orientation of part 3D has a bunch of slop in it, and I ended up gluing it on wrong. Finally got it back apart with minimal damage, and back on correctly. And the exhaust, 2D is very fiddley to orientate.

... Nice save with the wing camo. The whole scheme is so interesting.little bit of a fight.
That's gonna look so good!all silver
Bob T
Well-Known Member
Slow...Very slow progress...

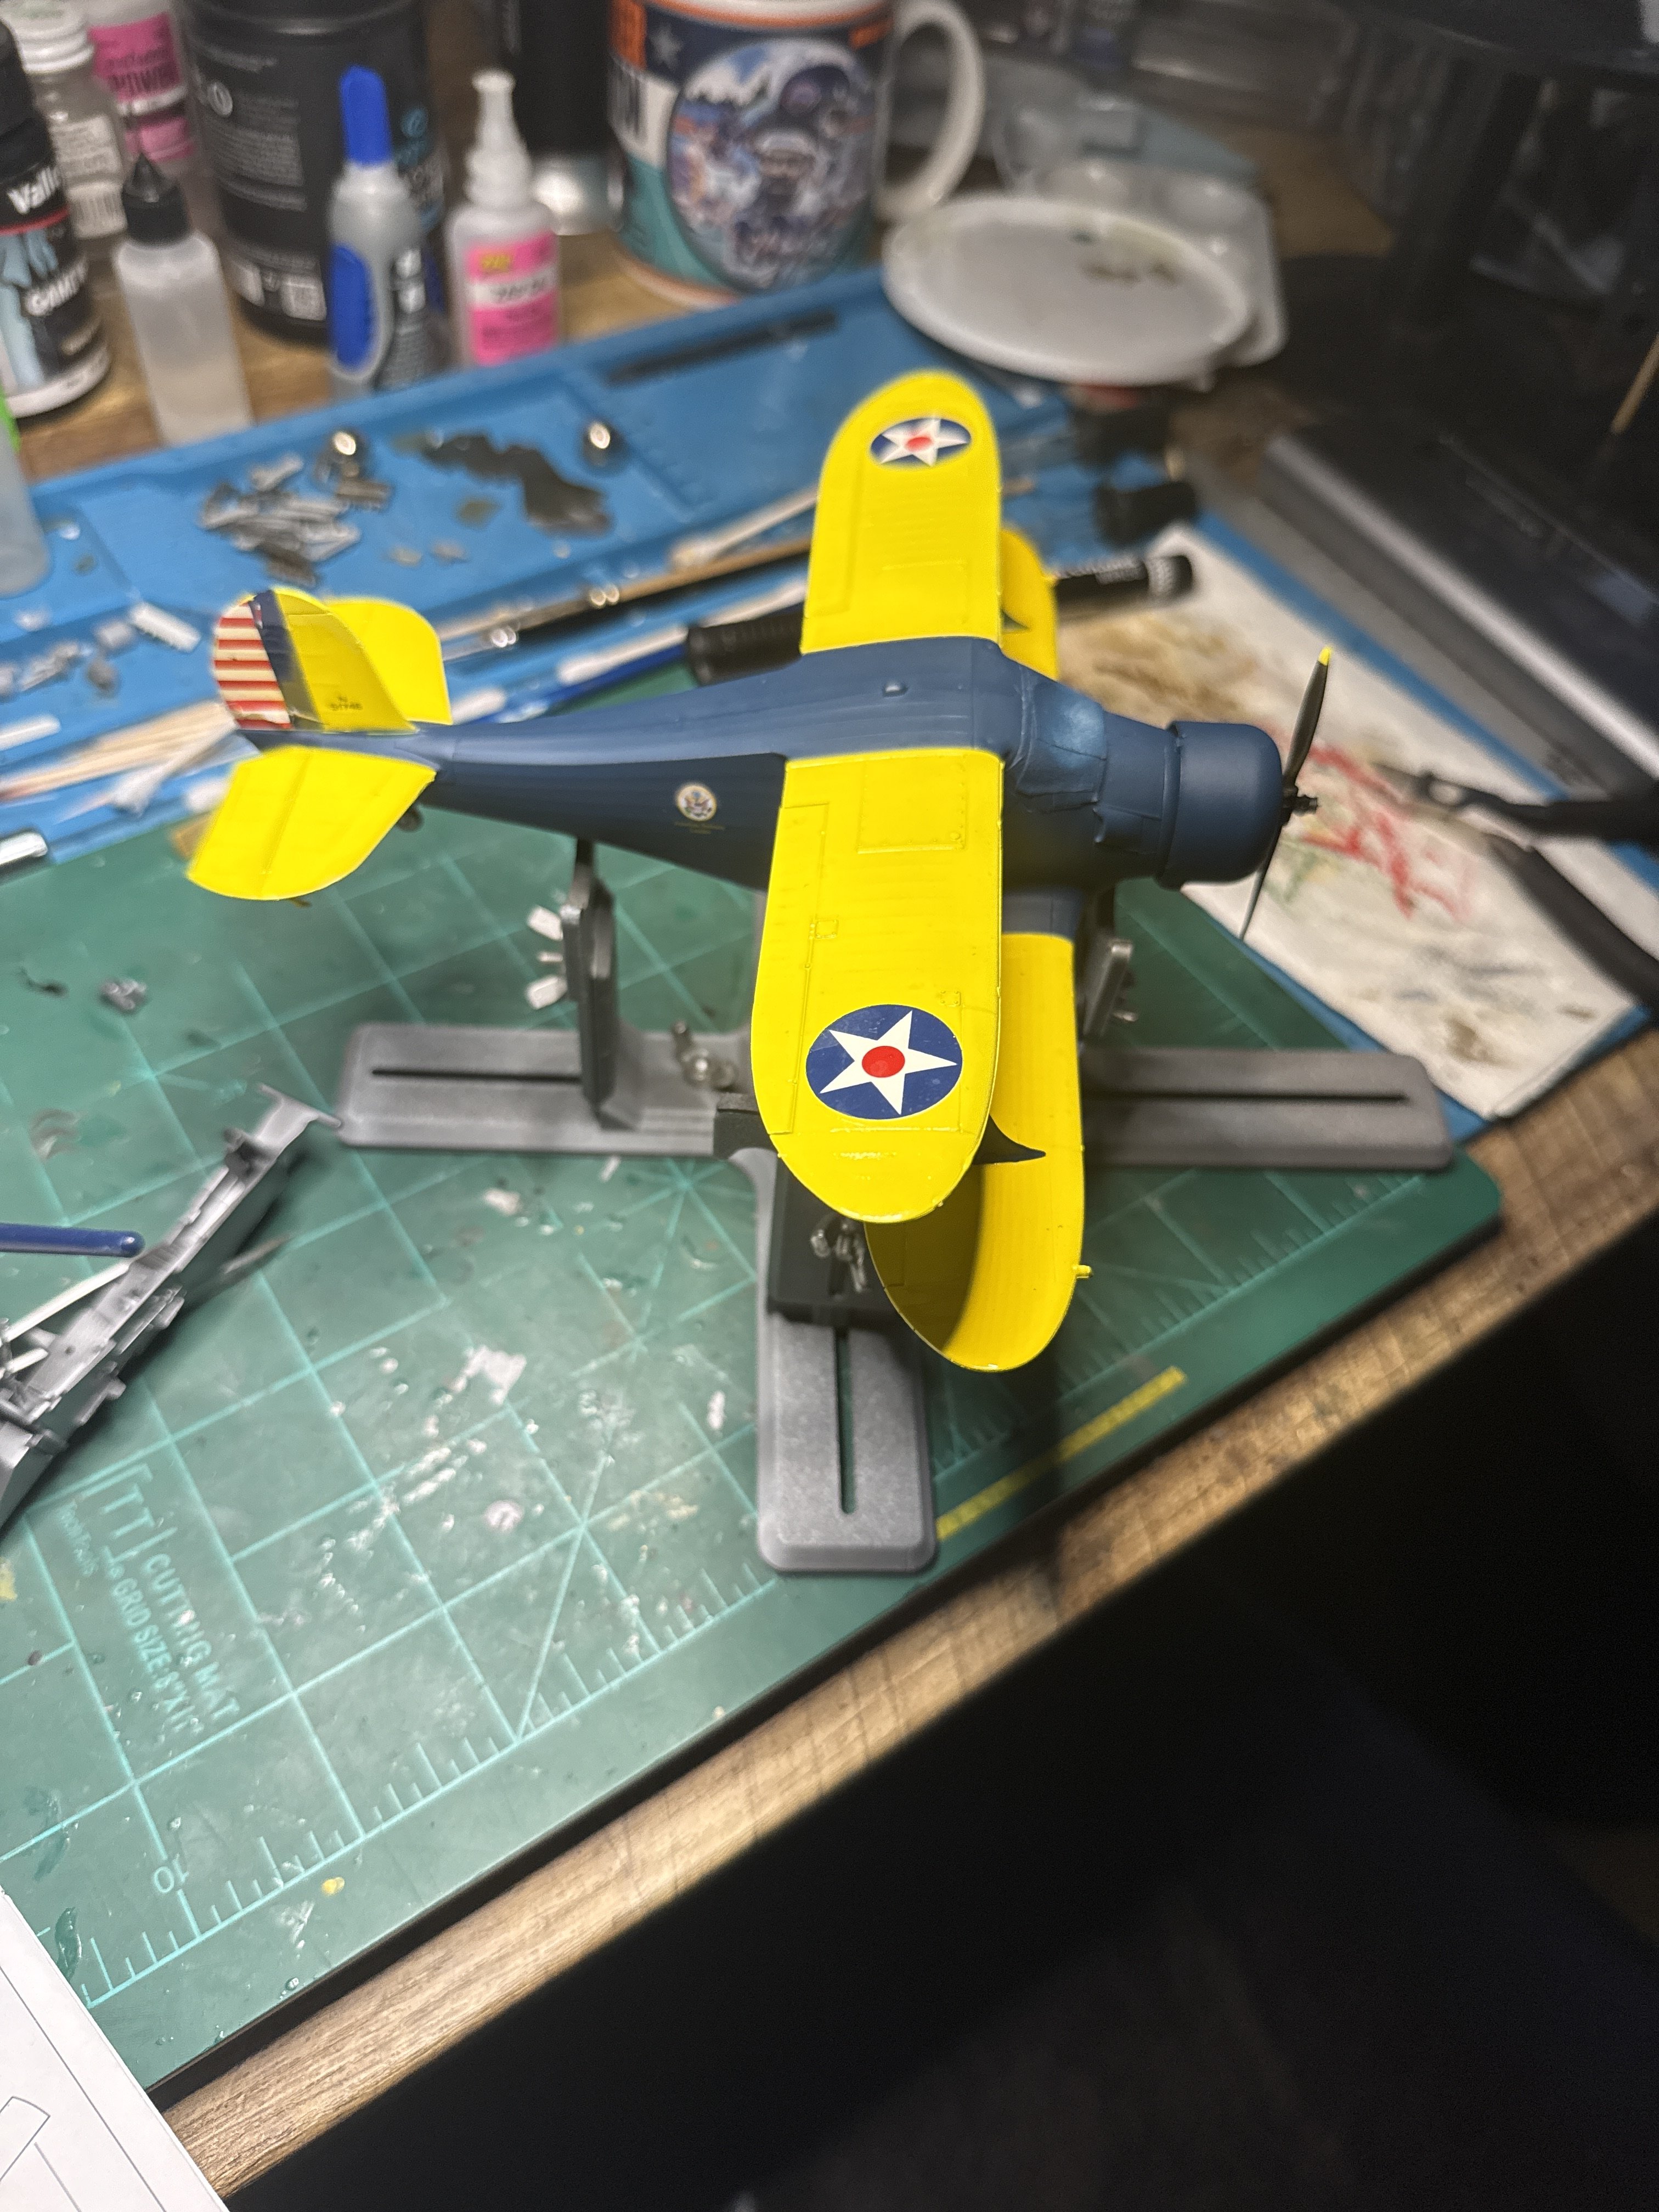
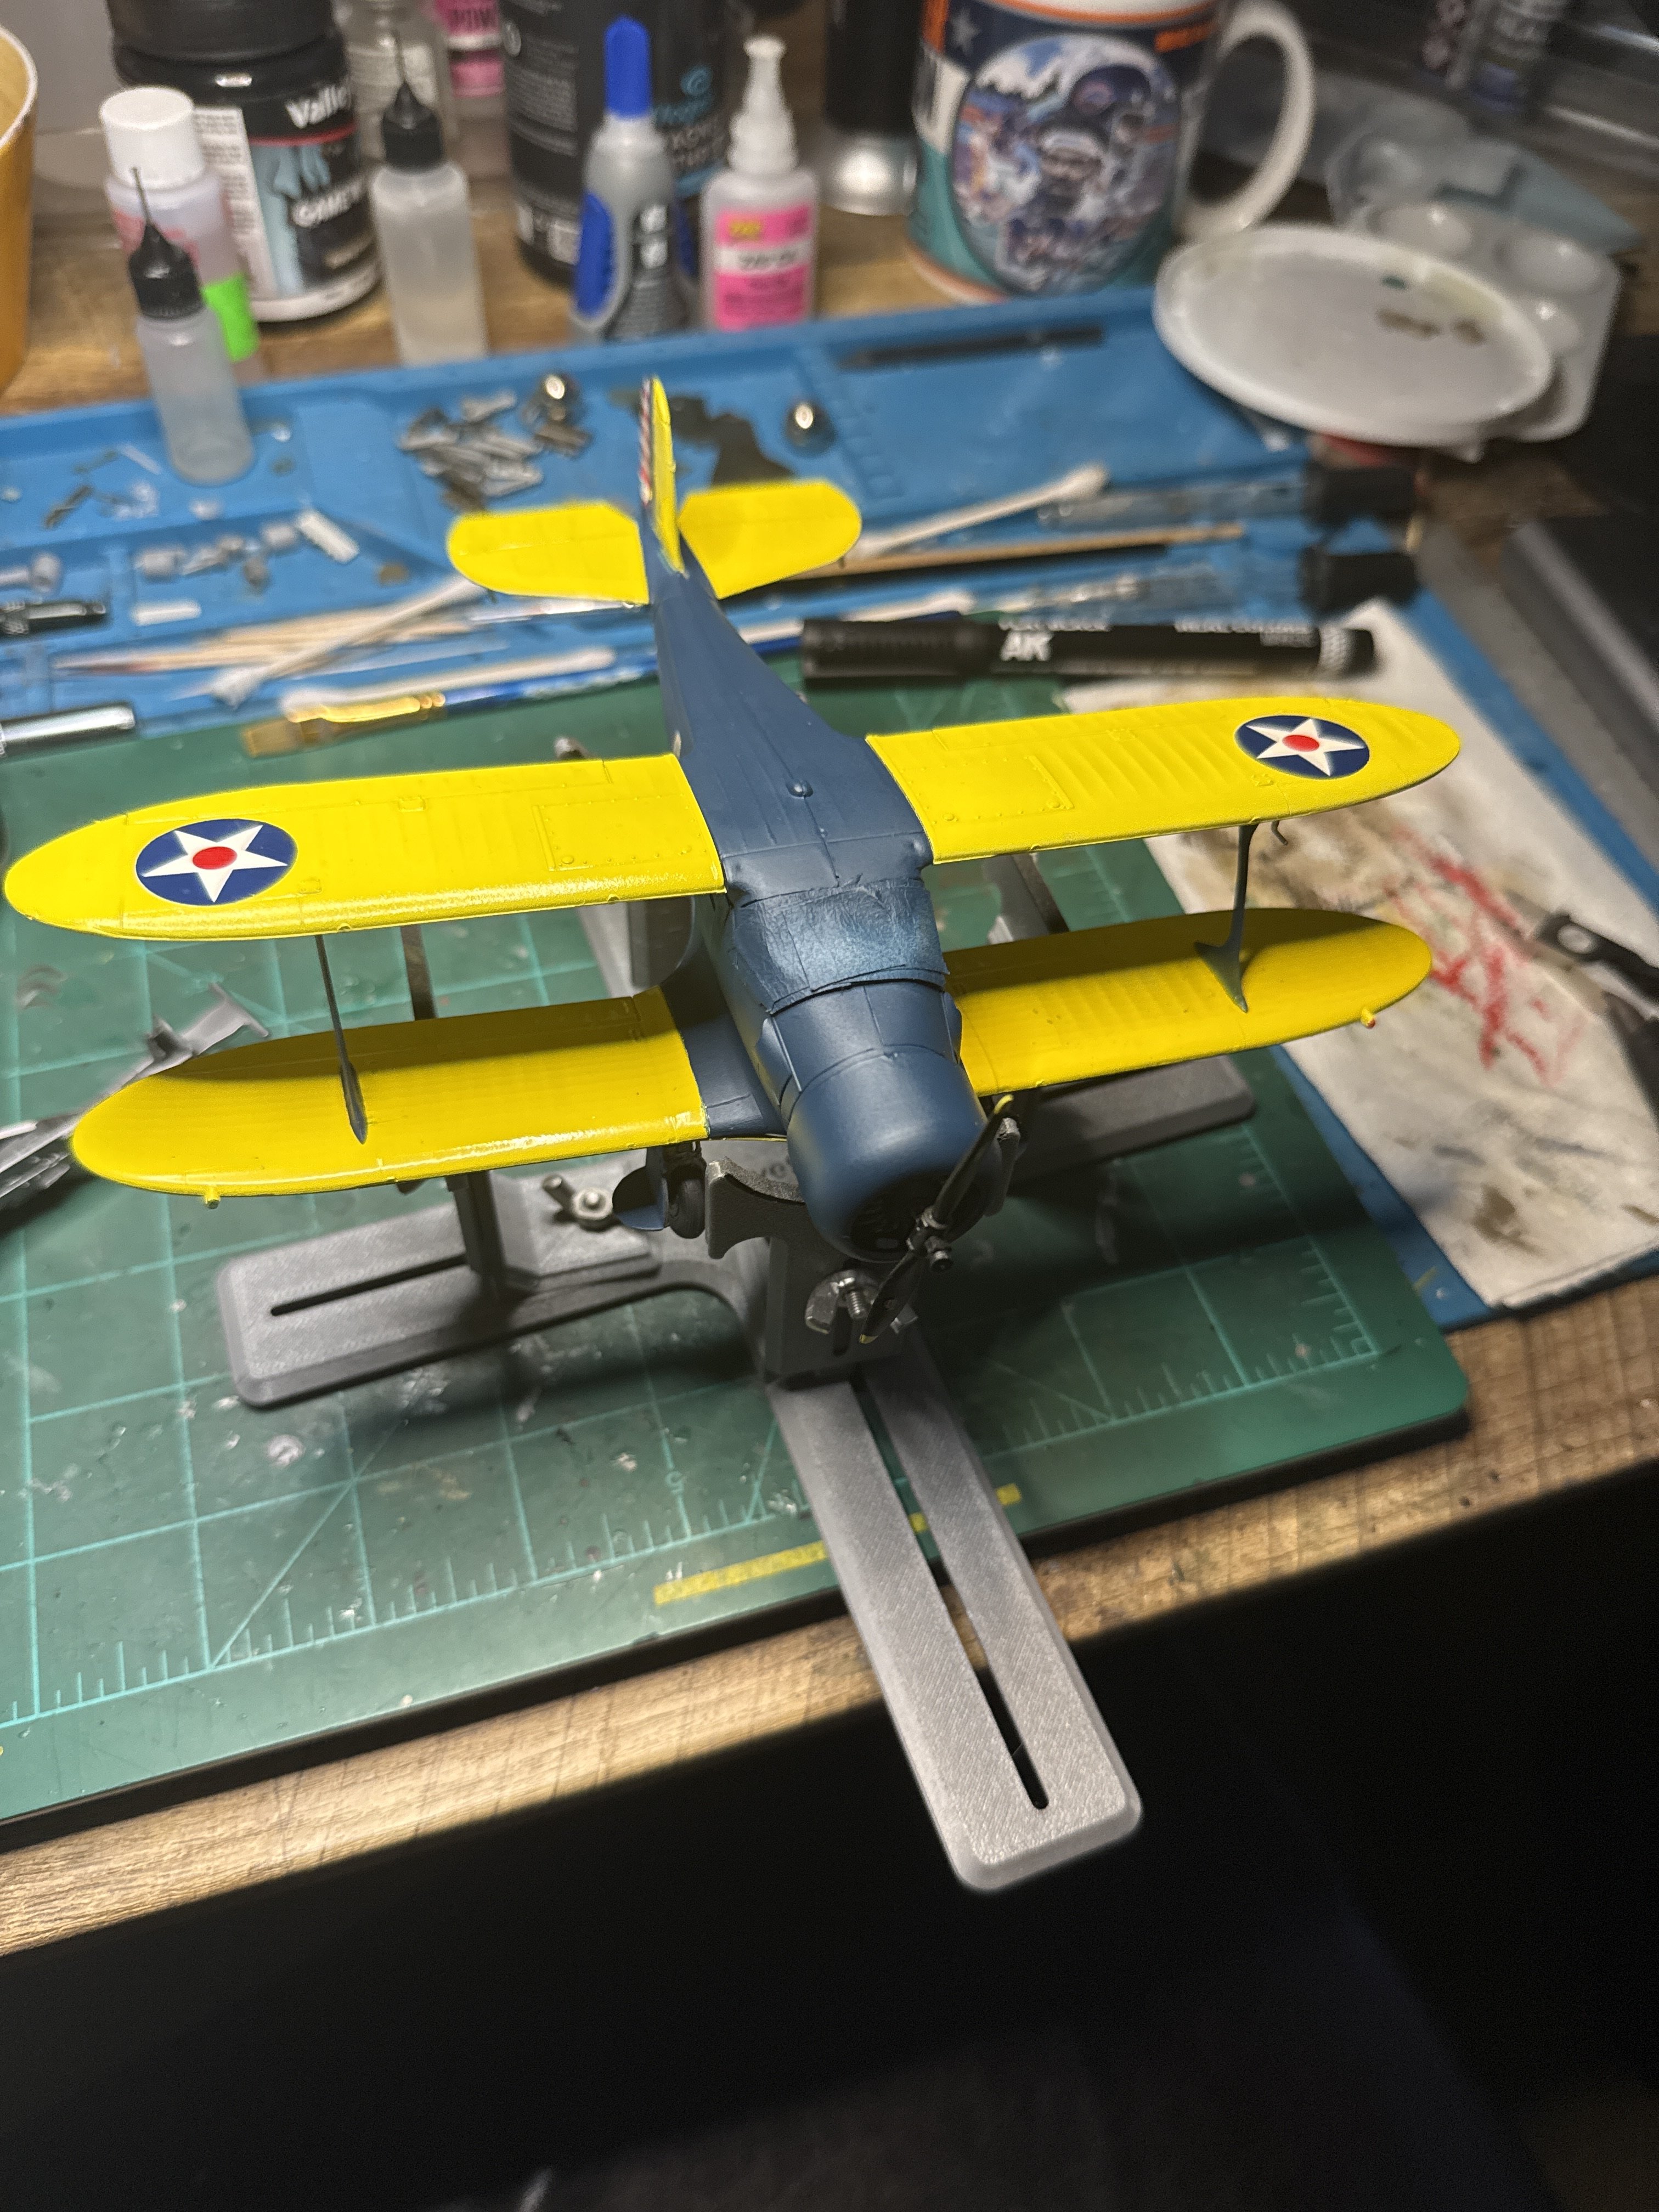
Nice recovery!I have upper wing attached. It was a little bit of a fight. There are no issues with the quality of the Eduard kit, it was just one of those times where a third hand would have come in handy.
It's on, but its not perfectly parallel with the lower wing. It's close enough that I'm not going to cry about it.
I also had some problems with the camo stickers on the underside of the upper wing. Luckily the kit supplied stickers to camo the underside of the tail if you chose not to go with the blue paint scheme. I used those to patch in the damaged areas on the upper wing.
I have some clean up to do, glue on top of finish paint and stickers.
View attachment 195764
View attachment 195765
One of the cross stickers on the upper wing split, so I applied black paint over both of them to help hide this.
View attachment 195769
View attachment 195770
Getting close to the end, still have the prop and wheels to go.
Rigging is sharp!
Ouch. I sure hope not as my kit is Roden as well.Is this a Roden problem?
The stars look great on the yellow I gotta say!
Yeah the decals are very delicate. Didn't damage them placing them but when i brushed on the micro set pieces came right off. And then I went into my zen meditation mode!Ouch. I sure hope not as my kit is Roden as well.
The stars look great on the yellow I gotta say!
kevin
Well-Known Member
"serenity now!"And then I went into my zen meditation mode!
- Joined
- Apr 29, 2024
- Messages
- 1,569
Edbert
Well-Known Member
- Joined
- May 16, 2024
- Messages
- 3,117
I got my colors adjusted, not perfect but acceptable to my standards. Started adding some fiddly bits, next up is attaching the struts and preparing for upper wing.
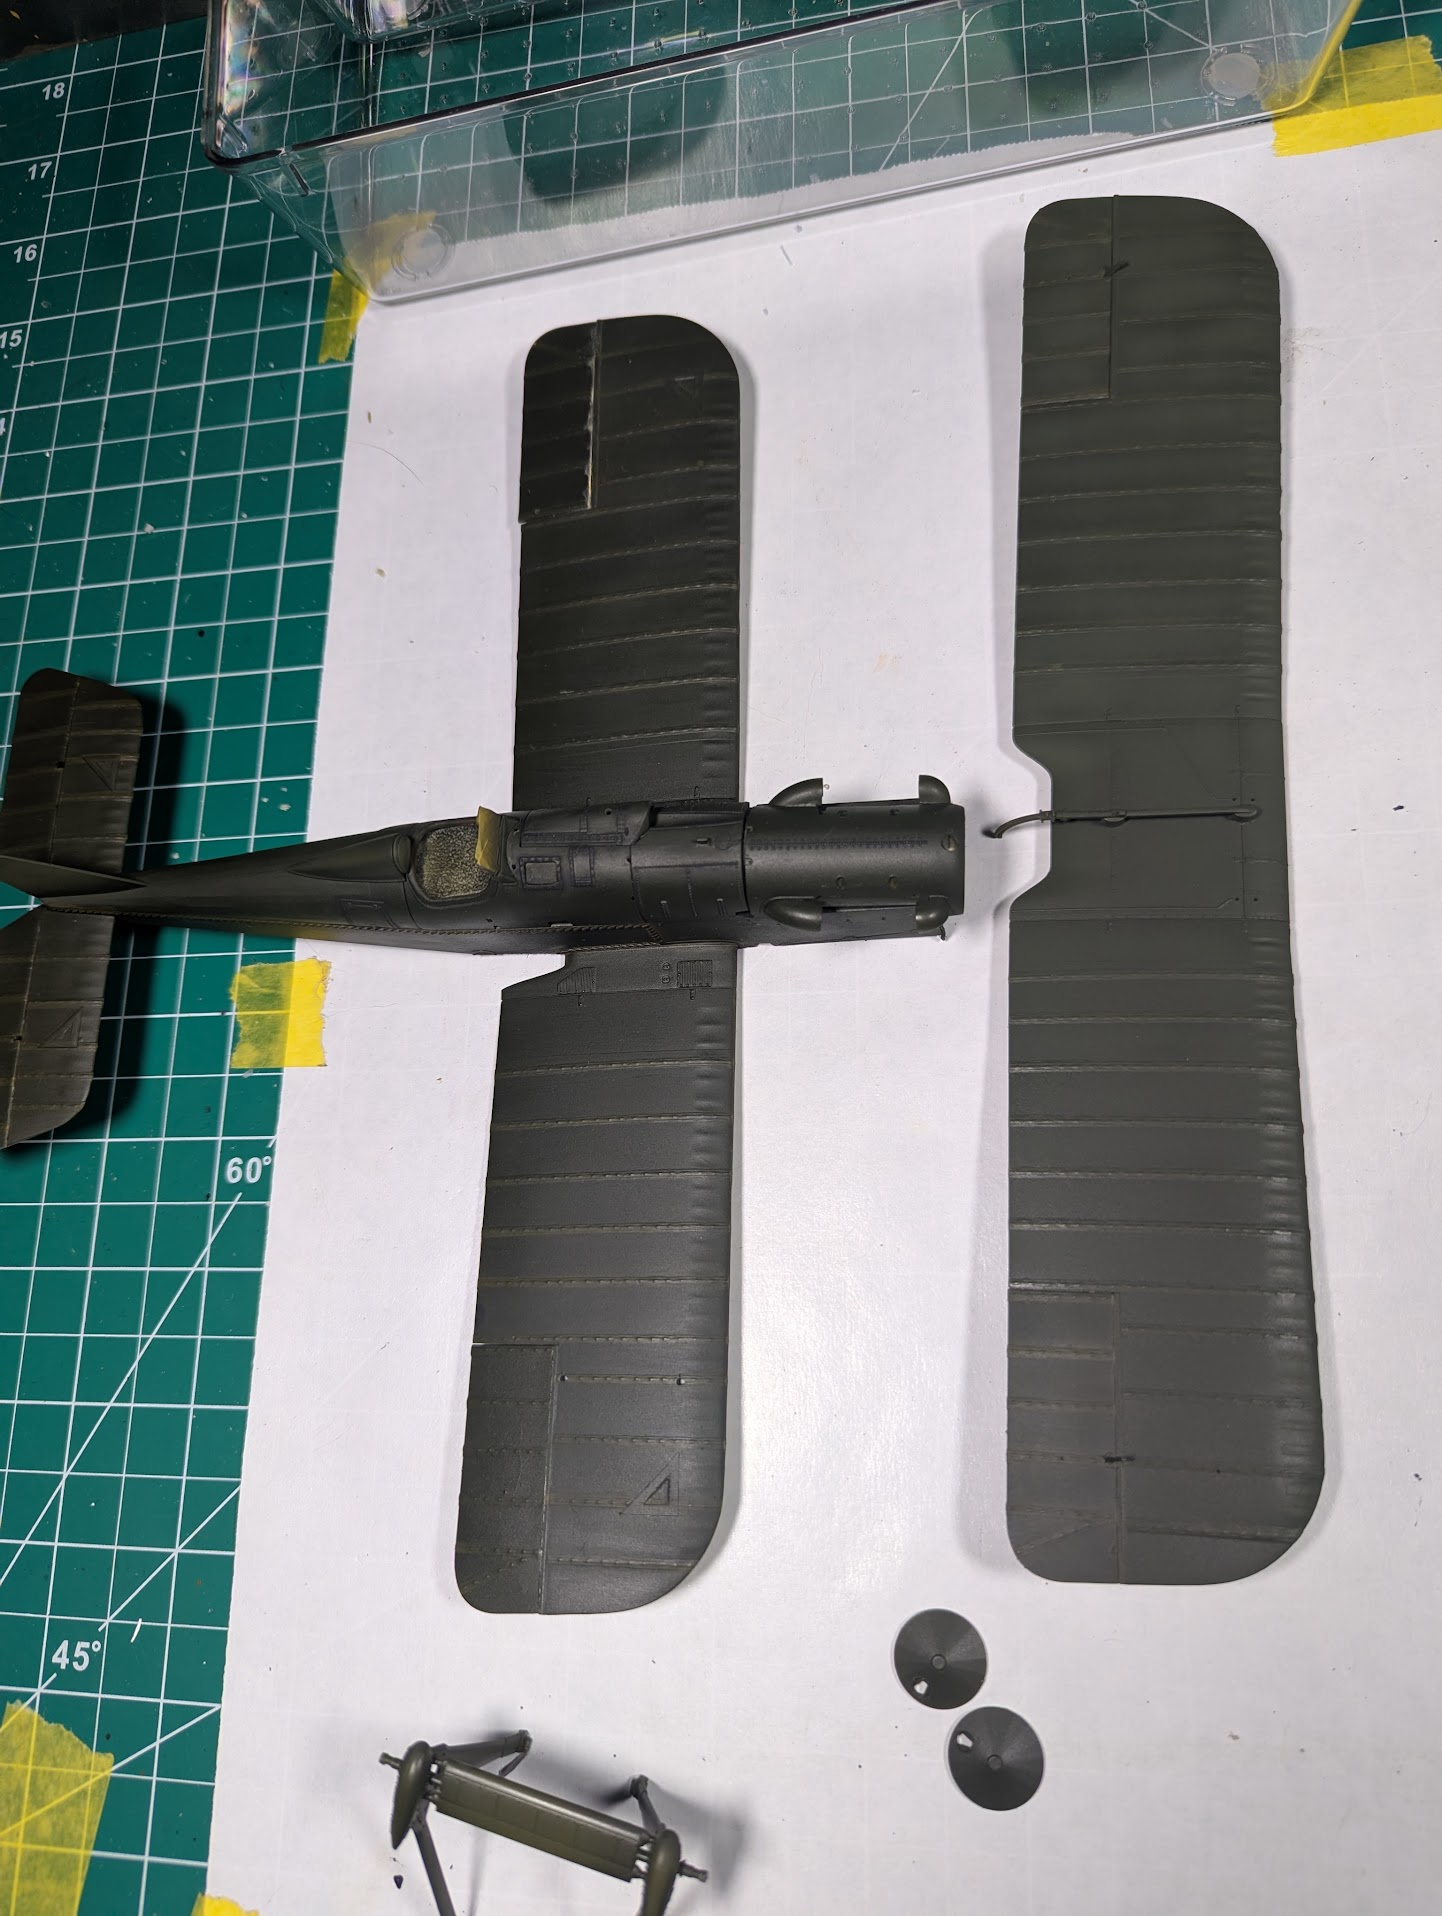
Phase-1 on the upper wing, lower is not touched yet just to see the difference.
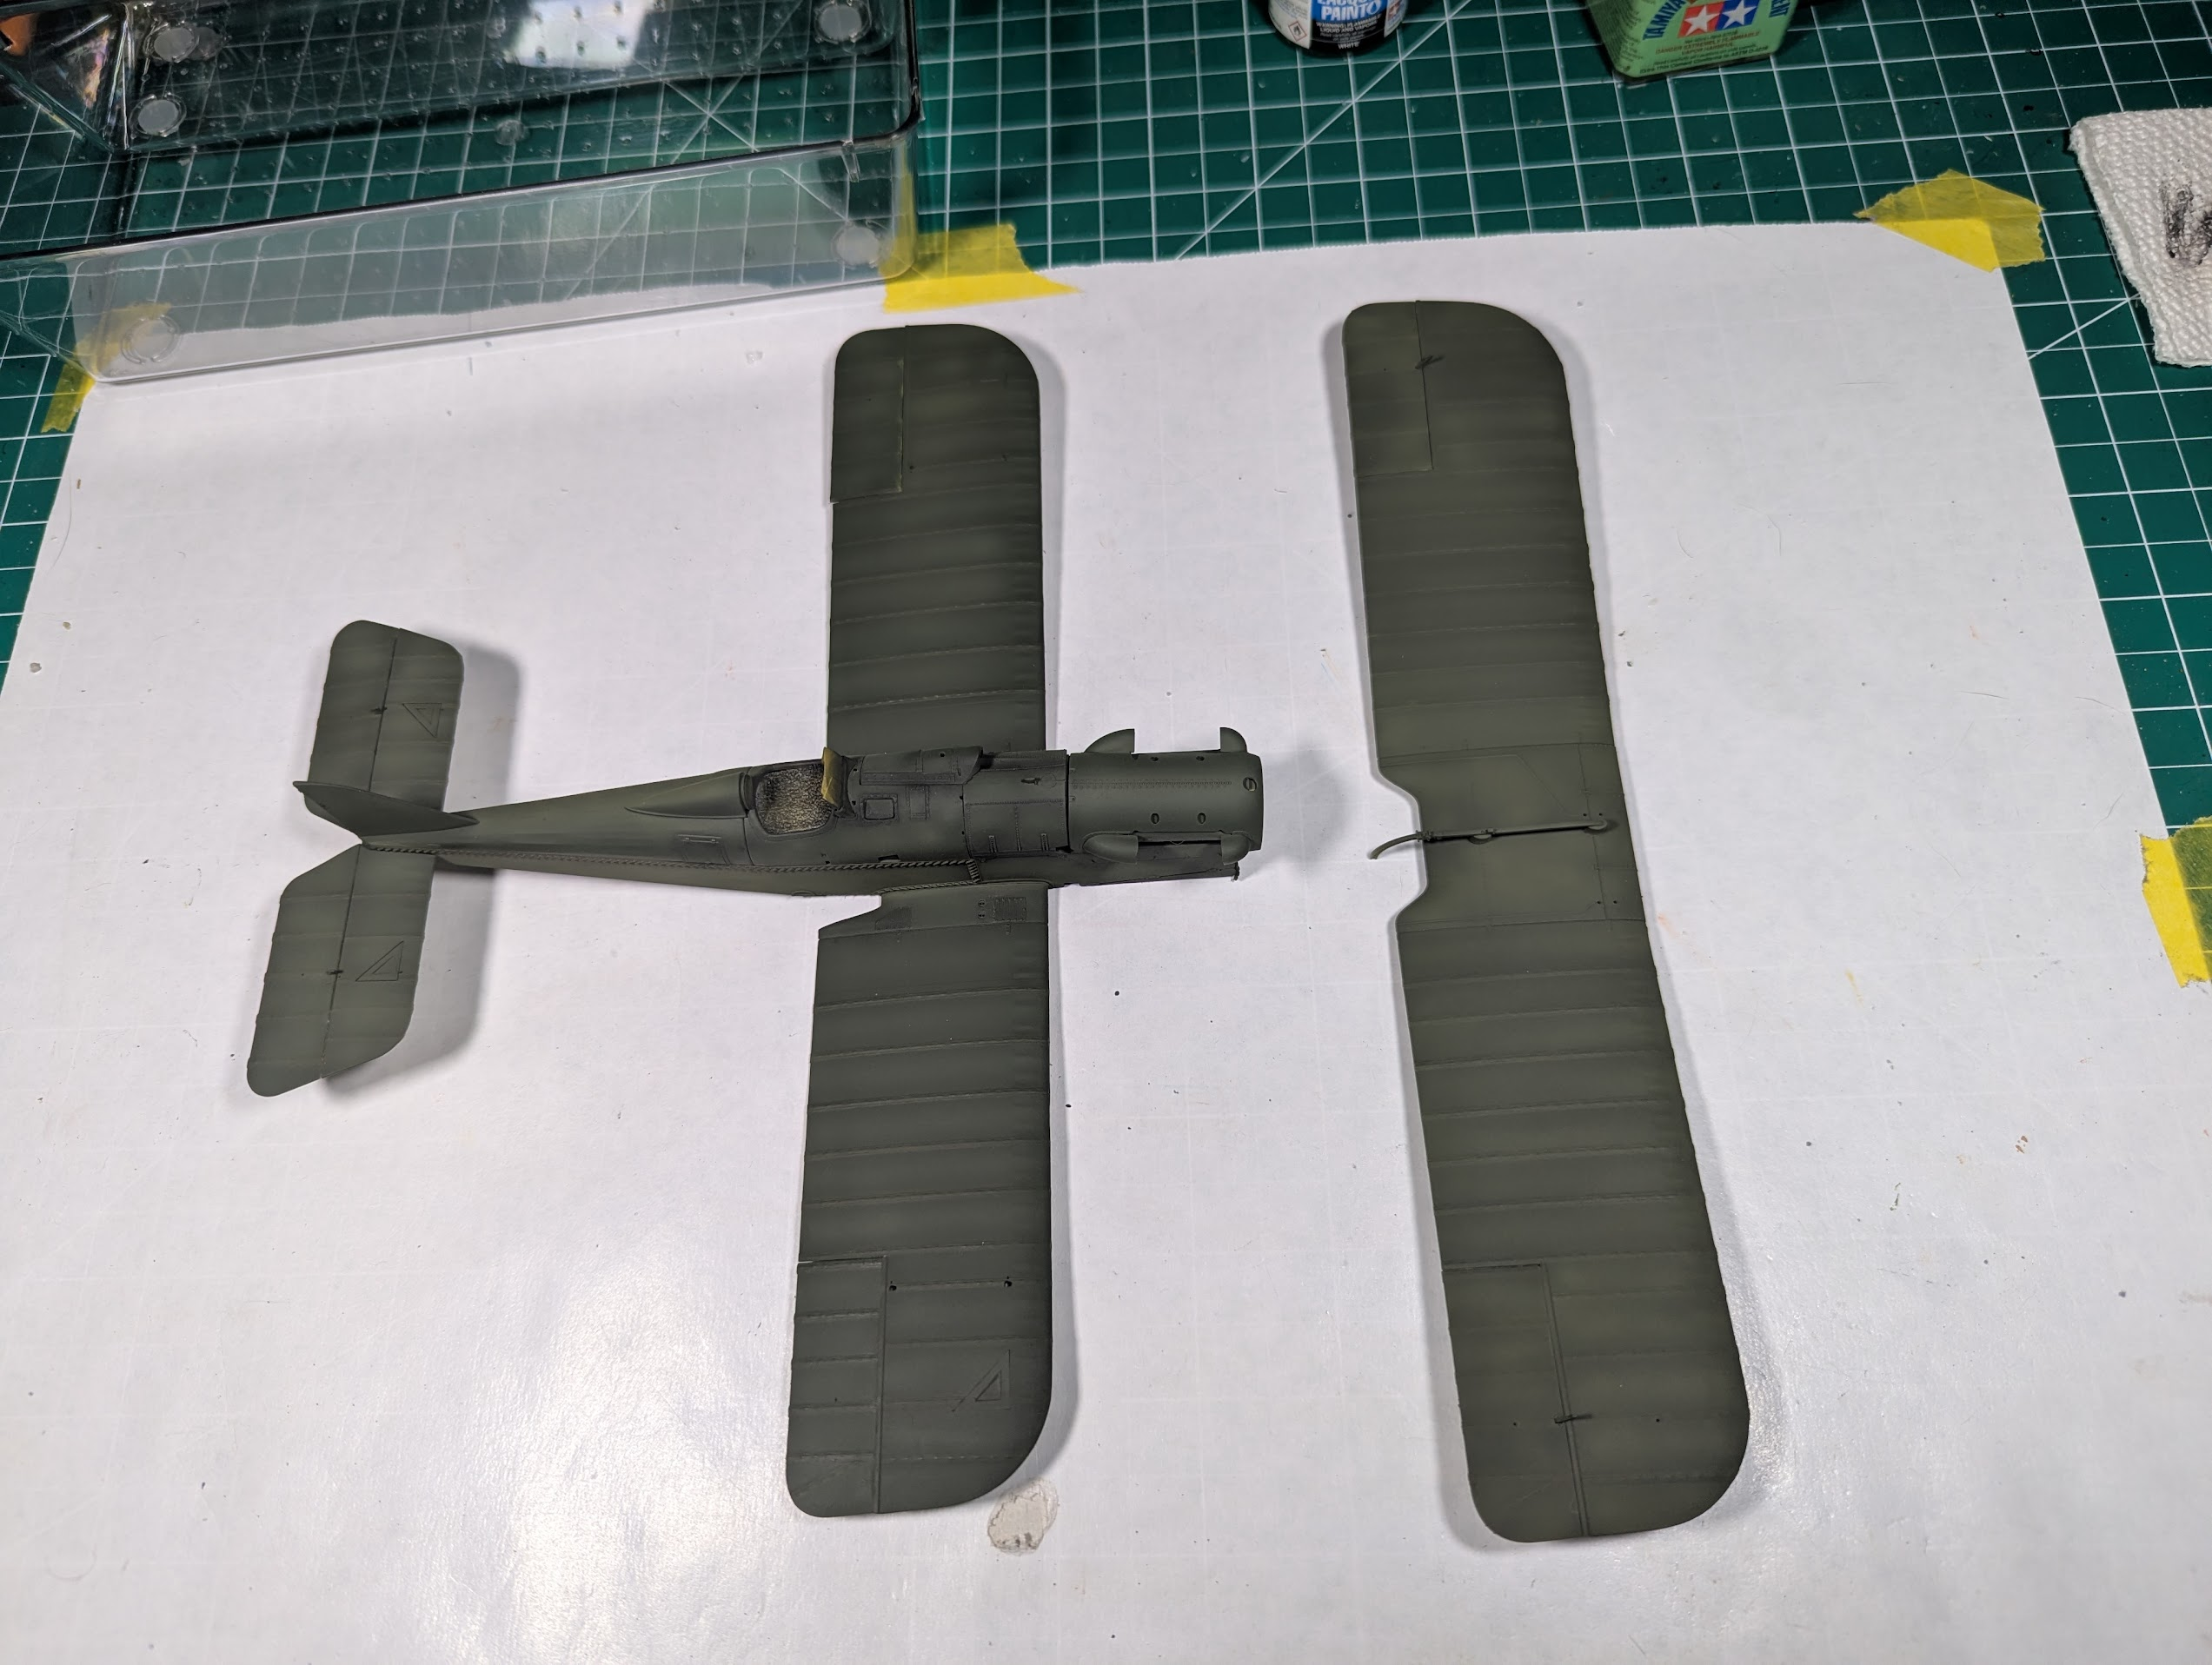
Phase-1 on the lower and body, phase-2 on the upper. Think this is as far as I want to go. Still darker than it should be, but this will work.
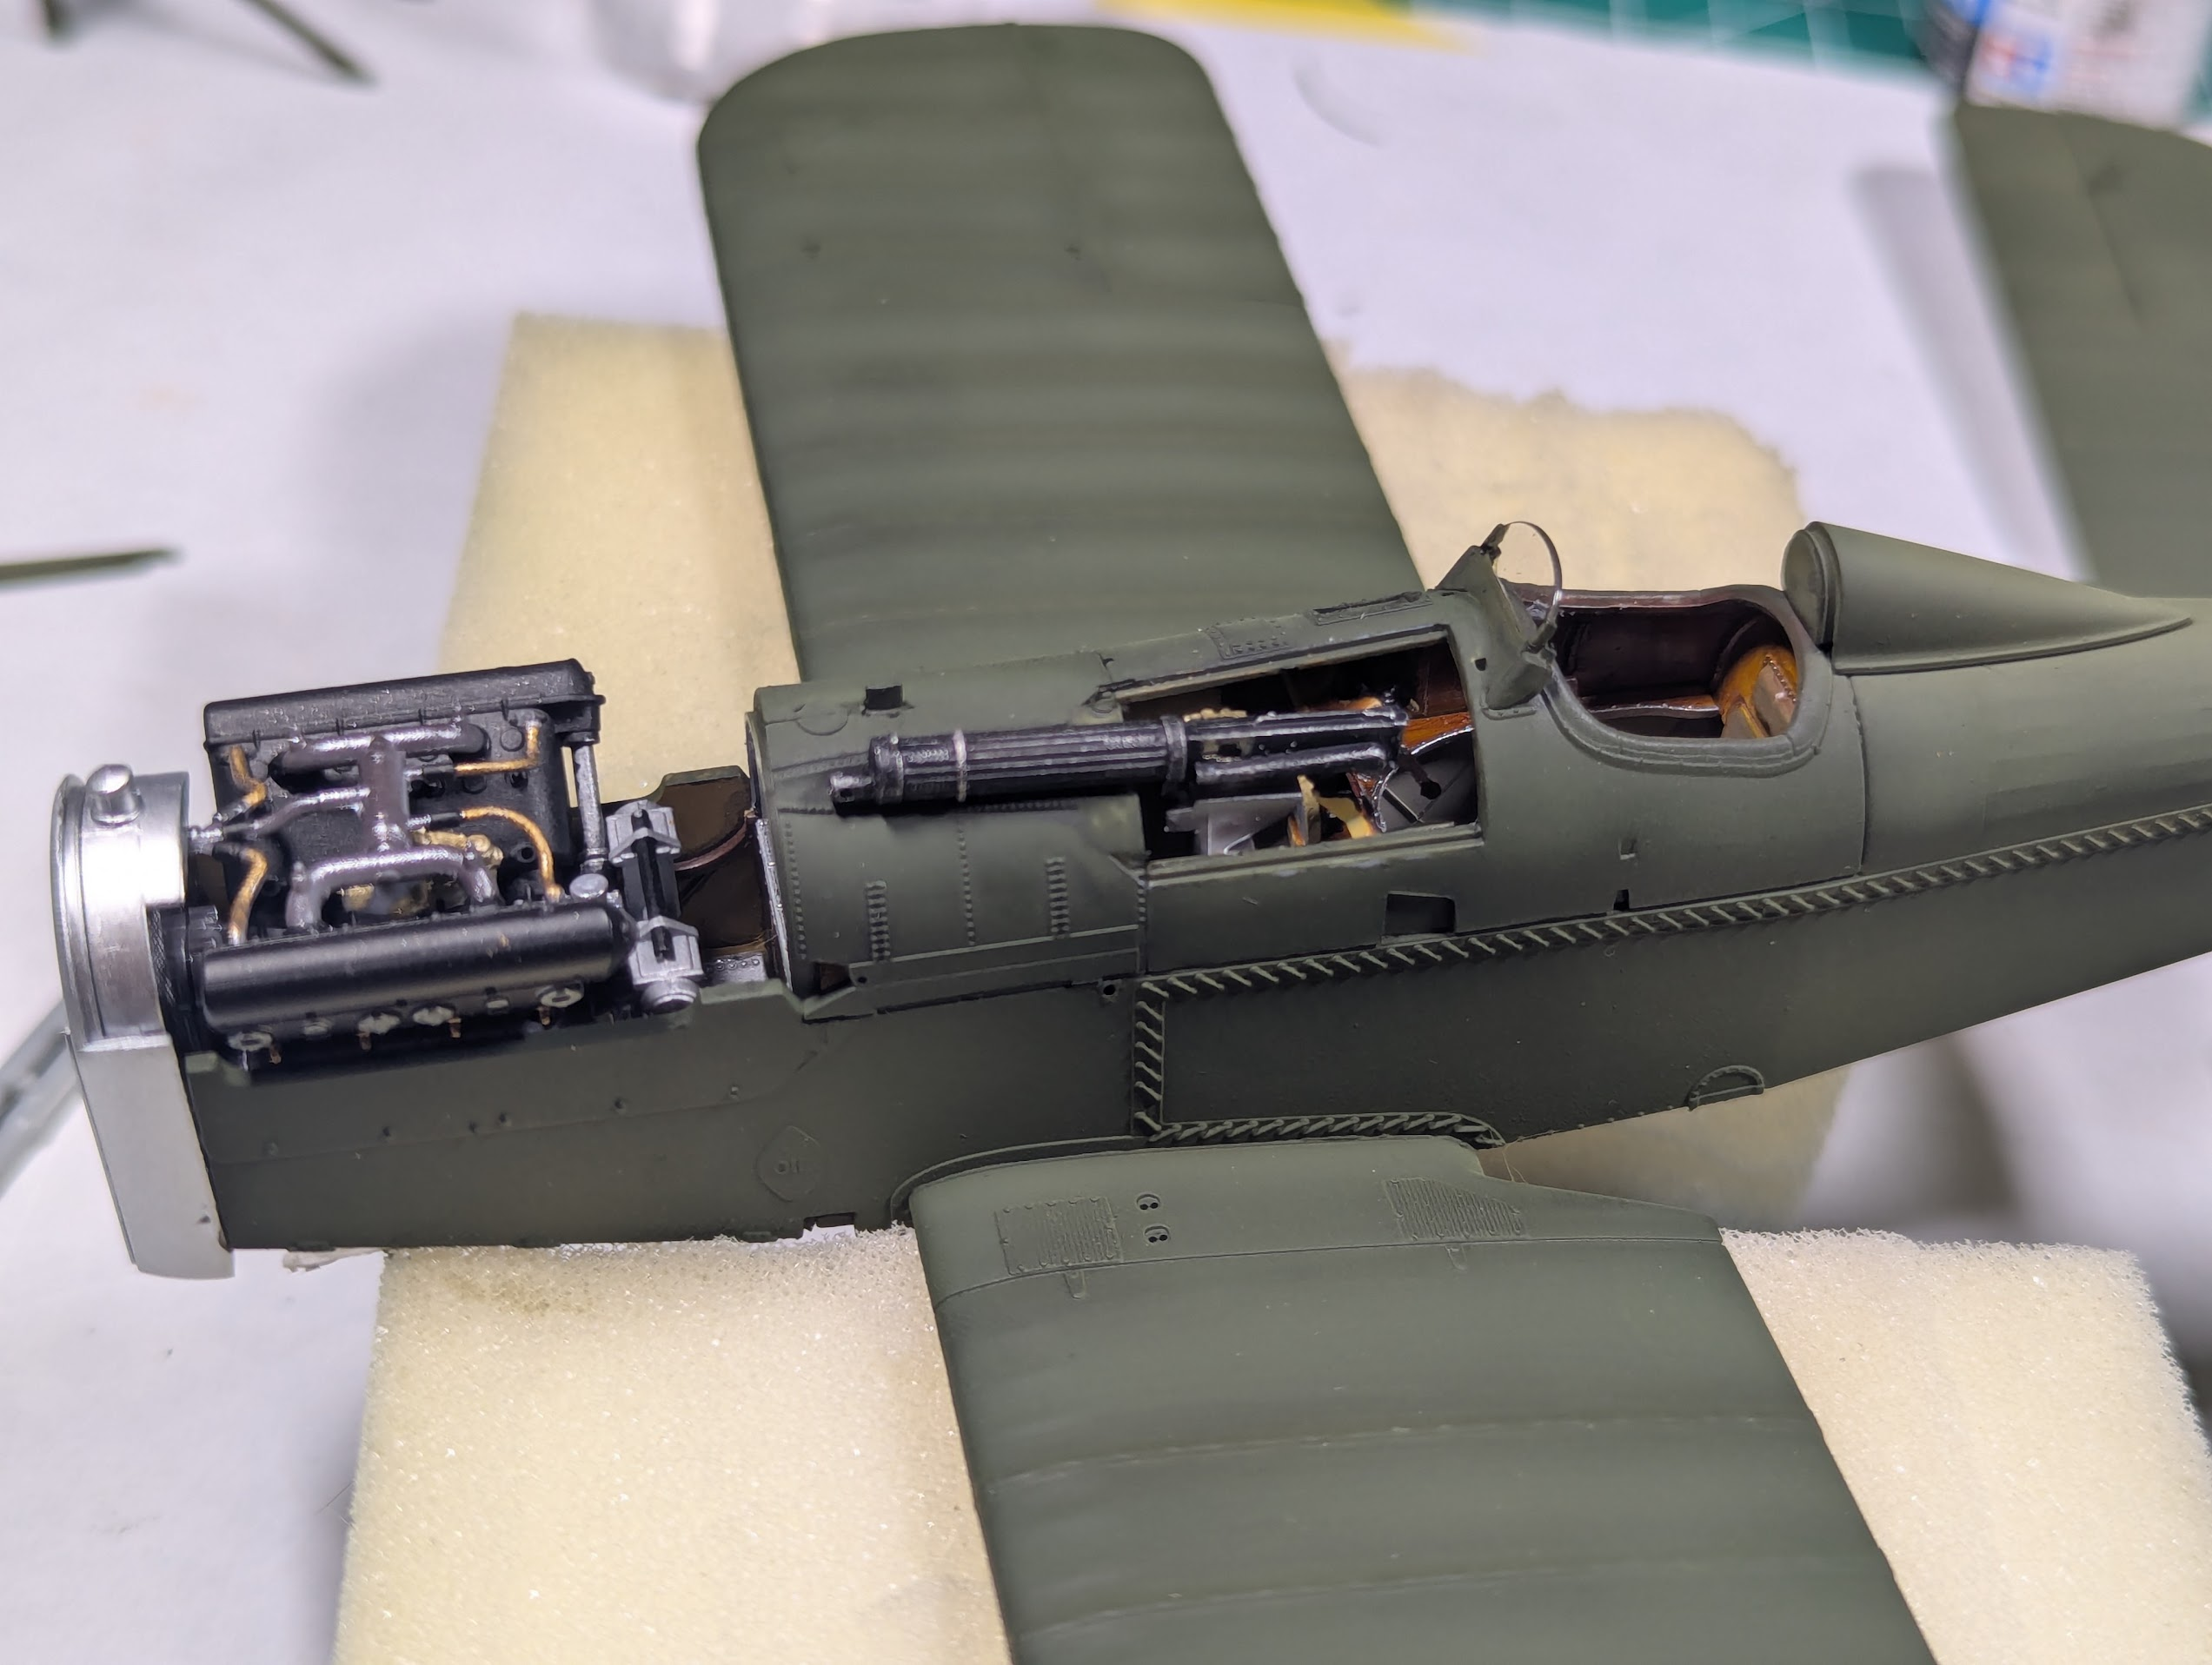
Fiddlies underway.
Phase-1 on the upper wing, lower is not touched yet just to see the difference.
Phase-1 on the lower and body, phase-2 on the upper. Think this is as far as I want to go. Still darker than it should be, but this will work.
Fiddlies underway.
I like the ribbing.I got my colors adjusted, not perfect but acceptable to my standards. Started adding some fiddly bits, next up is attaching the struts and preparing for upper wing.
View attachment 195903
Phase-1 on the upper wing, lower is not touched yet just to see the difference.
View attachment 195909
Phase-1 on the lower and body, phase-2 on the upper. Think this is as far as I want to go. Still darker than it should be, but this will work.
View attachment 195905
Fiddlies underway.
- Joined
- Apr 29, 2024
- Messages
- 1,569
That's looking real good! Nice airbrush work on the ribs.
Edbert
Well-Known Member
- Joined
- May 16, 2024
- Messages
- 3,117
I like the ribbing.
Thanks, but my screwup with the extra dark really lowered the effect I had tried for.That's looking real good! Nice airbrush work on the ribs.
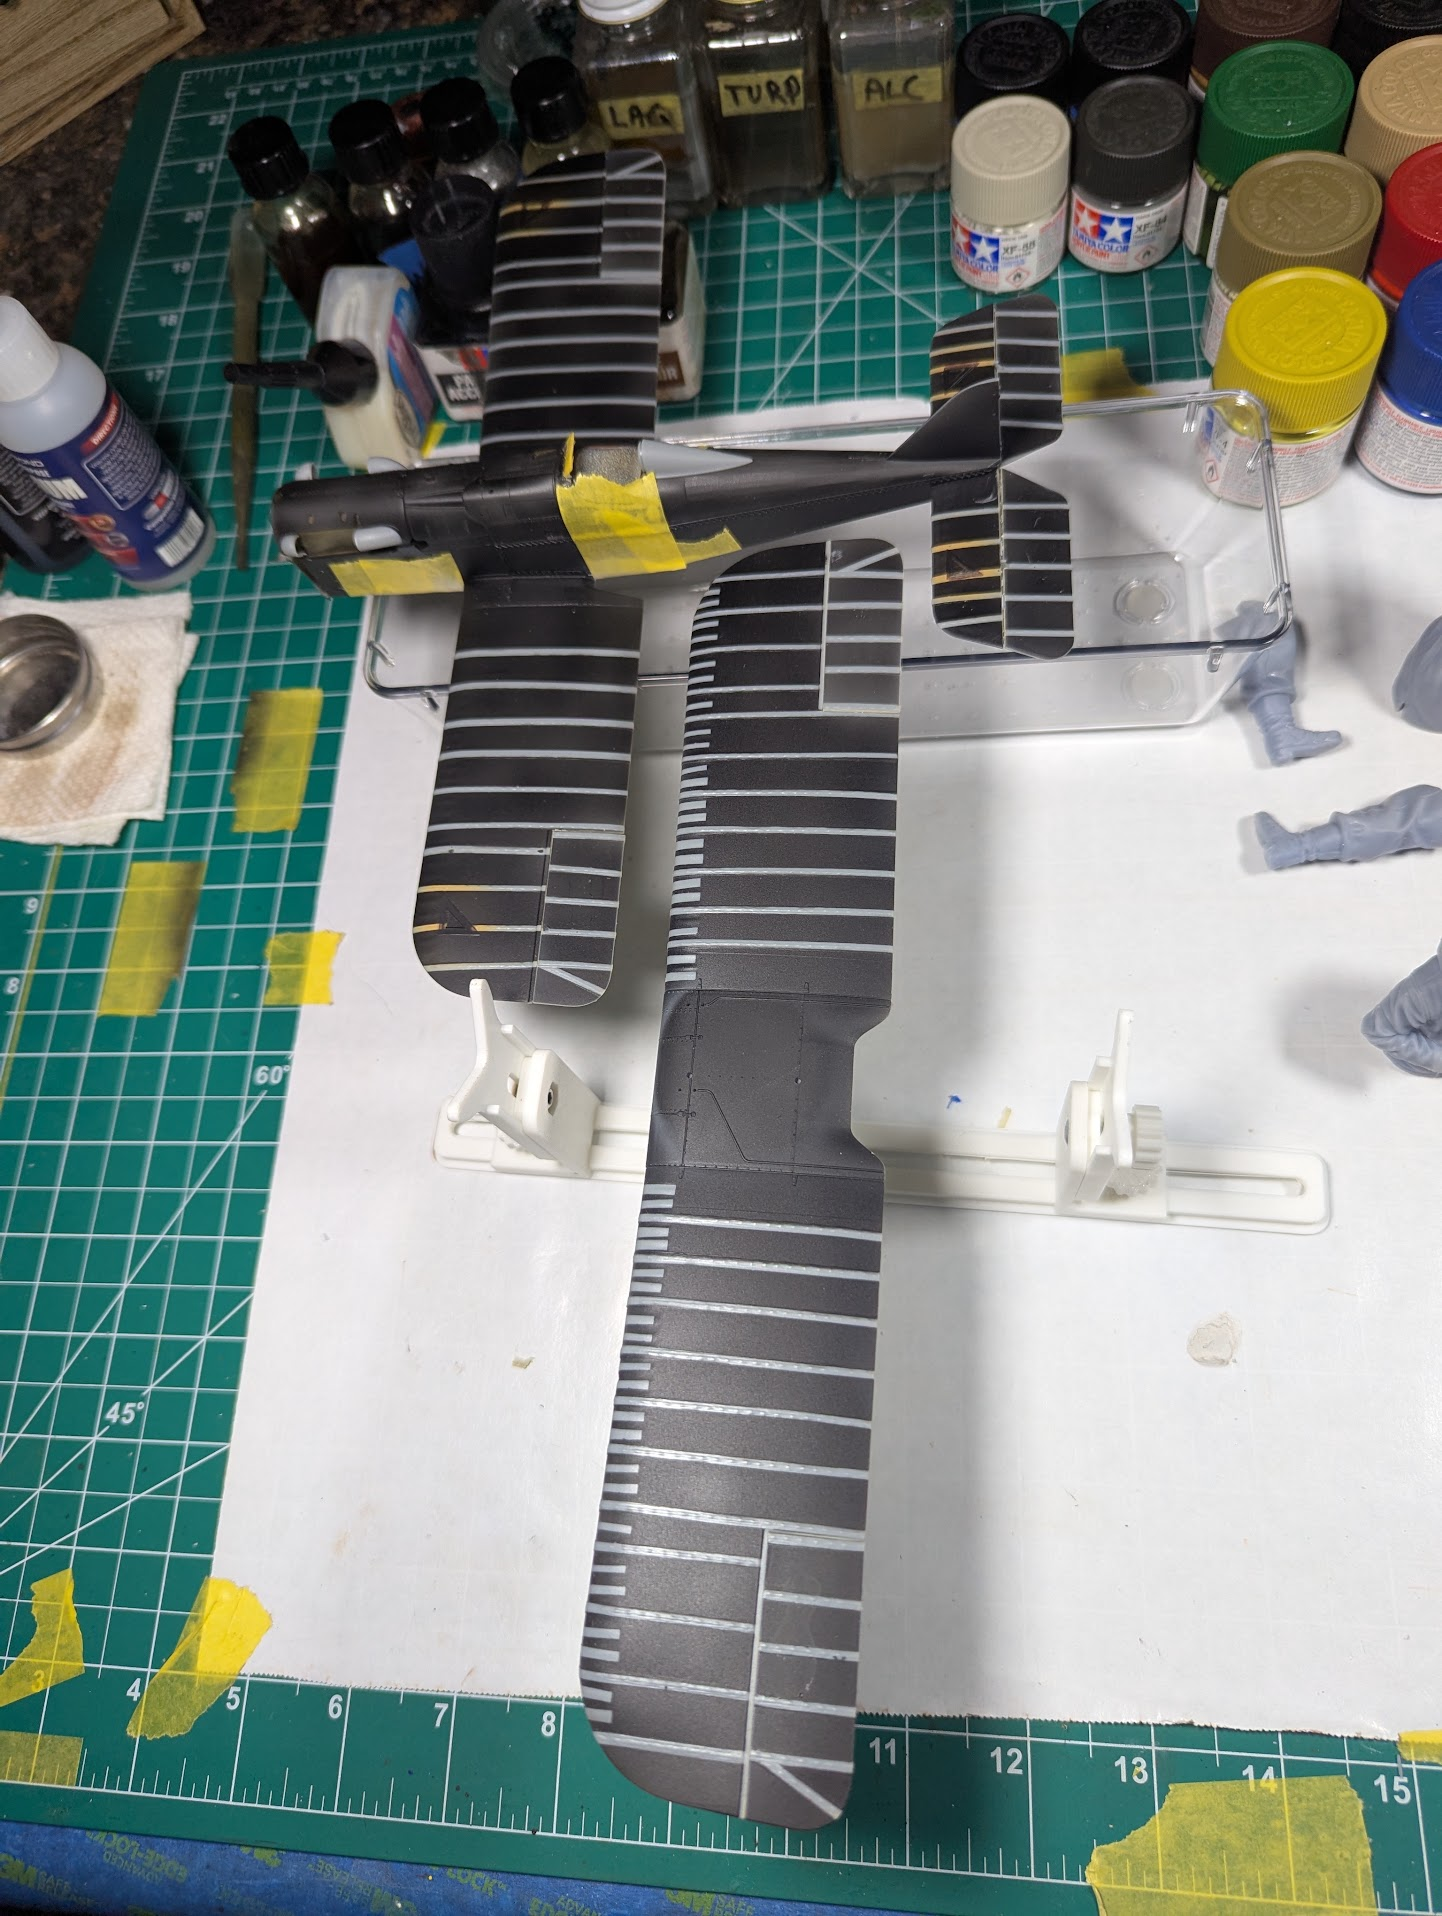
We're are own worst critics. The effect is easy to spot.Thanks, but my screwup with the extra dark really lowered the effect I had tried for.
View attachment 195938

Finally made some headway on my Fokker F1.
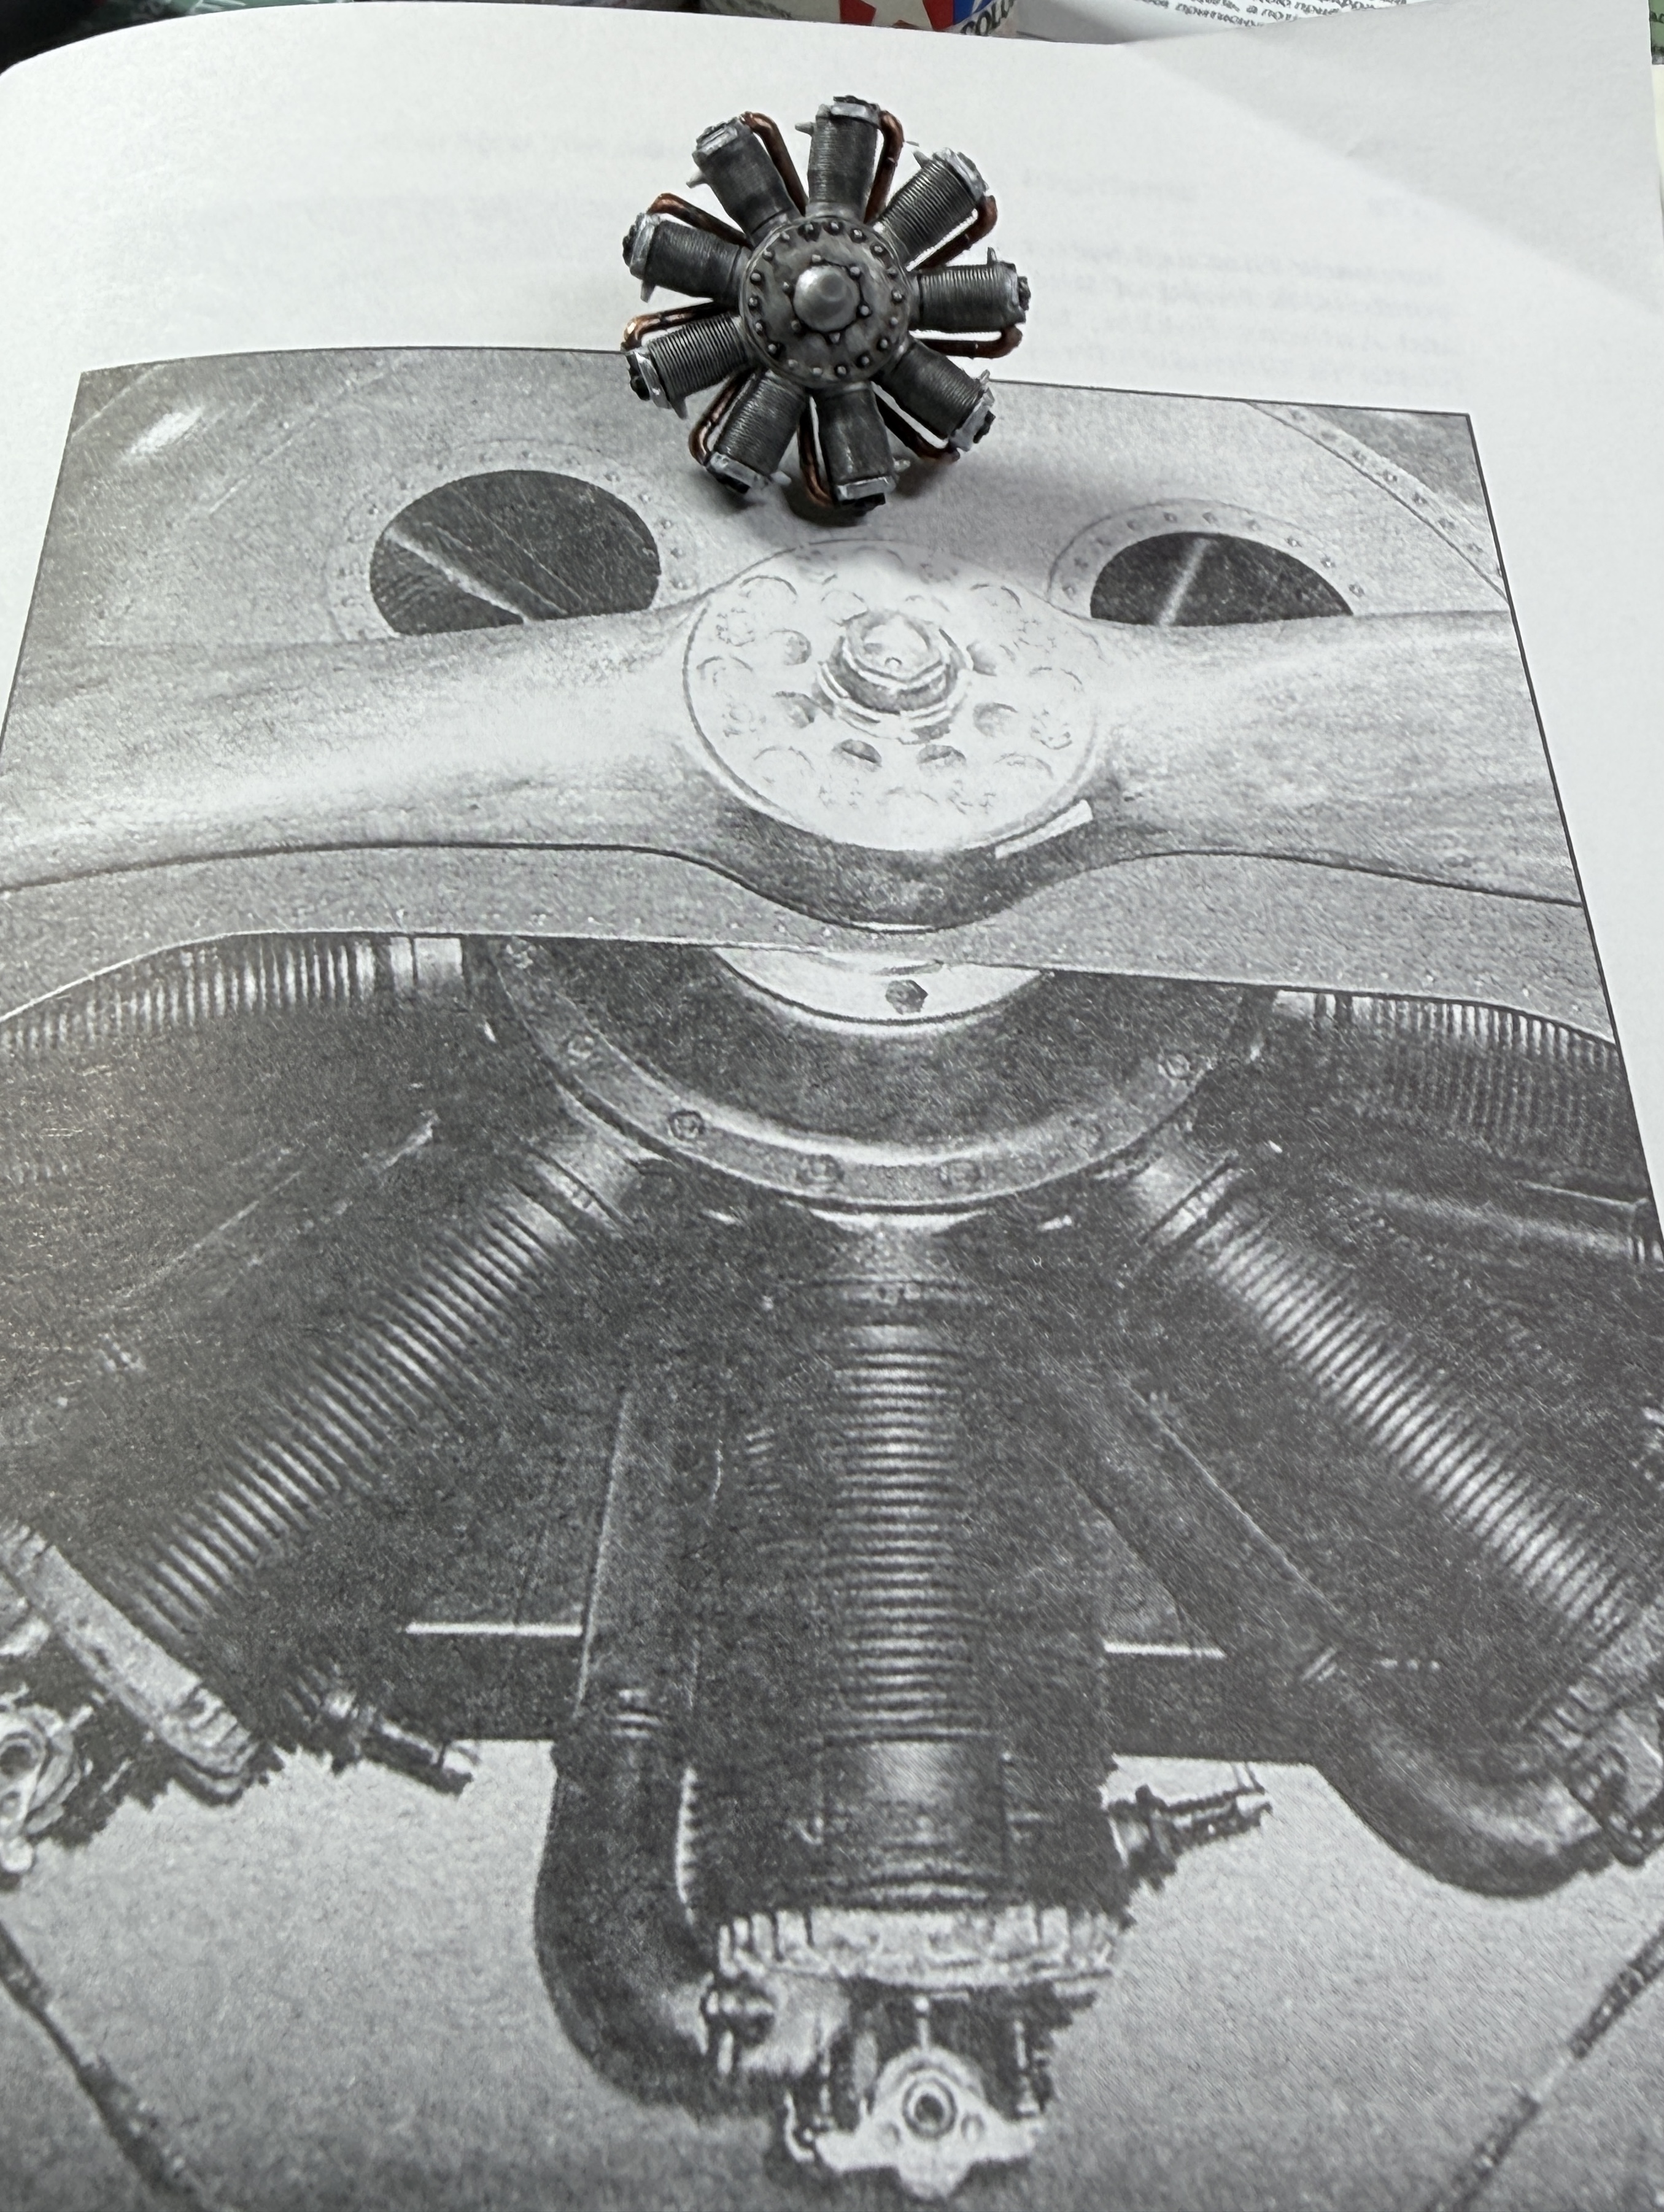 Not too shabby BUT Voss's F1 had a captured LeRhône engine and the kit features an Oberusel. I suspect few will notice.
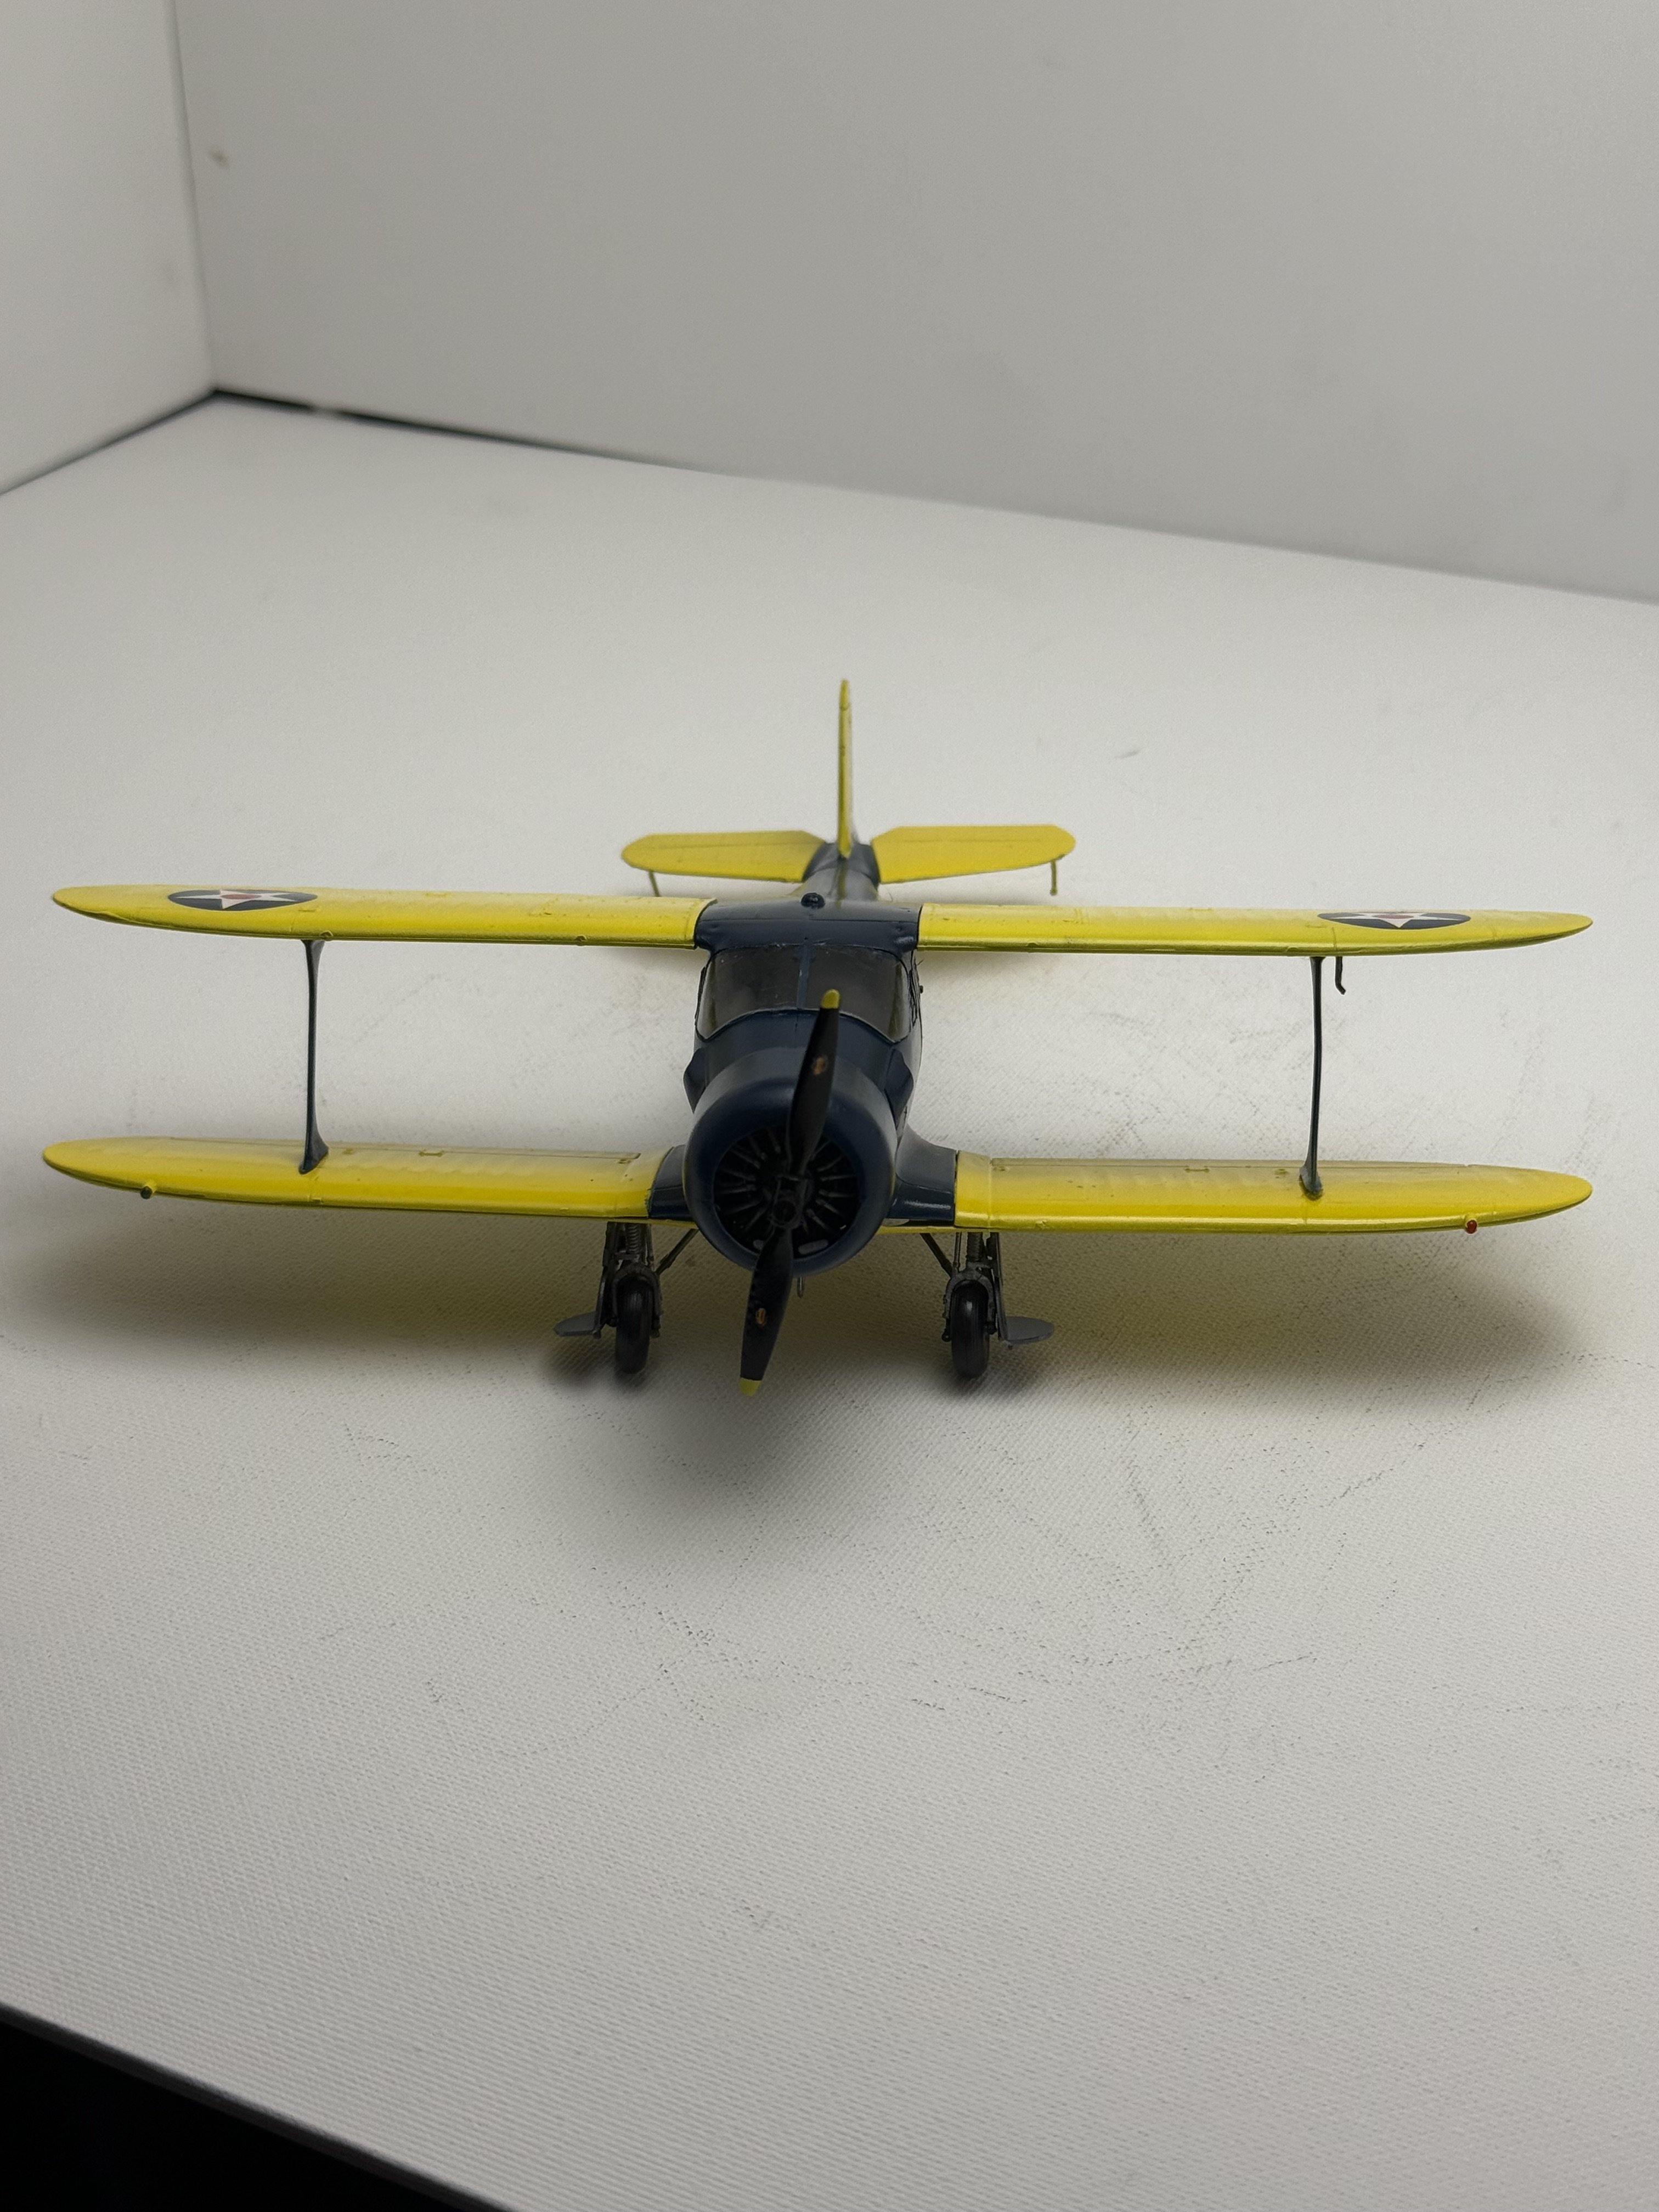
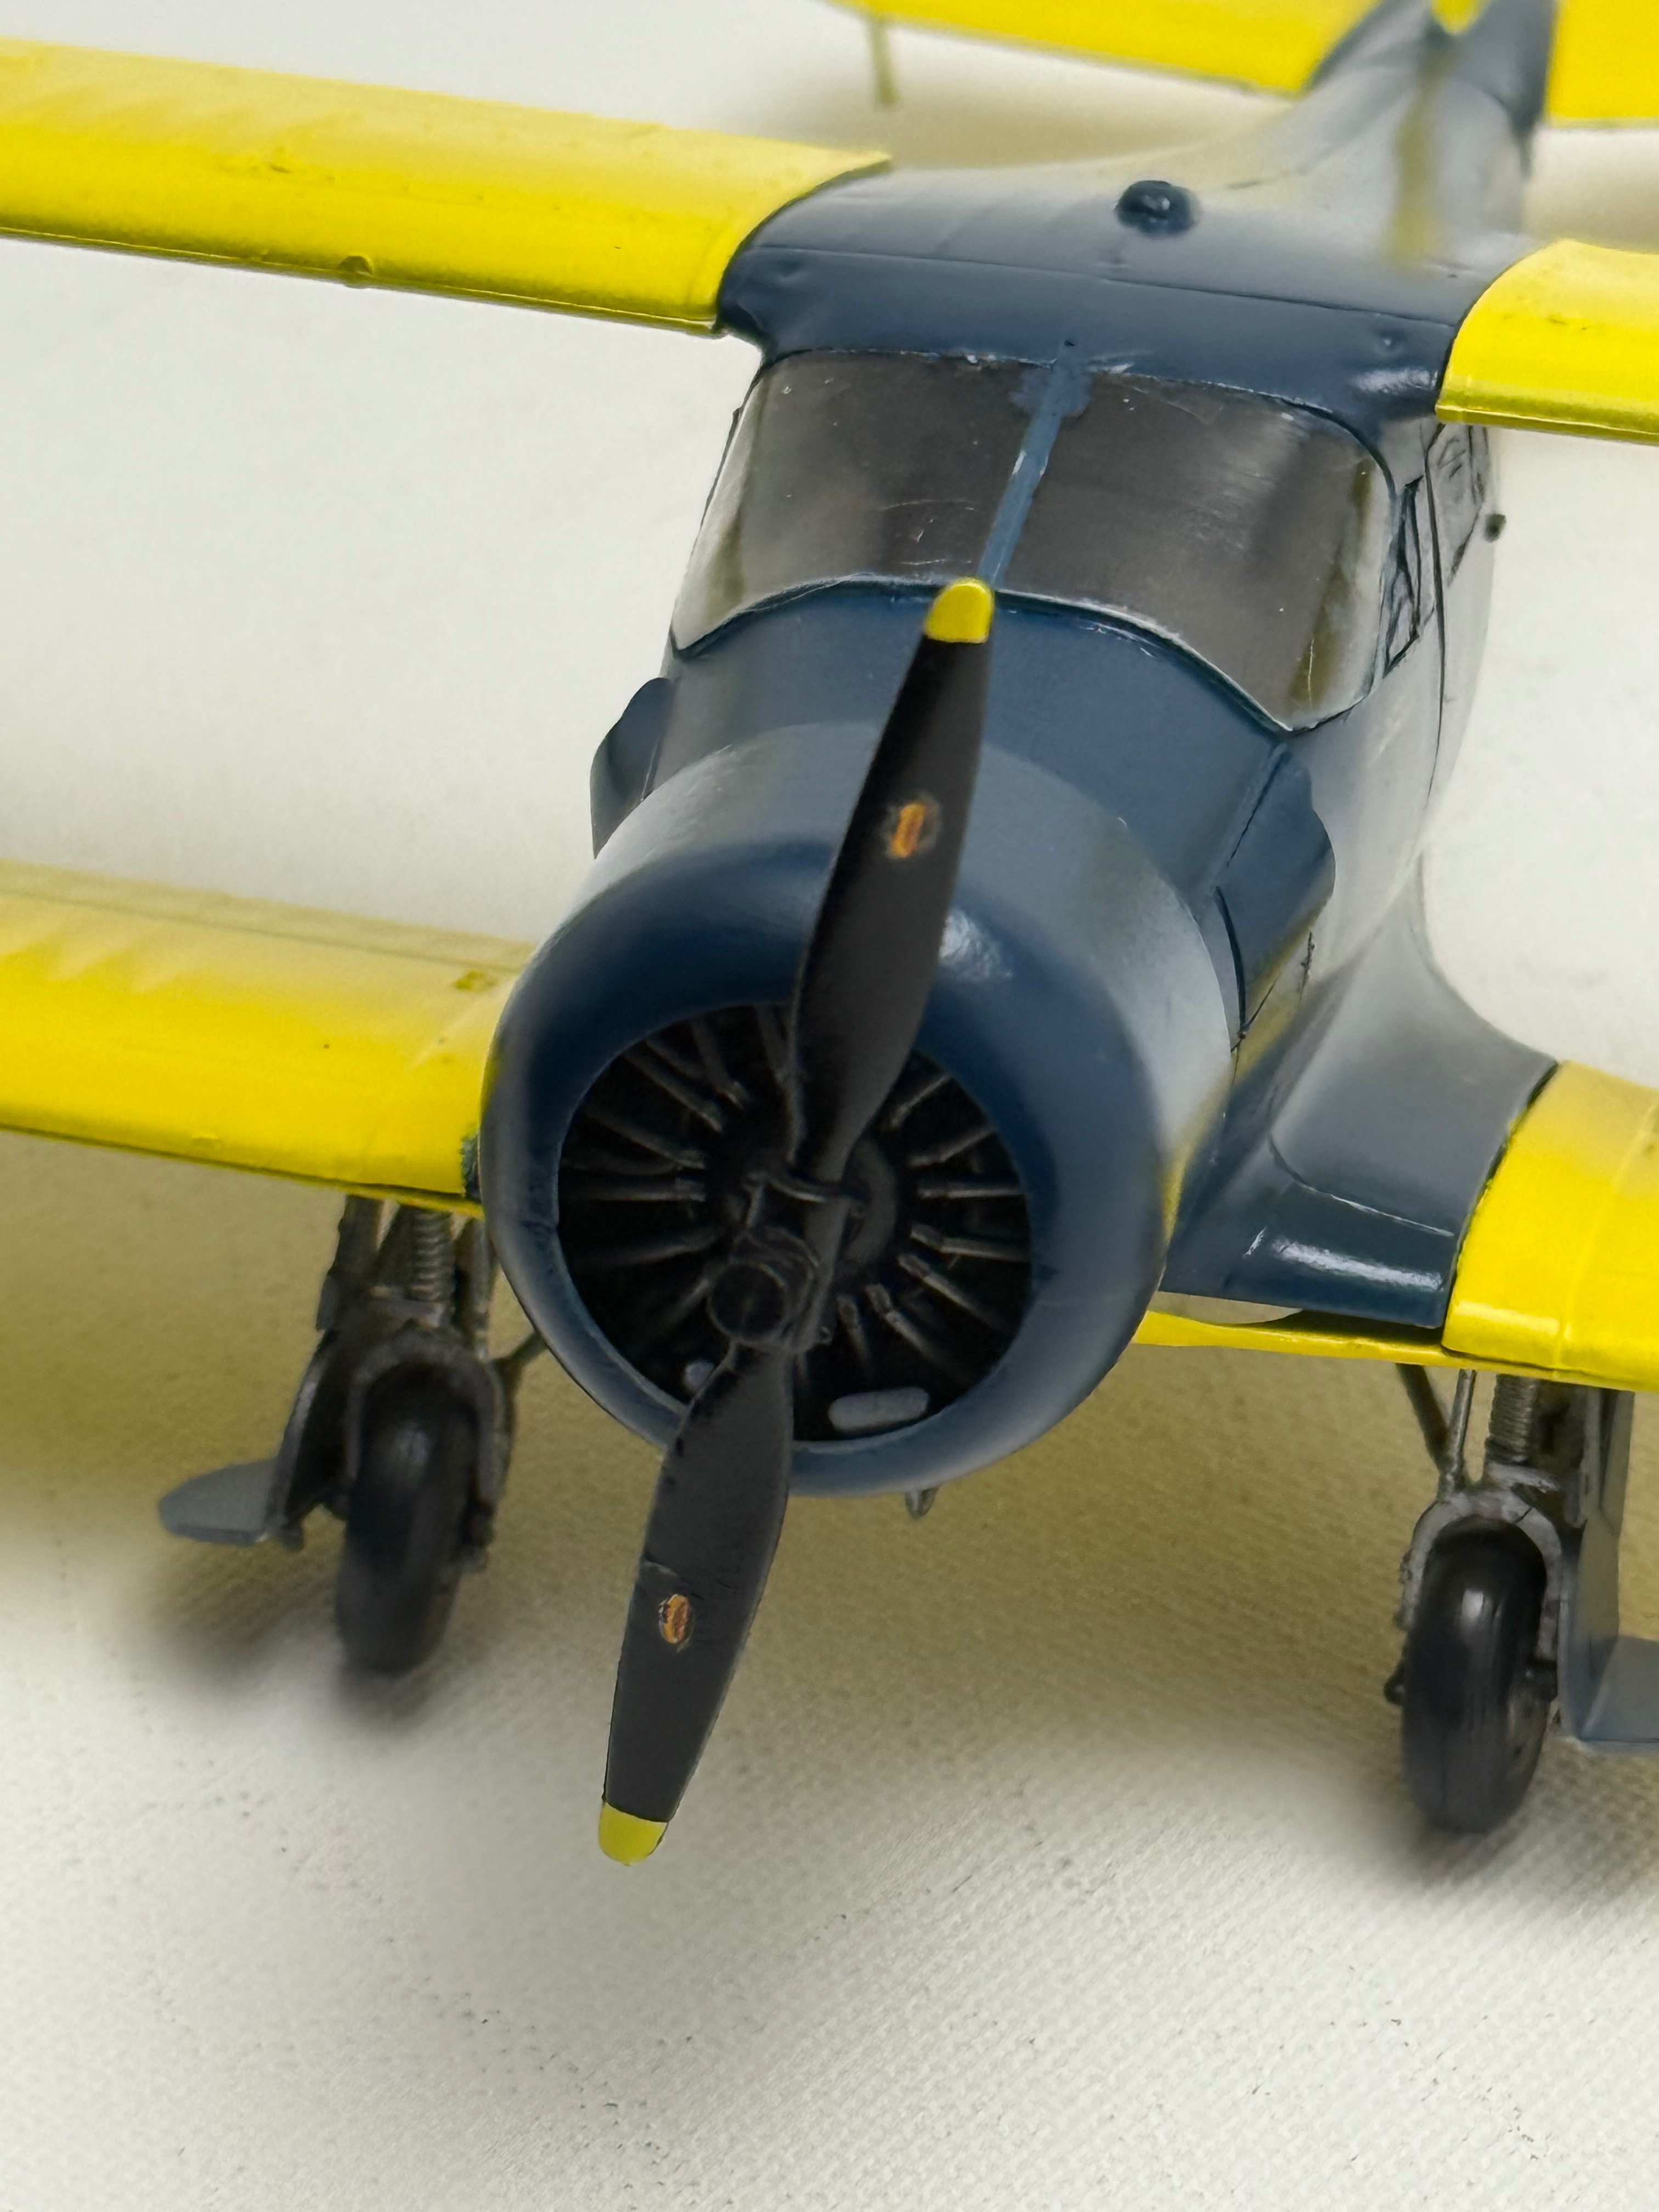
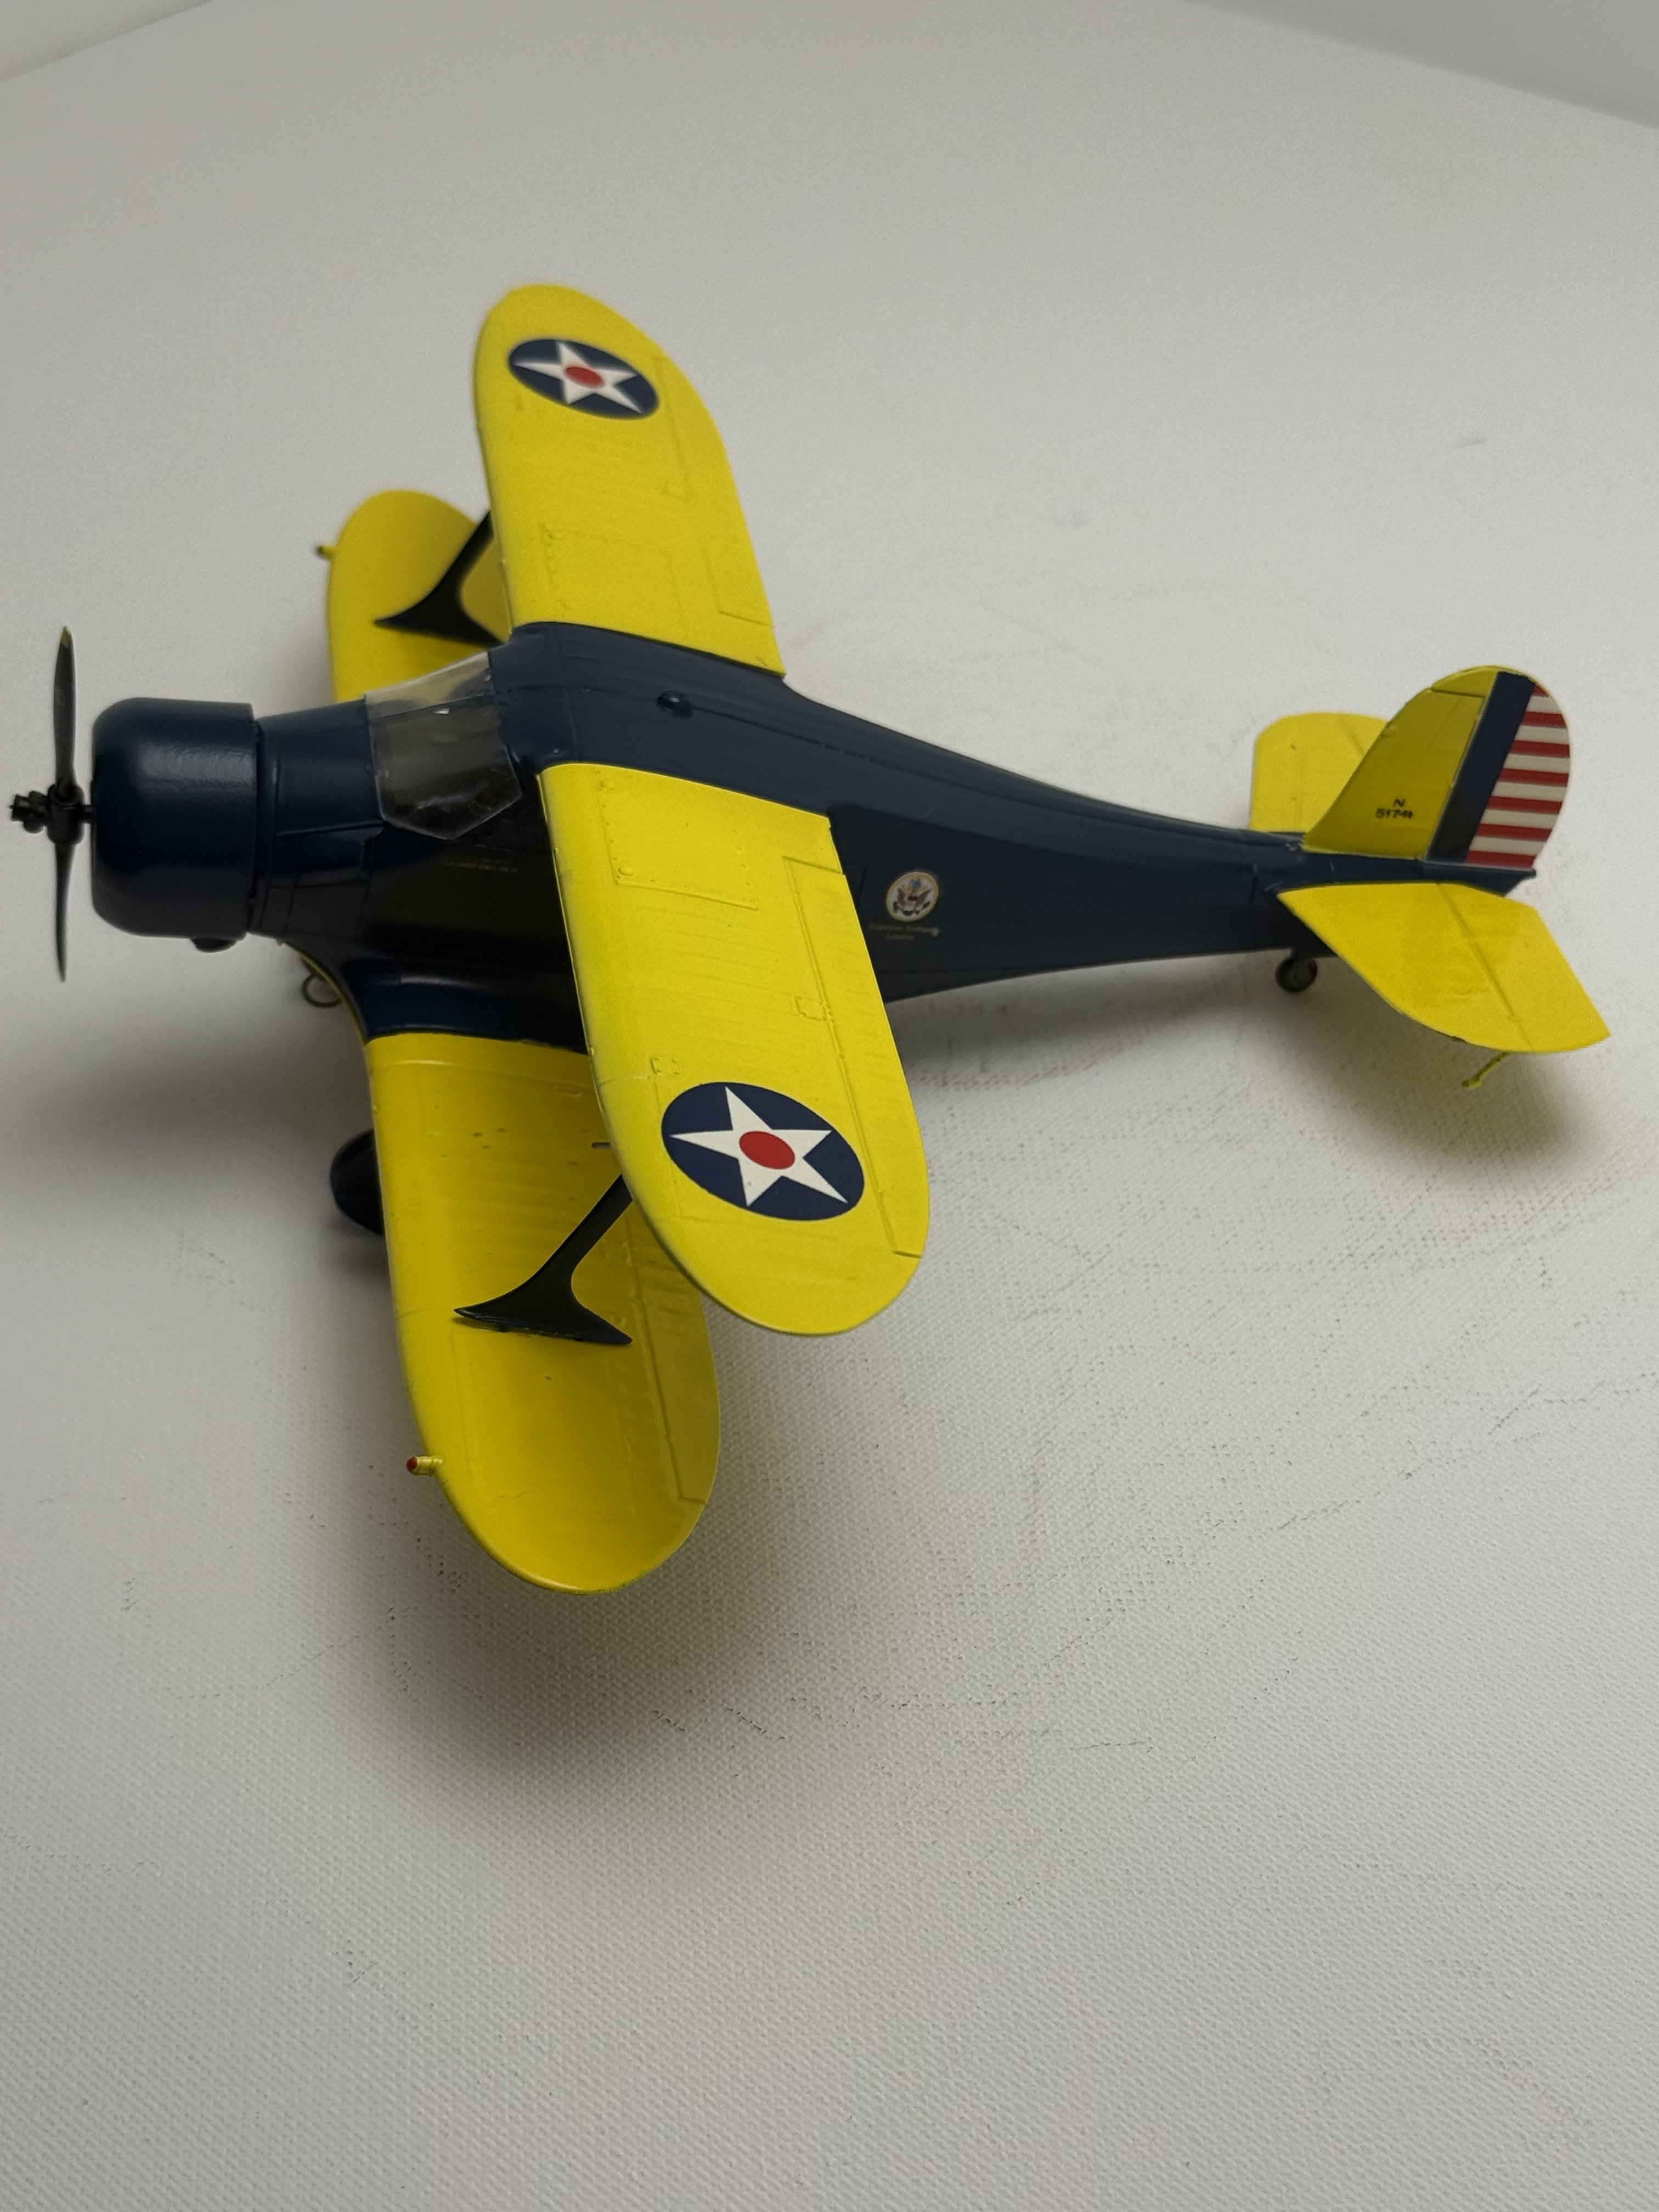
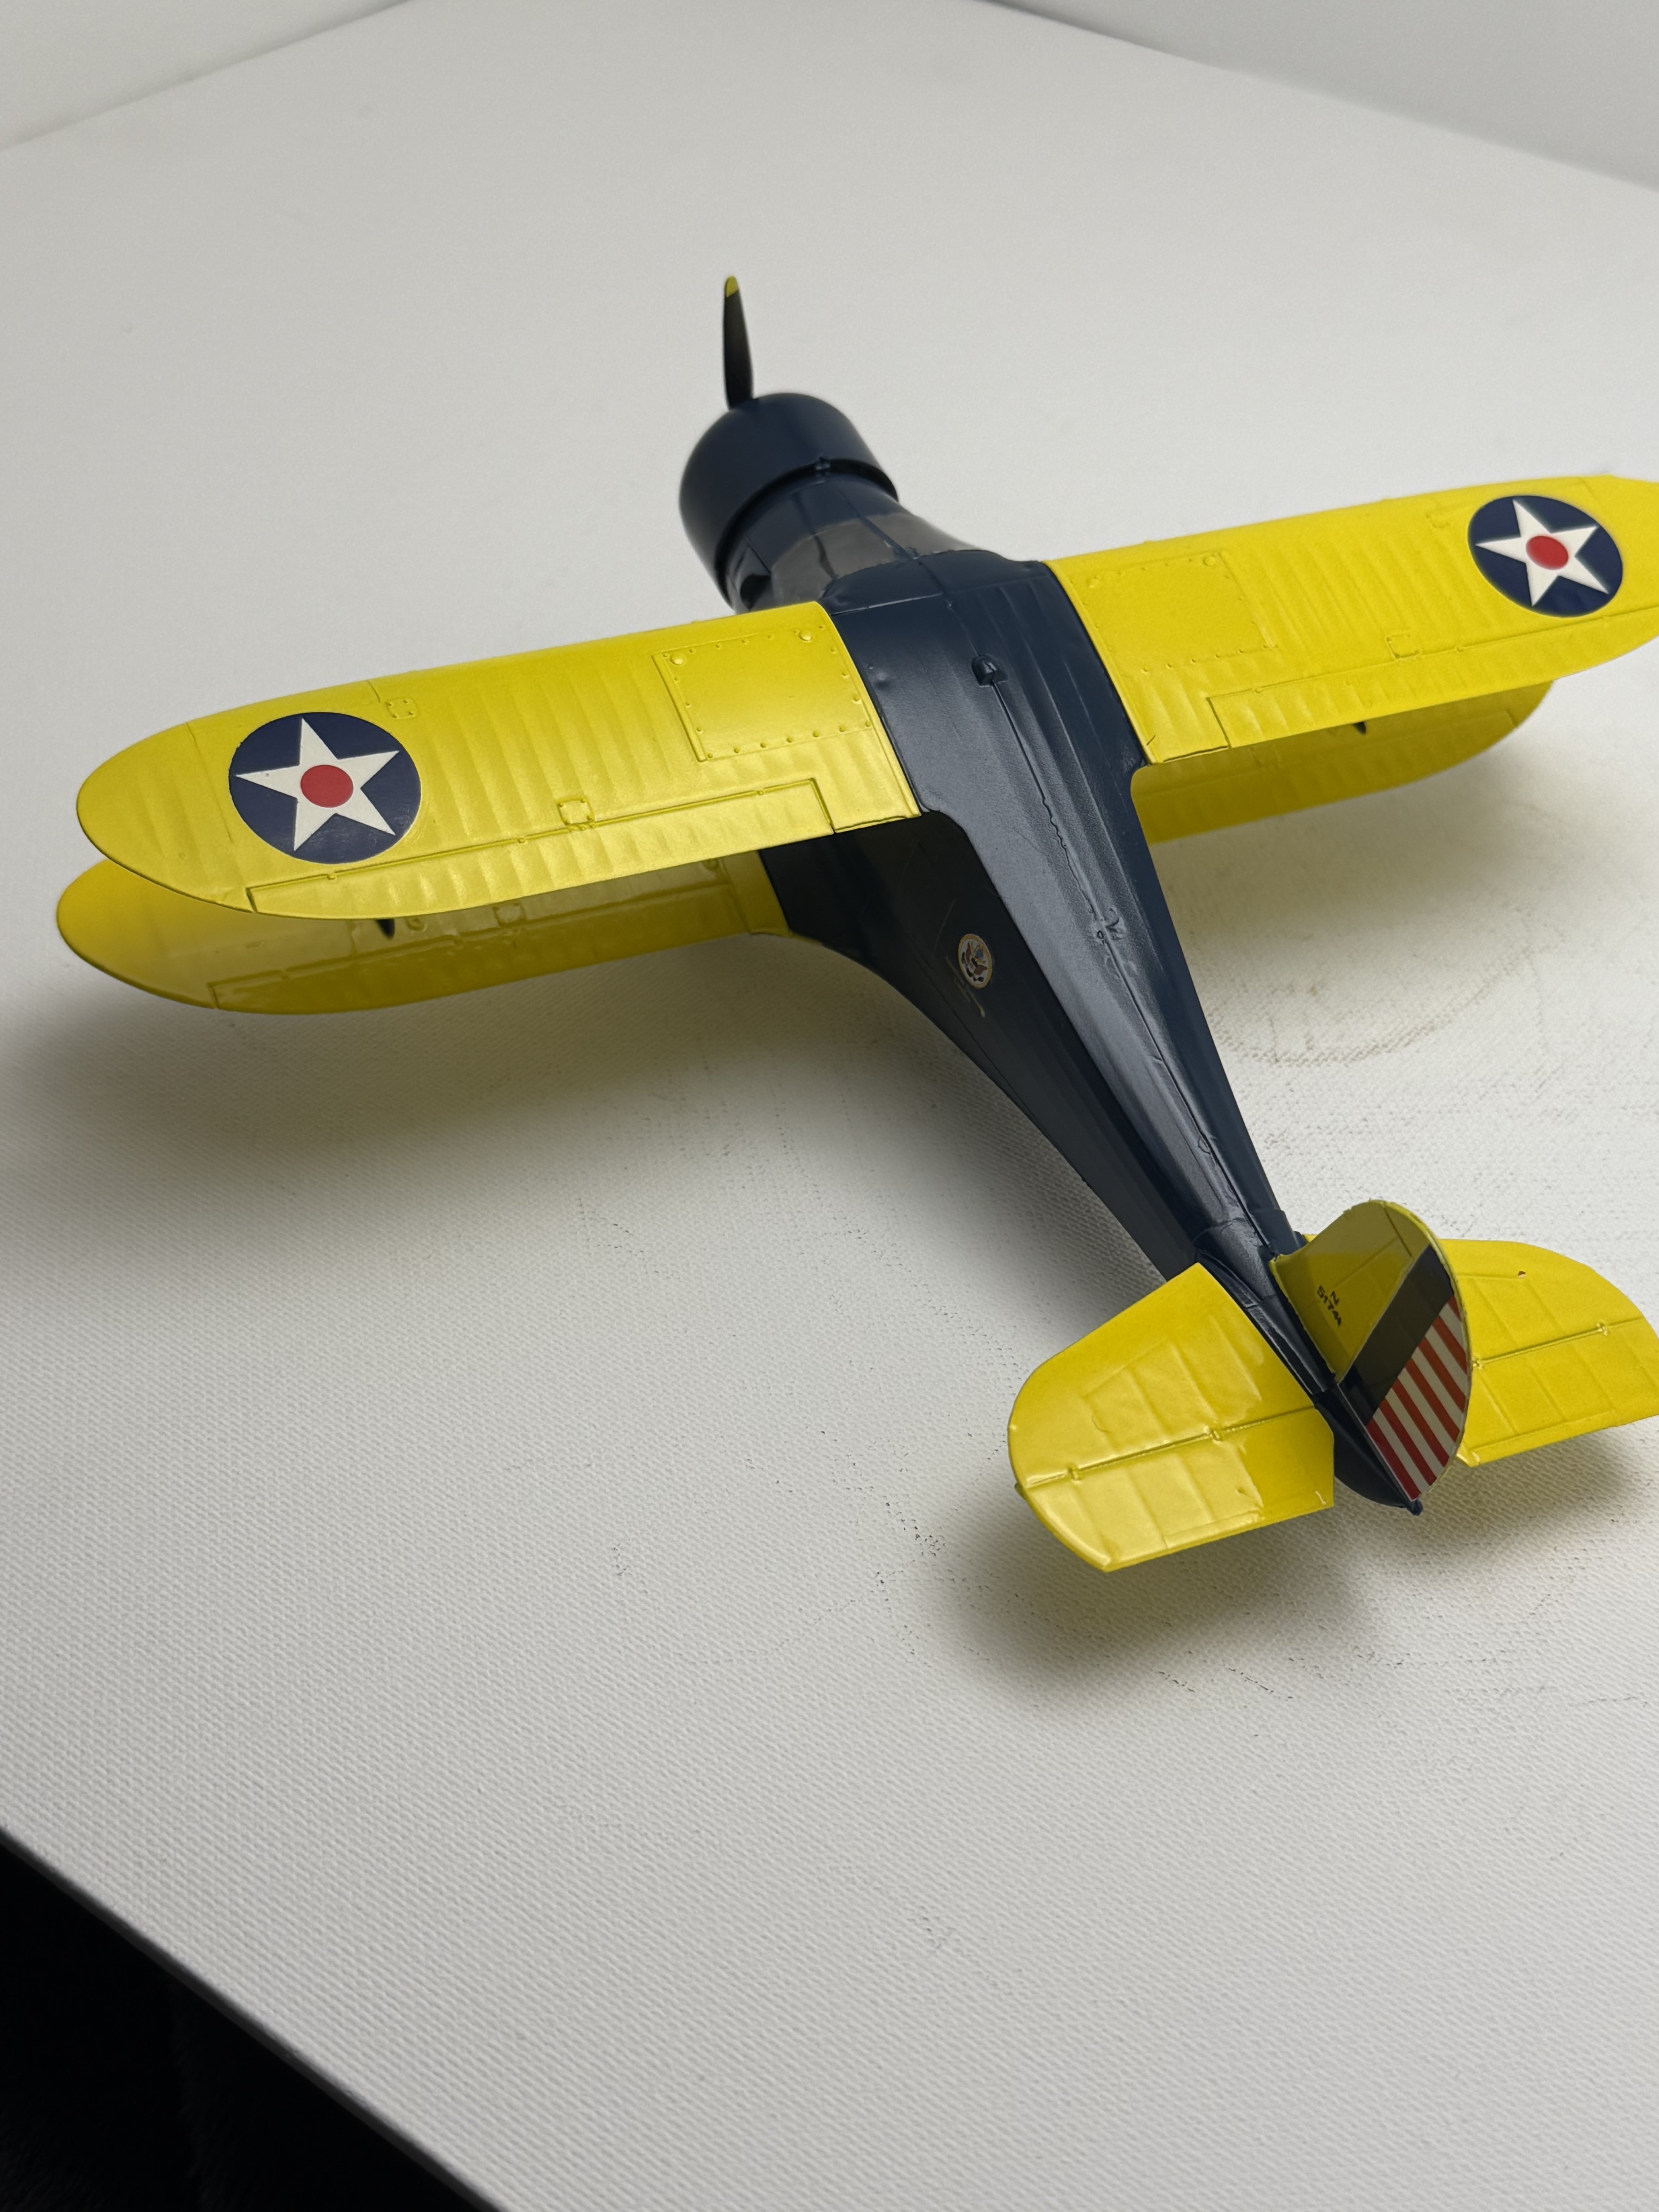
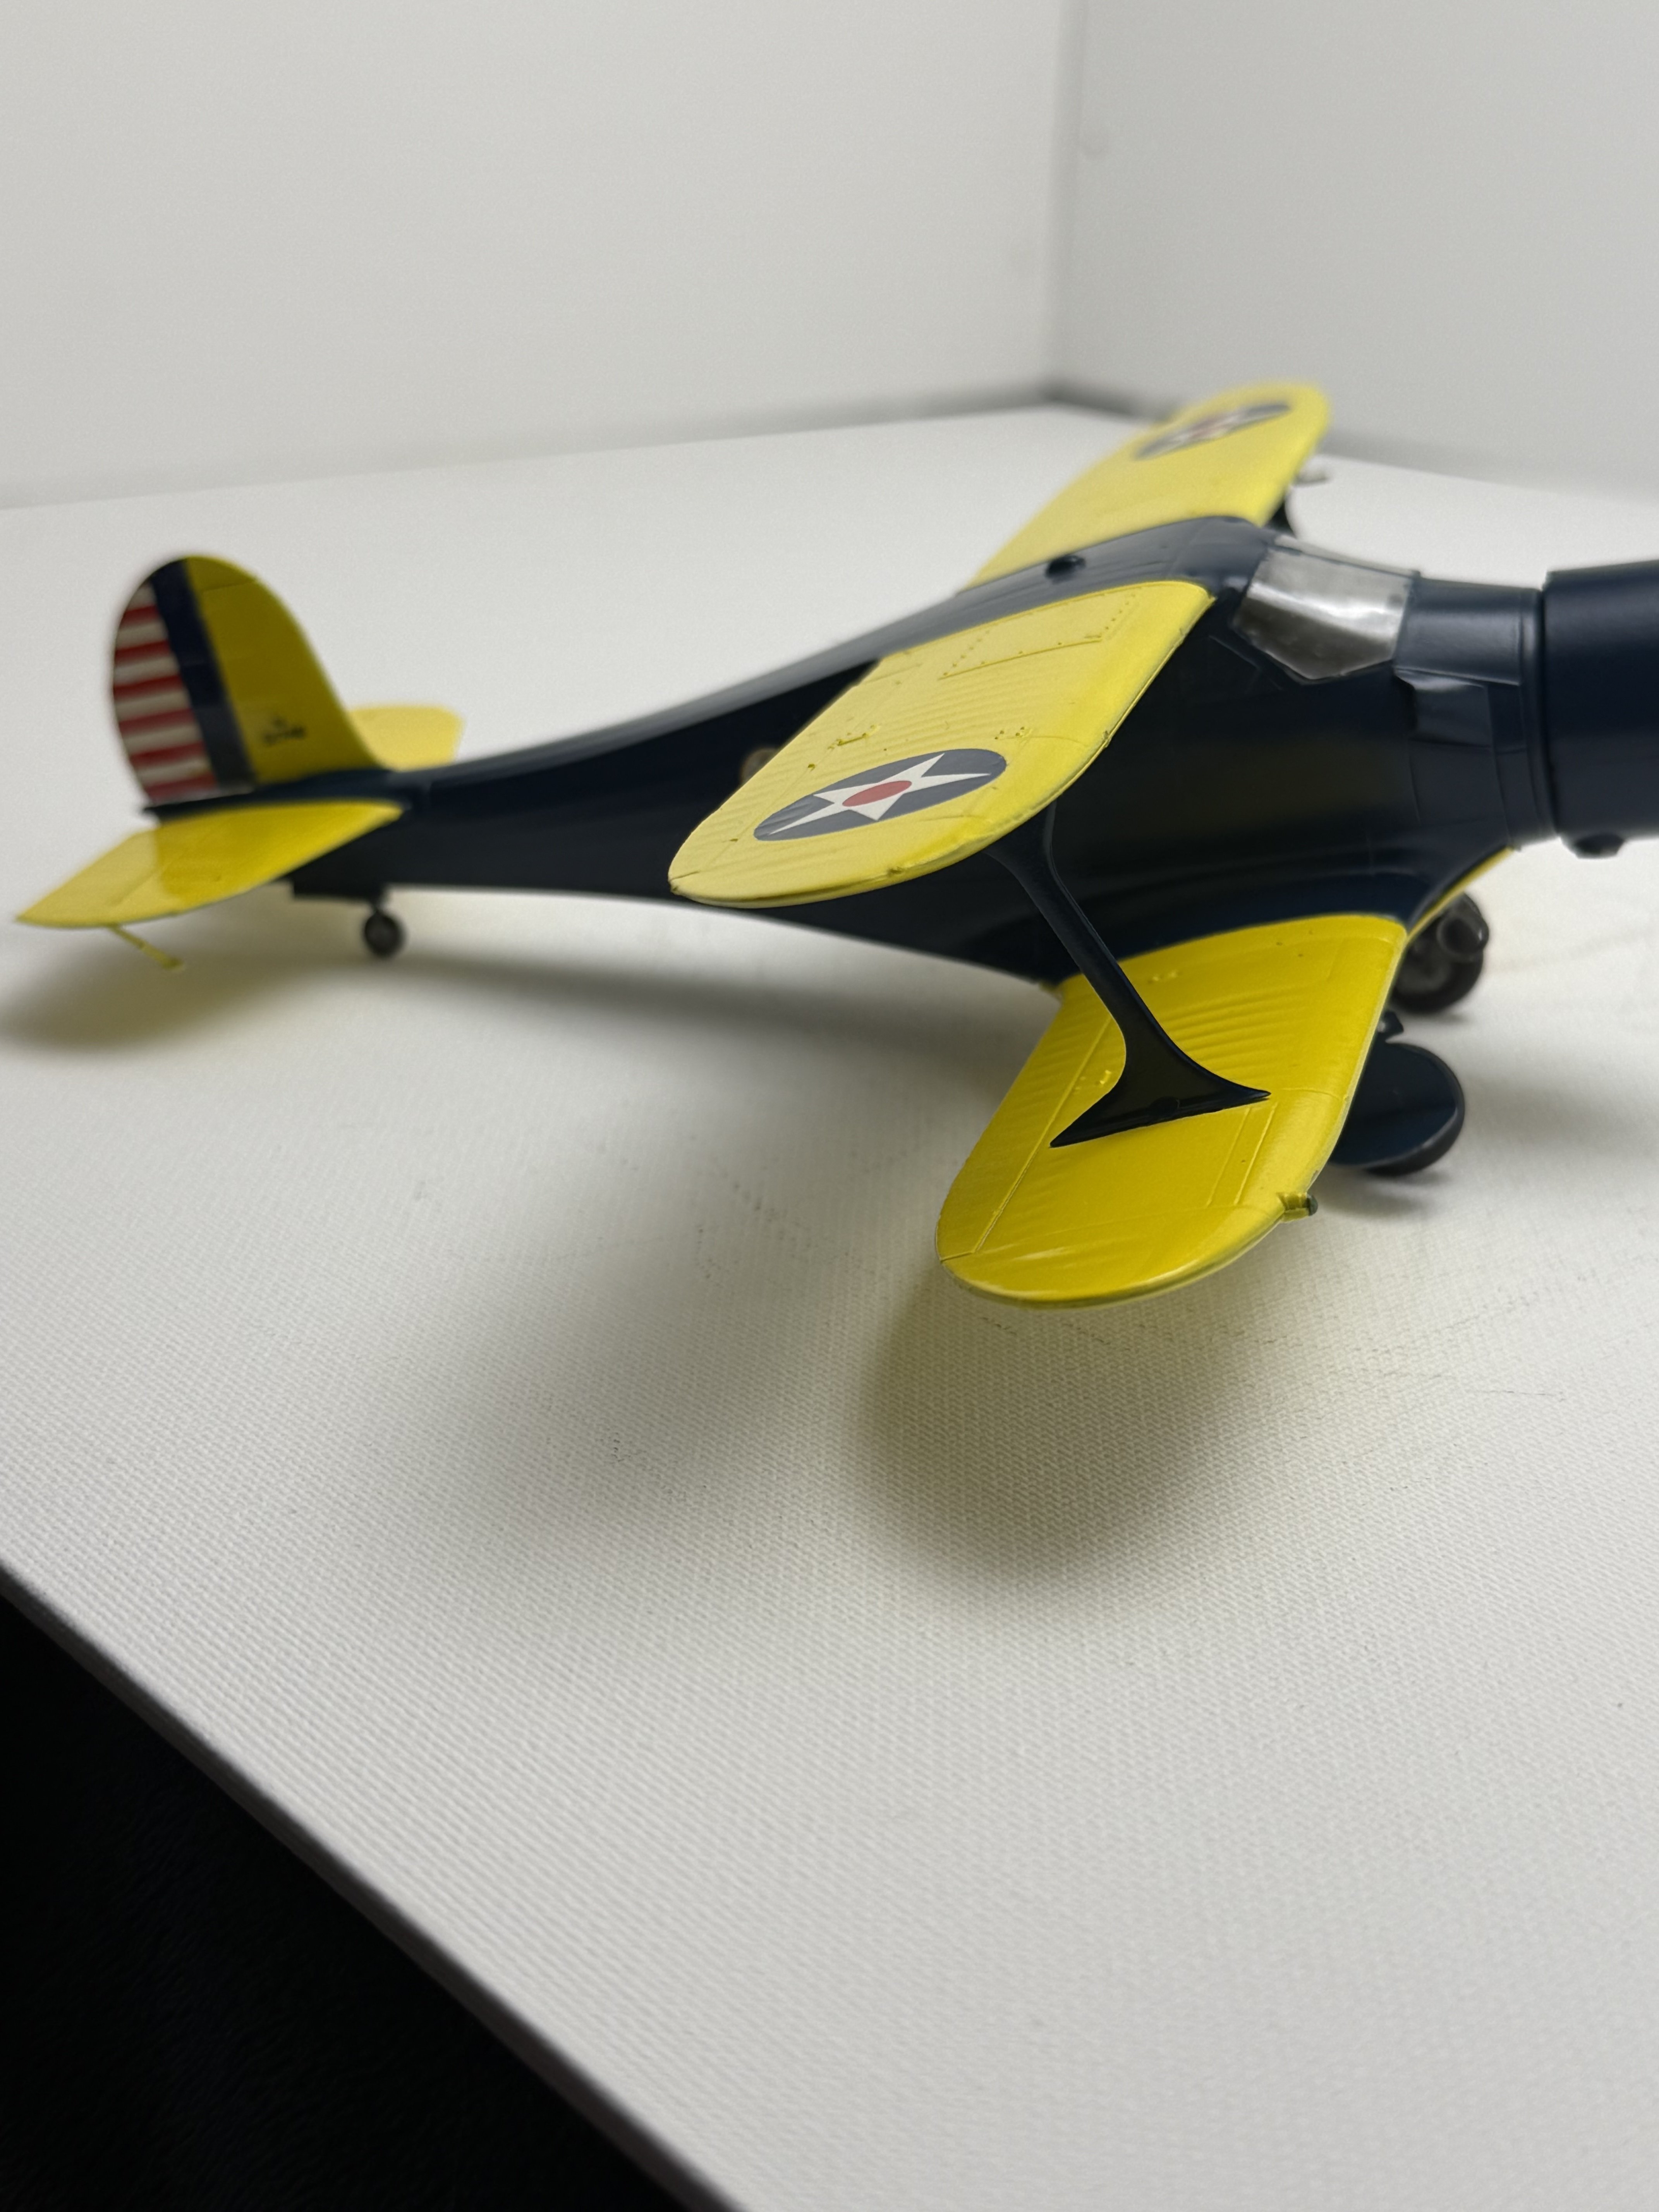
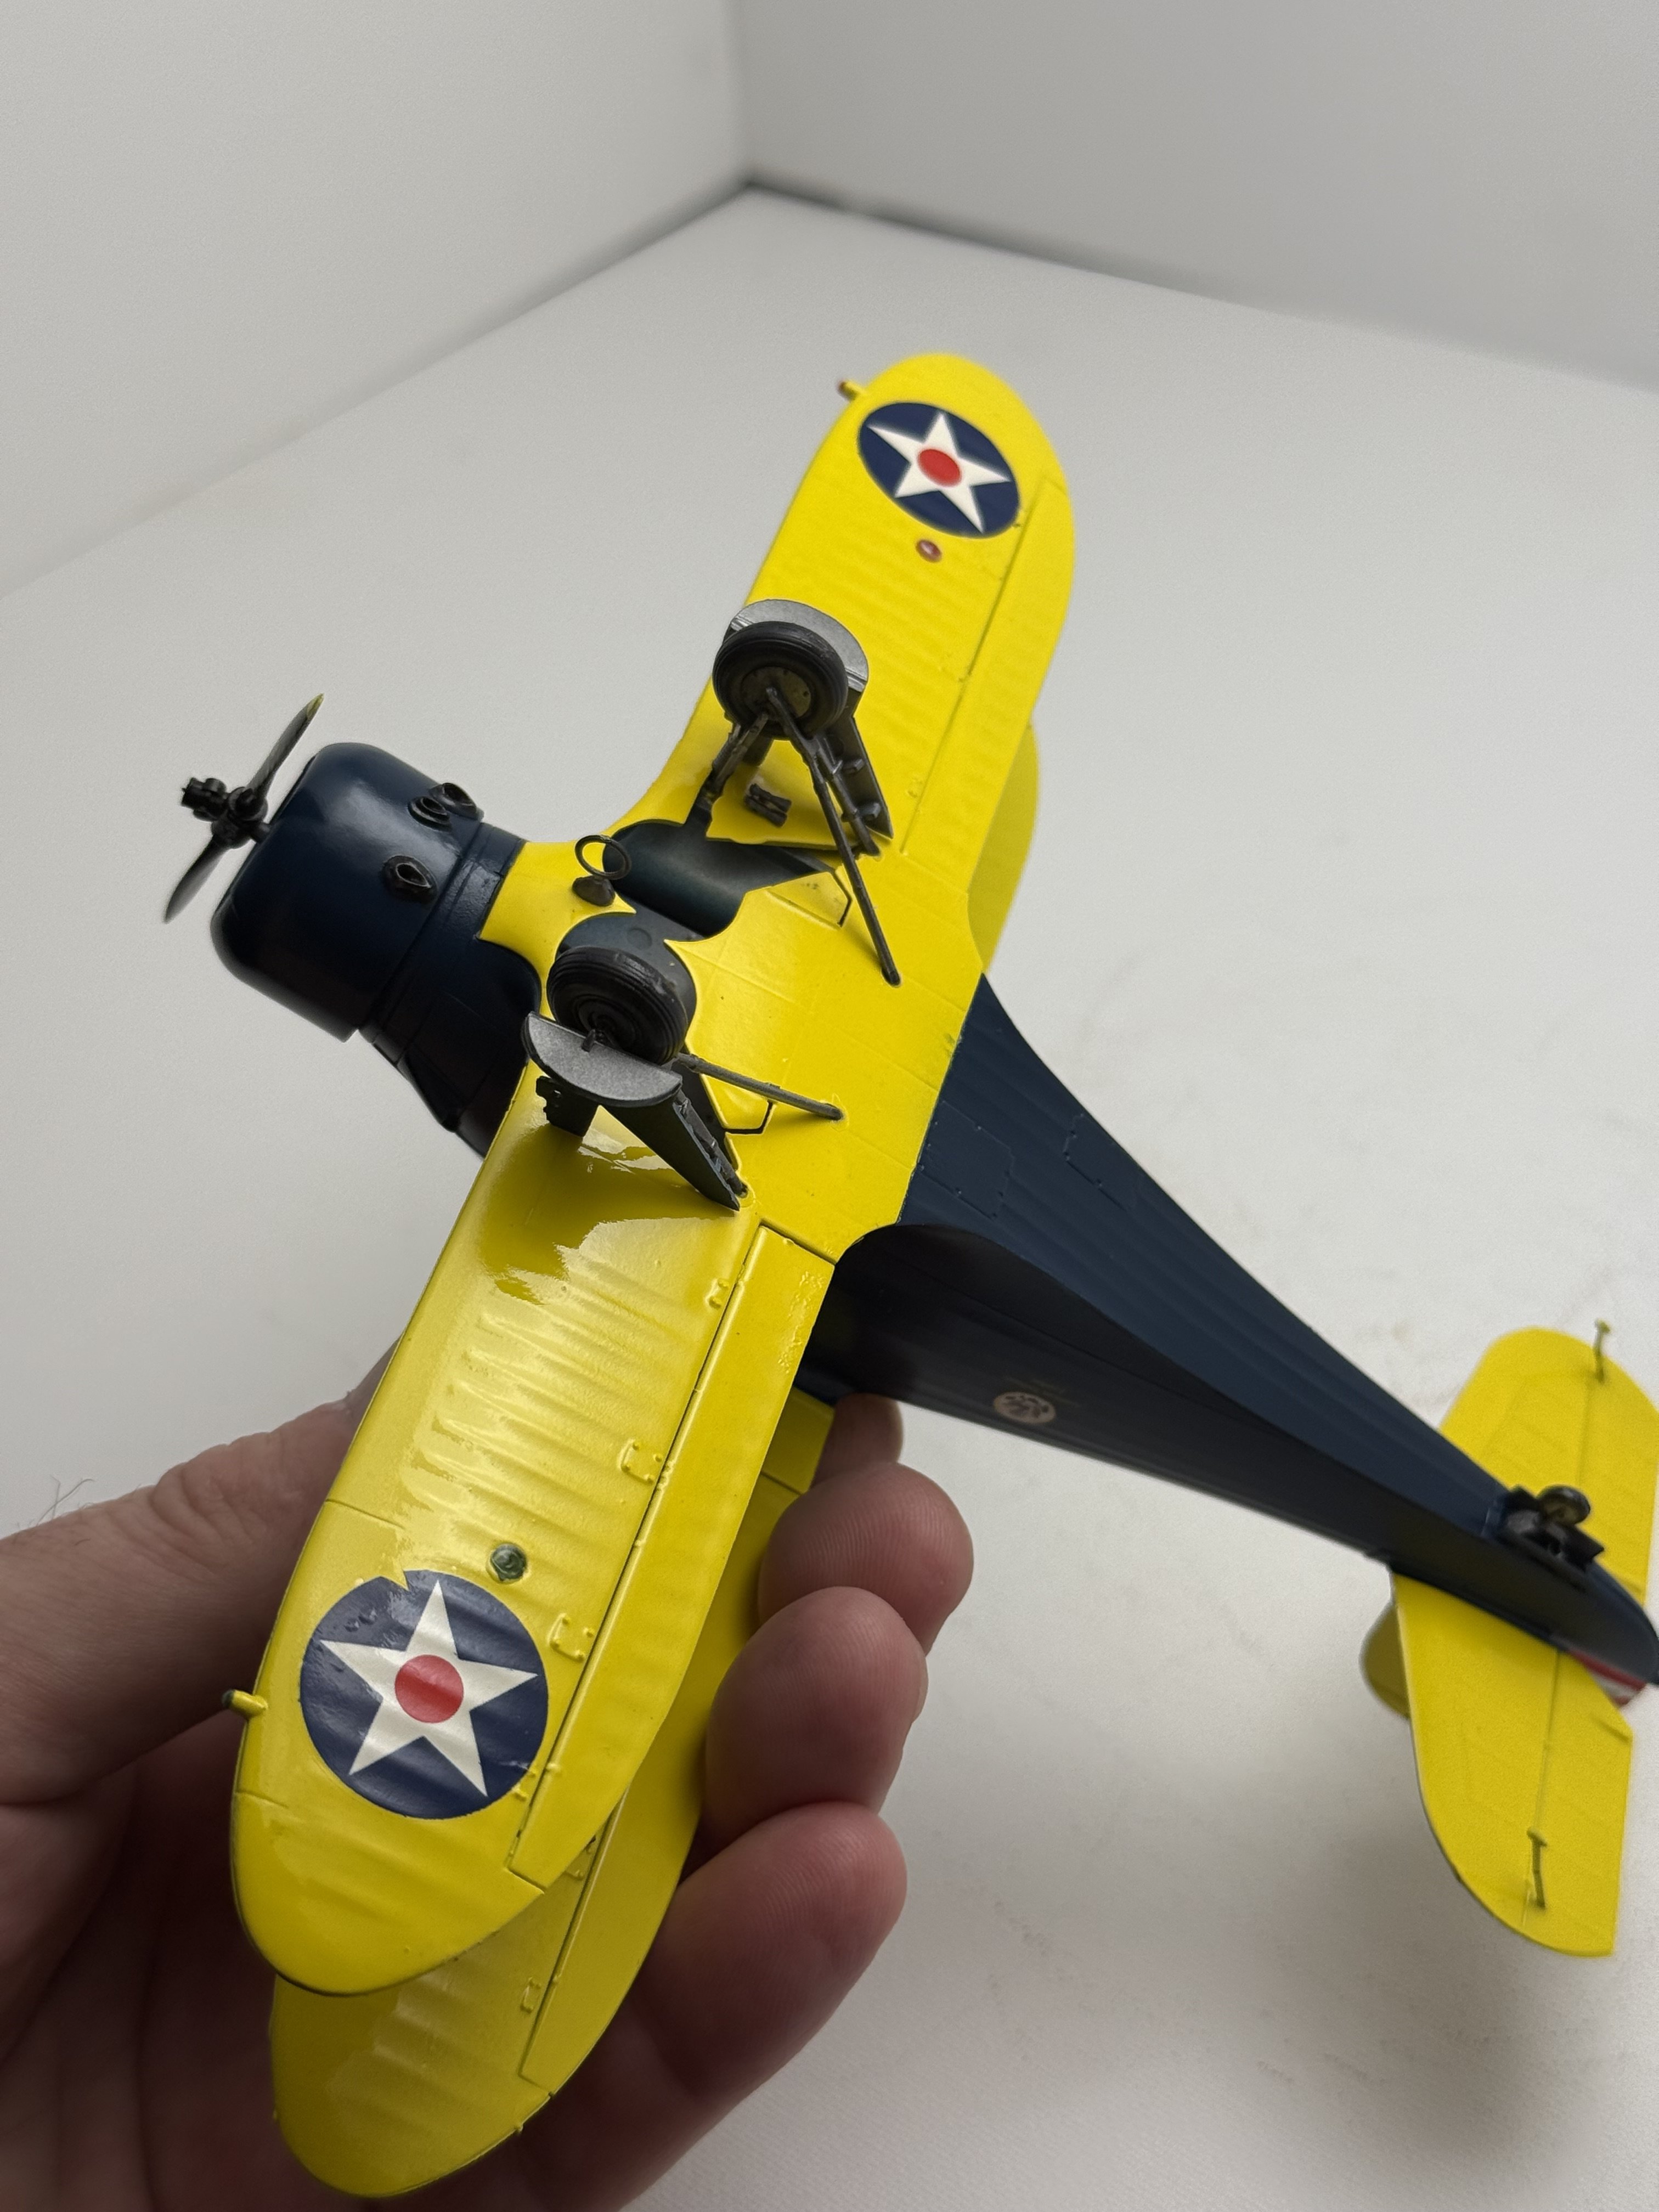
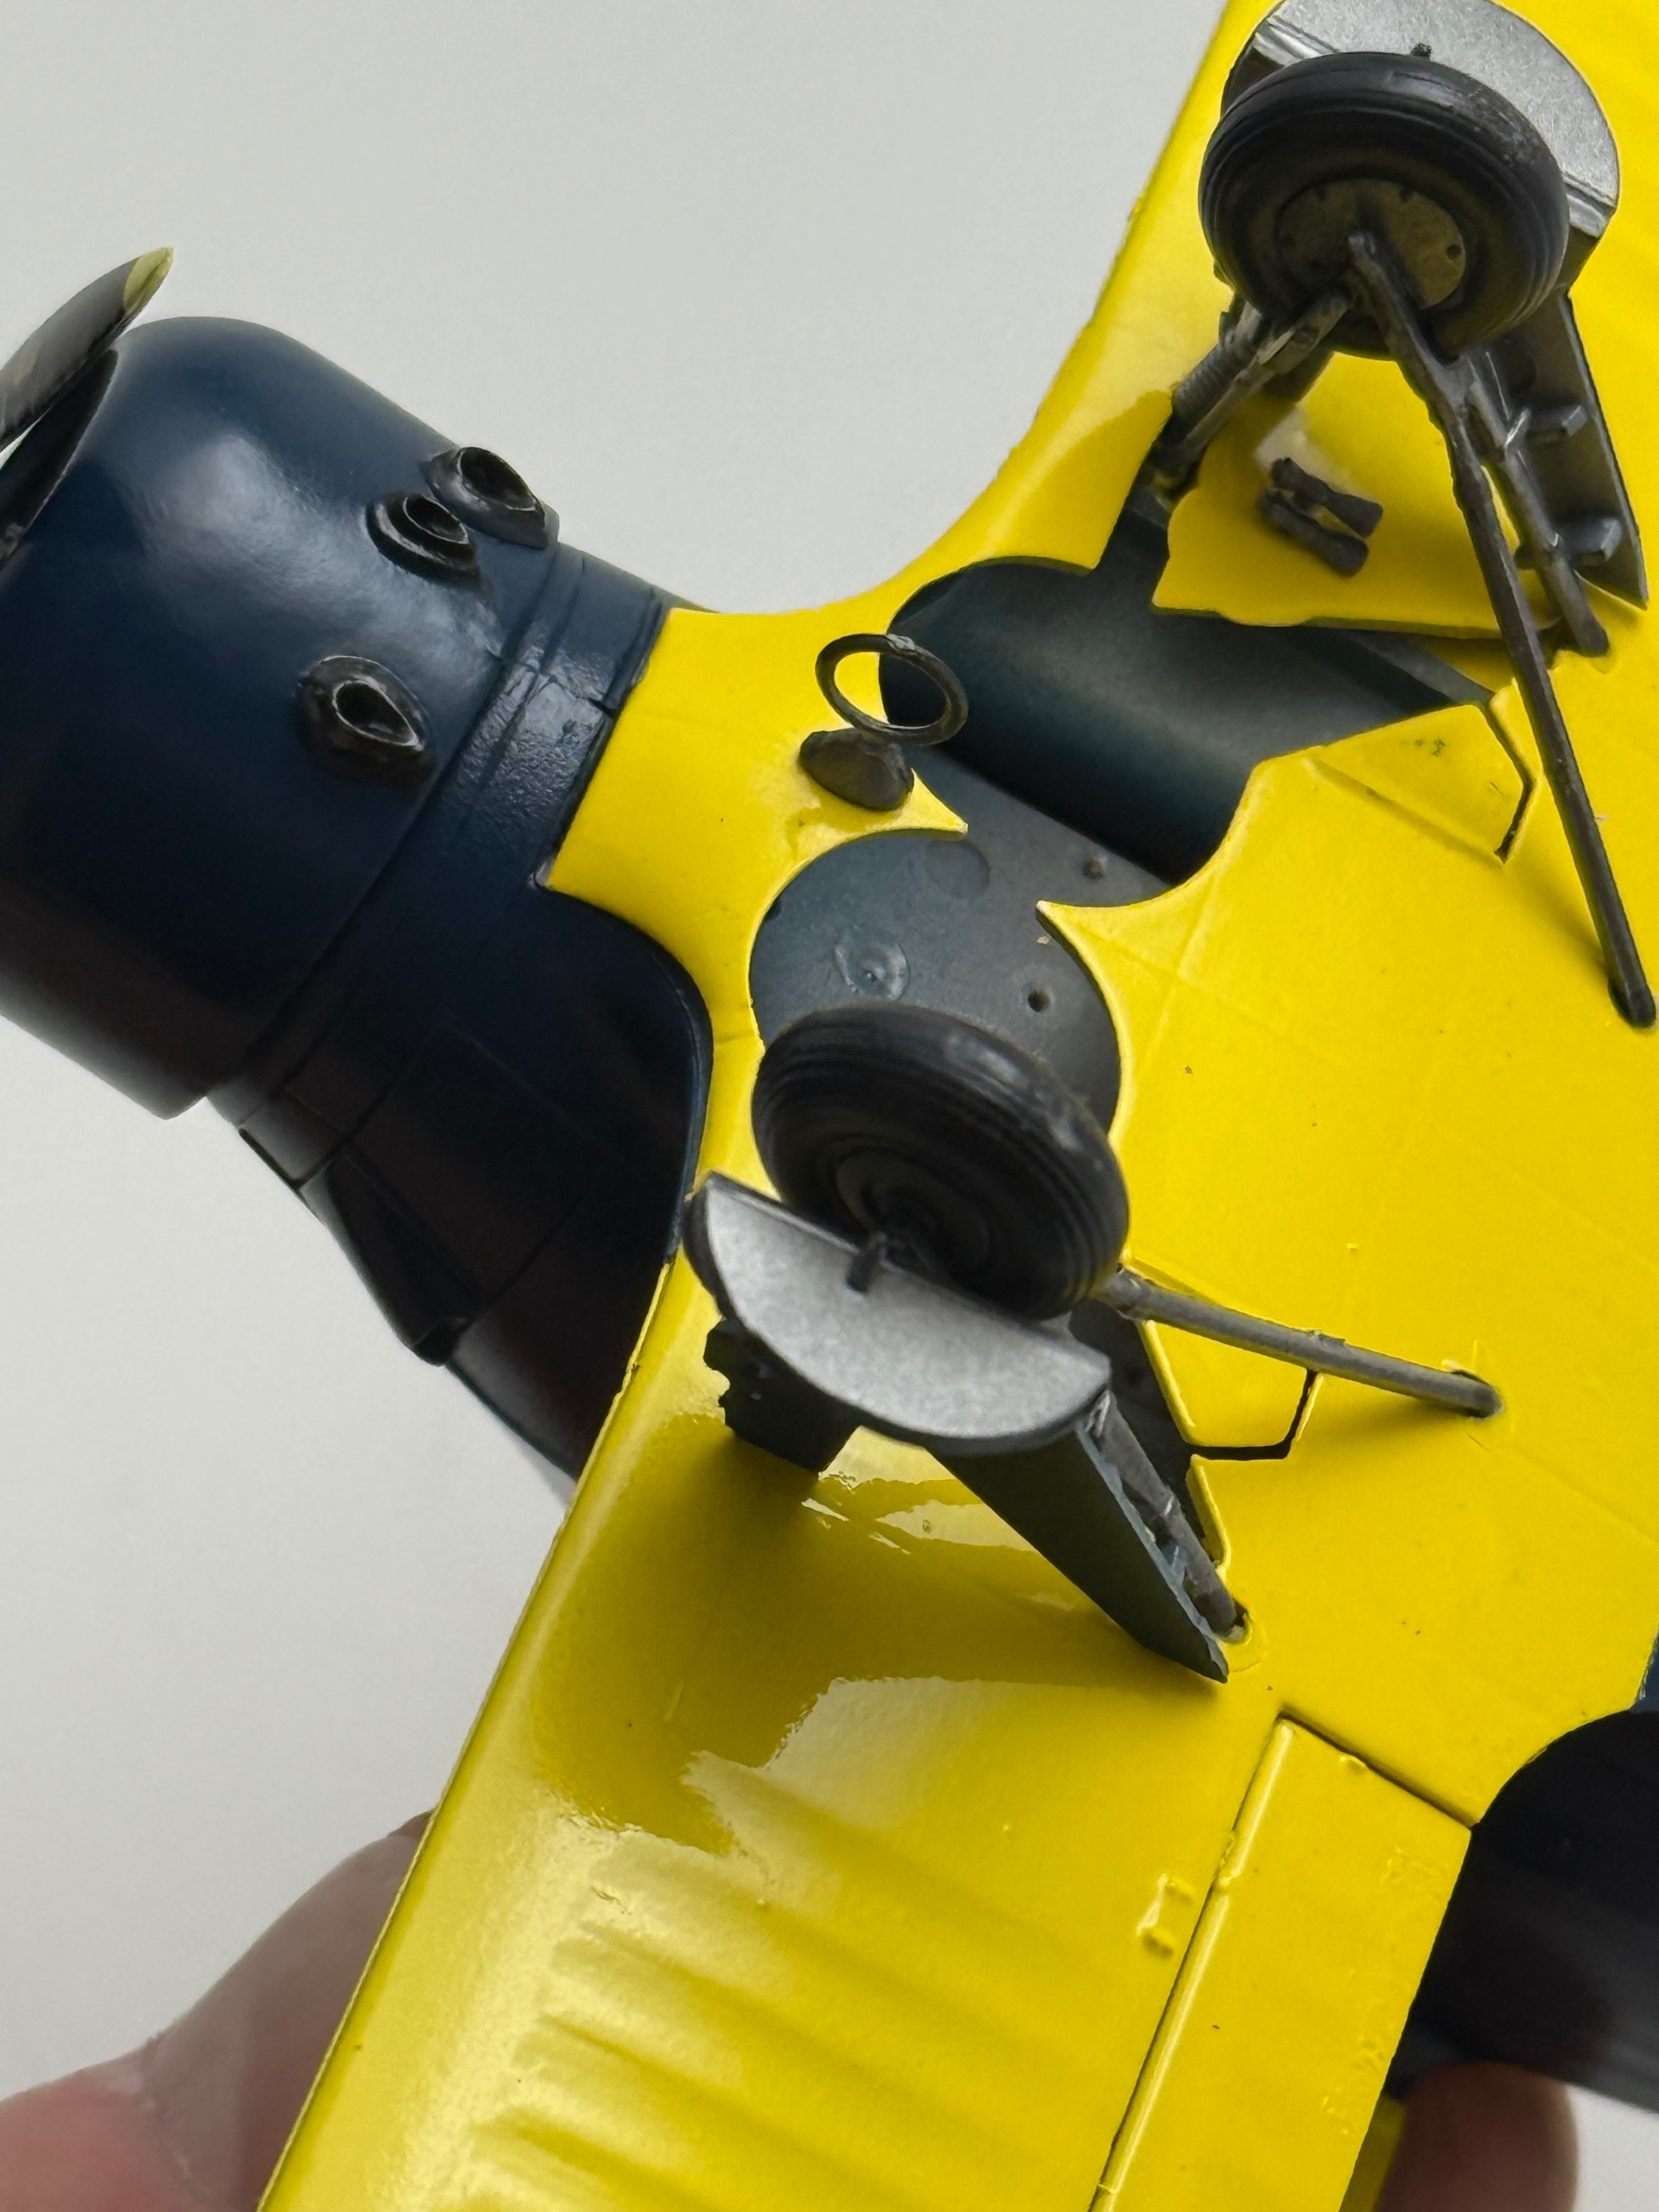
Well boys I'm done. Hit it with a gloss coat this morning while it was under 100F. I fixed my torn decal and I'm pretty happy with my pristine version of the ambassadors Beechcraft. I veered slightly on paint scheme because , that's what I sometimes do! I thought the wing braces would look better in blue and I left the underside of the bottom wing all yellow. Other than that I tried to stay as true to what I could find as accurate.
Attachments
- Joined
- Apr 29, 2024
- Messages
- 1,569
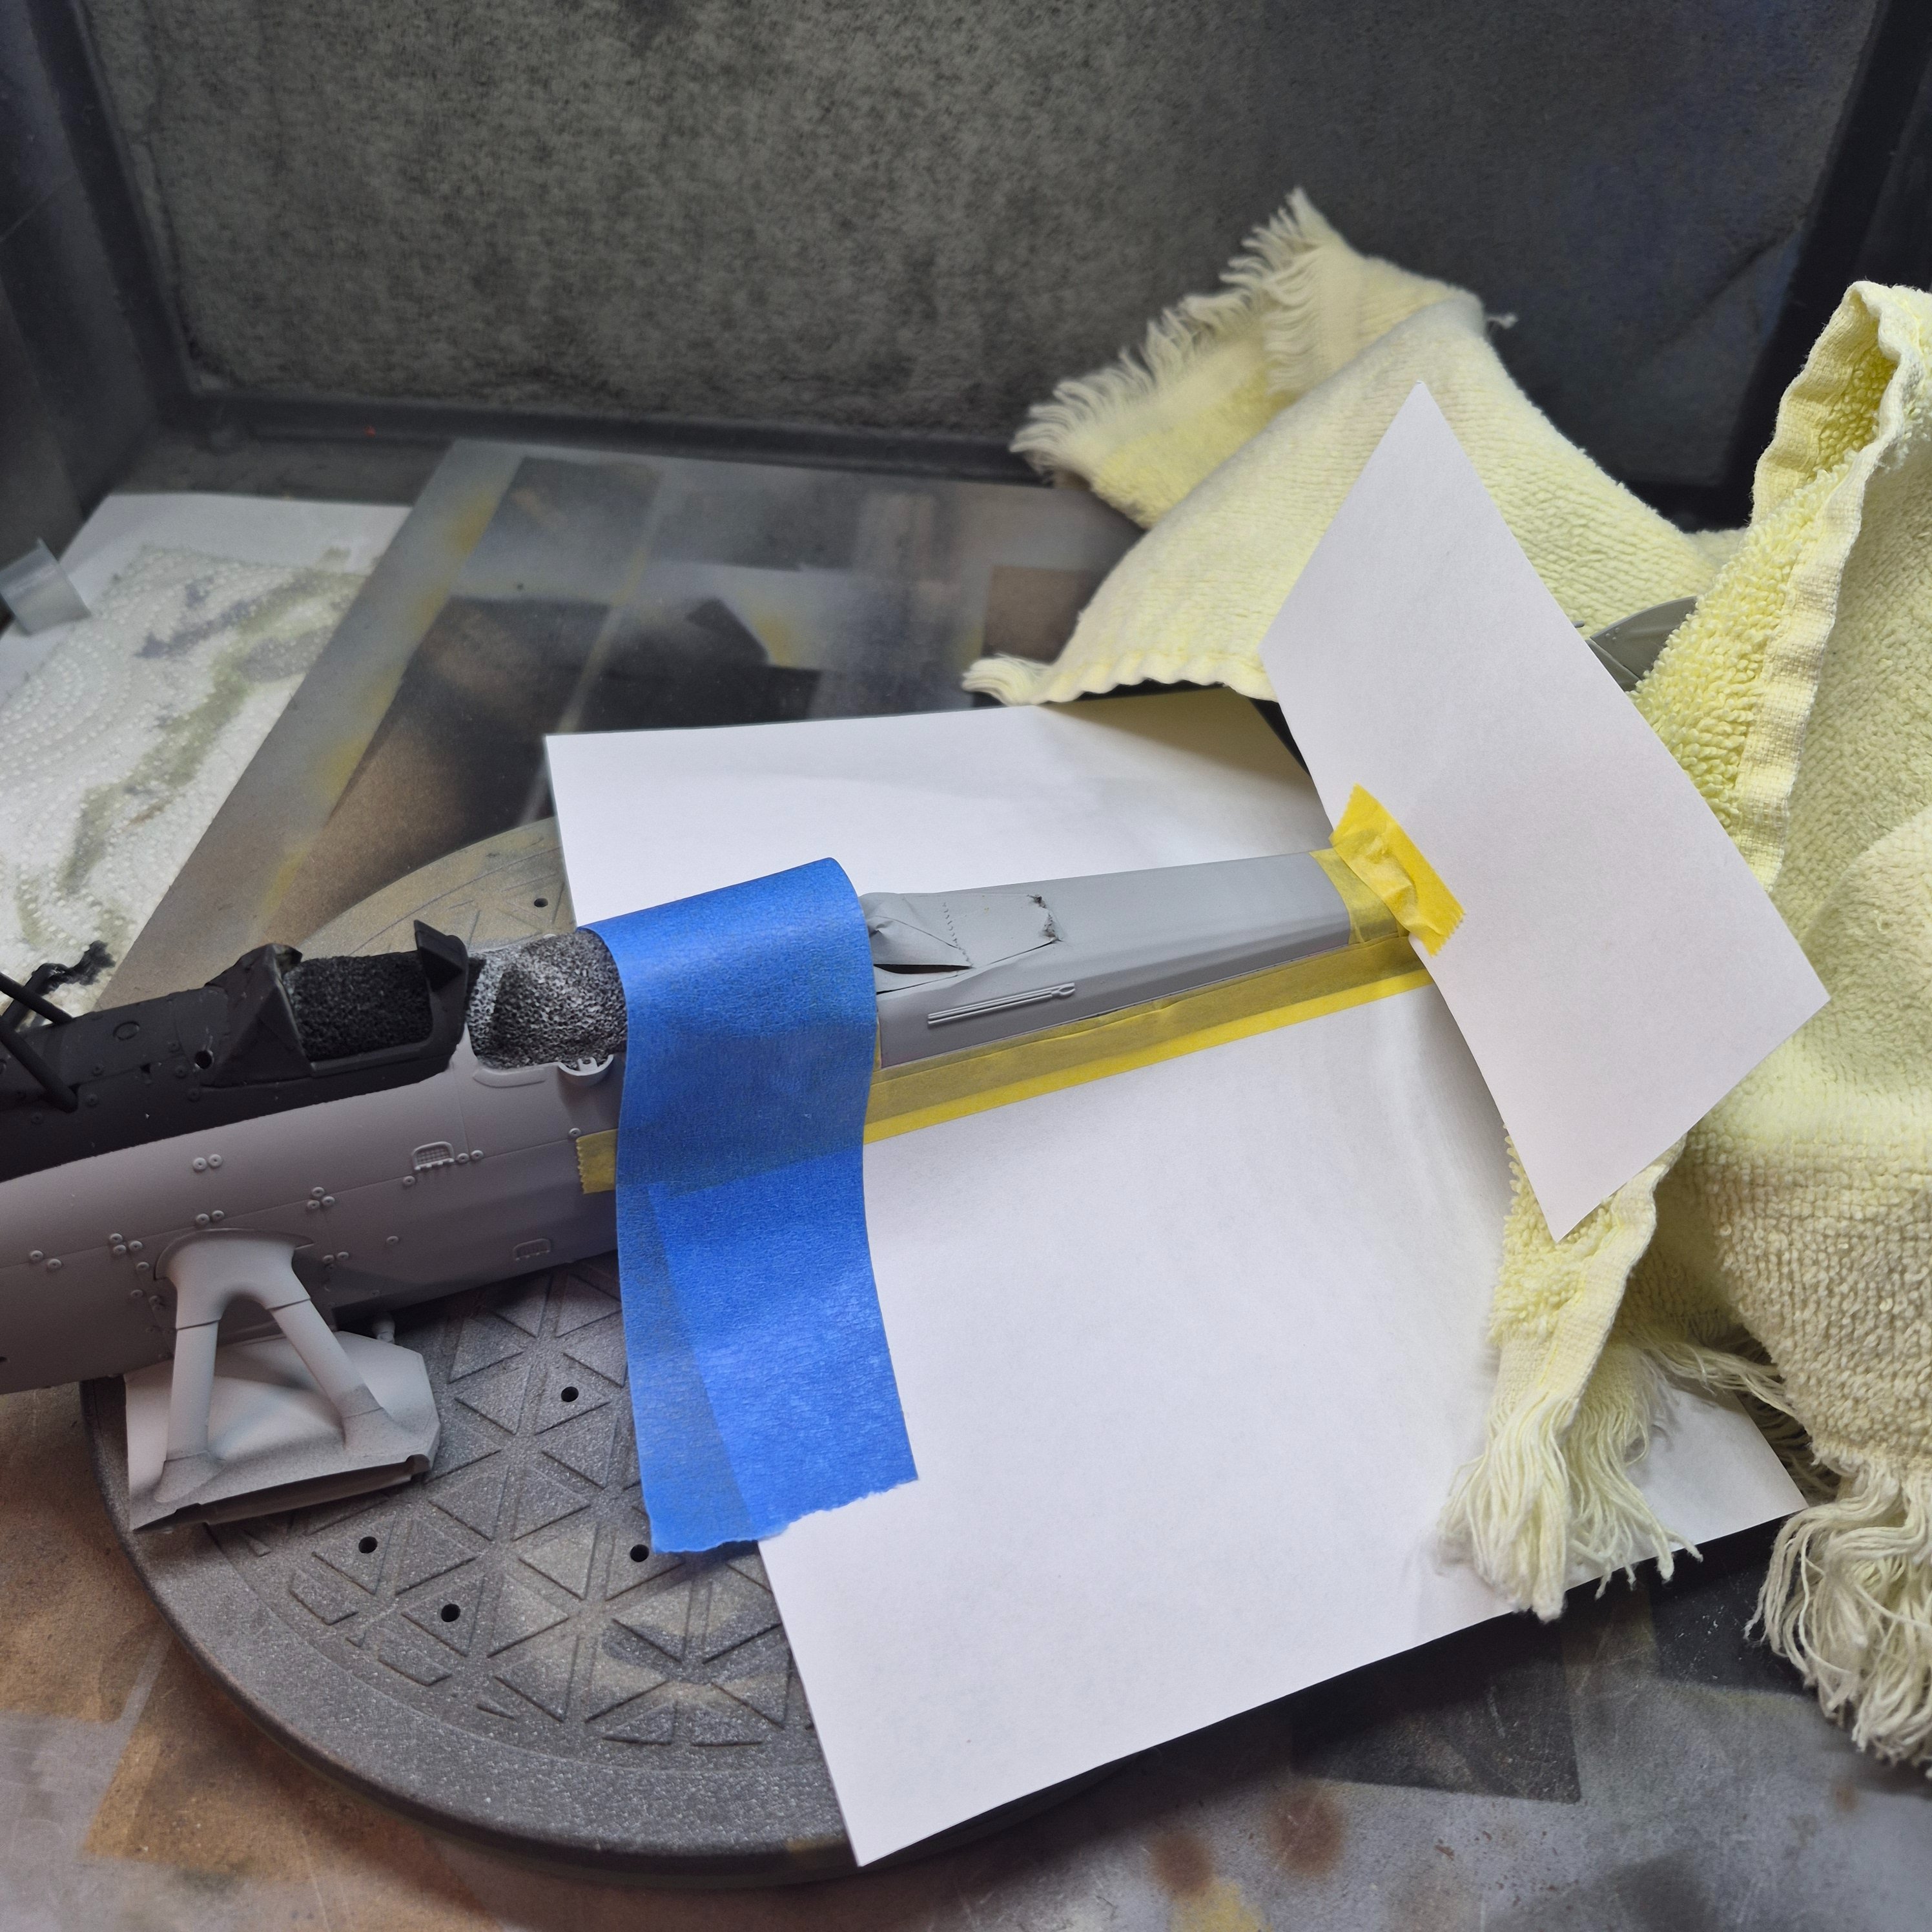
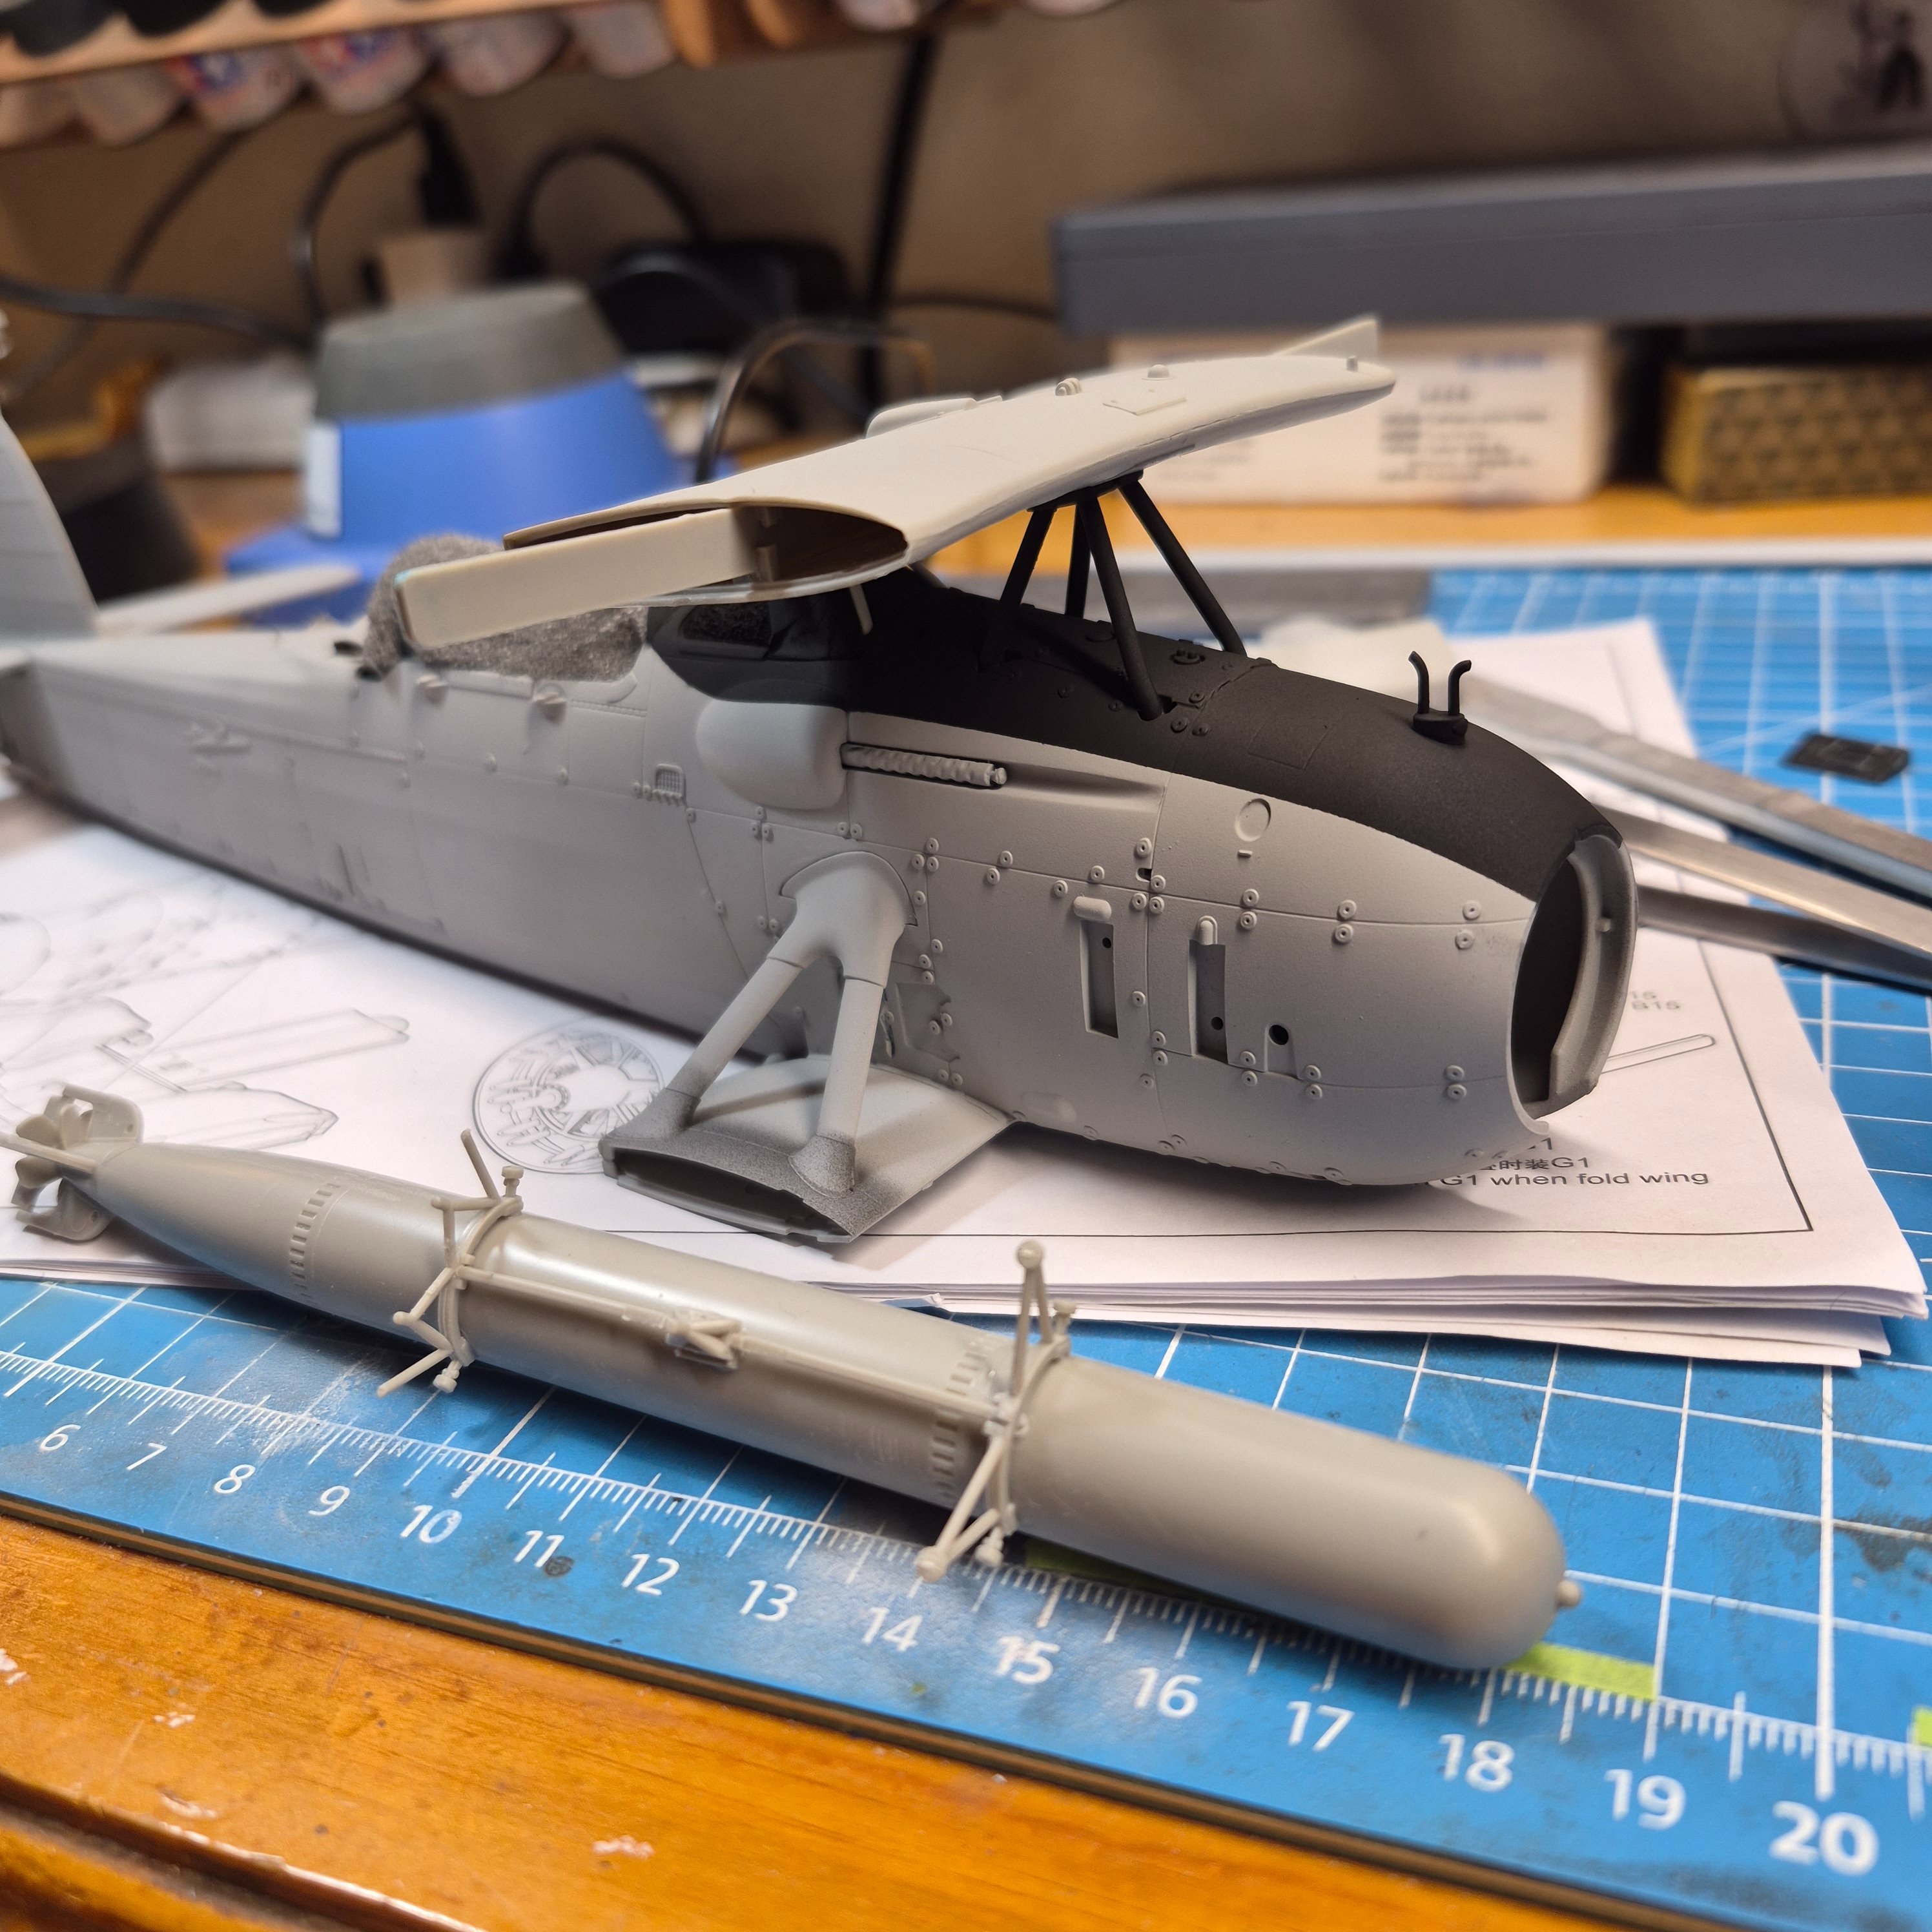
That's very interesting you should say that. I debated whether to use black primer. Then pre-shade with white or something. Then the body color on top of that. But with these cloth wings I figured I would do something totally new to me but old school to others which is post shade. There's a couple pictures from my build since I'm posting something anywaysThanks again!
I think also that using black primer hurt me. I was doing super-thinned color, and a lot of the black came through, but the clear really made it look worse.
Attachments
Sweet. Gorgeous job on one of the most gorgeous biplanes ever!Well boys I'm done. Hit it with a gloss coat this morning while it was under 100F. I fixed my torn decal and I'm pretty happy with my pristine version of the ambassadors Beechcraft. I veered slightly on paint scheme because , that's what I sometimes do! I thought the wing braces would look better in blue and I left the underside of the bottom wing all yellow. Other than that I tried to stay as true to what I could find as accurate.
Similar threads


- Replies
- 522
- Views
- 10K


- Replies
- 520
- Views
- 21K


