German King Tiger-Tamiya

Scale Model Addict - Model Tips, Guides, Tools & Tech, Tutorials, and Community

Help Support Scale Model Addict:

wjbrandel

Well-Known Member
Joined
Mar 4, 2021
Messages
1,193
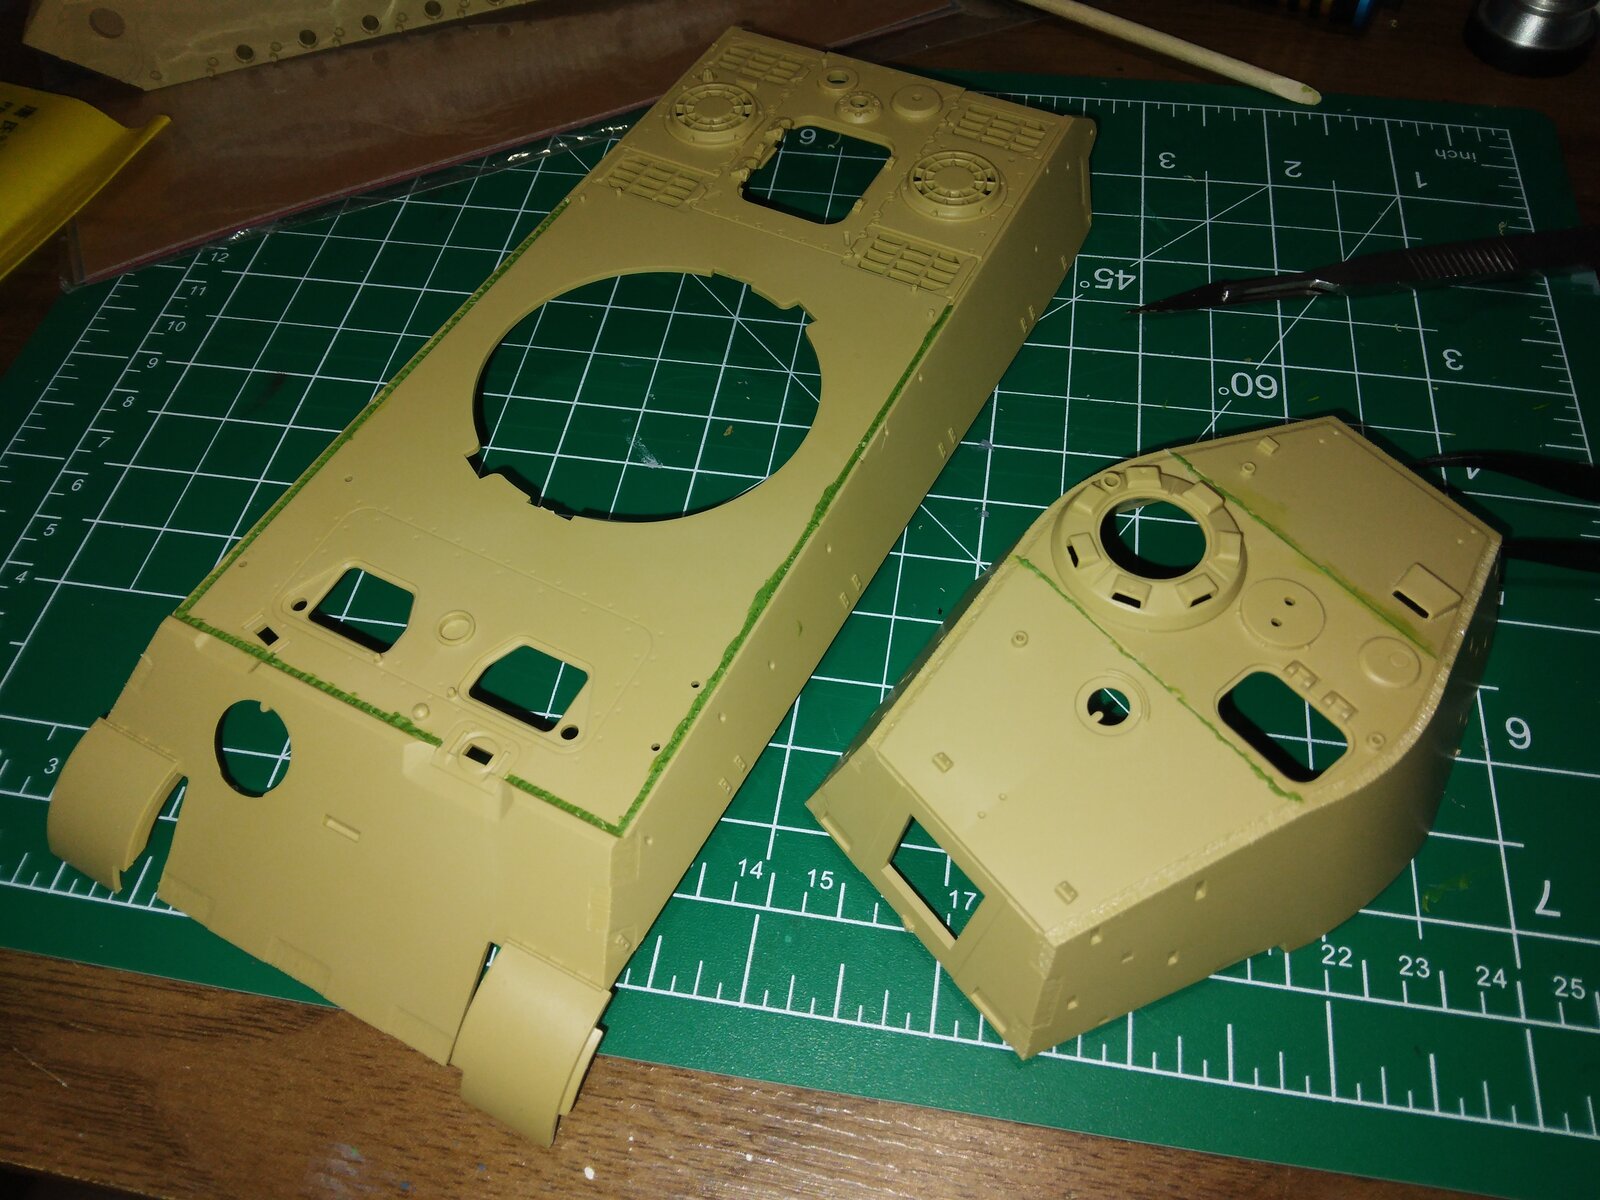
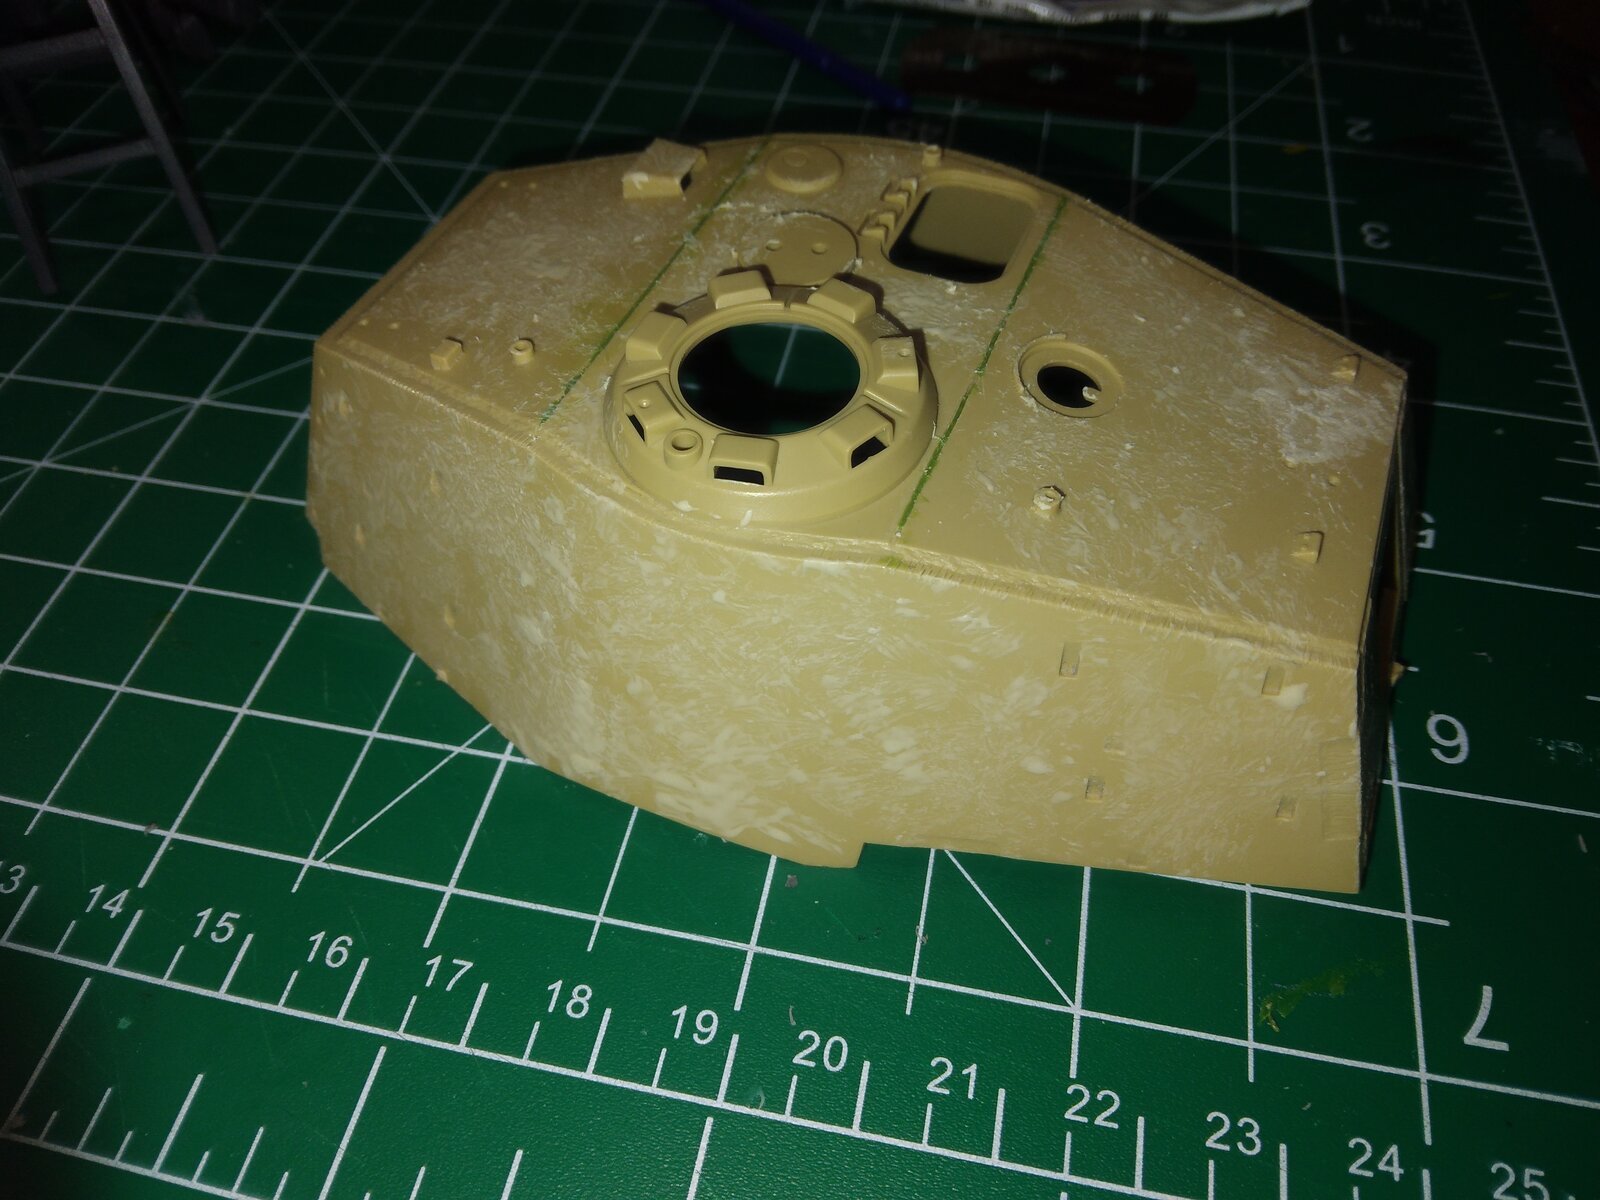
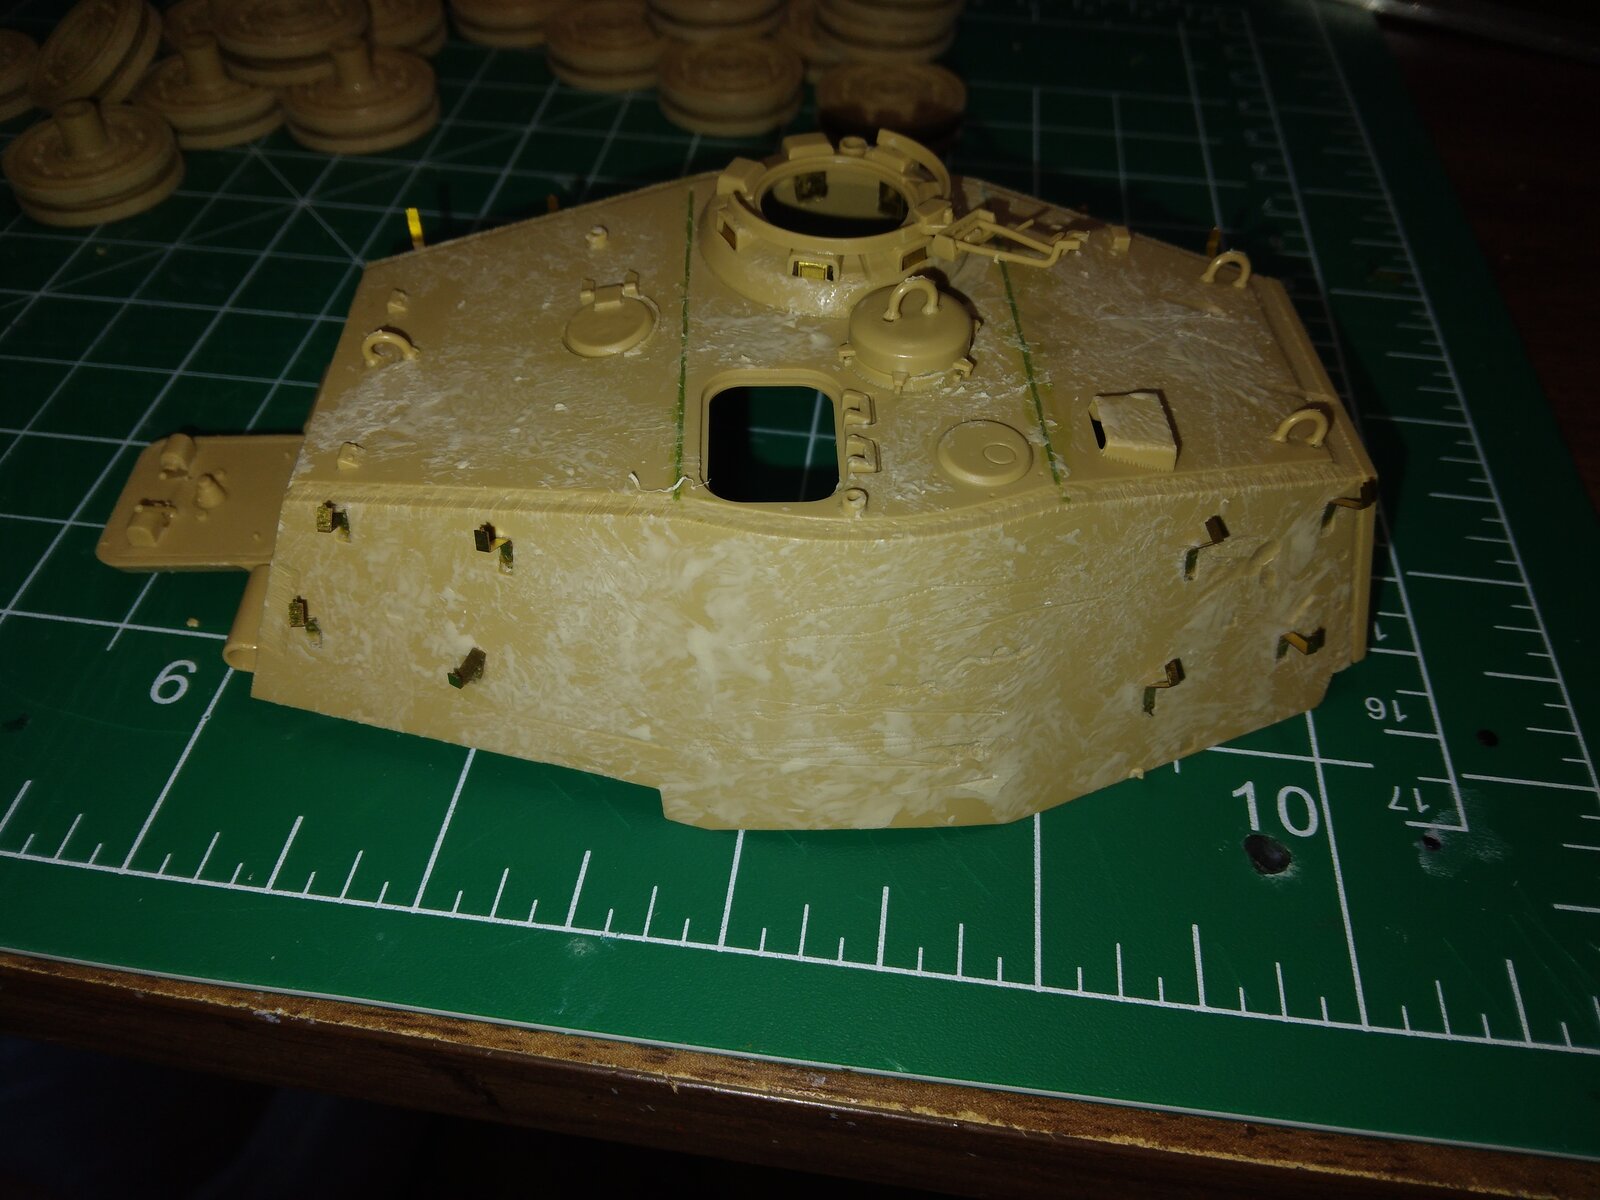
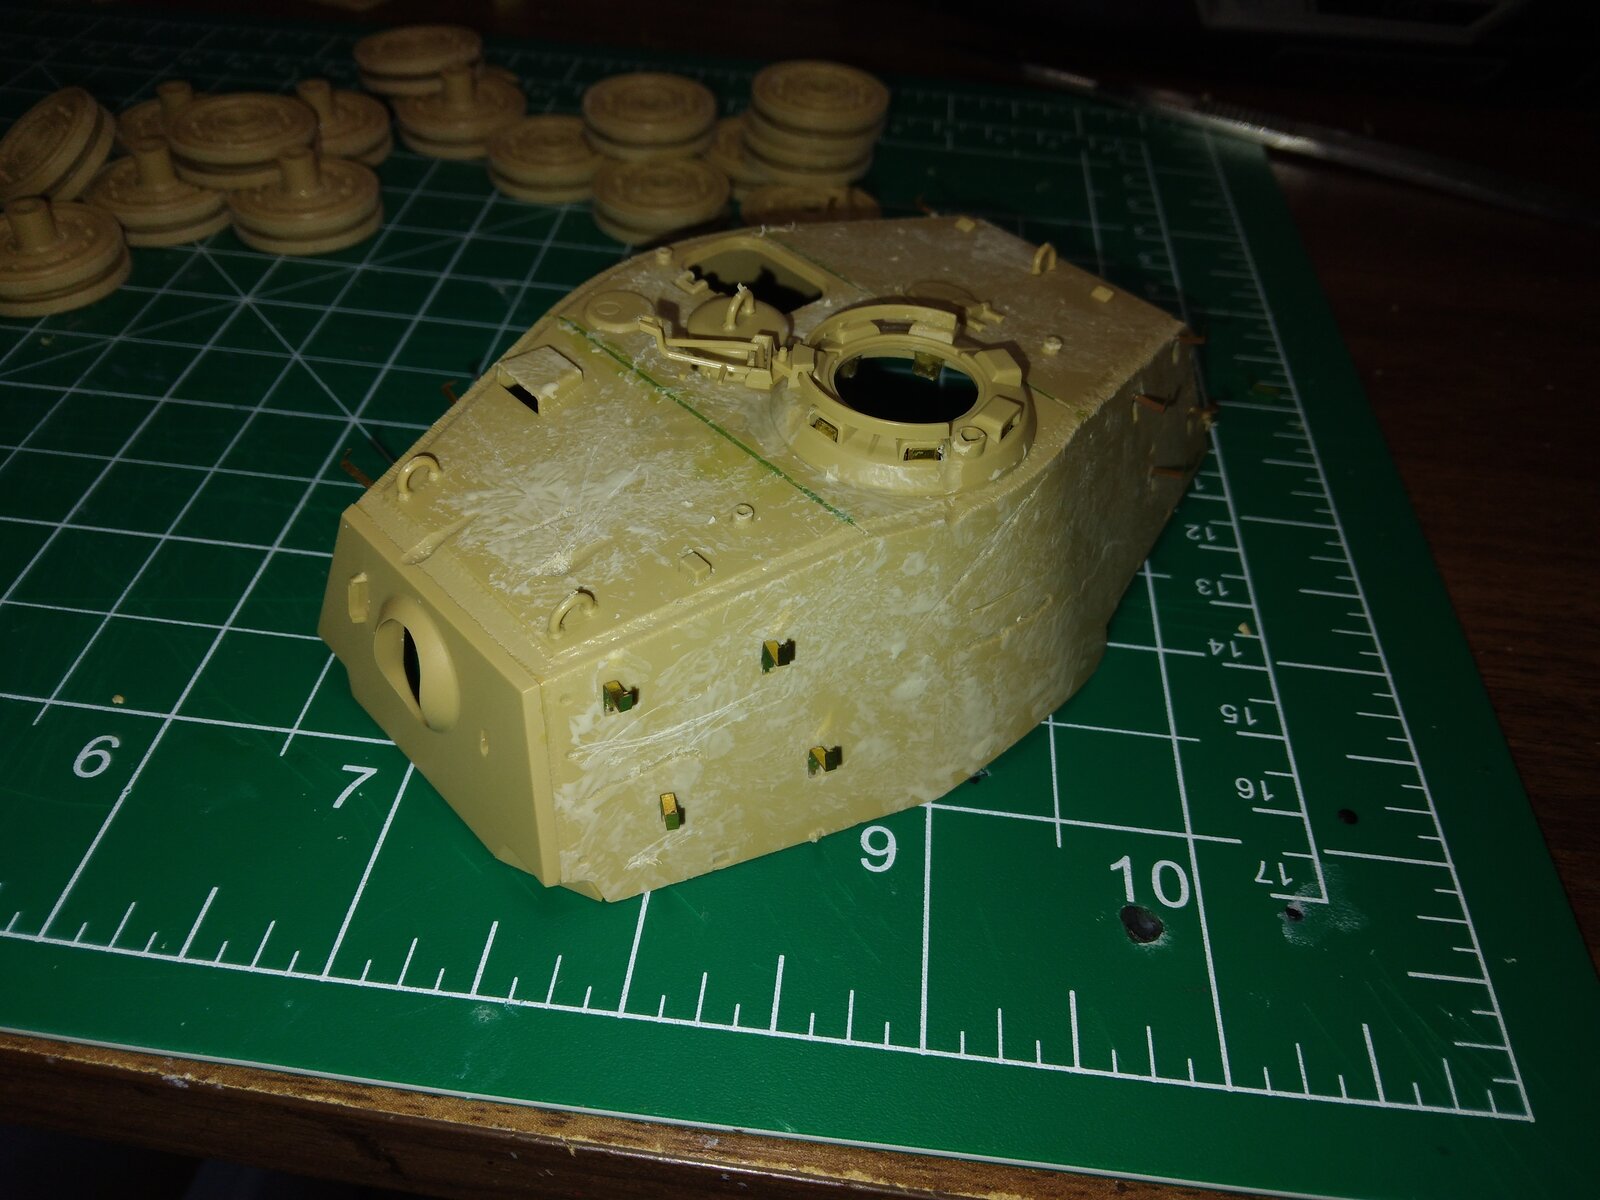
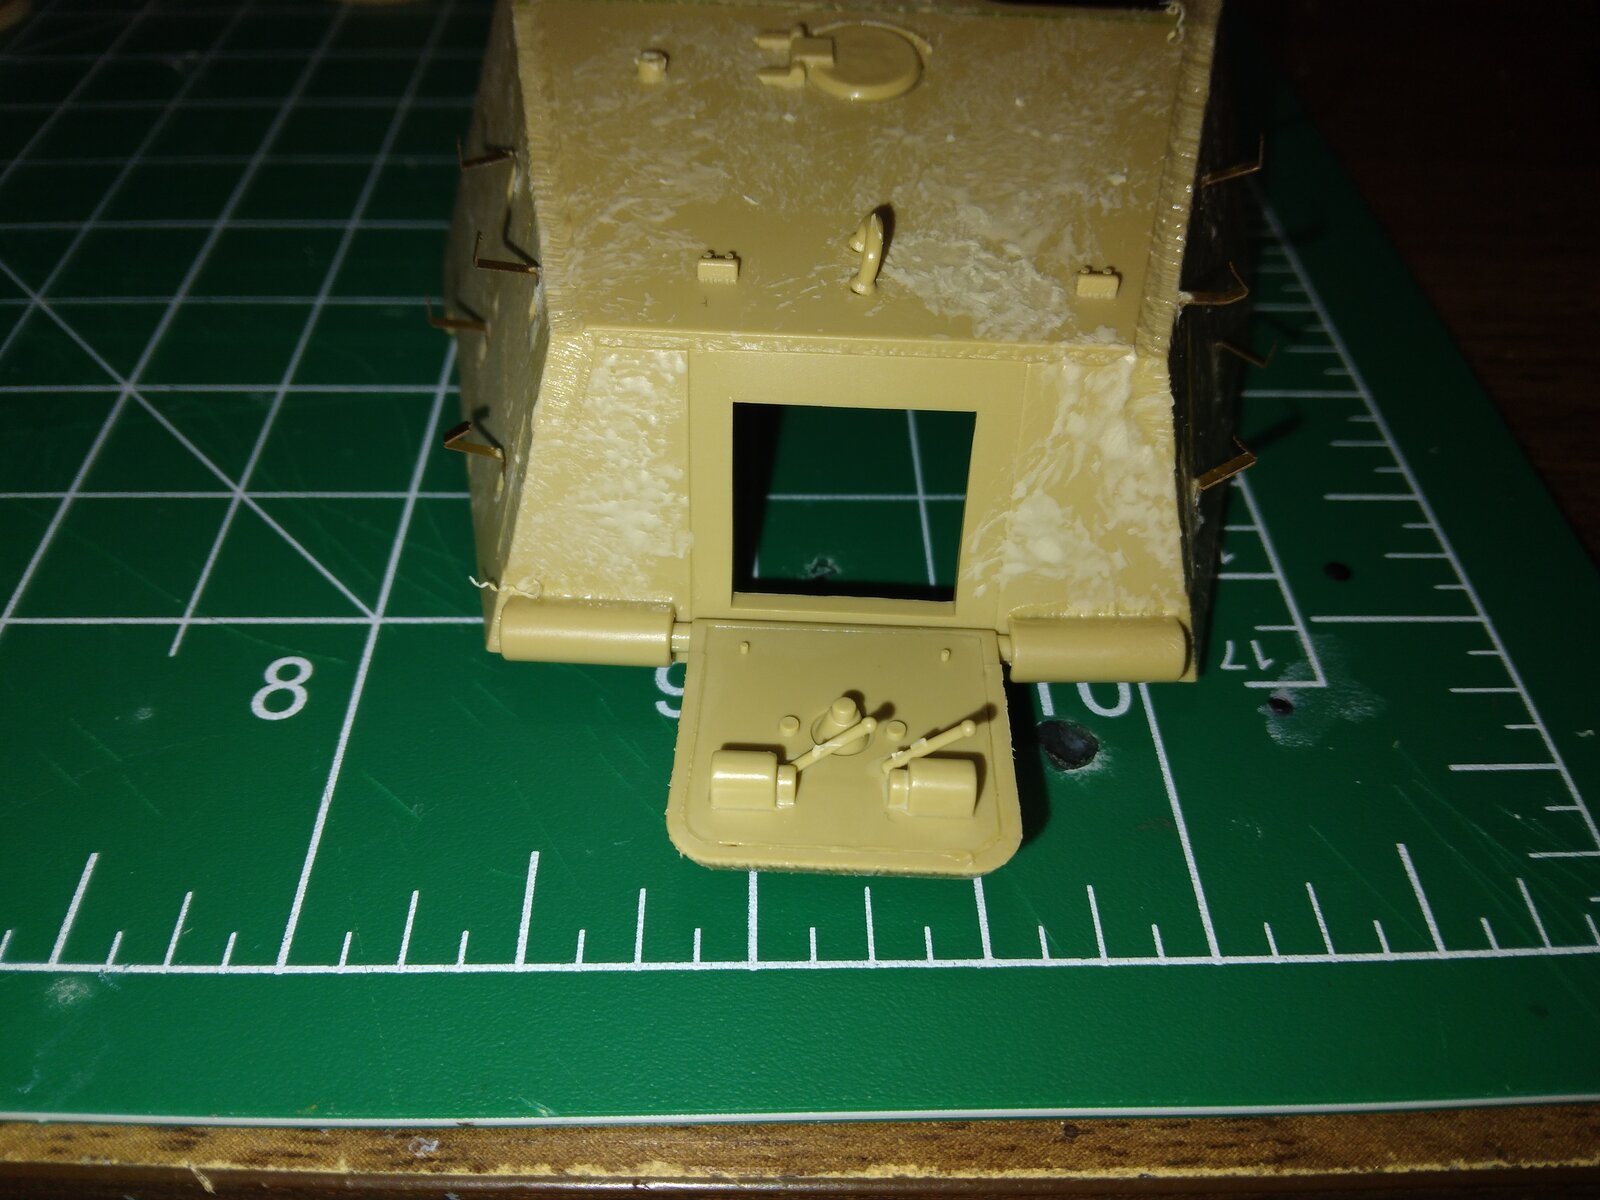
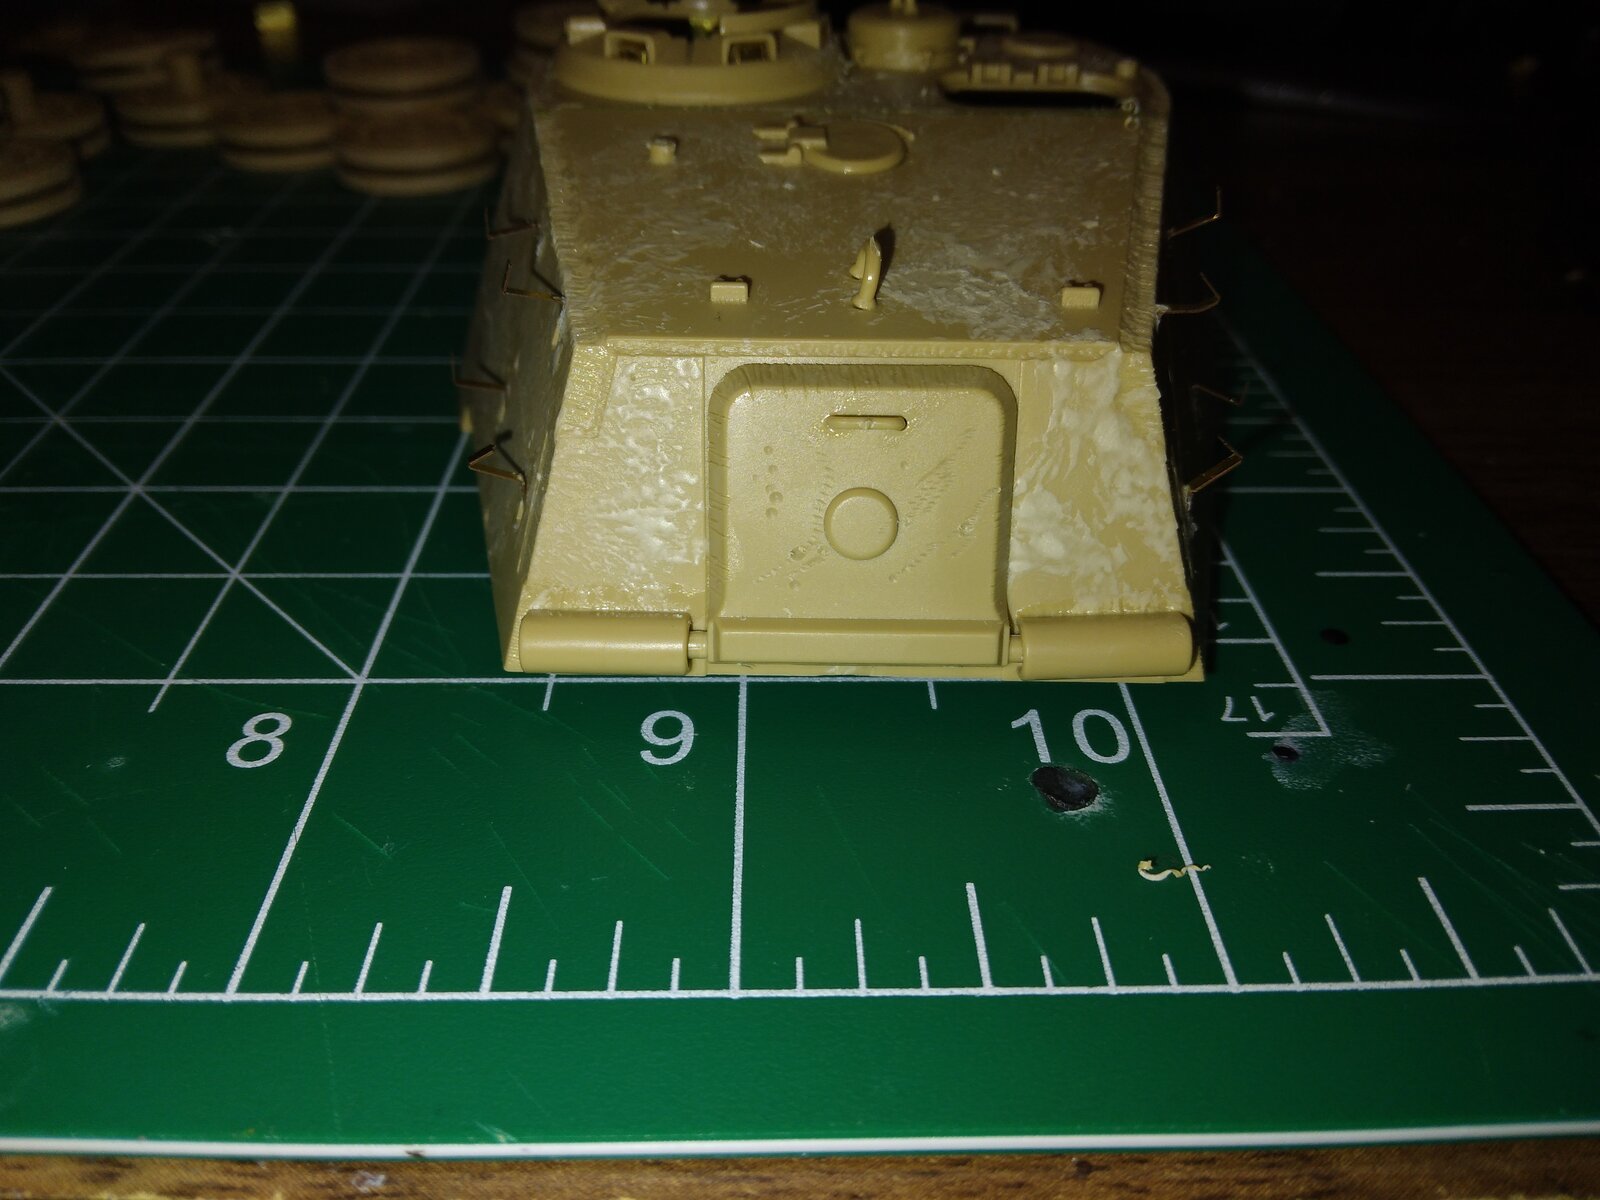
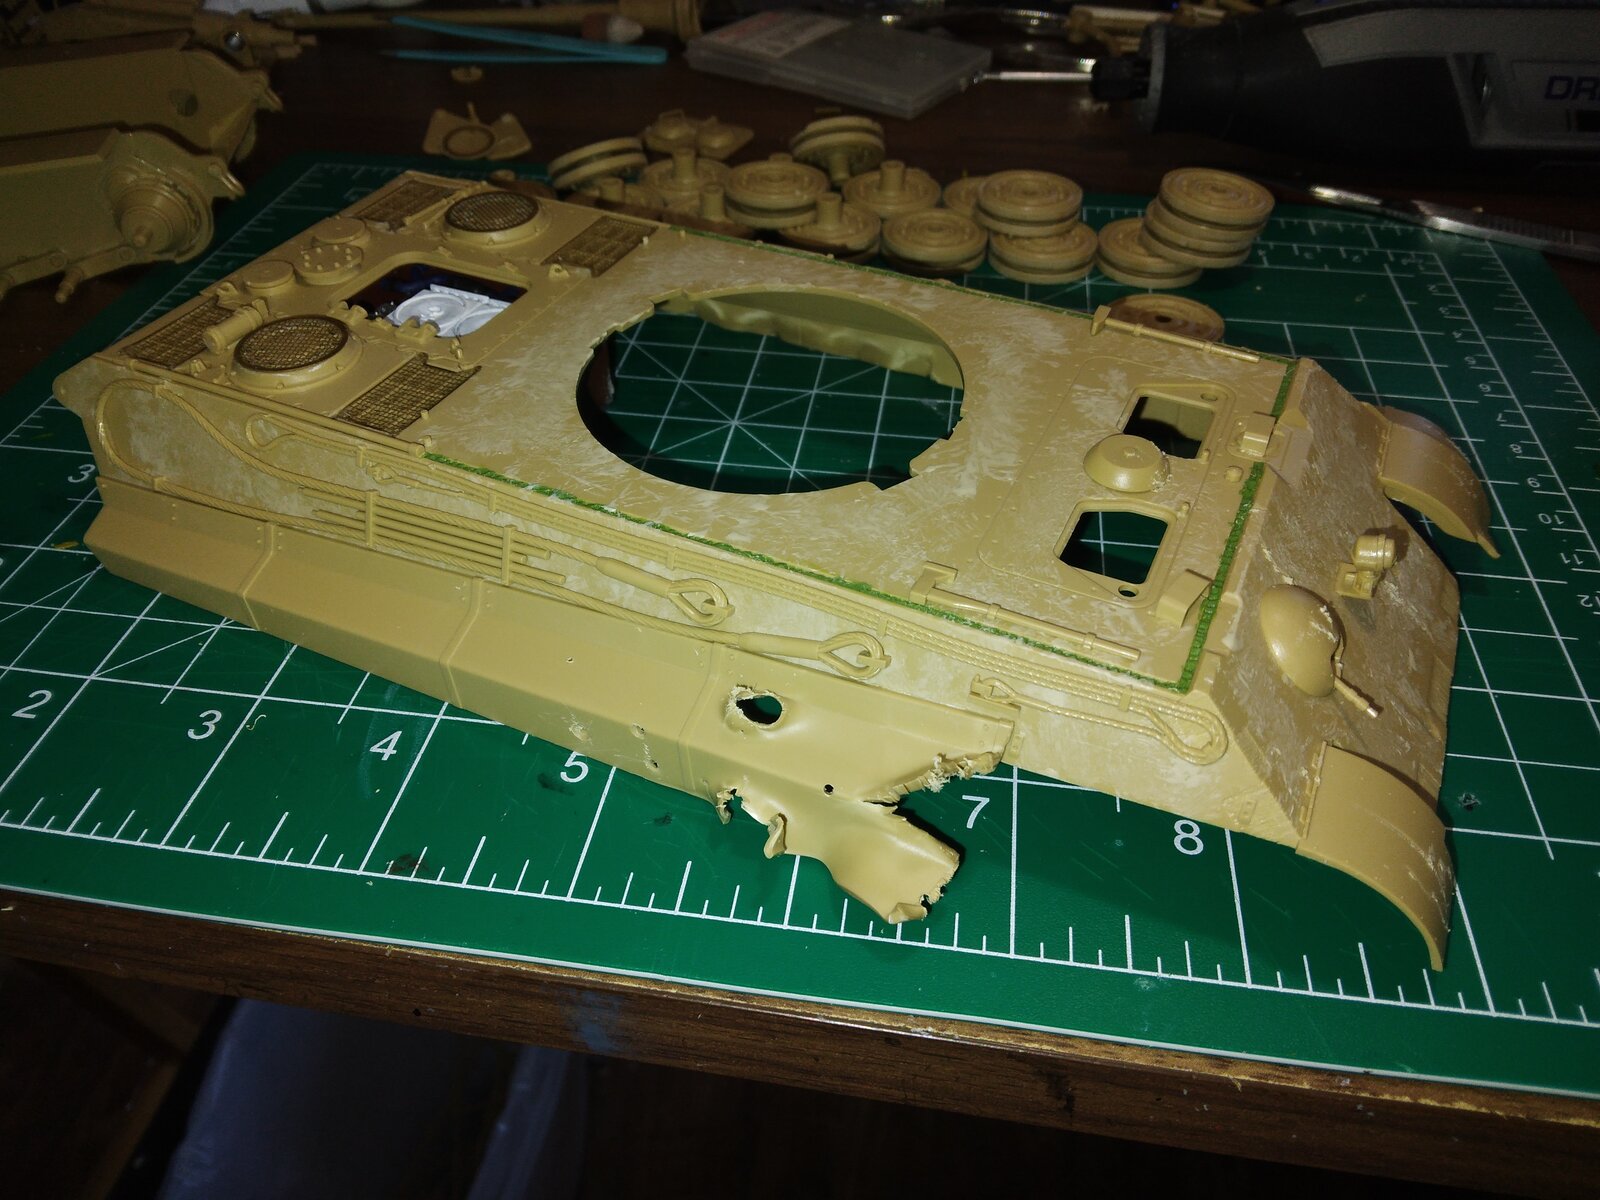
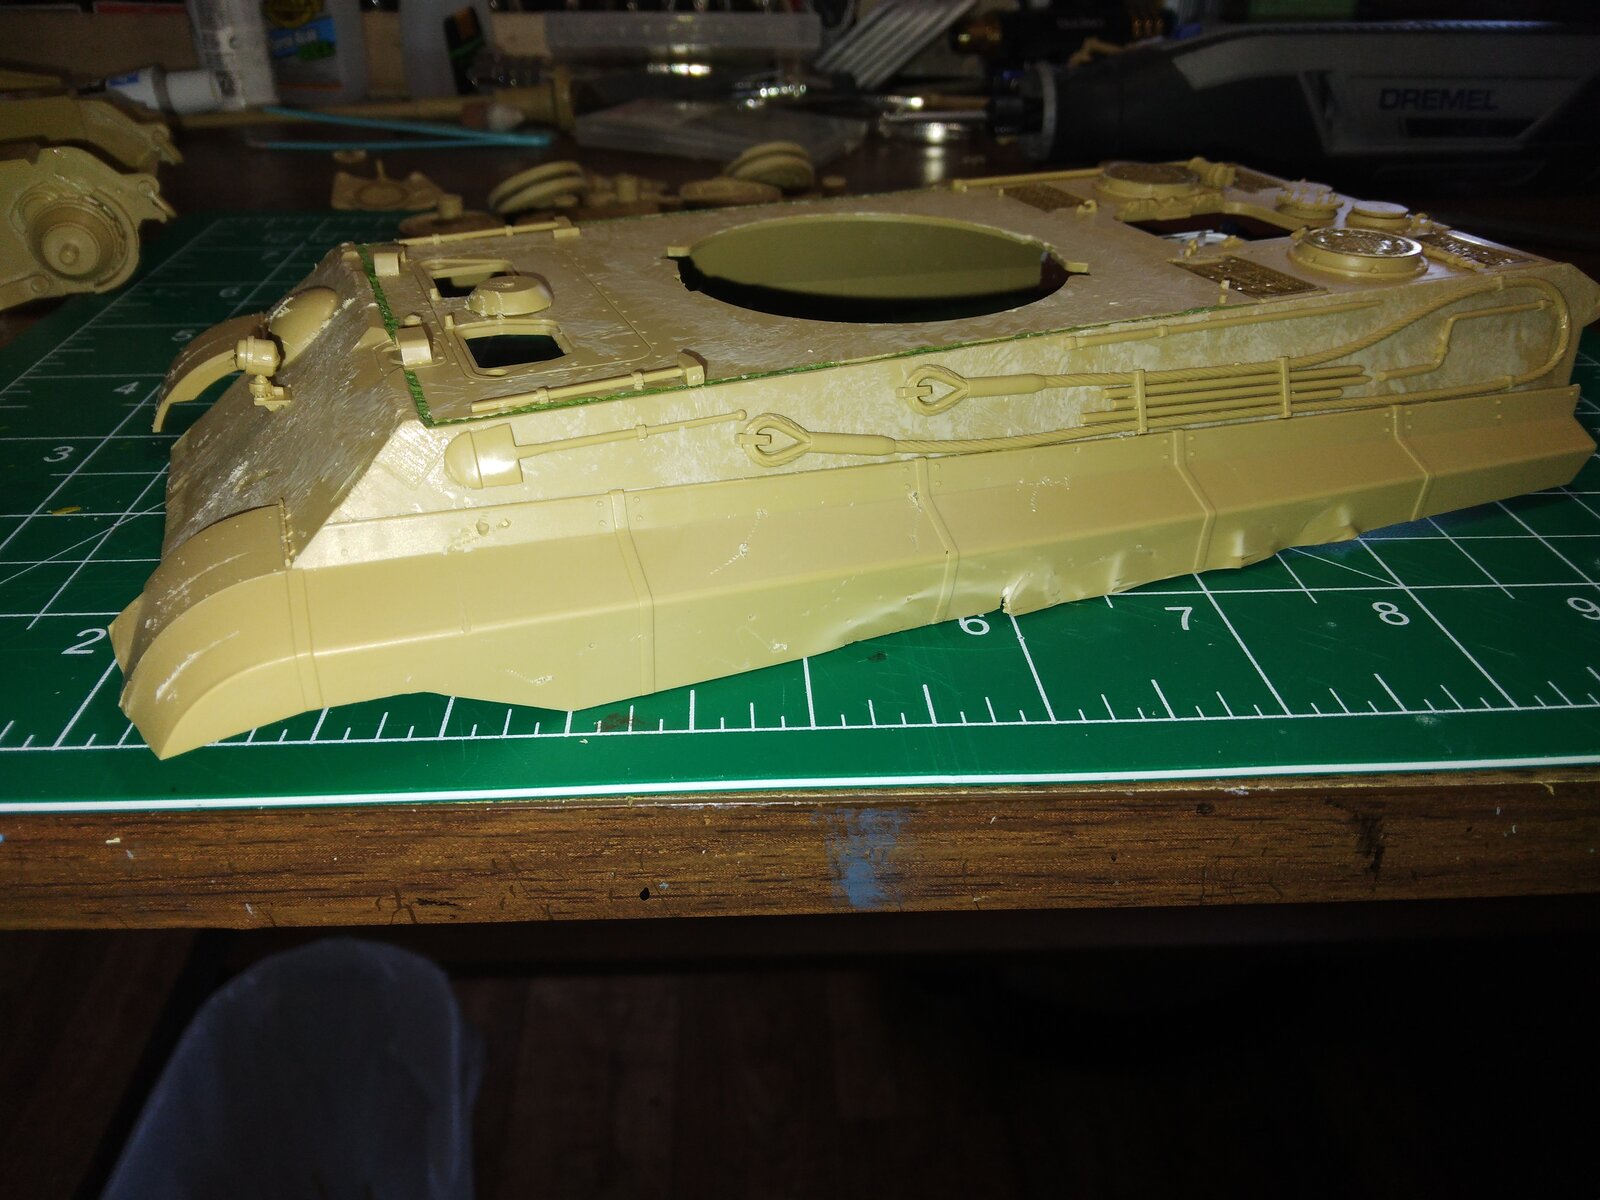
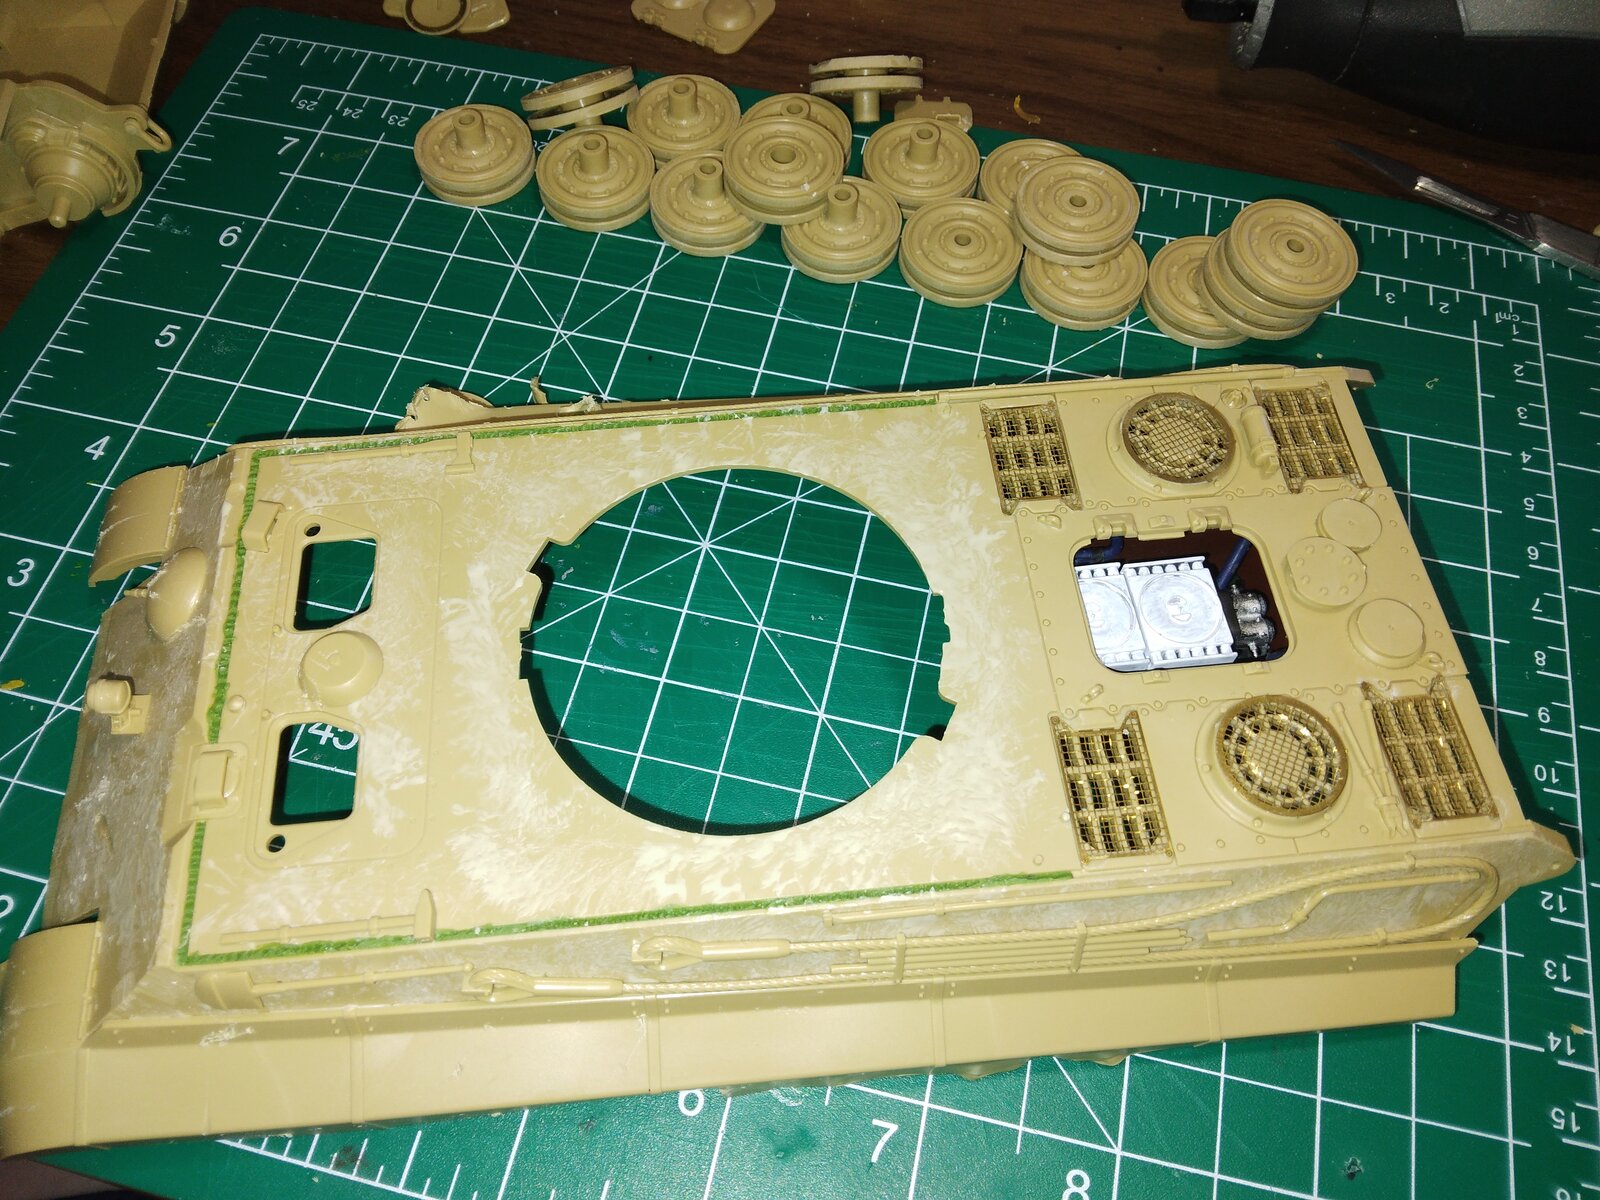
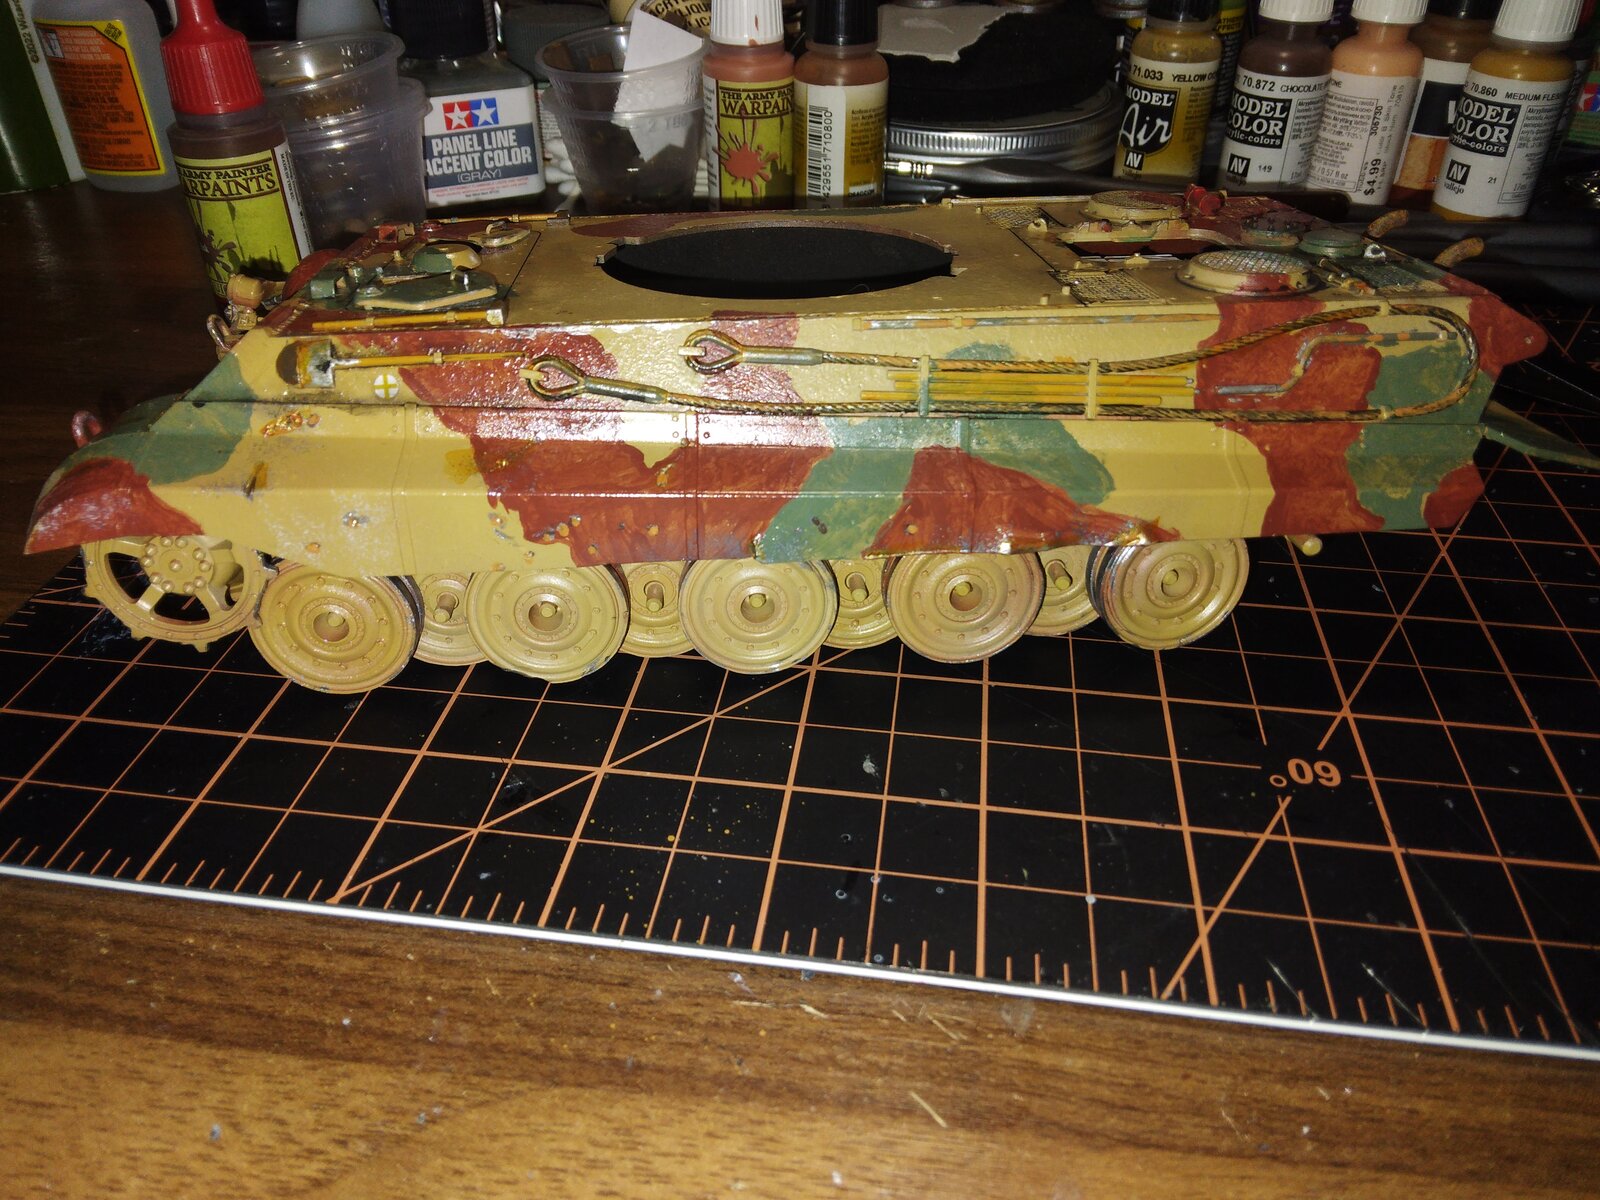
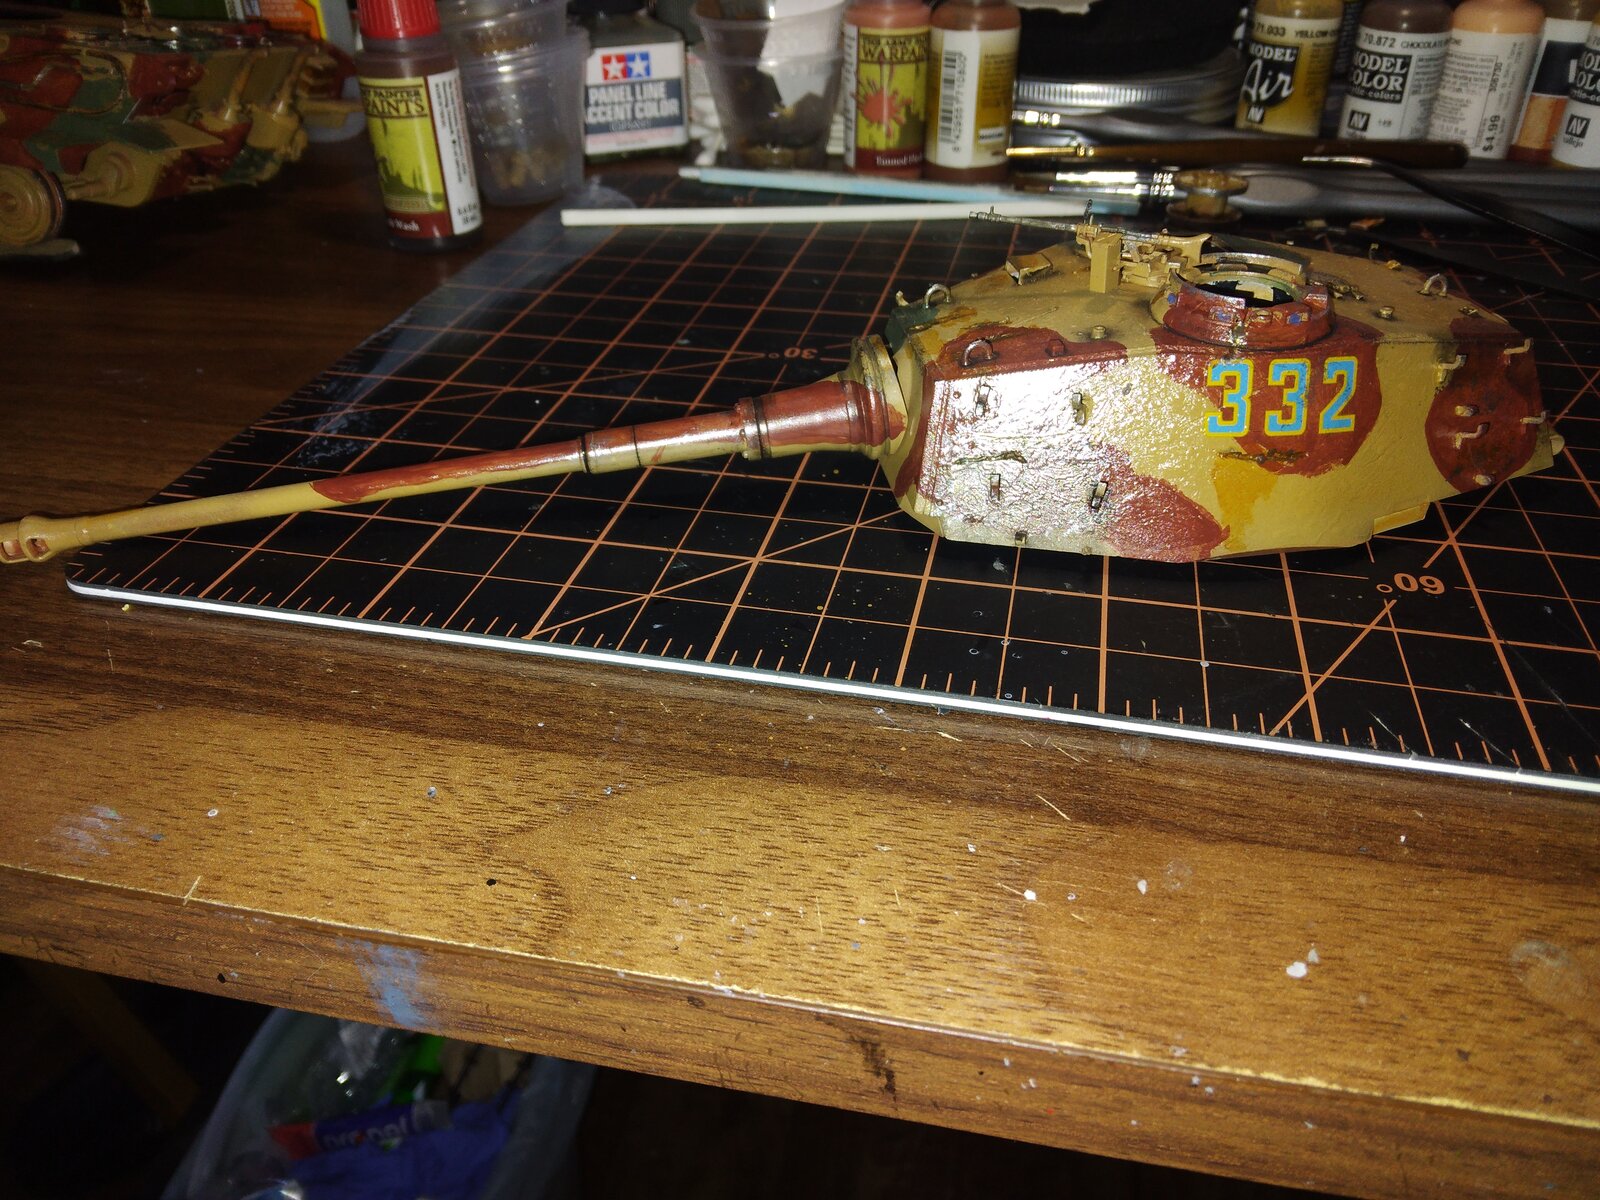
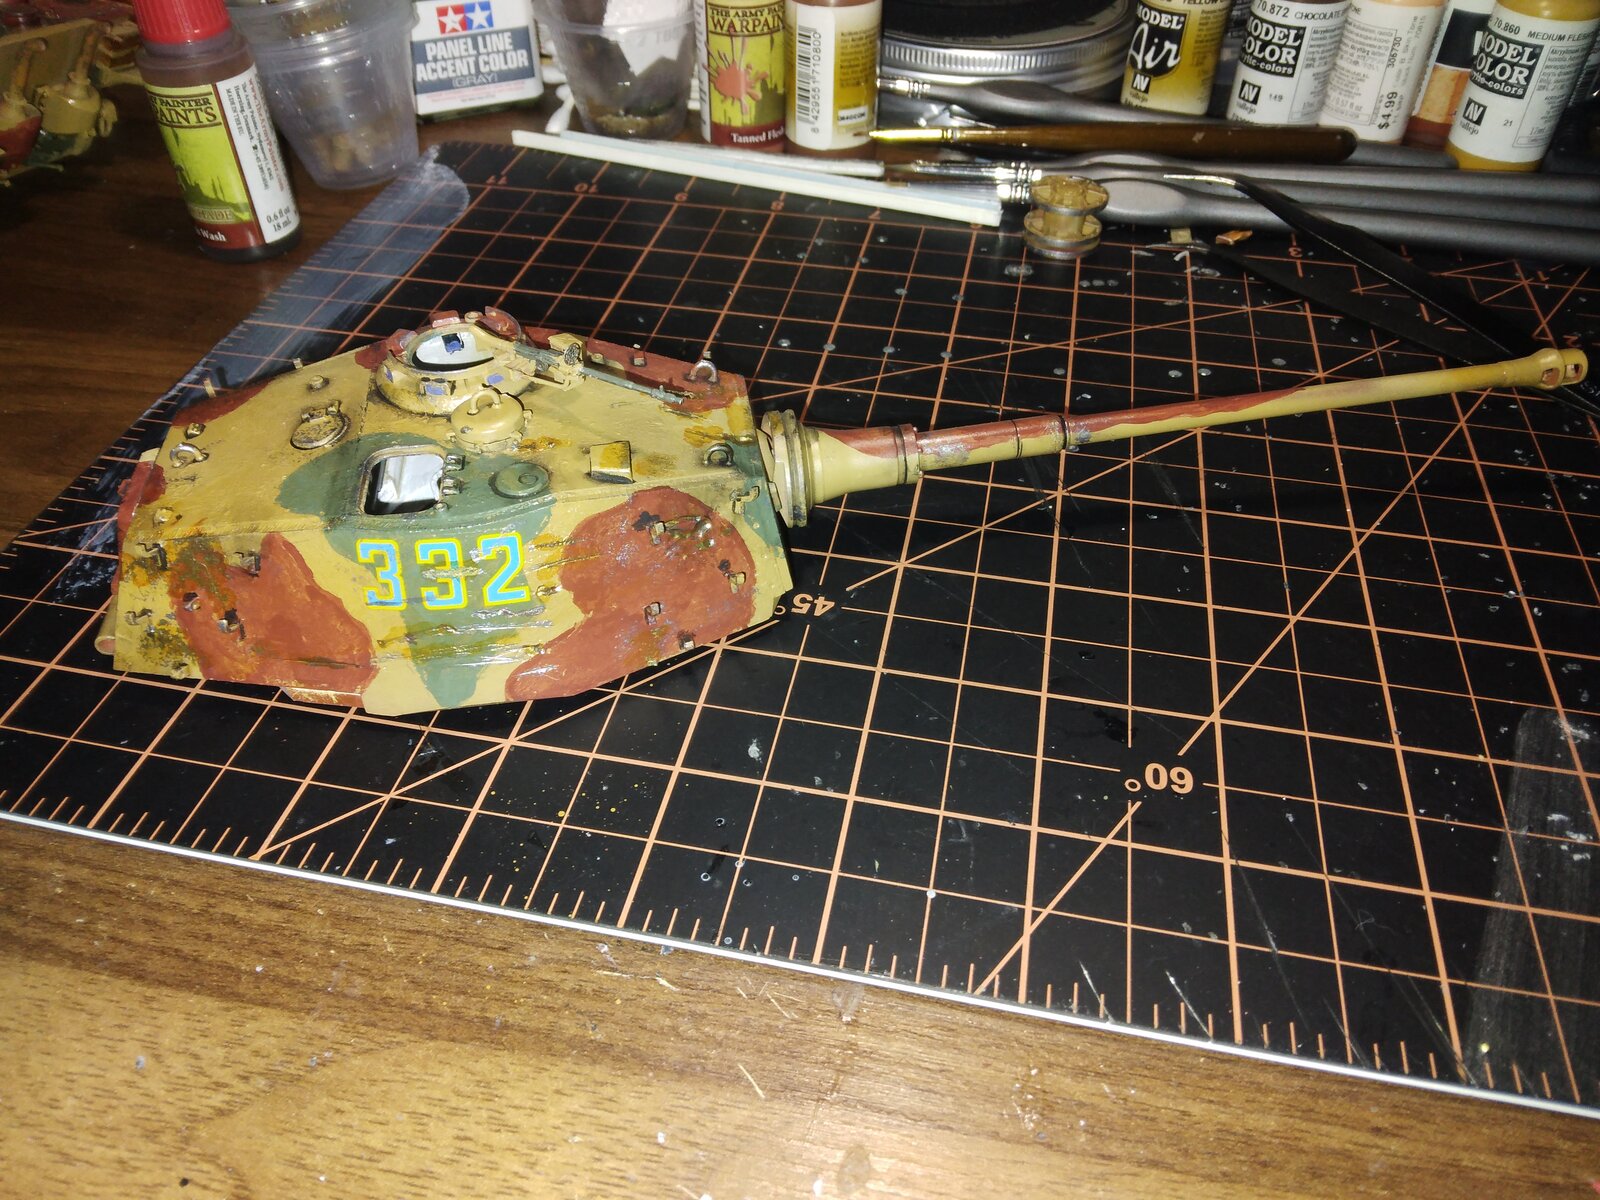
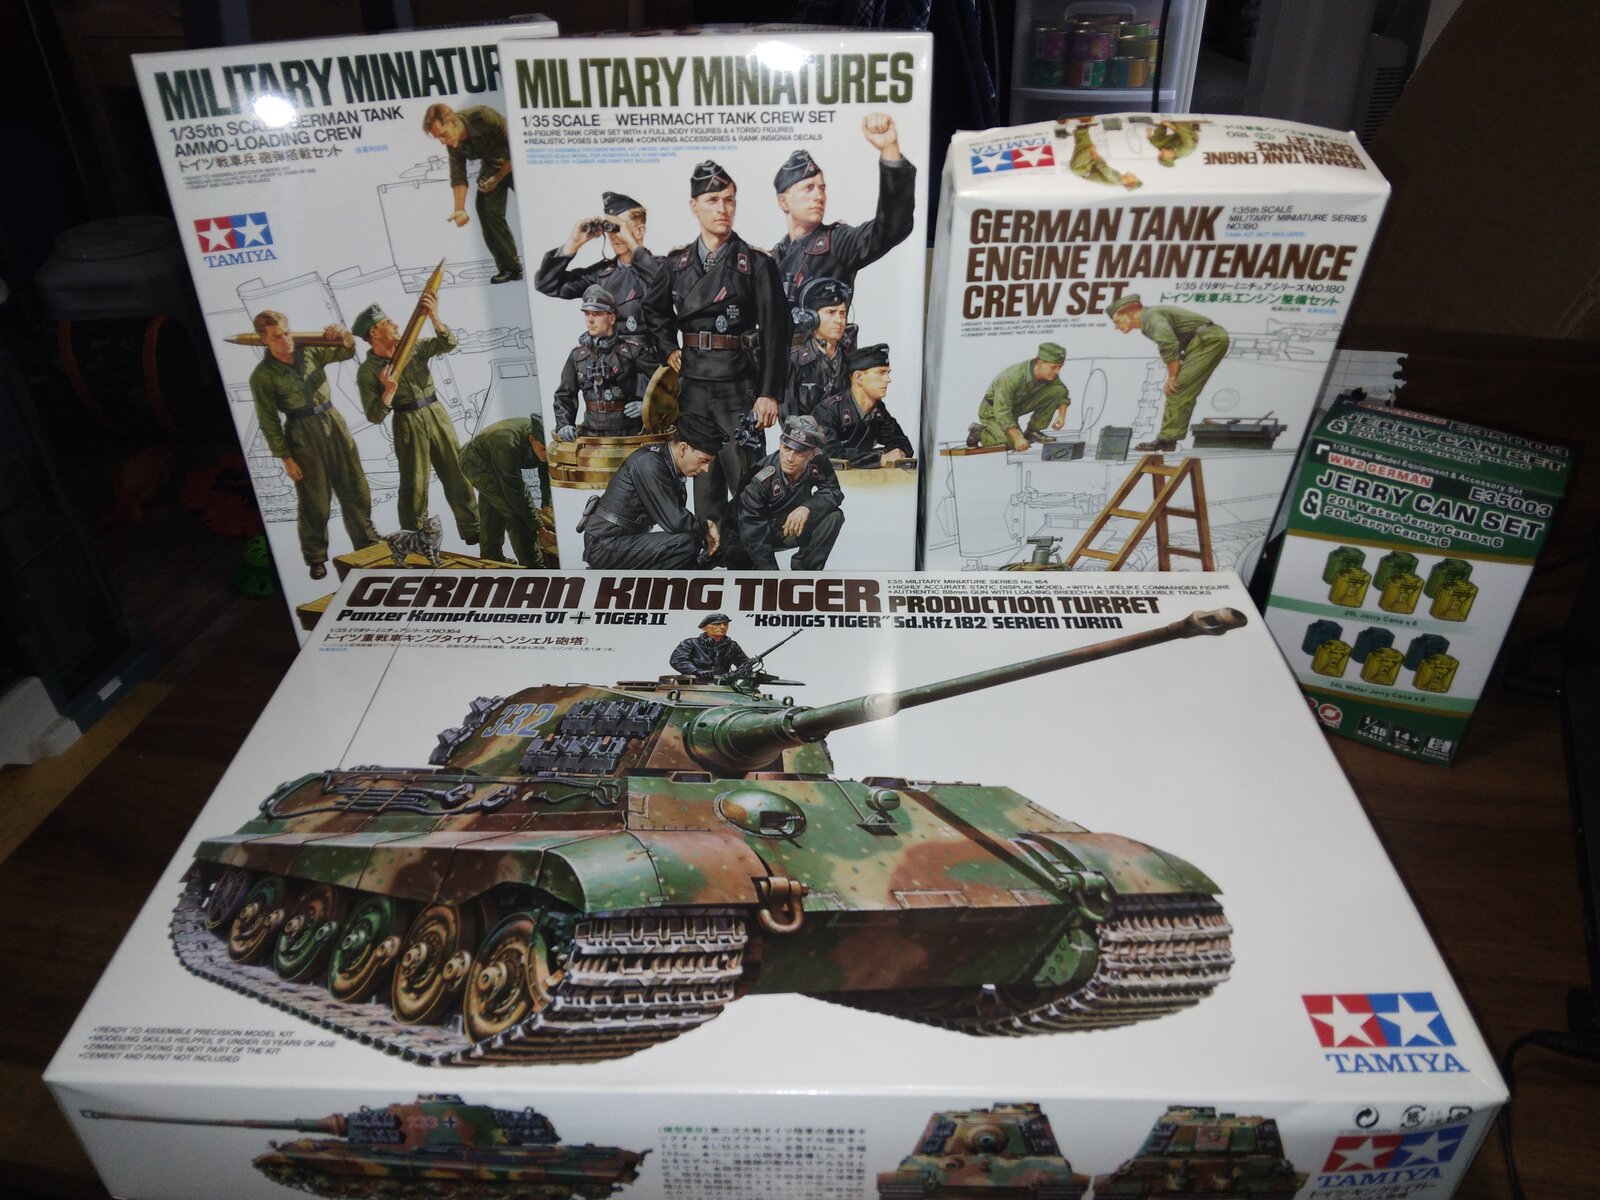
Started this one today. I'm still waiting for a photoetch kit another crew set and a set of aftermarket tracks to come in.
20250706_180505.jpg


20250706_192600.jpg


20250706_192745.jpg


20250706_192805.jpg


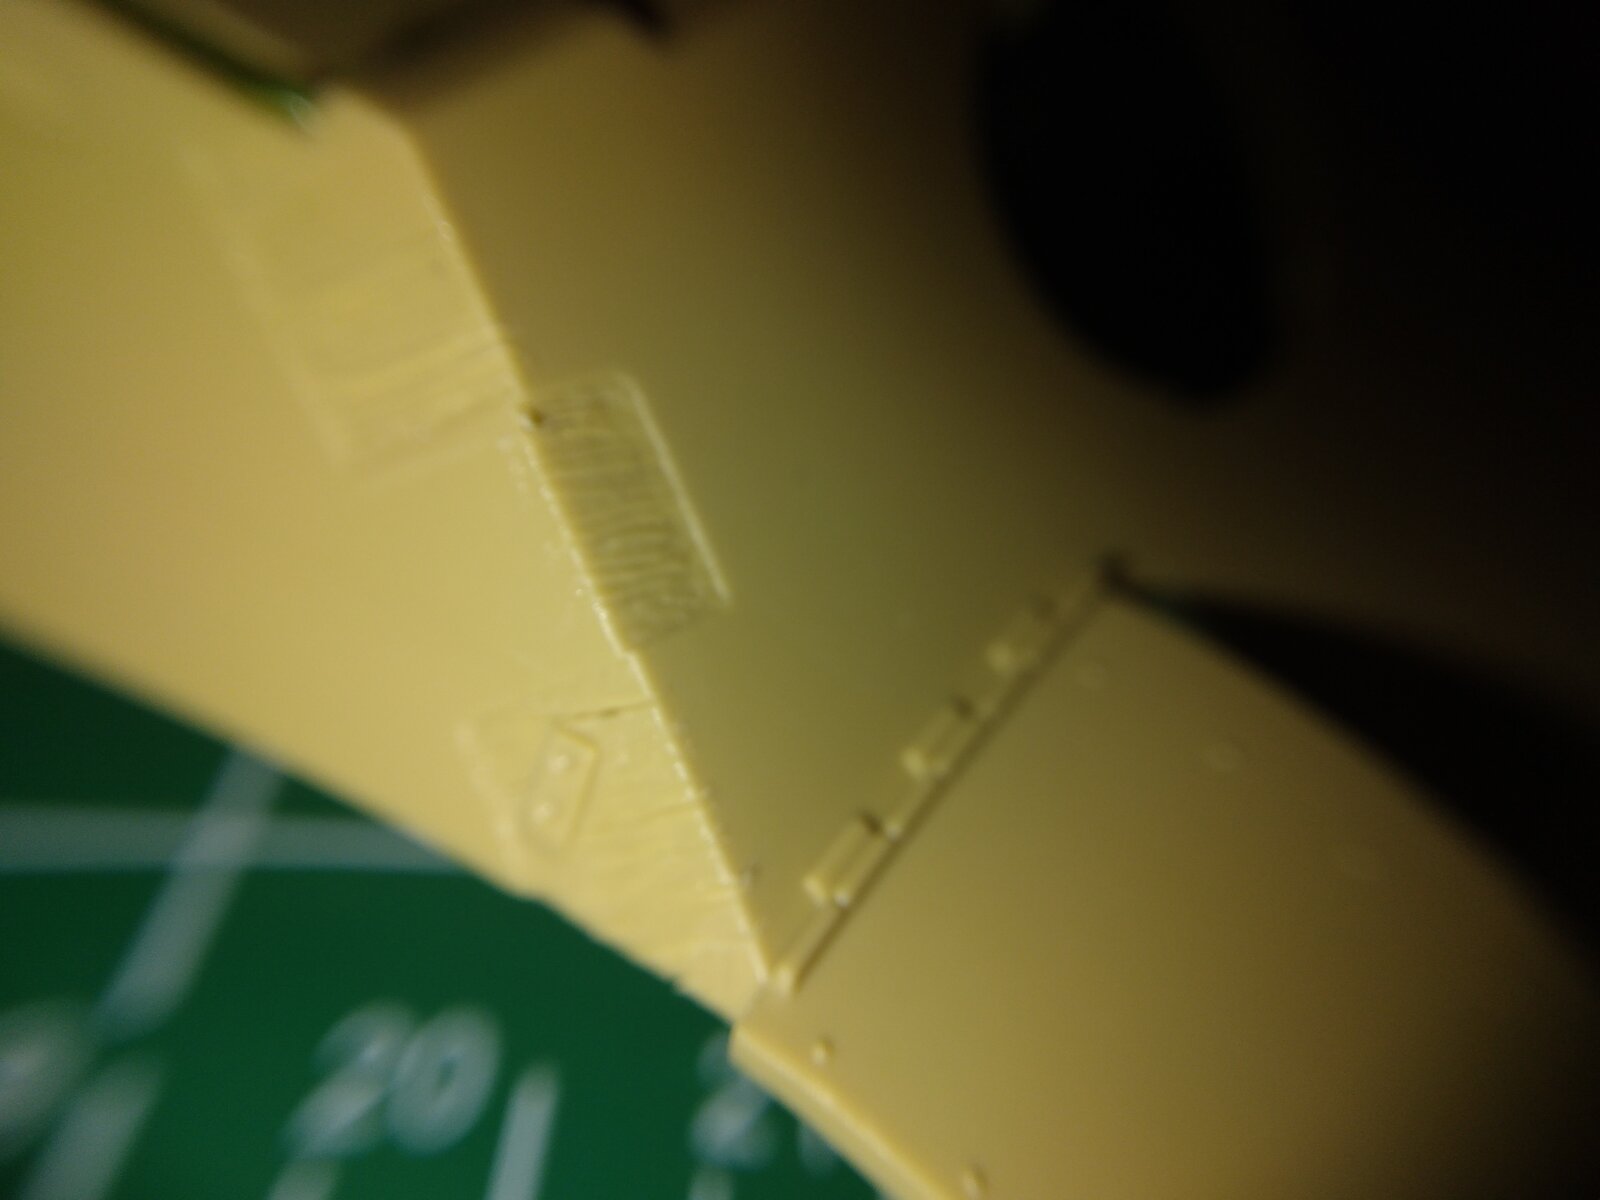
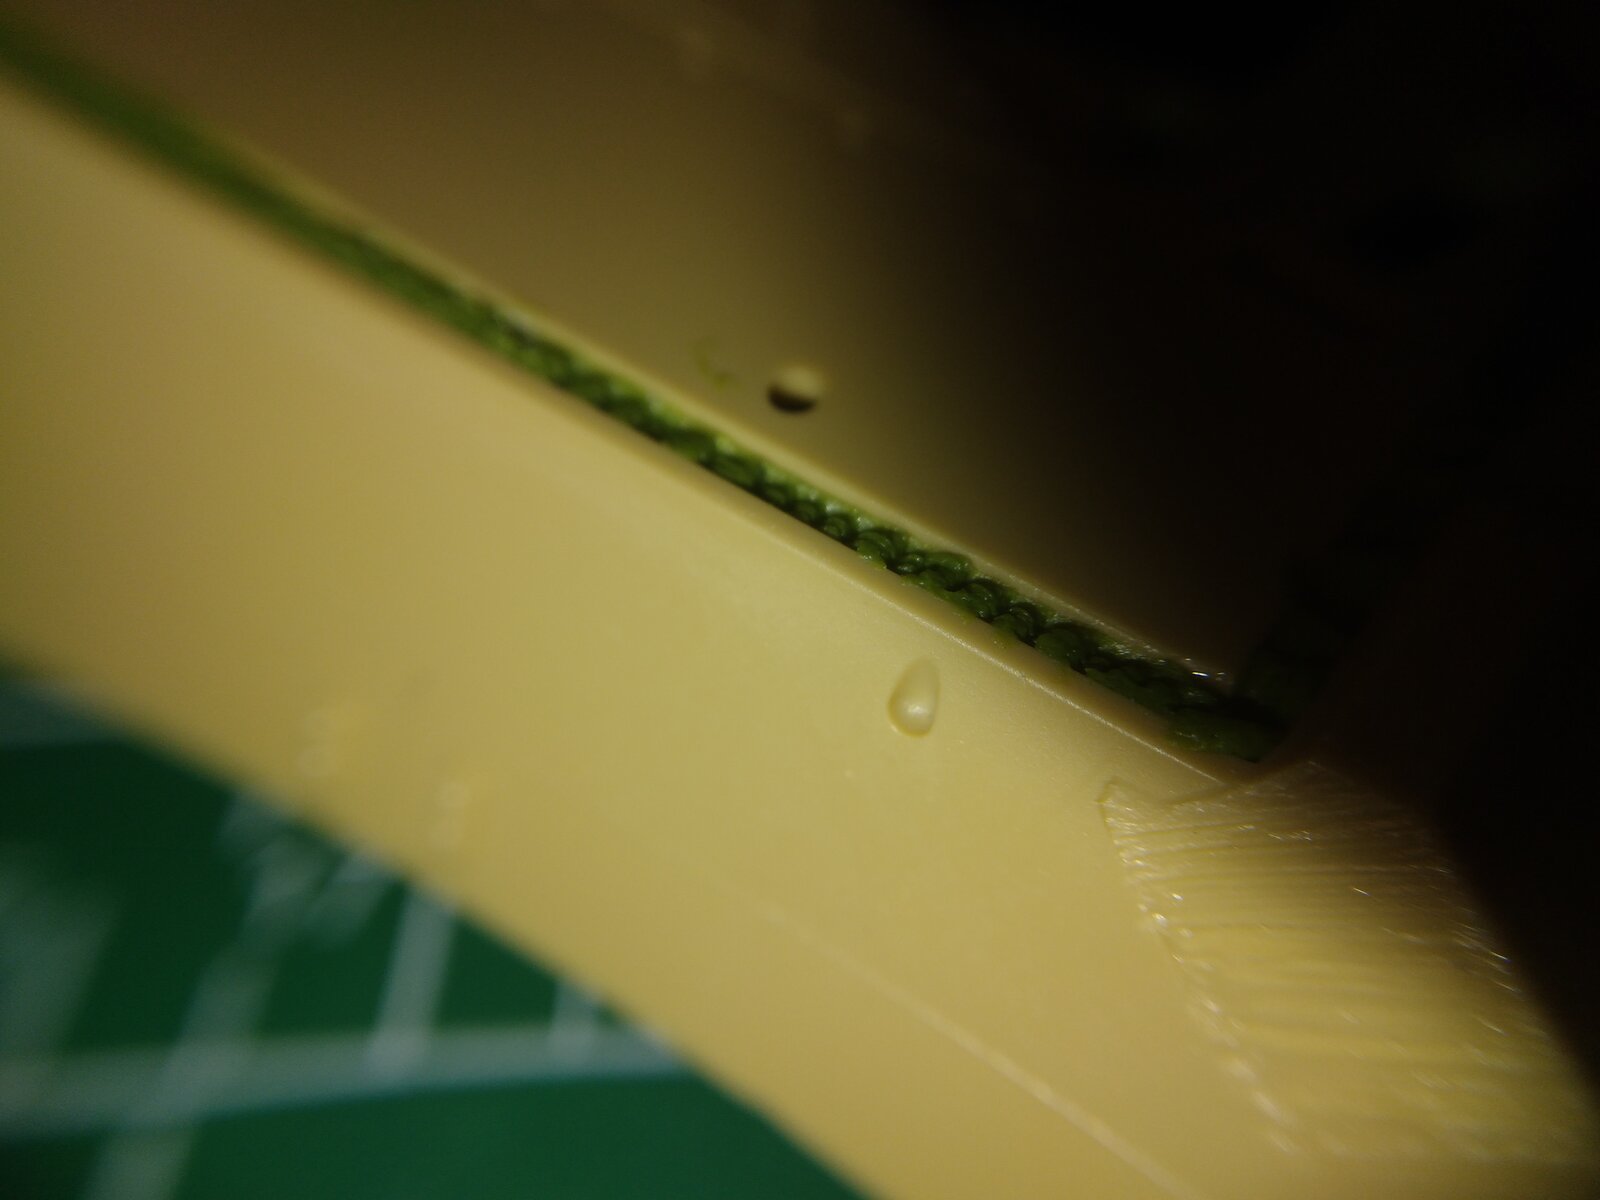
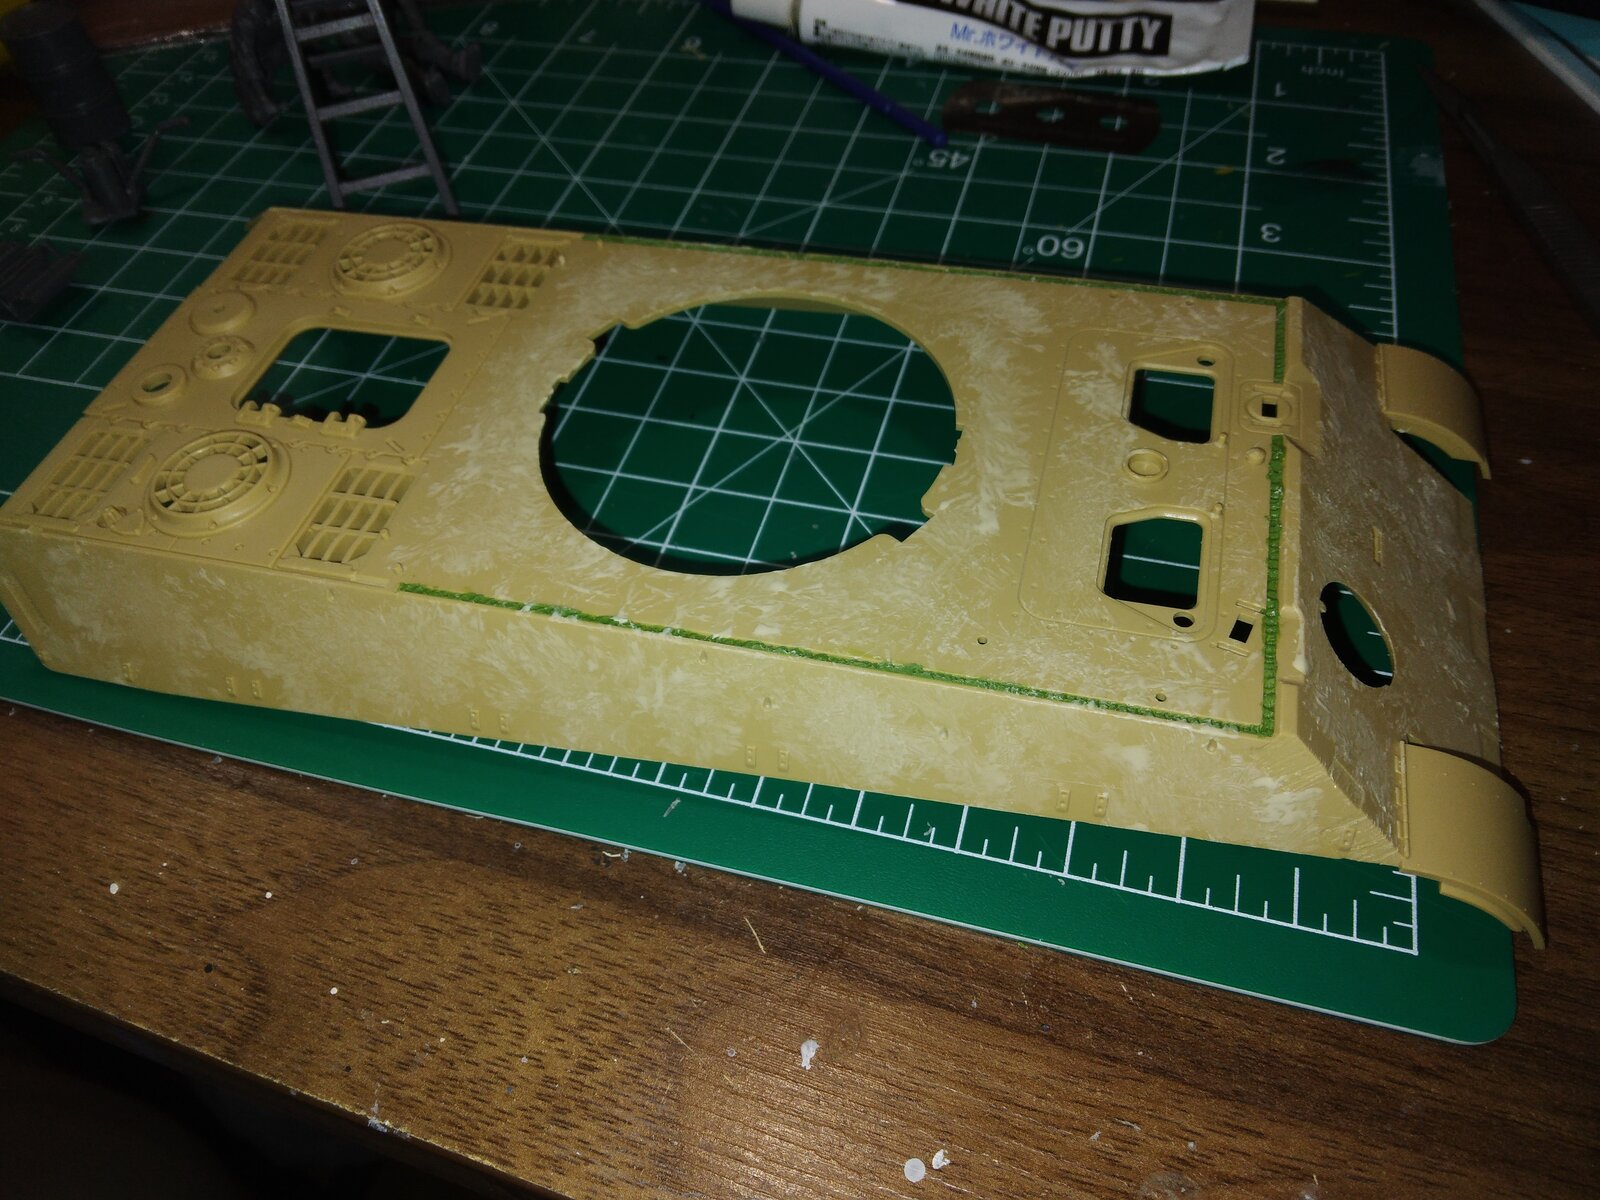
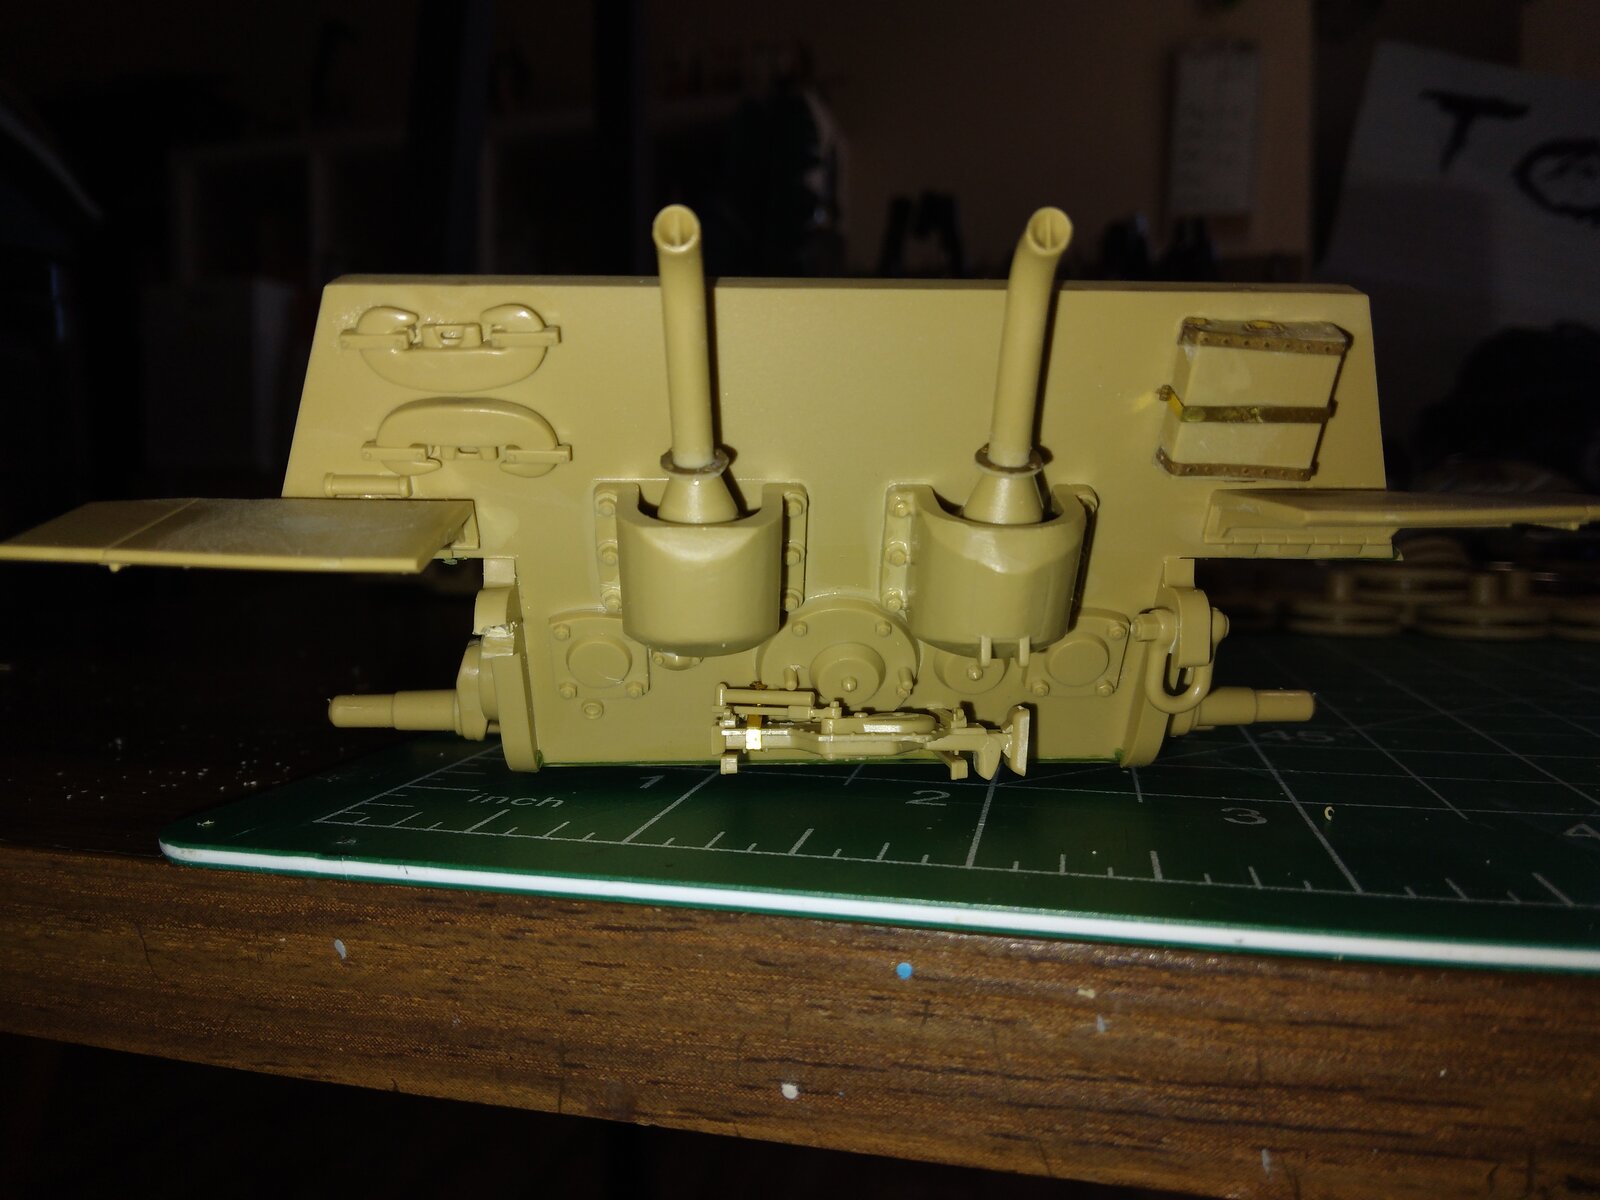
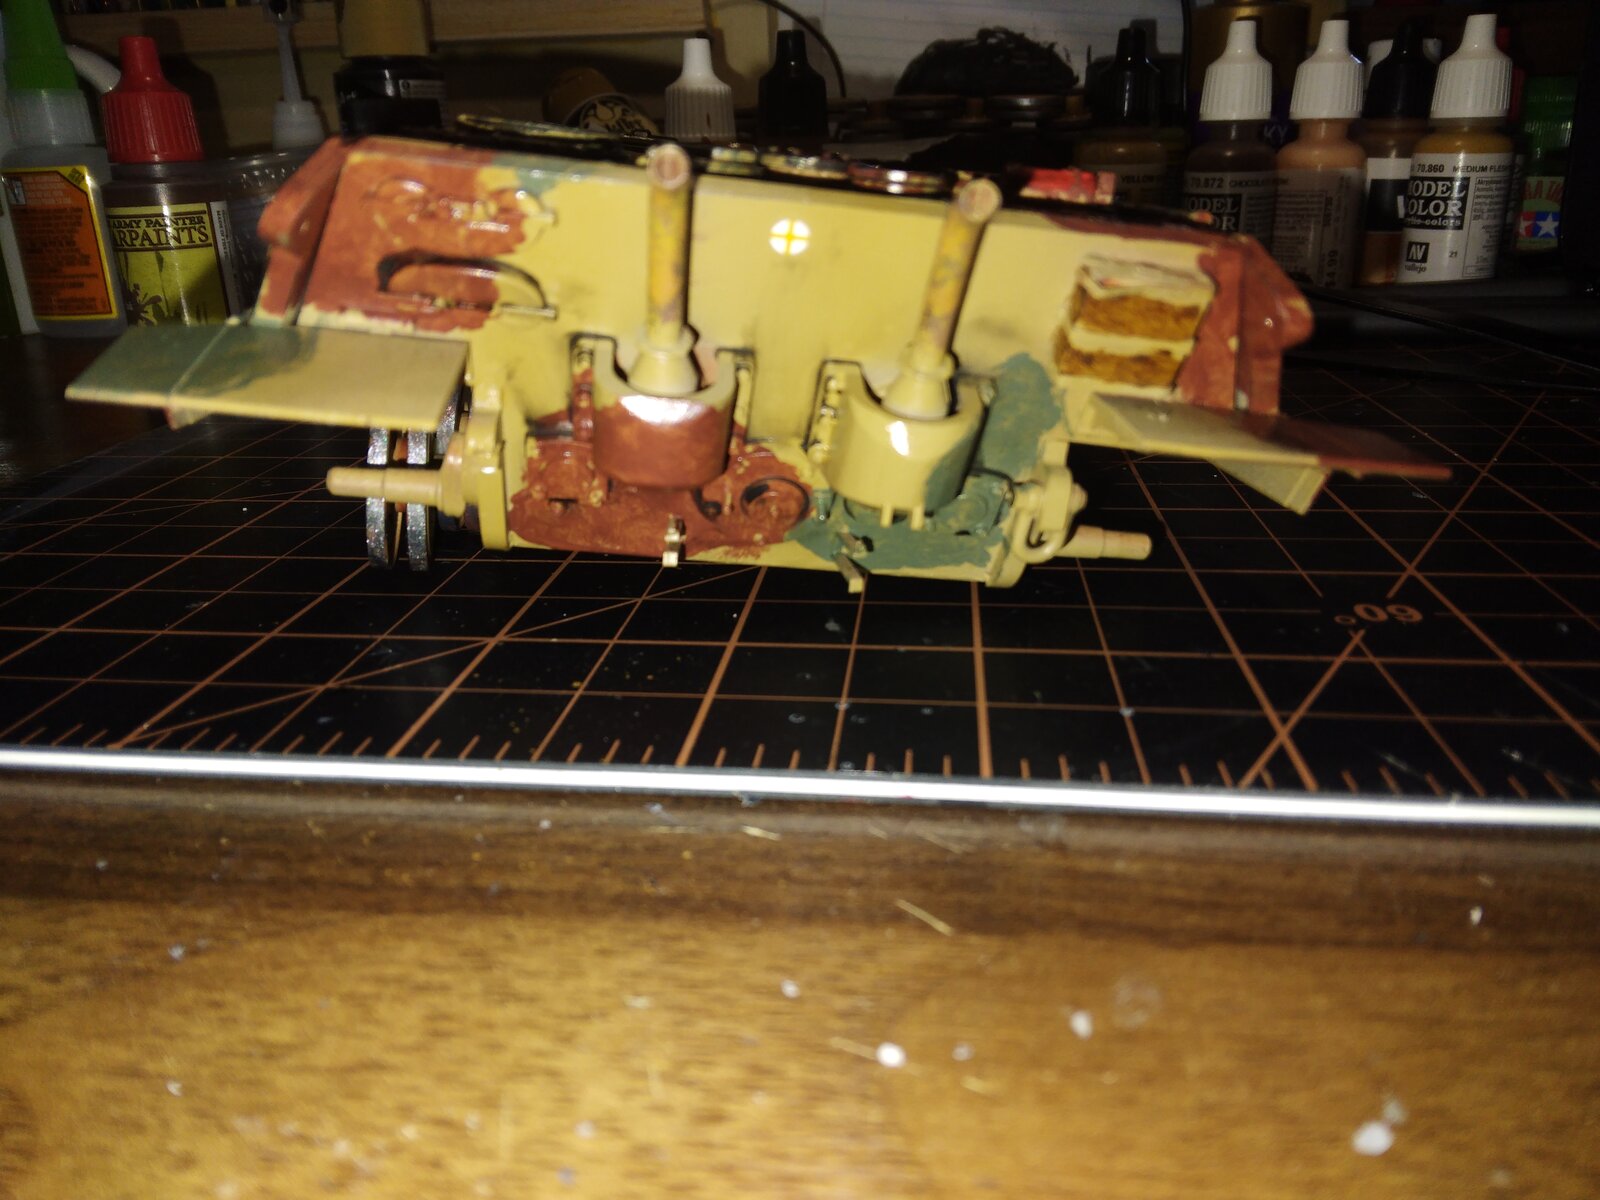
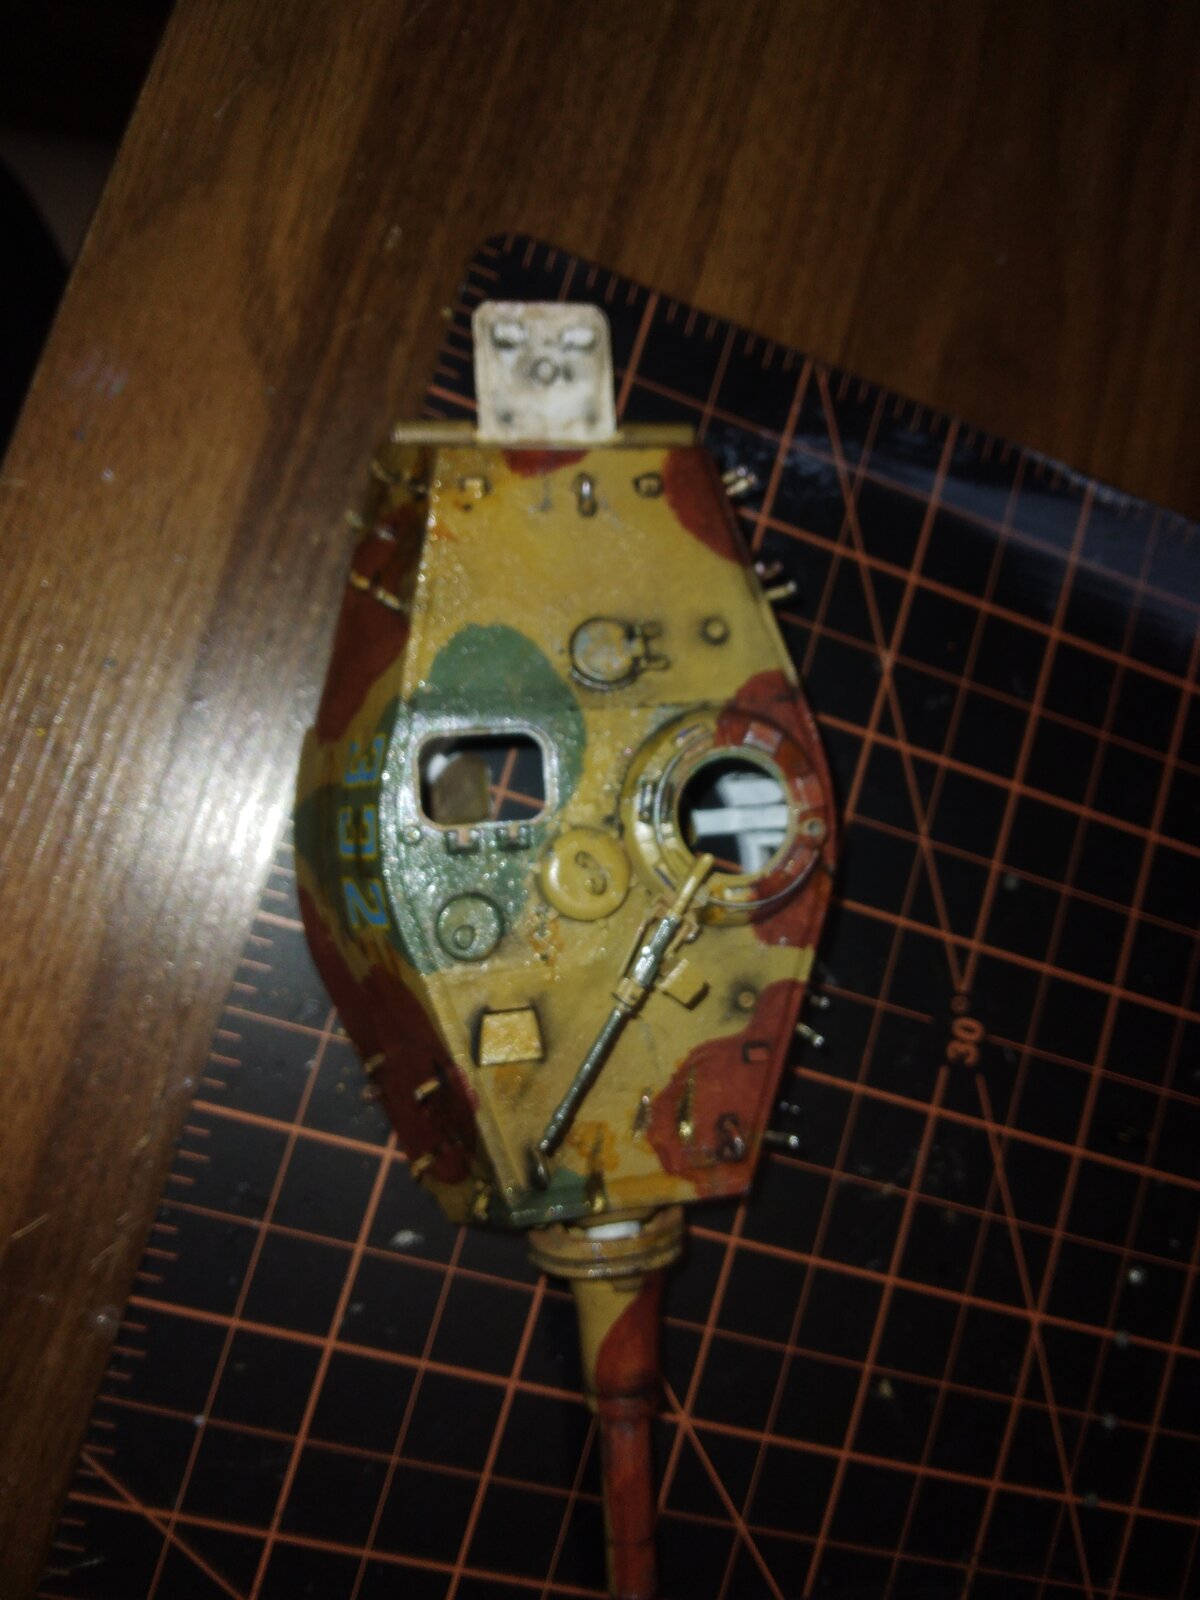
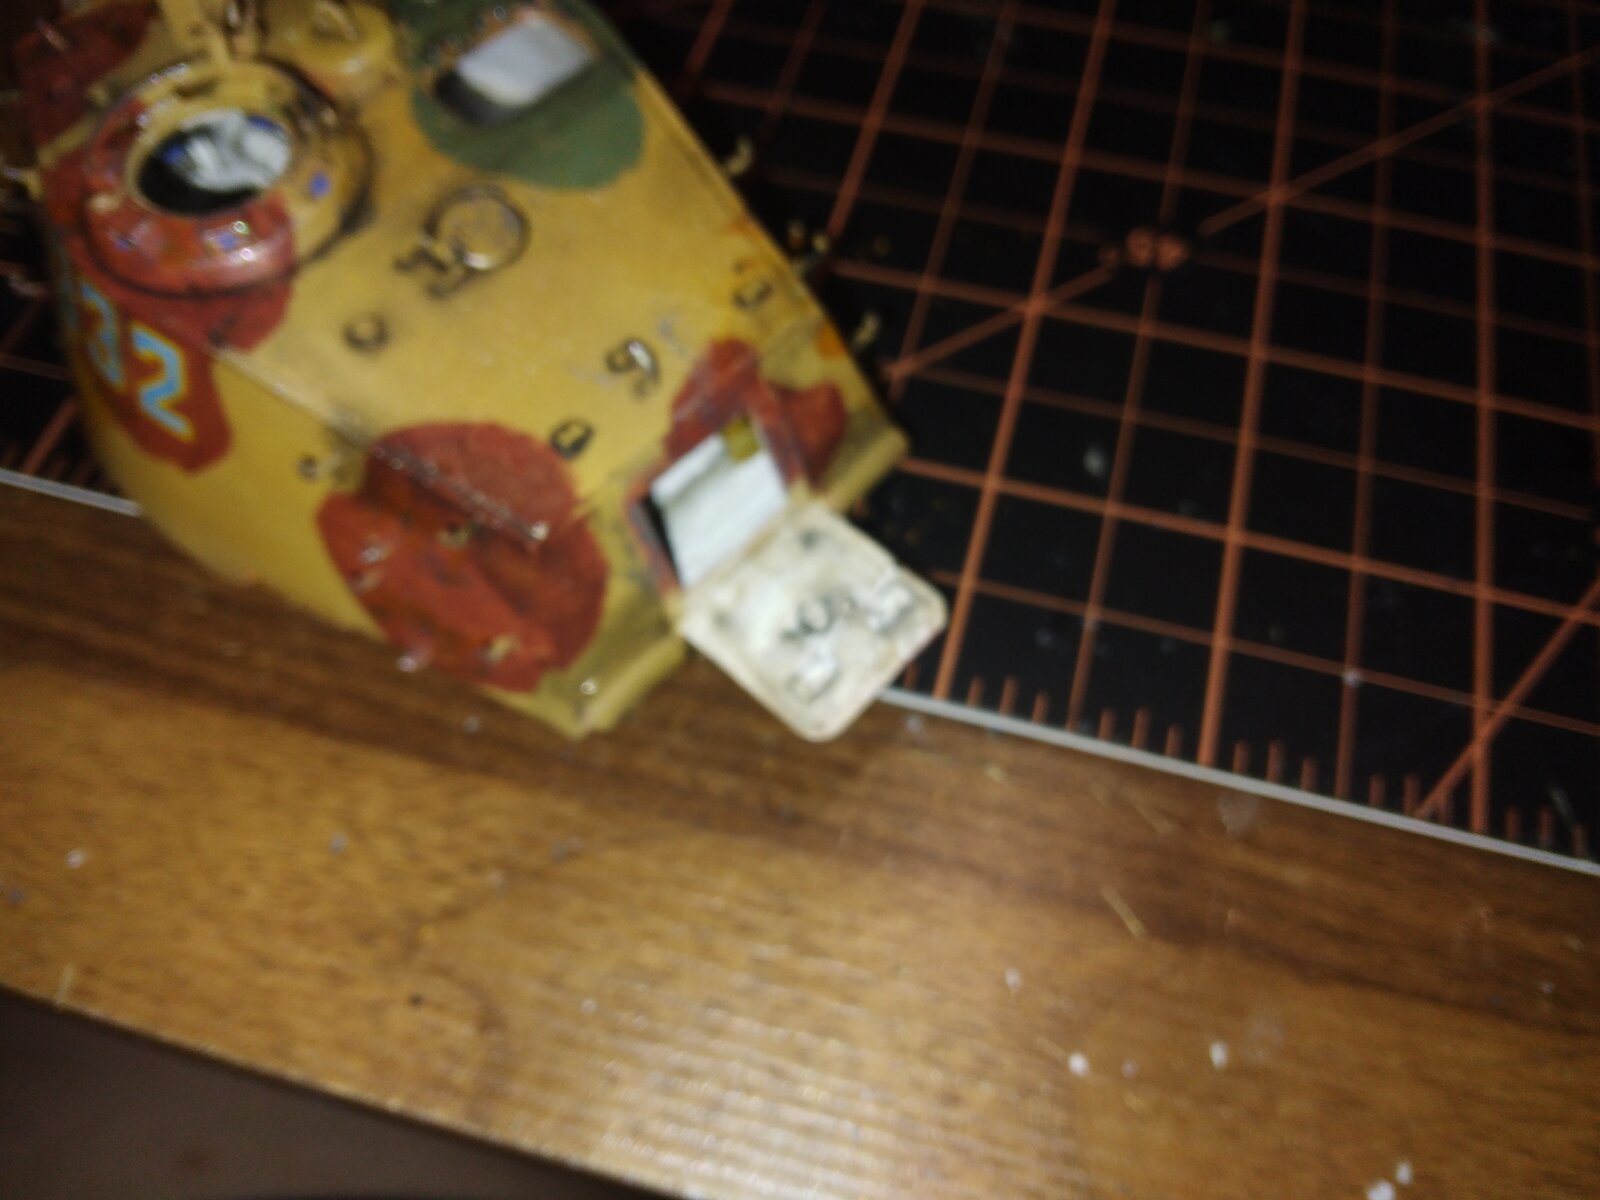
I decided to remove the molded in weld beads and replace them with putty weld beads and I also enhanced the flame cut marks.

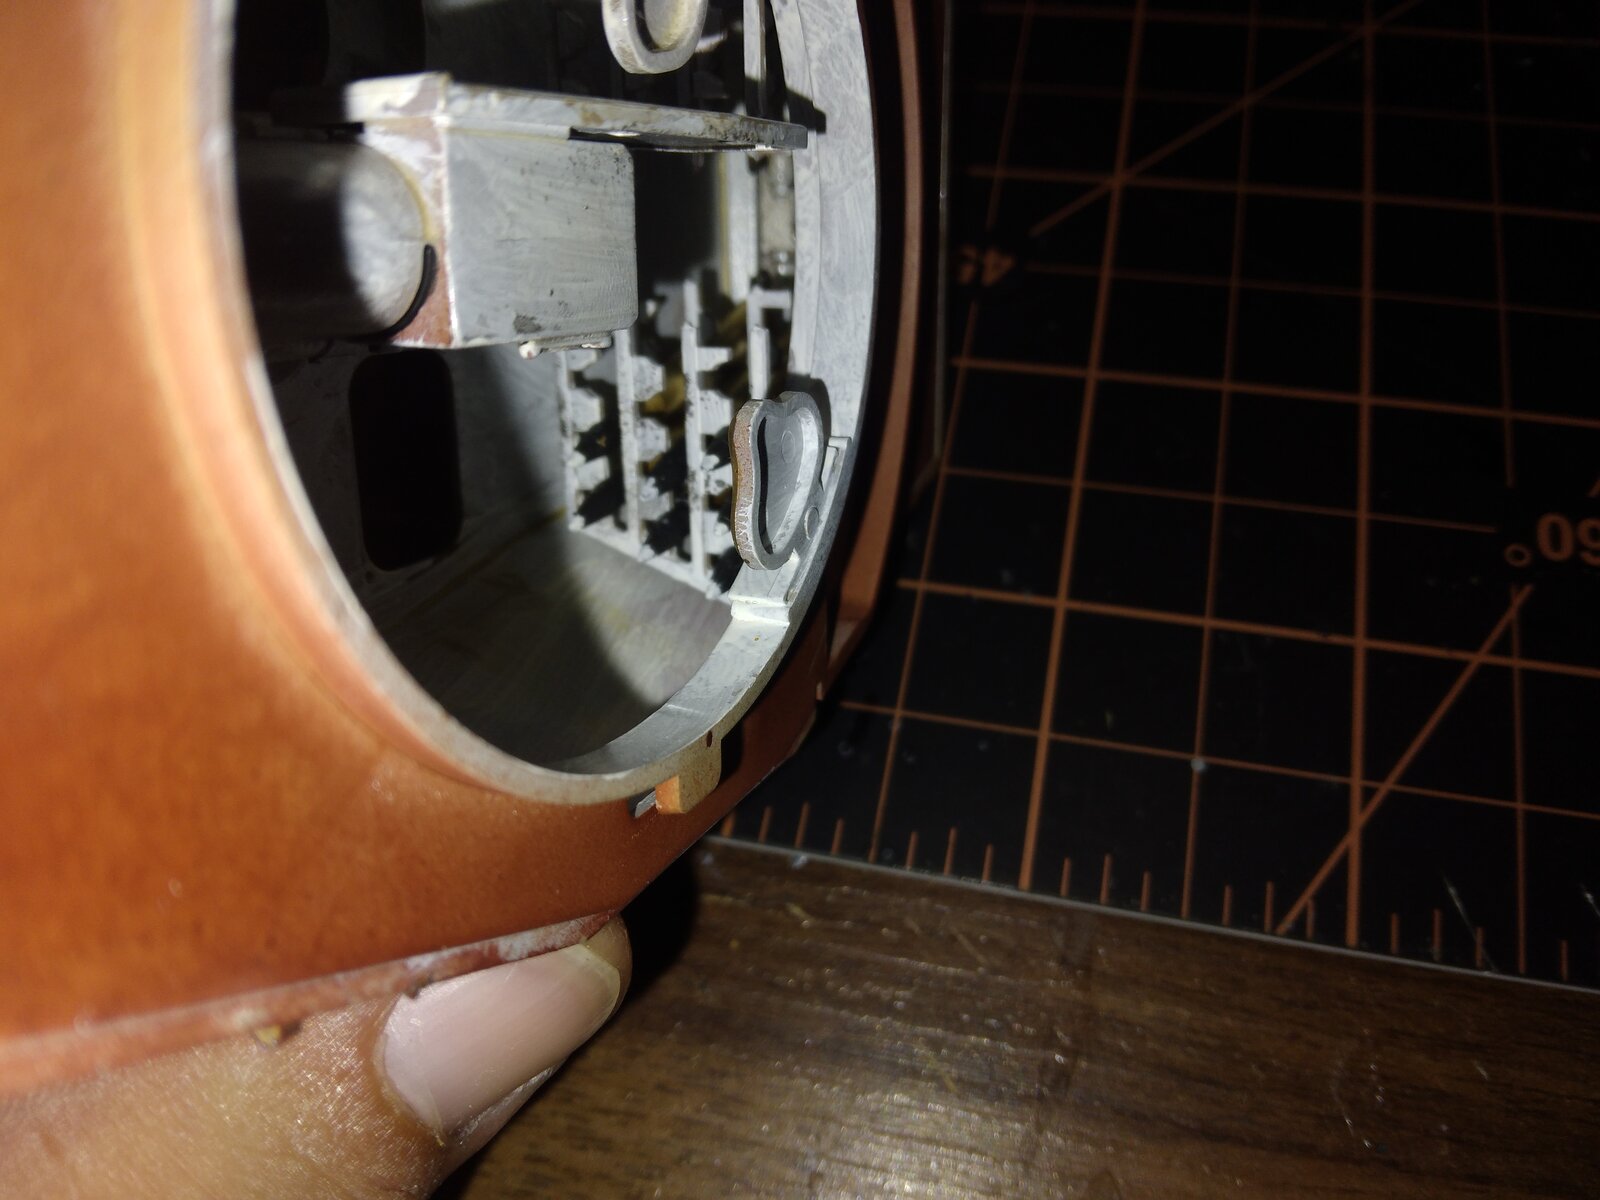
I am trying a new lens for a camera for close up photos. They aren't turning out the way I hoped.

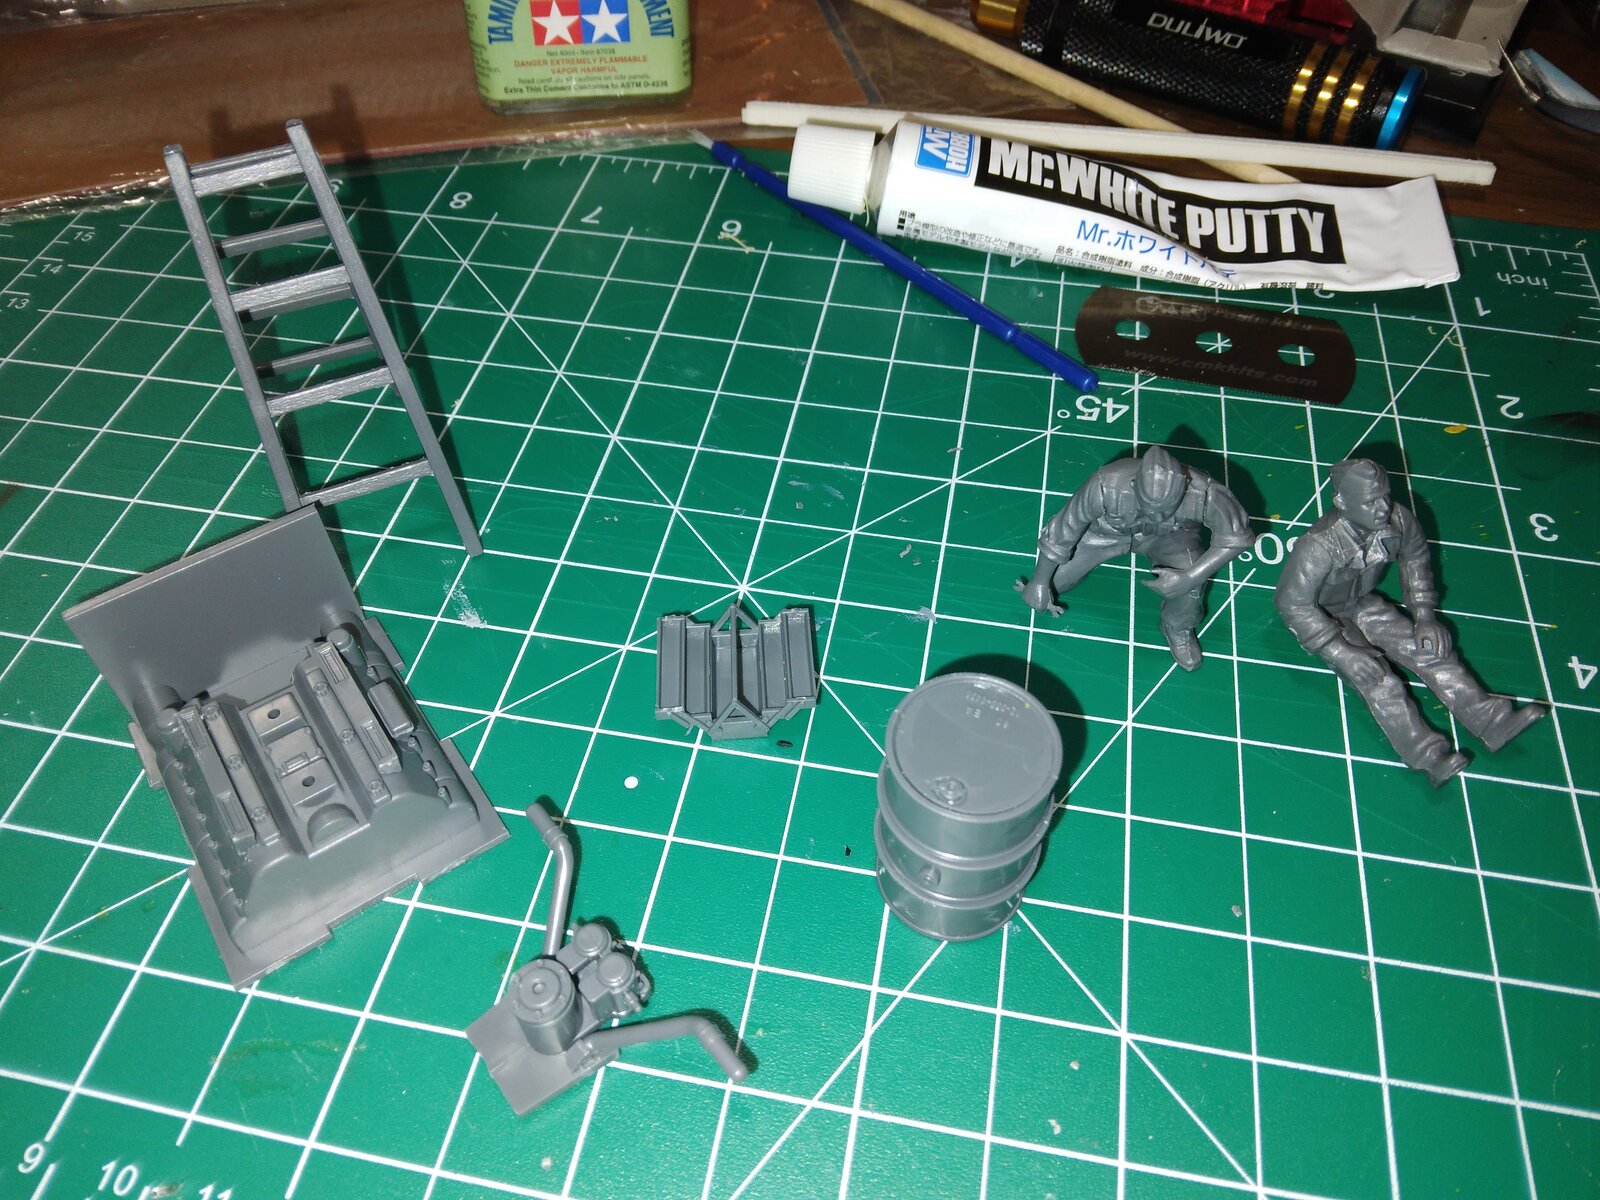
I am going to be building a base/diorama for the model, that's why I have so many accessories for it. With the crew sets I'm getting I'm going to mix and match the figures so I can get the scene I want.
 
I am trying a new lens for a camera for close up photos. They aren't turning out the way I hoped.
You need better lighting. It looks like all you have is a light from the front, which means you have shadows everywhere. Much better is three or four lights: one on the left, one on the right and one above, plus possibly one in front. None of these should illuminate the model directly, but instead, either shine through some translucent material such as white cloth or have their light bounce off a reflector such as a white panel. This way you'll light your model much more evenly and from all directions, which will look a lot better.

Not photographing the model on your work surface but on a neutral background also works wonders.
 
You need better lighting. It looks like all you have is a light from the front, which means you have shadows everywhere. Much better is three or four lights: one on the left, one on the right and one above, plus possibly one in front. None of these should illuminate the model directly, but instead, either shine through some translucent material such as white cloth or have their light bounce off a reflector such as a white panel. This way you'll light your model much more evenly and from all directions, which will look a lot better.

Not photographing the model on your work surface but on a neutral background also works wonders.
Don't have a neutral background. I don't have enough room for that unfortunately
Are you using the smallest aperture you can?
Yep.

Too be honest I probably won't be using that lens again until I can get more room and a better set up.
 
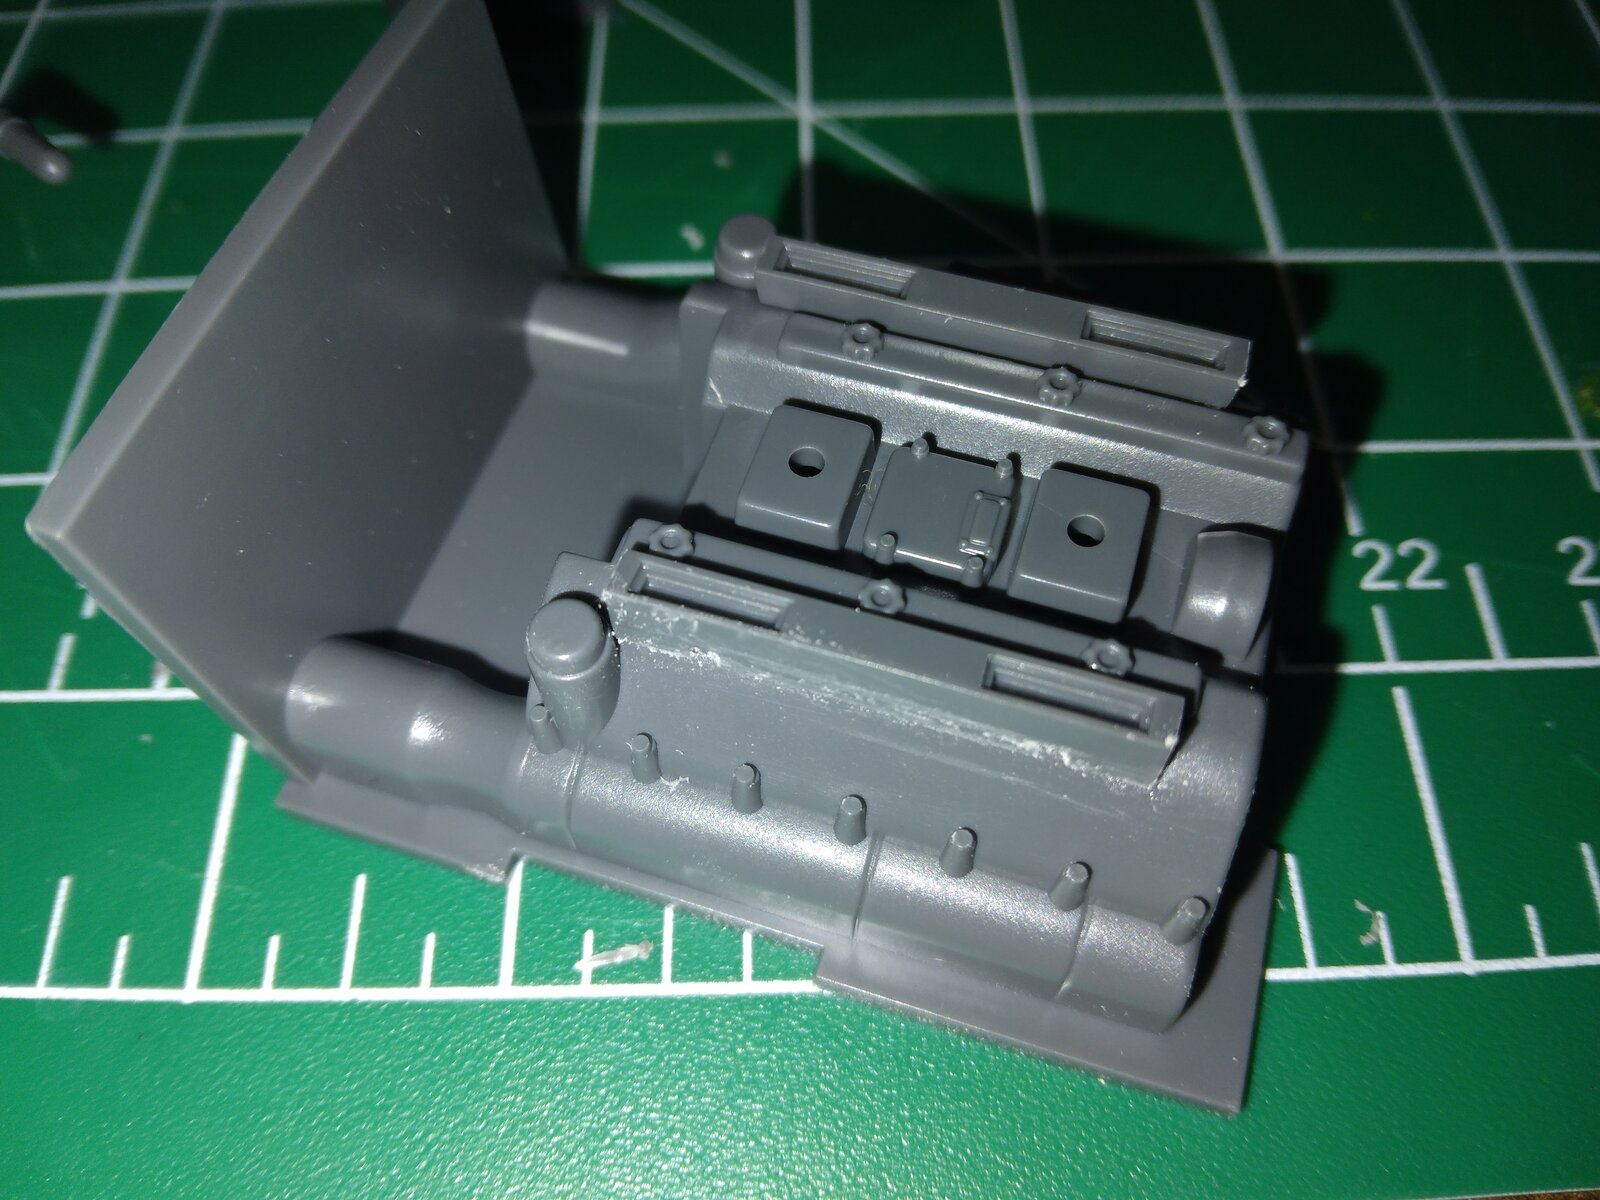
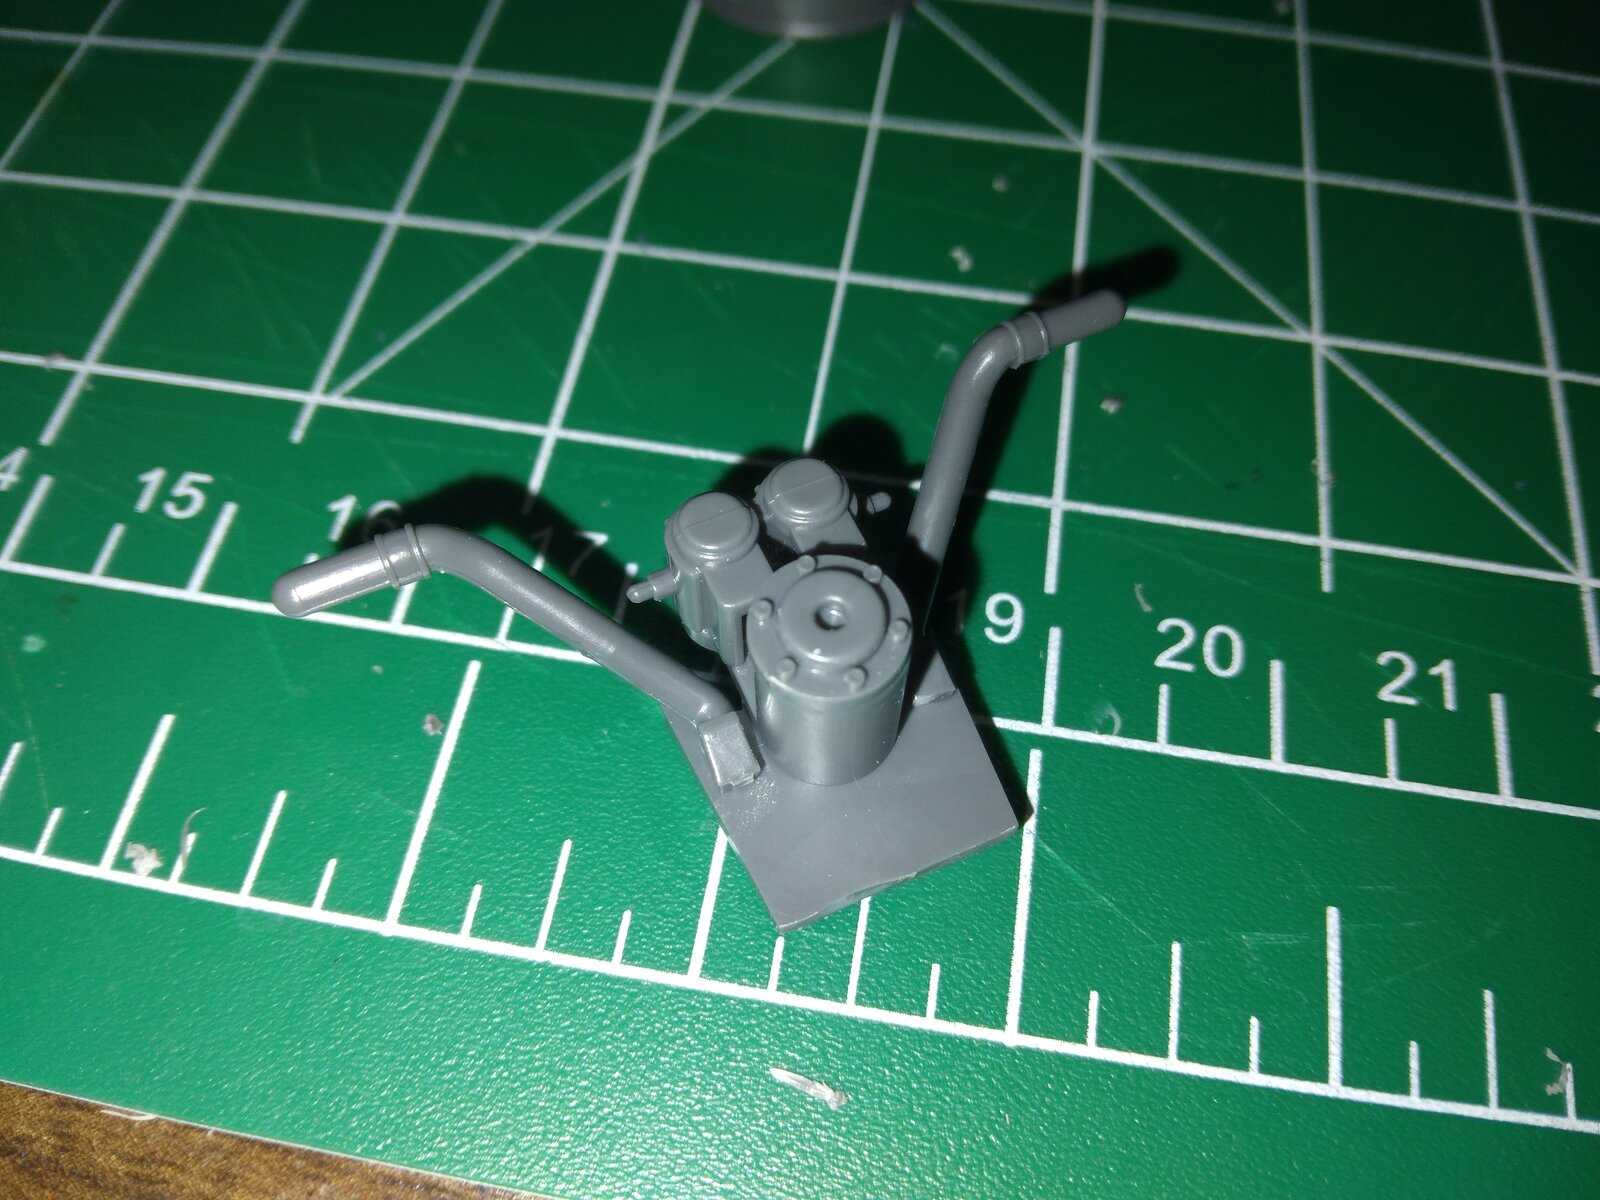
I added some light texturing to the armor plates and started on the engine for it.

20250707_091009.jpg

20250707_091020.jpg

20250707_091031.jpg

20250707_091042.jpg

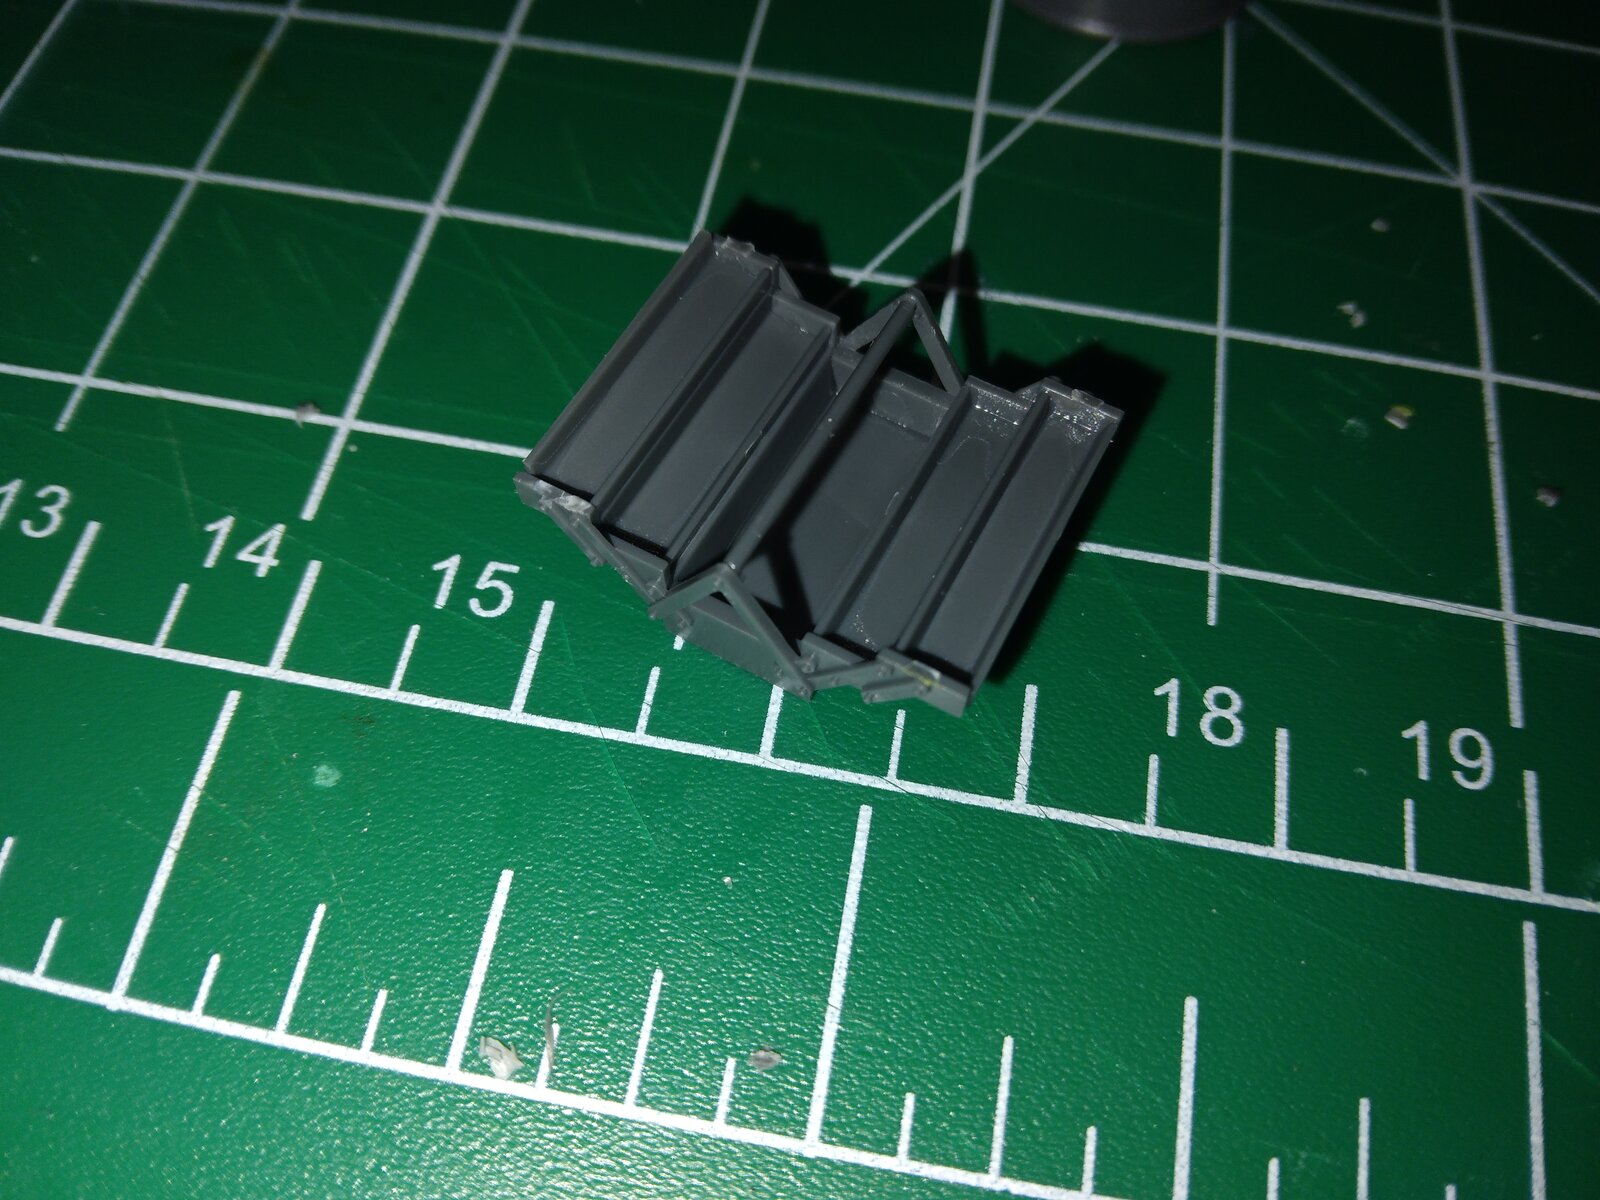
The tool box. 7 individual parts for it. The ladder was easy to put together, it had a stand jig built into the sprue. Very nice of them to do that.
20250707_091127.jpg

20250707_091141.jpg

First time I've done this, not bad but I need to find a stiff bristled brush to continue to do this.
 
As an Amazon Associate we earn from qualifying purchases. Product prices and availability are accurate as of the date/time indicated and are subject to change.
Don't have a neutral background. I don't have enough room for that unfortunately
All it takes is a sheet of paper in a neutral colour, such as light or medium grey, black, blue, or similar — easily purchased in a stationary shop. A4 size will do for parts and smaller models, but for something like a Tiger II hull, never mind the whole tank, you may want A3 or even A2. Don't forget you can prop it up against something at the back instead of simply laying it flat, to give you a backdrop as well.
 
All it takes is a sheet of paper in a neutral colour, such as light or medium grey, black, blue, or similar — easily purchased in a stationary shop.
Similarly, and using something you probably already have...

Sheets or pillow cases can be draped over whatever background you have, secured with tape or clothespins. As long as your background is out of focus it doesn't matter if there's a texture or anything. Having it far behind the subject matter also increases your options for light sources and direction.
 
20250728_130637.jpg


20250728_130648.jpg


20250728_130658.jpg


20250728_130710.jpg

Yes the hatch does open and close.
20250728_130728.jpg


20250728_130741.jpg


20250728_130751.jpg


20250728_130818.jpg


20250728_130838.jpg


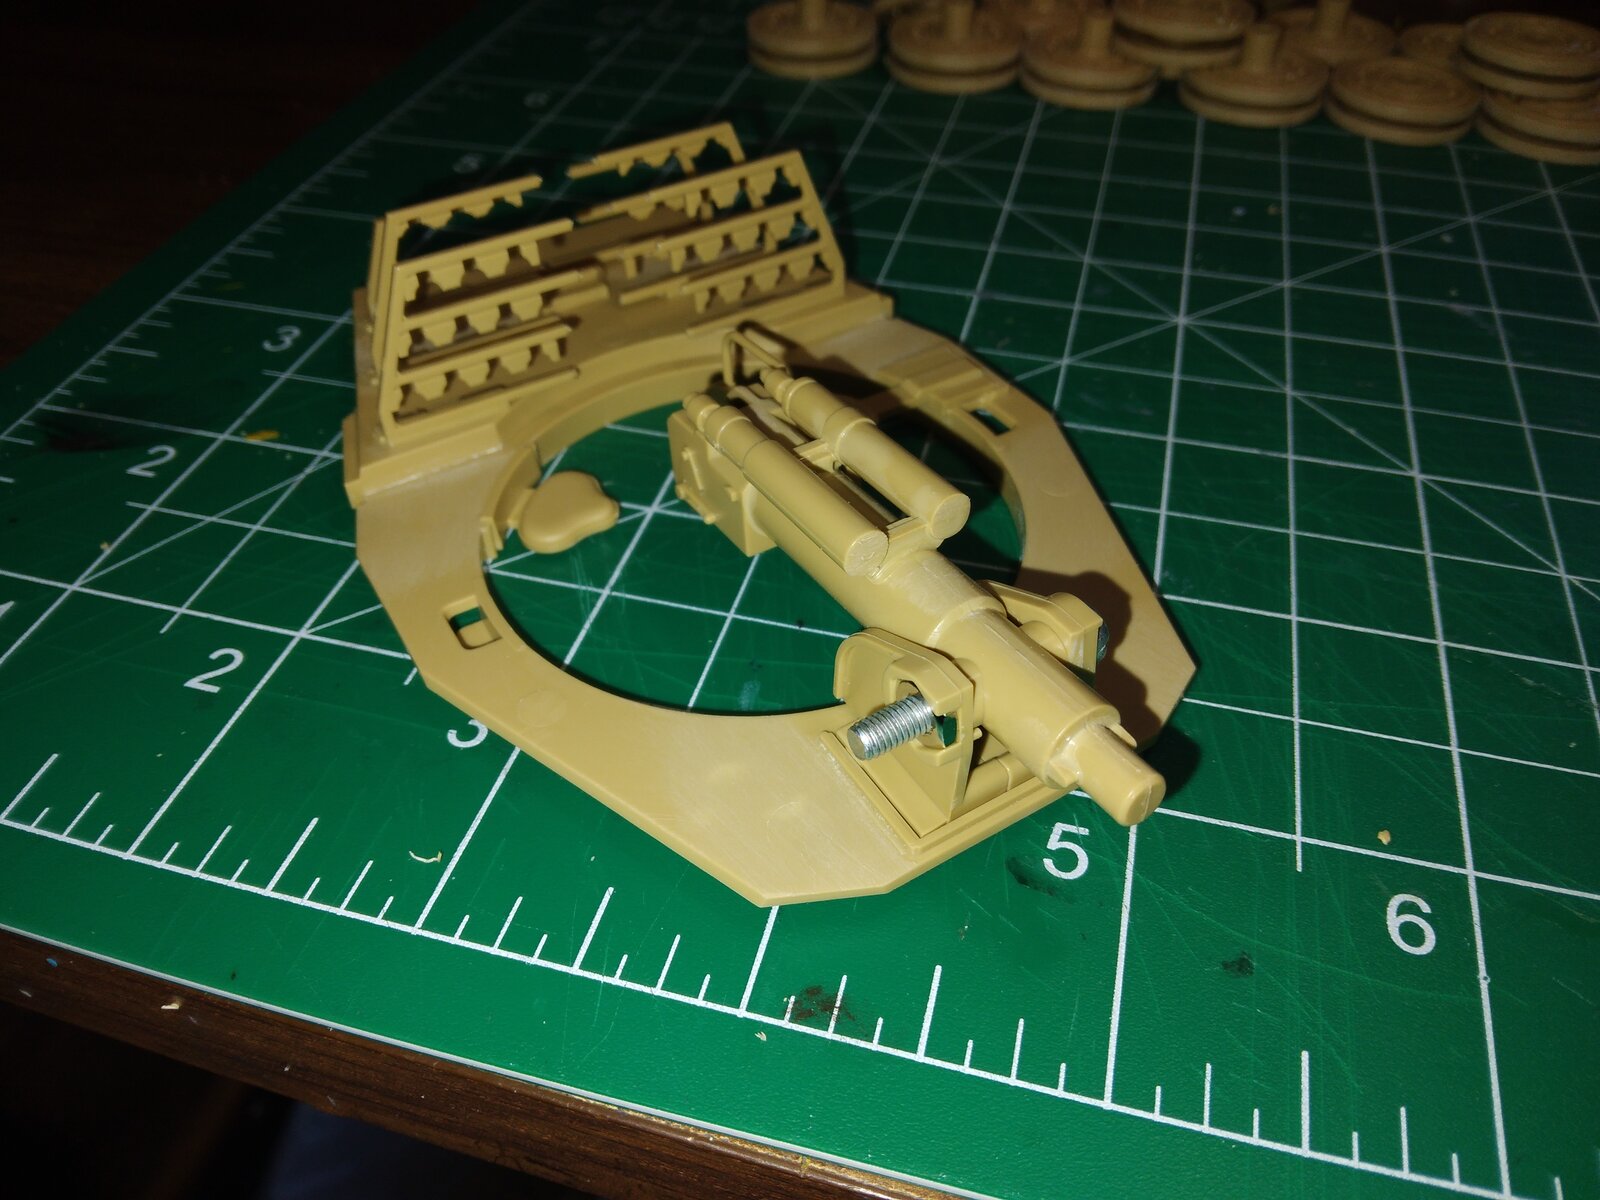
I got more of it done. Almost all of the assembly is done and I'm getting ready for paint. I was going to use quite a bit of photoetch but the details were good enough for me not to use them, I am unhappy with the PE track racks on the turret. Kinda wish I would have used the plastic ones (I can't find them now). The 88 is going to be able to elevate and depress, I have blocks ready to go to limit the gun to what it was able to do in real life.

2 more major builds are left, the tracks and one more pack of miniatures then painting and the diorama base.
 
Got more of the tank done. What do you think so far?
20250818_183956.jpg

All that work on the engine and it is barely visible
20250818_184008.jpg


20250818_184021.jpg


20250818_184031.jpg


20250818_184052.jpg


20250818_184108.jpg


20250818_184225.jpg

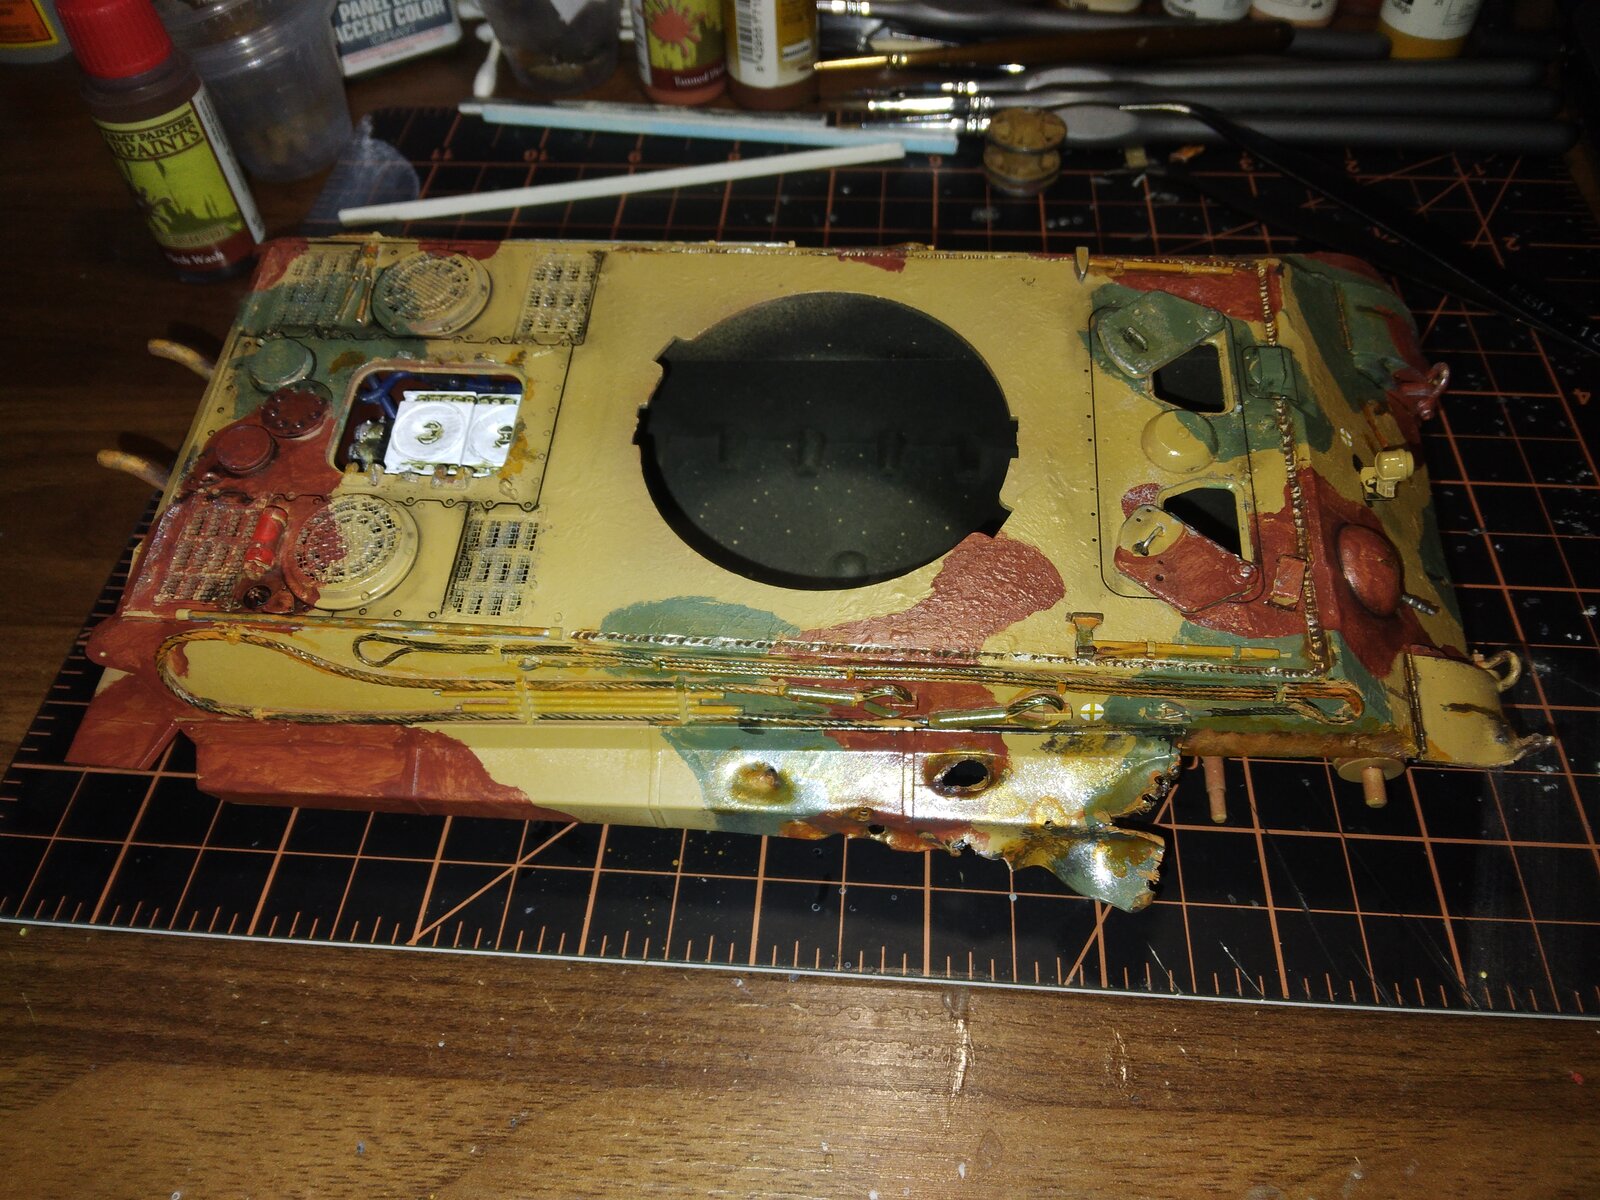
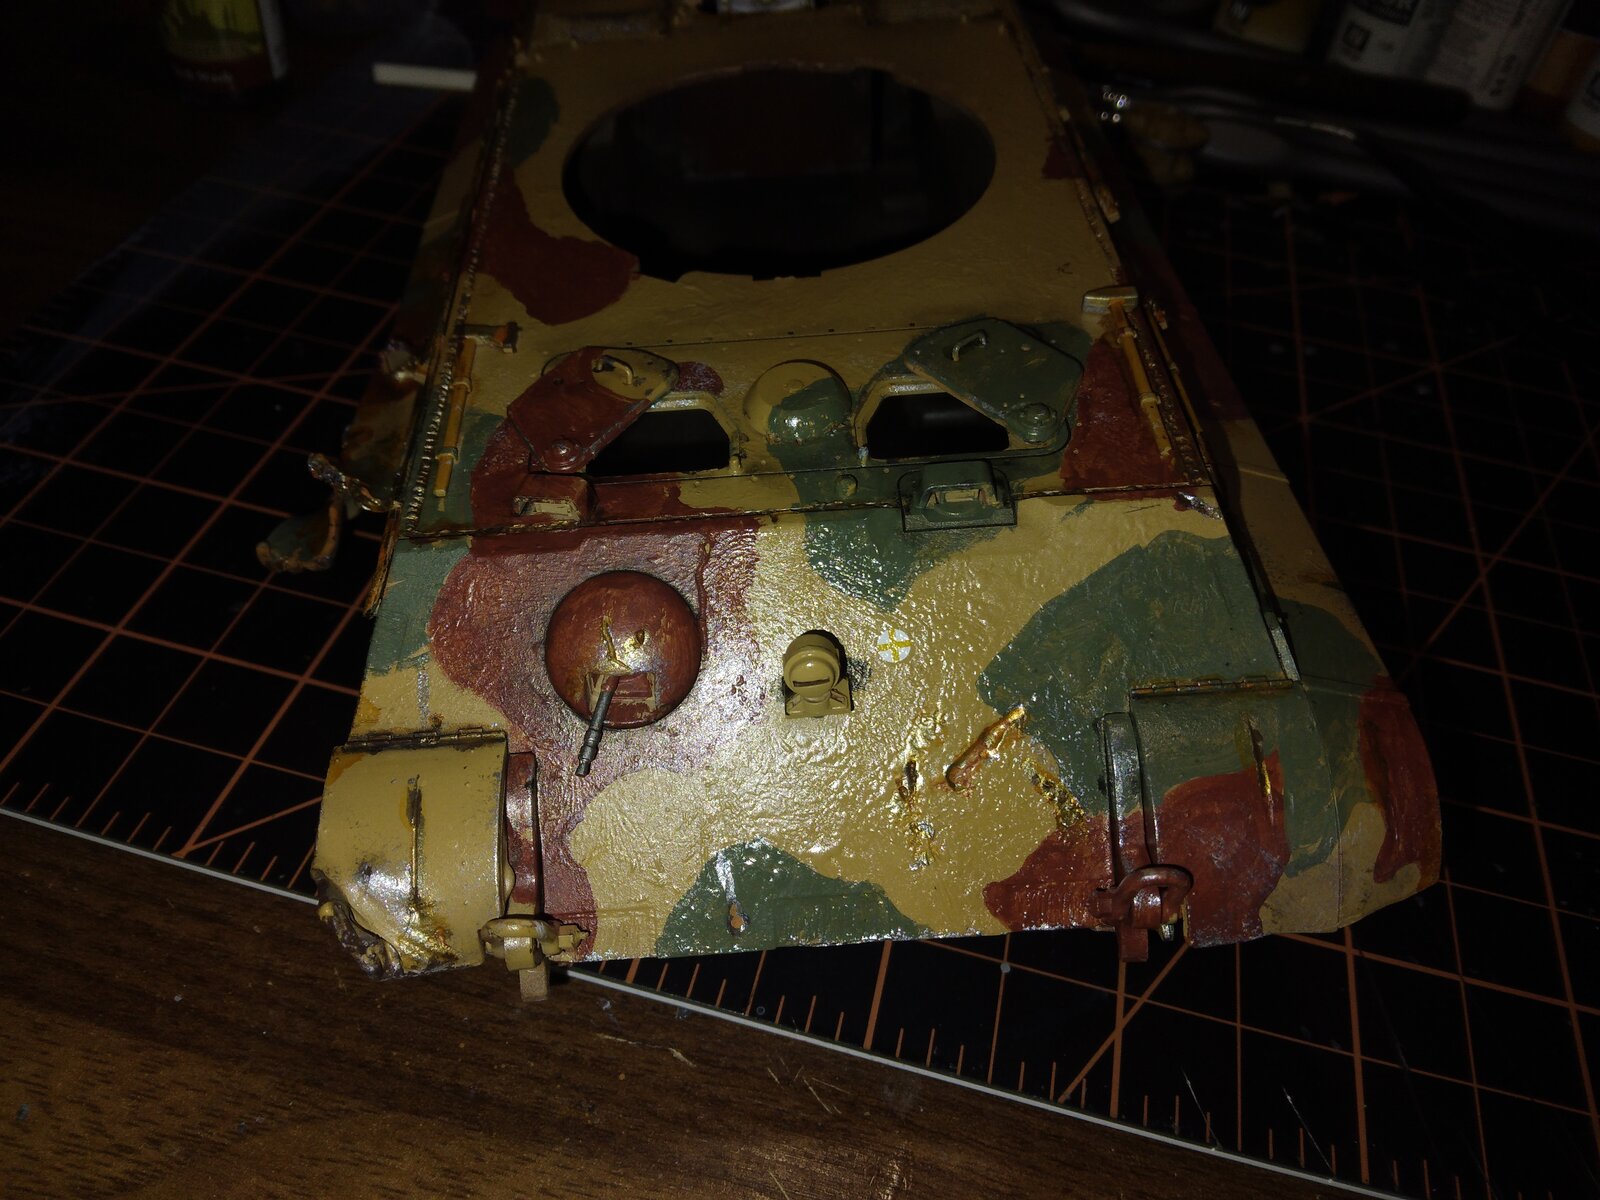
Replicated the damage from a photo series I found online
20250818_184208.jpg


20250818_184134.jpg

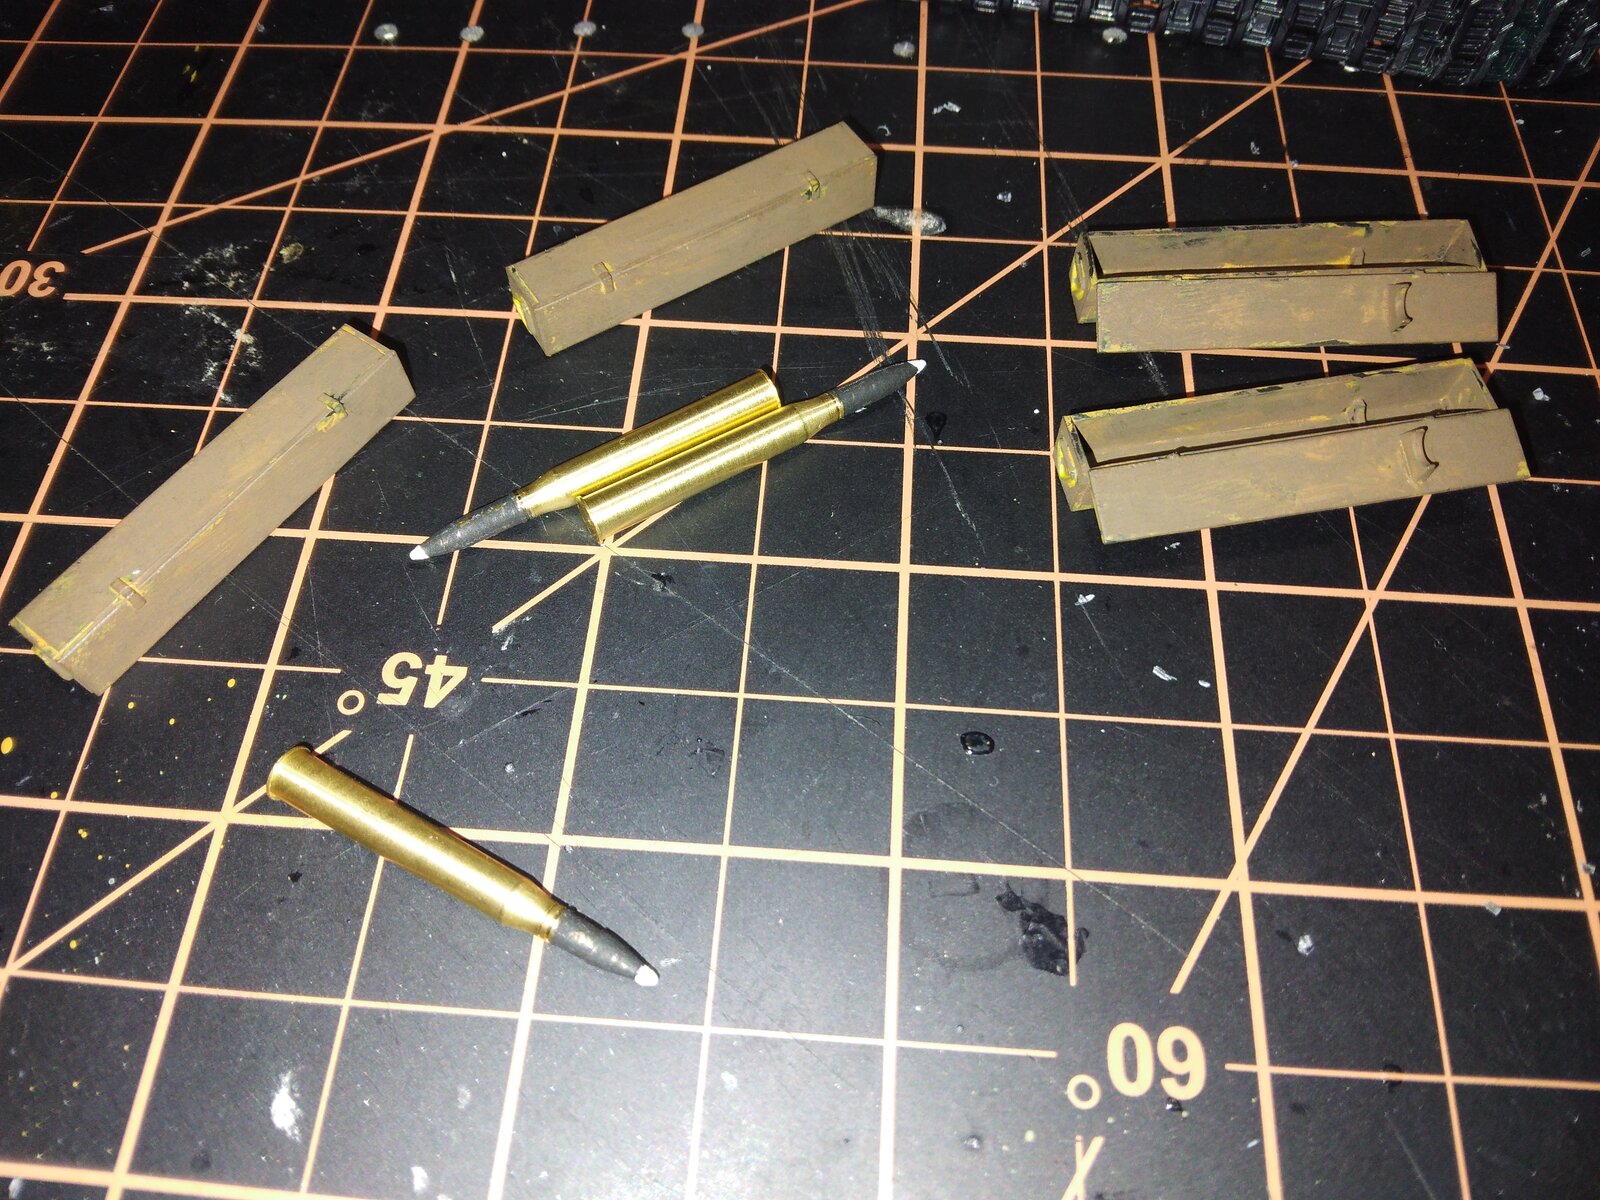
Tried to get a shot of the interior to show the ammo that I put in the racks. Didn't show as well as I hoped.
 
20250818_184251.jpg

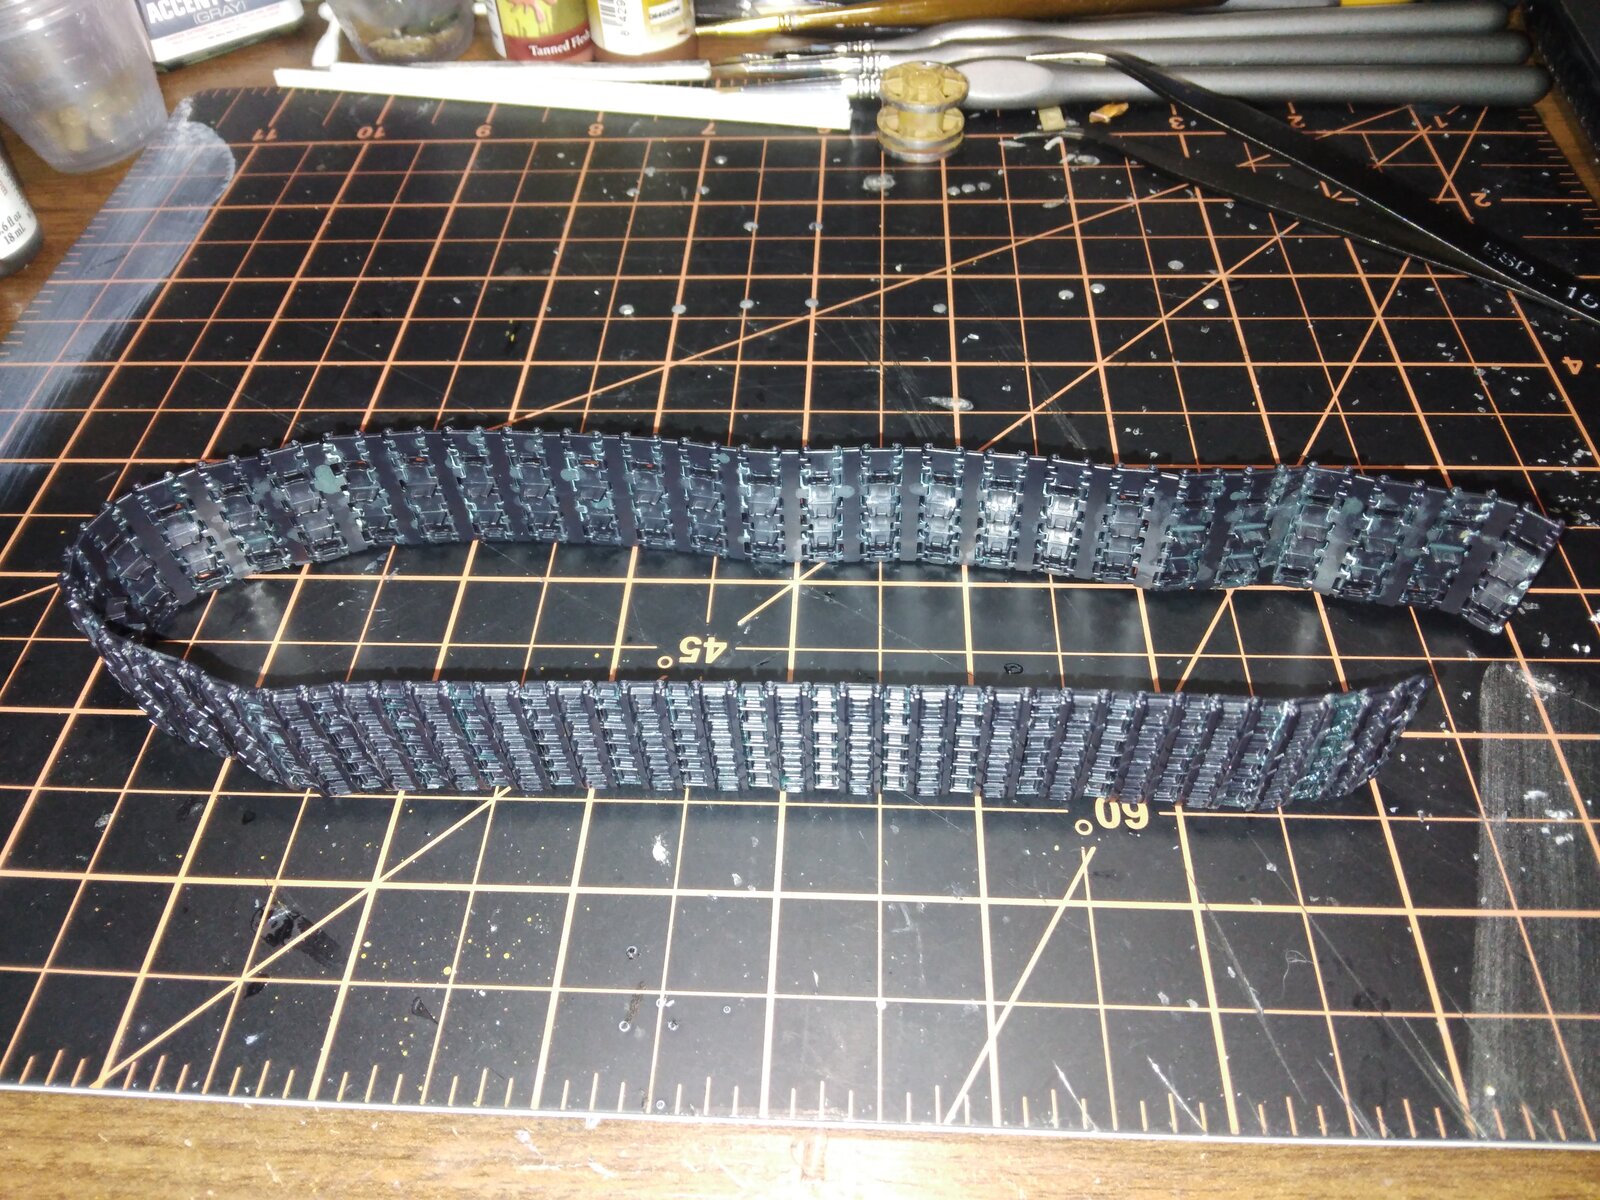
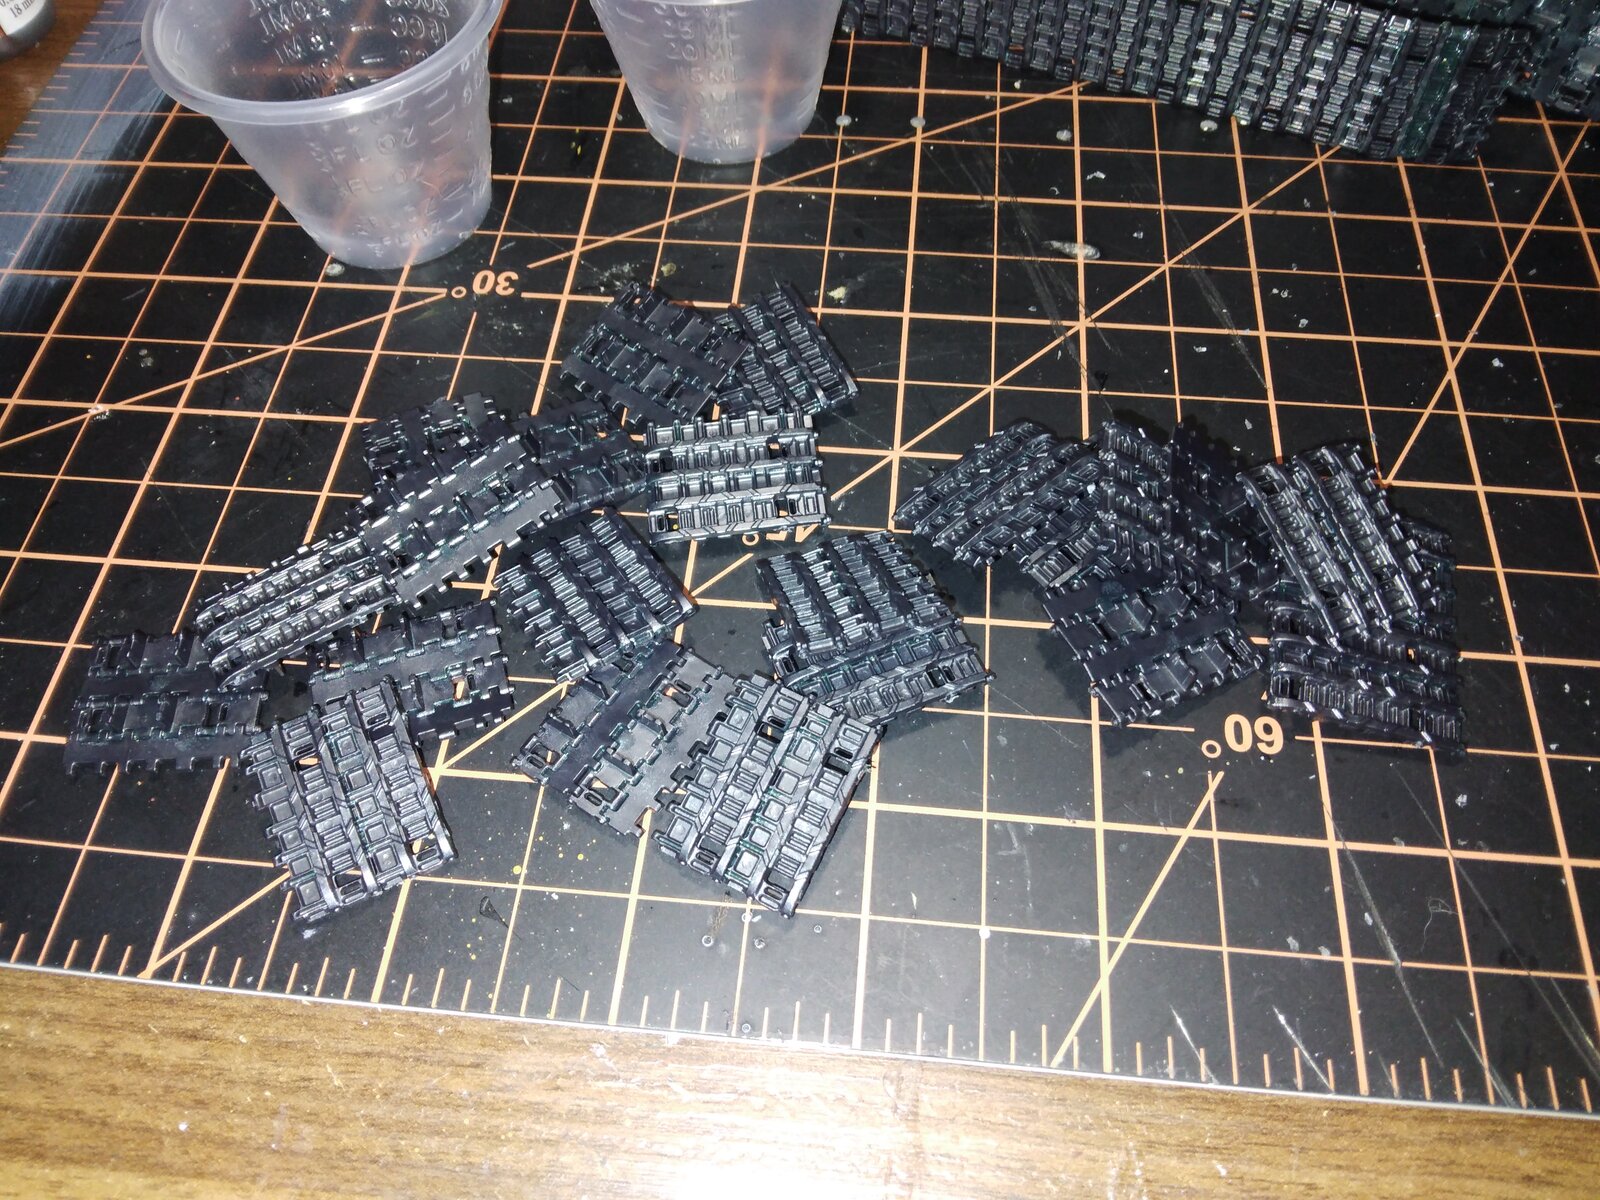
One track assembled
20250818_184313.jpg

One track in the assembly process. A total of 180 track links.
20250818_184411.jpg

Here are some of the accessories for the diorama I am planning
20250818_184442.jpg

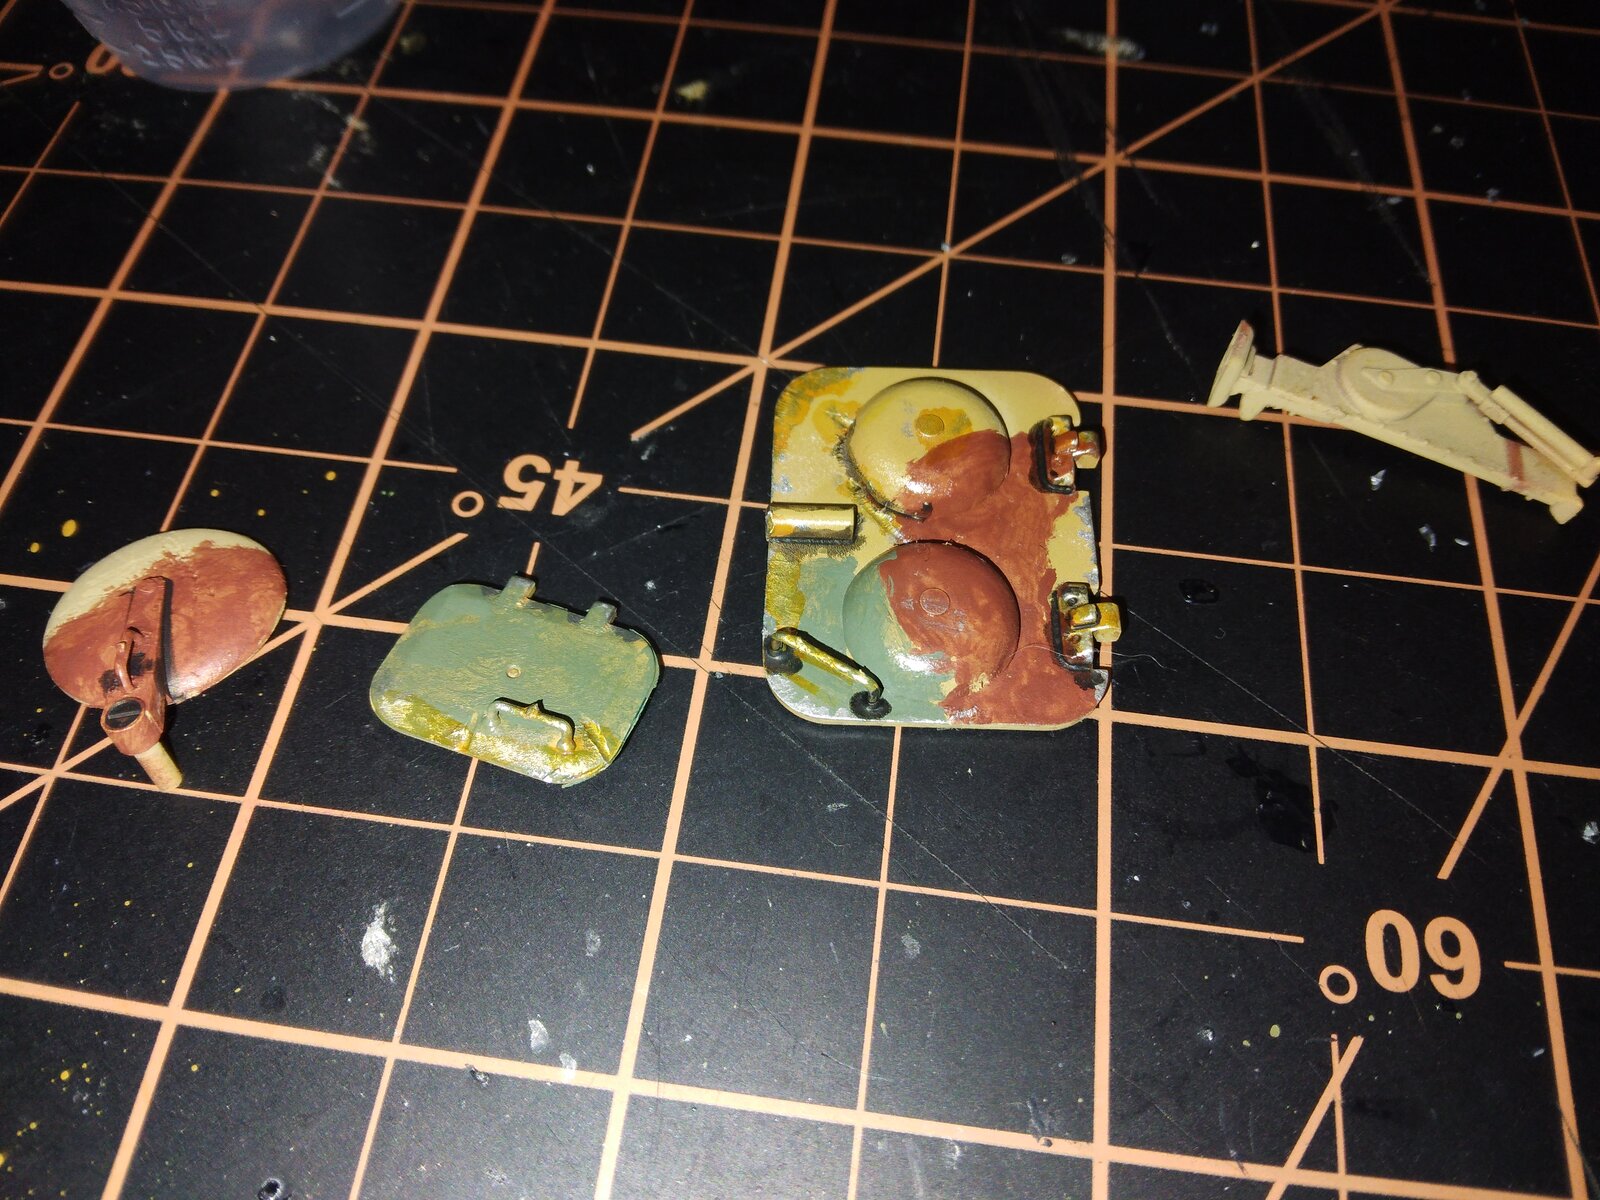
Hatches that are going to be left open.
20250818_184515.jpg

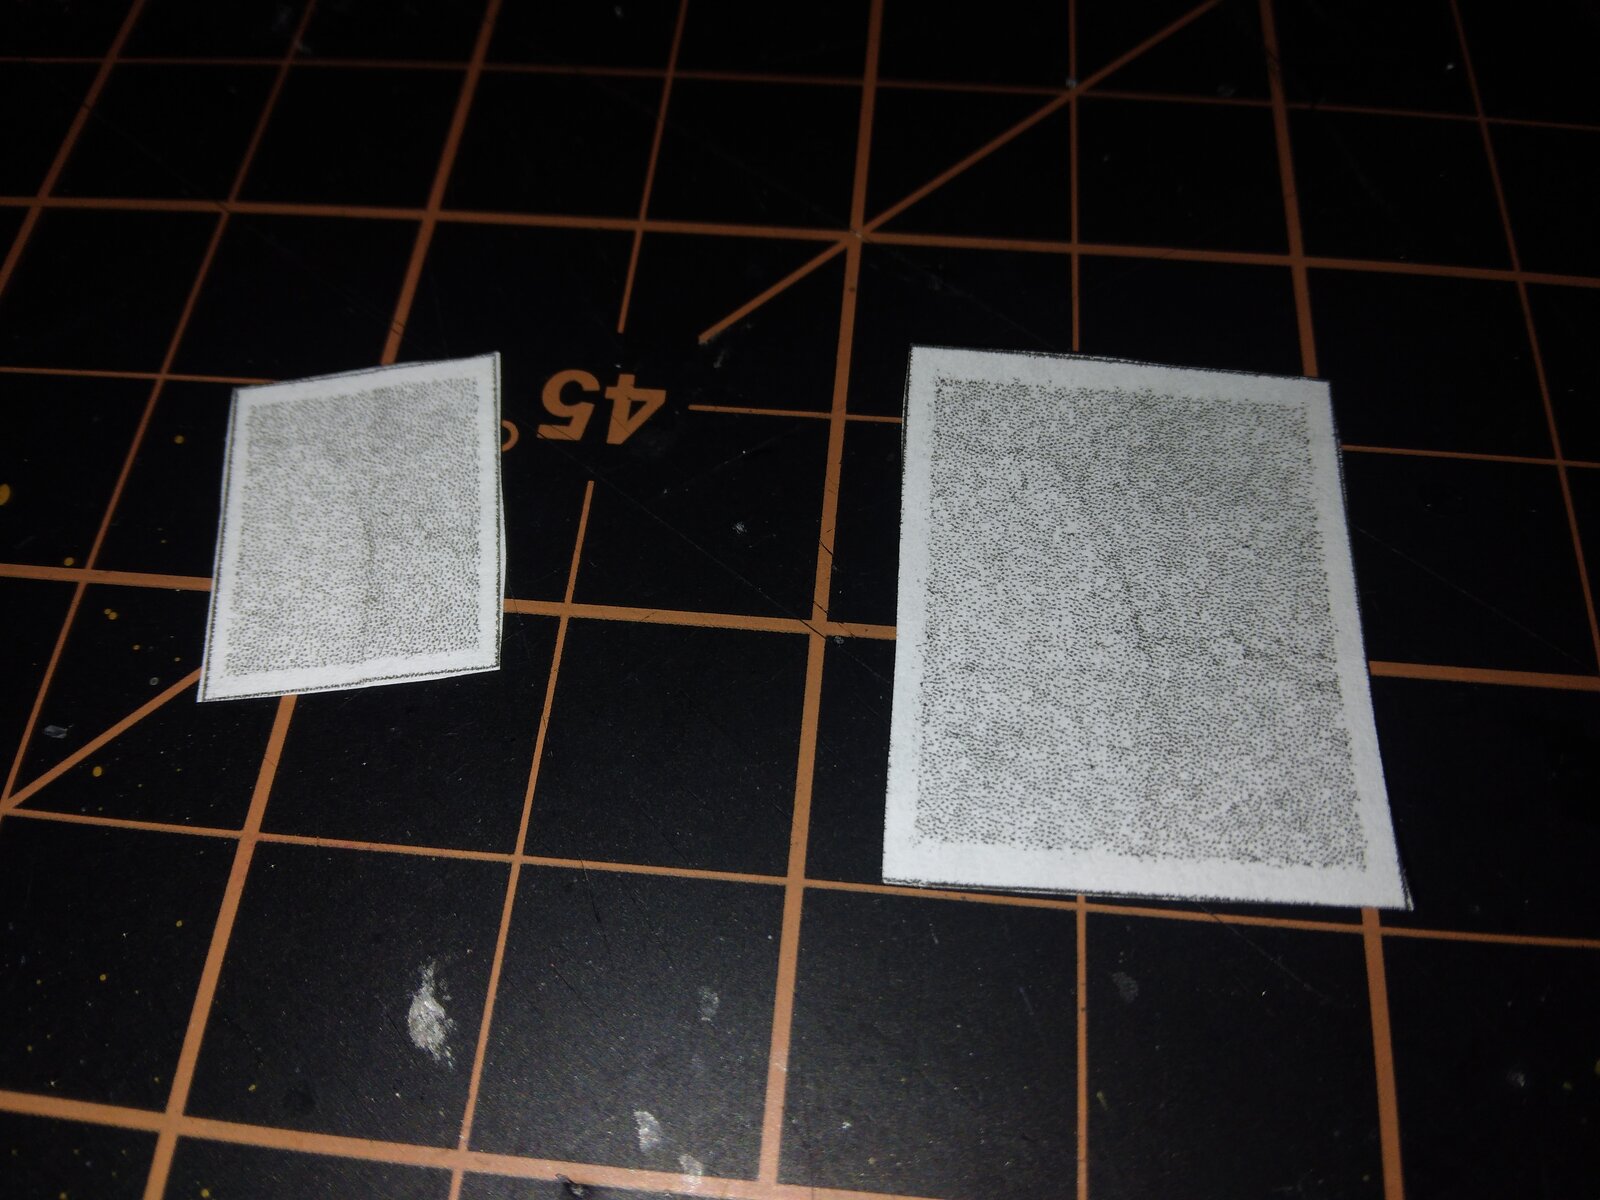
And I am waffling on which size map to use. The smaller one is the proper scale, but I am partial to the larger one because it it easier to see.

As I'm sure you've noticed I only have a gloss coat on the model. I haven't given it a matte finish yet. I kinda want to finish the tracks first.
I also need to finish installing the road wheels and paint them with the camo colour before I apply the matte finish to it.
 
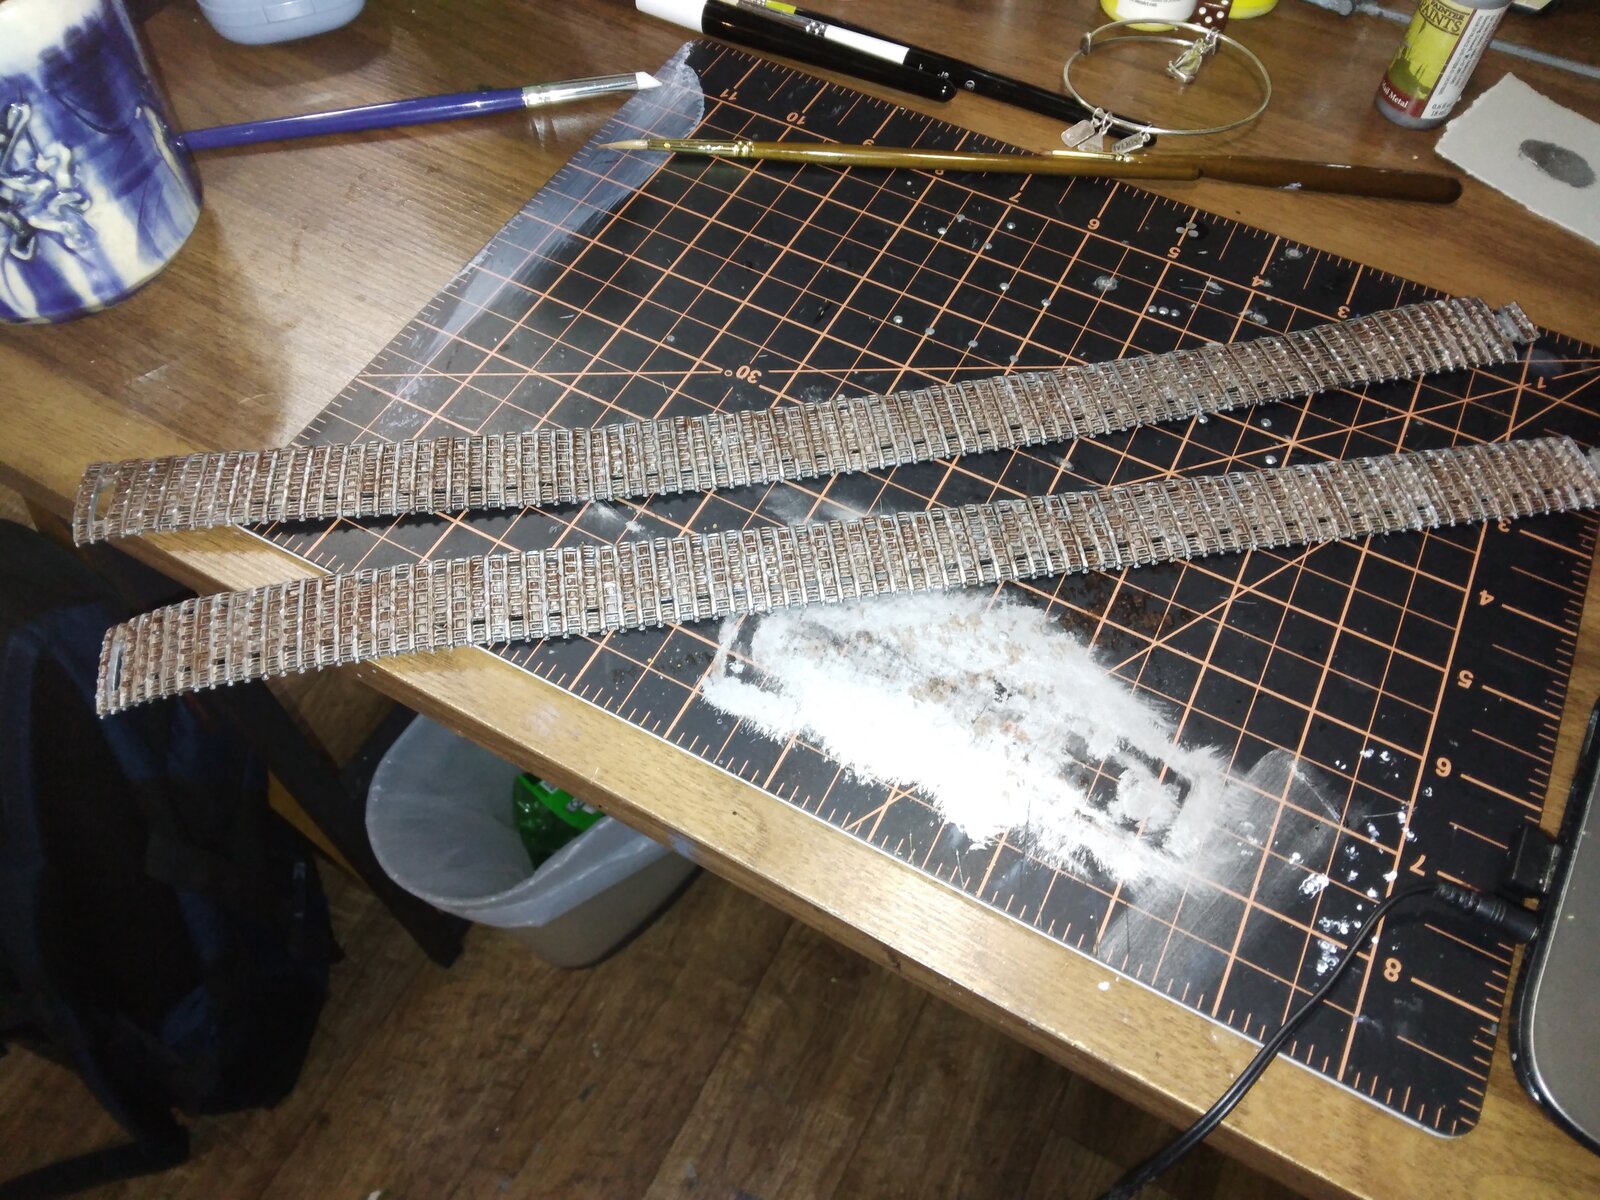
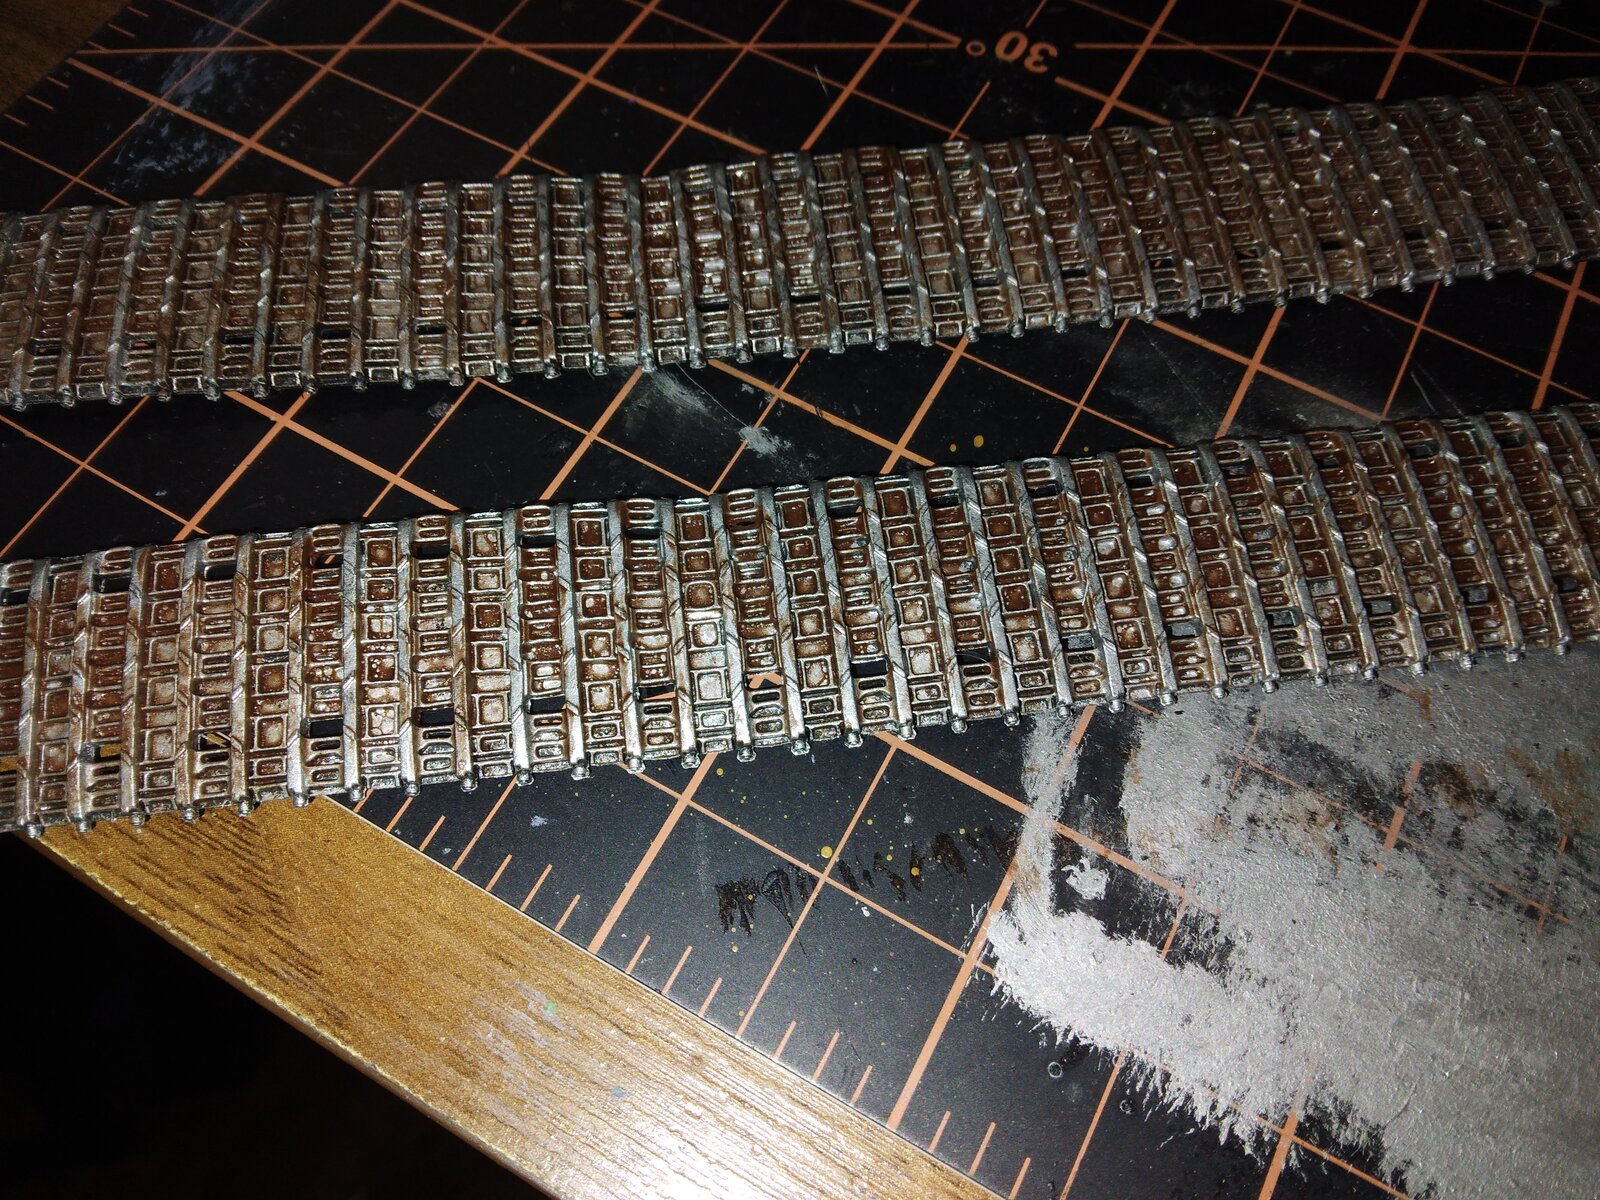
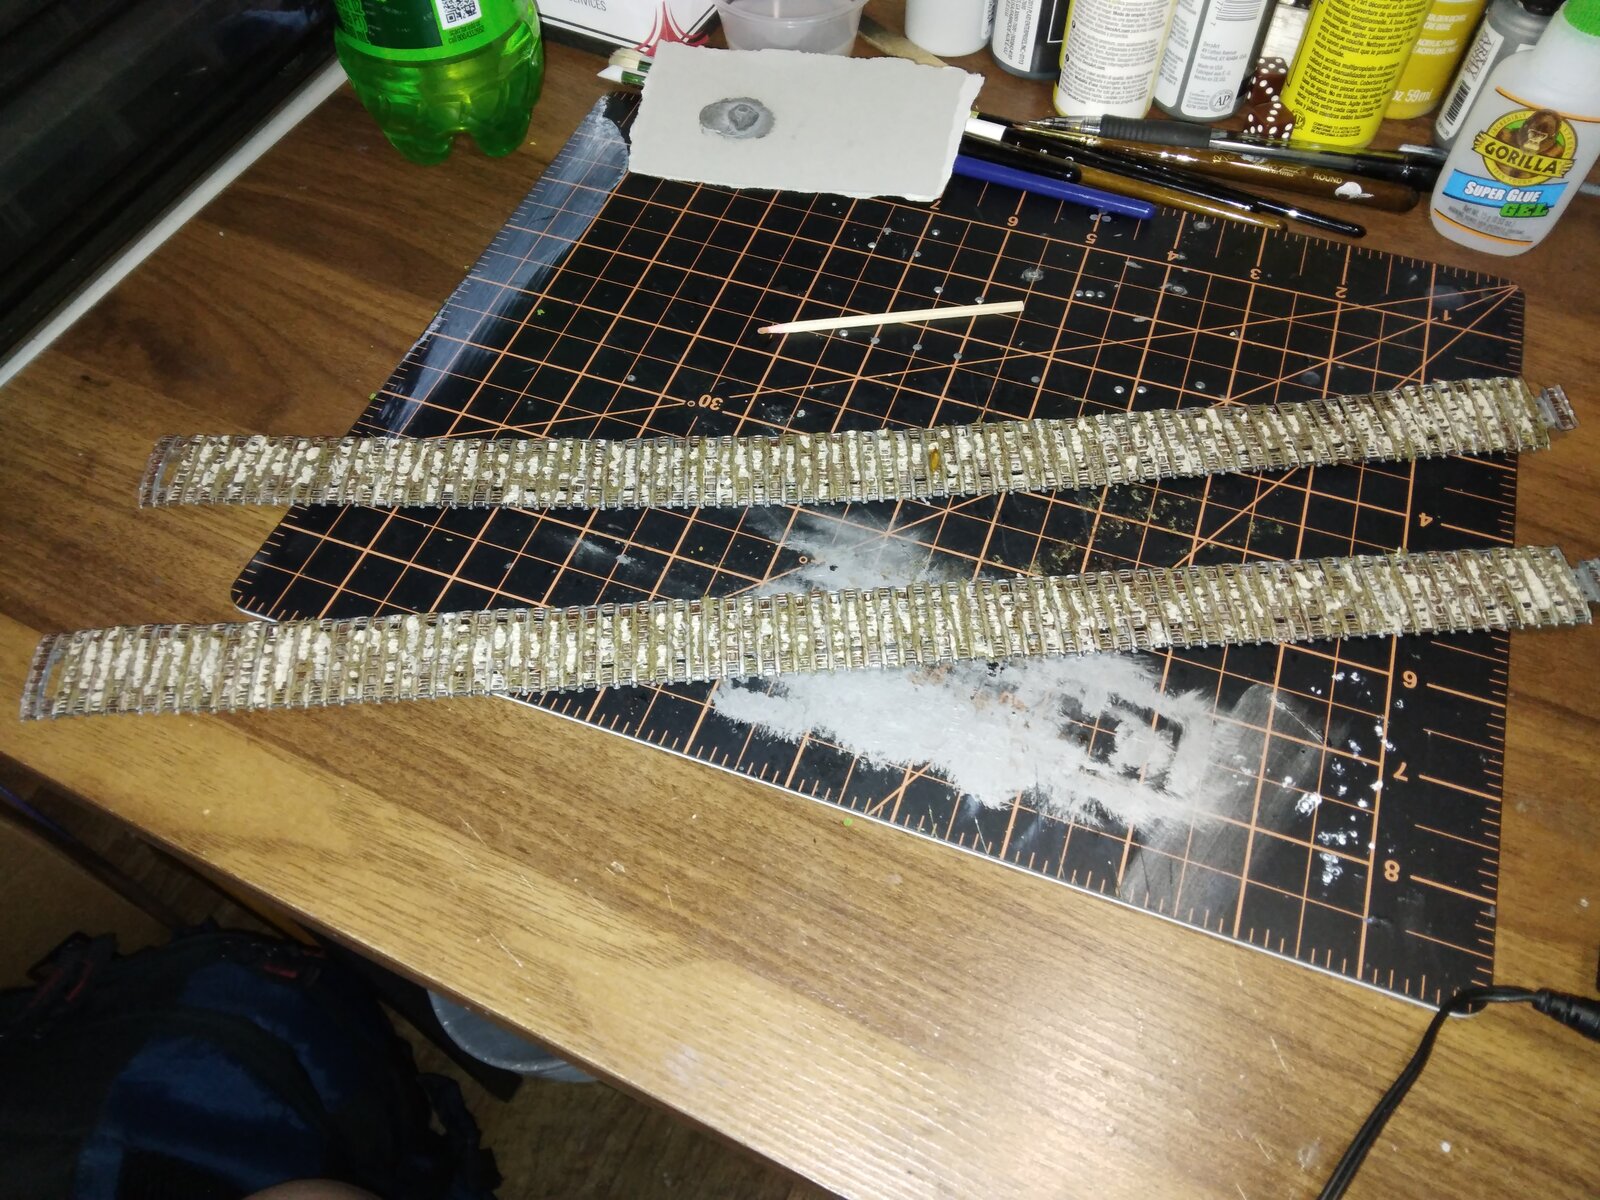
Welp I have hit a snag. The tracks I was going to use have snapped. When I tried to install them, the tracks began breaking apart so I am not going to be able to use them. I am debating on using the rubber band tracks or ordering some metal tracks, until I decide I am putting that model aside and going to start another one.
 
What kind of tracks are they, and how were you building them? I can't tell from the photos if these are Tamiya plastic ones or something like QuickTracks 3D-printed ones.
 
They were tamiya tracks. I built them in small sections for the flat runs of tracks and link by link over the curved runs. When I went to slide the flat run over the top of the road wheels and put them in position they started to snap and break-but not along the joints like I thought would be the fail point.
 
They were tamiya tracks. I built them in small sections for the flat runs of tracks and link by link over the curved runs. When I went to slide the flat run over the top of the road wheels and put them in position they started to snap and break-but not along the joints like I thought would be the fail point.
That's odd. Are the tracks styrene? What did you use to glue them together, and what paint did you use? I wonder if either could be the problem.
 
That is odd. The Tamiya tracks are polystyrene, but I would also have expected them to break along the glued joins, if they were going to.

I must say I don't like tracks whose links glue together. The best solution for them that I've found is to add them before painting and then just paint the whole suspension in a mud colour :) With a Tiger II, a reasonable way would probably be to first paint the lower hull sides, then glue the inner two rows of wheels to the tank, plus the drive sprockets and idlers. Put the outer two rows of wheels on but loose, without glue, then glue the track on, but only to the wheels that are glued to the tank. That lets you remove the outer wheels once the track is on, allowing you to paint the wheels and tracks fairly well.
But I suspect this advice is only really useful for your next model …
 
That's odd. Are the tracks styrene? What did you use to glue them together, and what paint did you use? I wonder if either could be the problem.
That is odd. The Tamiya tracks are polystyrene, but I would also have expected them to break along the glued joins, if they were going to.

I must say I don't like tracks whose links glue together. The best solution for them that I've found is to add them before painting and then just paint the whole suspension in a mud colour :) With a Tiger II, a reasonable way would probably be to first paint the lower hull sides, then glue the inner two rows of wheels to the tank, plus the drive sprockets and idlers. Put the outer two rows of wheels on but loose, without glue, then glue the track on, but only to the wheels that are glued to the tank. That lets you remove the outer wheels once the track is on, allowing you to paint the wheels and tracks fairly well.
But I suspect this advice is only really useful for your next model …
The tracks were polystyrene and Tamiya paint X/XF series was what I used to paint them. It is possible that I just got a bad batch that were weaker in areas than they should be. Tamiya is a very good company but things do happen.

What I am going to do in the future is spend the extra money on the metal or resin tracks instead of trying to cheap out with the tracks because of everything I purchased for it already.
 
Or buy workable ones, whether plastic or 3D-printed. More work to put together, but you can paint them separately from the model and still fit them just fine.
 
Or buy workable ones, whether plastic or 3D-printed. More work to put together, but you can paint them separately from the model and still fit them just fine.
Those are the ones I was talking about. My apologies since I didn't make that clear in my post, whoops.

I have a set coming from amazon Warp United is the brand. I have worked with them before and I like them.
 
Ok I give. I'm going to use the rubber tracks that are provided with the kit. The Amazon order was cancelled...they were out of stock. and two others I looked at had long ship times, well into November.
 
With the mudguards on it won't really be obvious that the tracks don't hang around the wheels anyway. Yes, you can tell if you look closely, but nowhere near as clearly as if you had left off the mudguards.
 
With the mudguards on it won't really be obvious that the tracks don't hang around the wheels anyway. Yes, you can tell if you look closely, but nowhere near as clearly as if you had left off the mudguards.
Unfortunately, I have the mud guards torn off on one side so the upper track will be partially visible
 
I discovered something today. I went to pull some foam board out to start planning the base and found out that all I have left are small scraps. Time to go to Lowe's and get some more.
 
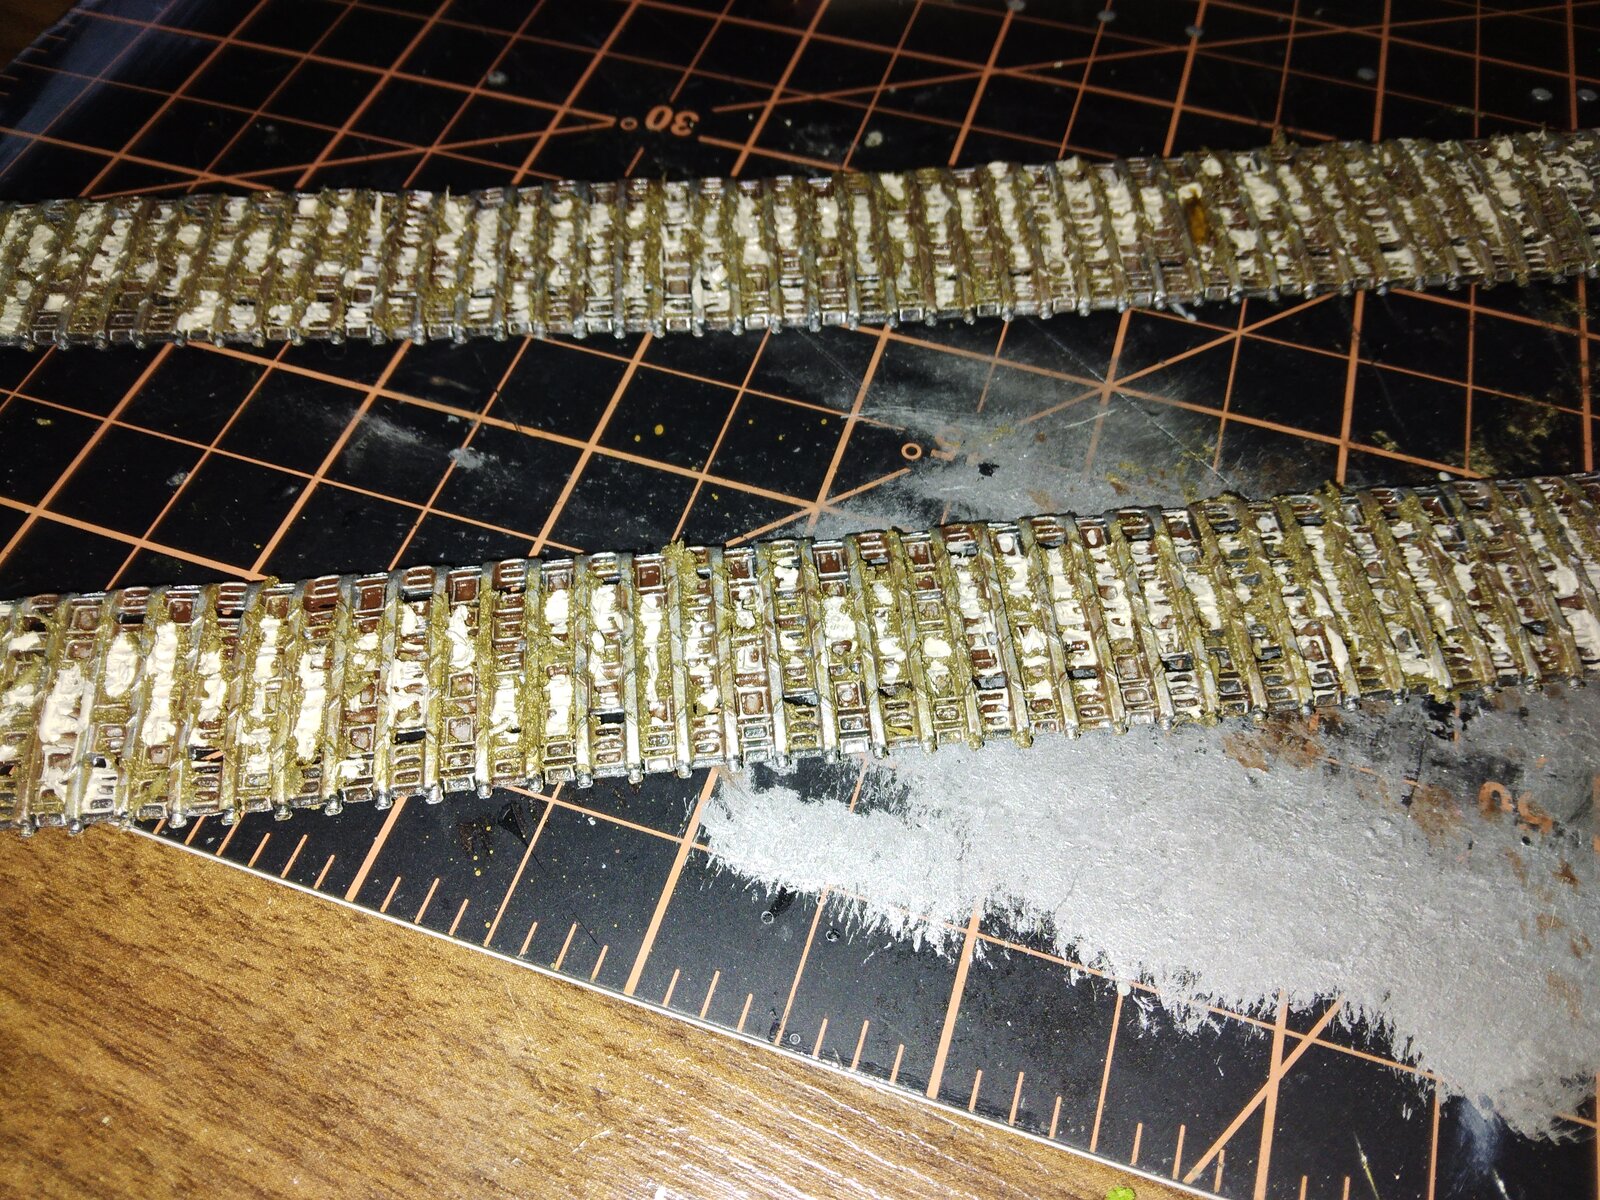
I decided to use the rubber tracks to finish the model (although I am not a fan of the rubber tracks) I have them primed, painted and the first layer of mud and weathering on them right now. Hopefully I will be able to get the second layer of mud and dirt on them Friday. Tonight is a no-go for me because I have tickets to the Demon Slayer movie and I have been looking forward to seeing the movie.

20250911_062408.jpg

20250911_062416.jpg
 
Last edited:
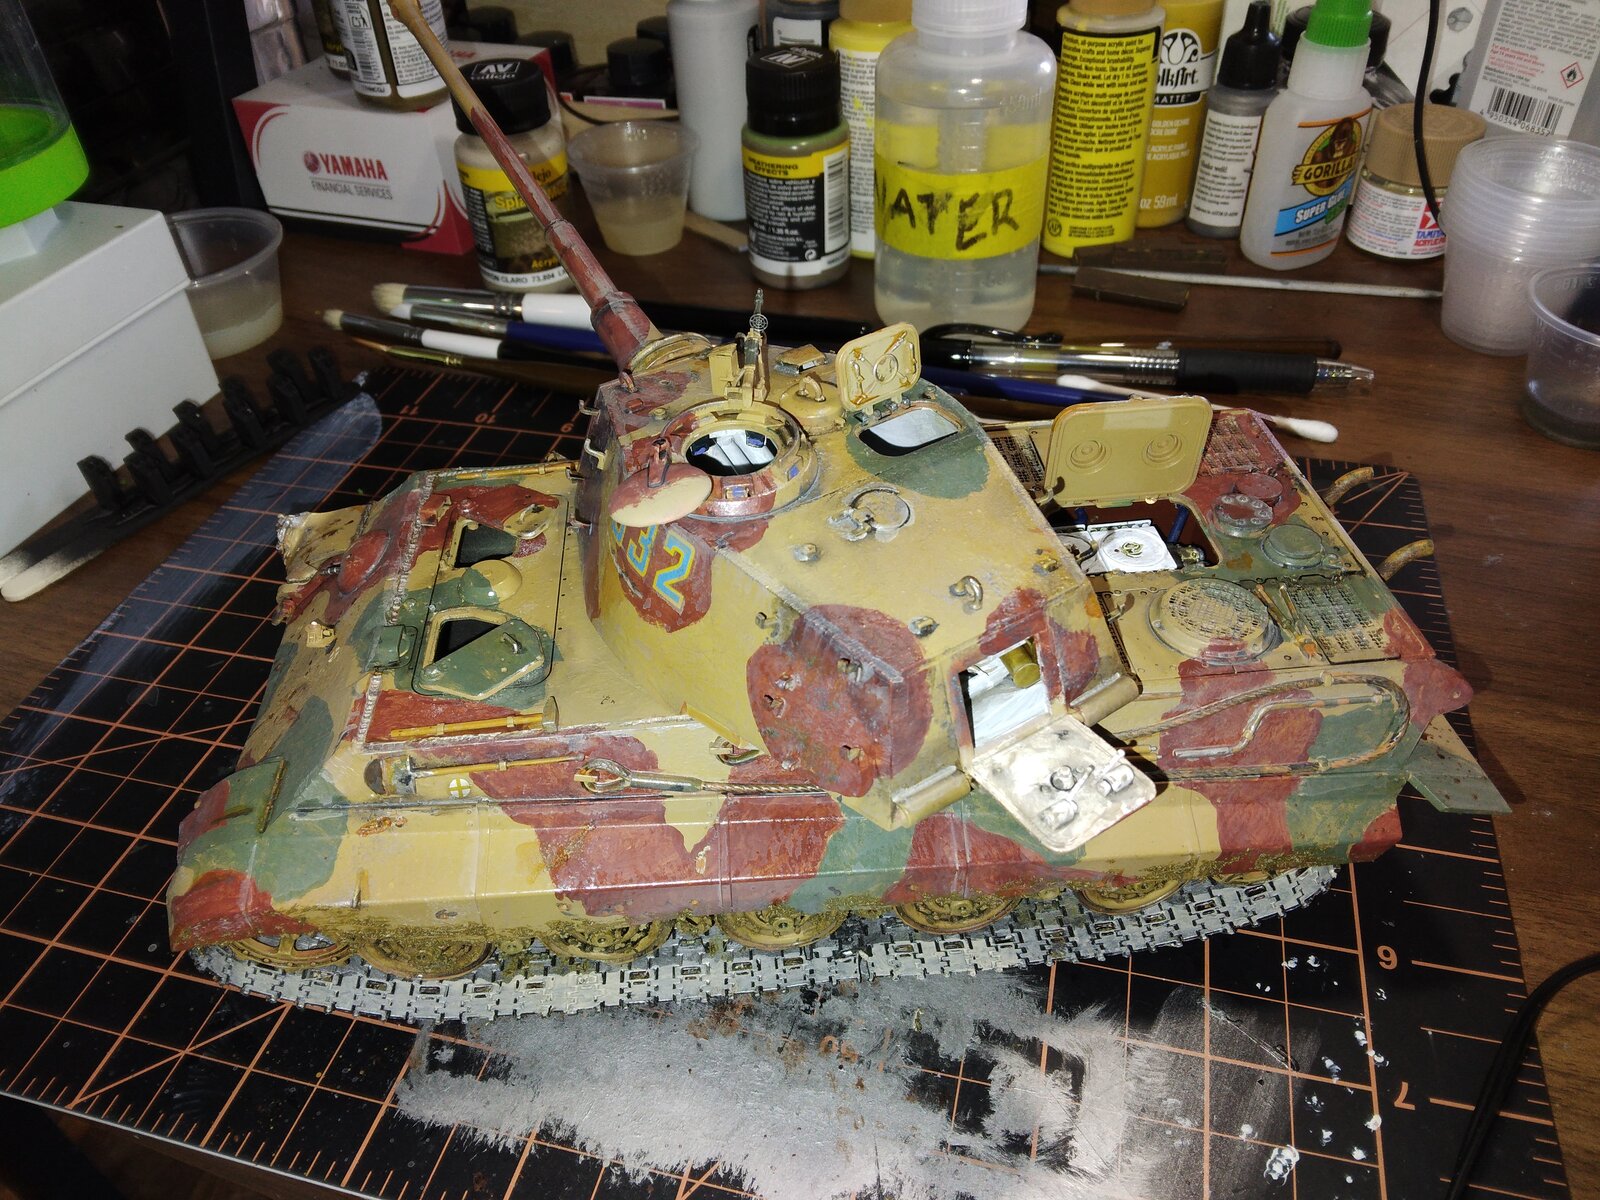
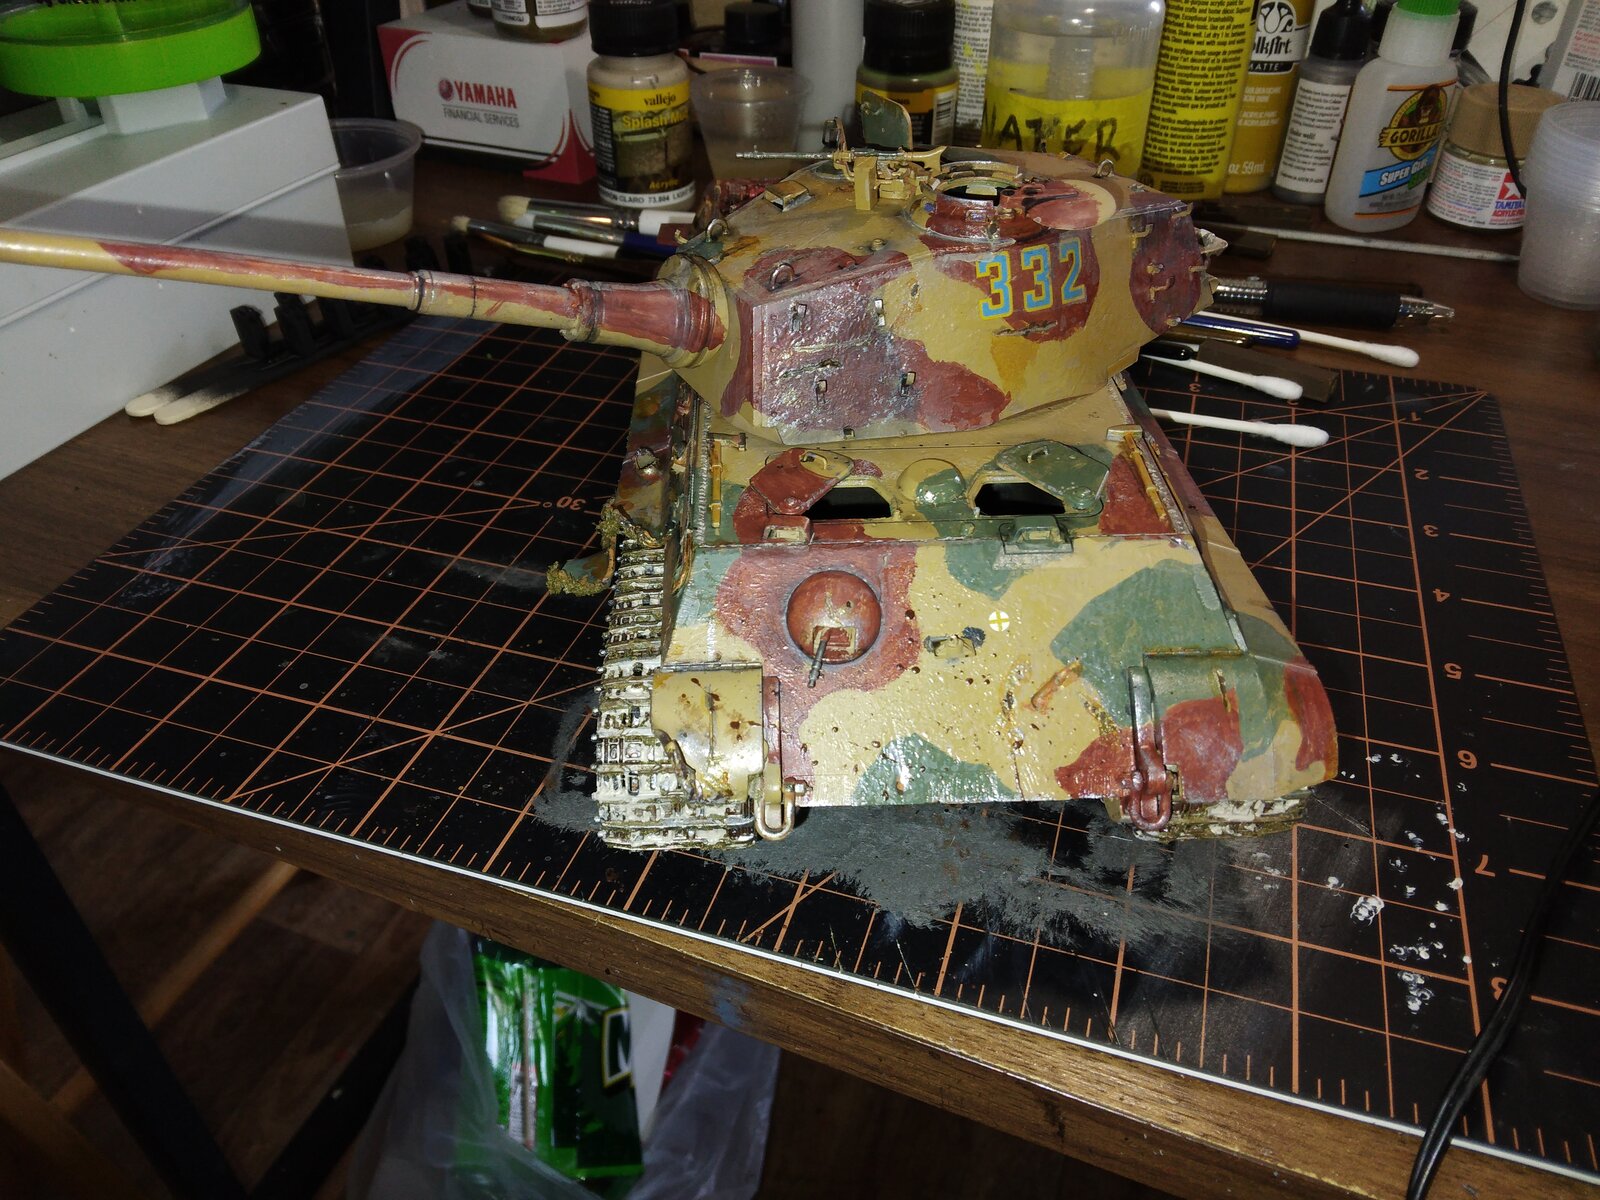
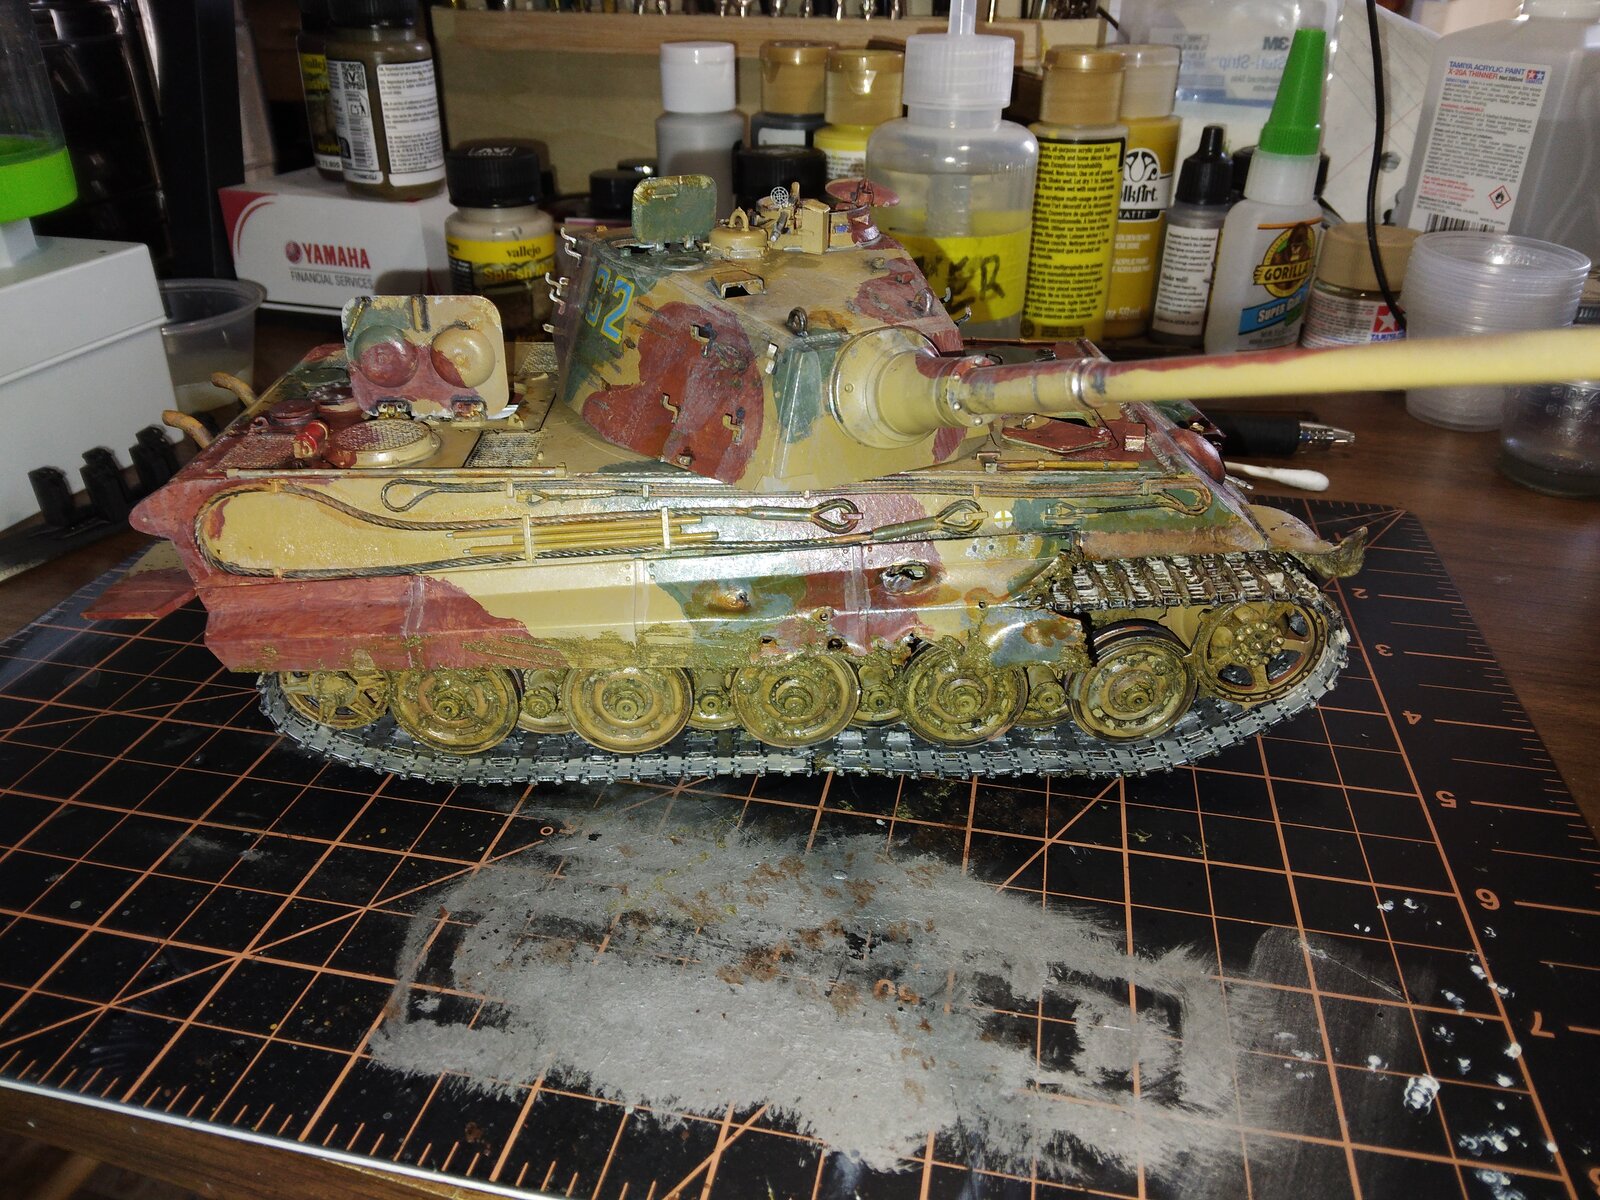
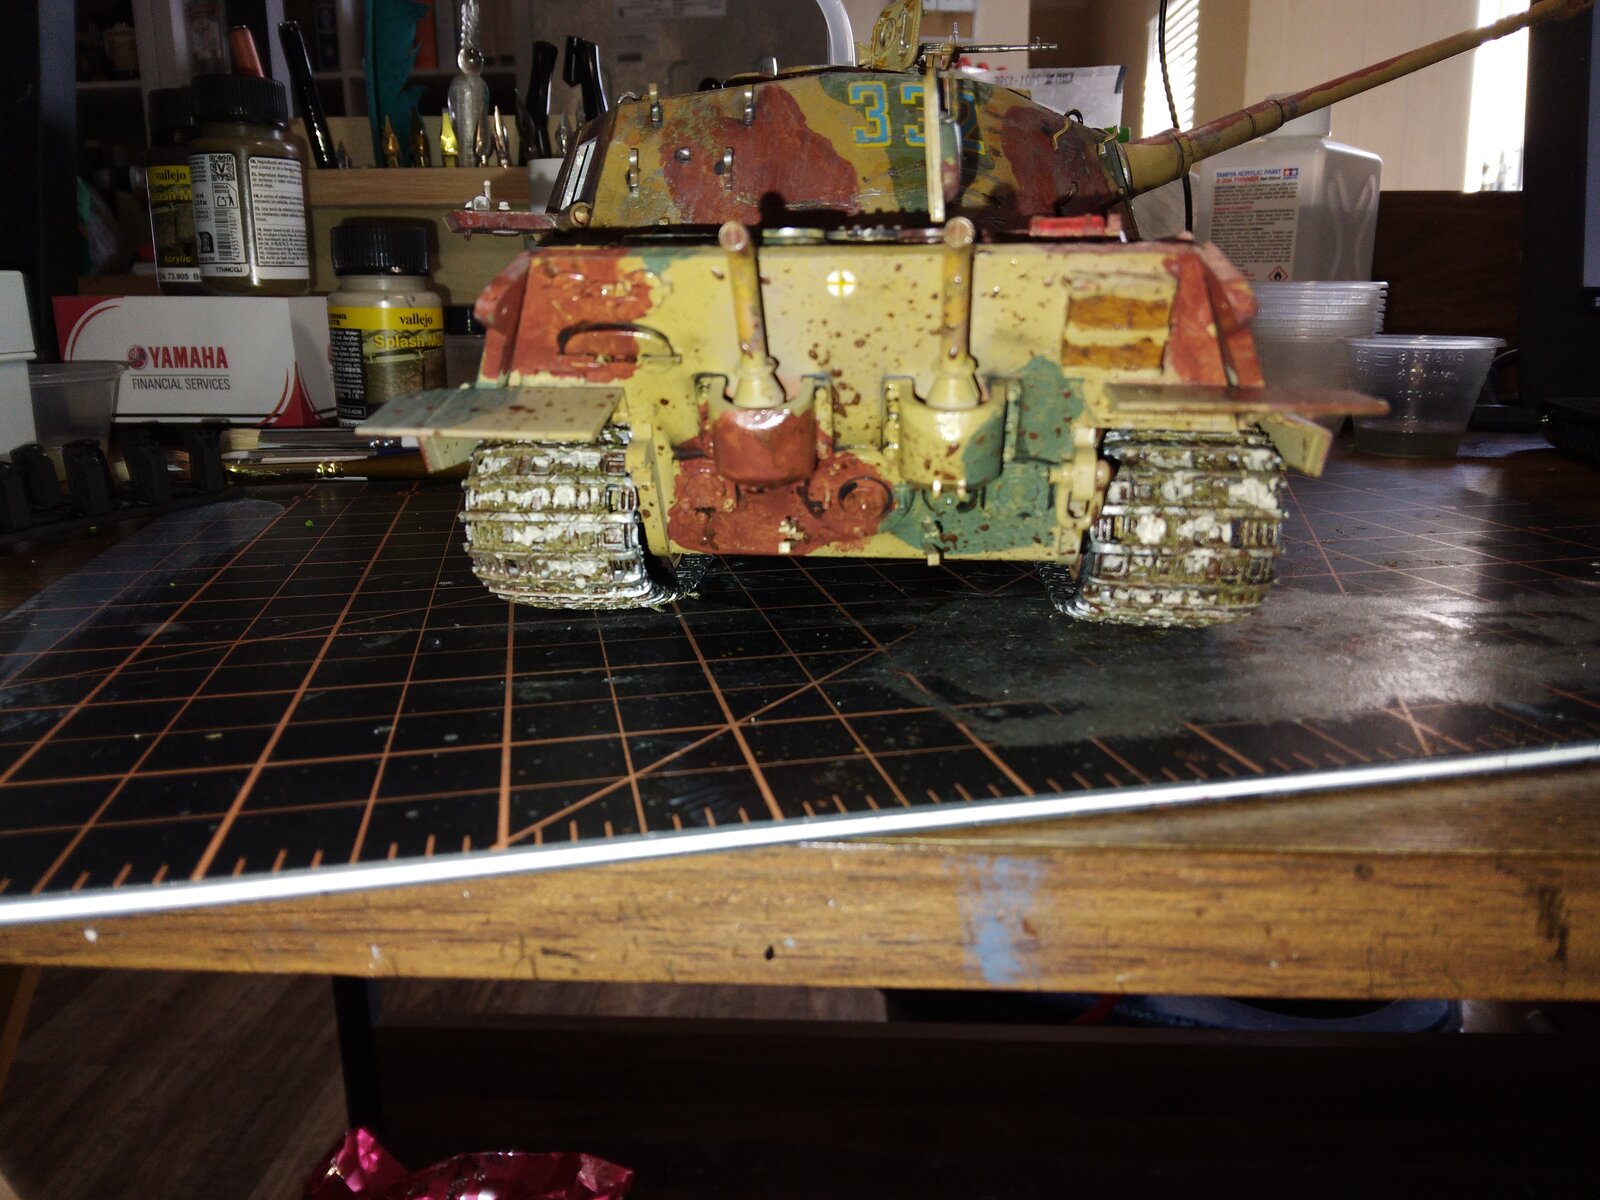
All that is left is to put a matt finish on the model, then build the base, and mount all the figures and the tank.

20250914_151248.jpg

20250914_151303.jpg

20250914_151321.jpg

20250914_151334.jpg


I kept the weathering and mud to a minimum, the time of year is mid to late summer in Europe...specifically western France near the France/German border.
 
Is that all? ;)
Looking good!
Will it be a terrain base, or strictly presentation platform?
It's going to be a terrain base, I just have to get the foam board for it.

Ya know, now that I think about it, I don't think I have ever done just a presentation platform. I never considered doing one, wonder why.

Ok I know I'm getting tired, my filter is failing typing out what I'm thinking.:oops:
 
Back
Top