Hey ,
@Jakko , familiar with this stuff ?
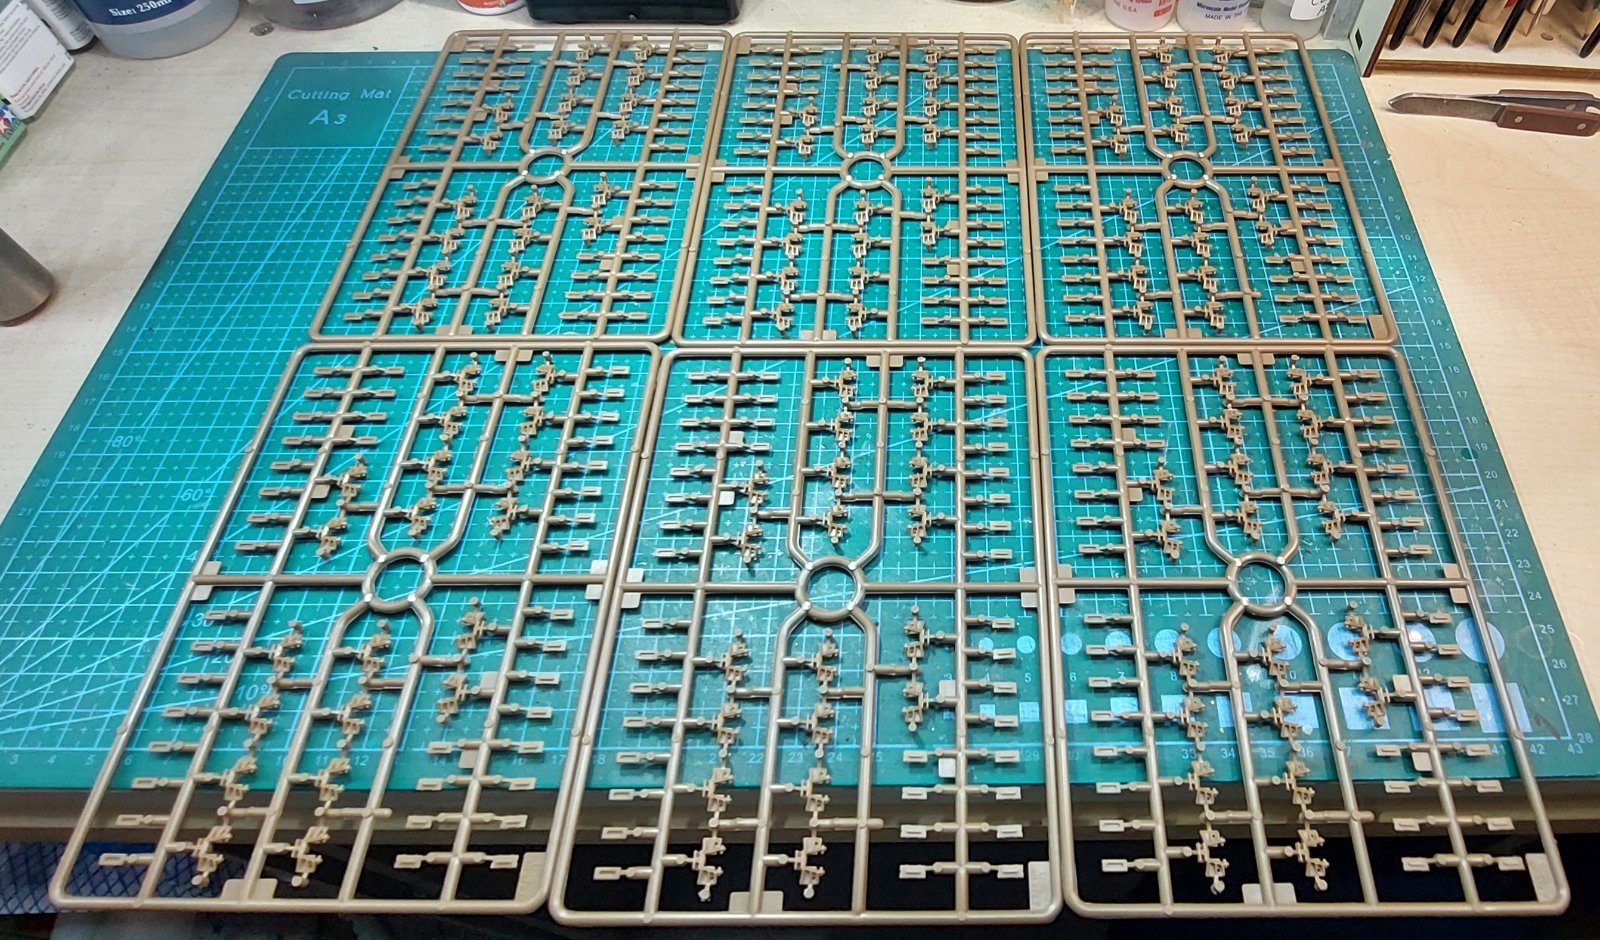
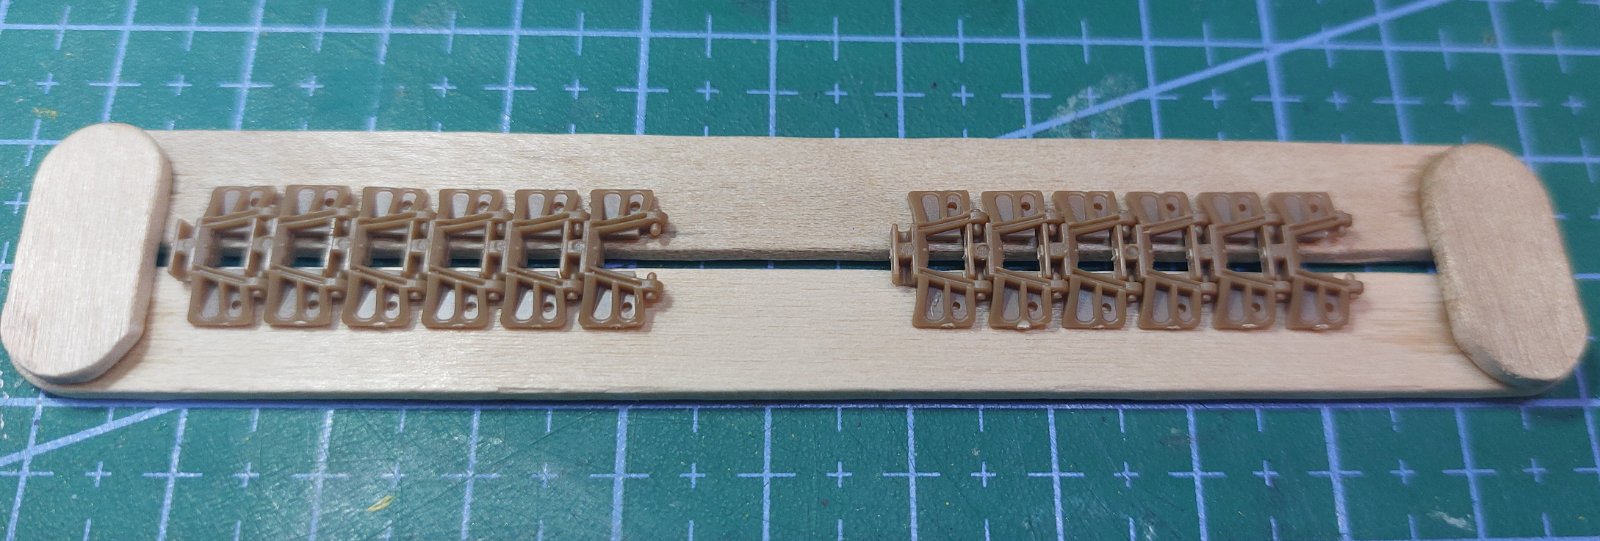
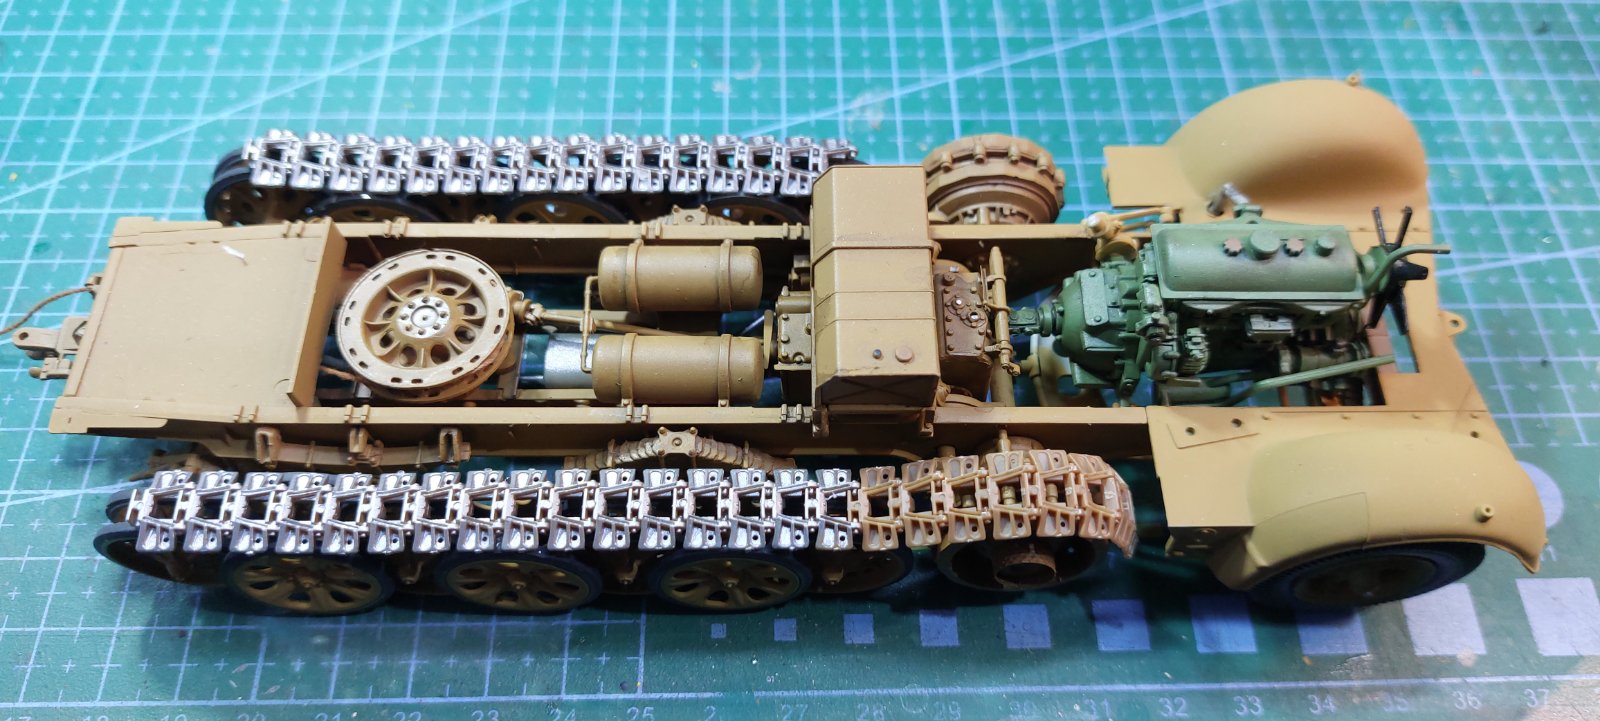
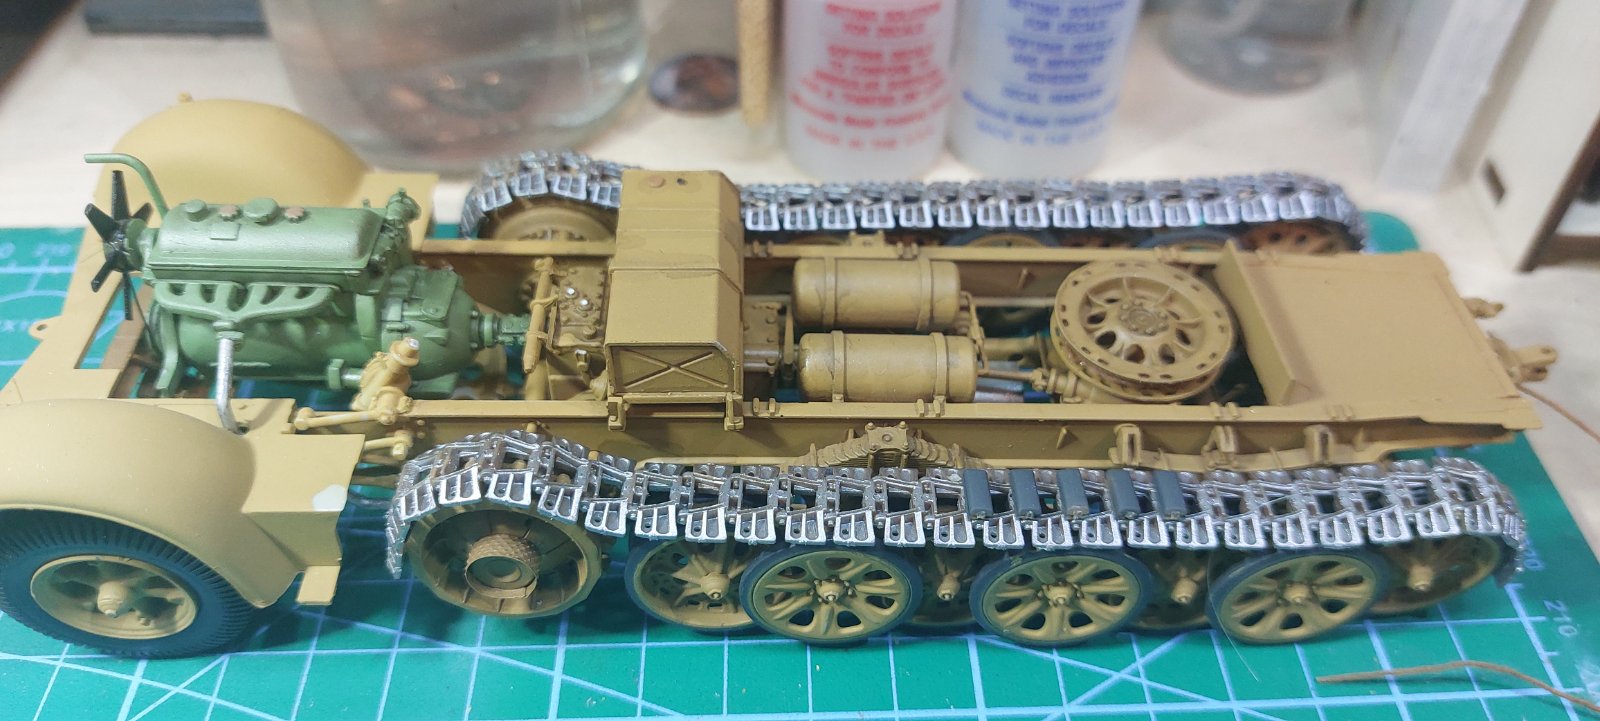
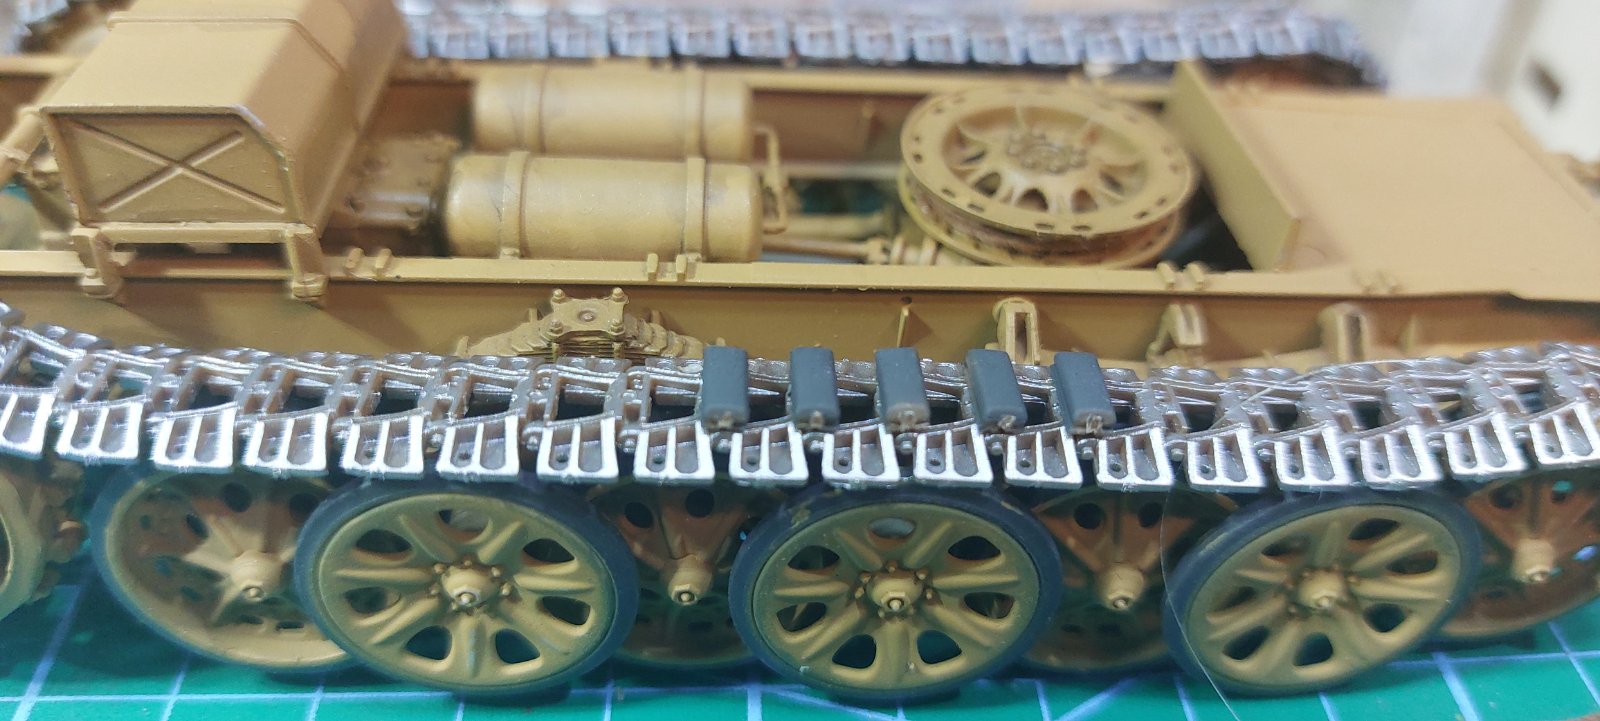
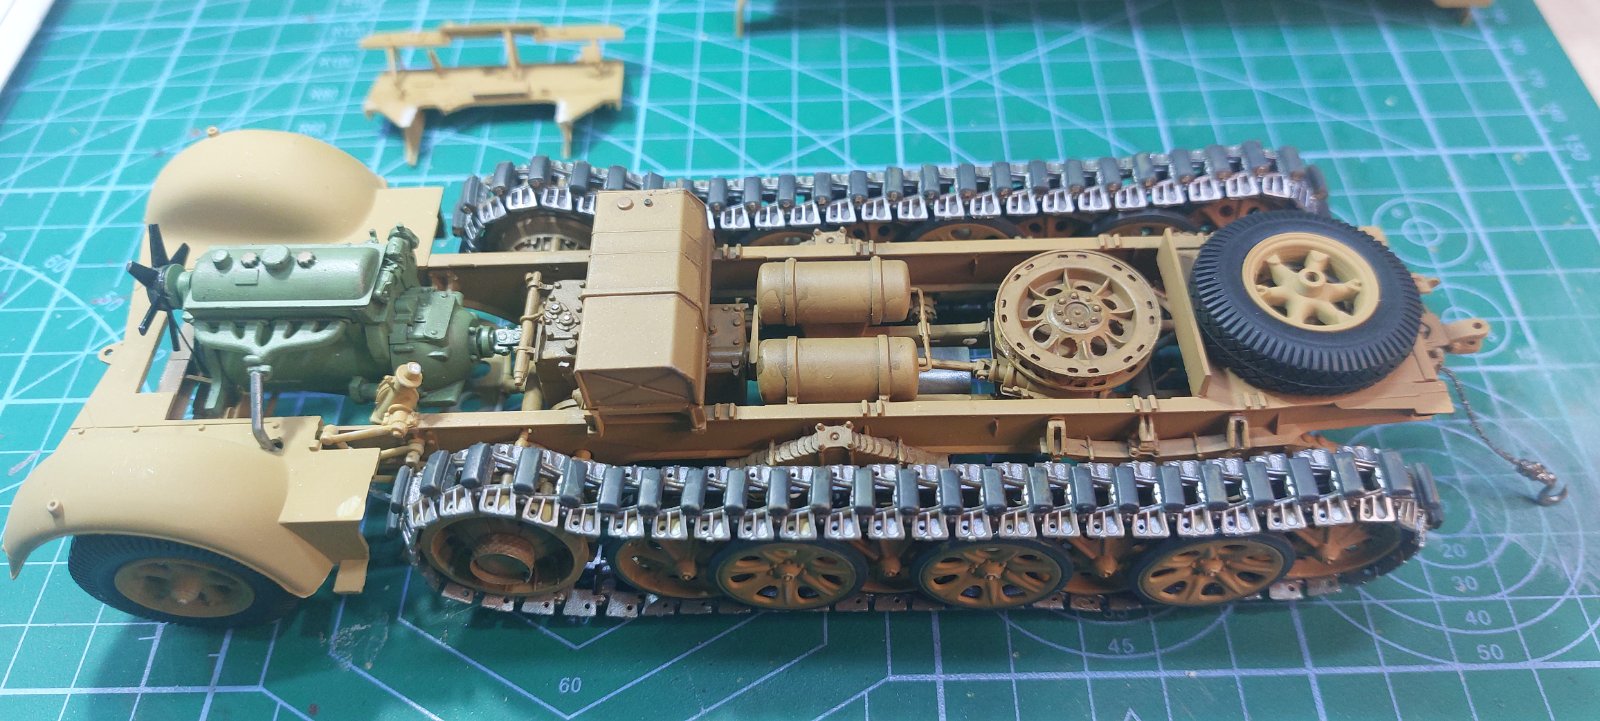
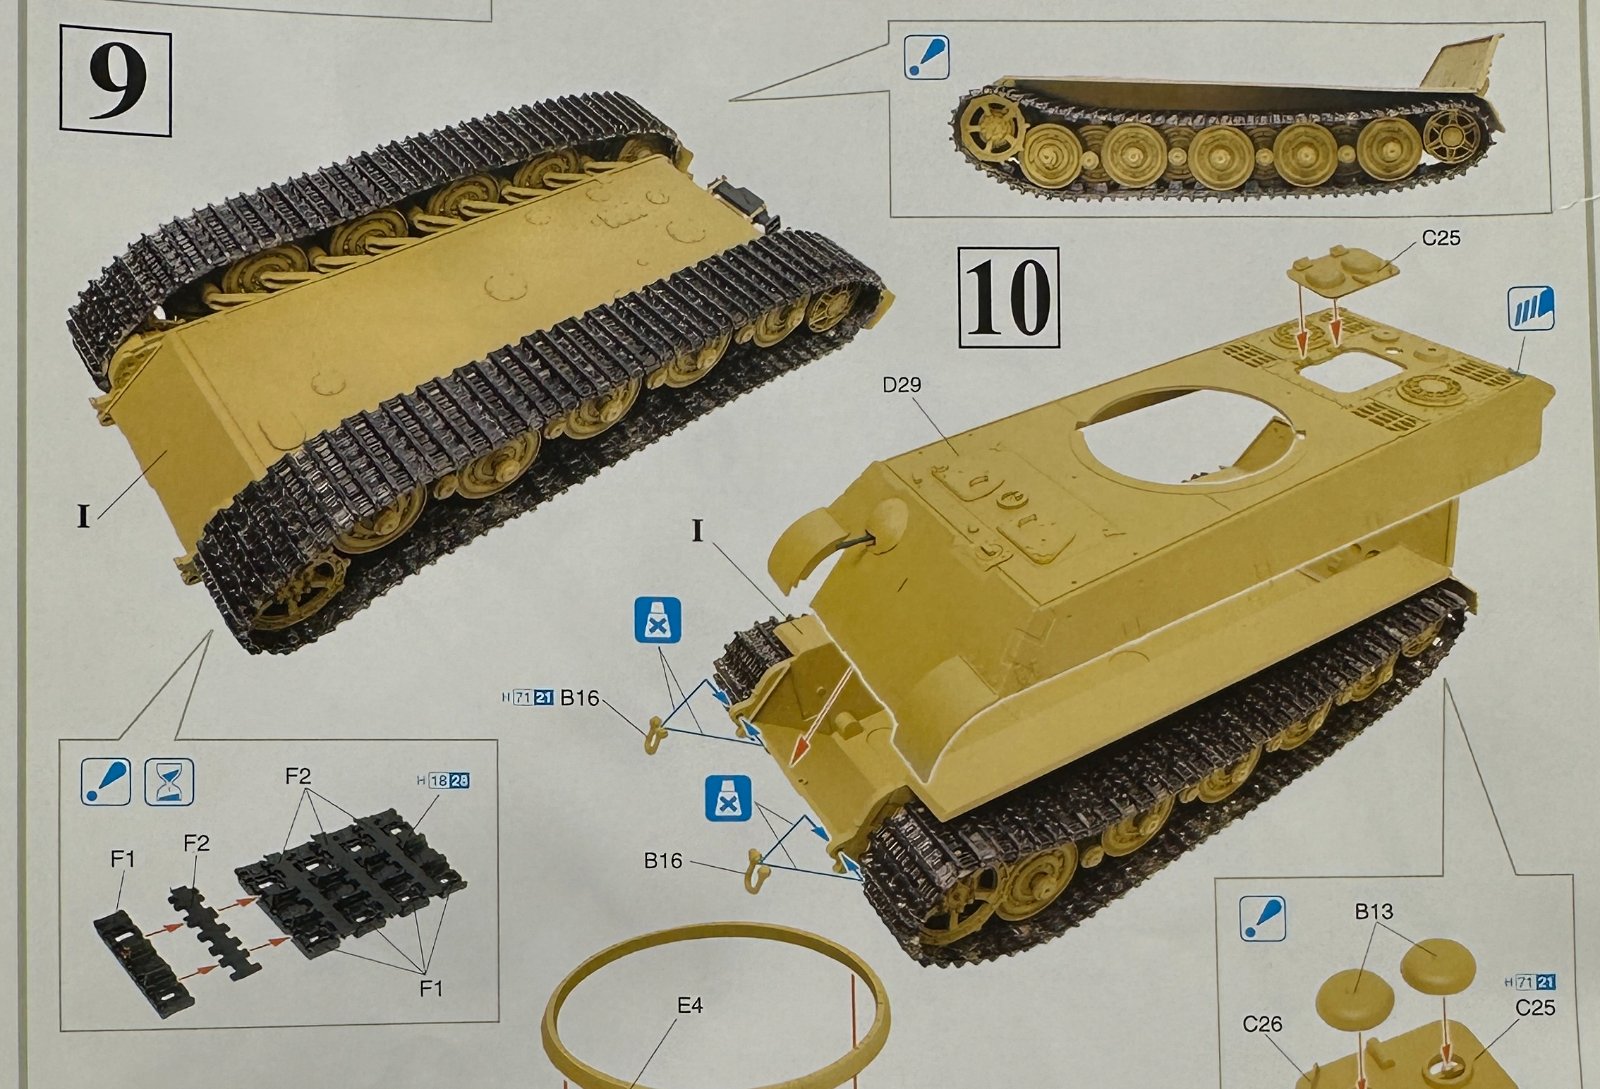
I am, though not this particular kit. What this one has are known as "separate-link" tracks, that is to say, each link as an individual part, and you need to glue them together (separate links that hinge together are "workable track" instead). I have exact the same problem with these as JPaulB does: how do you paint them? If you glue them to the tank before painting, it's hard to get paint everywhere, but if you only add them after painting the rest of the tank, how do you glue them?
There are a few solutions to this. For example:
- Put the wheels on temporarily and build the track in sections which you don't glue to the wheels yet. In other words, build it so that you can take everything off the tank again, letting you paint wheels, tracks and hull separately. After painting, glue it all together.
- Glue the tracks to the wheels before painting, but leave off the outer layer(s) of roadwheels so that you can more easily get a brush to the track, then glue those wheels on after painting both track and wheels.
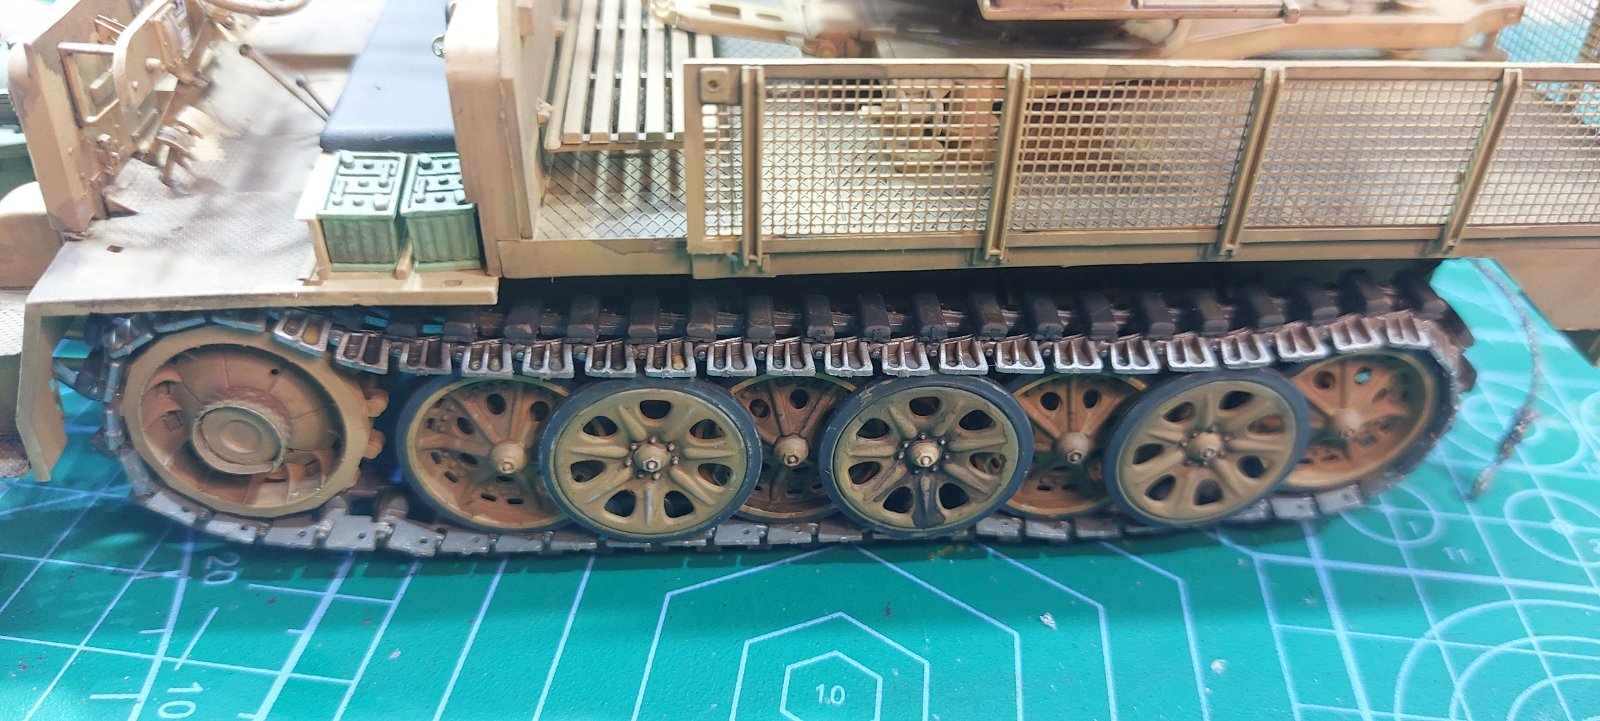
- Glue the tracks and wheels to the tank before painting, then spray the whole lot of it in a mud colour. This is my preferred way

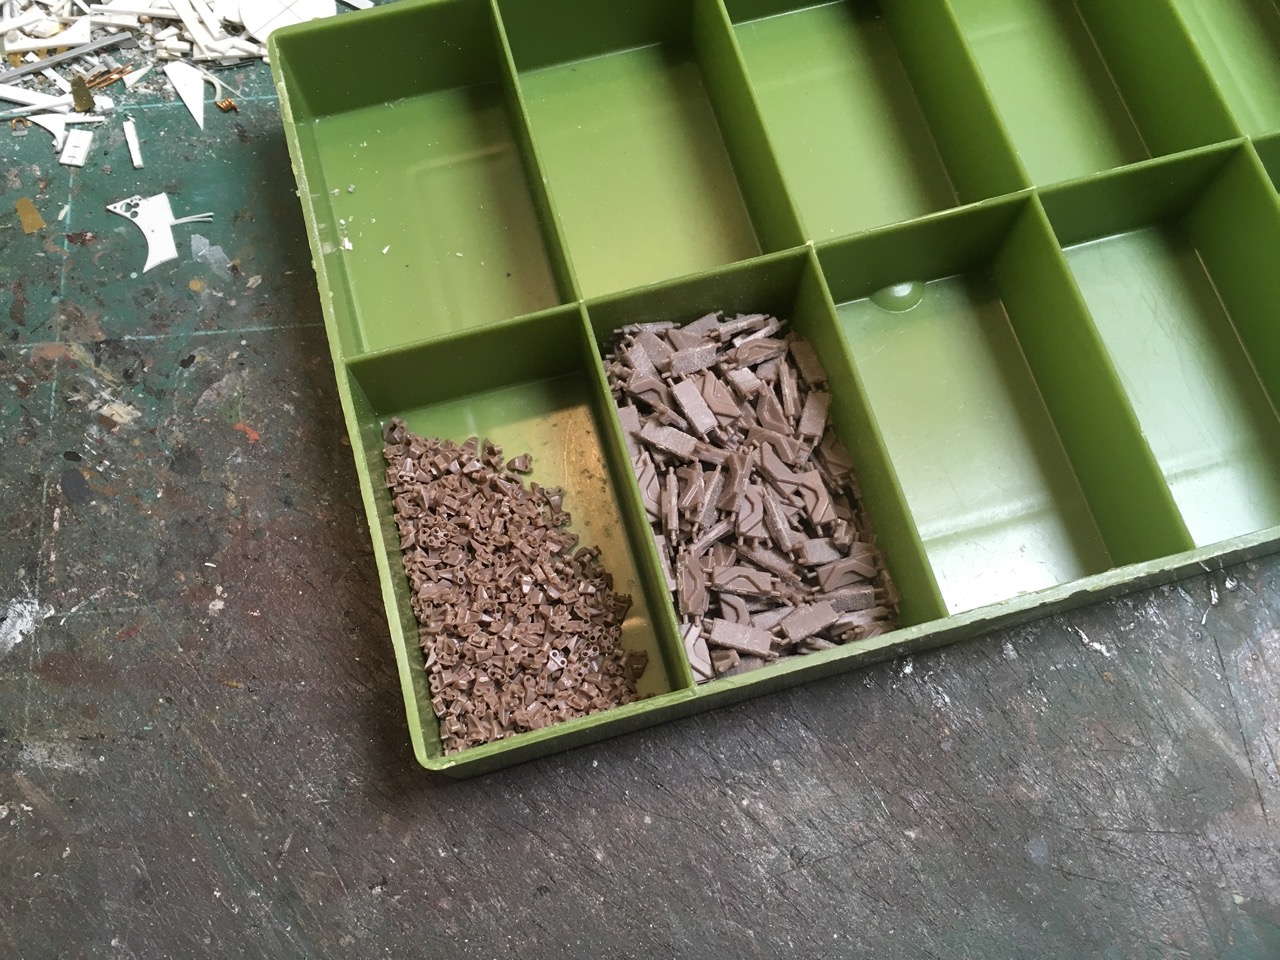
Whichever method you choose, the way to assemble these tracks is to first remove all of the links from the sprues and clean them up. I prefer keeping them in one of those plastic boxes with separate compartments:
Largely because this makes it easy to keep the different parts separate, as well as to keep parts that have been cleaned up apart from the ones that haven't been yet. Also, if the track has different parts for left and right, this also keeps those apart. (The photo shows AFV Club tracks for a Sherman tank, BTW, with the blocks on the right and end connectors on the left, after both had been cleaned up.) Oh yeah, be sure to use a box with a lid, that you close any time you're not working with the track. You
don't want to bump it by accident when the lid is off
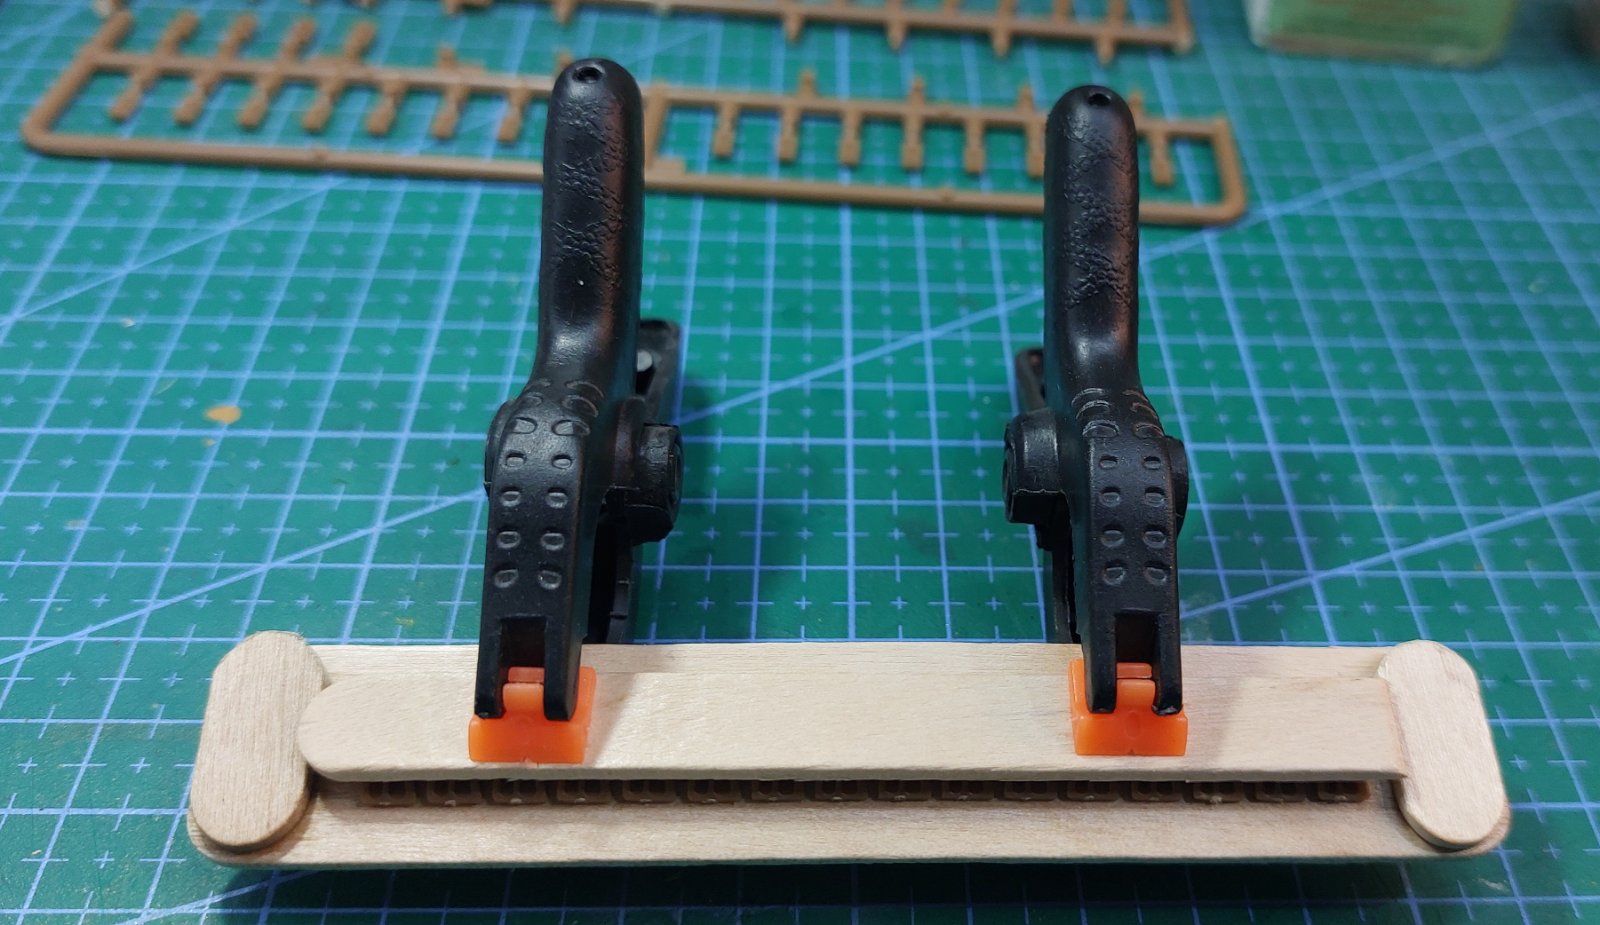
Anyway, after cleaning everything up, glue links together as the instructions show, using a glue that you know doesn't set very rapidly. Build a length, and while the glue on that is still soft, you can drape it over the wheels. For a Tiger II, I would suggest beginning with the top run, from the top of the drive sprocket to the top of the third roadwheel (that is, the second one one the outer row), because that section that will need to curve reasonably realistically down from the sprocket to the wheel. Leave it to dry and then continue rearward from there in the same way.
Once you get to the idler wheel (at the rear of the tank), go about halfway around that so you can still take the wheel out, if you want the tracks to be removable for painting. Then build a straight, flat section that goes under the roadwheels, from the first to the last. When that is also dry, build lengths to connect the top and bottom runs, first at the front and then at the back.
The reason for doing it in this order is because this will let you curve the track hanging down between sprocket/idler and the roadwheels in a way that takes up any slack. If you were to start at the bottom and build upward, you may find you need to put half a link in at the top somewhere, which is rather problematic, but by doing the lower front and rear last, you can put these into a curve that's at least reasonably realistic.
BTW, Dragon's "DS" is a flexible plastic that you can glue with regular model cement. This is OK, but it doesn't age well, especially if you leave the unpainted model around for a couple of years. The unpainted track can get brittle in places yet at the same time, leach oils elsewhere. I would recommend throwing those out and replacing them by
anything else if you ever buy a kit that has them
Dragon calls some of its separate-link track "Magic track", which means you don't need to clean them up but can assemble them straight away. These aren't attached to sprues but come in bags (usually left and right — don't mix those up!) but my experience is that they still need some cleanup. Just not as much as the ones that come on sprues
And as an aside, these days I much prefer workable tracks. They're even more work to put together, but the fact that they
work means you can leave them off the model until after painting, yet still put them on easily and have them hang realistically (or be realistically taut, for things like American WWII tanks and most modern ones).
One thing with them, of course, is that they're an added expense for kits that don't come with them, and some sets of workable track are really hard to build. I must say I was impressed with the Quicktracks set I bought for
the Panther I built earlier this year, though, after frustration with the RFM set I got at first.







![Pampers Sensitive Baby Wipes, Clinically Proven, Fragrance Free, Unscented, Water Based, Hypoallergenic, Multi-Use, Hand Wipes 336 Wipes Total (6X Flip-Top Packs) [Packaging May Vary]](https://m.media-amazon.com/images/I/41KLBHu9CAL._SL500_.jpg)