Jamaicanmodels69
New Member
- Joined
- Apr 17, 2011
- Messages
- 604
Well i really don't love the final cut of the Geonosian
in AOTC! Mostly because of the pods stacked on top
of each other, I think its a cool design as a single pod
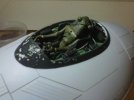
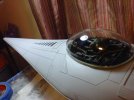
fighter....so i stacked two top hulls on top of each other
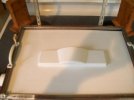
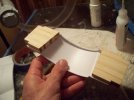
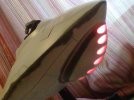
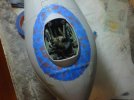
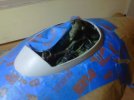
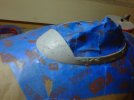
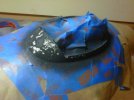
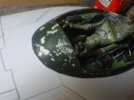
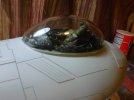
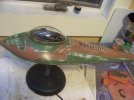
and I really liked it! I wanted to mold the canopy and engine
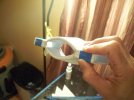
housing so when formed they were done. For the canopy
i found a serving spoon at Wal-Mart for 88 cents can't beat
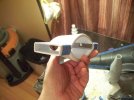
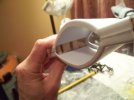
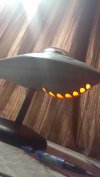
that. For the engine I used the front cowling from the old slave
1 kit and bent it around and filled it with Apoxie Scultp.
I am going to make side missile launchers like the A-wing has
and integrated laser cannons like the Twin Pod Car has. These
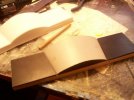
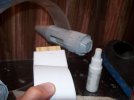
pics here will be the new patterns for form over, i will have to
fill the bottoms with something not sure yet?
I was thinking it might be cool to have a hyper drive
ring like the jedi Starfighter.....but thats an option
after i sort out the main body.
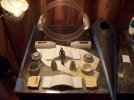
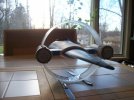
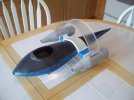
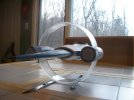
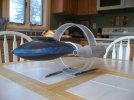
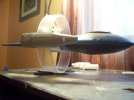
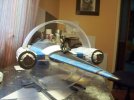
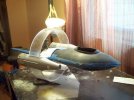
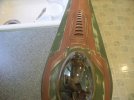
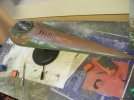
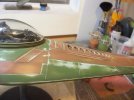
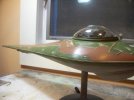
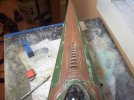
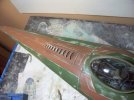
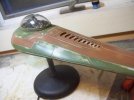
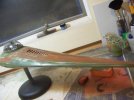
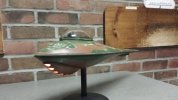
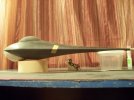
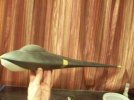
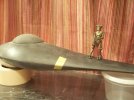
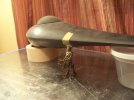
Pics.....
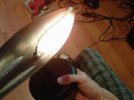
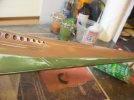
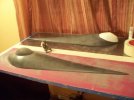
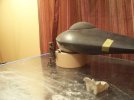
Some sanding just to get the hulls real close means
less sanding after the parts are formed!


