Eduard Messerschmitt Bf 110 1/72

Adam

New Member
Joined
Feb 23, 2012
Messages
16
Hi Everyone,

It's been a while since I've posted anything, but I thought I'd like to log my upcoming build of an Eduard Messerschmitt Bf 110 in 1/72 scale.
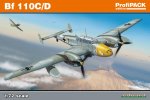
7081_z1.jpg

Having just finished reading Len Deighton's brilliant account of the Battle of Britain in his book 'Fighter' I wanted to make something pertinent to this battle.

9781845951061%20(2).jpg


Unfortunately the Hasegawa Heinkel 111 I picked up was missing a sprue, and having made many of the more famous single engined fighters, I opted for the Eduard Messerschmitt Bf 110. This is the first Eduard kit I've made and from looking at it, I can't wait to get started, there's no flash, the instructions are super detailed and the photo etched detailing looks amazing.

WP_20130627_019%20(800x451).jpg


It's also the first time I've used photo etched parts, so looks like no seatbelts made from maskng tape and tissue paper on this build, in contast to my last one!

WP_20130627_007%20(800x451).jpg


I'm going to be building this version, flown by Major Erich Groth who claimed 13 downed British planes in the Battle of Britain flying as part of the unit ZG 76.
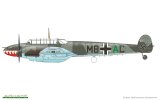
7081-e.jpg

I look foward to keeping you updated.

Adam
 
I havent builded one of this but im pretty sure it is a nice kit couse i realy like Eduard and Tamiya kits :)
 
Thats a sweet little kit ,you'll enjoy it :)

Your images should resize to fit ? but I keep mine to 800x600 anyway .

Chris.
 
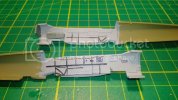
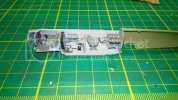
OK, so I've been working on the interior, which was a joy to put together, with the photo etched details providing more of a challenge, although I guess this was to be expected!

WP_20130628_016%20(800x451).jpg


WP_20130628_014%20(800x451)%20(800x451).jpg


WP_20130628_026%20(800x451).jpg


Thanks for looking, more updates soon.

Adam
 
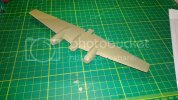
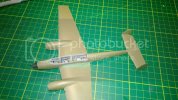
Just a quick update on how the build is progressing. The wings are assembled...

WP_20130629_001800x451.jpg

... and interior painted and put together

WP_20130630_001800x451.jpg

WP_20130630_003800x451.jpg

WP_20130630_004800x451.jpg

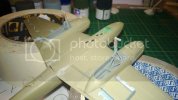
Wings were attached. The fit wasn't perfect, but this was solved with some trusty green putty.

WP_20130701_001800x451.jpg

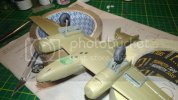
Finally, the nose and tail attached.

WP_20130701_003800x451.jpg

Thanks for looking, more updates soon.

Adam
 
I had been linking photos from my SkyDrive, but have changed to Photobucket, so hopefully this will solve any problems. Sorry for the amateurishness!
 
Looking good , not hanging about then :D

Chris.
 
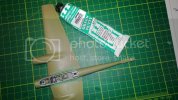
I'm fairly pleased with how the build is progressing, despite spending longer that I care to admit on my knees searching for dropped little bits of undercarriage. I have managed to find all the components and assemble the troublesome undercarriage

WP_20130702_001800x451.jpg

WP_20130702_002.jpg

And paint the underside of the plane

WP_20130703_001.jpg

Next - the top half. Updates to follow.

Thanks for looking and commenting.

Adam
 
CallSignOWL said:
the box review made it look like a gem of a kit. Are you of the same opinion?

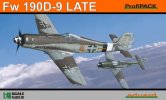
Yes, definitely. I've been really impressed, so much so that on the weight of this kit, I've bought an Fw 190 from the same Eduard 'ProfiPACK' range.

8189.jpg

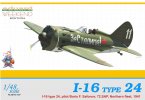
There was one slight problem fitting the wings to the fuselage, with the level of the two components not quite matching. Such was the quality of the rest of the kit, I had assumed this was more likely down to an assembly error by myself, but looking at it I'm not so sure. Either way the problem was easily rectified with some putty, and so far this has been the only issue. I was also tempted by this Eduard I-16 kit

8468.jpg

but it is from their 'weekend' range which are supposed to be simpler, and fittingly less expensive. I still think I'm going to give it a go at some point soon, though.
 
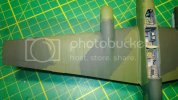
Update on the painting.

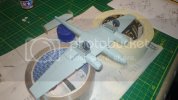
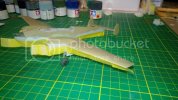
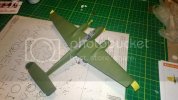
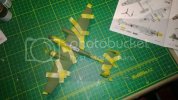
The underside was masked off

WP_20130703_007.jpg

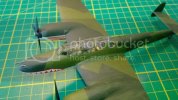
and the base colour (NATO green) applied.

WP_20130703_011.jpg

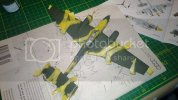
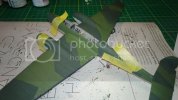
The camoflage pattern was then masked off. In the past with this type of angular German design, I've painted free hand, but I'm hoping by masking I'll get much cleaner lines.

WP_20130703_012.jpg

The darker colour (black green) was then applied.

WP_20130704_001.jpg

It clearly needs some touching up!

WP_20130704_002.jpg
WP_20130704_003.jpg

And a few sections redone completely.

WP_20130704_005.jpg

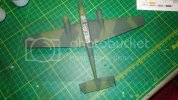
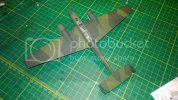
And this is where I'm up to...

WP_20130704_006.jpg

...not perfect, I know, but I'm fairly pleased.

Thanks for looking!

Adam
 
Nicely done Adam. I'm a fan of German aviation, so I'll be following along as you finish this one up.

Good buy on the Eduard kits also - Eduard has some great subjects, at a reasonable price, and I like that they often release a kit at various price points ( limited, profi-pack and weekend) it gives a modeler more choice. Easily one of my favorite manufacturers.
 
So I've only done a bit of work on the model the past few days, as the weather here in the UK has been unusually good, and I've also had the added distraction of being able to see all the flight displays from the Waddington International Air Show from my back garden!

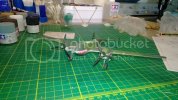
I have, however, added the props.

WP_20130707_002.jpg

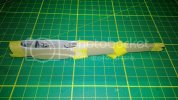
I've also done the canopy. The kit came with masks, so I thought I'd give them a try...

WP_20130704_009.jpg
WP_20130705_001.jpg

...and I'm pretty pleased with the results.

WP_20130707_011.jpg

Next up, many, many decals!
 

Latest posts

Back
Top