Carsenault
New Member
- Joined
- May 7, 2009
- Messages
- 845
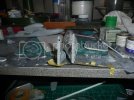
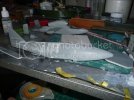
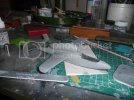
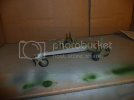
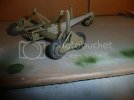
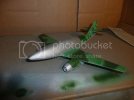
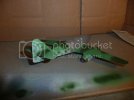
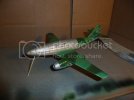
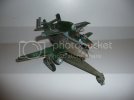
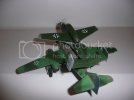
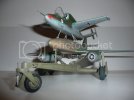
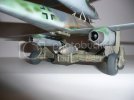
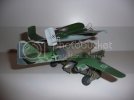
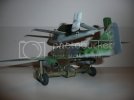
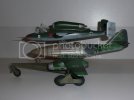
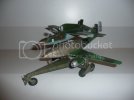
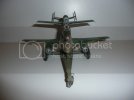
Instead of watching glue dry on my Hurricane IIc today I decided I could crack open the Mistel. The Kit instuctions are nicely done and each component is completed before the next one starts, The 3 components are the He162 Salamander which serves as the control aircraft, the Me262 warhead aircraft and a heavy duty trolley to support the combo on the ground until take-off.
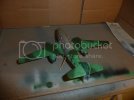
First up in the instructions is the He162 control aircraft. Contruction started with... (surprise) the engine. The He162 is powered by a single BMW 003 axial flow jet turbine. The engine is nicely rendered with many small parts destined to be consumed by the carpet monster or the space/time worm hole. After gluing together the left and right halves of the turbine casing, I quickly lost 2 small engine accessory parts to the dreaded carpet monster. Oh well, nothing I cant scratch build. So I decided to put that aside so I could work on the working pe piano hinges for the cowling. Well I quickly determined that whoever designed these PE piano hinges must have had very tiny hands to be able to manipulate each little tine, coz there was no way on earth I was gonna be able to make these work. I tried for an hour or so, managing to get one hinge put together but not to the point of being able to fully open. I believe the designer of these detail parts must also be the one responsible for the headlight assembly on my Mazda 3.
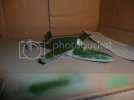
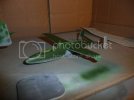
After fiddling around for a bit trying to see if I could simulate some hinges using evergreen stock, I discovered the kit comes with parts to display the He162 with the engine cowling closed! Took me all of 3 minutes to get all that put together. I also closed up the fuselage, Im not spending too much time on the interior, and there is no landing gear components ot build so the overal buildup should be fairly quick. Pictures soon.

