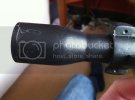
Sorry for the long post.....lots of pictures, as i got lots done today.

Well as the Klingons say 'today is a good day to paint!'.....well they would if they could. ;D
I got my colours down on the whole model tonight. After much ummimg and ahhing i finally decided to go with Vallejo Air paints as i really liked the range of metallic paints they had on offer, after my troubles with the Vallejo Primer i was starting to think i'd made a boo boo but i have to say that once i had some Vallejo thinners it's gone much better than i had hoped.
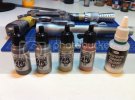
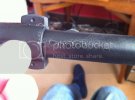
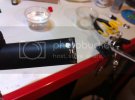
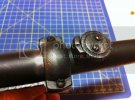
I started off by giving the whole model a coating of 'gun' colour, this gave a nice deep metal colour as my base and the primer seems to have worked great. Then i shaded all the edges, raised details and anywhere else i plan to use the AK weathering products with 'steel', this gives a lovely bright colour....just what i'm looking for to give the impression of worn metal that has an almost polished look.
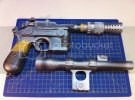
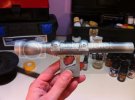
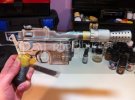
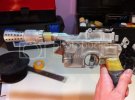
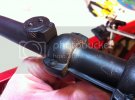
In some pictures i've seen the scope had an almost multi-colour hue to it where the black had worn away so next step was to pre-weather these areas with a very light coat of 'bright brass' and 'copper', while i was at it it occured to me that when i use a soldering iron at work the tips are around 380 degrees in temp and the tips go a similar brass/copper colour....surely the muzzle of a blaster gets hot!!! So although you dont see it in the pictures of the prop i decided to give the muzzle the same treatment.

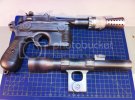
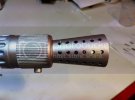
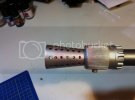
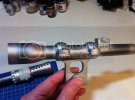
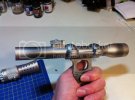
I did try to keep the hints of colour delicate, my skillz with an AB are getting better but still very newbie but i'm quite pleased with the end result. ;D
Next step is gonna be the tricky one, i will need to cover the gun with the AK chipping fluids then once thats dried apply my final colour of black then i can start chipping away to reveal all this metal goodness underneath. Firstly i'm going to read up on these chipping fluids to see what sort of time frame i need for the whole operation. ???
Thanks for looking.
TTFN Matt


