Cop Out Dragster

Scale Model Addict - Model Tips, Guides, Tools & Tech, Tutorials, and Community

Help Support Scale Model Addict:

WtShark

Well-Known Member
Joined
Jun 25, 2025
Messages
624
City & State/Province
So. Cal.
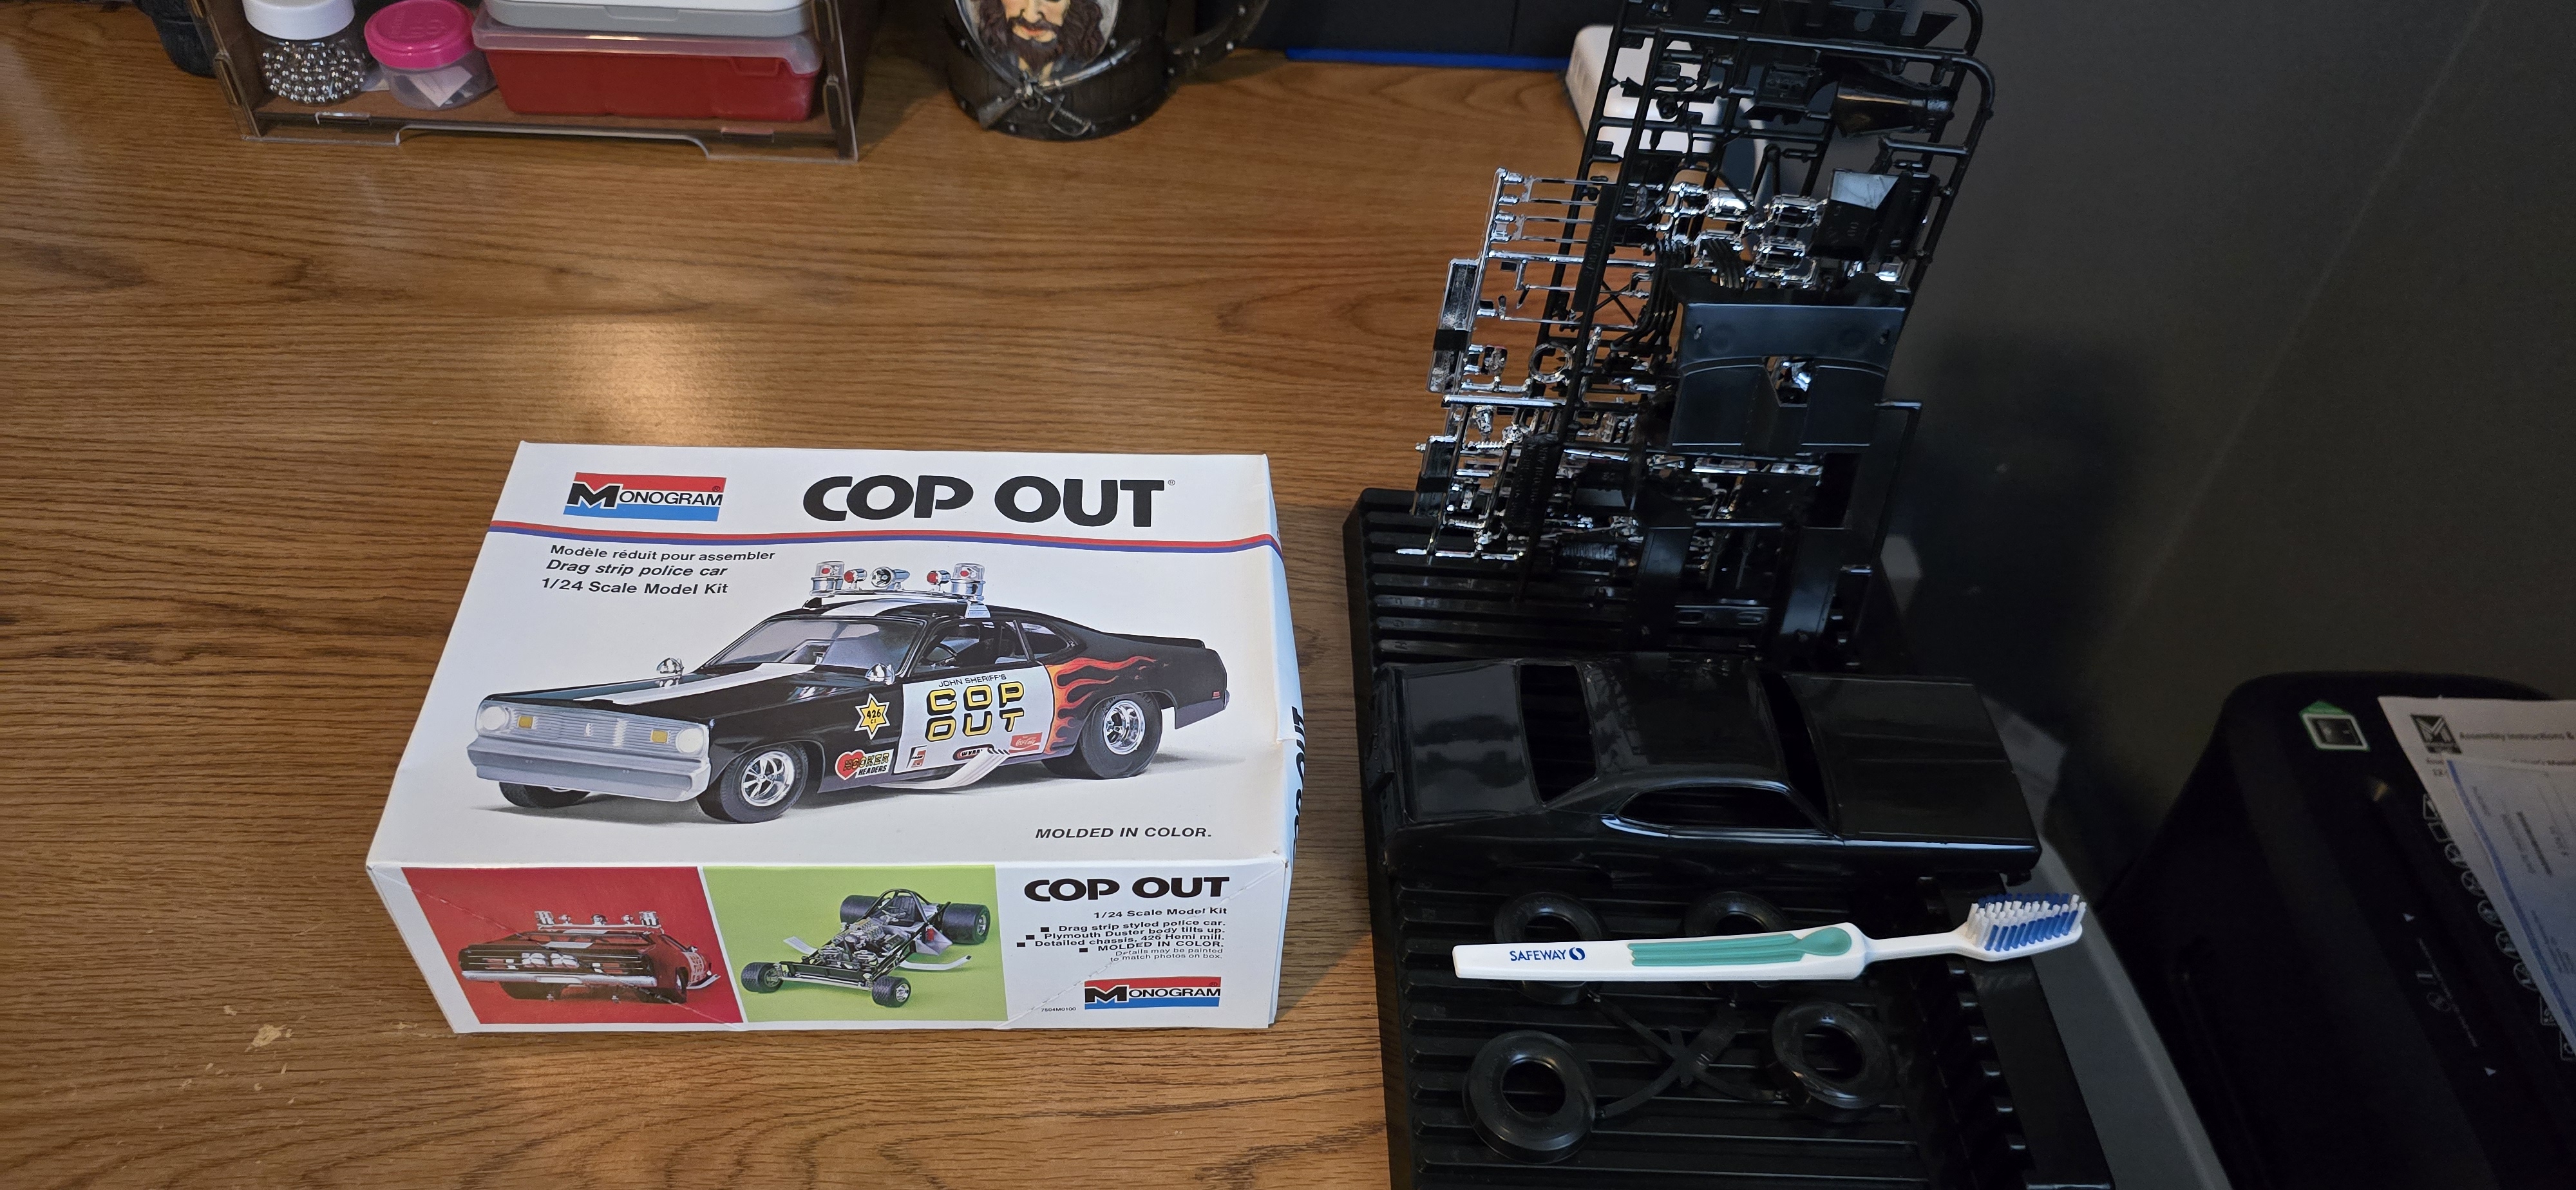
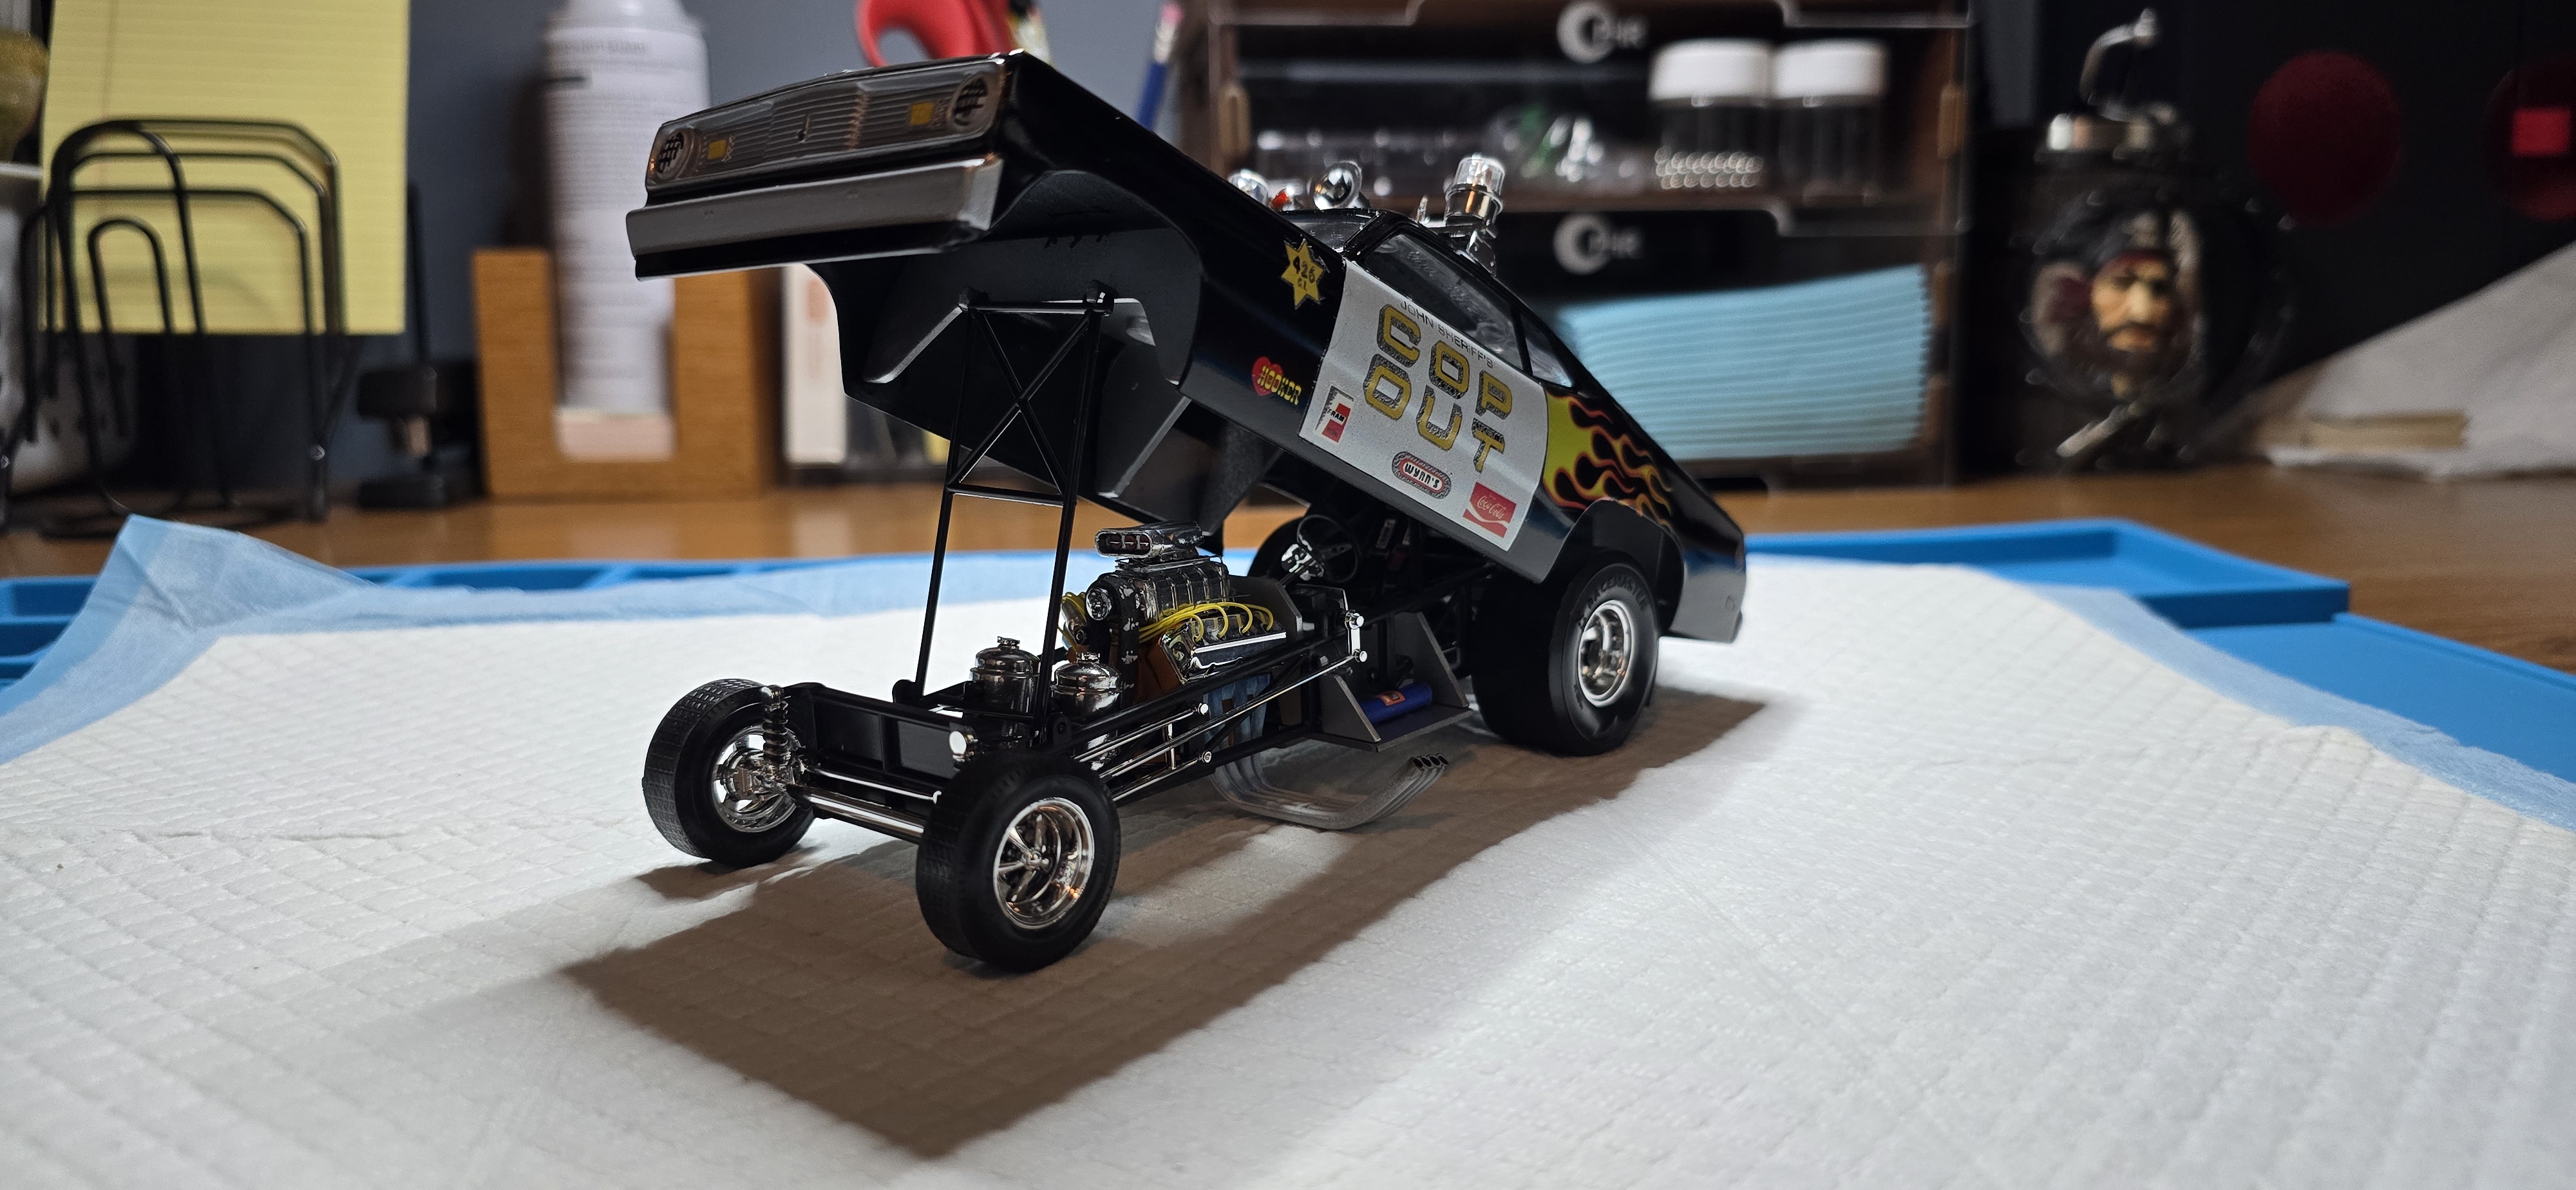
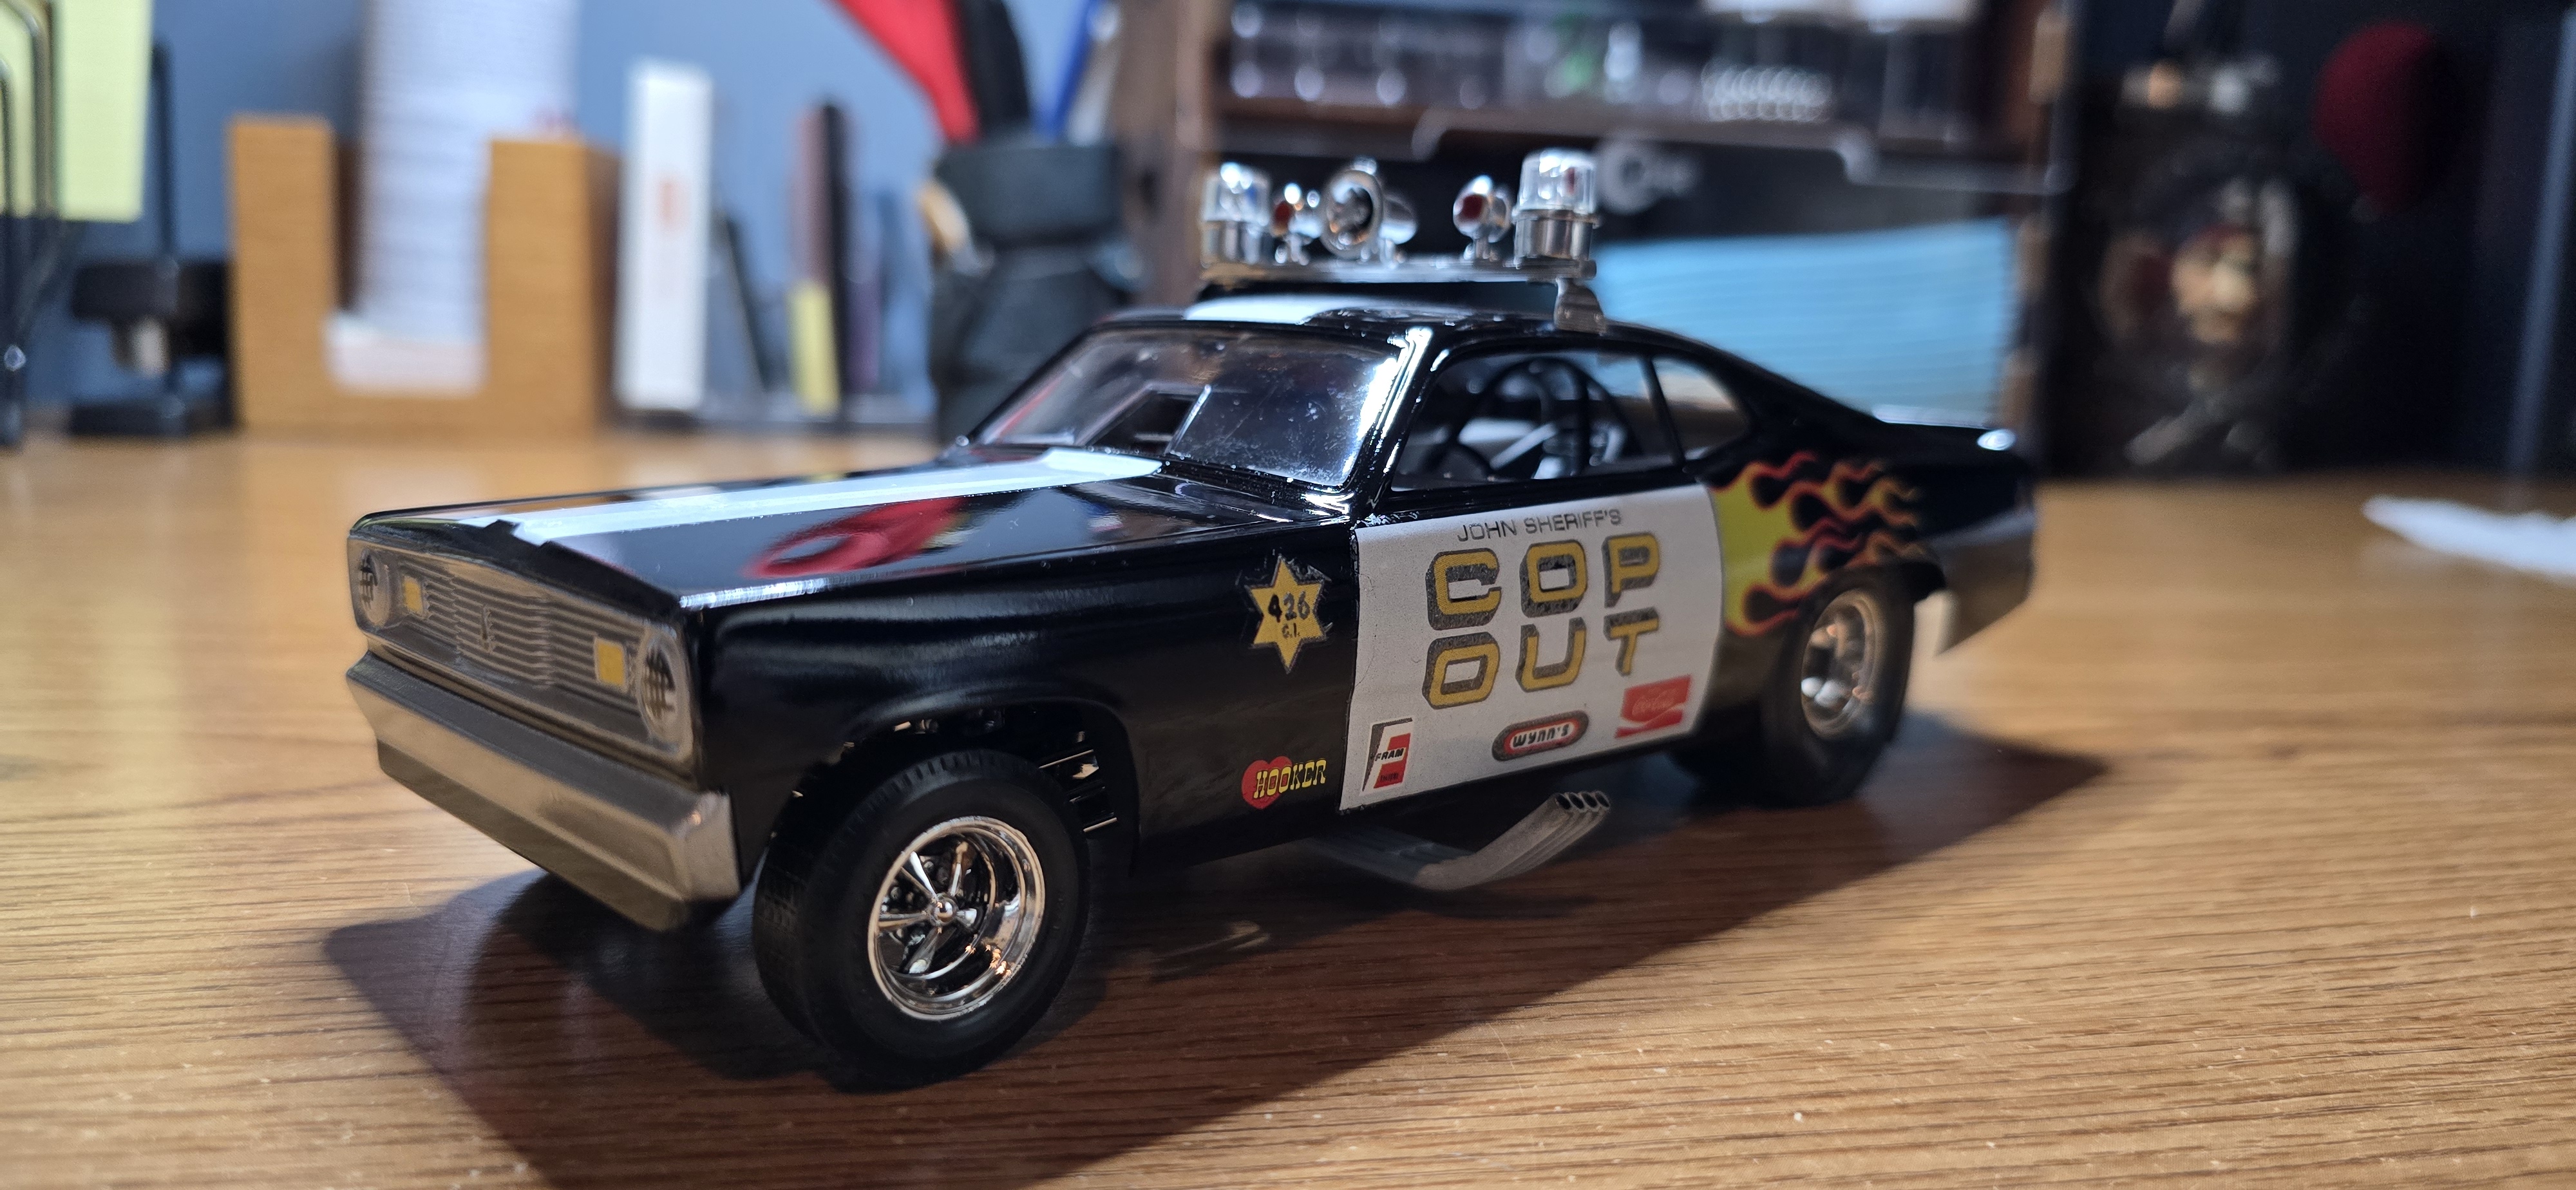
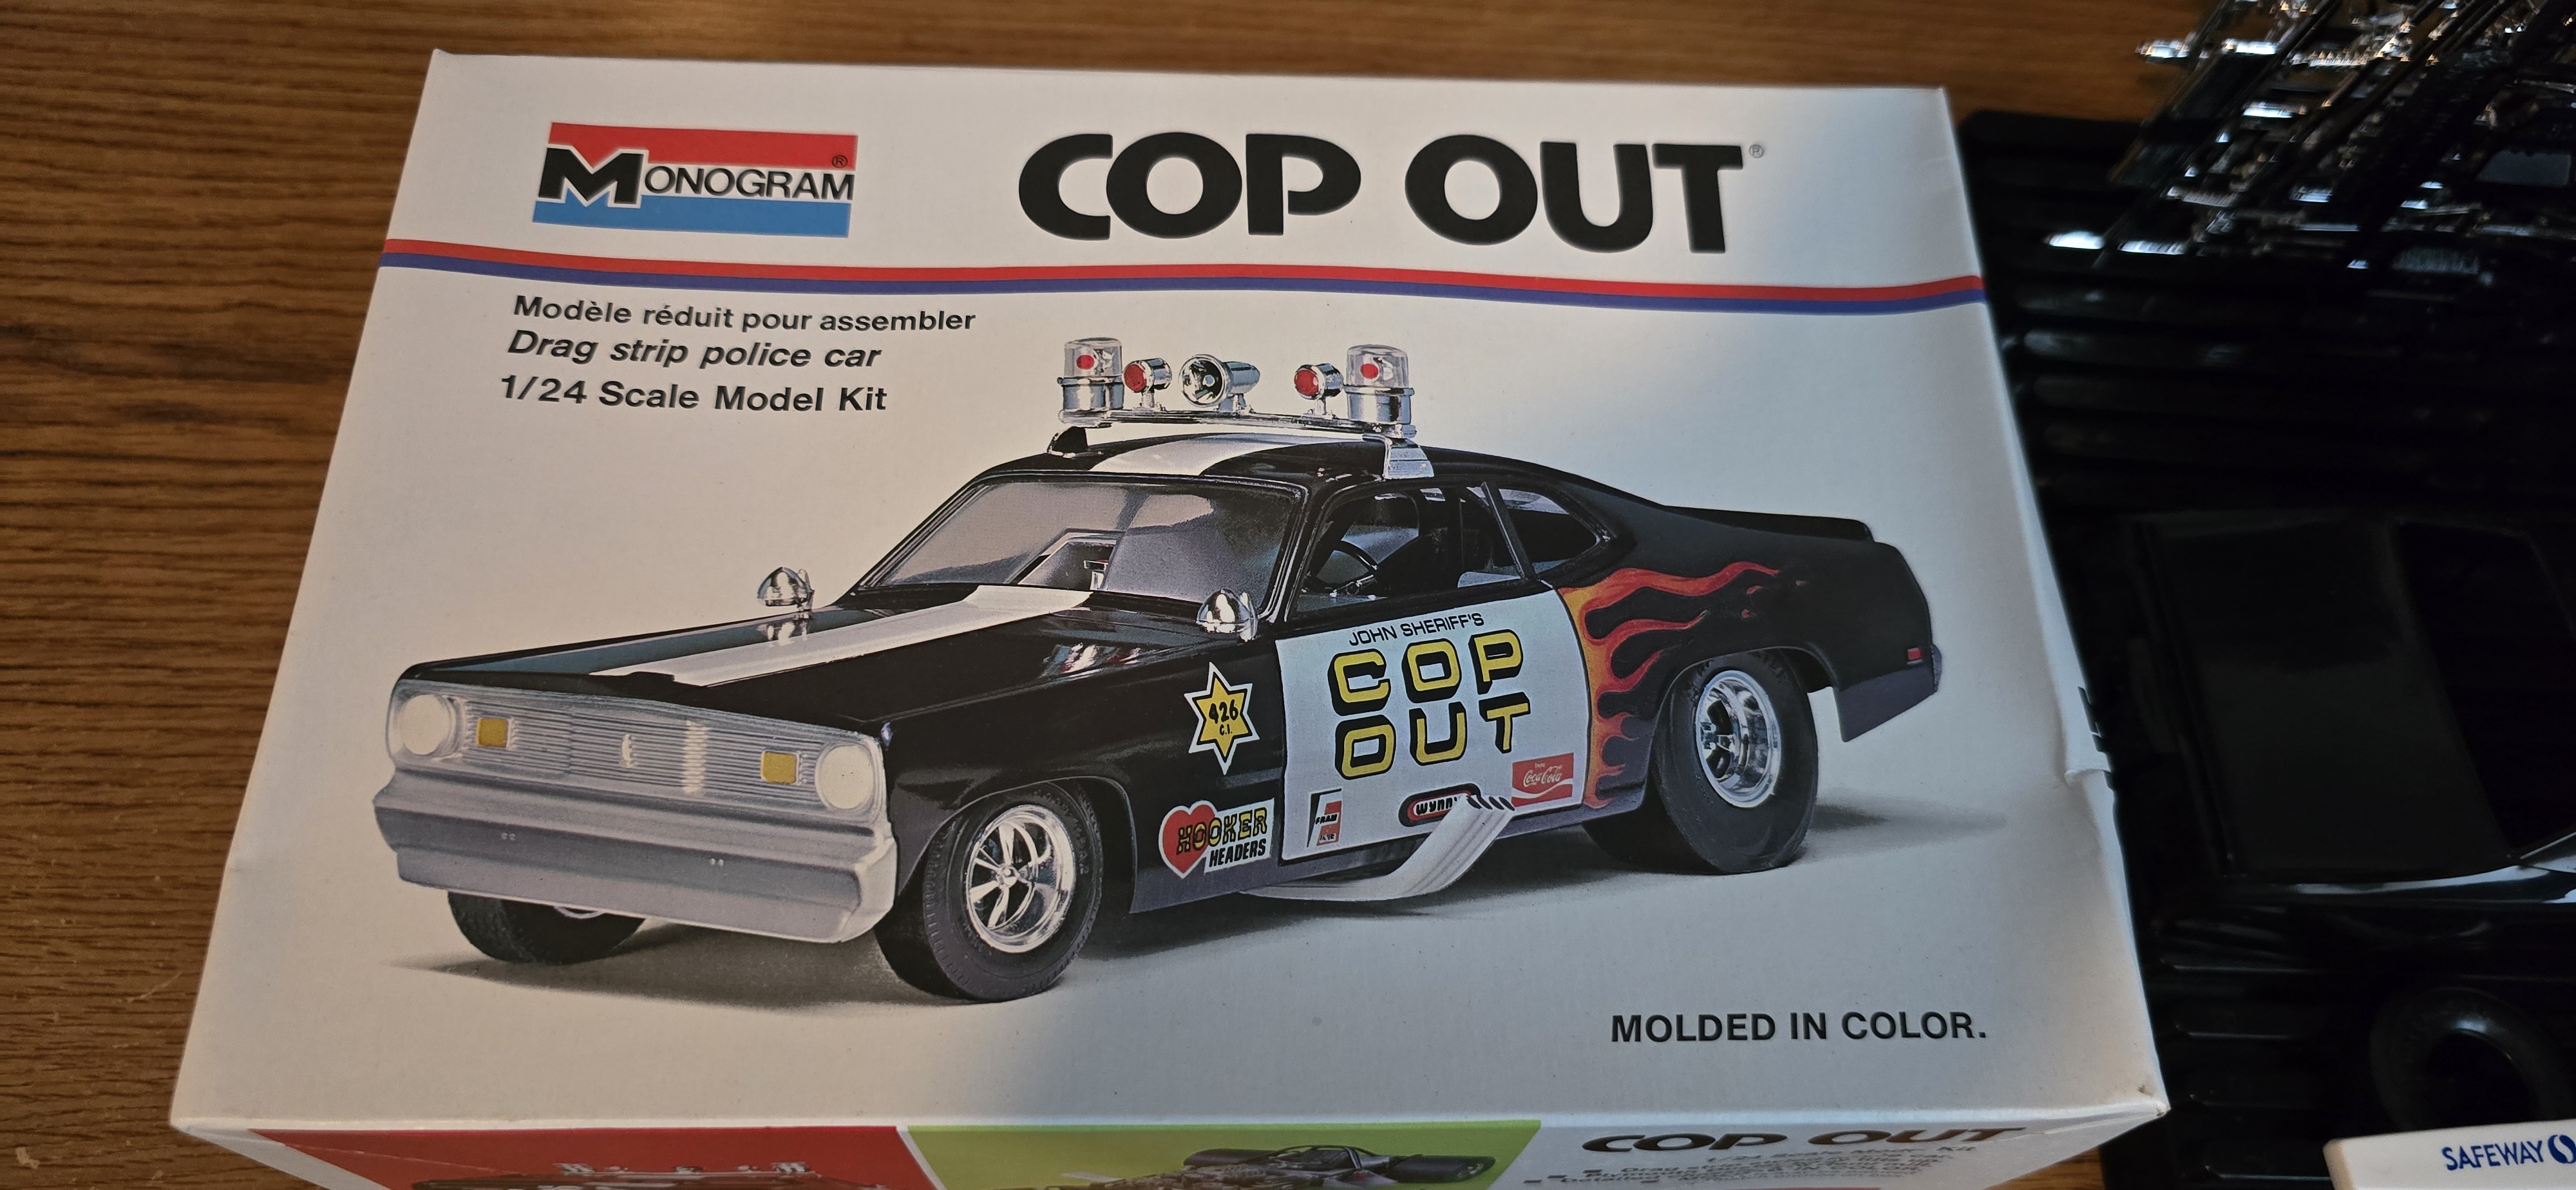
Next on the bench is an oldie but a goodie- The Plymouth Duster based dragster Cop Out.
I built this model with my dad when I was around 8 ish?
I'd "help" as he assembled and asked for parts from the tree.
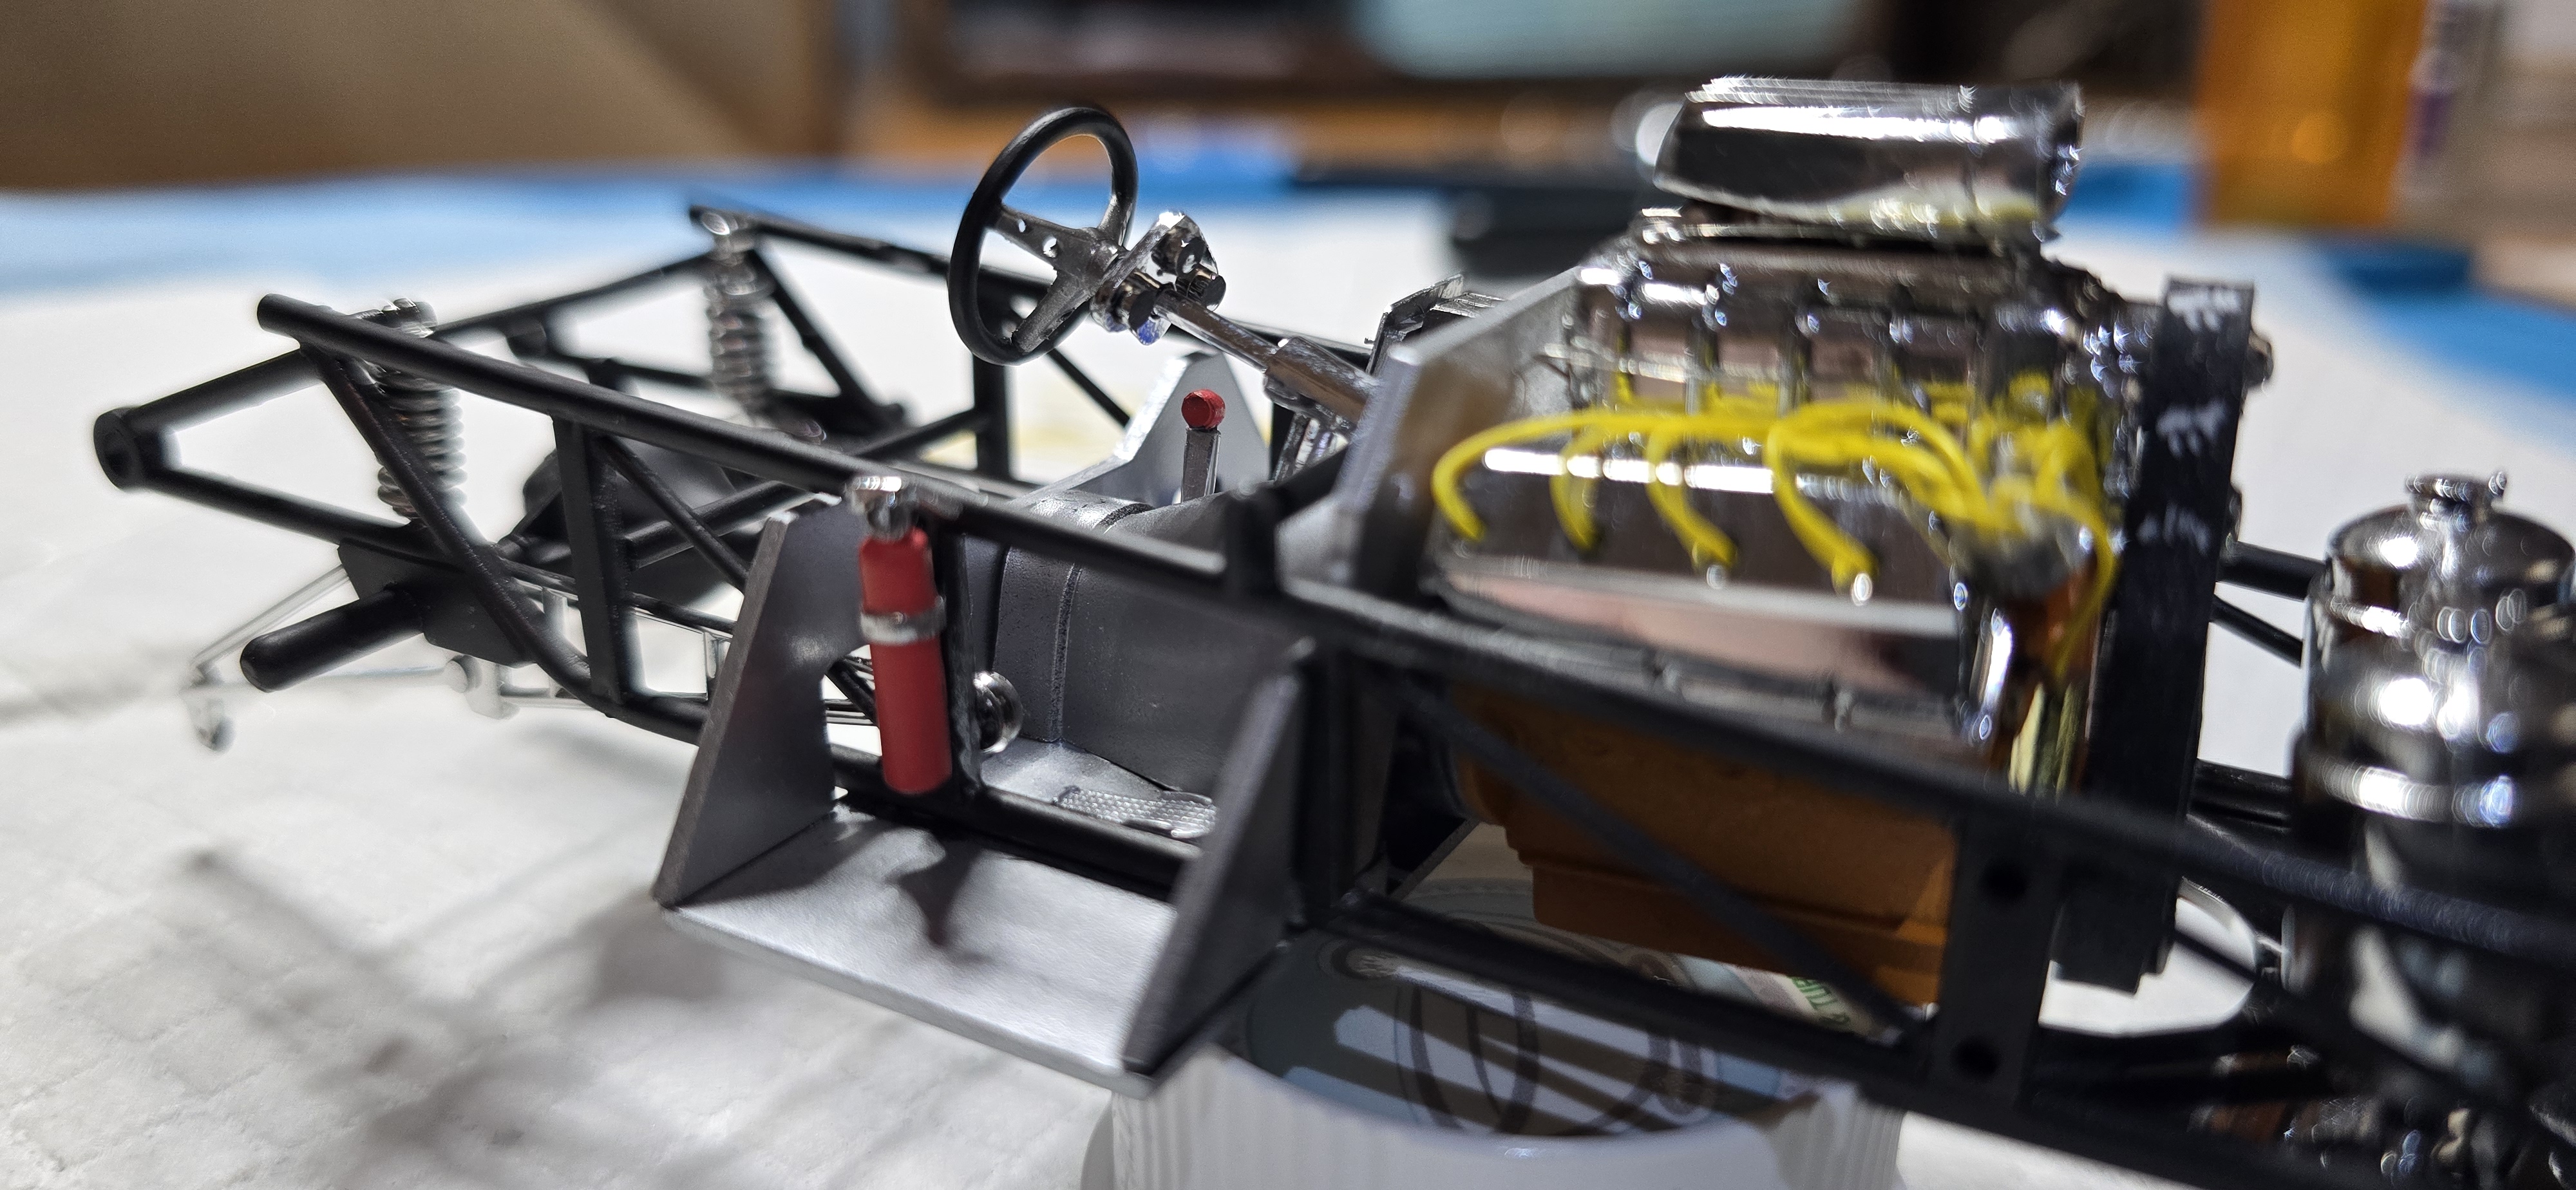
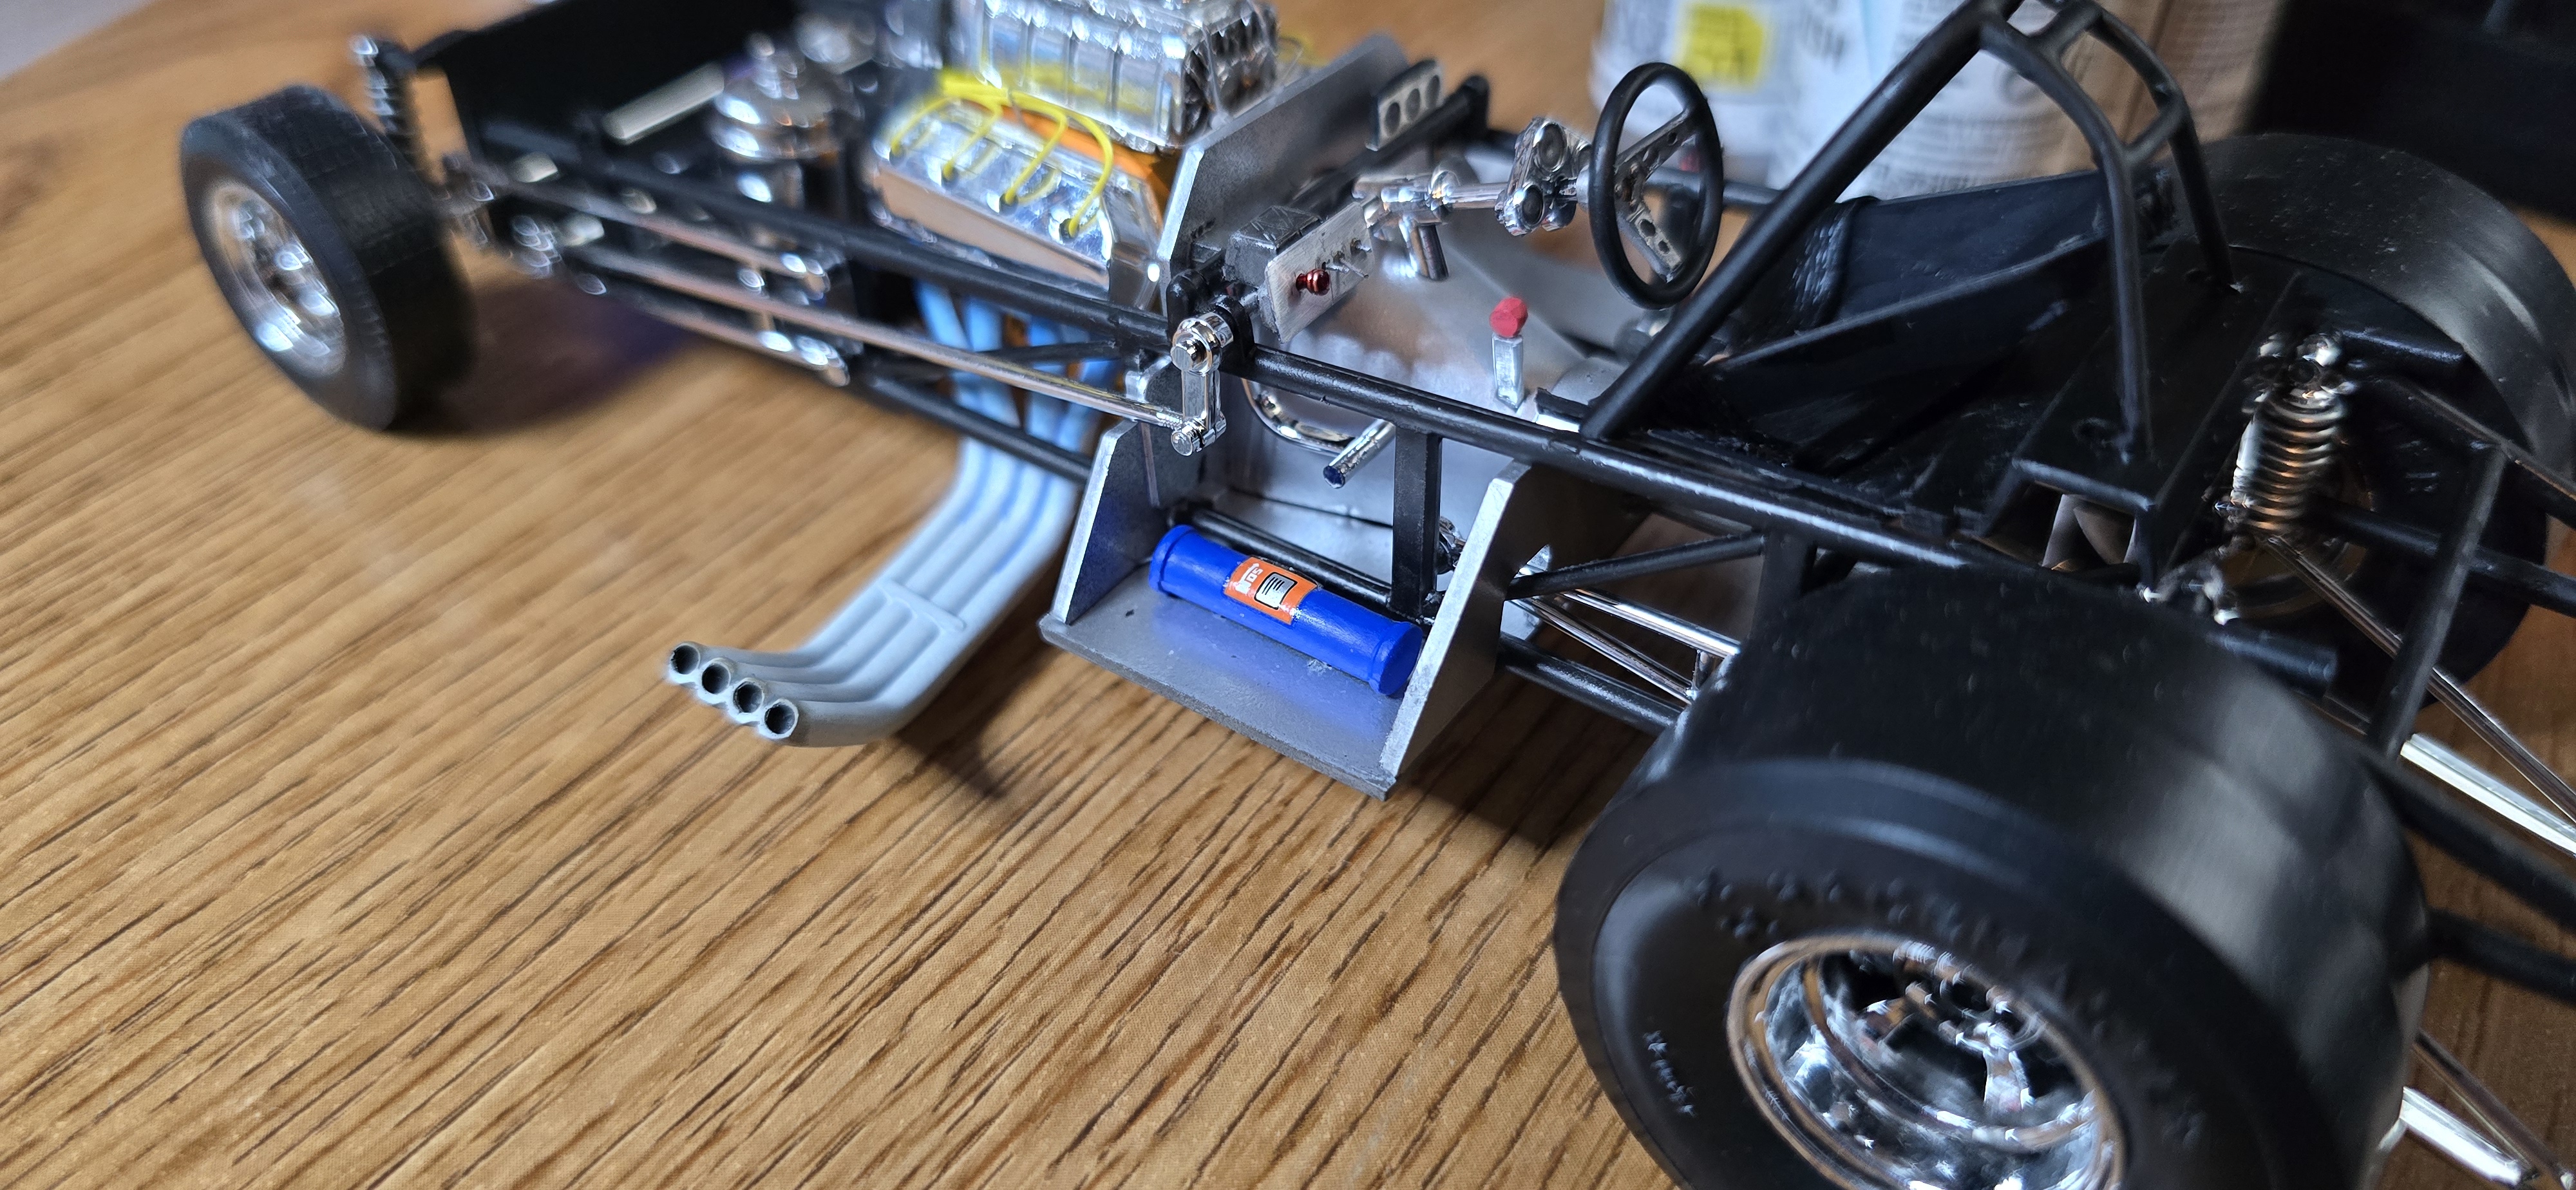
I remember being flabbergasted when he used a bit of my mother's fingernail polish to paint the fire extinguisher and lights inside the rotators red.
This is an old kit, purchased off Ebay a while ago, the decals look like they'll fall apart if I put them in water, so we'll have to see how it goes.
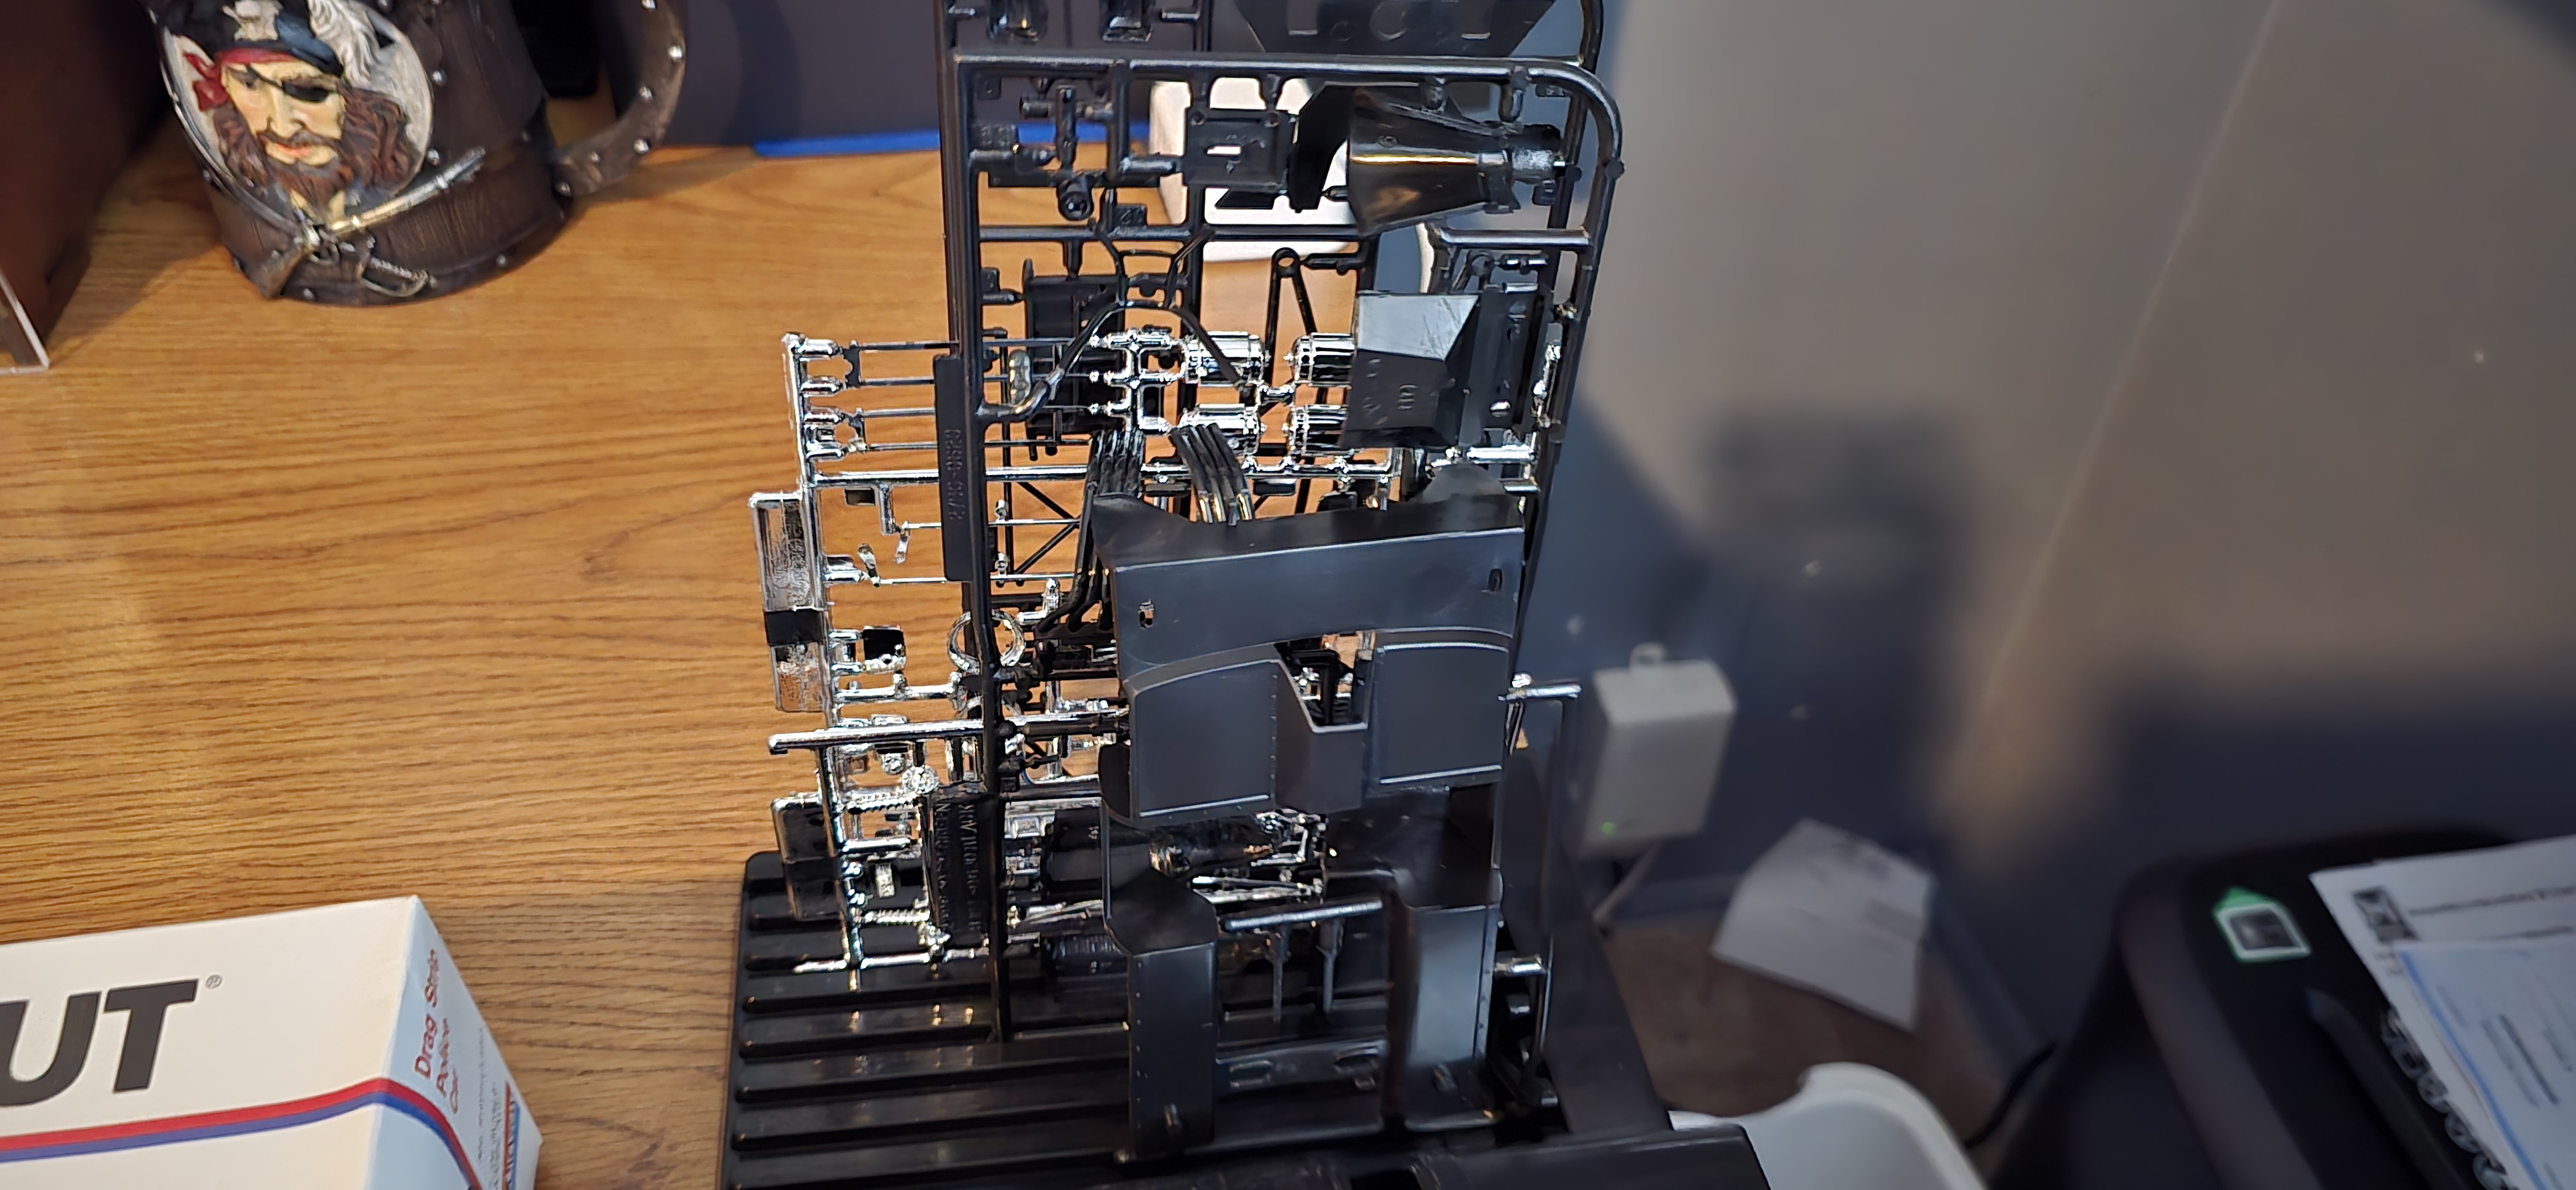
With my initial inspection and washing, I see little to no flash, no warping or problems with the parts. We'll see how it goes as we go down the road.
20260520_085542.jpg
20260520_085550.jpg
20260520_085538.jpg
 
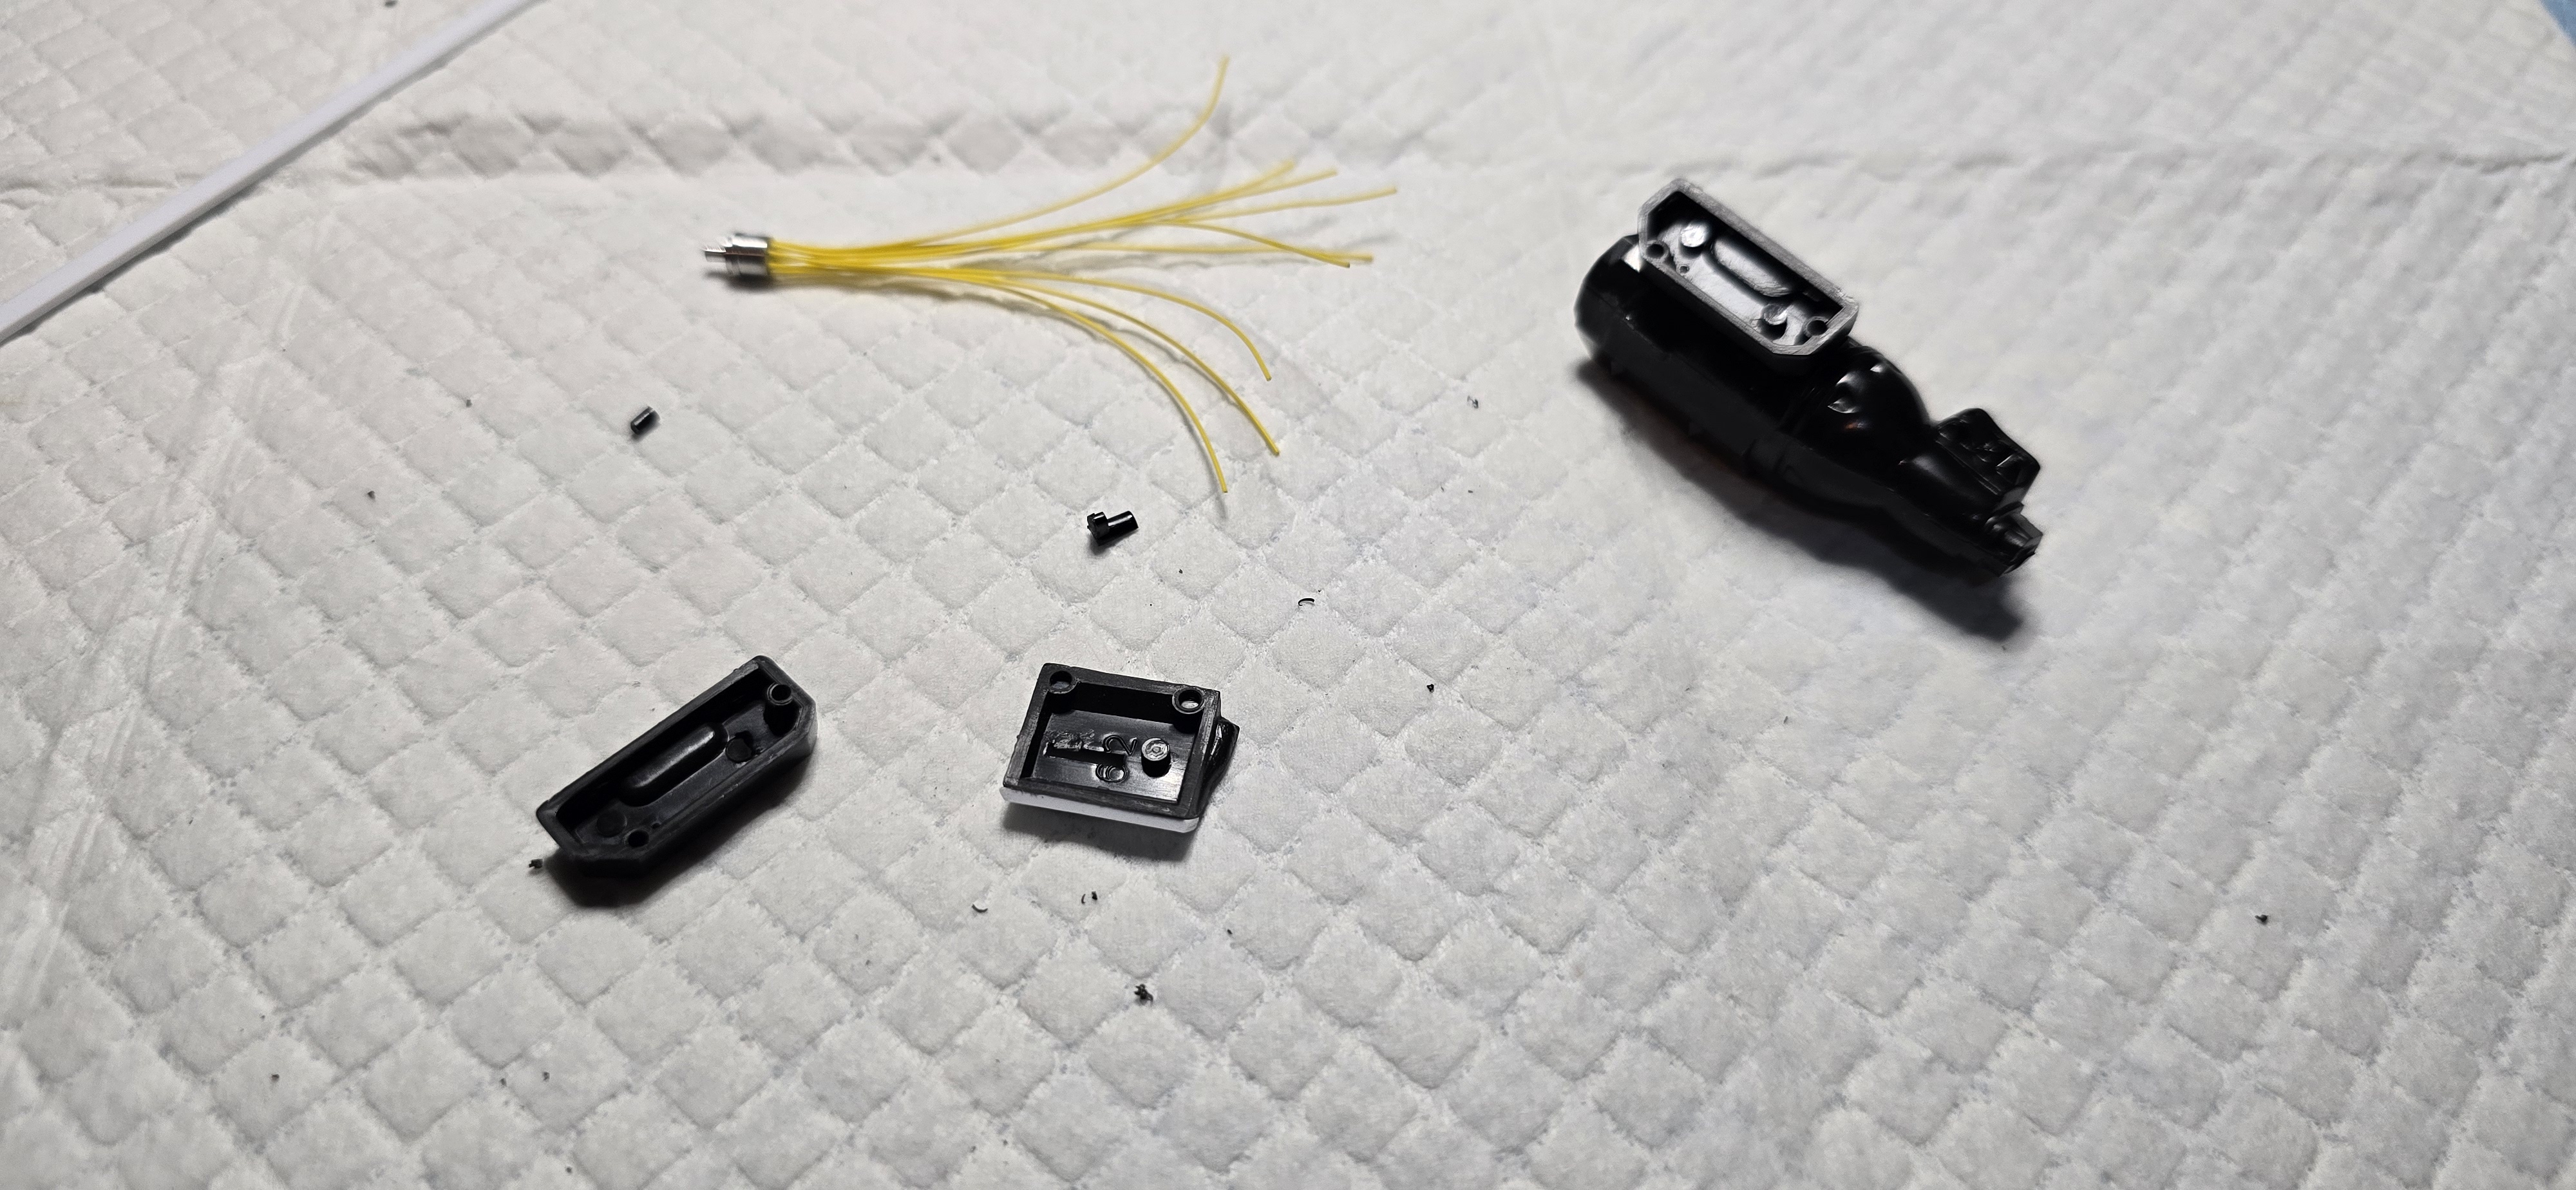
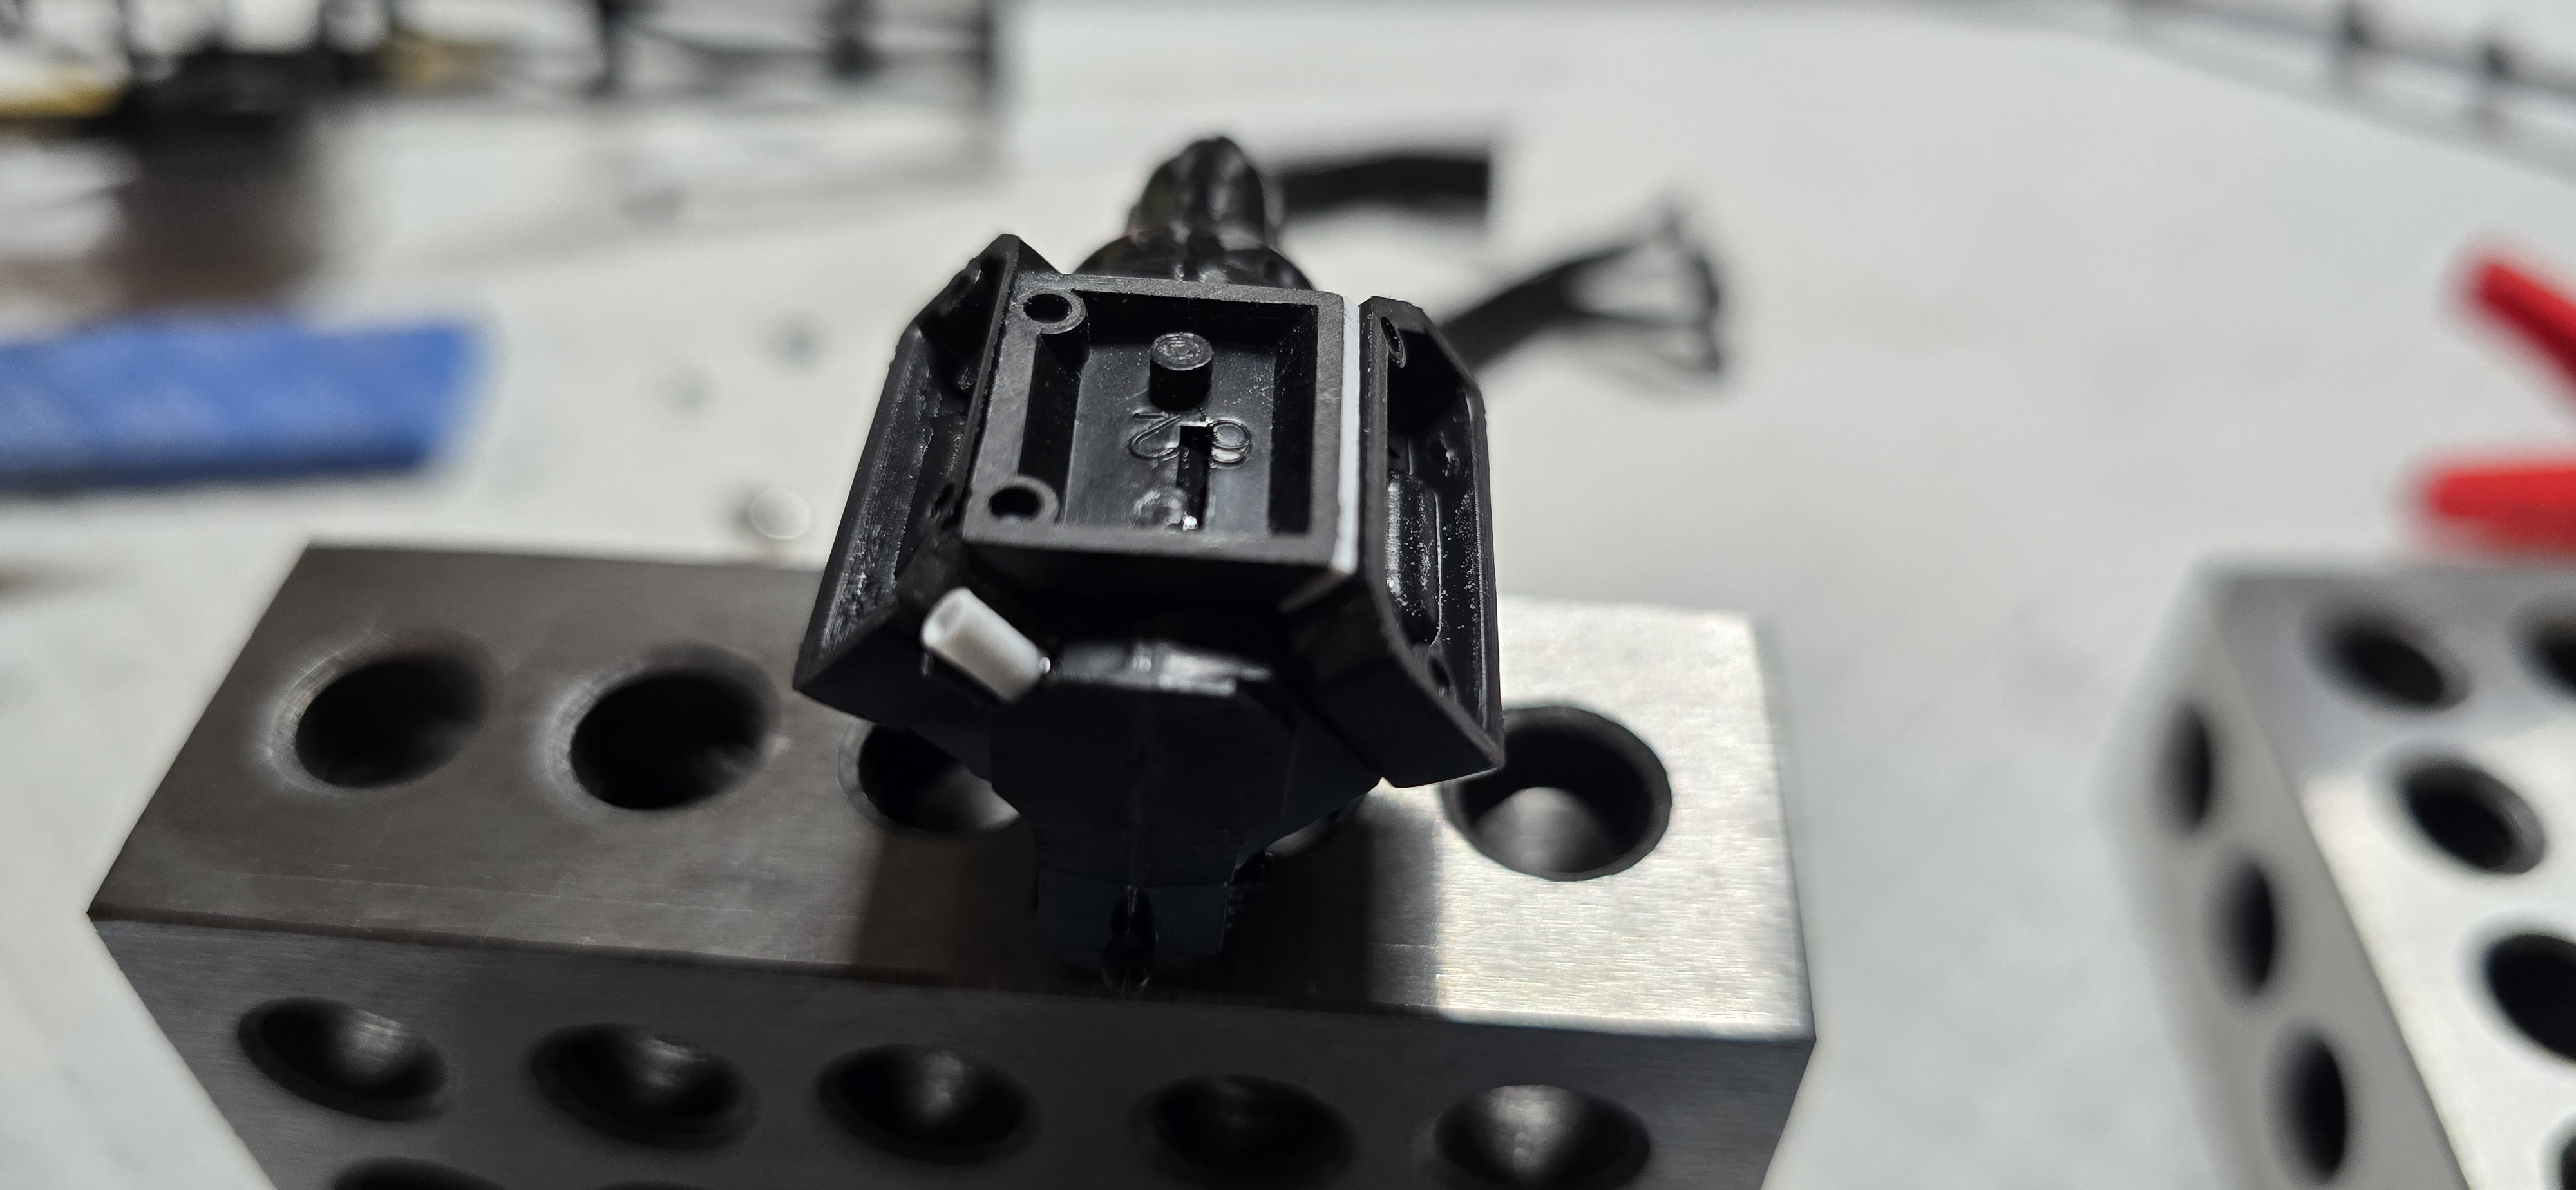
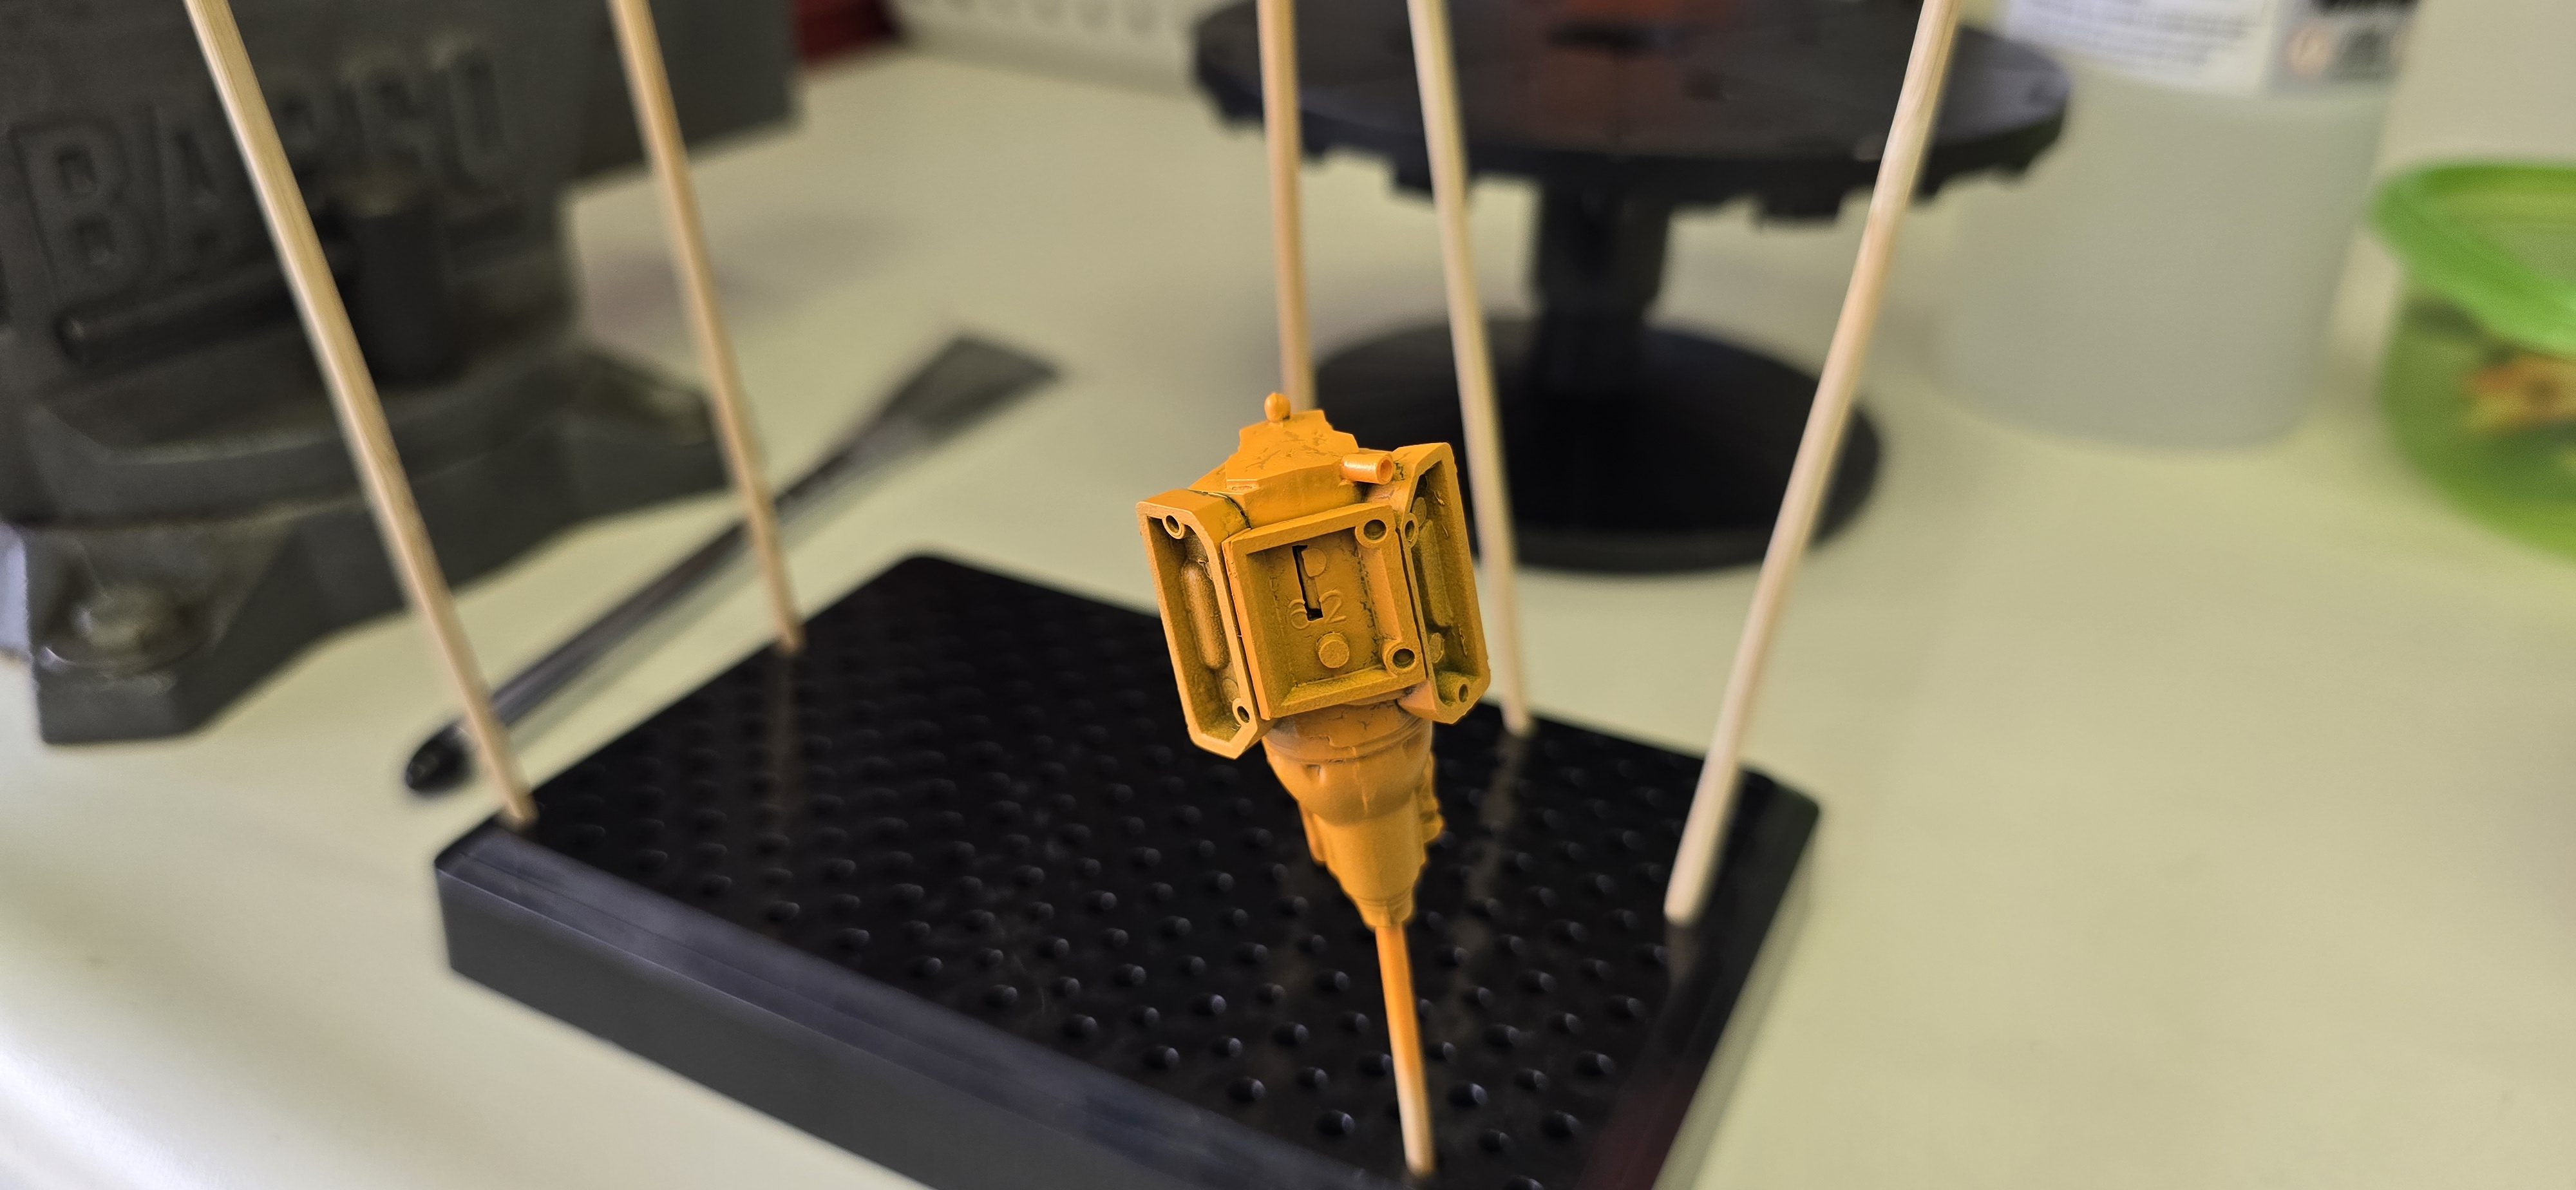
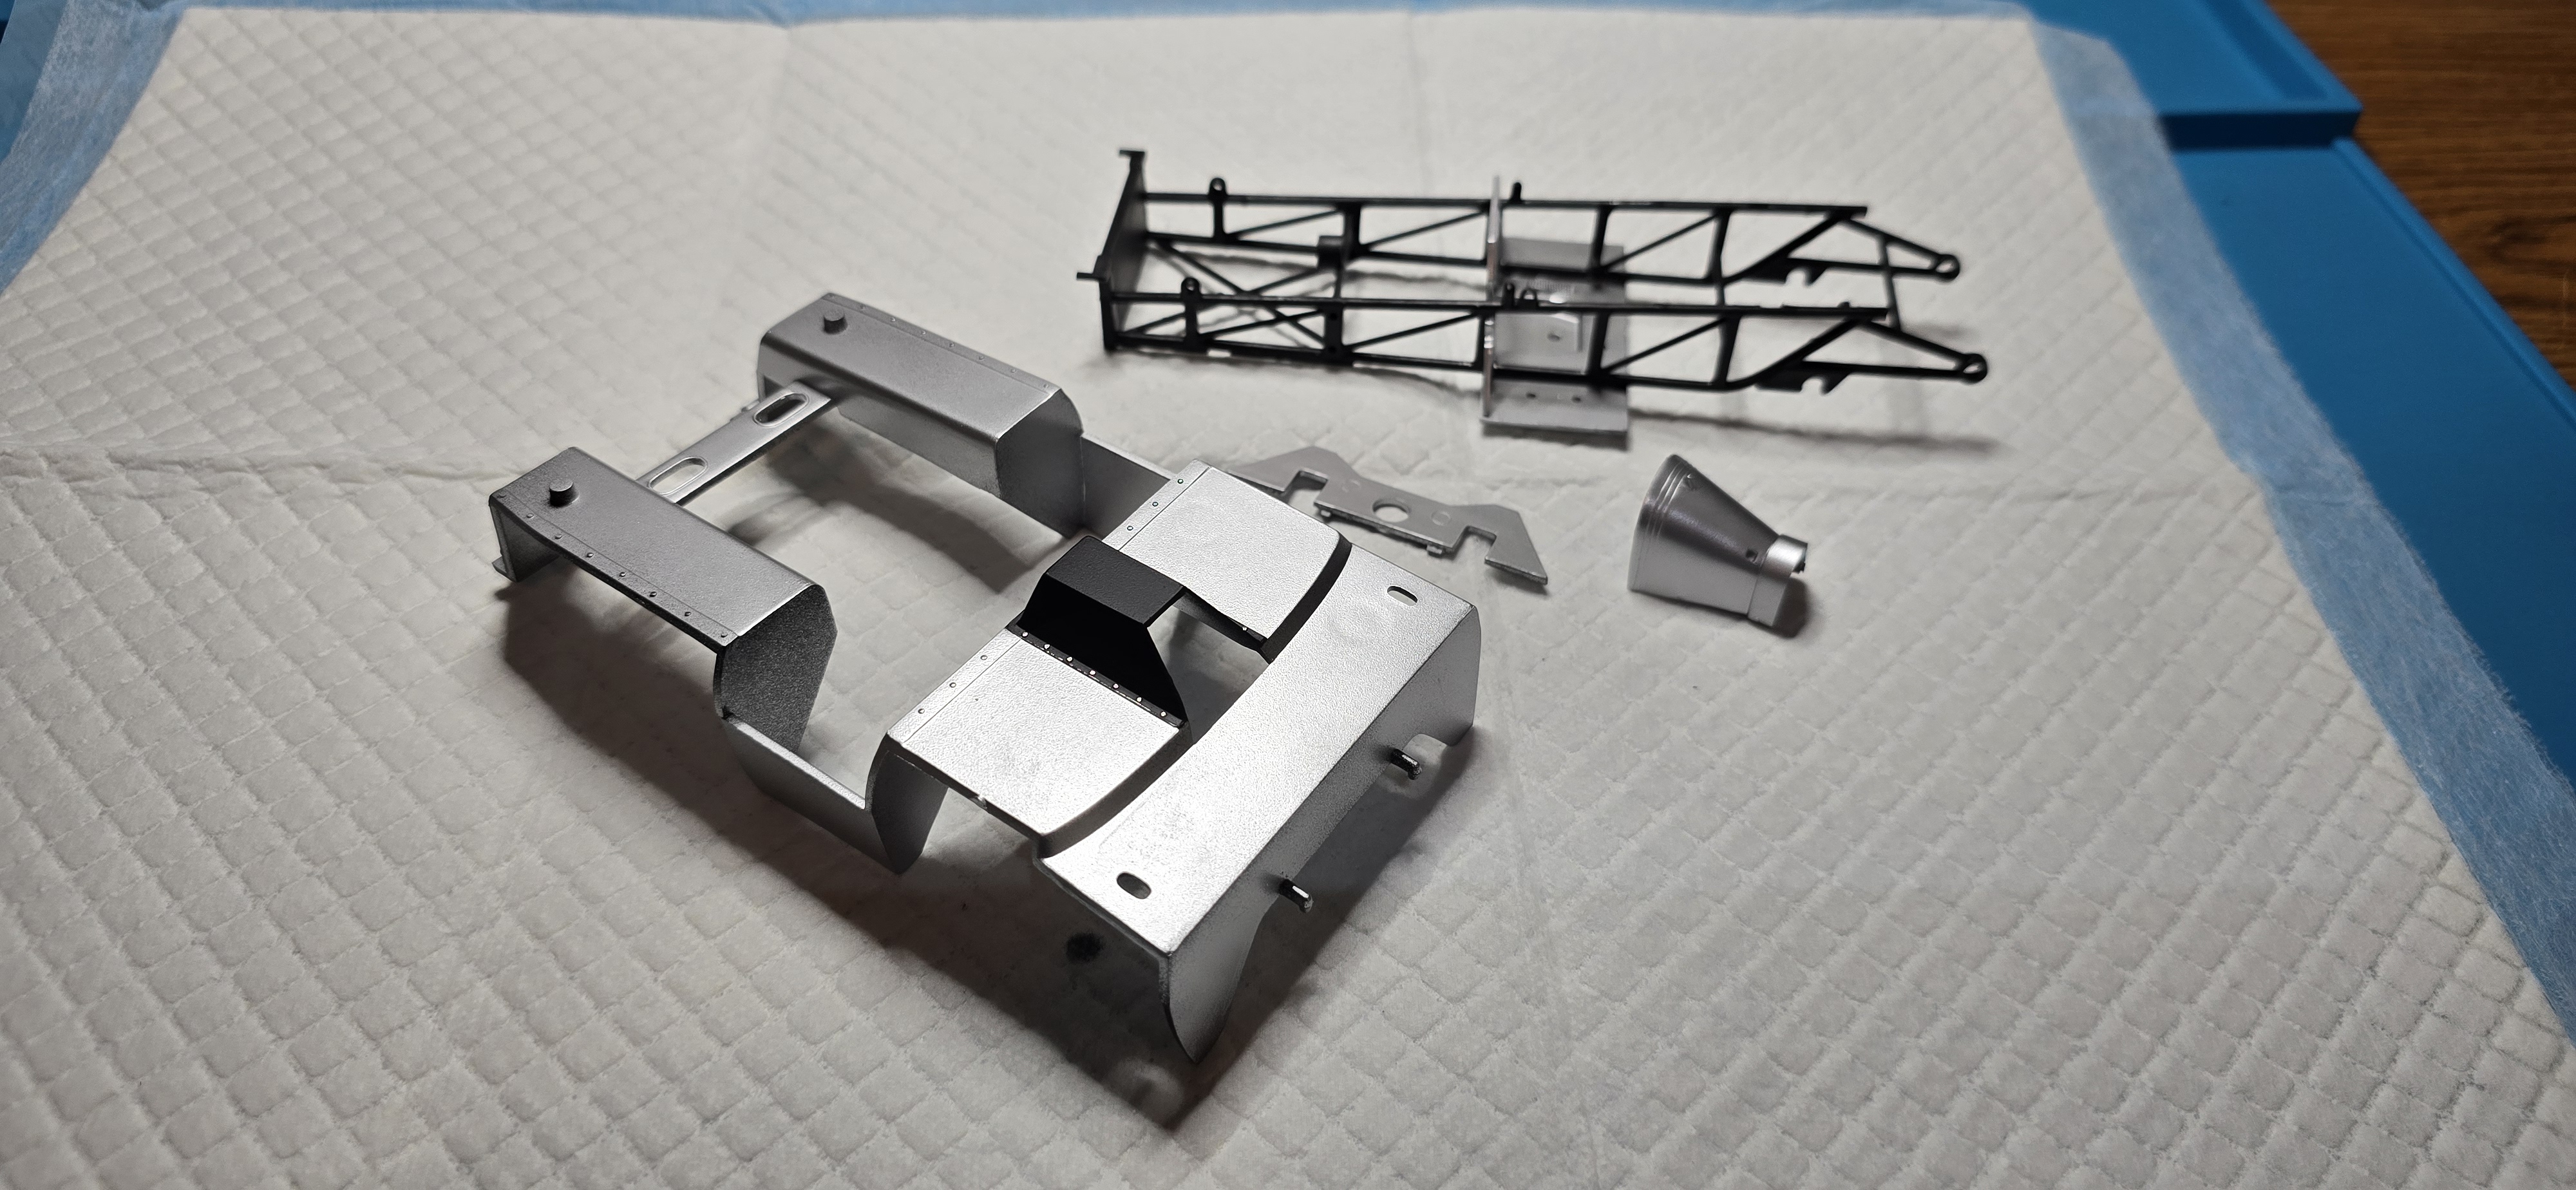
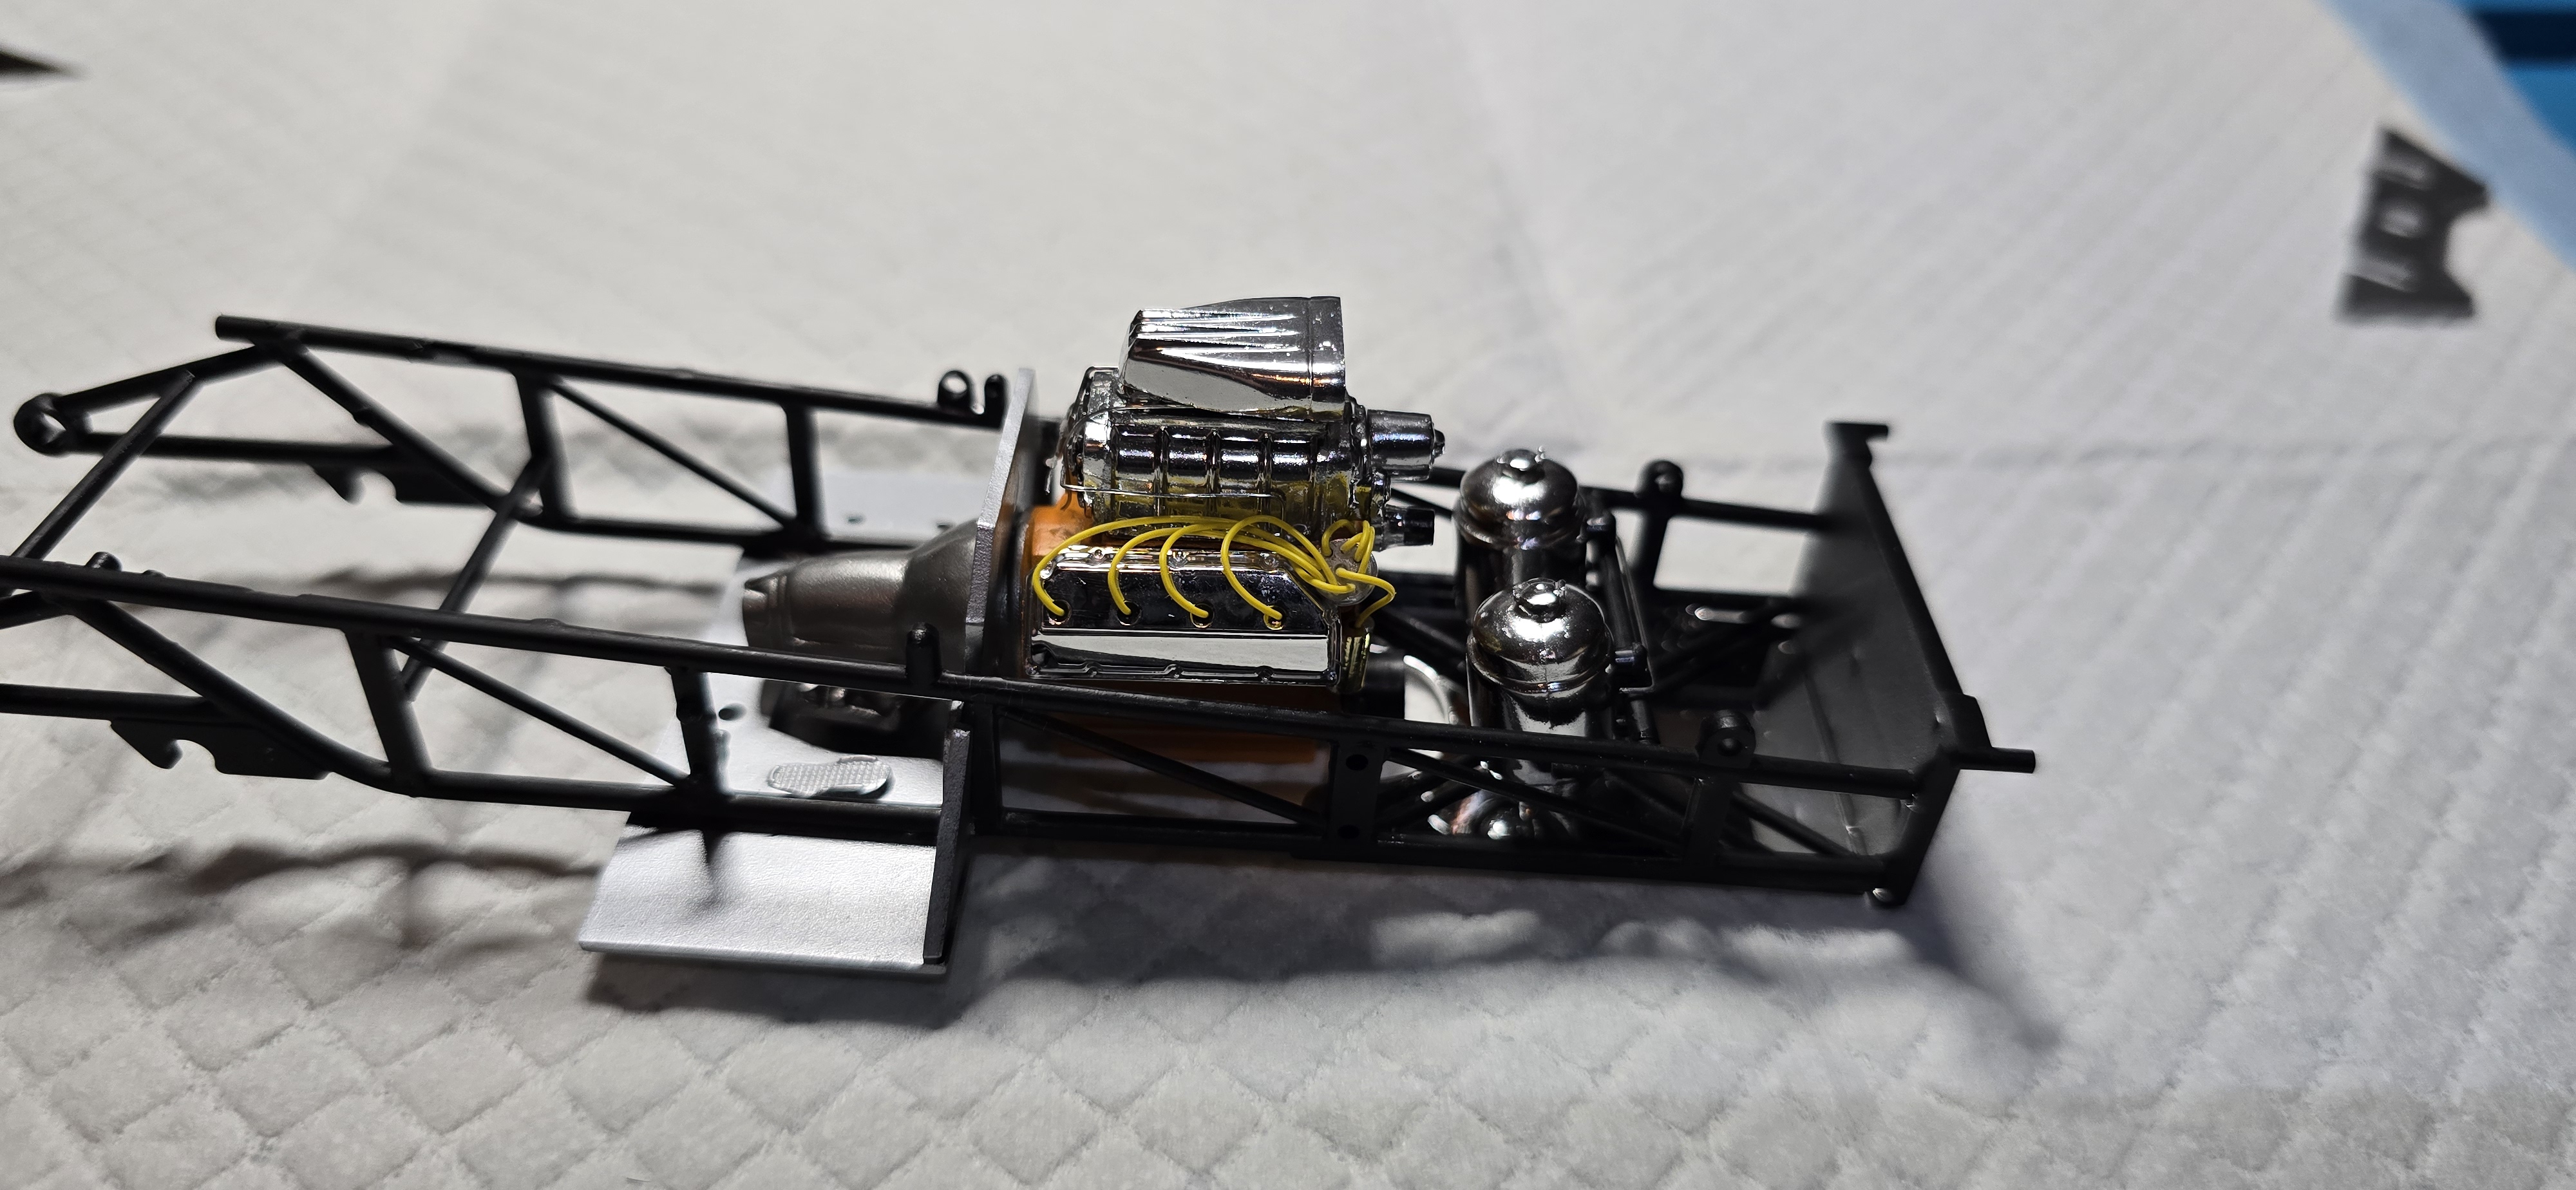
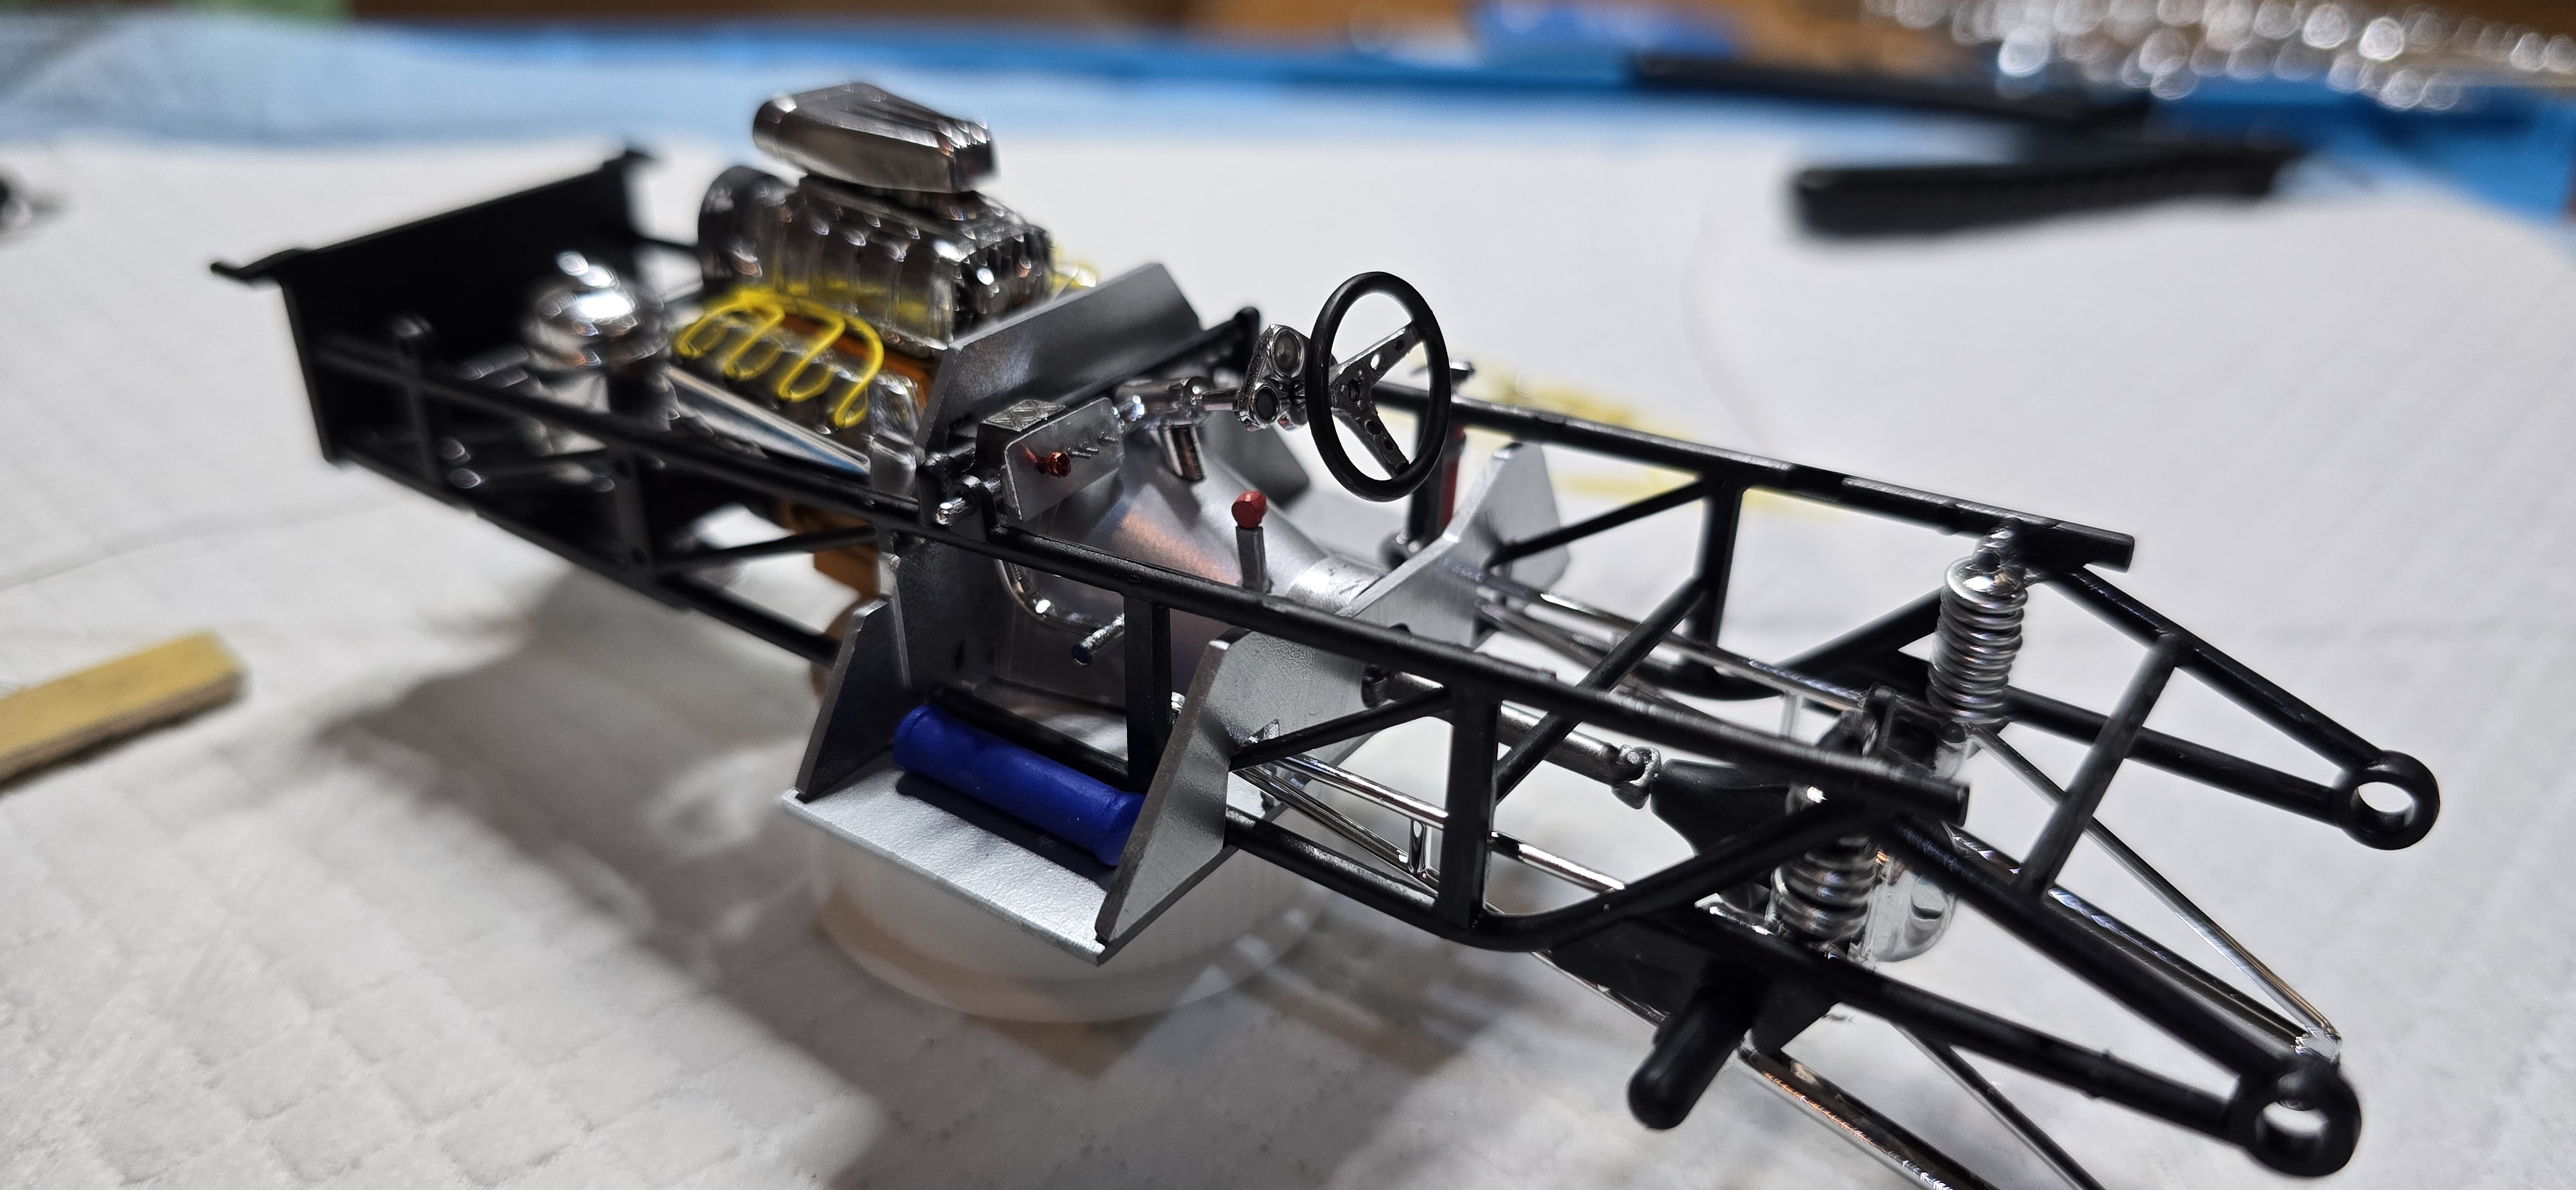
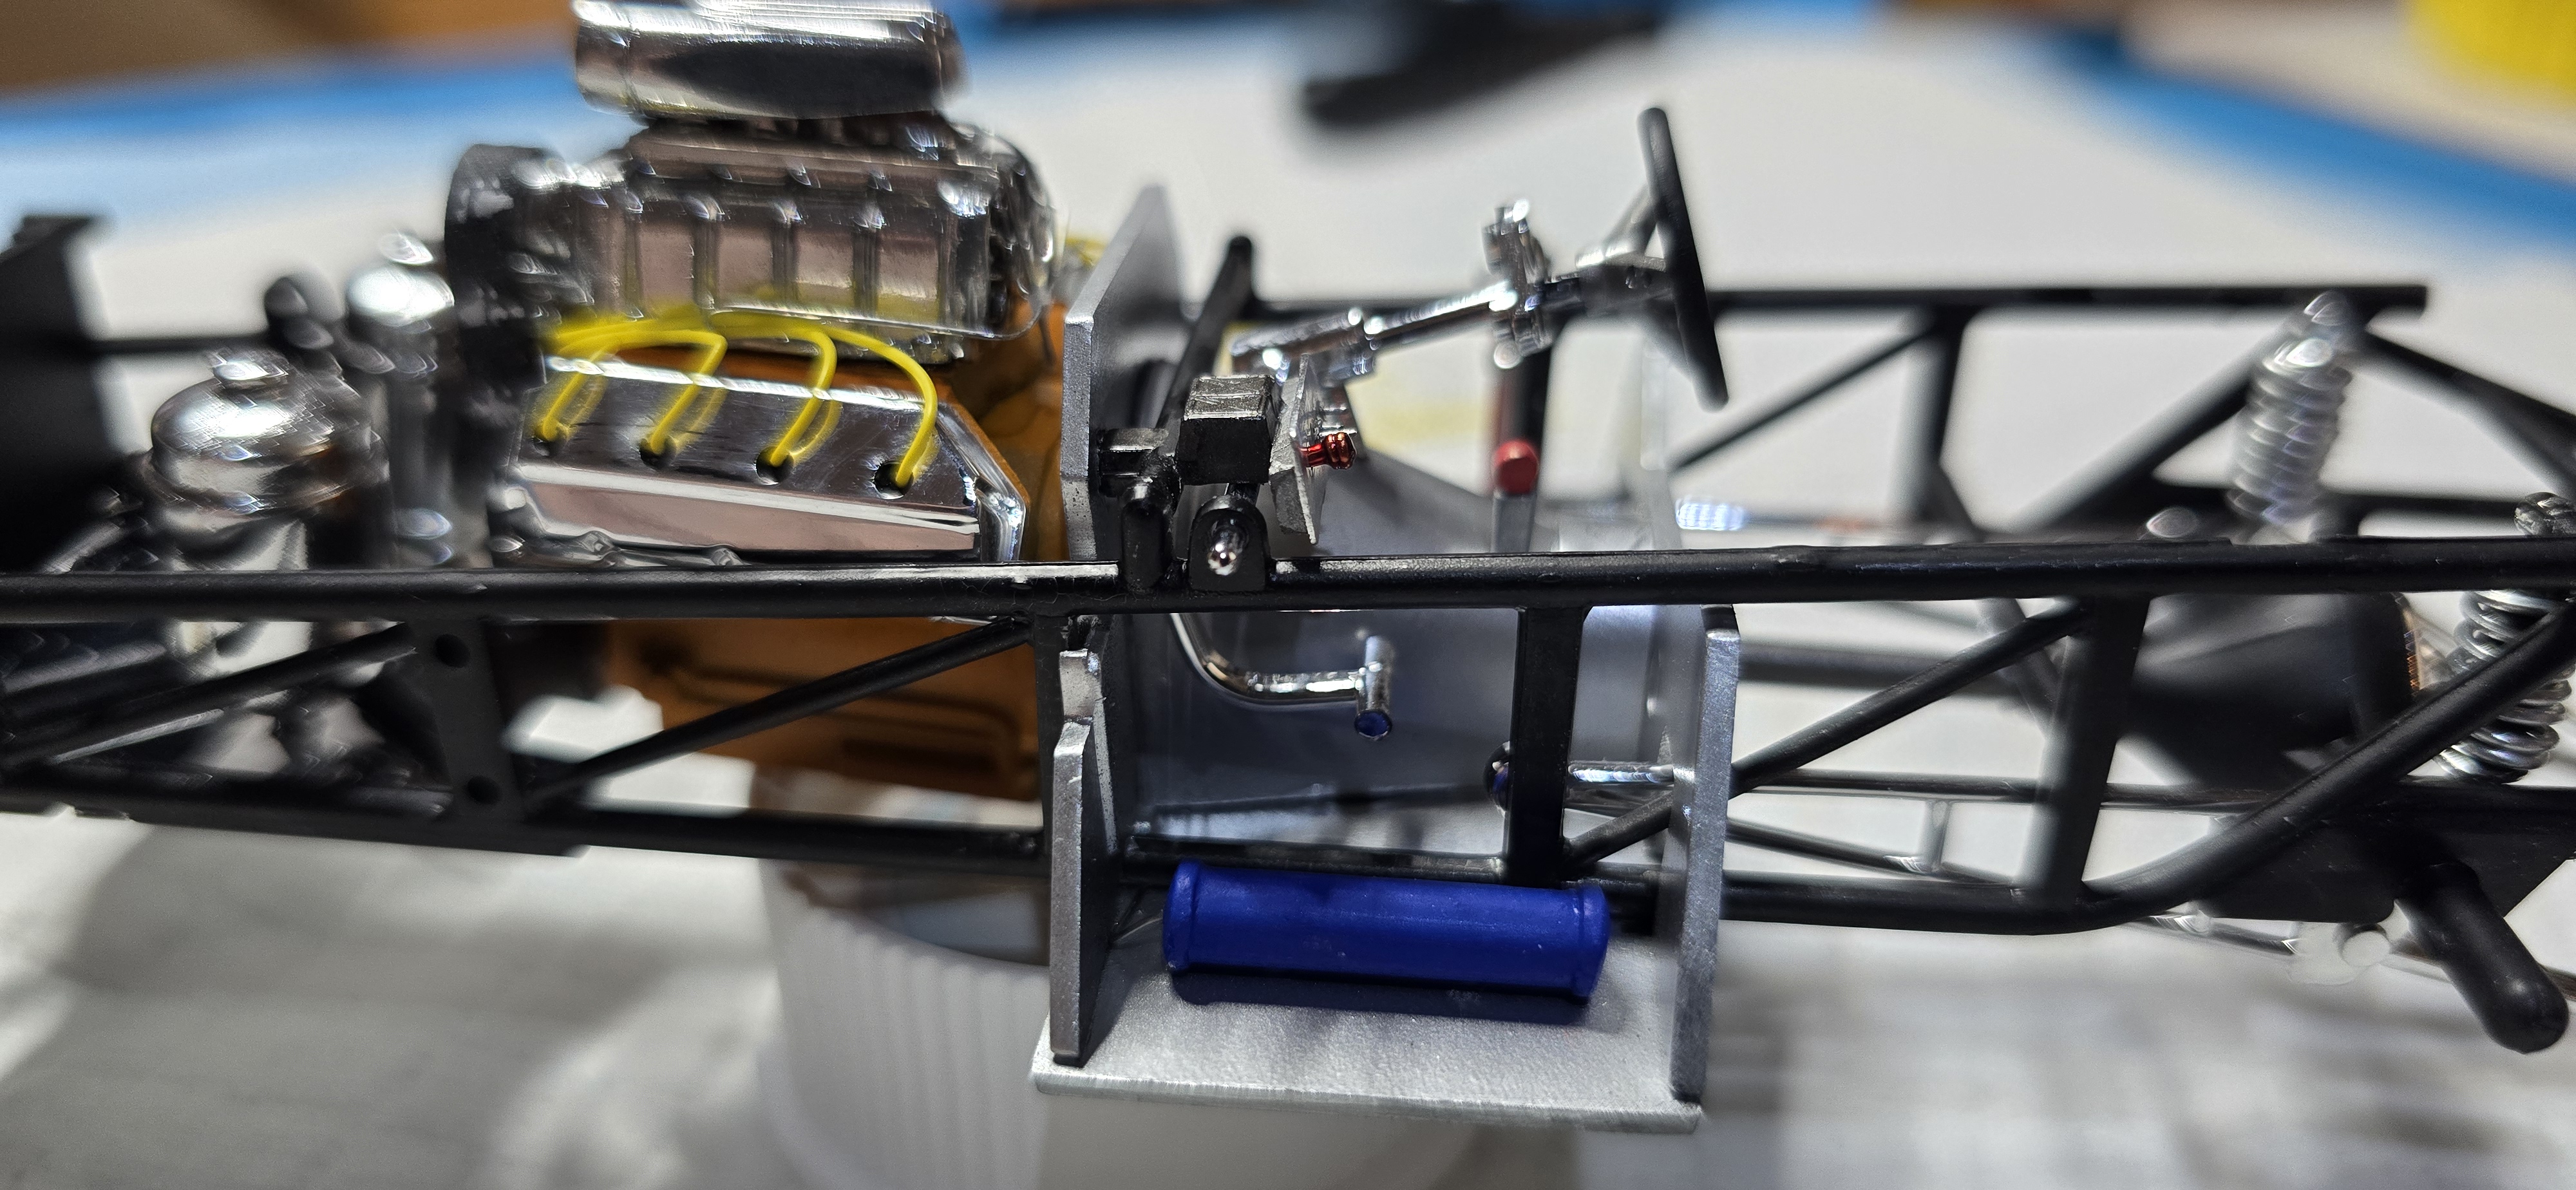
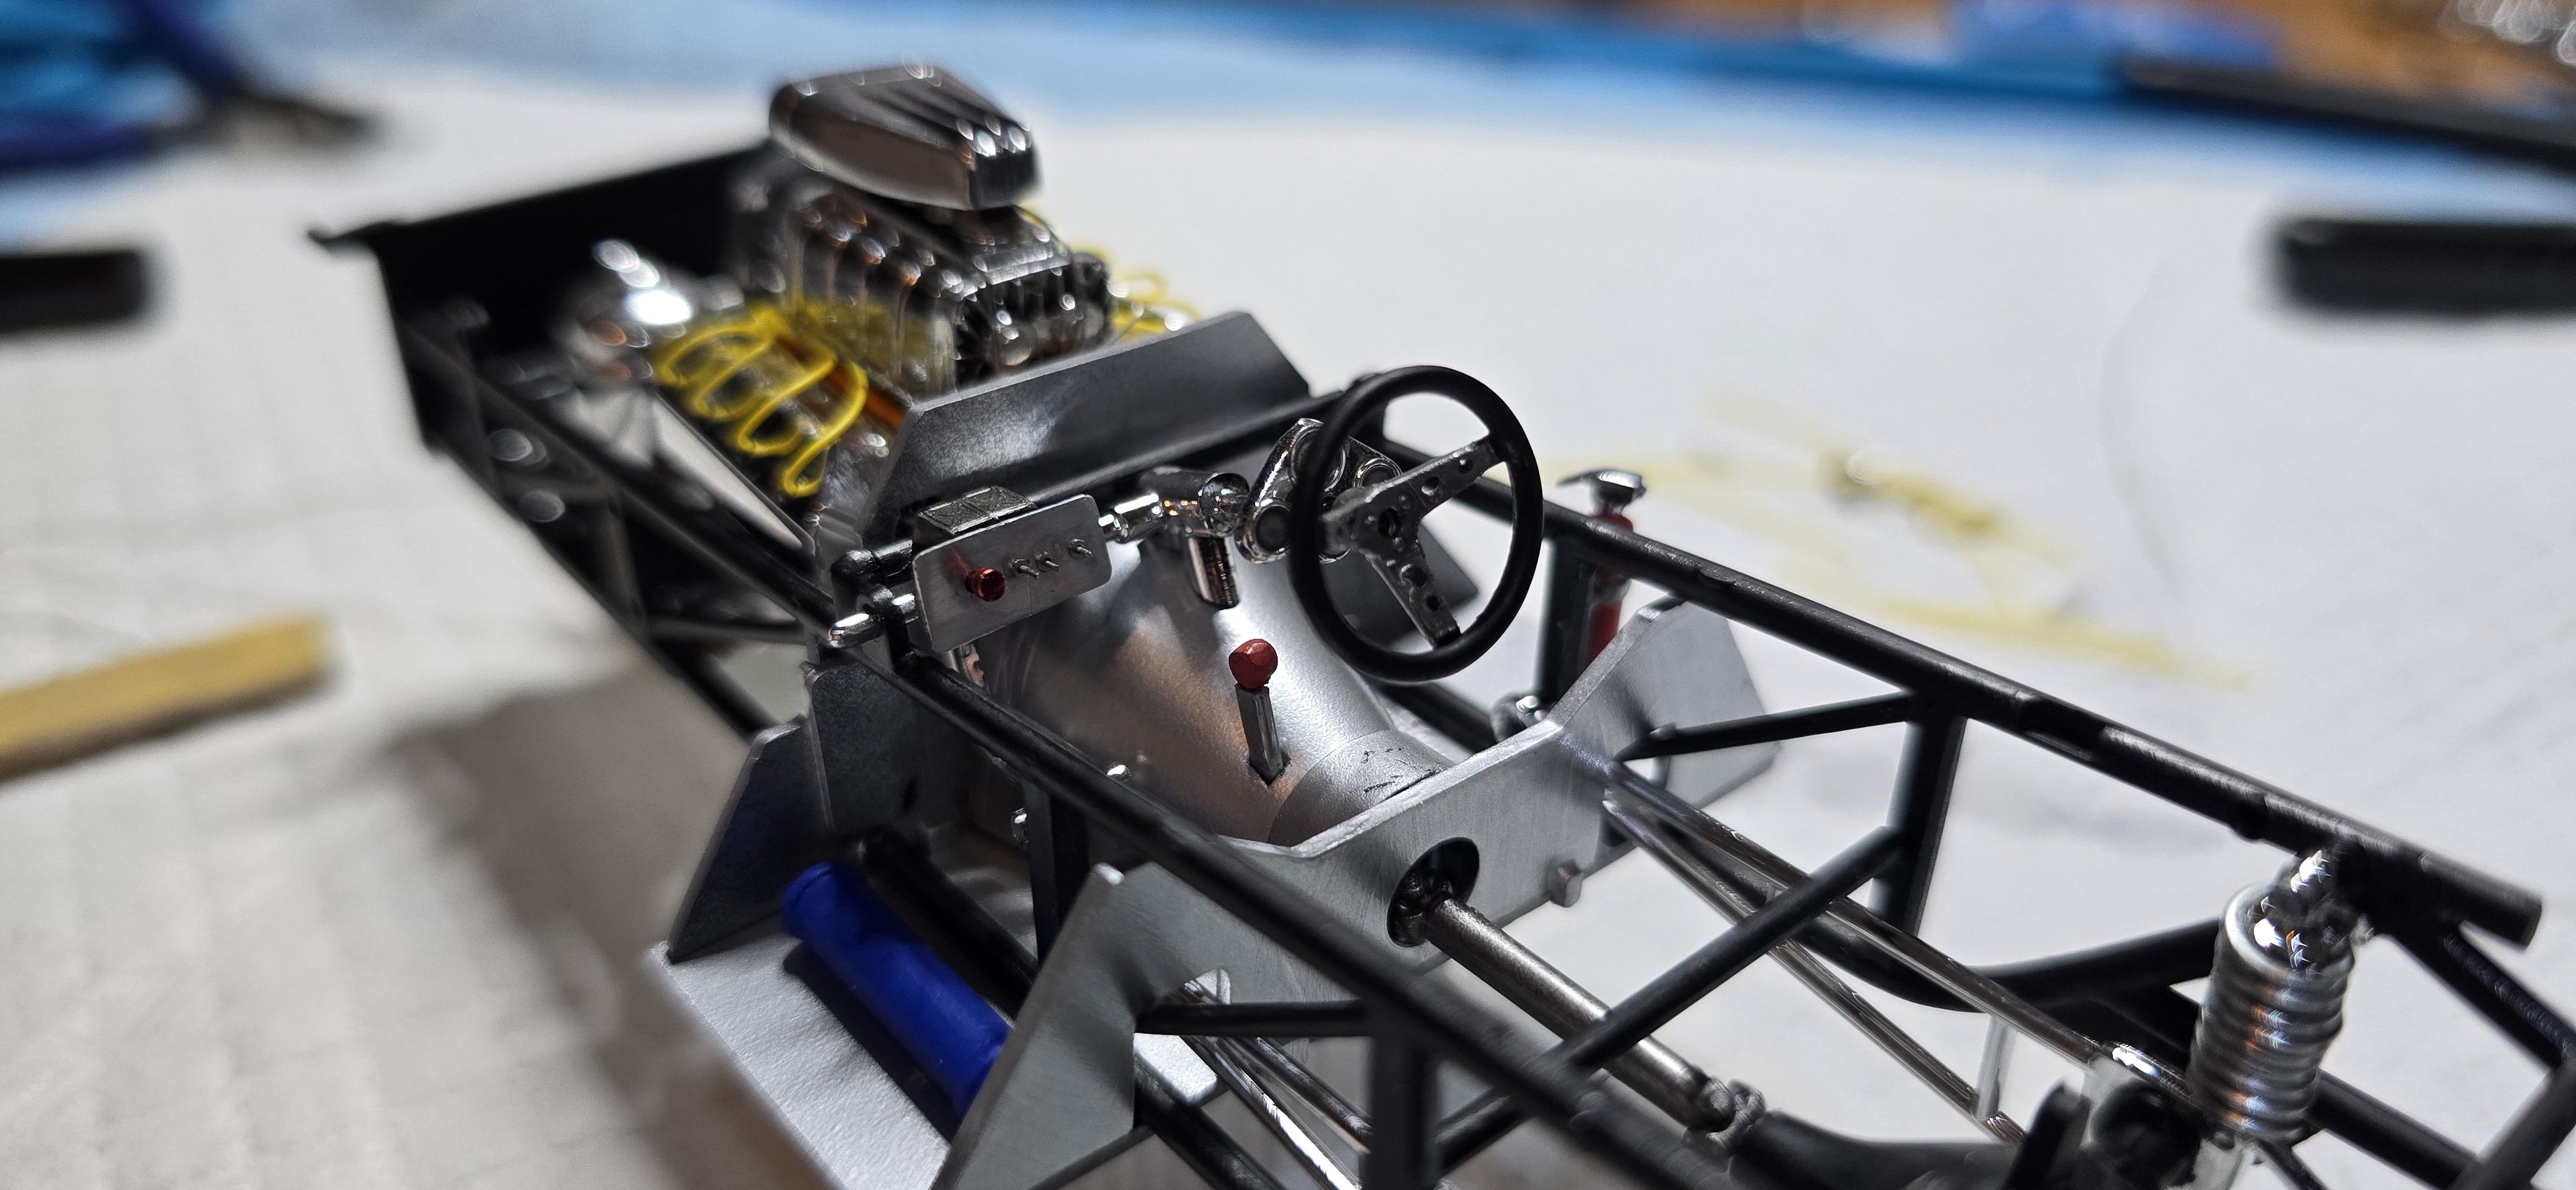
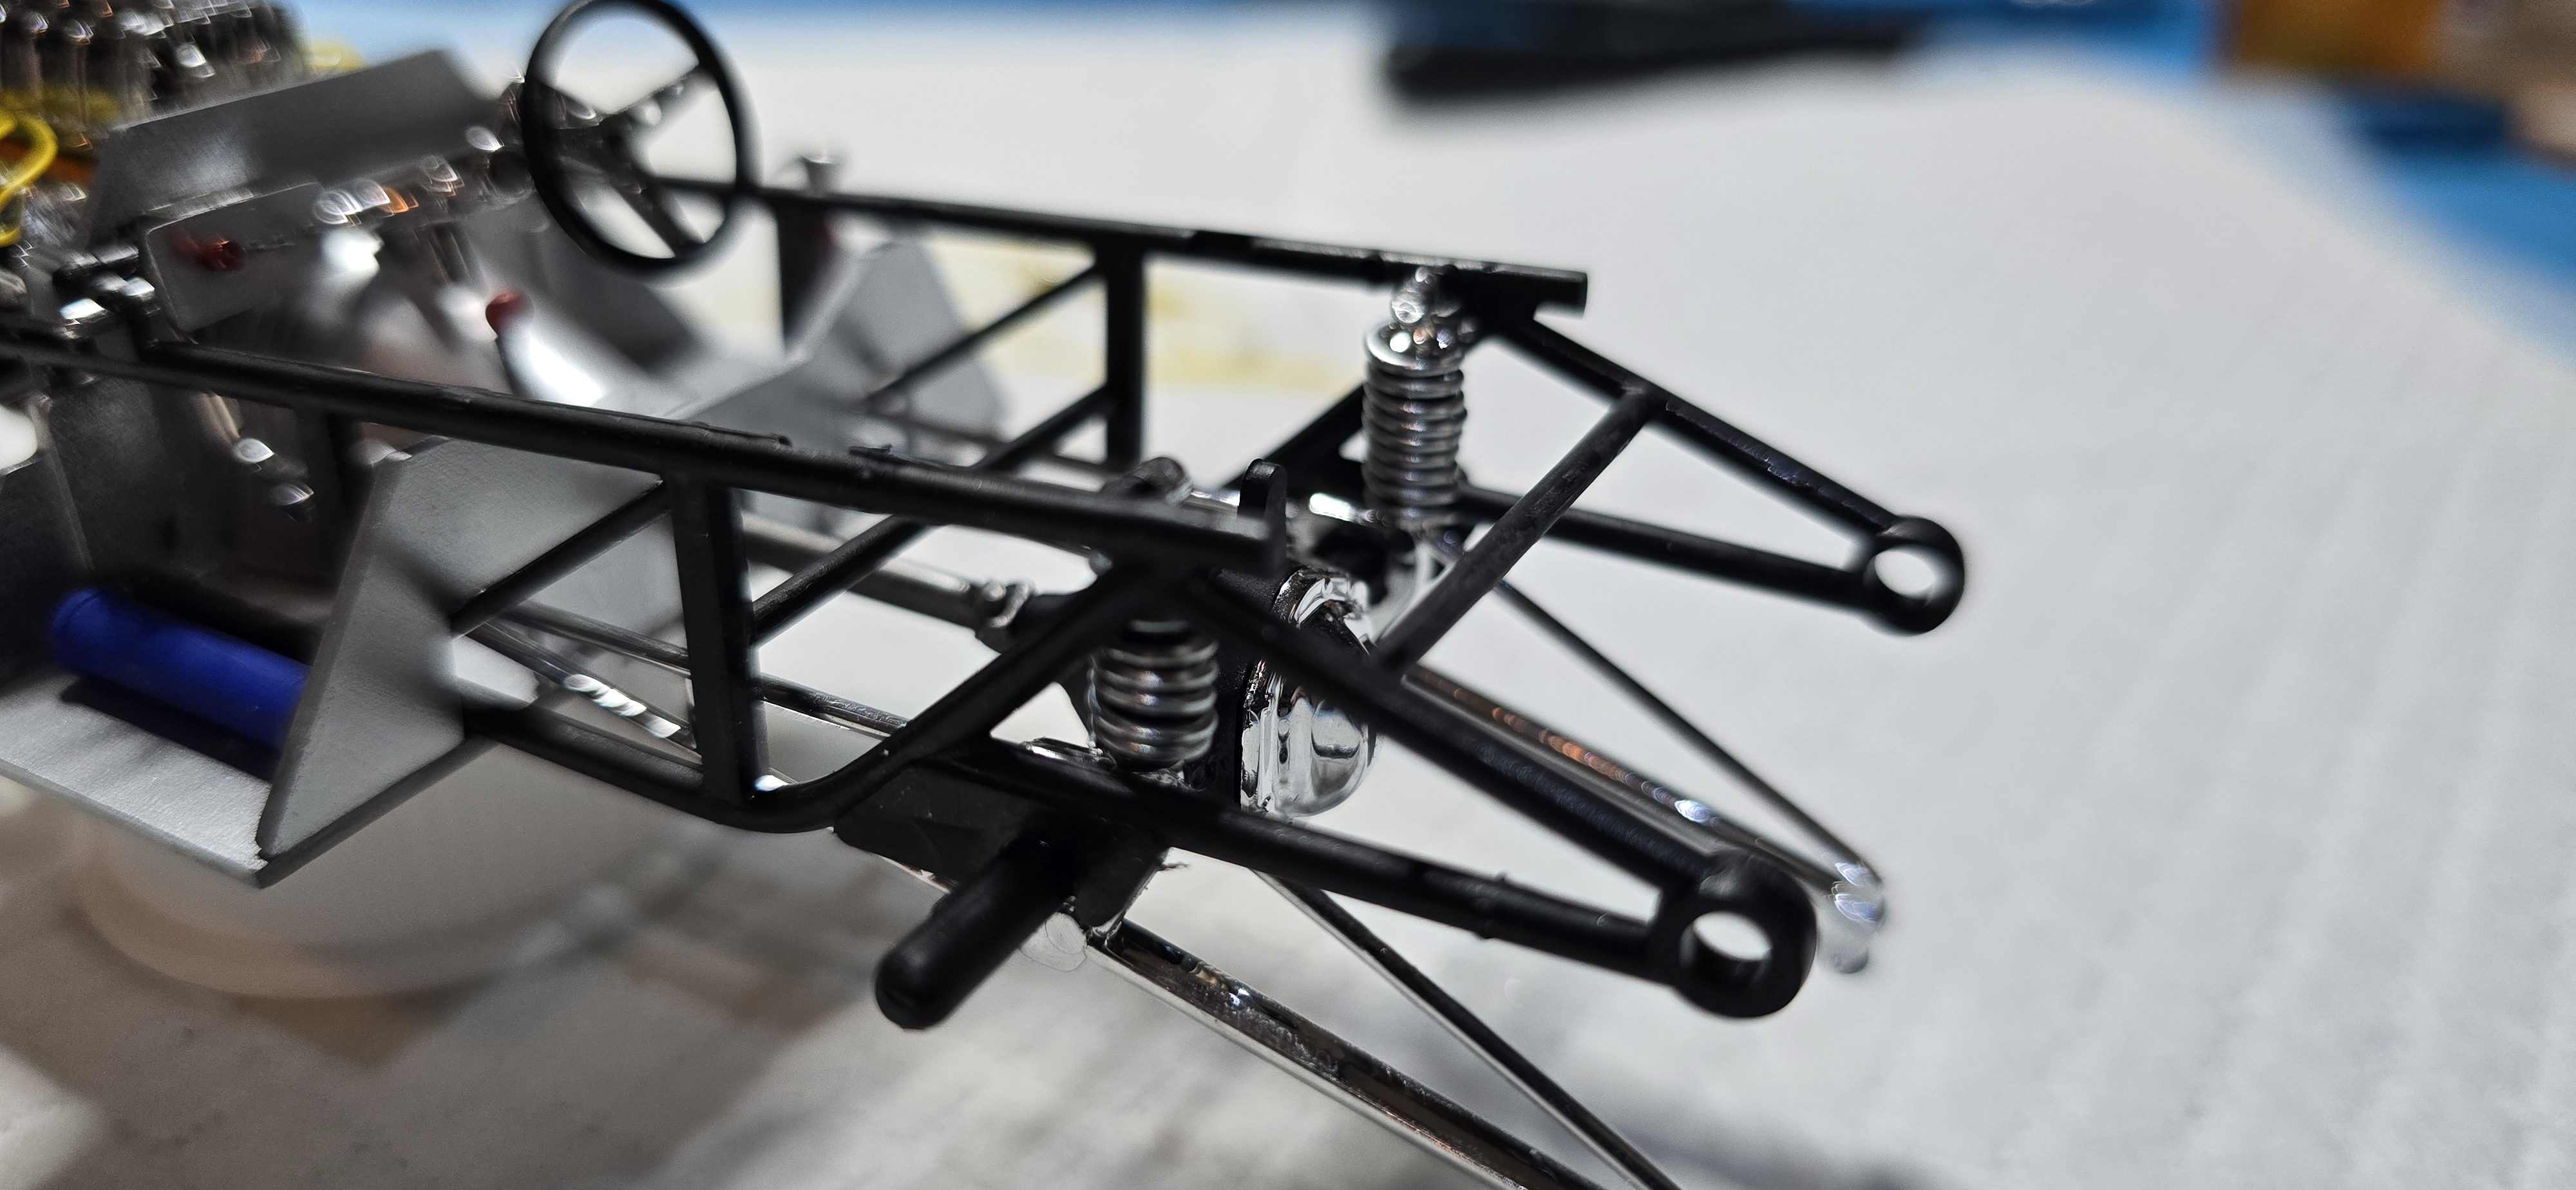
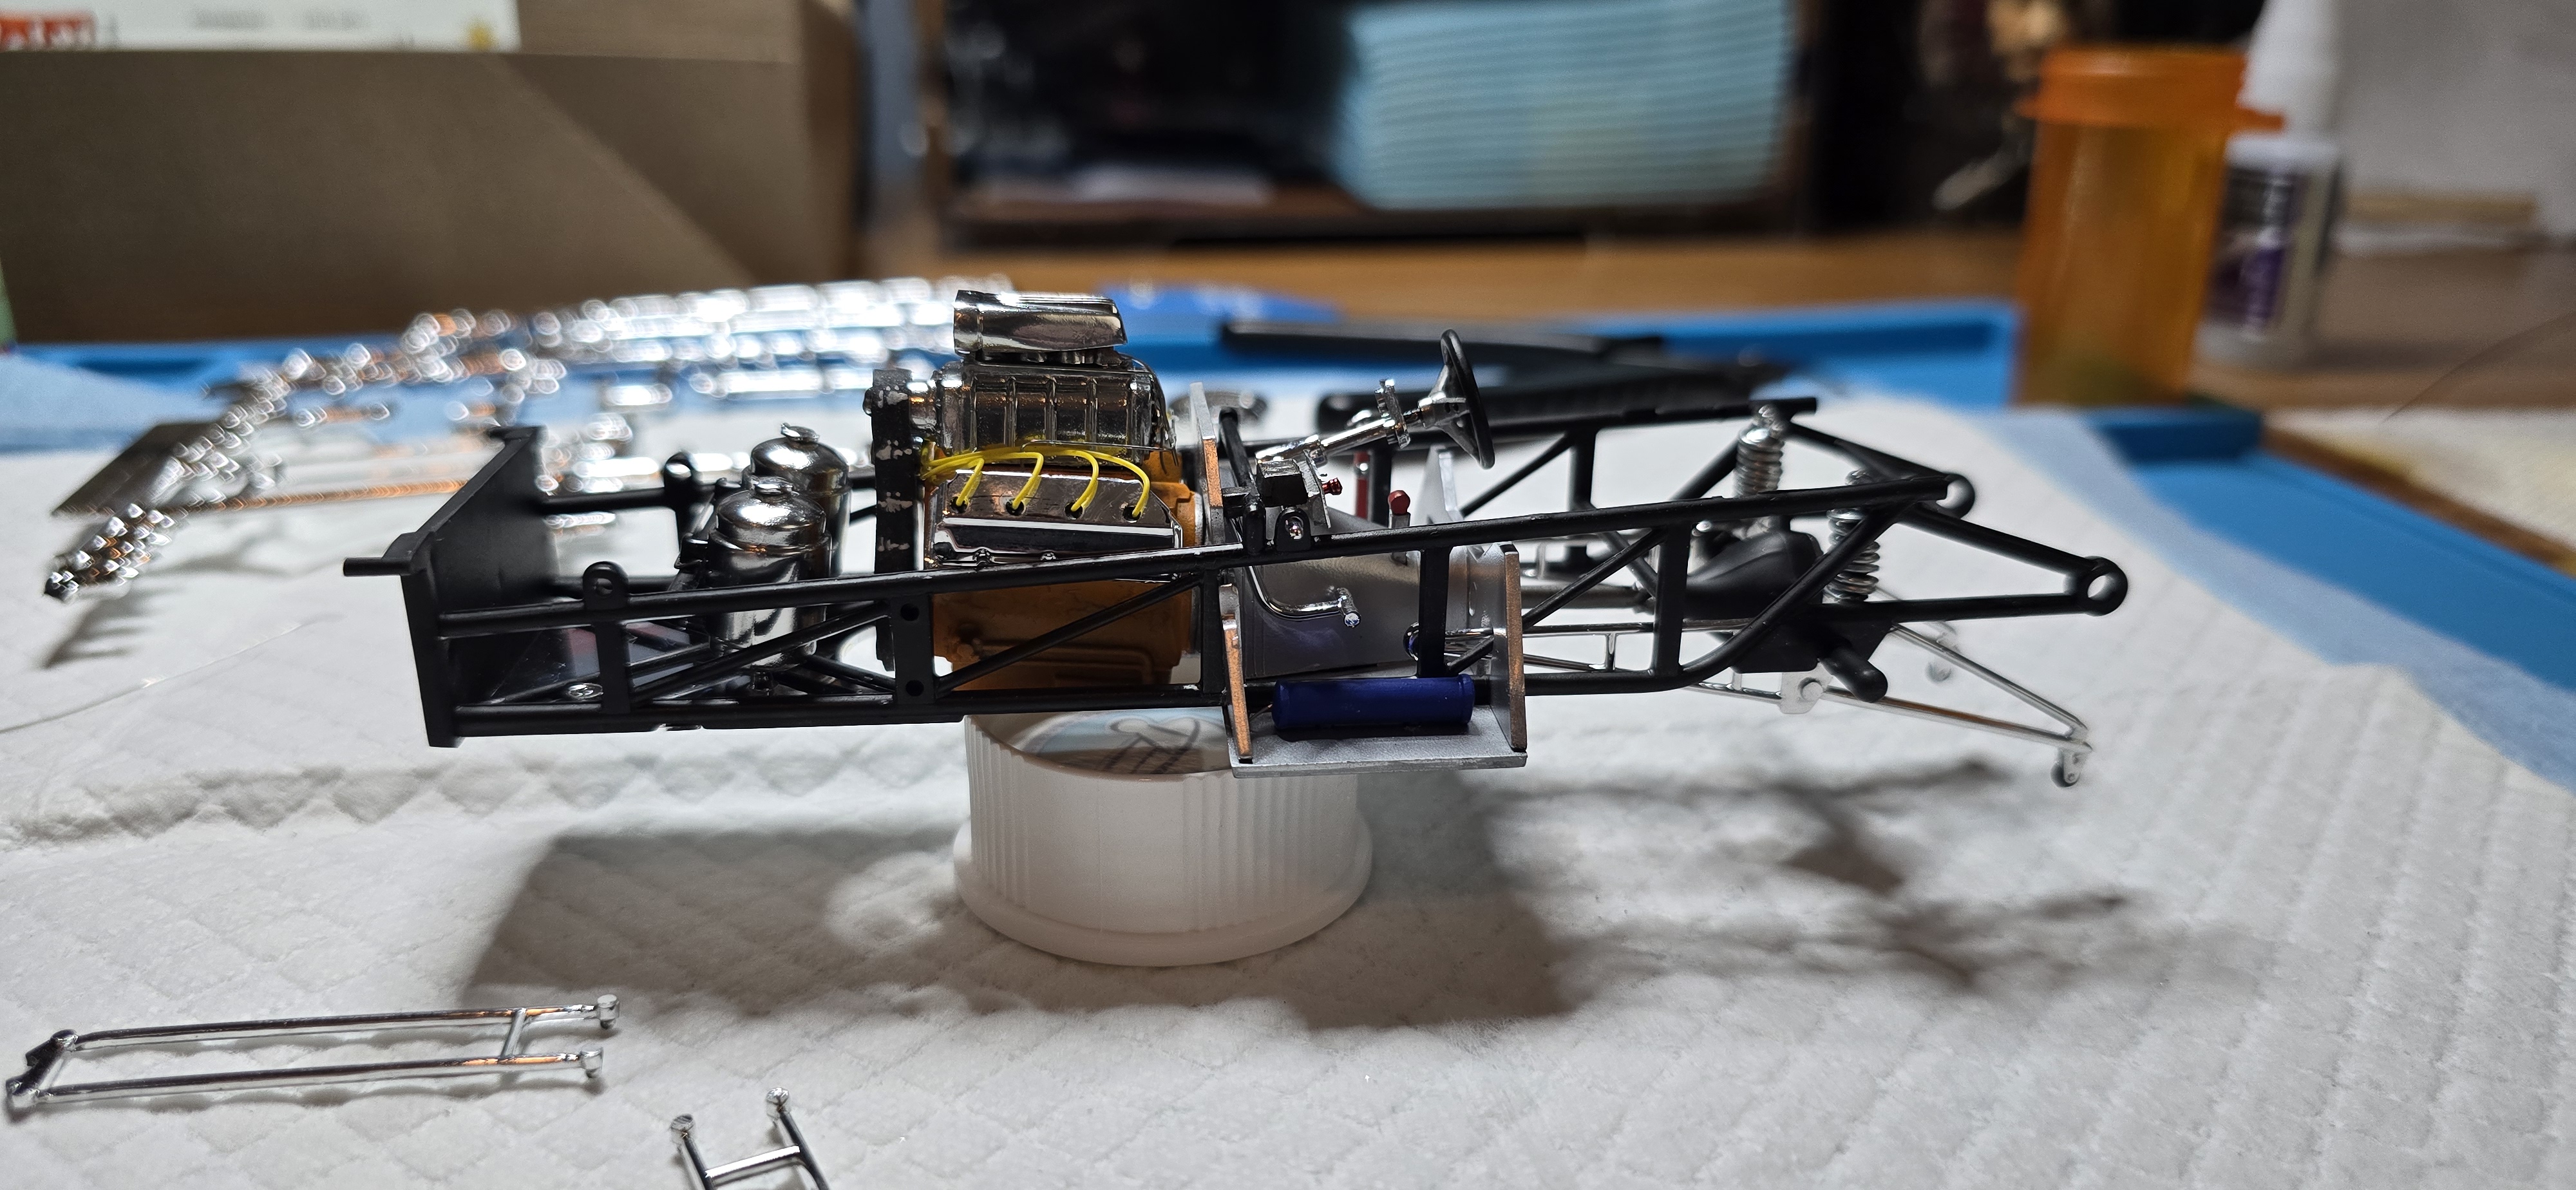
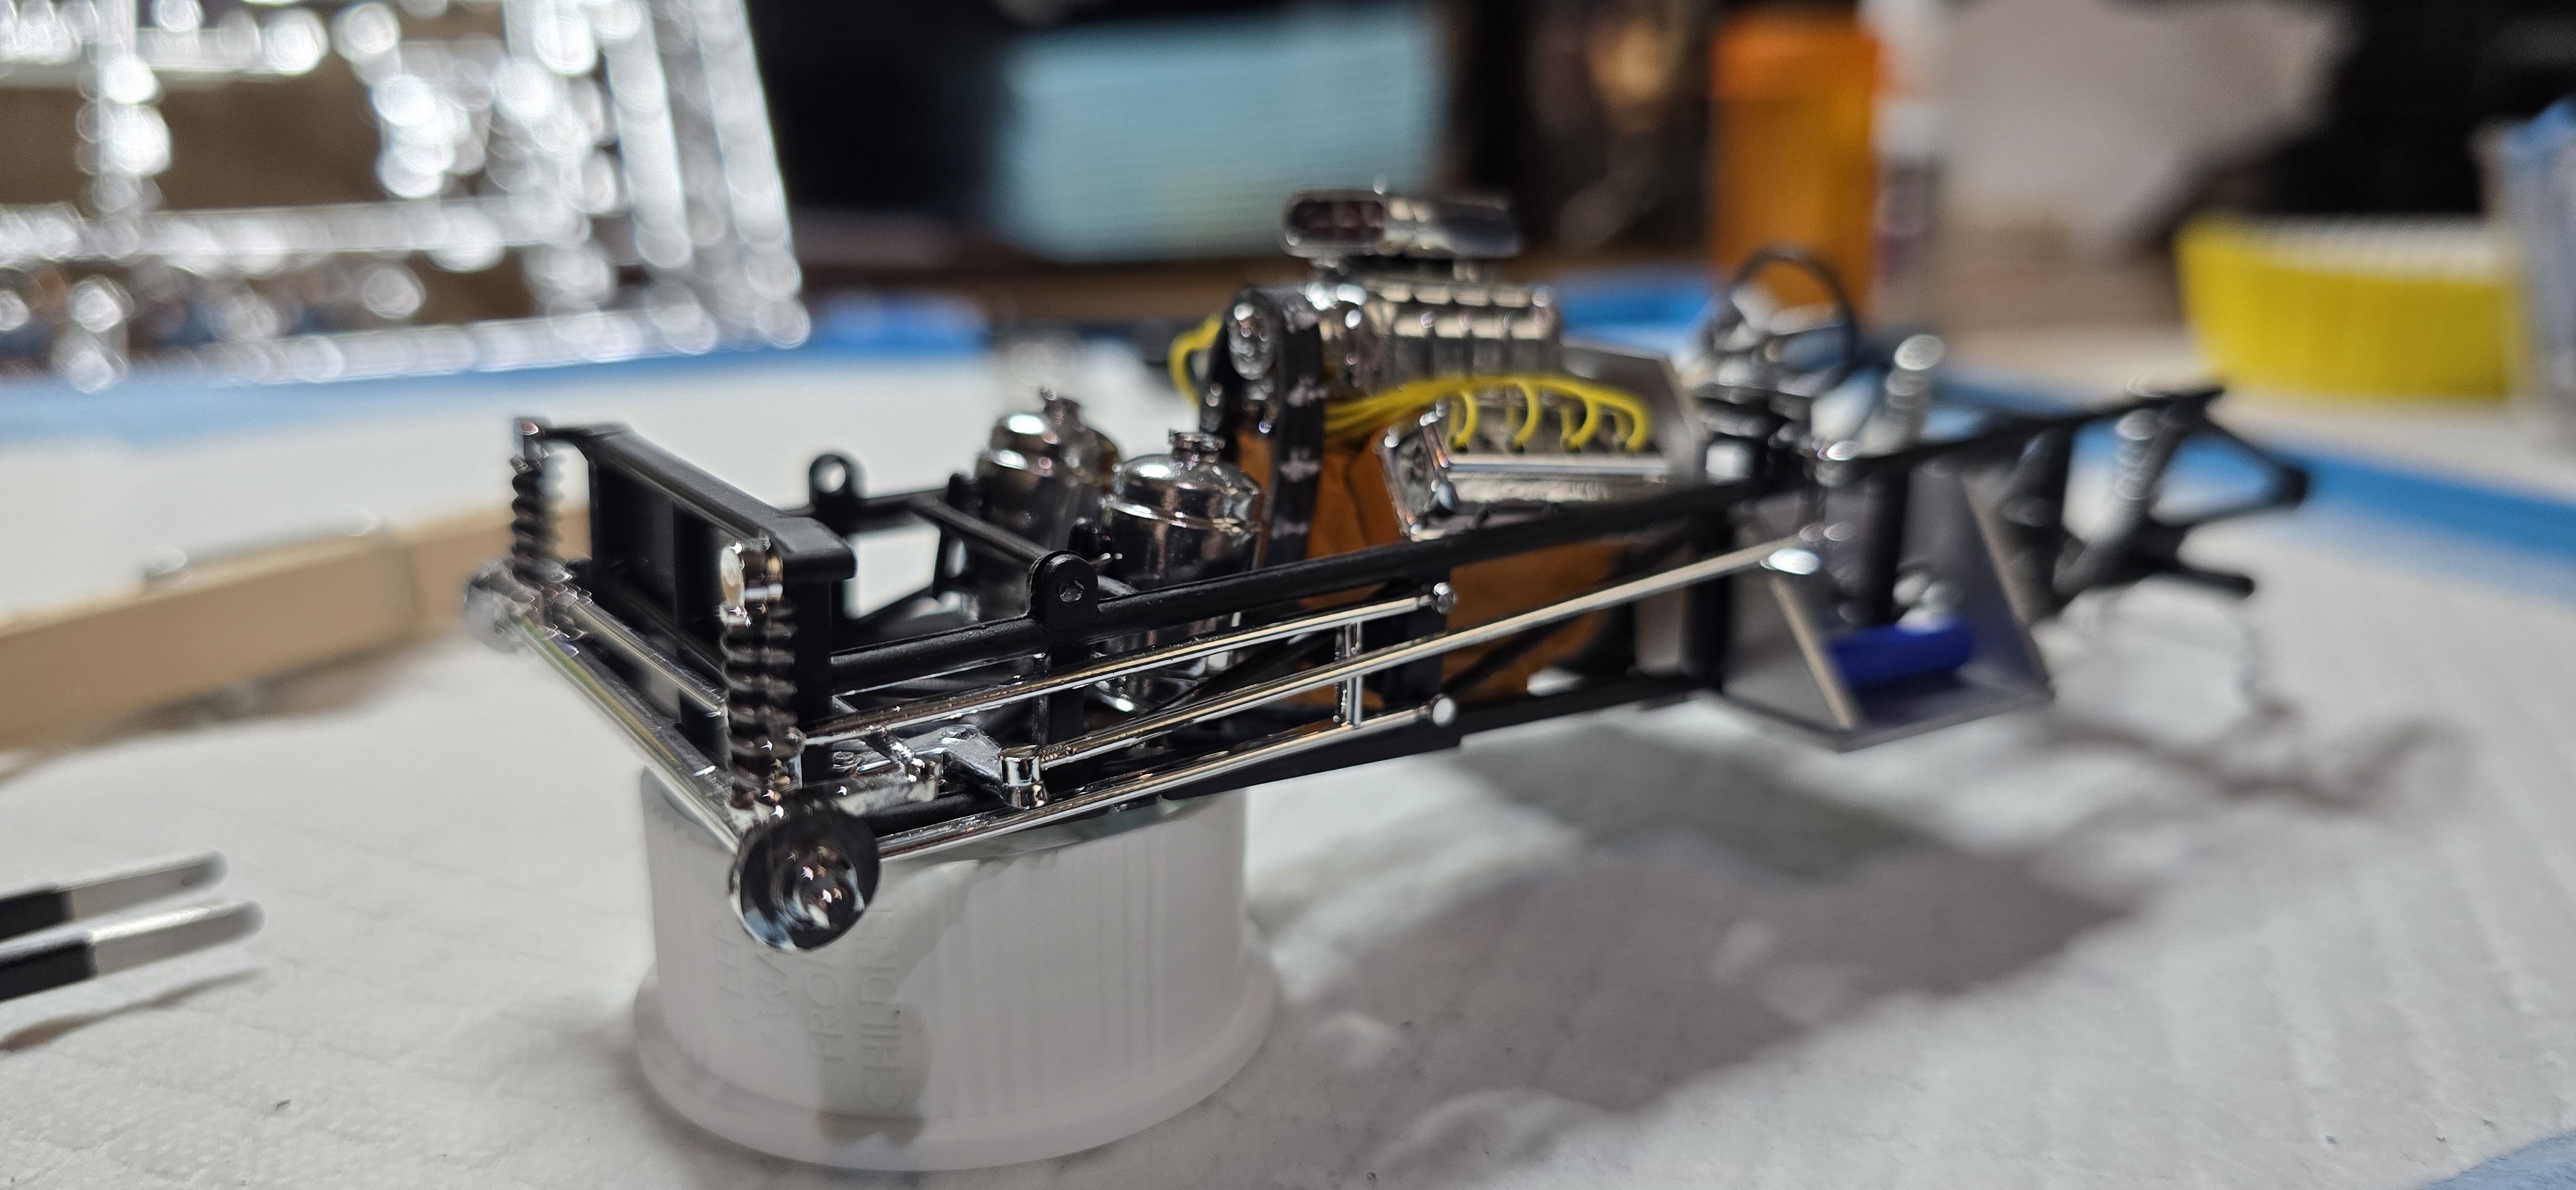
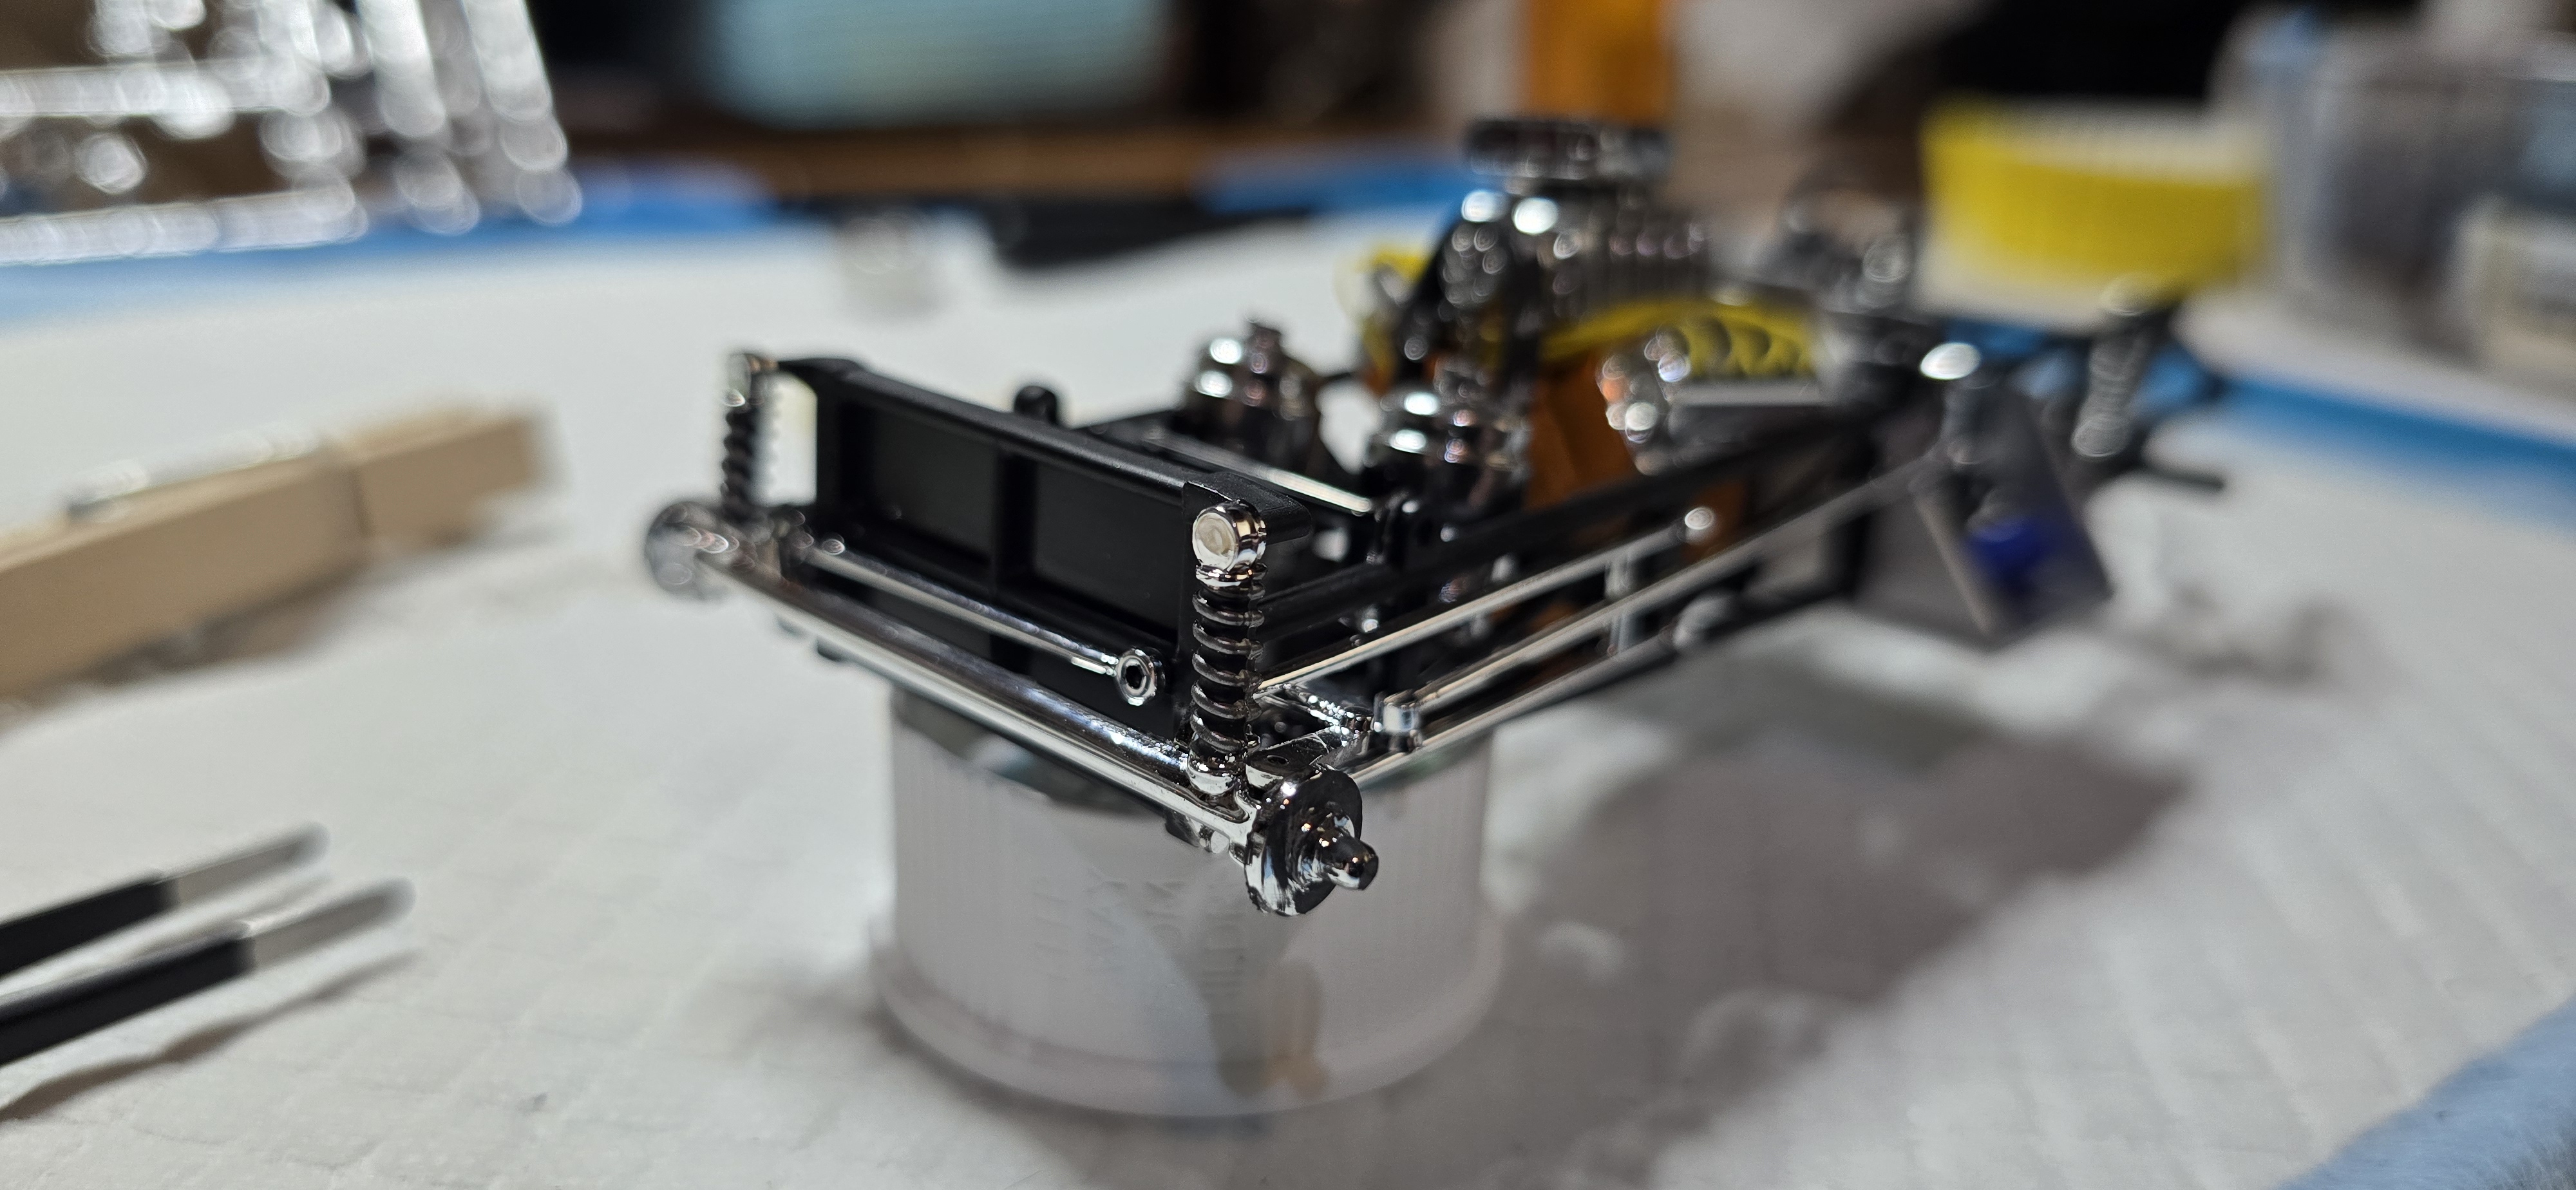
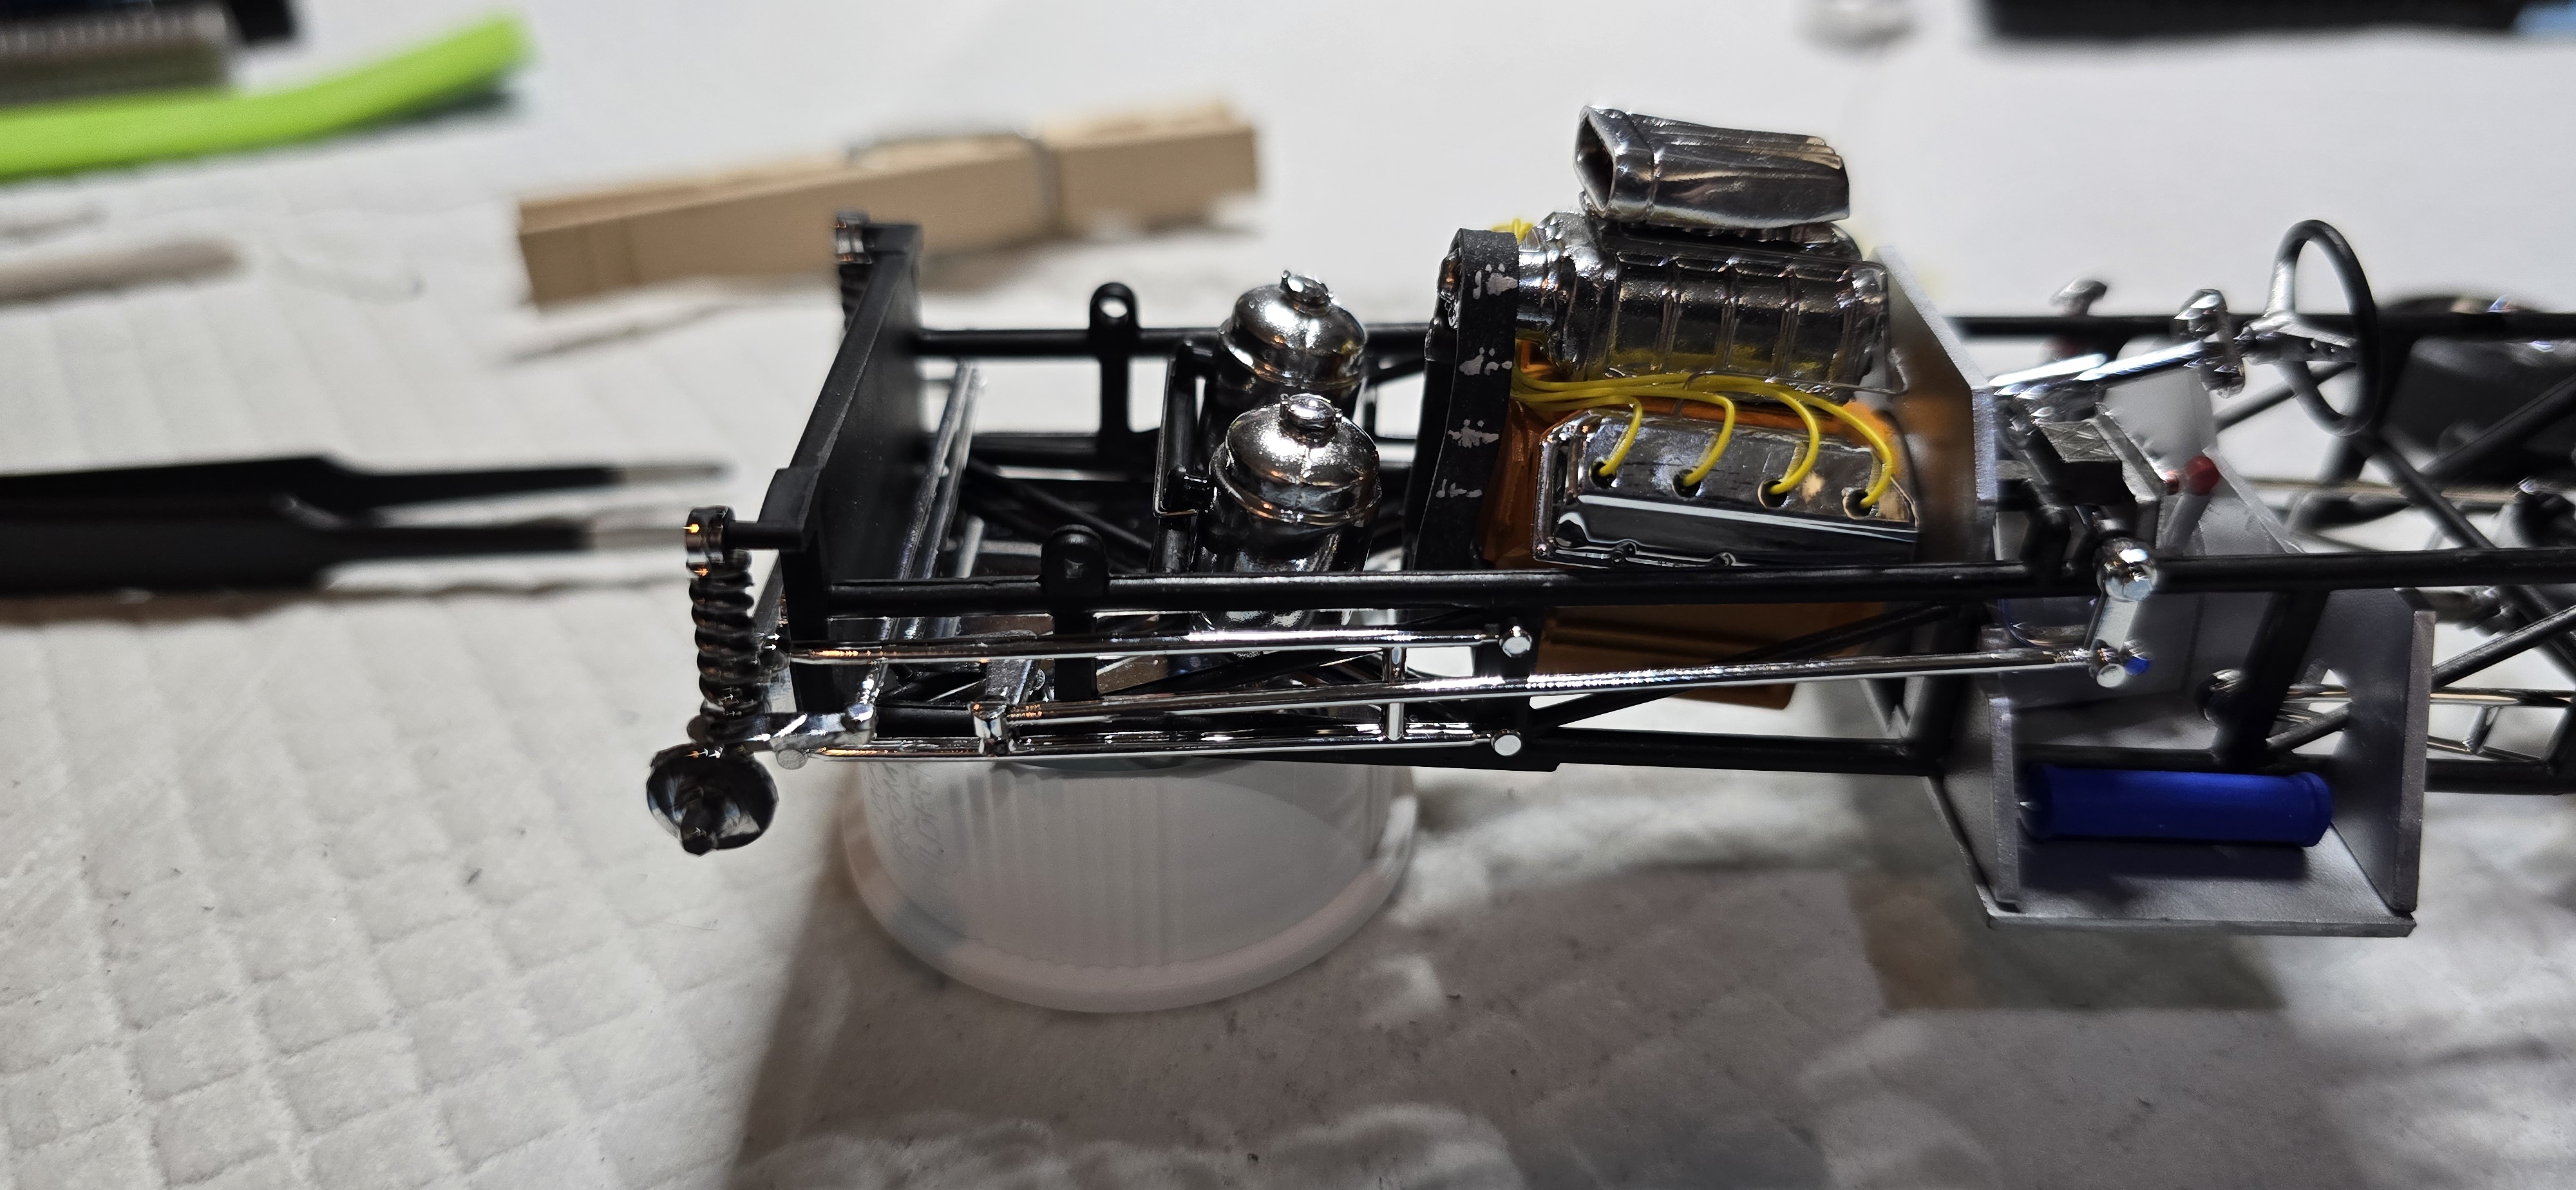
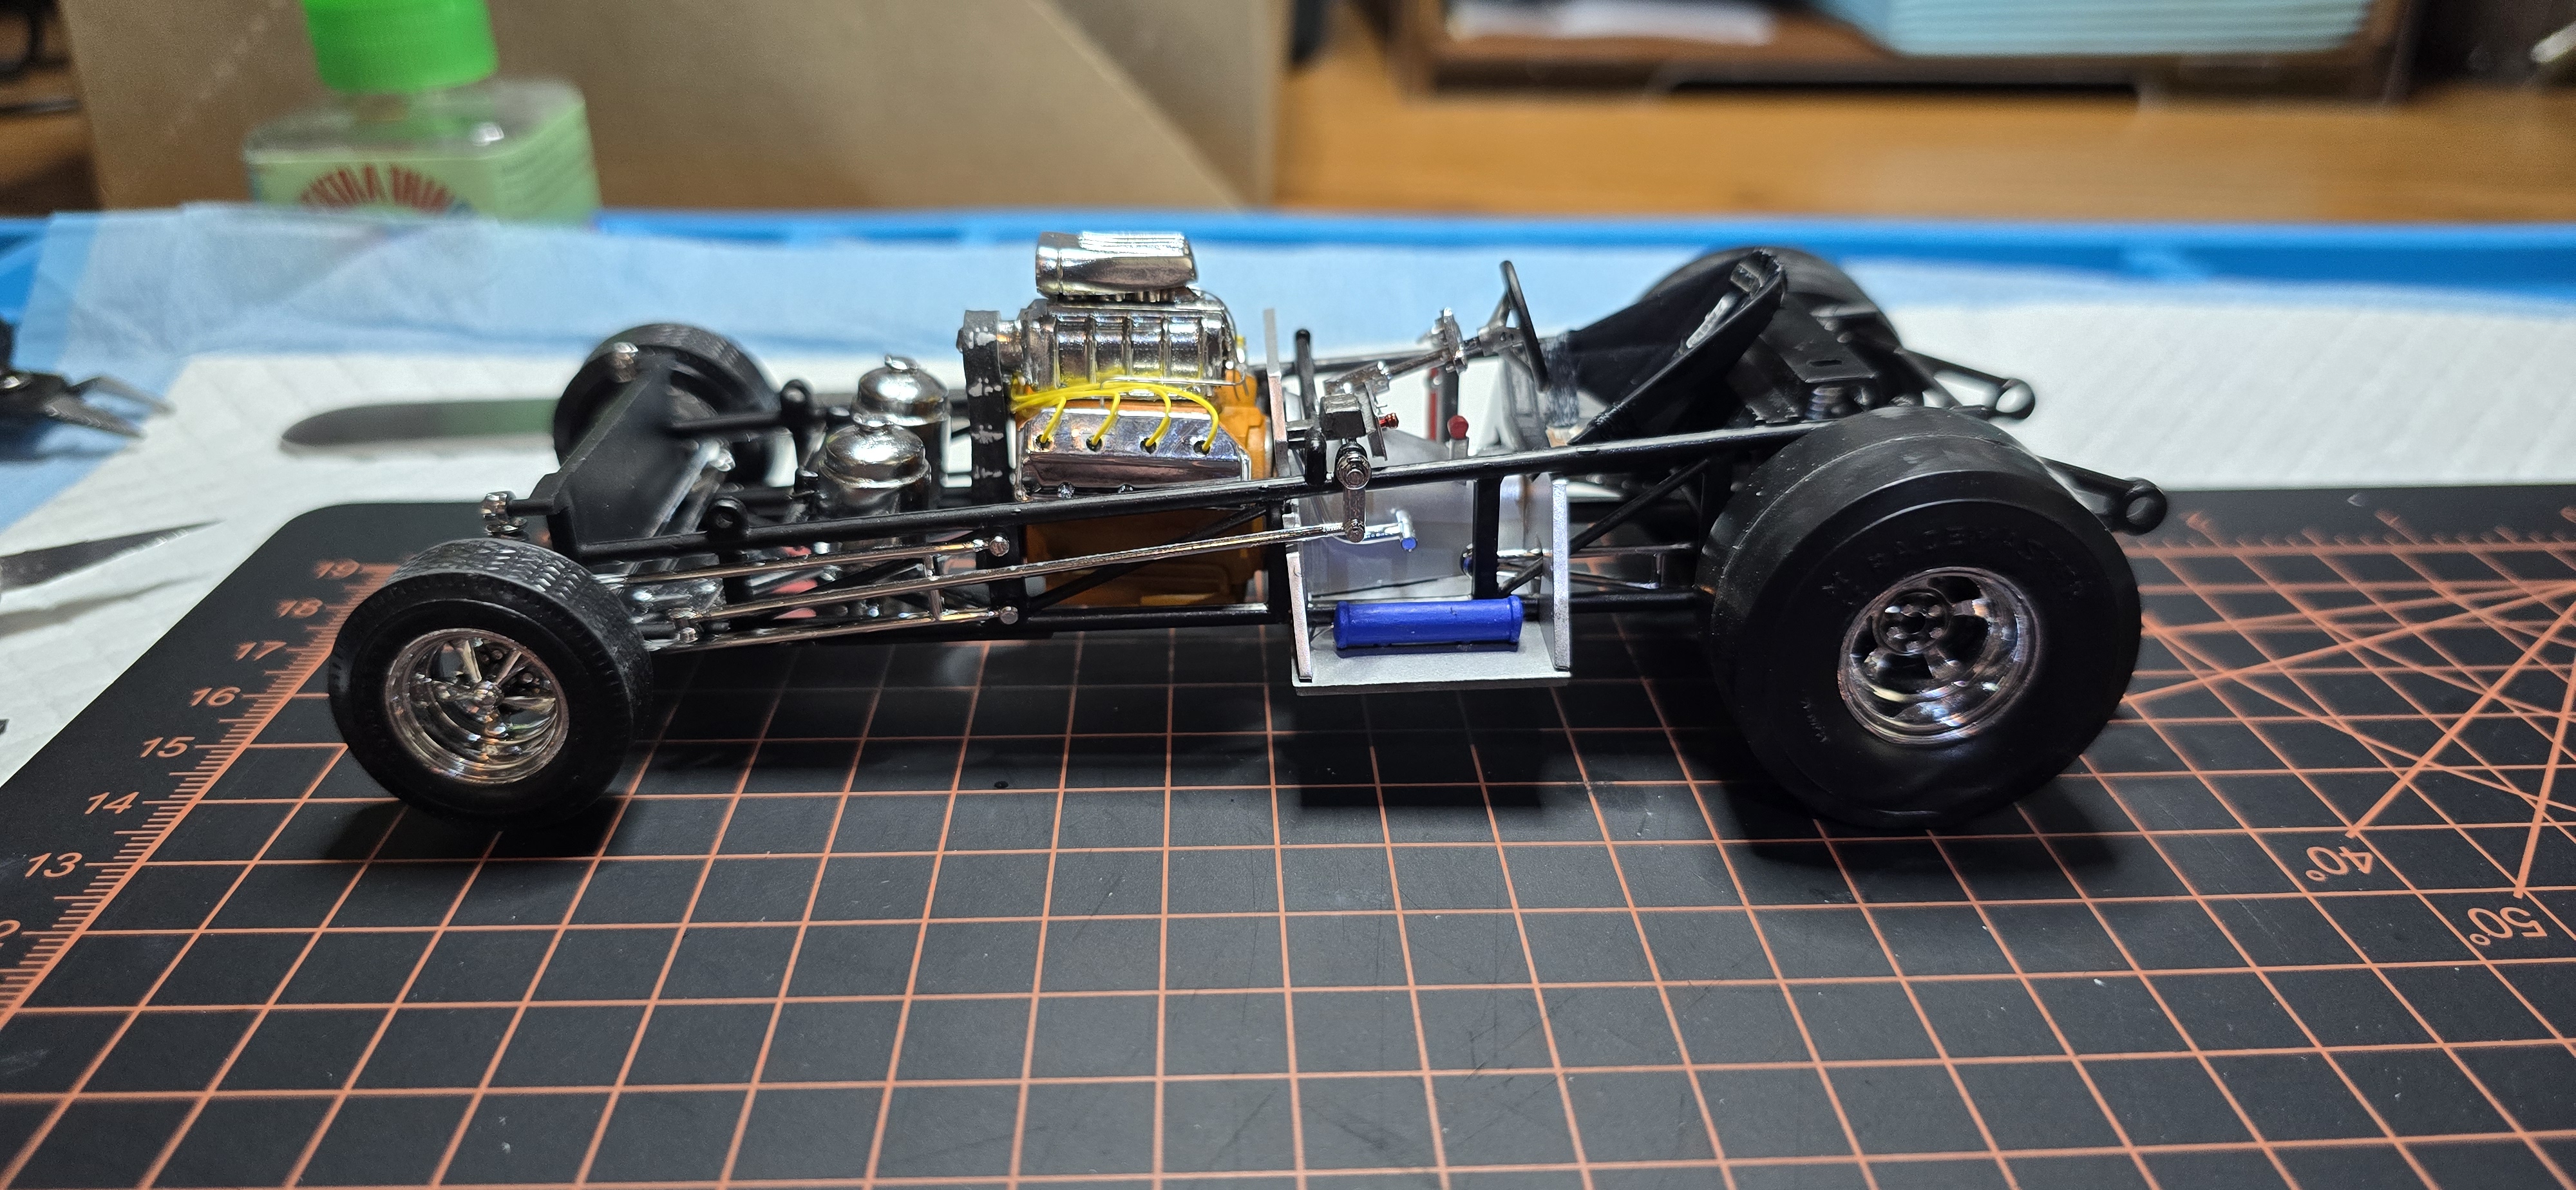
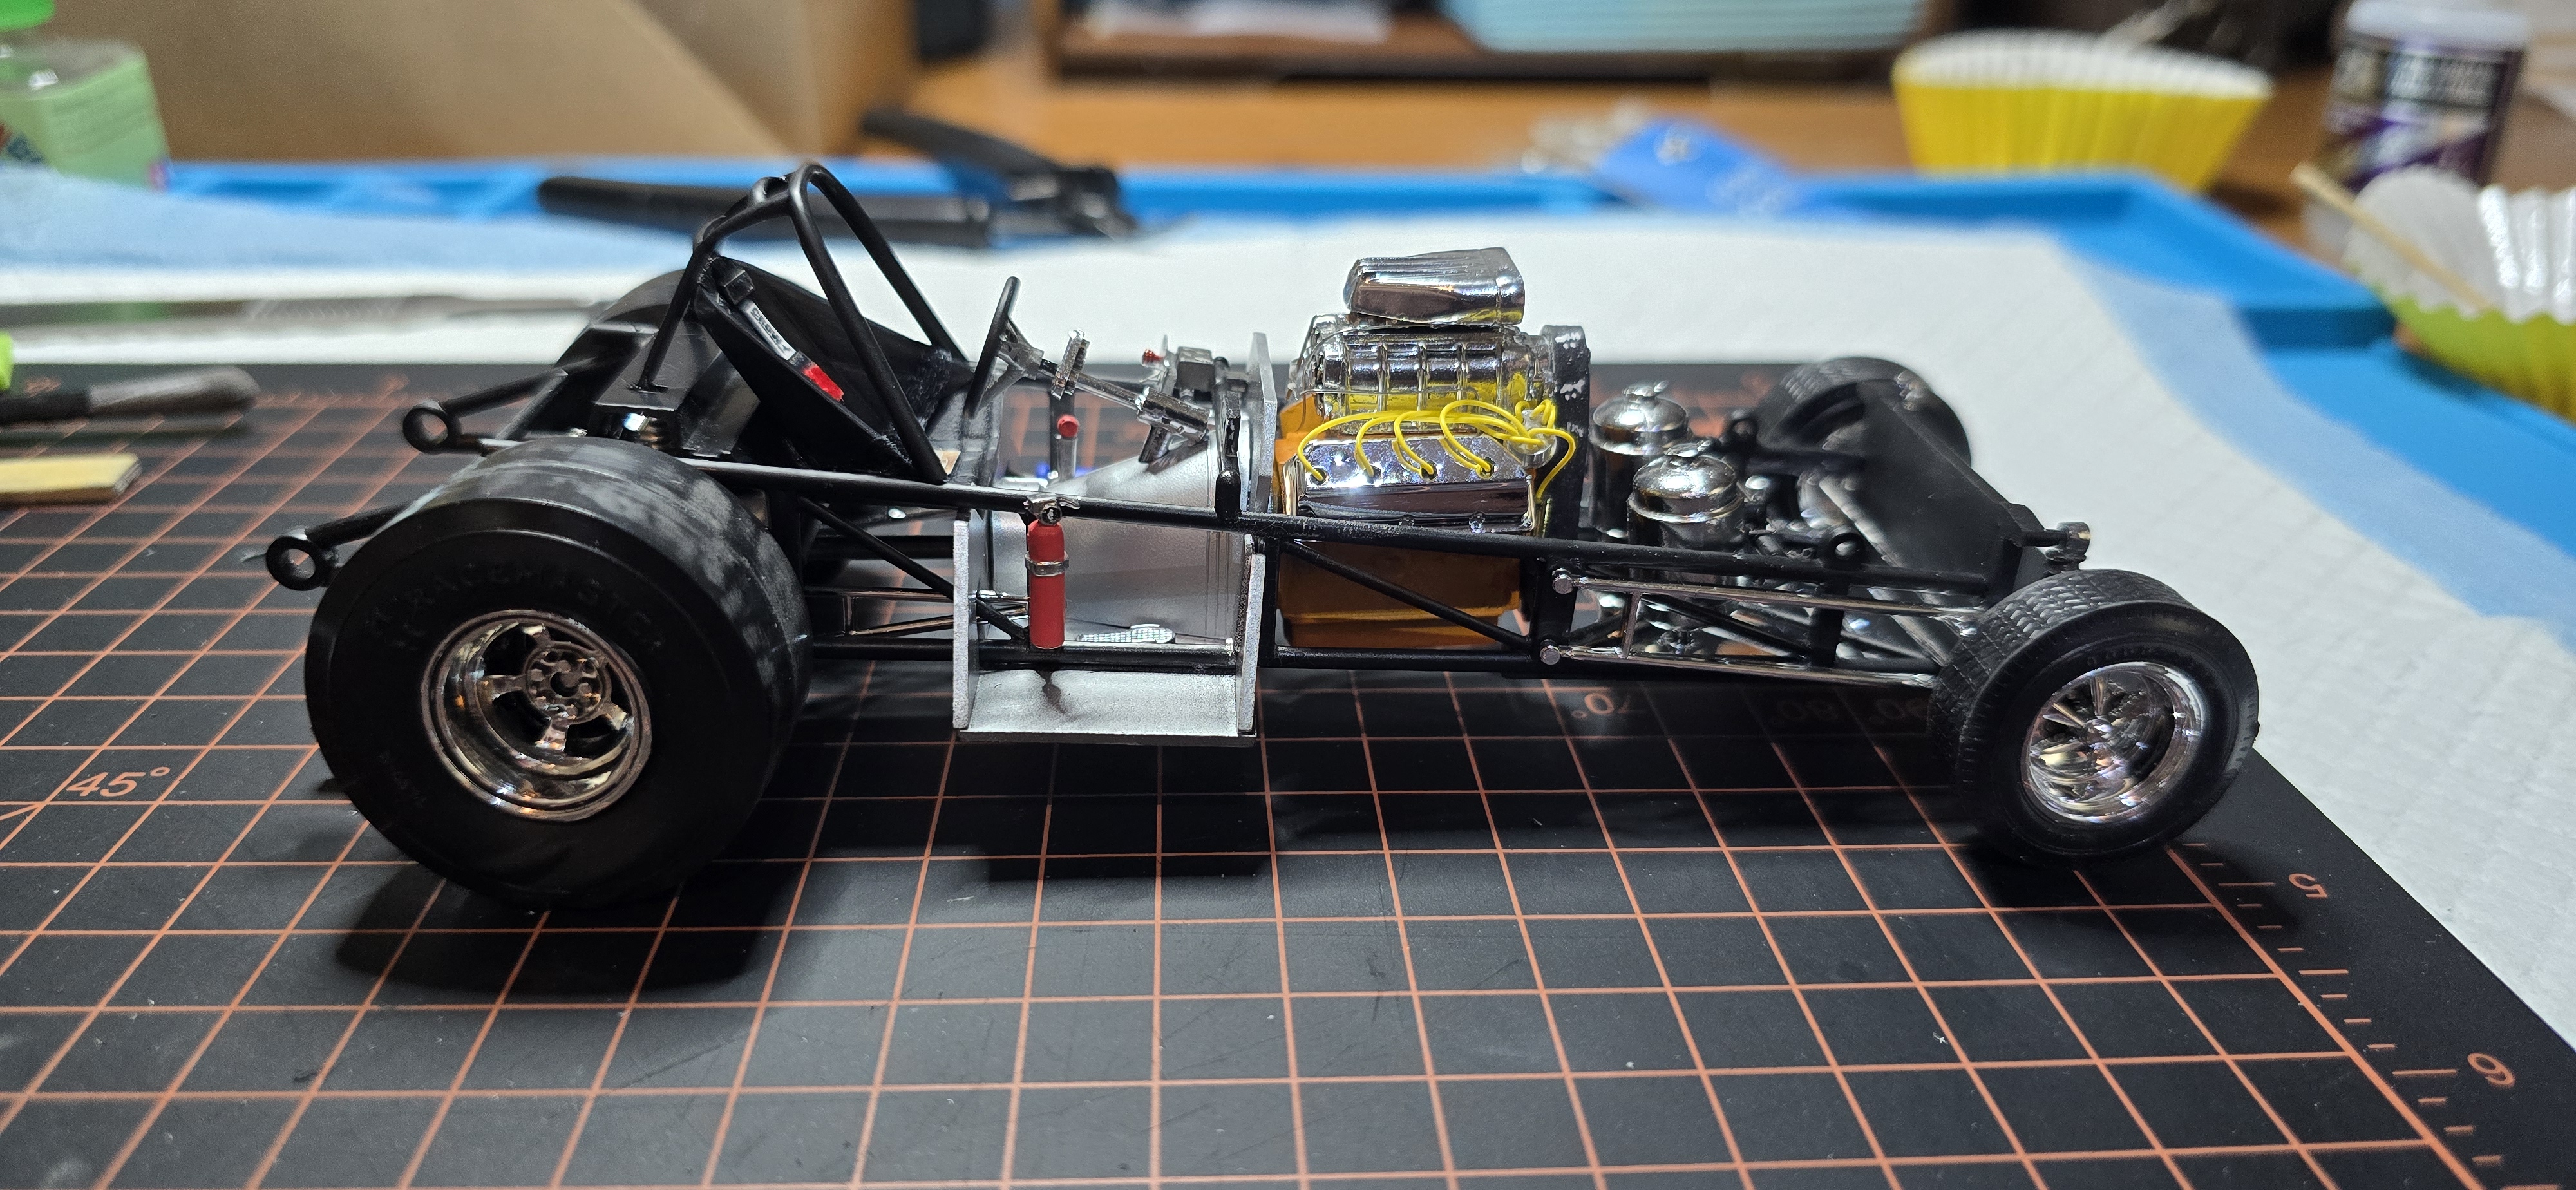
This kit is a relatively simple kit, the engine & trans are halves, like most but the details are minimal. Most of it is hidden within the "aluminum frame". There were some fit issues with the block, nothing major. A bit of styrene closed it up, and i added some styrene to later mount the detailed distributor to. The kit distributor is pretty basic and stylized, so I removed it and will add mine.
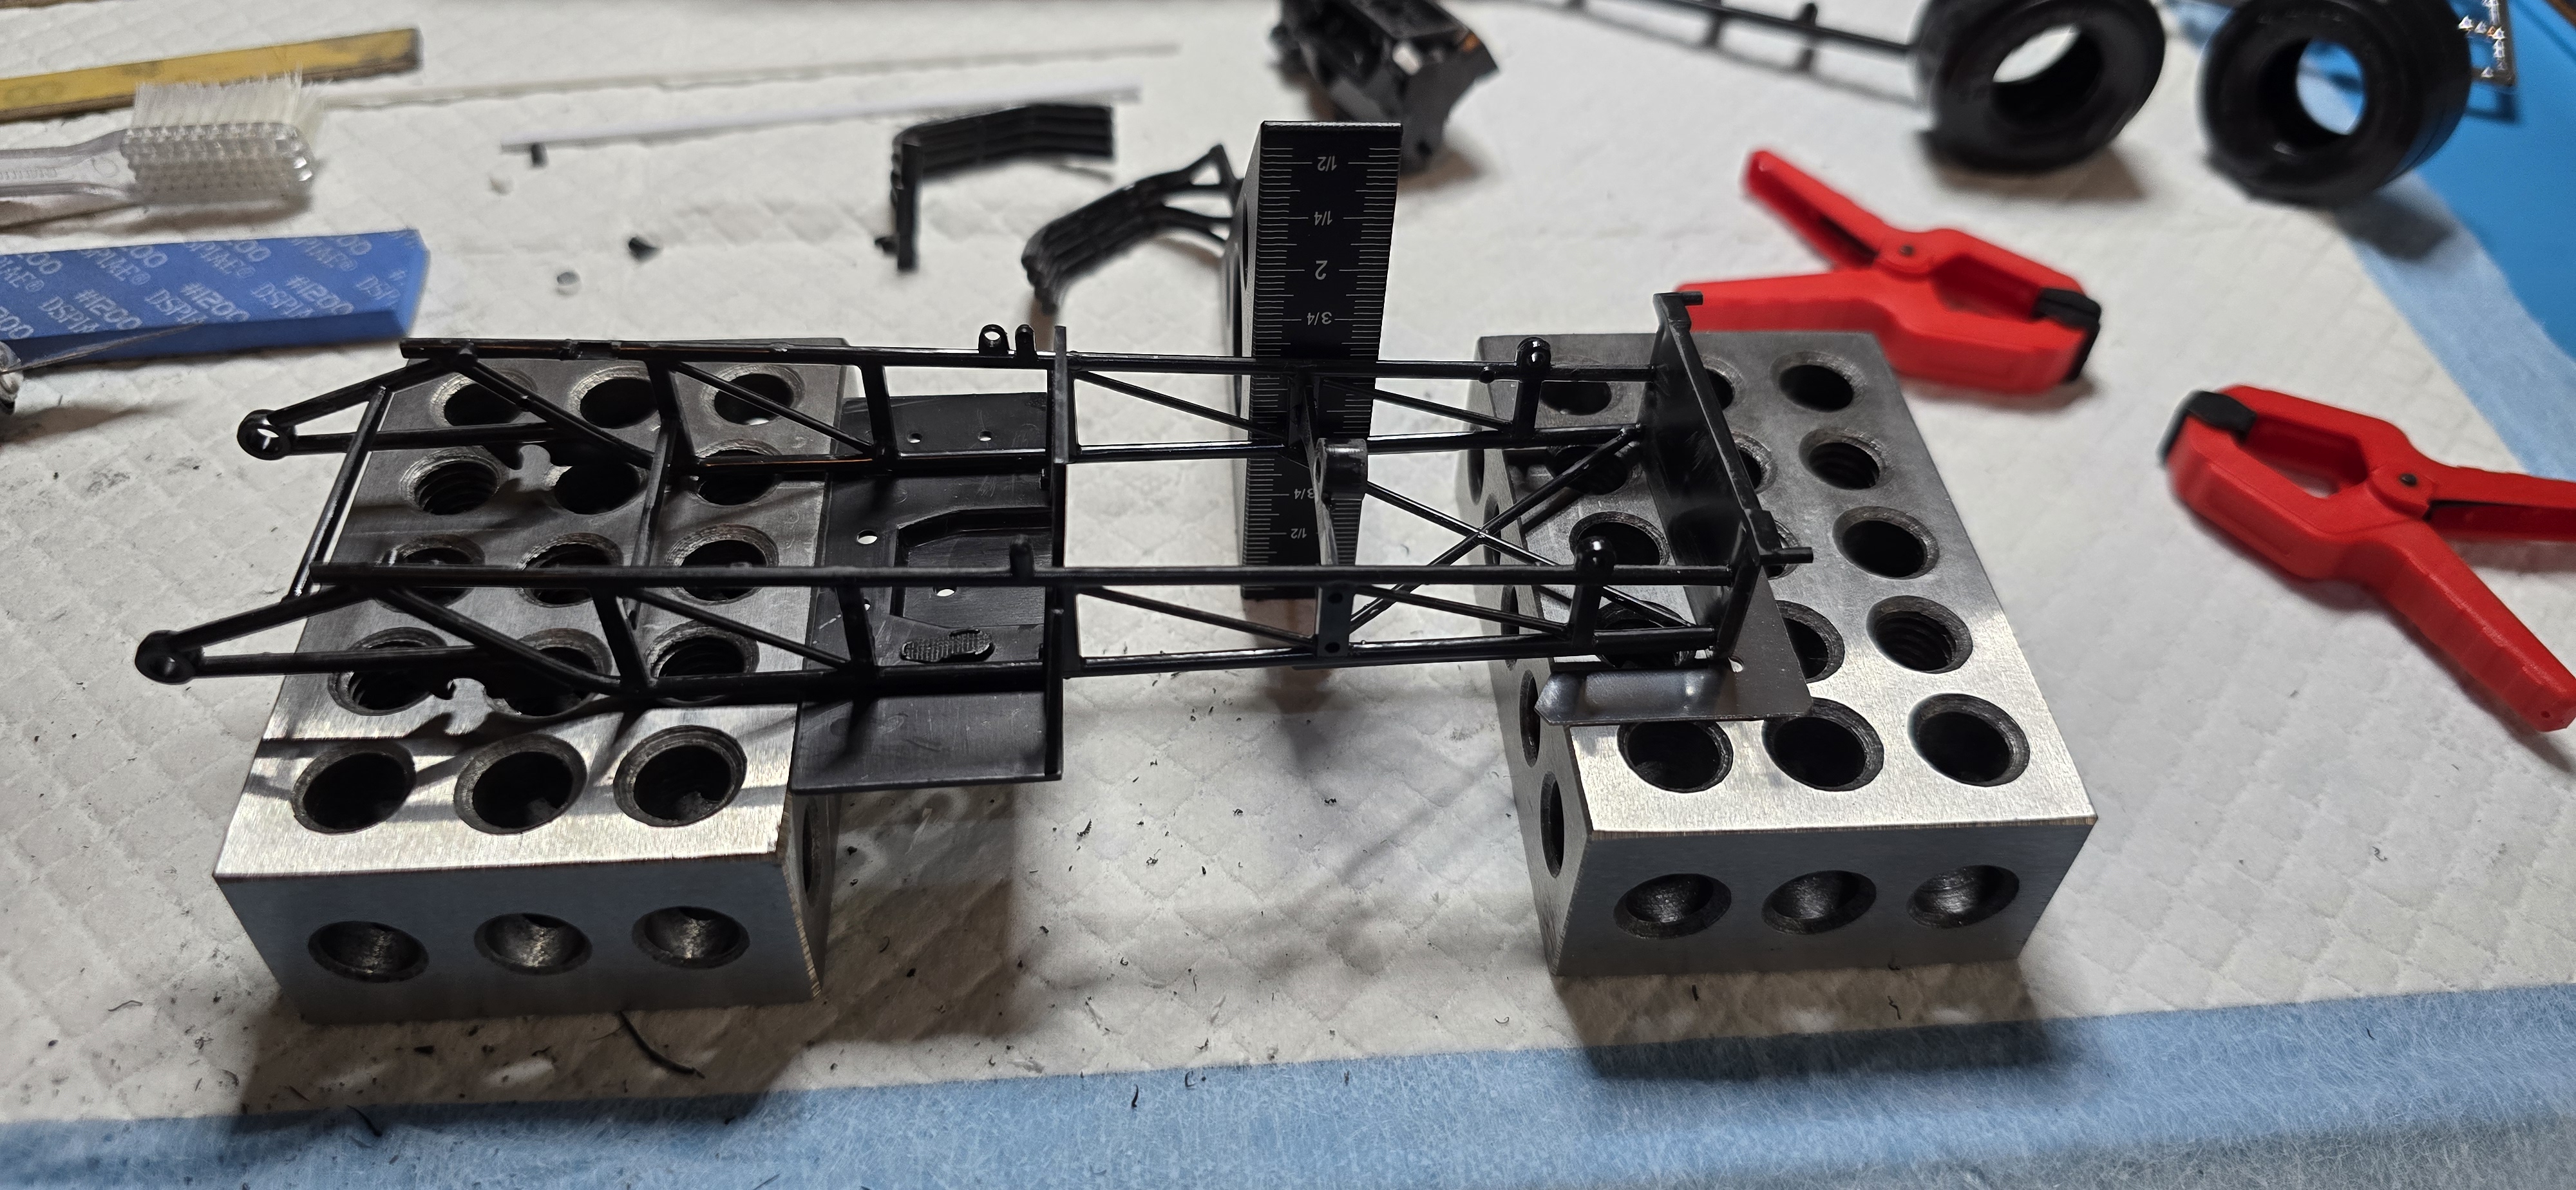
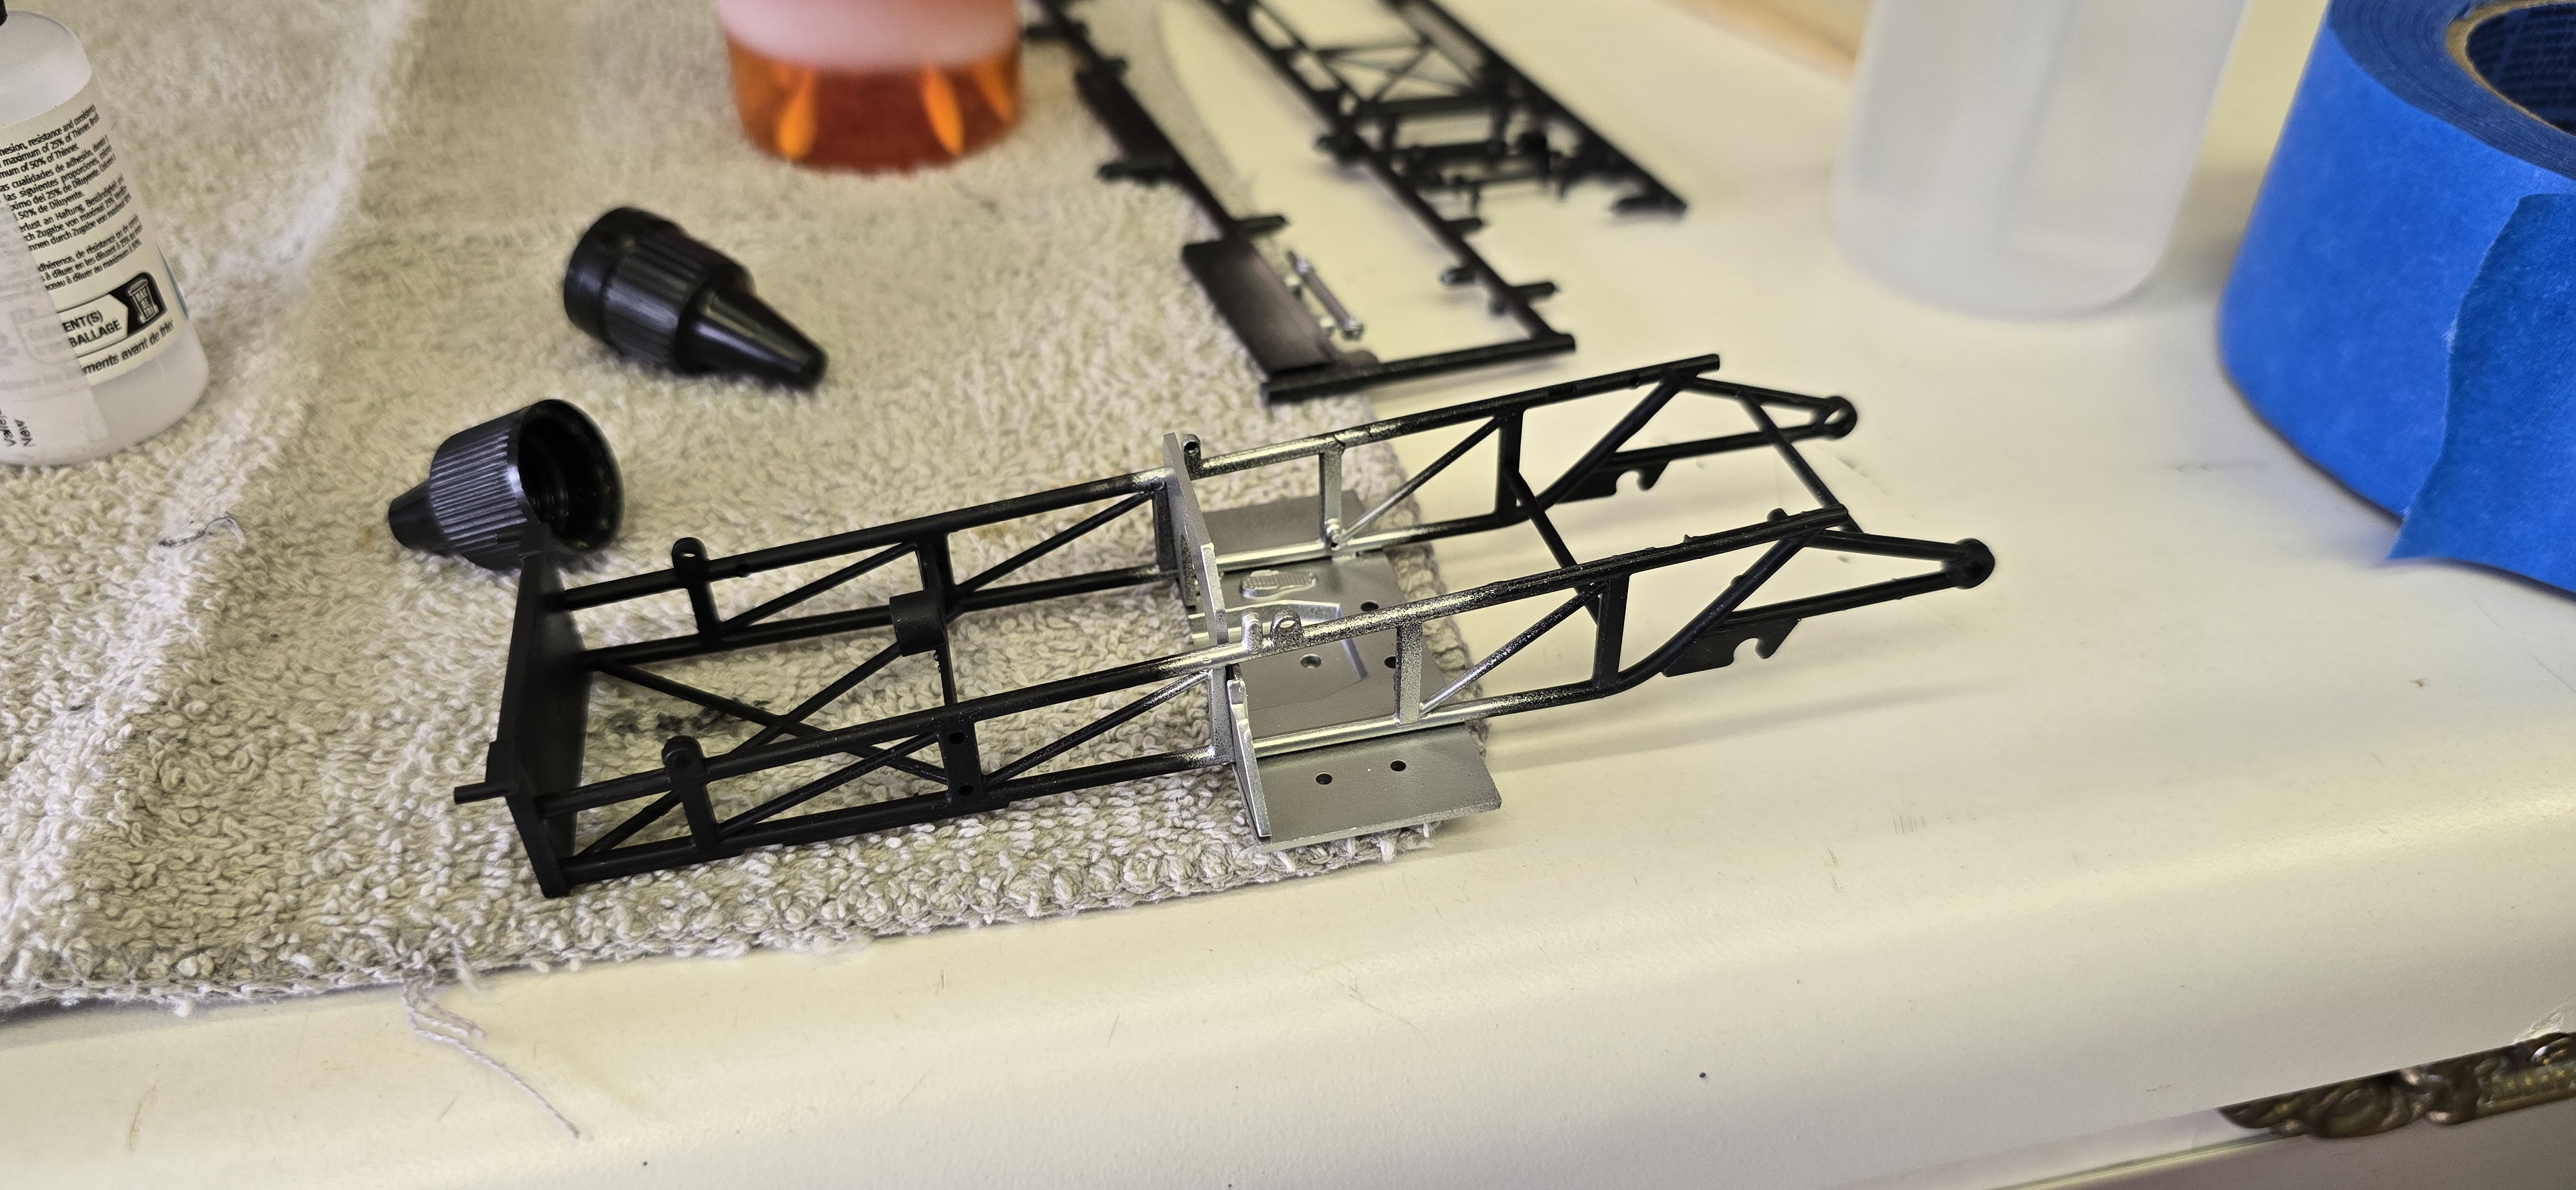
Frame is squared and glued up.
More sanding and building to come.
1000010312.jpg
1000010316.jpg
1000010313.jpg
1000010314.jpg
 
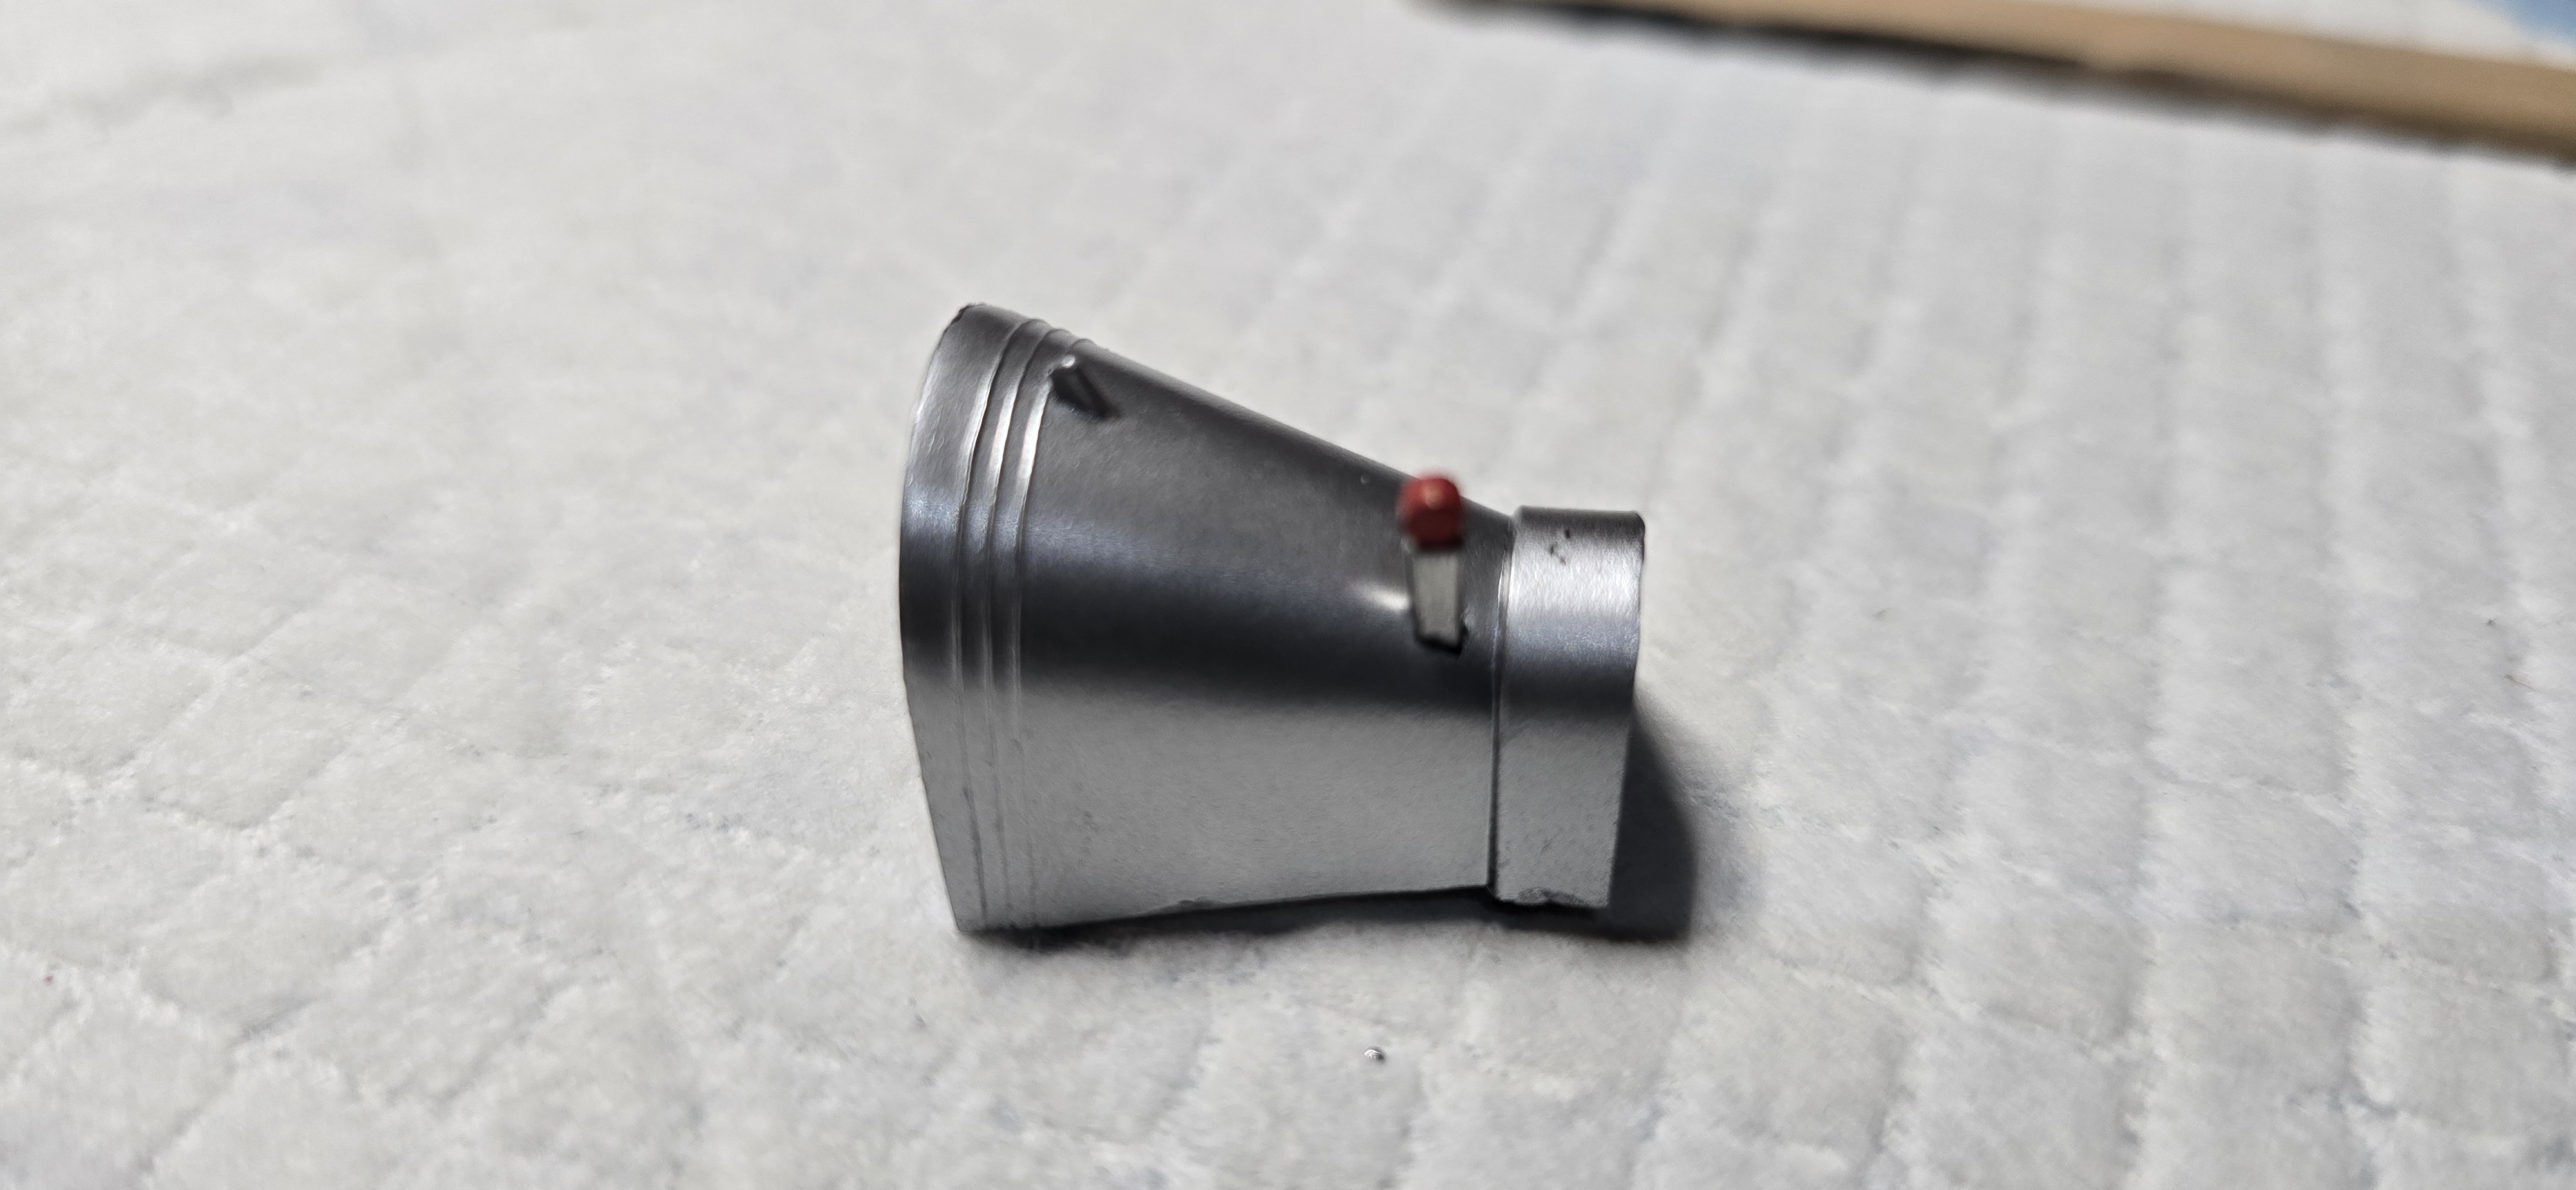
The kit includes a fuel-injection scoop, but says it's spare parts, to be discarded. I wanted to use it, I'd like to try and make this look like the intended subject, a 1970's Funny Car.
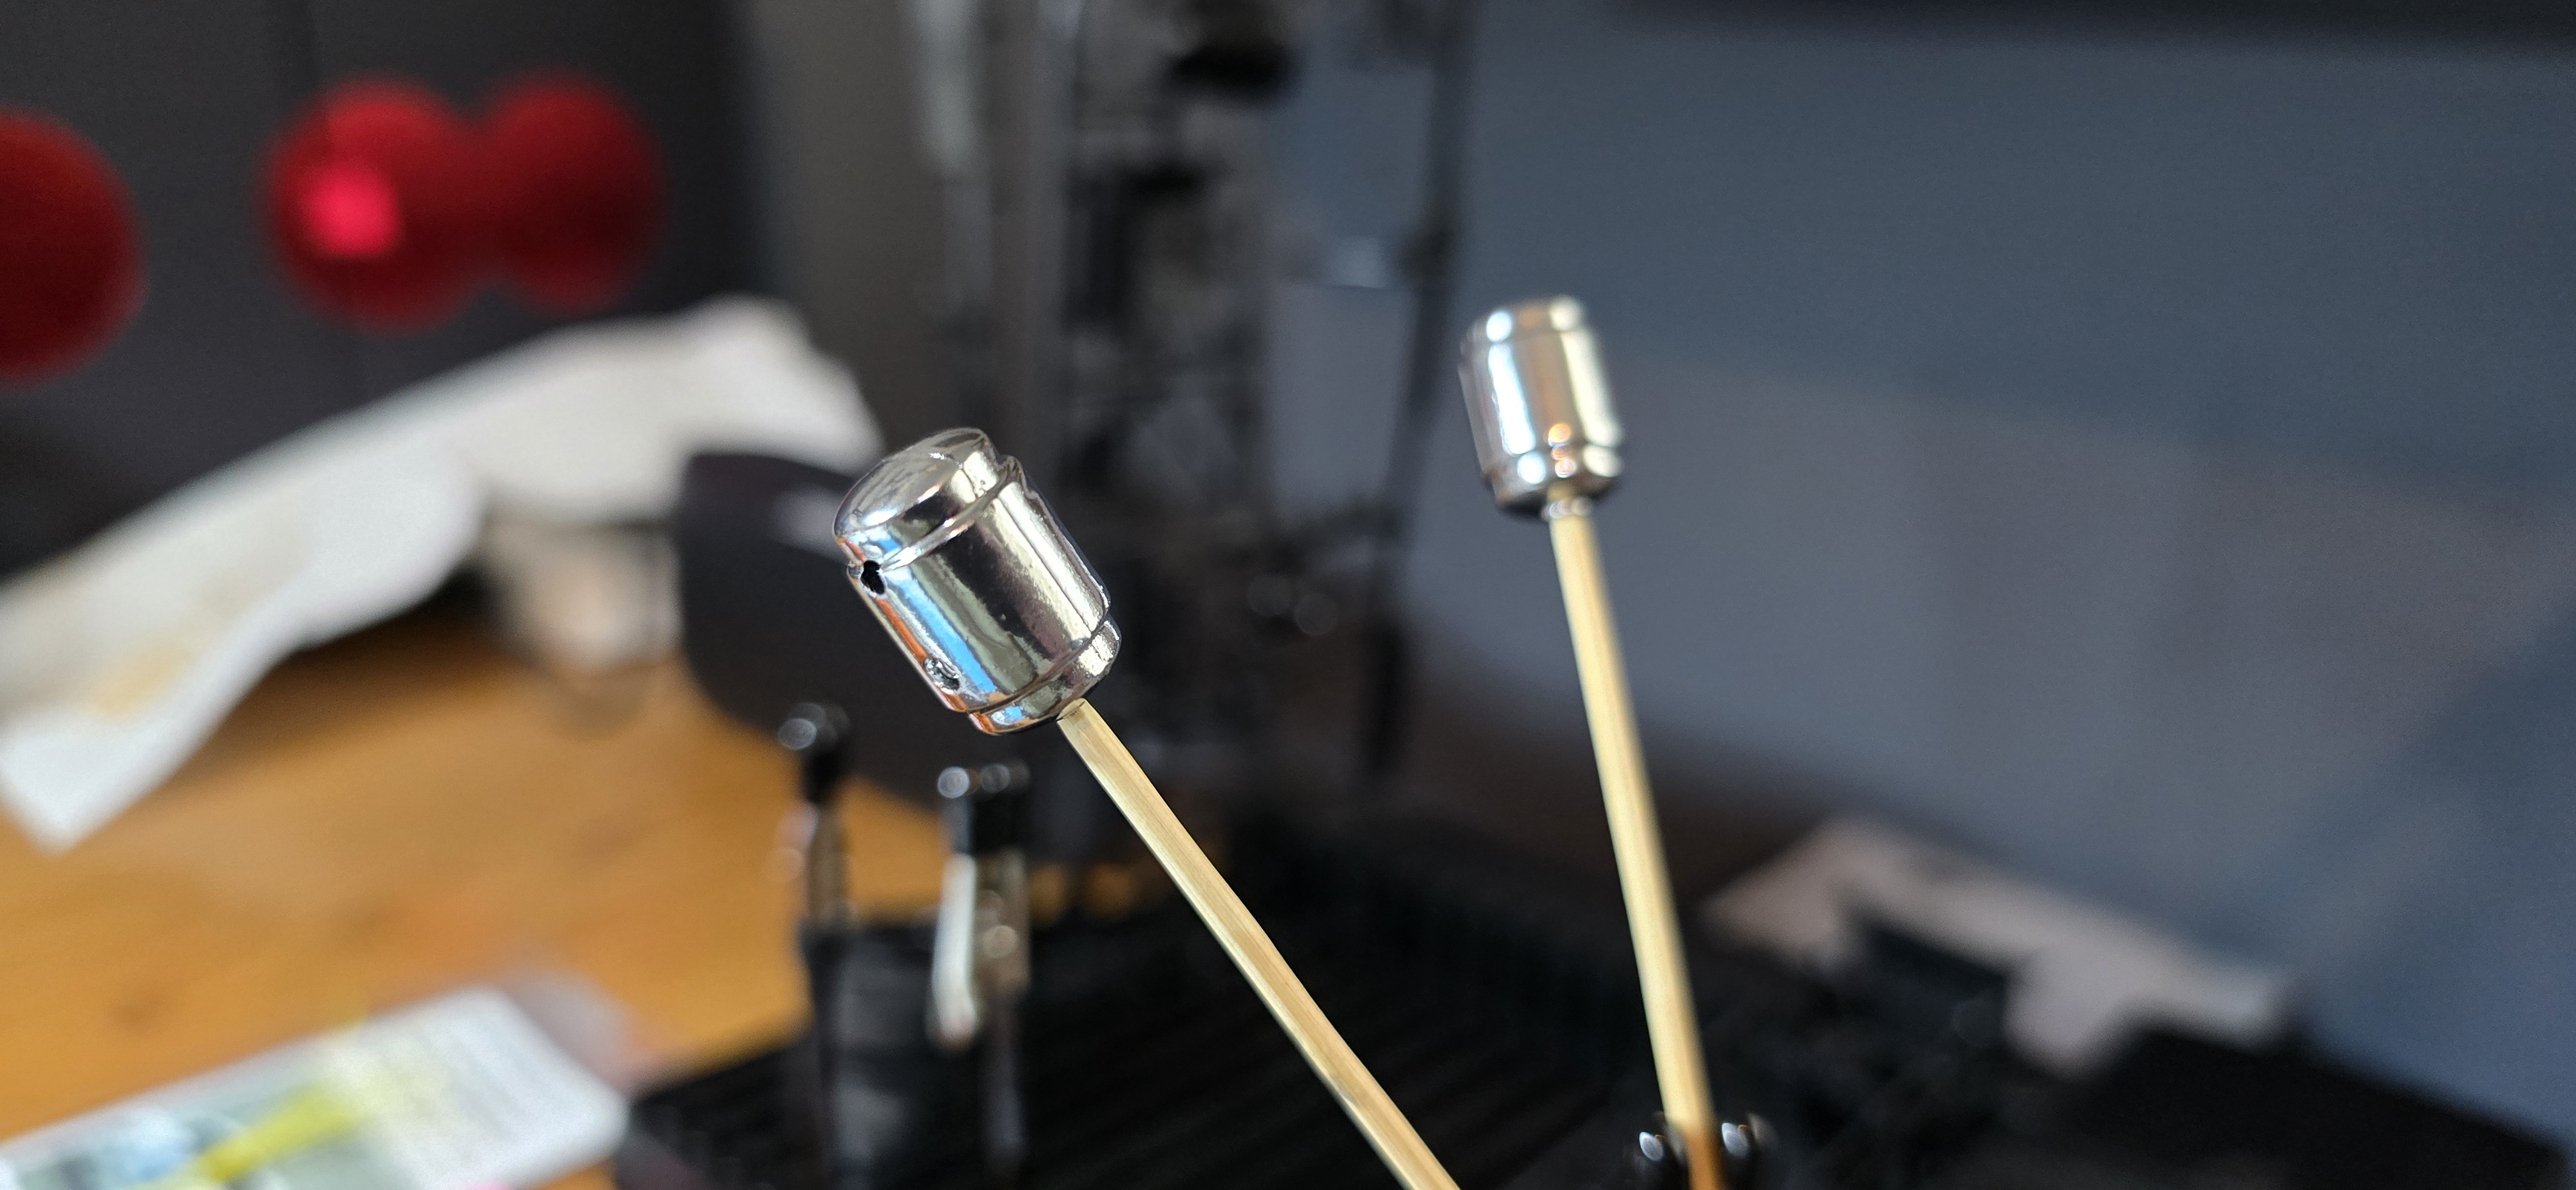
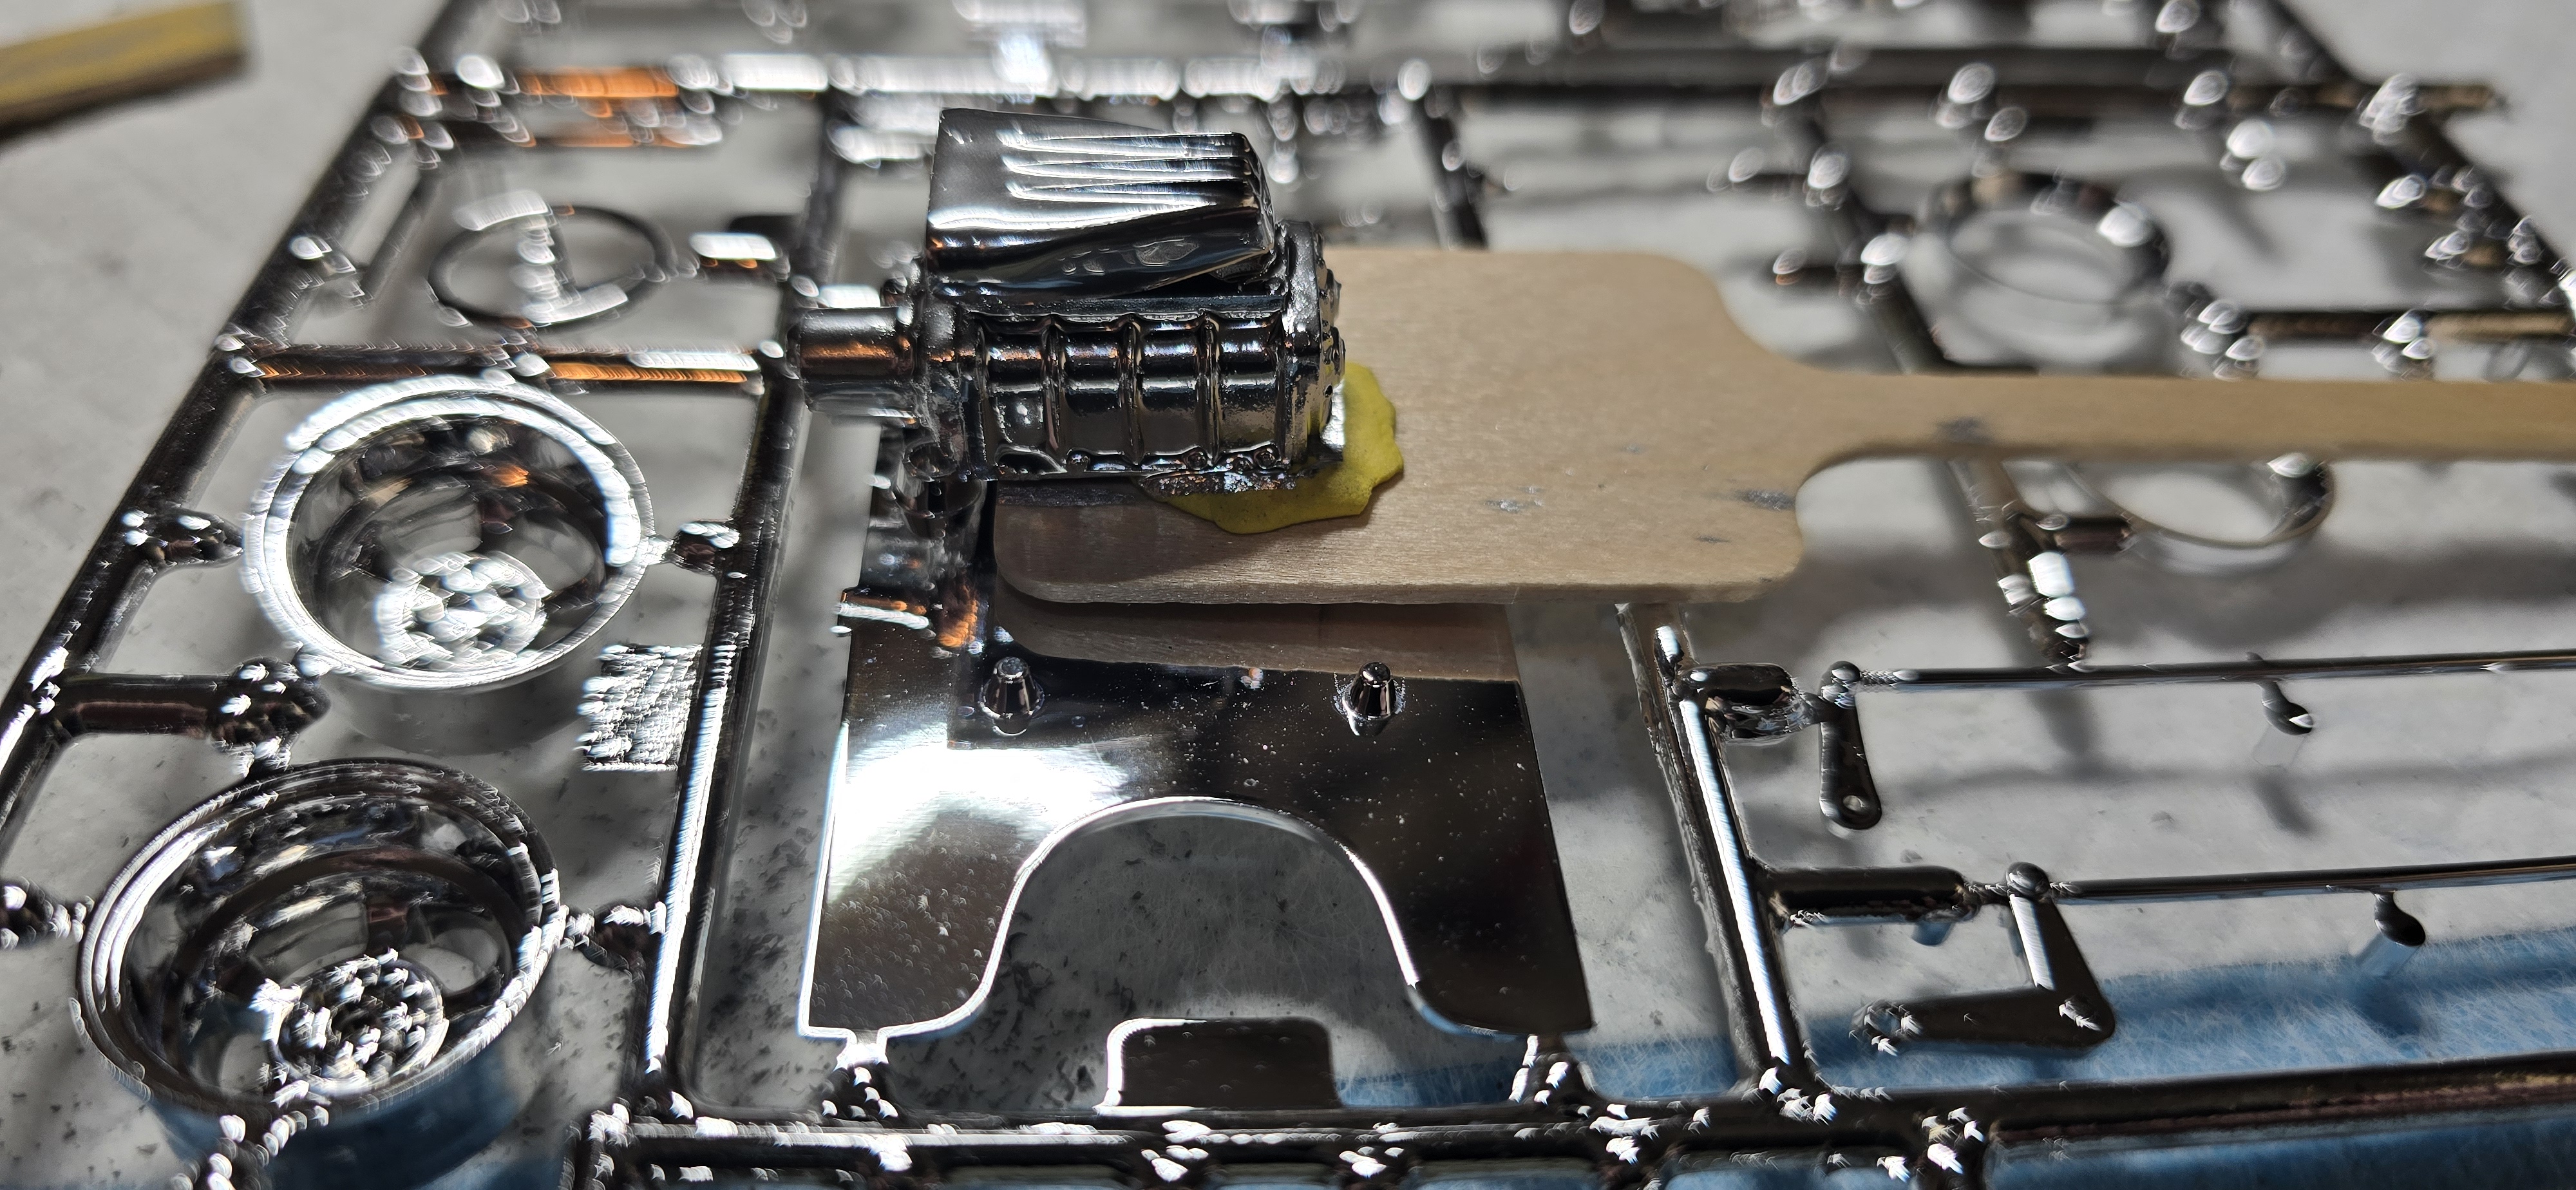
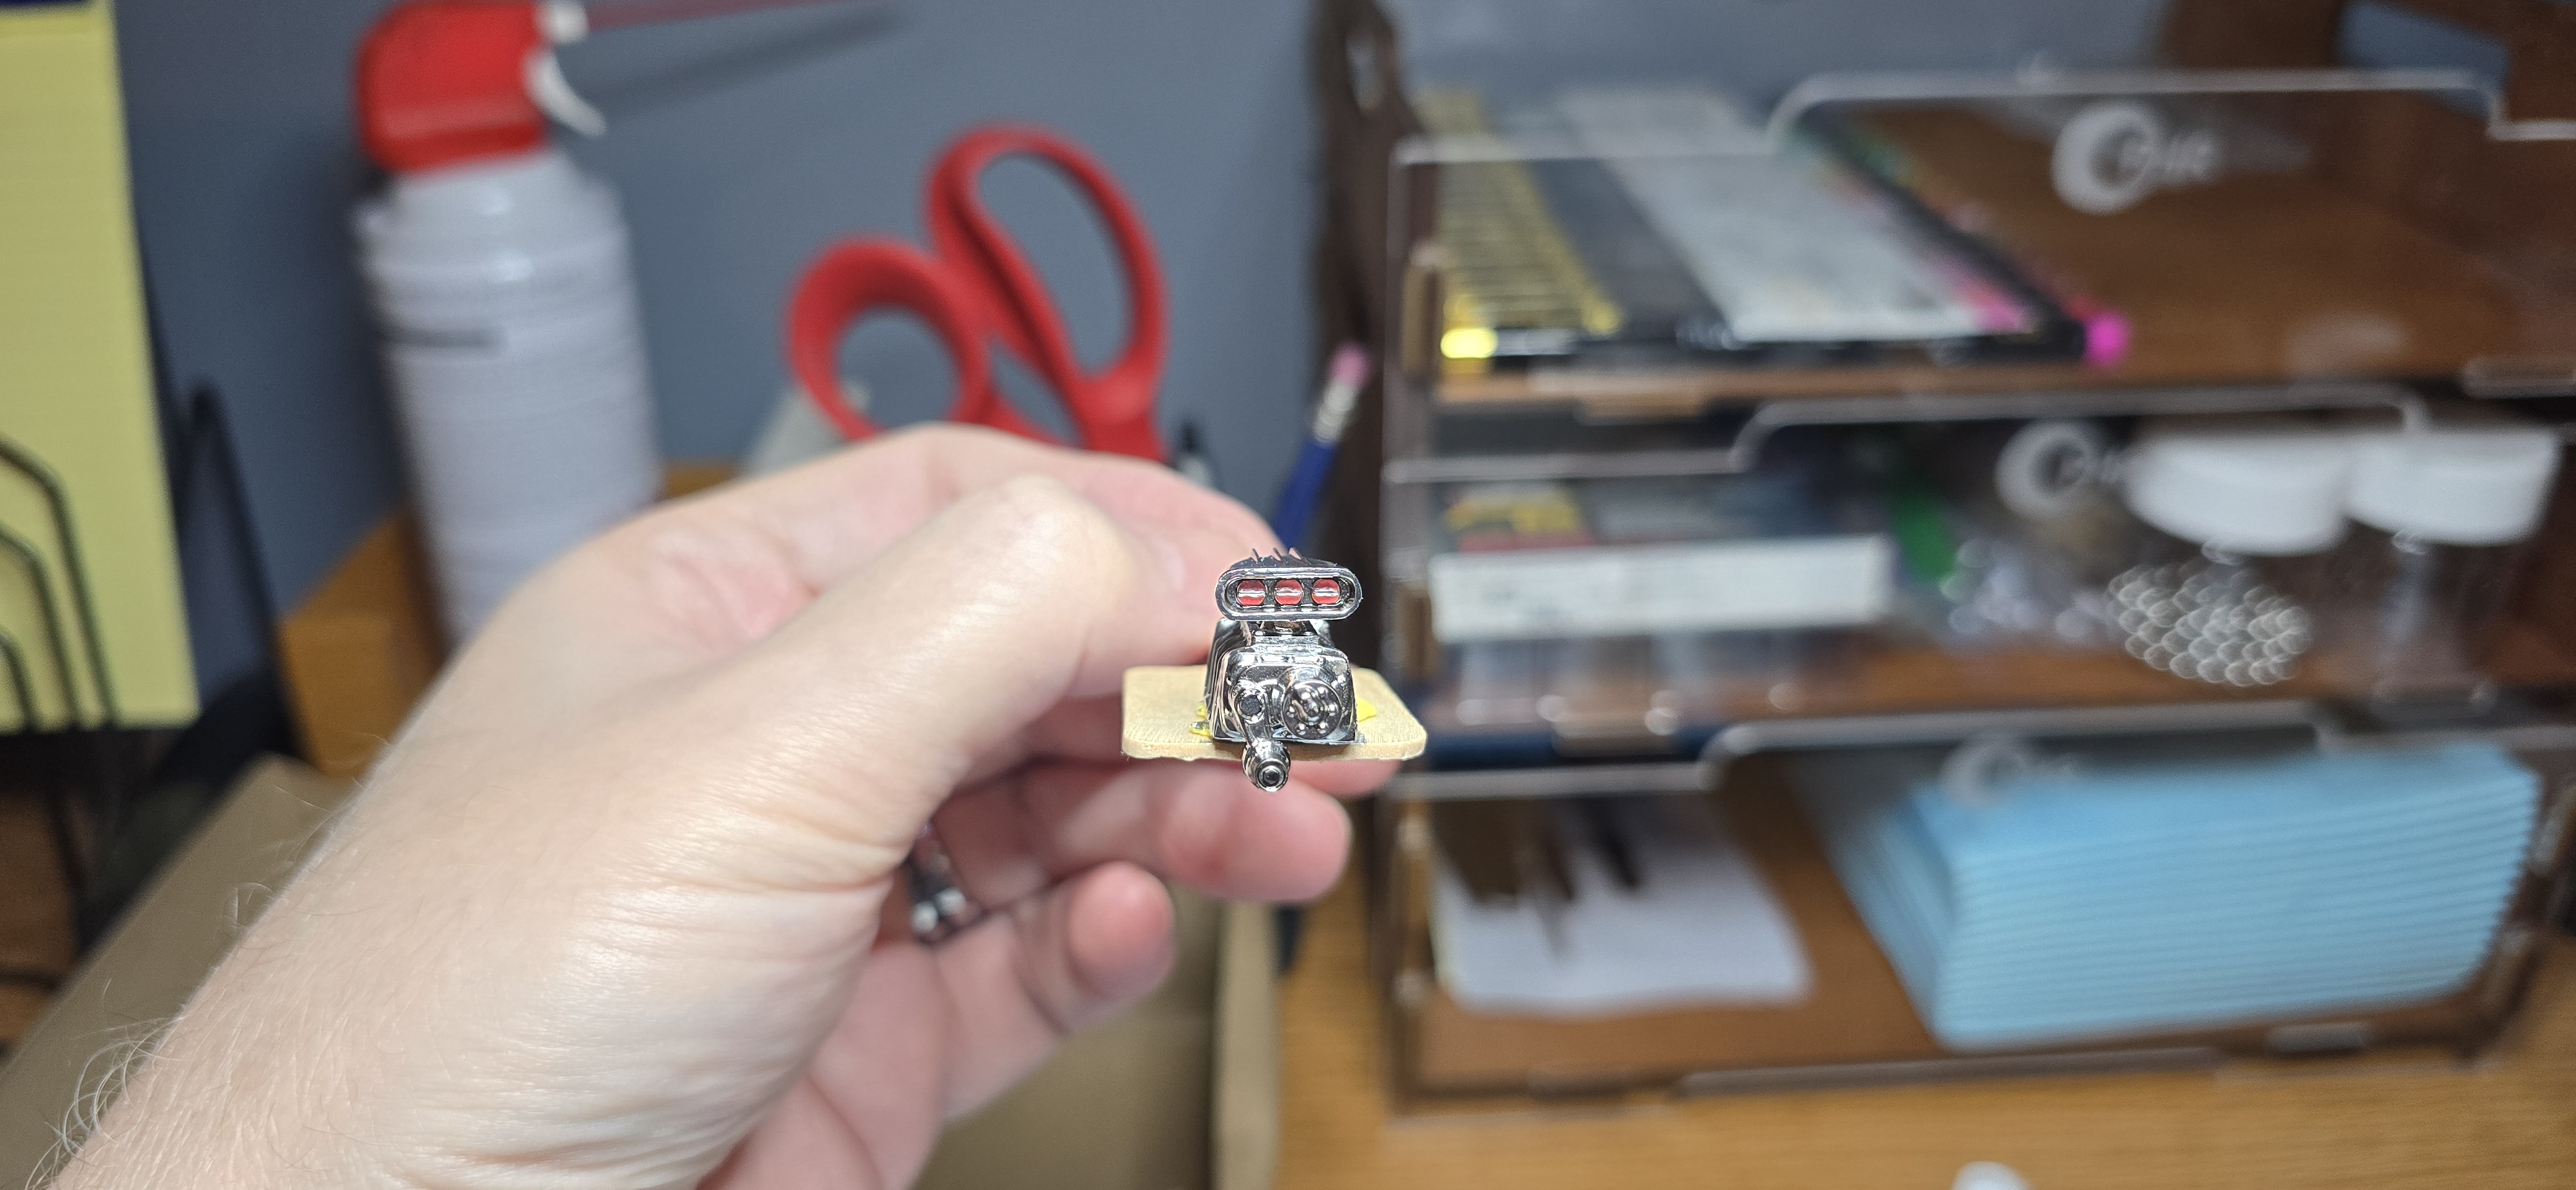
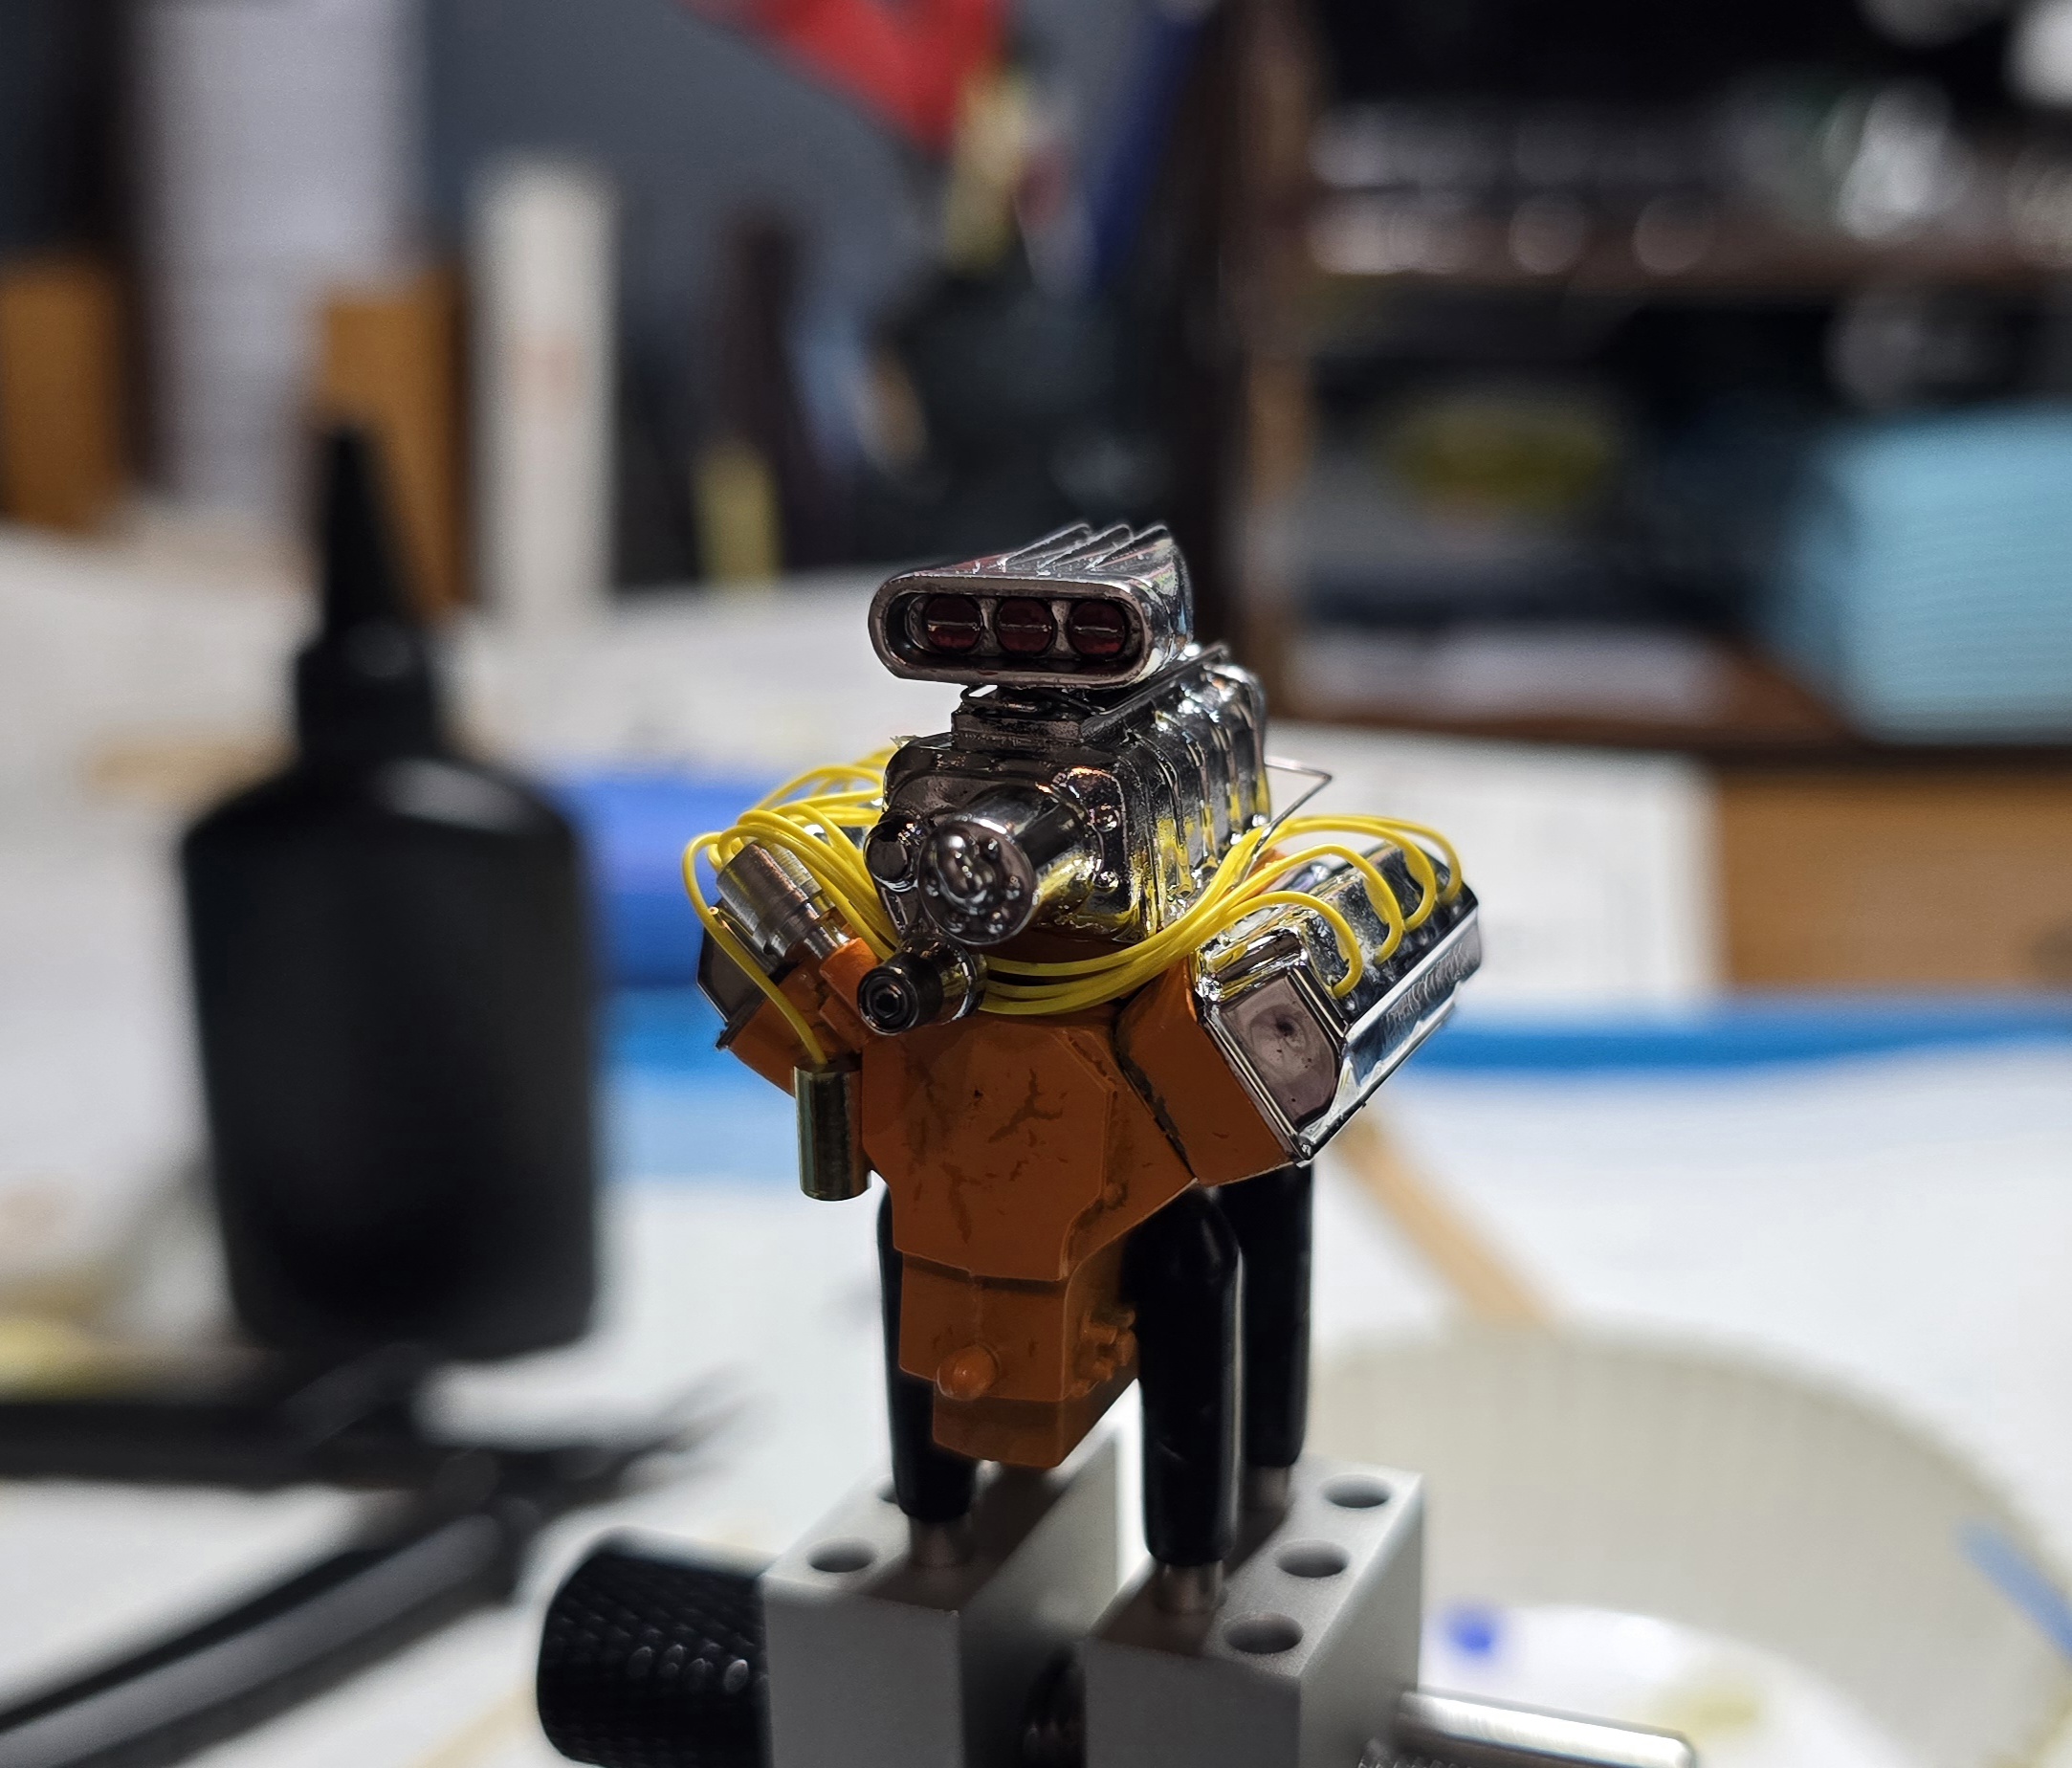
I altered the kit parts, not difficult, just time consuming and got the scoop to sit on top of the blower. I also used Superclean to remove the chrome from the blower assembly and the fuel pots, re-chroming them with Fusionfirm. I took a photo of the re-chromed blower assembly next to the kit chrome parts, this stuff is amazing- It's still hard to believe it's a brush on chrome- that looks like chrome.

Anyway, moving along-
20260525_100736.jpg
20260525_100728.jpg
 
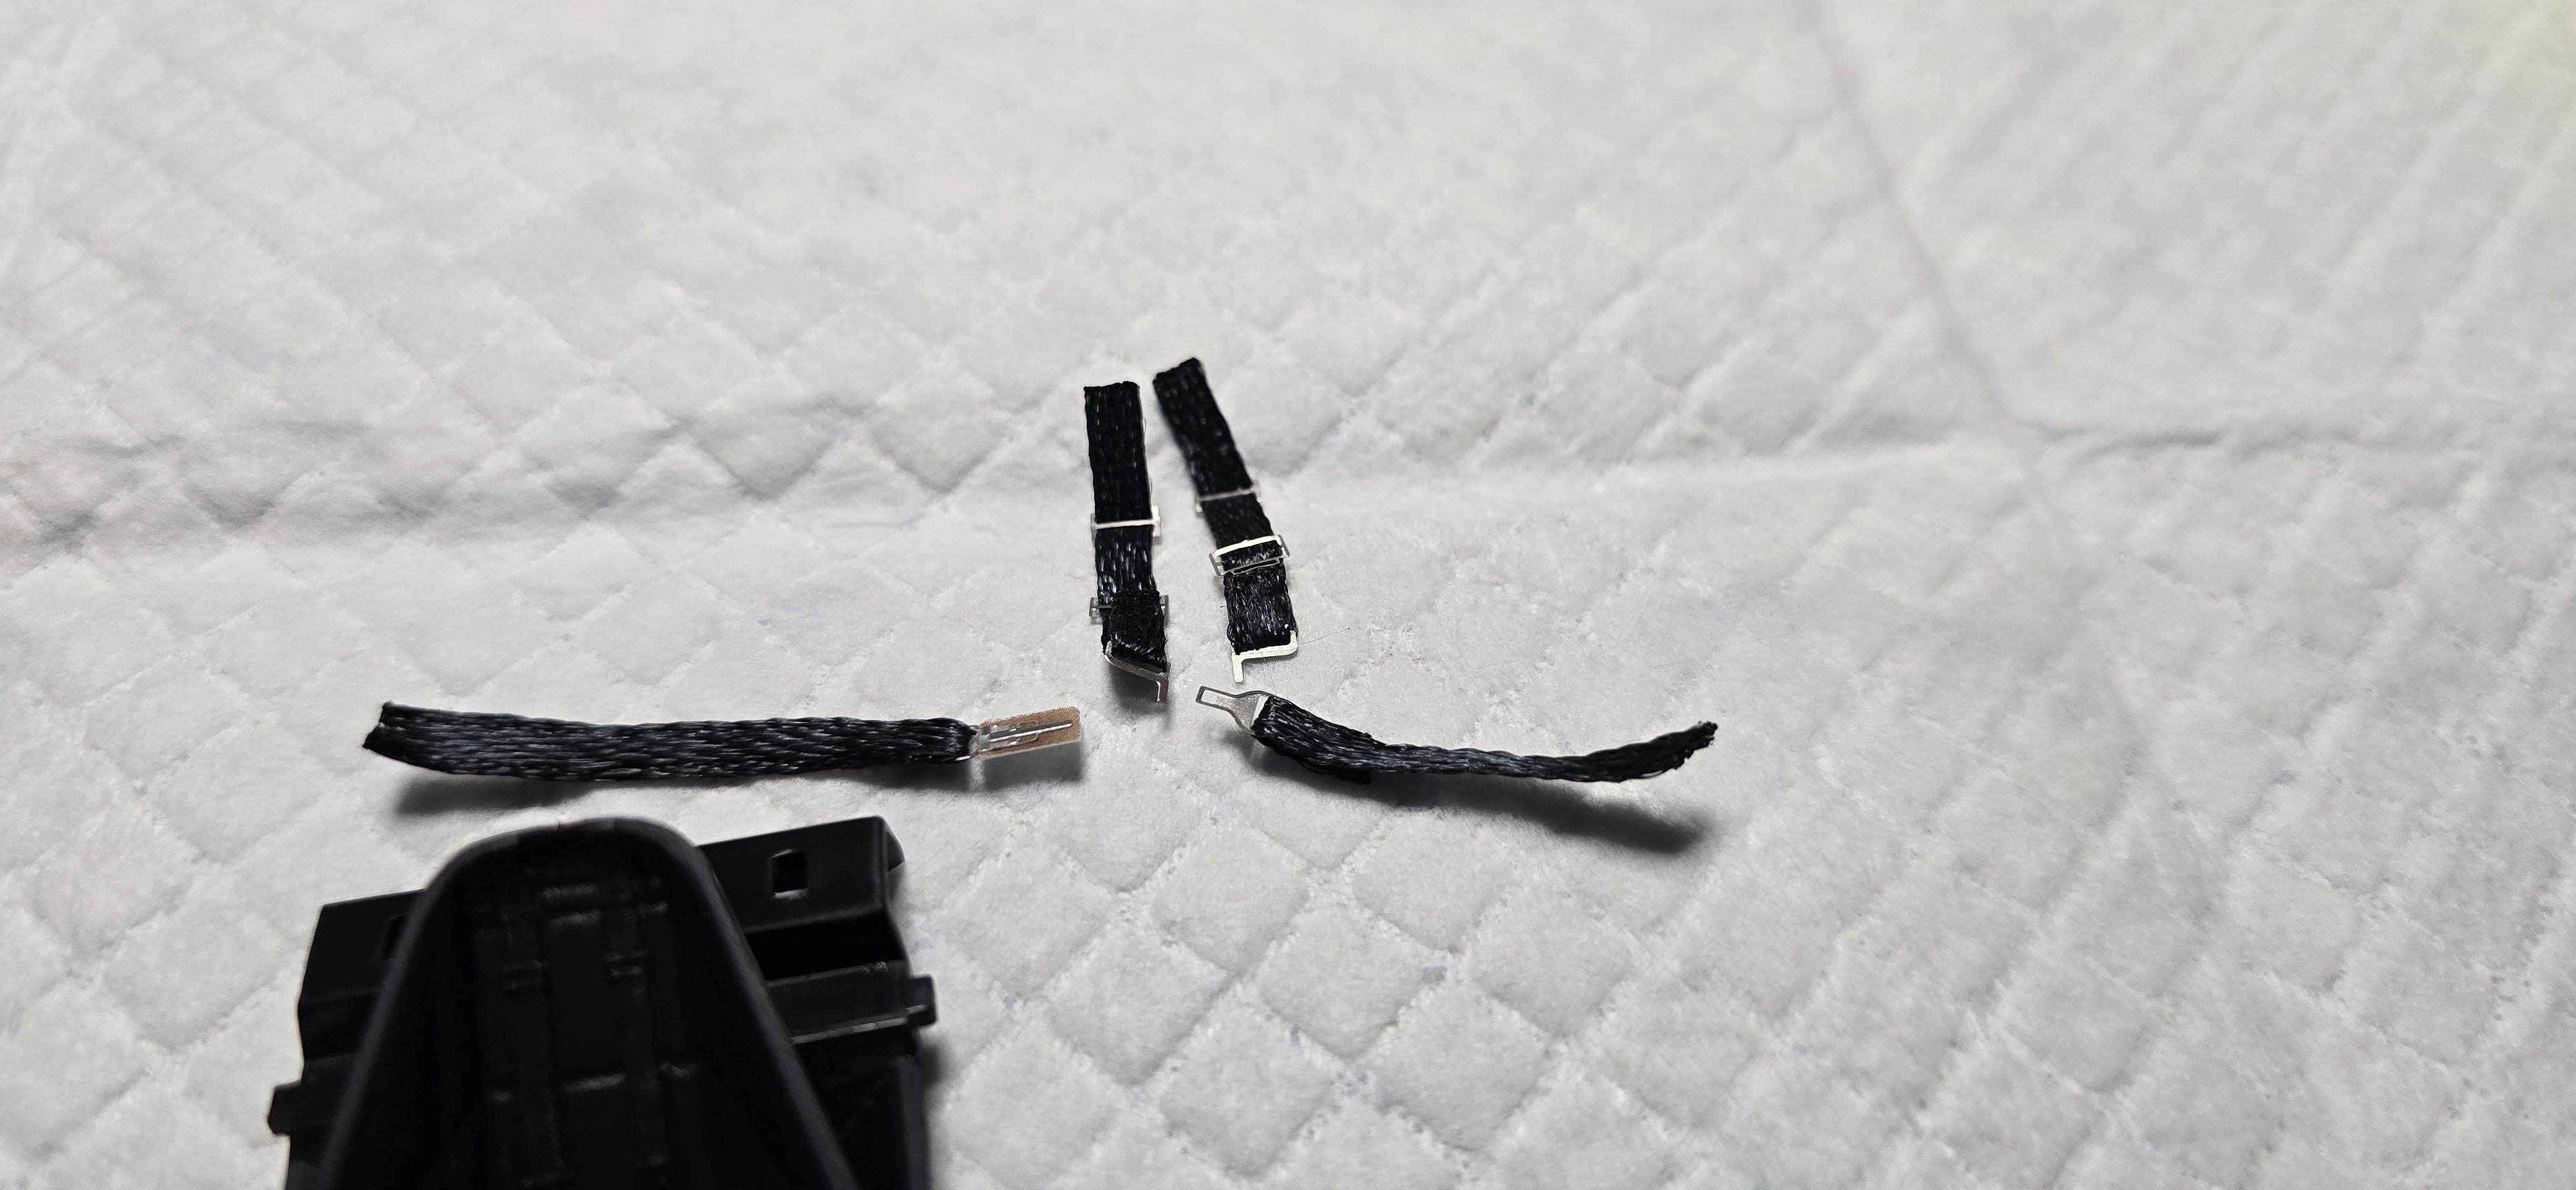
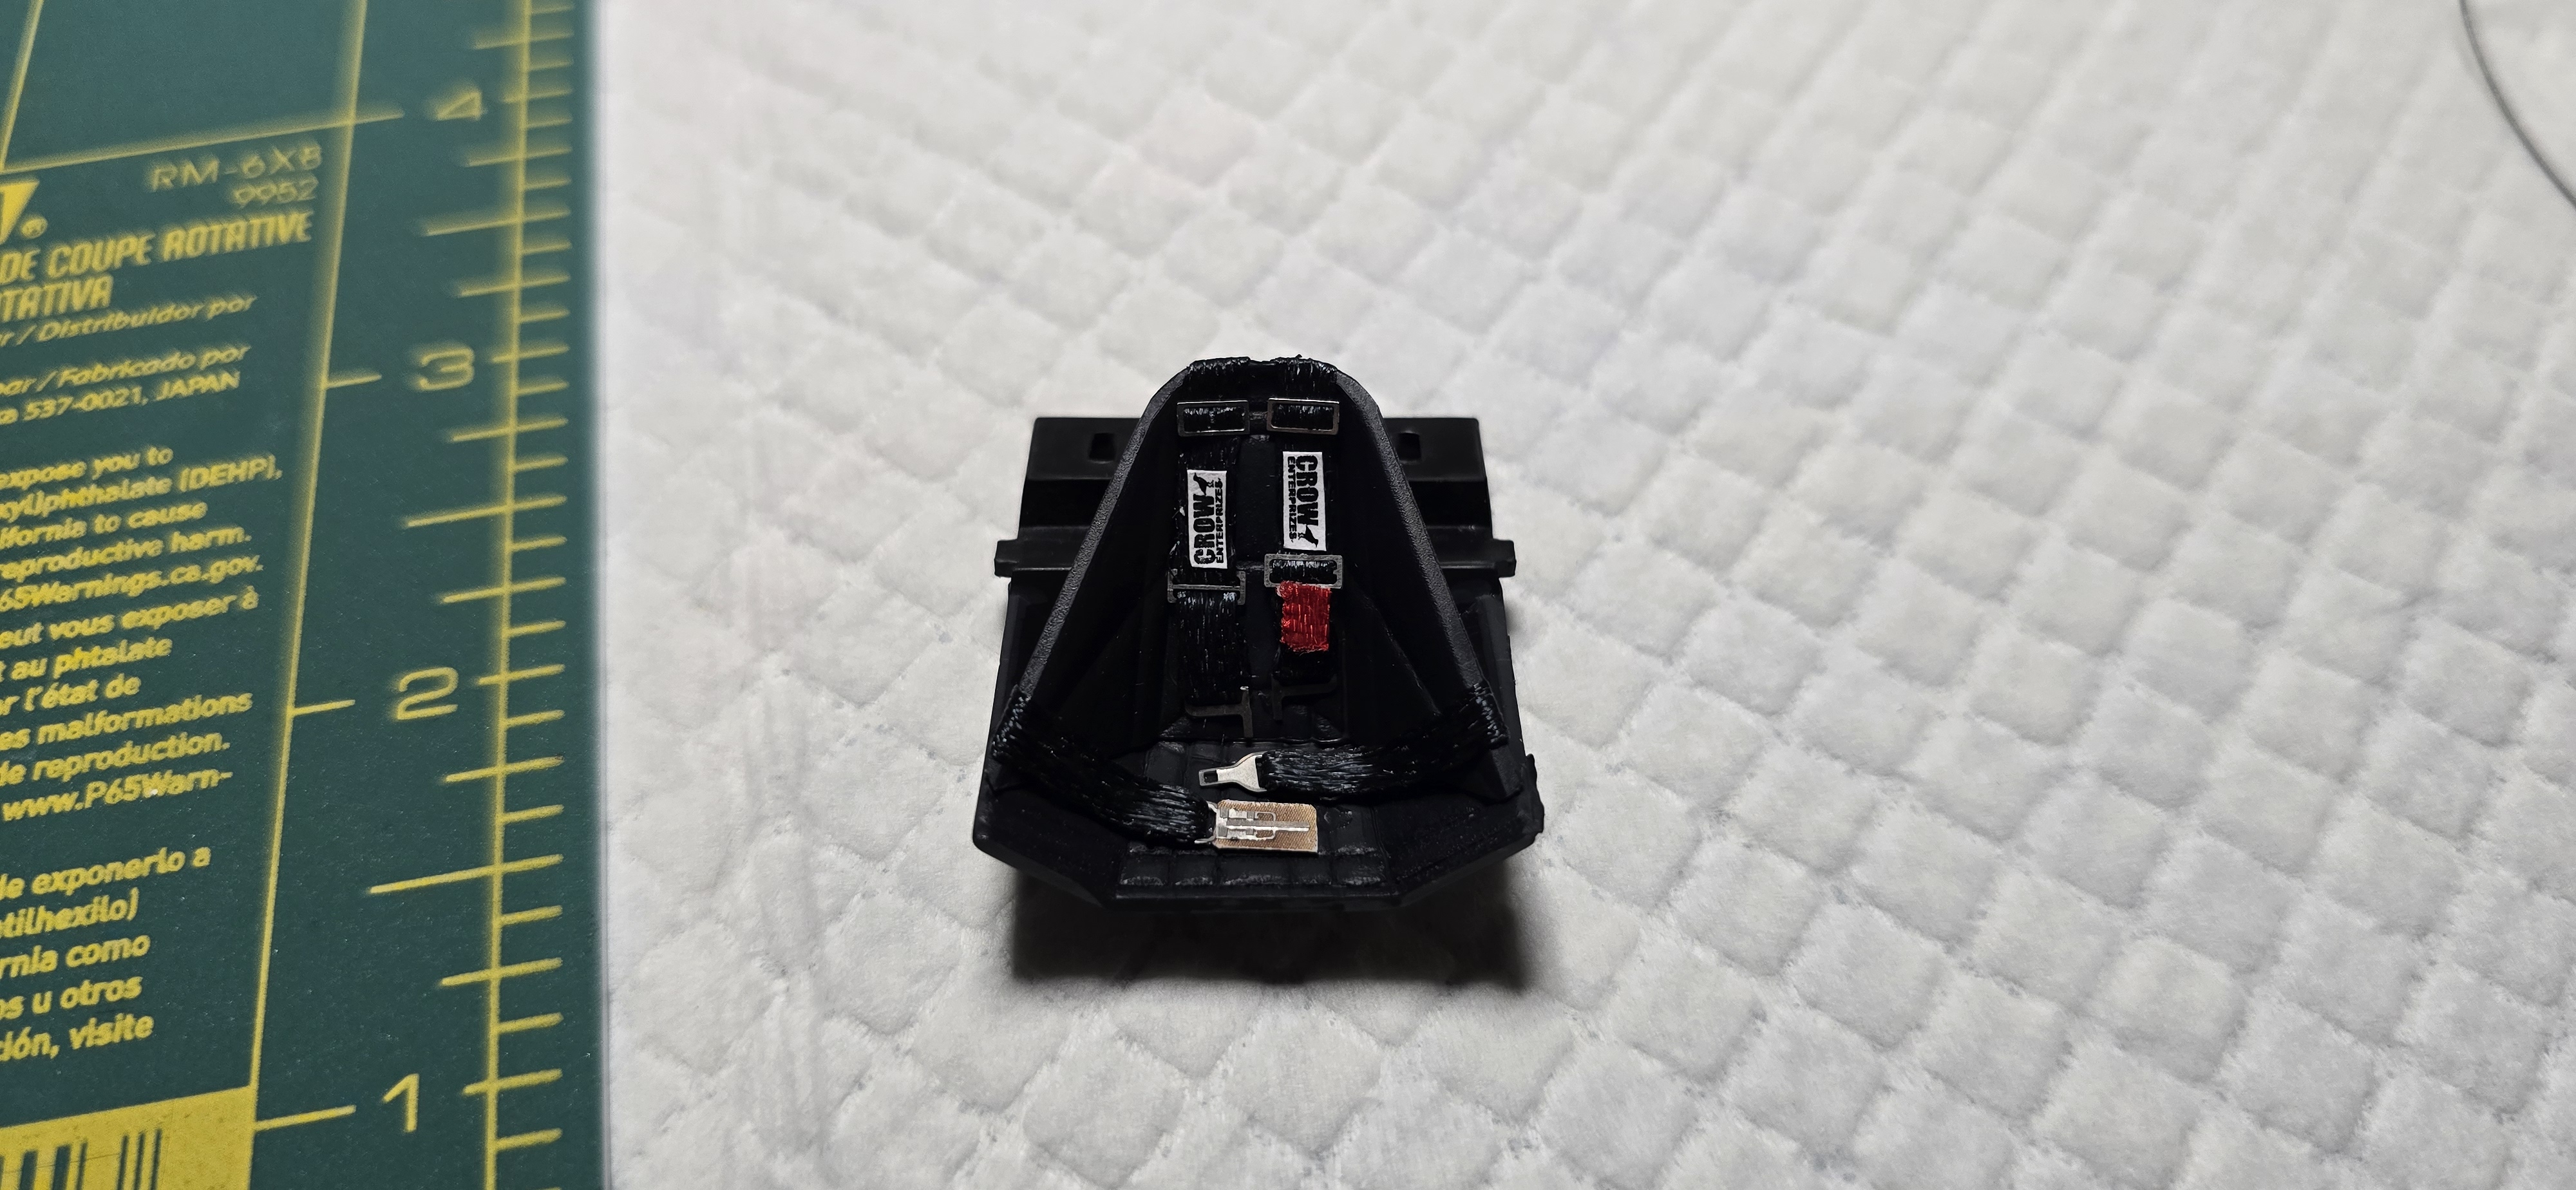
Built and installed my first set of Gofer Racing scale seatbelts/racing harness.
They appear simple, deceptively so. Once i figured out the trick, moved right along.
They look nice and I stuck with the shoulder/lap belts that were molded, at some point, I'll build a 5 point harness for an appropriate vehicle in the future.
1000010817.jpg
1000010819.jpg
 
As an Amazon Associate we earn from qualifying purchases. Product prices and availability are accurate as of the date/time indicated and are subject to change.
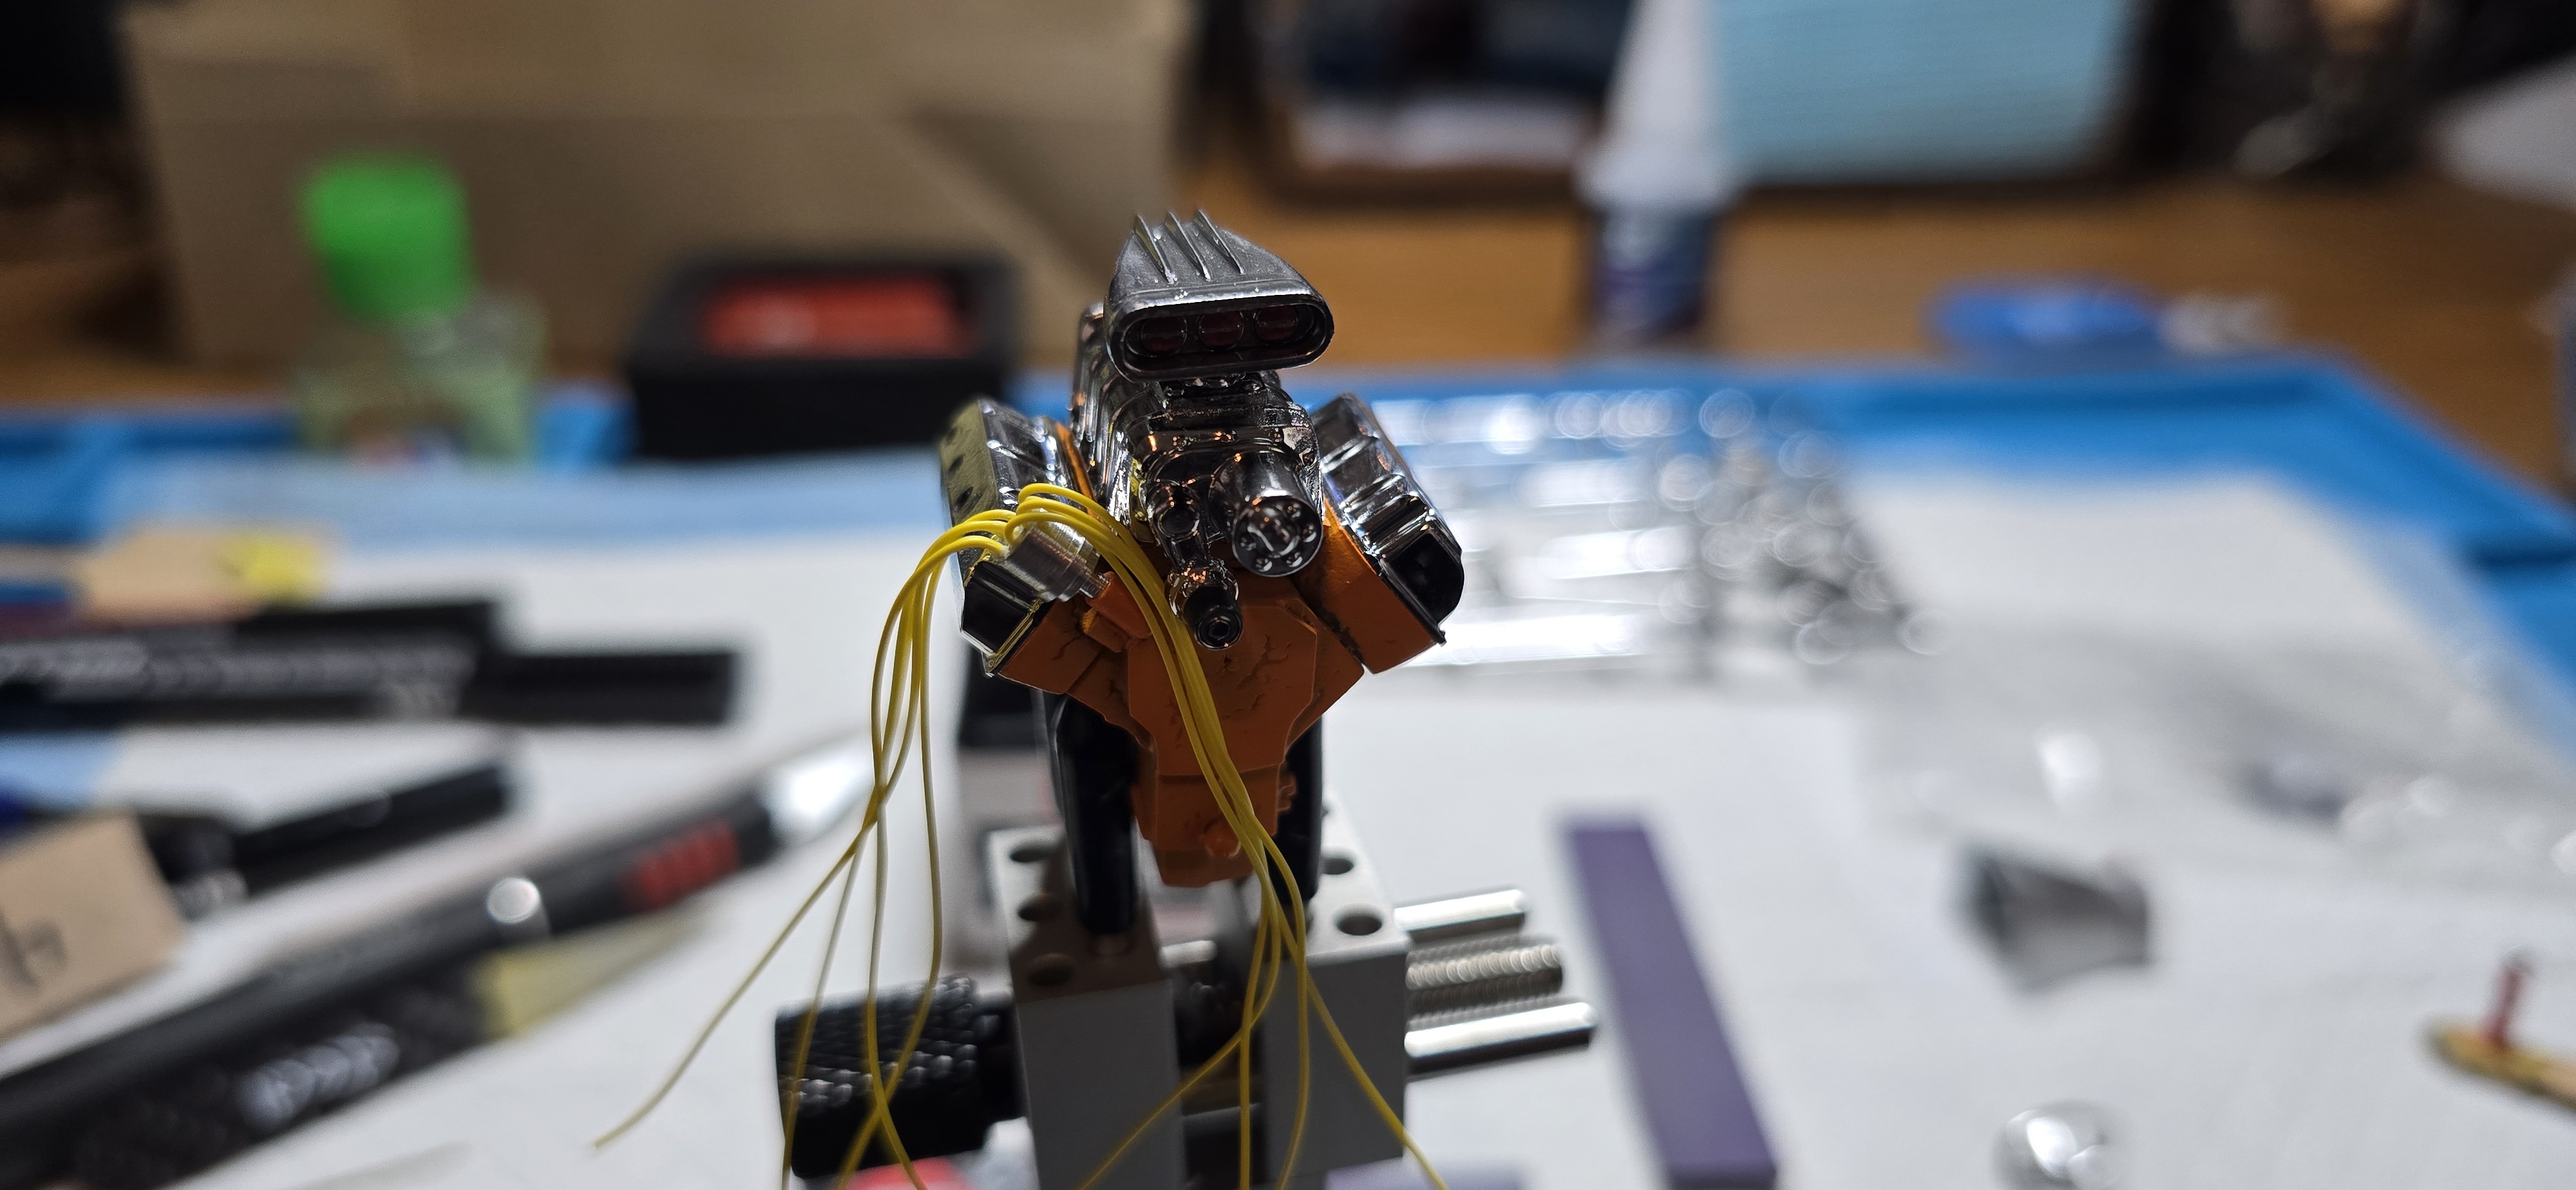
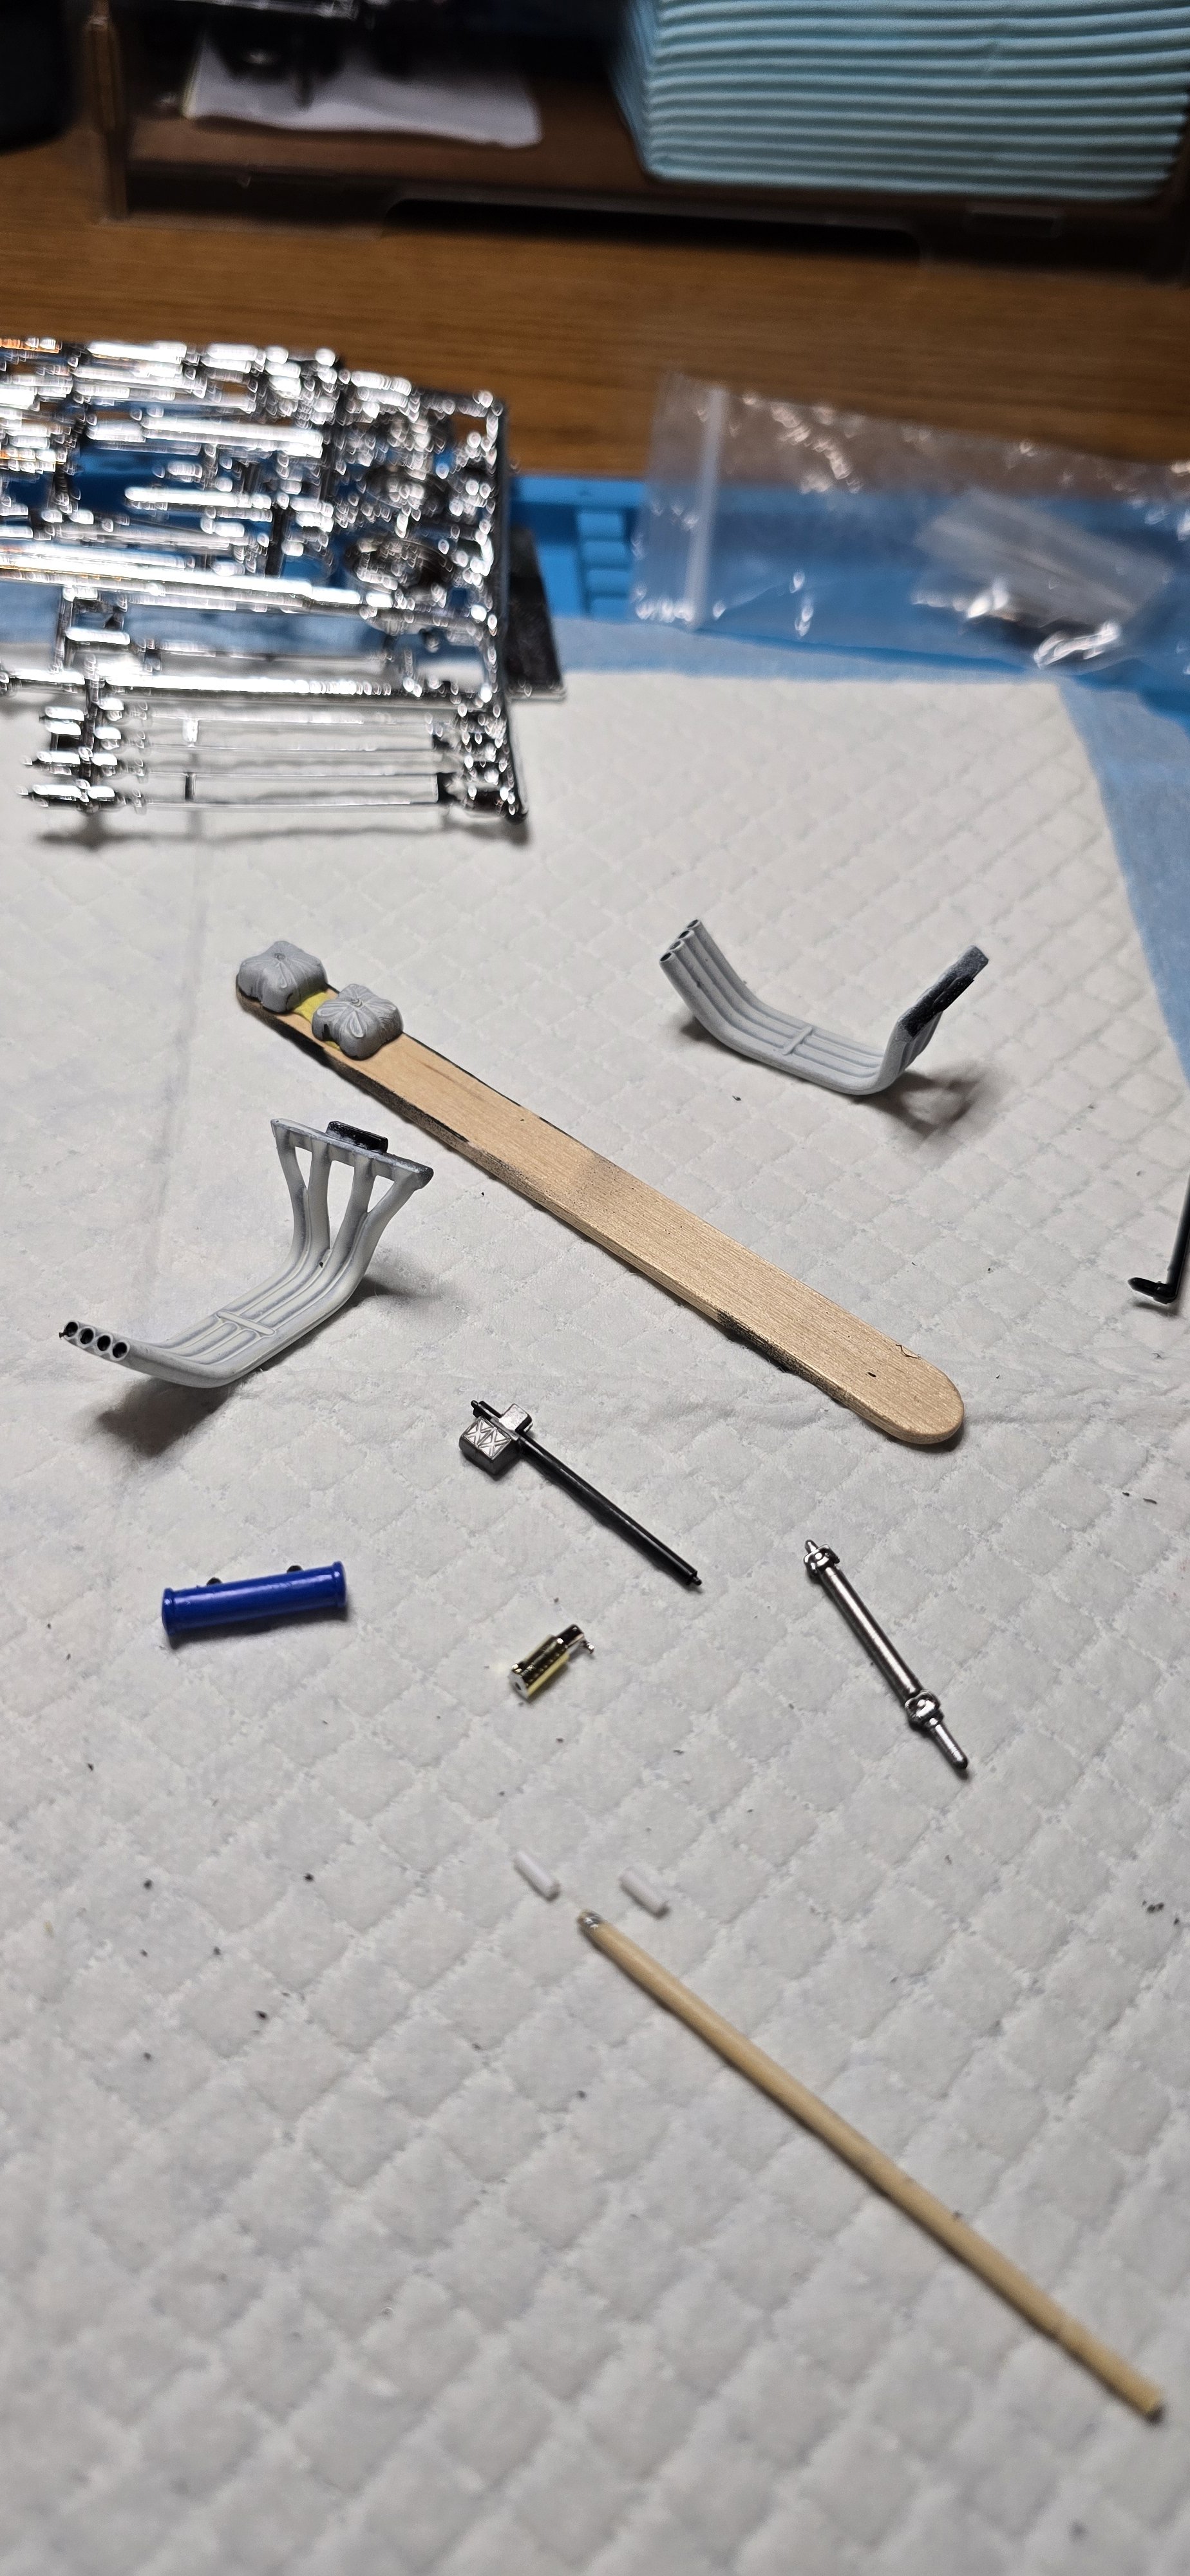
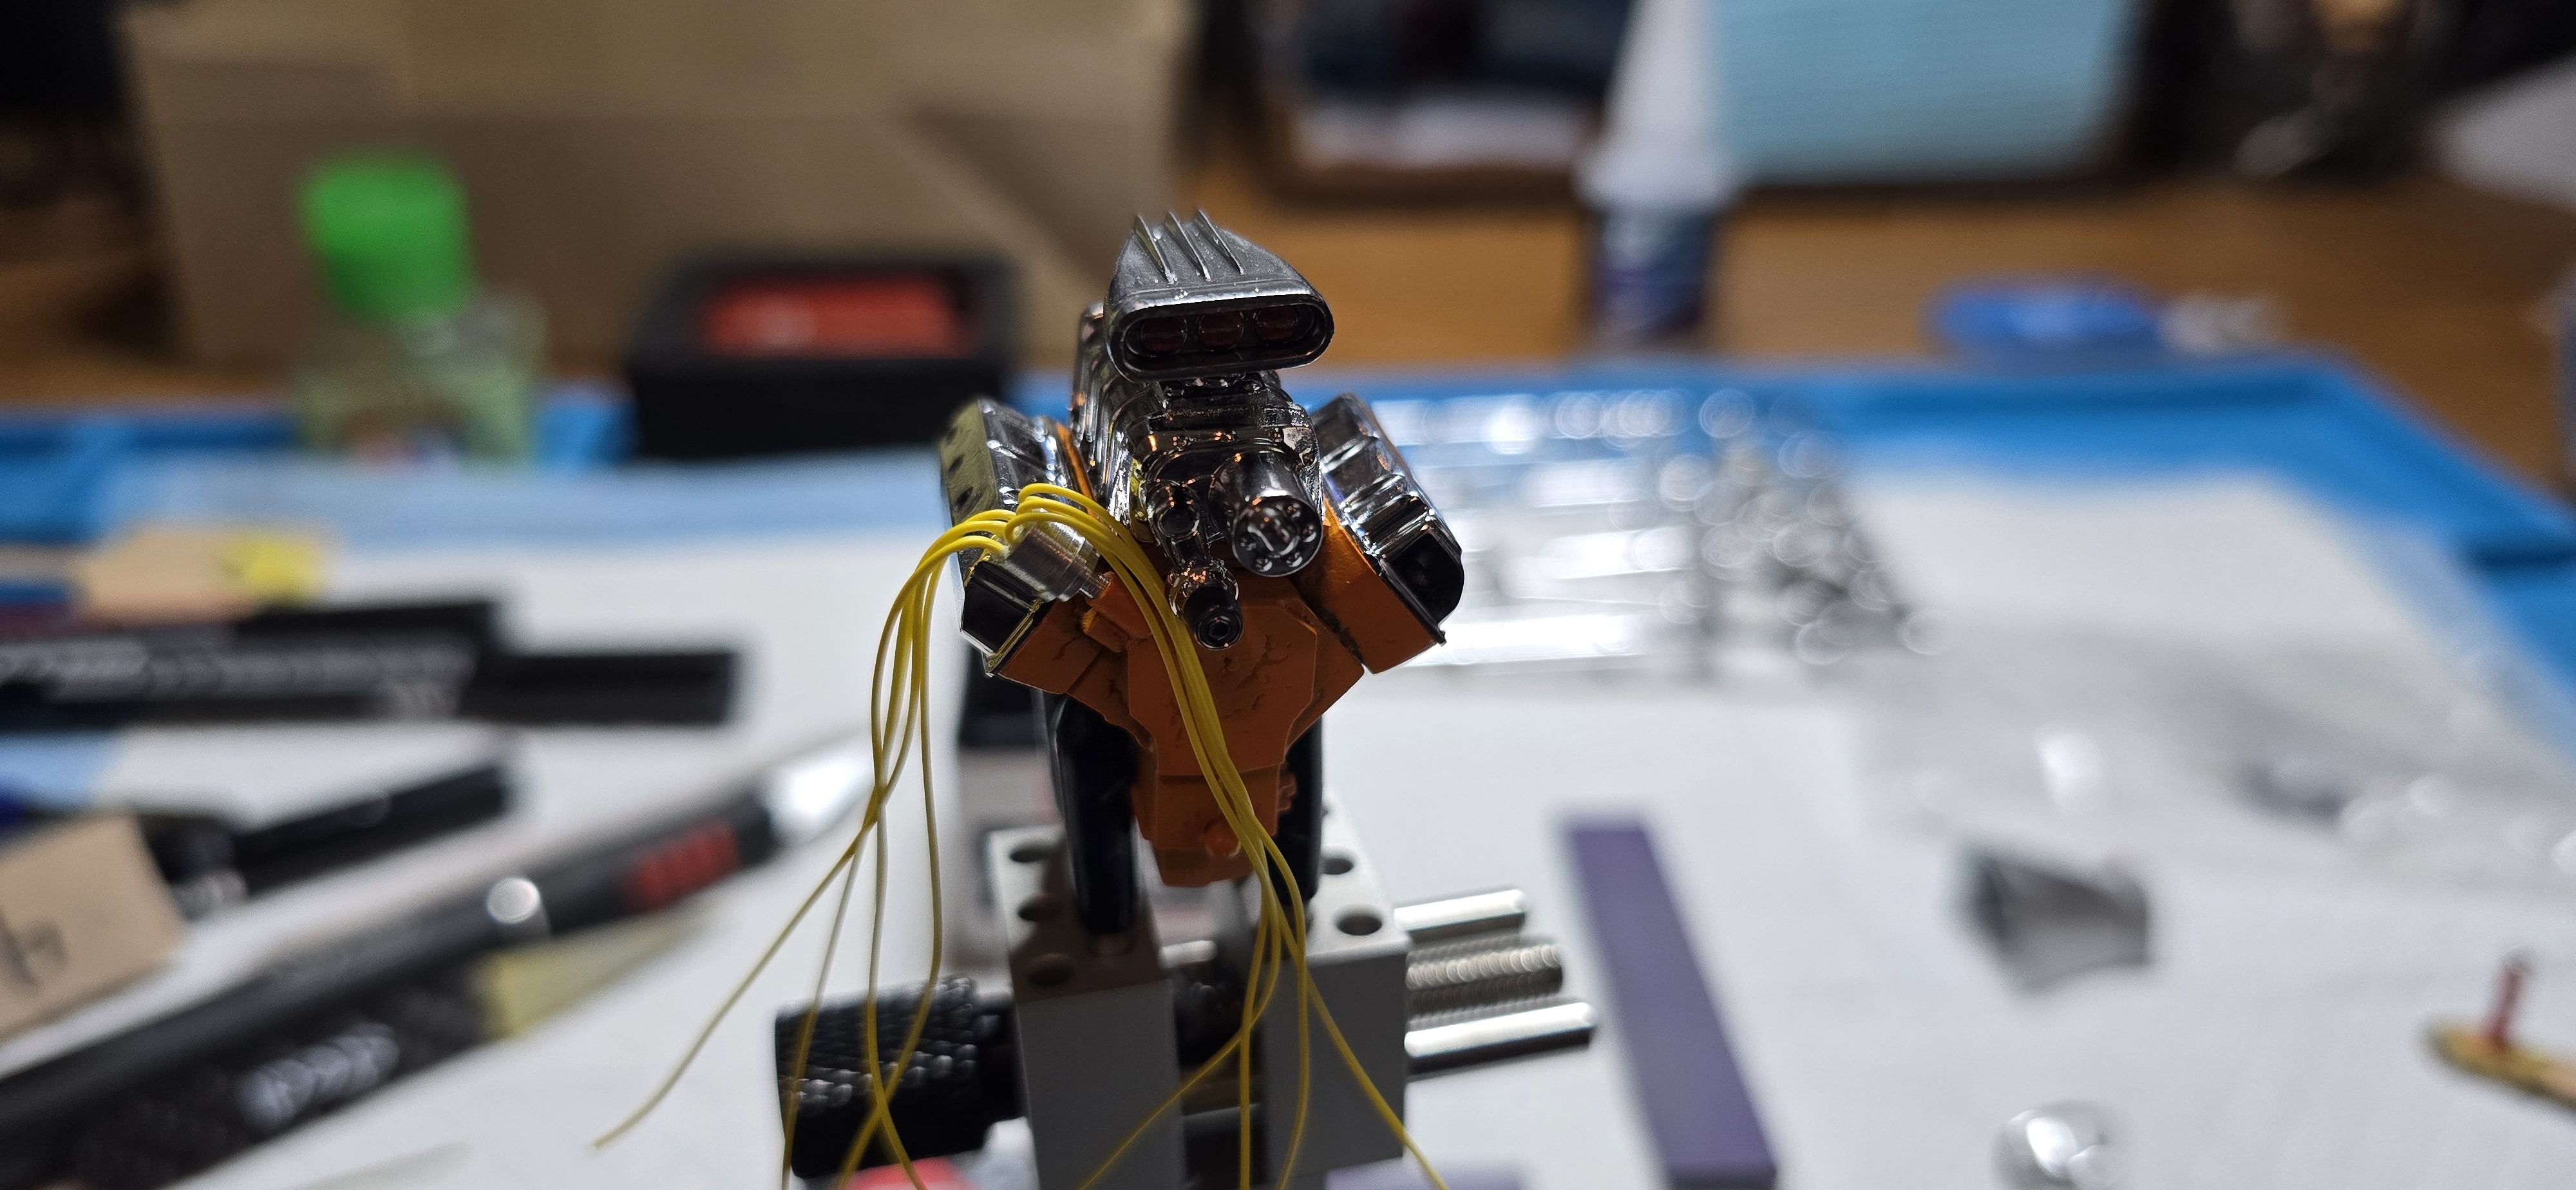
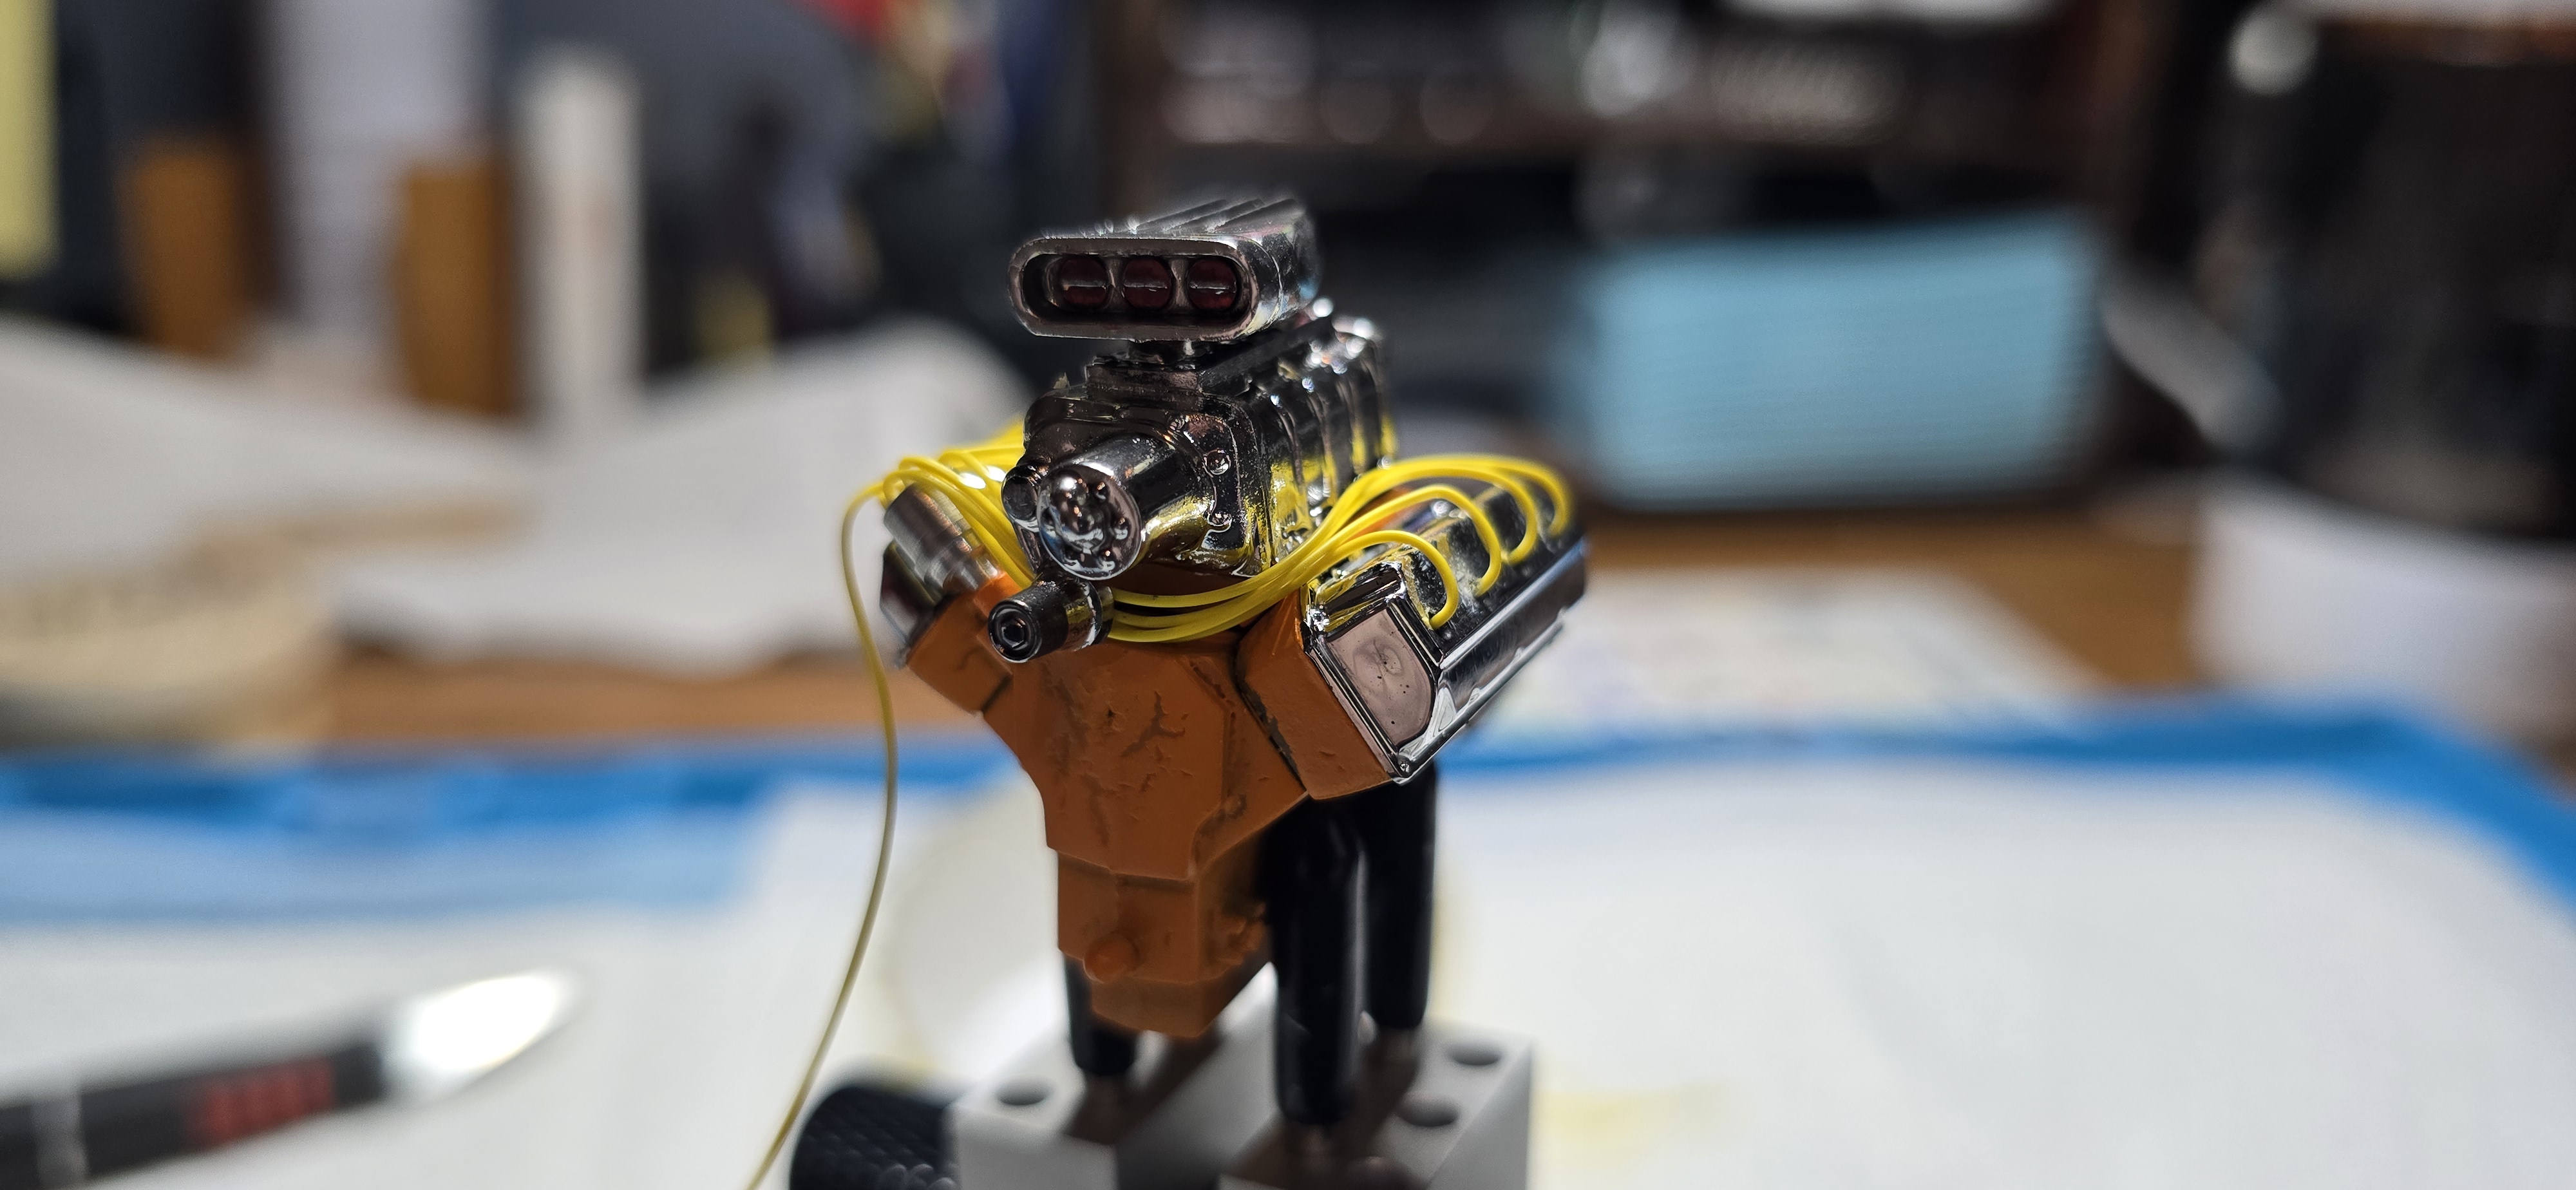
Engine is done, considered trying to make some injection lines, but couldn't get the CA glue to cooperate, so I ditched it.
Did add a couple of fuel lines, but thats about it.
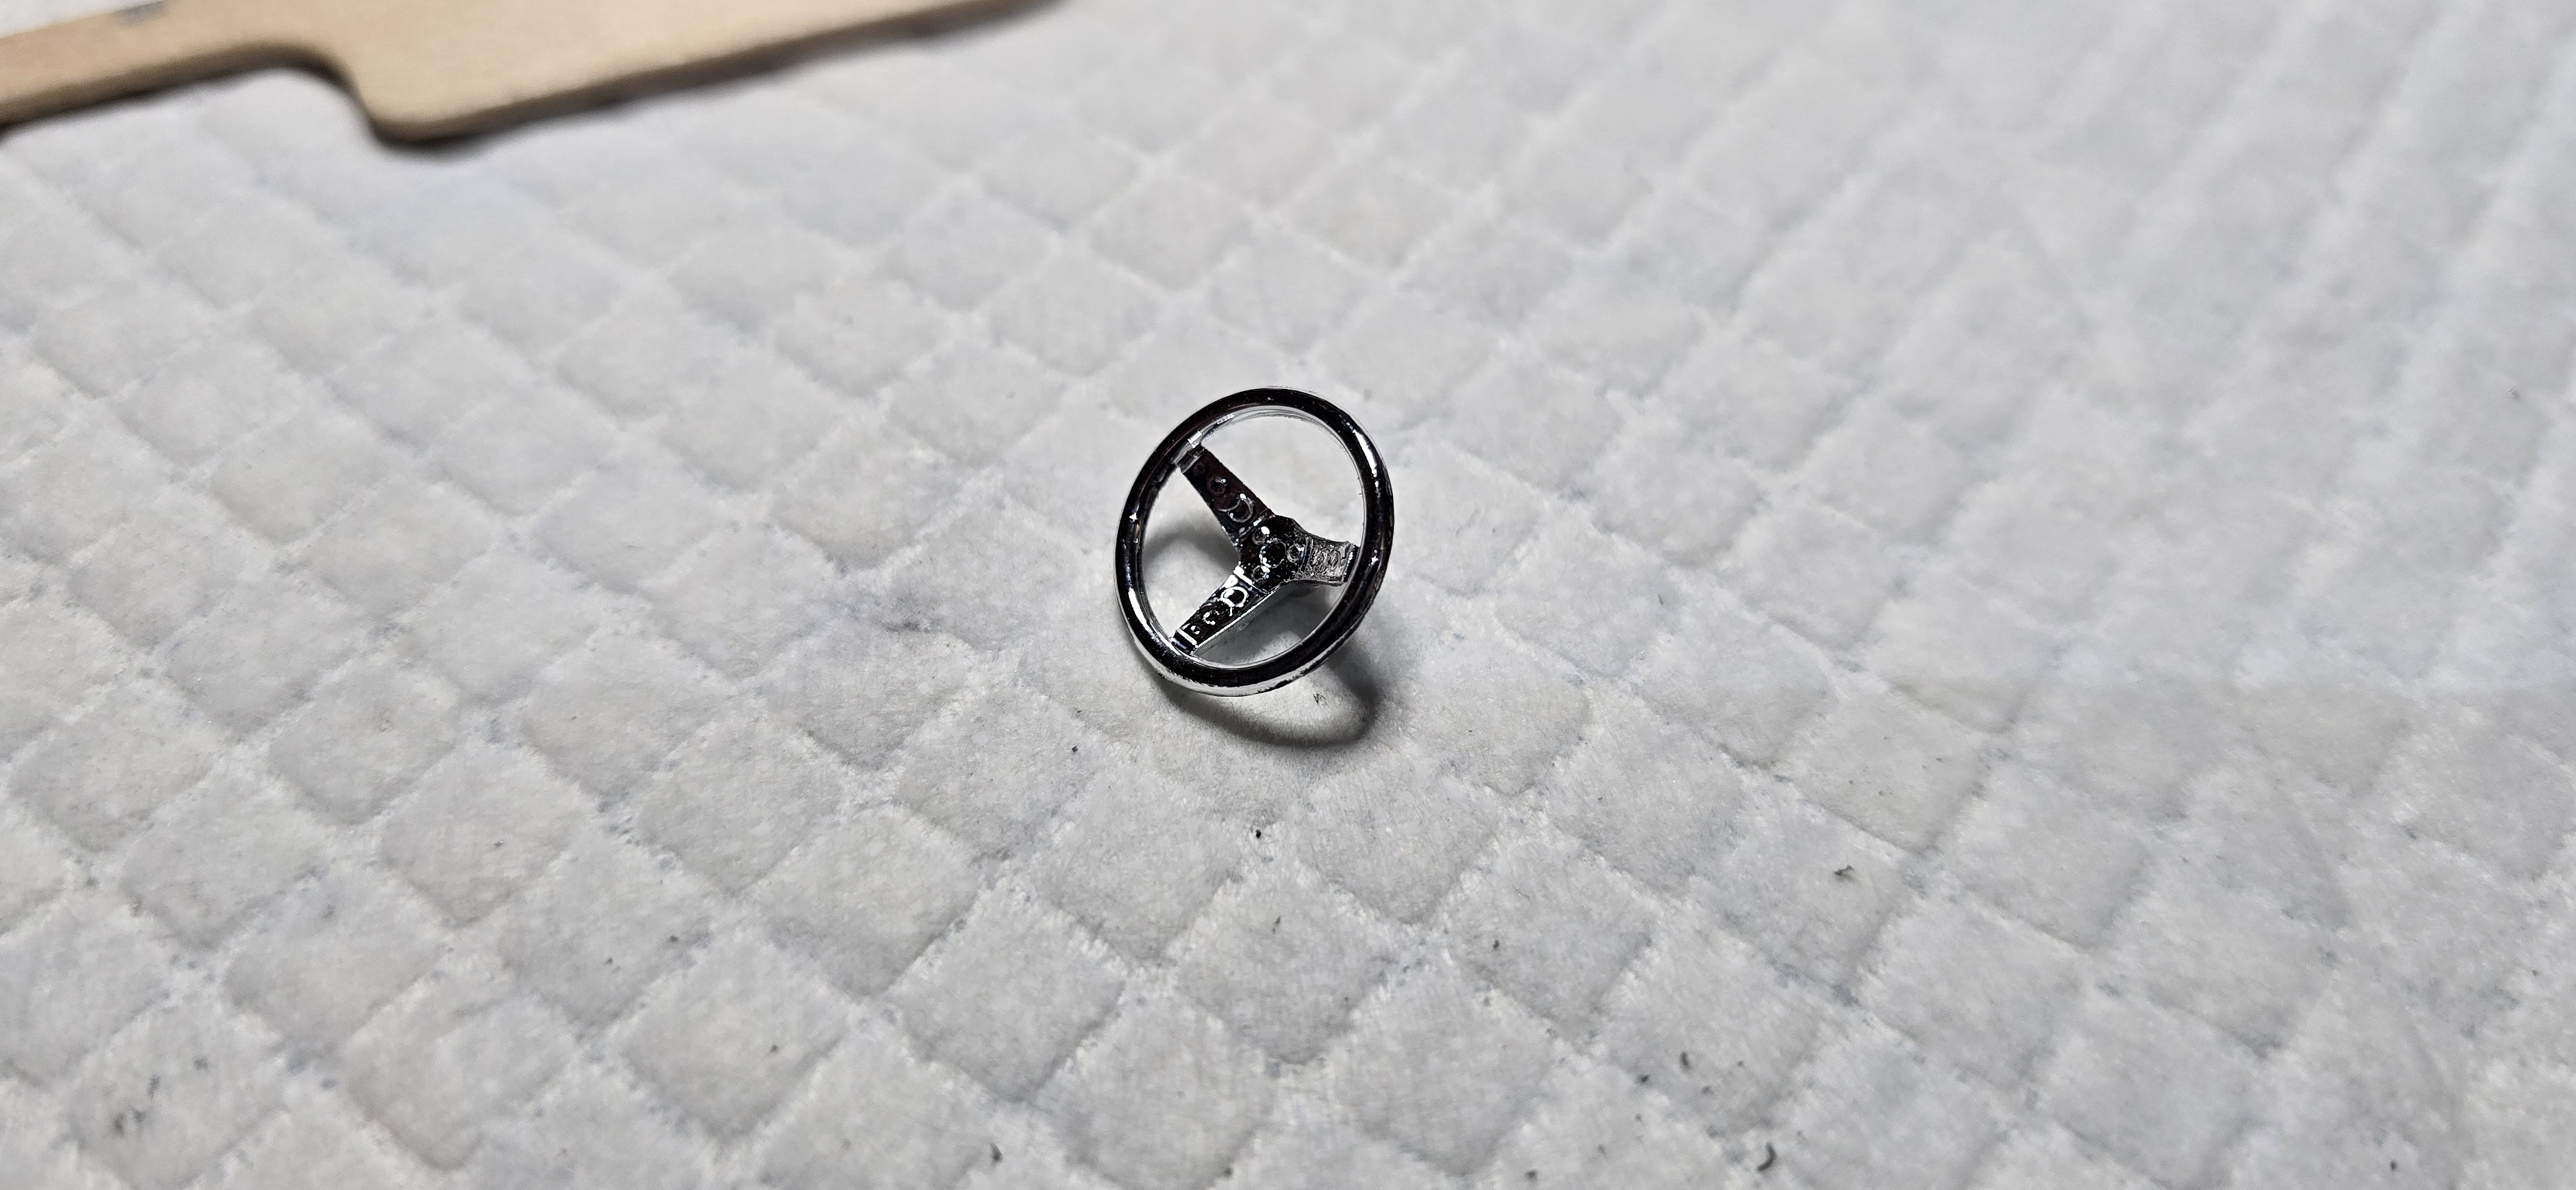
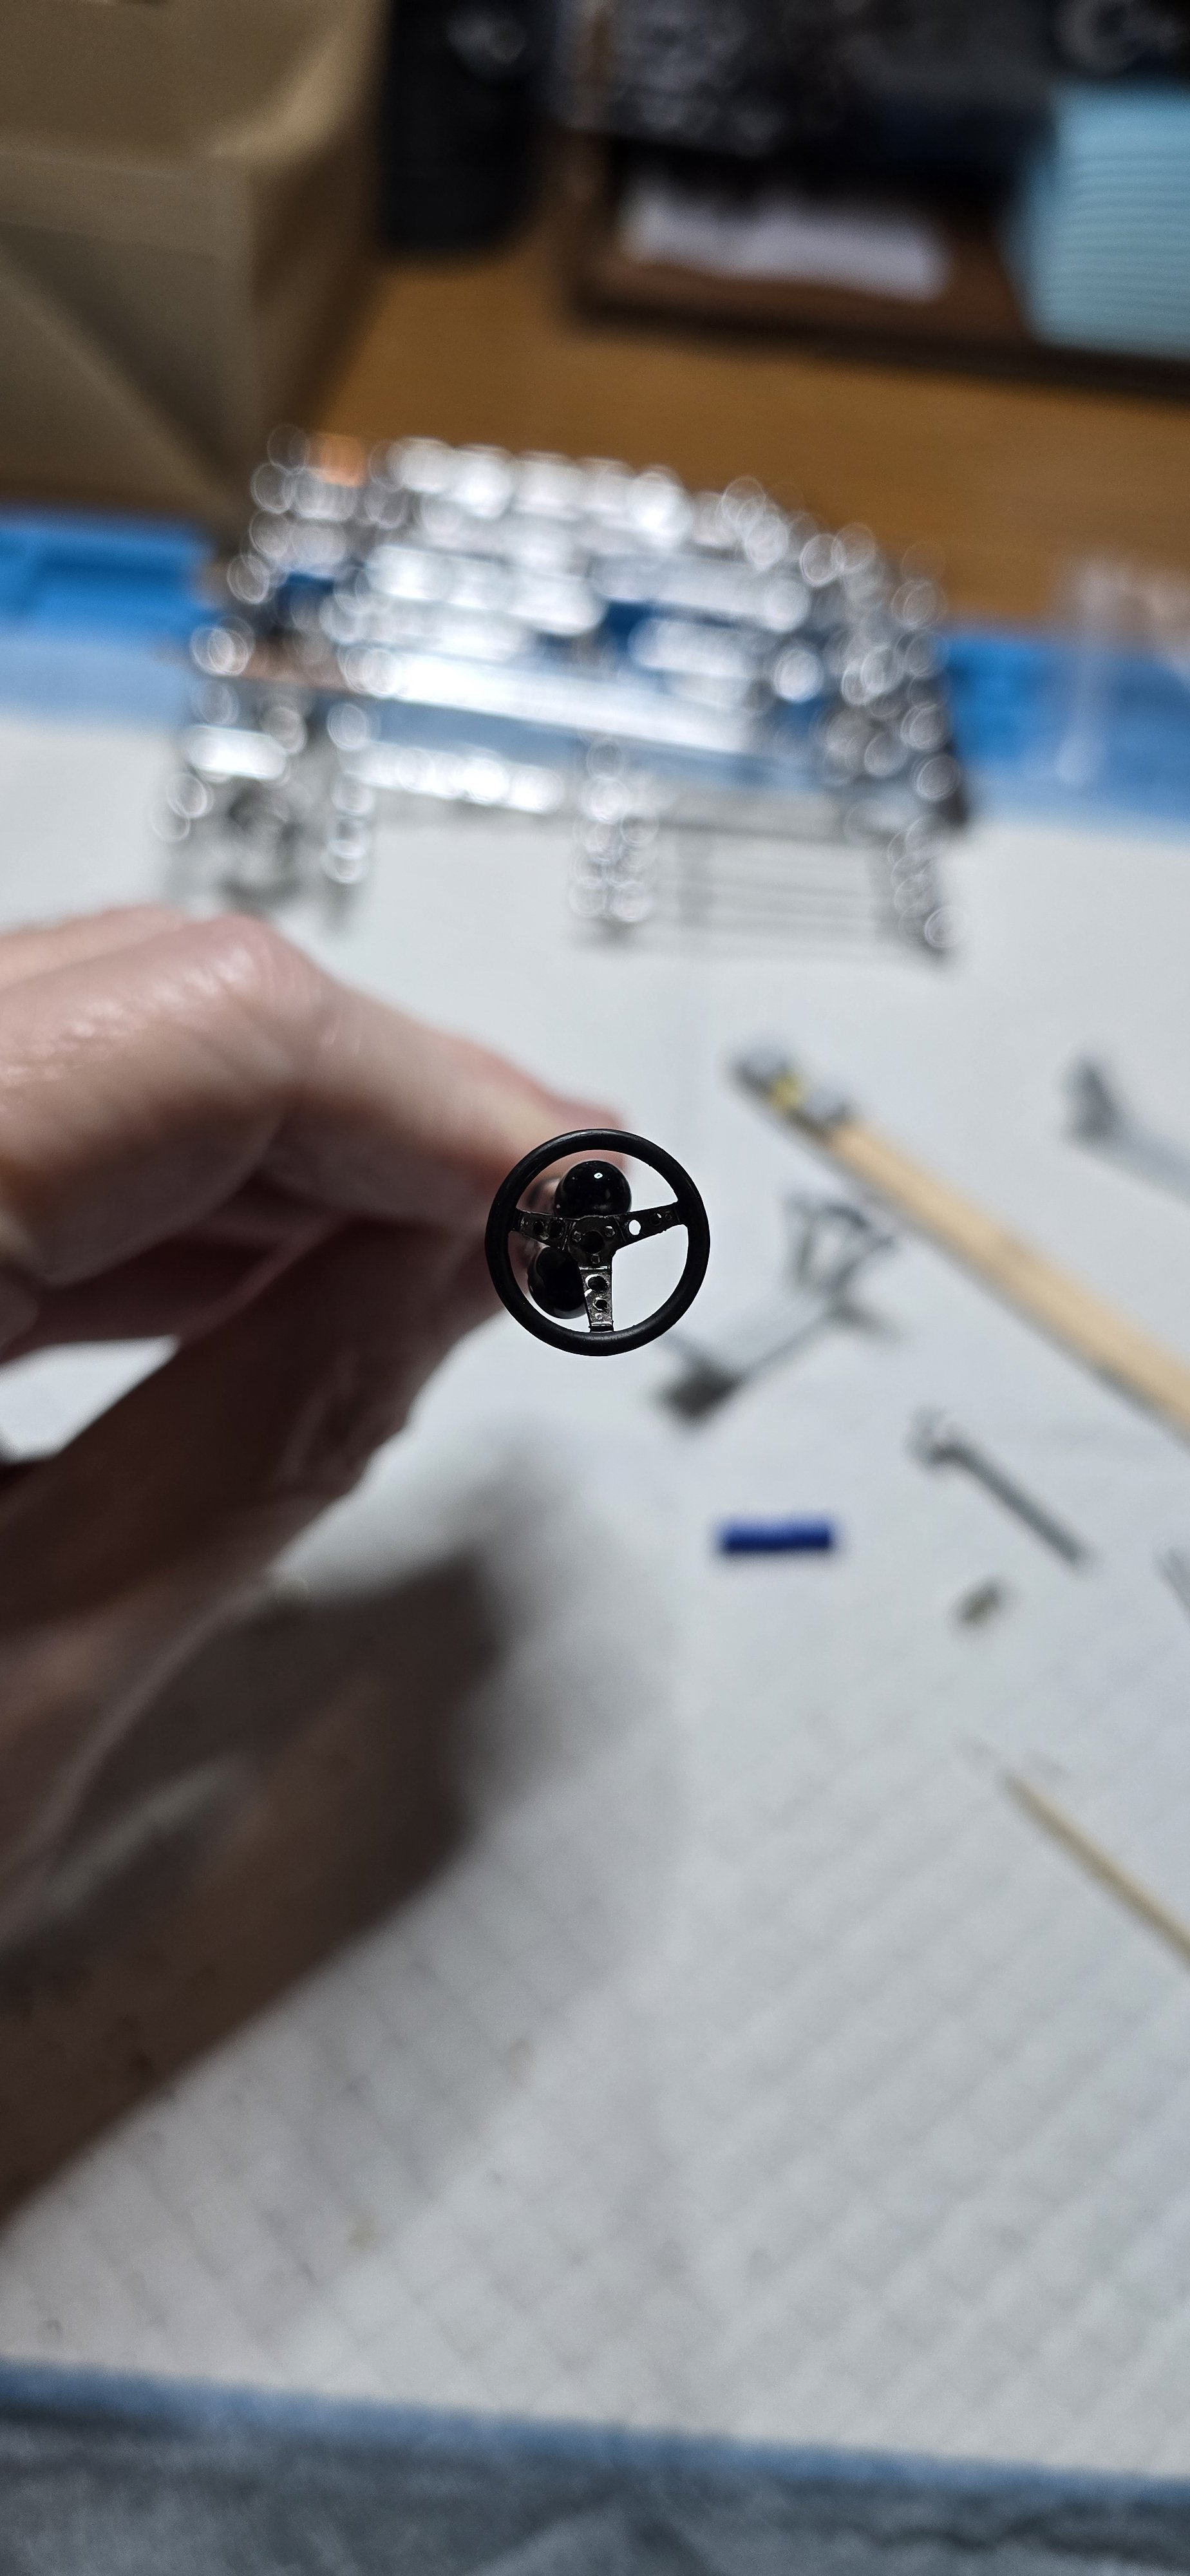
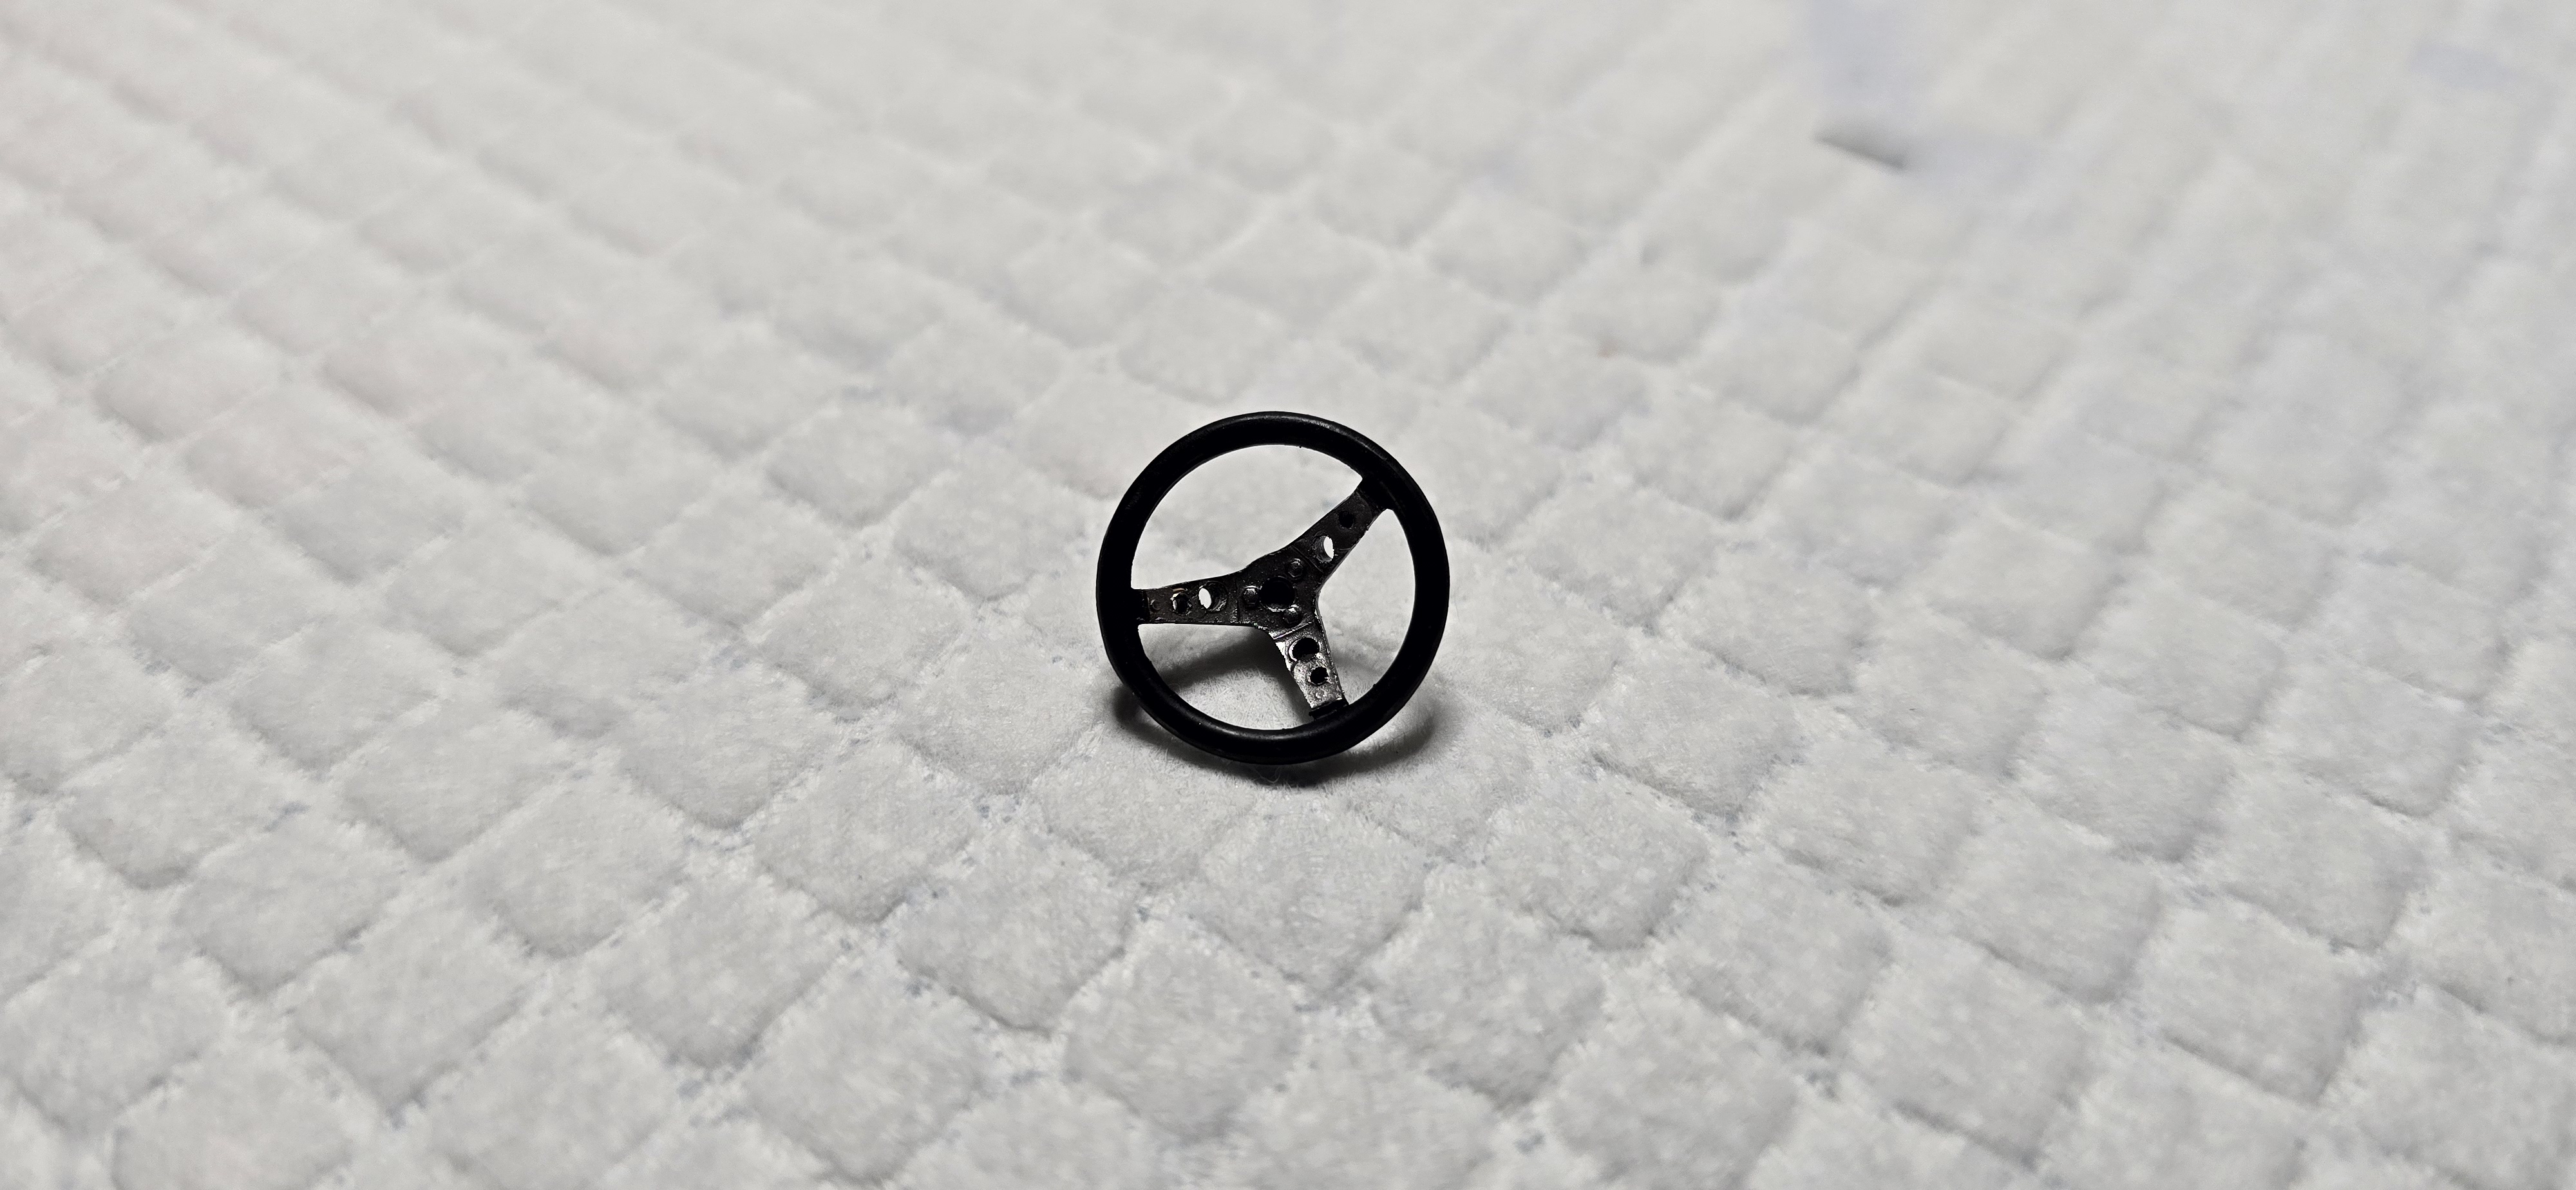
Added some paint and details to a few more items and finished the steering wheel.
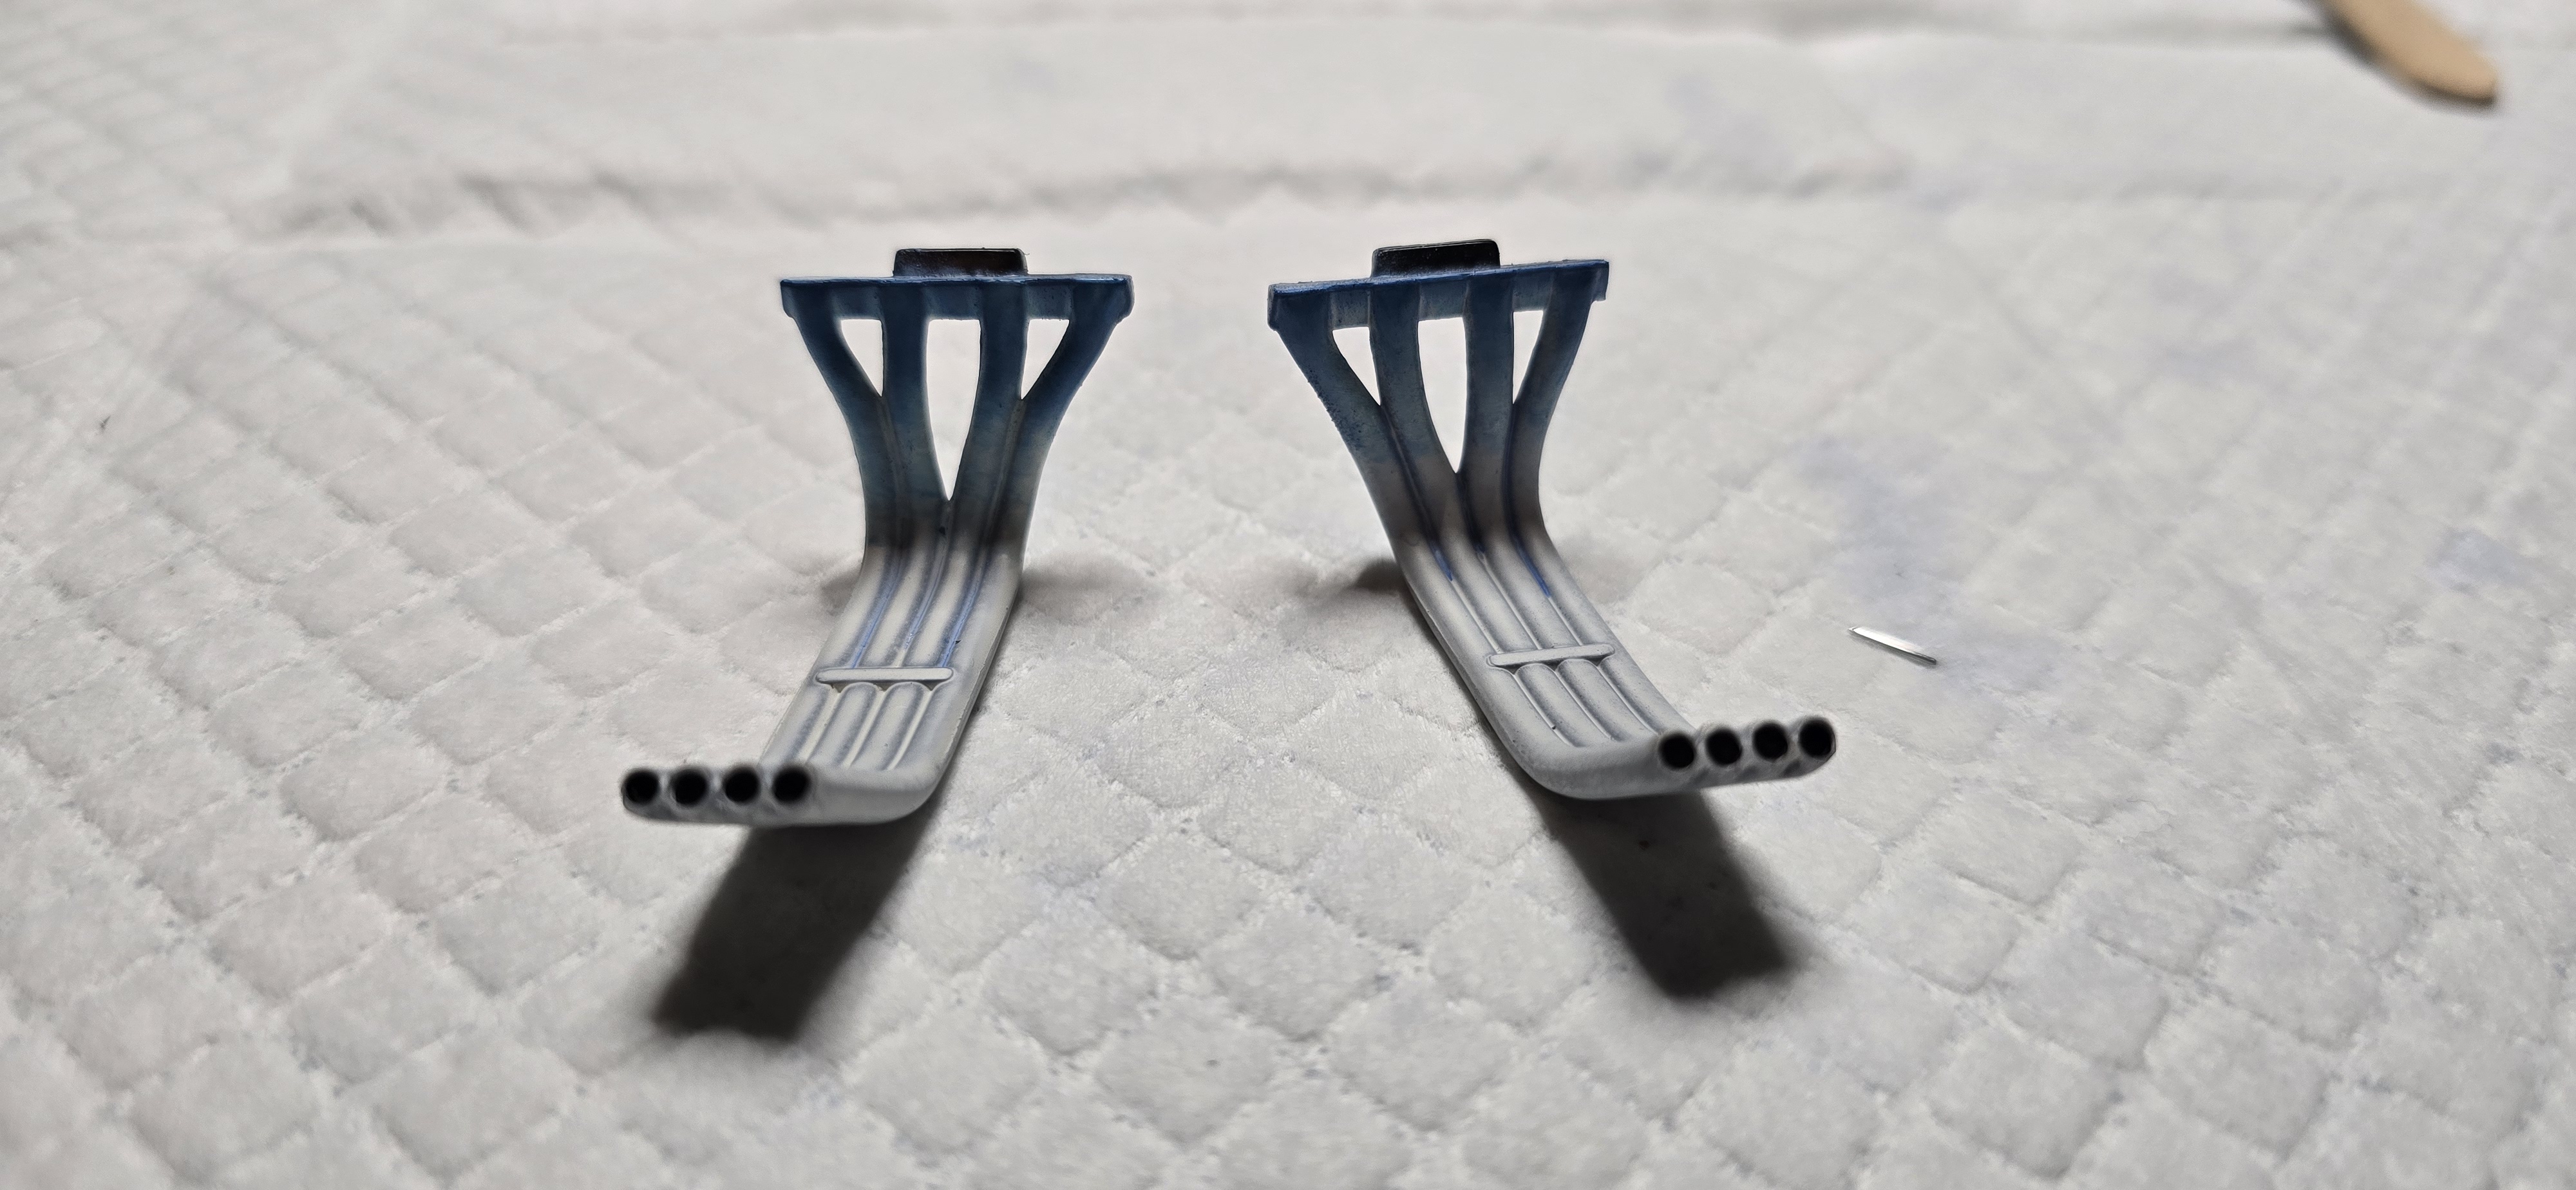
Put some heat plume on the exhaust.
1000010841.jpg

1000010844.jpg
1000010845.jpg
1000010846.jpg

1000010842.jpg
 
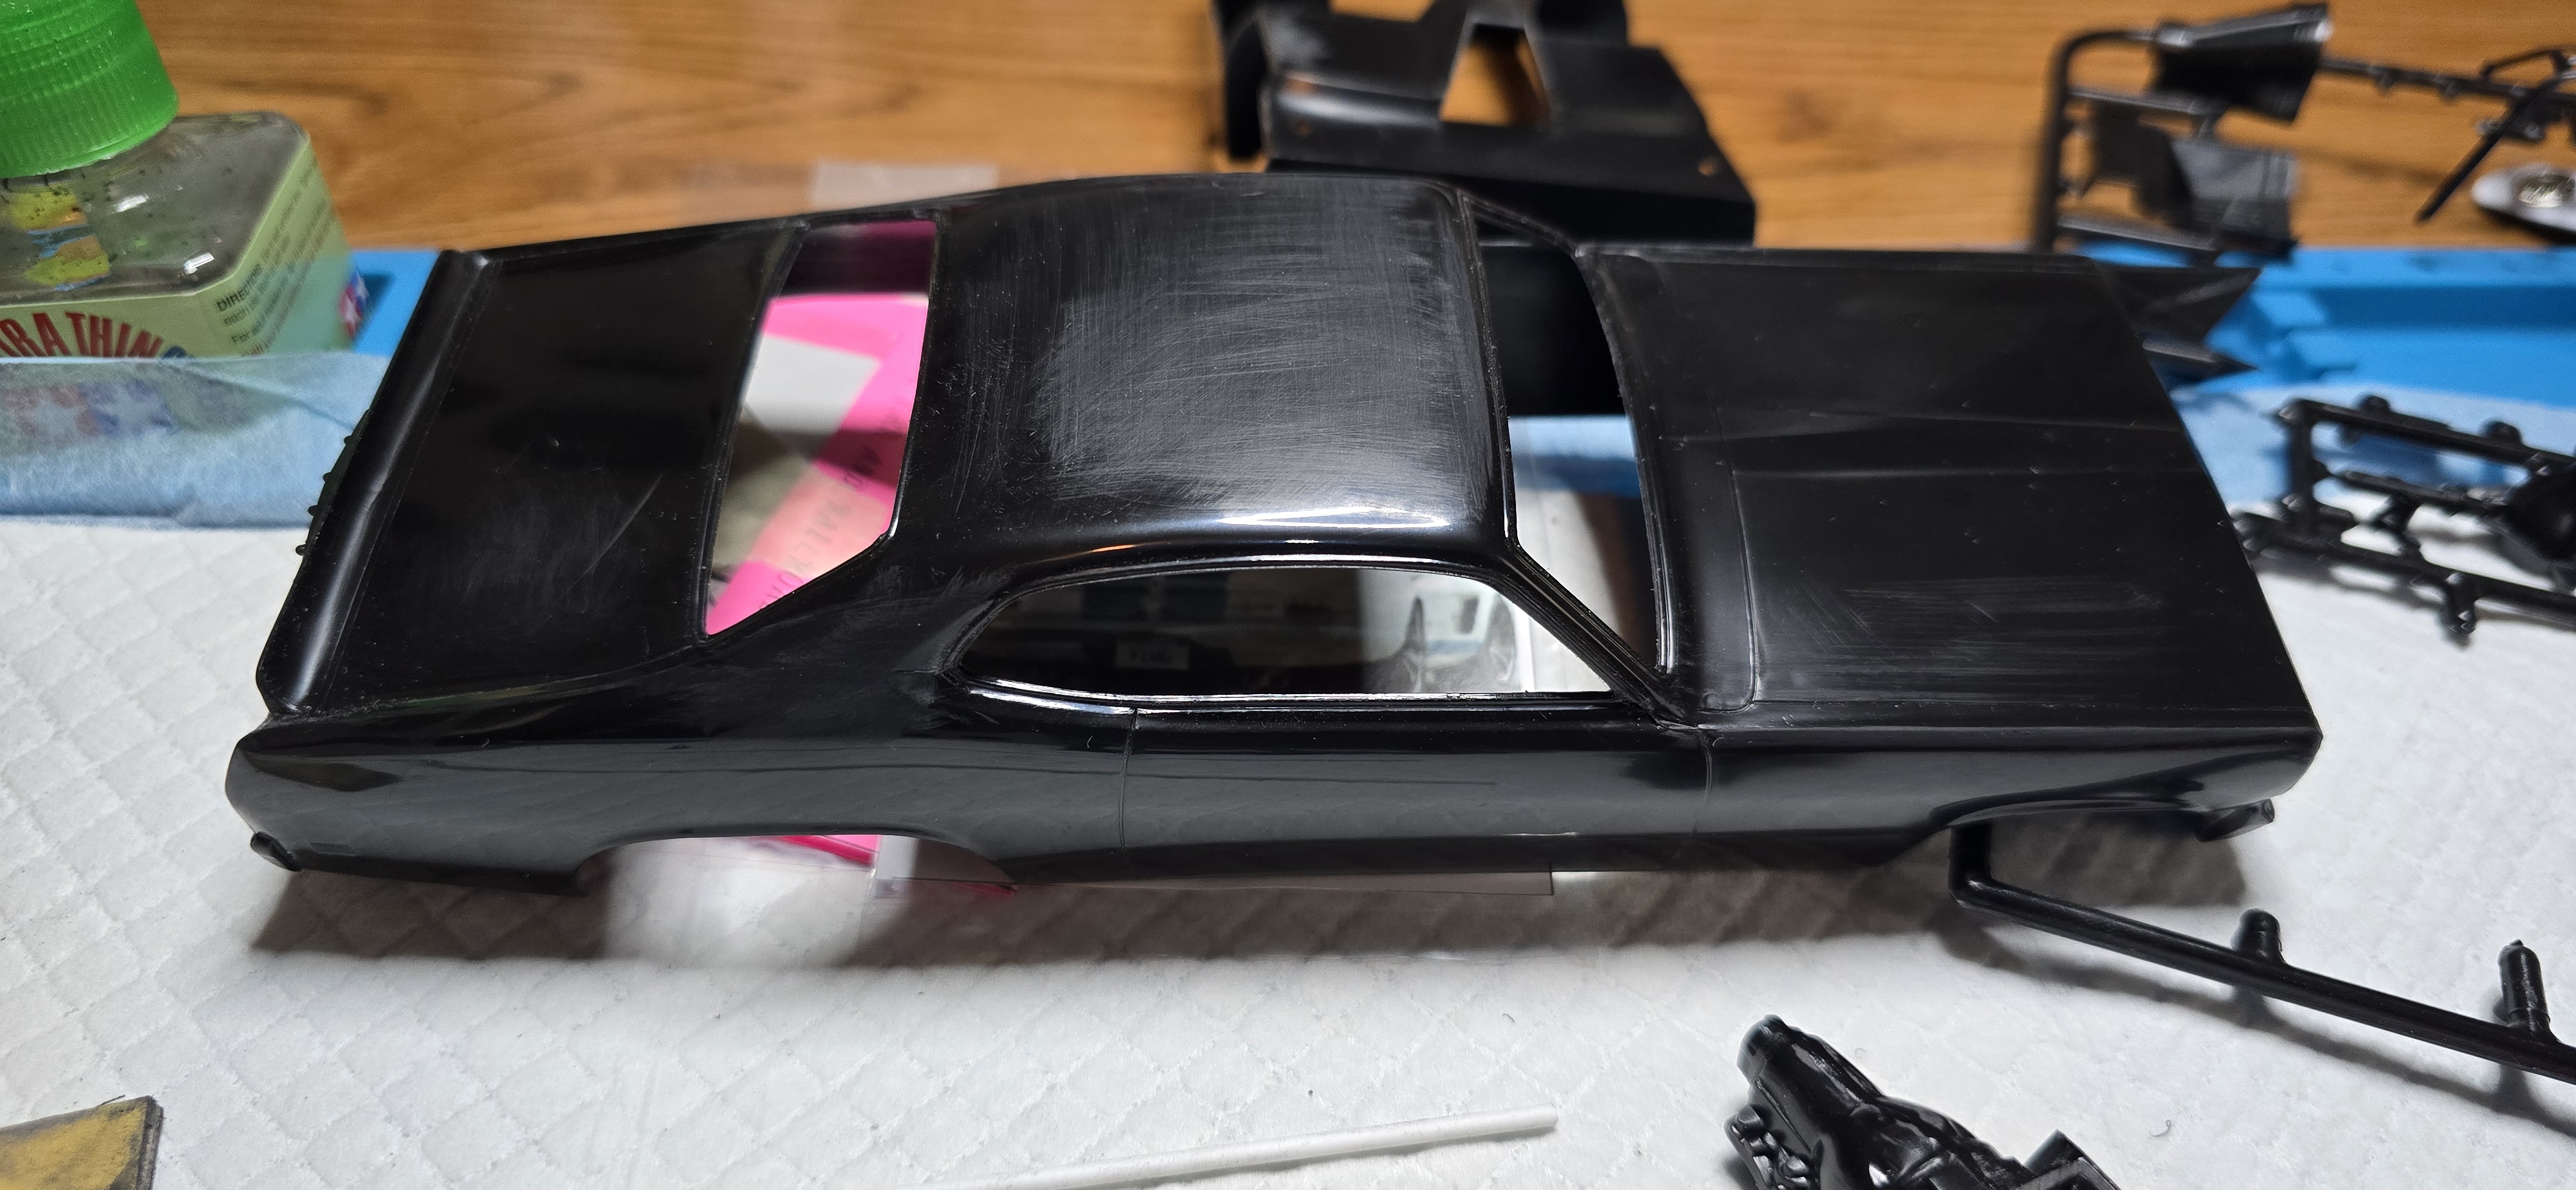
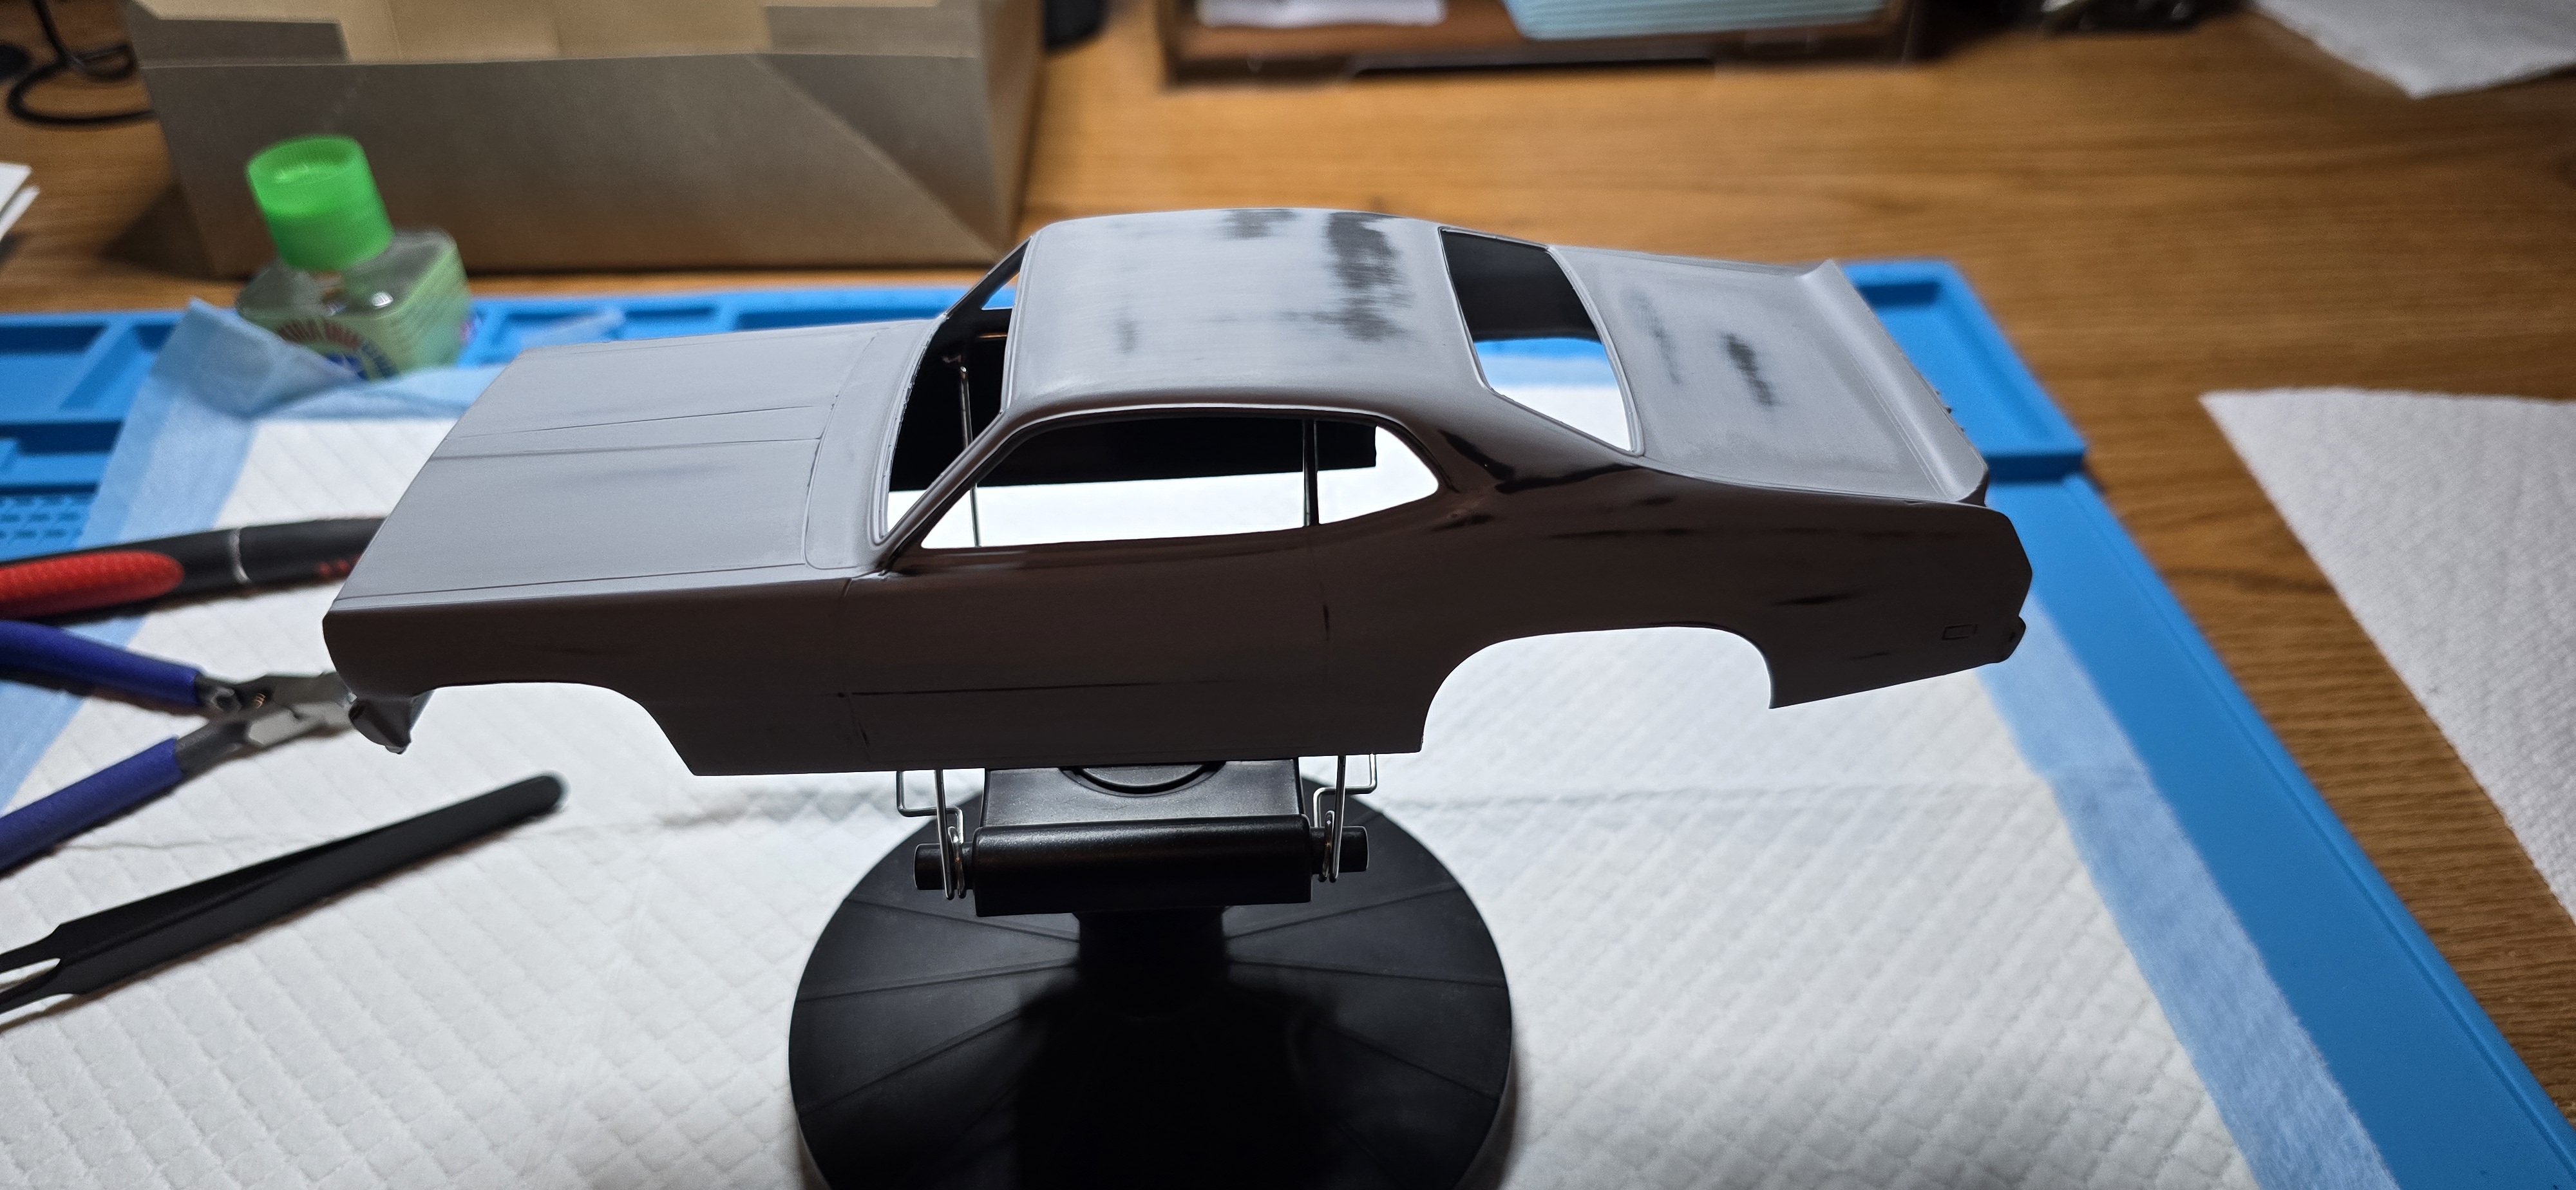
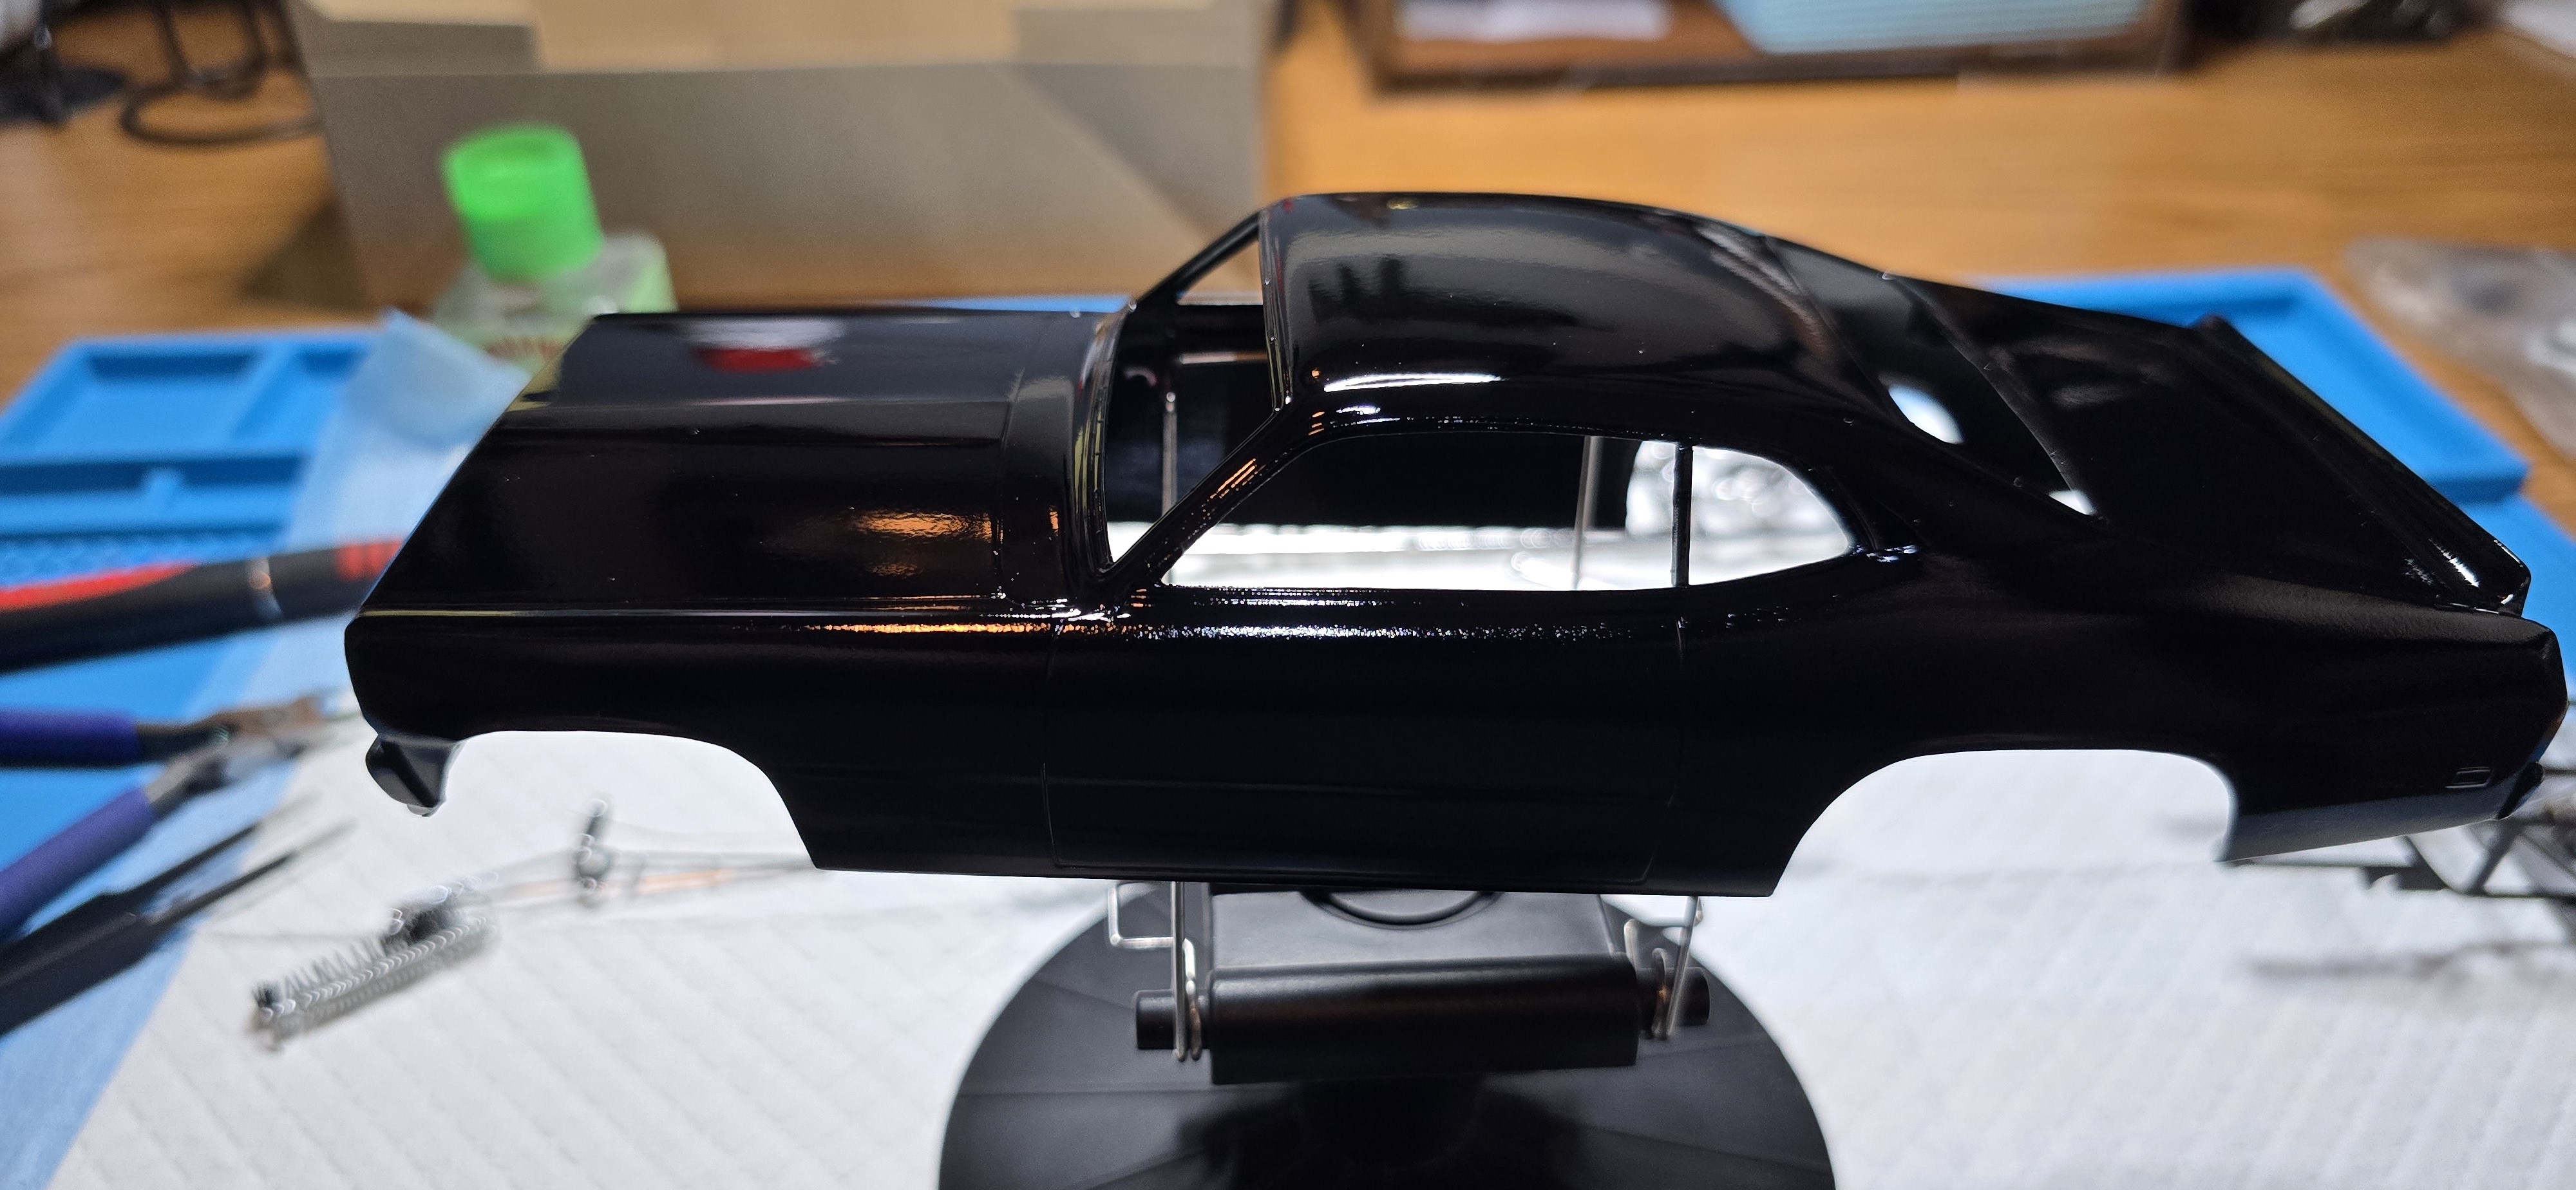
Engine is in the chassis, and we're moving along. Body was prepped and ready for paint.

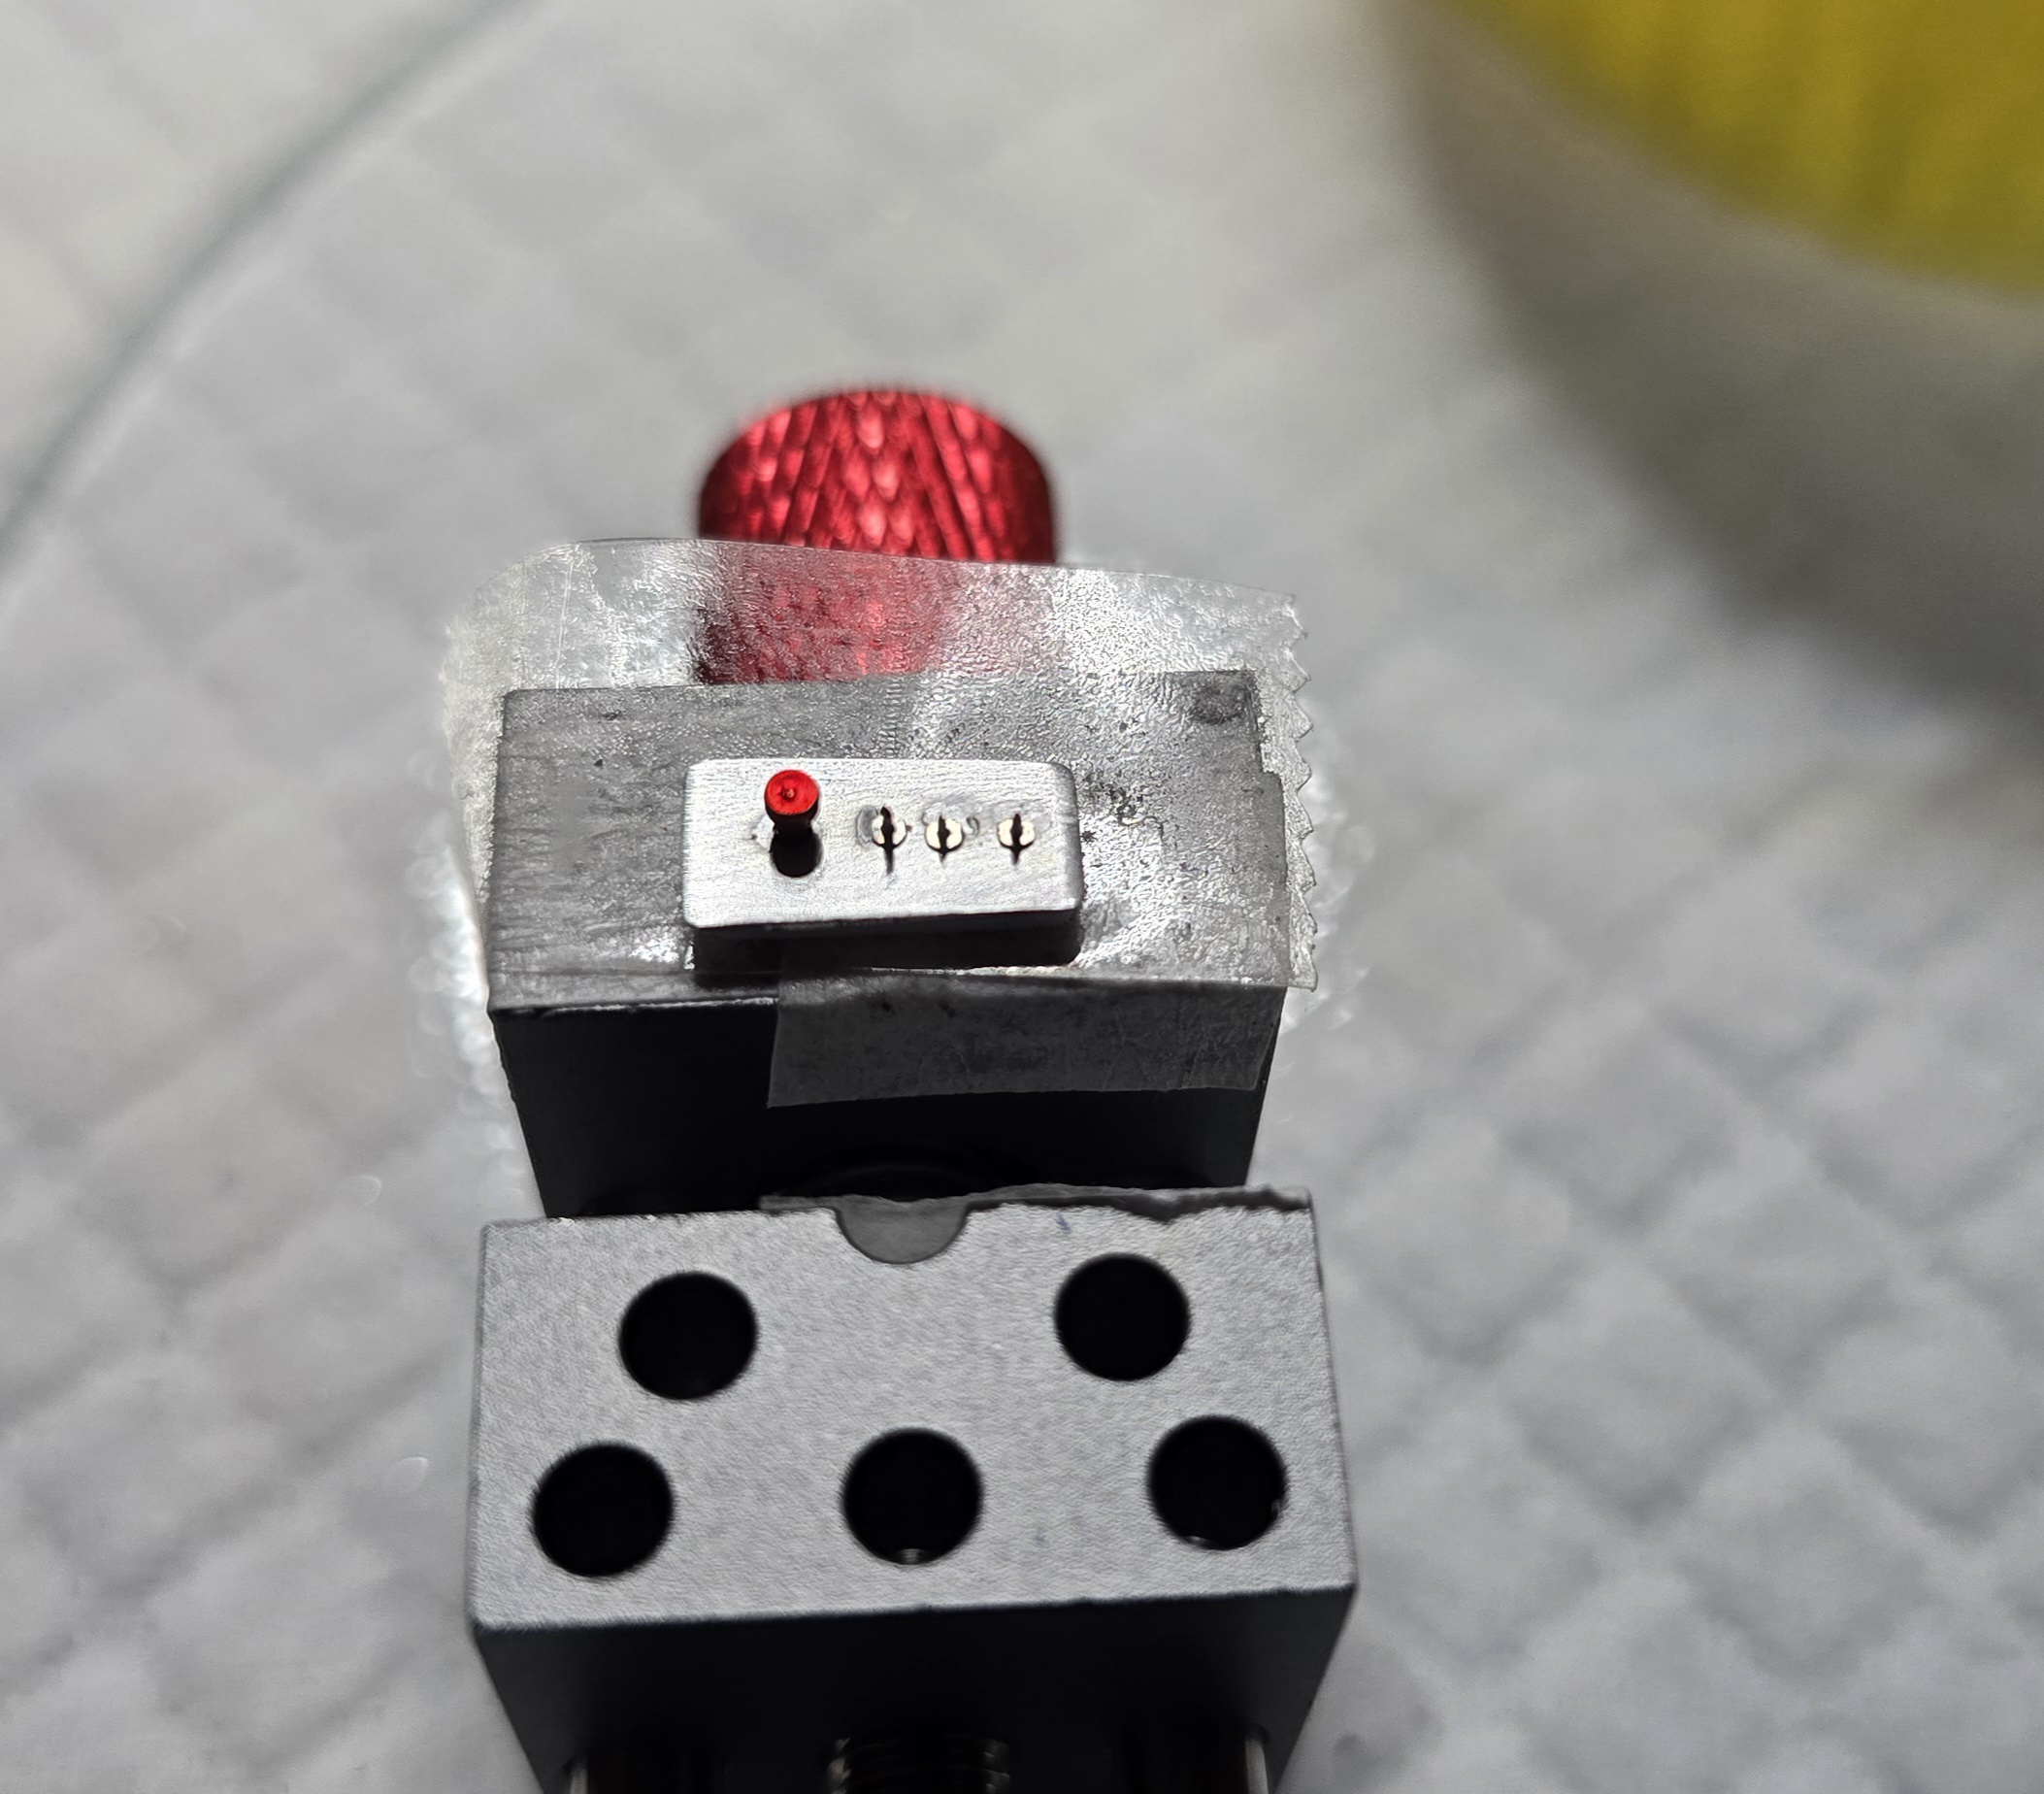
I've watched a few videos by a modeler named Kevin Hayes, he builds and fabricates some of the most incredible handmade details for his 1/24 scale vehicles. I watched him build an 8-switch plate for a recent truck/dragster he built, and I wanted to give it shot.
I'll need some practice, possibly a small drill press for more precise drilling. It's a bit wonky- but I can live with it, and it'll certainly bring some detail to the interior.

I got very lucky with the body color, that Tamiya lacquer has done very well for both this spray and the previous Christine build.

20260601_071934.jpg
20260601_074148.jpg
20260601_082238.jpg
20260601_101214.jpg
 
Last edited:
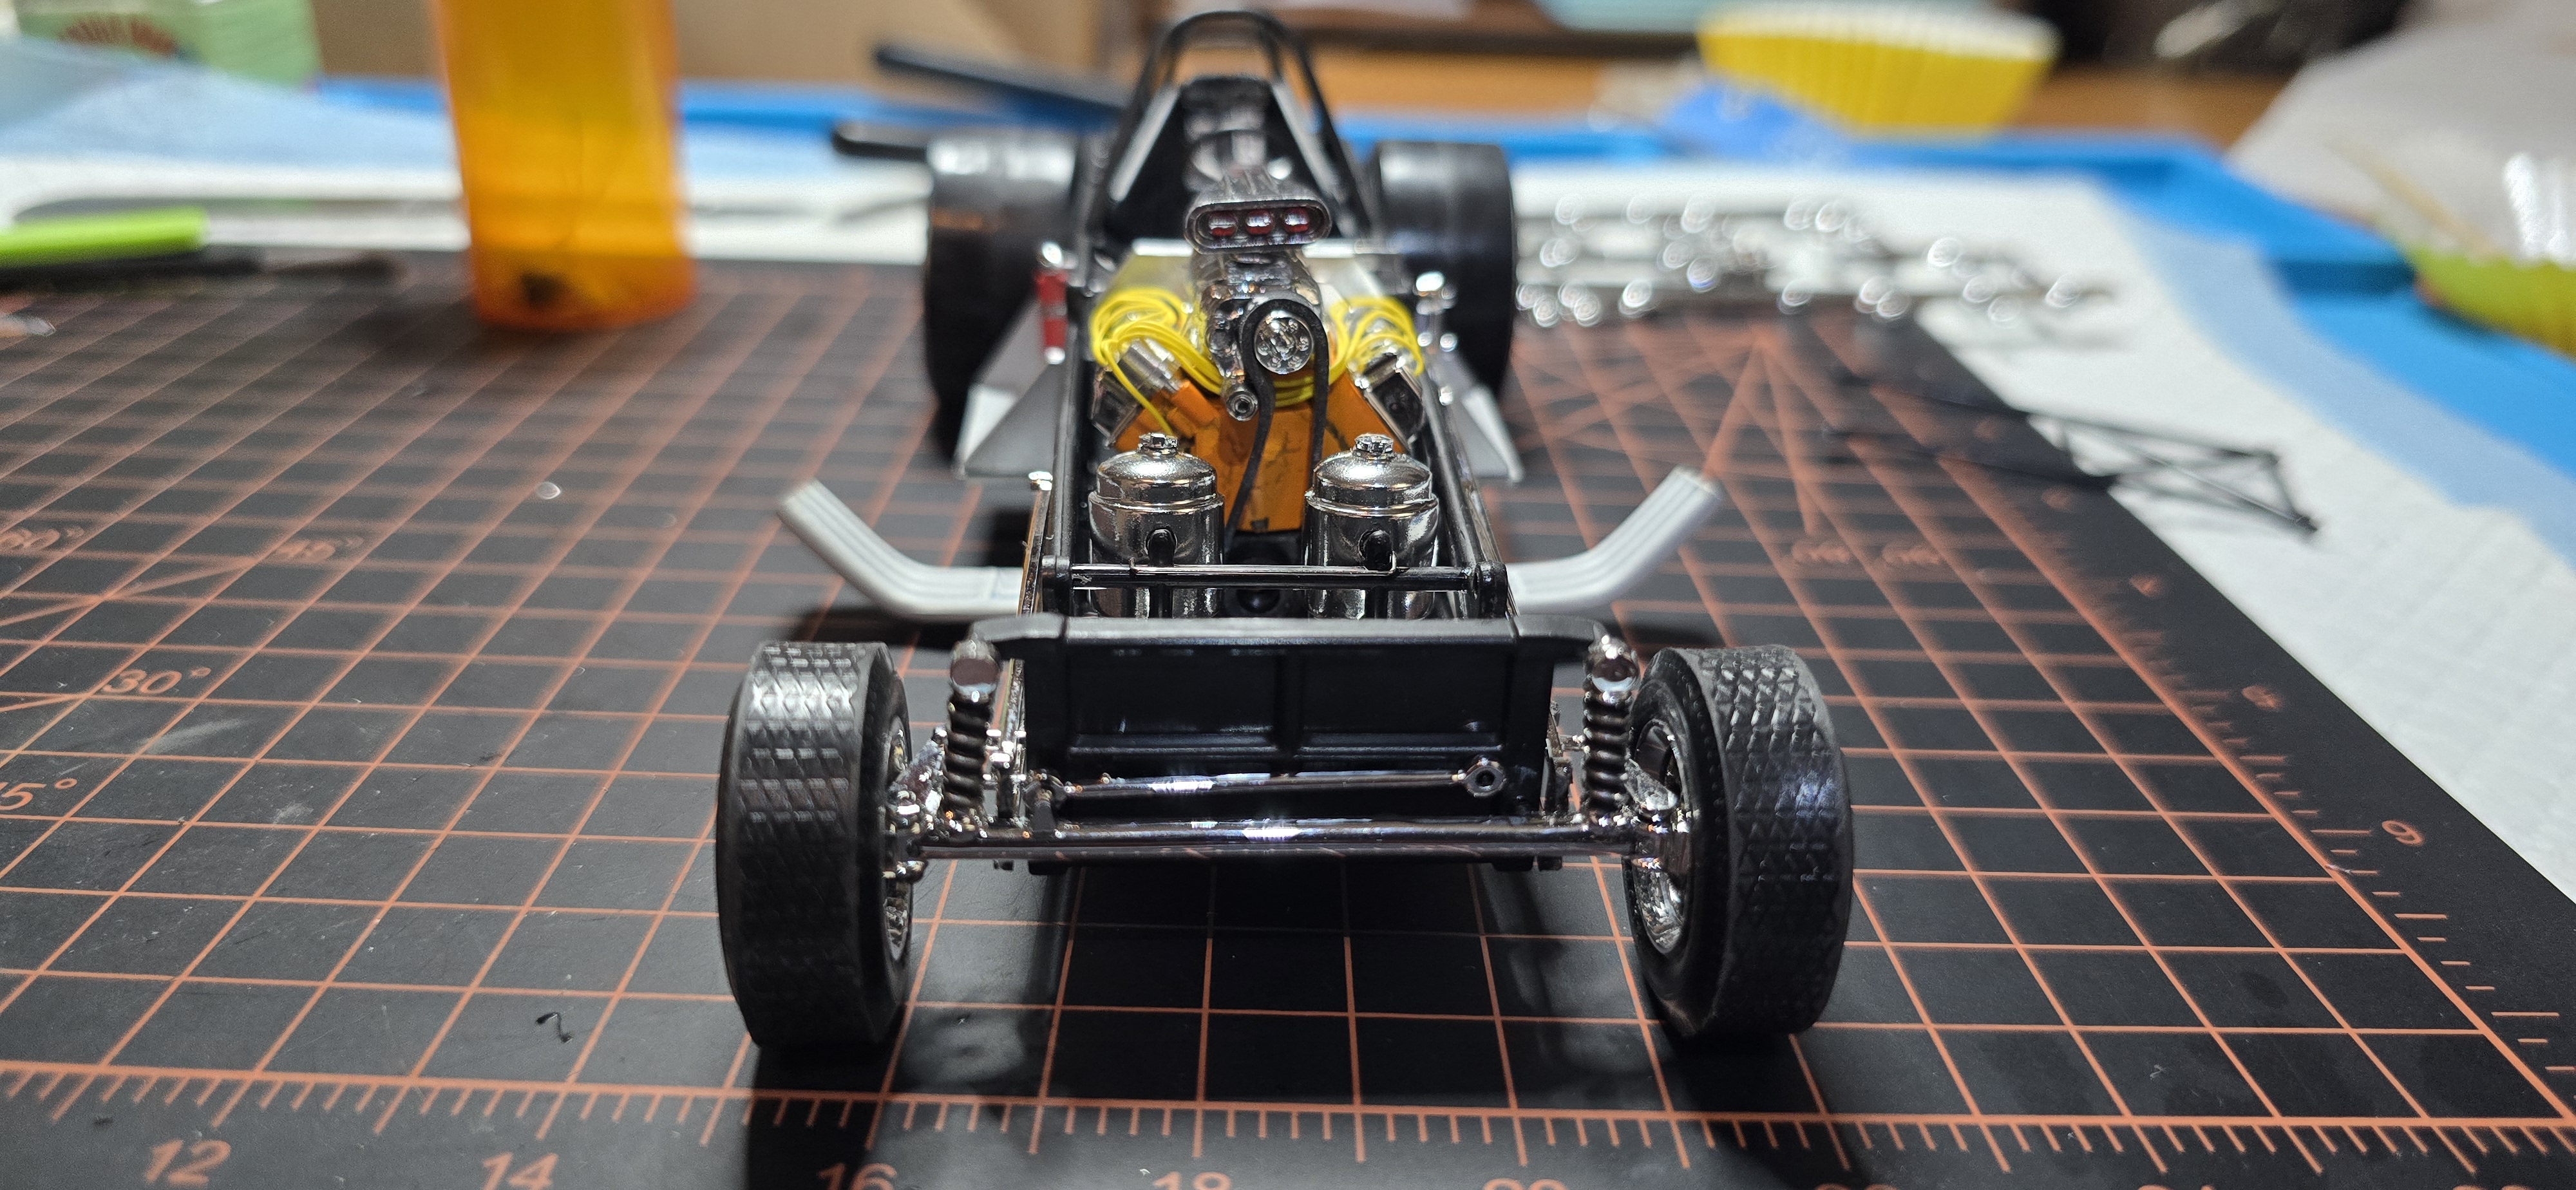
The front end of this kit is more complicated and has more parts than the frame, engine and rear end combined.
Considering a vehicle like this only turns the wheels when being towed back to the pit or parking lot, there's a lot of linkage.
The initial squaring of the frame made assembly easy, everything lined up very well.

Rear drive train in and interior is coming together.
My switch plate found the perfect home on the brake mount linkage.
1000010862.jpg
1000010863.jpg
1000010864.jpg
1000010865.jpg
1000010866.jpg
1000010867.jpg
1000010868.jpg
1000010869.jpg
1000010870.jpg
 
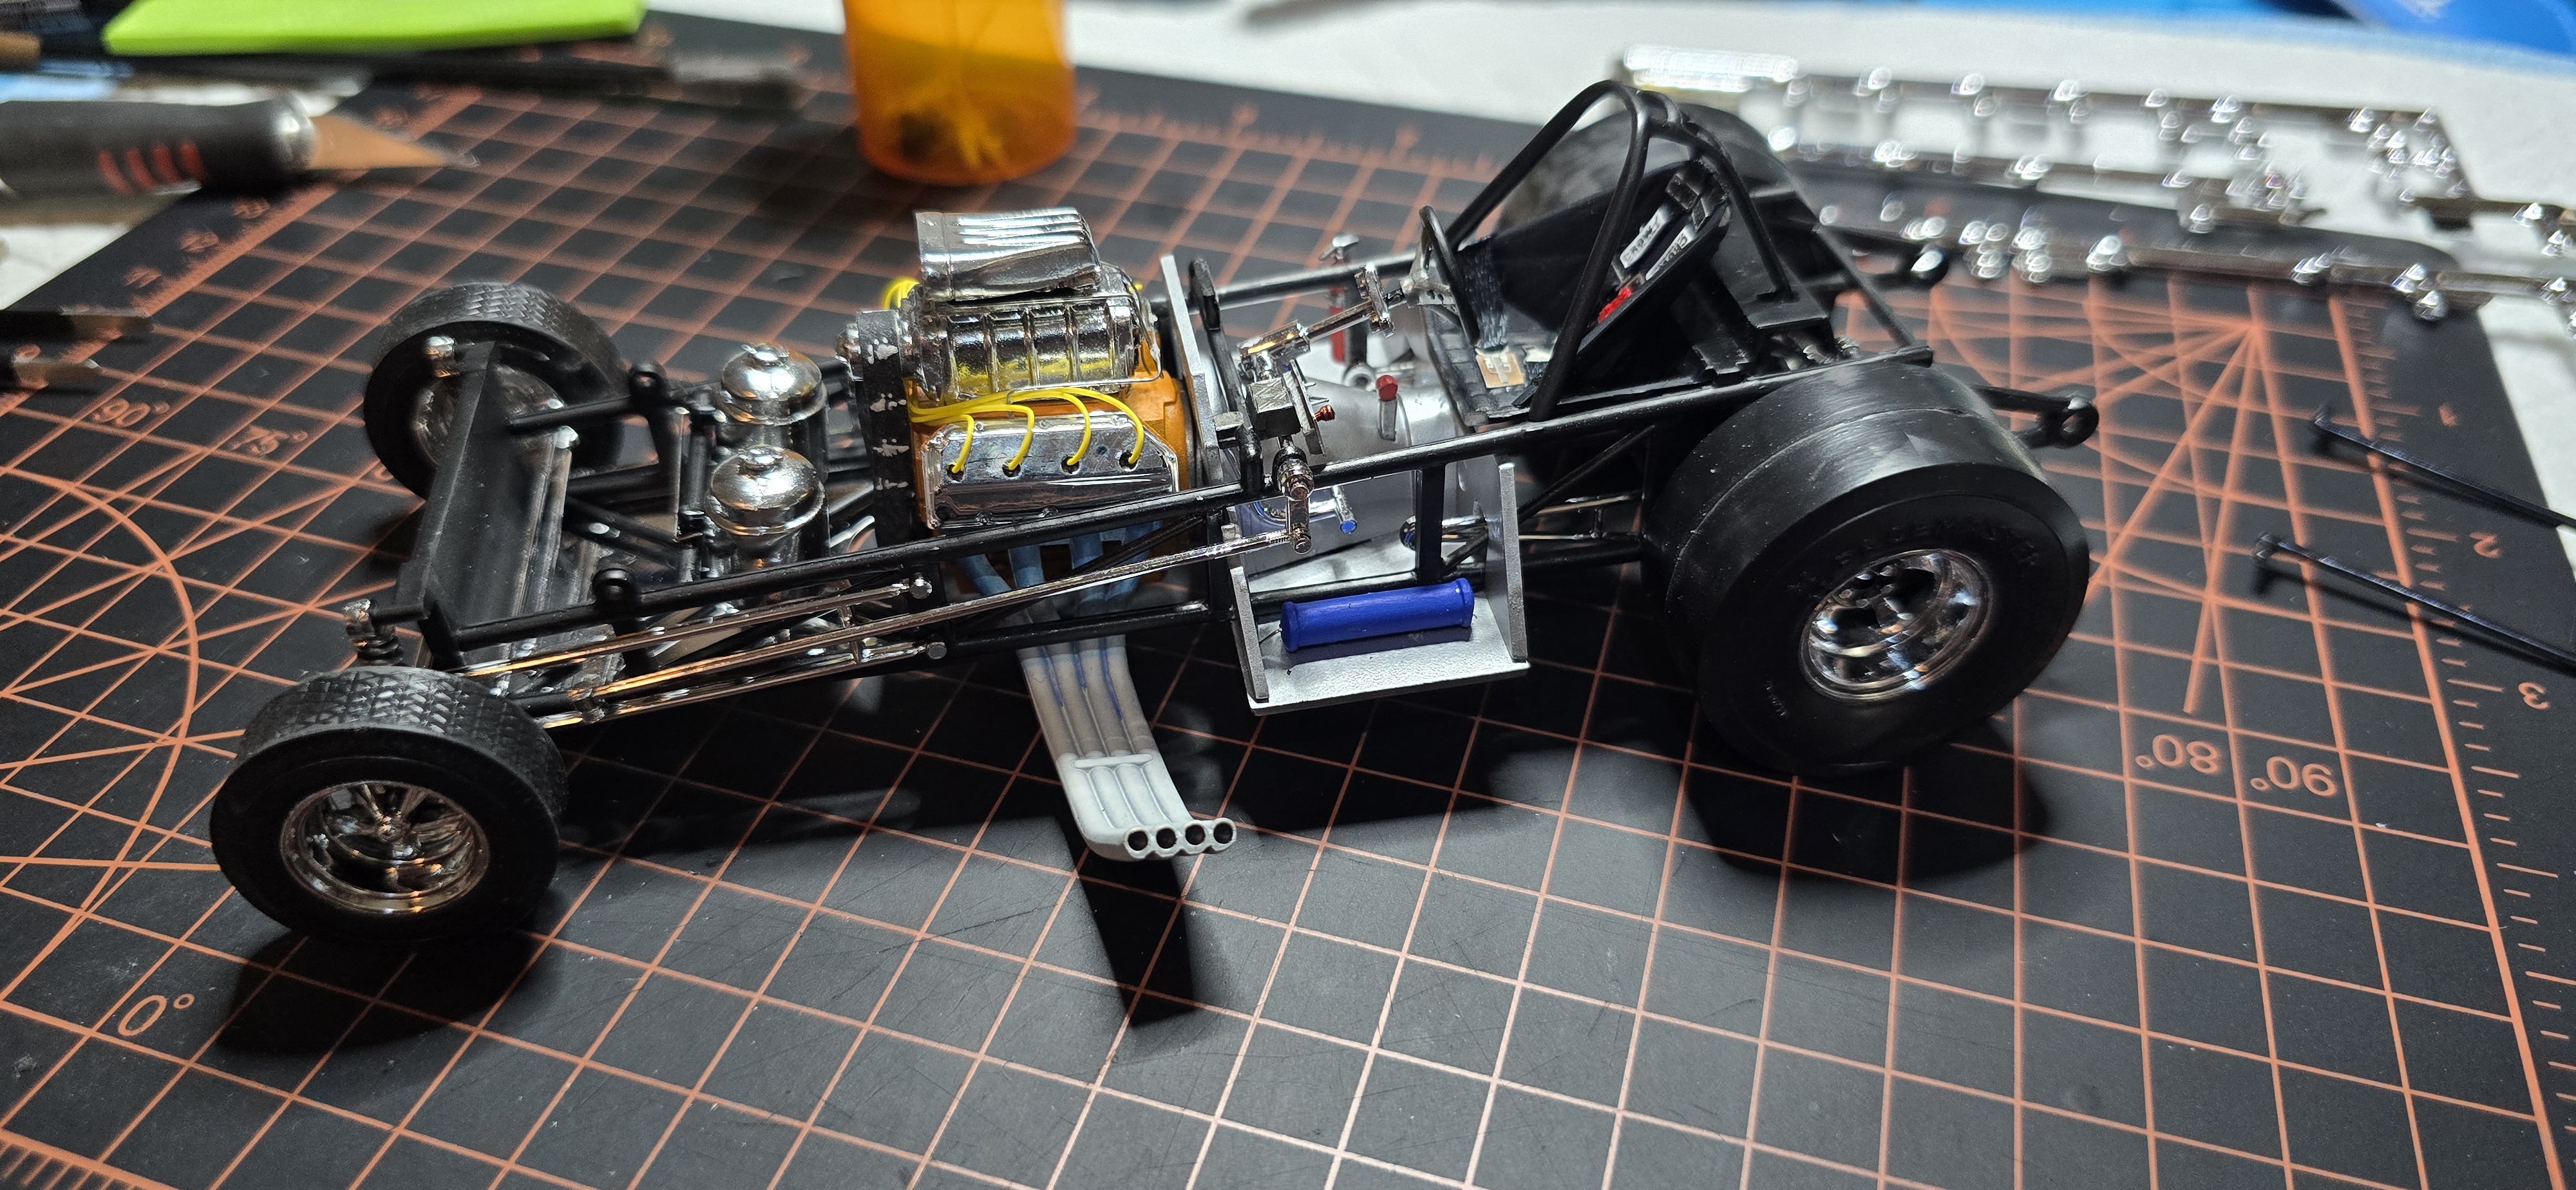
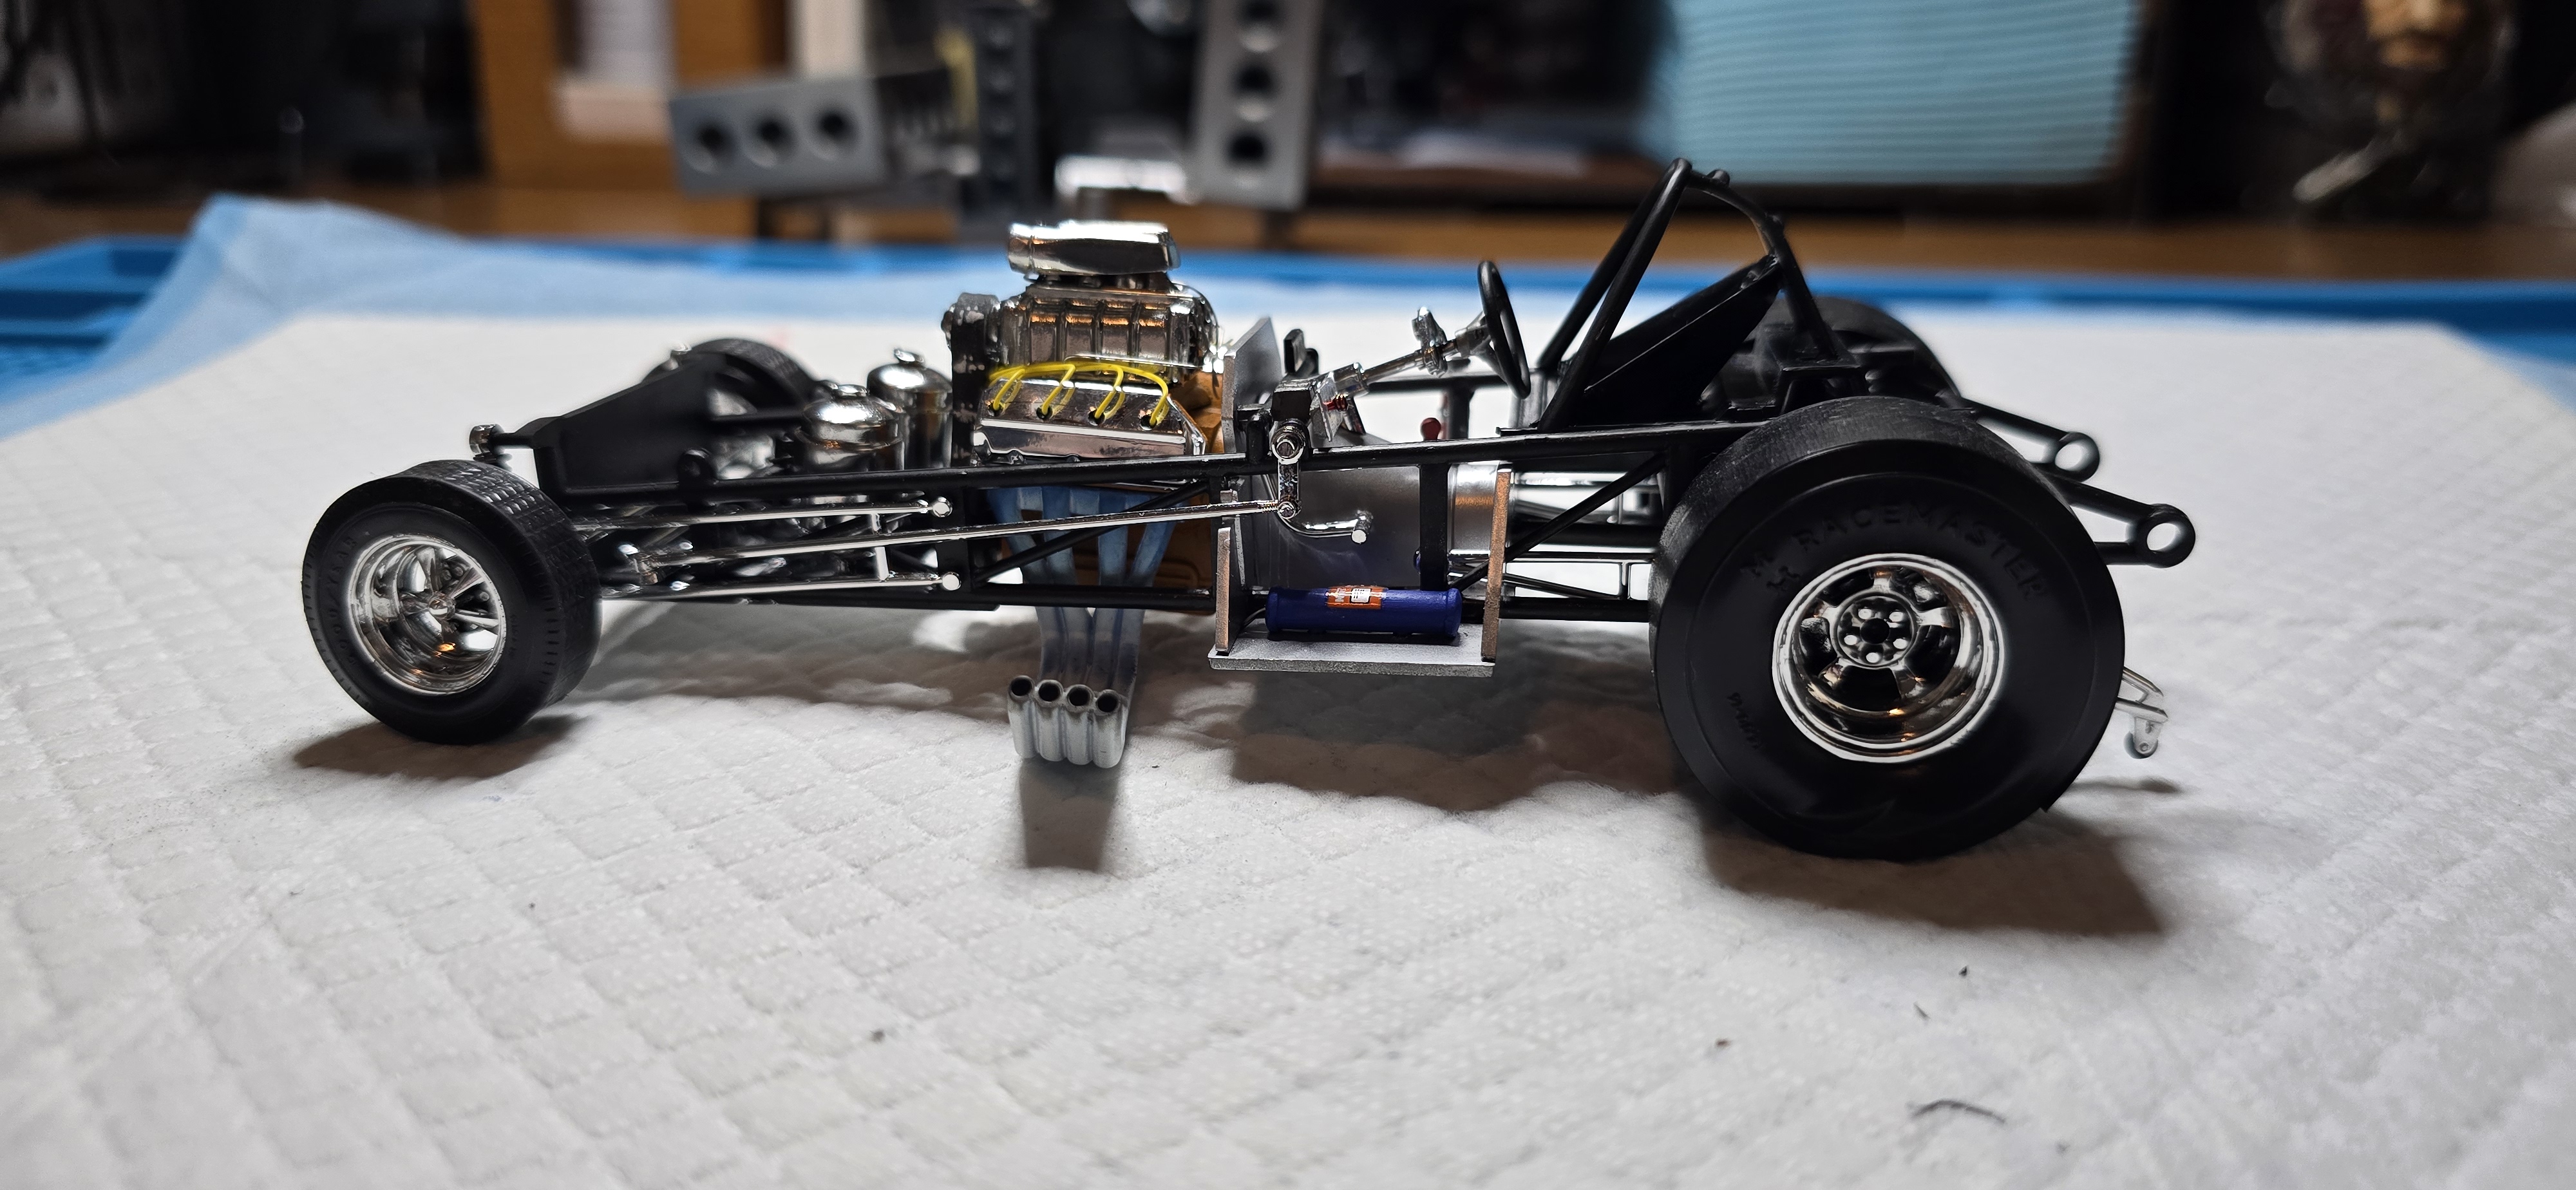
Chassis, frame and seat with roll cage in.
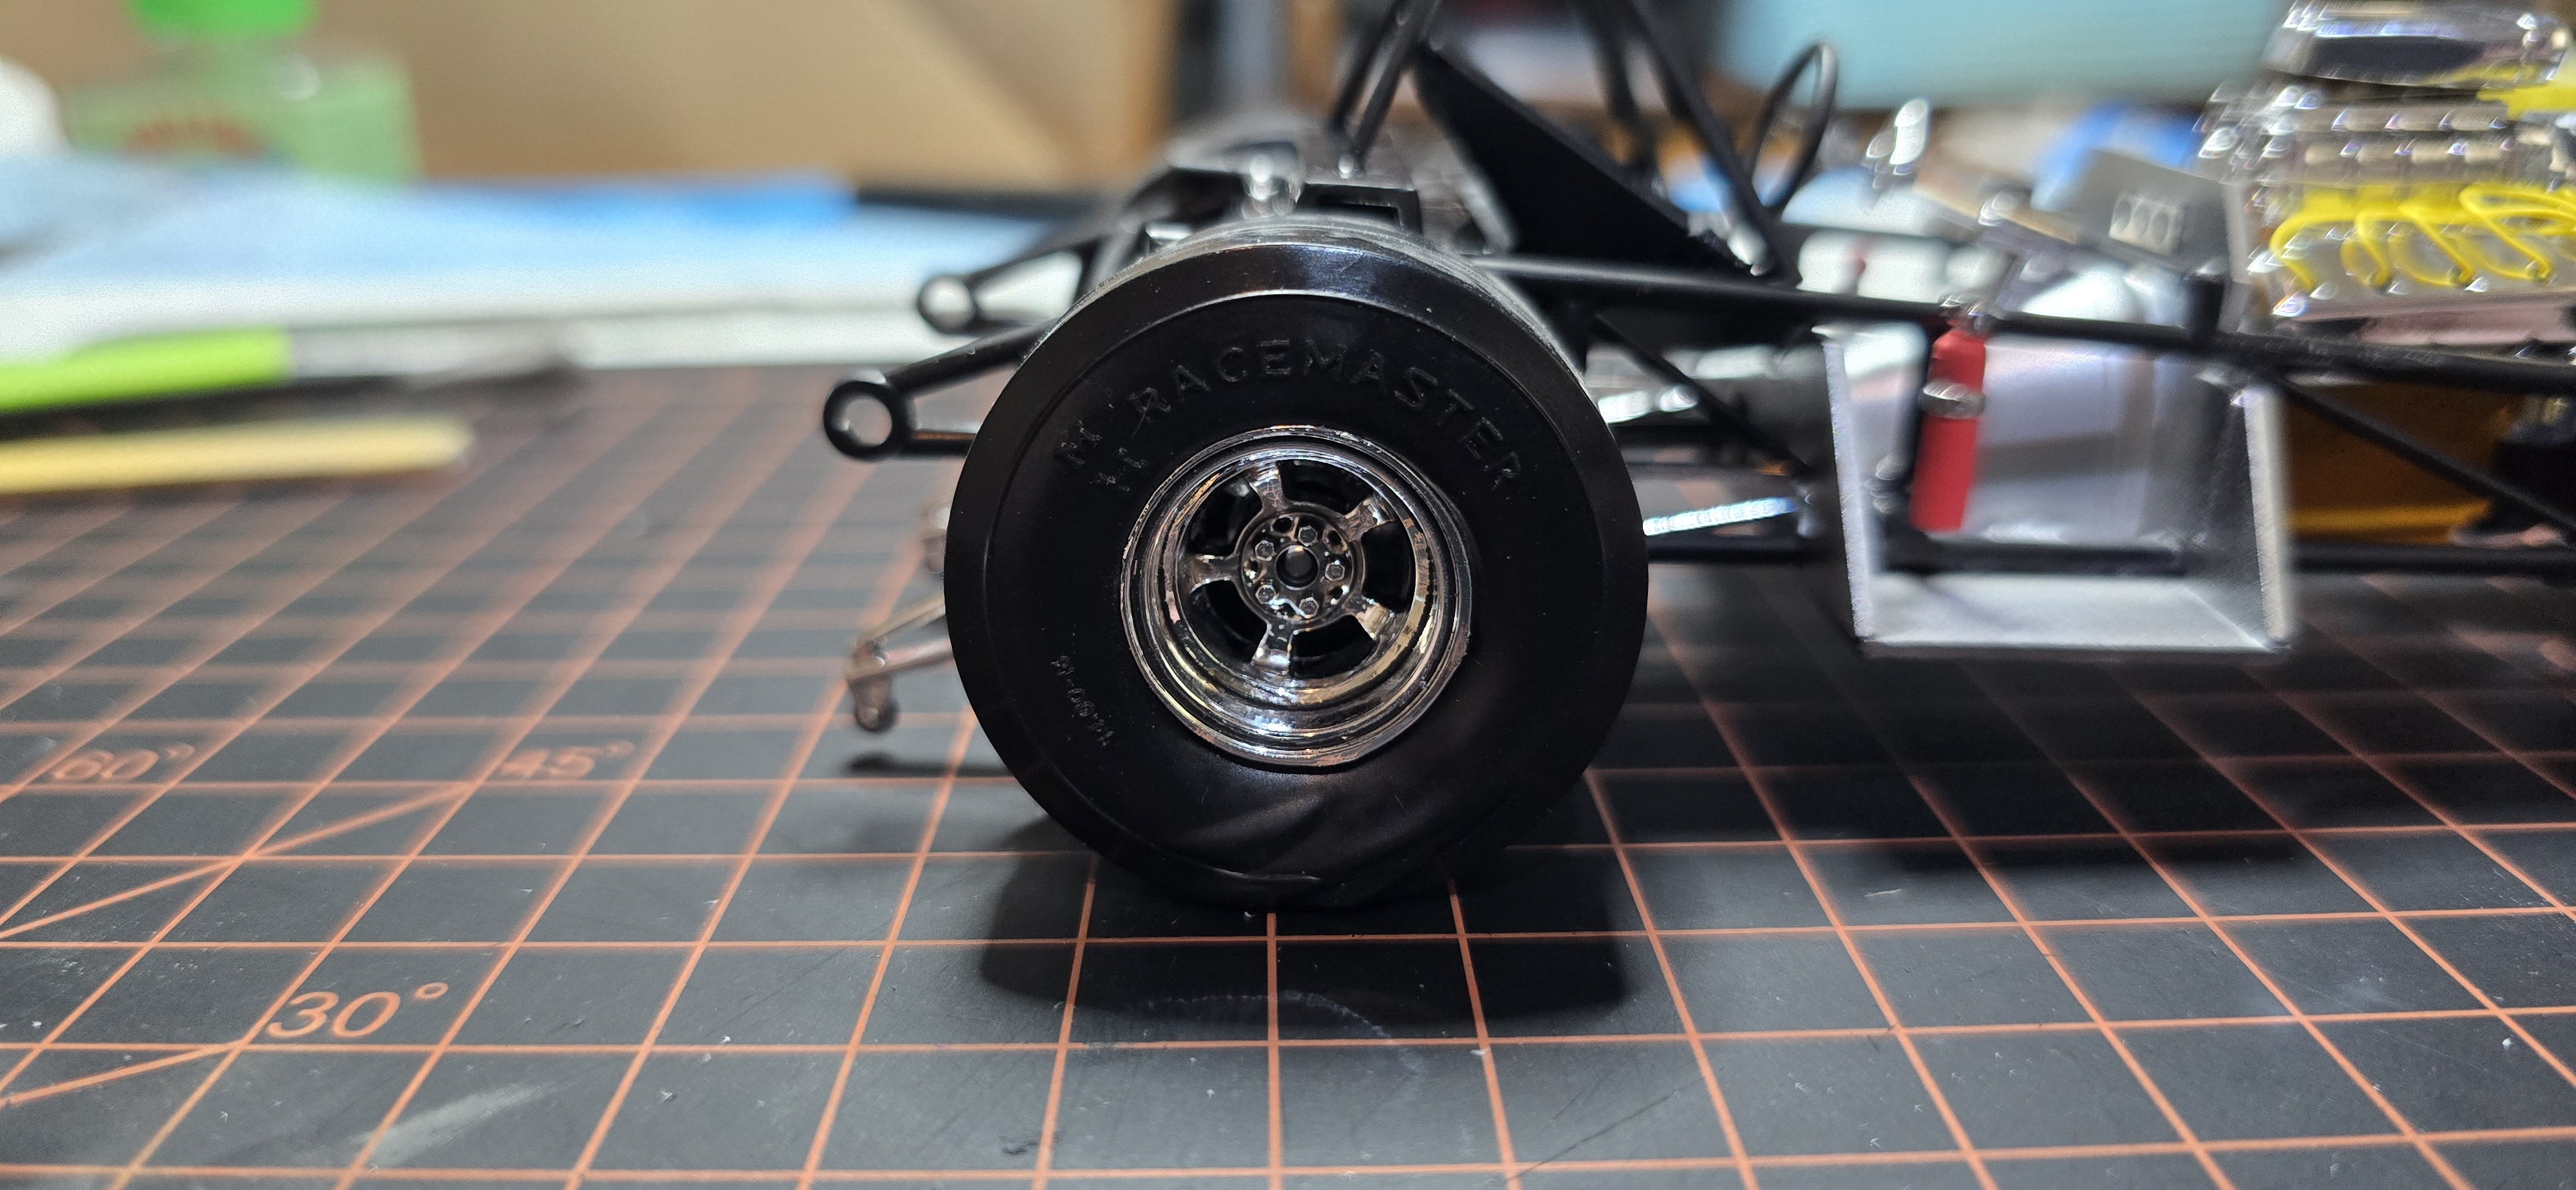
As I was fighting/assembling the rear slicks, I discovered I was given 2 left rear tires... how can I tell, you ask?.....
Well, the slicks are "flexed", showing that nice sidewall flex from a good sticky slick launch, unfortunately, the right side tire has been flexed in reverse. I checked the halves, ensuring I hadn't glued the wrong pieces together, nope and I genuinely think they put this kit out this way.... even the box photos are all from the left side of the car.
Meh- I can live with it, I'll just display it from the left.
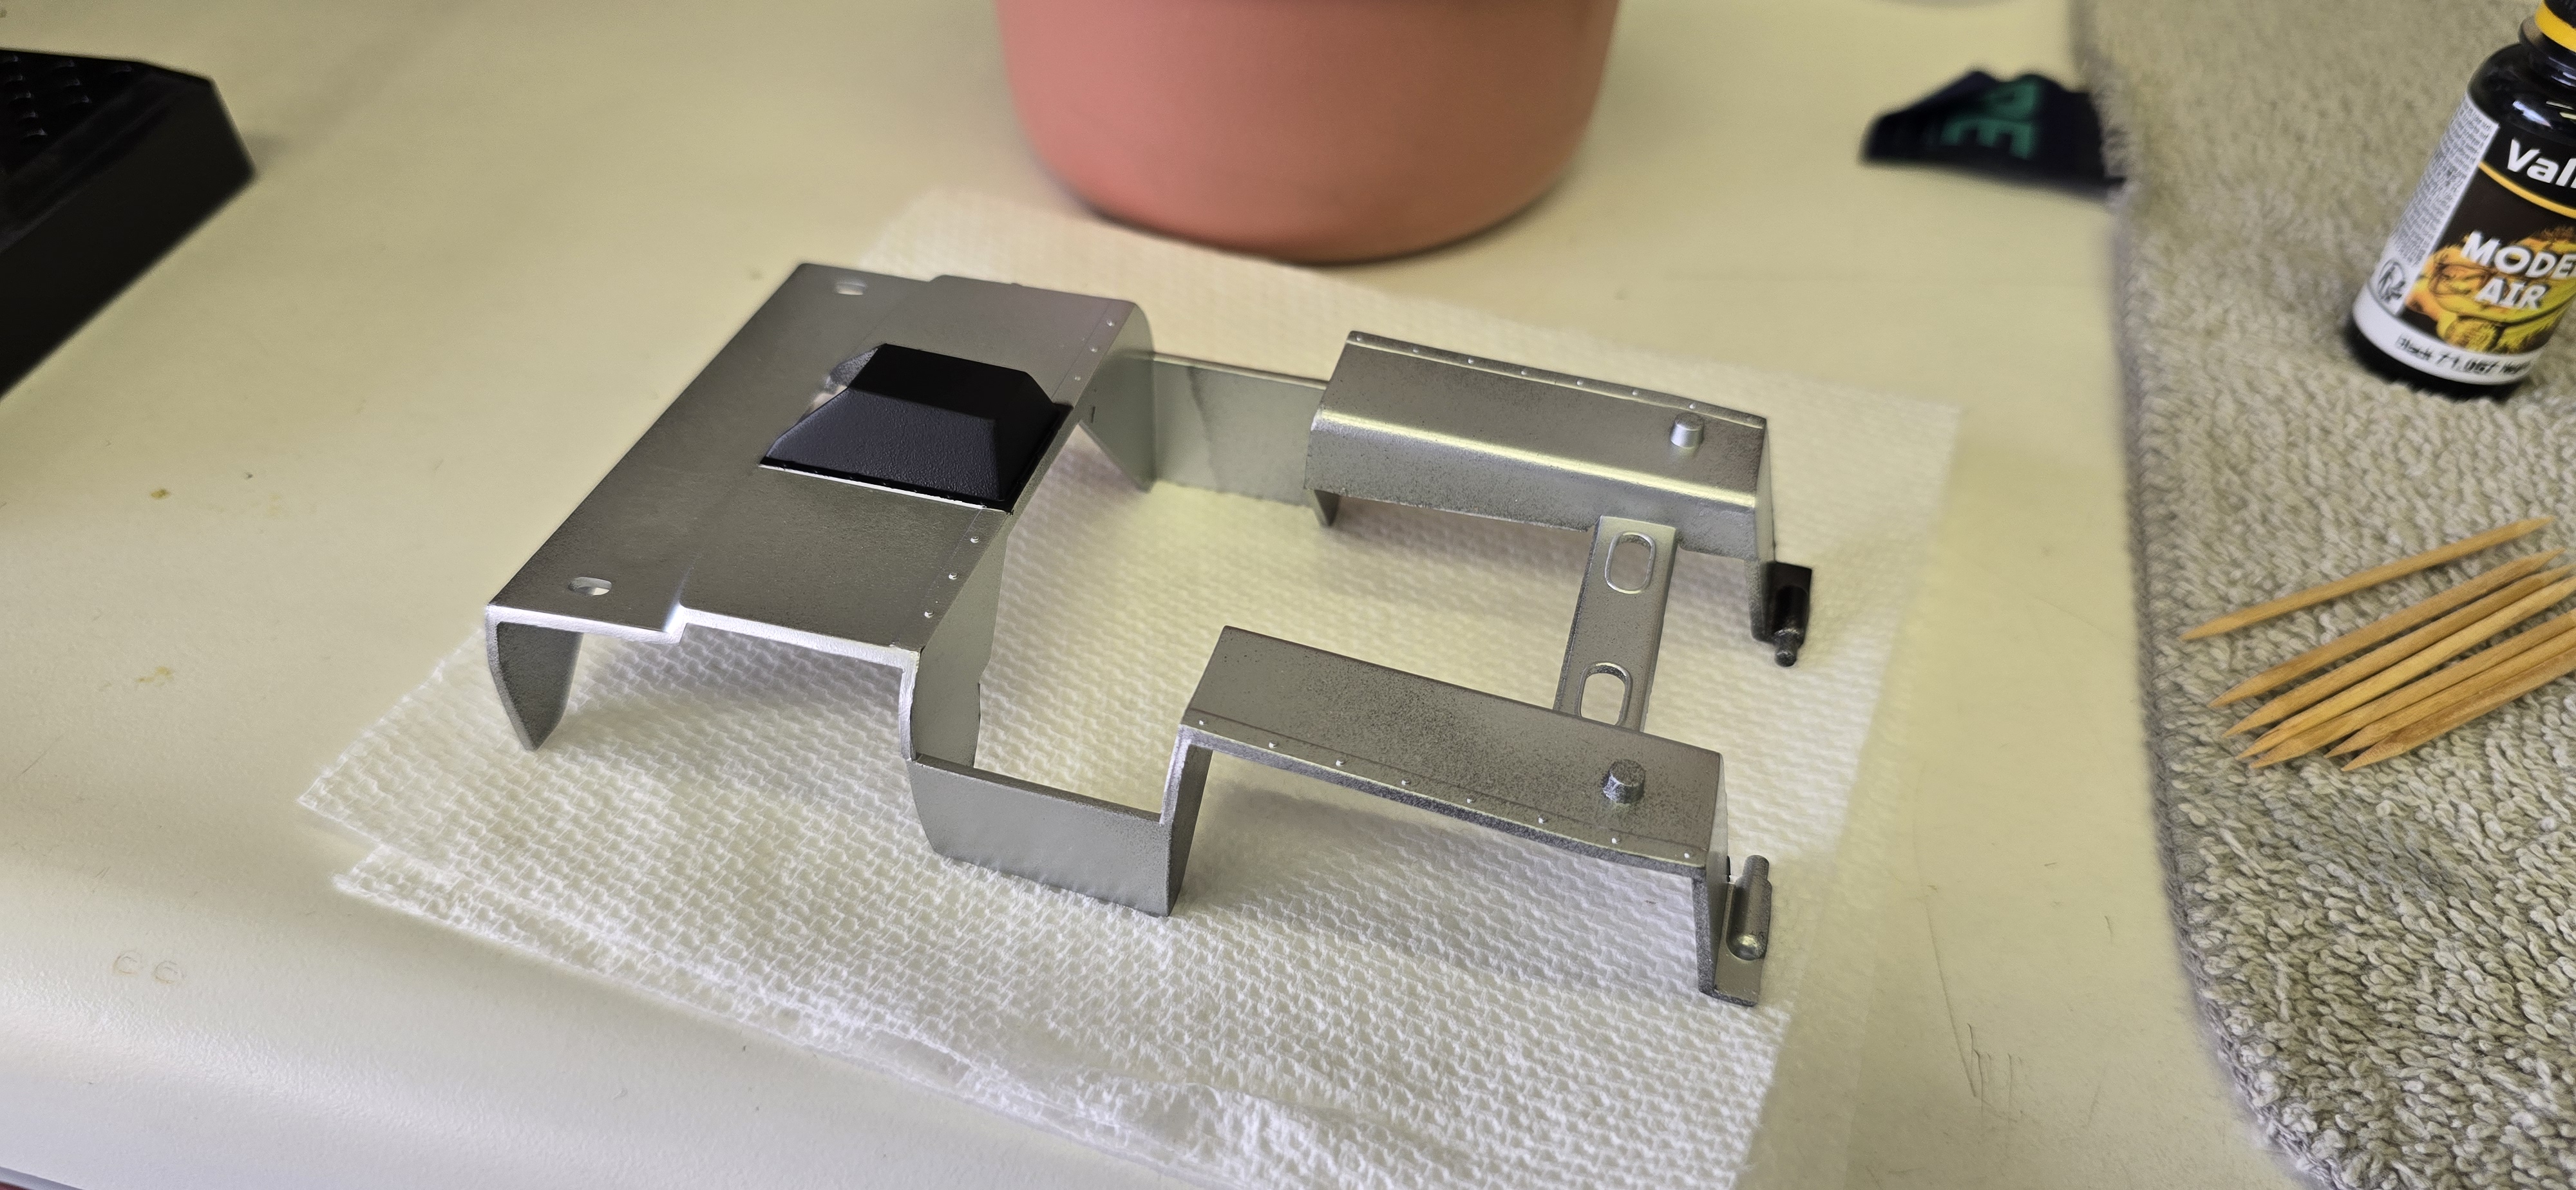
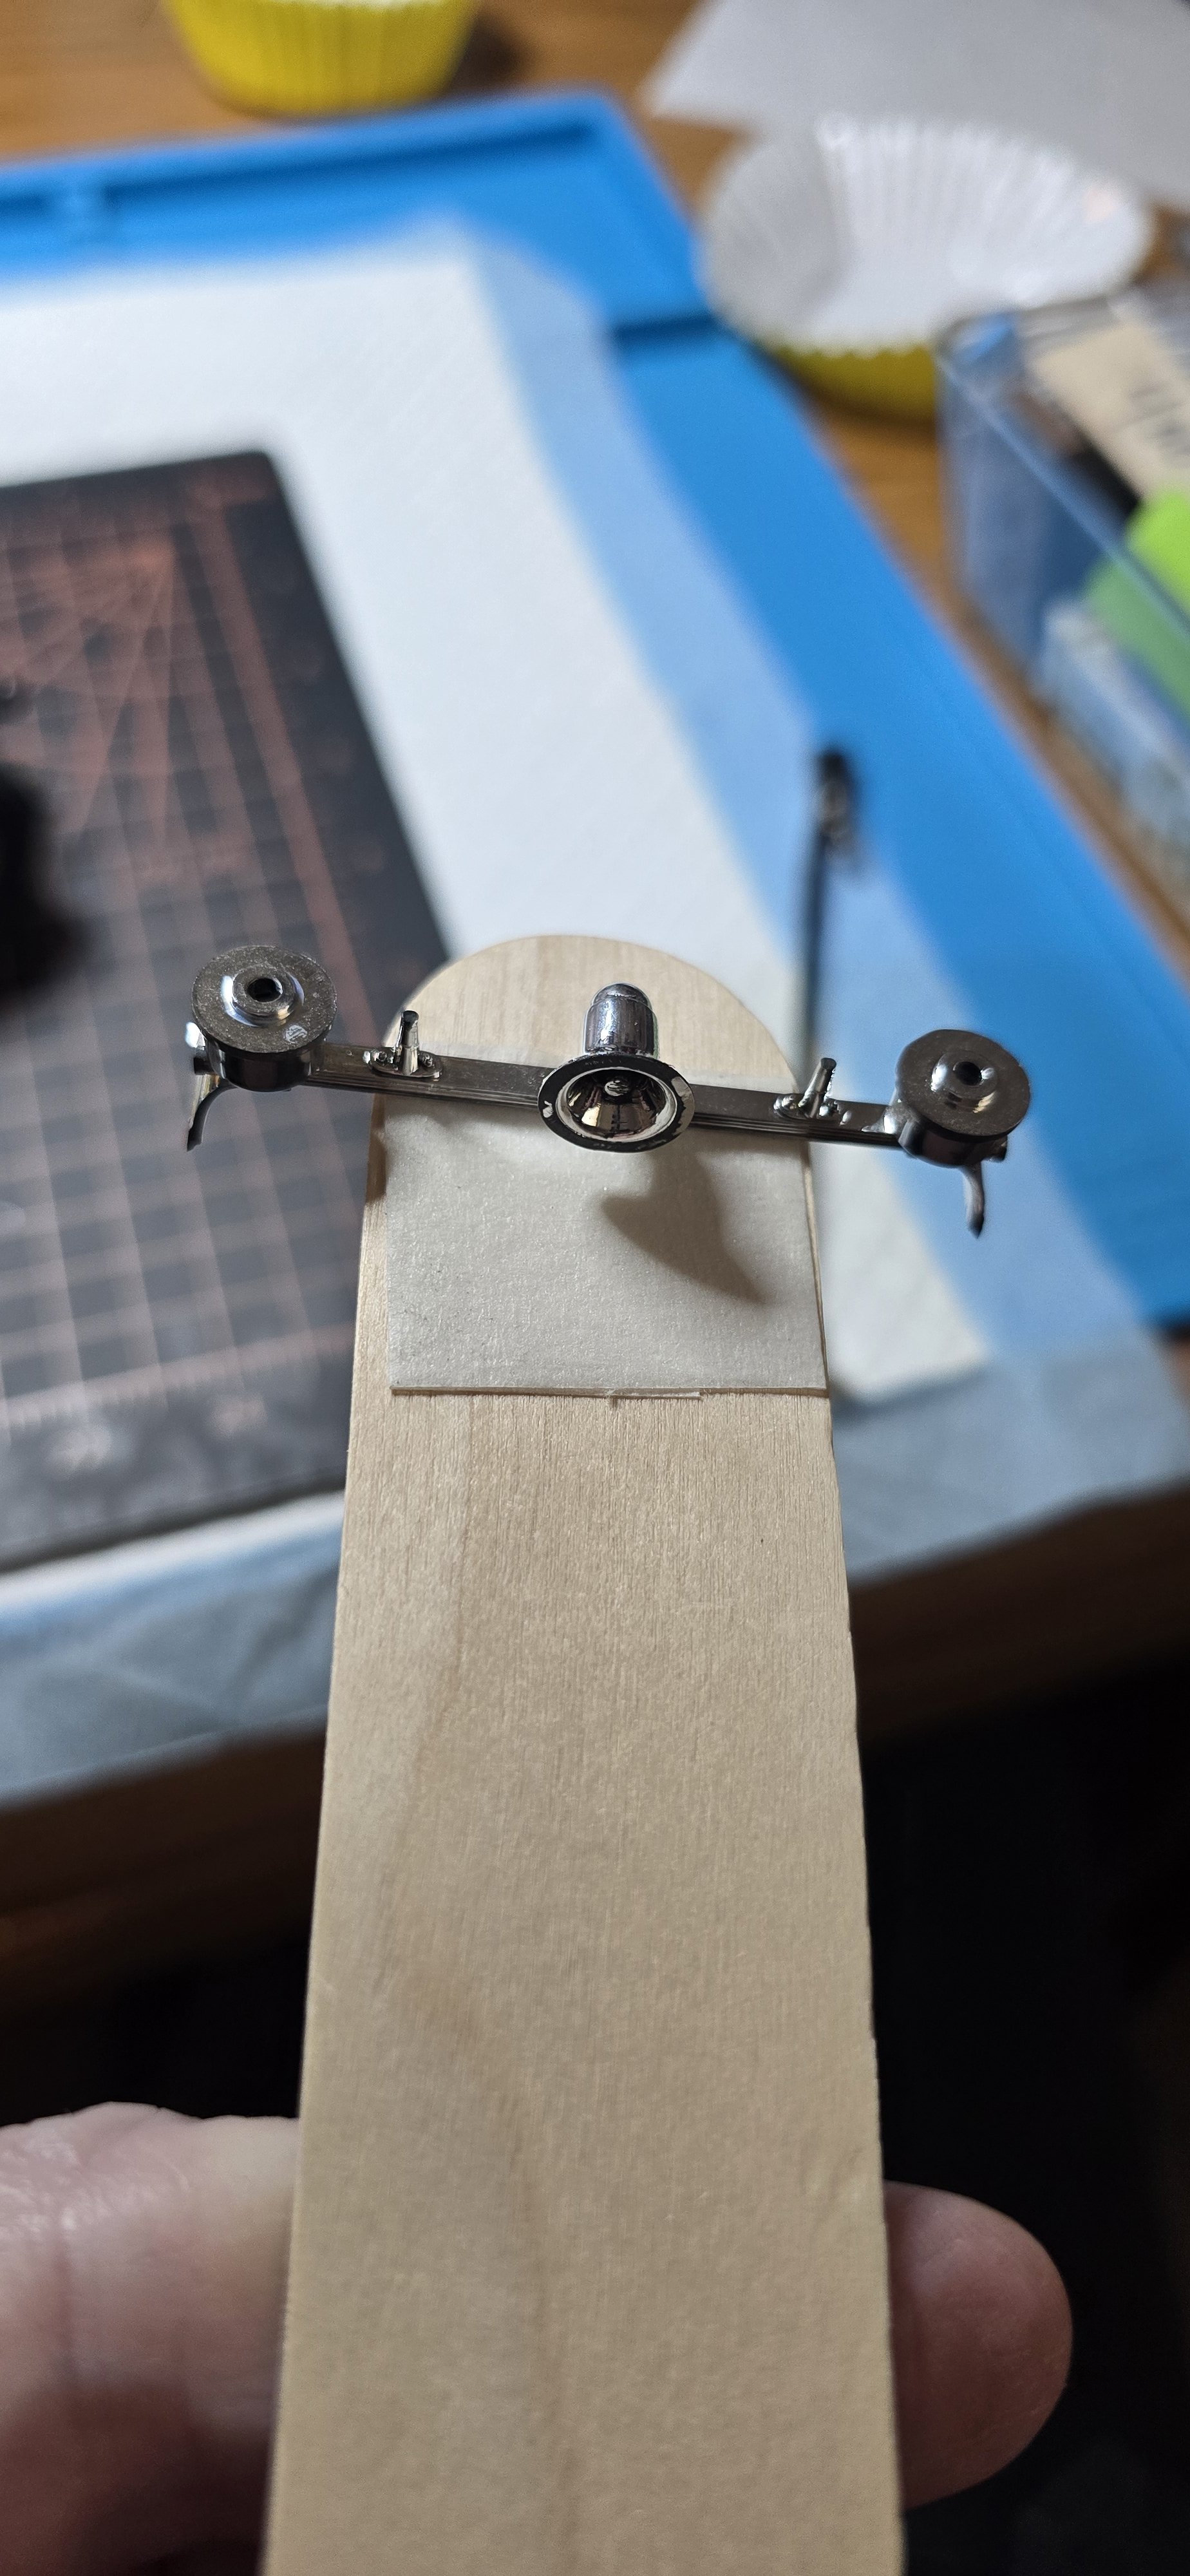
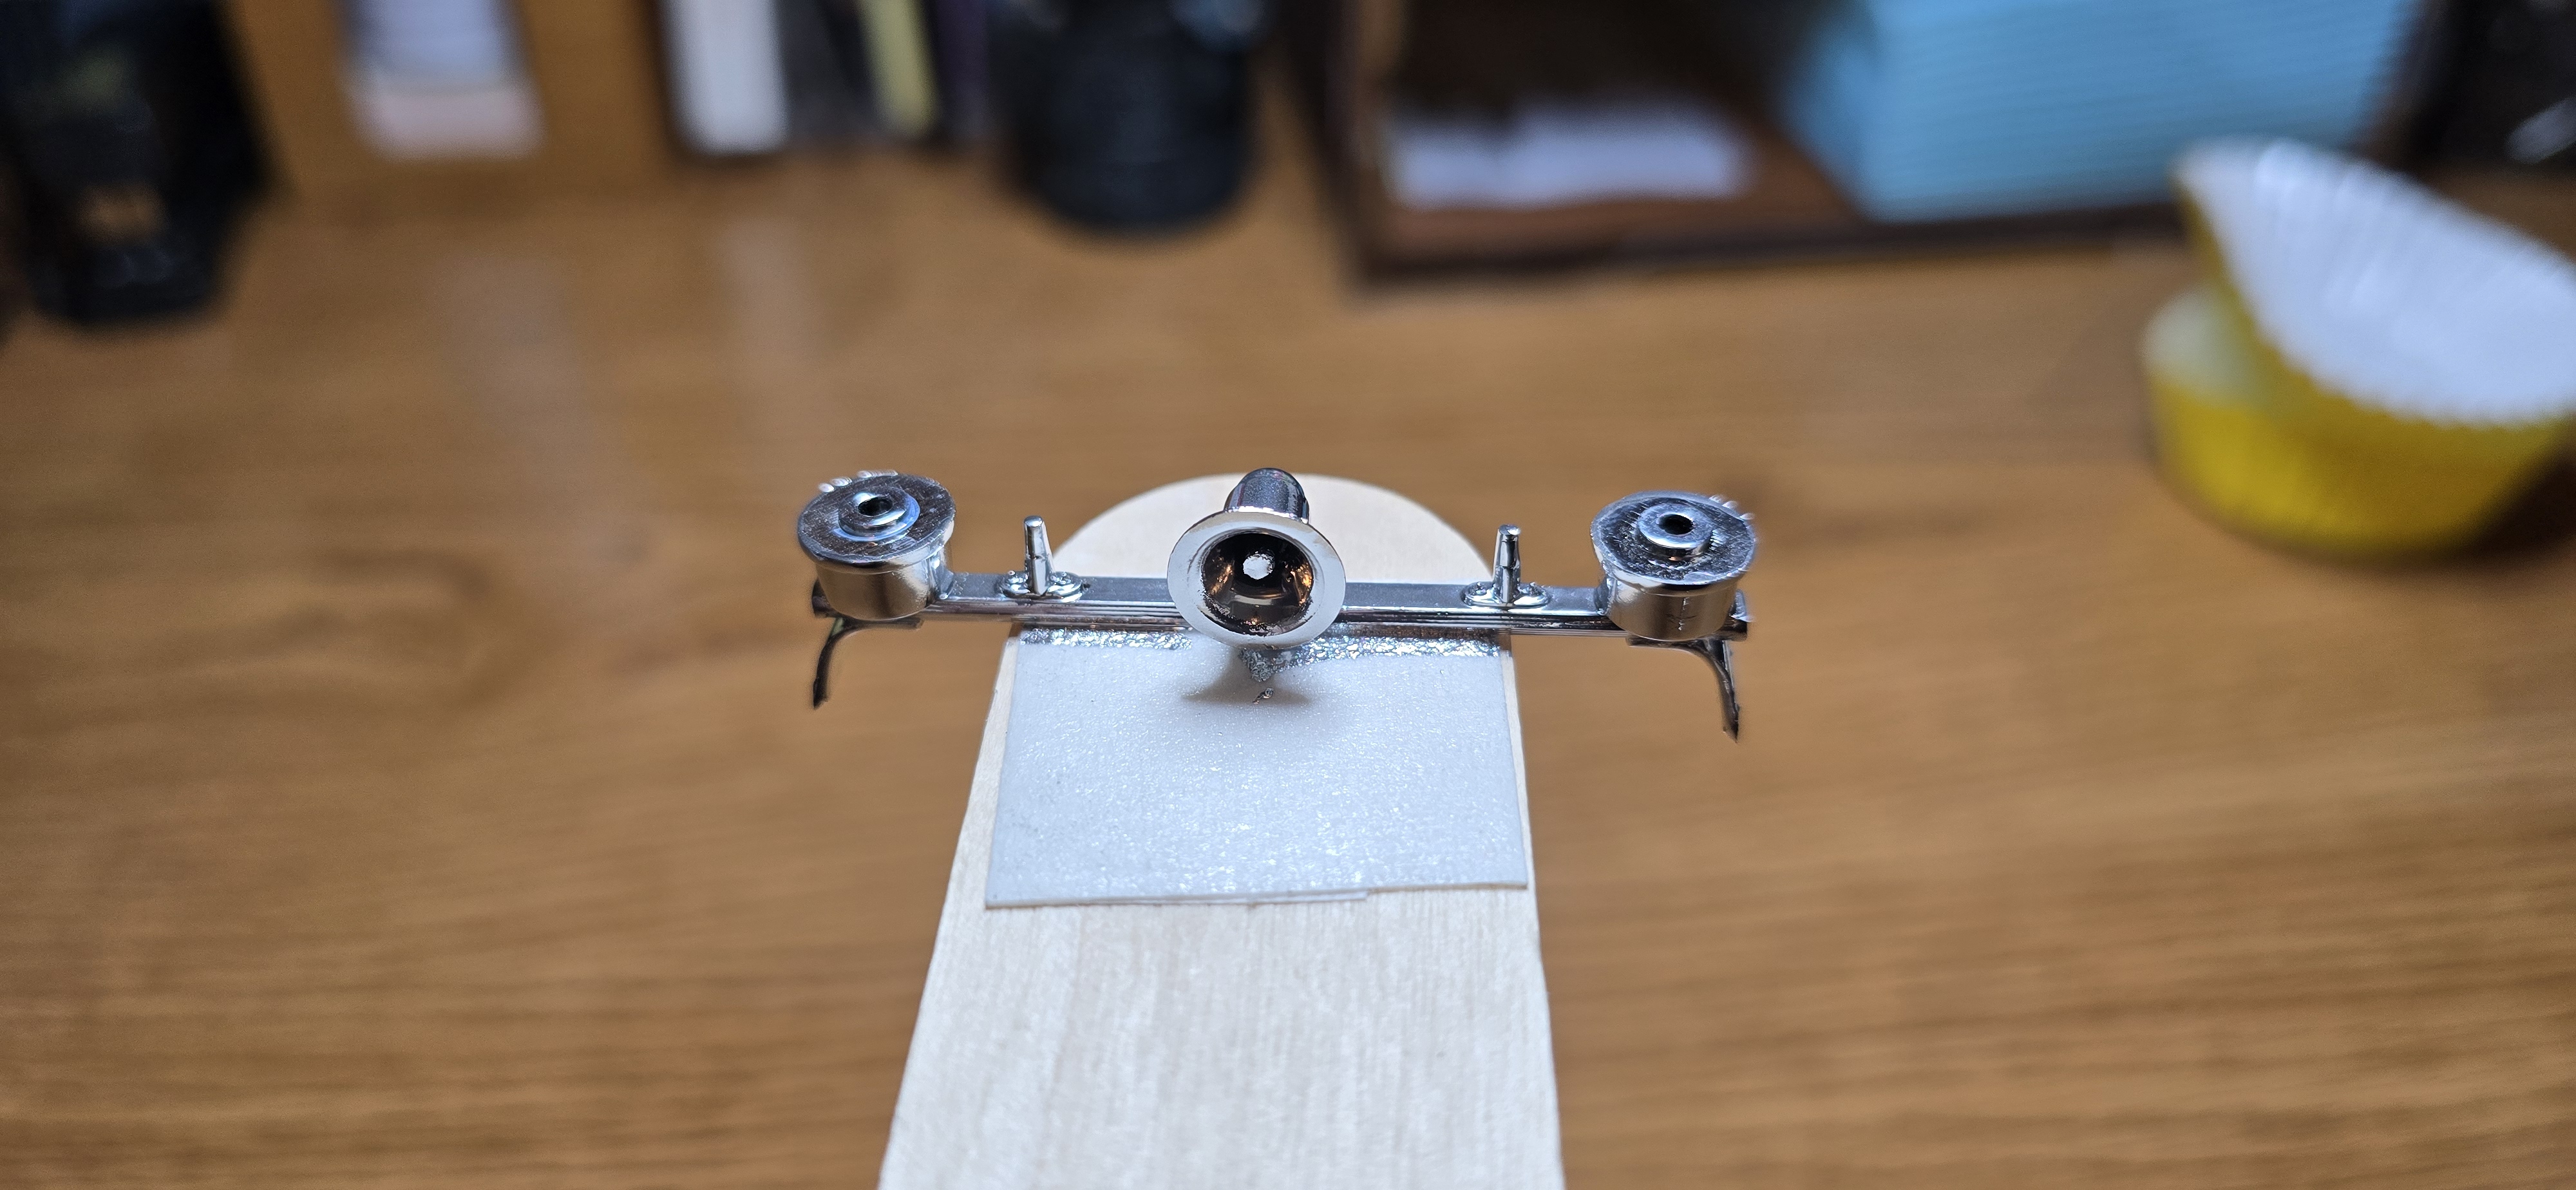
Exhaust is in and it's sitting on its wheels- I took on the lightbar, which was awful. Huge mold line parts and terrible flash. I sanded it and coated it with FusionFirm. I'll see how it goes, but I may abandon this lightbar altogether and use one of my surplus ones- We'll see.
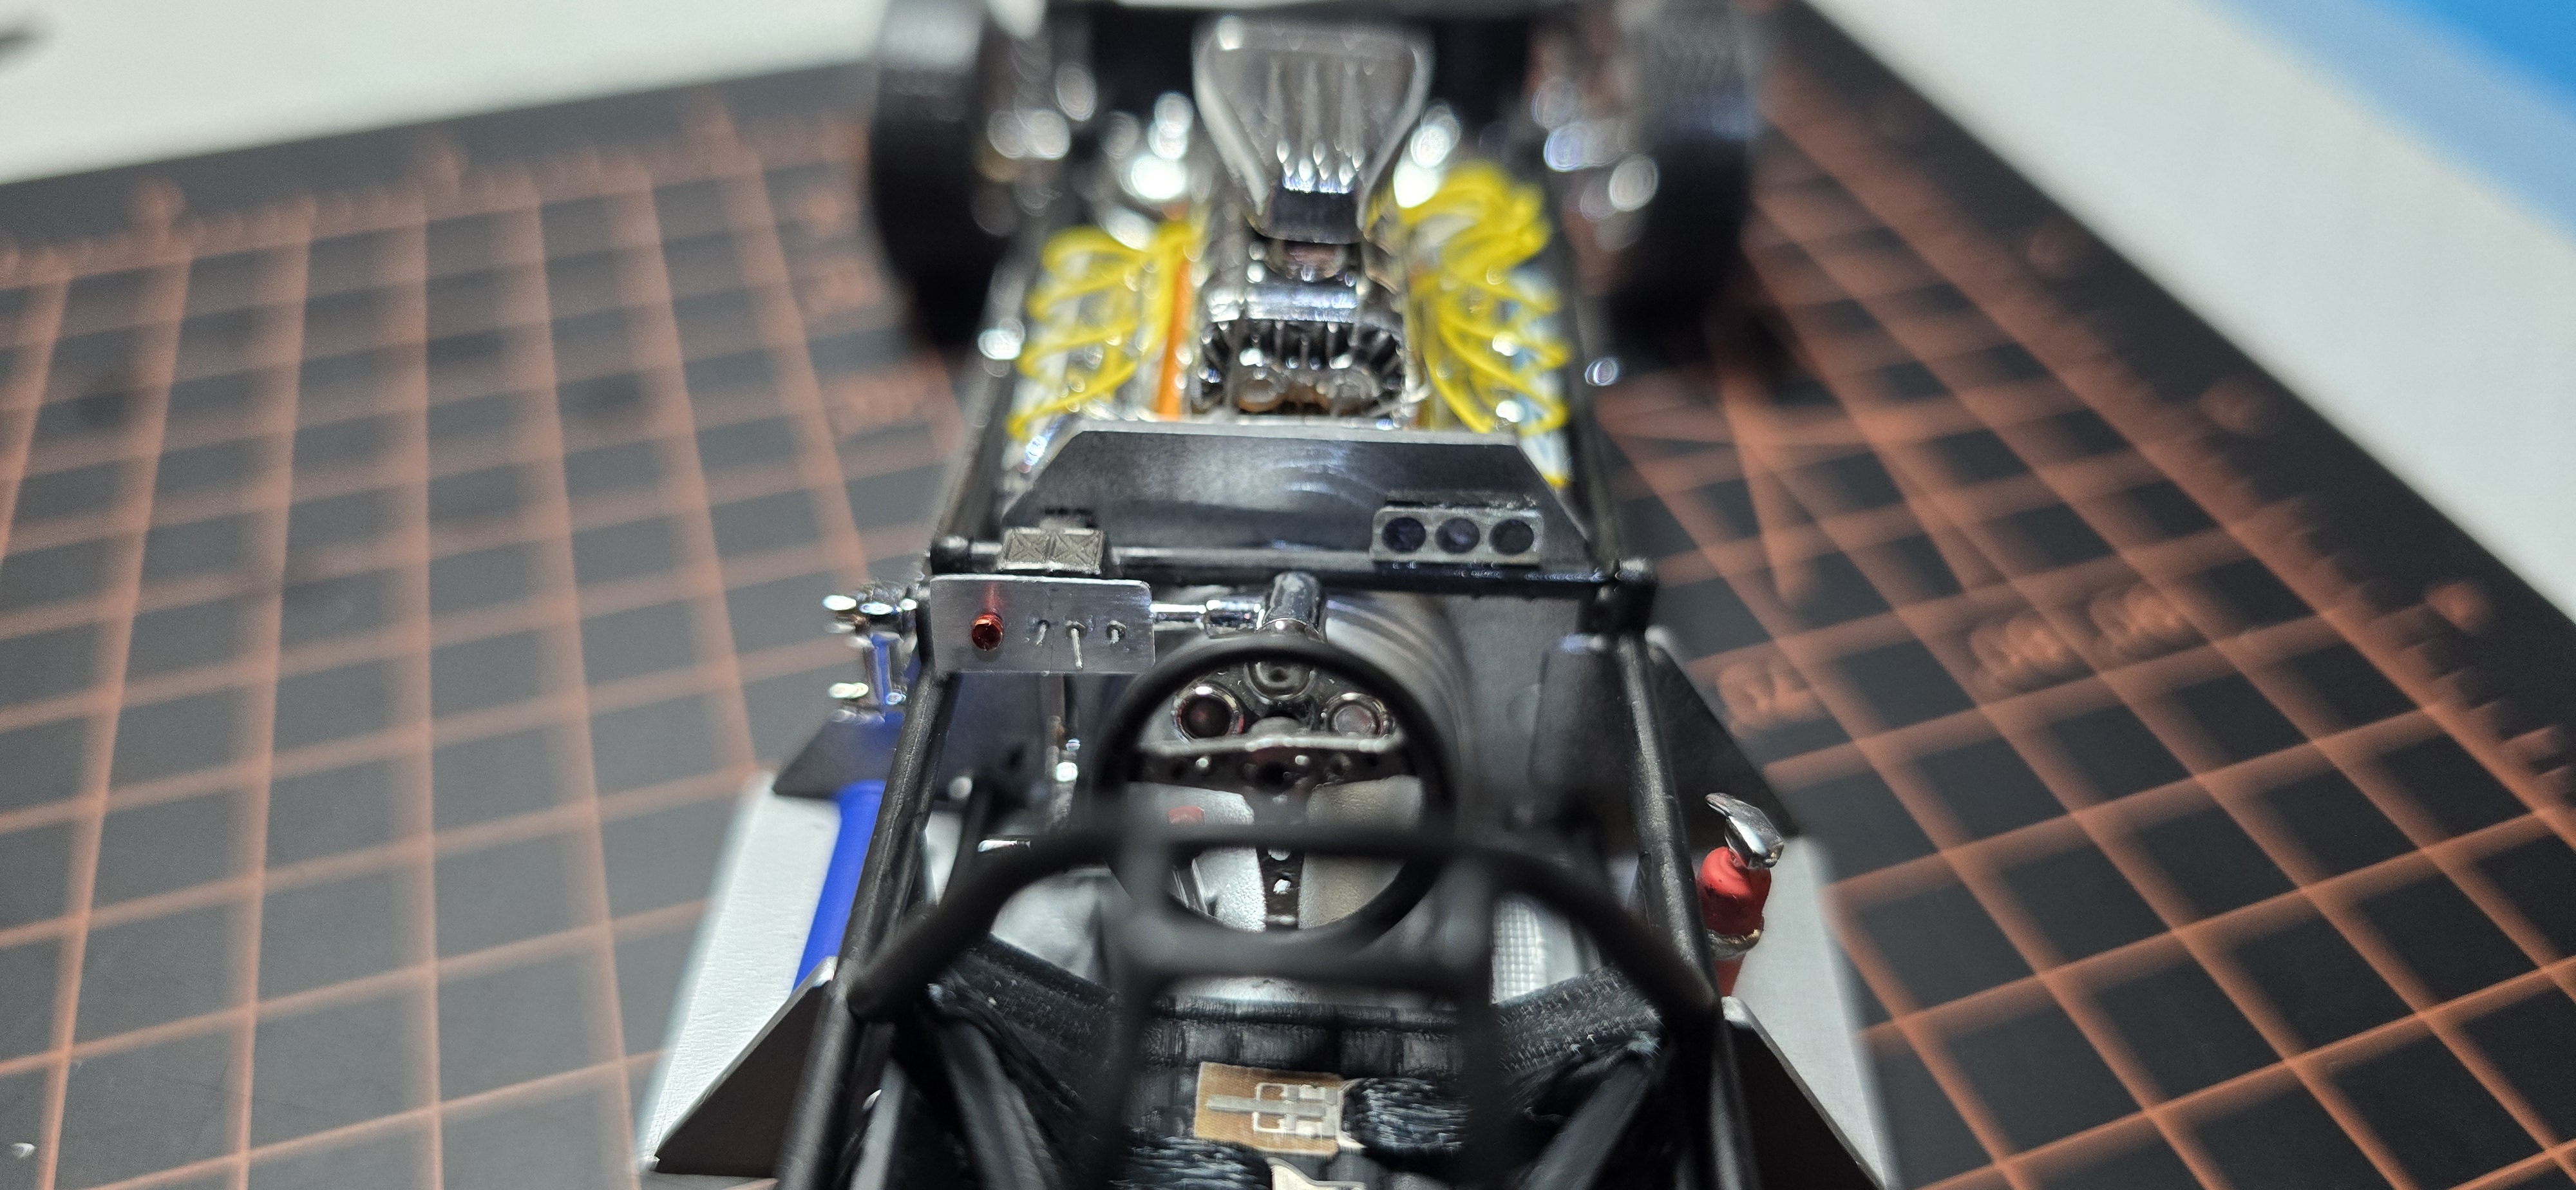
Added a trio of gauges to the cockpit, to busy it up a bit more.
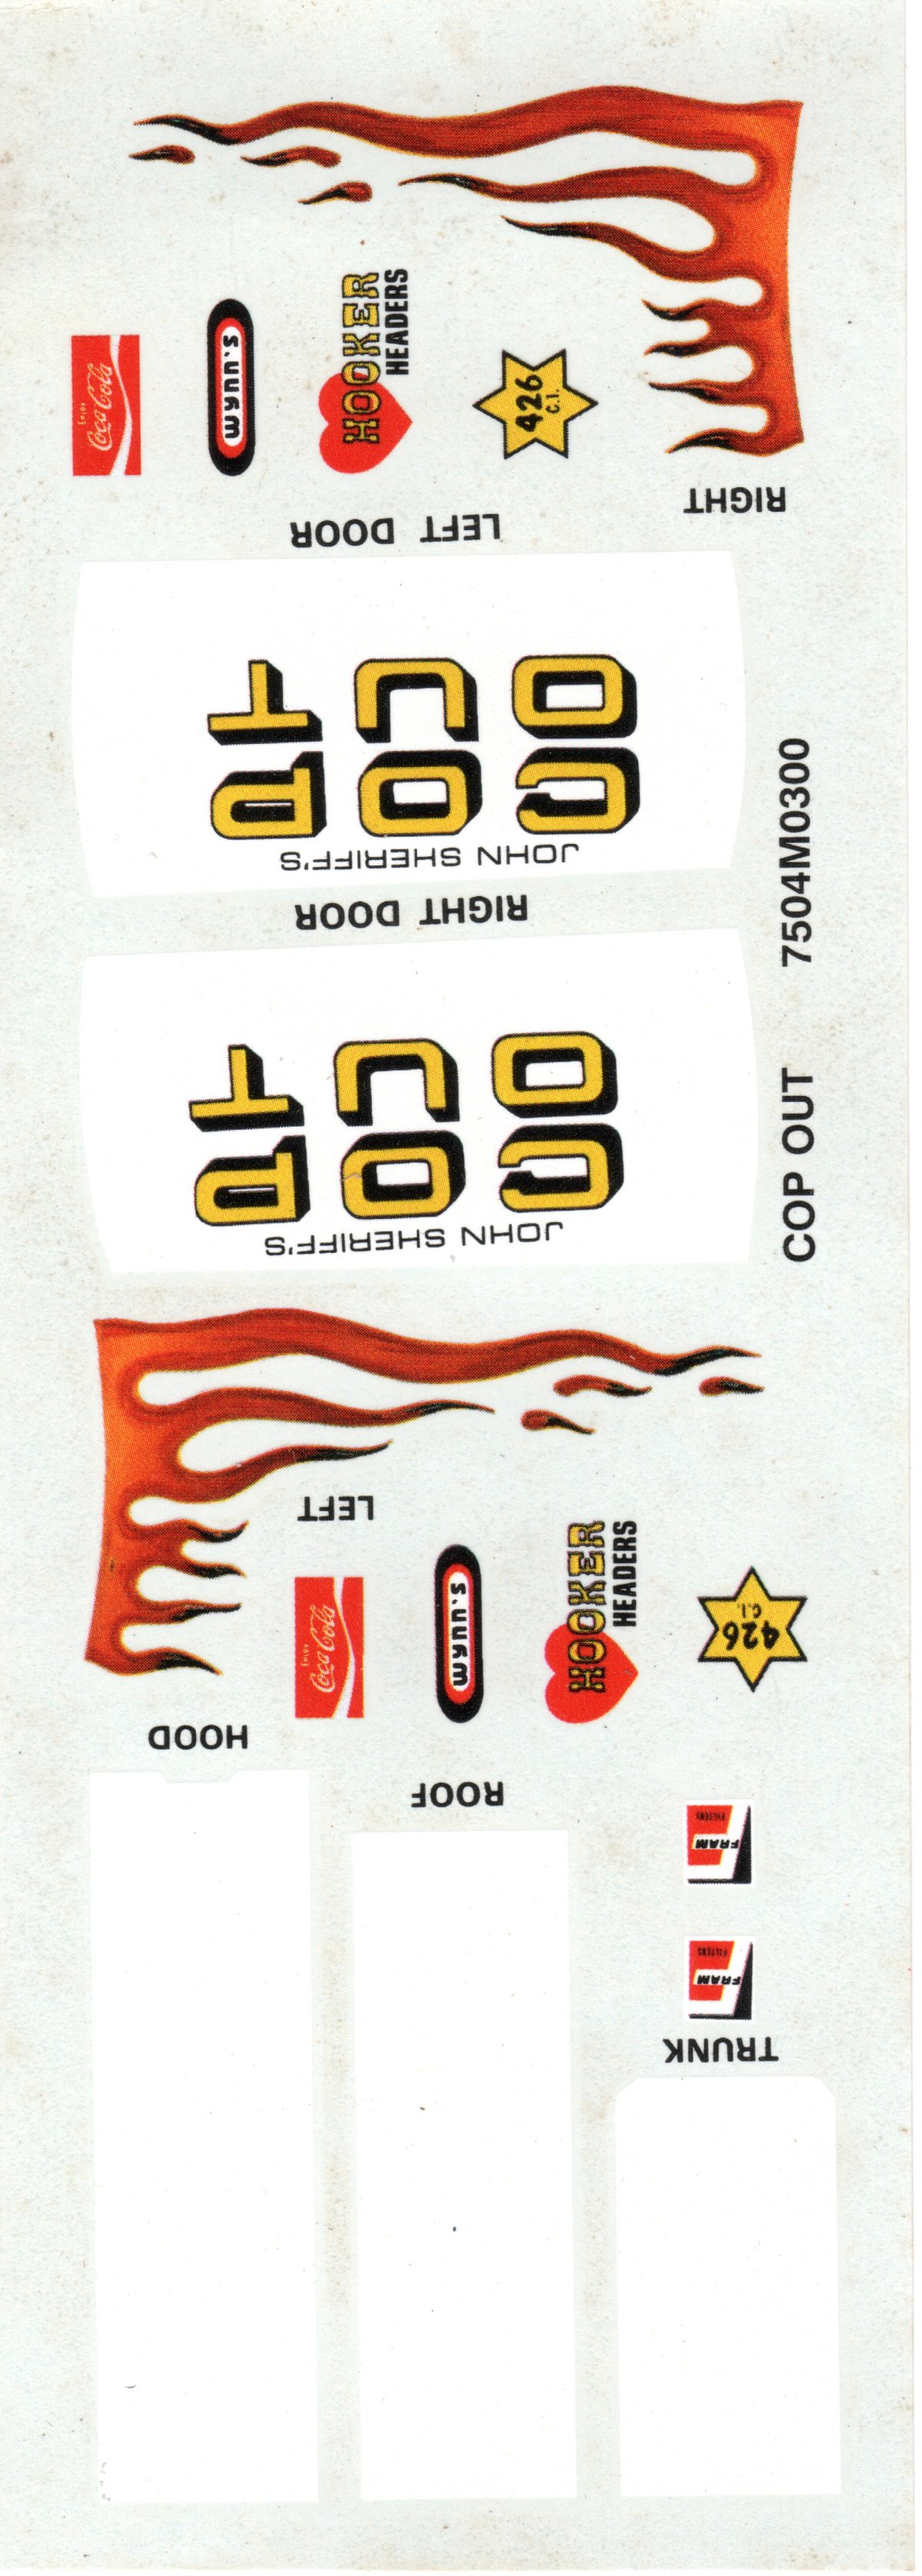
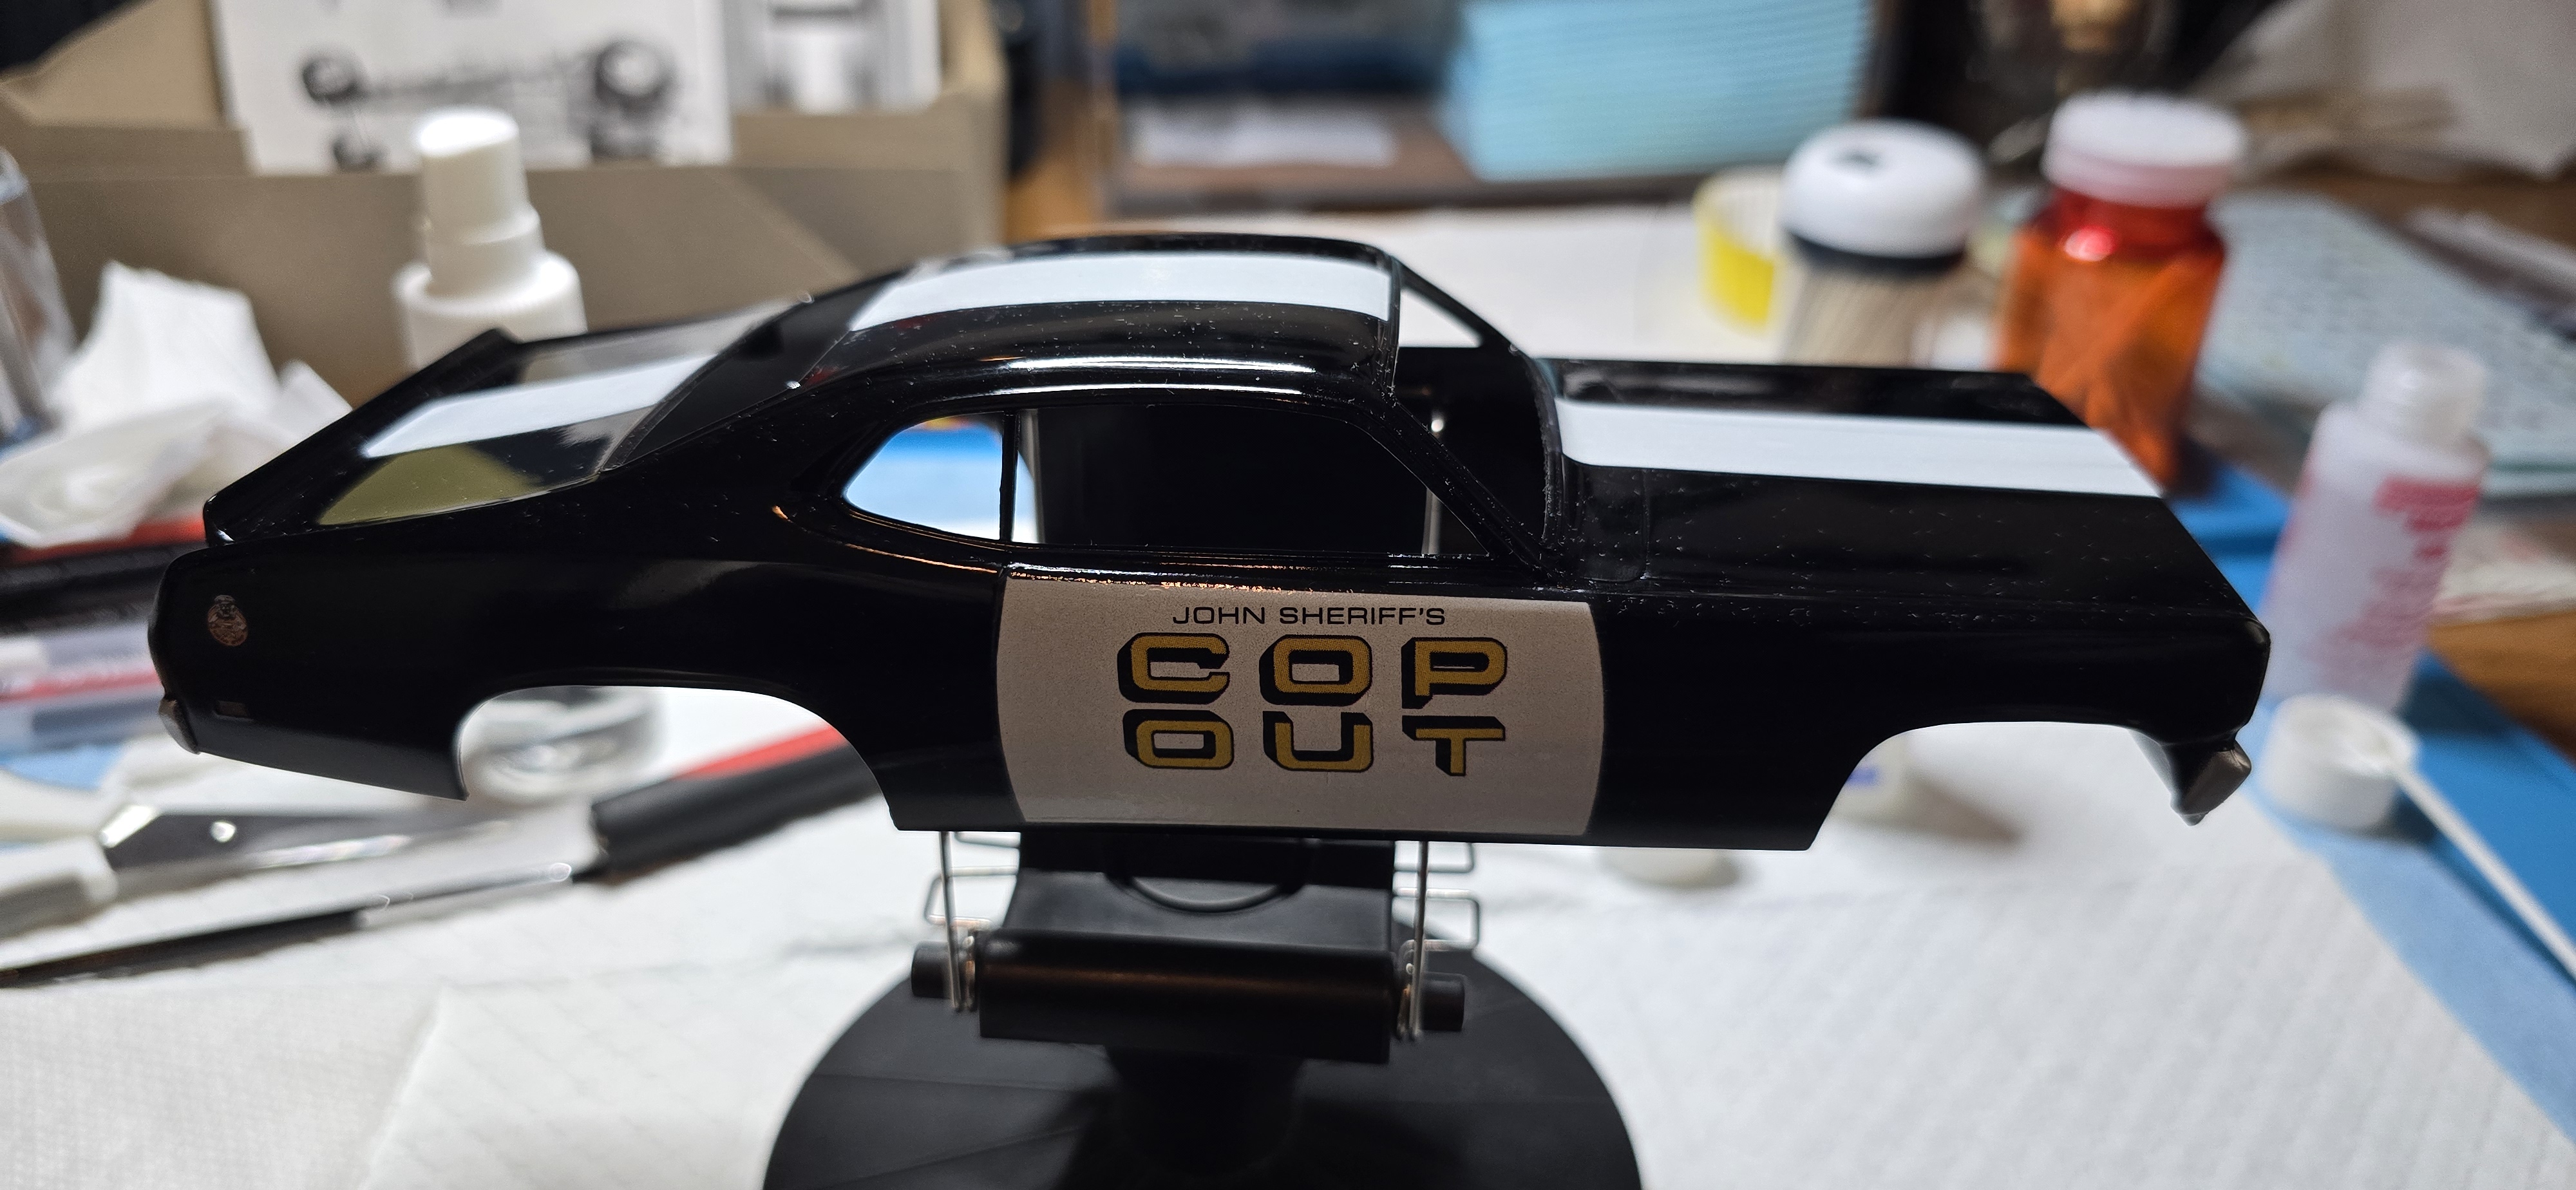
While I wait for the FF to dry, I'll take a crack at the kit decals, I'm not sure about them so I scanned them in and printed them on some decal paper. Of course, no white, so I'll have to paint the doors and white stripe.
20260603_090548.jpg
20260603_104113.jpg
20260603_104119.jpg
20260603_104136.jpg
20260603_111259.jpg
20260603_111334.jpg
20260603_113832.jpg
20260603_115133.jpg


Decalsheet.jpg
 
Last edited:
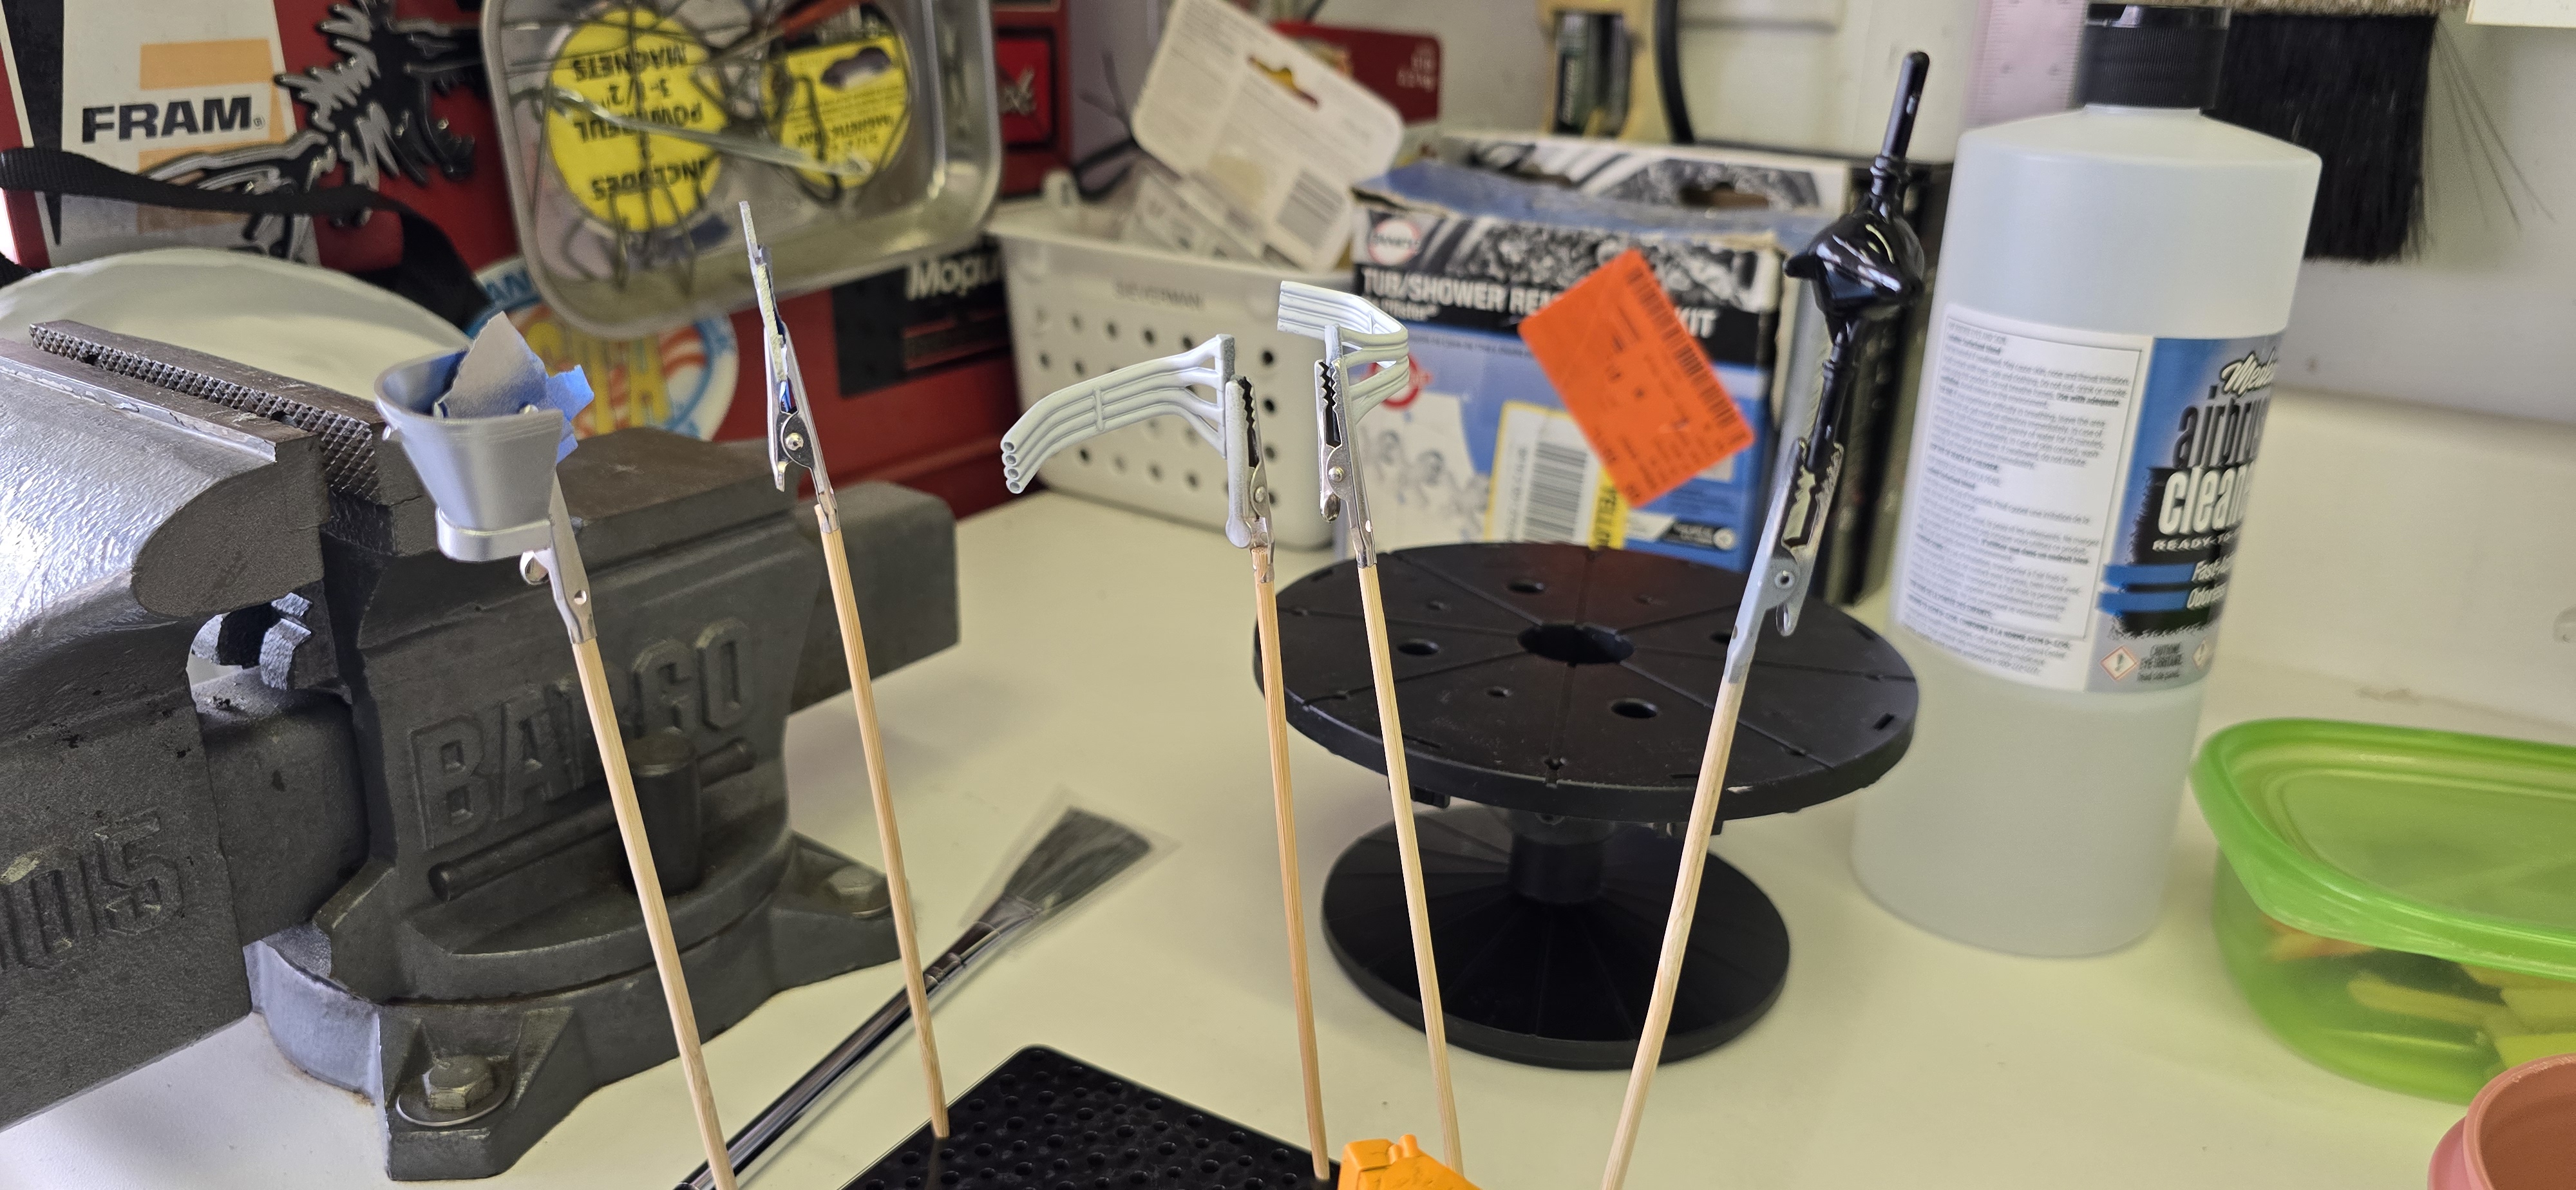
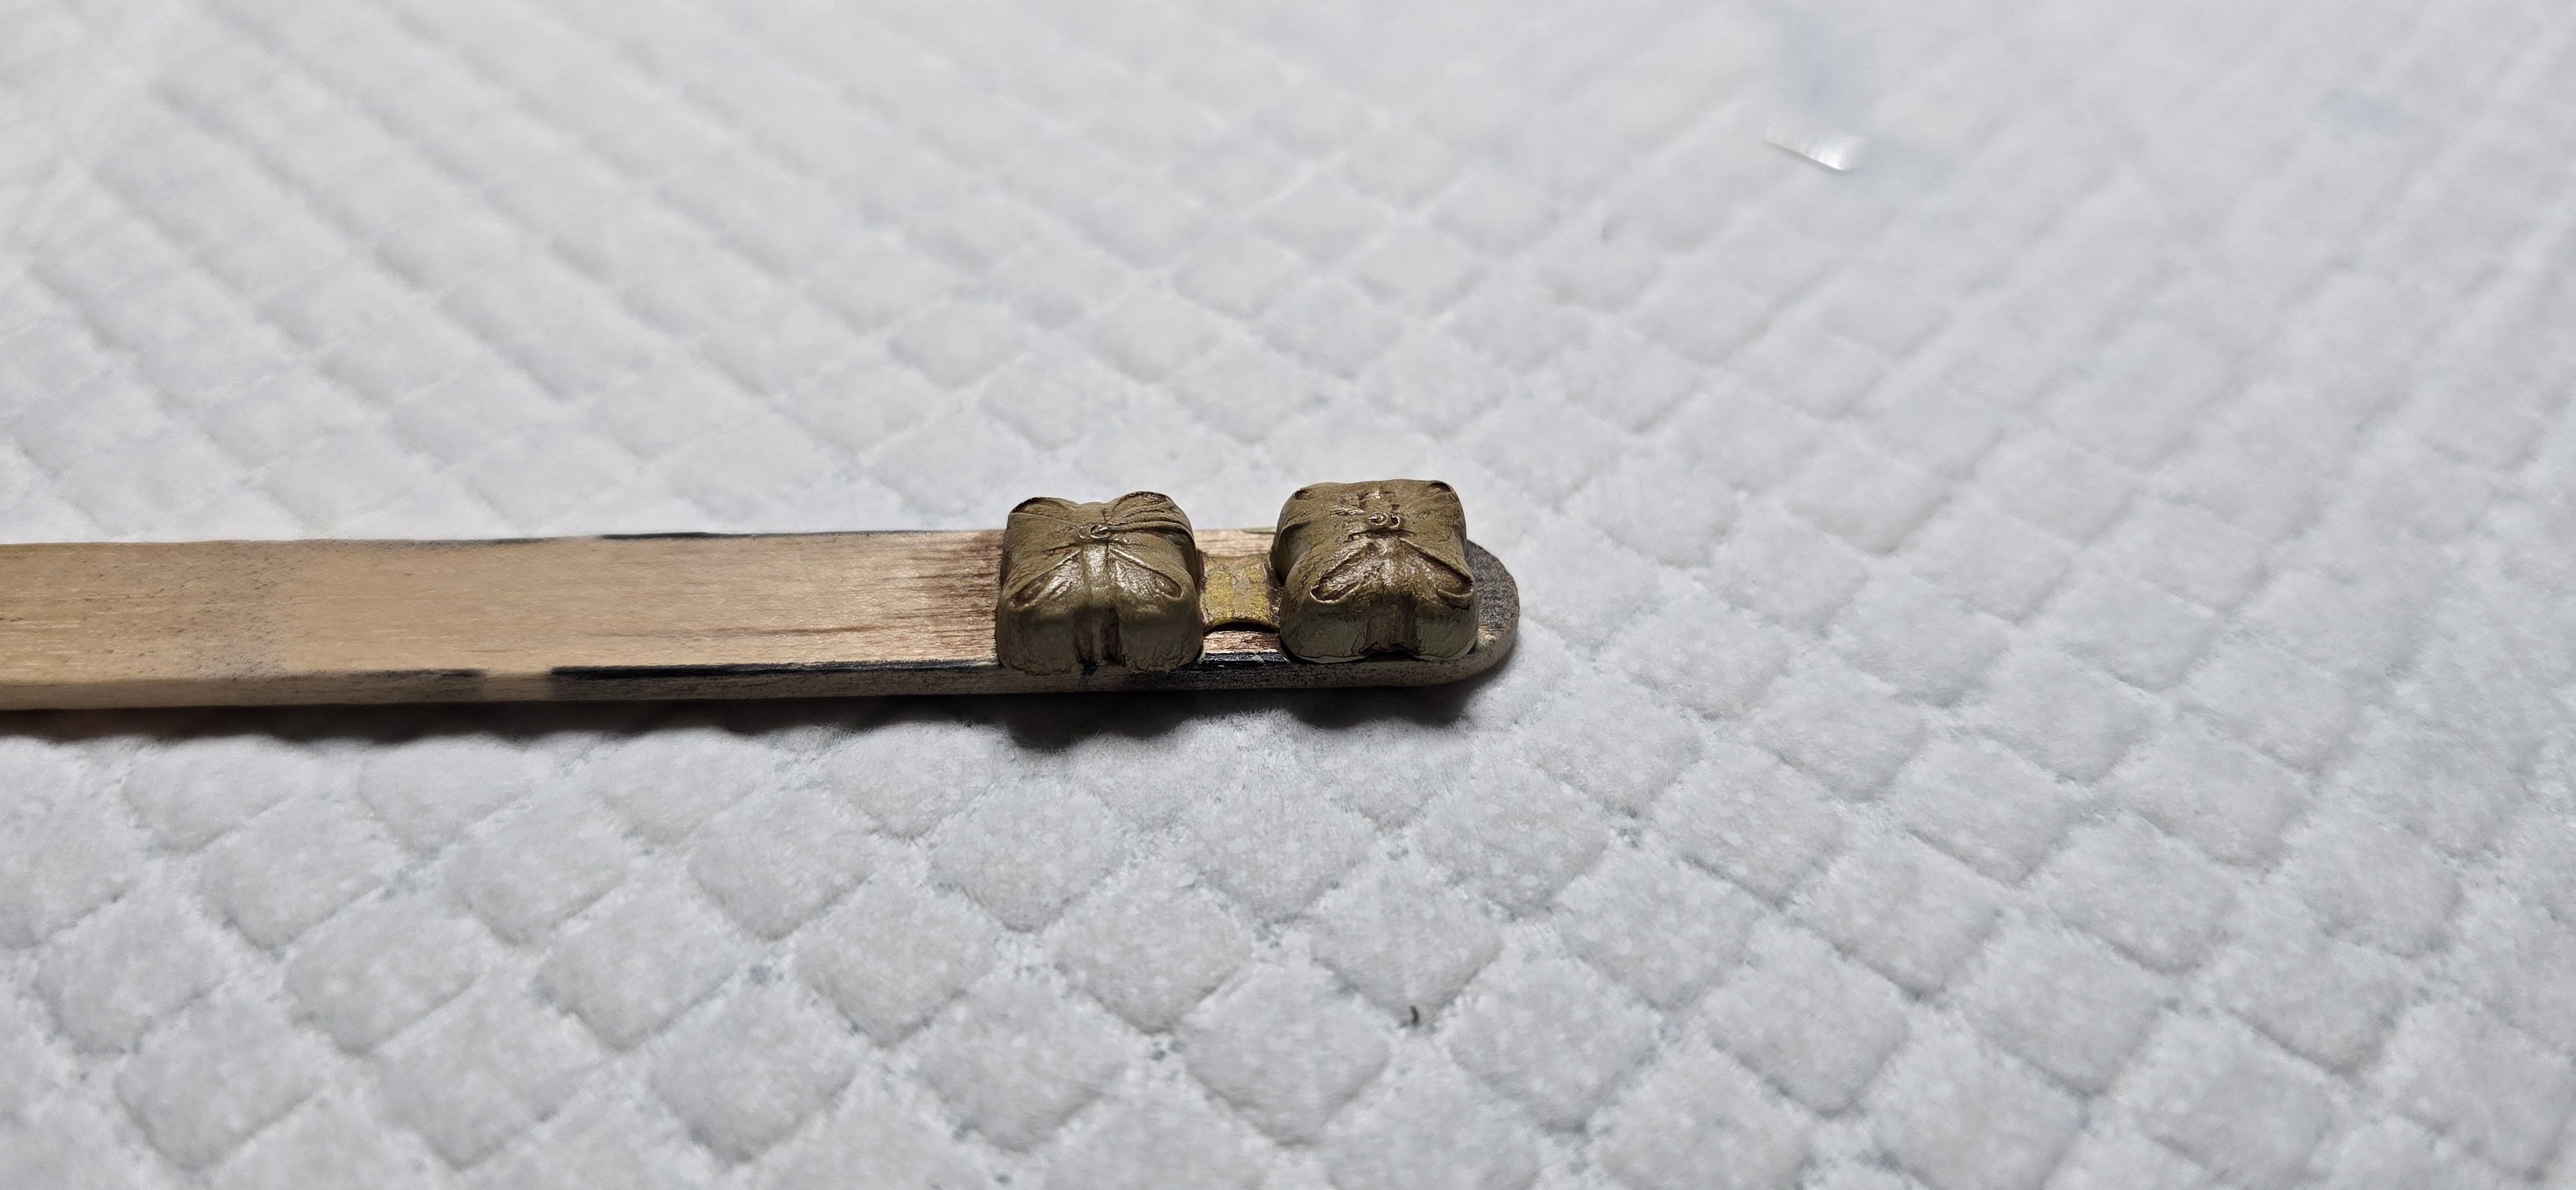
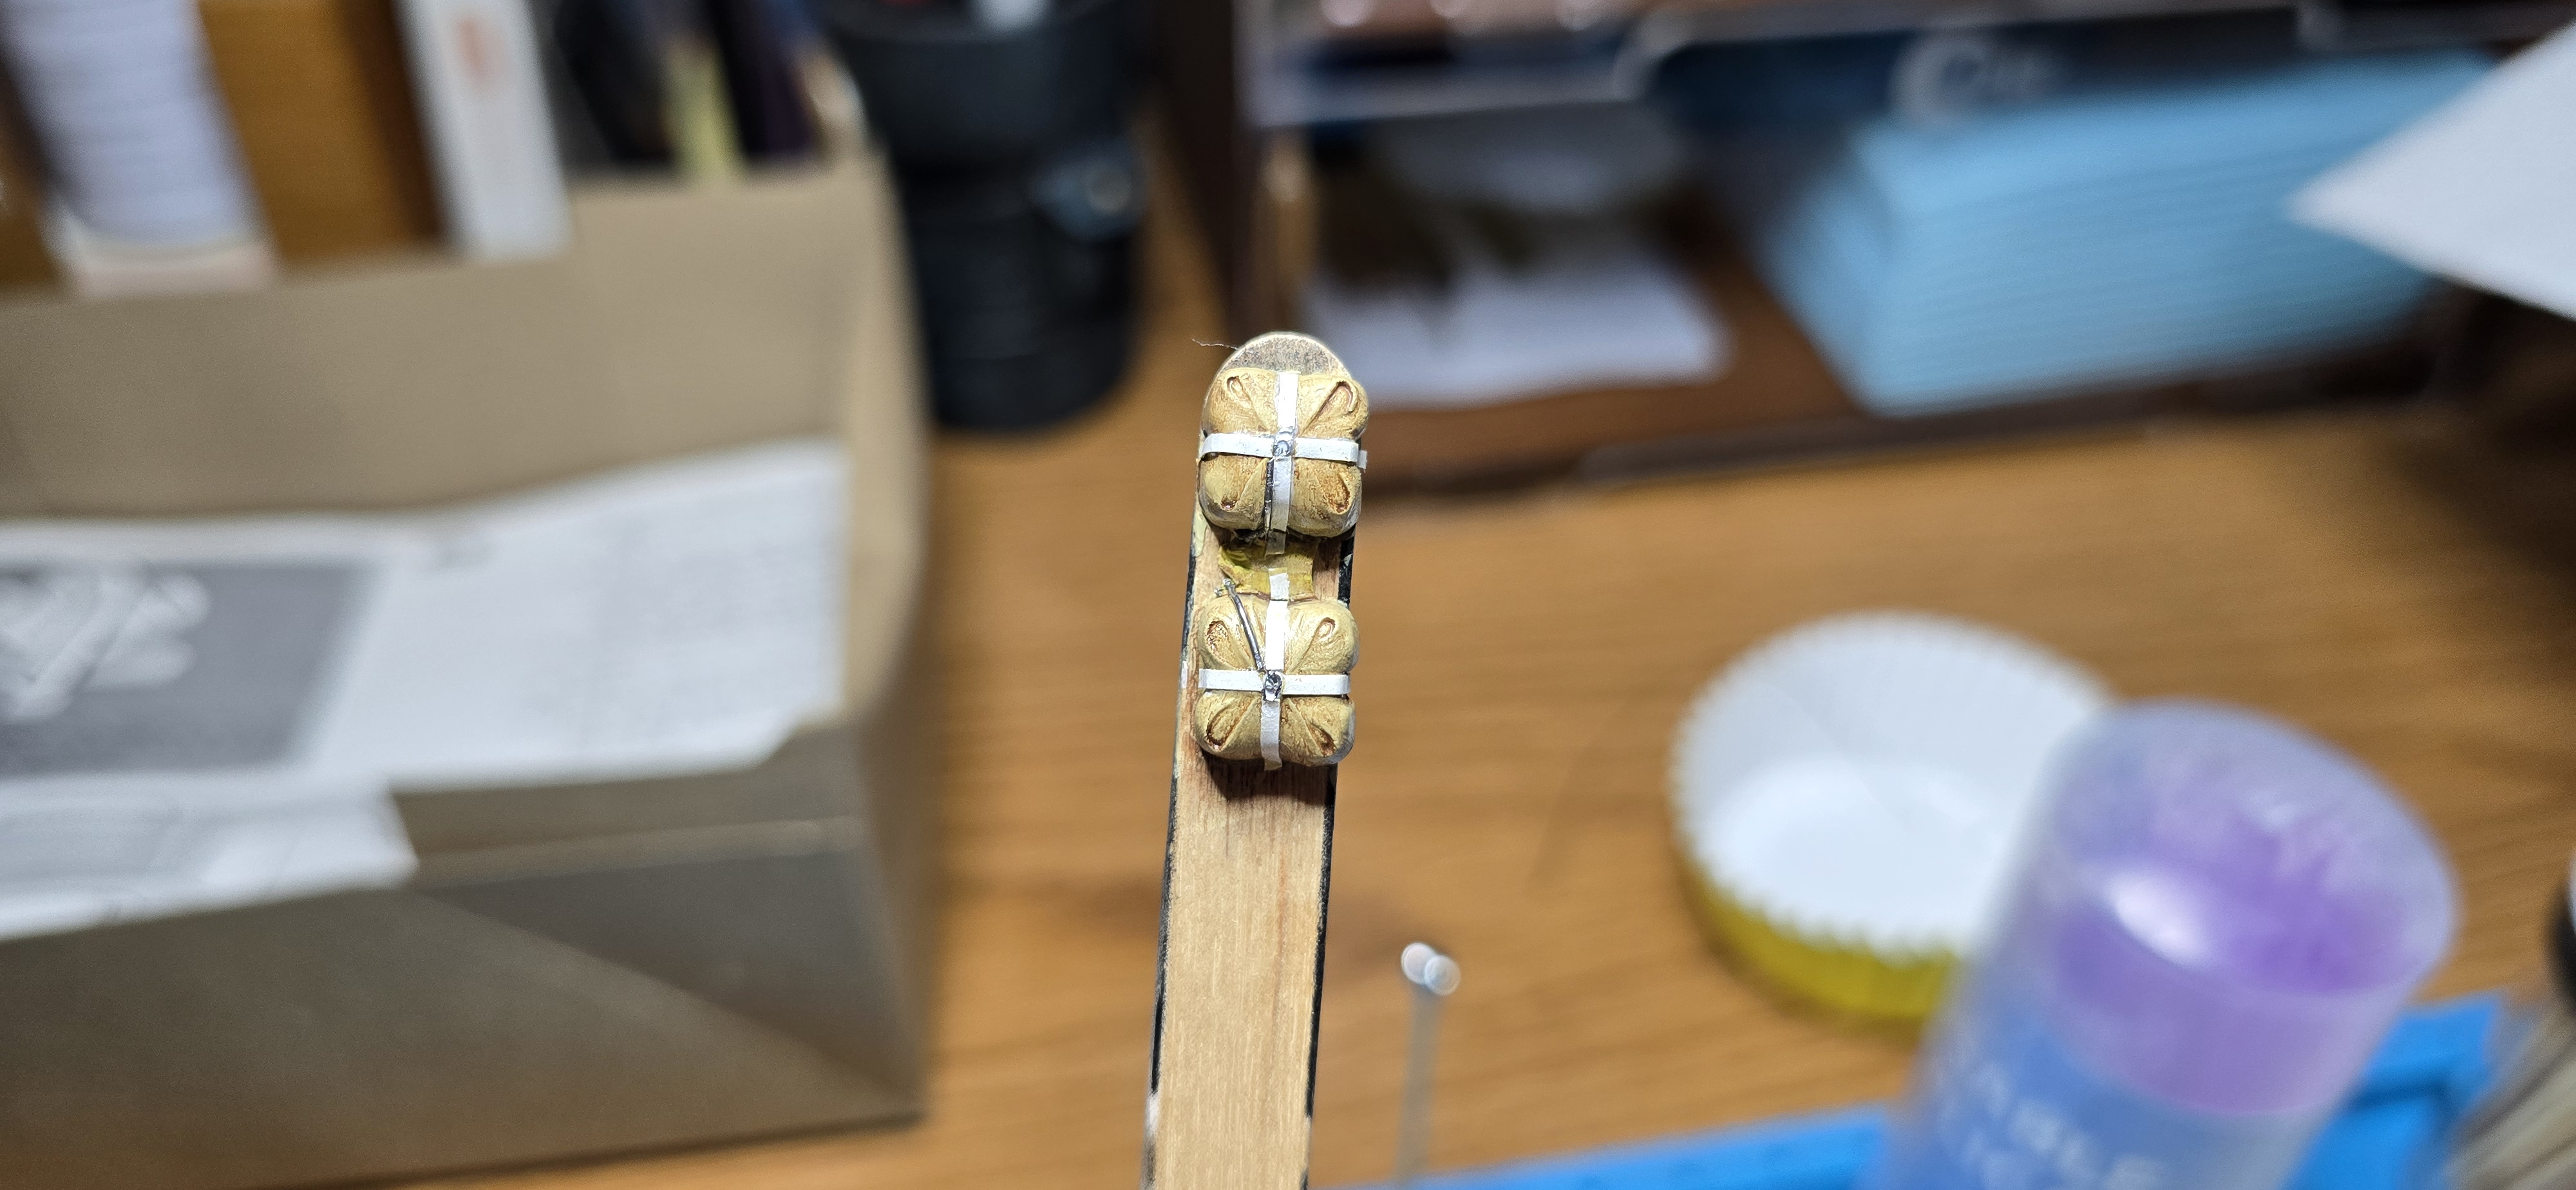
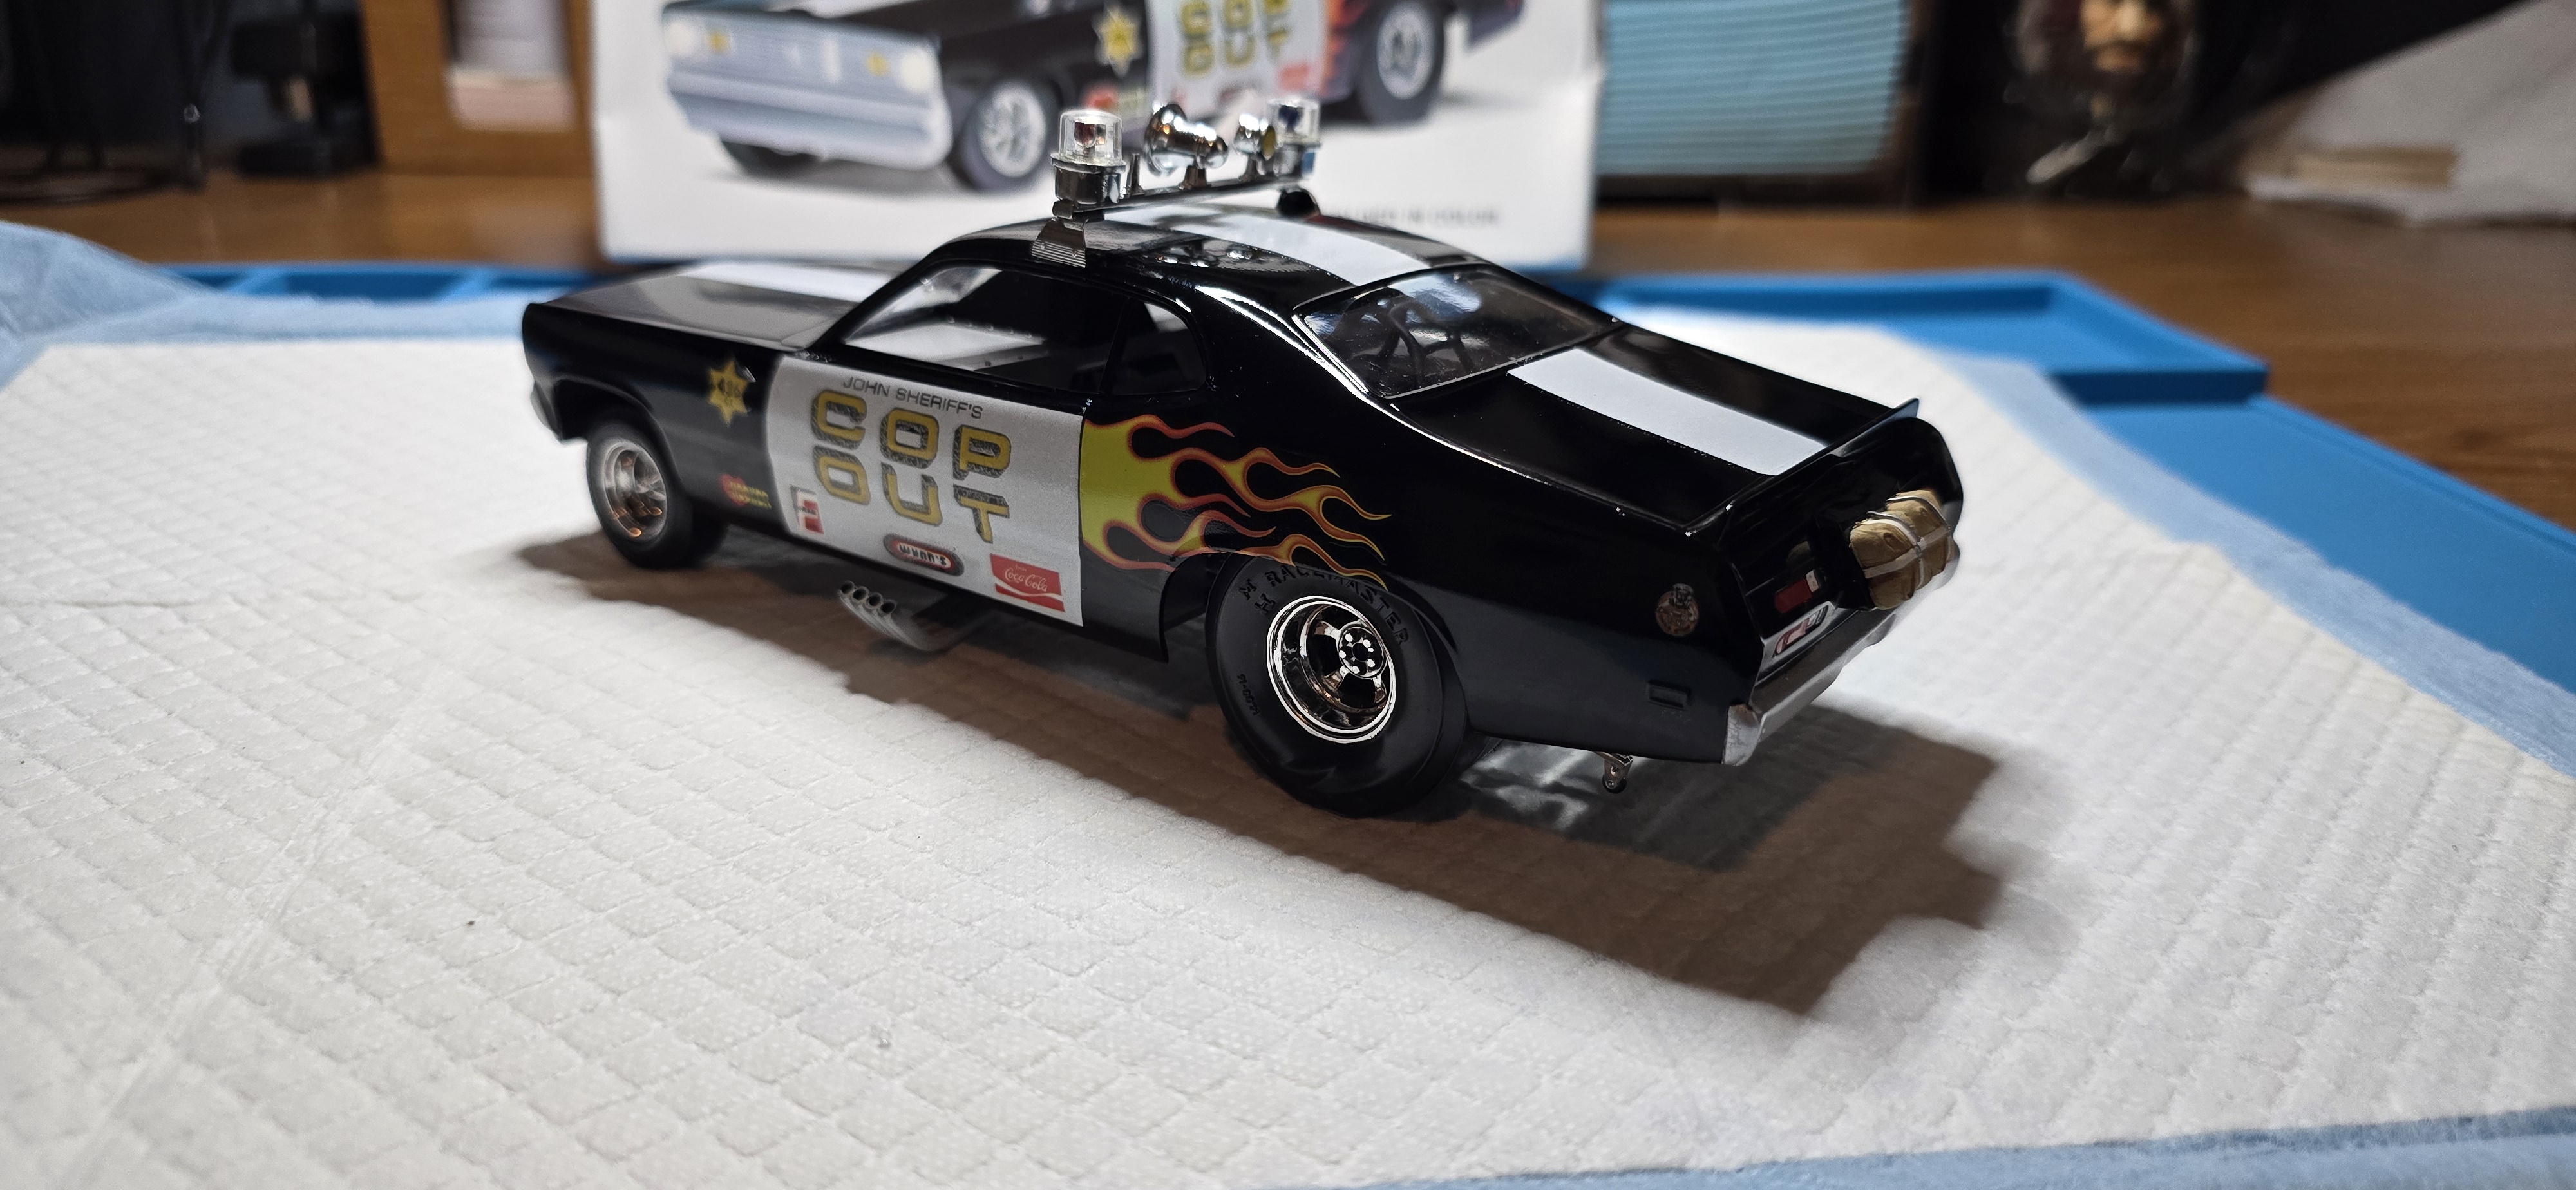
Focusing on the tiny details; painted and detailed up the parachutes, adding the slimmer Tamiya tape, painted white as the straps and adding a sliver of lead wire as the release wire.
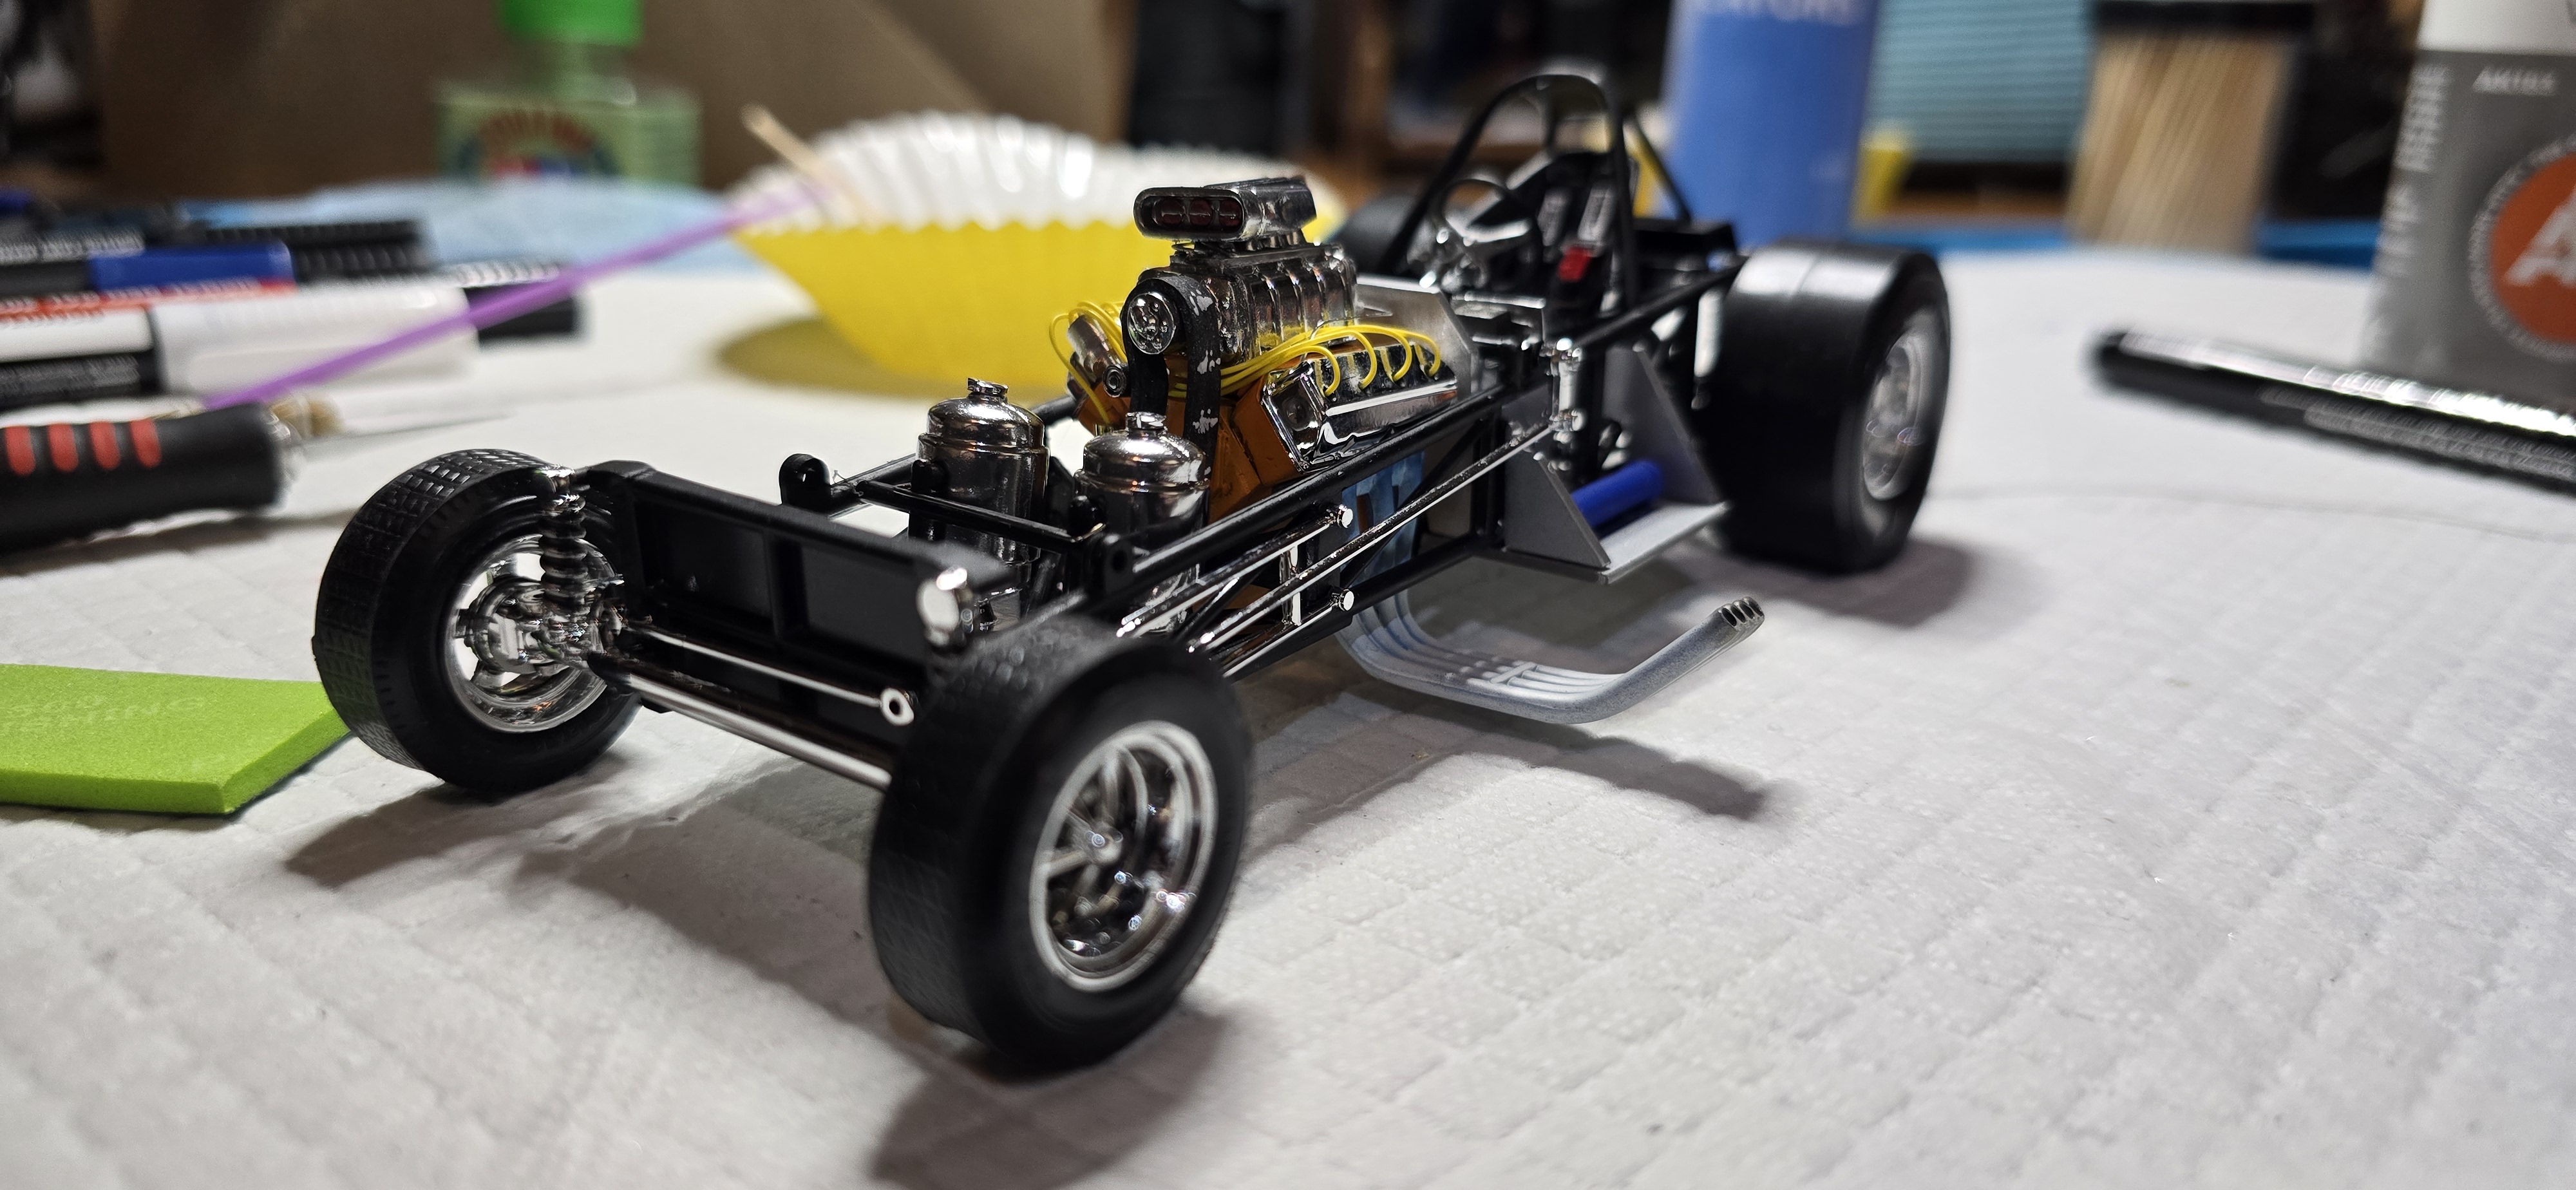
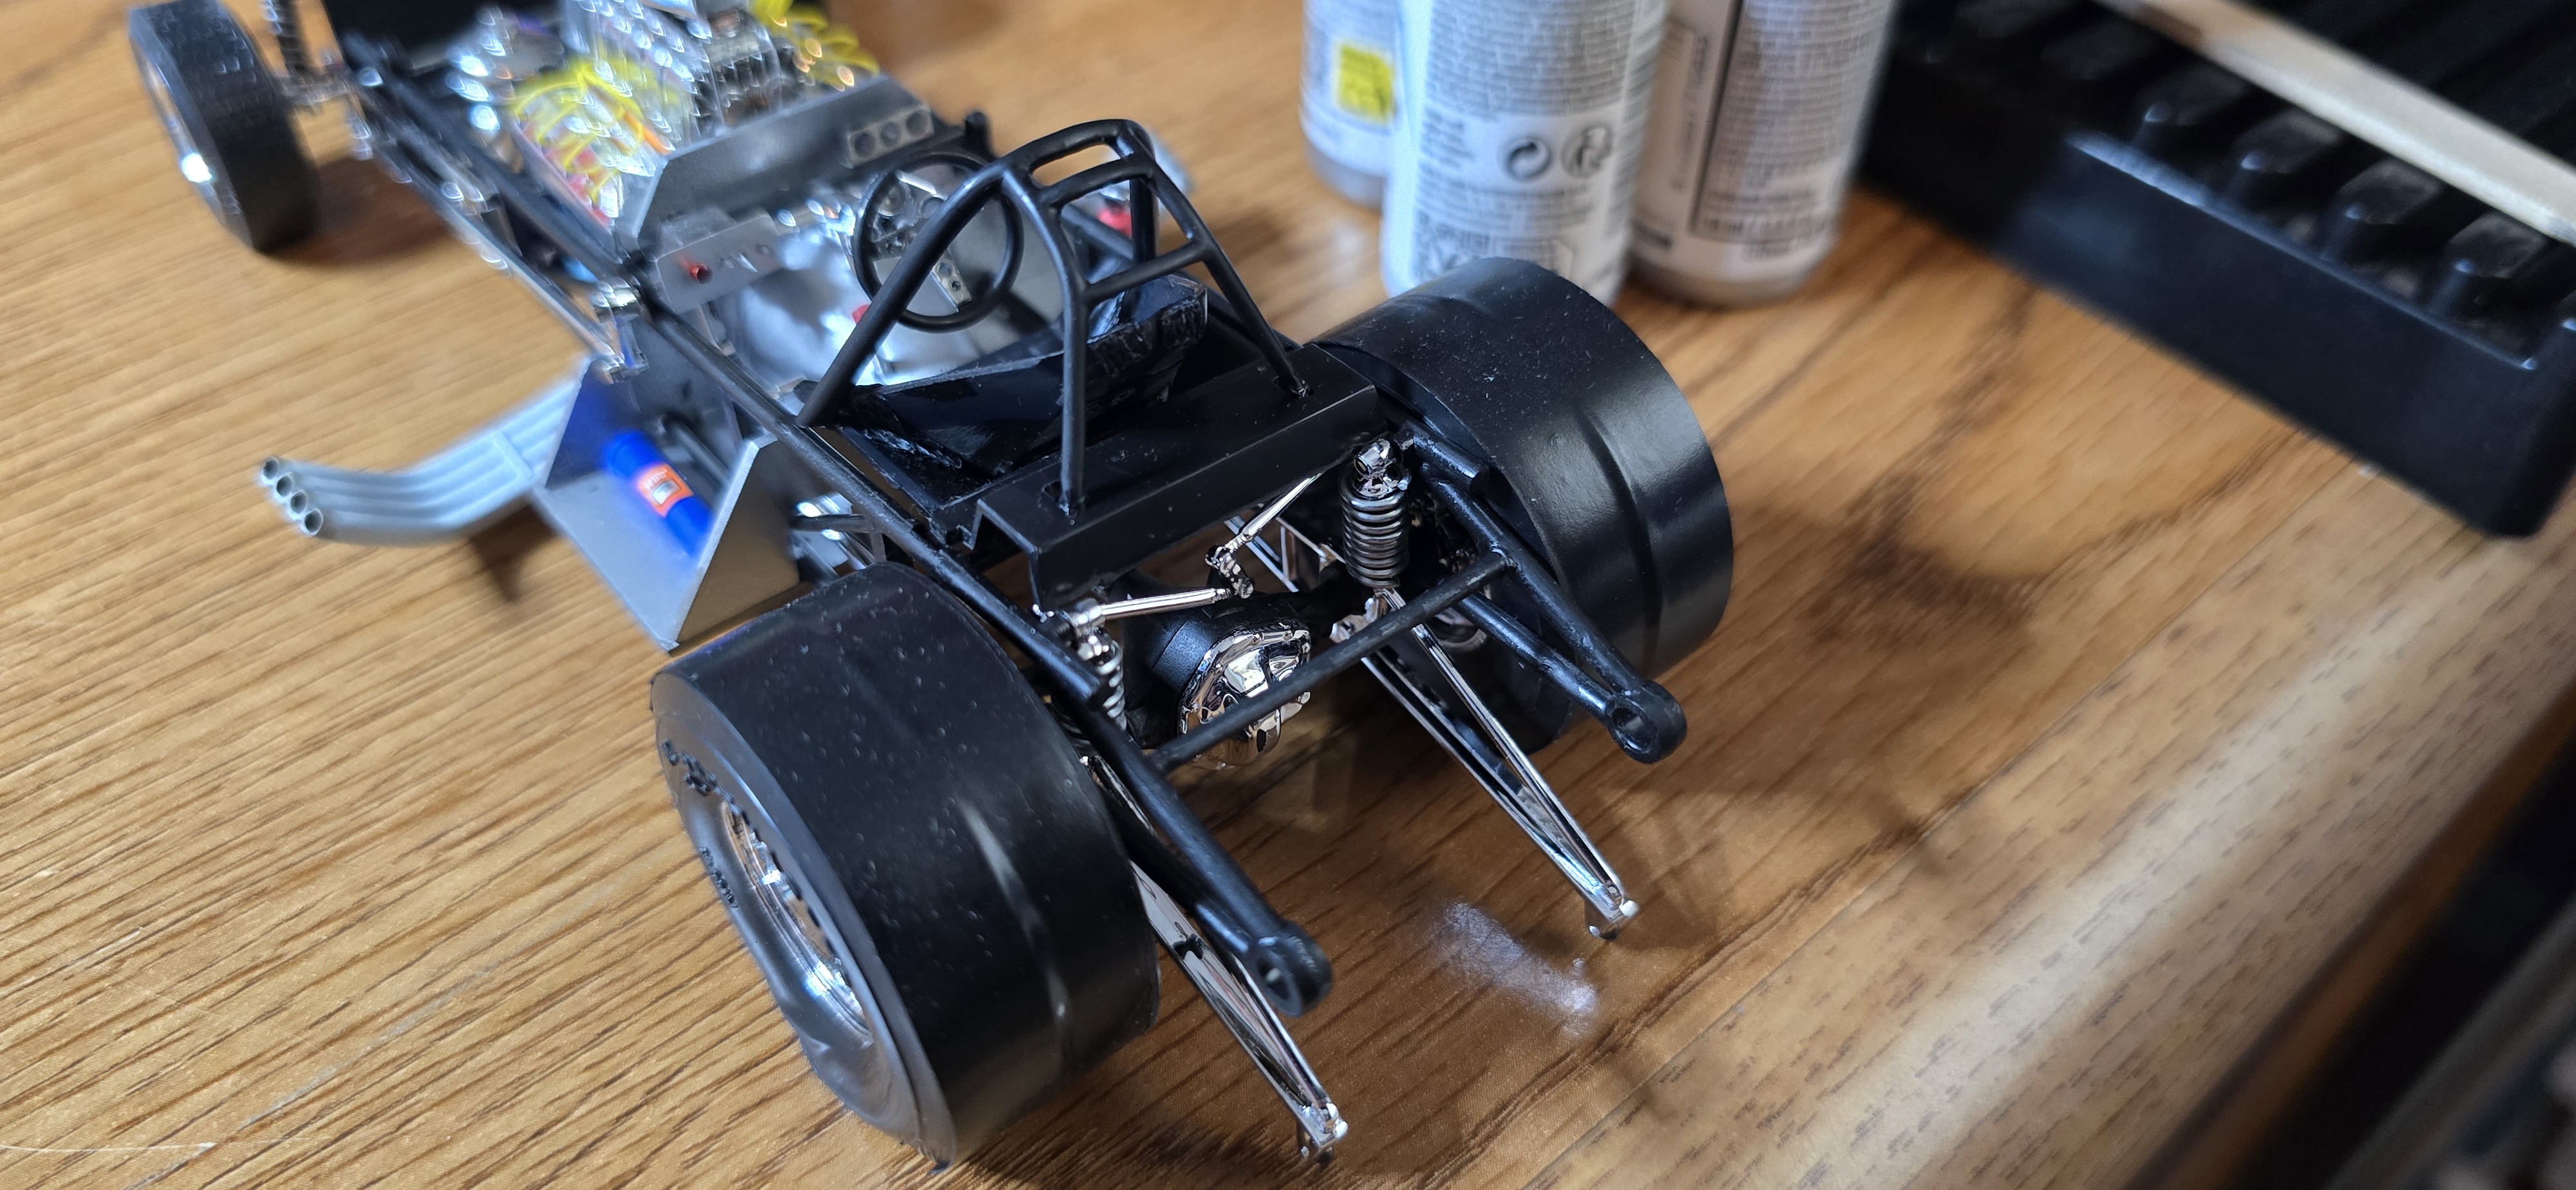
Chassis is done, I didn't like the way the tires looked, so I tried some black rubber electrical tape, cut to the tire size and applied it. Gave the slicks a nice even appearance.
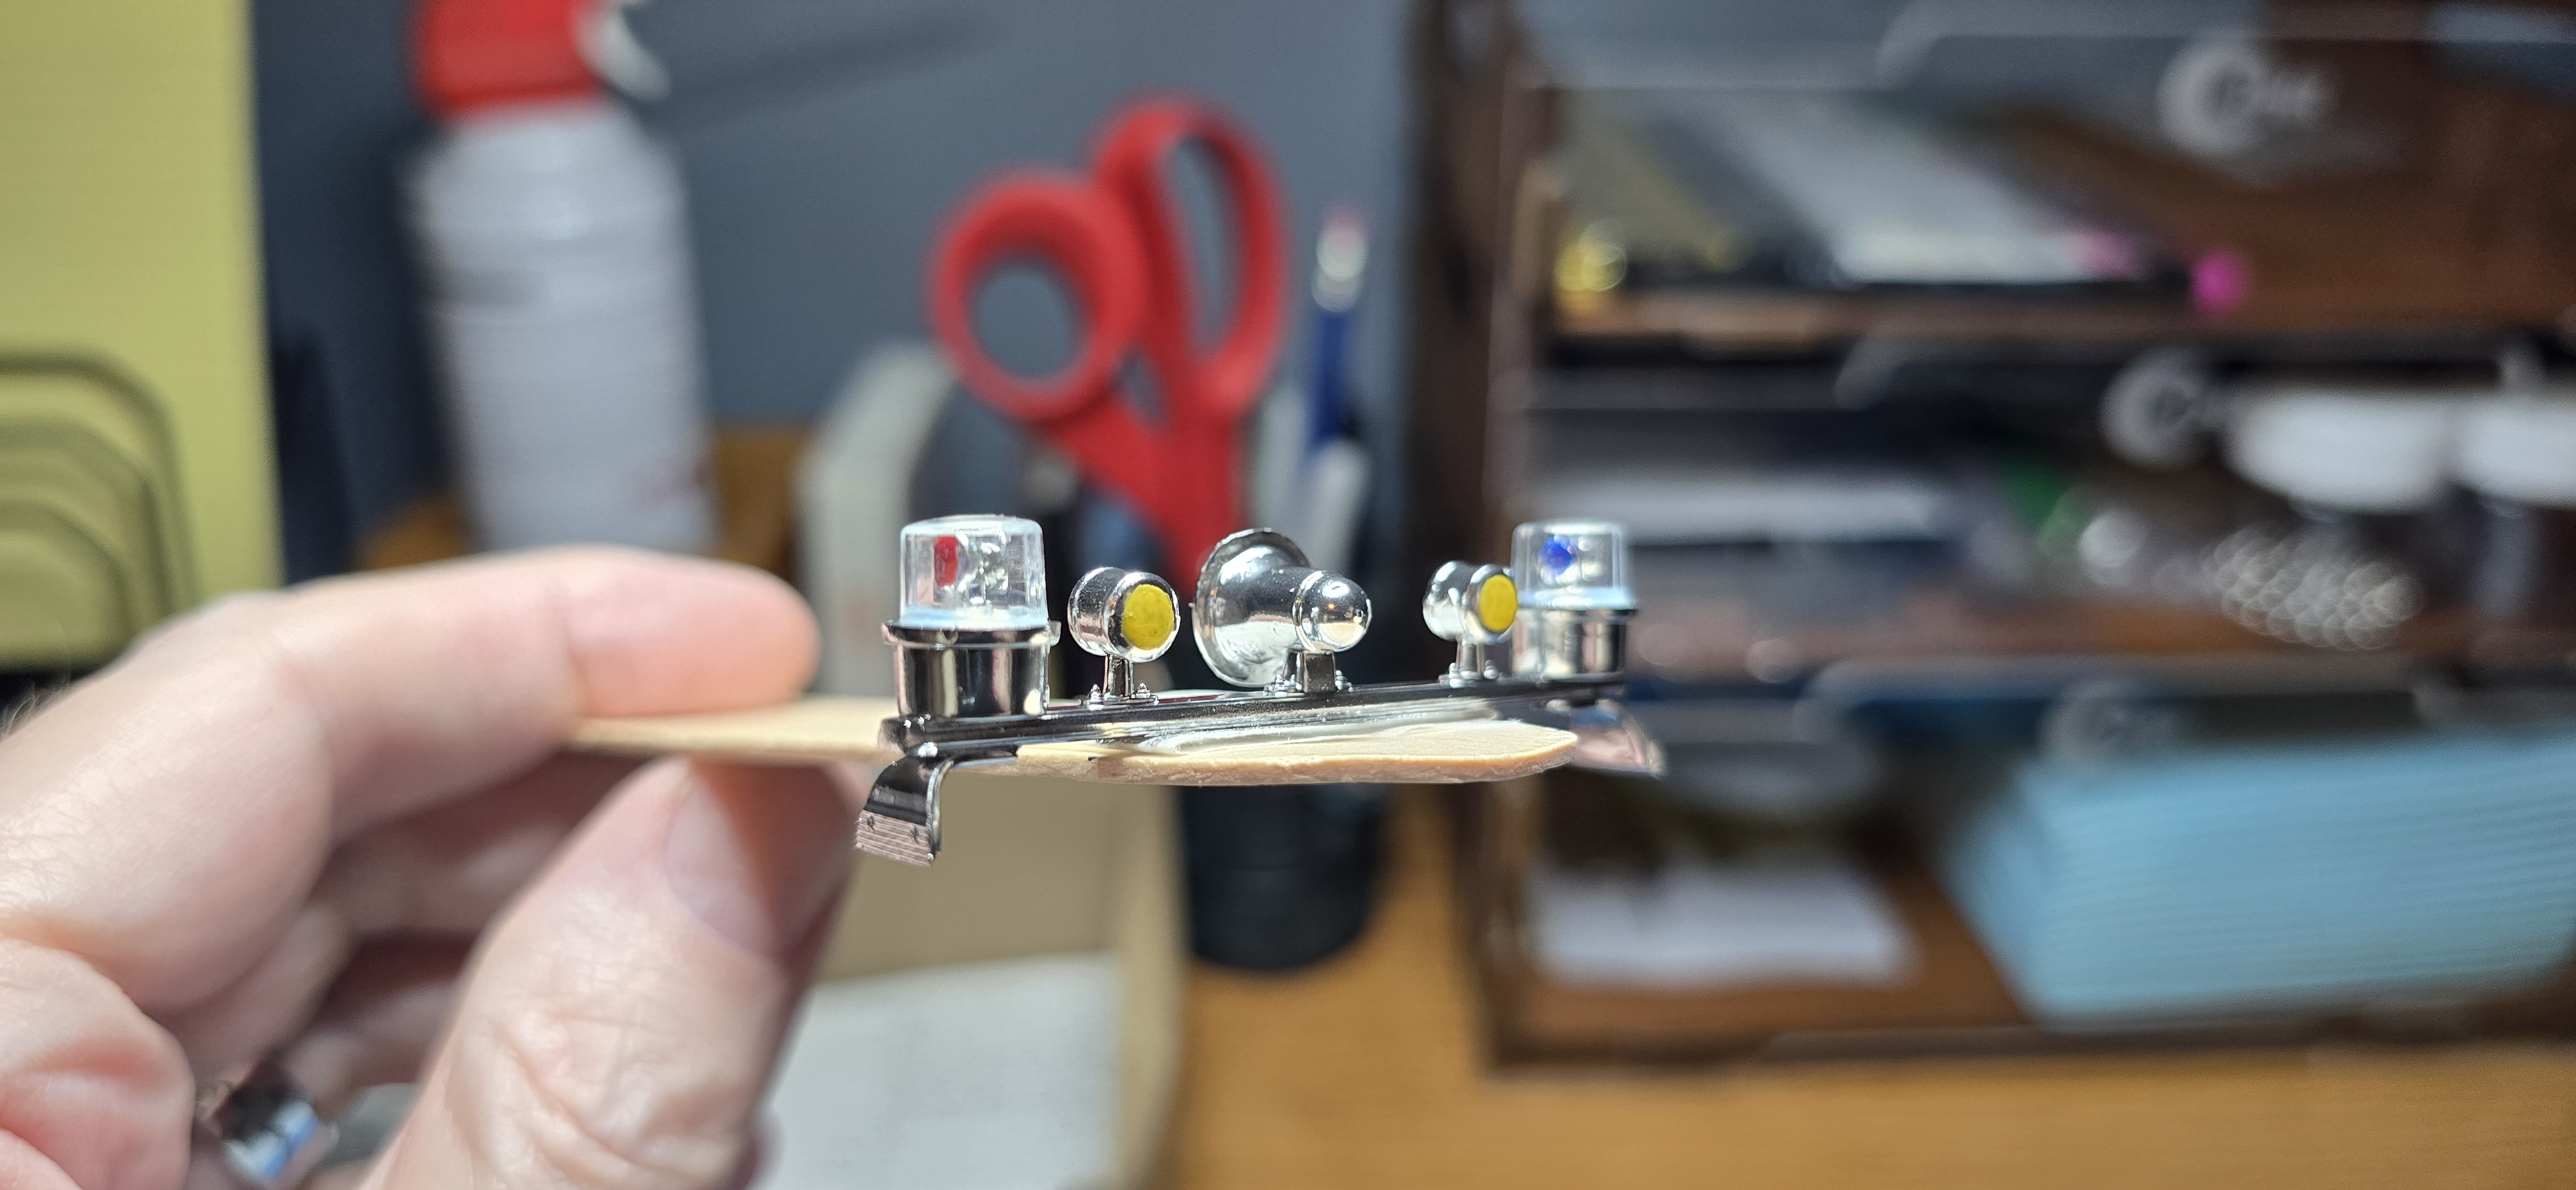
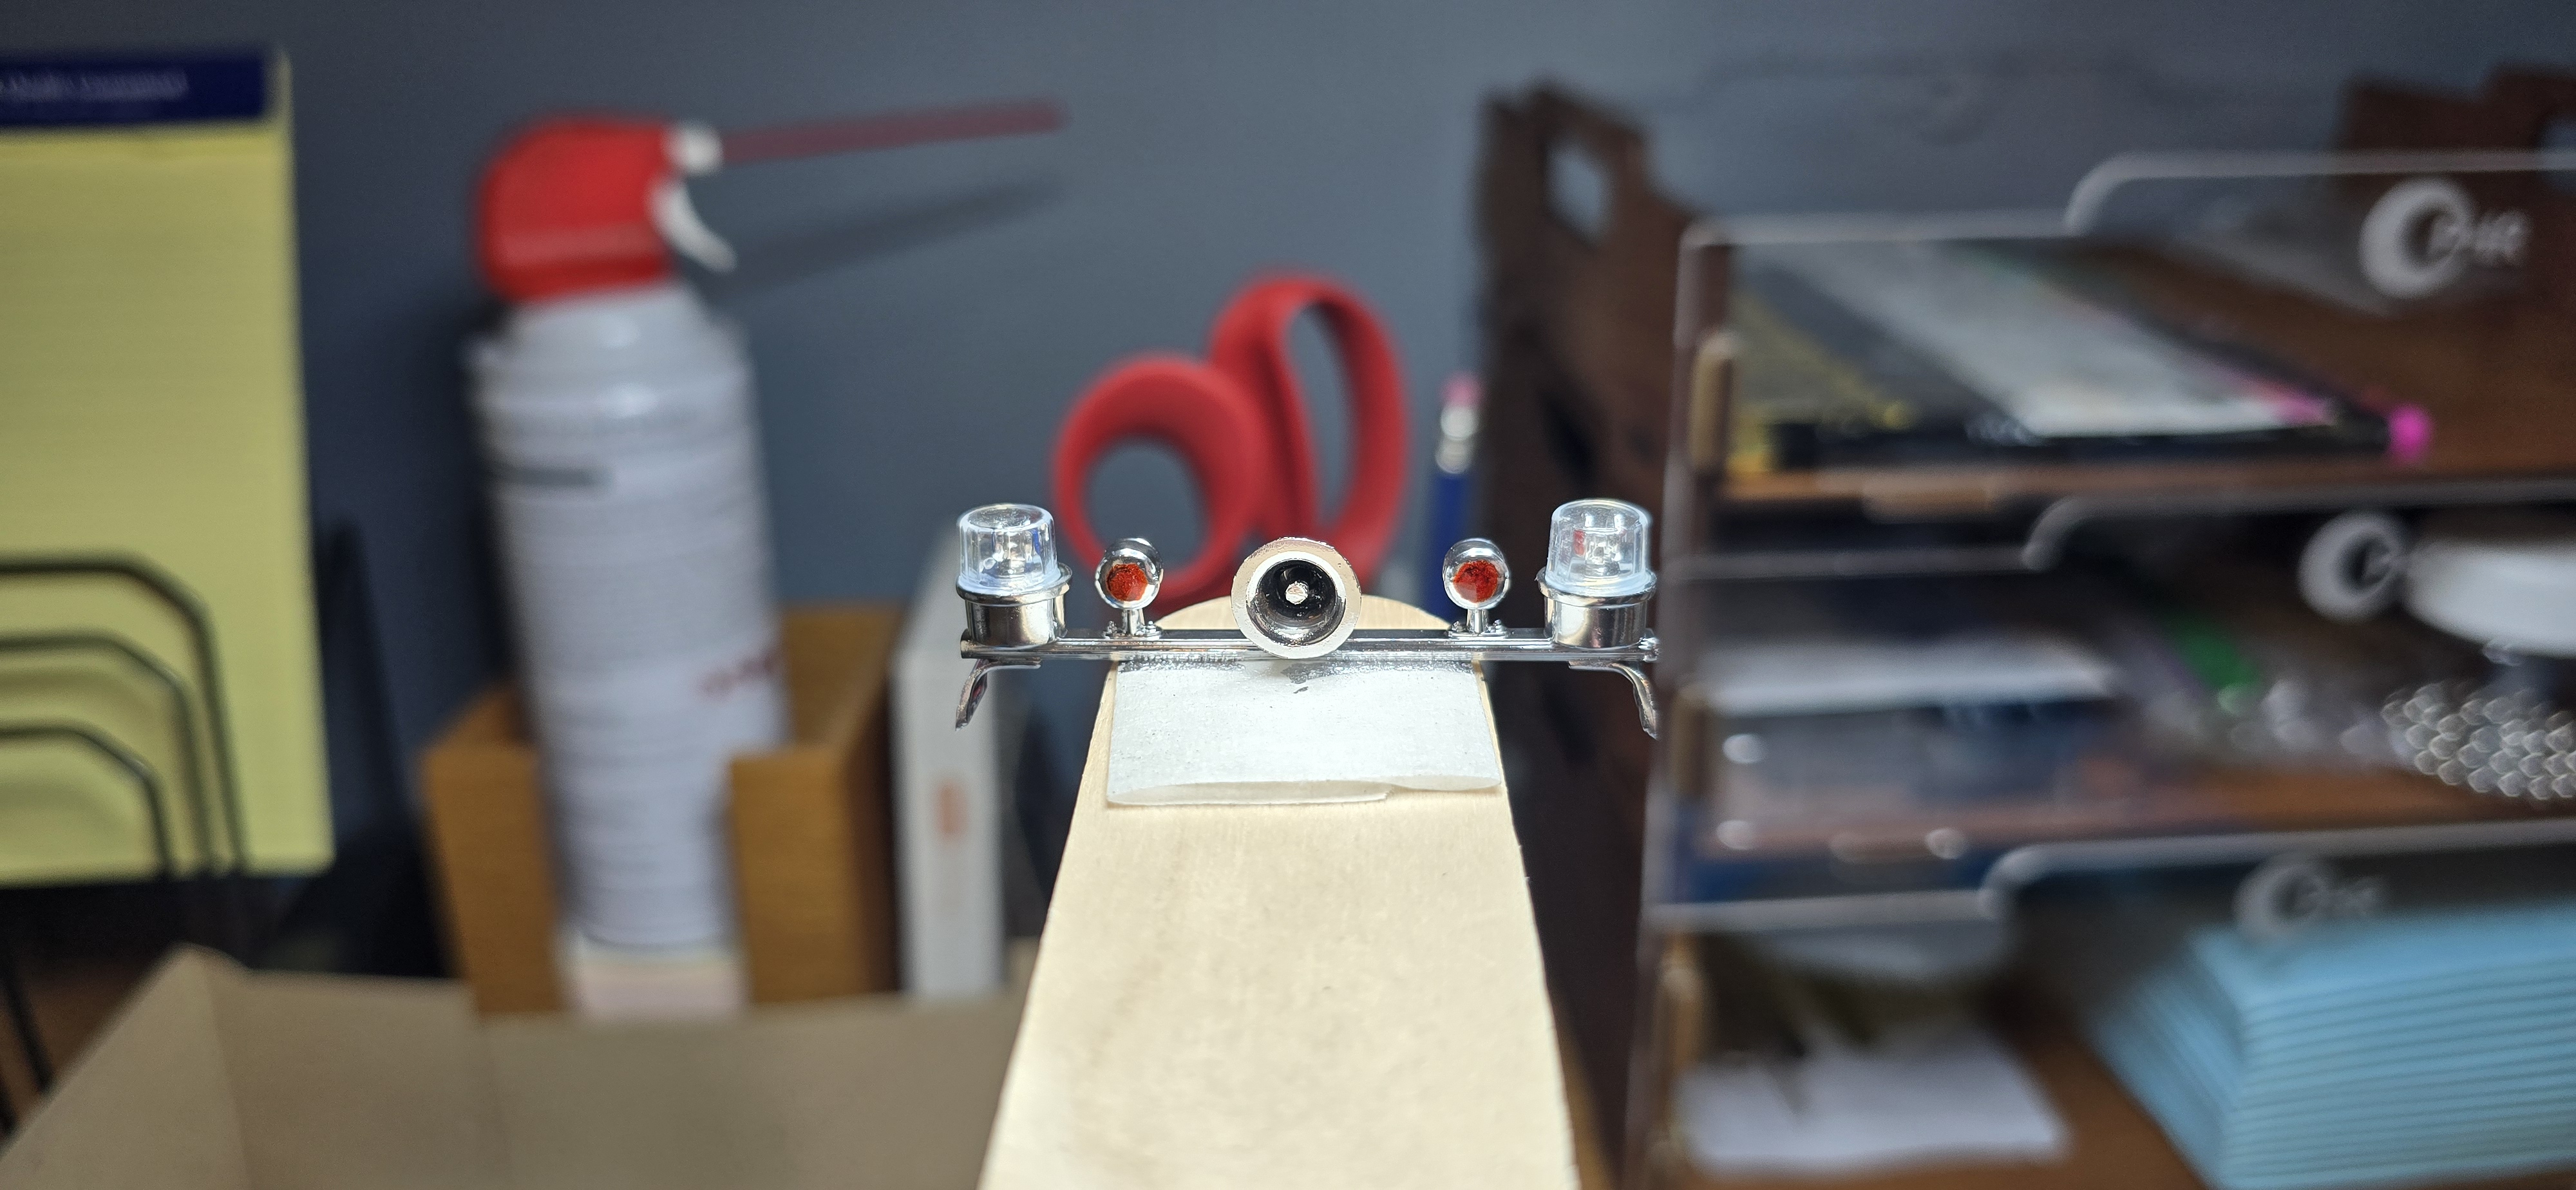
Lastly, the light bar, been 3 or 4 days since the Fusionfirm was applied, so I assembled the light bar.
Taped and masked up the body for some silver airbrushing to the grille and bumpers.
20260606_093957.jpg
20260606_094952.jpg
20260606_110843.jpg
20260606_110833.jpg
 
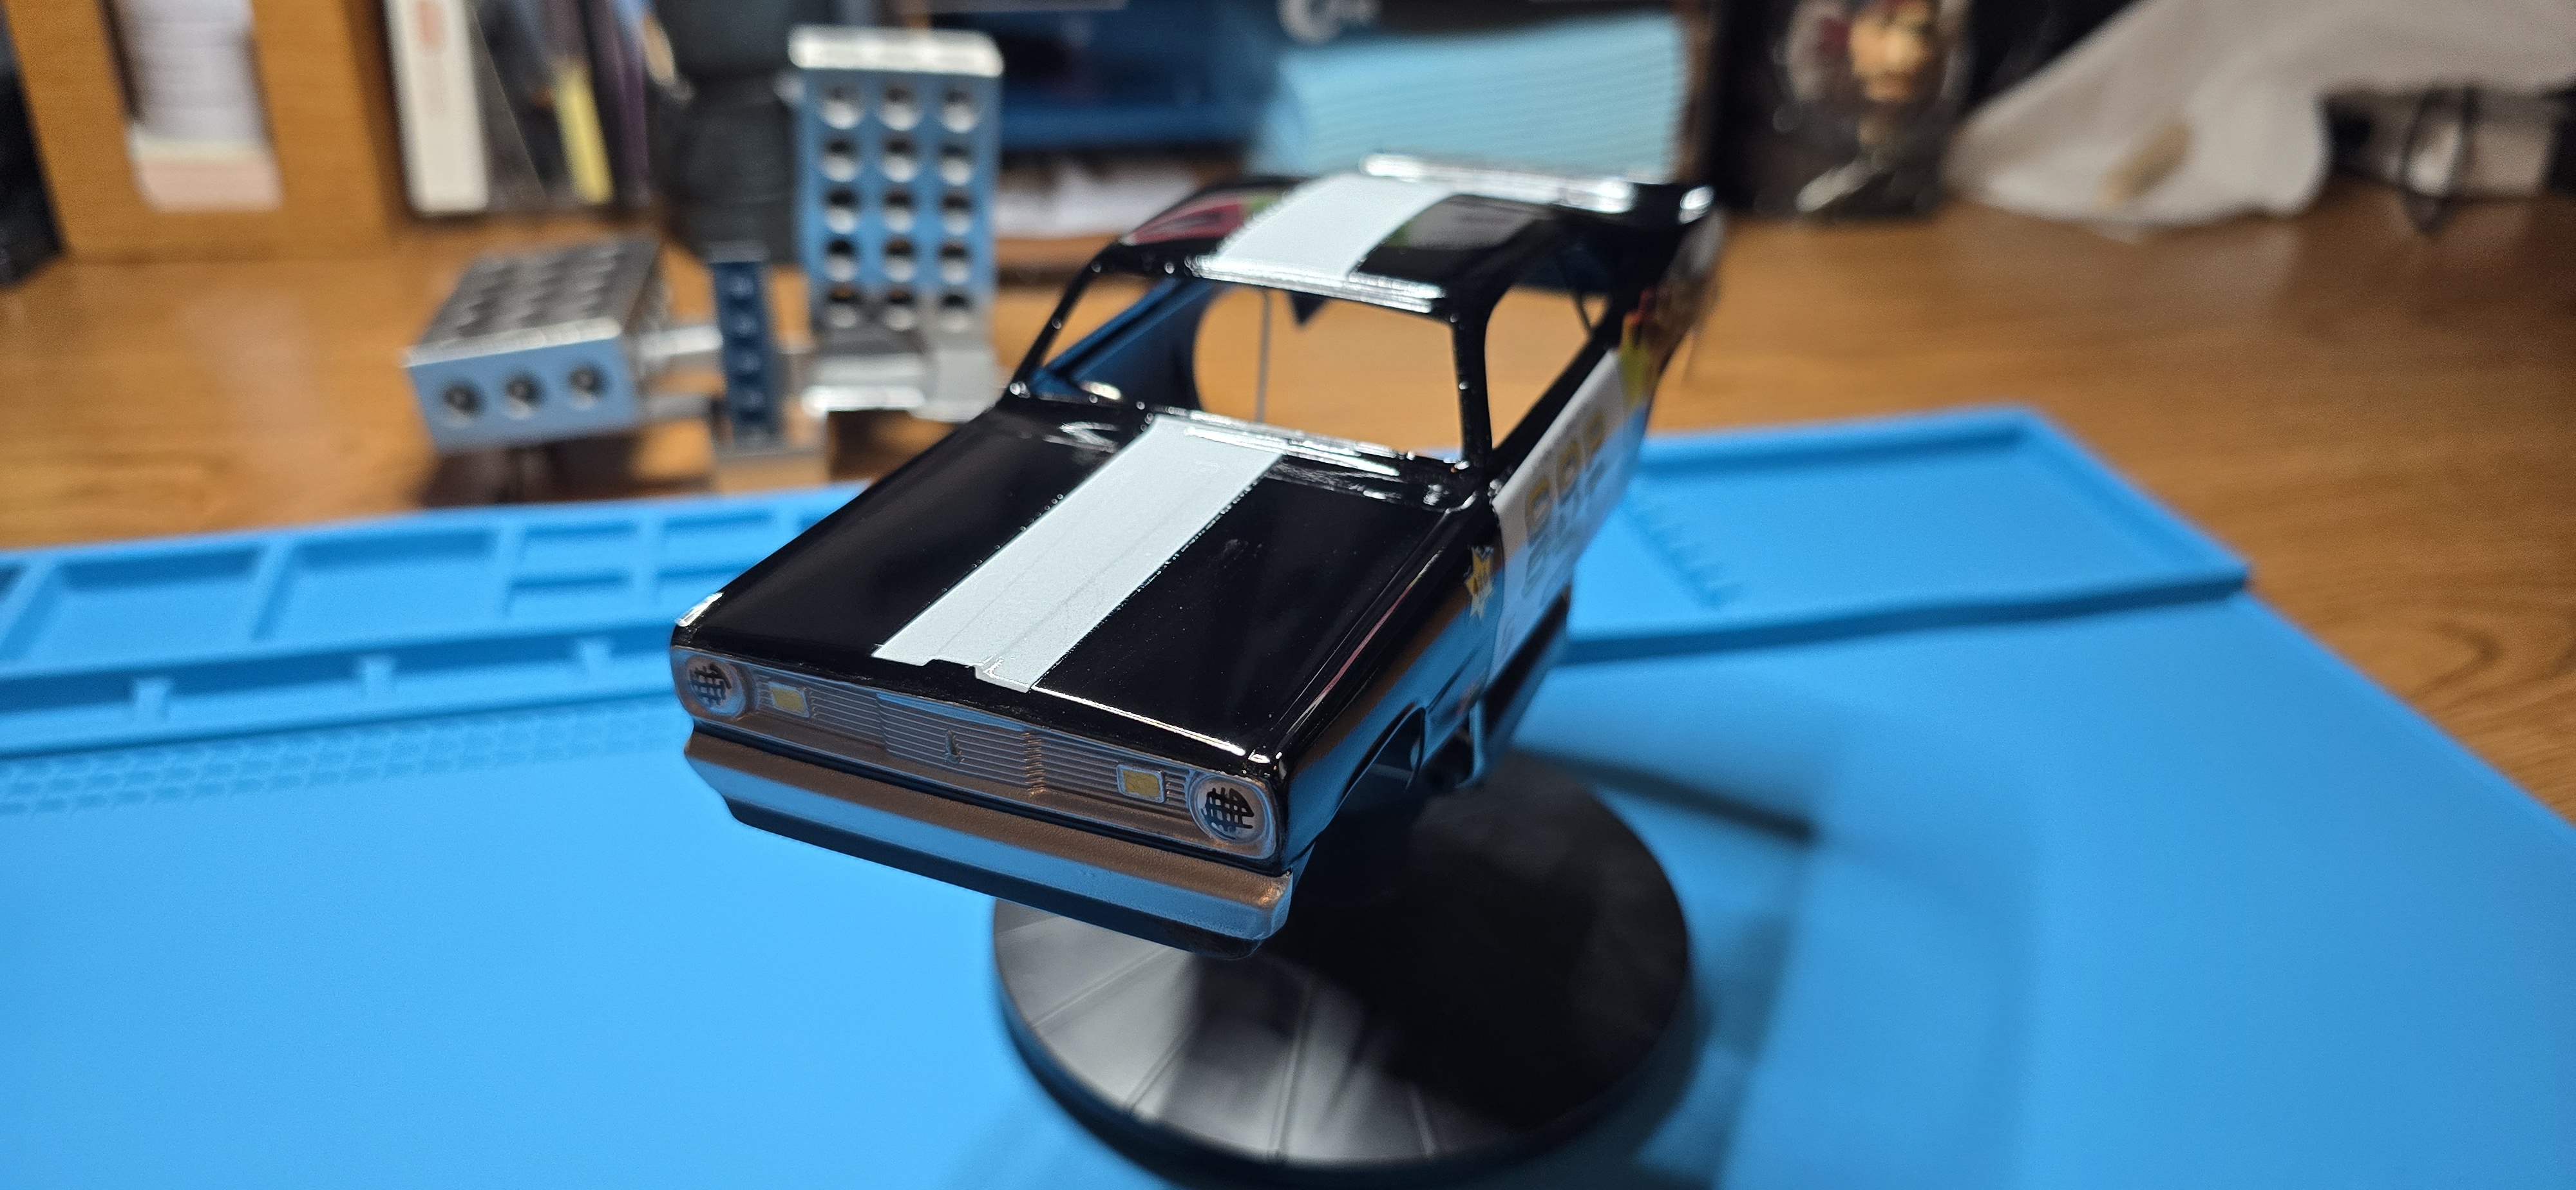
Painted the silver, for the grille and bumpers and painted the lights, in the stylized way funny were.
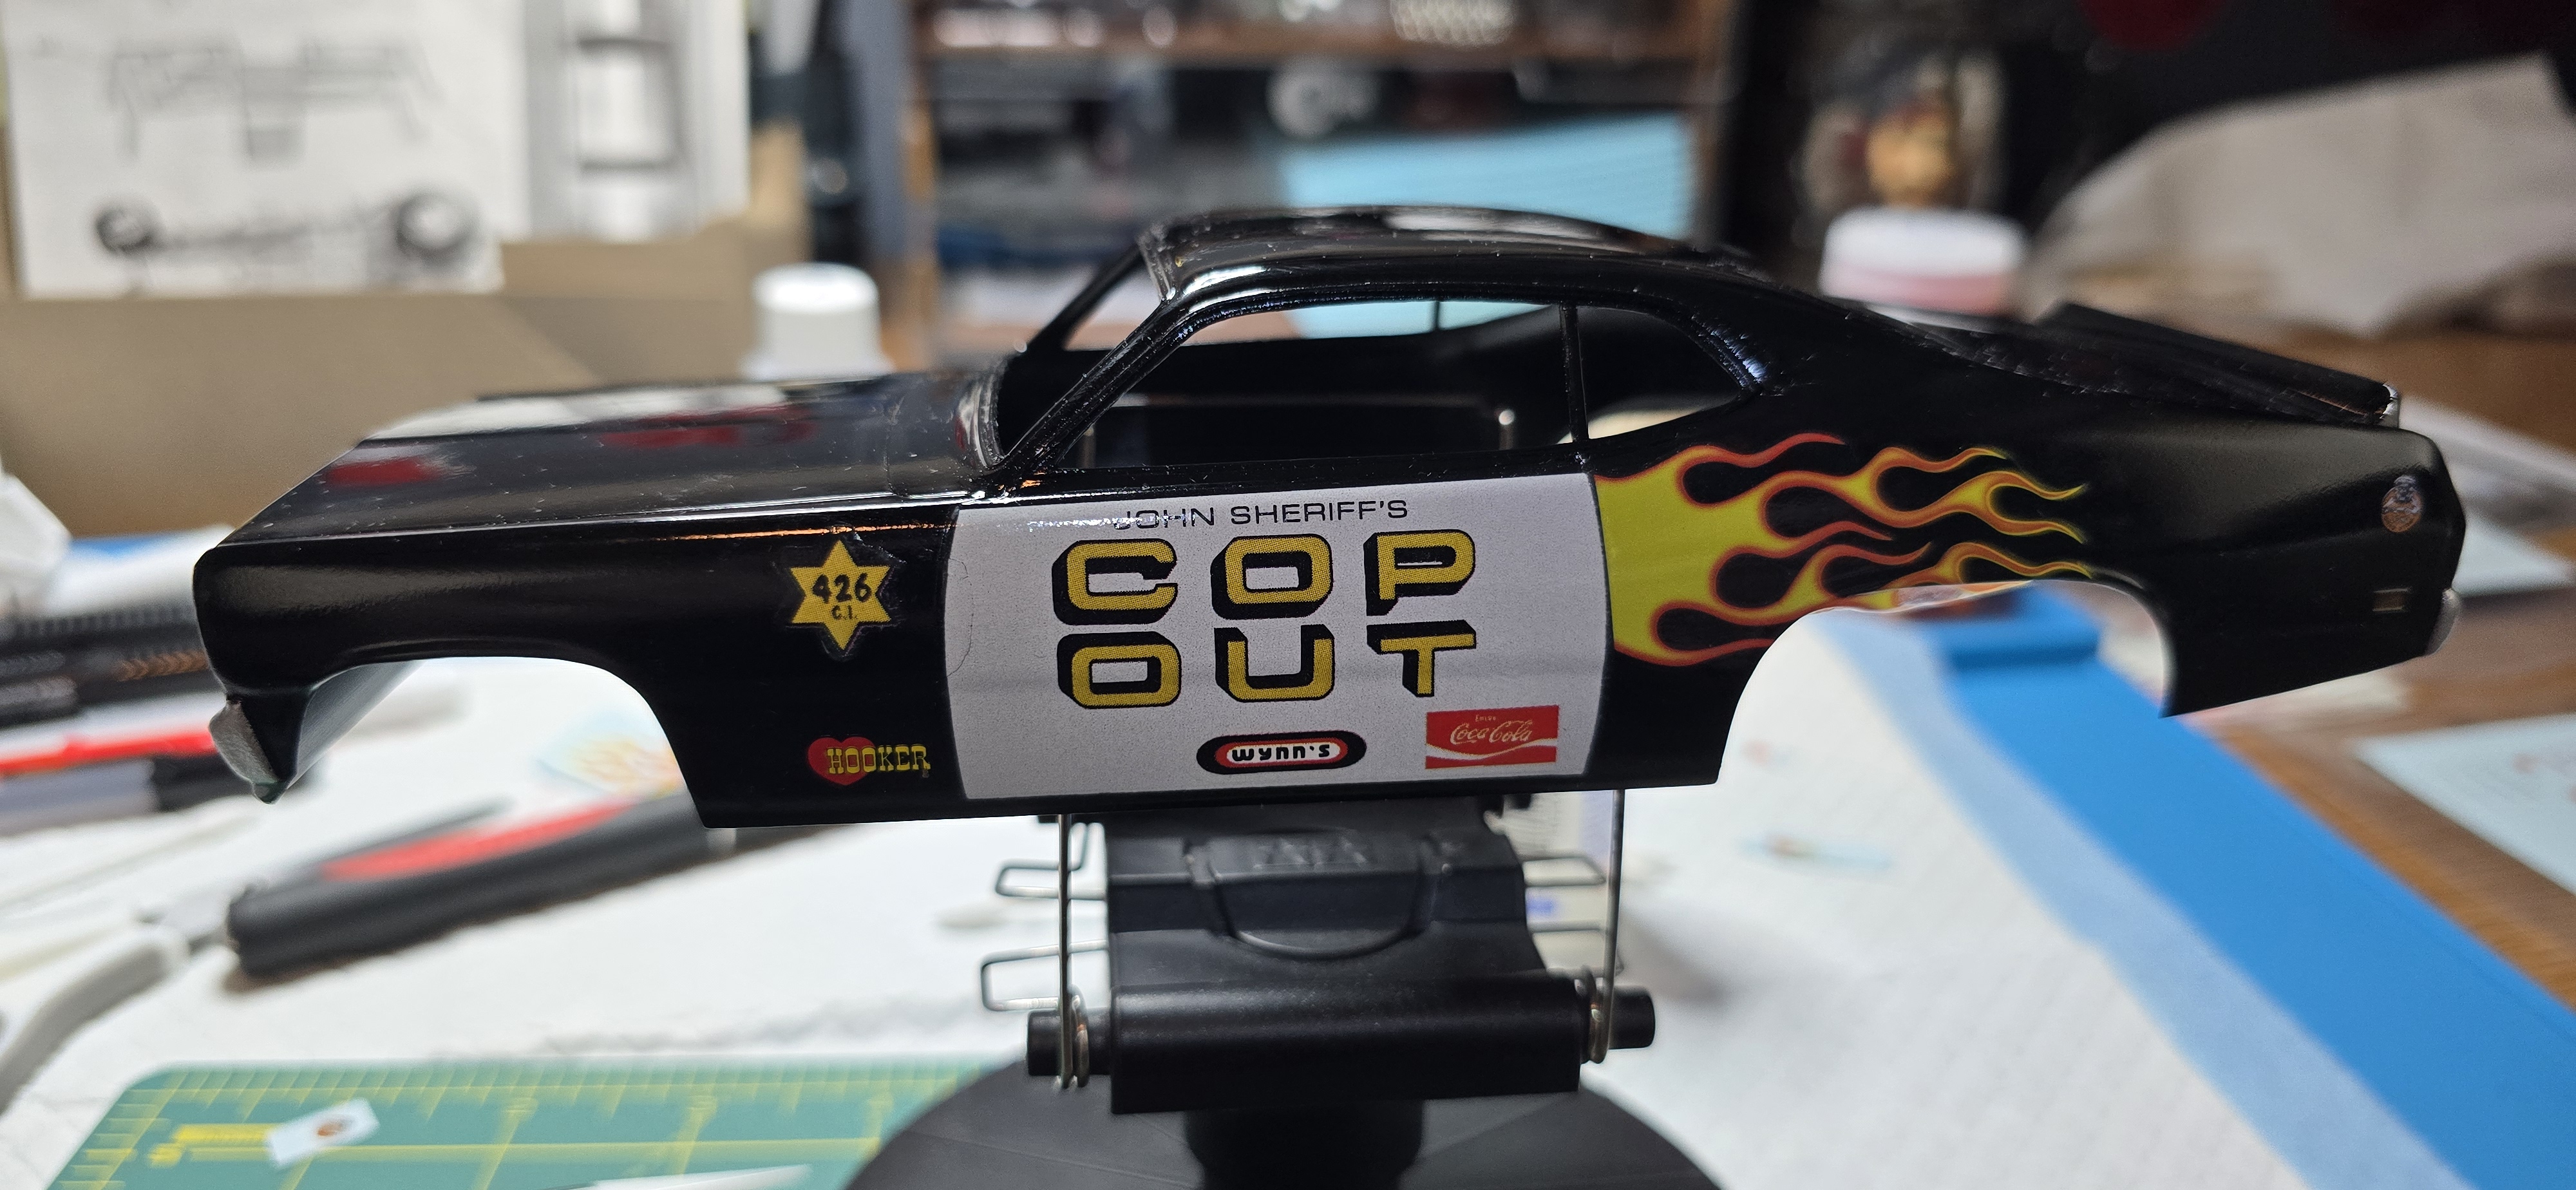
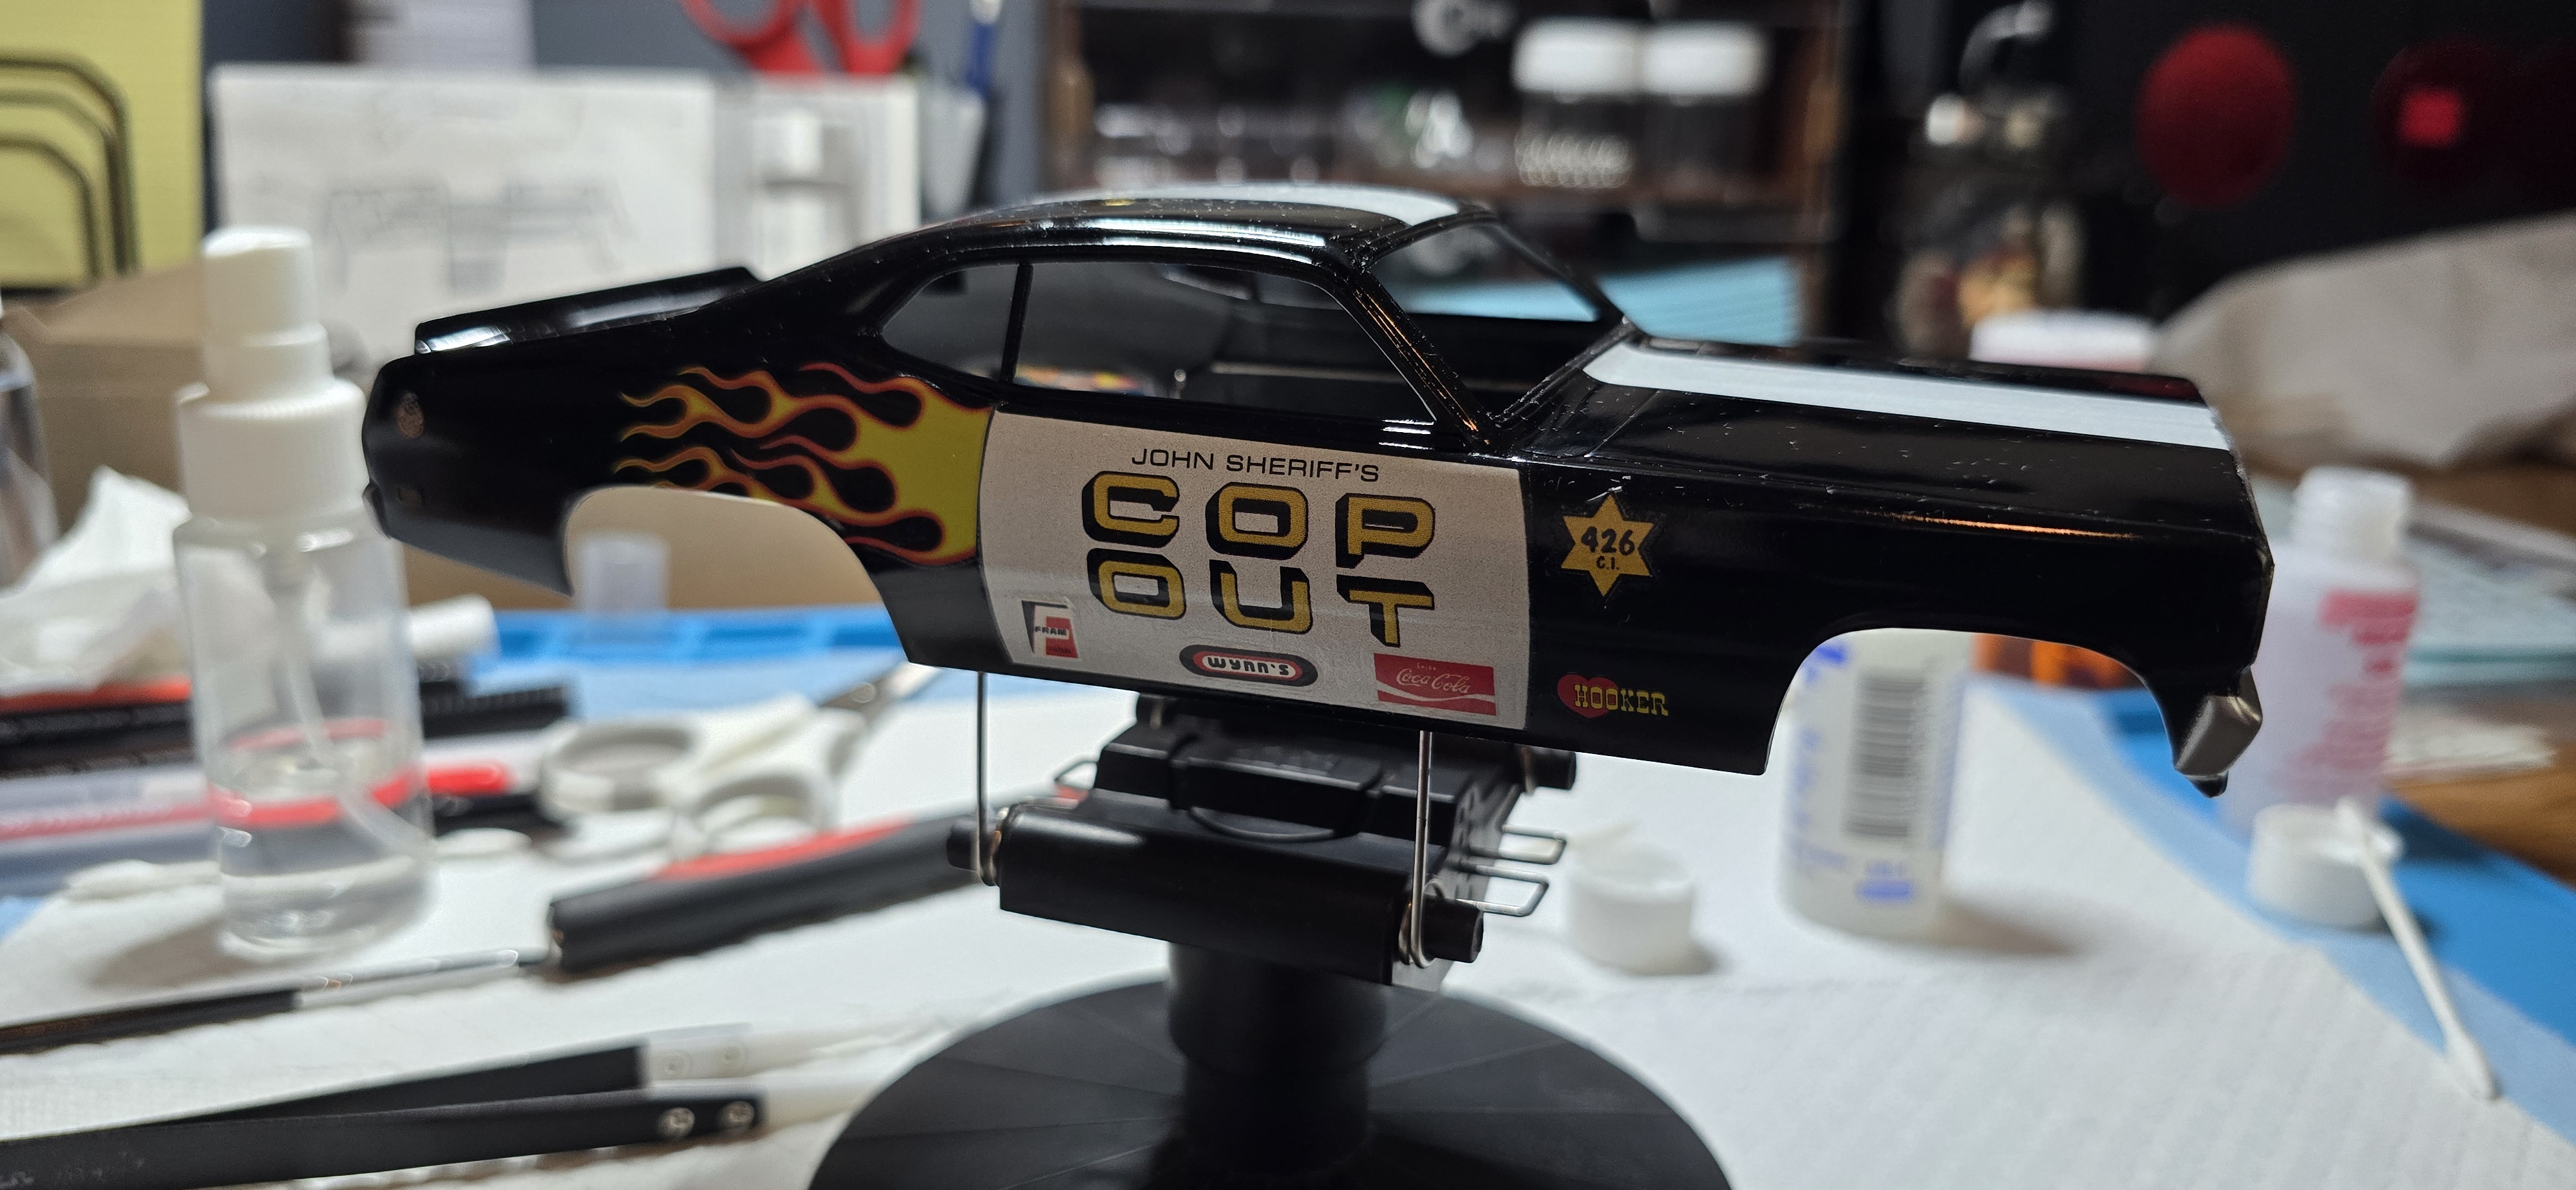
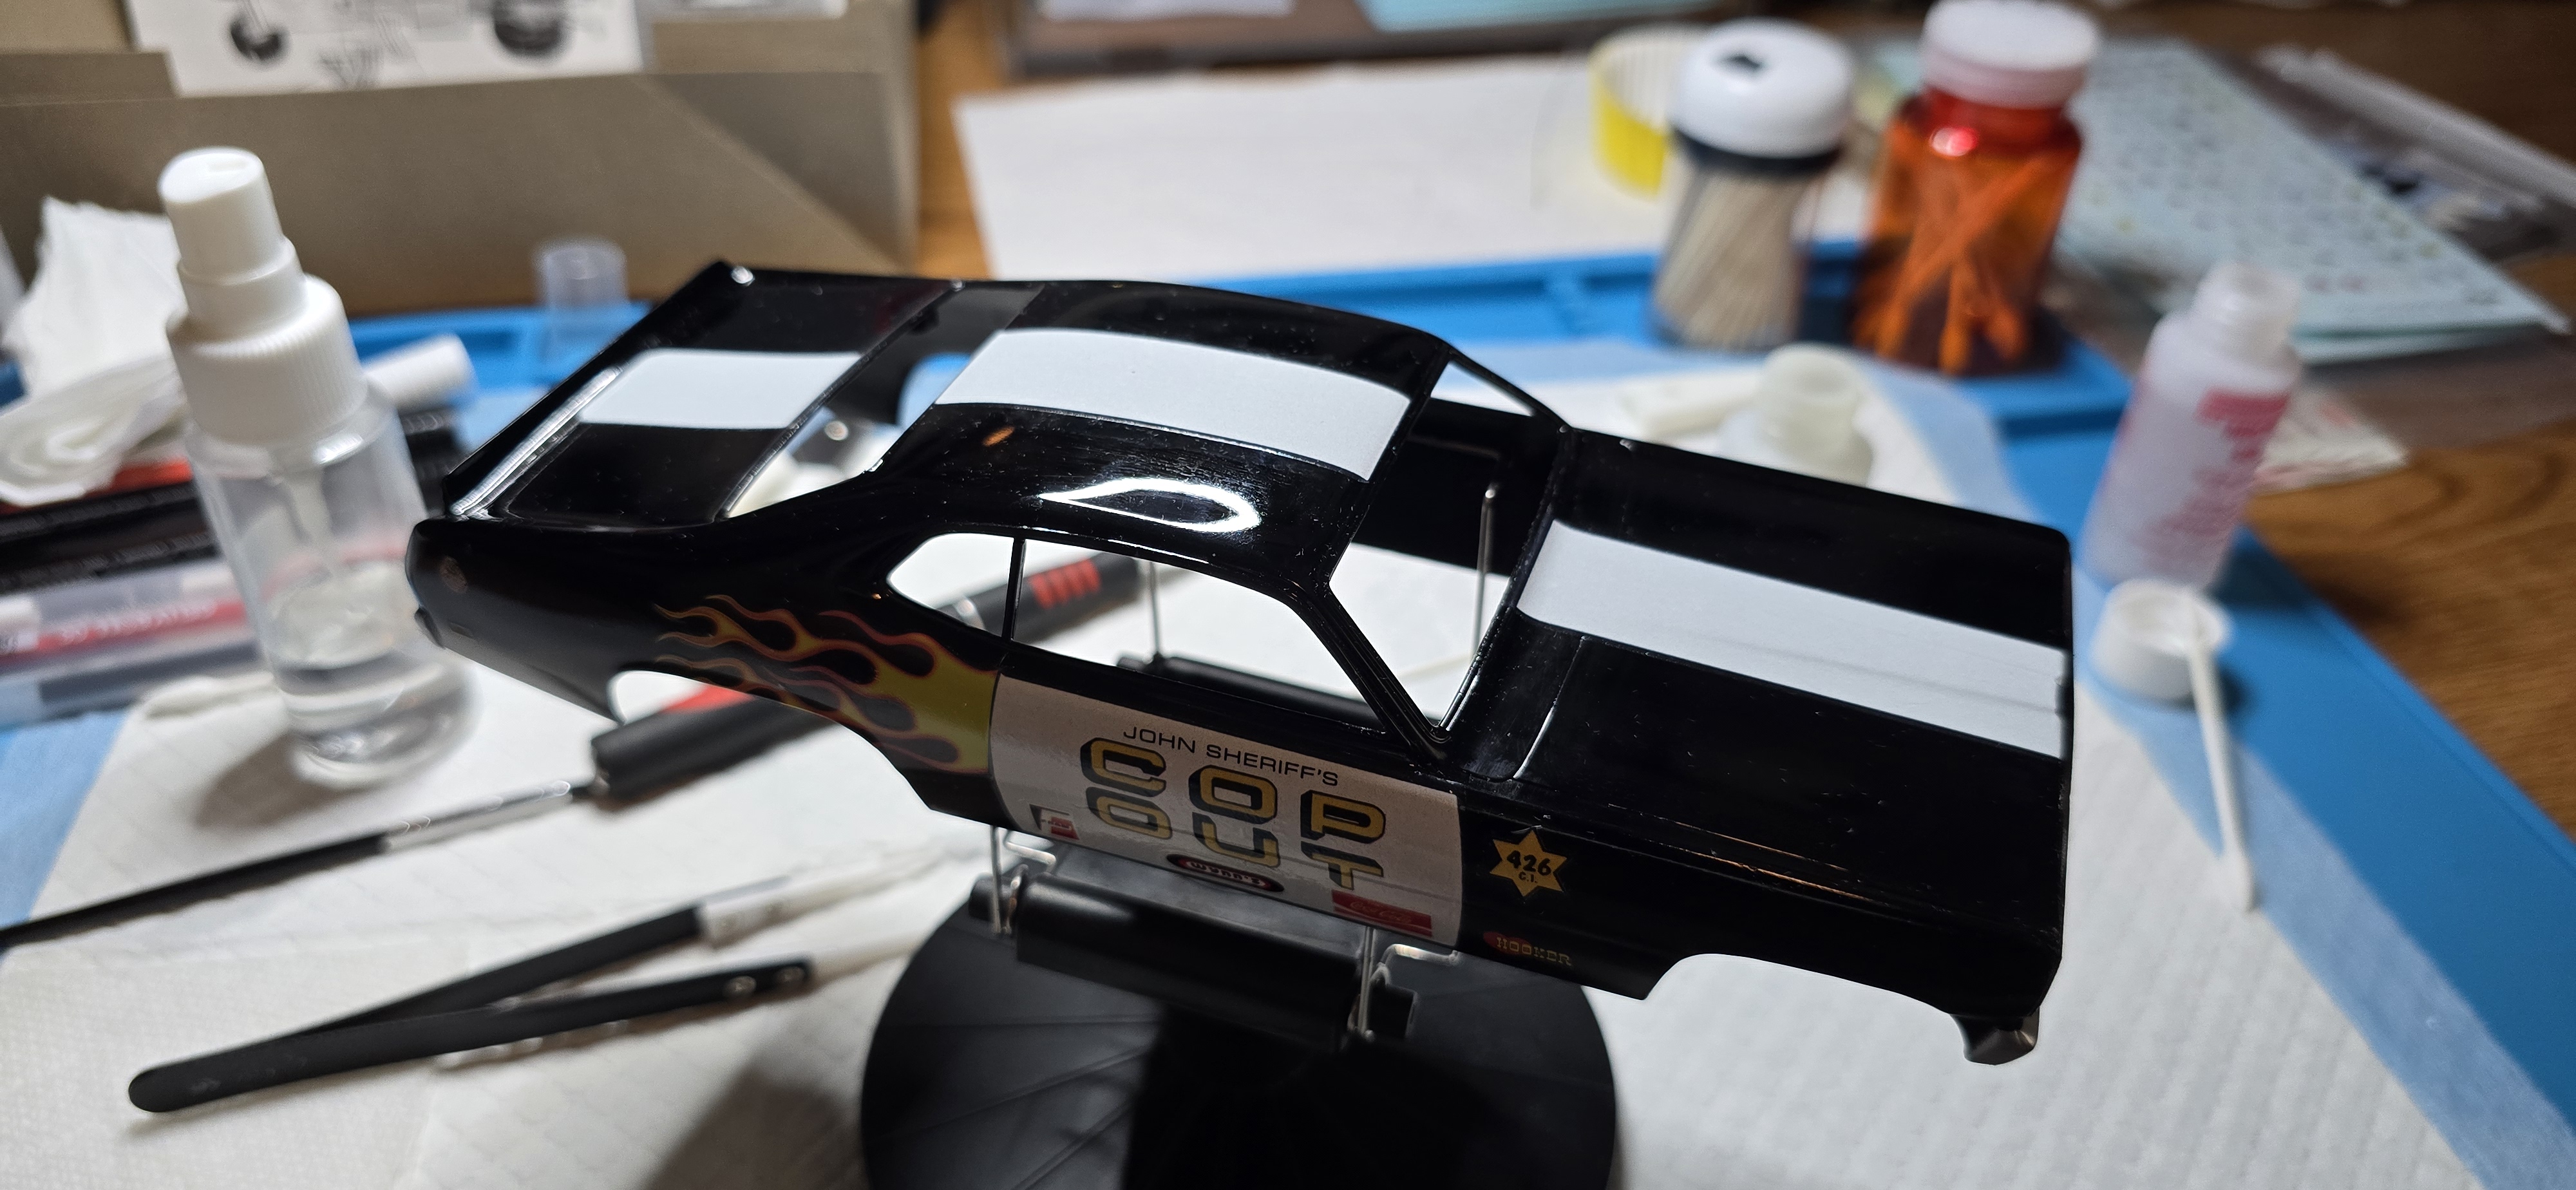
The decals were challenging, when i lost the battle with the flames, I tried my homemade decals, the lack of white or brighter colors turned them invisible on the black.
I salvaged the kit decals, requiring more time and finesse than I should've put into it... but I carried on.
I had some surplus flames leftover, and used them as a stop gap. In hindsight, I should've just painted the white...
Anyway, they're done and I'll let them set a day or two and hit it with clear.
1000010897.jpg
1000010898.jpg
1000010899.jpg
1000010901.jpg
1000010902.jpg
1000010900.jpg
 
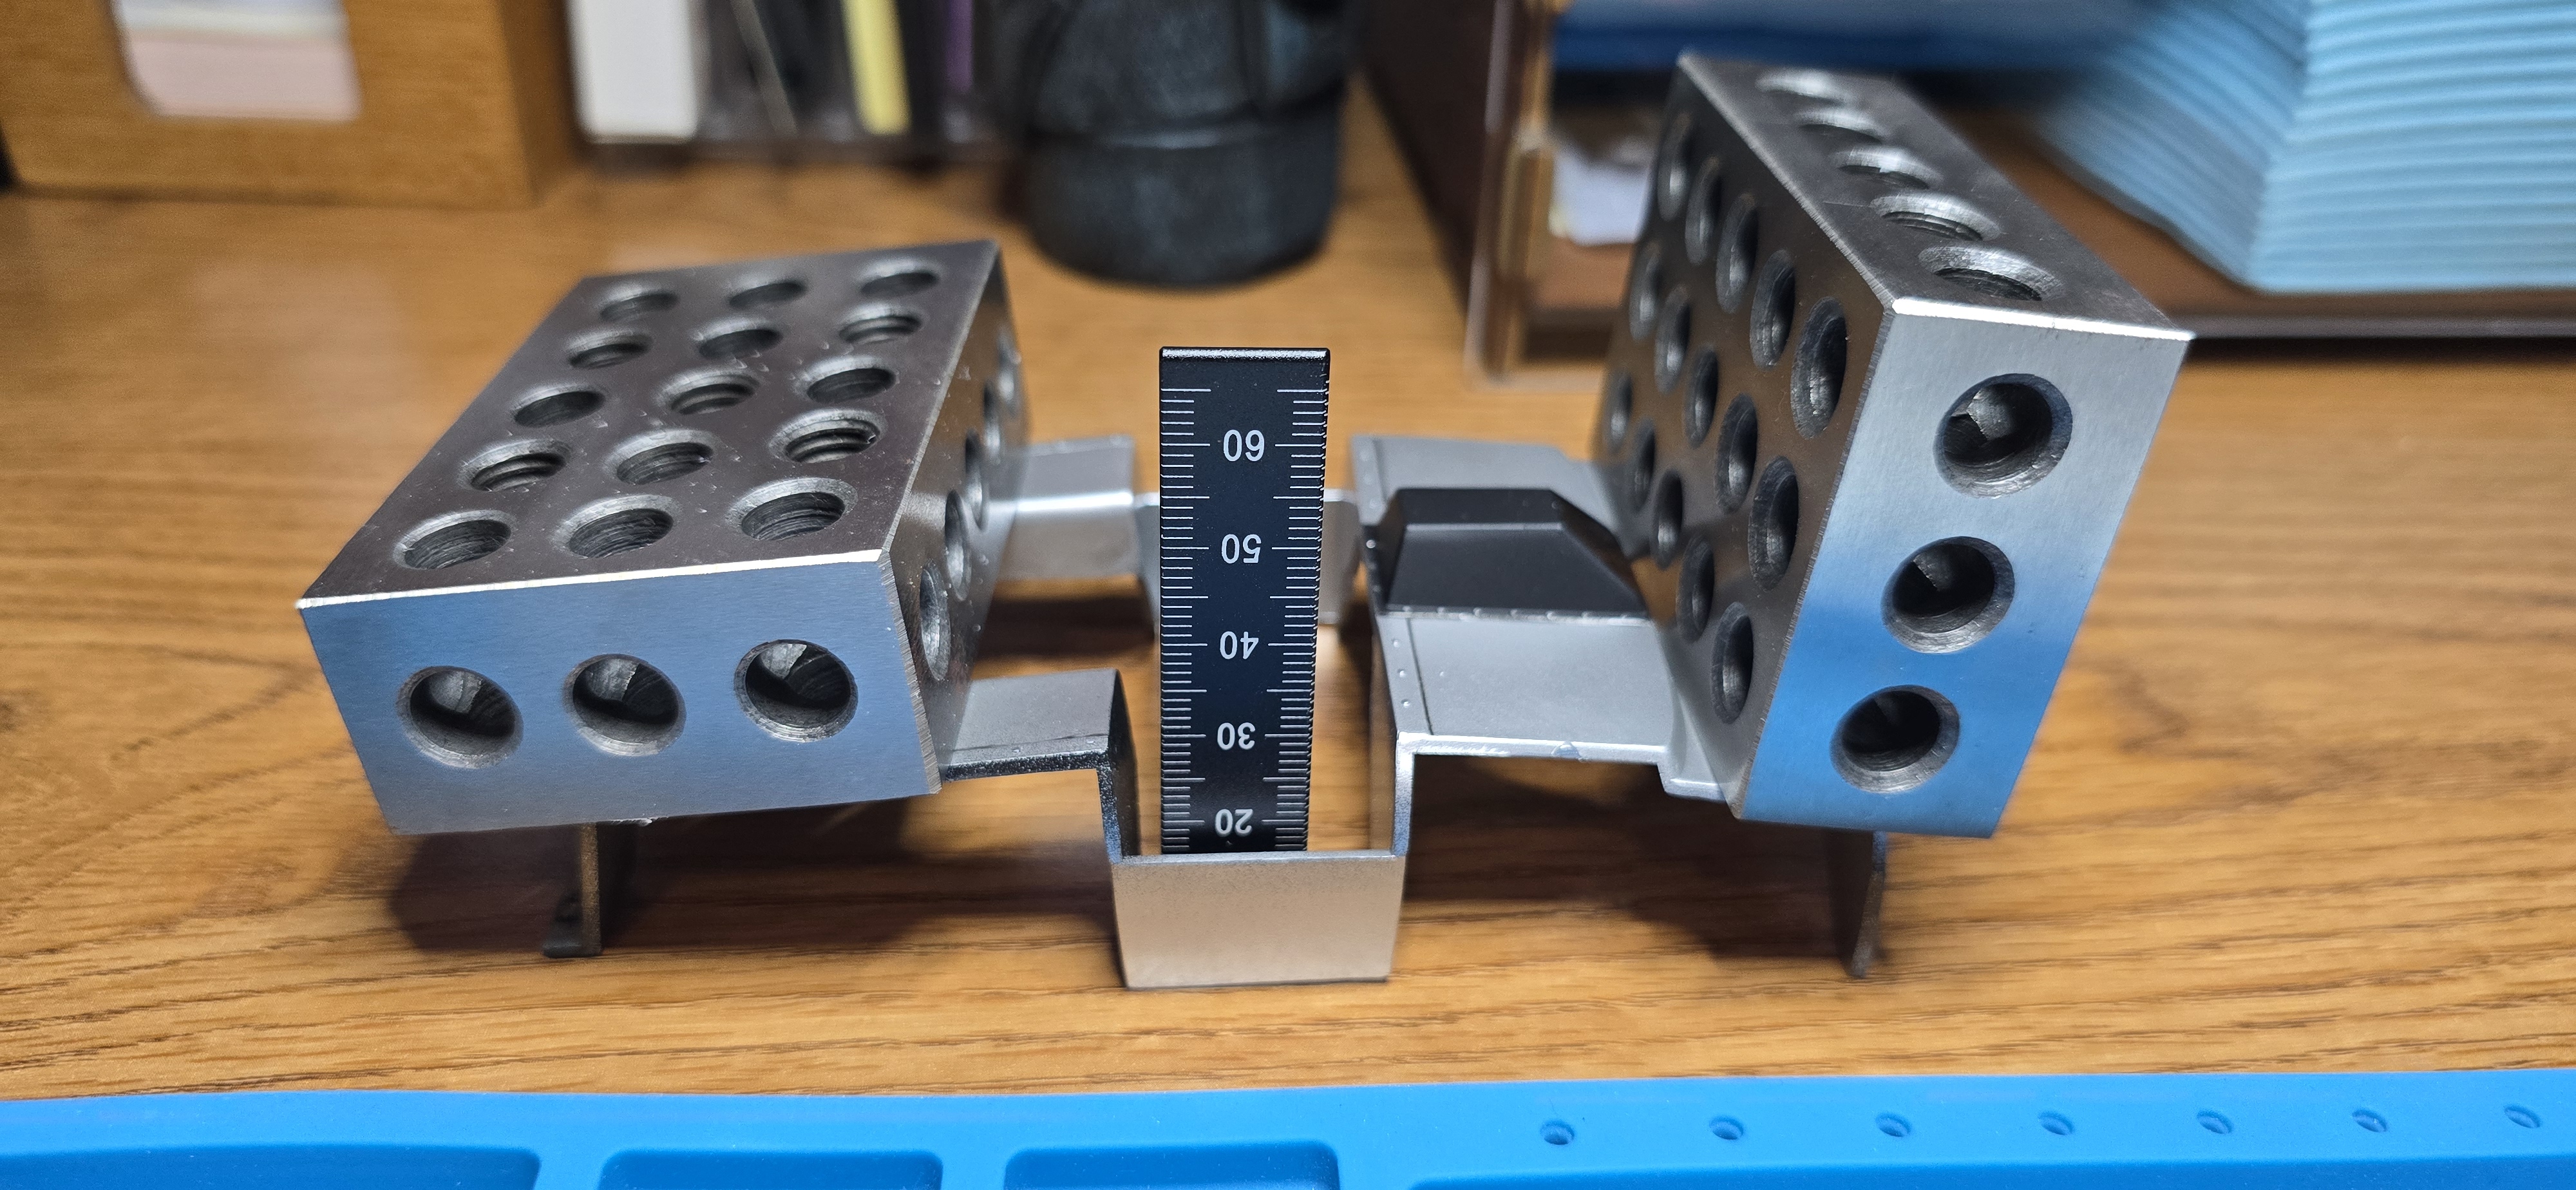
Frame and chassis assembly is done- nothing else to do.
Put a few coats of clear over the body, I'll let that cure a day or two.
When I attached the inner piece to the frame, I noticed a pretty severe warp. I'll see if I can straighten that out with some weight for few days and level it.
Other than that, we're just about done.
20260609_090135.jpg
20260609_081556.jpg
20260609_082009.jpg
 
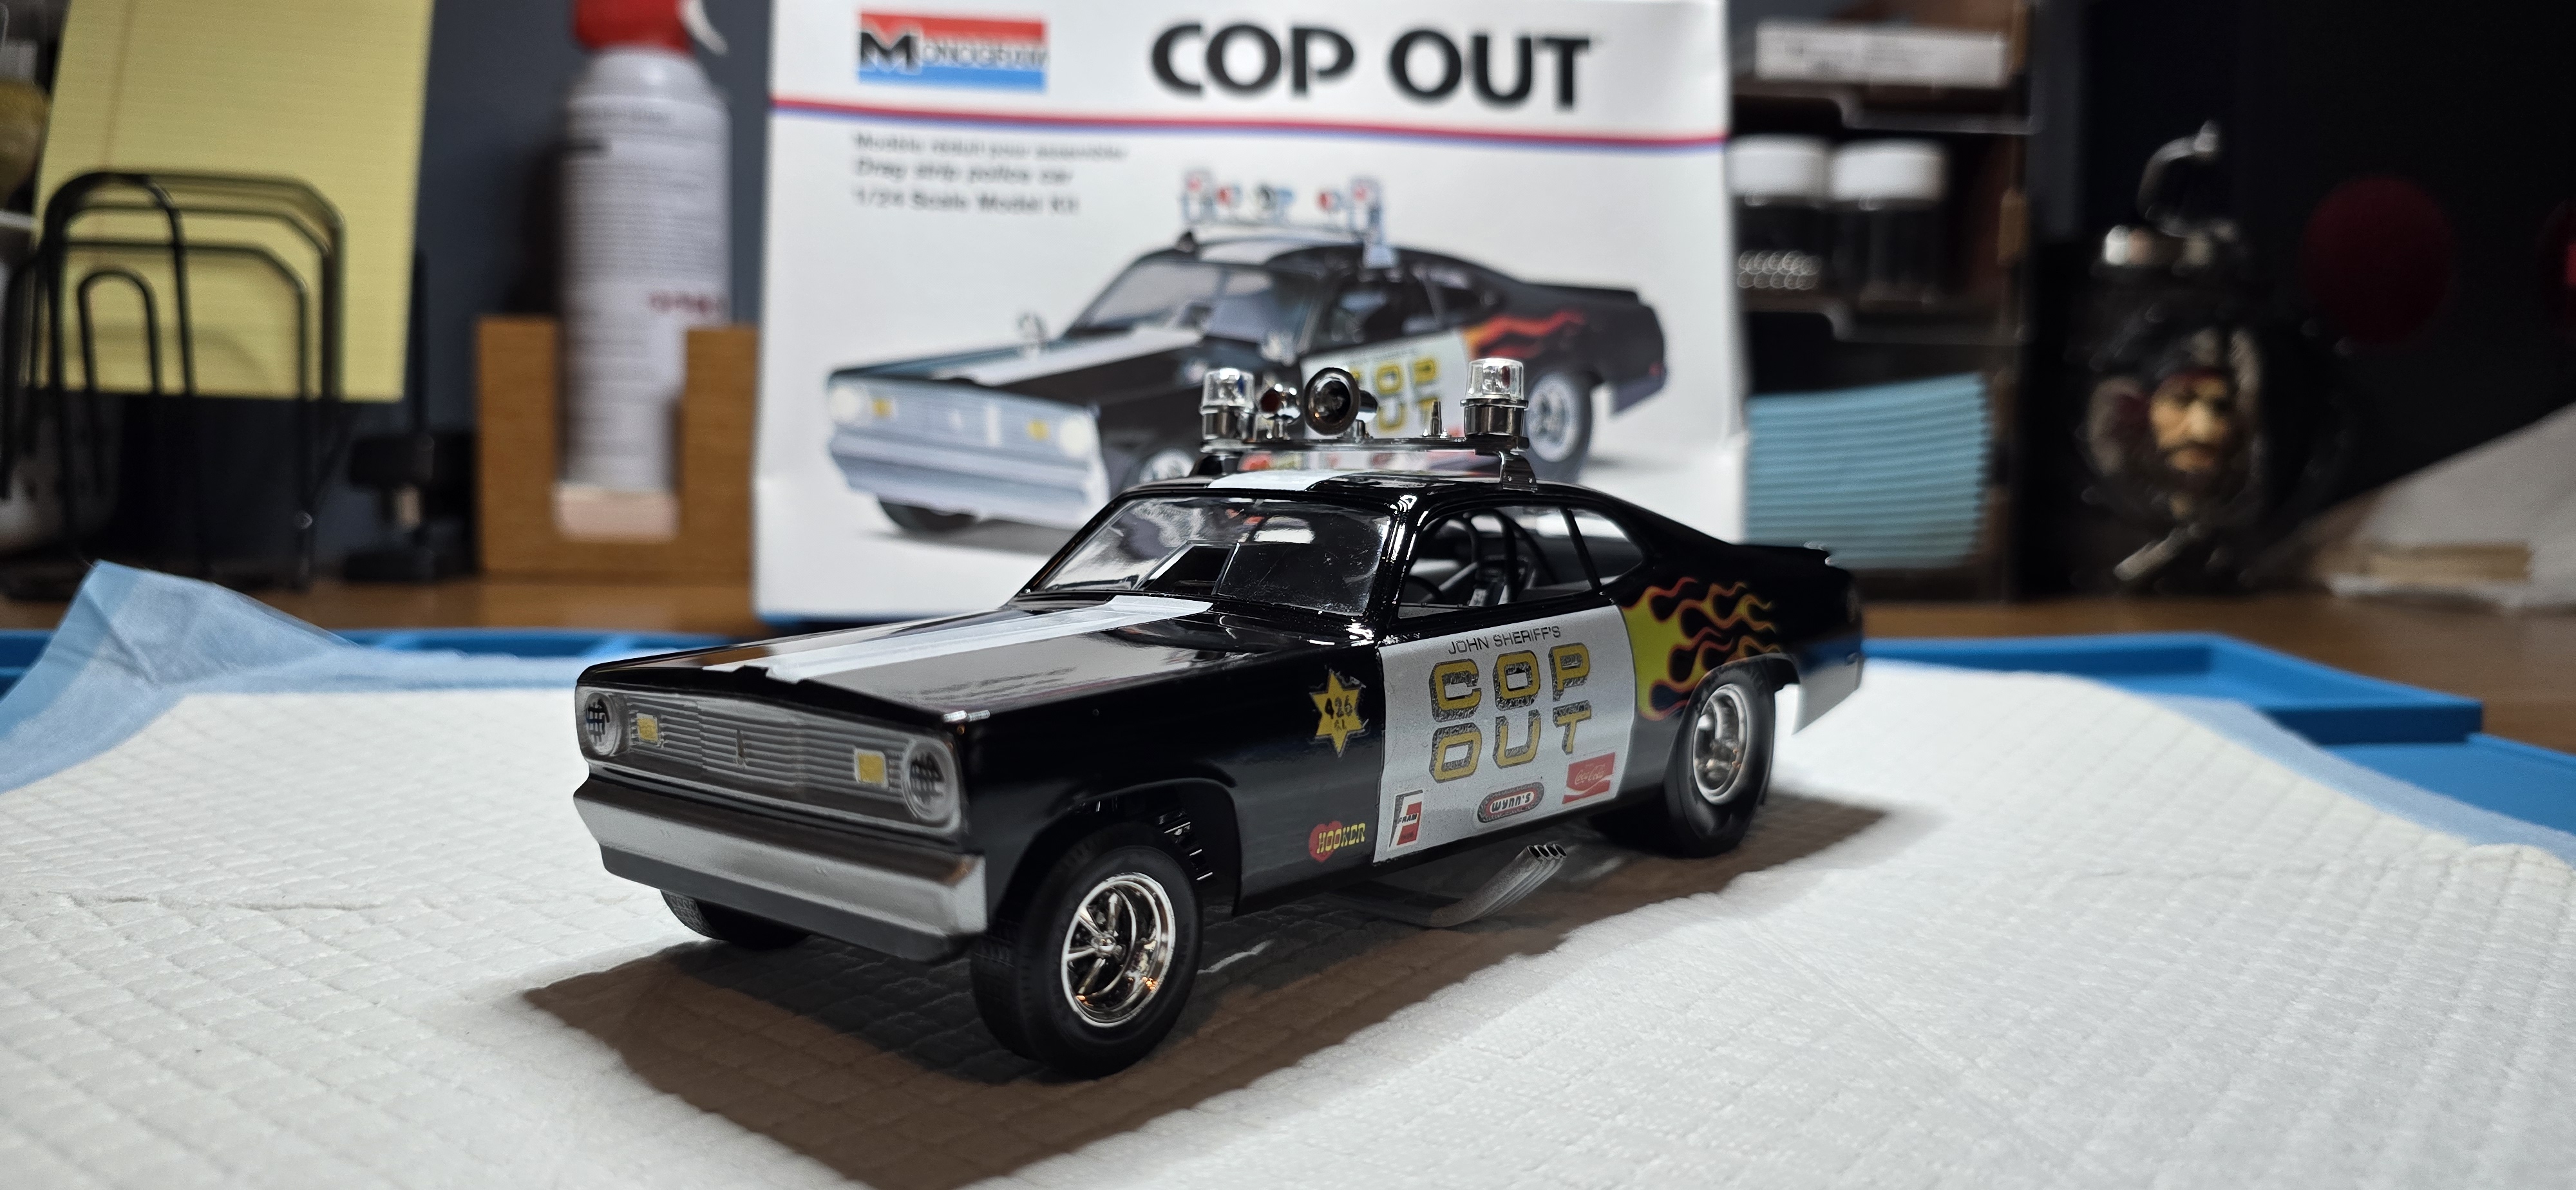
Alright, calling this one done.
Fun, albeit simplified kit.
Issues were typical for a vintage kit with older parts.
As I was looking at a couple of the photos, I realized that one of the can lights was missing. No idea, it was there when I was mounting the lightbar.
Went back into the office, looked around and lo and behold, sitting on the carpet a glint of chrome- Found it, glued it back on and back to the display shelf.
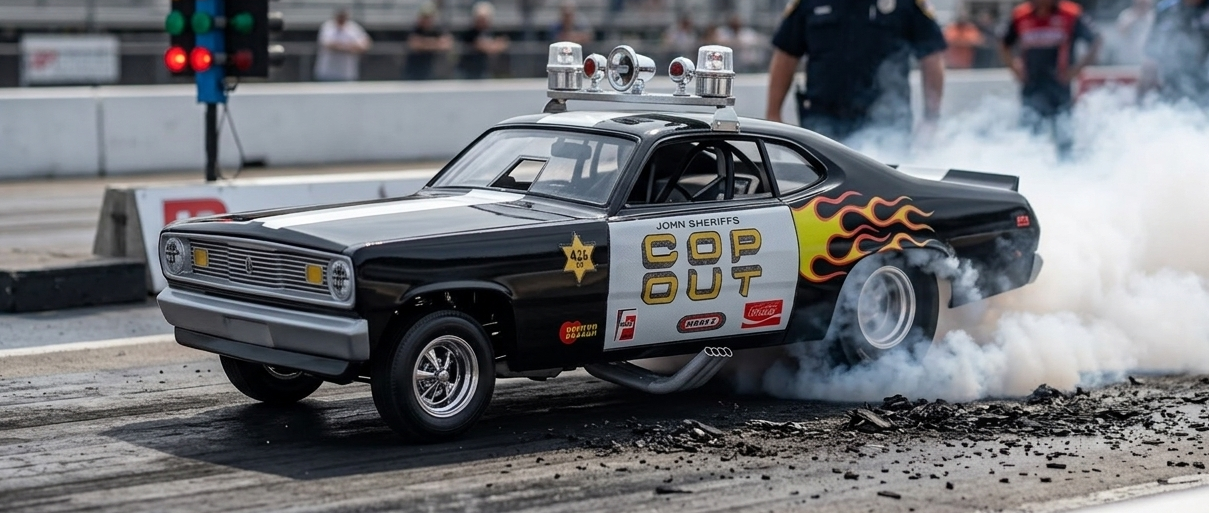
Added 1 AI photo at the end.
20260610_095843.jpg
20260610_095825.jpg
20260610_095924.jpg
20260610_103331.jpg
1781112945665.png
 
Back
Top