Edbert
Well-Known Member
- Joined
- May 16, 2024
- Messages
- 1,101
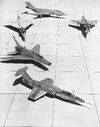
I intend to have a shelf in my display for the "Century Series" aircraft. When I came up with that idea, I was not well aware at how large those birds were, even compared to modern combat aircraft. So we'll just have to see if they all fit on one shelf.
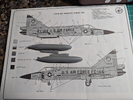
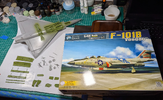
Anyway, here is #3, the F-102 "Delta Dagger". It was definitely a combat aircraft, but also was a testbed, there were several wing configurations during her service era. The kit comes with the "Case X Wing" configuration. I will be building a specific craft from the 509th FIS stationed in Thailand March 1962.
This kit is well over 30 years old, I paid $15 for it, there have been really good things and equally bad. I did not take a lot of pics in the early phases.
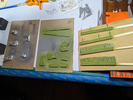
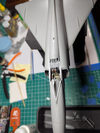
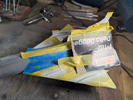
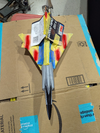
Here's a pic of it underway, next to another recent arrival in the "Century Series" shelf.
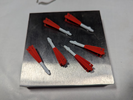
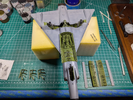
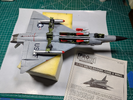
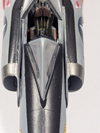
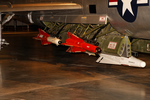
Note the ordinance-bay underneath, 30 years before the F-22, the USAF had a fighter with enclosed weapon bays. However in the early '60s those A2A missiles were HUGE, like a later Phoenix (which was much larger than the AMRAAM) but these are a different "AIM" variant. The 4AE and 4C/D represent heat-seeking and radar-guidance versions.
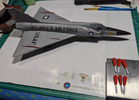
Anyway, this week I have primed, painted, and cleared this kit too.
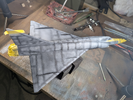
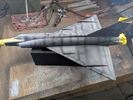
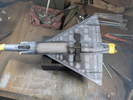
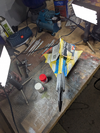
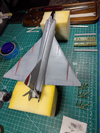
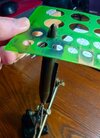
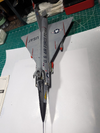
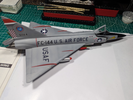
That styrene colored blob in the middle is the weapons bay cover. That is just there as a convenient mask. I decided to try NOT pre-shading this one. Main reason is the entire dang thing is the same color of light gray. So with a black surface of surfacer 1500, I just slowly, VERY SLOWLY, built up the color. Here's a shot before the clearcoat.
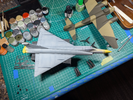
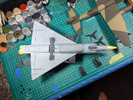
I'm always amazed to see how often my bare feet are in the pictures!
Anyway, here is #3, the F-102 "Delta Dagger". It was definitely a combat aircraft, but also was a testbed, there were several wing configurations during her service era. The kit comes with the "Case X Wing" configuration. I will be building a specific craft from the 509th FIS stationed in Thailand March 1962.
This kit is well over 30 years old, I paid $15 for it, there have been really good things and equally bad. I did not take a lot of pics in the early phases.


Here's a pic of it underway, next to another recent arrival in the "Century Series" shelf.

Note the ordinance-bay underneath, 30 years before the F-22, the USAF had a fighter with enclosed weapon bays. However in the early '60s those A2A missiles were HUGE, like a later Phoenix (which was much larger than the AMRAAM) but these are a different "AIM" variant. The 4AE and 4C/D represent heat-seeking and radar-guidance versions.

Anyway, this week I have primed, painted, and cleared this kit too.


That styrene colored blob in the middle is the weapons bay cover. That is just there as a convenient mask. I decided to try NOT pre-shading this one. Main reason is the entire dang thing is the same color of light gray. So with a black surface of surfacer 1500, I just slowly, VERY SLOWLY, built up the color. Here's a shot before the clearcoat.


I'm always amazed to see how often my bare feet are in the pictures!
Last edited:

