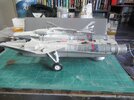
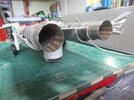
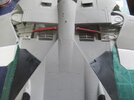
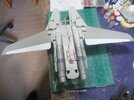
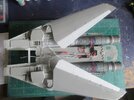
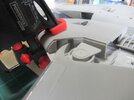
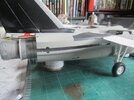
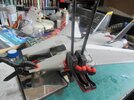
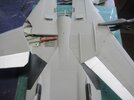
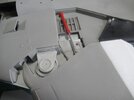
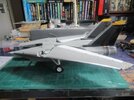
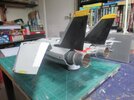
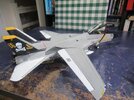
Boatmans 1/32 scale super tomcat with lights an opening engine hatches
- Thread starter BOATMAN
- Start date
- Joined
- Sep 4, 2022
- Messages
- 2,416
Hahaha, great story about the prodigal part that just wanted to be found! What are the odds?!utter amazement
Though as an aside, I have actually taken a similar sized piece of sprue and flung or dropped it in the general direction of a part that flew, just to narrow down the search area.
Good idea with the cellotape!
I suppose one could 'borrow' the wife's lint roller to similar effect!
Just remember to put it back!
BOATMAN
Well-Known Member
- Joined
- Oct 7, 2024
- Messages
- 916
YES Barley what are the odds of me gettin that part back like that i think id have more chance at the lottery lol an jen has a roller for her black velvet coat but she wont let me use it on the floor -carpet an yes if i lose any small part now to the capet monster i use a big bit of 2 inch wide cellotape as stickin it to the floor it picks up all sorts an our cat lilleys hairs like wonoHahaha, great story about the prodigal part that just wanted to be found! What are the odds?!
Though as an aside, I have actually taken a similar sized piece of sprue and flung or dropped it in the general direction of a part that flew, just to narrow down the search area.
Good idea with the cellotape!
I suppose one could 'borrow' the wife's lint roller to similar effect!
Just remember to put it back!
chrisb
chrisb
- Joined
- Dec 1, 2024
- Messages
- 370
You're really putting the squeeze on it …
BOATMAN
Well-Known Member
- Joined
- Oct 7, 2024
- Messages
- 916
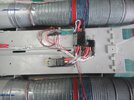
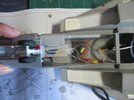
HI Edbert well its only a 12v eletrical system an ive been wirein up my planes an ships for yrs an never had any problems as resistors in the leds wirein circut keeps the power low an these lights in the planes are either worked from a 12v batt or how ive got the planes set up at the moment they are workin an takin power from a mains powerd 12v adaptor an they all work tickecy booAny concern about heat, from the electronics?
ATB SIR
CHRISB
BOATMAN
Well-Known Member
- Joined
- Oct 7, 2024
- Messages
- 916
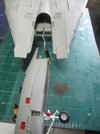
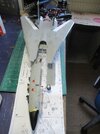
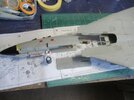
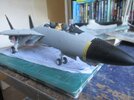
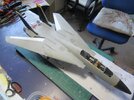
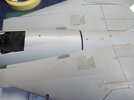
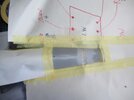
Now to slide the nose section into the main fusealarge an glue but had trouble on the top of the fusealarge as when the nose section slid in there was still a 2mm gap that had to be filled an its like this on all these kits as ive seen my freind build one an he had the same problem but easy fix with a bit of 2mm thick plasticard glued an slid into the slot an then sanded down an here on the under side the bottom panel was not a great fit but pulled it down an glued it to a nice smooth fit 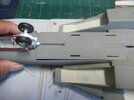


Last edited:
BOATMAN
Well-Known Member
- Joined
- Oct 7, 2024
- Messages
- 916
- Joined
- Dec 1, 2024
- Messages
- 370
How are the wiring leads connected to the power source? Do you run them through a landing gear?
BOATMAN
Well-Known Member
- Joined
- Oct 7, 2024
- Messages
- 916
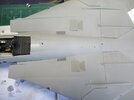
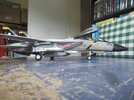
HI Litlemarten no power source is not through the wheels but just a simple MALE micro mini eletric plug FROM THE POWER SOURCE thats JUST PLUGS INTO the female sockect is fitted flush in the lower back fusealarge that just plugs into it so very easy to do hows that sir i know its tiny but if you look at the rear of the plane right near the big N for NAVY DECAL AT THE BOTTOM you can see the mini female eletric plug socket
chrisb
chrisb

Last edited:
BOATMAN
Well-Known Member
- Joined
- Oct 7, 2024
- Messages
- 916
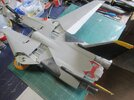
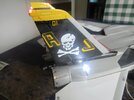
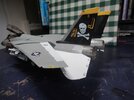
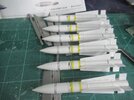
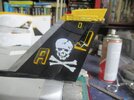
HI GUYS yes i know that the pic above is the finished model but i just posted that to answer Littlmartens question an few more of the build ok an building the big phenix missles an fitting on the big jolly roger decals an they kept breakin but not splinterin so i was lucky to get them on ok an shot of the lit up cockpit vid screens 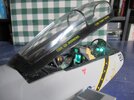


Last edited:
Similar threads
- Replies
- 38
- Views
- 2K

