
You are using an out of date browser. It may not display this or other websites correctly.
You should upgrade or use an alternative browser.
You should upgrade or use an alternative browser.
Armored Core - SUNSHINE-L
- Thread starter urumomo
- Start date


Thanks , man .
I've been picking at the base ,
I spot applied matte varnish and covered it with pastel dust and bits , let it dry and brush off the excess - repeat :
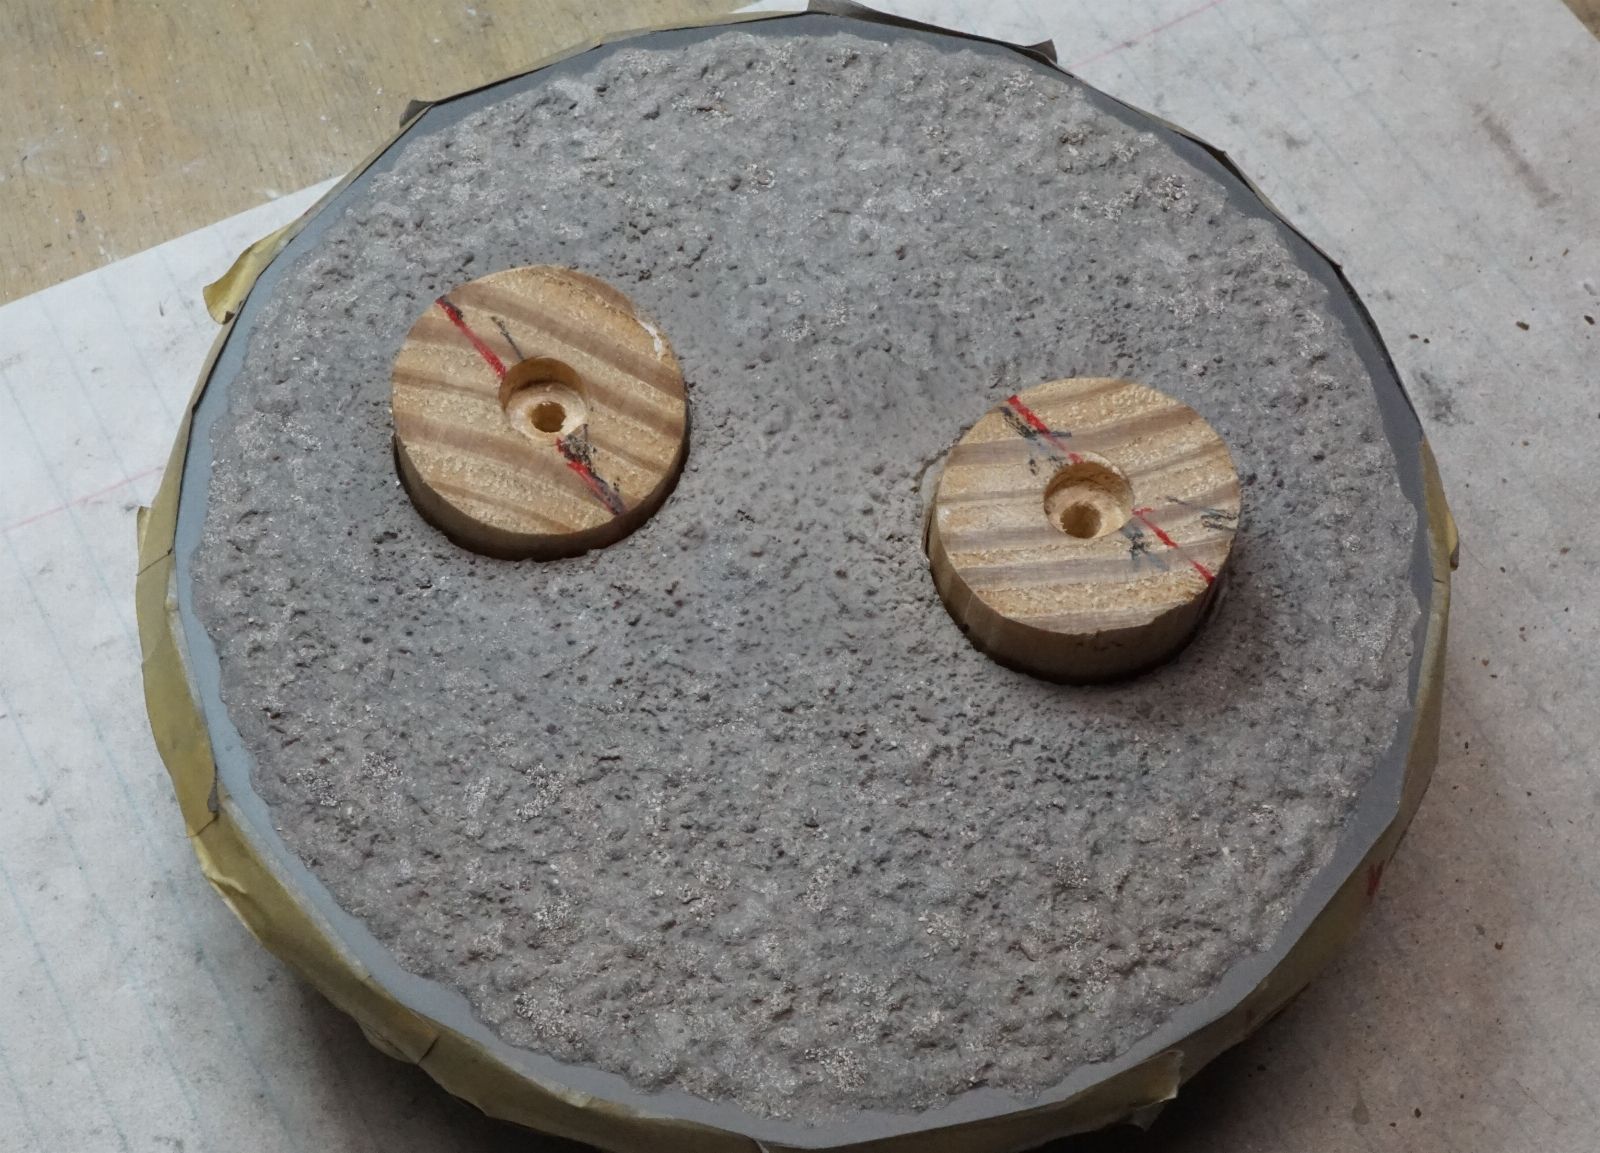
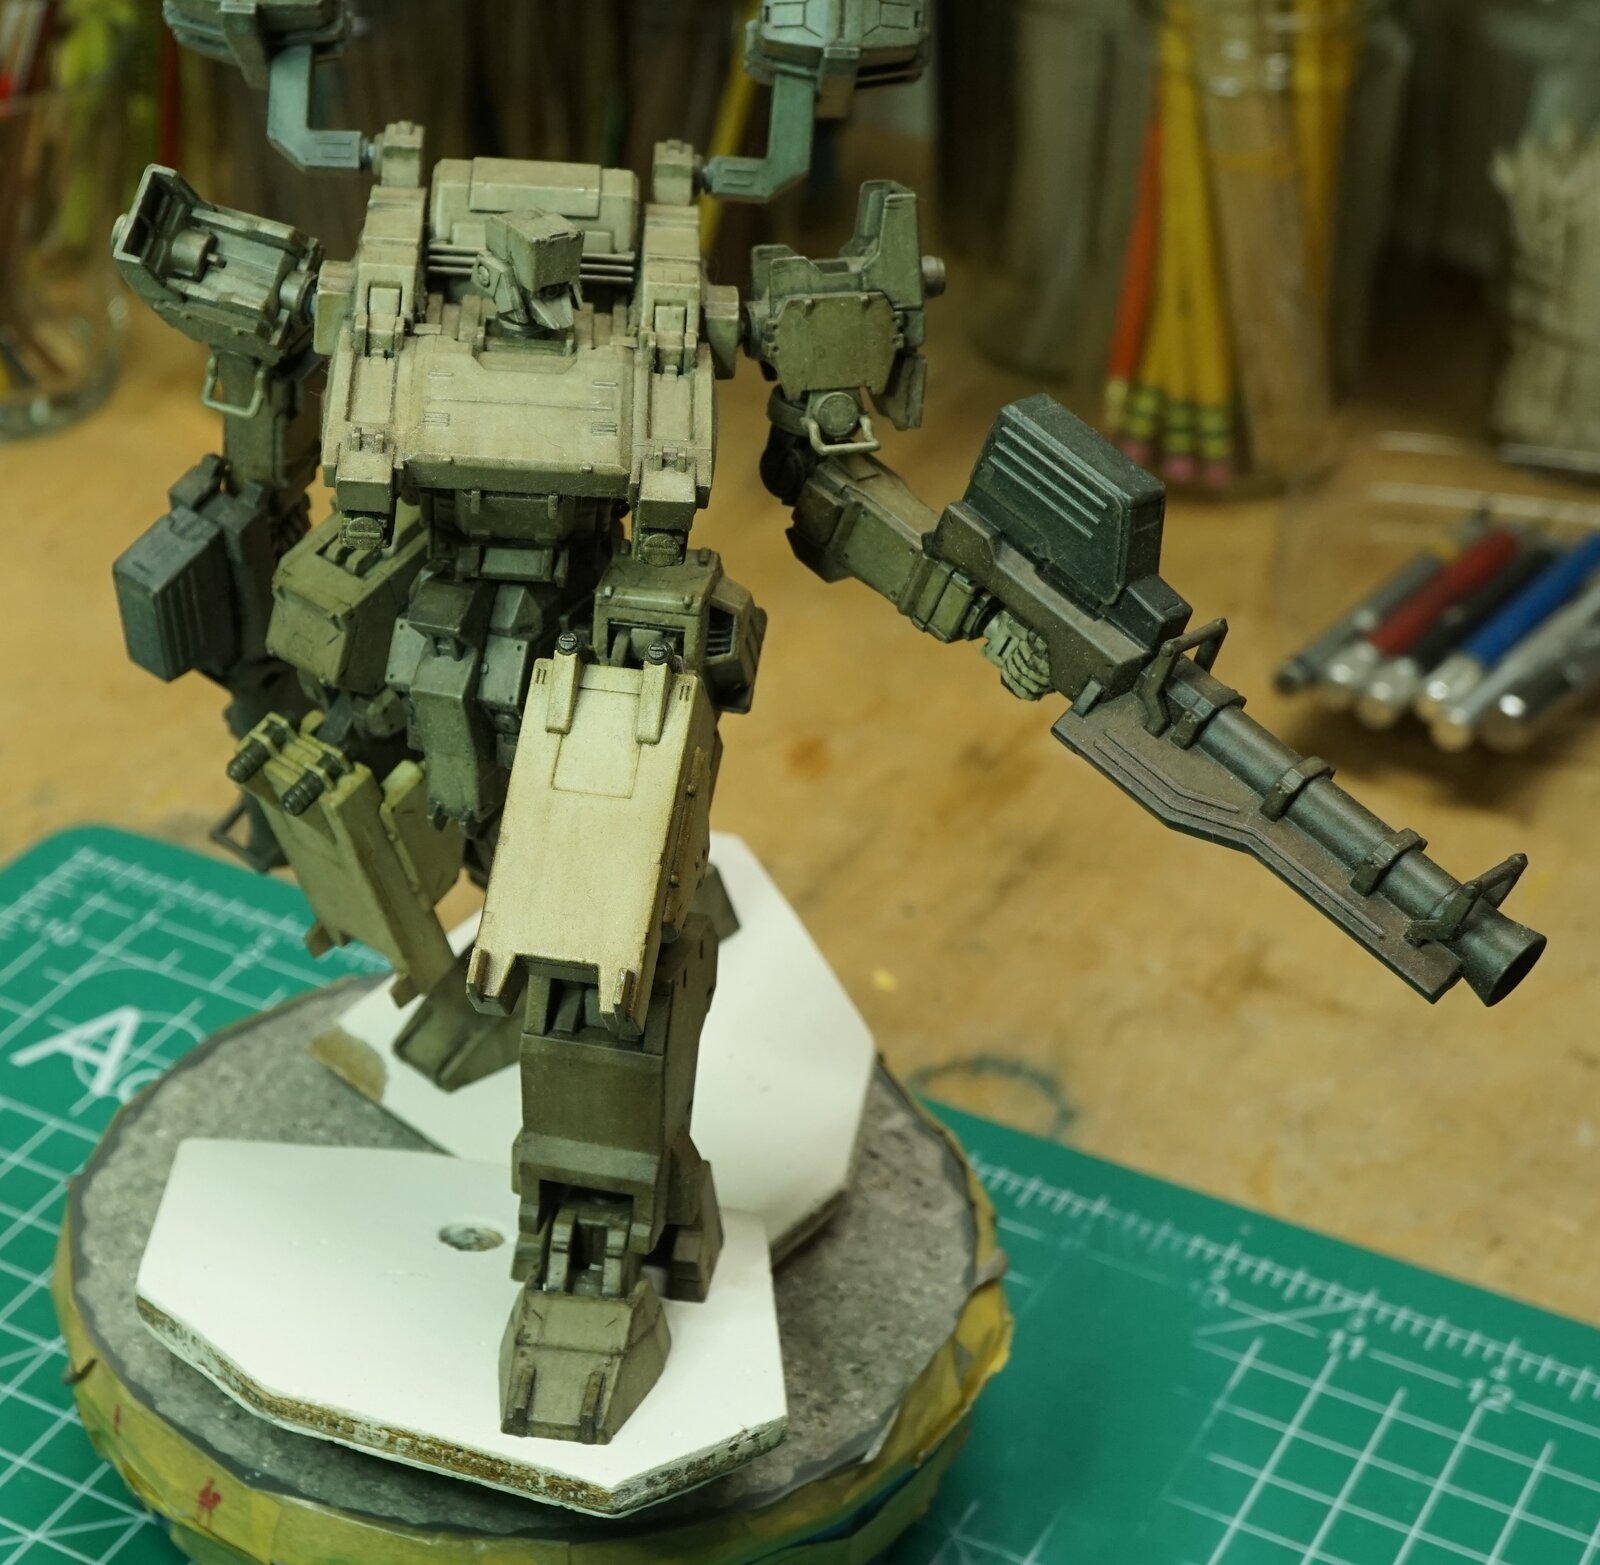
A big part of that surface , at least half , gets covered up by the slabs and more rubble .
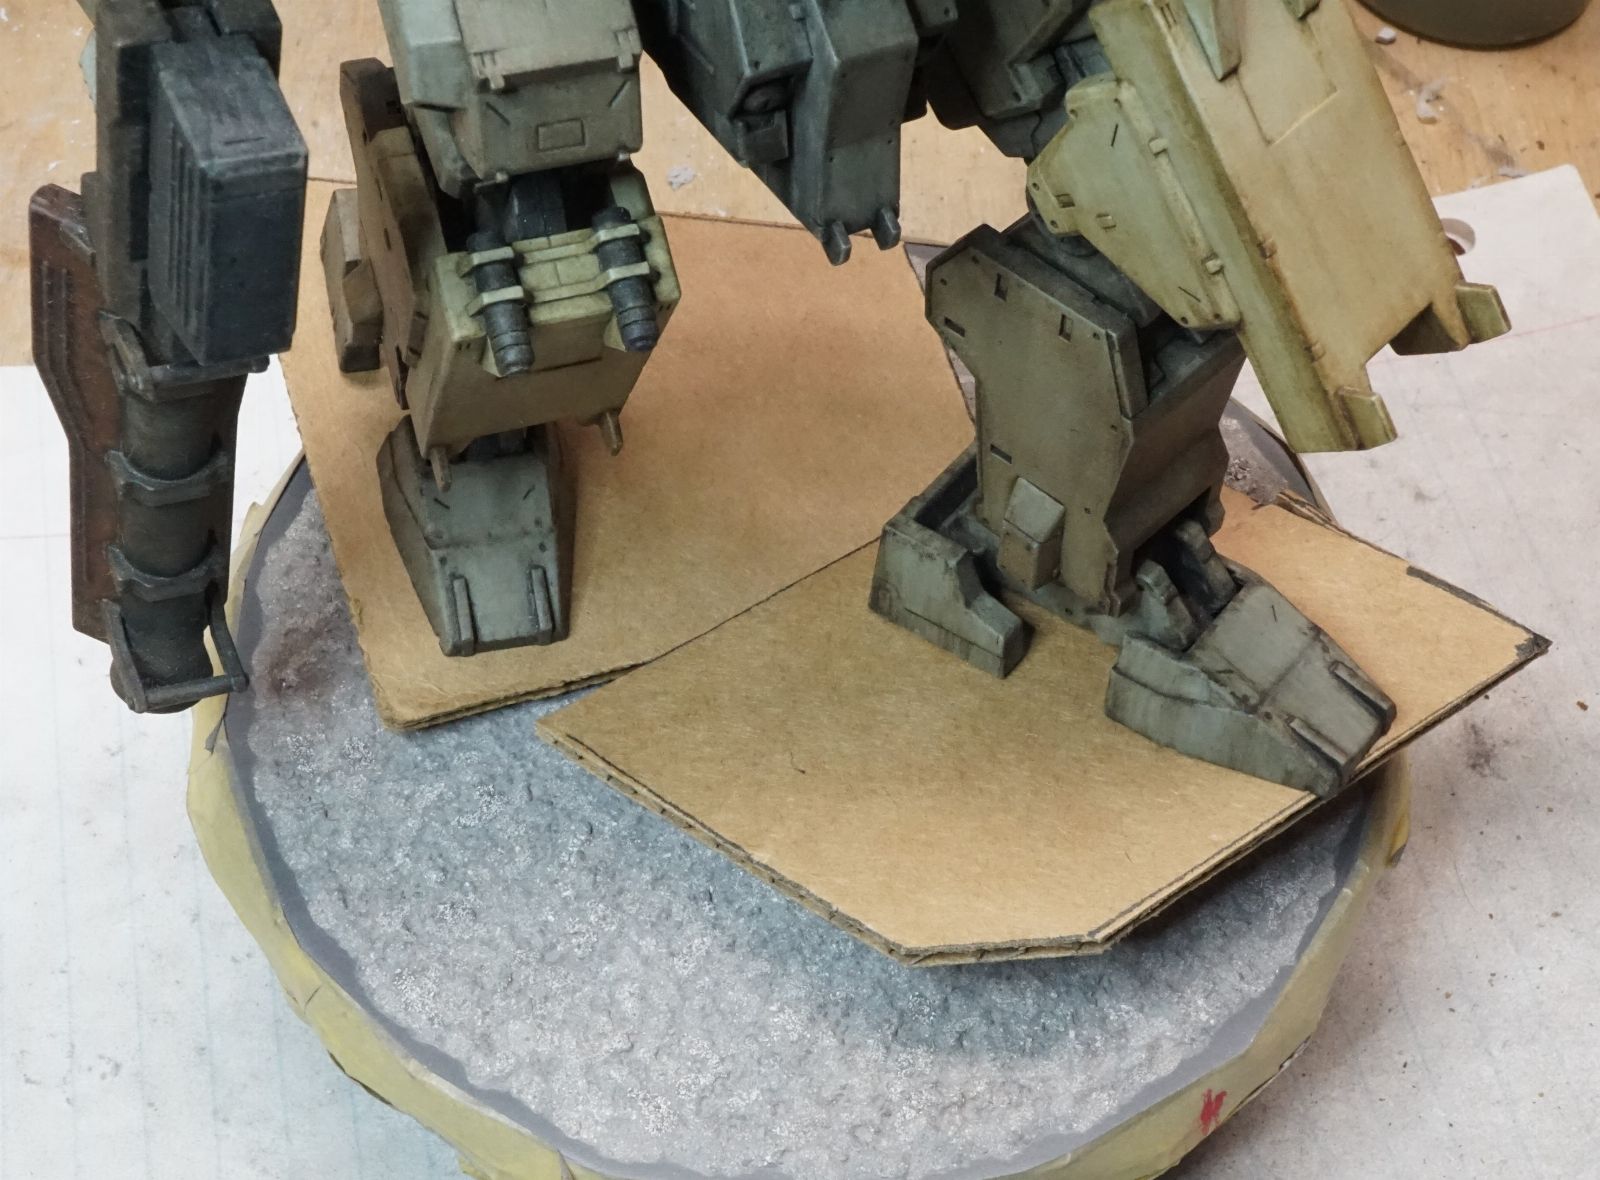
I'm using cardboard to experiment with to arrive at the right size and shape for the slabs , prior to cutting the cores out of the 5/32 plywood .
I had them a bit larger and now they're too small .
His left foot will be farther outboard and forward than shown below .
I was trying to take some better pix but attempting to pose him atop these loose pieces of cardboard that are balanced atop those loose , beveled dowel segments - all the while his hip , torso and arm joints are moving around and changing his center of gravity - was kinda unfun .
But , you can get the gist of where this is heading :


I've been picking at the base ,
I spot applied matte varnish and covered it with pastel dust and bits , let it dry and brush off the excess - repeat :
A big part of that surface , at least half , gets covered up by the slabs and more rubble .
I'm using cardboard to experiment with to arrive at the right size and shape for the slabs , prior to cutting the cores out of the 5/32 plywood .
I had them a bit larger and now they're too small .
His left foot will be farther outboard and forward than shown below .
I was trying to take some better pix but attempting to pose him atop these loose pieces of cardboard that are balanced atop those loose , beveled dowel segments - all the while his hip , torso and arm joints are moving around and changing his center of gravity - was kinda unfun .
But , you can get the gist of where this is heading :
OK ,
Here's the plywood cores . Sealed with several coats of oil based wood stain to prevent any possible movement ( warping ) from absorbing water from the plaster application .
Probably wouldn't since they're so small , but , I'd rather not find out :

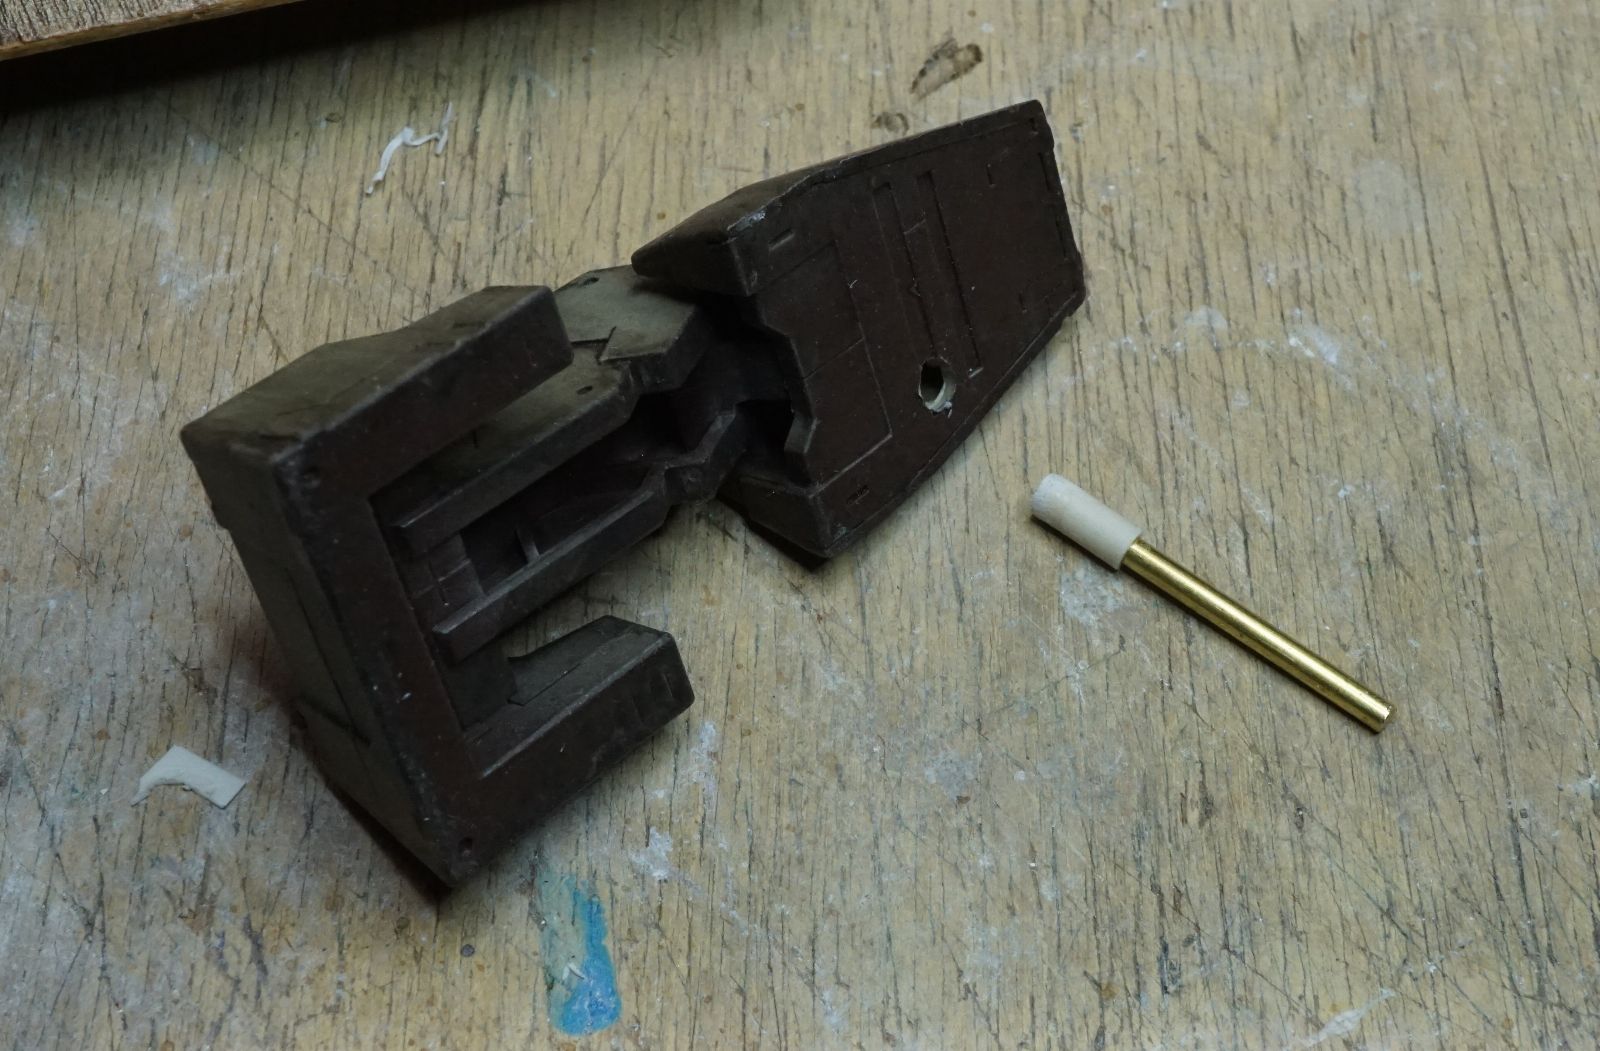
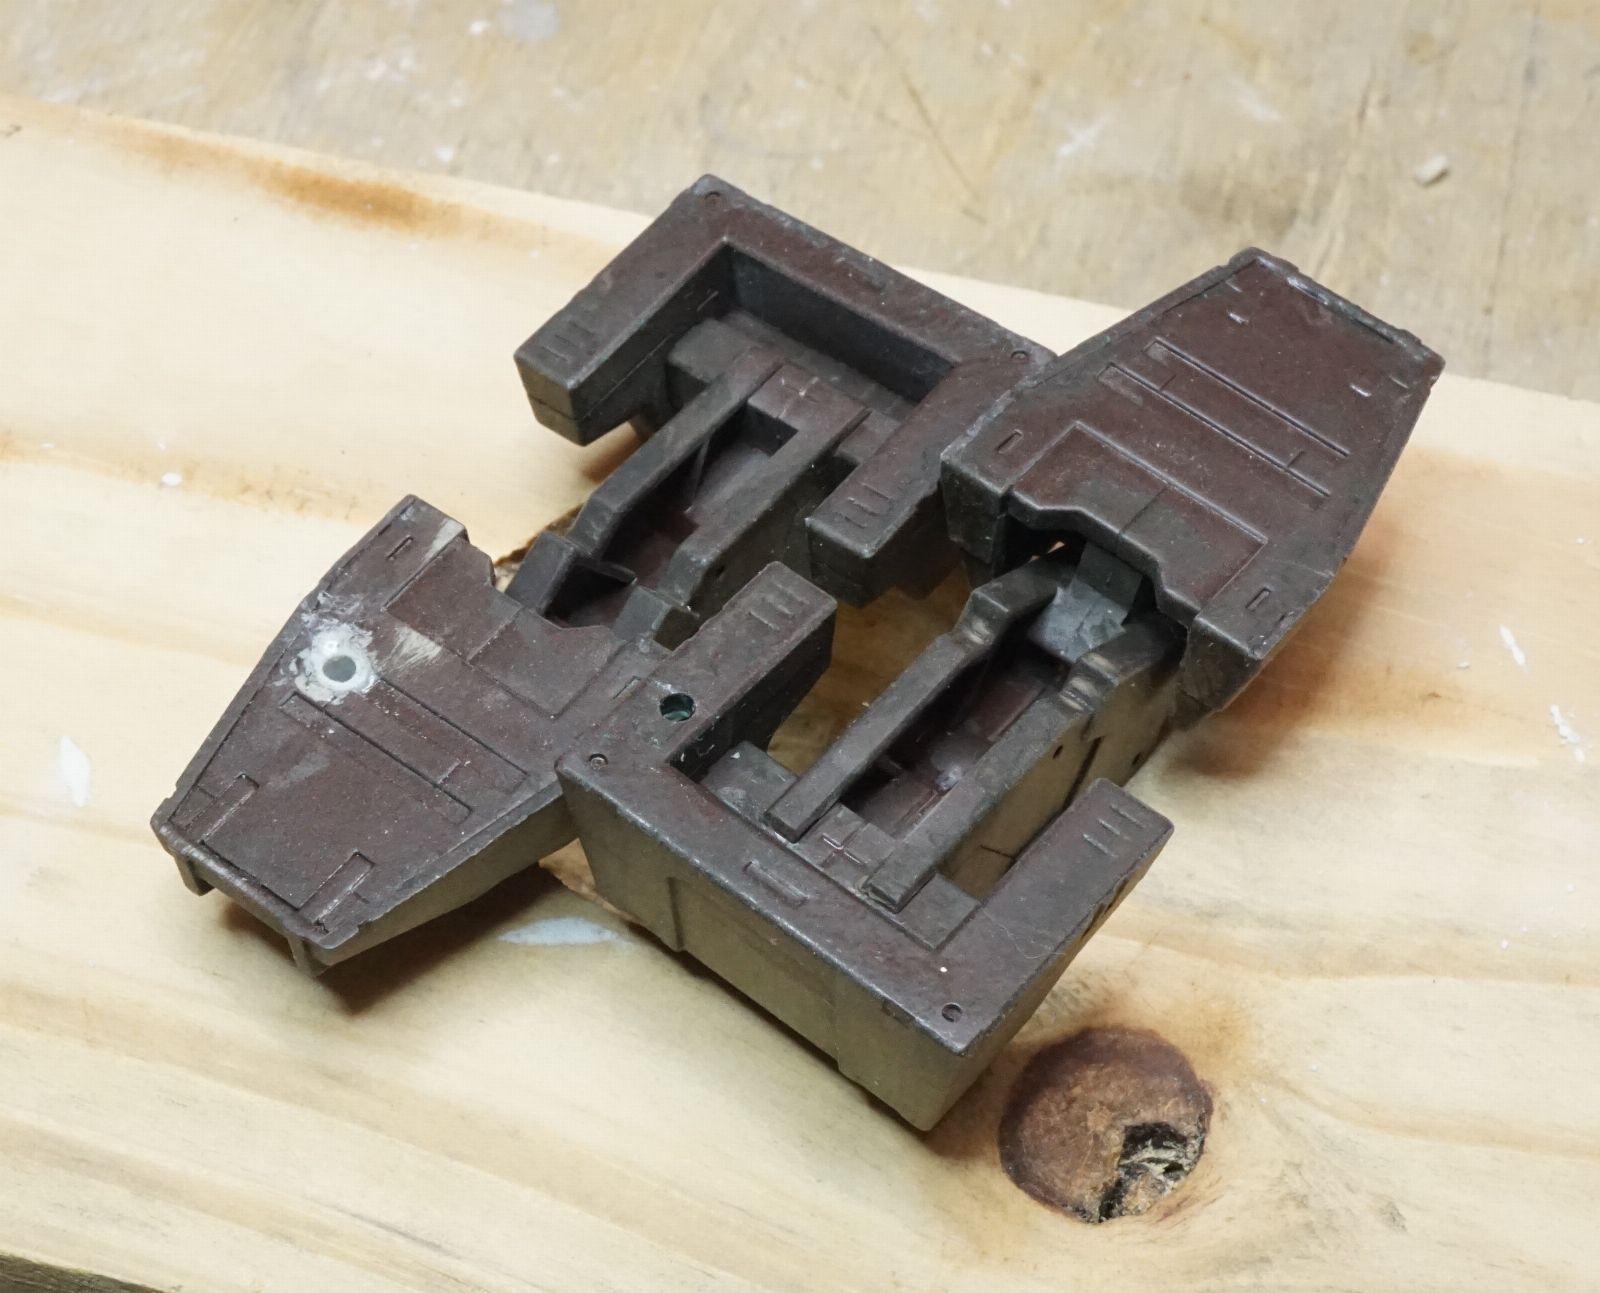
The feet will be anchored in position using 2mm brass rods that run all the way into the plinth to fix the slabs in their proper orientation :

The left foot needed only a hole drilled in the " heel " since that is a solid piece of plastic ,
but the right foot required a sleeve to be cemented in since that is a hollow section .
I capped the end of this section of 3mm styrene tube with .25mm styrene , and inserted it the hole filled with a generous supply of styrene heavy solvent cement ( polystyrene dissolved in butyl acetate ) .
Then left the foot clamped atop the slab core with the brass rod inserted into the slab so it would be exactly perpendicular when it cured .
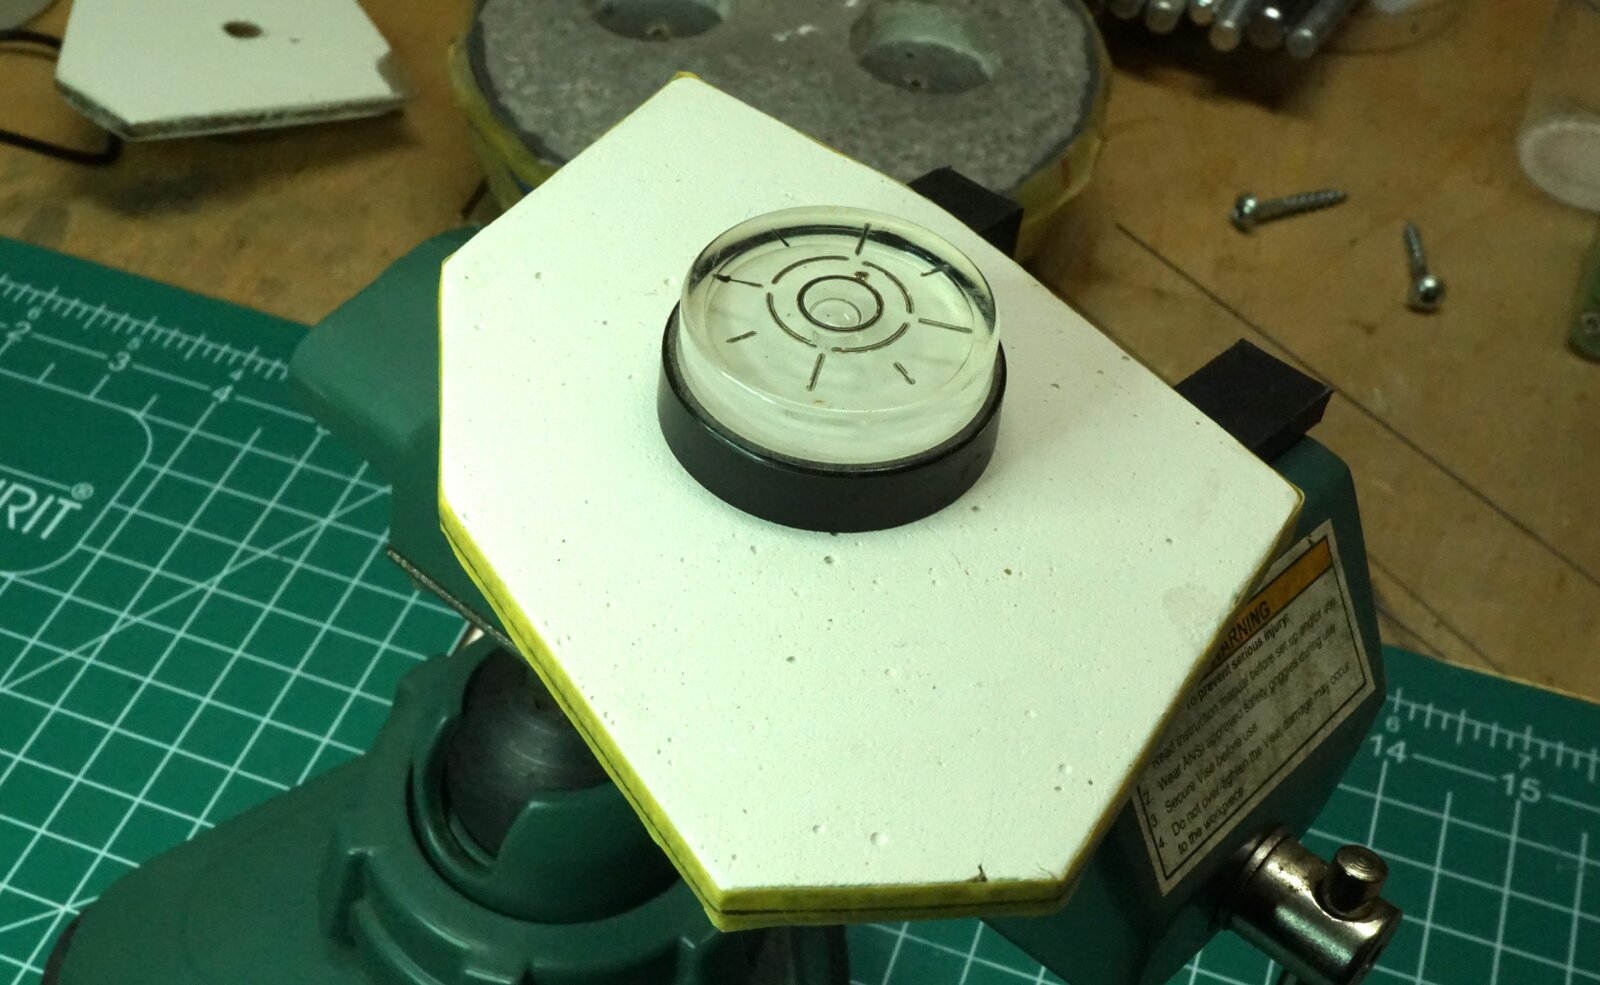
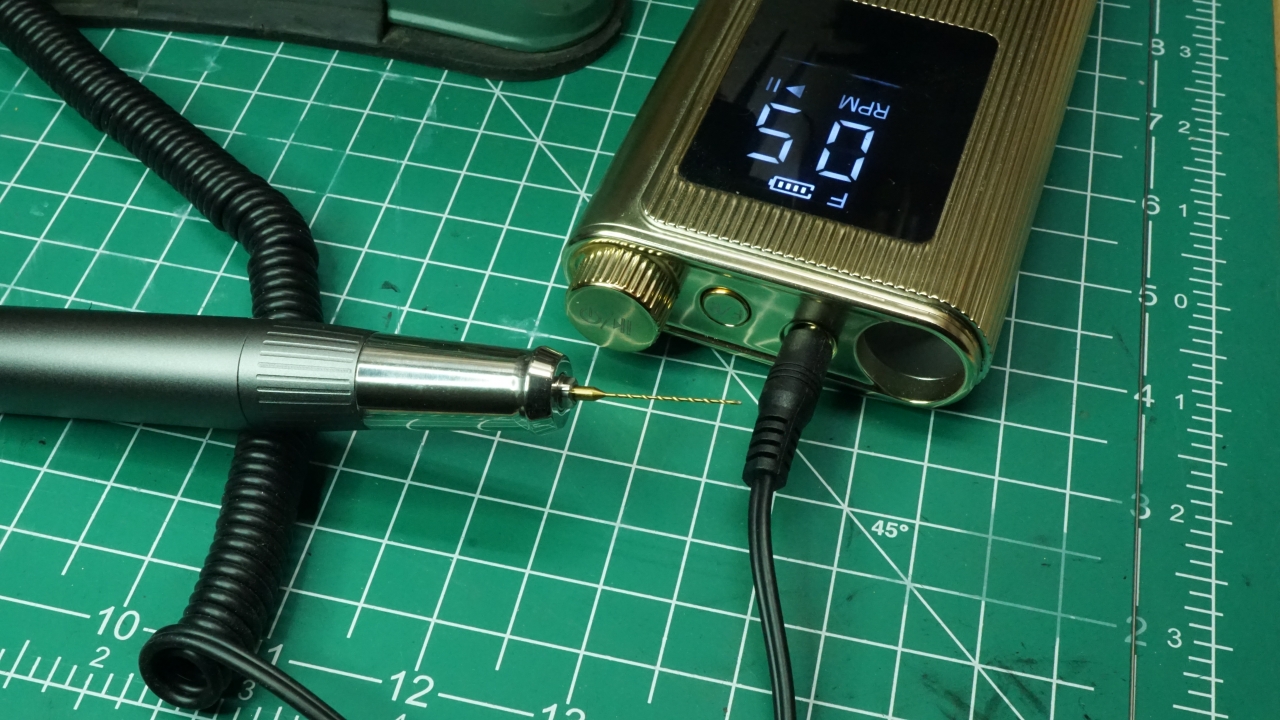
I used the drill press to drill all the holes so the feet sit exactly flat .
The hole for it is right up against the aft bulkhead of that forward foot section so it has plenty of material to bond to :
Gypsum plaster applied , using a stick of 2mm styrene rod and a piece of 3/8 inch tubing to protect the holes :
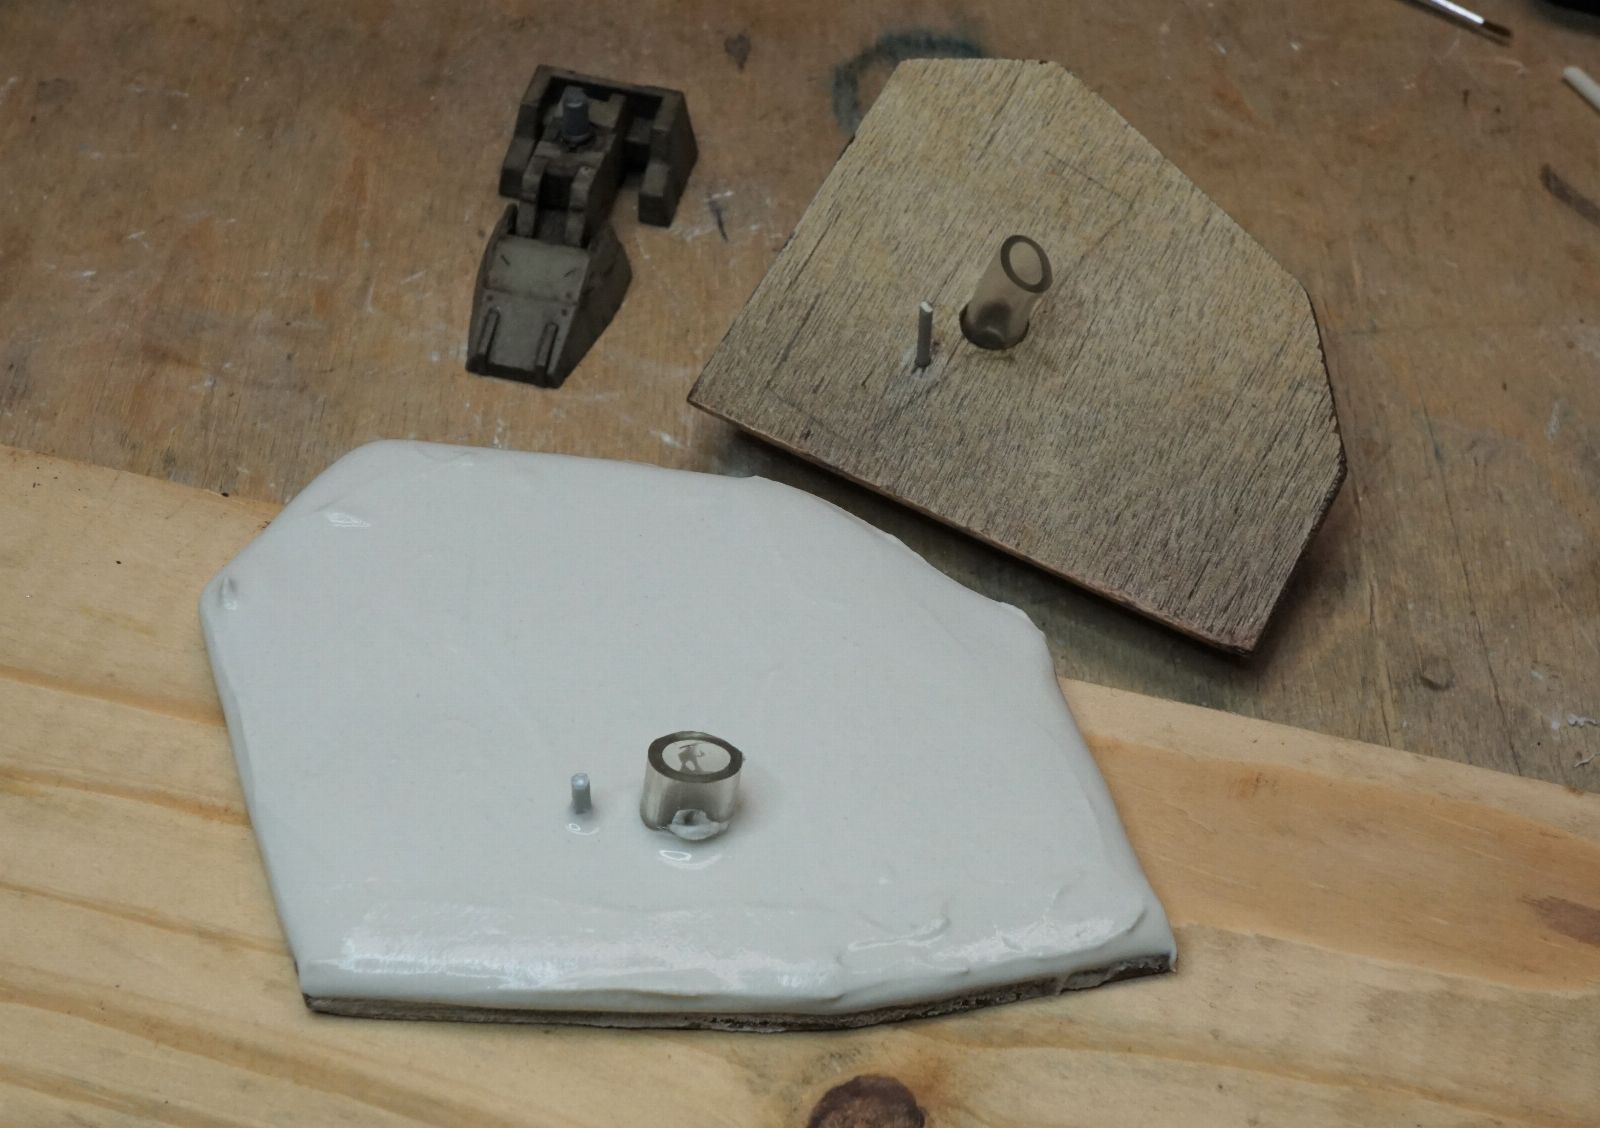
Sanded to a uniform thickness ,, kinda :

I'm doing the edges last so I have the plywood as a visual reference for the plaster depth .
After the top and underside of each is done , I'll plaster the edges and then drill and insert the " rebar " .
Some chunks of " concrete " will be added to the exposed rebar .
Then after these are painted they can be permanently attached , the center holes filled and the surrounding rubble and damaged steel beams ( probably ) added to hide the dowel sections and tie everything together .
Here's the plywood cores . Sealed with several coats of oil based wood stain to prevent any possible movement ( warping ) from absorbing water from the plaster application .
Probably wouldn't since they're so small , but , I'd rather not find out :
The feet will be anchored in position using 2mm brass rods that run all the way into the plinth to fix the slabs in their proper orientation :
The left foot needed only a hole drilled in the " heel " since that is a solid piece of plastic ,
but the right foot required a sleeve to be cemented in since that is a hollow section .
I capped the end of this section of 3mm styrene tube with .25mm styrene , and inserted it the hole filled with a generous supply of styrene heavy solvent cement ( polystyrene dissolved in butyl acetate ) .
Then left the foot clamped atop the slab core with the brass rod inserted into the slab so it would be exactly perpendicular when it cured .
I used the drill press to drill all the holes so the feet sit exactly flat .
The hole for it is right up against the aft bulkhead of that forward foot section so it has plenty of material to bond to :
Gypsum plaster applied , using a stick of 2mm styrene rod and a piece of 3/8 inch tubing to protect the holes :
Sanded to a uniform thickness ,, kinda :
I'm doing the edges last so I have the plywood as a visual reference for the plaster depth .
After the top and underside of each is done , I'll plaster the edges and then drill and insert the " rebar " .
Some chunks of " concrete " will be added to the exposed rebar .
Then after these are painted they can be permanently attached , the center holes filled and the surrounding rubble and damaged steel beams ( probably ) added to hide the dowel sections and tie everything together .

blakeh1
Well-Known Member
nice idea for the base. Looks very sturdy


As an Amazon Associate we earn from qualifying purchases. Product prices and availability are accurate as of the date/time indicated and are subject to change.

Marktastrophe
Well-Known Member
Yes, your base game is on point!
This is really solid work.
This is really solid work.
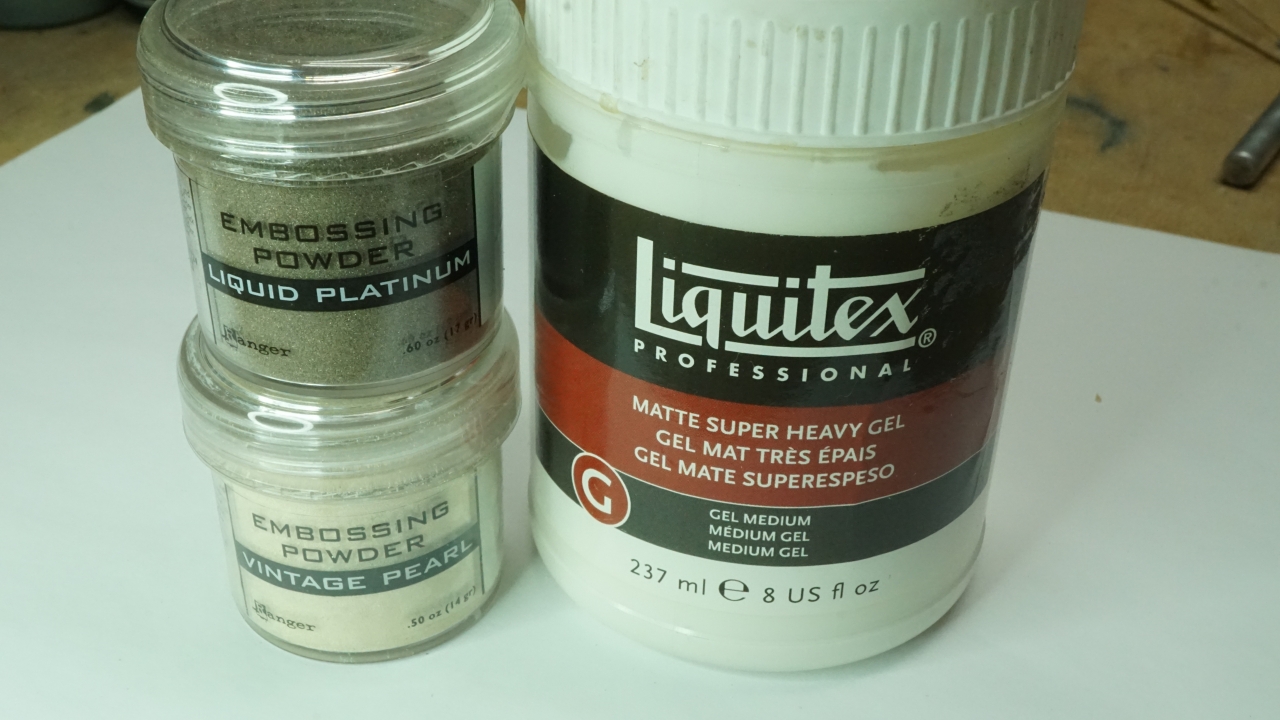
So the next couple of days I'm going to experiment with these products below .
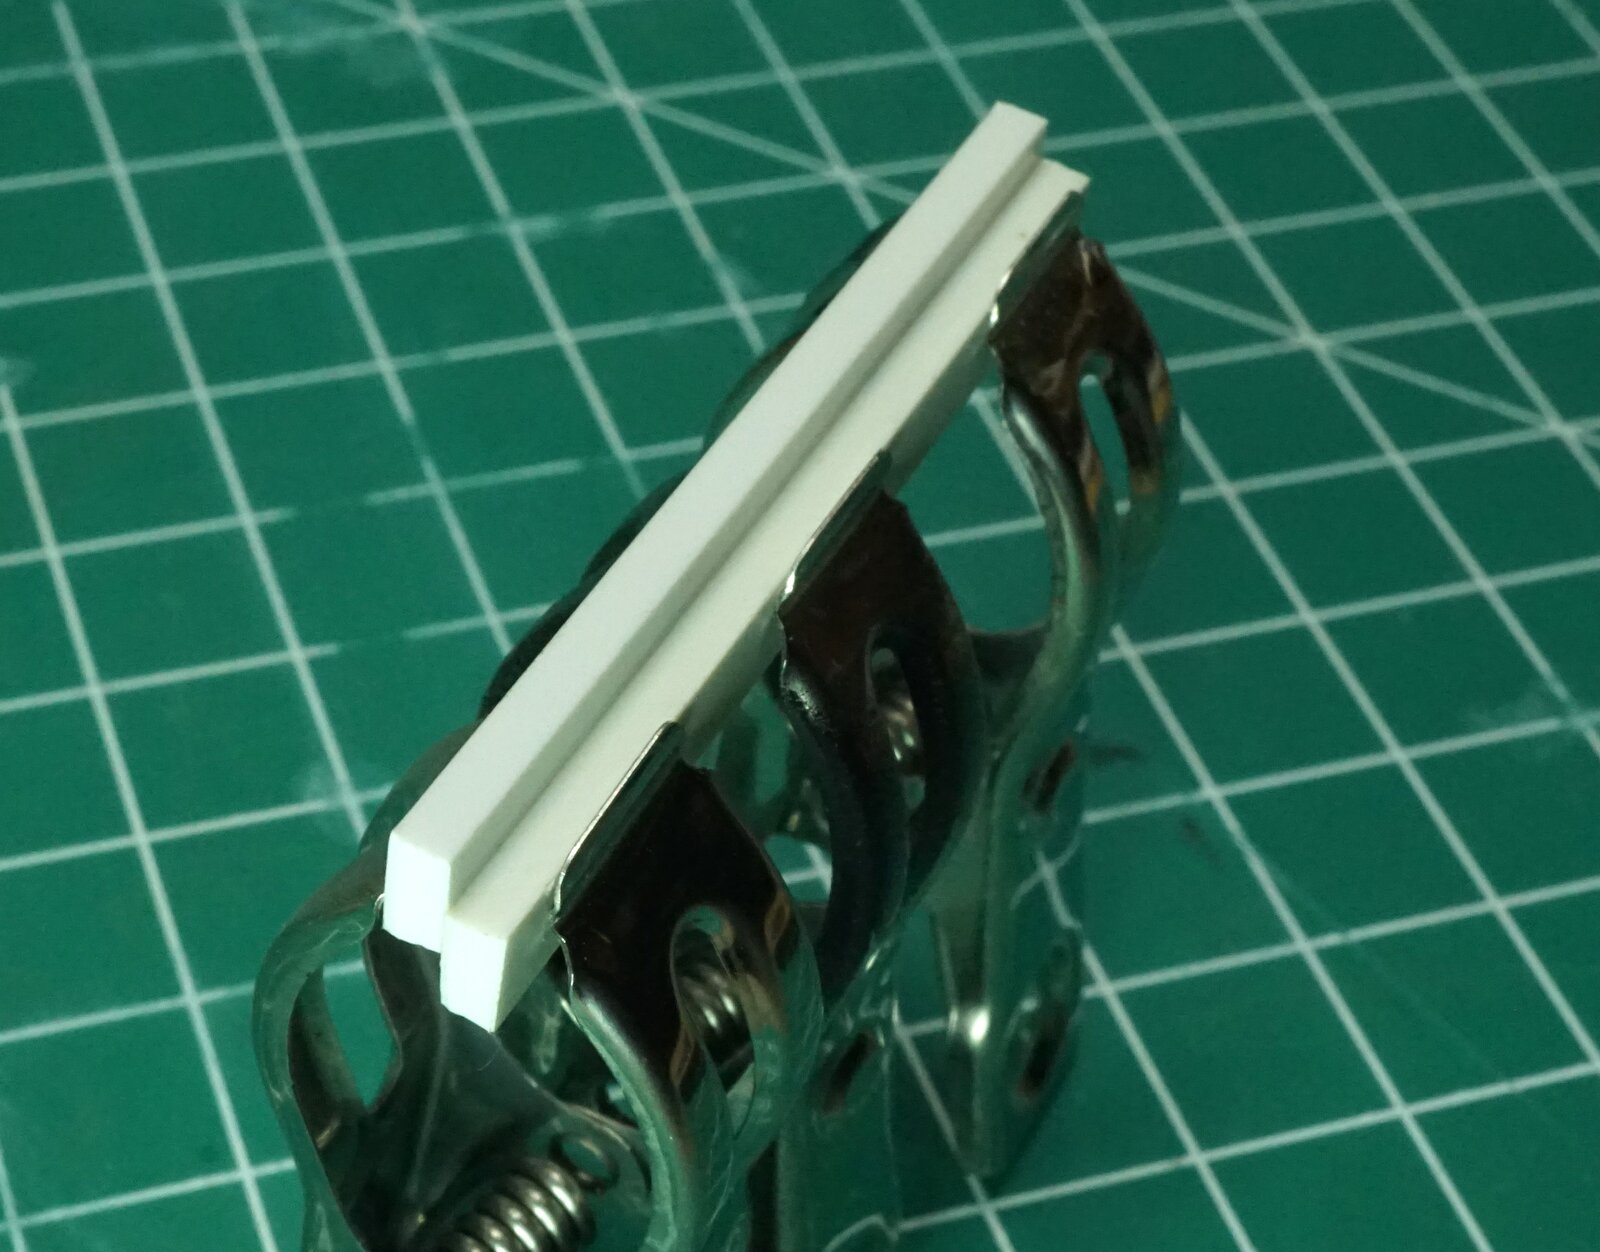
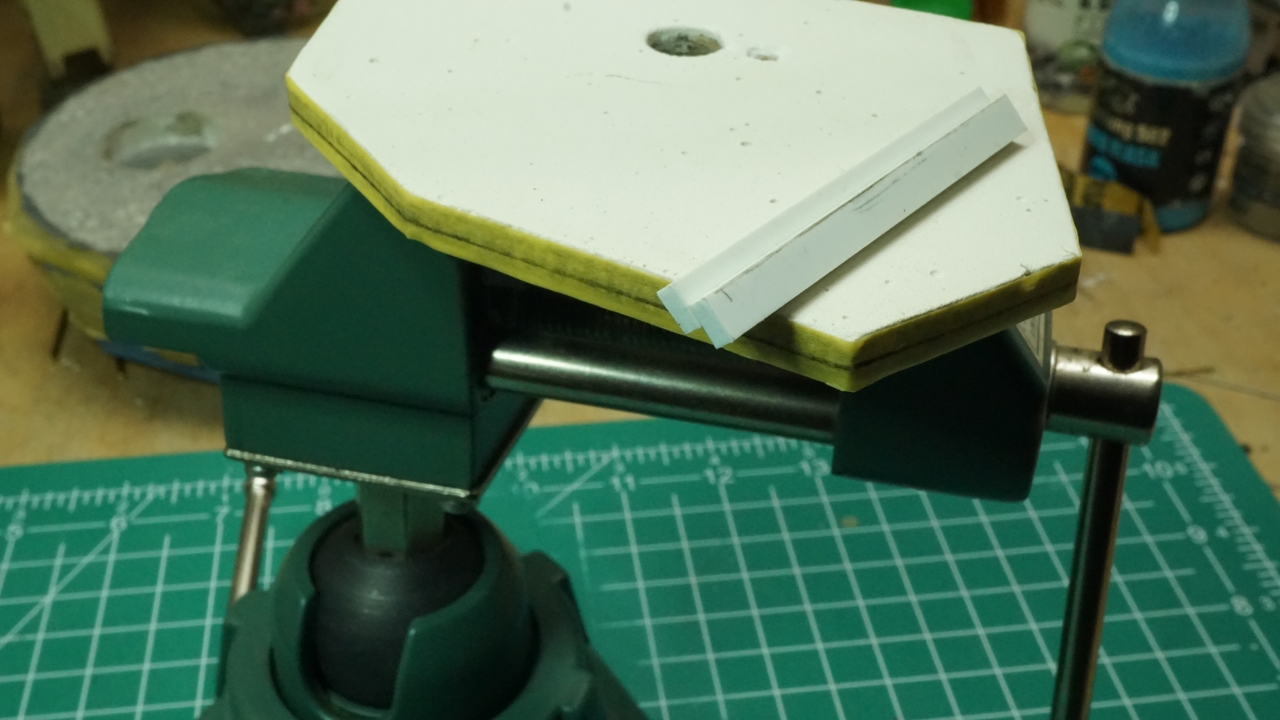
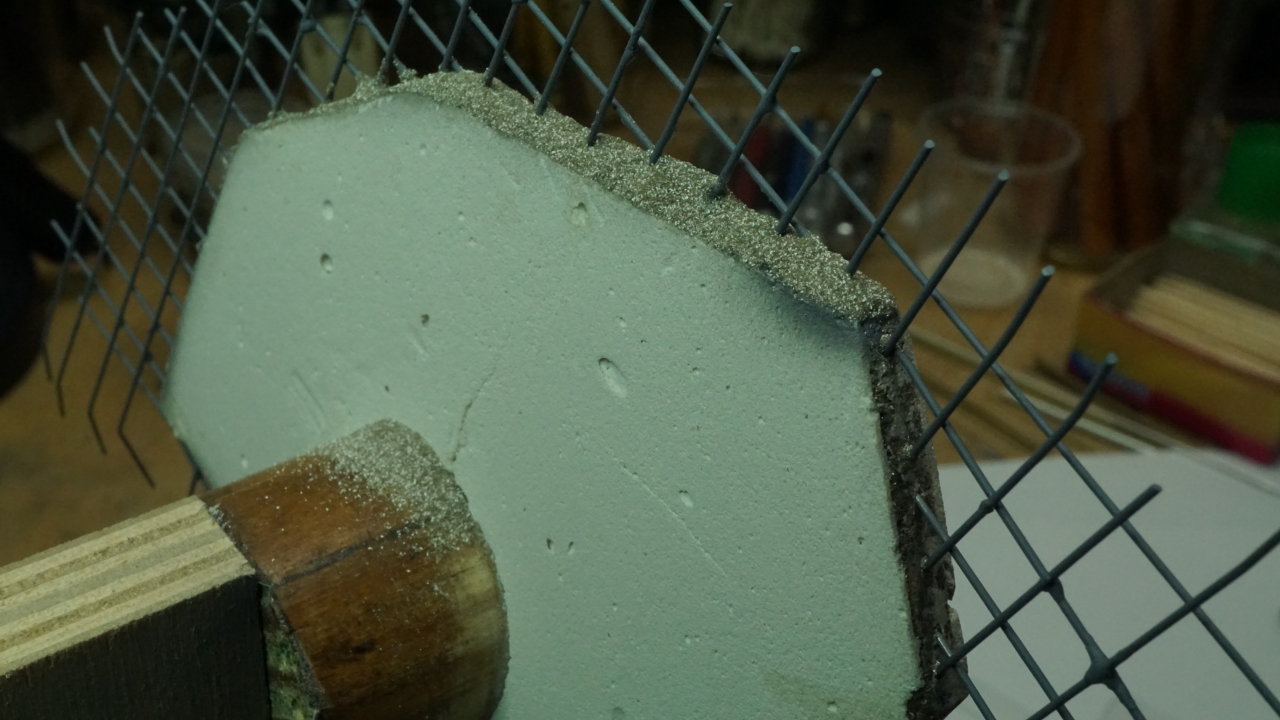
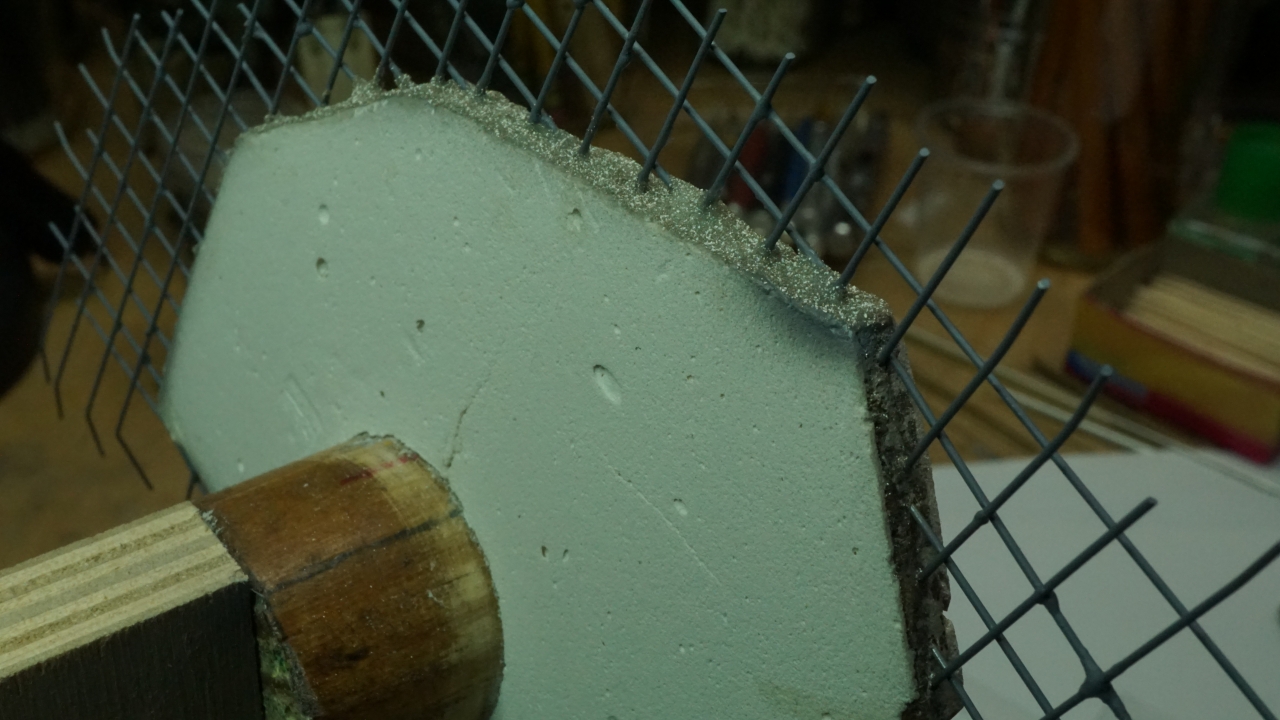
I'm using an acrylic for the slab edges to preclude cracking / delamination issues I will run into while drilling and mounting all the rebar through the edges if I were to cover the edges with gypsum plaster like the upper and lower faces .
Hopefully I can achieve the right texture to mimic the exposed aggregate of the broken cross section .
I'll incorporate the various powders and/or texture the surface with a brush -- we'll see how it goes .
Being this is 1/72 scale , the texture must be minimal but convincing .
I'm wondering if using the different colors of the embossing powders will telegraph thru a translucent application of a color coat and mimic the appearance of aggregate in the concrete .
I bought these AK terrains years ago to check them out . Still unopened . :D Time to crack the lids .

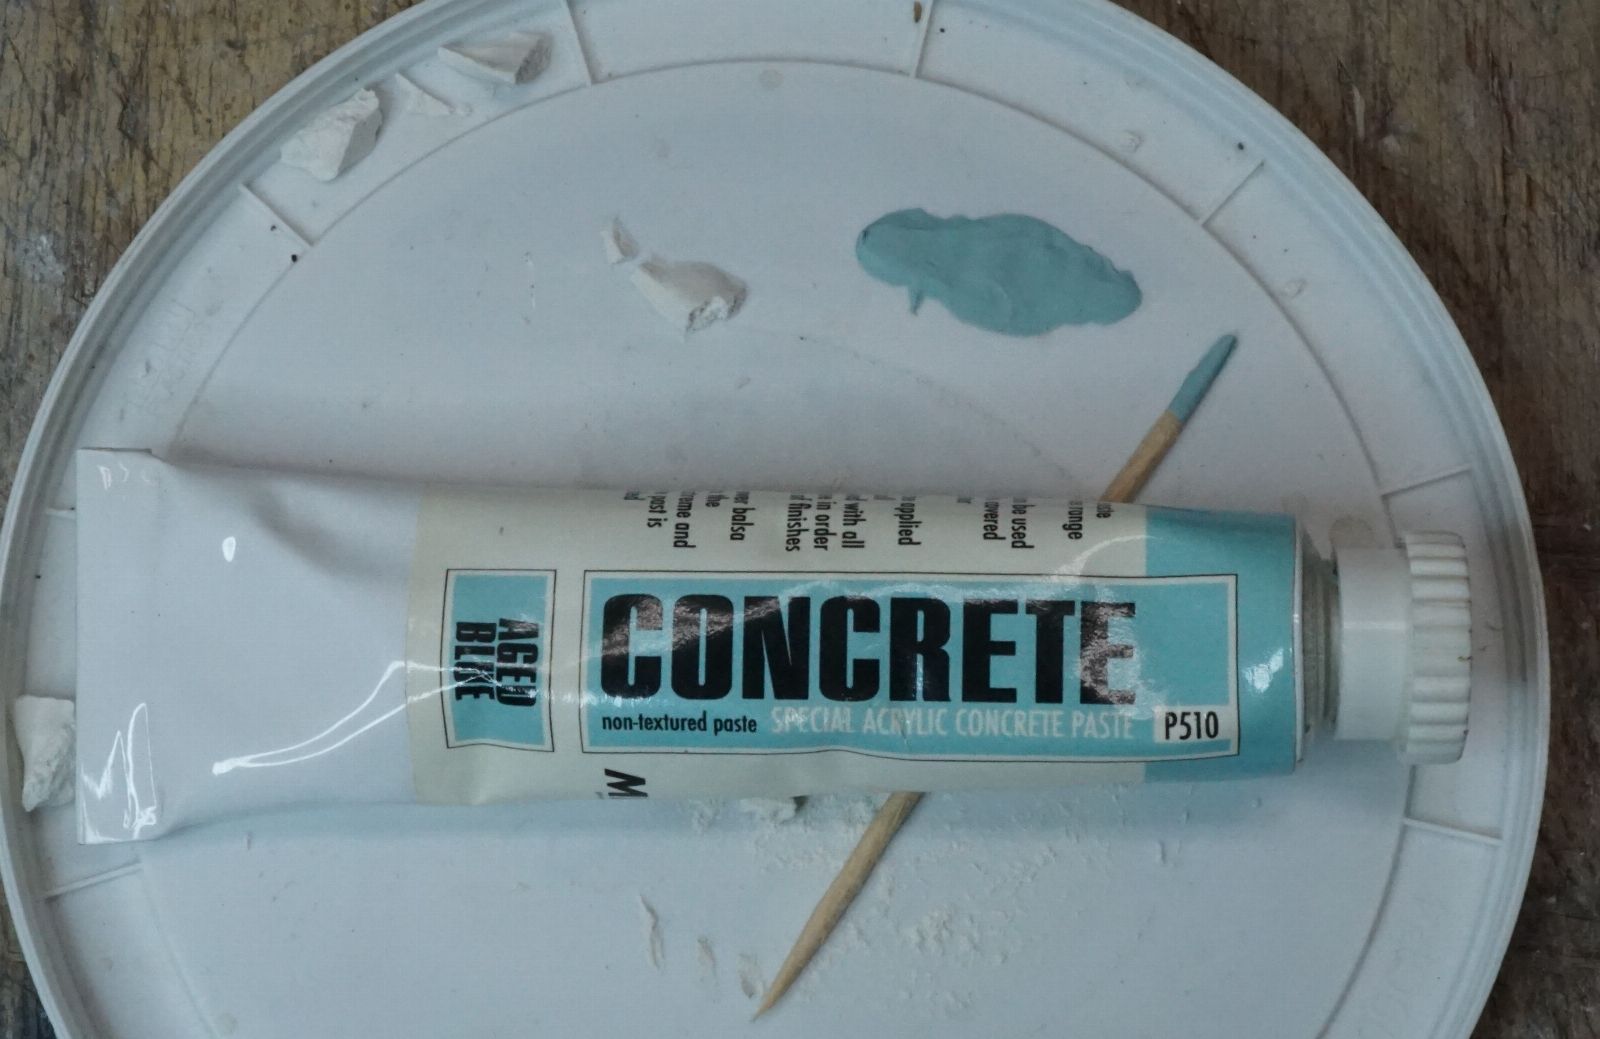
Years , and years , ago I ordered this " concrete paste " , below , from Hobby Link Japan just to see what it was .
It looked odd and it kinda is .
It's acrylic medium ,plus most likely calcium carbonate filler , pigmented that odd blue . ( from MiG )
Basically blue plastic putty . Nothing special .
Concrete is a huge part of my professional existence and like a not-small portion of the Earth's population I've been surrounded by concrete infrastructure my entire life .
I have never seen concrete " aged " into being this color .
Never seen concrete anywhere close to this color . " aged " concrete is dirty concrete , lol .
White Portland cement , white sand and funky-blue pigment colorant ? sure .
Gonna experiment with it along with the others .
I'm using an acrylic for the slab edges to preclude cracking / delamination issues I will run into while drilling and mounting all the rebar through the edges if I were to cover the edges with gypsum plaster like the upper and lower faces .
Hopefully I can achieve the right texture to mimic the exposed aggregate of the broken cross section .
I'll incorporate the various powders and/or texture the surface with a brush -- we'll see how it goes .
Being this is 1/72 scale , the texture must be minimal but convincing .
I'm wondering if using the different colors of the embossing powders will telegraph thru a translucent application of a color coat and mimic the appearance of aggregate in the concrete .
I bought these AK terrains years ago to check them out . Still unopened . :D Time to crack the lids .
Years , and years , ago I ordered this " concrete paste " , below , from Hobby Link Japan just to see what it was .
It looked odd and it kinda is .
It's acrylic medium ,plus most likely calcium carbonate filler , pigmented that odd blue . ( from MiG )
Basically blue plastic putty . Nothing special .
Concrete is a huge part of my professional existence and like a not-small portion of the Earth's population I've been surrounded by concrete infrastructure my entire life .
I have never seen concrete " aged " into being this color .
Never seen concrete anywhere close to this color . " aged " concrete is dirty concrete , lol .
White Portland cement , white sand and funky-blue pigment colorant ? sure .
Gonna experiment with it along with the others .


Poured a few hundred metres of concrete over the year's and never seen a blue one!!So the next couple of days I'm going to experiment with these products below .
I'm using an acrylic for the slab edges to preclude cracking / delamination issues I will run into while drilling and mounting all the rebar through the edges if I were to cover the edges with gypsum plaster like the upper and lower faces .
Hopefully I can achieve the right texture to mimic the exposed aggregate of the broken cross section .
I'll incorporate the various powders and/or texture the surface with a brush -- we'll see how it goes .
Being this is 1/72 scale , the texture must be minimal but convincing .
I'm wondering if using the different colors of the embossing powders will telegraph thru a translucent application of a color coat and mimic the appearance of aggregate in the concrete .
I bought these AK terrains years ago to check them out . Still unopened . :D Time to crack the lids .
Years , and years , ago I ordered this " concrete paste " , below , from Hobby Link Japan just to see what it was .
It looked odd and it kinda is .
It's acrylic medium ,plus most likely calcium carbonate filler , pigmented that odd blue . ( from MiG )
Basically blue plastic putty . Nothing special .
Concrete is a huge part of my professional existence and like a not-small portion of the Earth's population I've been surrounded by concrete infrastructure my entire life .
I have never seen concrete " aged " into being this color .
Never seen concrete anywhere close to this color . " aged " concrete is dirty concrete , lol .
White Portland cement , white sand and funky-blue pigment colorant ? sure .
Gonna experiment with it along with the others .
View attachment 93796
Pantherman
That was the main reason I ordered , I think .
" what do you mean 'aged blue ' ? " , lol
It's just acrylic plastic putty .
I have no idea who at MiG thought they remember seeing blue concrete somewhere .
" what do you mean 'aged blue ' ? " , lol
It's just acrylic plastic putty .
I have no idea who at MiG thought they remember seeing blue concrete somewhere .
Think I have found your next build!That was the main reason I ordered , I think .
" what do you mean 'aged blue ' ? " , lol
It's just acrylic plastic putty .
I have no idea who at MiG thought they remember seeing blue concrete somewhere .
Pantherman
Attachments

If that's the case then I must have built some multicoloured structures in my time. Maybe that's why concrete is grey because all the trucks that have turned up are usually covered in mud and grime!!!!Color of the truck demotes the color of the mix ?
Quite handy !
Pantherman
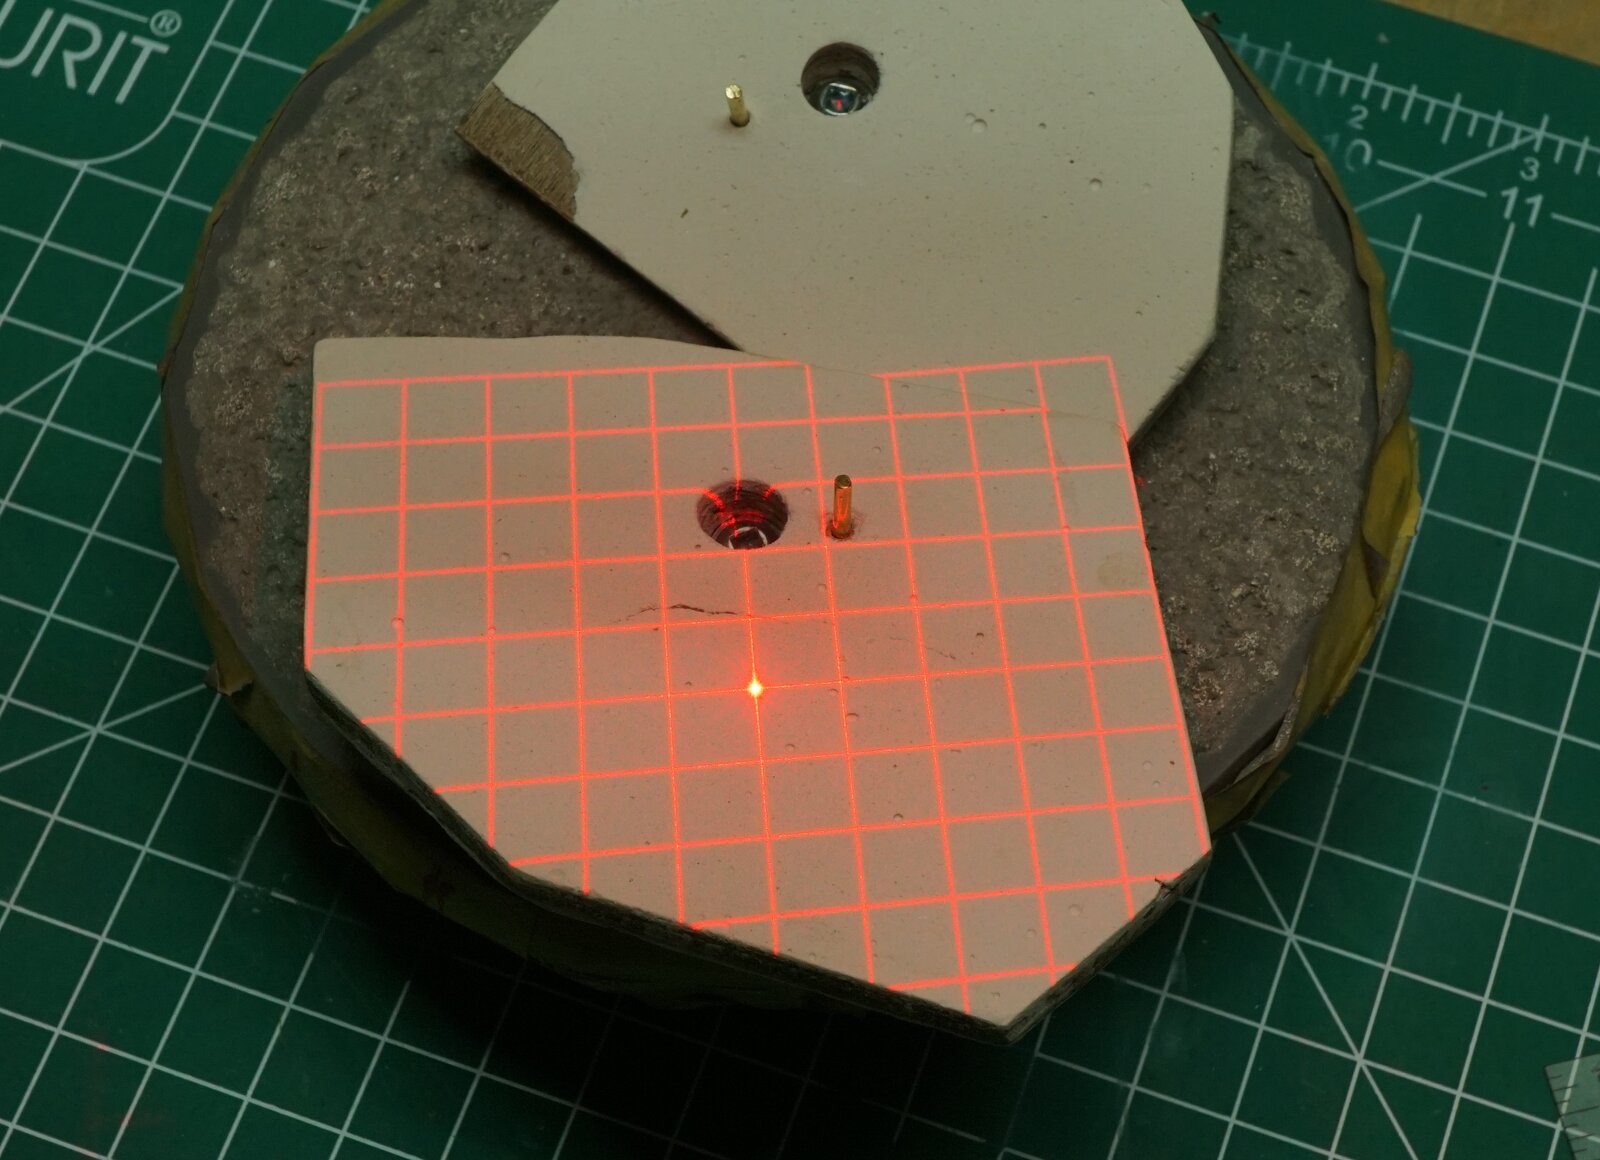
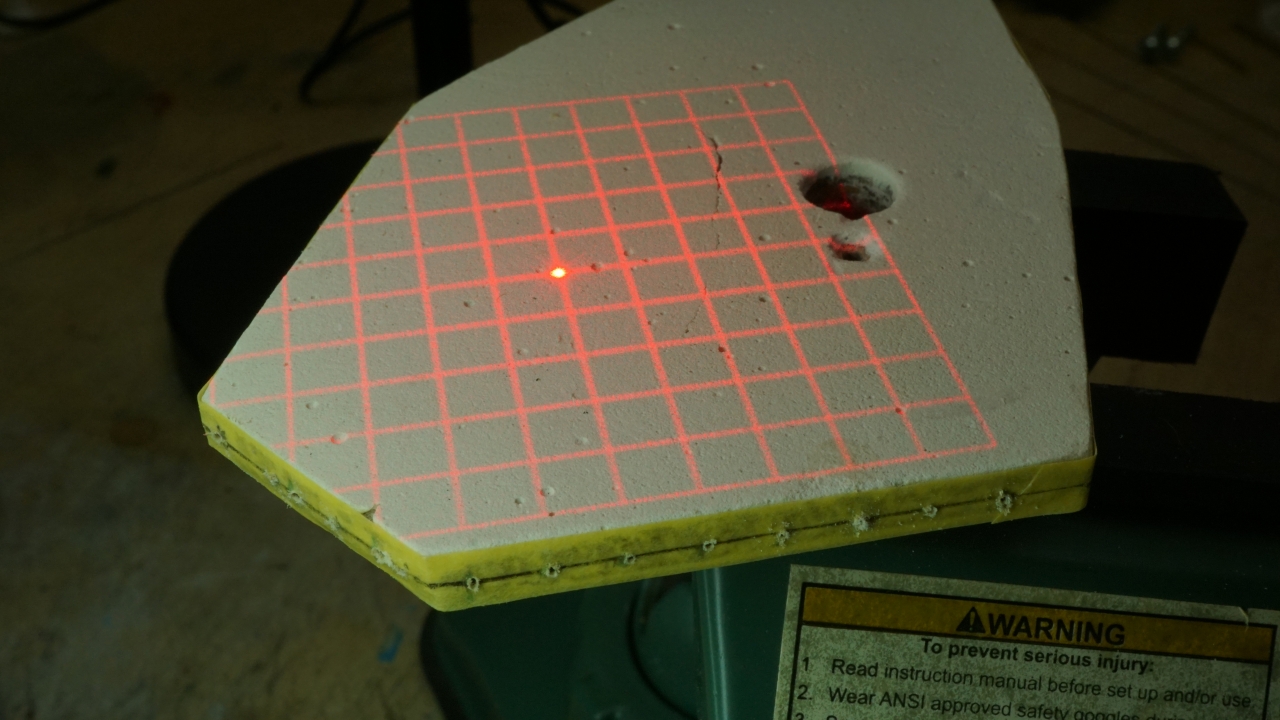
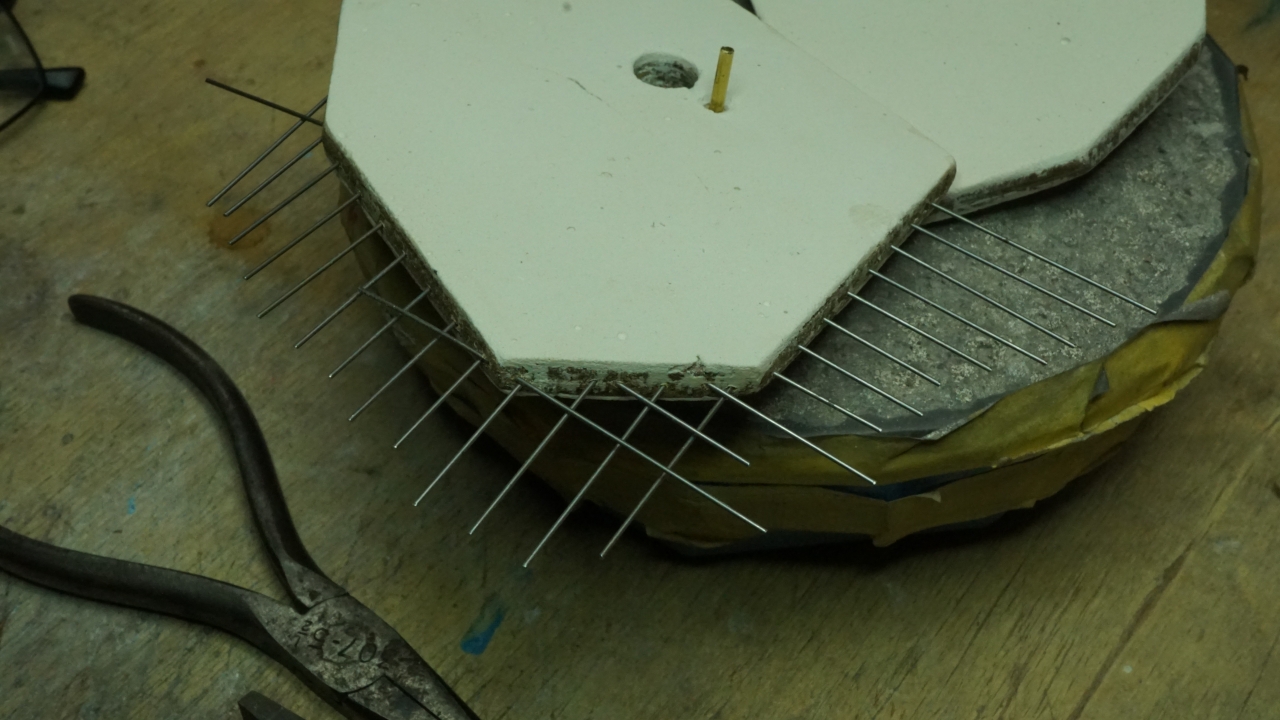
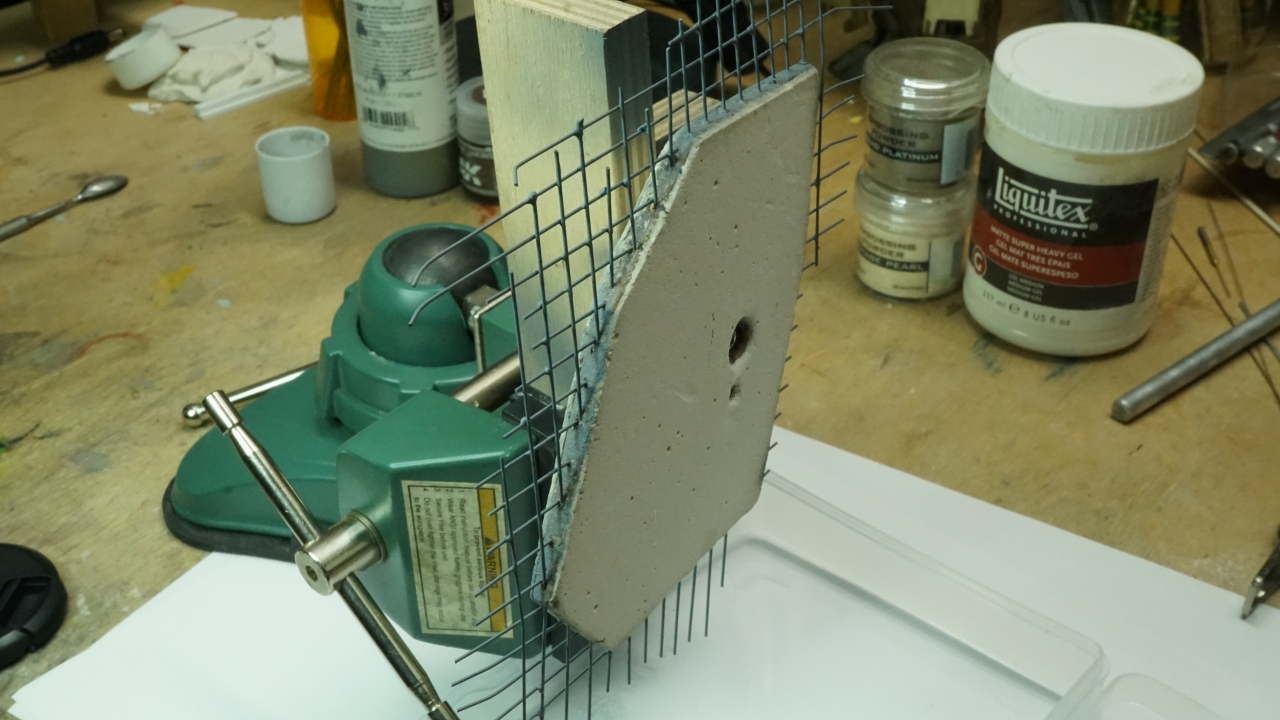
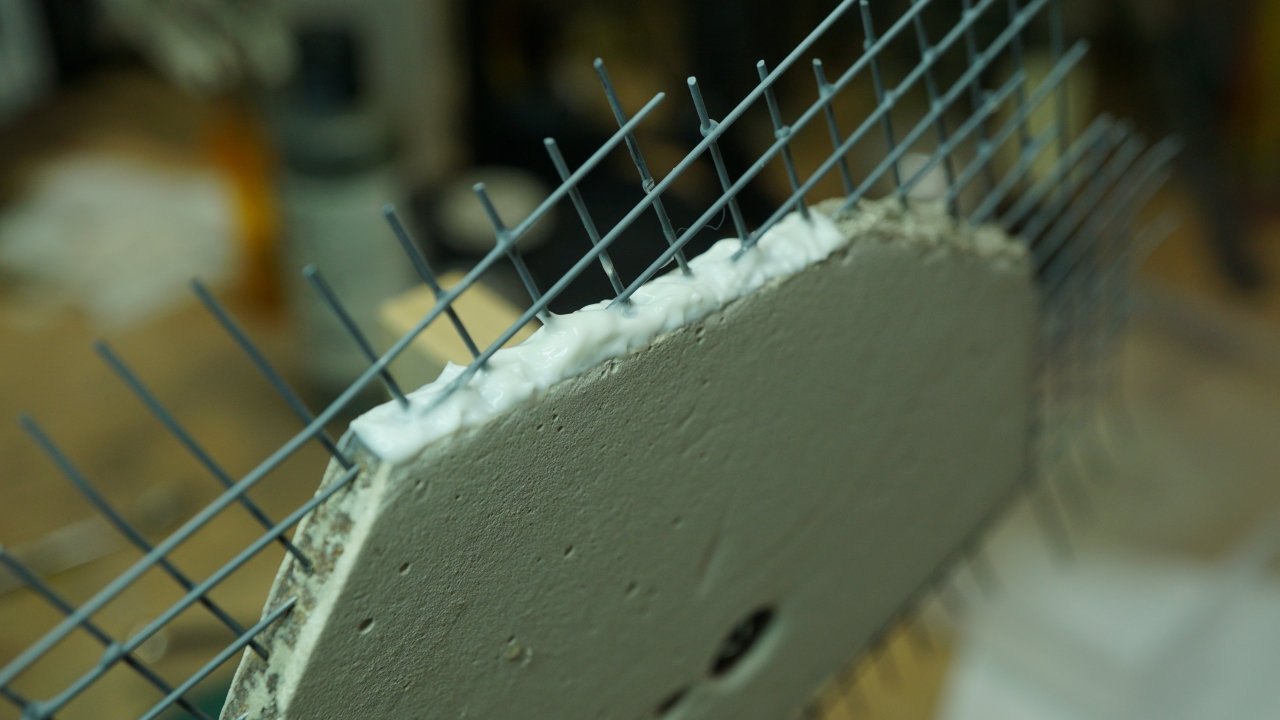
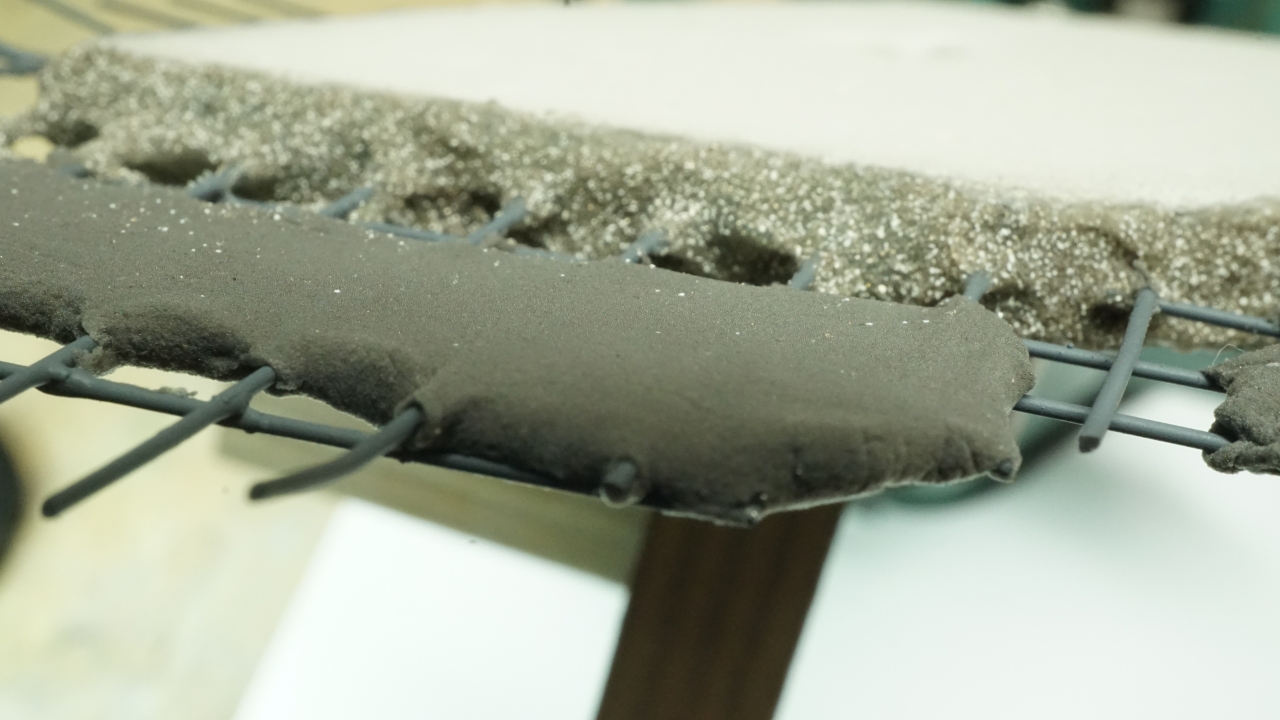
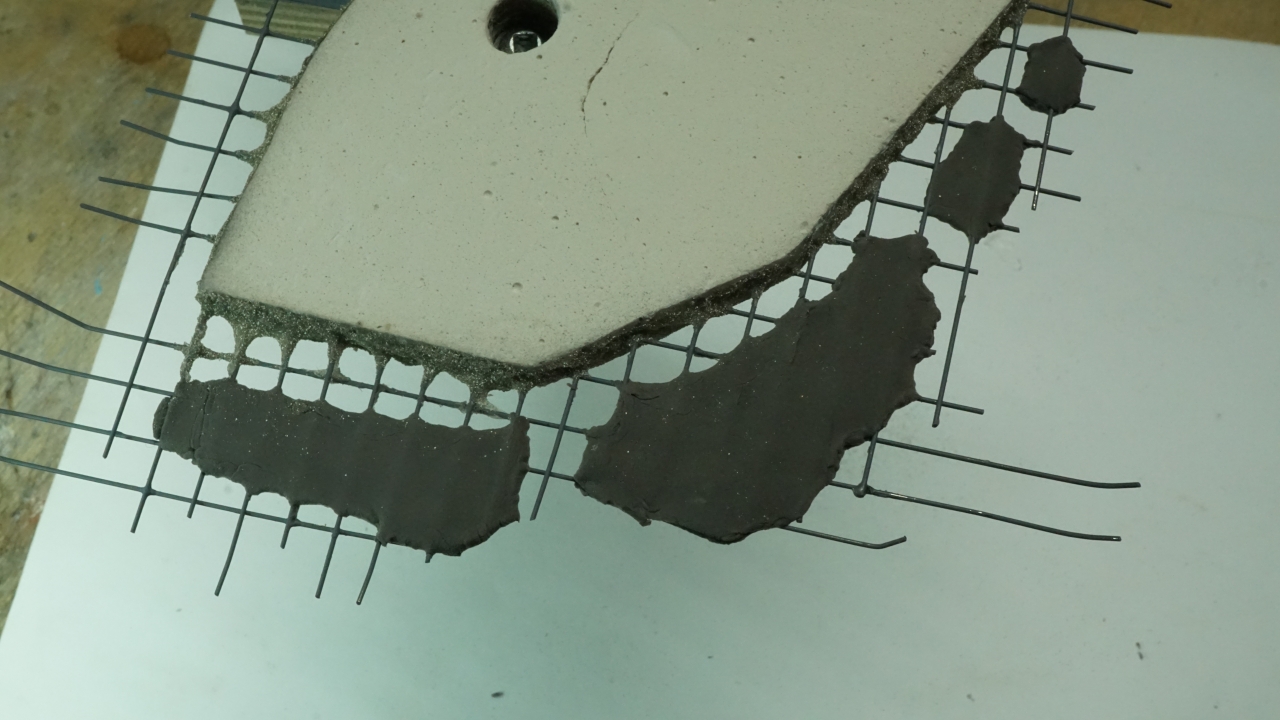
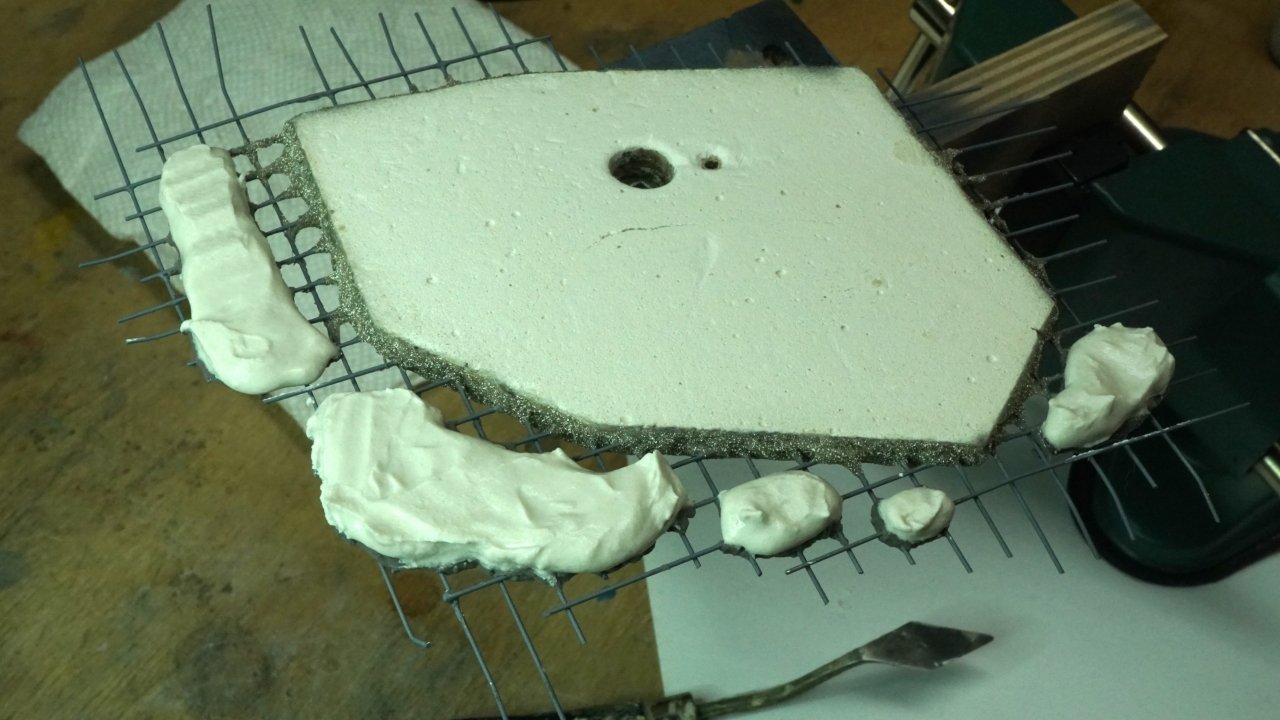
Micro-Mark , Foam Clay
Then overtopped with drywall mud and sanded to match .
Then I need to modify the straight lines along the breaks for the main slab to make sense -- I started with straight lines to make it easier to layout and drill for the rebar grid
Then overtopped with drywall mud and sanded to match .
Then I need to modify the straight lines along the breaks for the main slab to make sense -- I started with straight lines to make it easier to layout and drill for the rebar grid
Similar threads


- Replies
- 16
- Views
- 1K


