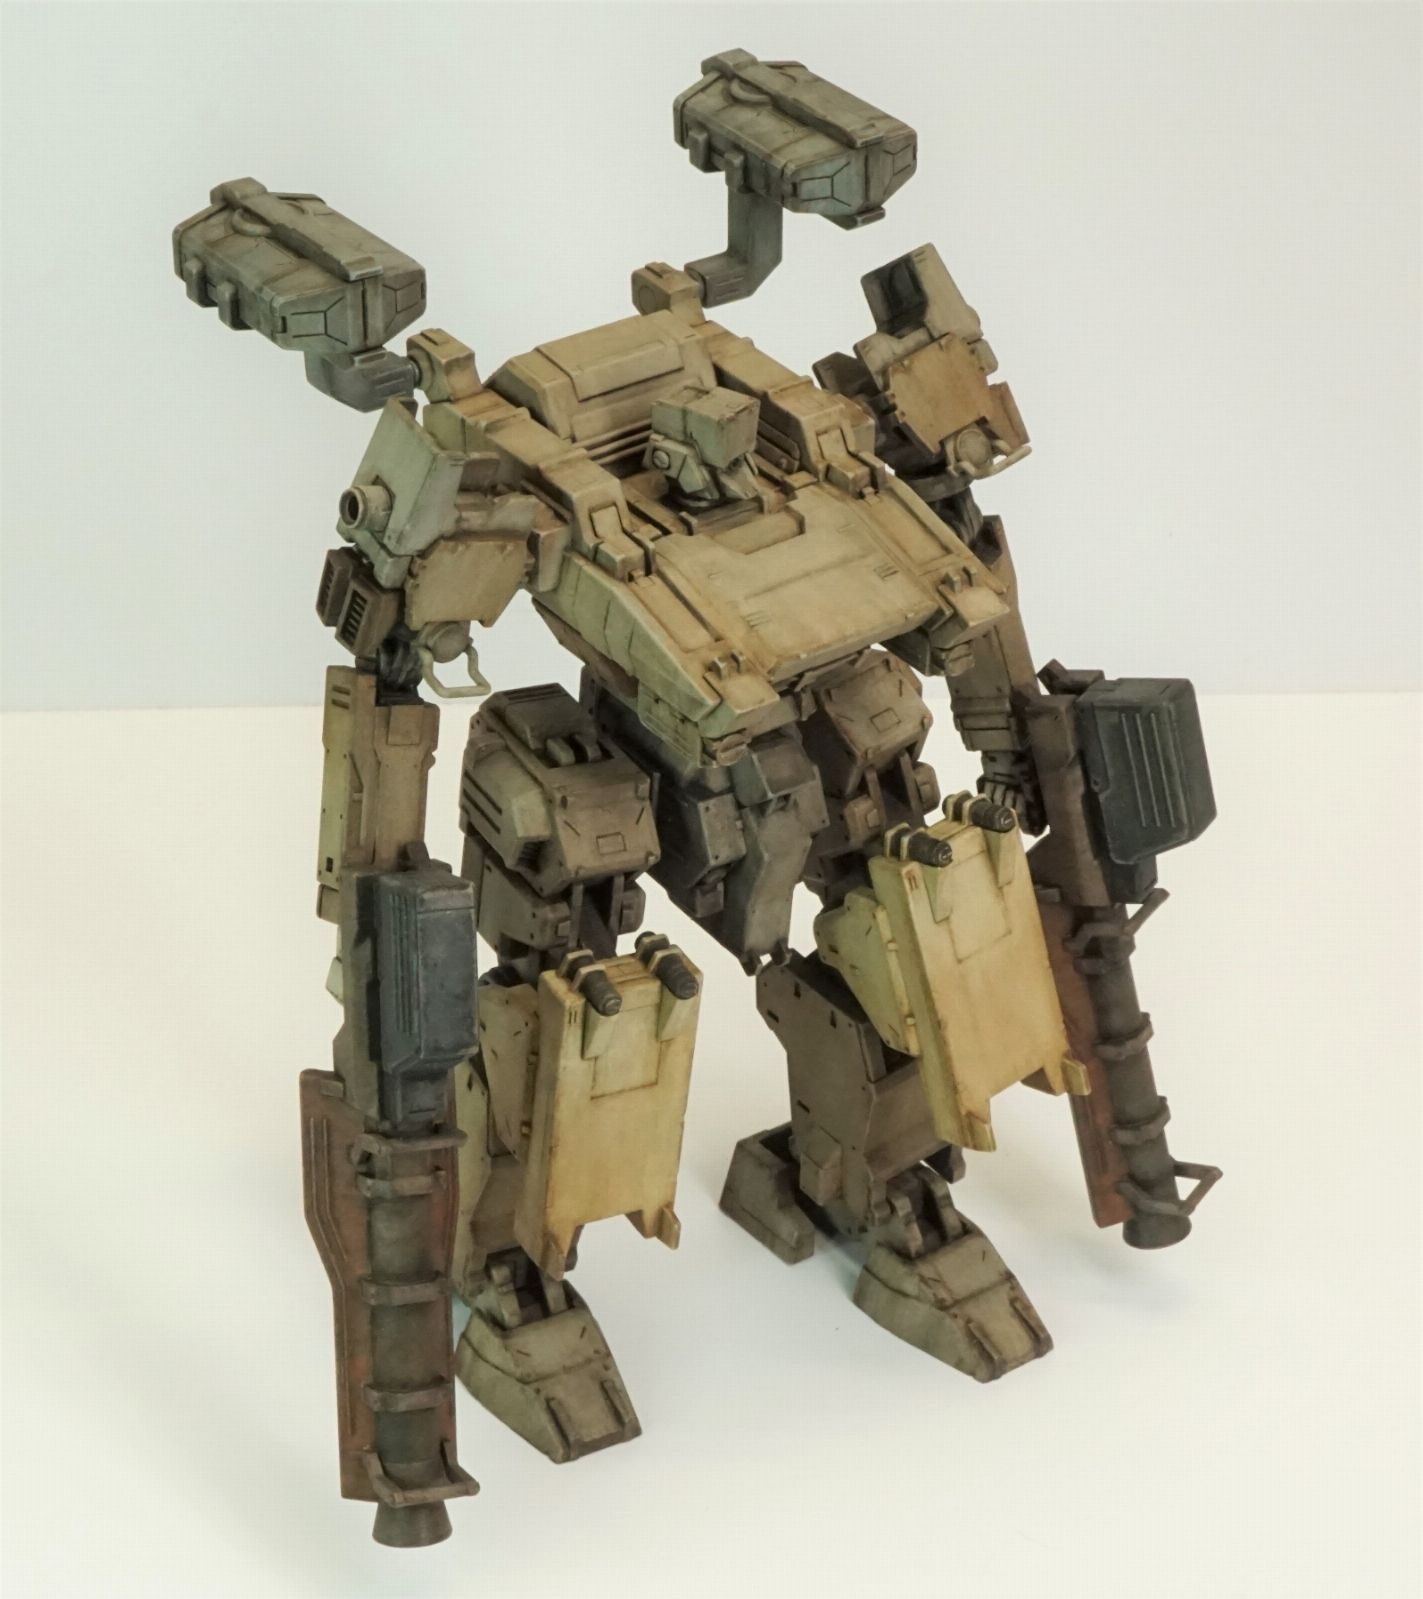
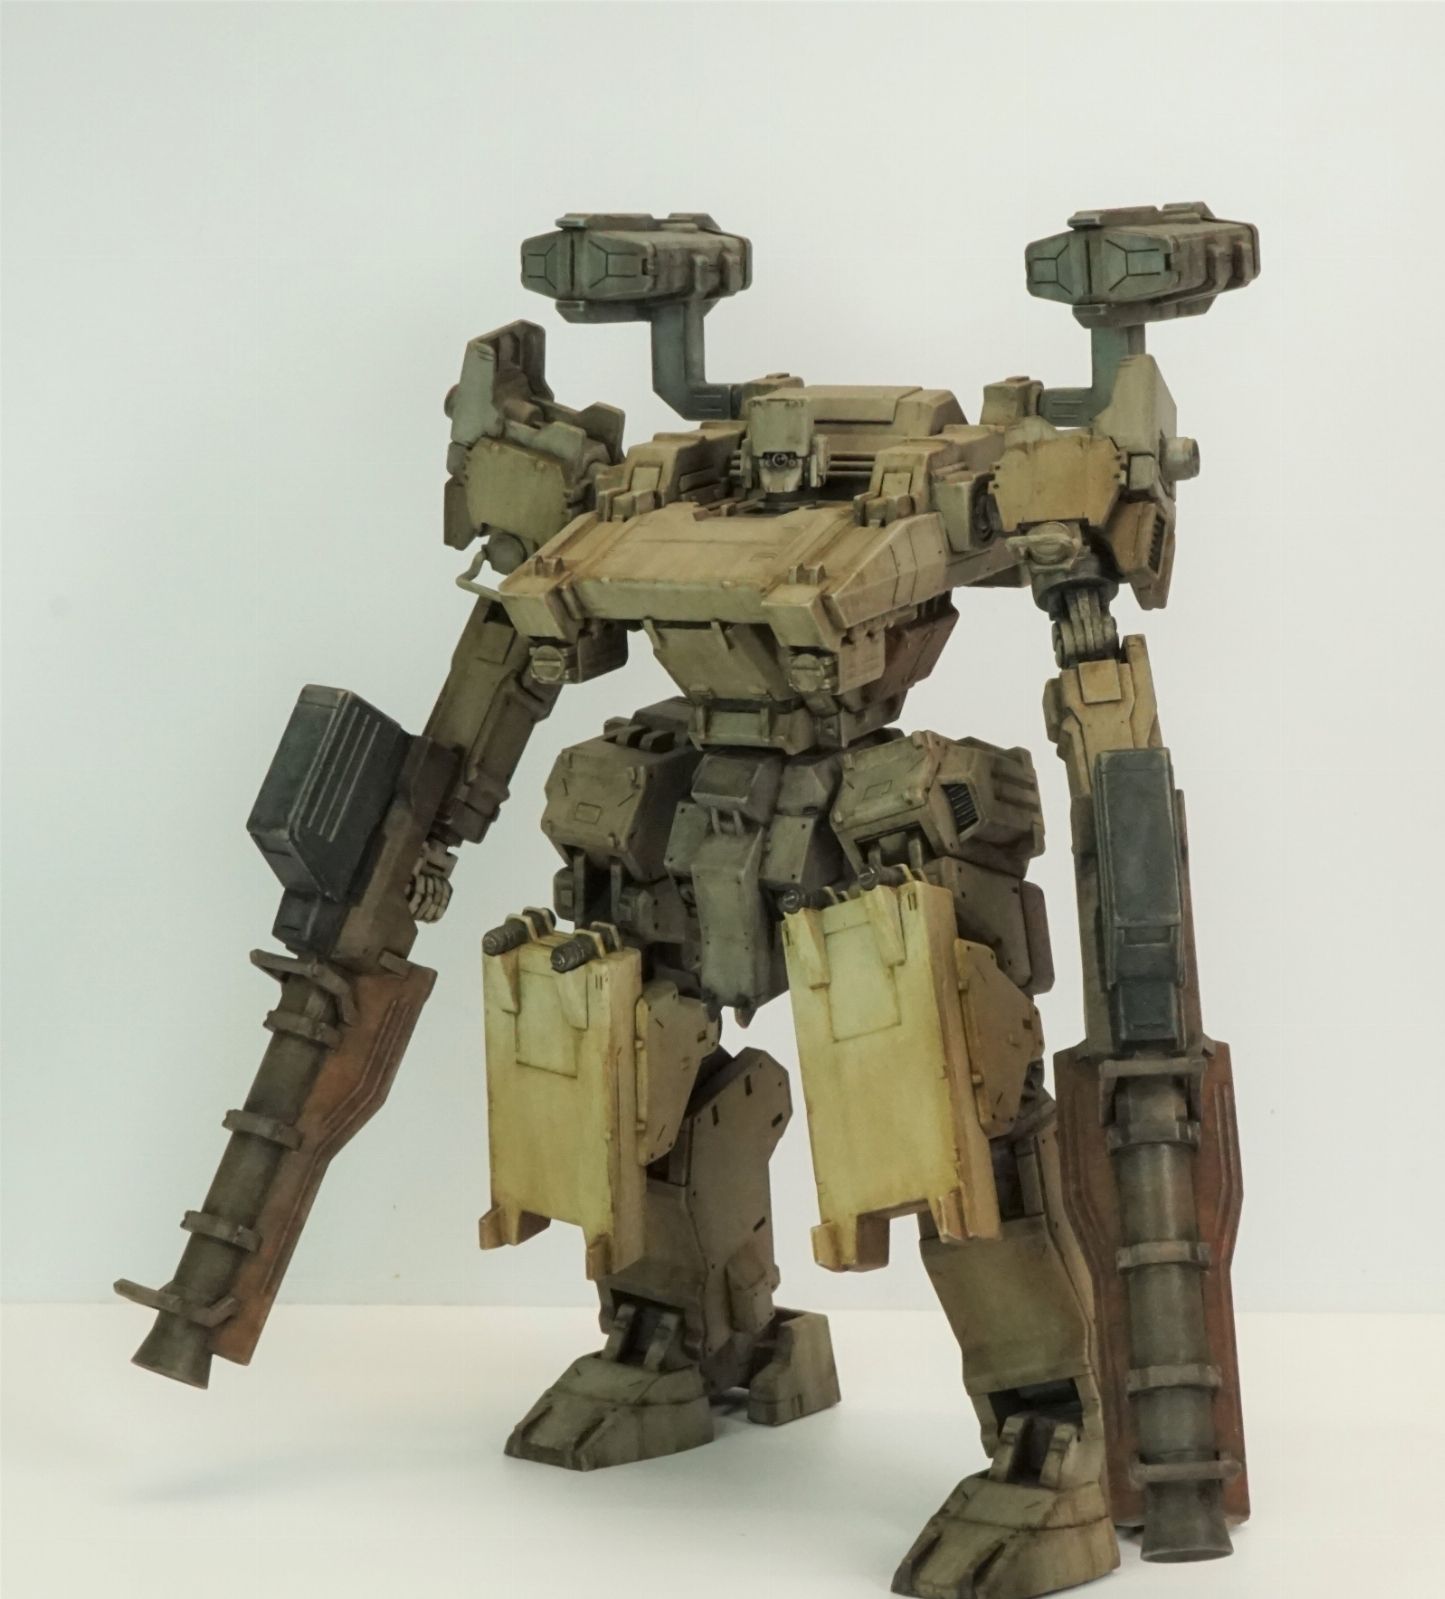
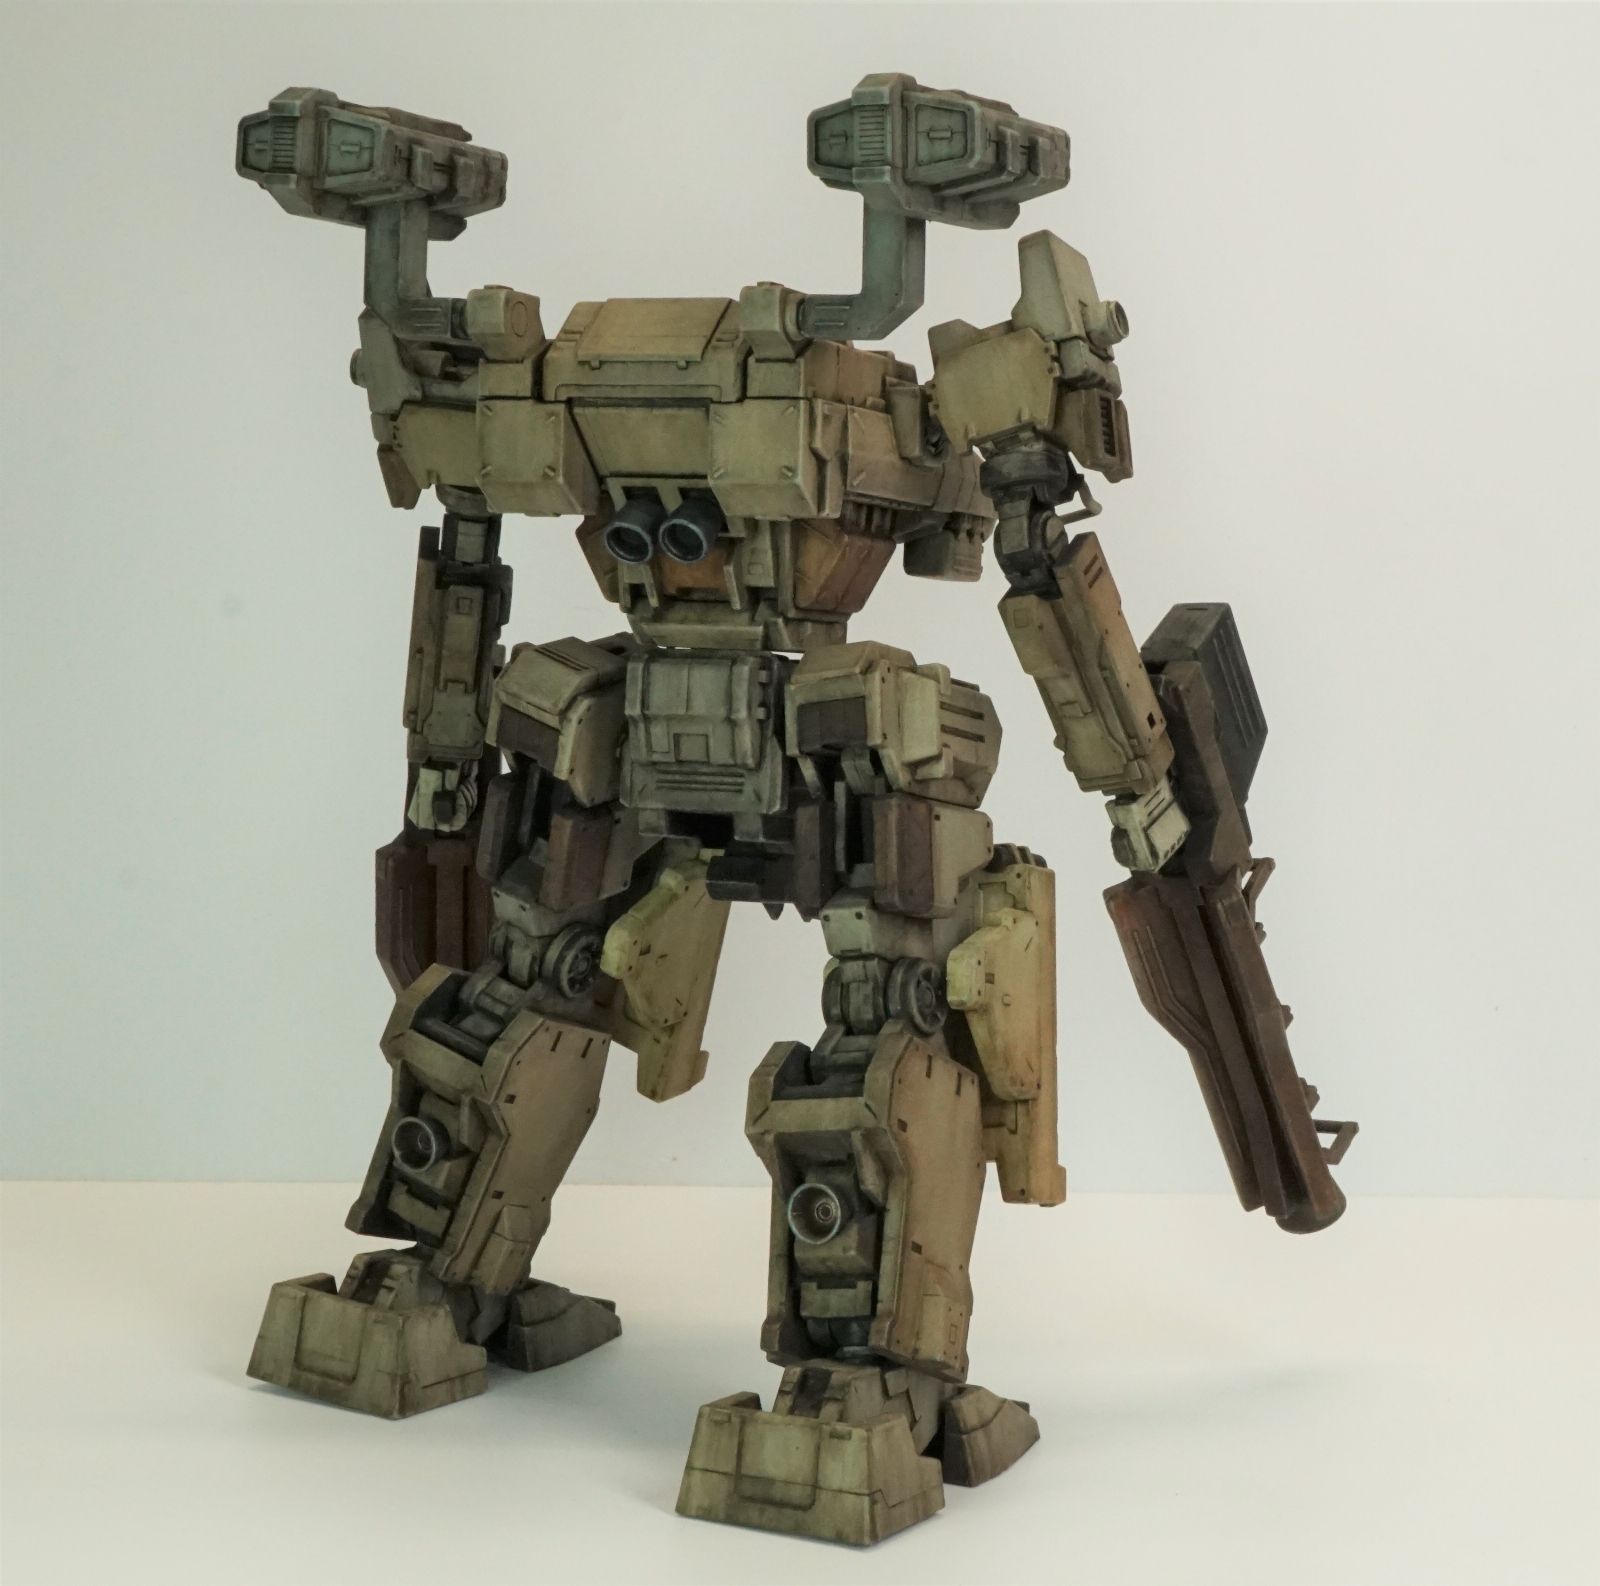
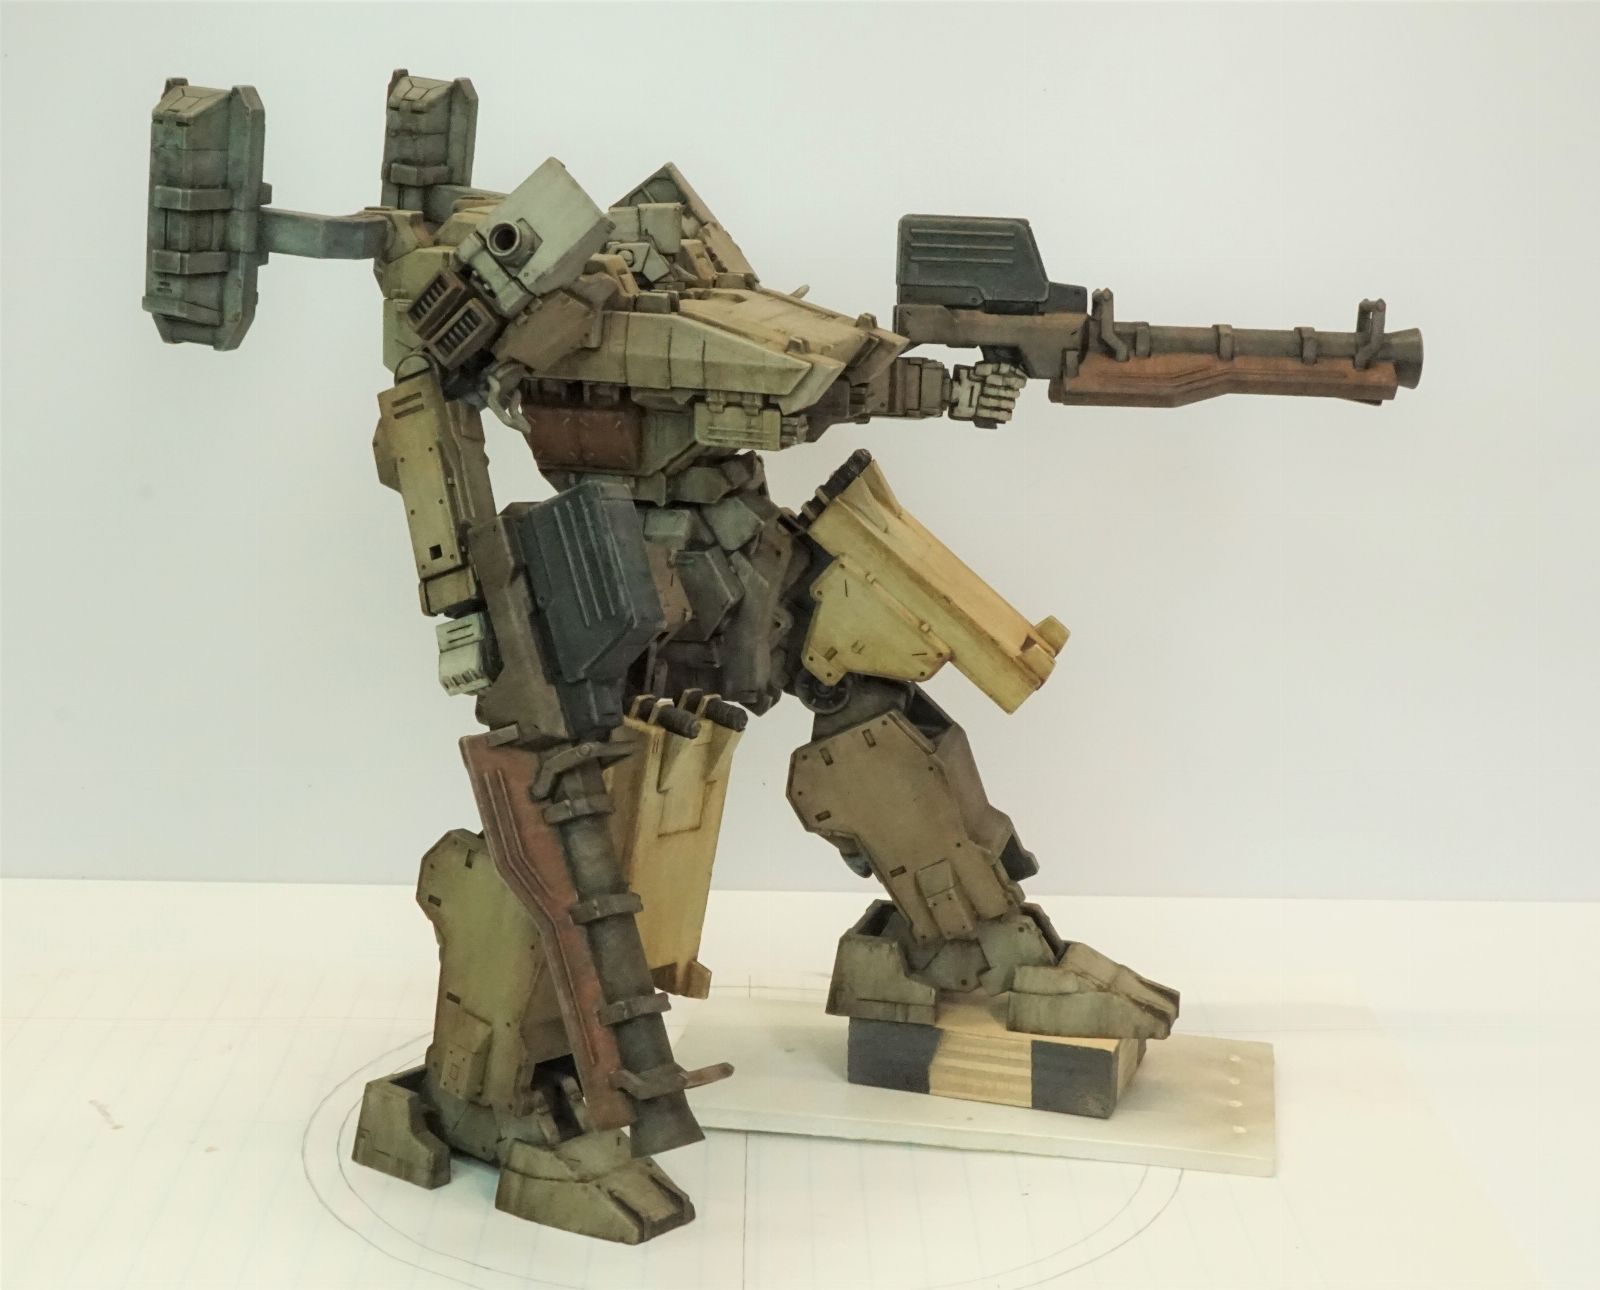
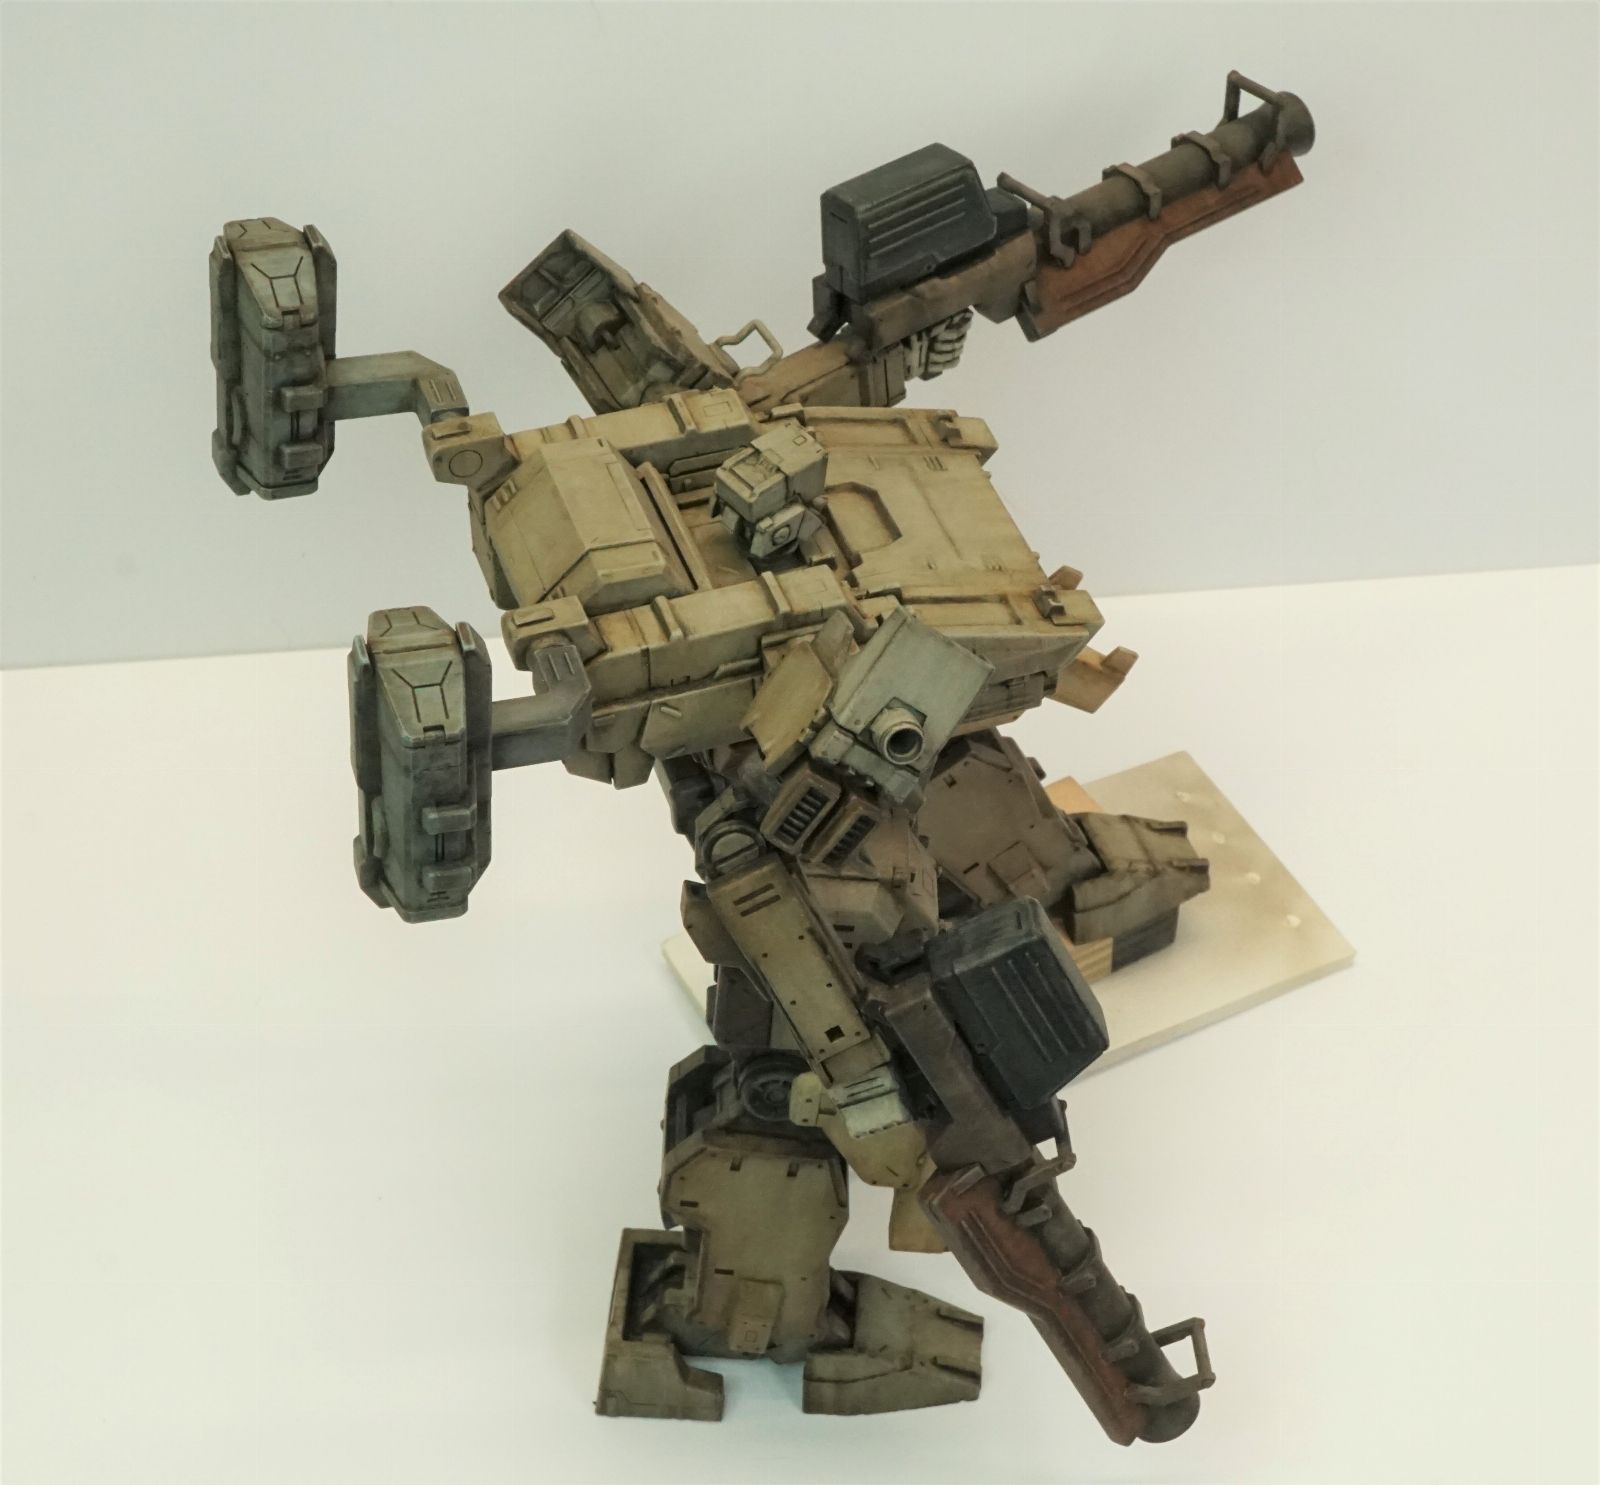
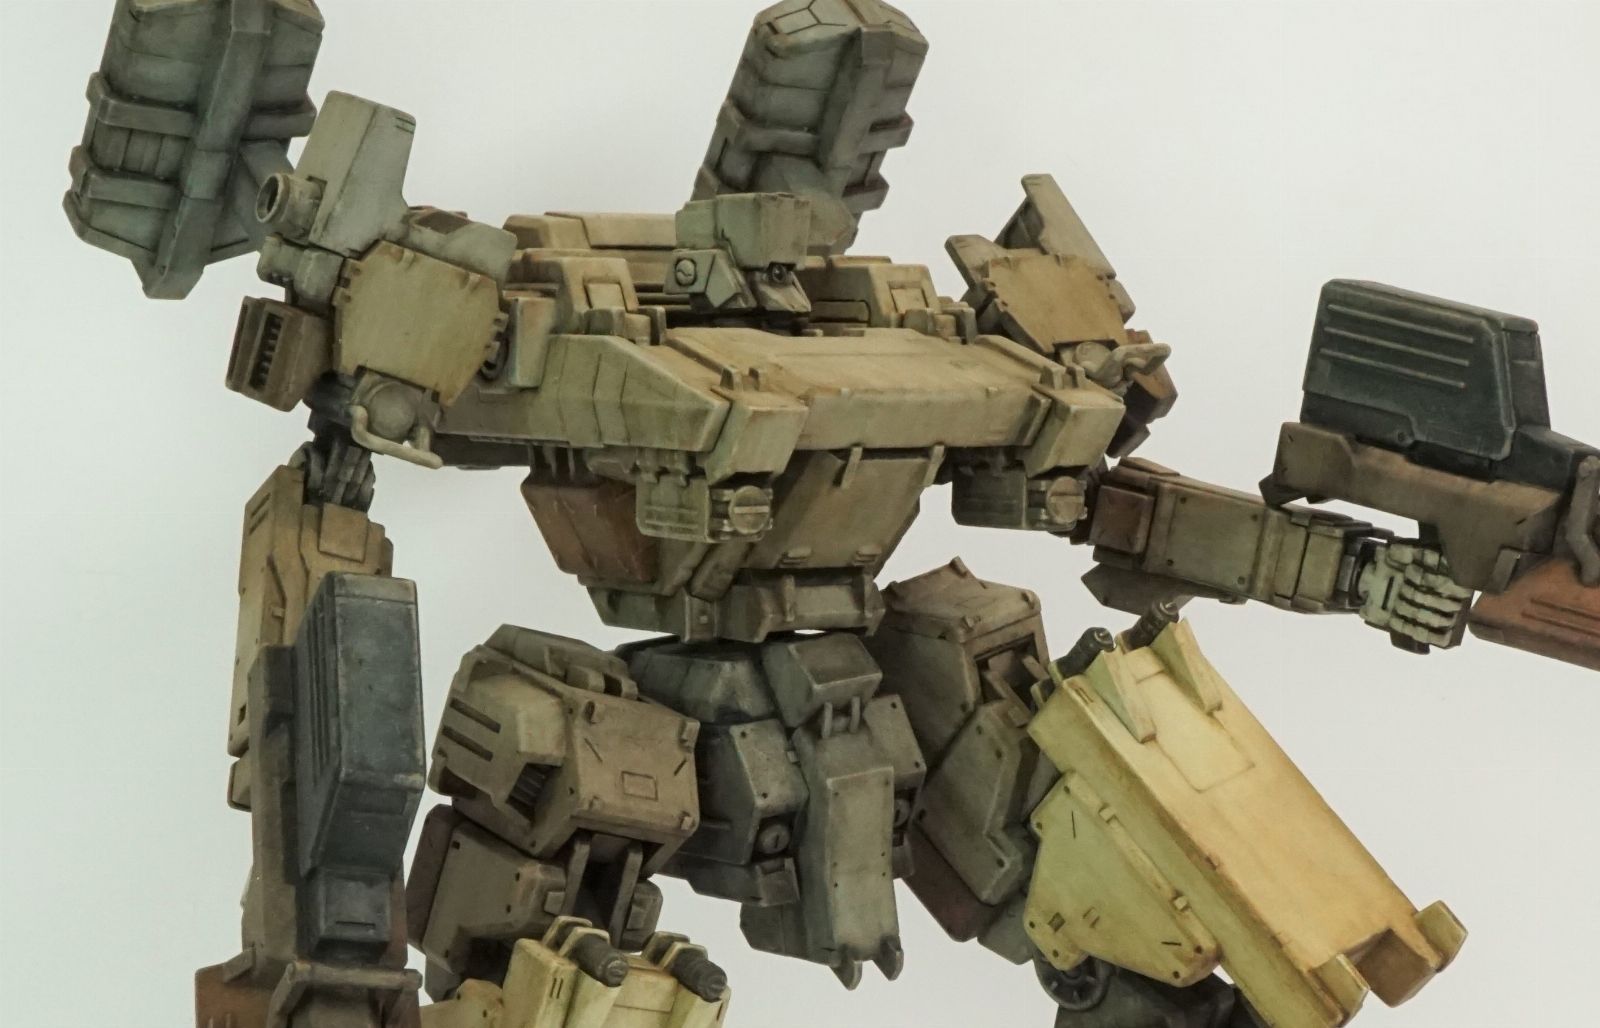
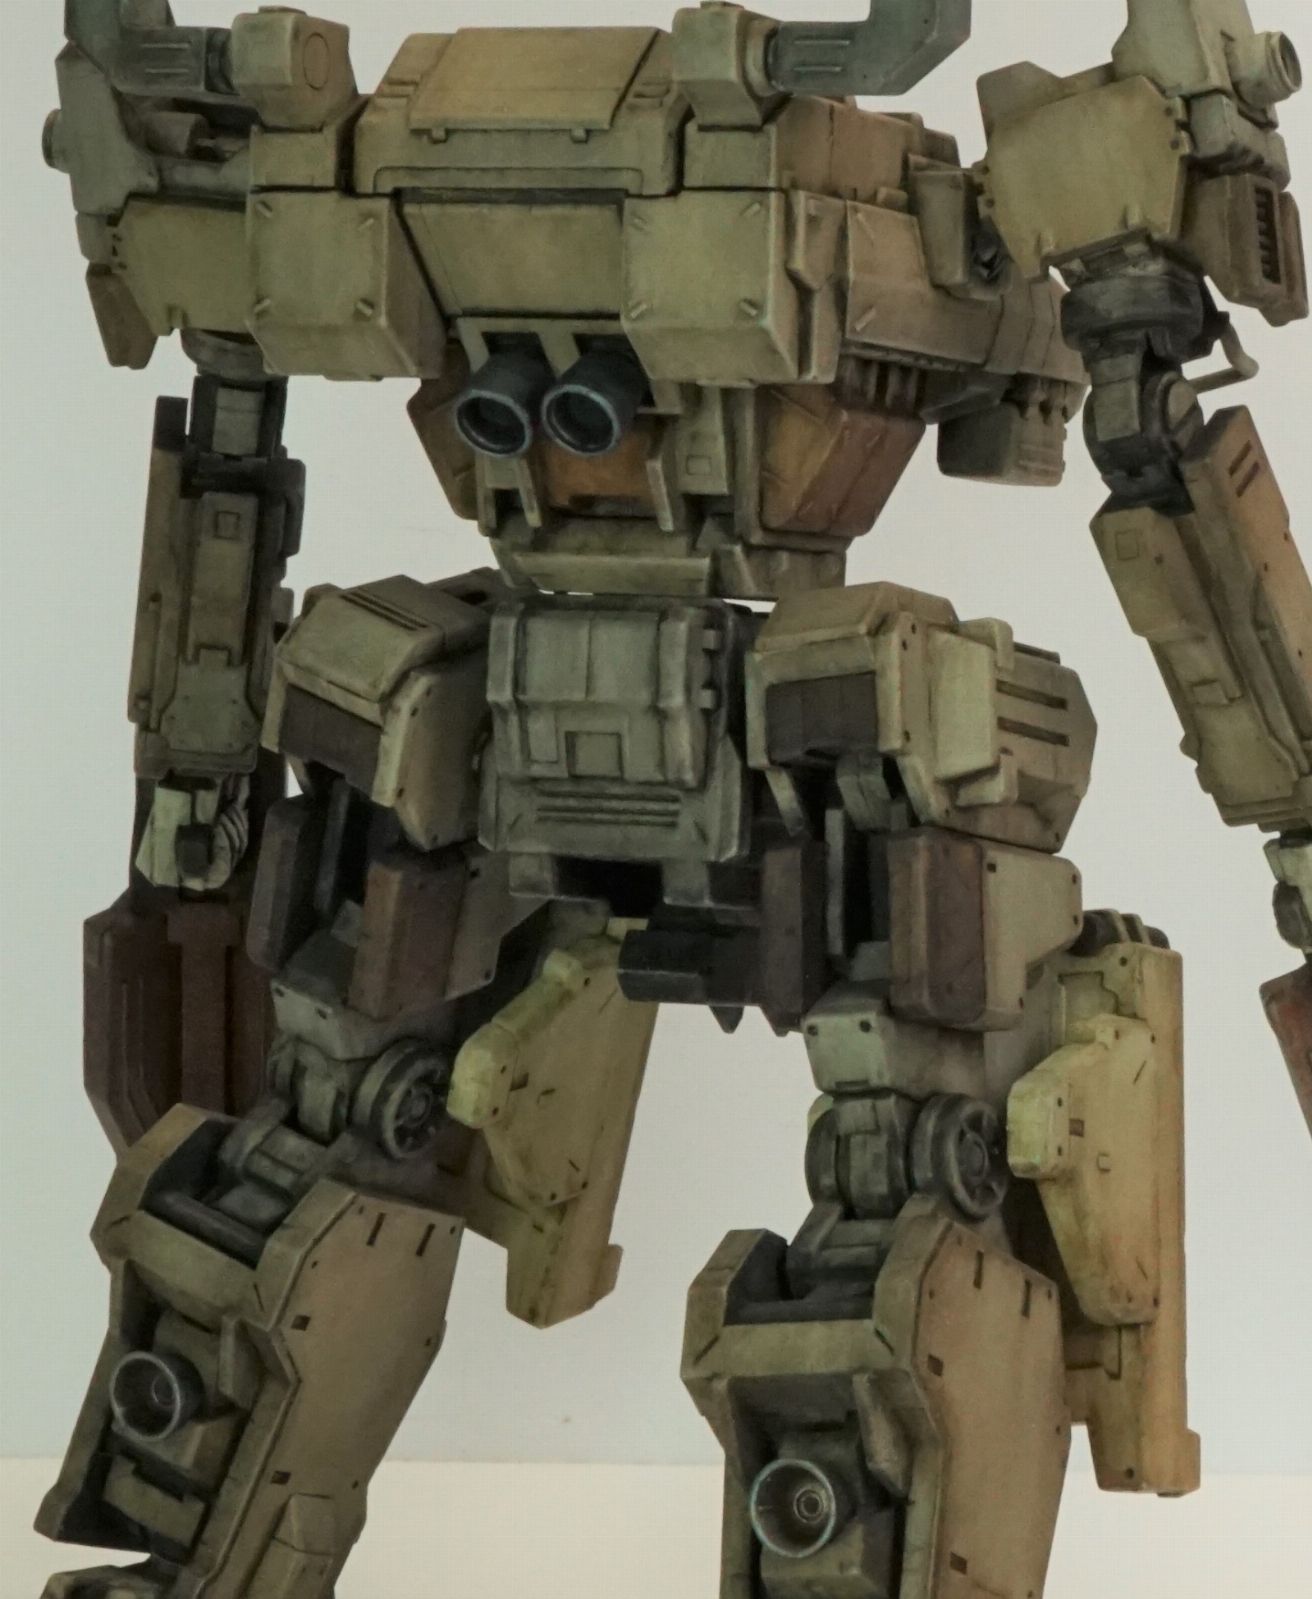
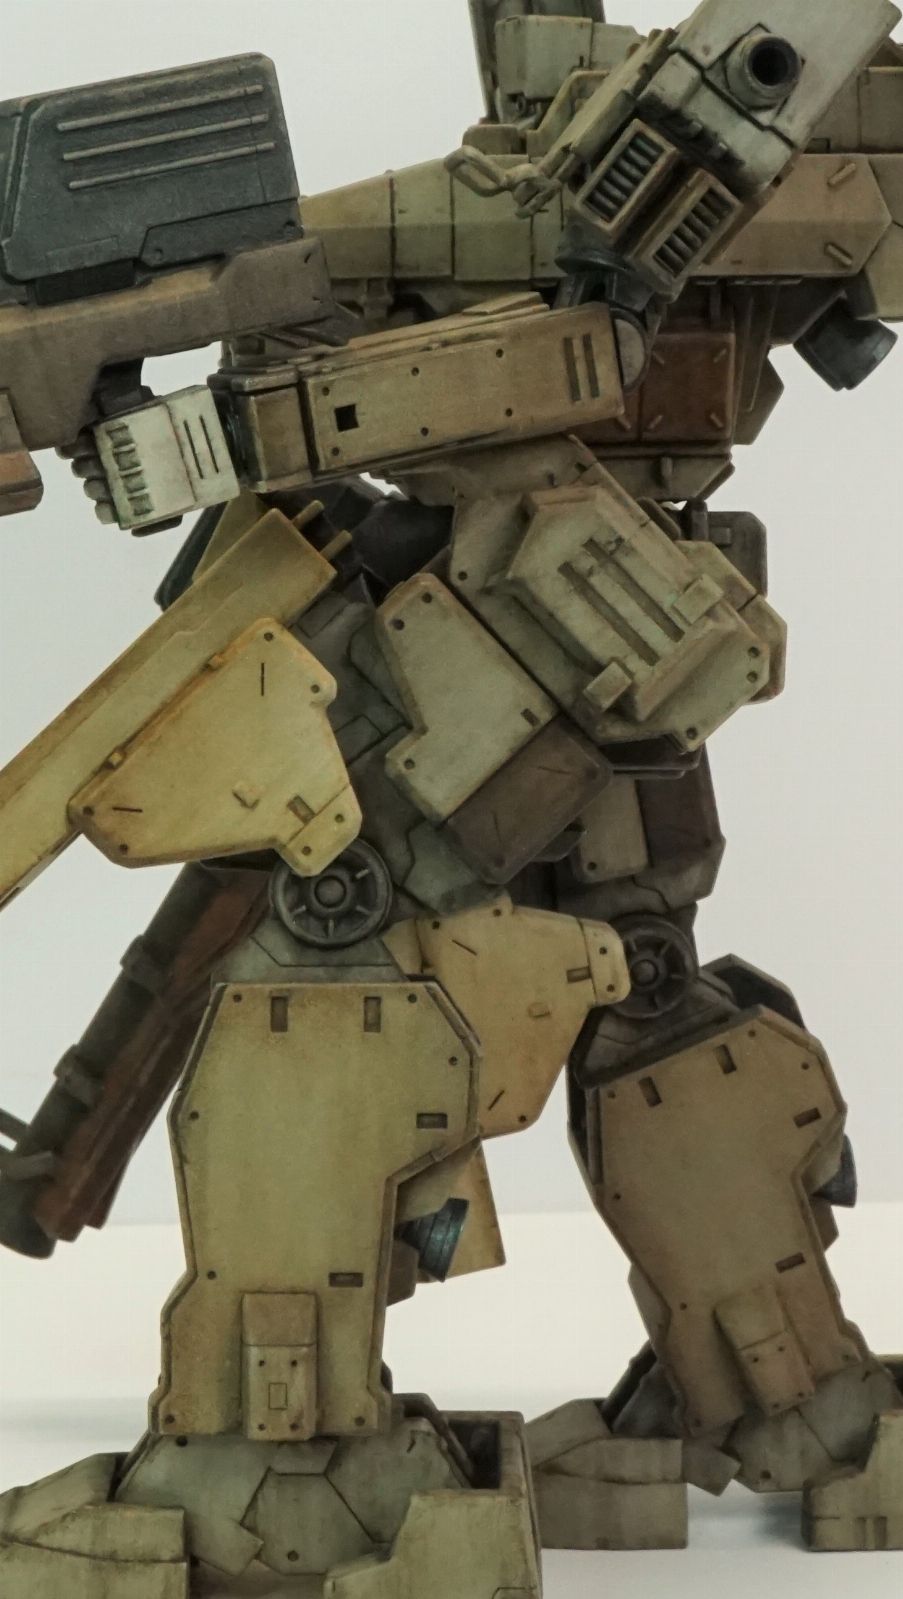
Armored Core - SUNSHINE-L

Scale Model Addict - Model Tips, Guides, Tools & Tech, Tutorials, and Community

Help Support Scale Model Addict:

fAKnPO2.jpg
 
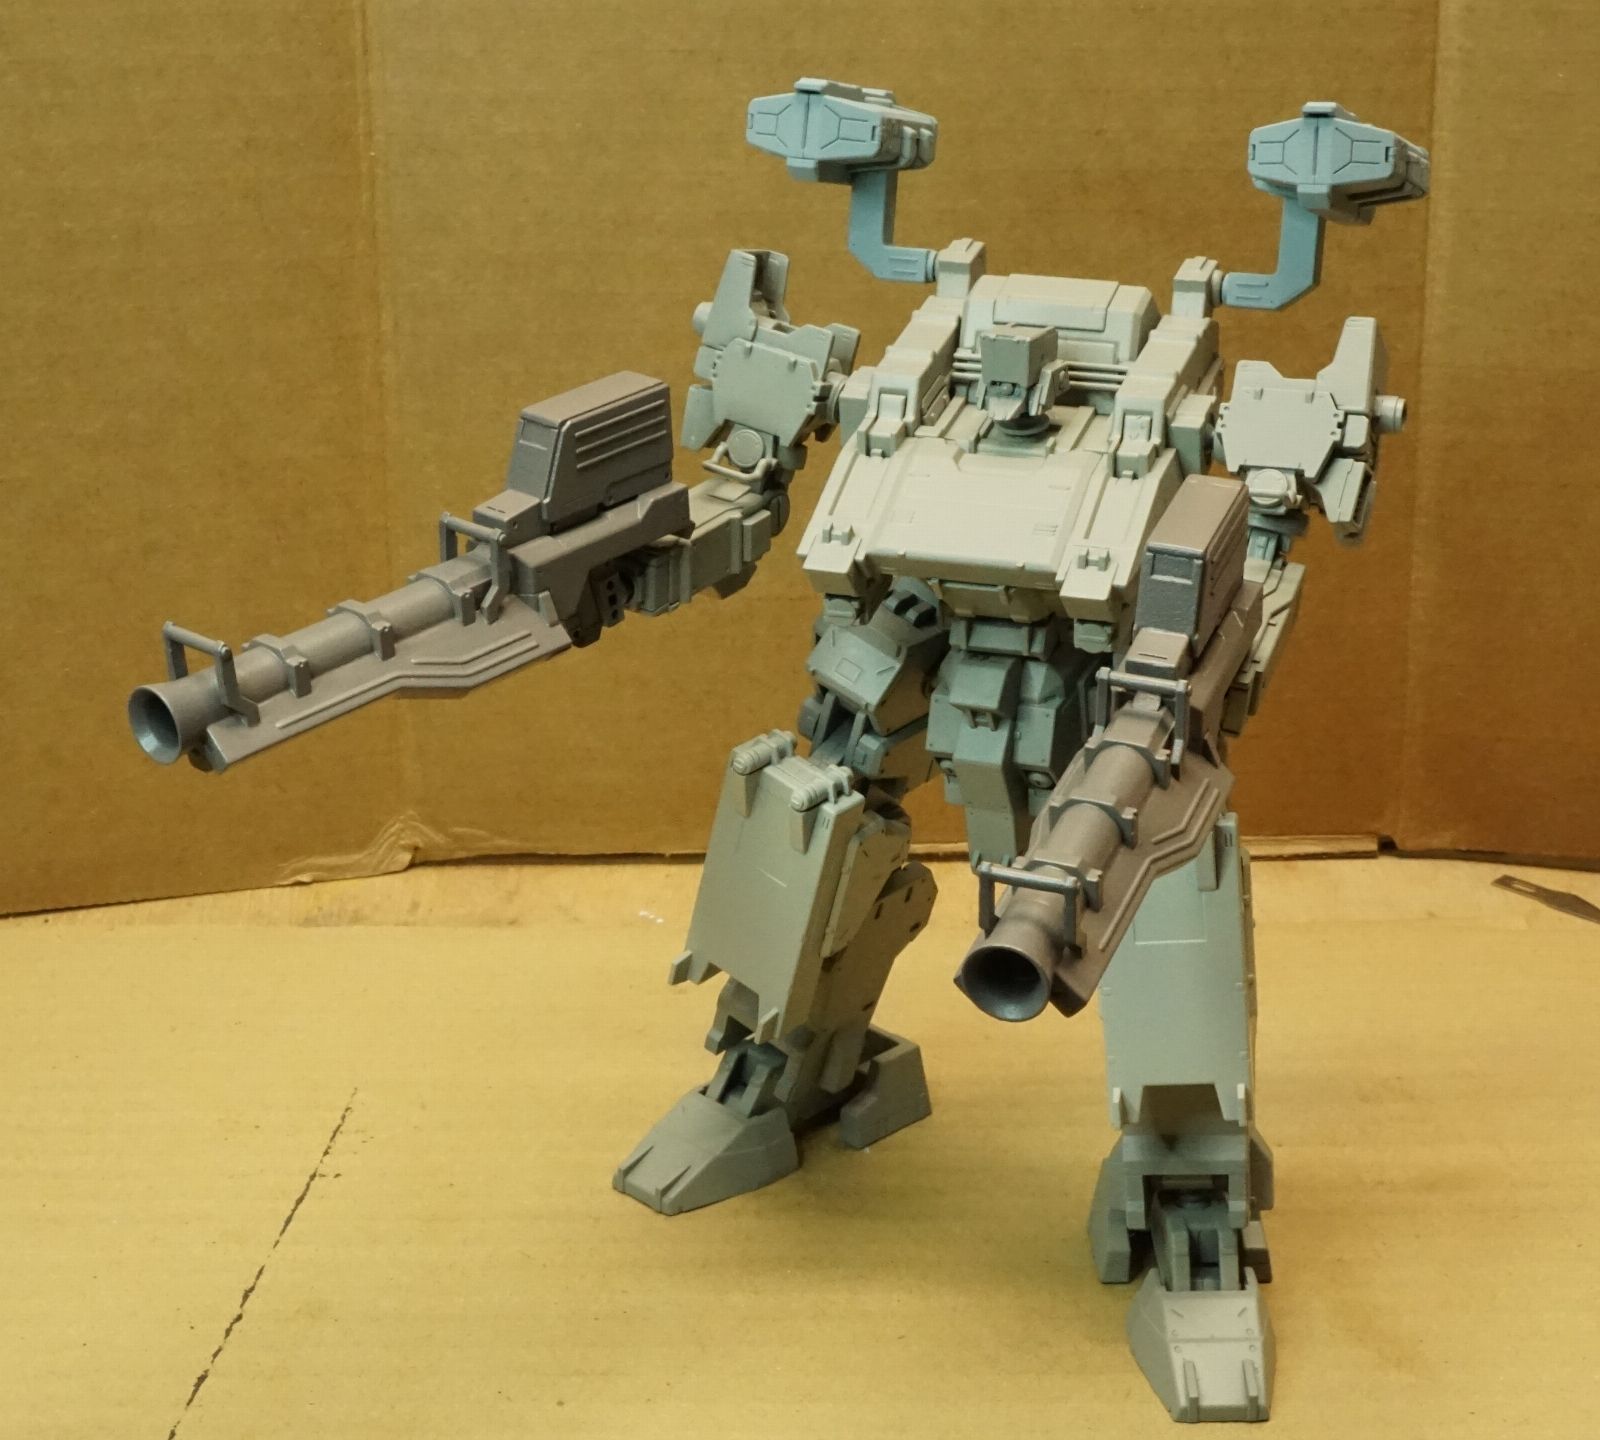
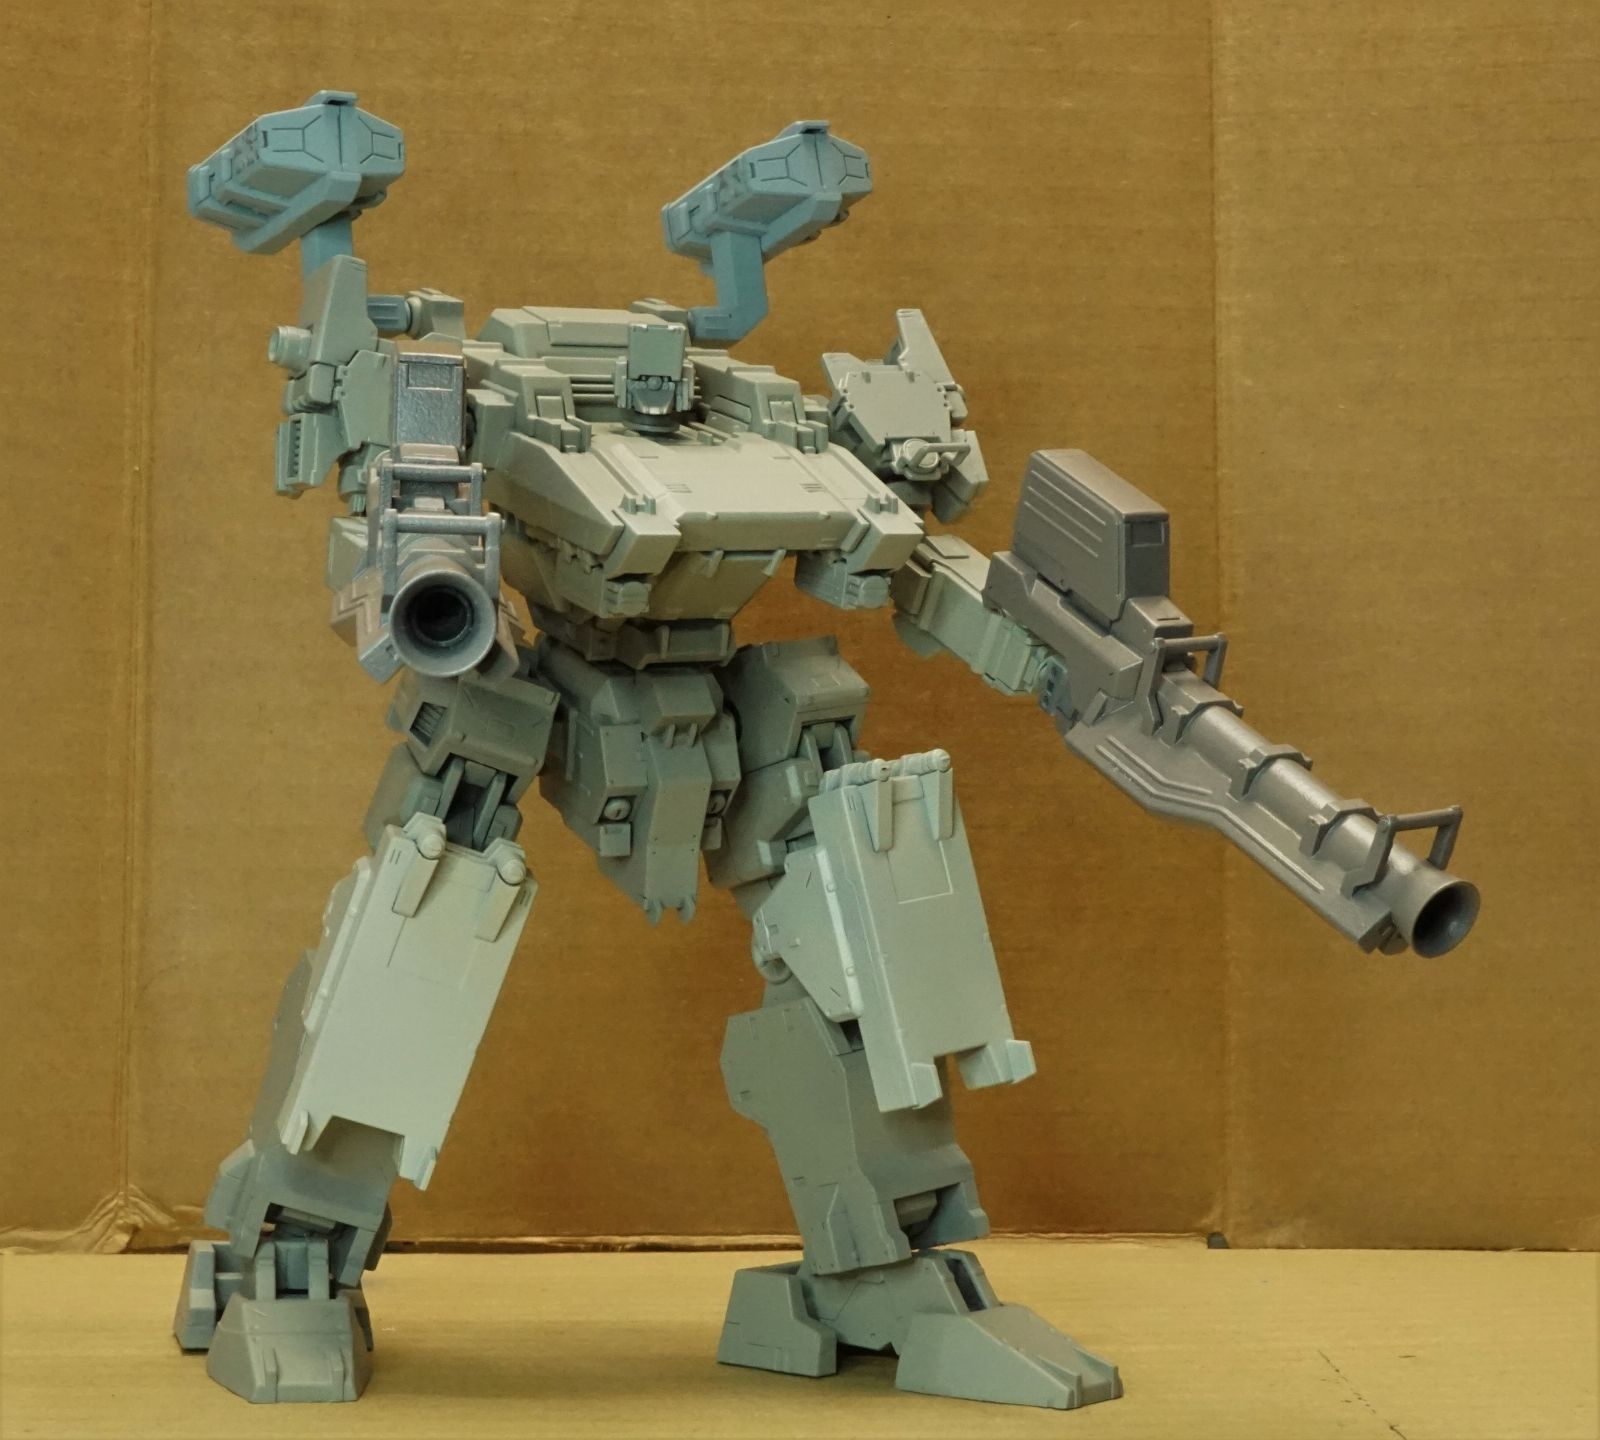
This is the first Kotobukiya kit I've built .
Bandai they are not .
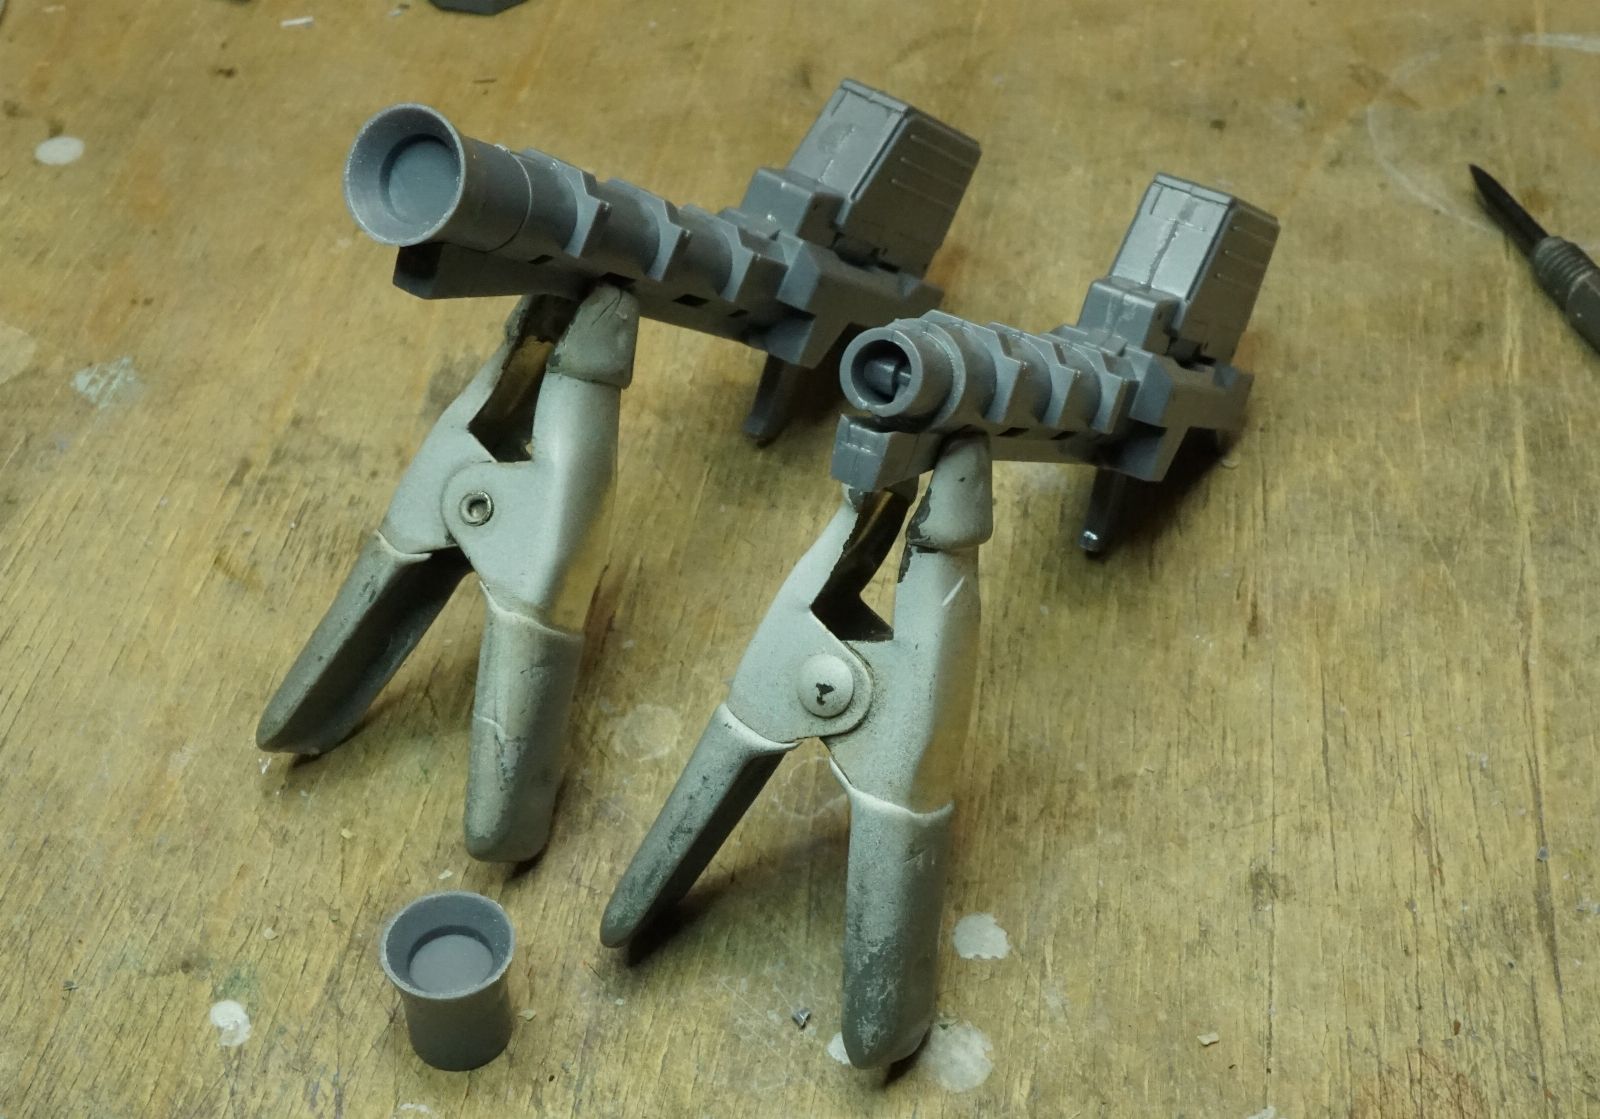
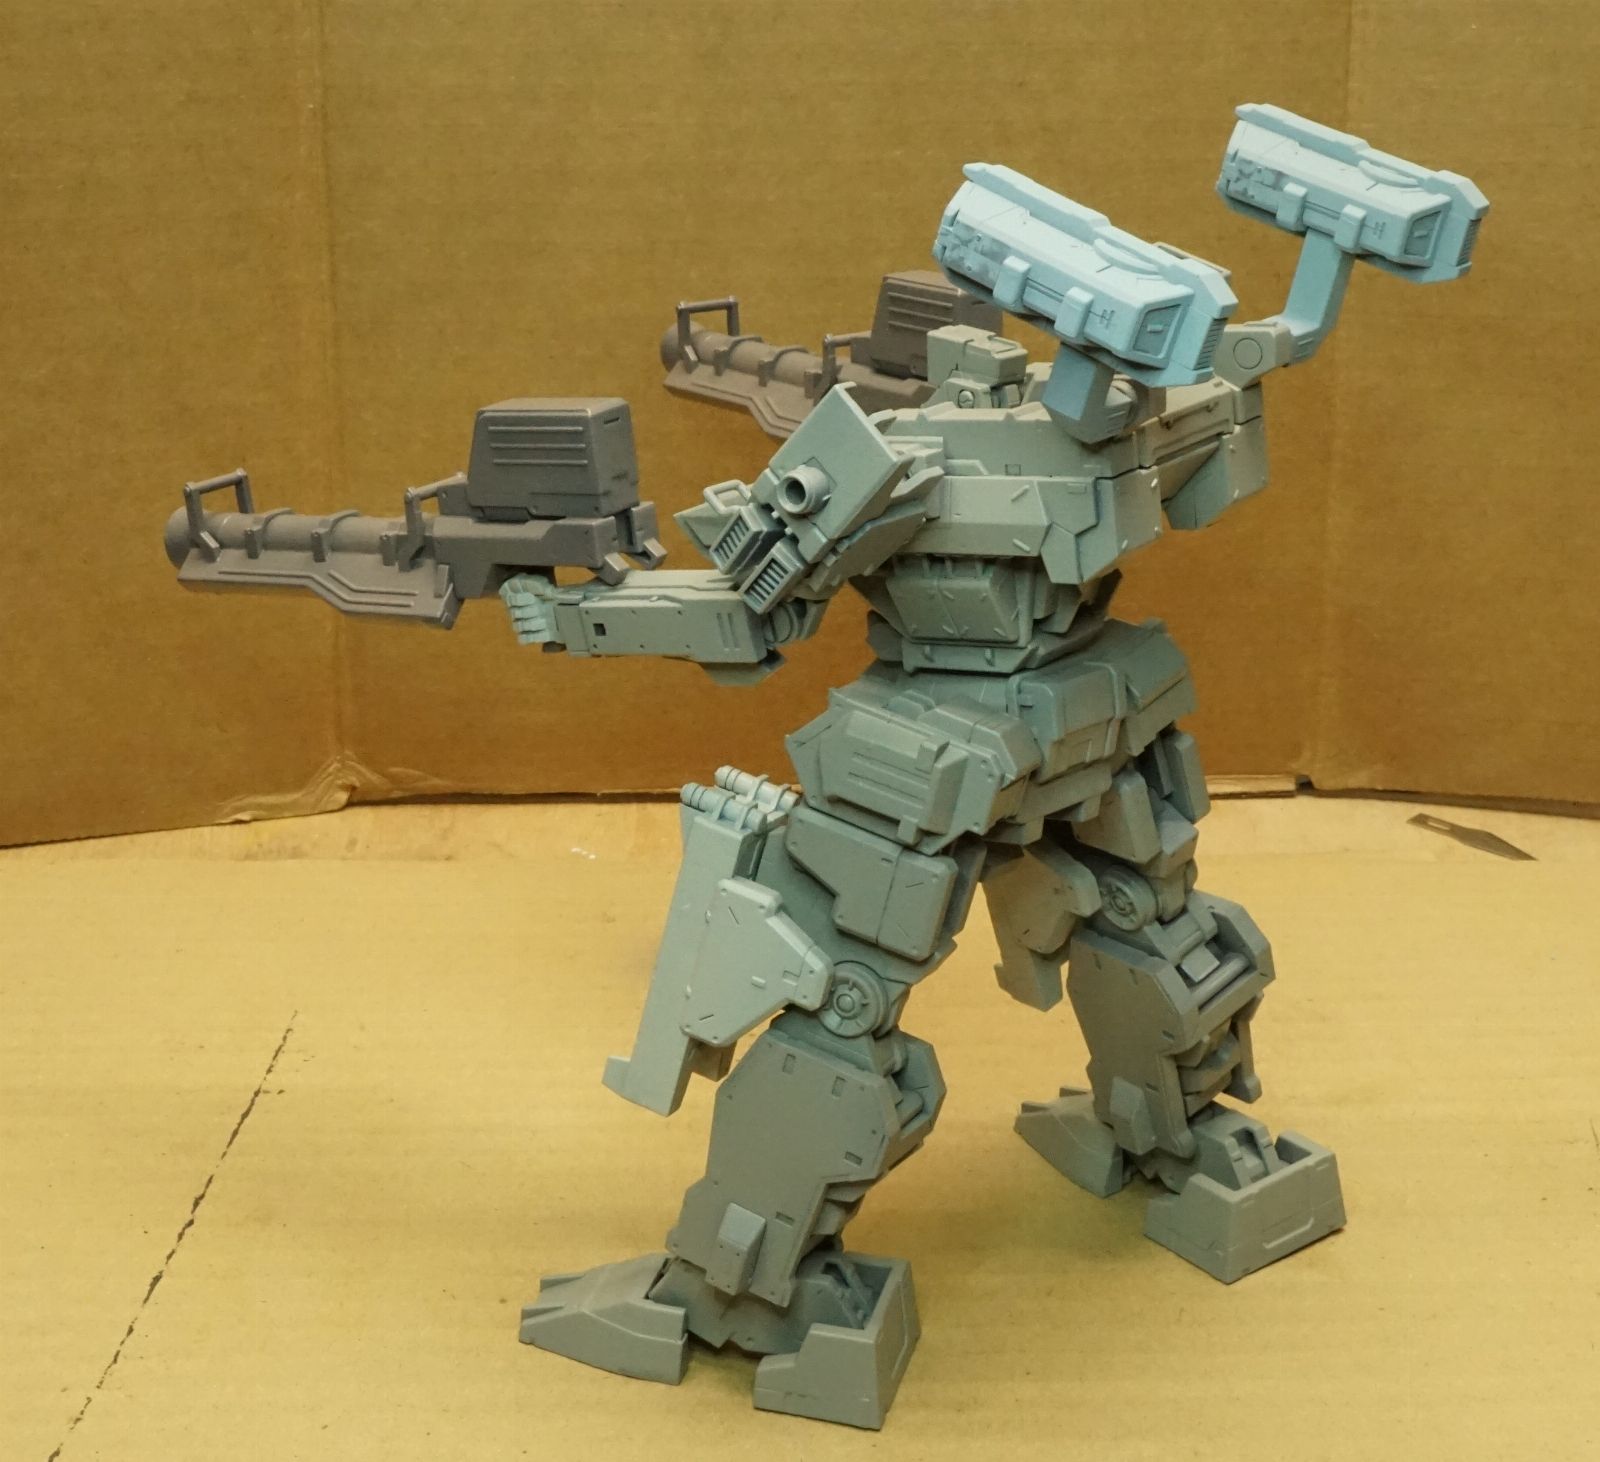
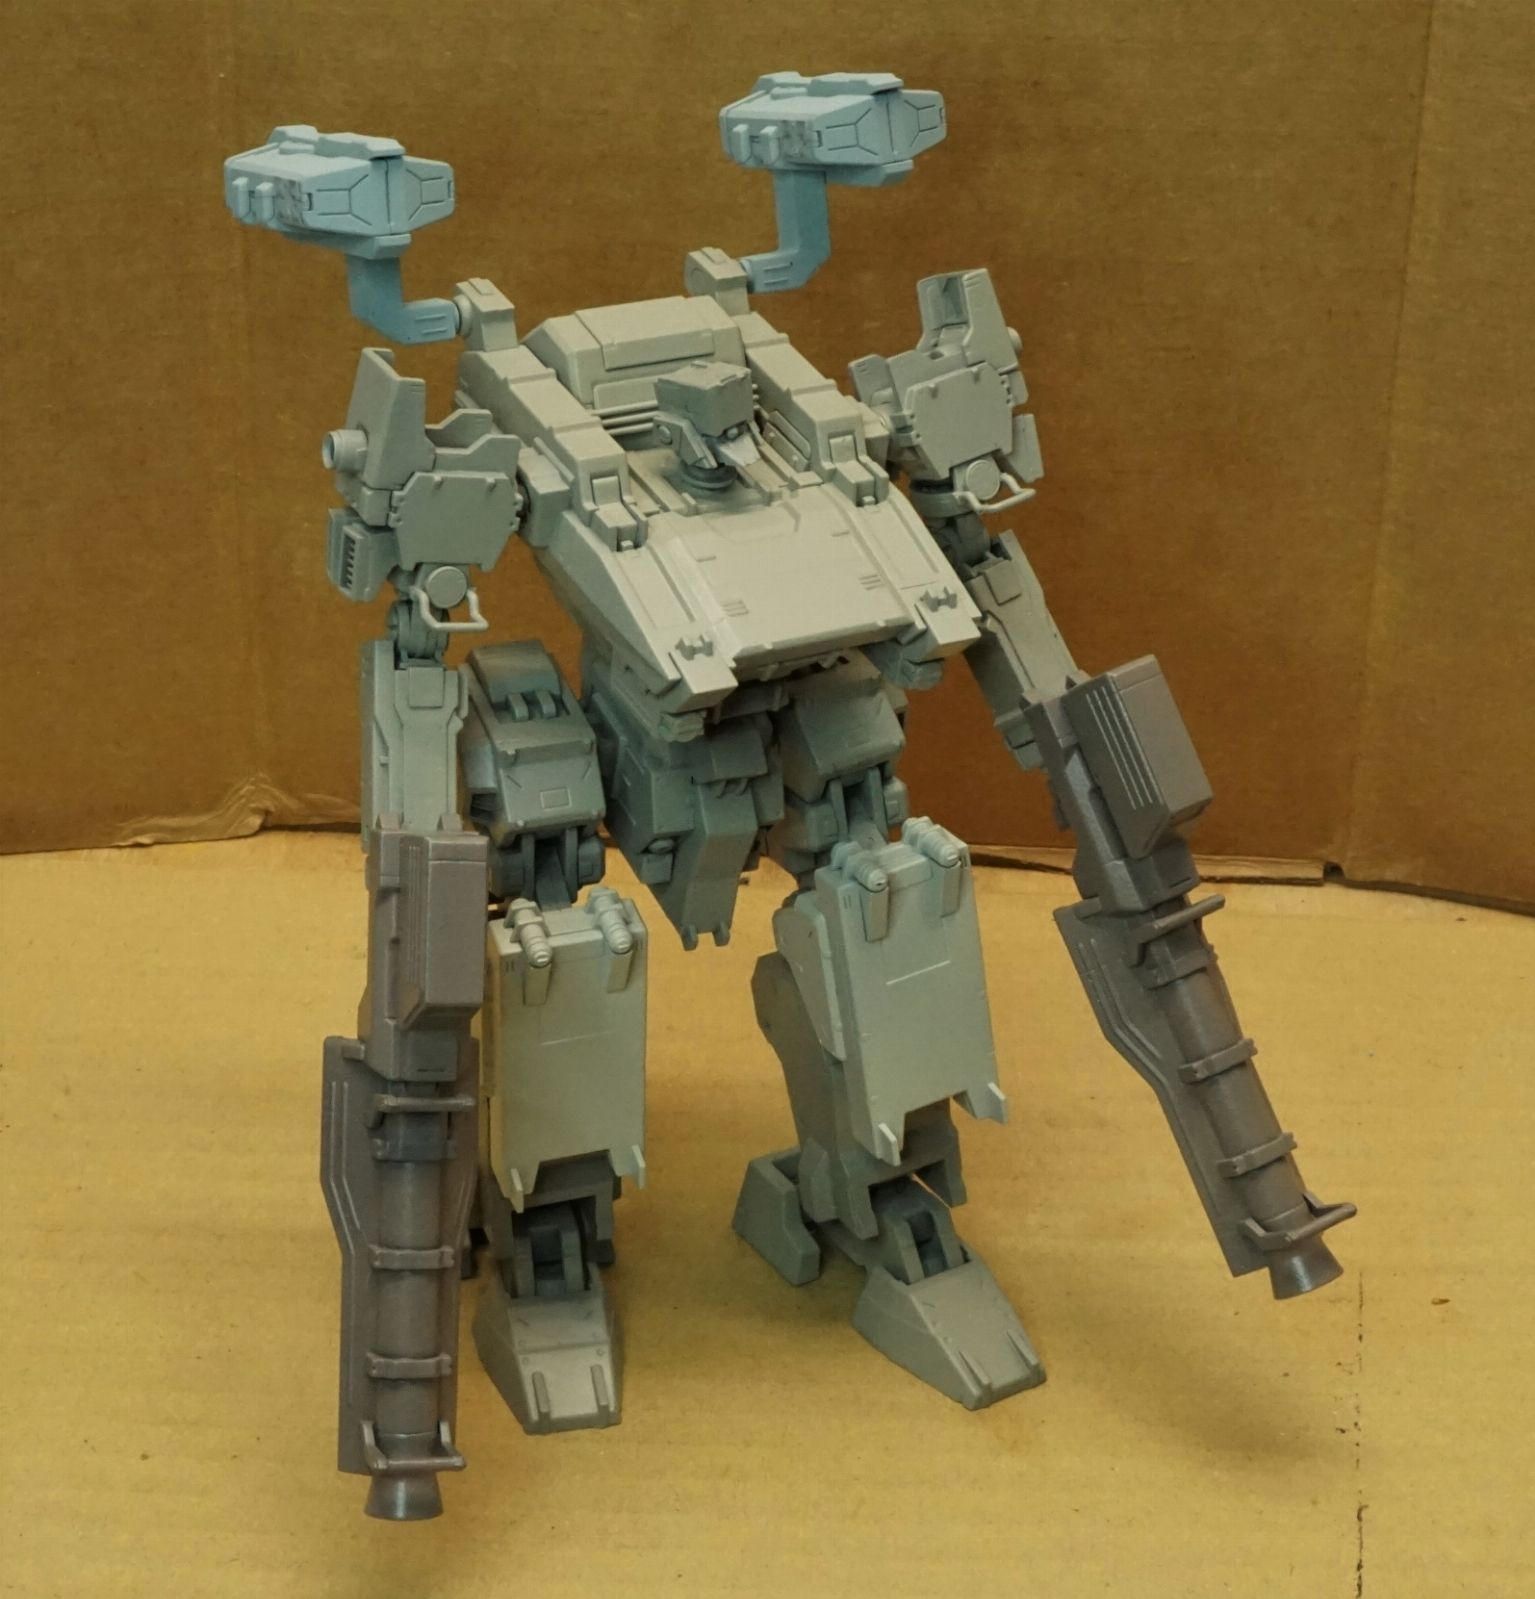
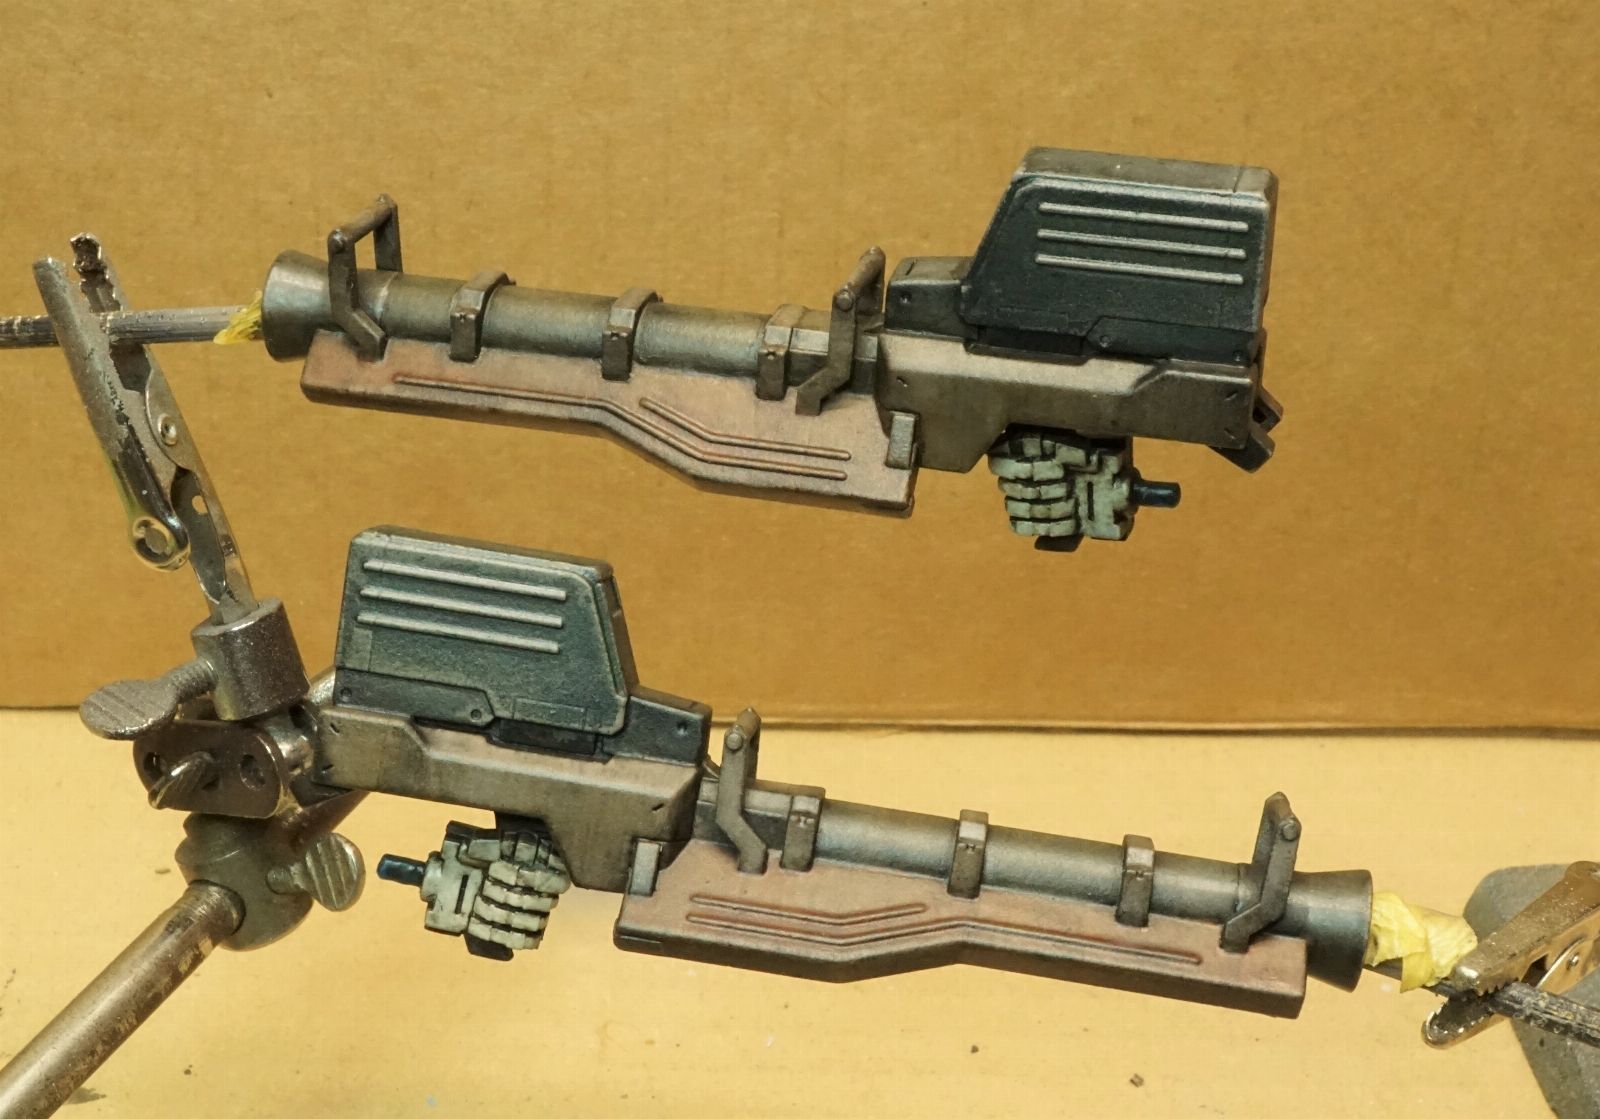
These guns required a lot of work to clean up . The flanking elements on the barrel fit very poorly .

KD9HH00.jpg


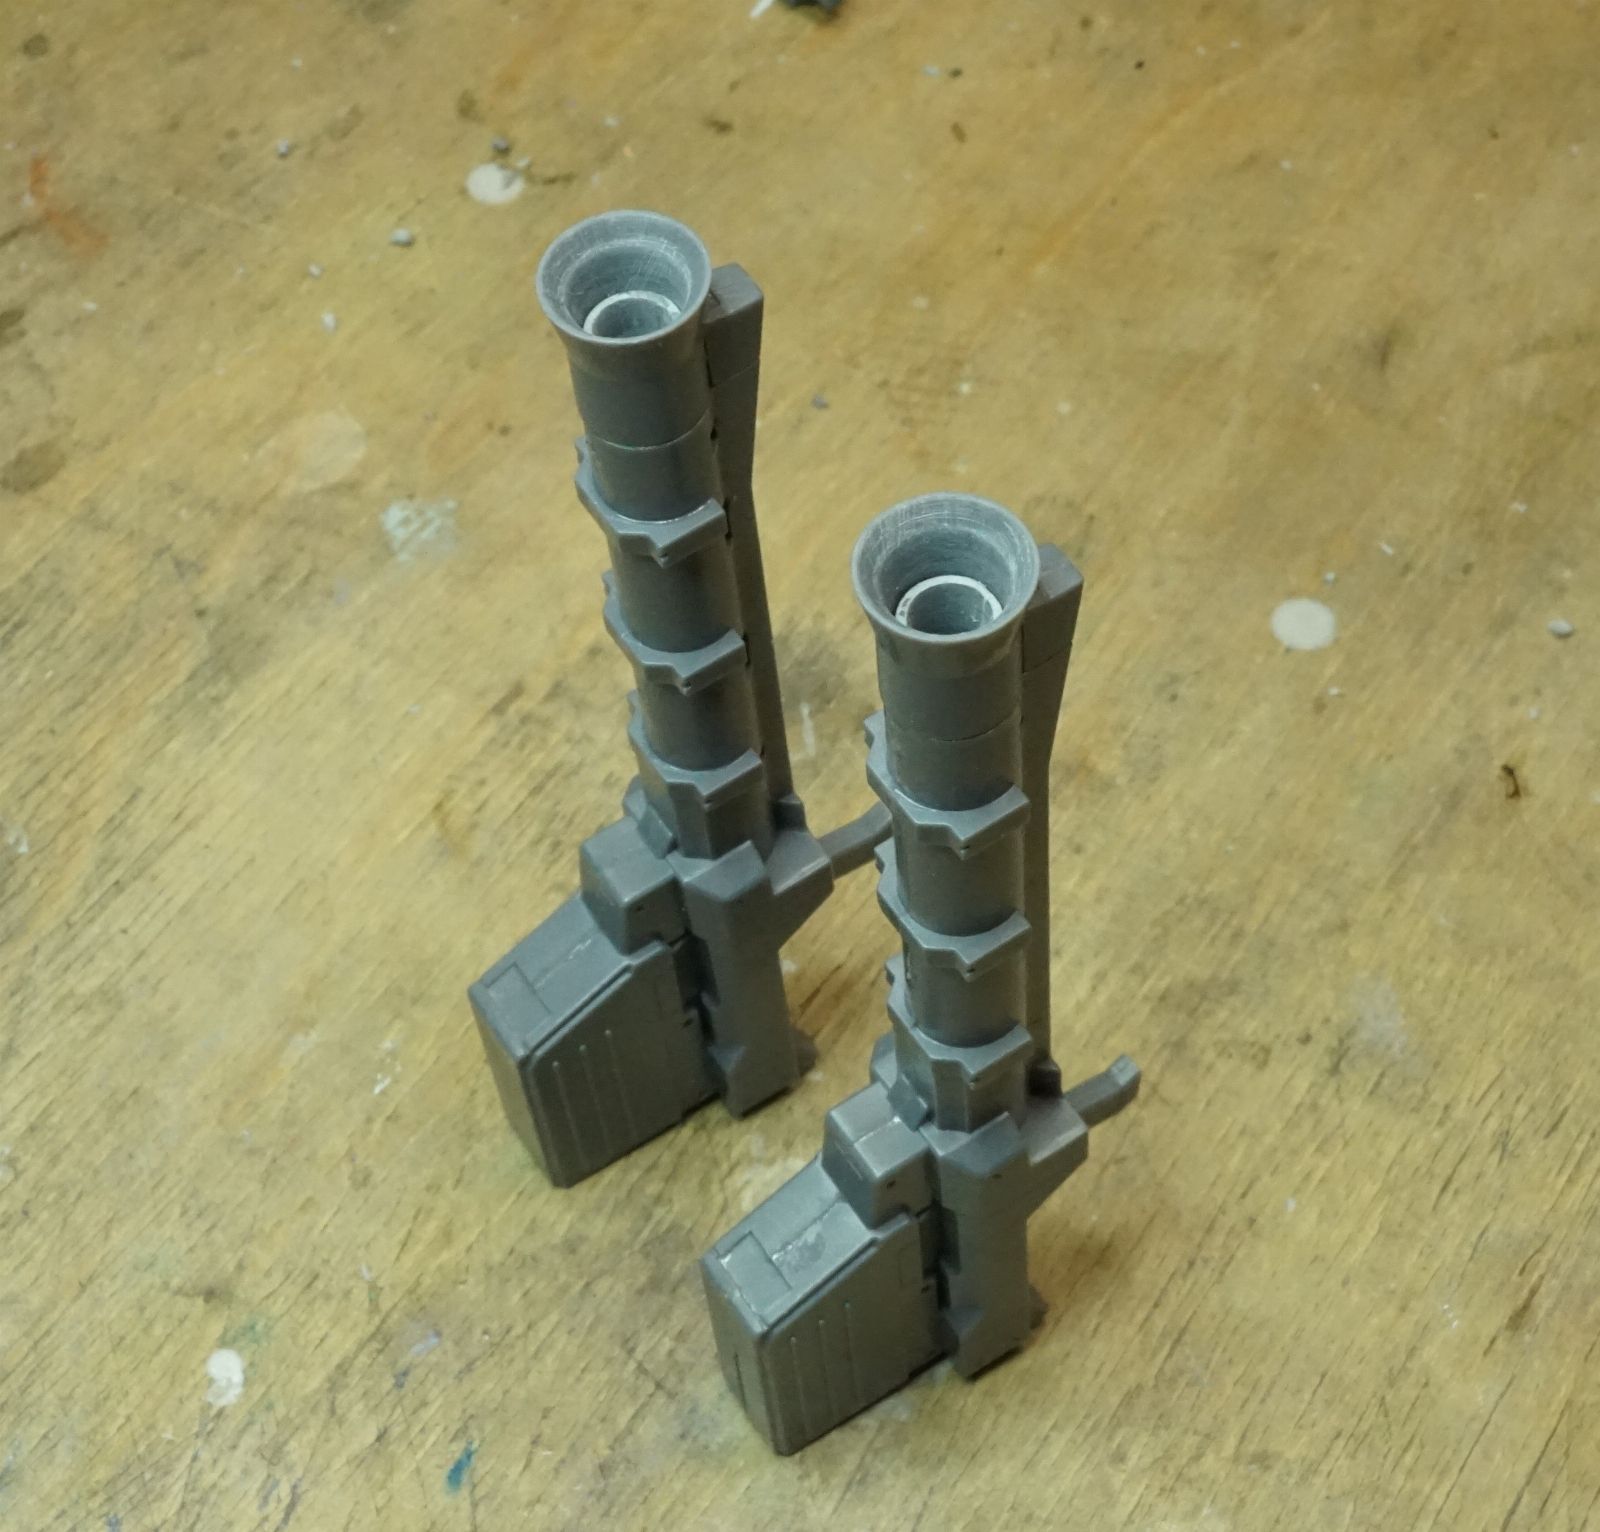
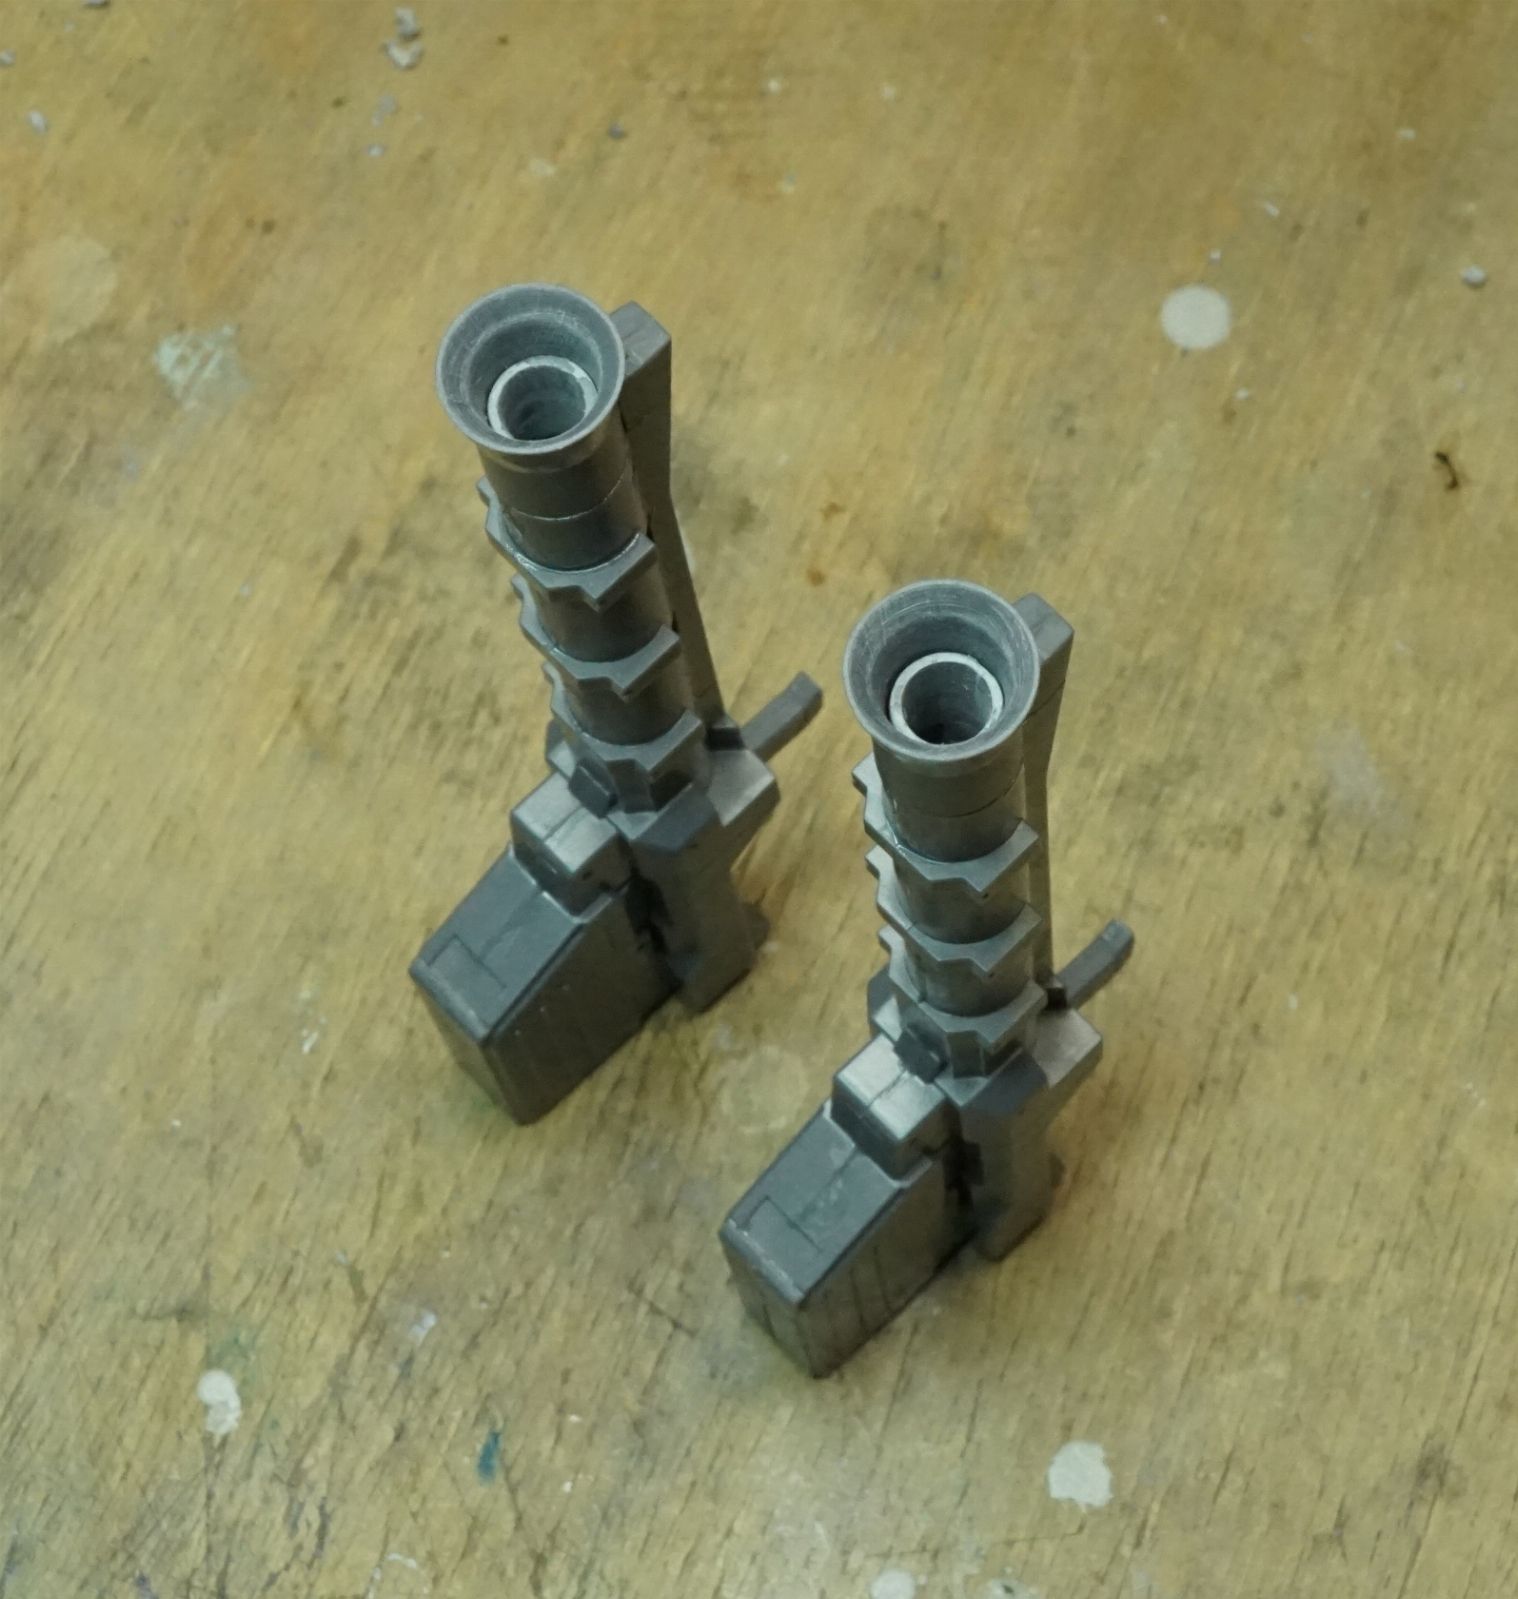
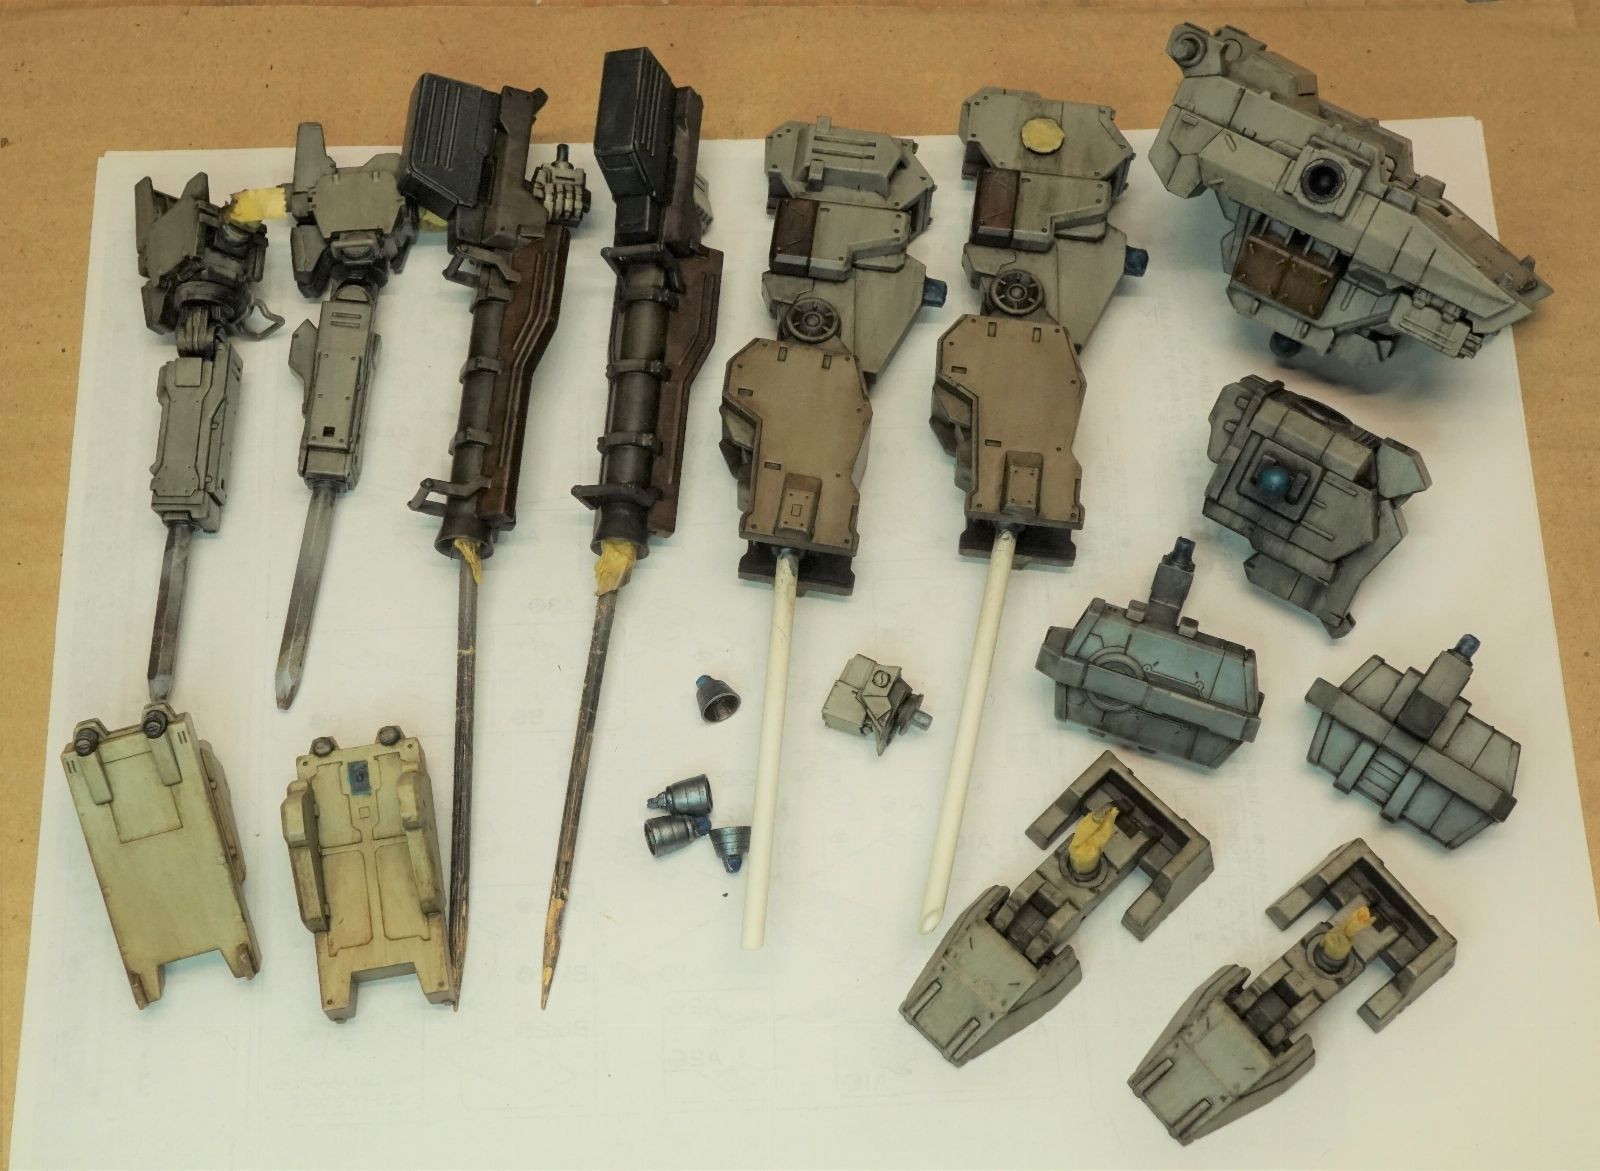
Everything is assembled and mostly primer'd .
Some spots still to do - and some spots need another coat .
Have to wait a couple of days before the recoat of primer , then it will be at least a week of cure before color-coats .
Some people don't like waiting for alkyds to cure properly but I'm obviously never in a hurry .
Still undecided on the final paint scheme anyways.

INM5q2W.jpg
 
Year
This is the first Kotobukiya kit I've built .
Bandai they are not .
These guns required a lot of work to clean up . The flanking elements on the barrel fit very poorly .

View attachment 87912


Everything is assembled and mostly primer'd .
Some spots still to do - and some spots need another coat .
Have to wait a couple of days before the recoat of primer , then it will be at least a week of cure before color-coats .
Some people don't like waiting for alkyds to cure properly but I'm obviously never in a hurry .
Still undecided on the final paint scheme anyways.

INM5q2W.jpg
Years ago I had a Kotobukiya Gao Gai Gar kit. The final kit was nice as heck but the WORK I had to put in was nuts. Not just bad fit in places but overall bad engineering planning, like putting part seams in the WORST and dumbest places that needed what seems now like years of puttywork. I hadn't wanted to paint it, but the seams looked so awful I had to seam it and paint it. And for a posable mech while big, almost as big as the Bandai Soul Of Chogokin toy, it was fragile, which is what happened... it broke. The hip gave way after just a couple months. It was definitely not engineered to be repeatedly posable like Gundams or SuperMiniPla.
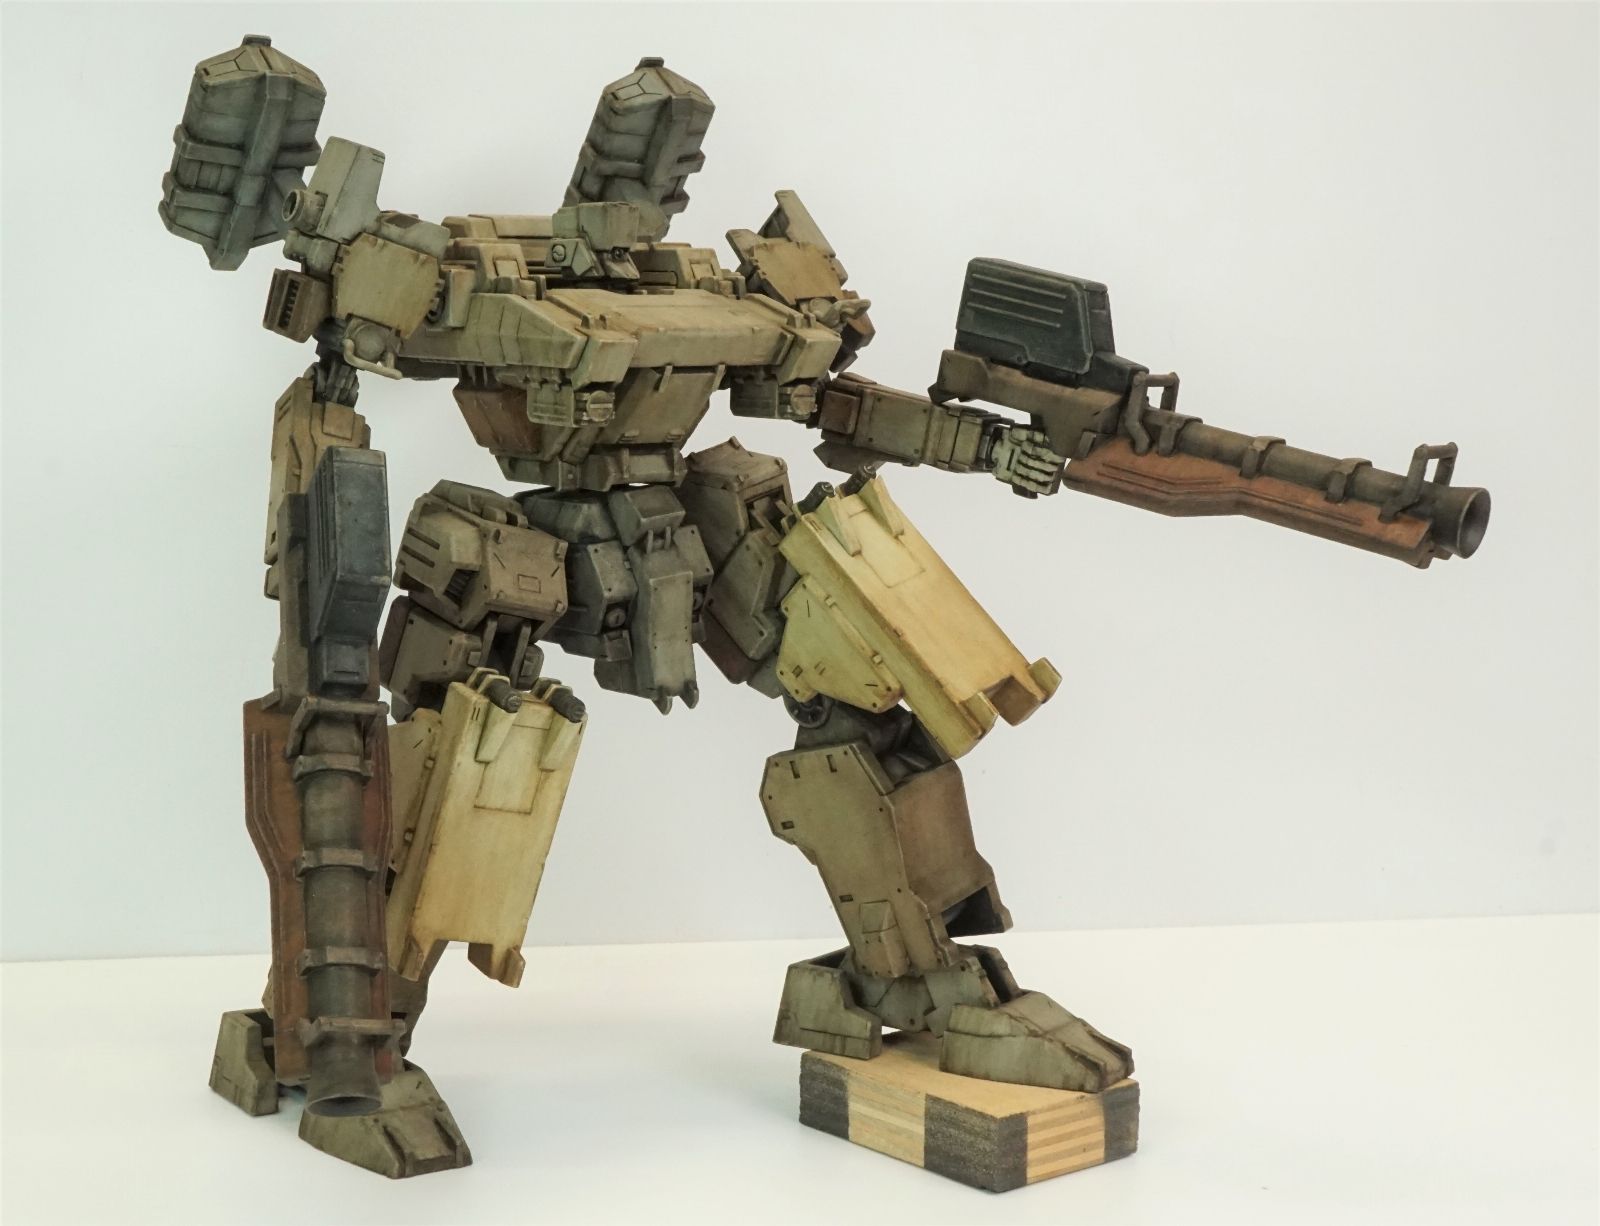
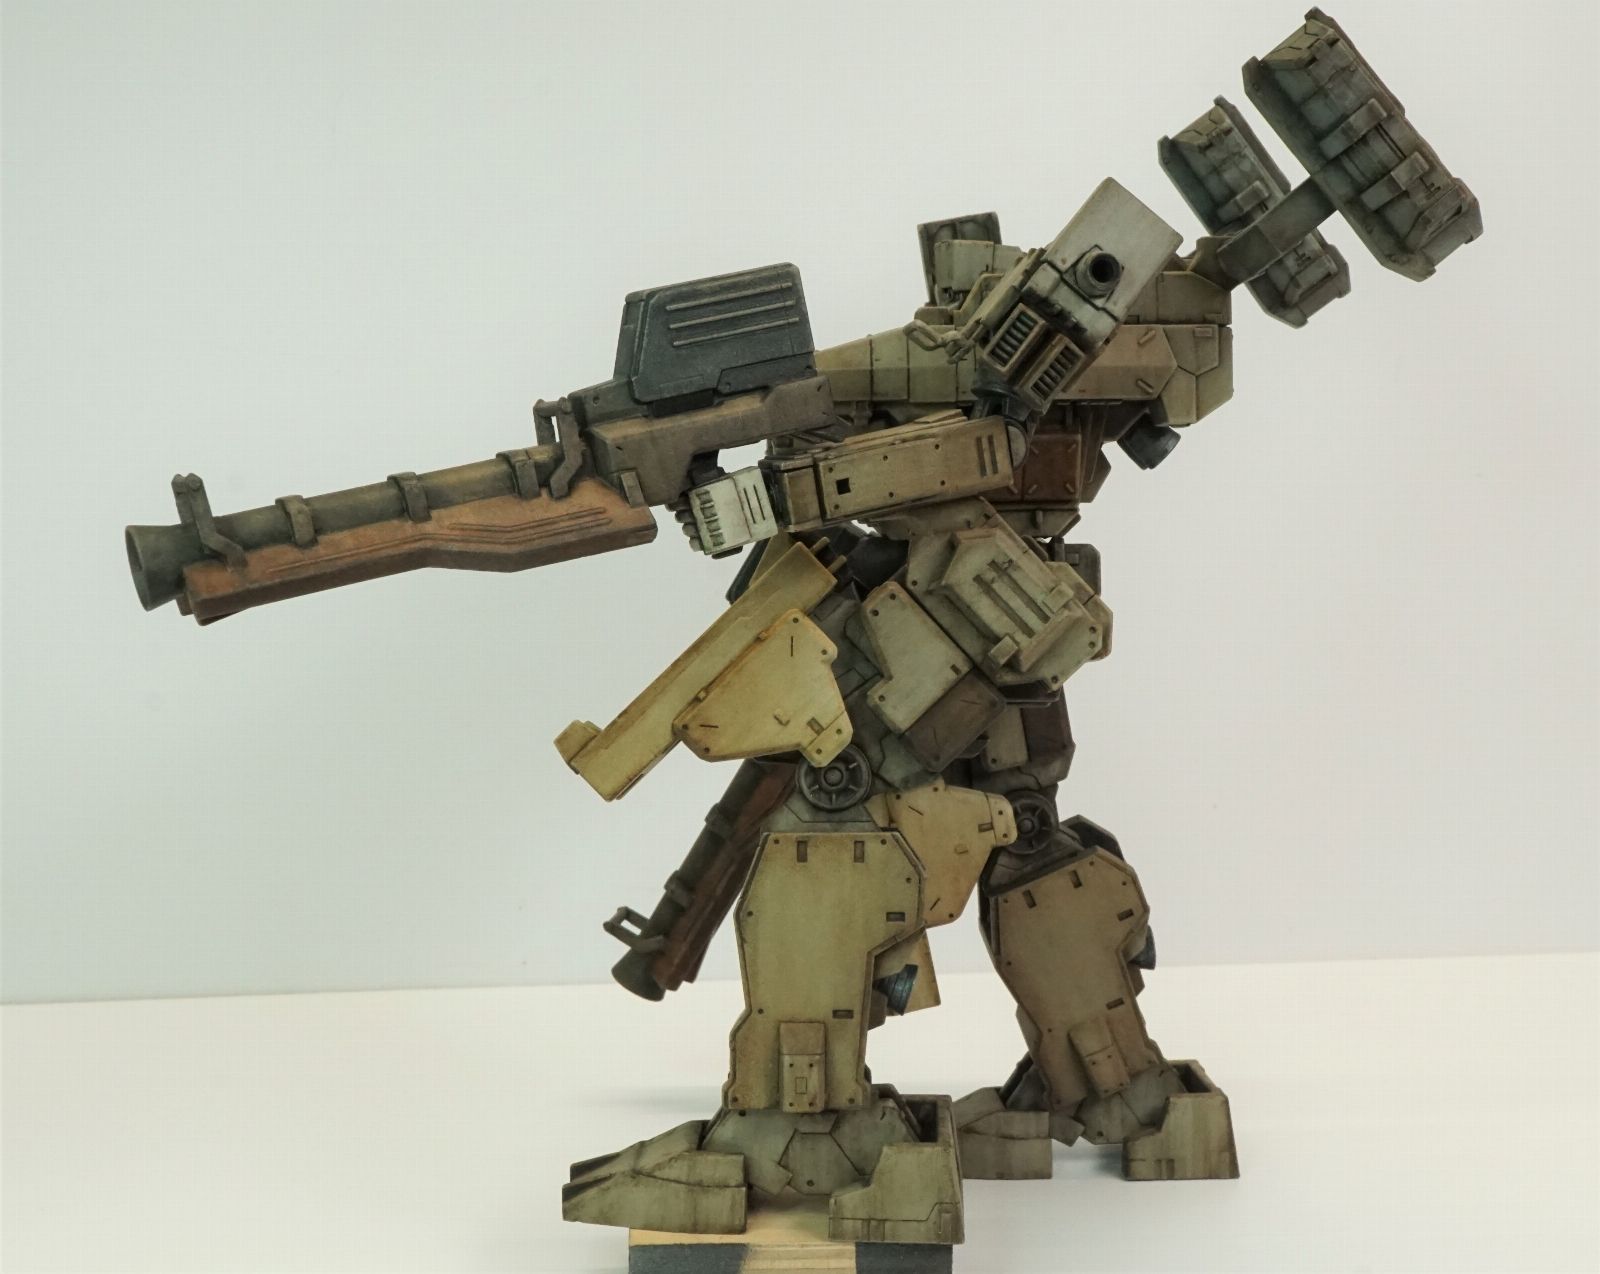
 
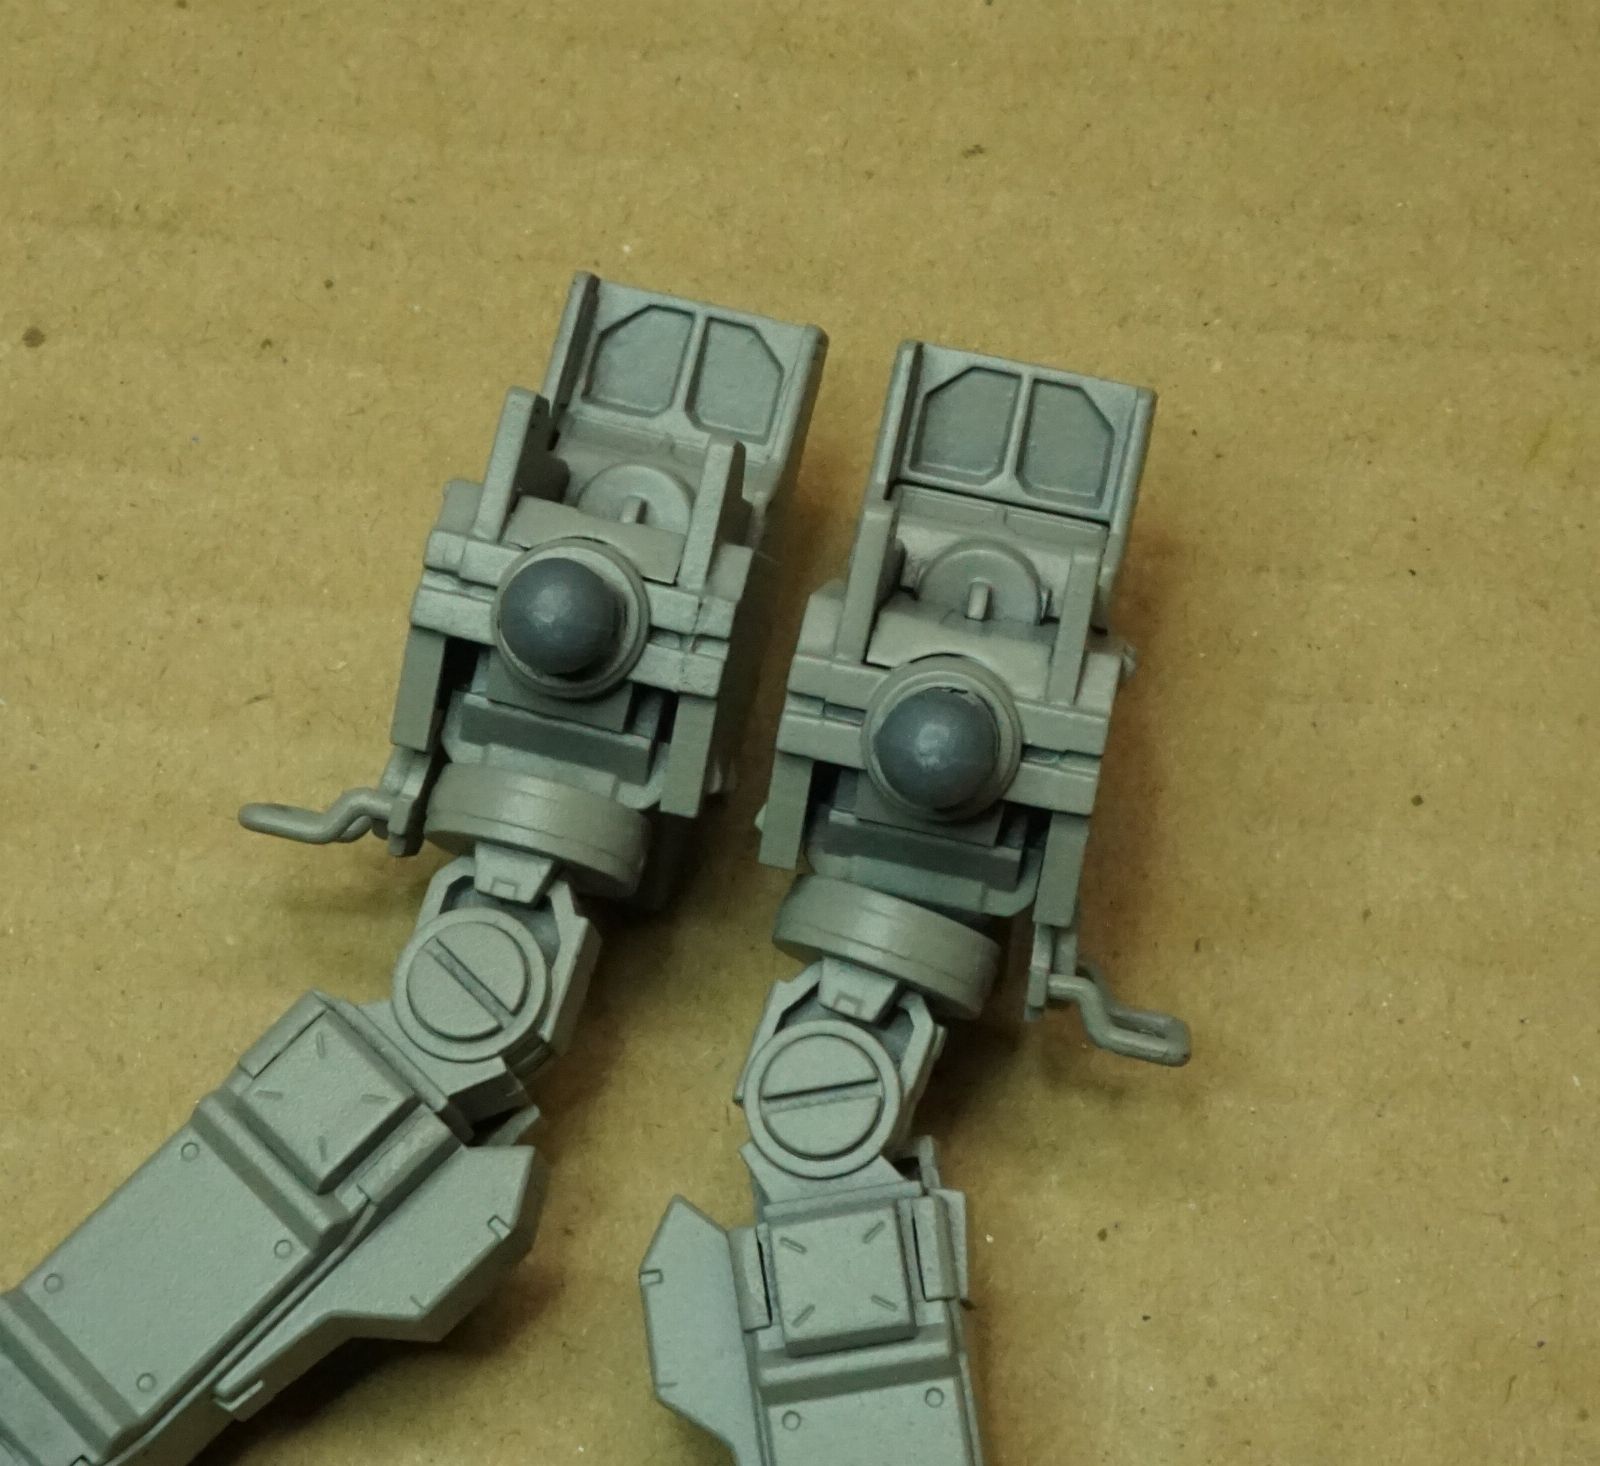
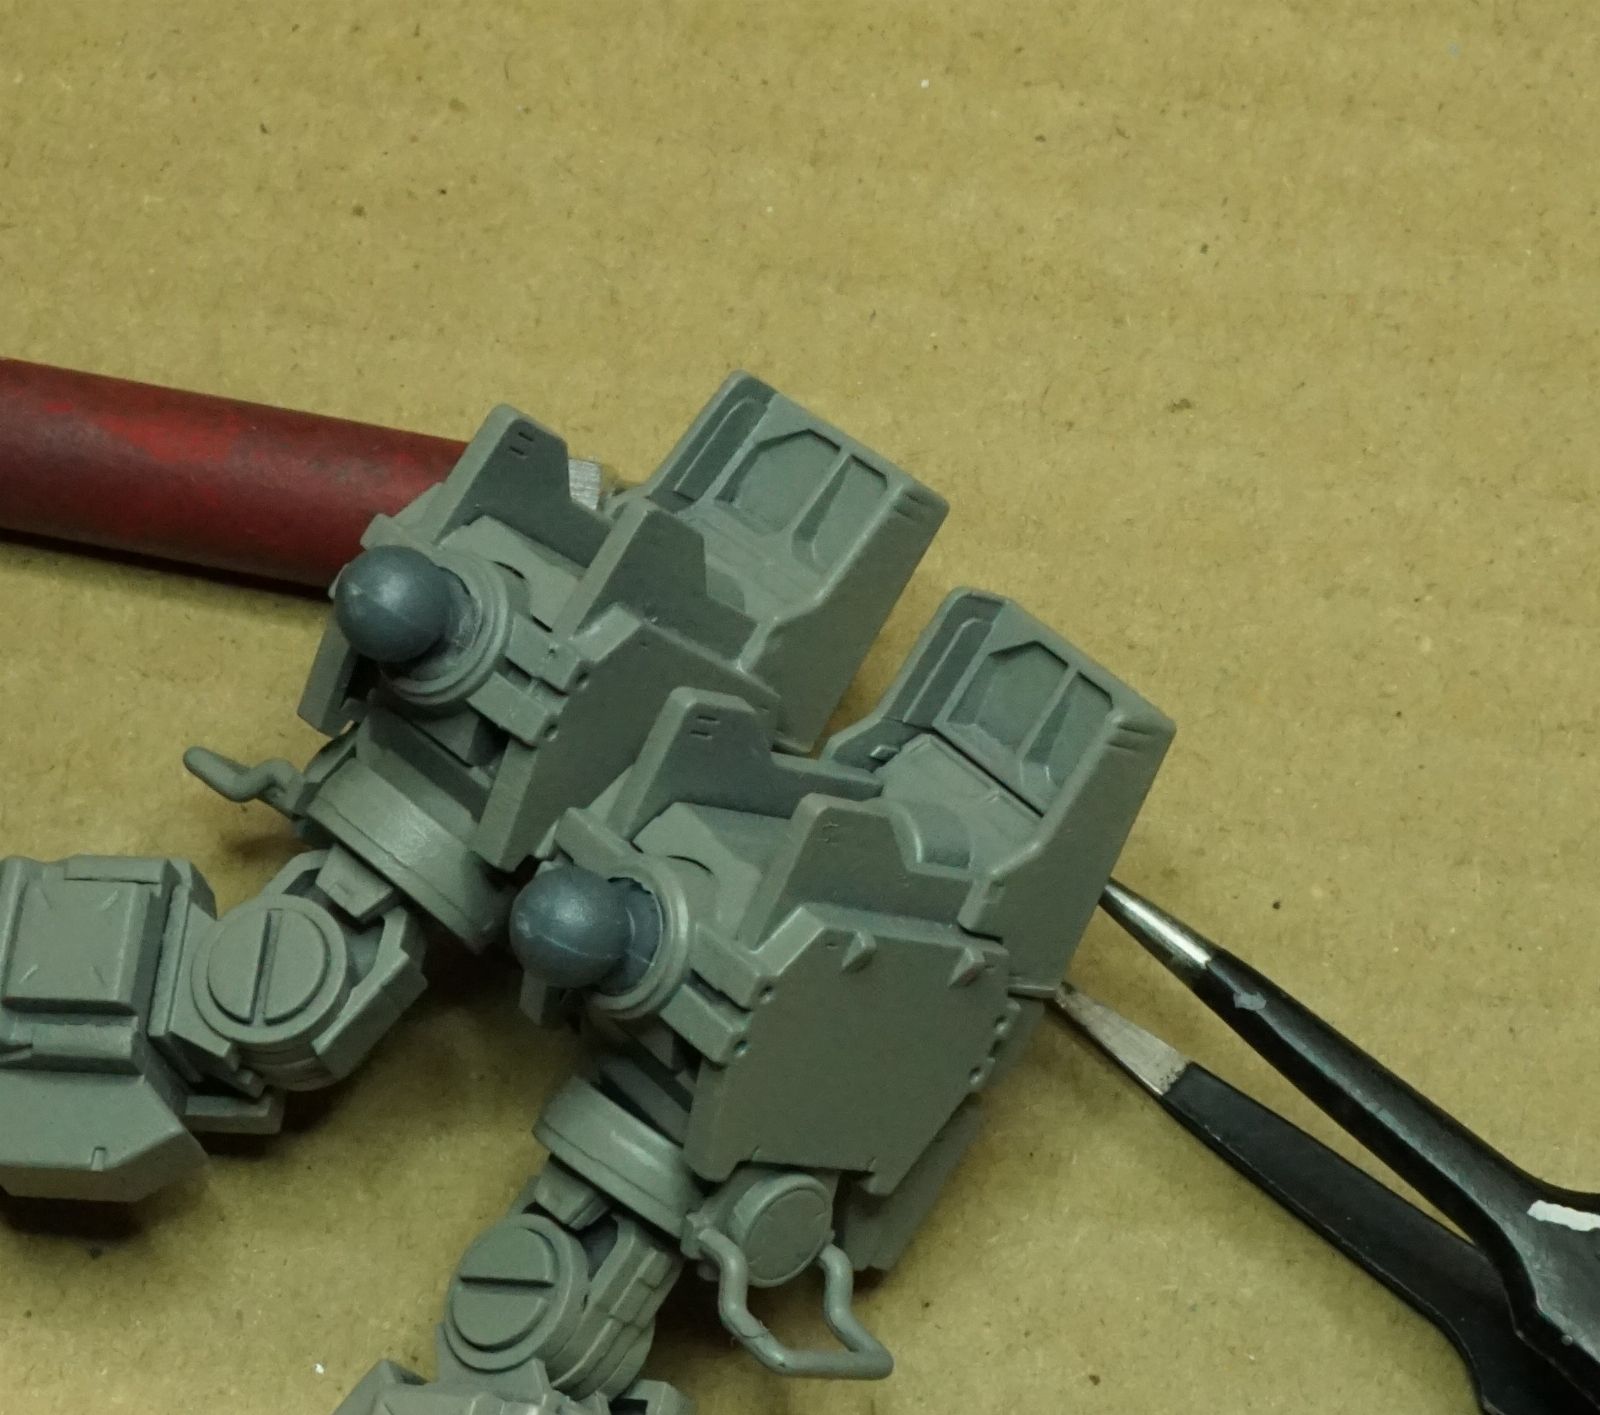
Yeah , I glued shut the doors for the missile launchers since they were pretty janky .
Only held on by the friction fit of the little tab , and they wouldn't stay fully shut when closed -- same with the doors covering the thrusters at the back of the body . Jank .

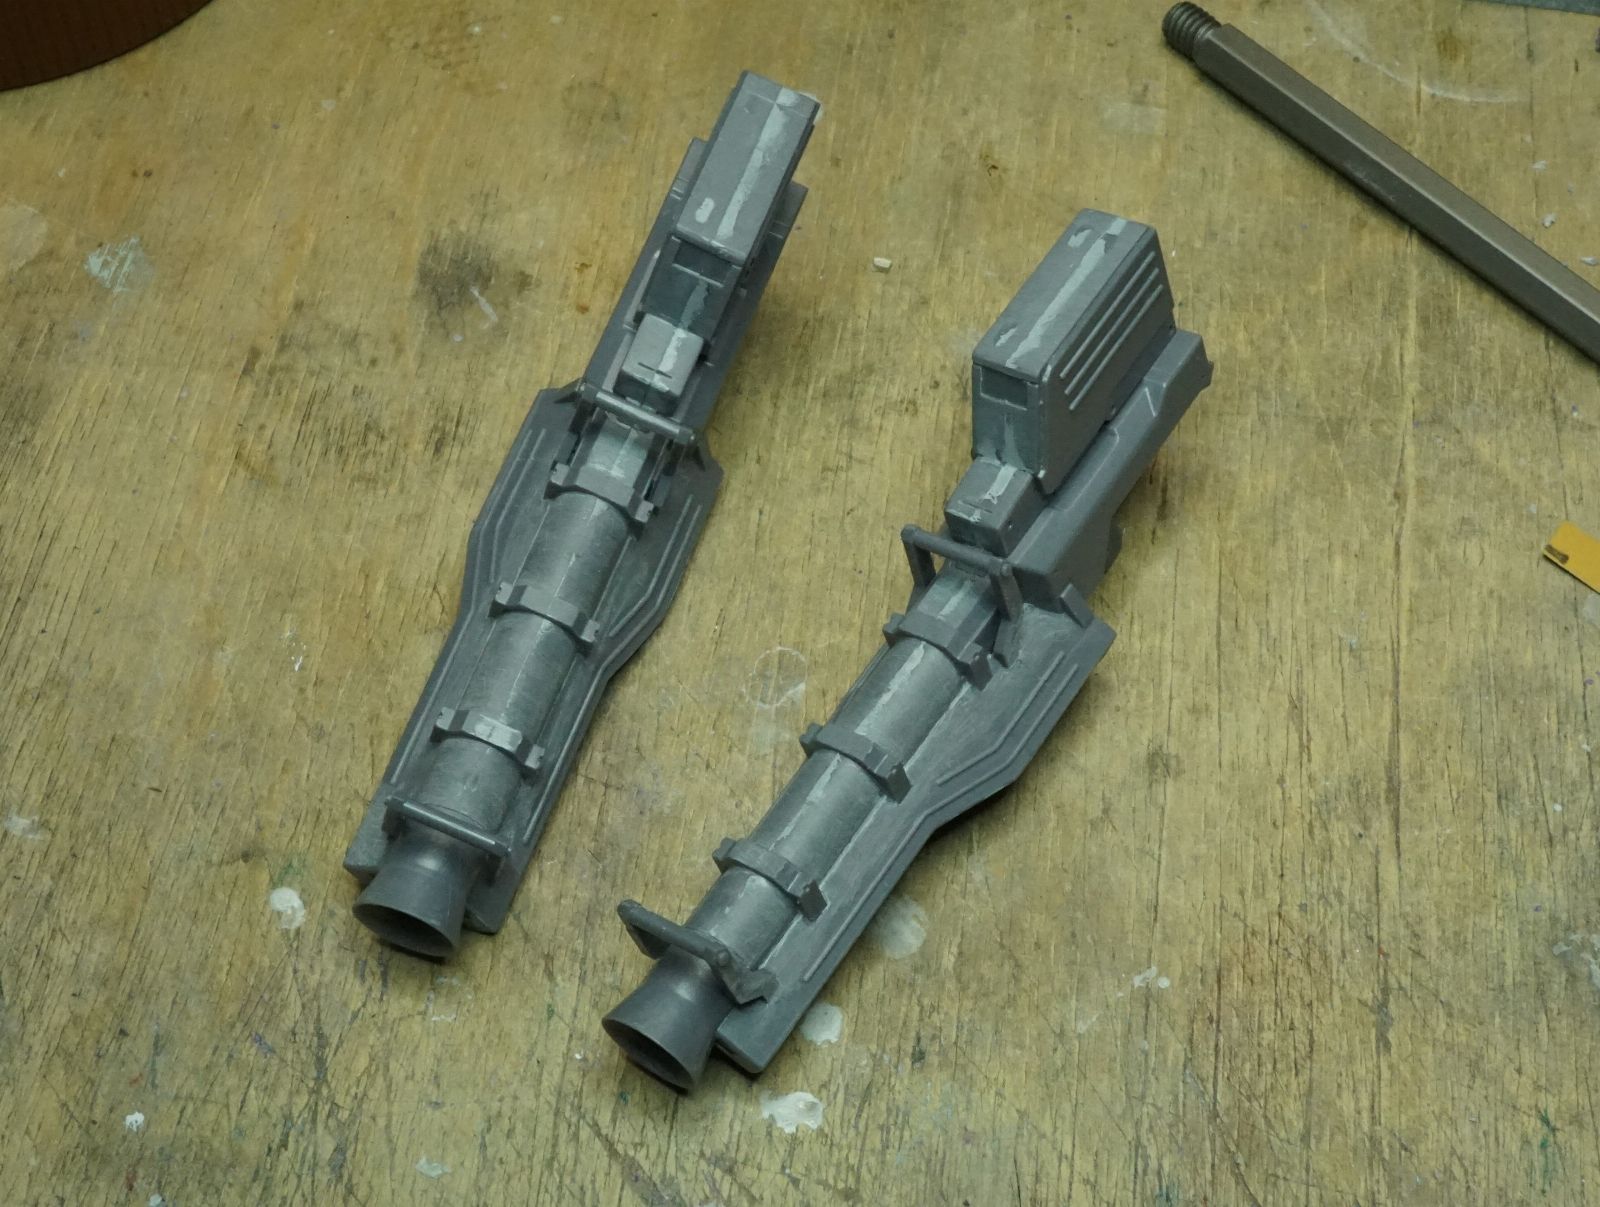
I had to remove material from the connecting side of those thingies that flank the barrel to get them to snug up and still needed to putty and sand .
Standard fare for model building but I was surprised by the horrible fit . Built as molded , the guns would look awful .

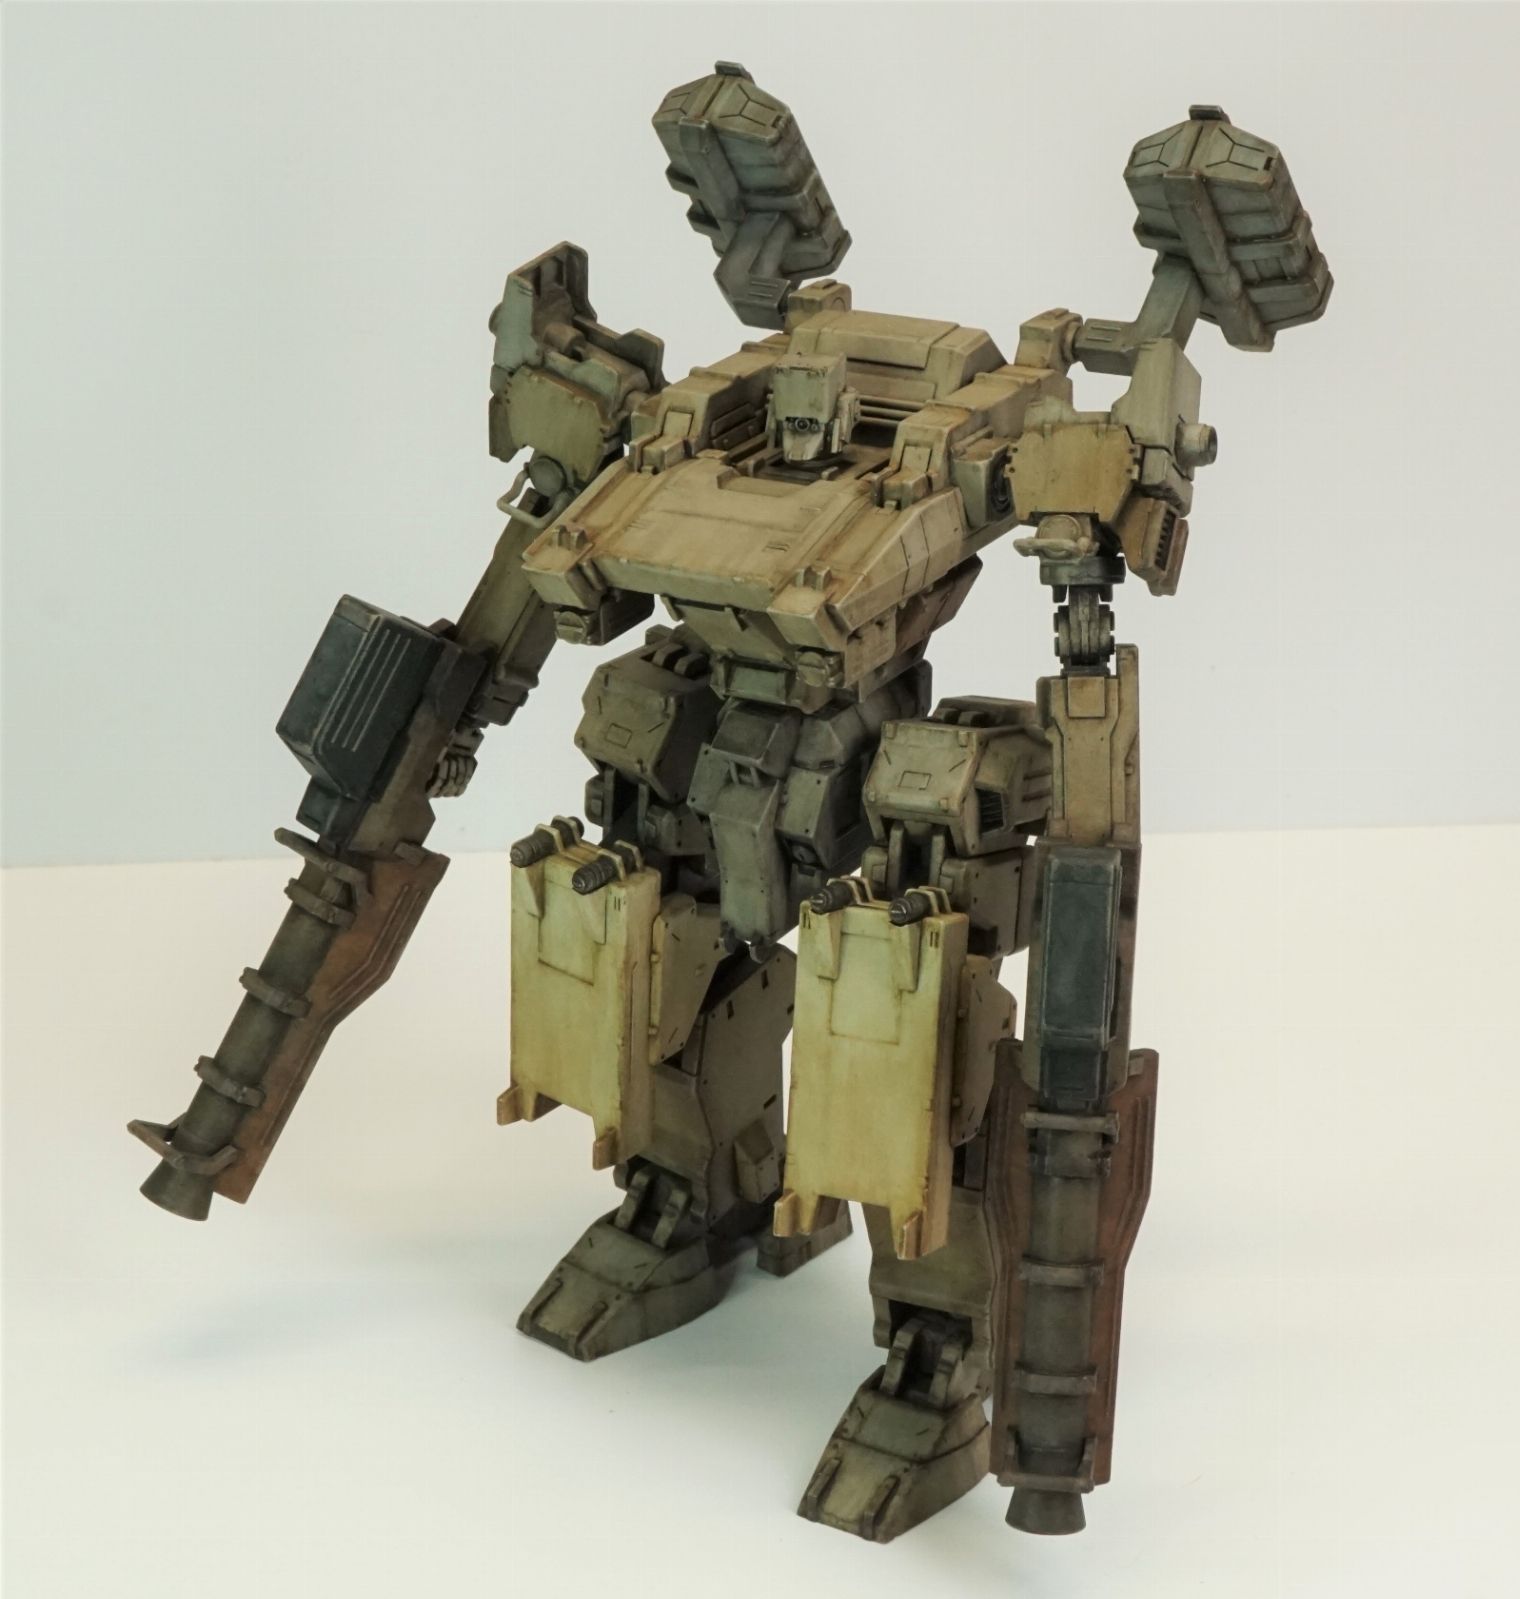
I'm going with a paint scheme to match that drab , apocalyptic aesthetic seen in those videos .
Greys and sepias .
 
Last edited:
As an Amazon Associate we earn from qualifying purchases. Product prices and availability are accurate as of the date/time indicated and are subject to change.
Quick update on this one .
I want it to resemble more a manga illustration than a scale model -- if that can be a thing .

A drop of that thinner when mixing the water color to break the surface tension , then affixed with the varnish when it looks right .
Multiple applications to build color .
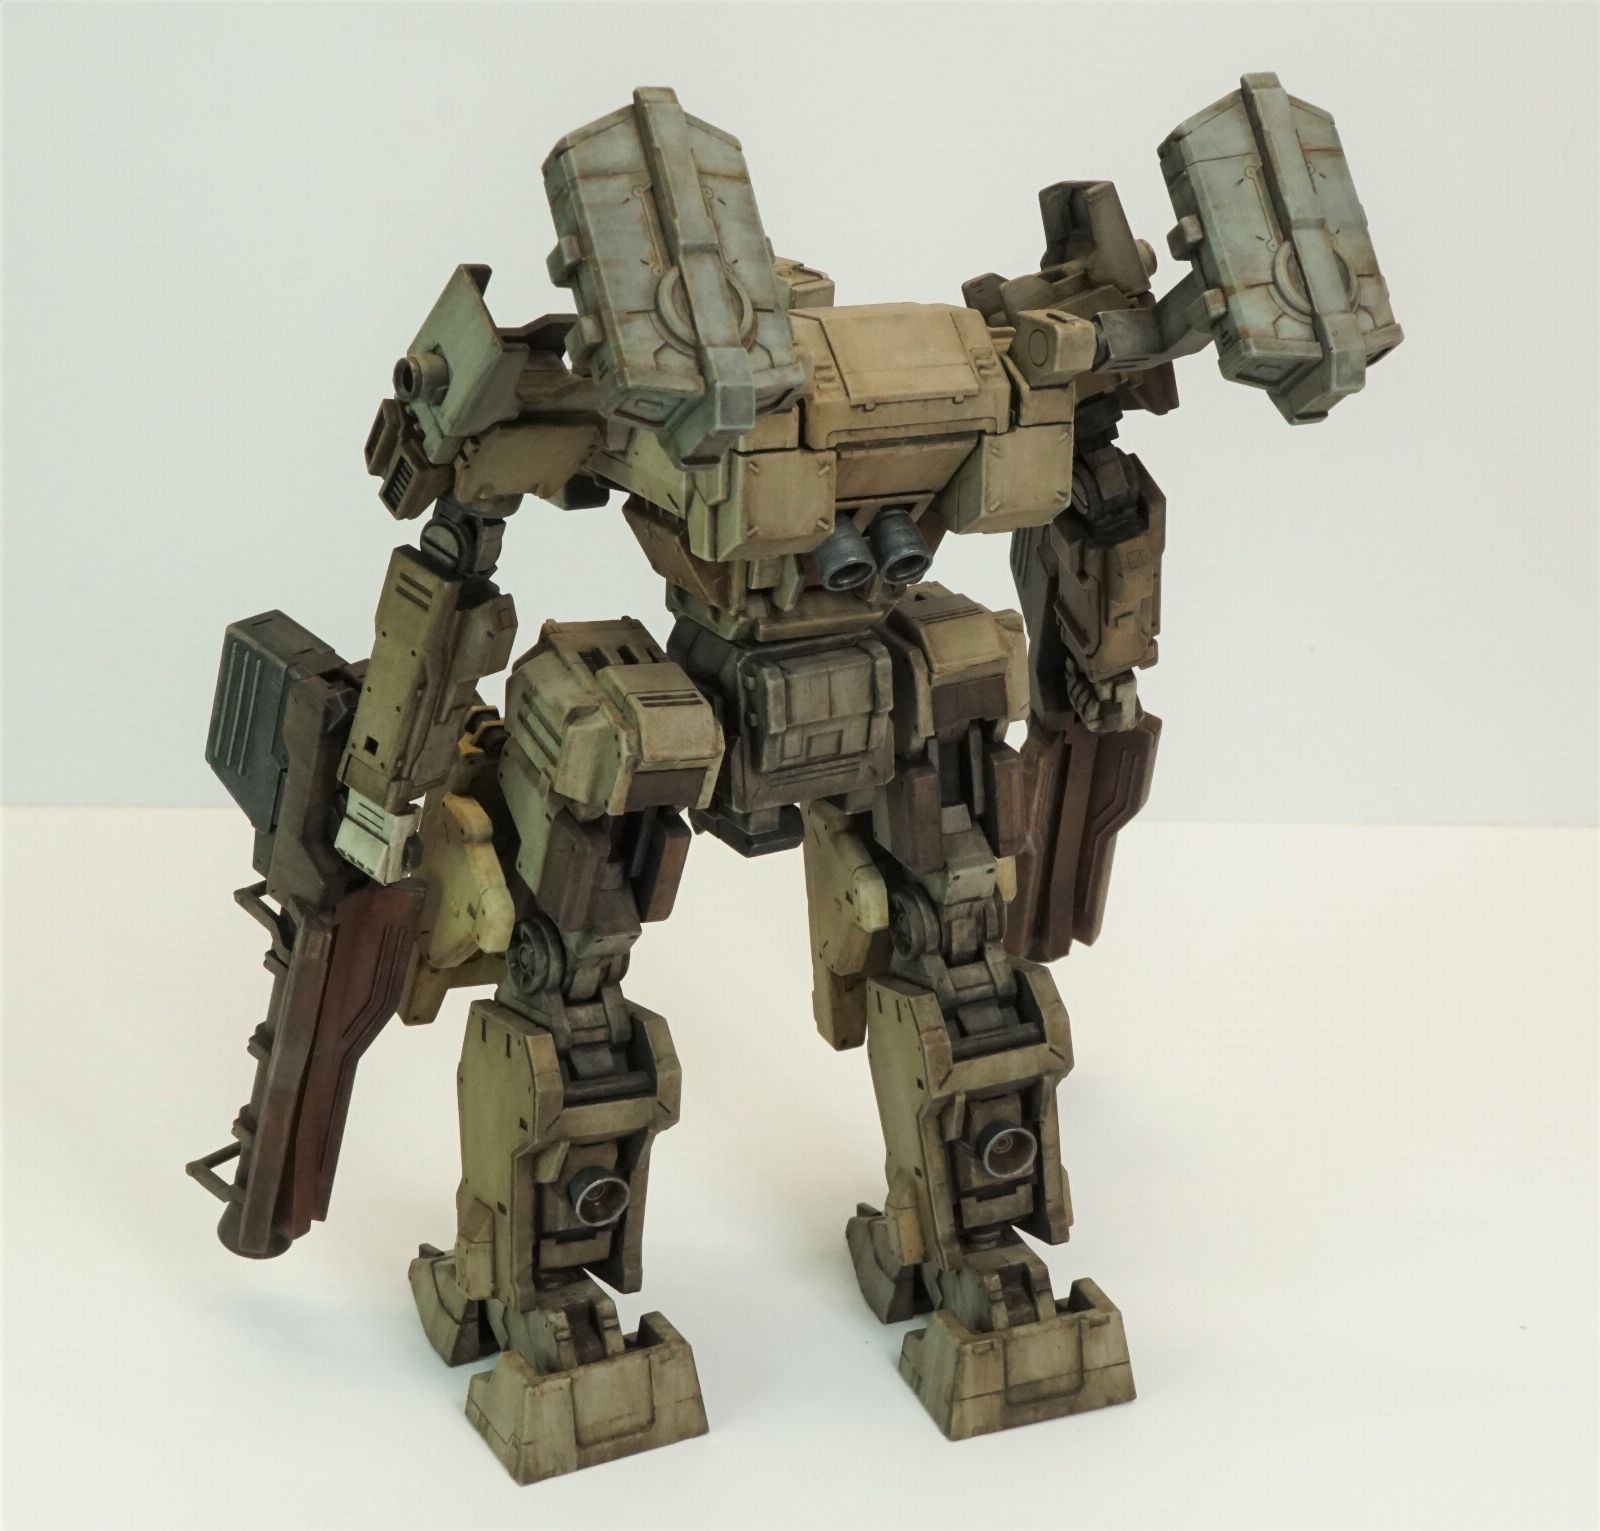
These components below are pretty close to finished color-wise . KInda .
Flat coat when they are ready .
Minimal chipping where it makes sense ; at the feet and outboard on the legs etc .

o58HYKW.jpg
mm3i759.jpg
mCK7ZL0.jpg
 
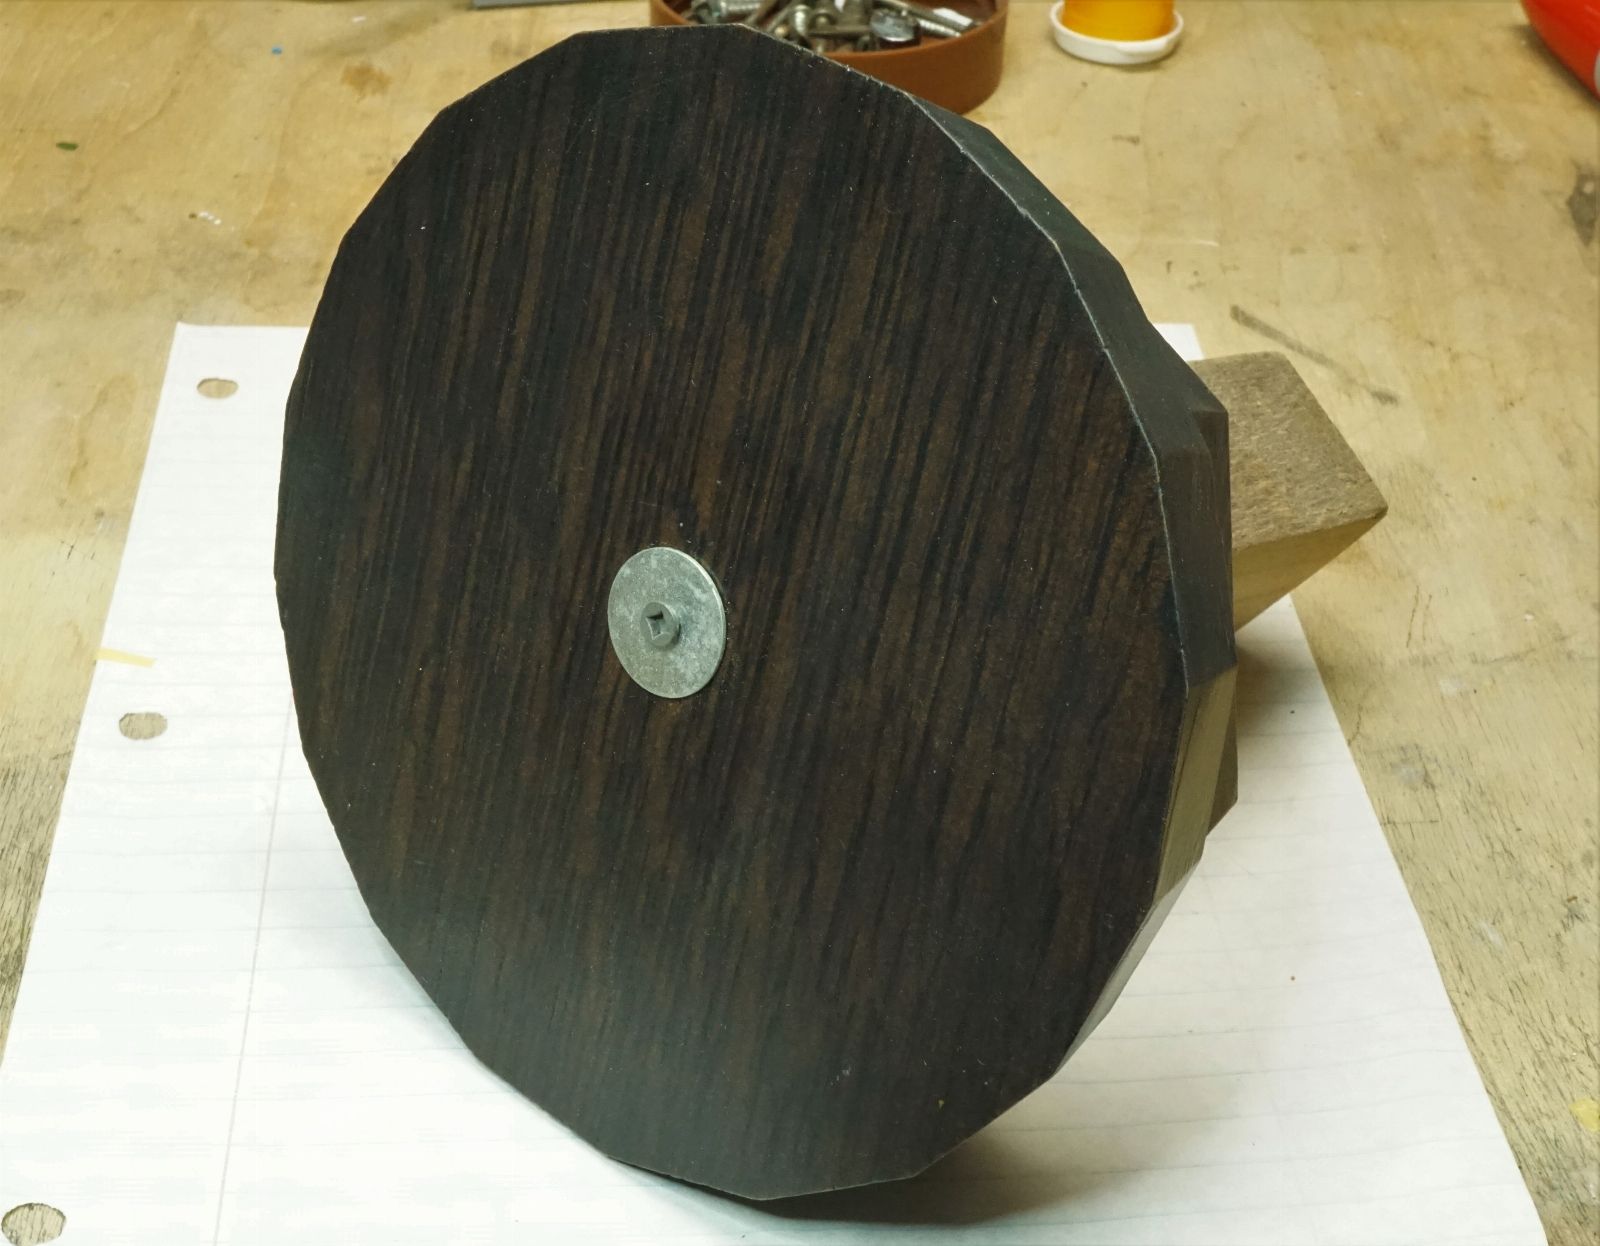
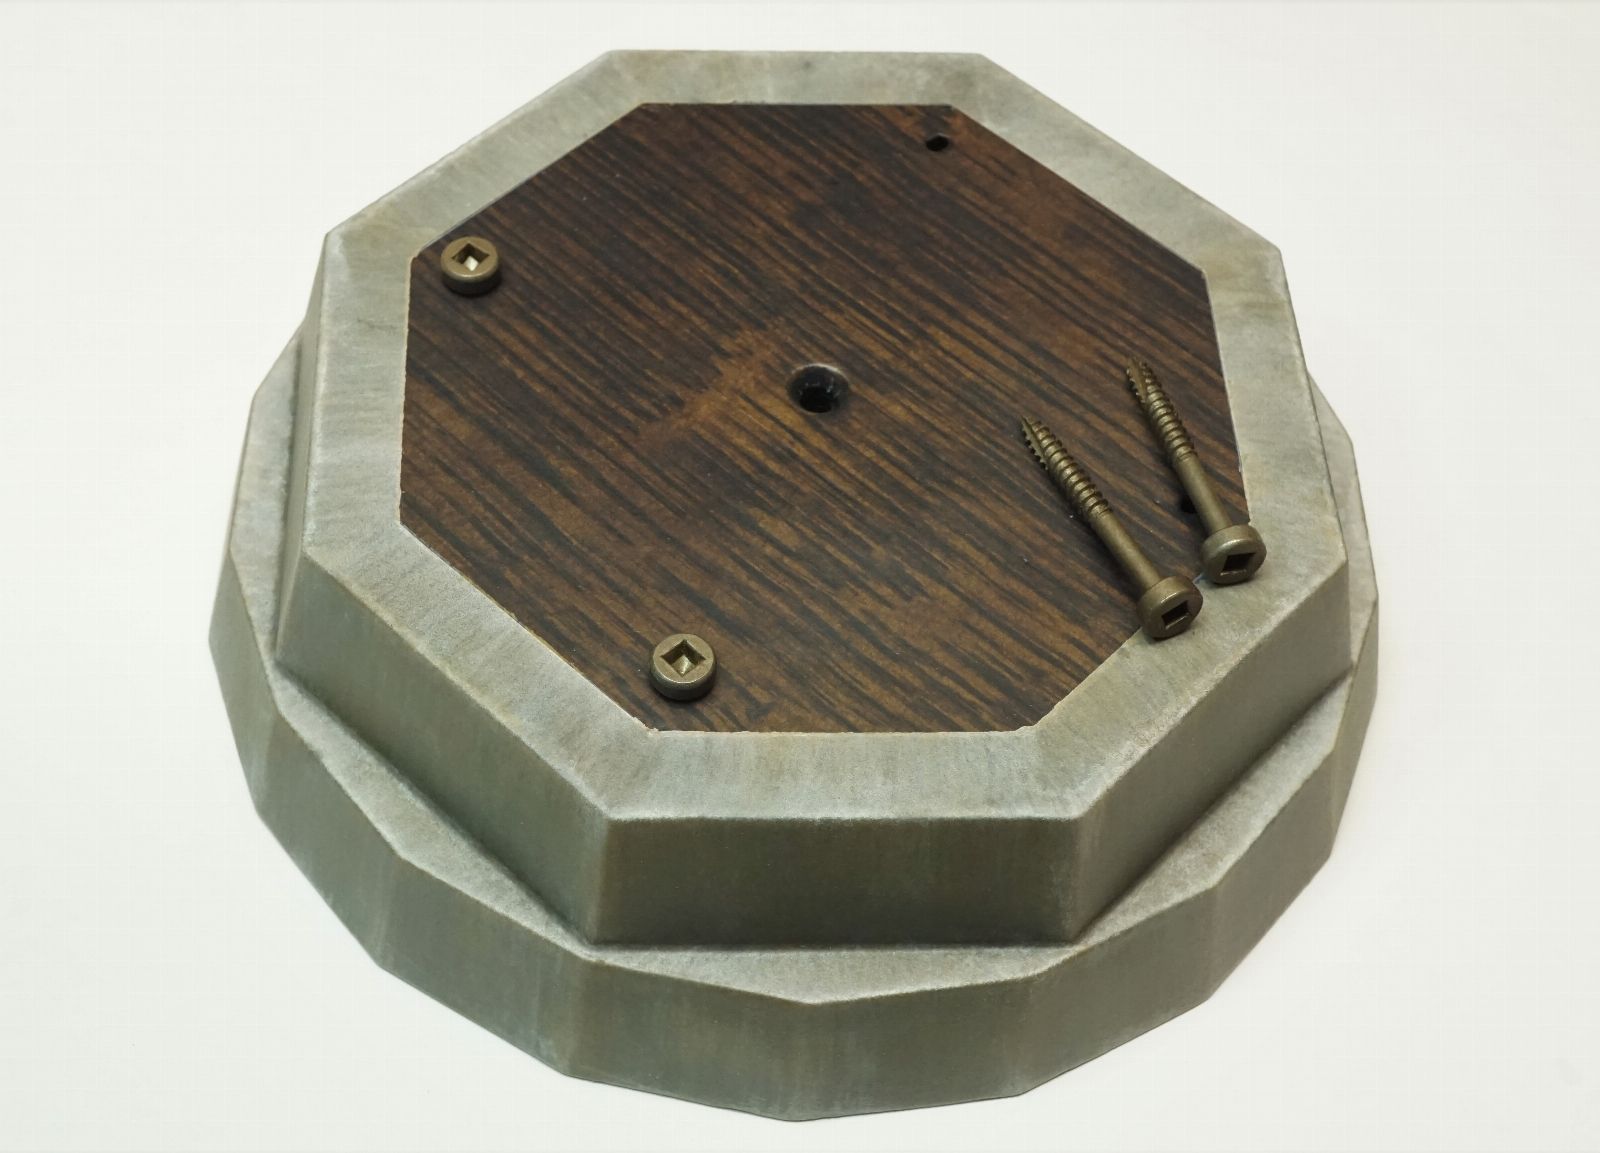
Ok , I was going to wait until this base was mostly complete before I uploaded photos , but it's been 6 months and at least the plinth for the actual groundwork is kinda , mostly done .

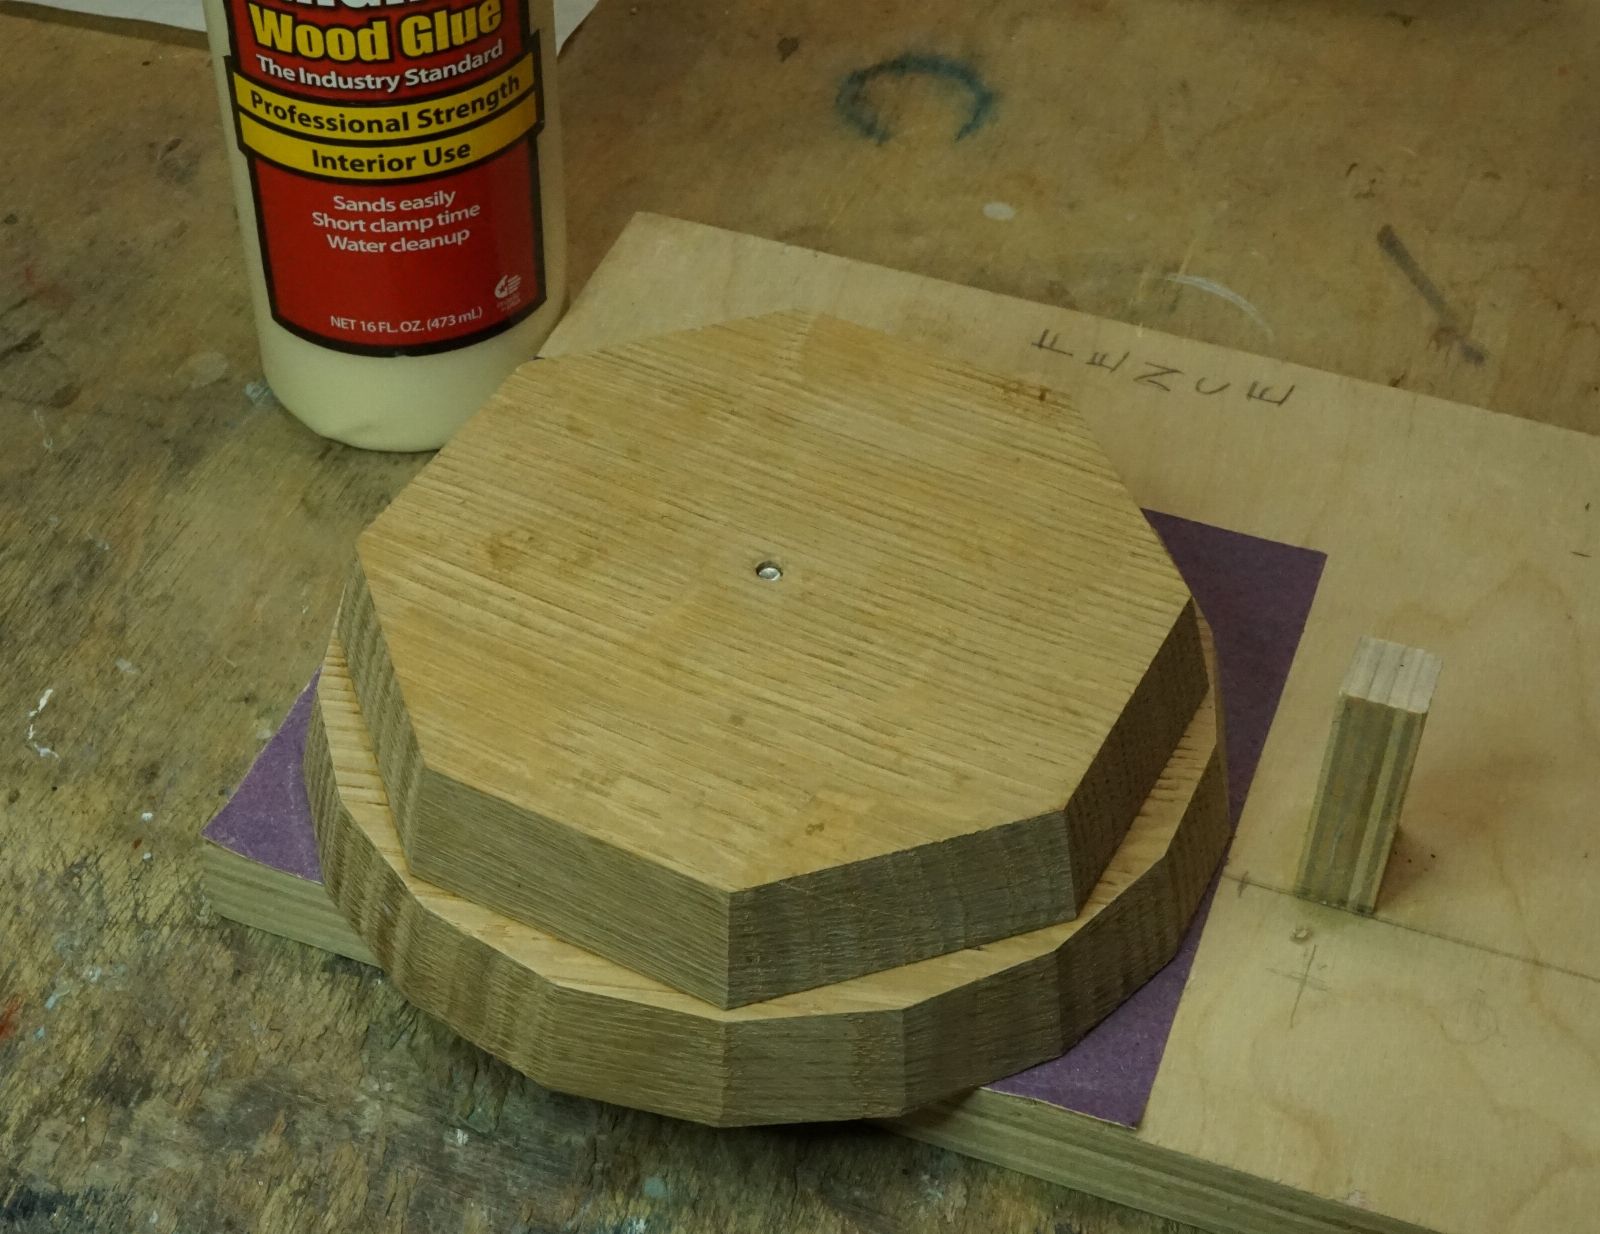
3/4 inch white oak
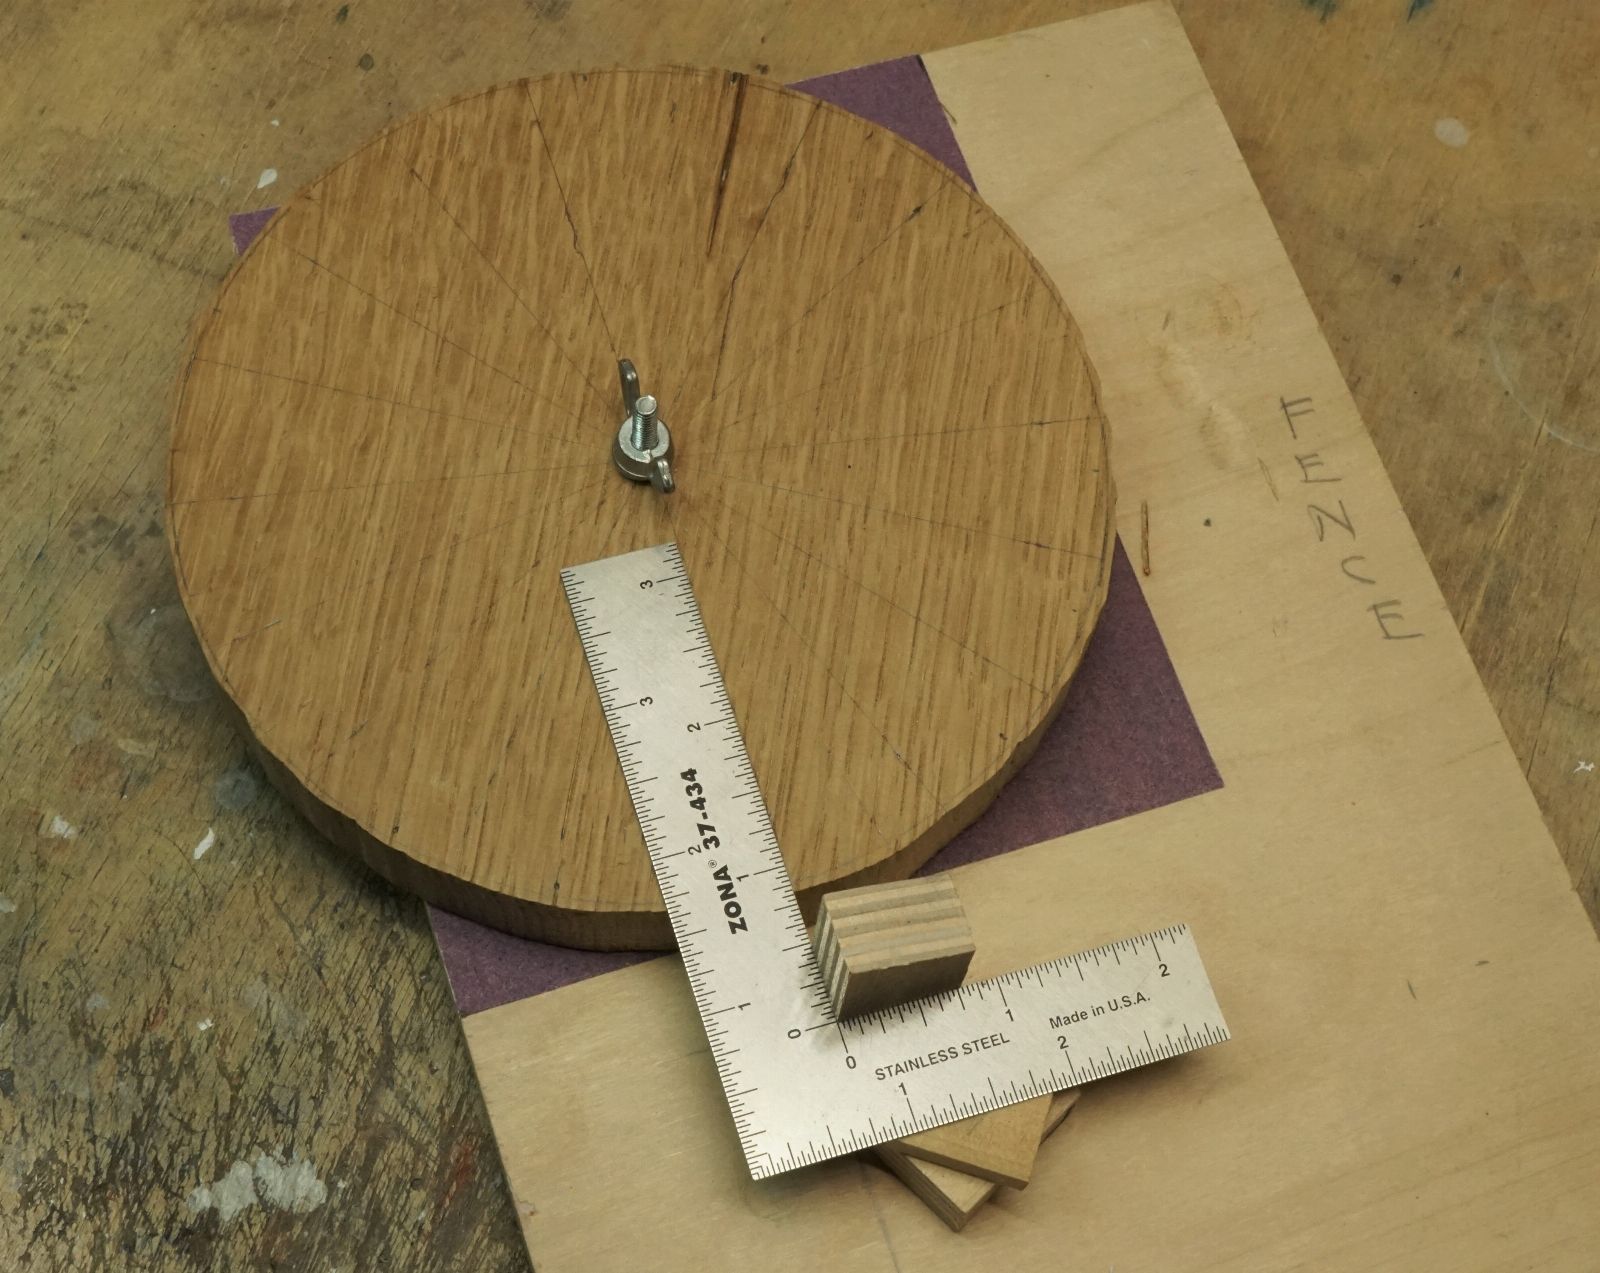
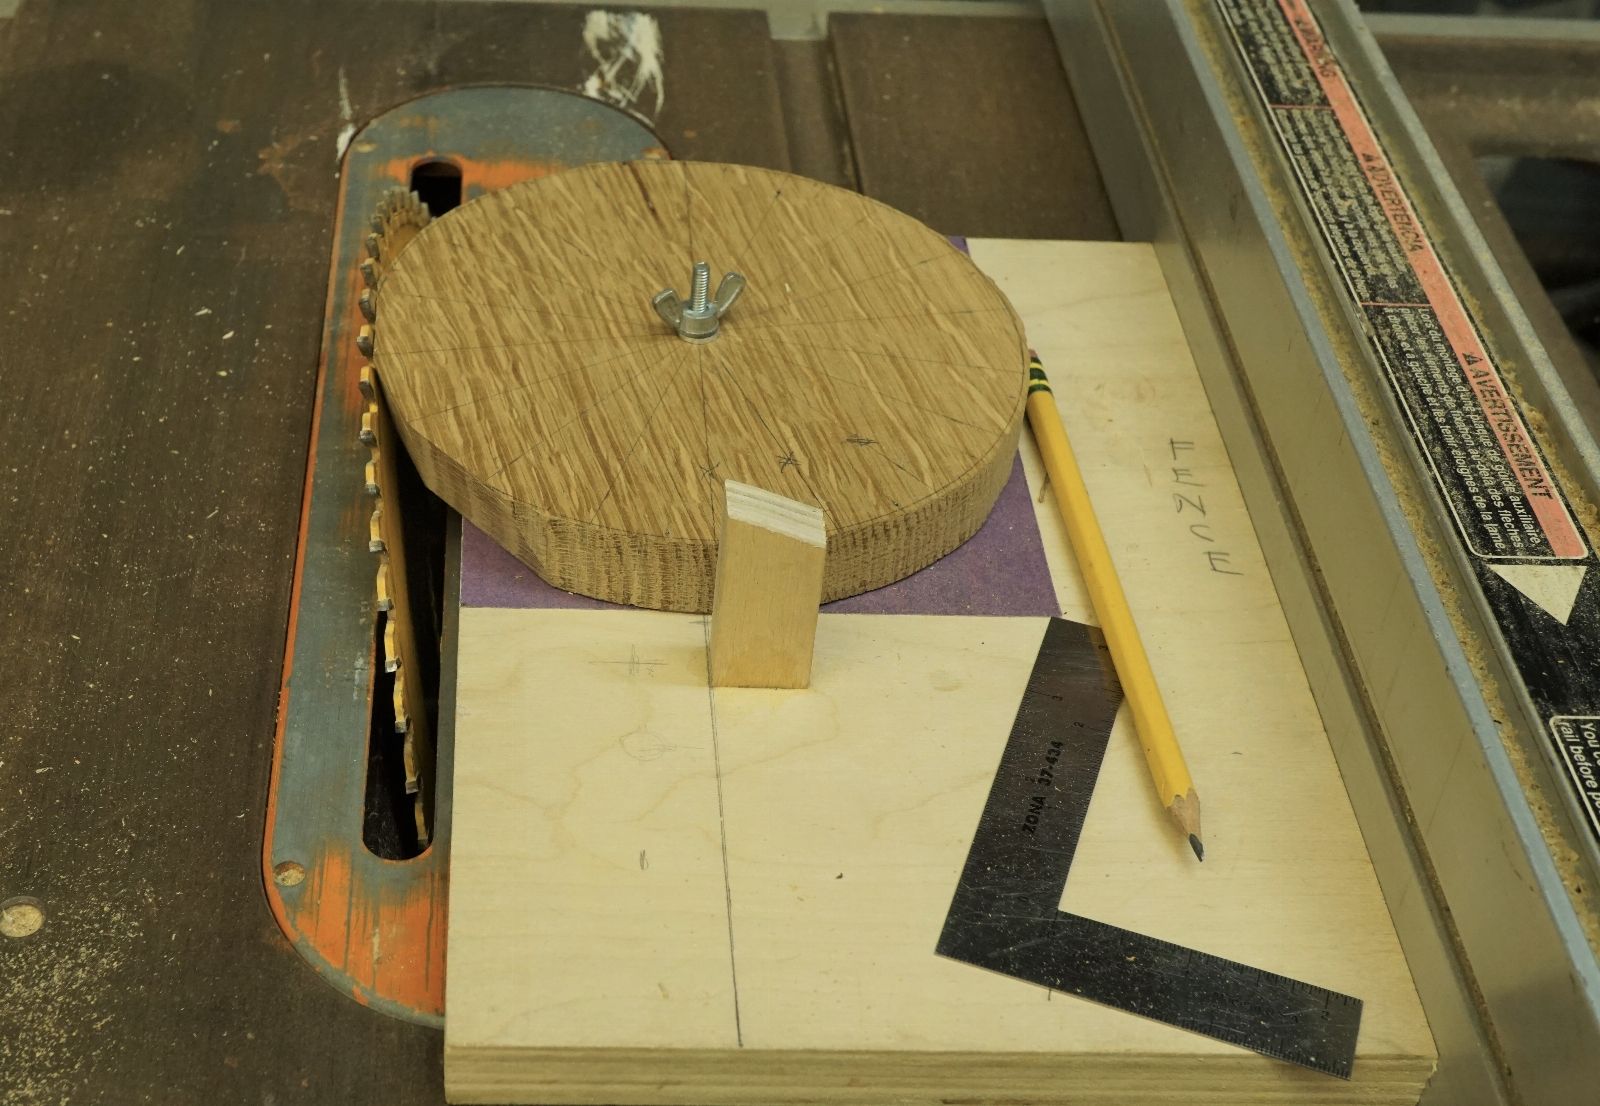
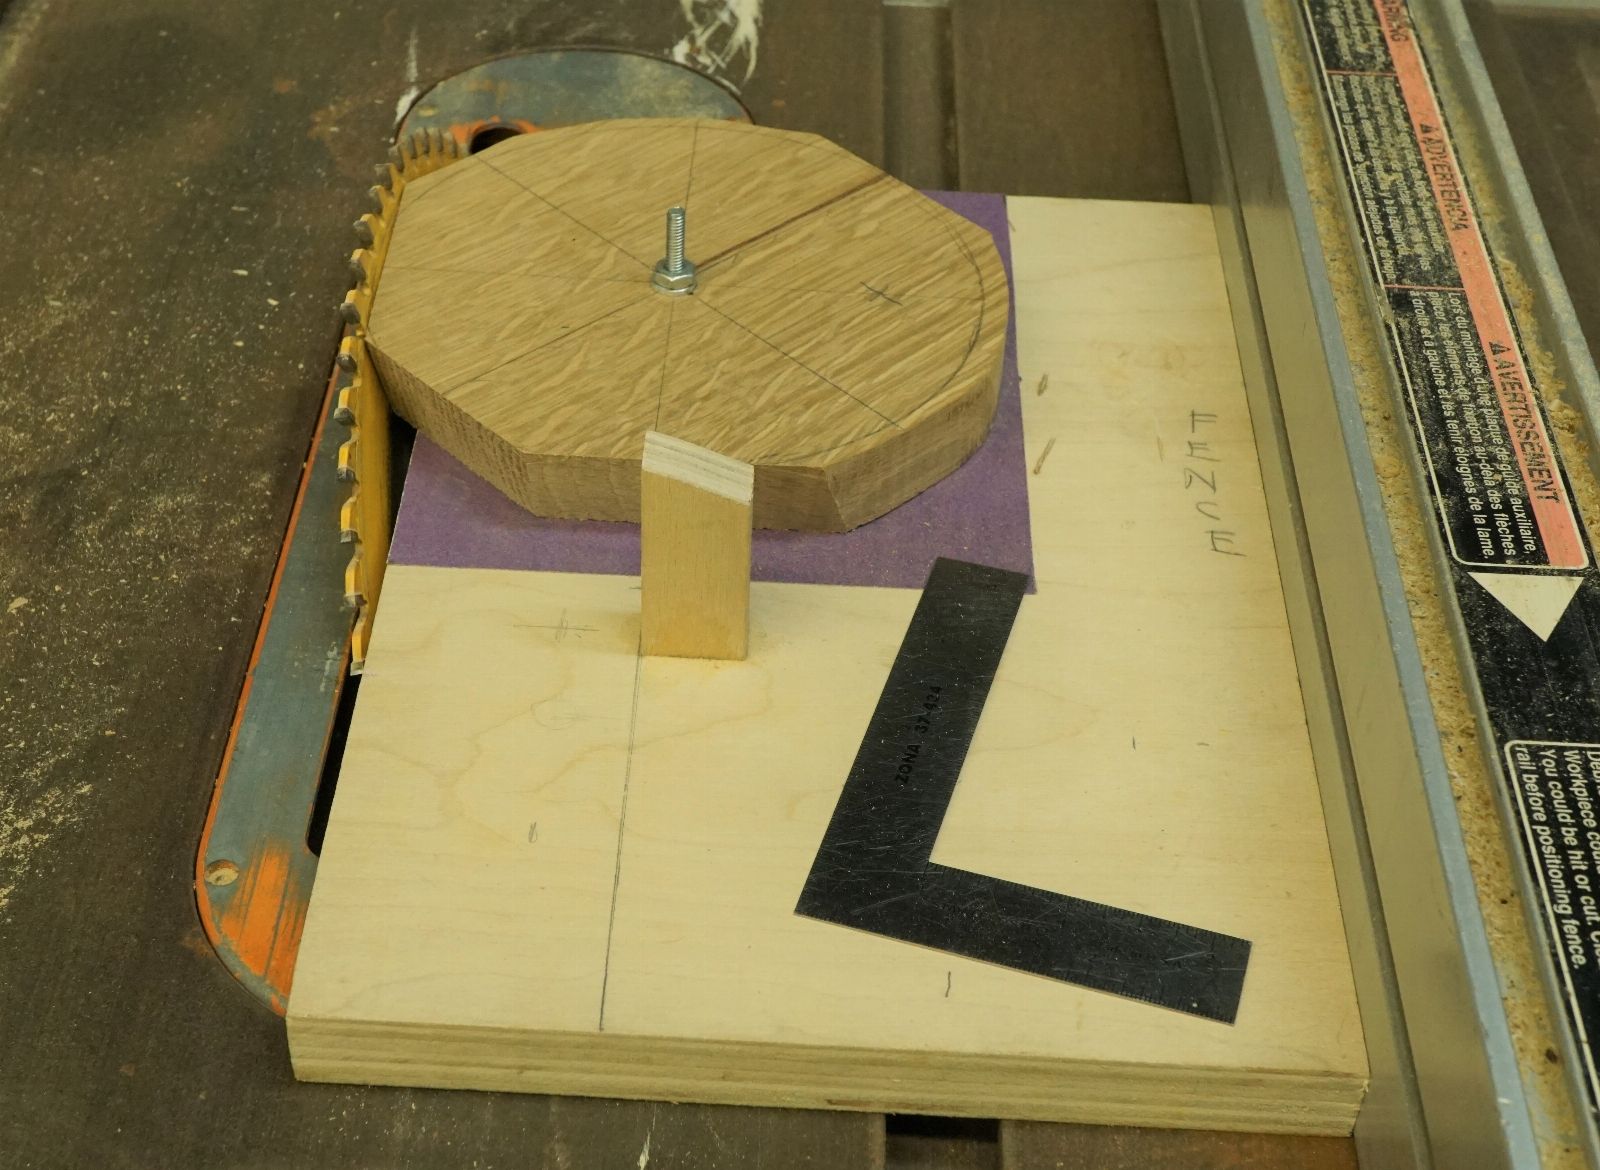
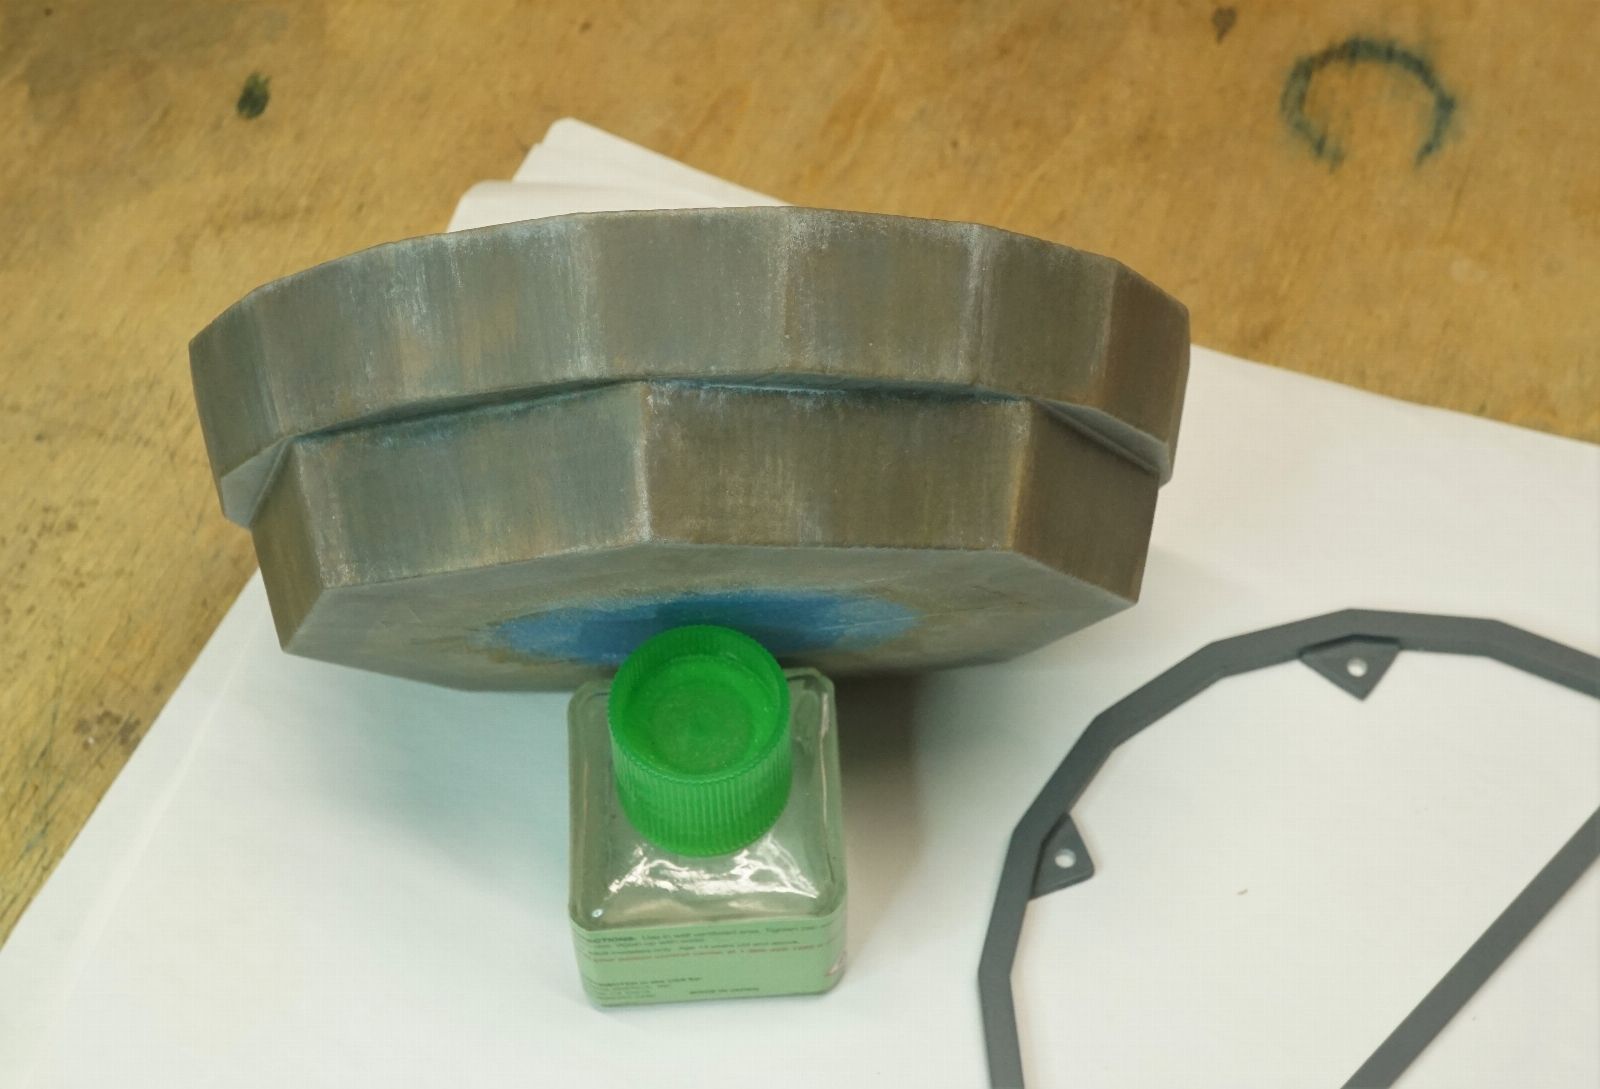
An octadecagon atop an octagon
12 degree bevel

4tSVnvY.jpg
xZh9DDm.jpg
Yz4HmR9.jpg
Ze7IfiH.jpg
p5dllVi.jpg
WRvWxMX.jpg
nhhUMuo.jpg


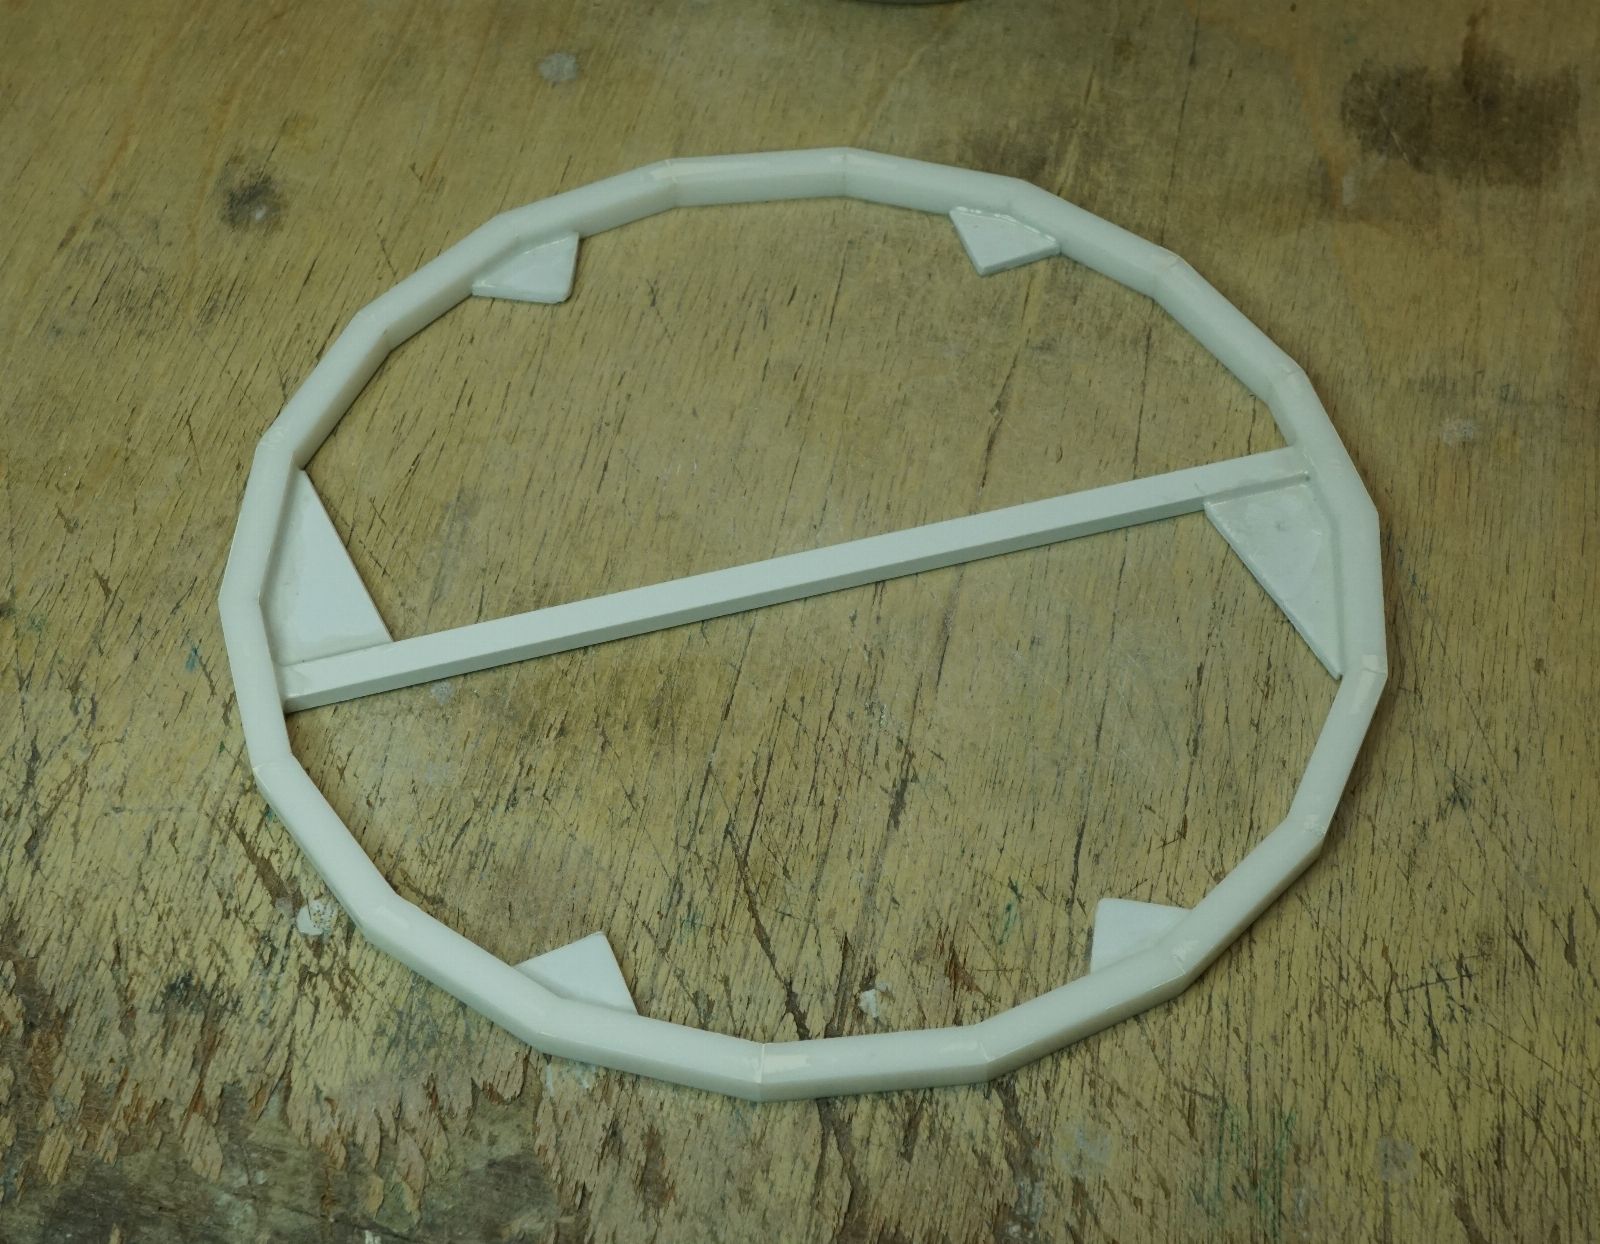
Octadecagon border for atop the oak plinth
5 mm square polystyrene
10 degree cutting jig :

Z5fYhJL.jpg
miuIPDY.jpg
LPGBeRt.jpg


After it was primed , I discovered that the sides of the square stock were very slightly concave .
Tamiya lacquer putty used to correct this , then re-primed with Rustoleum alkyd primer :

d8m3v2a.jpg


7 coats of Minwax oil base wood stain with 6 days between coats with the majority of that time being in the dehydrator at 110 F
Then 6 or 7 coats of Liquitex acrylic varnish , satin , with 3 days between coats with the majority in the dehydrator at 110 F :

xPADwyE.jpg
FNecxVt.jpg
xcF3atY.jpg
CKdjhNZ.jpg
FKzU8hK.jpg


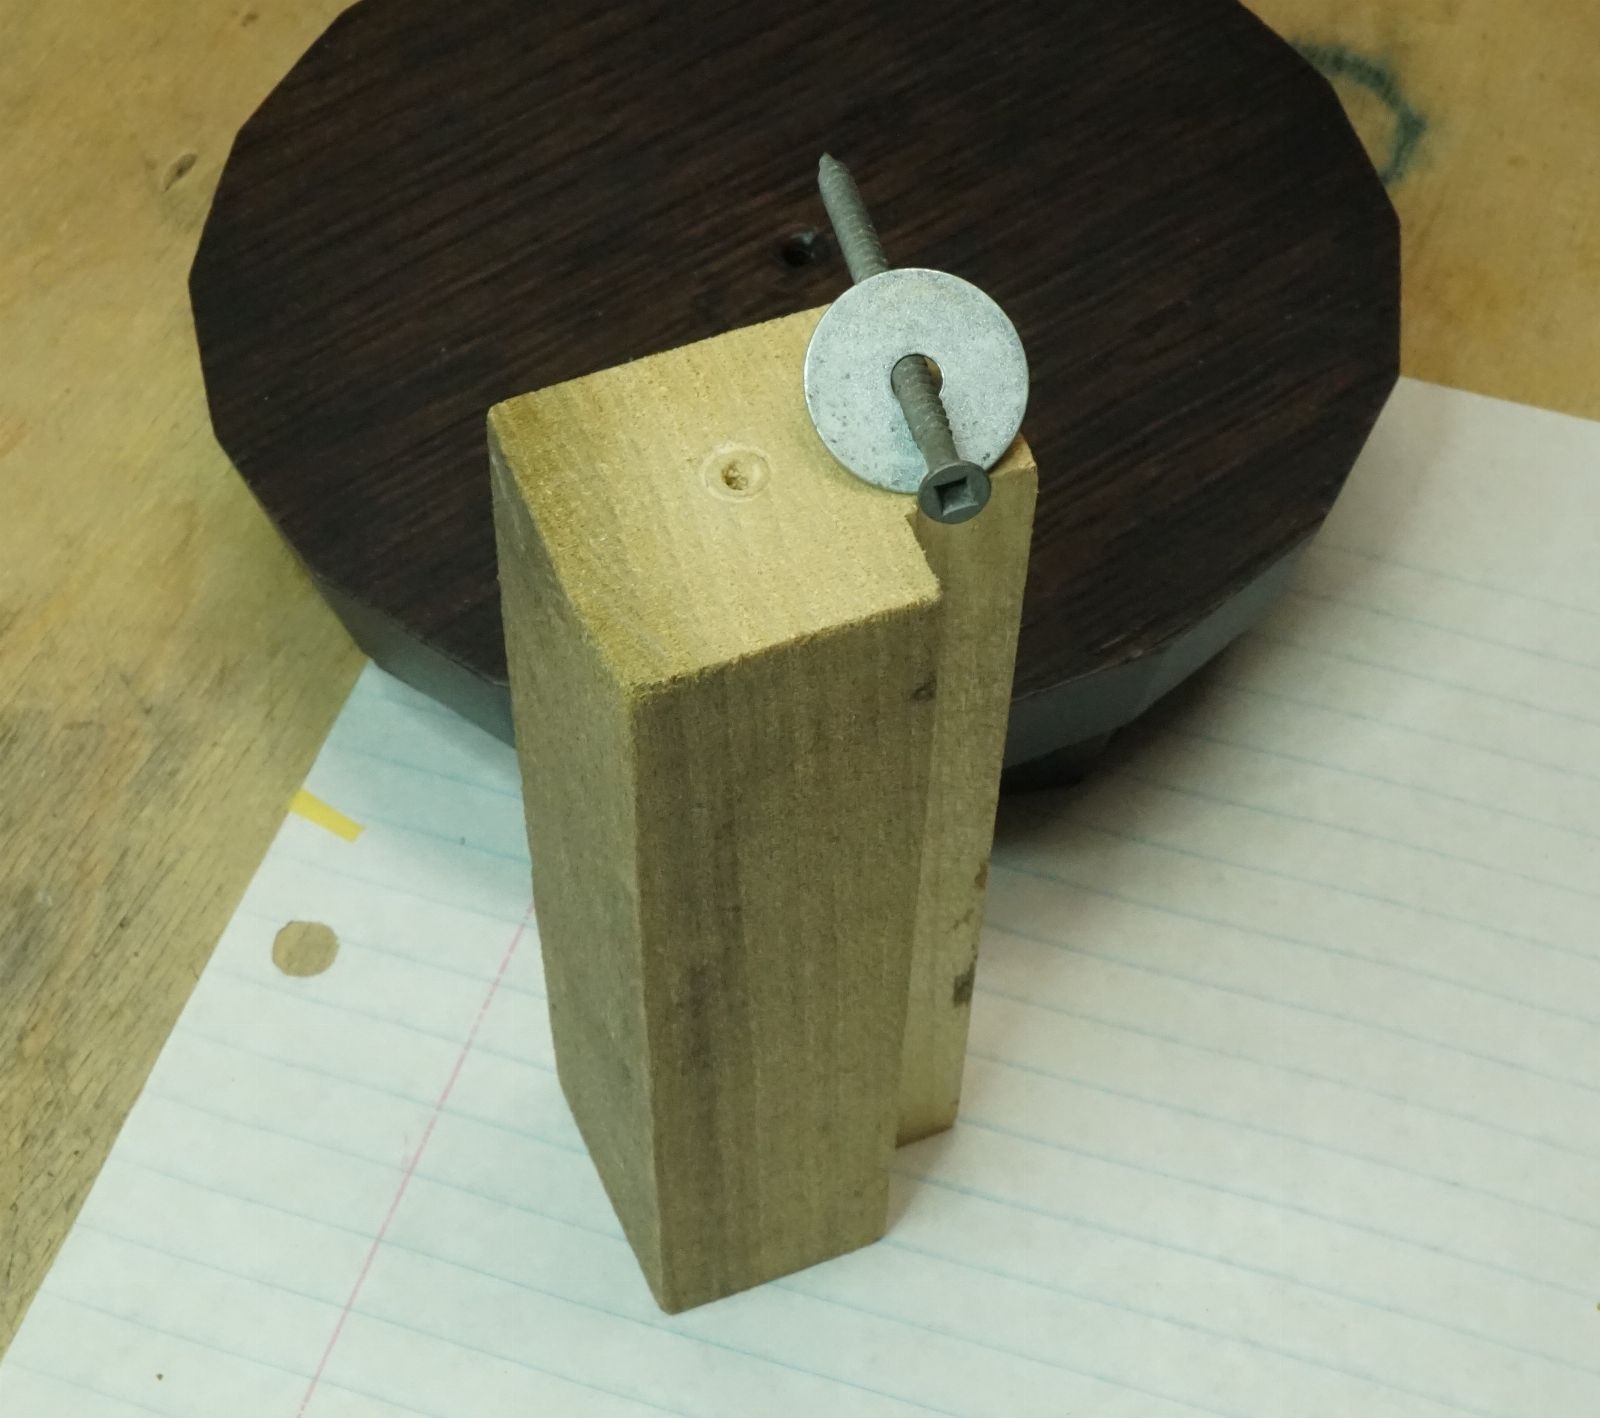
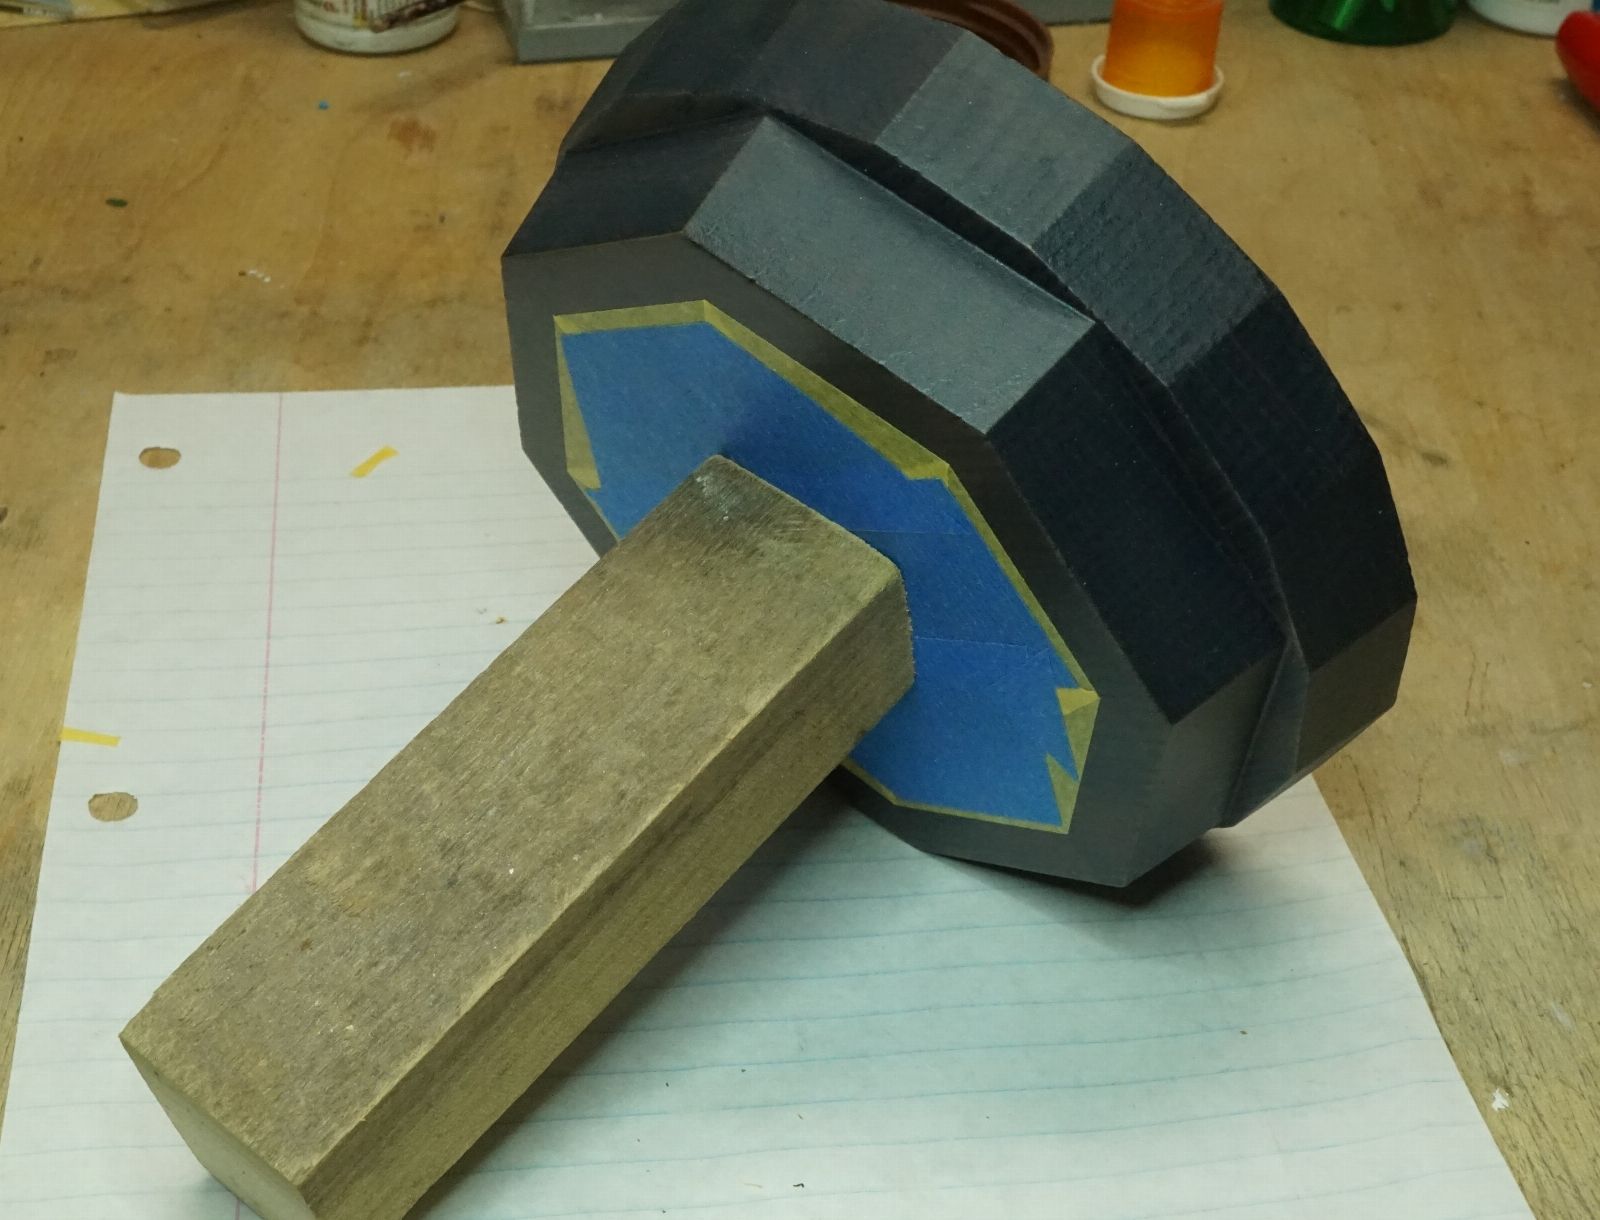
Temporary handle for applying watercolors and varnish :

Otw38JI.jpg
goIA8Yi.jpg
Khpqtn2.jpg
 
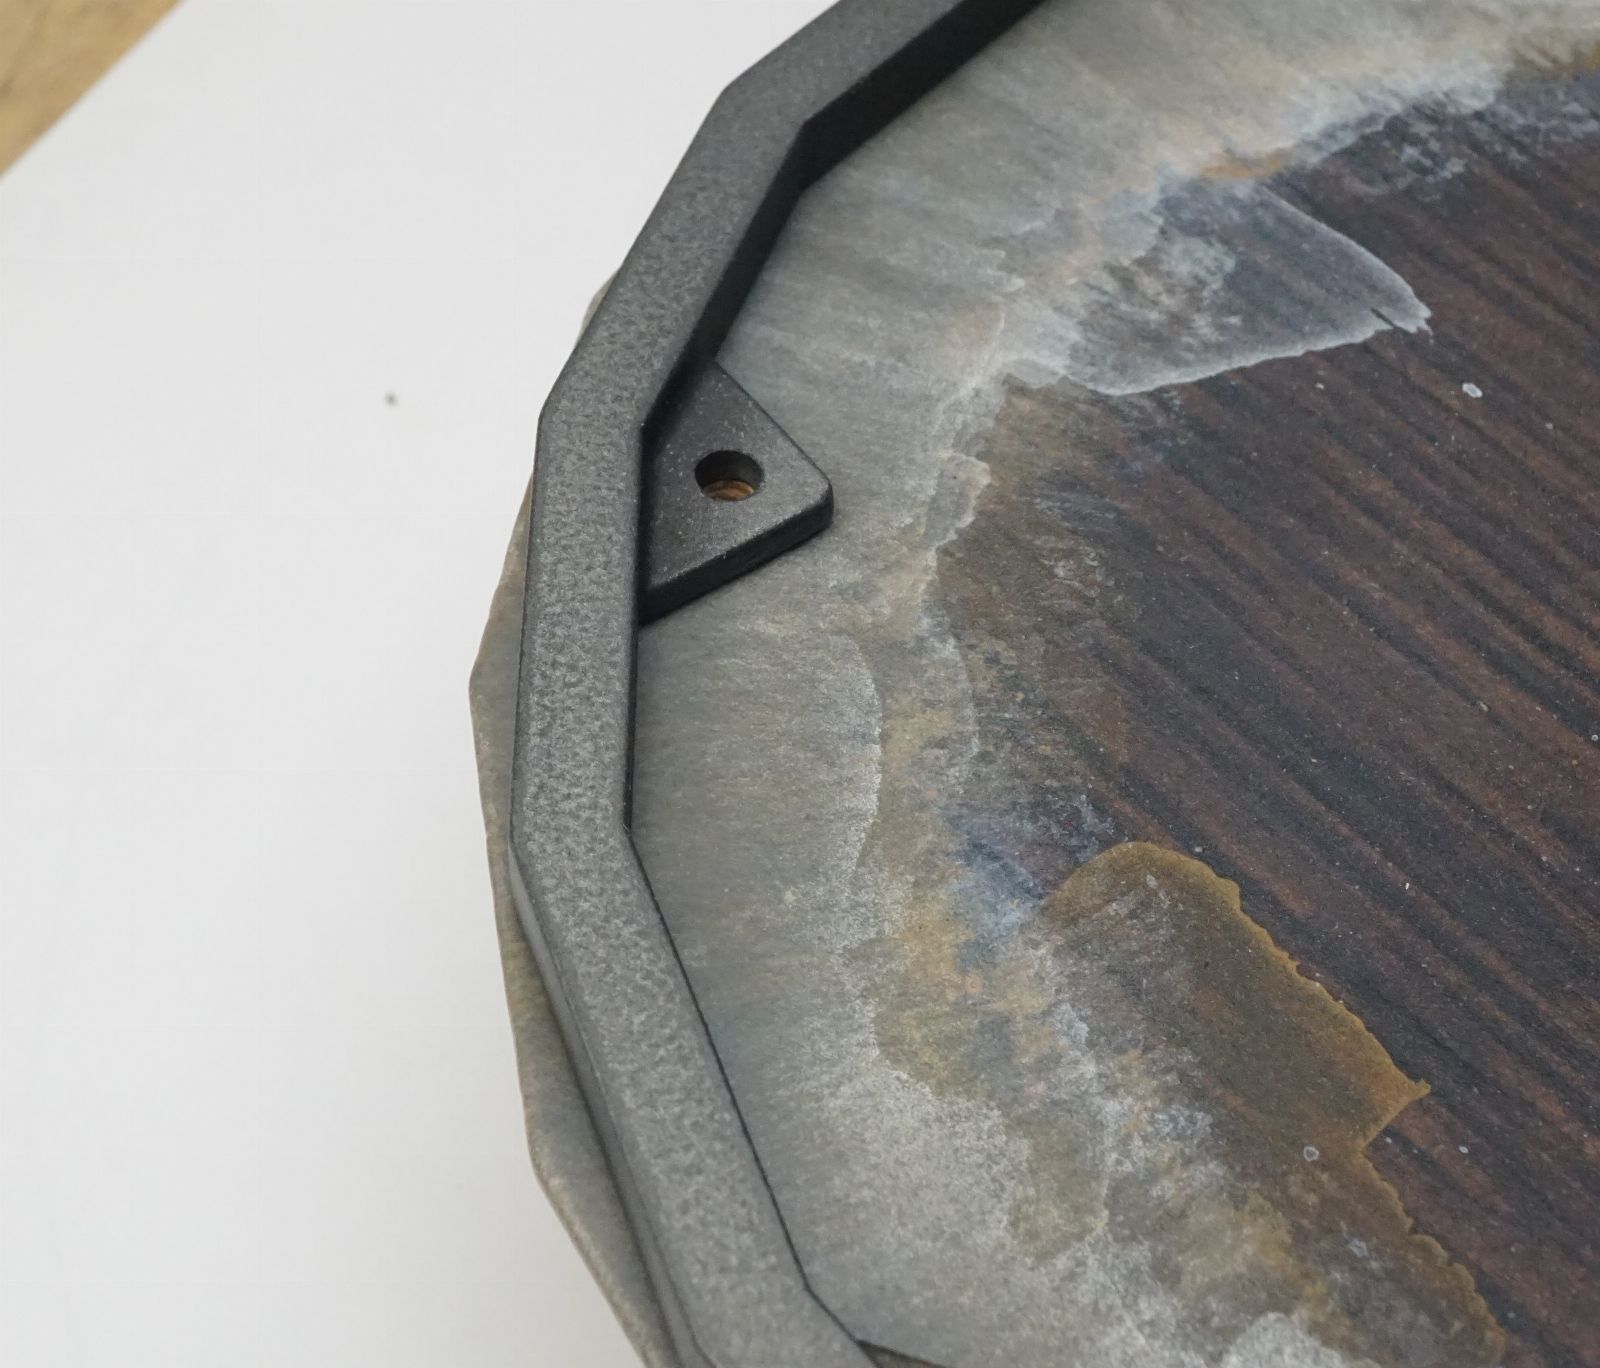
Charcoal gray and white watercolor affixed with satin varnish .
Additional coats of raw sienna and raw umber , then back to more white -- satin varnish between colors :

These photos are poor . It looks way better , I promise . :

jebk8i7.jpg
3g31is9.jpg
la7X5ih.jpg


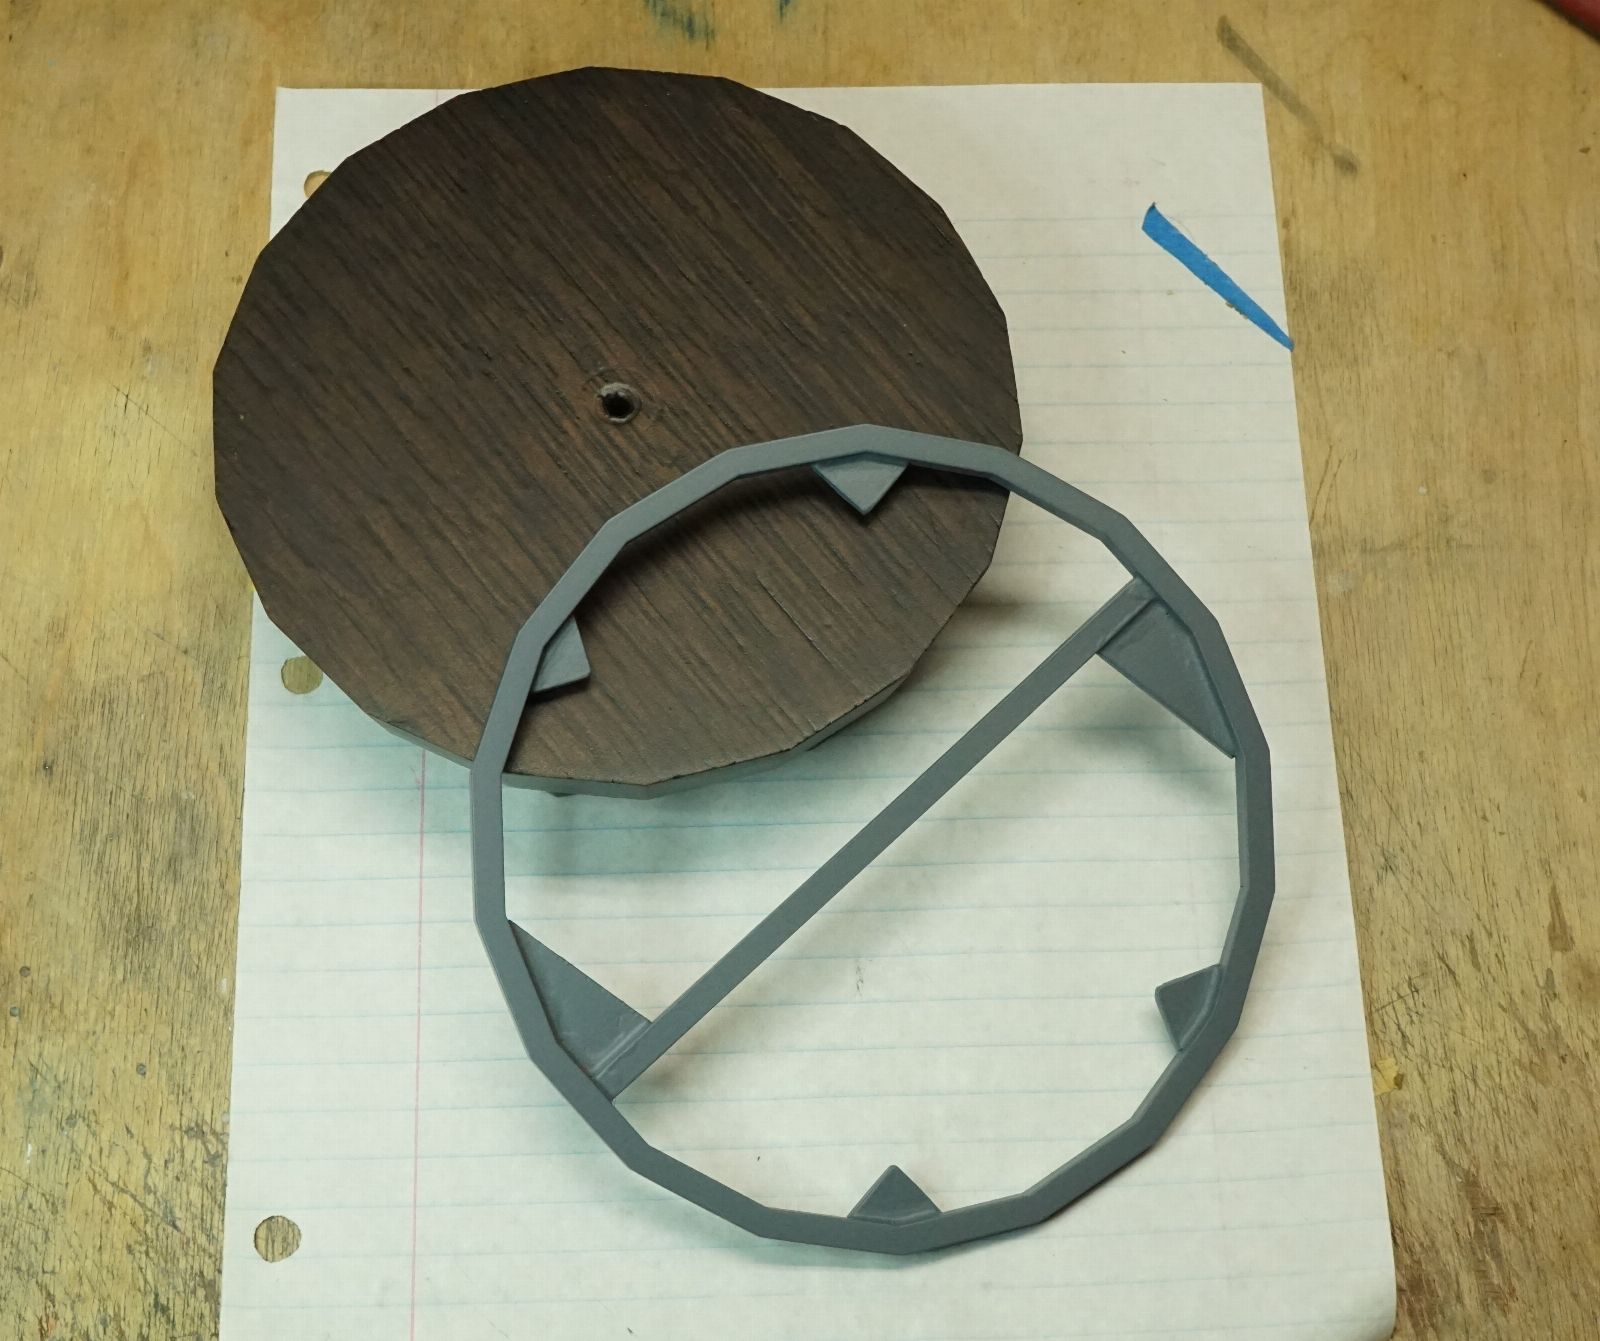
The perimeter ring was sprayed with Alclad " steel " then lightly overtopped with Alclad " stainless steel " then hit with some 3000 grit sponge sanding .
Both the wood plinth and the ring are top coated with Liquitex matte varnish .
I'll probably do some more weathering to it , maybe , before I attach it permanently .
It has a good cold rolled steel look going though :

6fy6M4c.jpg
GFJItxj.jpg
teP6J5N.jpg
A106ewf.jpg


The groundwork / concrete will be drywall setting compound ( gypsum ) . The slabs will have a wood core ,, or possibly aluminum .
The broken concrete slabs he'll stand atop will cantilever out over the perimeter .
That entire " steel " border will remain visible .
 
Last edited:
I love seeing the way other people tackle problems!
The scratch repair you did looks fantastic! The weathering is looking really good too.


I'm confident I would've broken more pieces as an answer to finding a broken piece from production, lol.
 
Thanks !

" I'm confident I would've broken more pieces as an answer to finding a broken piece from production, lol. "
Ha ha , what do you mean ? Like Peppy said ? about melting it down ?
It wasn't that hard of a fix , thankfully .
 
Last edited:
Thanks , man !
But - there's no concrete yet :D
That's just the plinth to support the groundwork which will be the concrete slabs and ruble .
I wanted it to have a muted earth tone to complement the mech's color scheme and the , soon to be , concrete and ruble terrain .

I hit that " steel " border ring a couple more times with matte varnish since it was still a little too shiny - at least on the outside edge anyway .
 
The center strut of the border ring was glued down with a liberal amount of CA gel and then the interior perimeter sealed with acrylic super heavy gel ( Liquitex ) mixed with black acrylic paint .

The dowel sections will support the 2 rectilinear concrete slabs he'll stand atop , then the exposed portions of the dowels will be hidden with more rubble . They were coated with Vaseline to prevent the gypsum bonding to them .
The slab cores will be 3/16 " plywood ( actually 5/32 " ) , and I have to build them separately so I can apply and finish the drywall compound on their undersides ... plus be able to more easily detail around all the rebar that will be sticking out .
They will require only the access hole for the mounting screw to be filled once in place .

The plinth was topped with drywall setting compound with a slight crown in elevation , then coated with multiple layers of powdered and broken pastels anchored with matte acrylic varnish ( Liquitex )
Still needs a little work around the perimeter in places .

gVYMuJA.jpg

Rt5tOSE.jpg
IkRbR98.jpg


Onward to the slab construction ..
 
Last edited:
Just trying to catch up on this thread, looking really good, imho. This has more parts than my grandson's Lego kits, sheesh!

If I can add a constructive comment; I see only one thing missing on the battle damage and that would be chipped paint in the "high" action, wear areas. The weathering is looking real good, but I see no paint chipping.

You are braver man than I, let's just say that! Cheers, Ski.
 
Thanks !
the chipping is coming -- Once I get him on the base , he'll be removable , I'll do the appropriate chipping around the feet / legs , where it makes sense . ( I mentioned this earlier in the thread - it's a big reason I use the alkyd primer so I can remove the acrylic with isopropyl and expose that burnt umber color ,, kinda the hairspray method without the hairspray ;) )

" You are braver man than I, " - lol , I don't know what you mean by this .
 
Thanks !
the chipping is coming -- Once I get him on the base , he'll be removable , I'll do the appropriate chipping around the feet / legs , where it makes sense . ( I mentioned this earlier in the thread - it's a big reason I use the alkyd primer so I can remove the acrylic with isopropyl and expose that burnt umber color ,, kinda the hairspray method without the hairspray ;) )

" You are braver man than I, " - lol , I don't know what you mean by this .
This sounds cheaper than putting lacquer over acrylic and using lacquer thinner to take chips up...
 
UUh - lacquer thinner will remove the acrylic too .
Hobby lacquers are all acrylic resins anyway .
You can get away with that kinda process with a green topcoat removal above a fully cured / crosslinked acrylic basecoat but it's risky and time sensitive since you'd need to remove the solvent as quickly as possible so it had minimal time to soften the basecoat .

I've done it with isopropyl but you'd need to be cognizant of which solvents and at what concentration existed in the lacquer thinner .
Definitely wouldn't use a ketone containing lacquer thinner .
 
Steady and quick is the key to pull lacquers off of acrylics with a lacquer thinner. Lacquers must be very freshly applied and acrylic fully cured.

Side note from a different convo of ours. Sealing acrylics with the Vallejo premium airbrush acrylic urethane doesn't even start to resist isopropyl after fully curing. But it creates a surface that allows acrylics to be cleaned with water if you're quick enough.
 

Latest posts

Back
Top