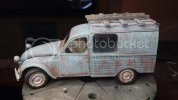
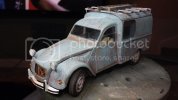
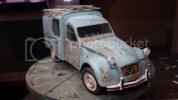
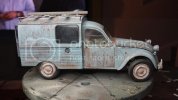
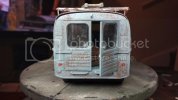
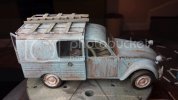
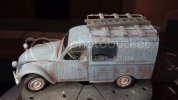
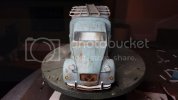
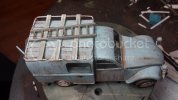
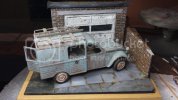
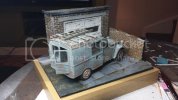
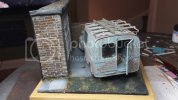
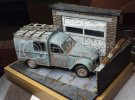
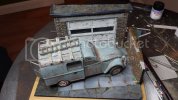
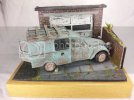
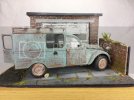
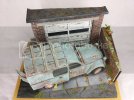
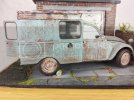
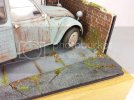
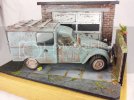
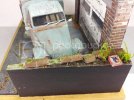
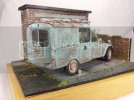
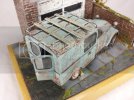
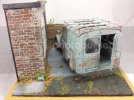
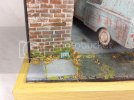
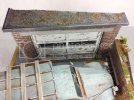
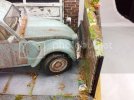
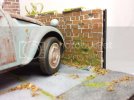
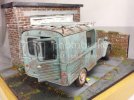
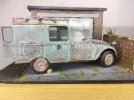
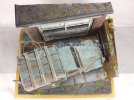
Abandoned 2CV Fourgonette

Leighbo

Active Member
Joined
Sep 15, 2011
Messages
1,033
Hi guys, been a while since I last posted a build on sma so thought I would make amends with my latest project

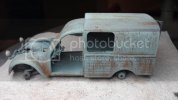
This time its Tamiyas Citroen 2CV Fourgonette getting the rusty treatment, which I am going to show quietly rusting away forgotten in a back street somewhere. It's my first car in months and also my first diorama too so feeling a bit rusty myself

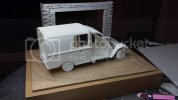
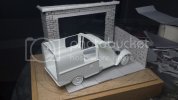
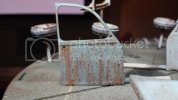
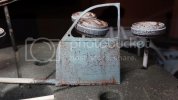
I staretd by mocking up the basic chassis and body to get an idea of the background. then once I had decided (which took a lot of pondering!) how the scene would take shape I went to work with some craft card.

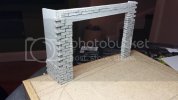
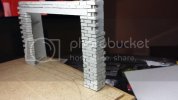
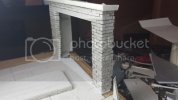
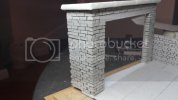
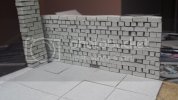
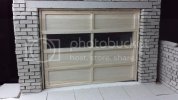
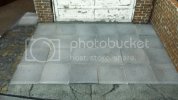
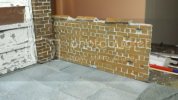
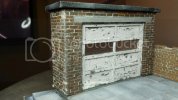
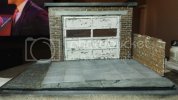
I wanted to make the background as much a part of the scene as the car so after mocking up a garage front in card I set about cutting and sticking the individual bricks using the same card. This is a new technique to me but it will hopefully let me get realistic looking bricks as I can cut a v in the back of the corner bricks and bend them round to look like one single brick. This has not been possible with my previous efforts with foam board.
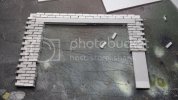
20140907_194505_1.jpg20140907_222735_1.jpg20140907_222752_1.jpg20140907_222703.jpg

I'm quite happy so far although cutting the bricks individually has taken hours but it'll hopefully be worth it in the end!

Thanks for looking
 
Got some more done today

I finished up the brick work and then made a second wall using the same technique but this time with a different brick pattern.
20140908_210320.jpg
20140908_210309.jpg
20140908_210248.jpg
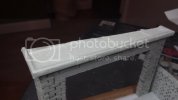
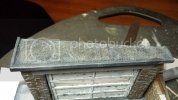
The roof was made with more card and then I used some wide masking tape to represent the felt roofing sheets.
20140908_210240.jpg
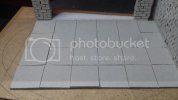
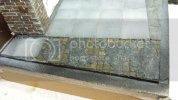
The last job today was to cut some slabs from some more card stock and then using some shims made the slabs look uneven
20140908_210257.jpg20140908_210131.jpg
Getting the main structural parts sorted, theres plenty more bits and bobs to add yet to make this parking area look very dingy and unloved as well as interesting

Thanks for looking
 
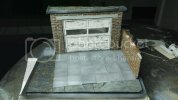
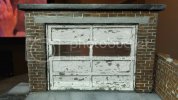
Finished up building the scenery today, the cobbles were made from air dry clay and the garage doors from balsa and clear plastic20140909_132851.jpg
Then started up with the painting process, sorry for the pictures couldn't get the lights out at this time
20140909_215250.jpg20140909_215353.jpg20140909_215408.jpg20140909_215425.jpg20140909_215432.jpg20140909_215445.jpg20140909_215459.jpg20140909_215515.jpg
Thanks for looking
 
I love how it goes from scale model to "Is that a real building?", in two photos.

Wonderful work, Leighbo.

What's the thickness of card stock you're using? It's looks great to work with. And did you seal it before painting?
 
Cheers Ian
The card is Greyboard Craft Card 2000mic 2mm thick and was supplied in A5 sheets. It was only £3.49 for 10 sheets so it doesnt matter if i mess things up! It's the first time I've used this card and it wont be the last as it cuts well and sticks easily and i could have used it for pretty much all the scenery on this one

I haven't sealed it but have been careful to not wet it too much, using the airbrush to paint it
 
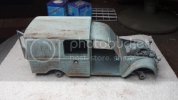
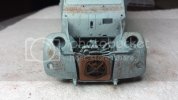
Got started on the 2cv today, built it up primed in black then base coat in rusty brown.
Then the fun started, I haven't tried this technique before but the idea is to put on a brown enamel wash mixed with rust pigments then sprinkle some more pigment on. Once dry use pigment fixer to seal. Once this is dry I could spray the car colour on faded it with white.
After more drying time I could go in with a stiffish brush and drage the loose pigments through the top coat. Where there were fine pigment particles you just get small rust chips, the larger pigment particles dragged down to give realistic rust streaks and you can also use a toothpick to create scratches. It also leaves a nice 3d effect under the paint.

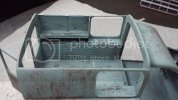
The inside was done differently using scratching effects fluid so I could give it a more scratched up look

I was a bit worried using this technique for the first time but am happy woth the results.

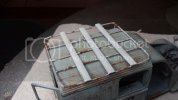
Also I built a roof rack from plastic stock and put some shelves in the rear too and made front rubber mats from wide masking tape
20140910_215657.jpg20140910_215751.jpg20140910_215759.jpg20140910_215812.jpg20140910_215834.jpg20140910_220123.jpg20140910_220241.jpg20140910_220248.jpg20140910_220252.jpg20140910_220322.jpg

Thanks for looking
 
Man, you're really moving on this one.

I now want to build stuff with craft card and try that rust technique!
 
Thanks guys

Ian I'm moving fast because I'm not at work this week so this is my holiday project!
 
Another progress report most of the day has been spent adding all the details to the 2cv but also some dirt and grime to the base.20140911_212544.jpg20140911_212550.jpg20140911_212556.jpg20140911_212606.jpg20140911_212613.jpg20140911_212634.jpg20140911_212641.jpg20140911_212653.jpg20140911_212705.jpg
And heres how it looks on the base
20140911_212803.jpg
20140911_212814.jpg20140911_212826.jpg20140911_21284_edit_1410472217983.jpg20140911_212900.jpg
Probably be finished up tomorrow so I can post some better pictures, still some finishing up to do though, the lids not fixed yet and lots of little details to add.

Thanks for looking
 
Hi guys, finished up my holiday build today.

Got lots pf small details done, plenty of leaves, moss, dirt, plants, etc... and also added some tin cans, crisp packets and a step ladder.

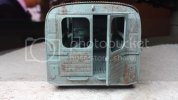
I also added the final ddetails to the van and did the lst of the touching up of the weathering. Heres tje pics
20140912_131503.jpg20140912_131600.jpg20140912_131615.jpg20140912_131648.jpg[/URL20140912_131711.jpg20140912_131735.jpg20140912_131755.jpg20140912_131829.jpg20140912_131838.jpg20140912_131914.jpg20140912_131921.jpg20140912_132050.jpg20140912_132232.jpg20140912_132246.jpg20140912_132309.jpg20140912_132338.jpg20140912_132429.jpg
This was a very enjoyable build, I tried some new techniques and materials and learnt a few things too so you can't say fairer than that!

Thanks for looking
 
Great build! And you've definitely inspired me to try some new techniques too.
 
This is incredible work! Very nice. I feel like you swiped a section of reality and shrunk it down to 1/72 size.
 
Great job. Sorry I missed this earlier.

Is that really 1/72?! I looks larger than that.
 
Its the Tamiya kit Scott ...1/24 scale . Cool build :)
 

Latest posts

Back
Top