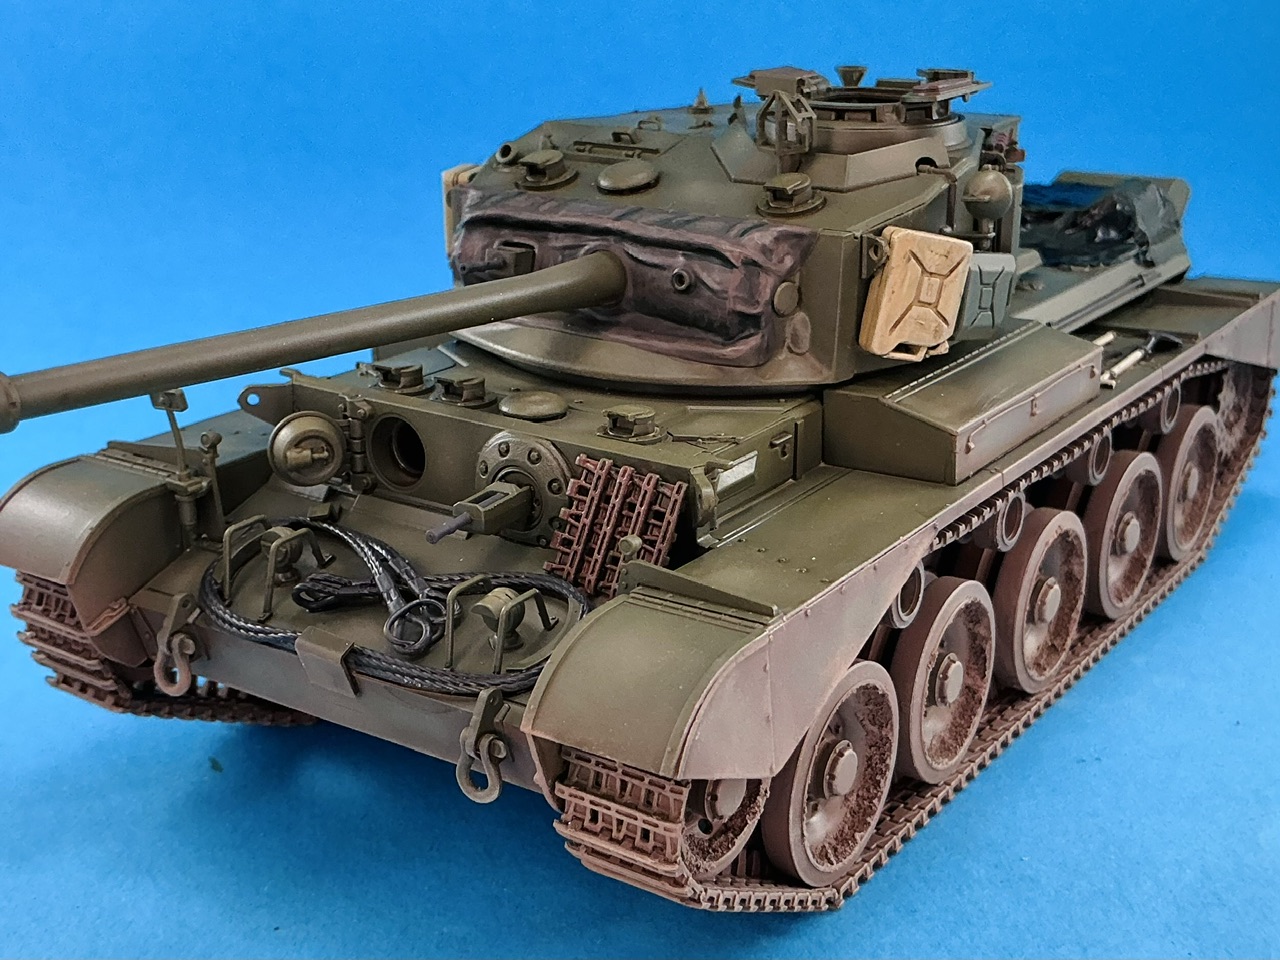
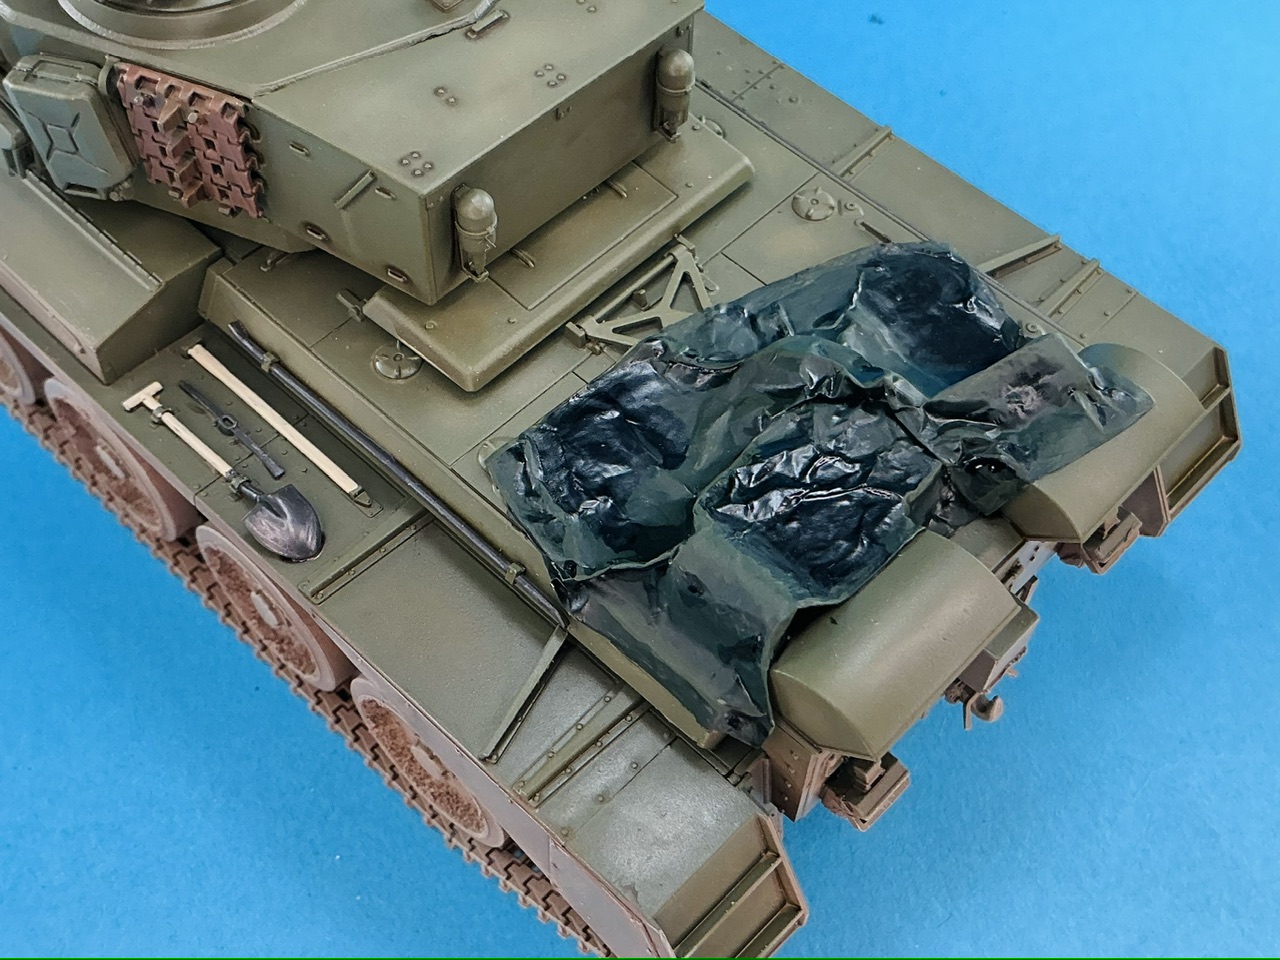
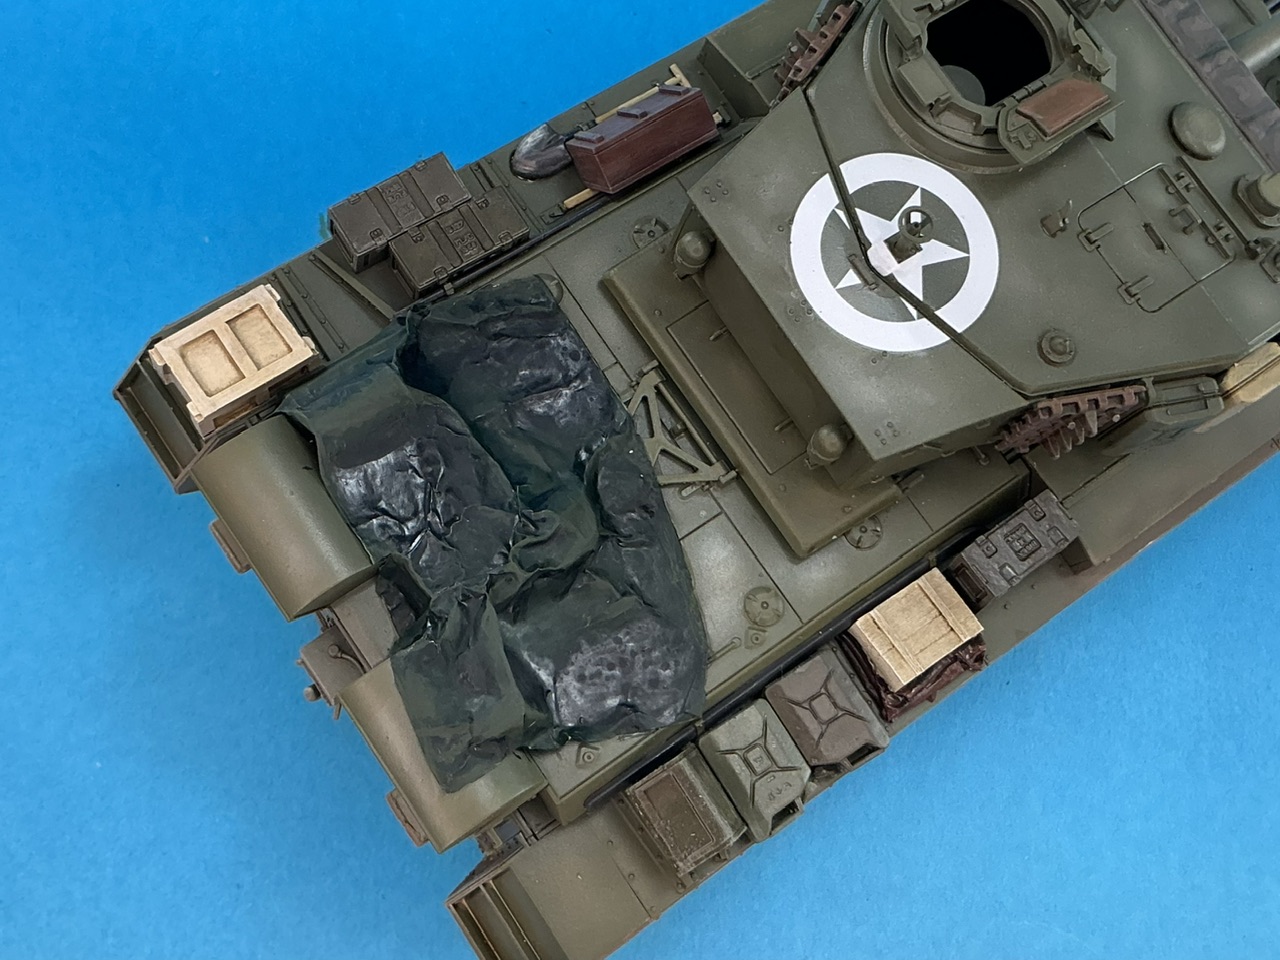
A34 Comet in 1:35

Scale Model Addict - Model Tips, Guides, Tools & Tech, Tutorials, and Community

Help Support Scale Model Addict:

Jakko

Well-Known Member
Joined
Oct 9, 2024
Messages
2,426
City & State/Province
Netherlands
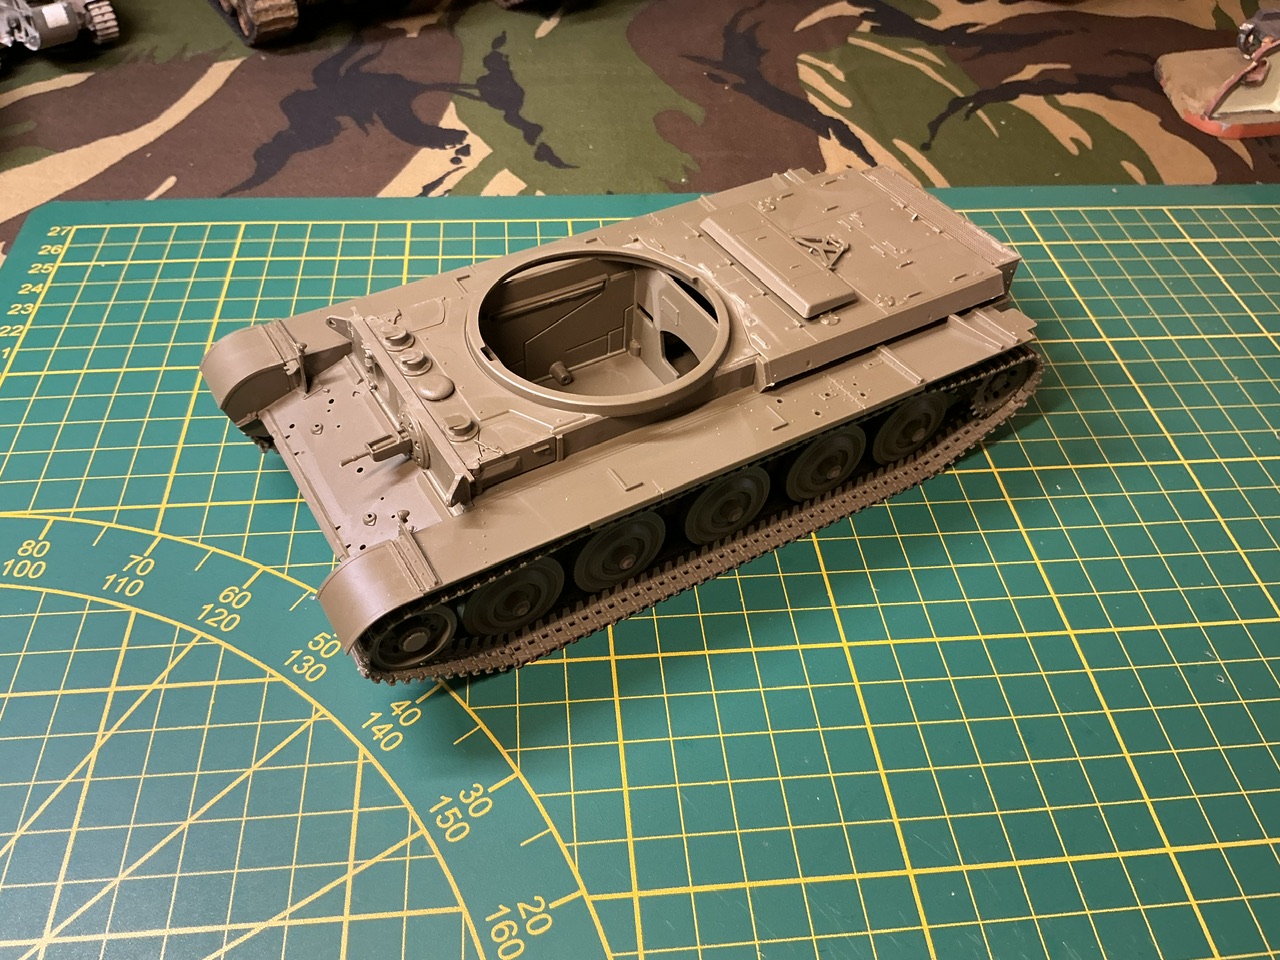
At the model show I spent last weekend at, I bought a Tamiya A34 Comet kit to build there. Of course it didn't get finished, though I think that if you were to build throughout the show, rather than walking around (occasionally) and sit around chatting (a lot), you could probably build this whole kit over a two-day model show.

Saturday afternoon 12:15 hours:
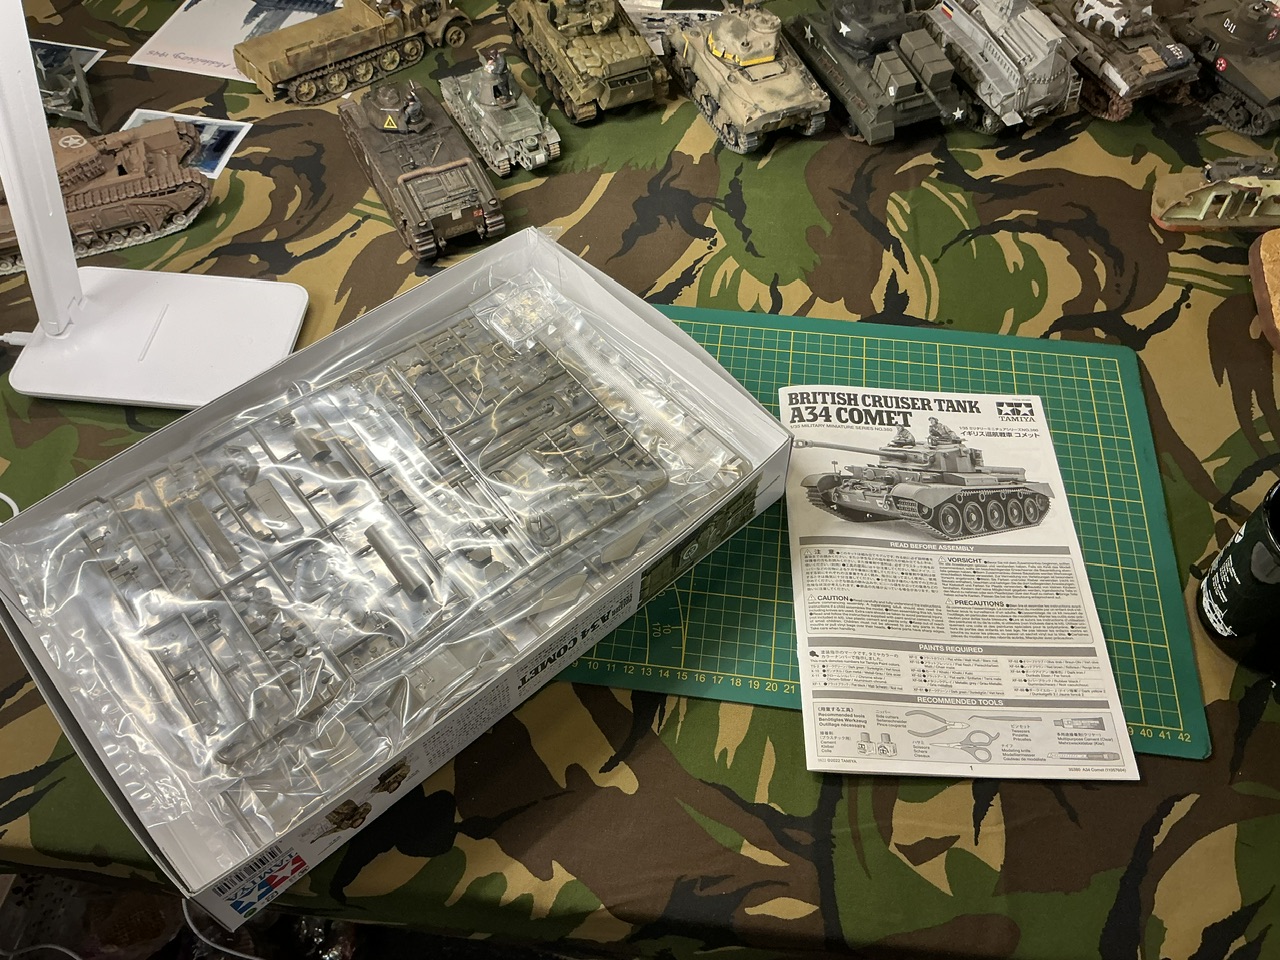
IMG_3942.jpeg


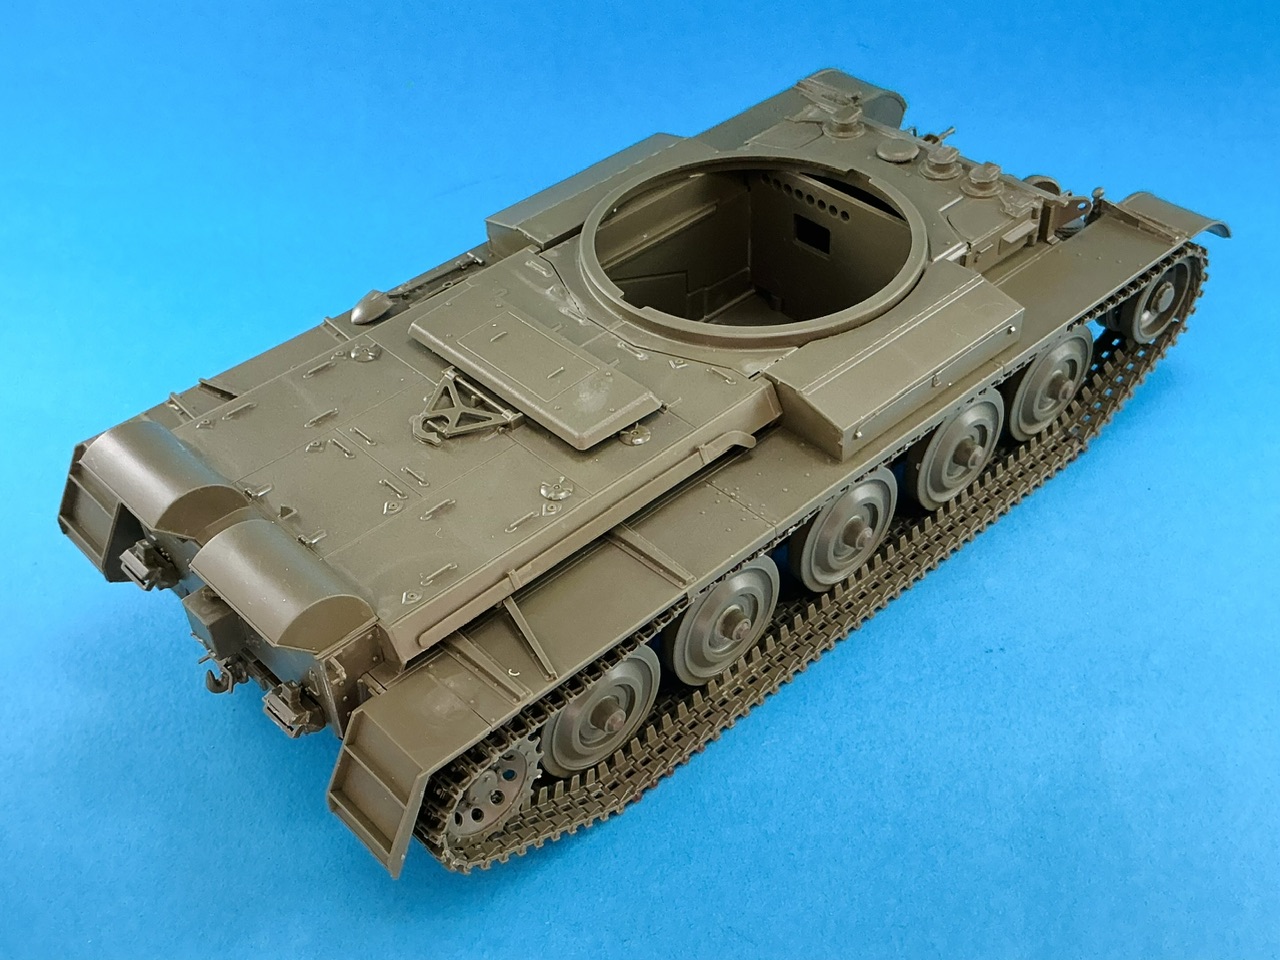
Sunday afternoon 16:27 hours:

IMG_4007.jpeg


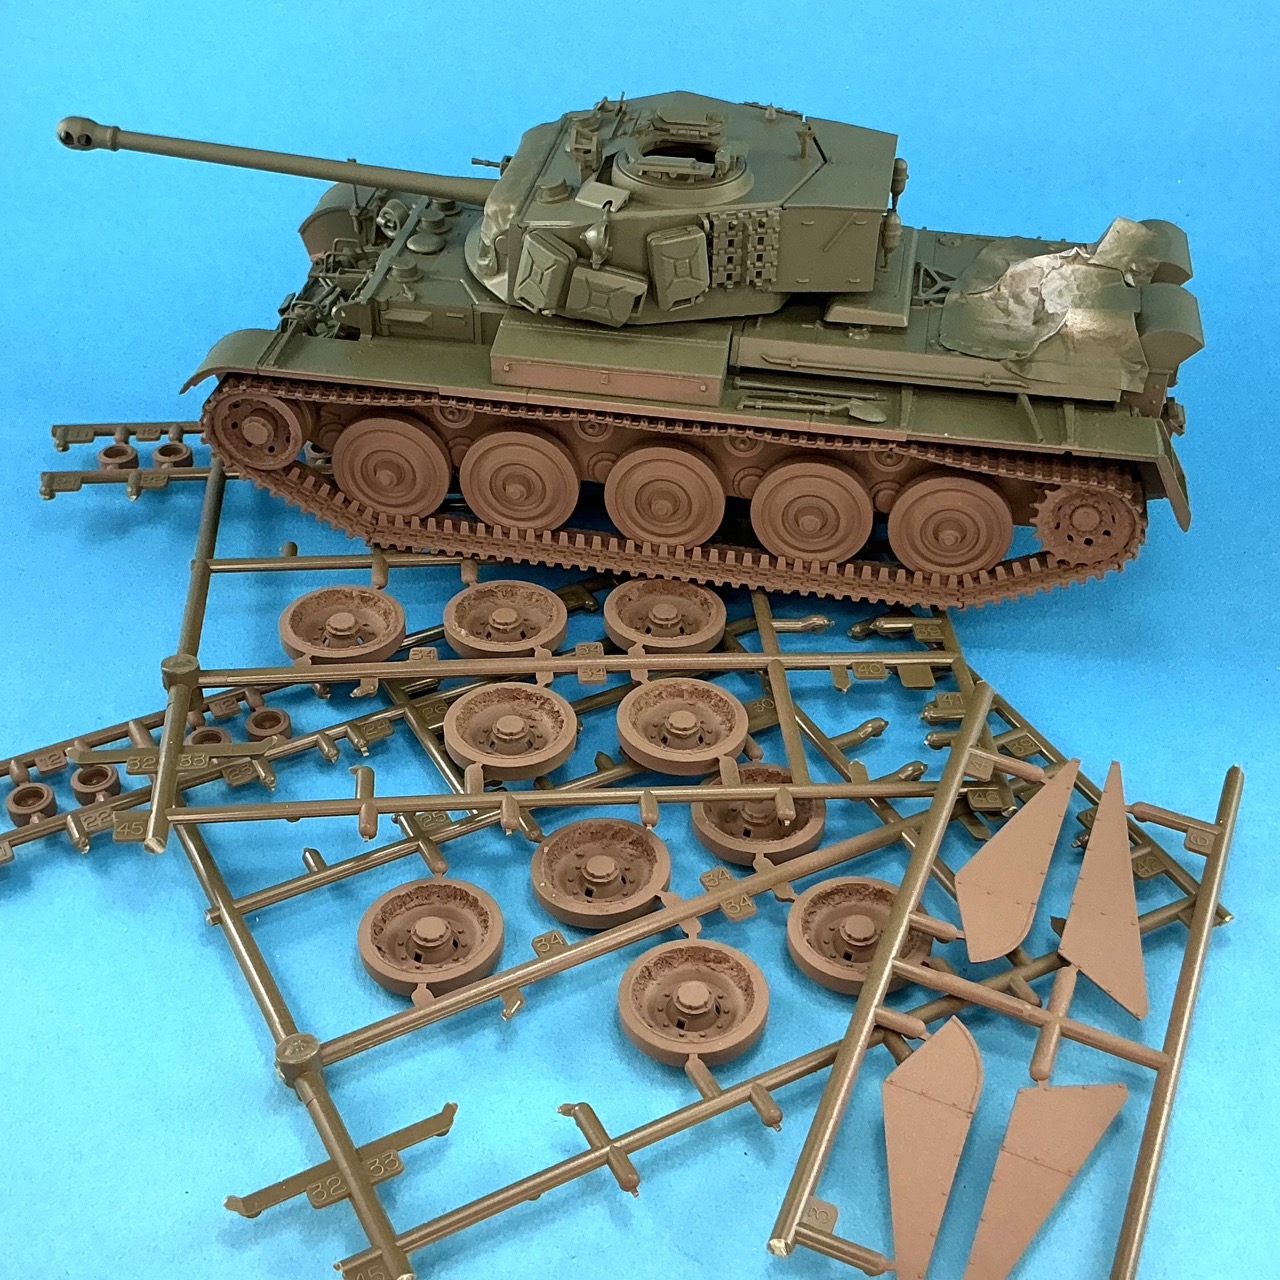
In between, I didn't take any pictures of progress :) The outer wheels will only be fitted after painting, and what you can't see is that I asked another modeller, who had brought his airbrush, compressor and paints, to spray the sides of the hull and parts of the track in a mud colour before I installed the wheels and tracks, because I didn't want to run the risk of bare plastic being visible later because paint couldn't reach it.

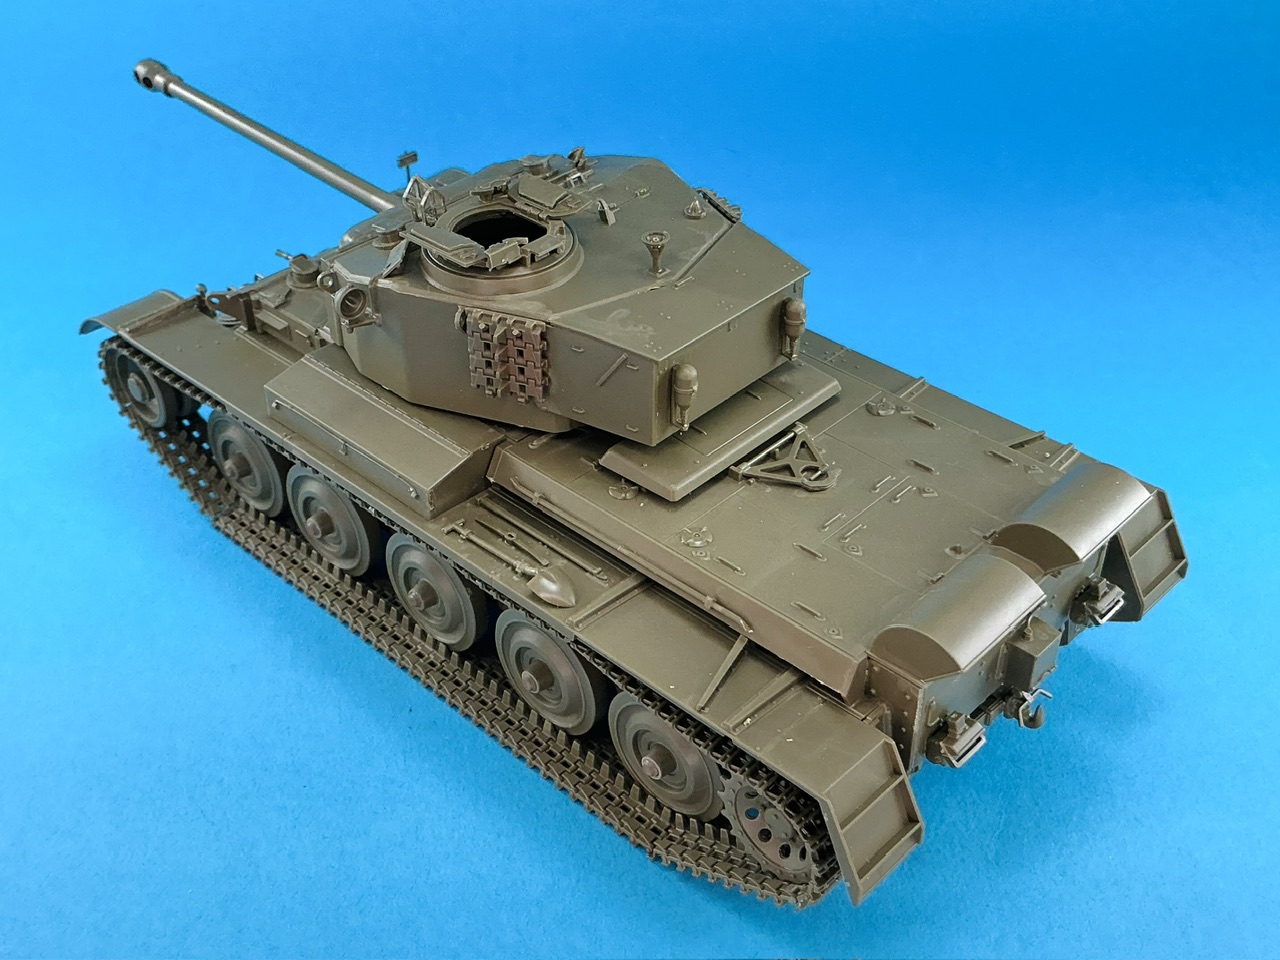
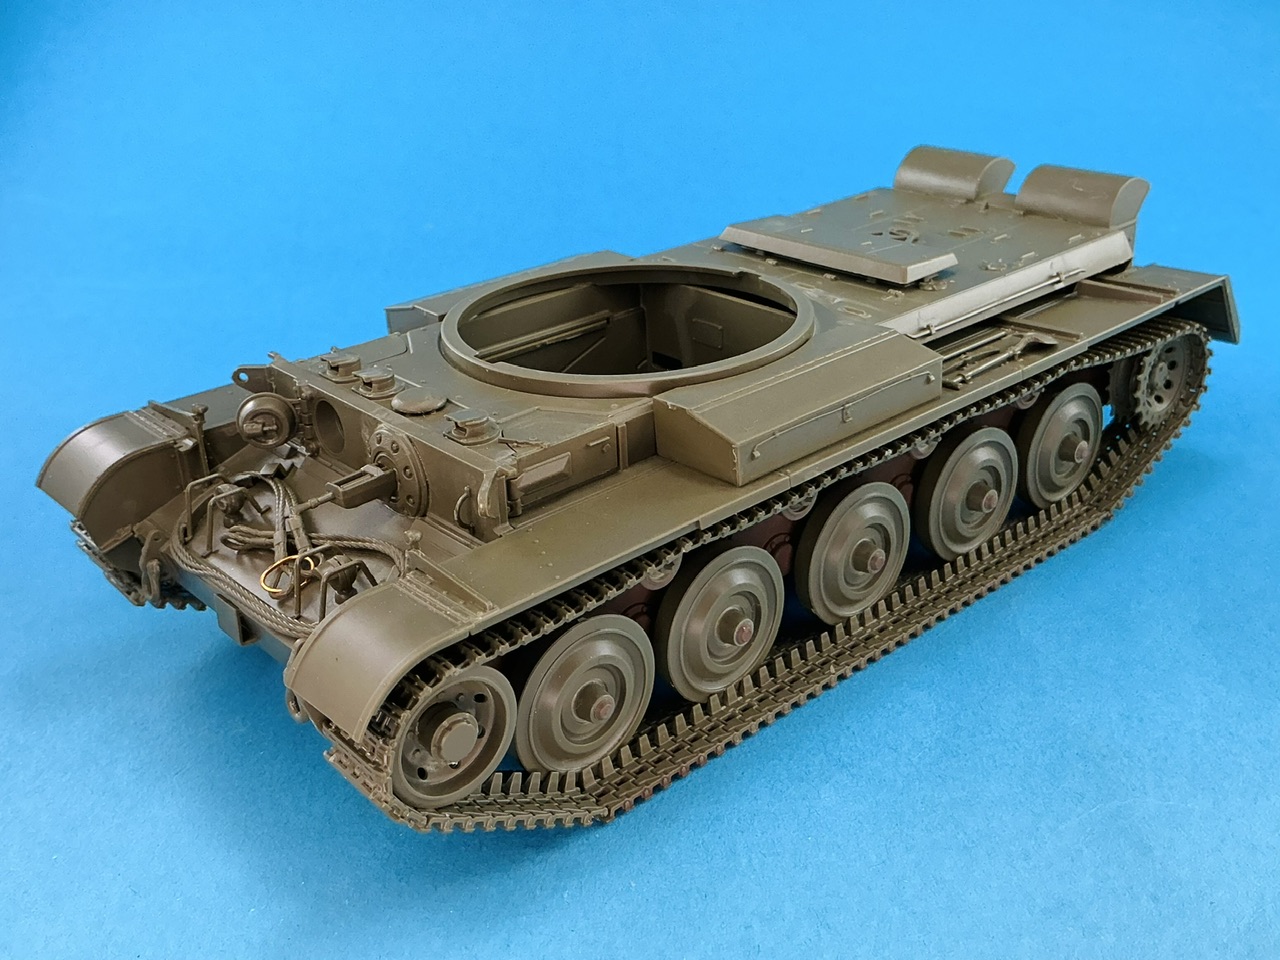
Tonight, I continued, which mainly meant fitting the smaller details:
IMG_4012.jpeg
IMG_4013.jpeg


The only thing I added myself was an eye from copper wire, to connect the ends on one side of the tow cable. This is because British tanks weren't equipped with two tow cables, like most people (including those at Tamiya) think, but one tow cable that consisted of two cables connected by a teardrop-shaped eye, as it was meant to be used in a V-shape.

The engine deck has a bunch of handles that have been cast in, and which you could replace with copper wire or something, but I'll put a couple of infantrymen on there so that those — if all goes well — will be barely visible anymore.
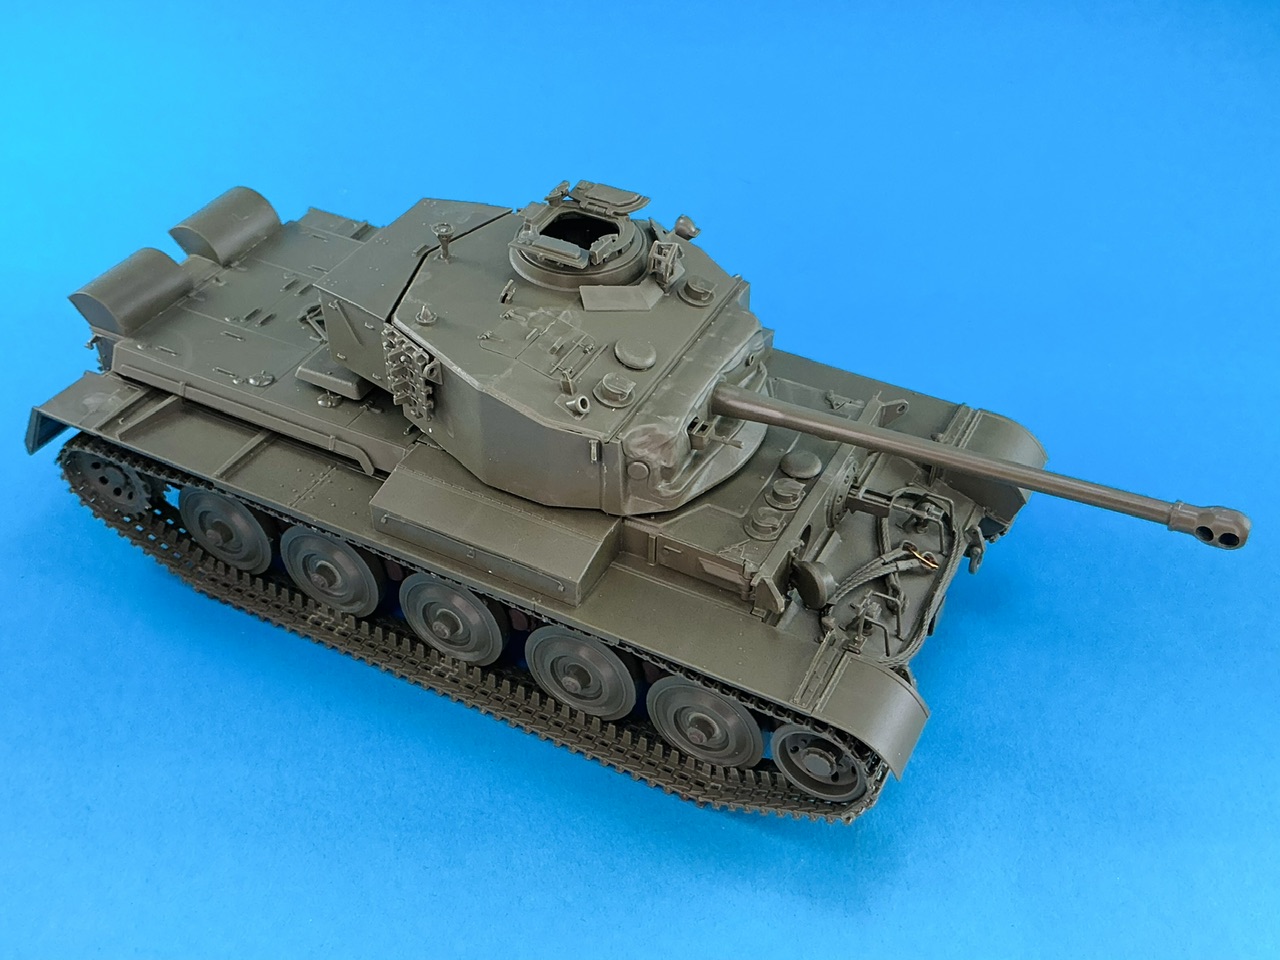
 
Well, it is a recent Tamiya kit … ;) But yes, this kit pretty much builds itself — if you want a tank you can just put together with no fuss, buy this. The only thing I found where you might get it wrong is the smoke dischargers (the two little rectangular boxes on the back plate), which consist of three parts each and it's easy to get some of those upside-down. If you do, they'll sort of fit but clearly not properly. Other than that, everything is basically plain sailing.
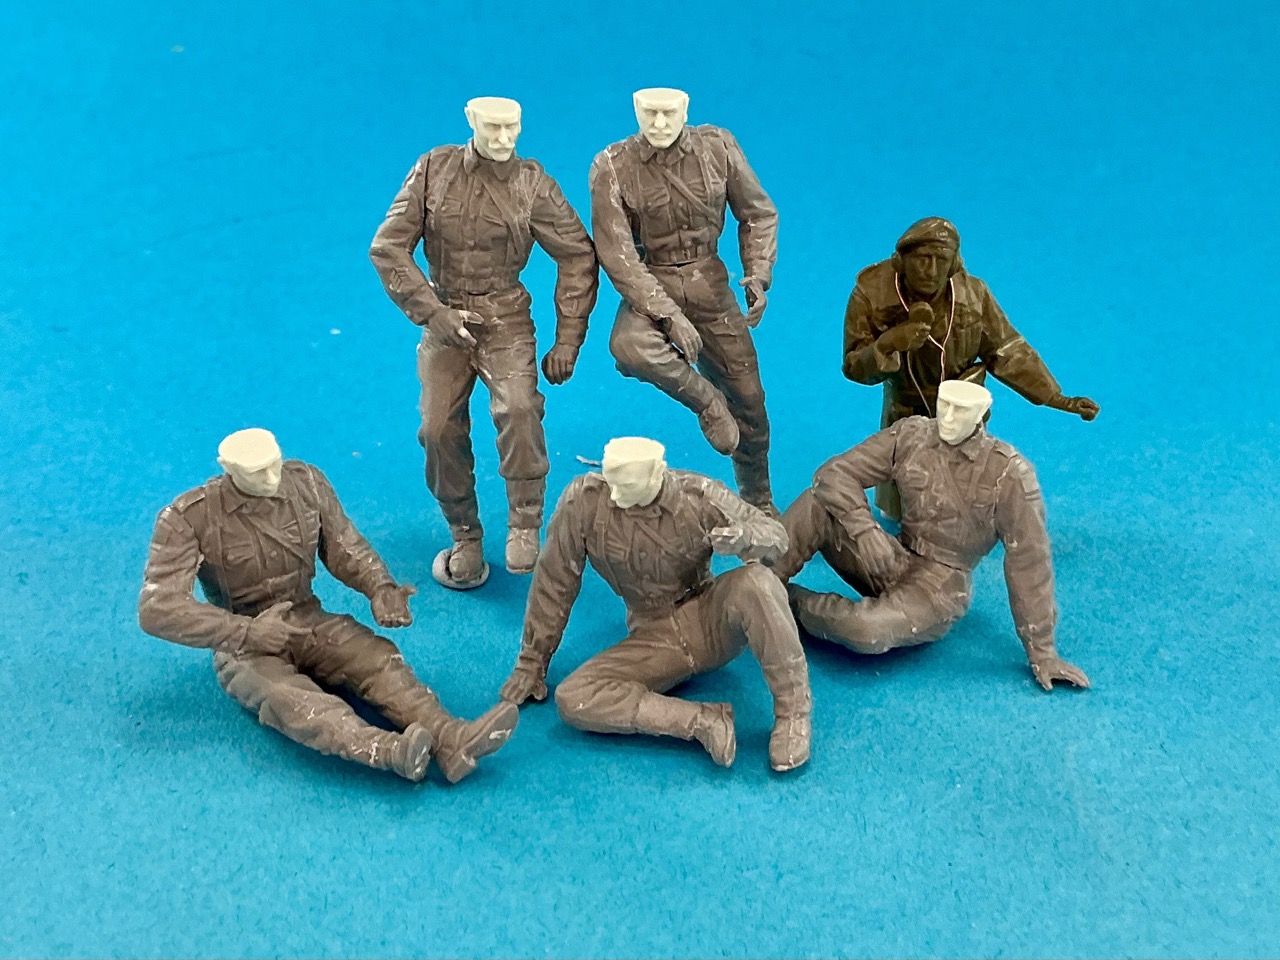
 
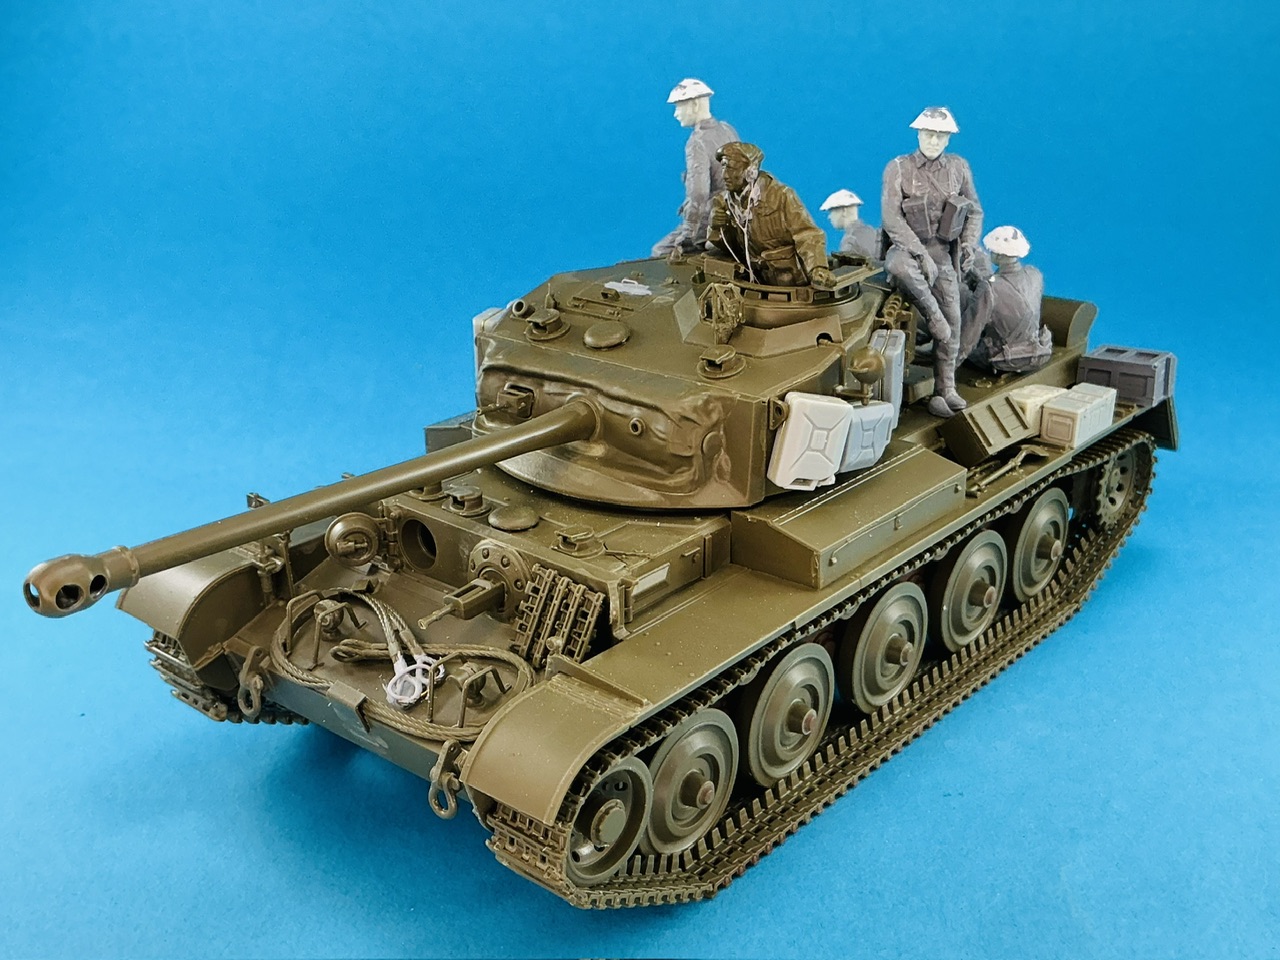
With the tank finished, I've been working on the figures now.

IMG_4022.jpeg


The tank commander is from the A34 kit, with added leads for his headphones and microphone. For some reason, Tamiya insists on moulding a web belt to their figures in pixie suits (both the loader — that I won't use — and the figures in their Archer kit have this). The real overall had a built-in holster pocket exactly so vehicle crews wouldn't need to wear a belt and a holster that might snag on things in the vehicle. They also put far too many folds in the garment — these are made from thick material plus a sewn-in liner. However, I'm not going to resculpt it so I just glued the holster to the belt. Maybe this particular commander prefers this.

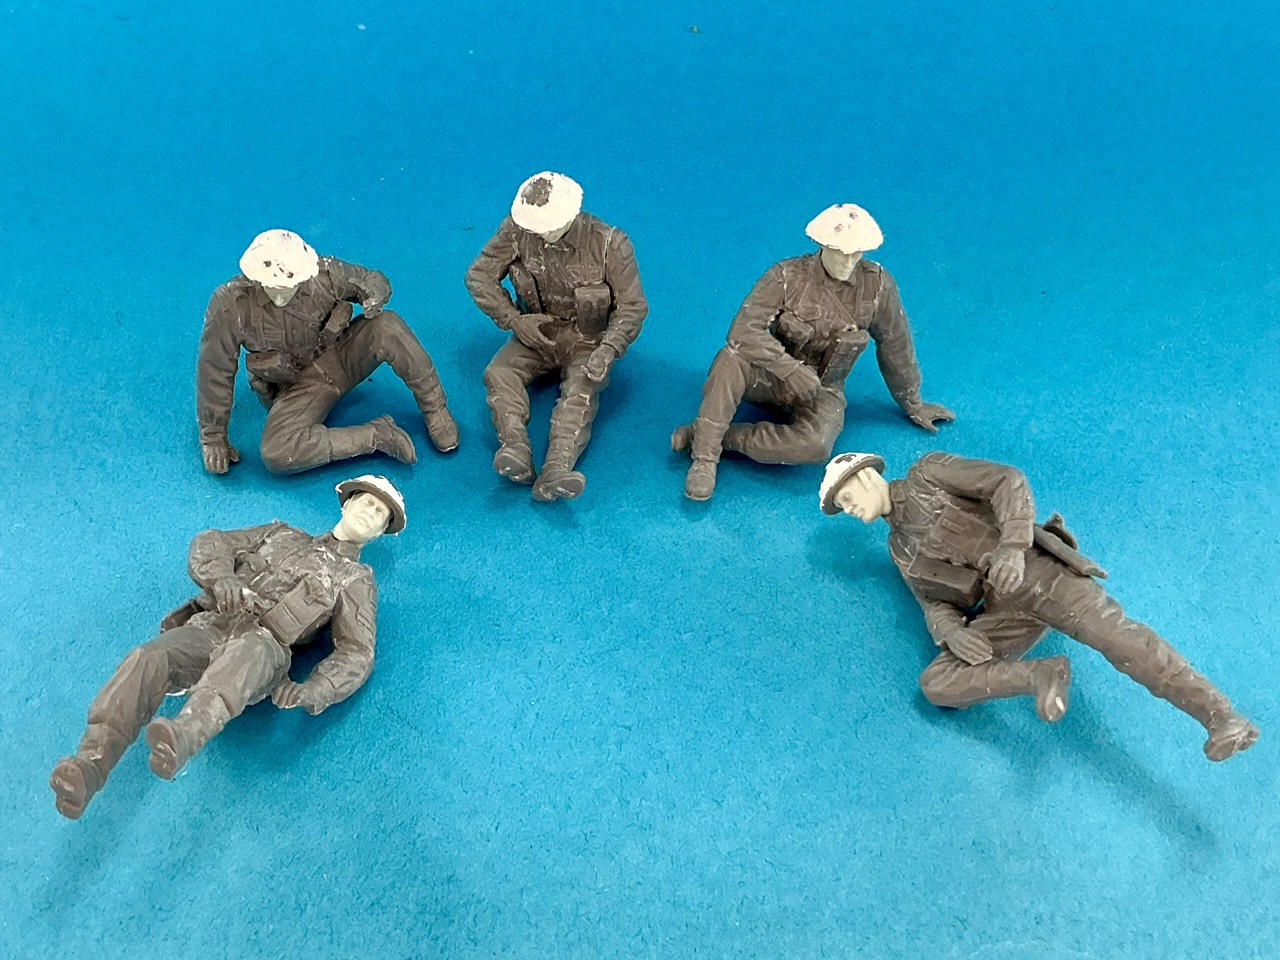
The MiniArt figures have a similar problem with folds, IMHO, which is by no means uncommon to MiniArt figure sets. A lot of their figures seem sculpted as if they're wearing thin cotton clothes rather than wool ones. Another problem with this set is that it has four figures who are supposed to be armed with rifles, and yes, it does come with four rifles, but only two of those are No. 4s, the other two are SMLEs. Also, it has plenty of helmets, but only the Mk. III with a camouflage net — but they're far too big to fit the resin heads (that come in this version of the set). I'll have to add nets to the Mk. II helmets myself.
 
With the tank finished, I've been working on the figures now.

View attachment 181600

The tank commander is from the A34 kit, with added leads for his headphones and microphone. For some reason, Tamiya insists on moulding a web belt to their figures in pixie suits (both the loader — that I won't use — and the figures in their Archer kit have this). The real overall had a built-in holster pocket exactly so vehicle crews wouldn't need to wear a belt and a holster that might snag on things in the vehicle. They also put far too many folds in the garment — these are made from thick material plus a sewn-in liner. However, I'm not going to resculpt it so I just glued the holster to the belt. Maybe this particular commander prefers this.

The MiniArt figures have a similar problem with folds, IMHO, which is by no means uncommon to MiniArt figure sets. A lot of their figures seem sculpted as if they're wearing thin cotton clothes rather than wool ones. Another problem with this set is that it has four figures who are supposed to be armed with rifles, and yes, it does come with four rifles, but only two of those are No. 4s, the other two are SMLEs. Also, it has plenty of helmets, but only the Mk. III with a camouflage net — but they're far too big to fit the resin heads (that come in this version of the set). I'll have to add nets to the Mk. II helmets myself.
I'll have to add this kit to my stash for when I just want to assemble something.
 
IMG_4023.jpeg


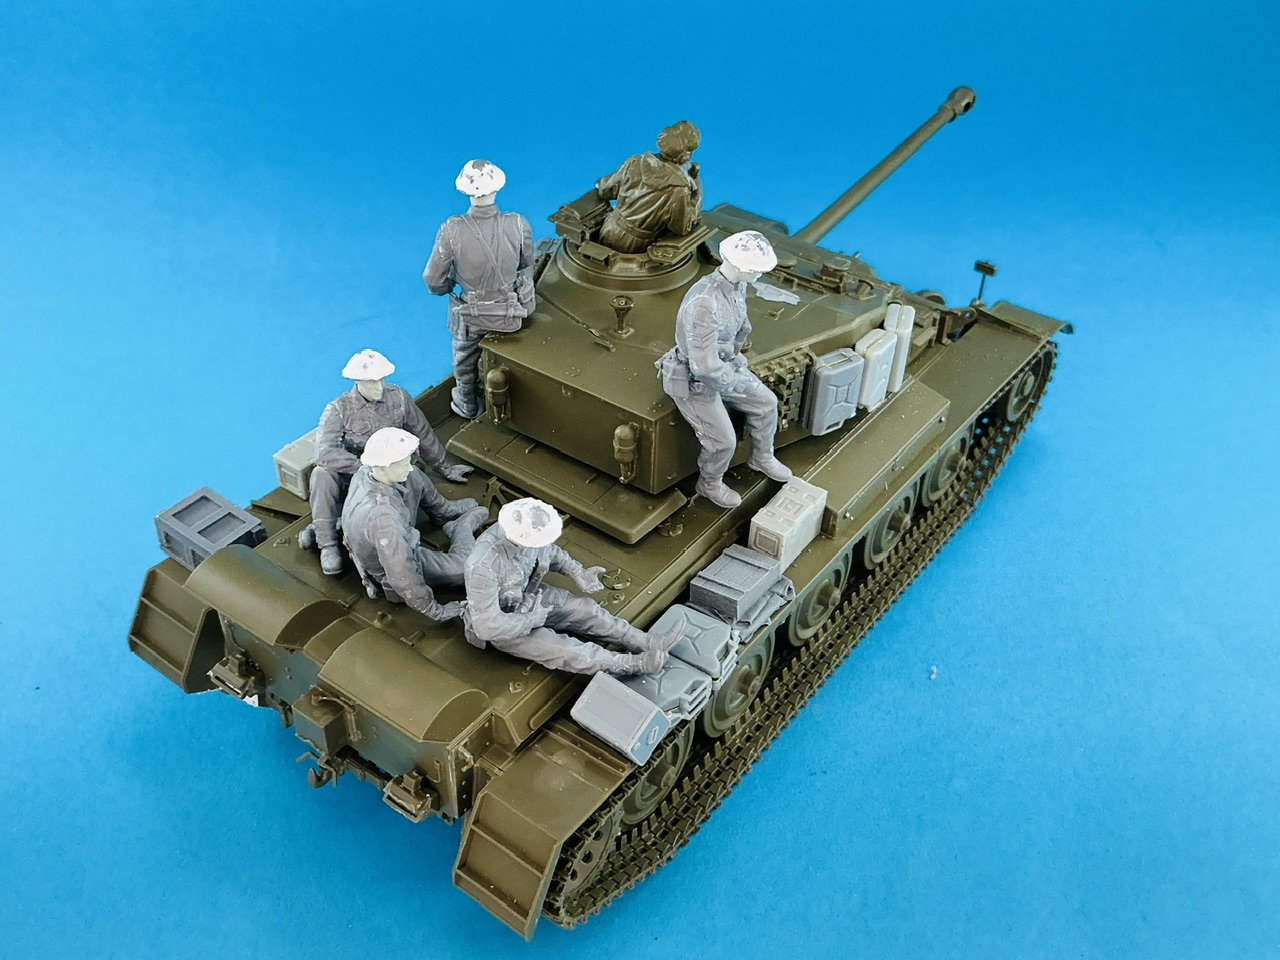
The figures are now mostly complete. I used the Mk. II helmets from the basic figure sprues (rather than the extra equipment sprues) and covered them in putty from a tube to sort of replicate a fine-mesh net. The personal equipment is also largely from the basic sprues, except the pouches of the standing man, which are from the extra sprues, as he'll be a Bren gunner.
 
Today, I've been digging through my boxes with accessories to find and make stowage for the tank:

IMG_4025.jpeg
IMG_4026.jpeg


It's from a number of different manufacturers: a plastic box from a Tamiya kit, resin boxes by Panzer Art and Value Gear, jerrycans (British and German) and an oil can from Bronco, while the tracks on the front plate are the four links you'll have left after building this kit. I'm thinking of putting some more stuff under a tarp on the engine deck.

The jerrycans on the turret are odd, but with thanks to @John Waller on Missing-Lynx:

IMG_4027.jpeg


Notice that all three that are visible, appear to have the spout downward, which is why I glued all of them on like that here, too.
 
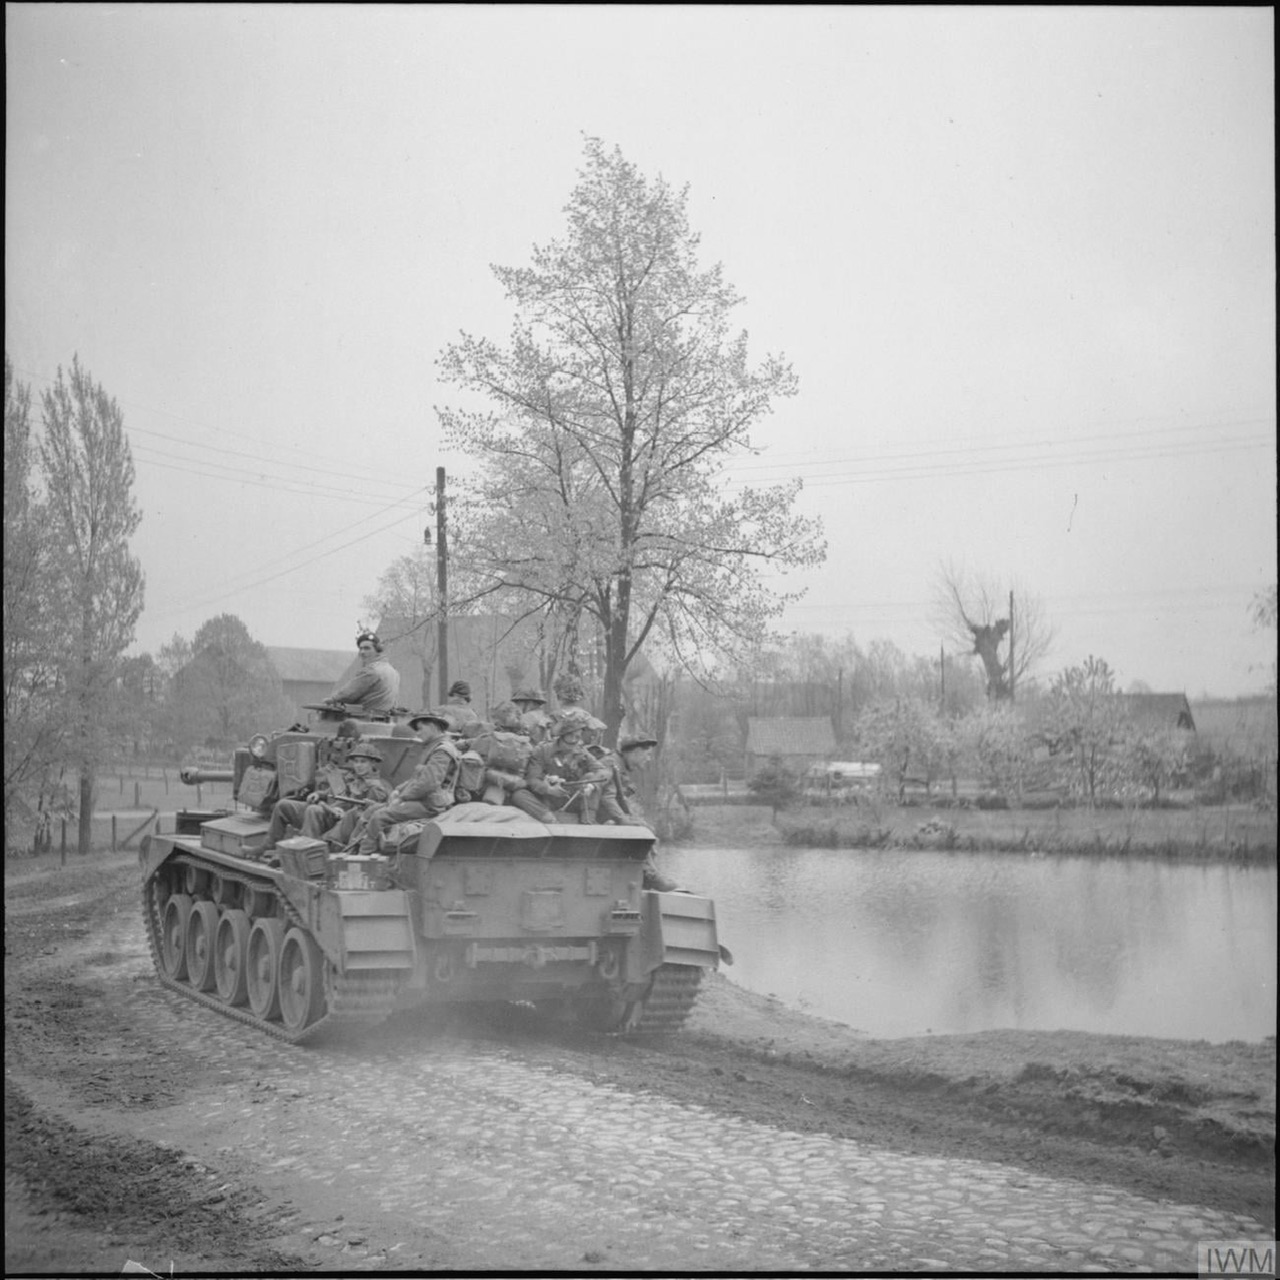
I suspect they're intended as stand-off armour against Panzerfausts, because I can't see any way they might be attached to the tank. That makes me think they're welded on, and in any case I can see no other reason to put jerrycans on the turret front than that.

In any case, since jerrycans have very good handles on the top, lashing them to the tank by those would always be easier than carrying them spout-down :)
 
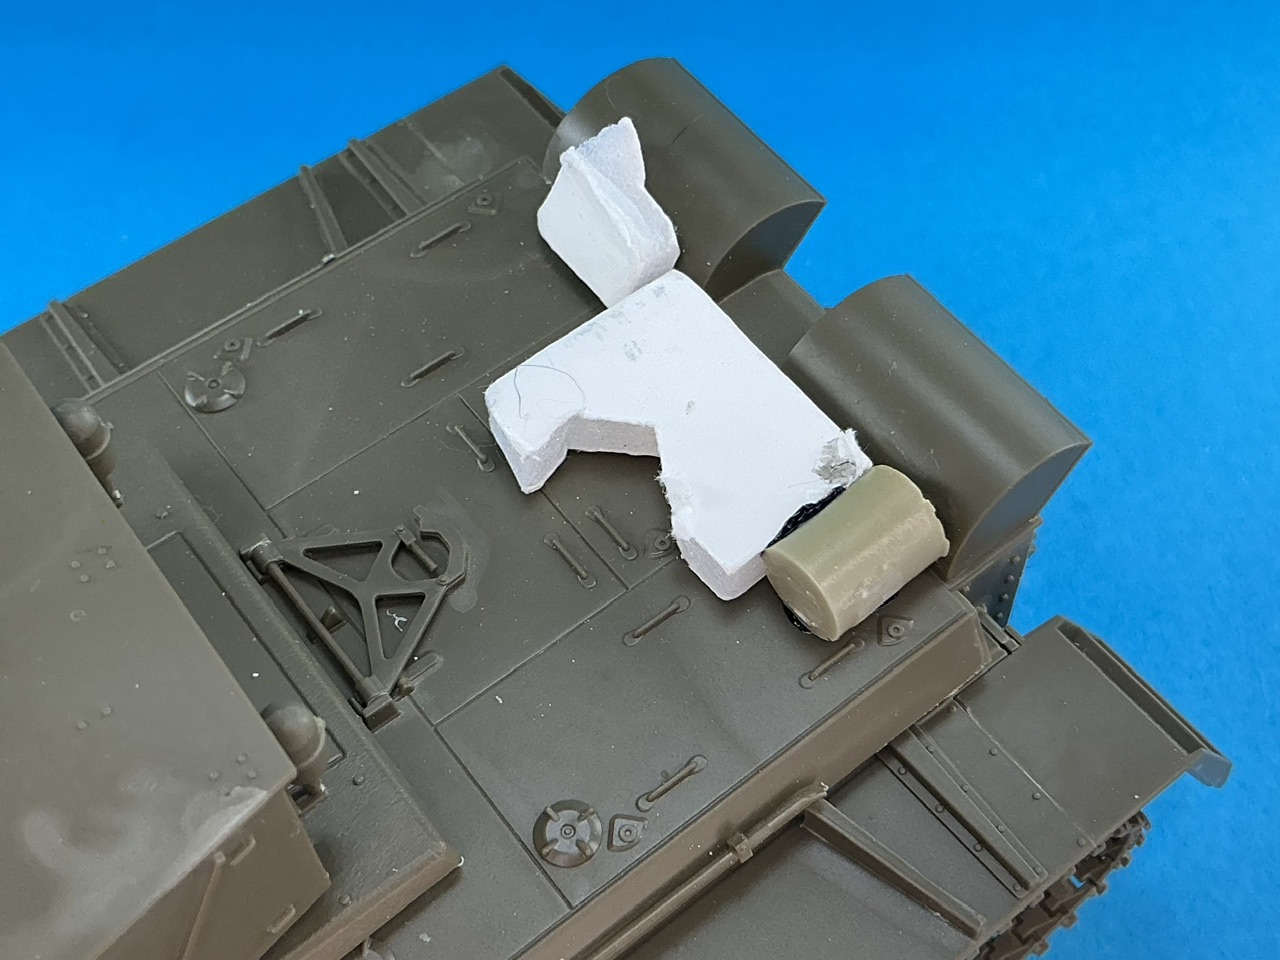
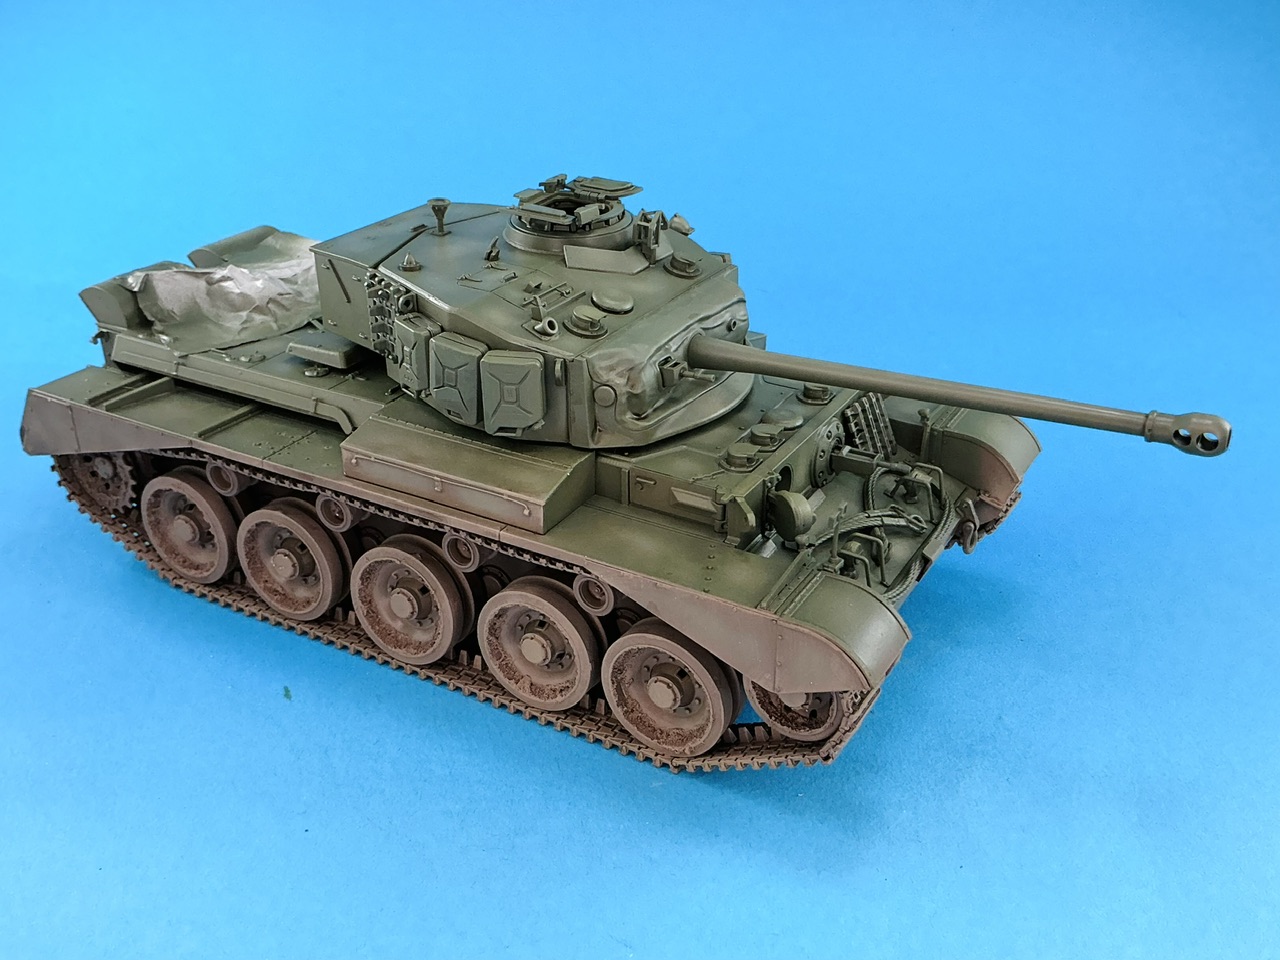
After a little trial, error and thought, I figured out how to put junk on the rear deck with a tarp over it:

IMG_4029.jpeg


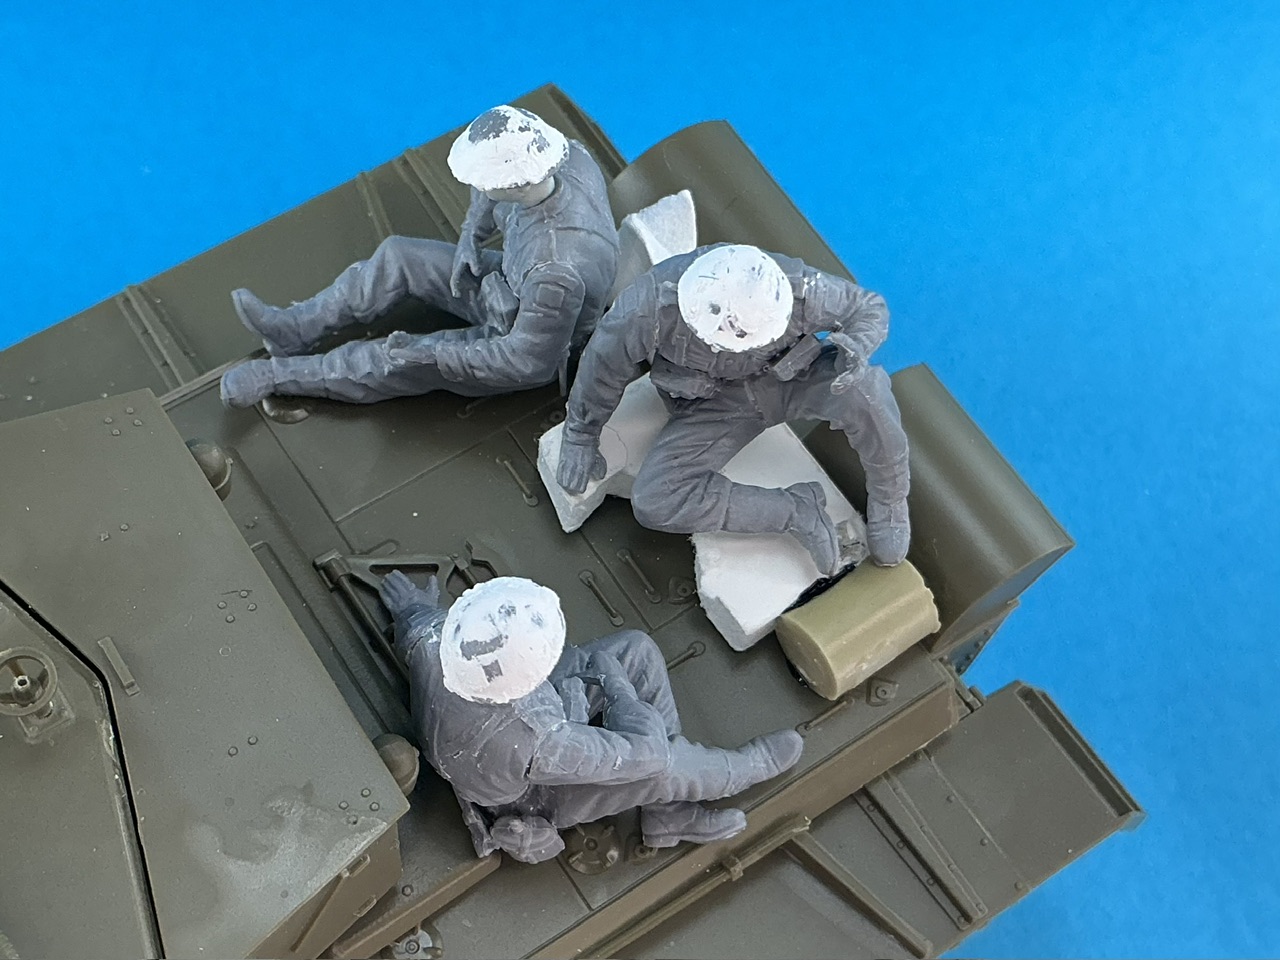
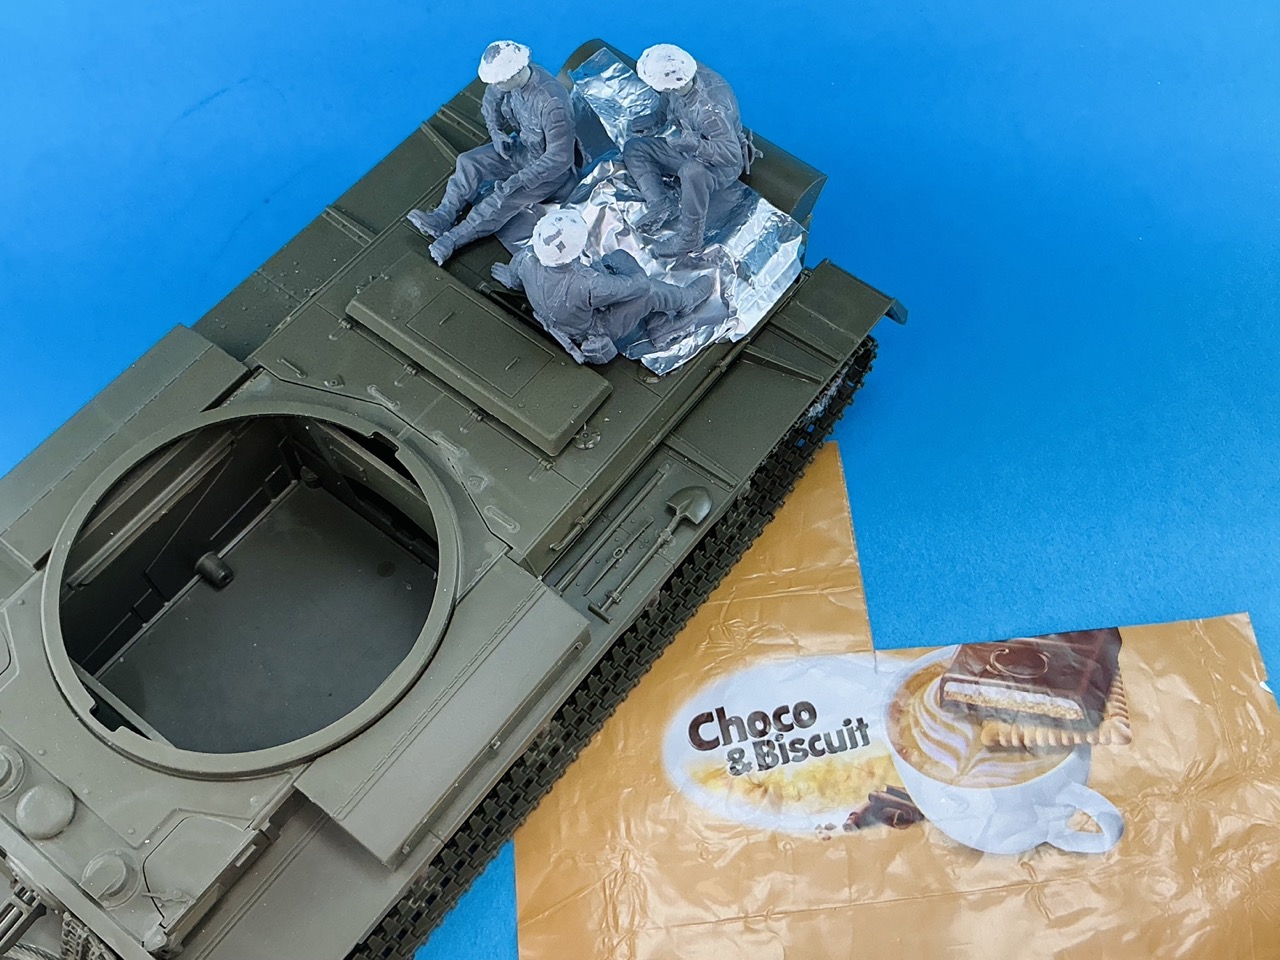
Two scraps of 5 mm foam board and a bit of resin that used to be attached to a part from a resin kit :) The figures will (most likely) end up like so on top of this:

IMG_4030.jpeg


First, though, the glue needs to dry before I will stick an aluminium foil tarp over these bits.

Then I started looking at photos of real Comets to see where to add dirt in the wheel rims:

IMG_4032.jpeg


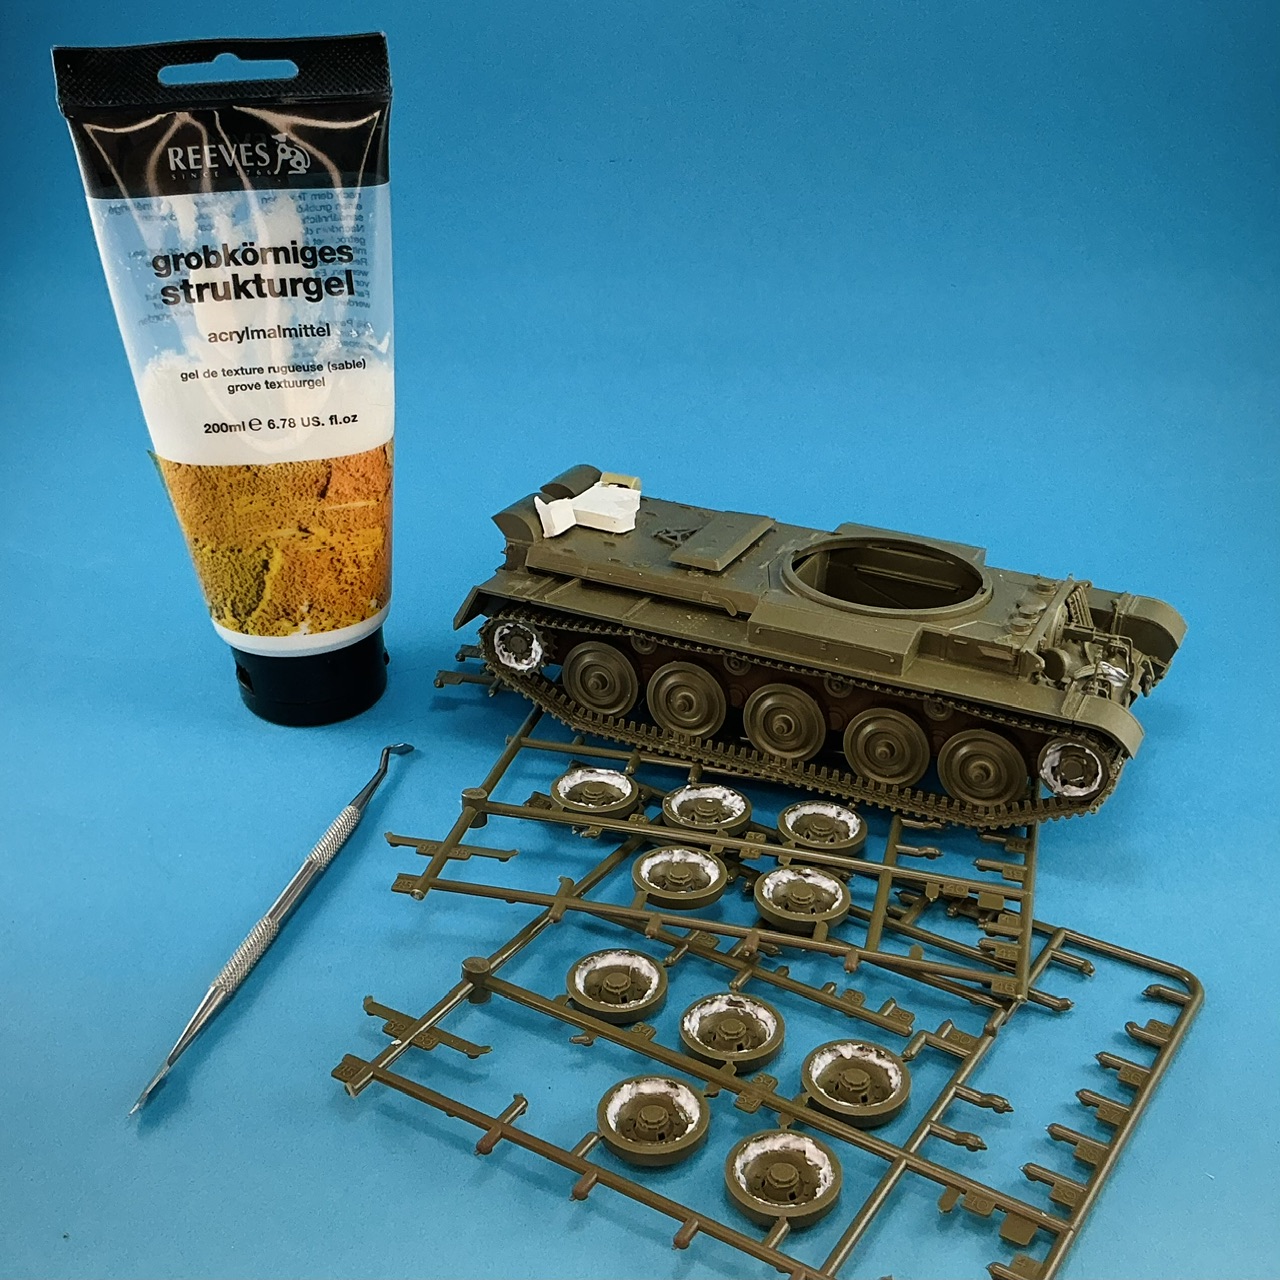
Not more than that, because it looks like it mainly stuck there. I used the texture gel you can see in the photo, as it has little "pearls" in it that give it a structure that will make it look like soil.

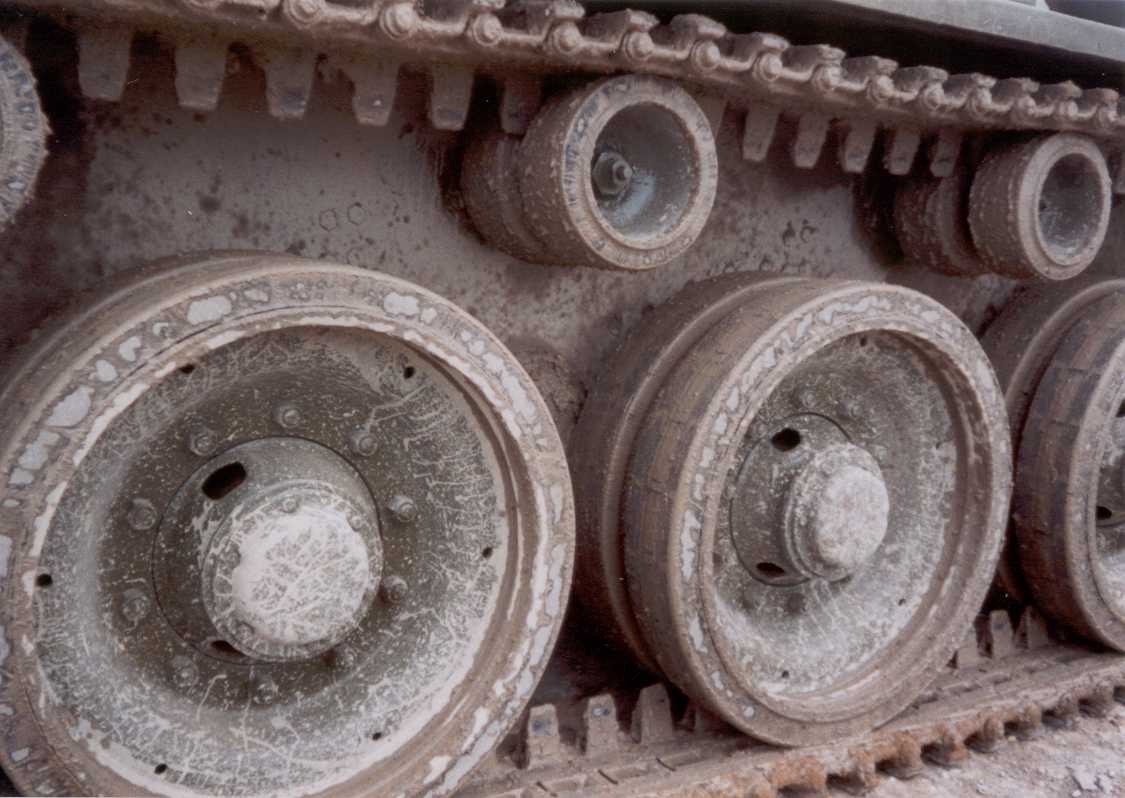
This also has the advantage of obliterating a detail that Tamiya missed. The real tank has a ridge there that you can see quite clearly:

wheels.jpeg


Not that well here, I admit, because it's covered in thin mud, but you can make out a ridge between the outer edge and the wheel disc. (This is Bovington's Comet, on 10 September 2002. I took this photo, and a few more, at the time because the tank showed very well how mud spreads over the running gear.)

That ridge, BTW, is why AFV Club's Centurion kits give you rubber tyres, that a lot of people appear to dislike, IMHO without good cause:

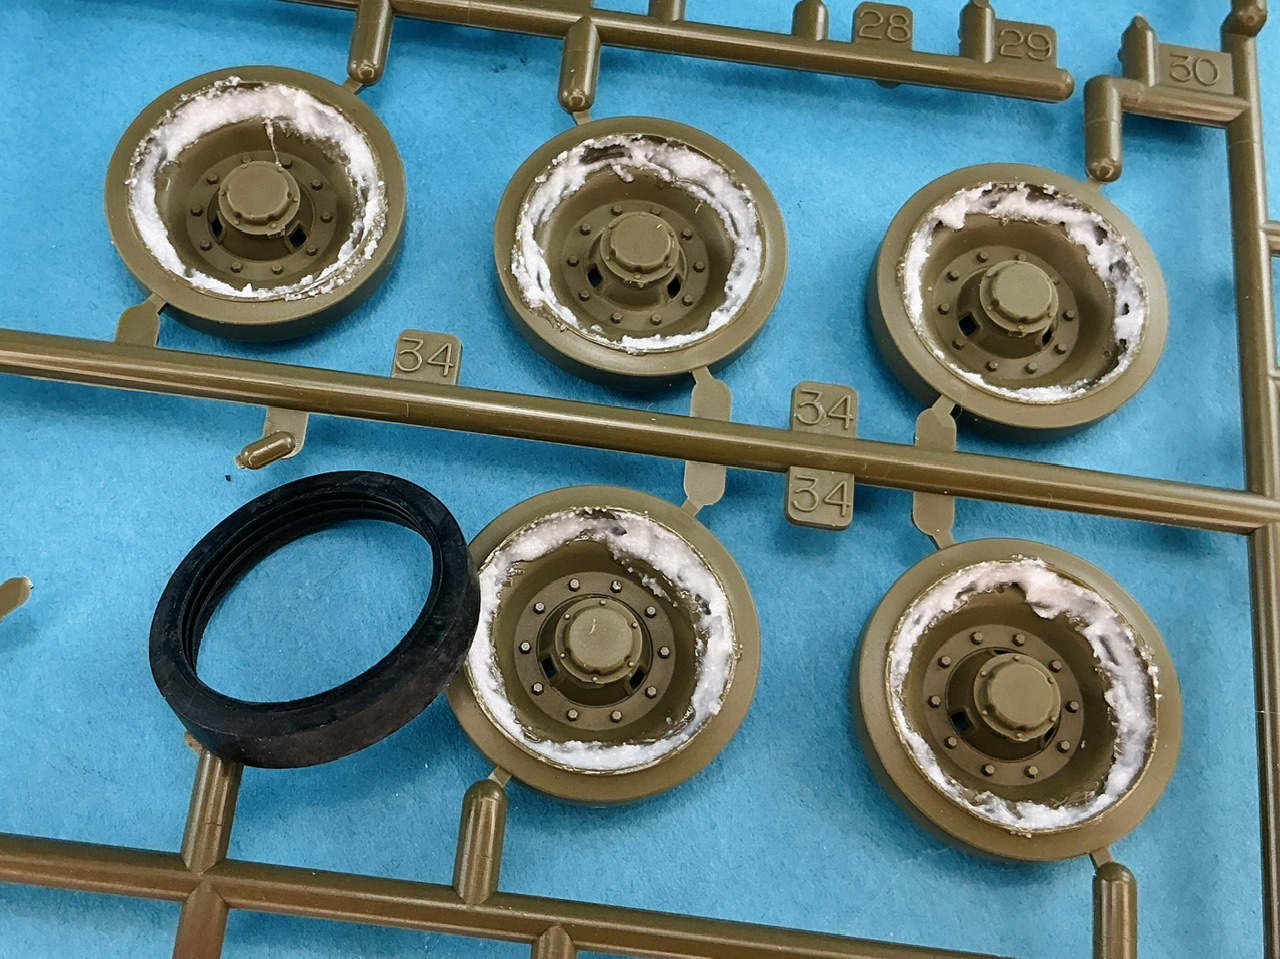
IMG_4035.jpeg


You can see the structure of the gel here, too. That's still white here, but will dry transparent. It also shrinks a little, so you need to apply a bit more than you want to have on the model once it dries.
 
I'm a little ambivalent about them myself :) On the one hand, I like MiniArt figures, on the other I usually think the sculpting and moulding could be better — too many small folds in the clothes, too much flash.
Could you work on them with a bit of milliputt?
 
I would have to dig out the Milliput from whatever very deep recesses of my hobby room I put it away in long ago ;) But yes, they could probably be improved with some putty, but I don't think they're bad enough to do that, given my dislike of using epoxy putty in general. Which has also resulted in me not being that great a sculptor :)
 
For the tarp over the stowage, I cut a rectangle out of some aluminium foil left over after it had served its original purpose:

IMG_4038.jpeg


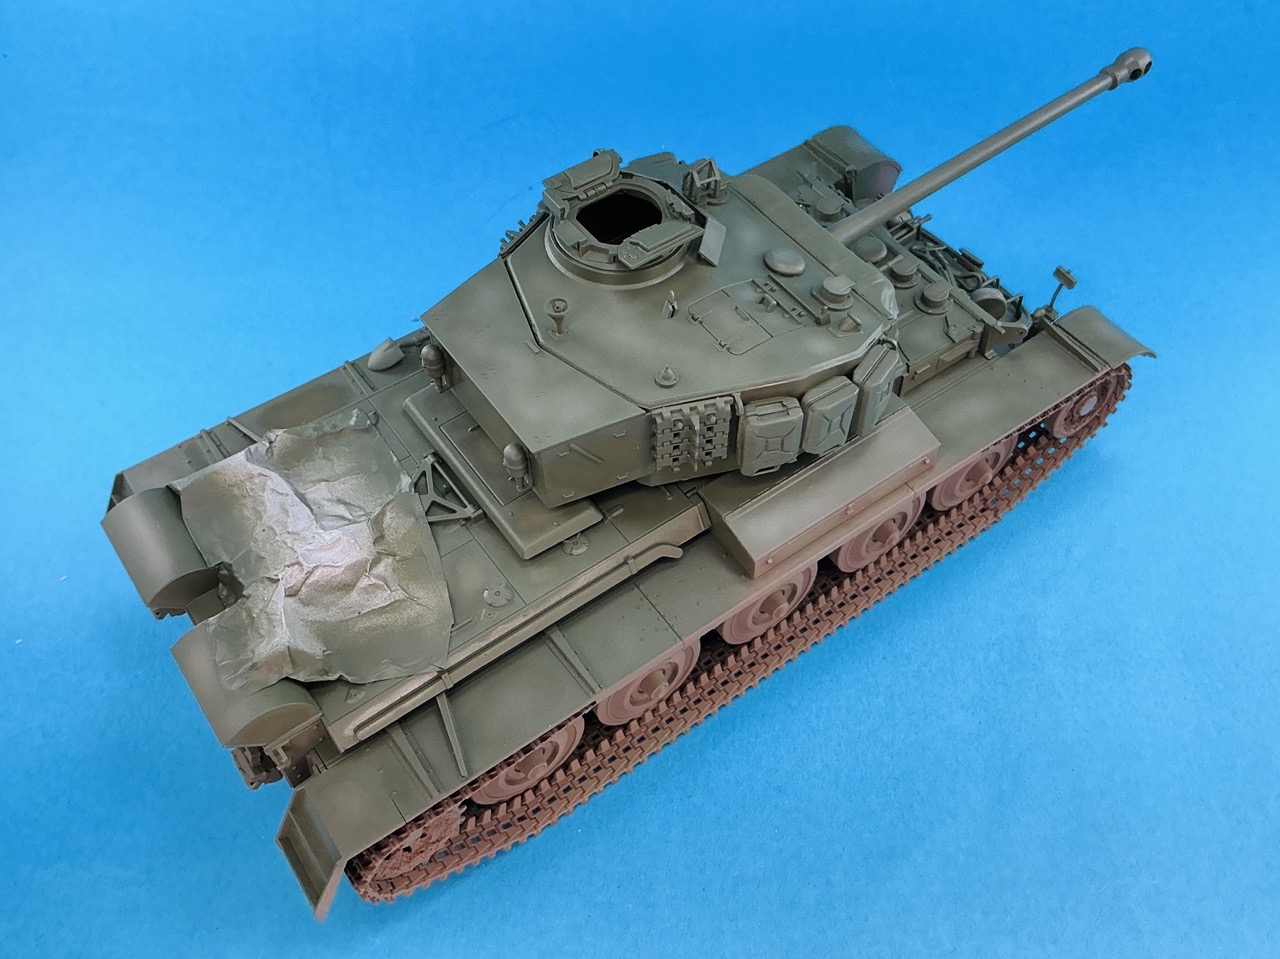
When the glue on it had dried, I sprayed the tarp with primer and also brush-painted the metal parts on the jerrycans with Mr. Aqueous Surfacer. Once that had also dried, I put the basic colours on the tank:

IMG_4044.jpeg


Mike Starmer's Tamiya-mix for SCC 15 olive drab over the upper parts, followed by Tamiya XF-52 Flat Earth for the whole lower hull, suspension etc.
 
Chances are you may not be able to get these exact ones in Canada :) However, if you have any type of candybar with an aluminium foil wrapper, you can tell by feel if it's thicker than kitchen foil or not — which is my only reason for using these. Kitchen foil is too thin and so tears too easily, in my experience, but the foil around these bars is just right.
 
Thanks for the compliment, but I don't think it's that special — just my usual base coat, semi-random lighter blotches and darker wash :) Anyone who can spray lines a couple millimetres wide with an airbrush can paint like this, really.

Same with the next step:

IMG_4047.jpeg


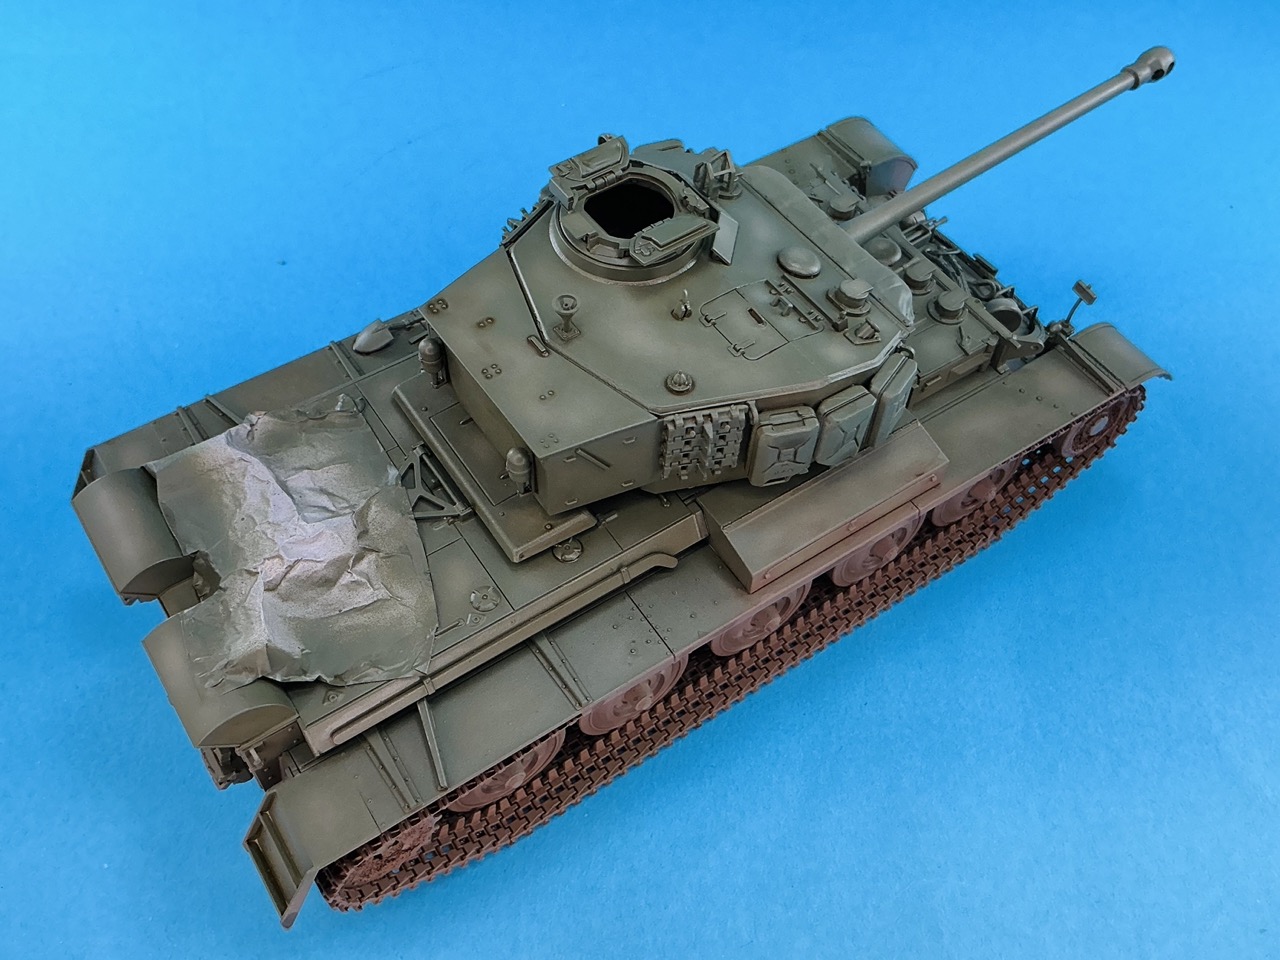
I drybrushed the olive drab parts with a lighter shade of OD and the mud parts with a lighter mud colour, both Humbrol enamels, and then glued the wheels and mudguards to the model. I think I'll probably have to do some more light drybrushing with paler shades still, though.
 
After the previous photo, I drybrushed a little bit of a sand colour over the parts that catch the most light (like the tops of the roadwheels), which IMHO improved the mud effect a lot. I then began painting the details:

IMG_4052.jpeg
IMG_4053.jpeg


The tarp on the rear deck isn't dry yet — or I didn't stir the paint properly, which is also a possibility :) If it stays glossy I'll just put some matt varnish over it. The basic colour for it is Tamiya JN Green, to represent a dark green piece of canvas that the crew "found" somewhere. The canvas cover over the mantlet is Tamiya Khaki Drab. I painted the German jerrycans dark yellow and the spare tracks on the turret and hull with red-brown.

The metal parts of the tow cable and tools are dark grey followed by Army Painter Strong Tone, which especially on the cable gave an unexpected NMM-effect (Non-Metallic Metal, something that's mainly popular among fantasy wargamers) but I still went over them with a 2B graphite pencil to add highlights. The wooden parts of the tools and the gun barrels still need to be finished, as they only have a base colour on them for now. The spare tracks also need a bit more work.
 
The crap on the mudguards has now also been painted and glued in place:

IMG_4055.jpeg


I also added the decals for the star on the turret roof, but still need to paint a few bits of it with white. After that, what remains is to add dirt over parts of the upper side of the tank and the stowage, and of course to paint the figures.
 

Latest posts

Back
Top