Belugawrx
Well-Known Member
- Joined
- Jul 22, 2013
- Messages
- 812
I`ve been noodlin`around on this site for awhile now, looking at all of the great artwork.
So I think it`s time to post something complete.
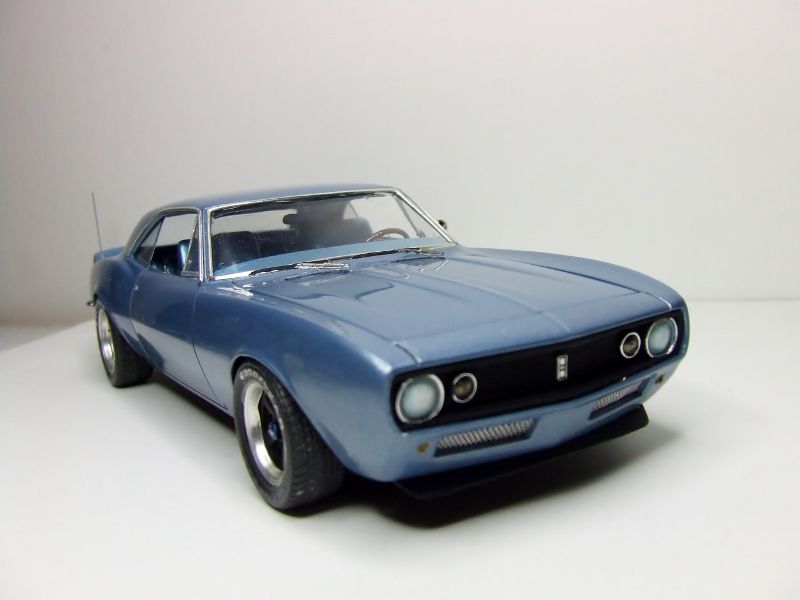
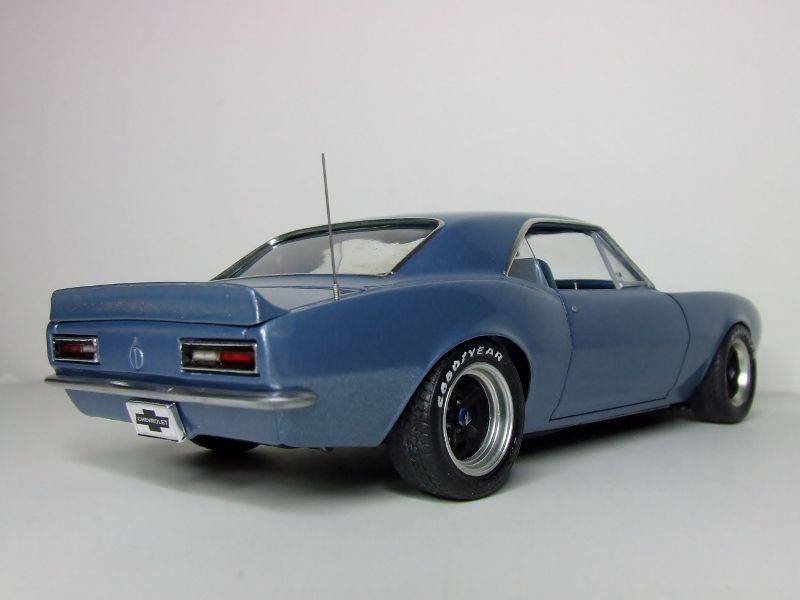
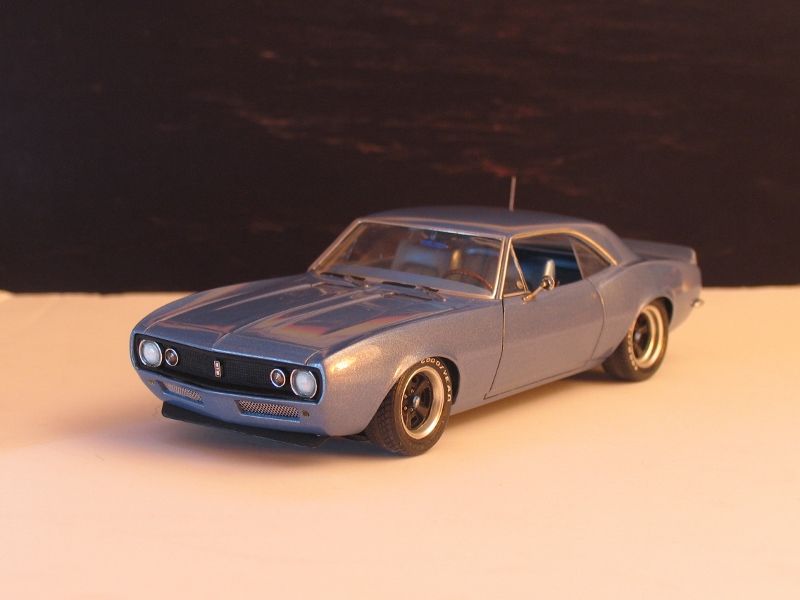
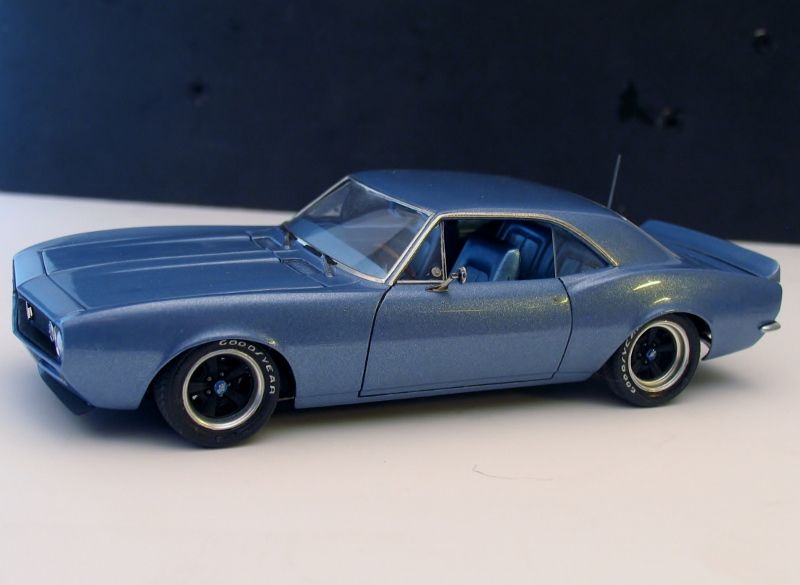
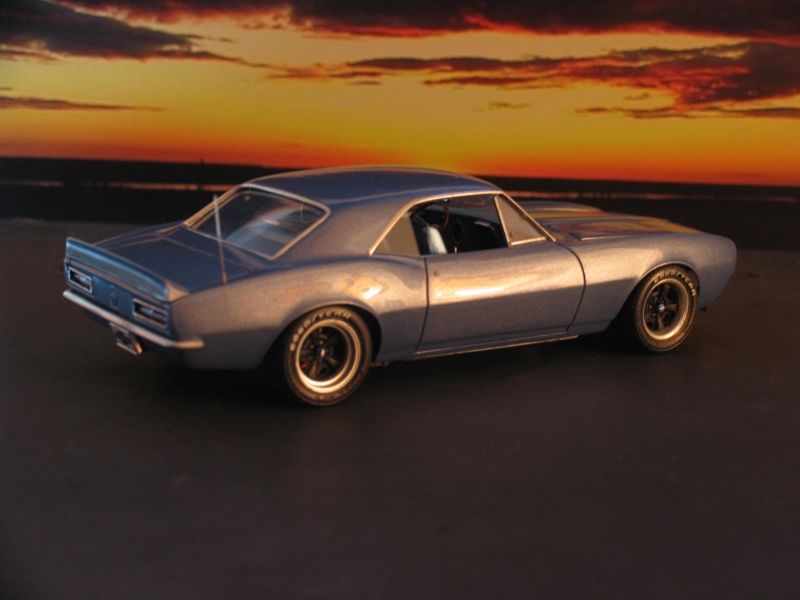
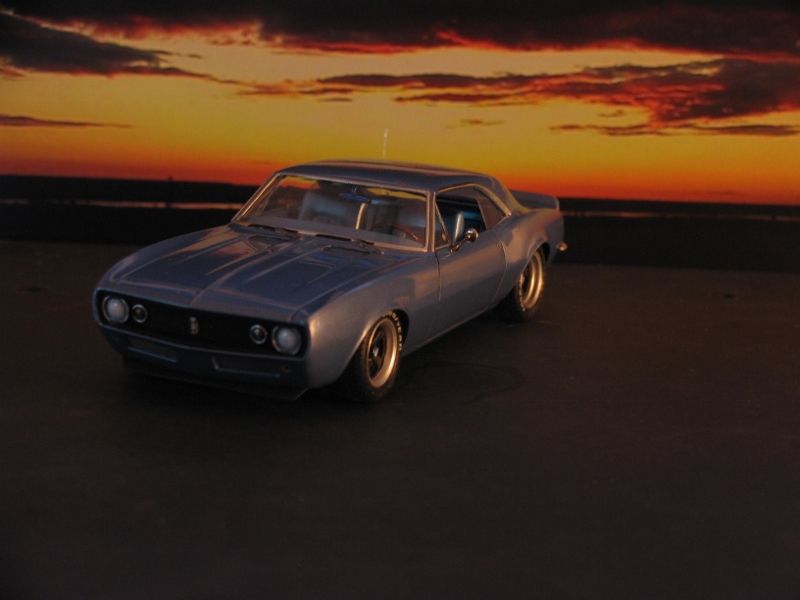
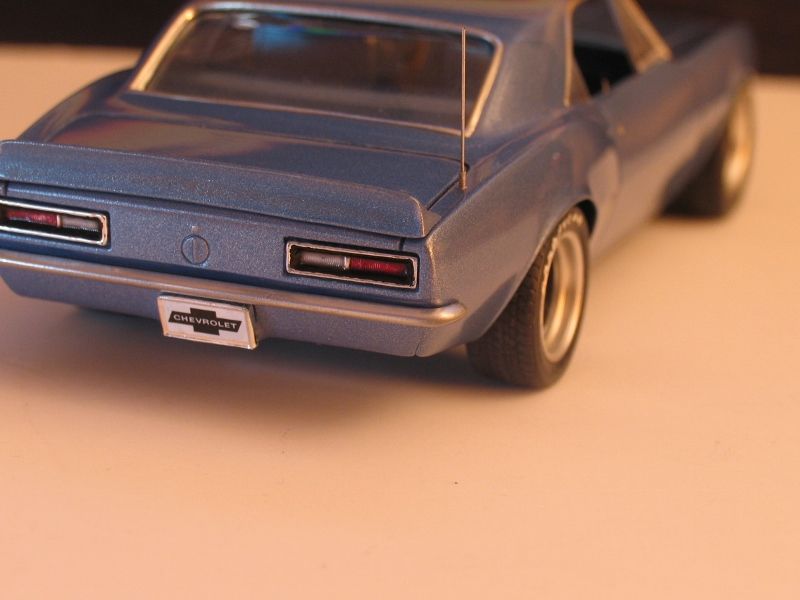
This is AMT`s 1995 release of the `67 Camaro SS RS Z28.
All I have to say is, model casting was not foremost in their minds. Filled grooves where they shouldn`t have been, smoothed out some that should have been.
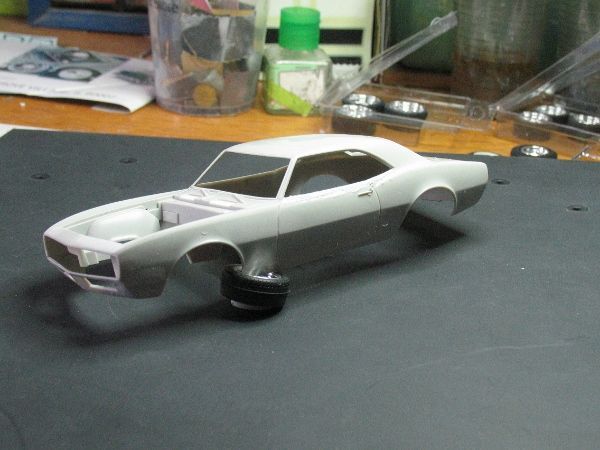
Anyway everything massaged into place, sometimes with a dremel grinder!!
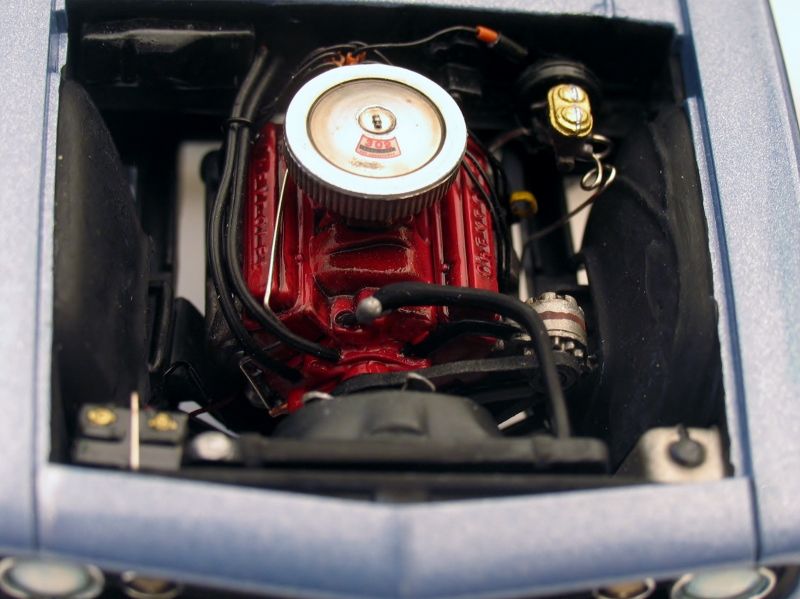
Stock 302 engine, wired and plumbed.
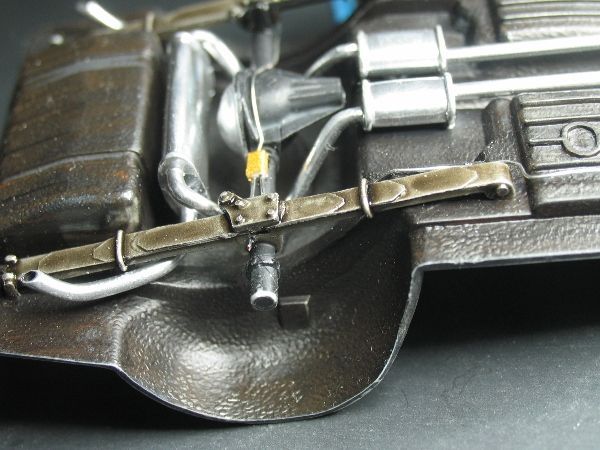
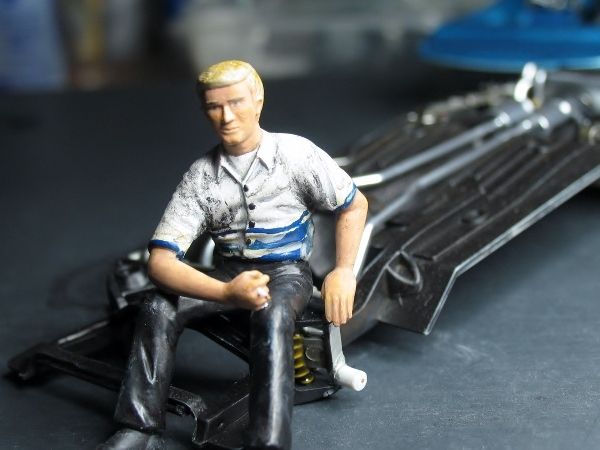
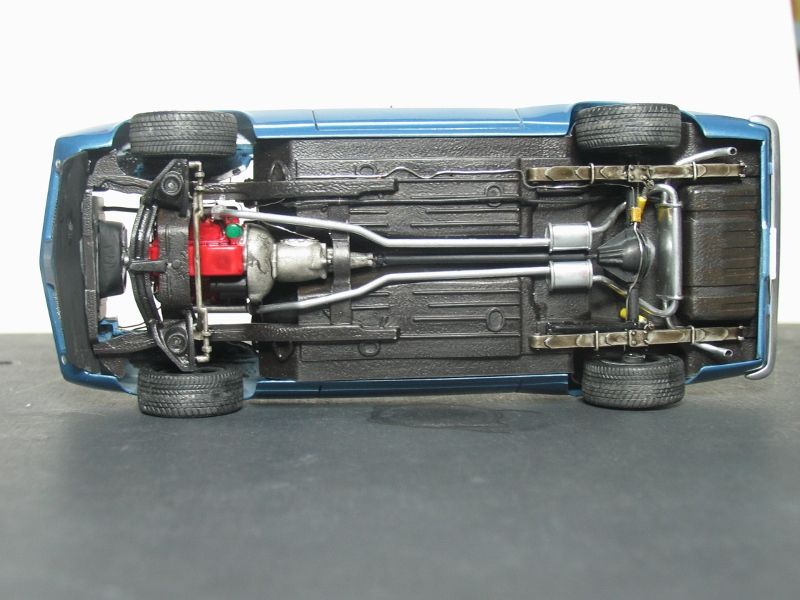
Home made leaf springs, shocks, ran brake and fuel lines. The kit came with this awful Zeibart undercoating moulded in so,...
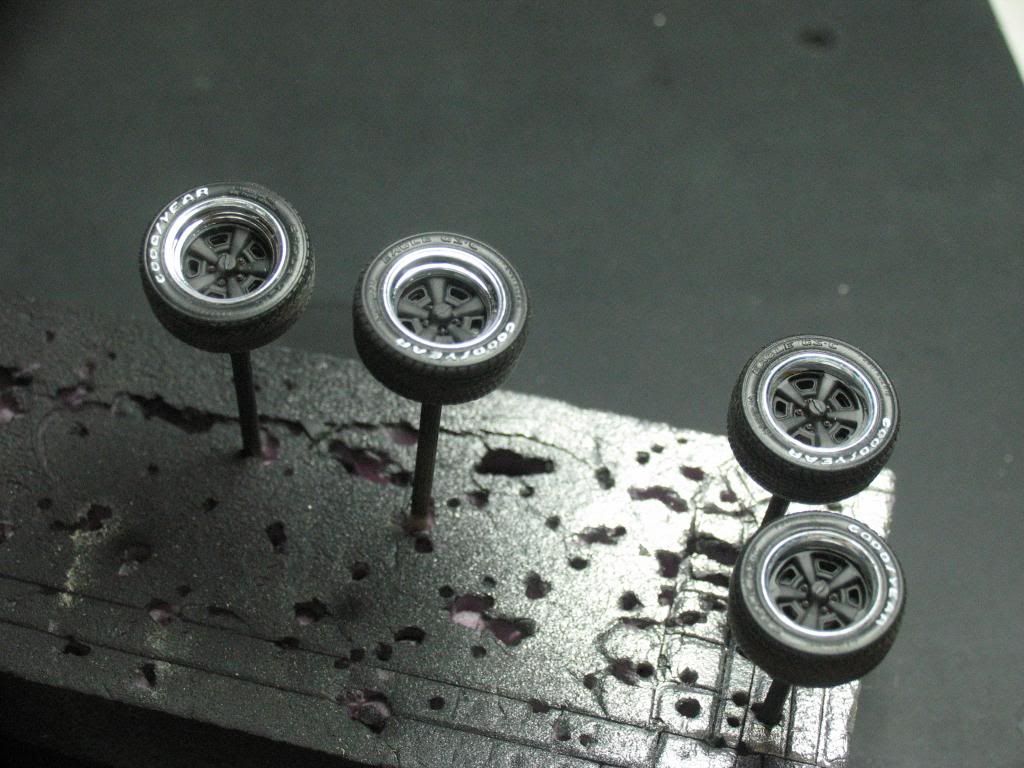
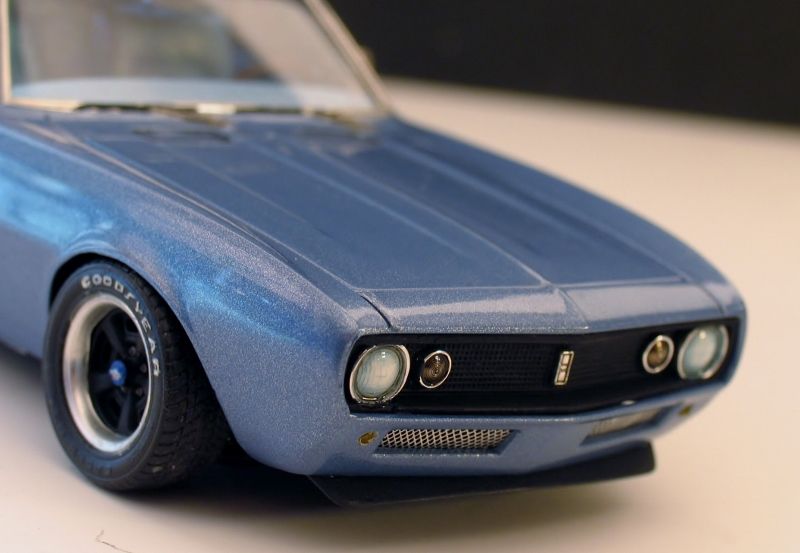
Upgraded wheels and tires
Wheels from a 70.5 Camaro, sanded rims,Rims from Daisy Dukes Roadrunner, cut down.
And found a set of unmolested Goodyear`s in my parts bin (think they came from a`93 Camaro Z)
Tach.,oil press.,batt. gauges aluminium pipe slices, cartograph decals.
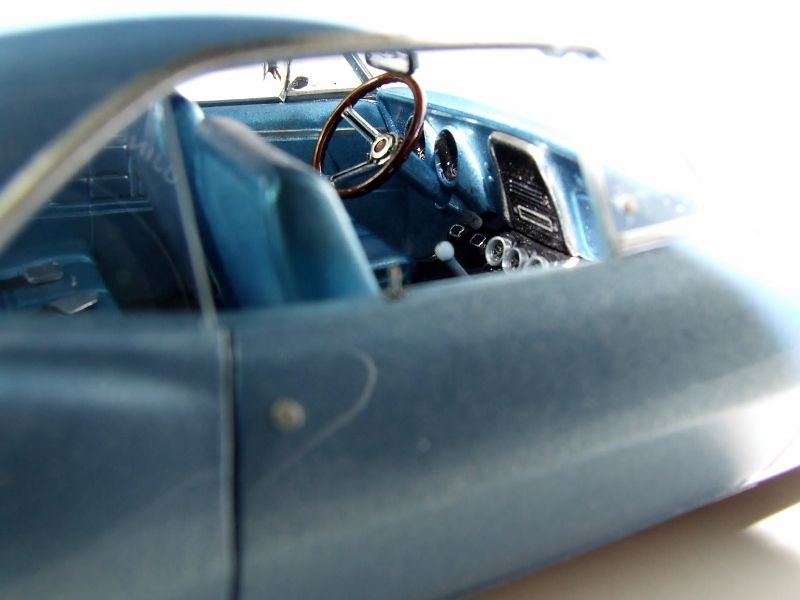
Paint is Duplicolor primer, Nantucket blue, and clear, Polished with2000g., Turtle wax Rubbing compound, then Meguiare`s Ultimate polish.
Added the chin spoiler, HO mesh, guitar string antenna, vent and 1/4 windows
 [/URL
[/URL
This one took about 4 - 5 weeks, but I think well worth the extra time.
Thnx for looking in I hope to post more and really do enjoy this site
Cheers
So I think it`s time to post something complete.
This is AMT`s 1995 release of the `67 Camaro SS RS Z28.
All I have to say is, model casting was not foremost in their minds. Filled grooves where they shouldn`t have been, smoothed out some that should have been.
Anyway everything massaged into place, sometimes with a dremel grinder!!
Stock 302 engine, wired and plumbed.
Home made leaf springs, shocks, ran brake and fuel lines. The kit came with this awful Zeibart undercoating moulded in so,...
Upgraded wheels and tires
Wheels from a 70.5 Camaro, sanded rims,Rims from Daisy Dukes Roadrunner, cut down.
And found a set of unmolested Goodyear`s in my parts bin (think they came from a`93 Camaro Z)
Tach.,oil press.,batt. gauges aluminium pipe slices, cartograph decals.
Paint is Duplicolor primer, Nantucket blue, and clear, Polished with2000g., Turtle wax Rubbing compound, then Meguiare`s Ultimate polish.
Added the chin spoiler, HO mesh, guitar string antenna, vent and 1/4 windows
 [/URL
[/URLThis one took about 4 - 5 weeks, but I think well worth the extra time.
Thnx for looking in I hope to post more and really do enjoy this site
Cheers


![Pampers Sensitive Baby Wipes, Clinically Proven, Fragrance Free, Unscented, Water Based, Hypoallergenic, Multi-Use, Hand Wipes 336 Wipes Total (6X Flip-Top Packs) [Packaging May Vary]](https://m.media-amazon.com/images/I/41KLBHu9CAL._SL500_.jpg)