mustang1989
Well-Known Member
- Joined
- Aug 6, 2022
- Messages
- 552
A 9 years ago I decided to re-visit an old childhood fave of mine. I was drawn to the Street Demons series and even more drawn to the 56 Ford F-100 offering in that series. I ended up doing a total revamp of that kit when I did sit down to have a "second go" at that kit. Little did I remember just how awful that kit really was (or was it that it didn't really matter at such a young age----I just built it) but I did end up finding out that kit really had its challenges. After completing the revamp kit in 2015 I found out that I'd learned a valuable lesson in my adult modeling in regards to just how far I'm going to go with detailing a kit and more importantly how much money NOT to throw at a build. I detailed it to the point that I dread handling it every time I pick it up to take it to shows or if I have to do a photo shoot like you'll see below.
To flash forward to around August of last year, I'd been wanting to build another 56 for a while and then along came the Foose 56 F-100. Man............the body was totally tweaked, and the appearance of this truck was so much sleeker than the original F-100's was. So, with that I purchased a Revell Foose FD-100 kit.

My imagination went into overdrive at the possibilities. I had Thomas over at Speedway Decals go to work on fabricating the slides I'd need to pull this, more refined Demon version, off.
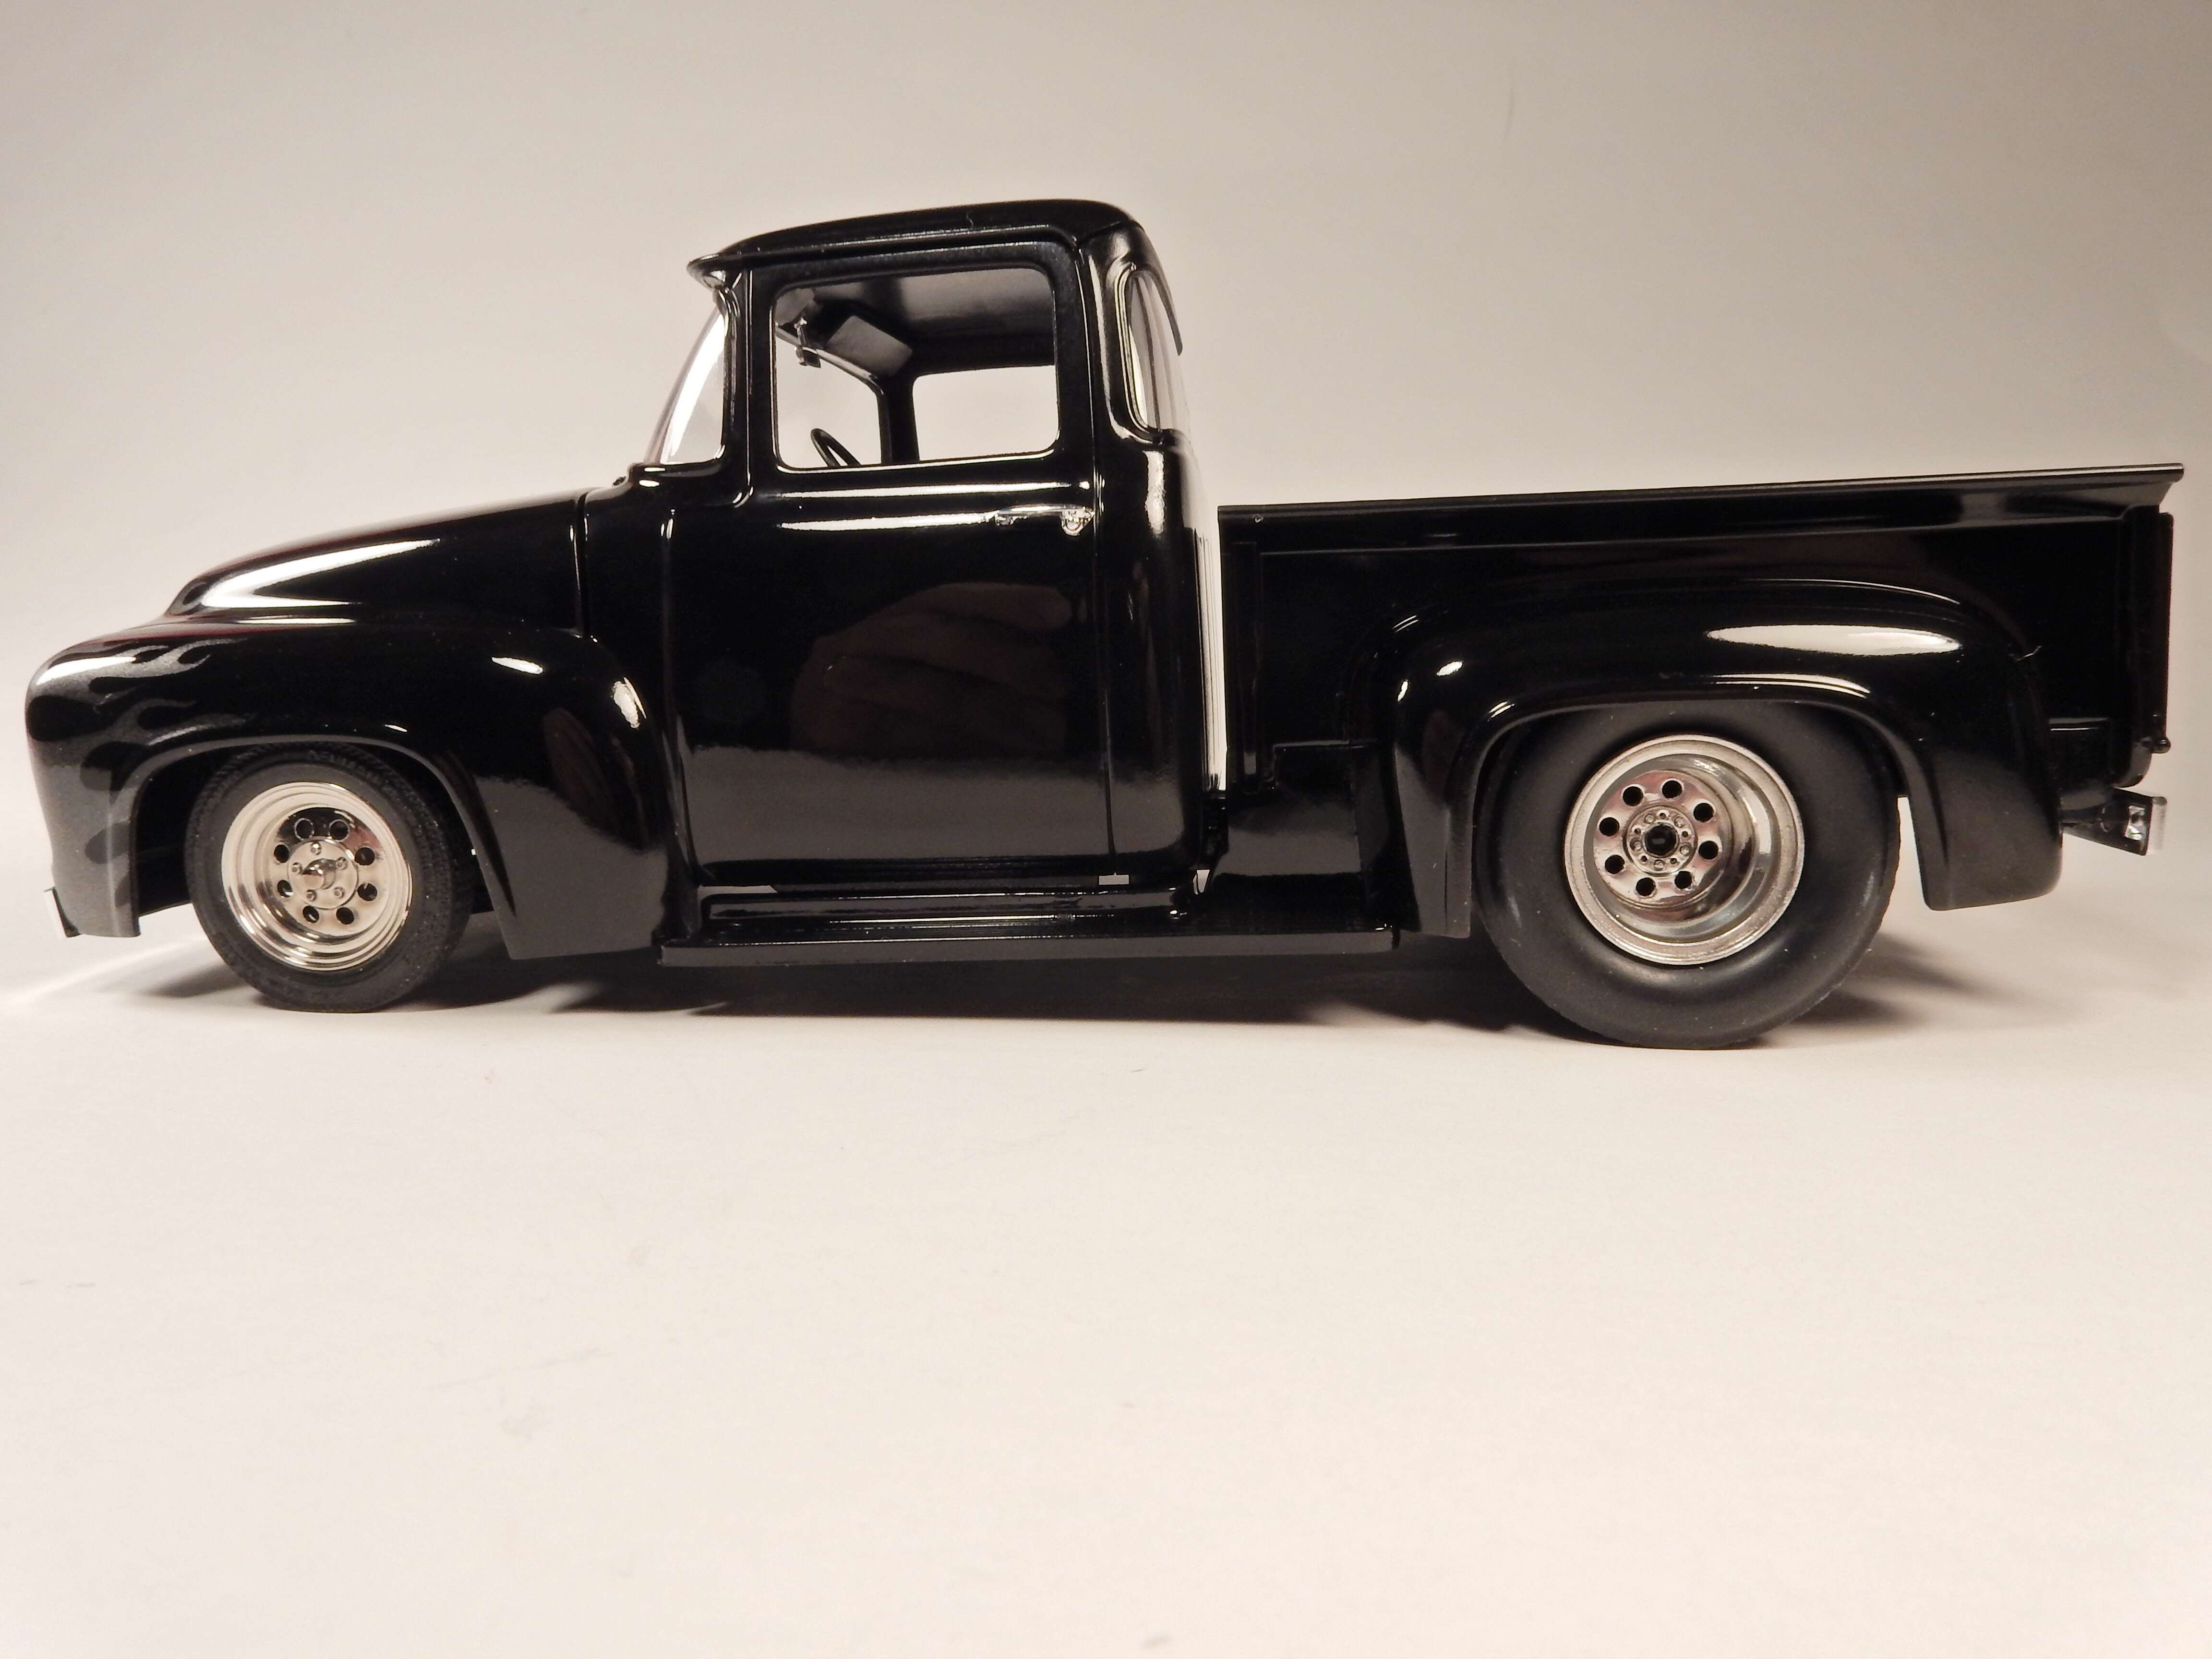
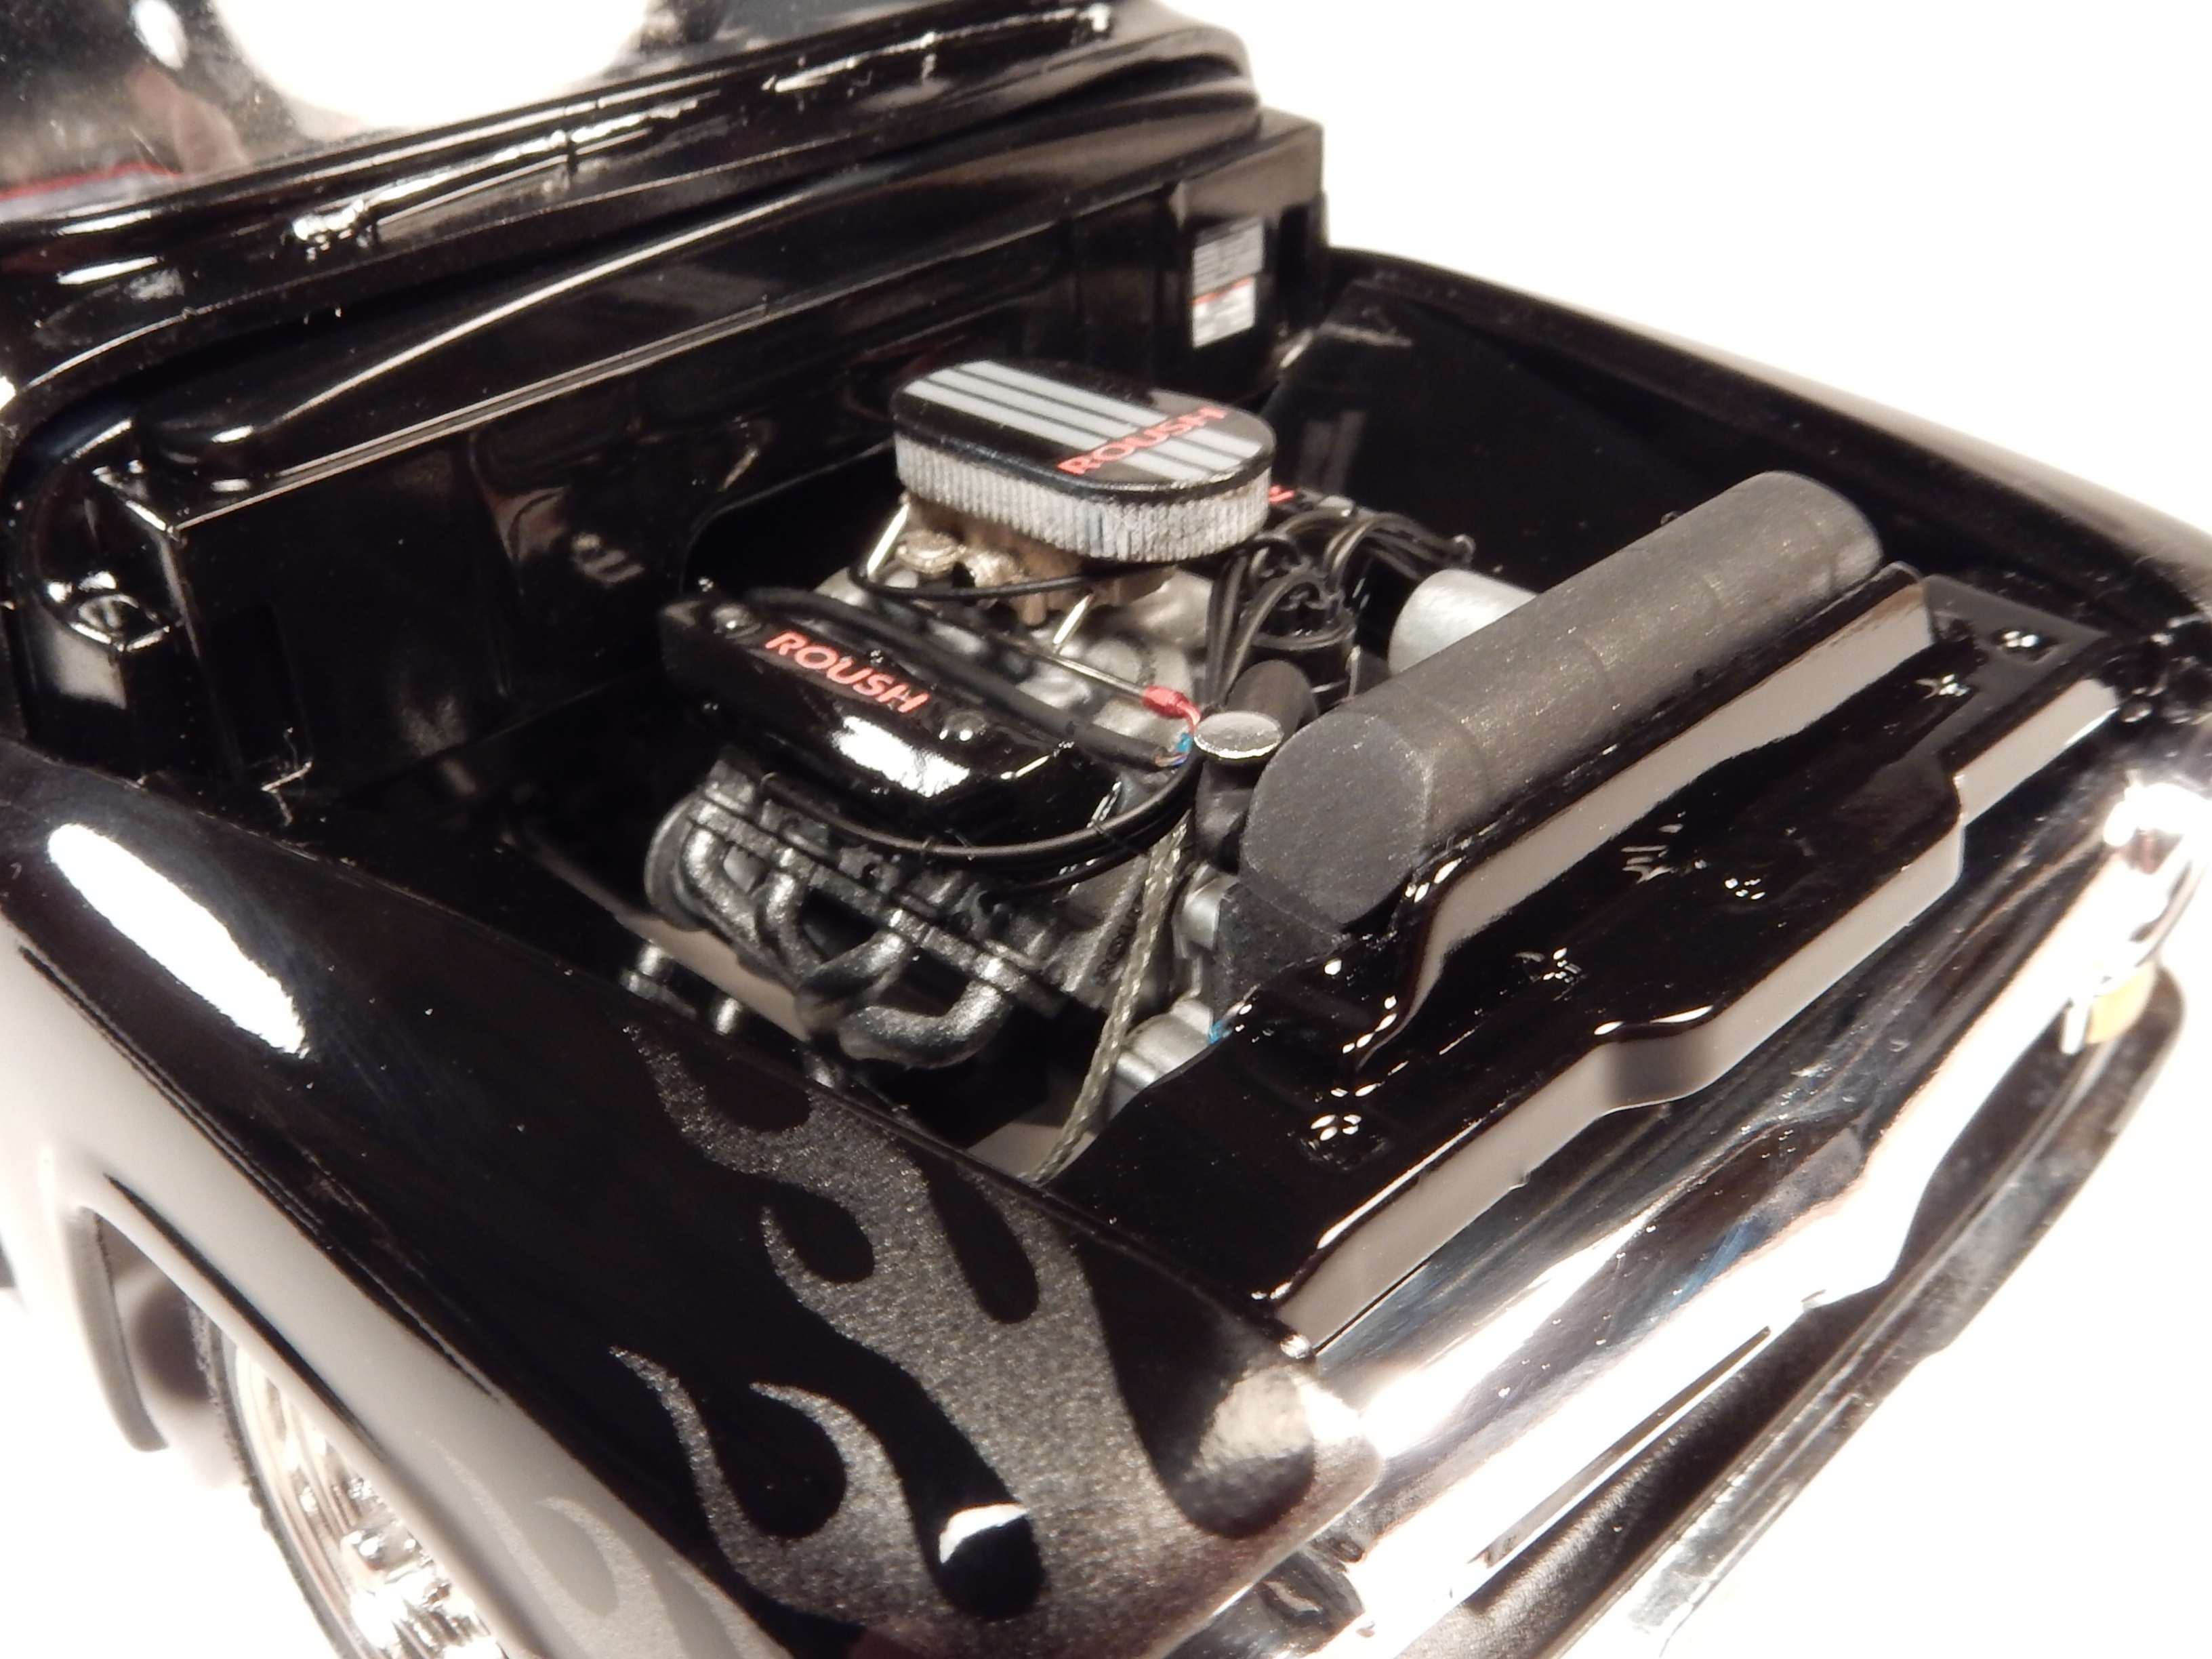
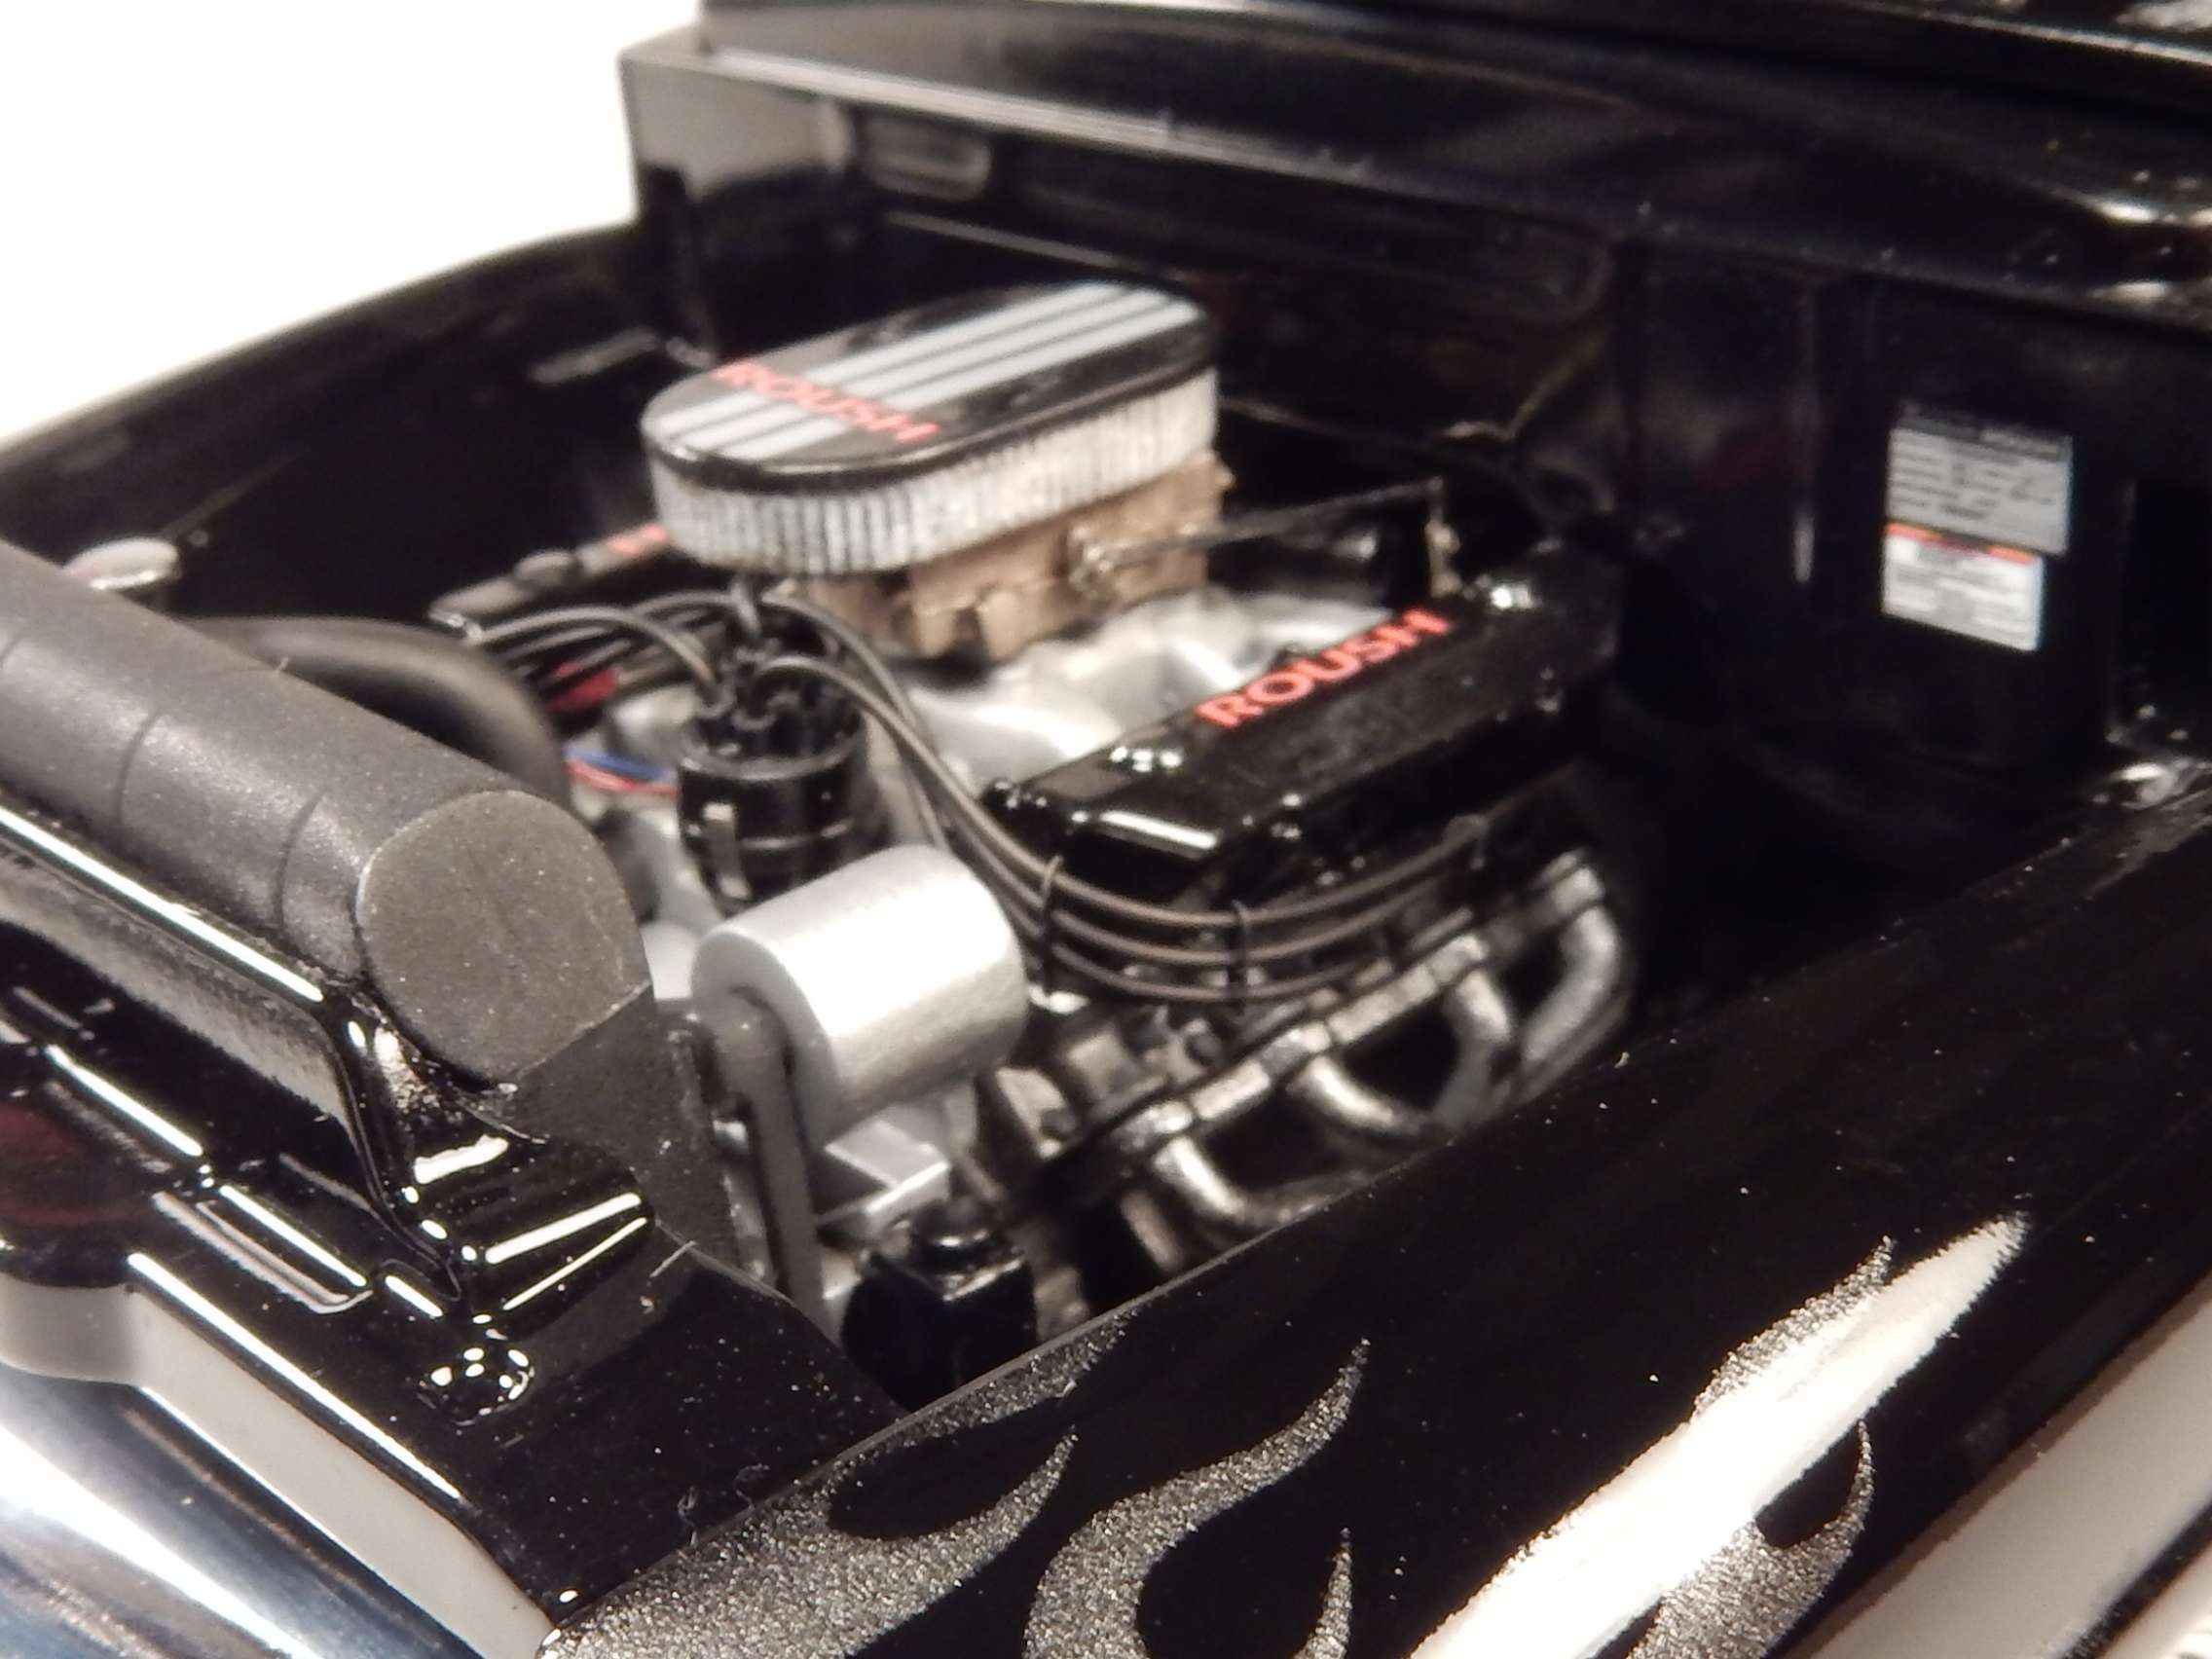
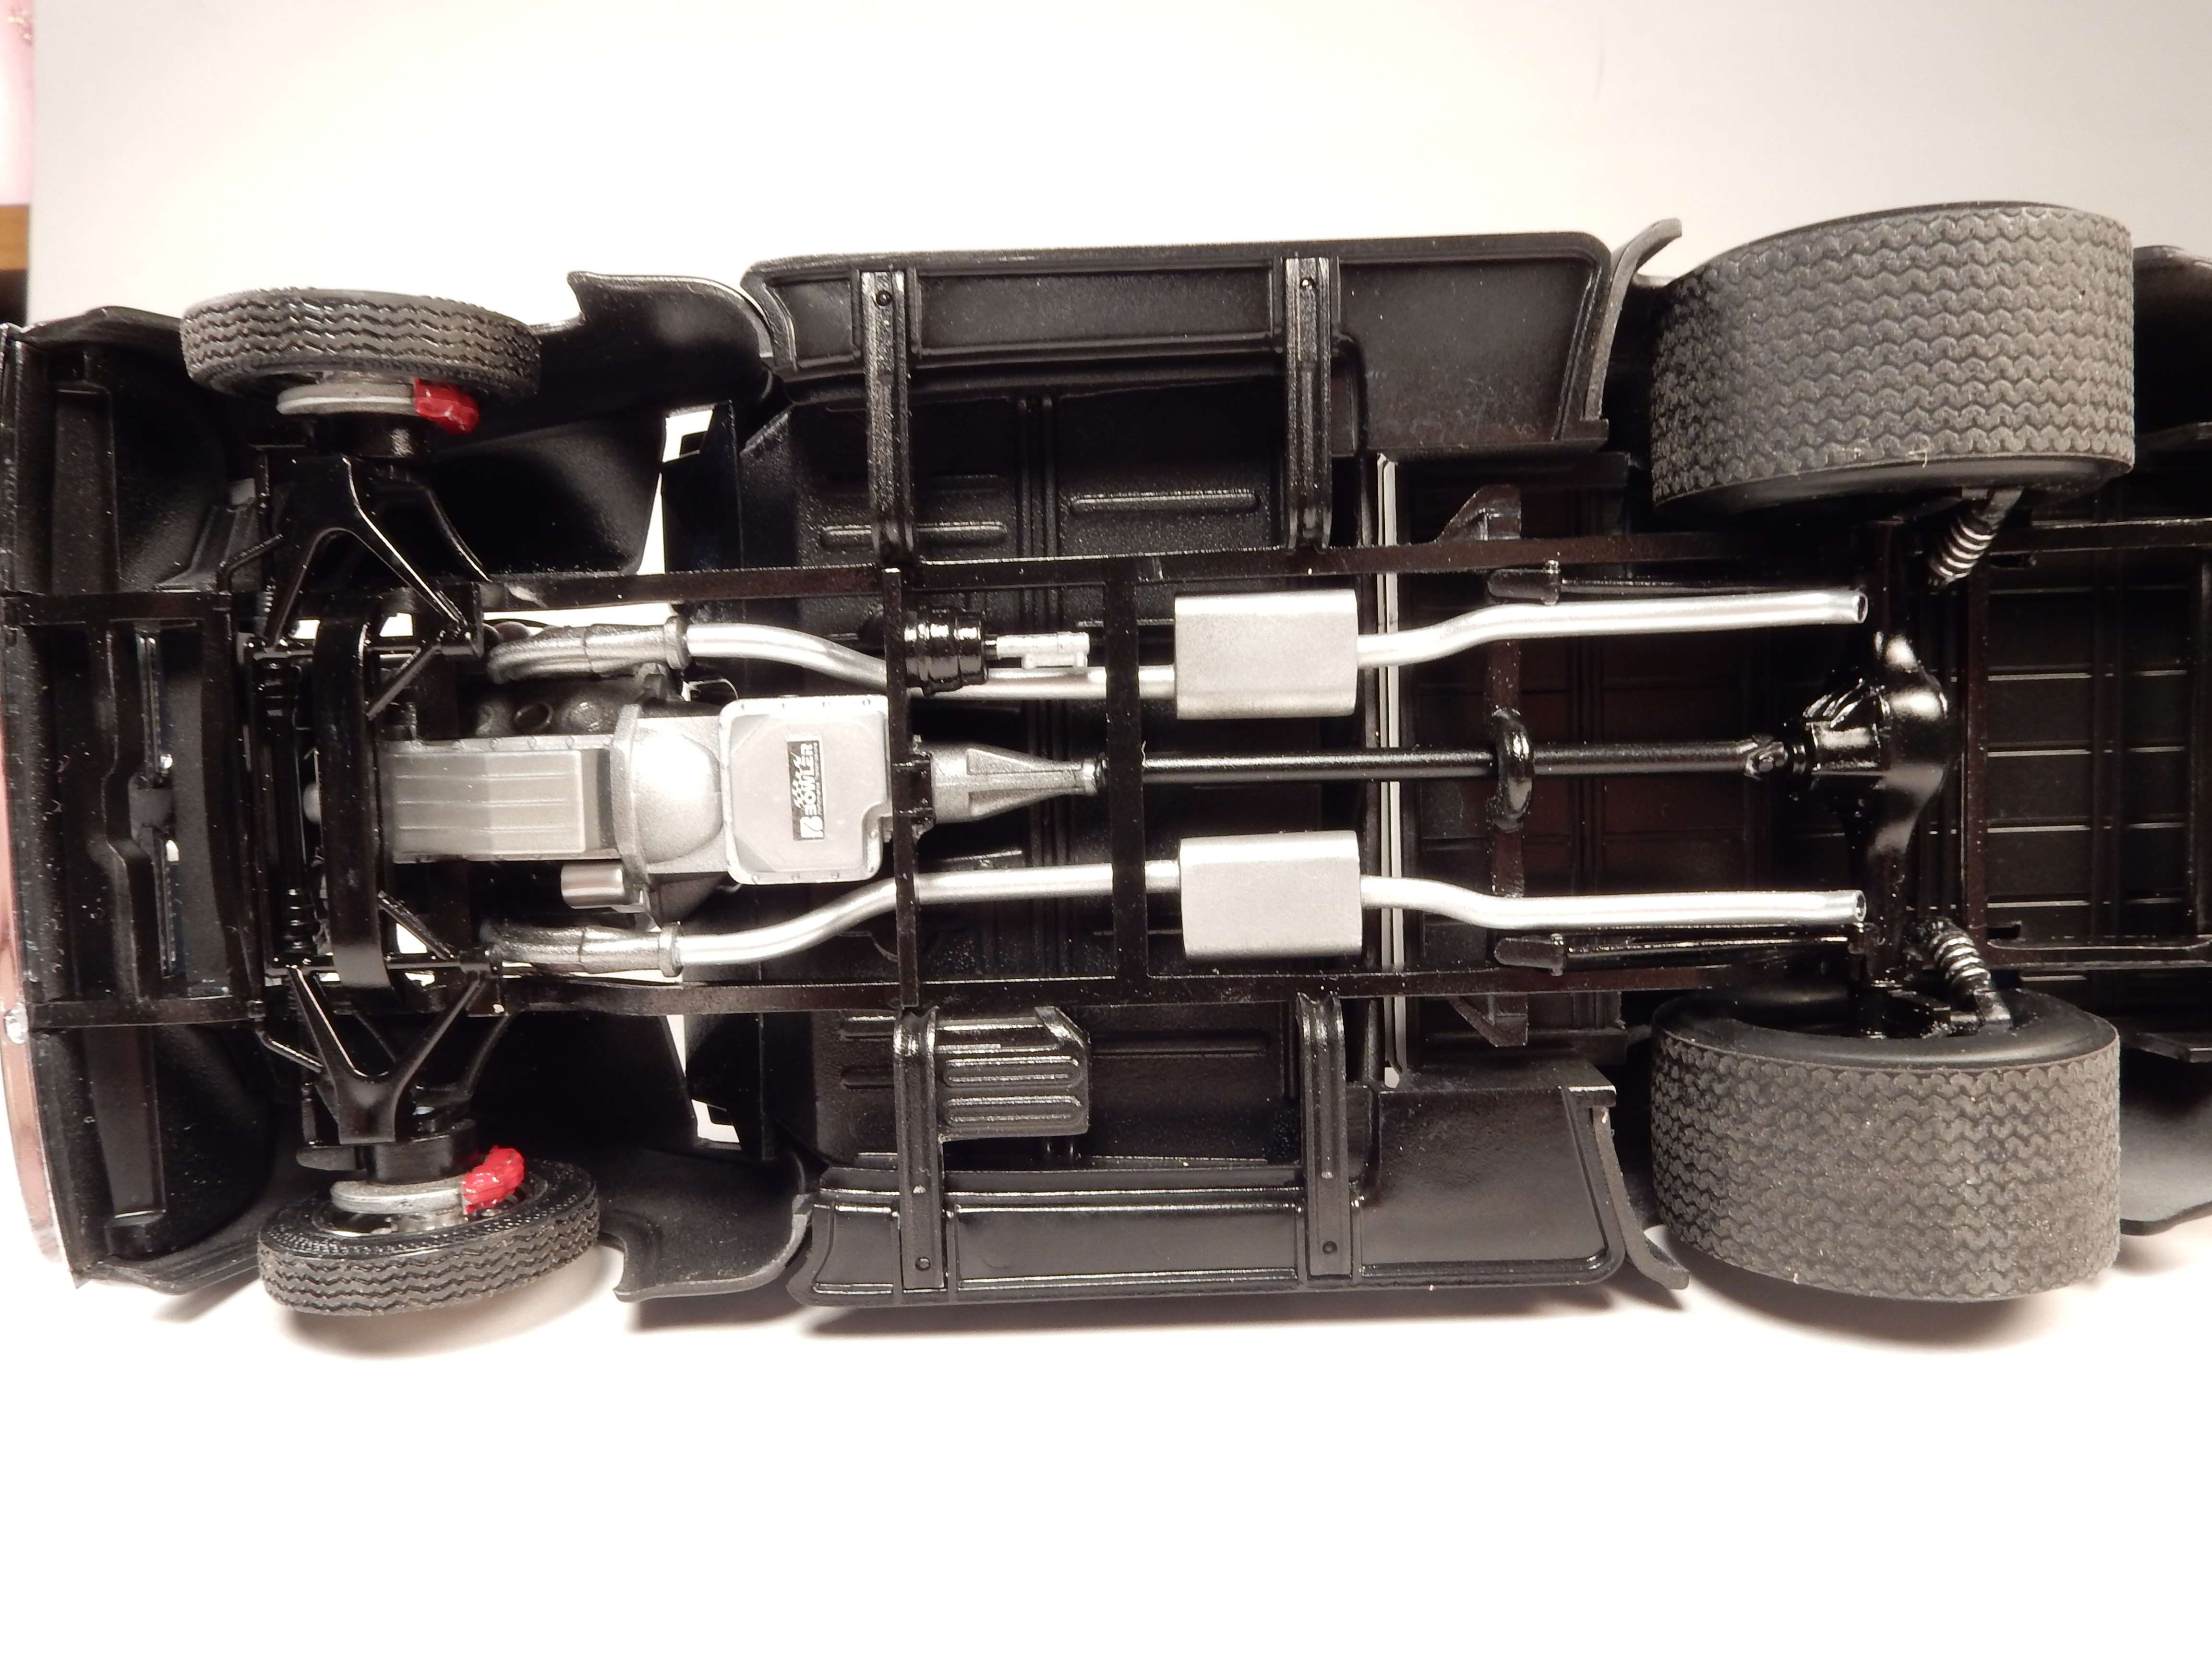
I kept the power and drive train and made some modifications to the rear suspension to narrow the rear end and lower it even more while retaining all of the original four link suspension parts. I had to cut the bed and make fender wells for the much wider tires that were to go in the rear. I tried to detail the engine up as much as I could using all of the OOB parts for the engine. I didn't want to have to modify this and modify that to retain the original look of the Roush engine (which is one of the best engines I've built modeling wise-save for that stupid hole in the oil pan for the metal axle to pass through
 ) I turned to Weld Draglites once again for this this newer version. The front wheels are from a Revell Pro Stock Camaro kit, and the rears are from Competition Resins with a coat of Molotow Chrome shot through an airbrush and cleared with Spaz Stix Ultimate Clear. After that a coat of Tamiya Smoke was airbrushed onto all wheels to tone down the "toy chrome" look.
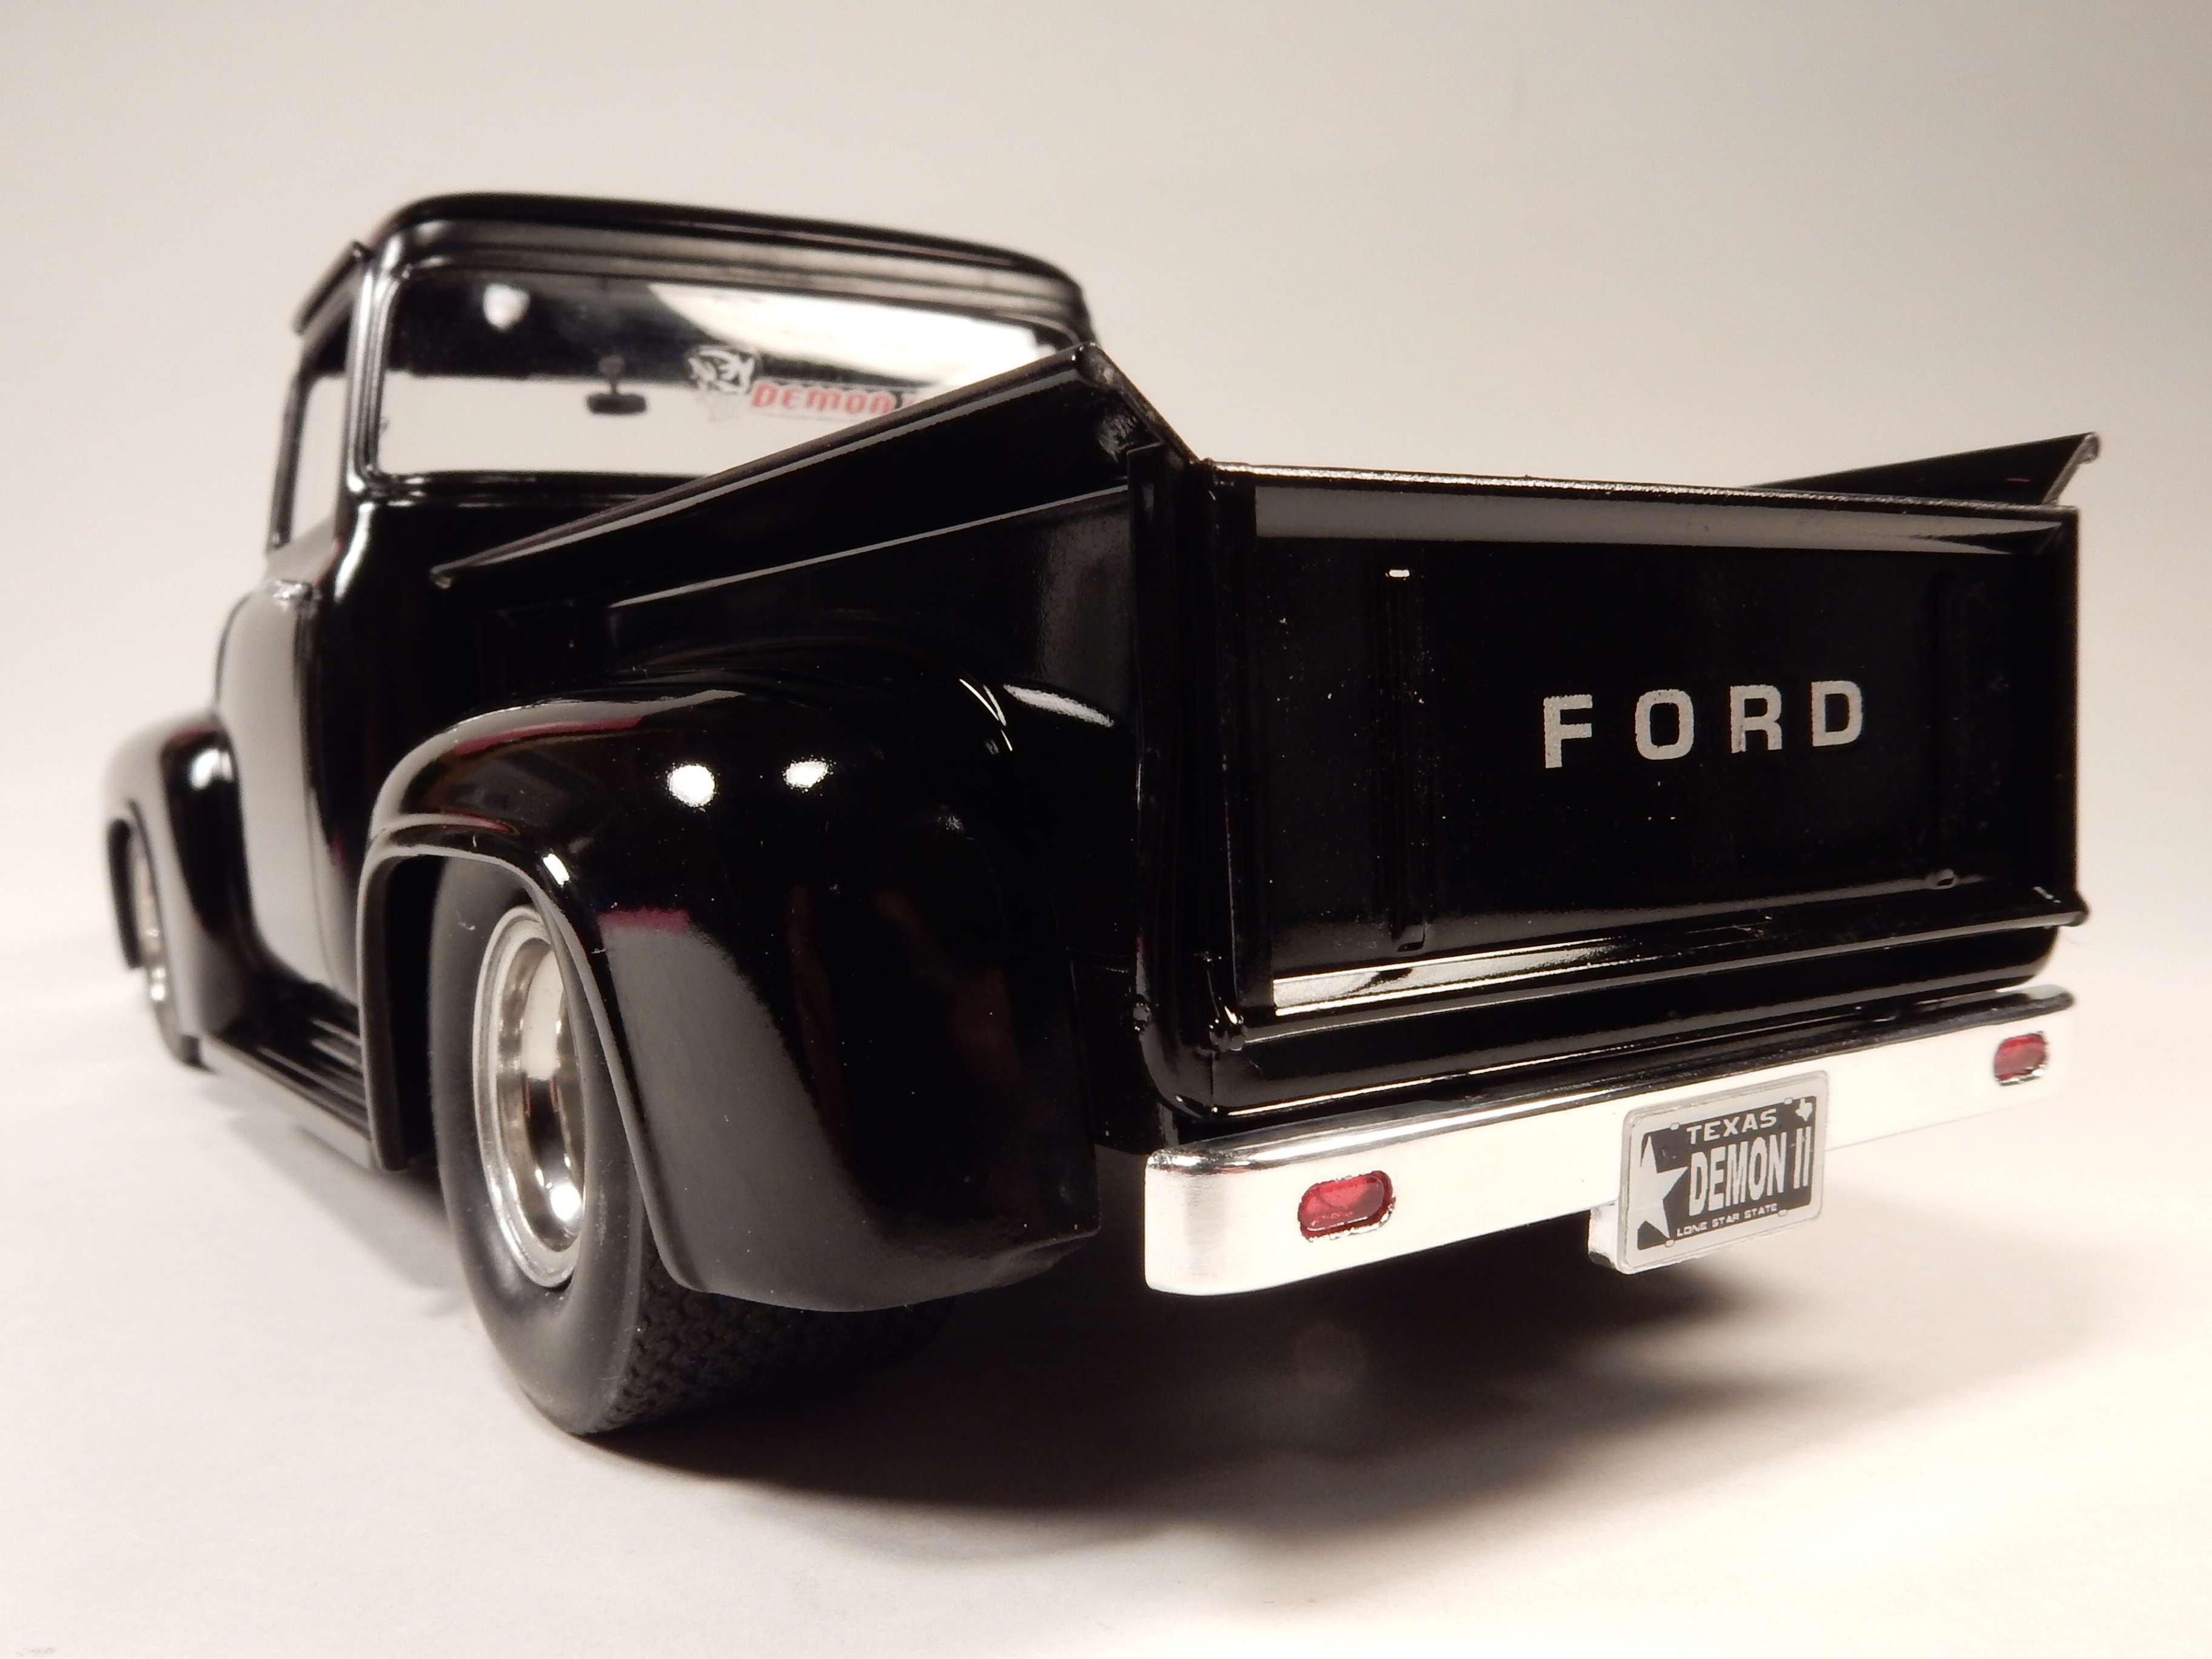
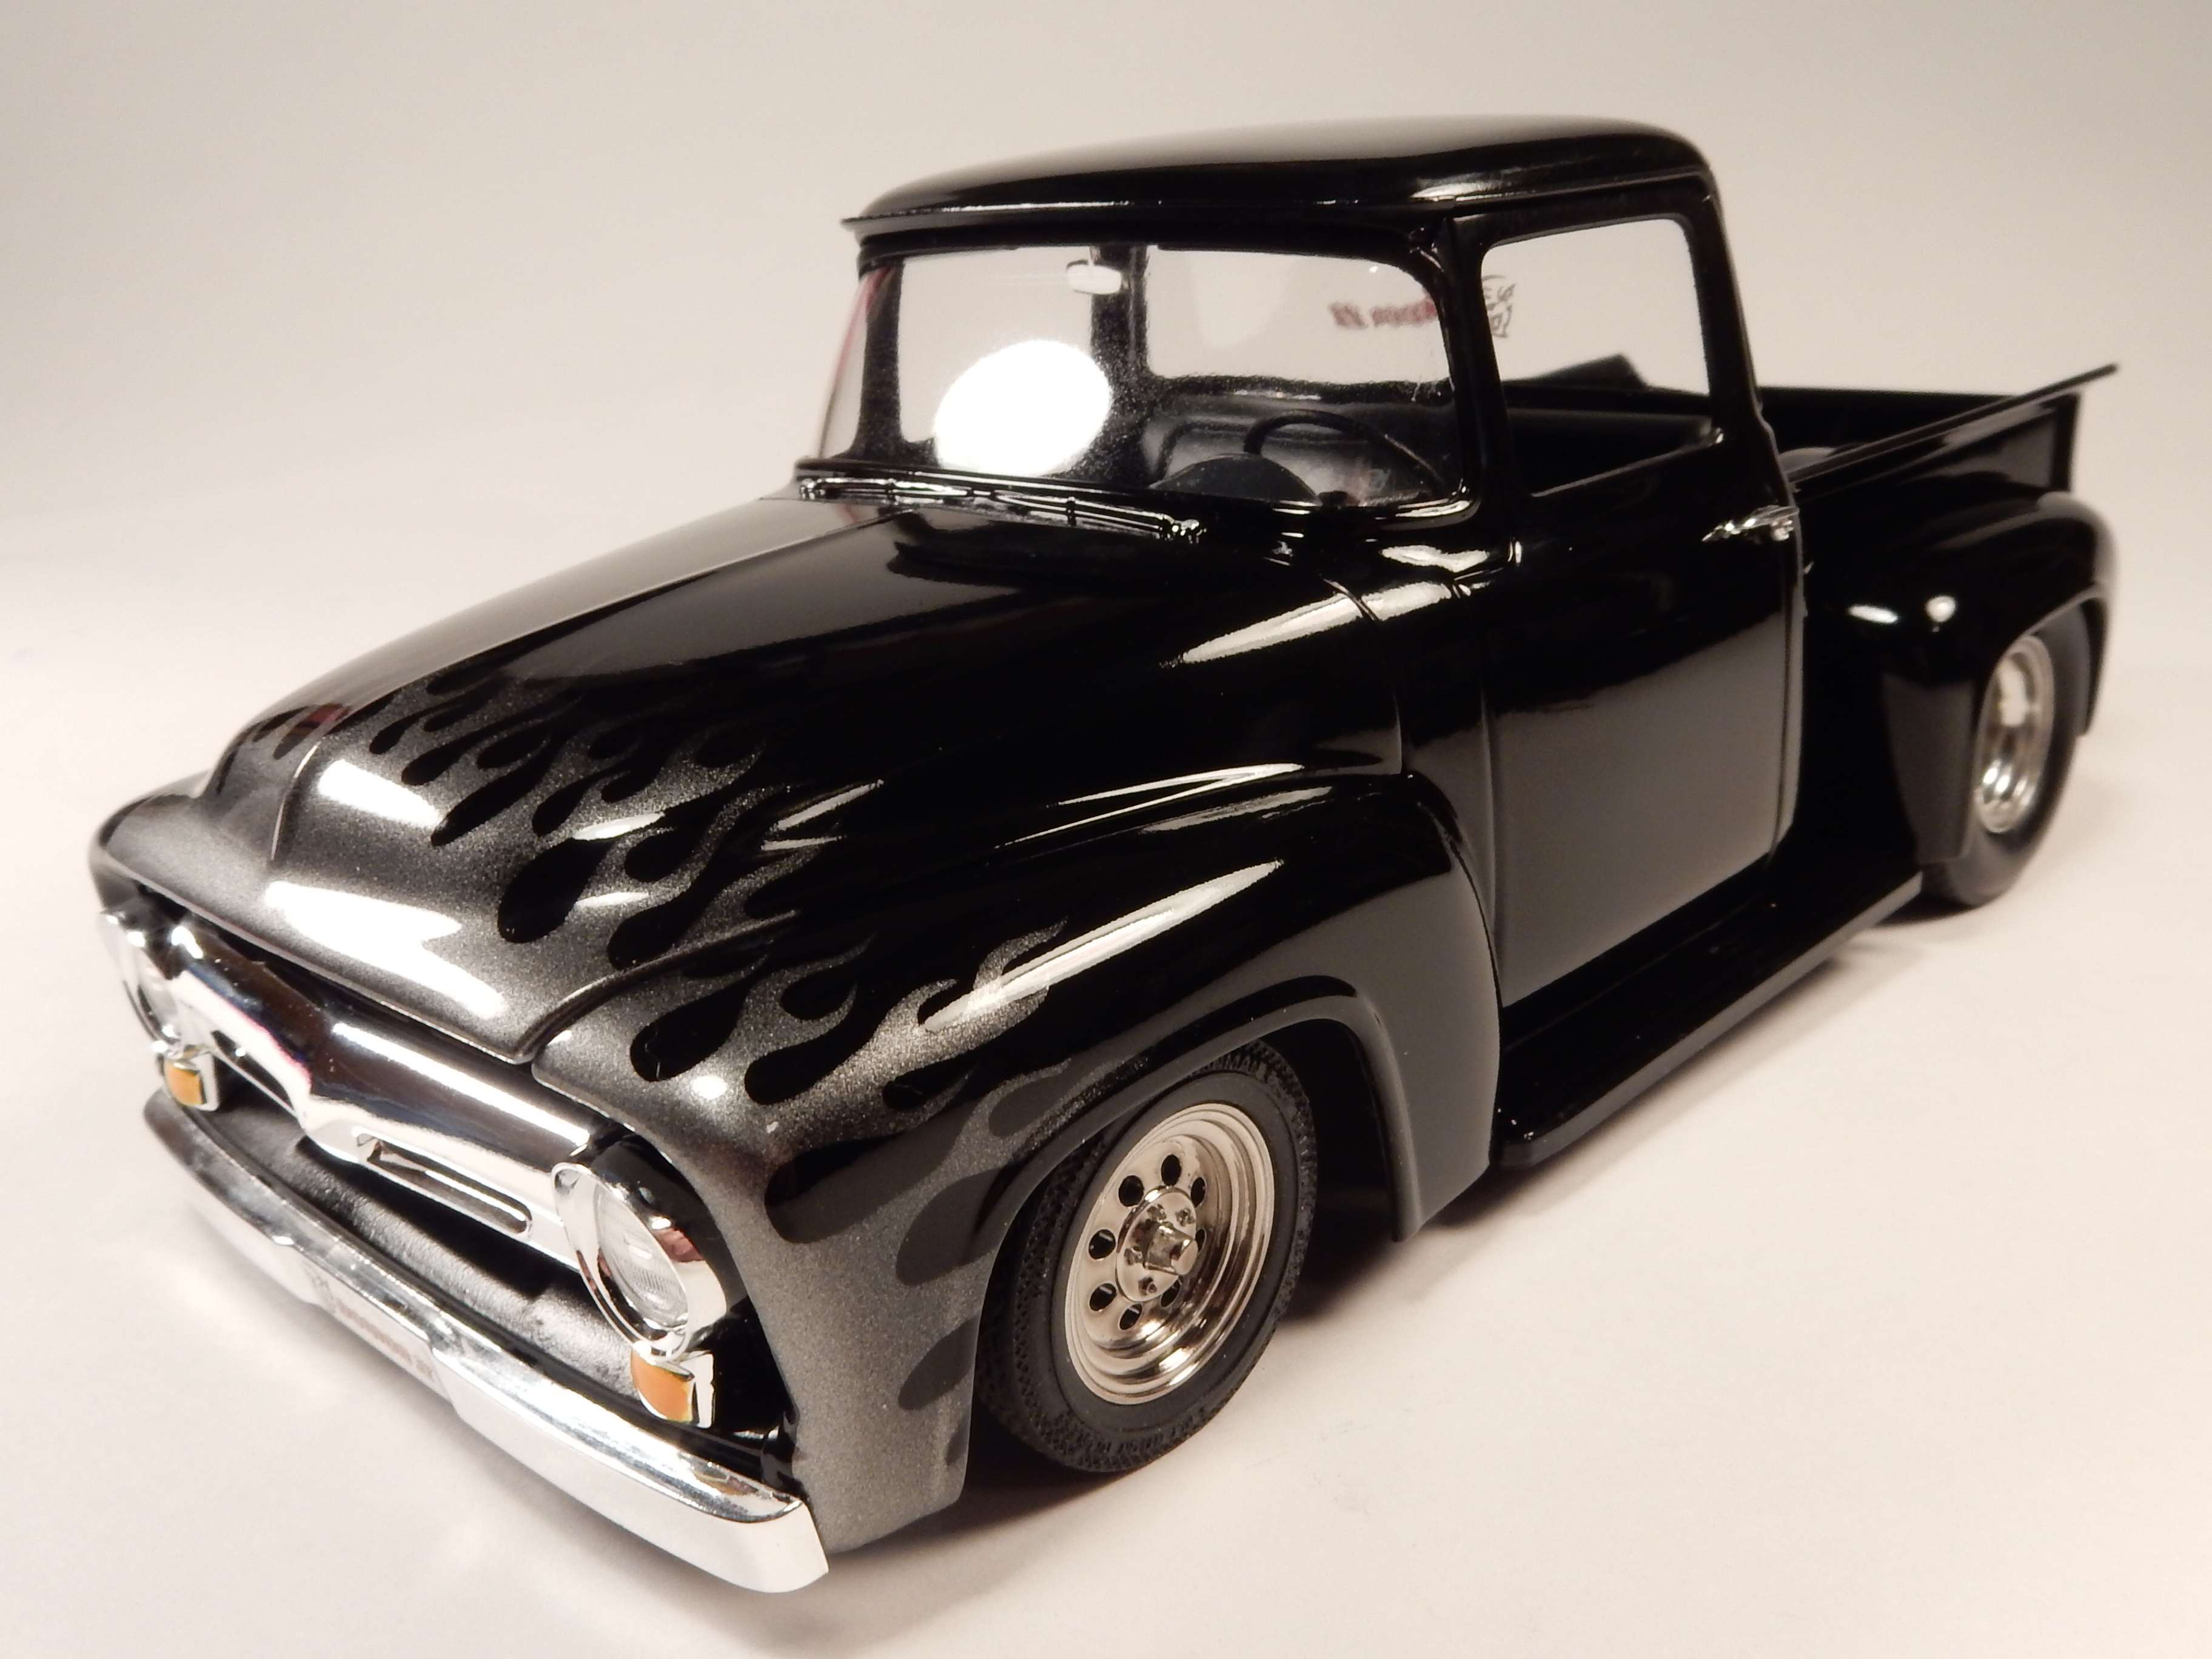
Paint is Testors Semi-Gloss Black as a base color with Testors "Wet Look" clear bringin' up the shine. Both were decanted and shot through an airbrush to get the smoothest results possible. Flame masks from Anarchy Models and Alclad II Polished Aluminum ensured a nice smooth flame job. The "Foose" lettering was removed from the tail gate and F-O-R-D lettering was applied in its place.
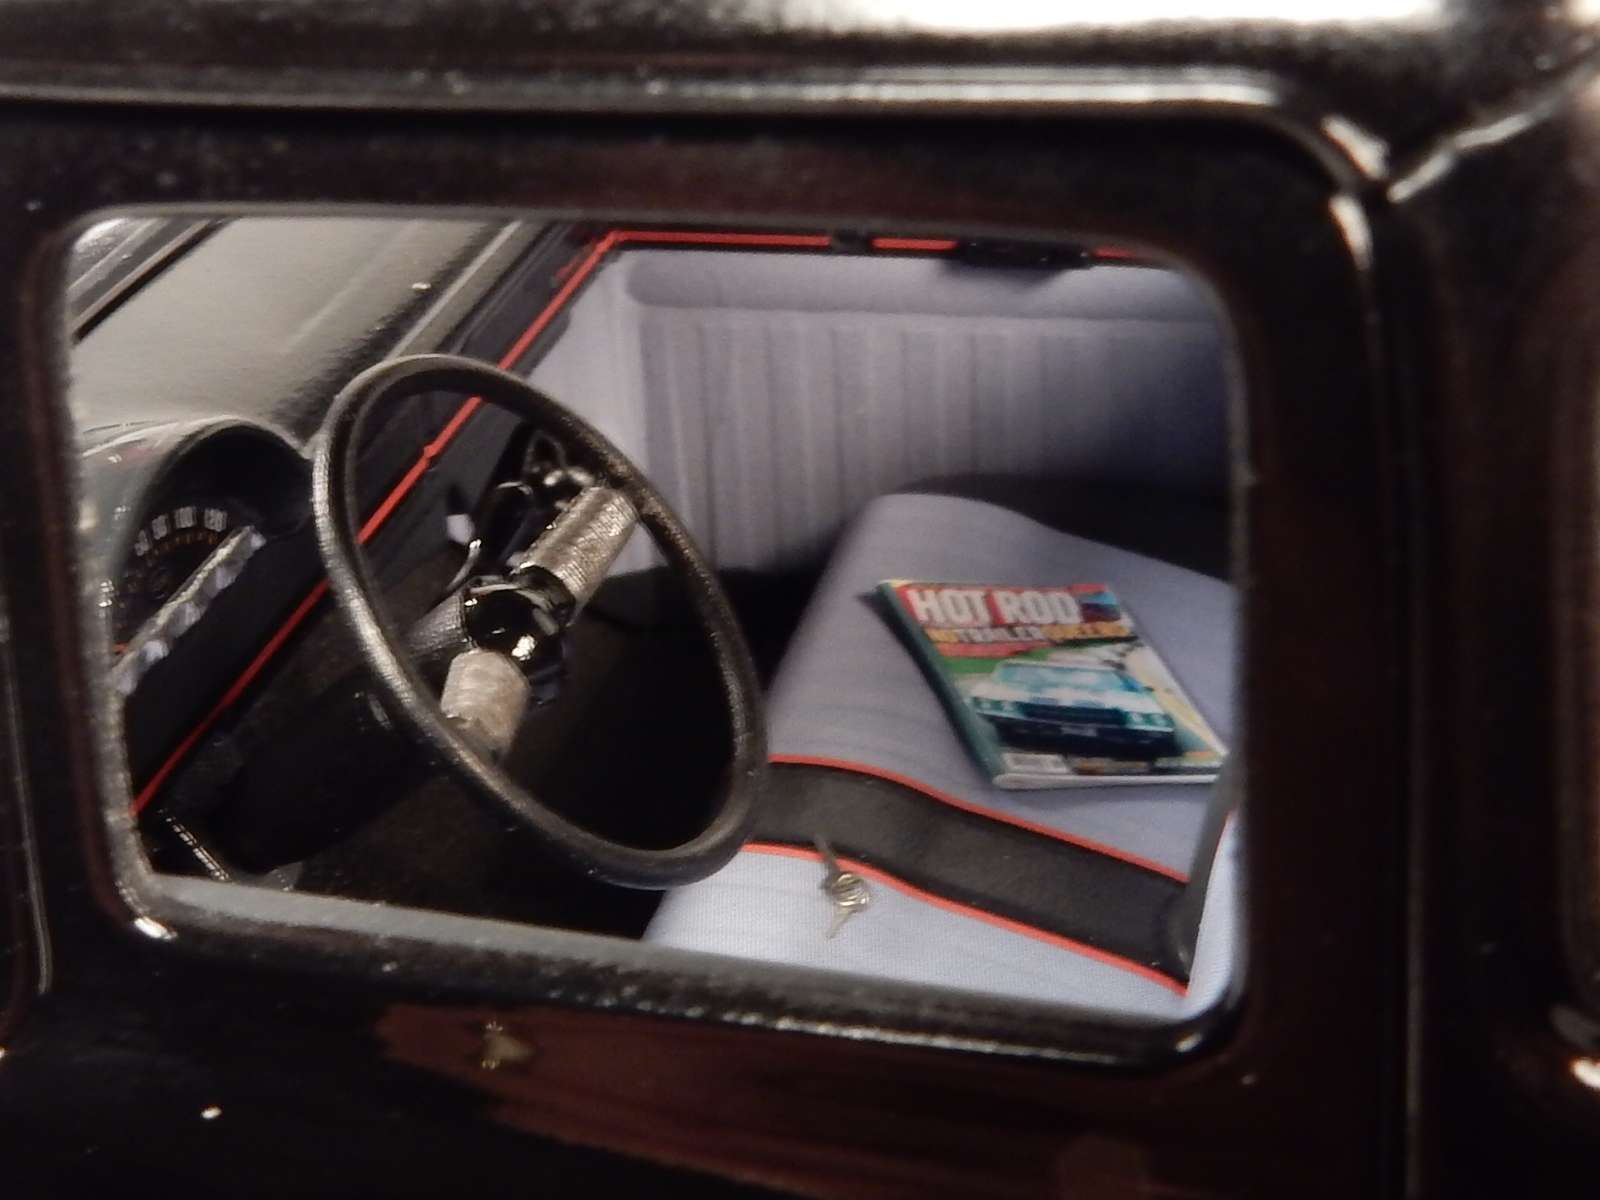
If I had any words of caution about this kit, I would say that the interior tub needs to be installed BEFORE setting the cab down onto the truck frame and to make sure to test fit the hood AFTER installing the radiator core support brace. I test fitted it before installing it and it fit perfect ...........only to find out that it didn't afterwards. Some gentle sanding cleaned it up enough to fit in the end. Also............make SURE then engine is all the way down in the mount slots provided. I had to risk and "all or nothing" attempt at forcing it straight and luckily, I got by with it.
Overall I was very happy with this kit as it's a solid build that takes to handling well and it just felt like everything "clicked" together unlike a lot of the older kits that I tend to build...........especially with any mods.
With all that being said, here's the finishing shots:


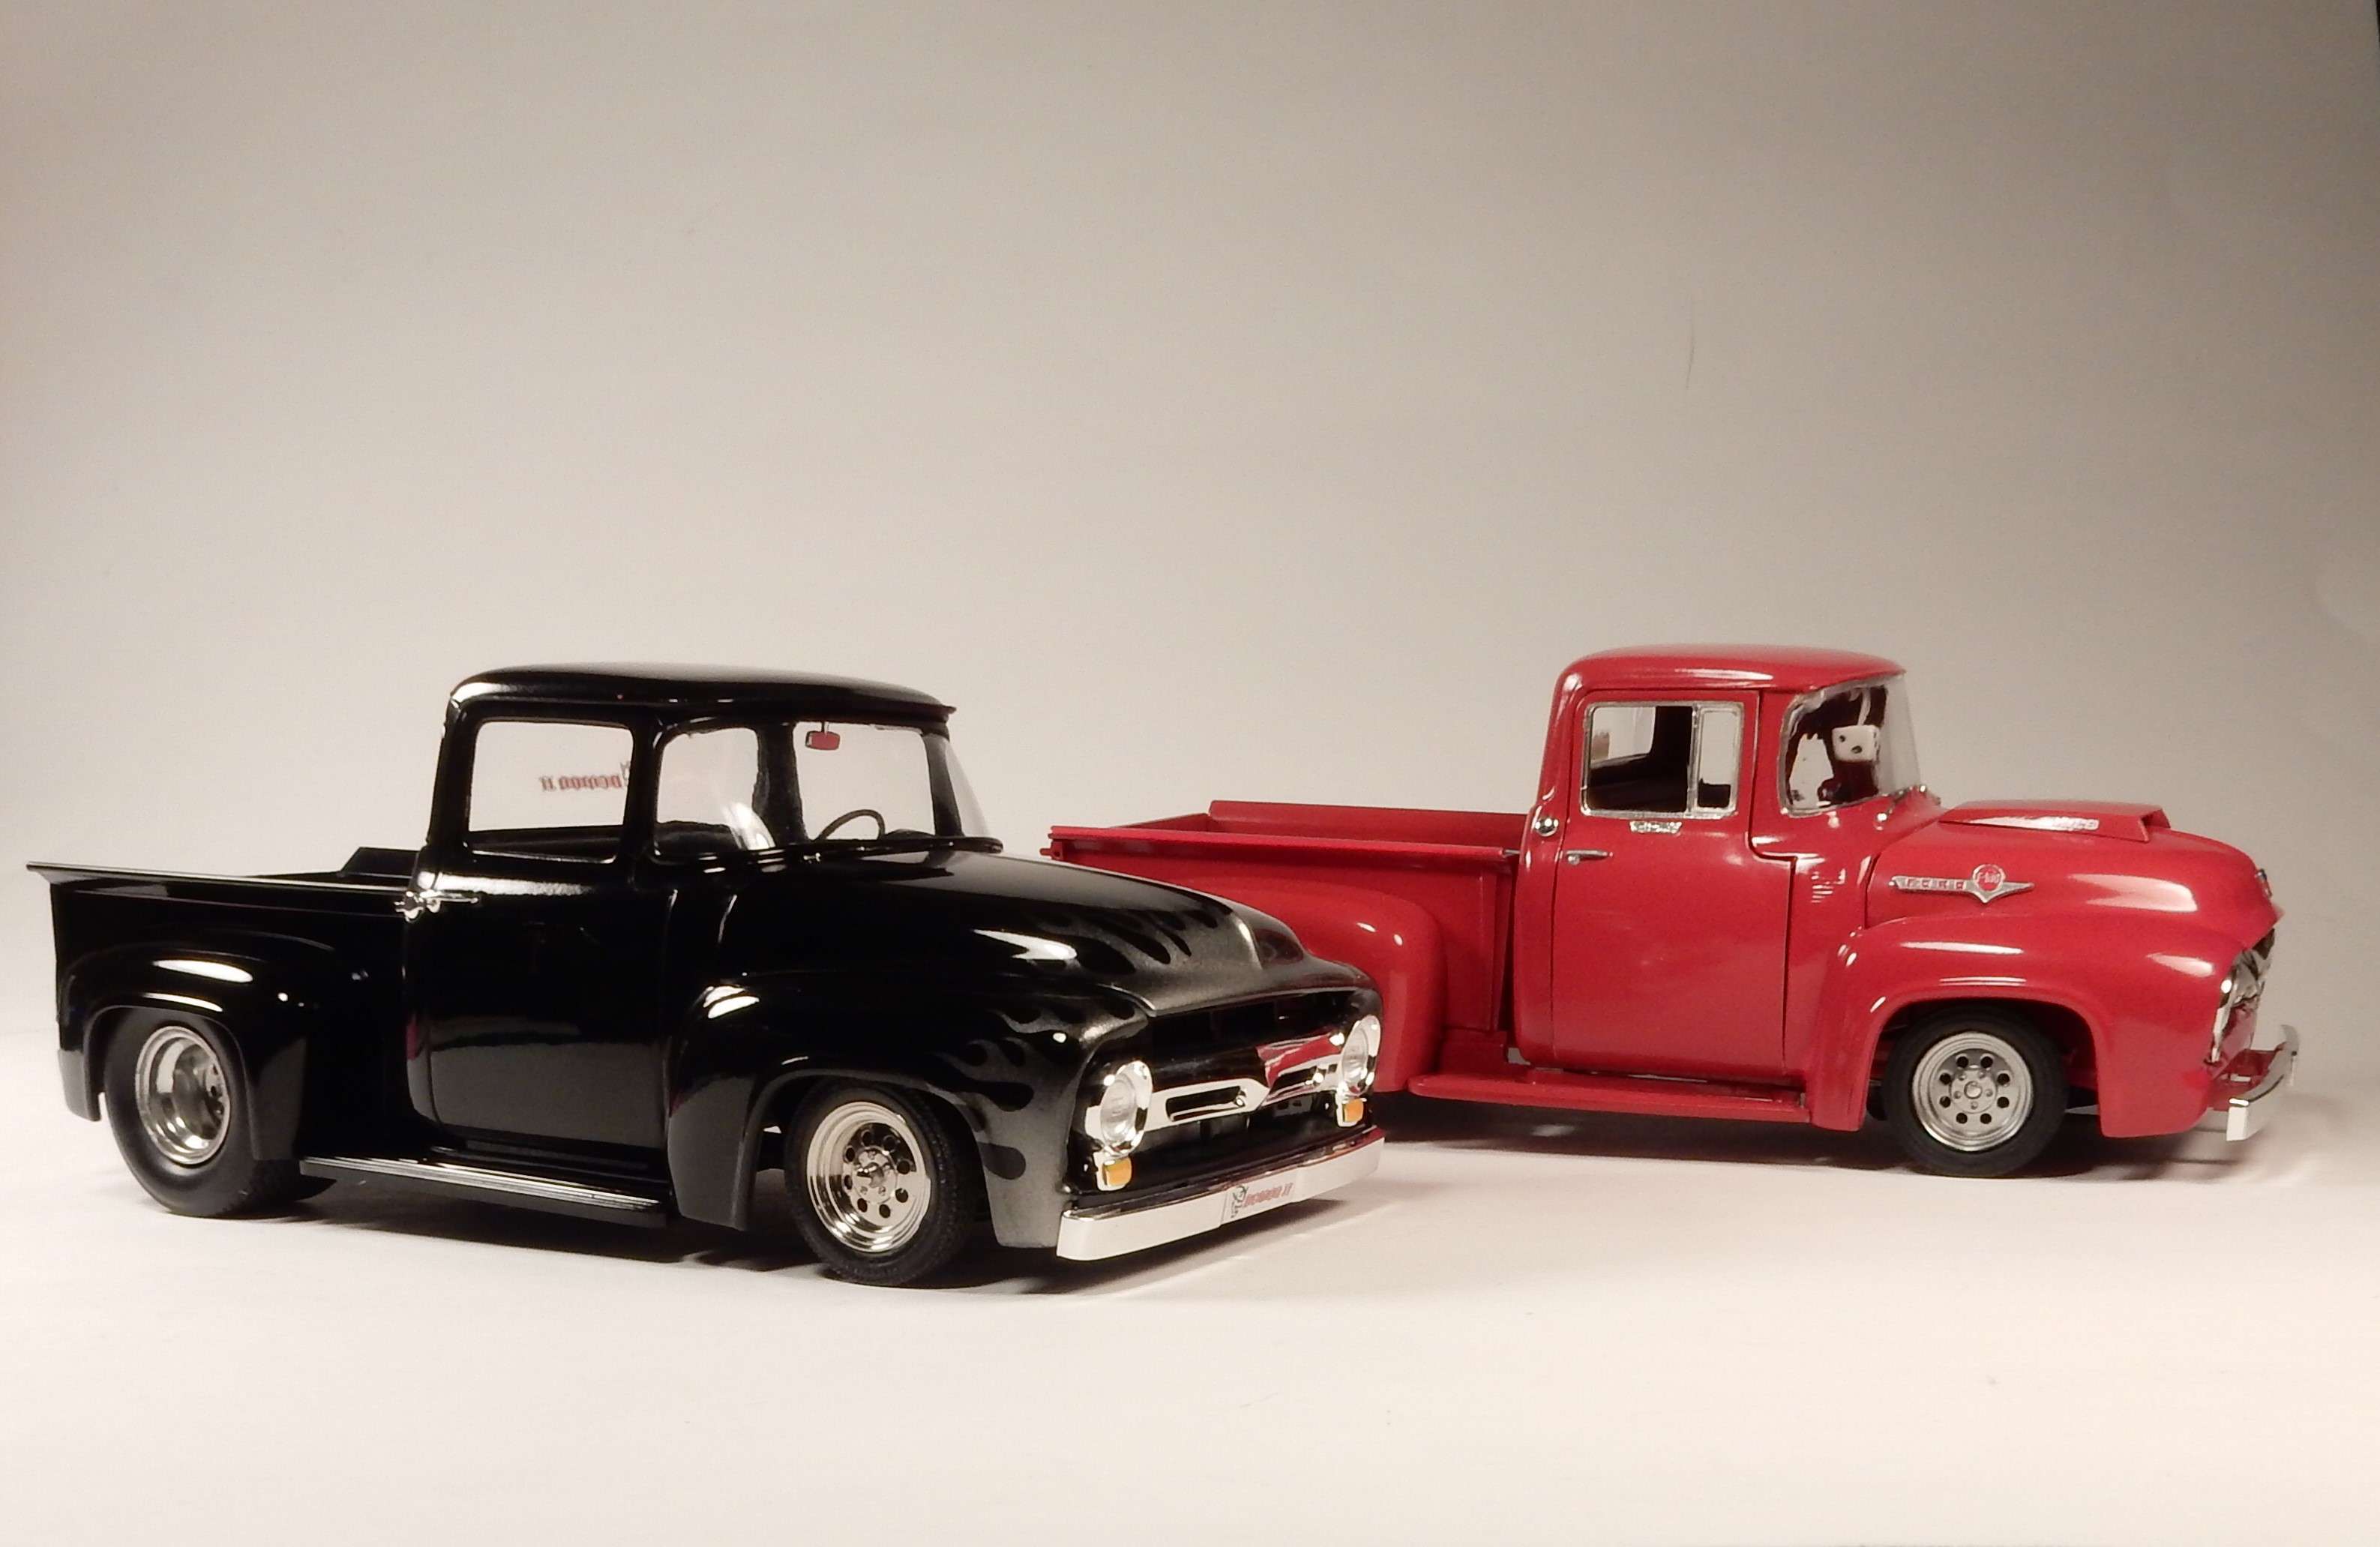
Once put alongside the original "Demon I" (which the front plate on it reads Demon 3 in the series of 6-I didn't know two years ago that I'd be building another one) the differences are painfully obvious in the overall shape of the truck-particularly in the areas of the fenders, grille area and cab height). I took full advantage of these differences to make a more aggressive looking pro street truck this time around.

Side by side shot: (Sorry folks, the ol' 429 Boss truck just has to be in the lead )
)

To flash forward to around August of last year, I'd been wanting to build another 56 for a while and then along came the Foose 56 F-100. Man............the body was totally tweaked, and the appearance of this truck was so much sleeker than the original F-100's was. So, with that I purchased a Revell Foose FD-100 kit.
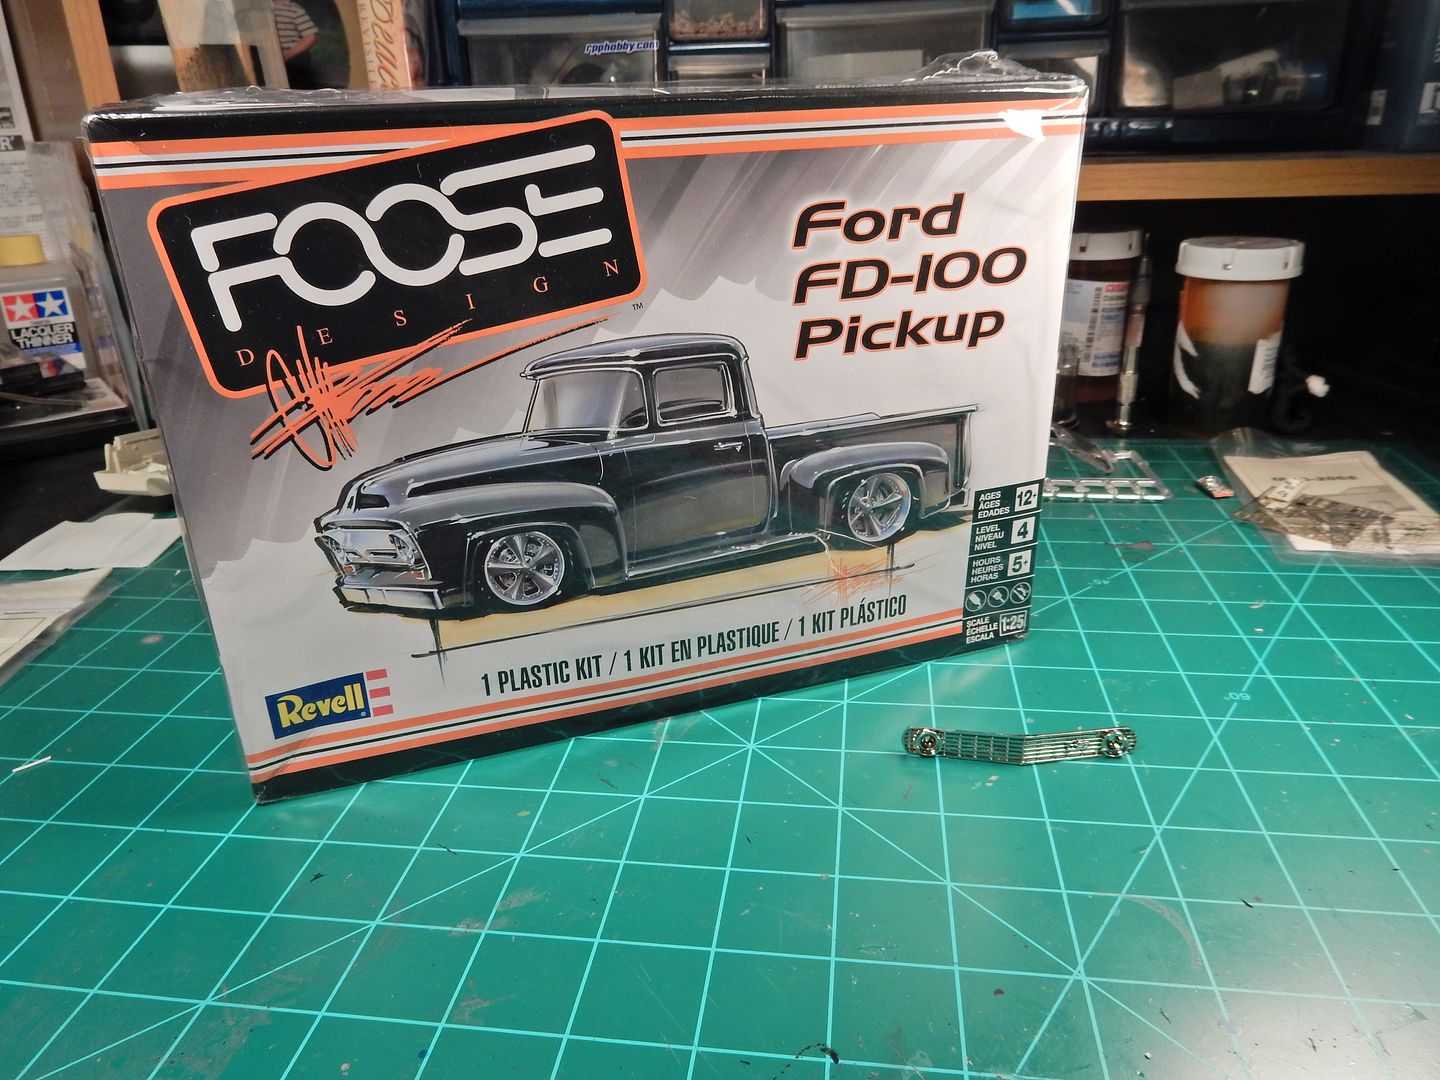
My imagination went into overdrive at the possibilities. I had Thomas over at Speedway Decals go to work on fabricating the slides I'd need to pull this, more refined Demon version, off.
I kept the power and drive train and made some modifications to the rear suspension to narrow the rear end and lower it even more while retaining all of the original four link suspension parts. I had to cut the bed and make fender wells for the much wider tires that were to go in the rear. I tried to detail the engine up as much as I could using all of the OOB parts for the engine. I didn't want to have to modify this and modify that to retain the original look of the Roush engine (which is one of the best engines I've built modeling wise-save for that stupid hole in the oil pan for the metal axle to pass through
Paint is Testors Semi-Gloss Black as a base color with Testors "Wet Look" clear bringin' up the shine. Both were decanted and shot through an airbrush to get the smoothest results possible. Flame masks from Anarchy Models and Alclad II Polished Aluminum ensured a nice smooth flame job. The "Foose" lettering was removed from the tail gate and F-O-R-D lettering was applied in its place.
If I had any words of caution about this kit, I would say that the interior tub needs to be installed BEFORE setting the cab down onto the truck frame and to make sure to test fit the hood AFTER installing the radiator core support brace. I test fitted it before installing it and it fit perfect ...........only to find out that it didn't afterwards. Some gentle sanding cleaned it up enough to fit in the end. Also............make SURE then engine is all the way down in the mount slots provided. I had to risk and "all or nothing" attempt at forcing it straight and luckily, I got by with it.
With all that being said, here's the finishing shots:
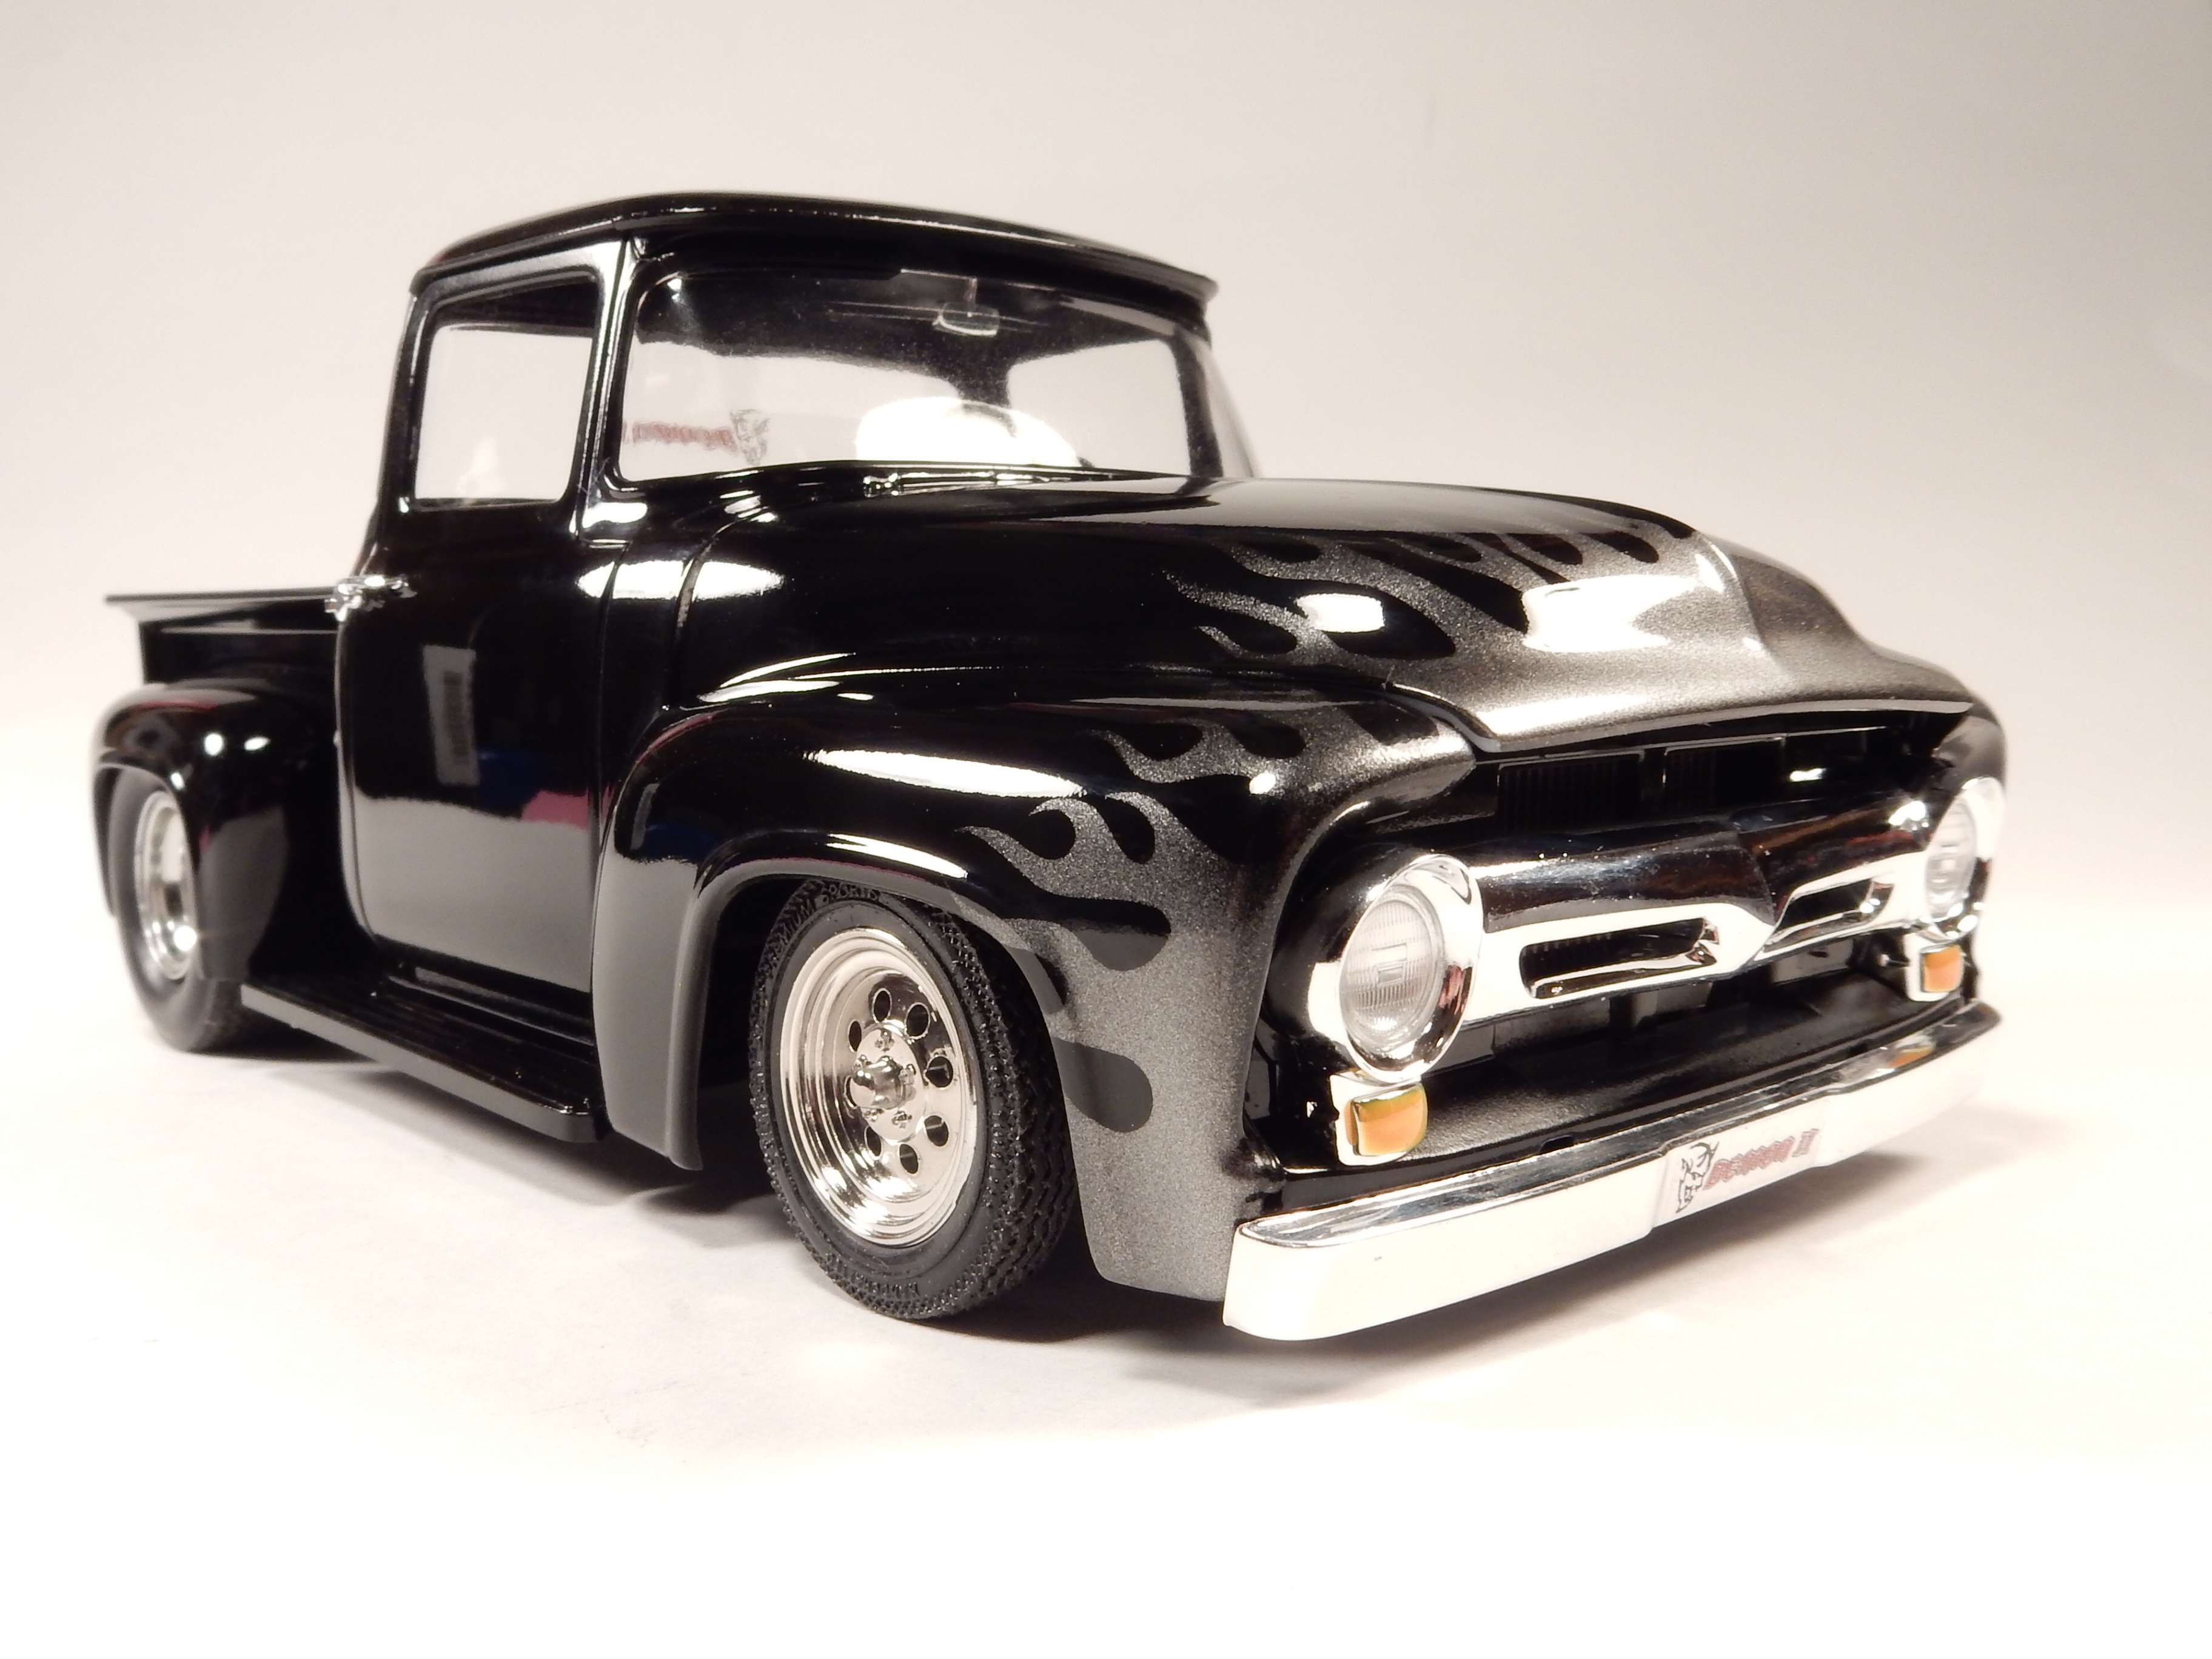
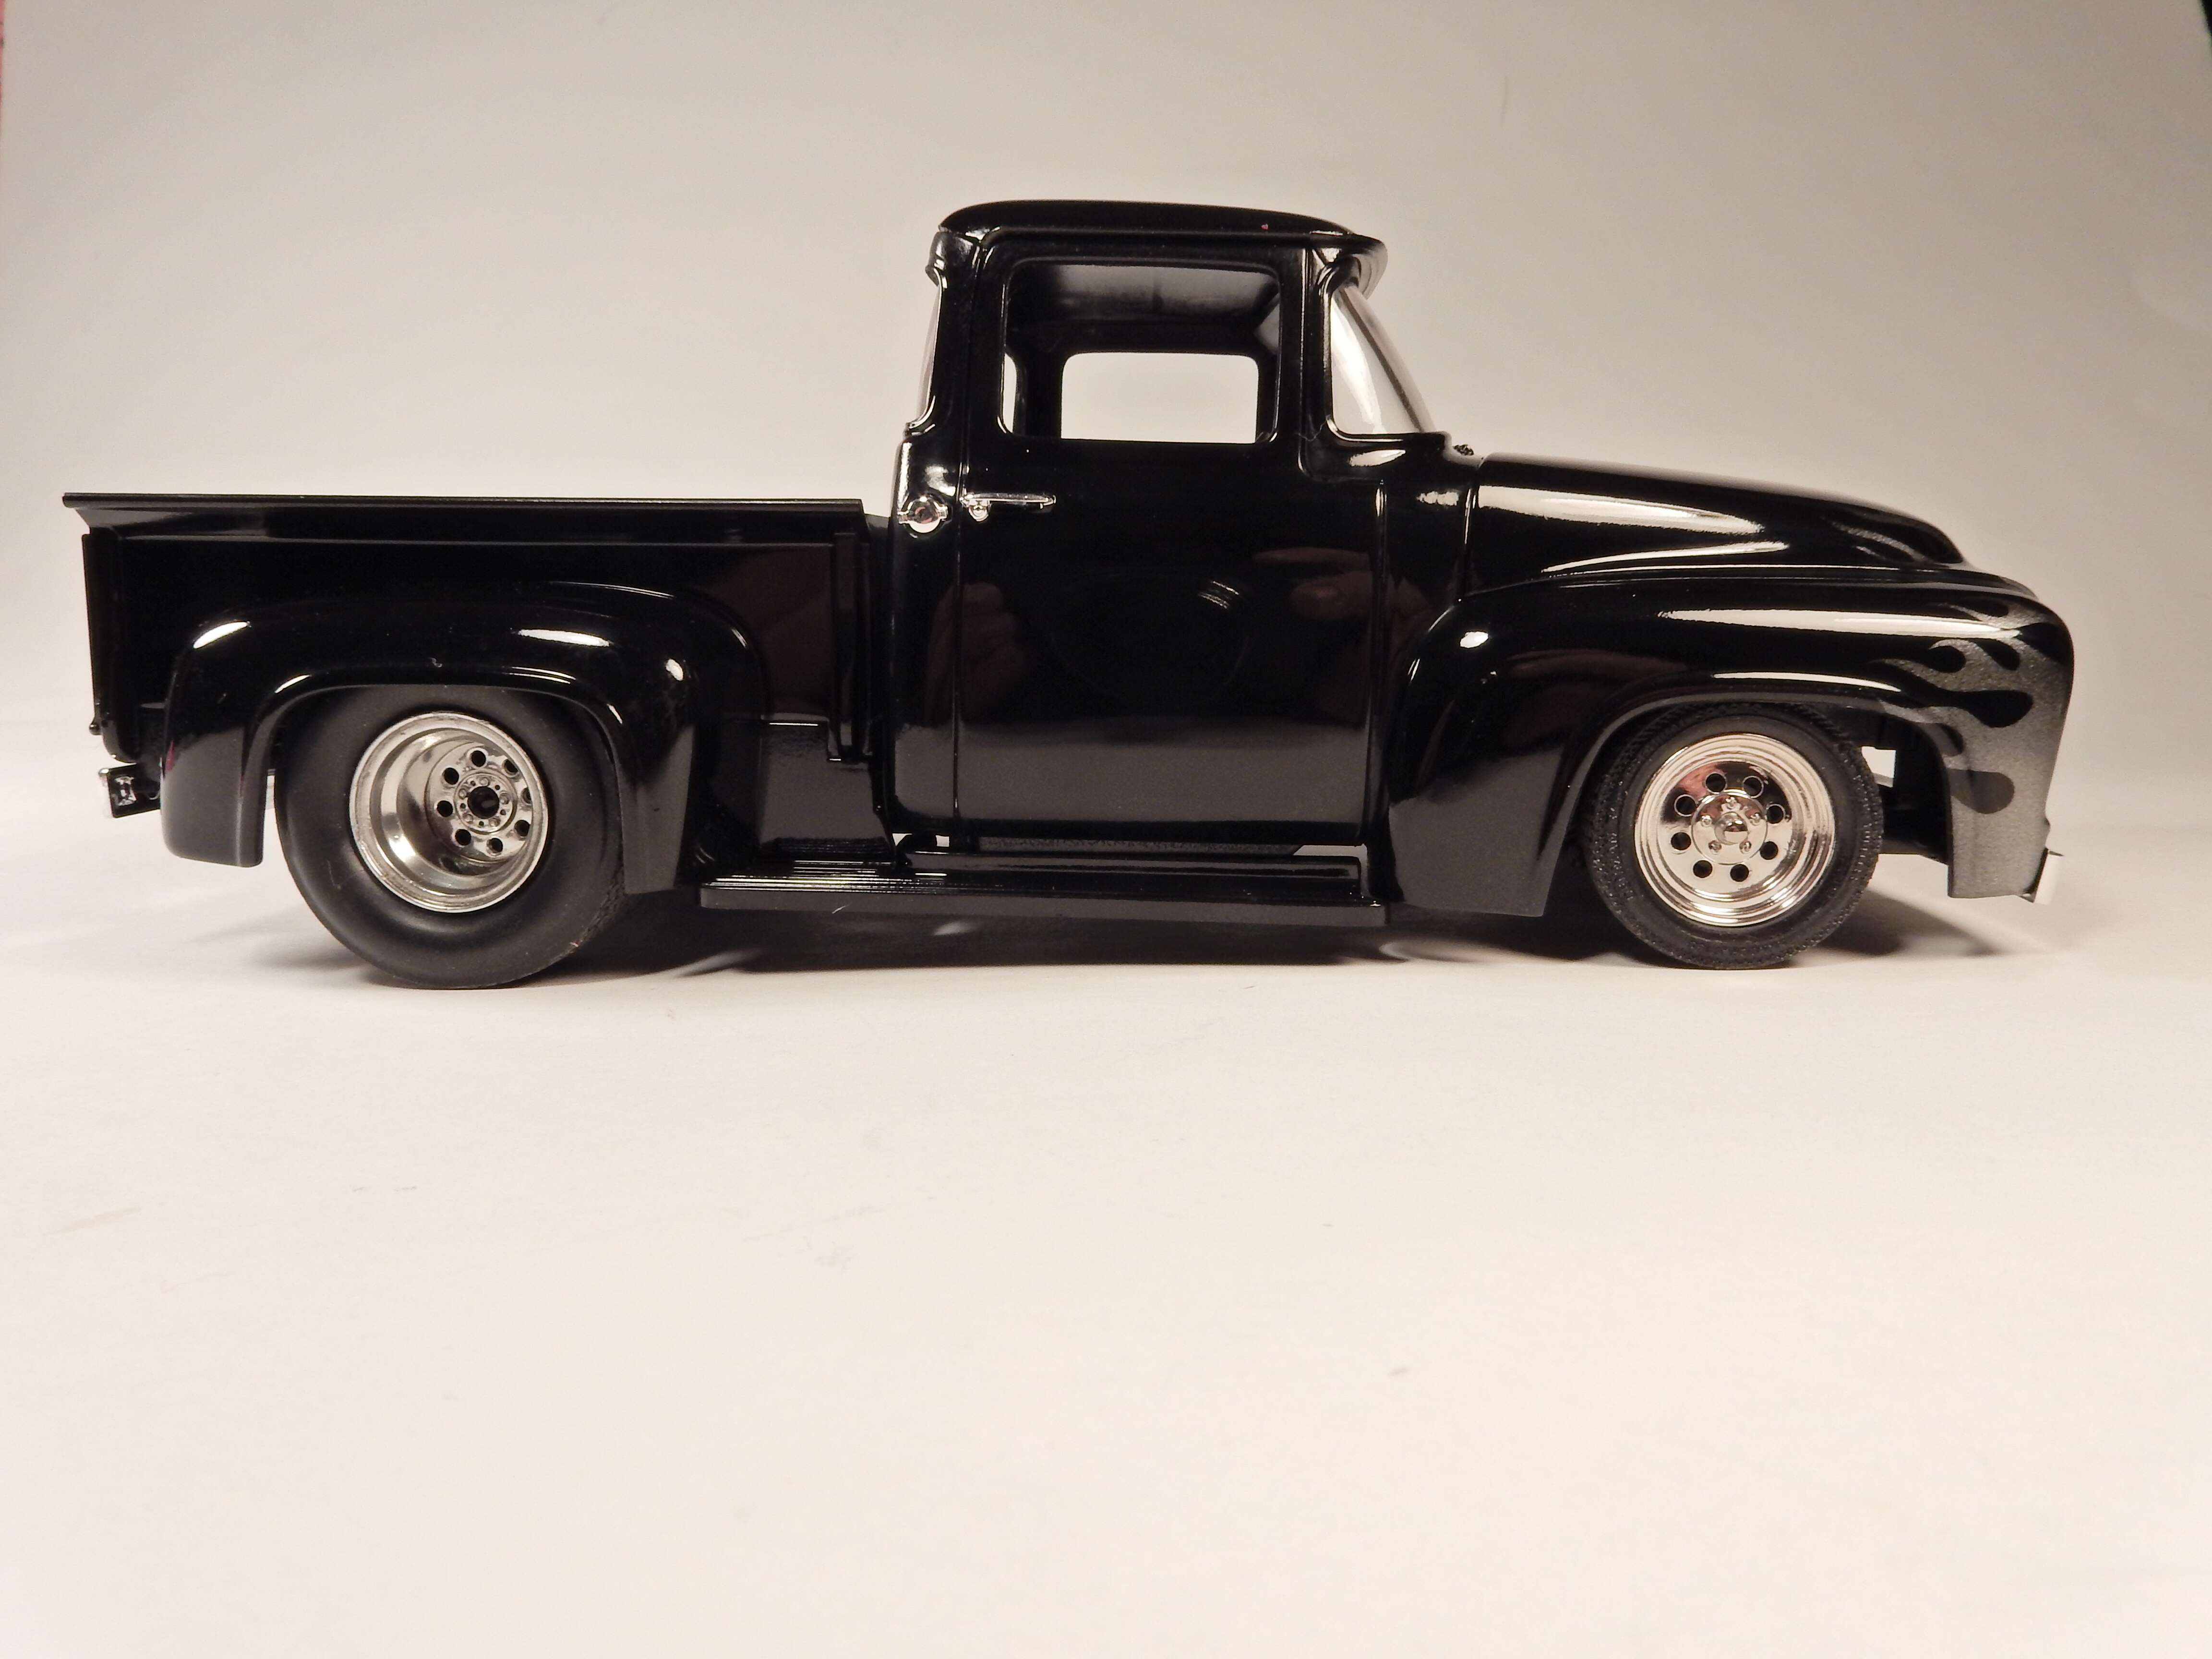
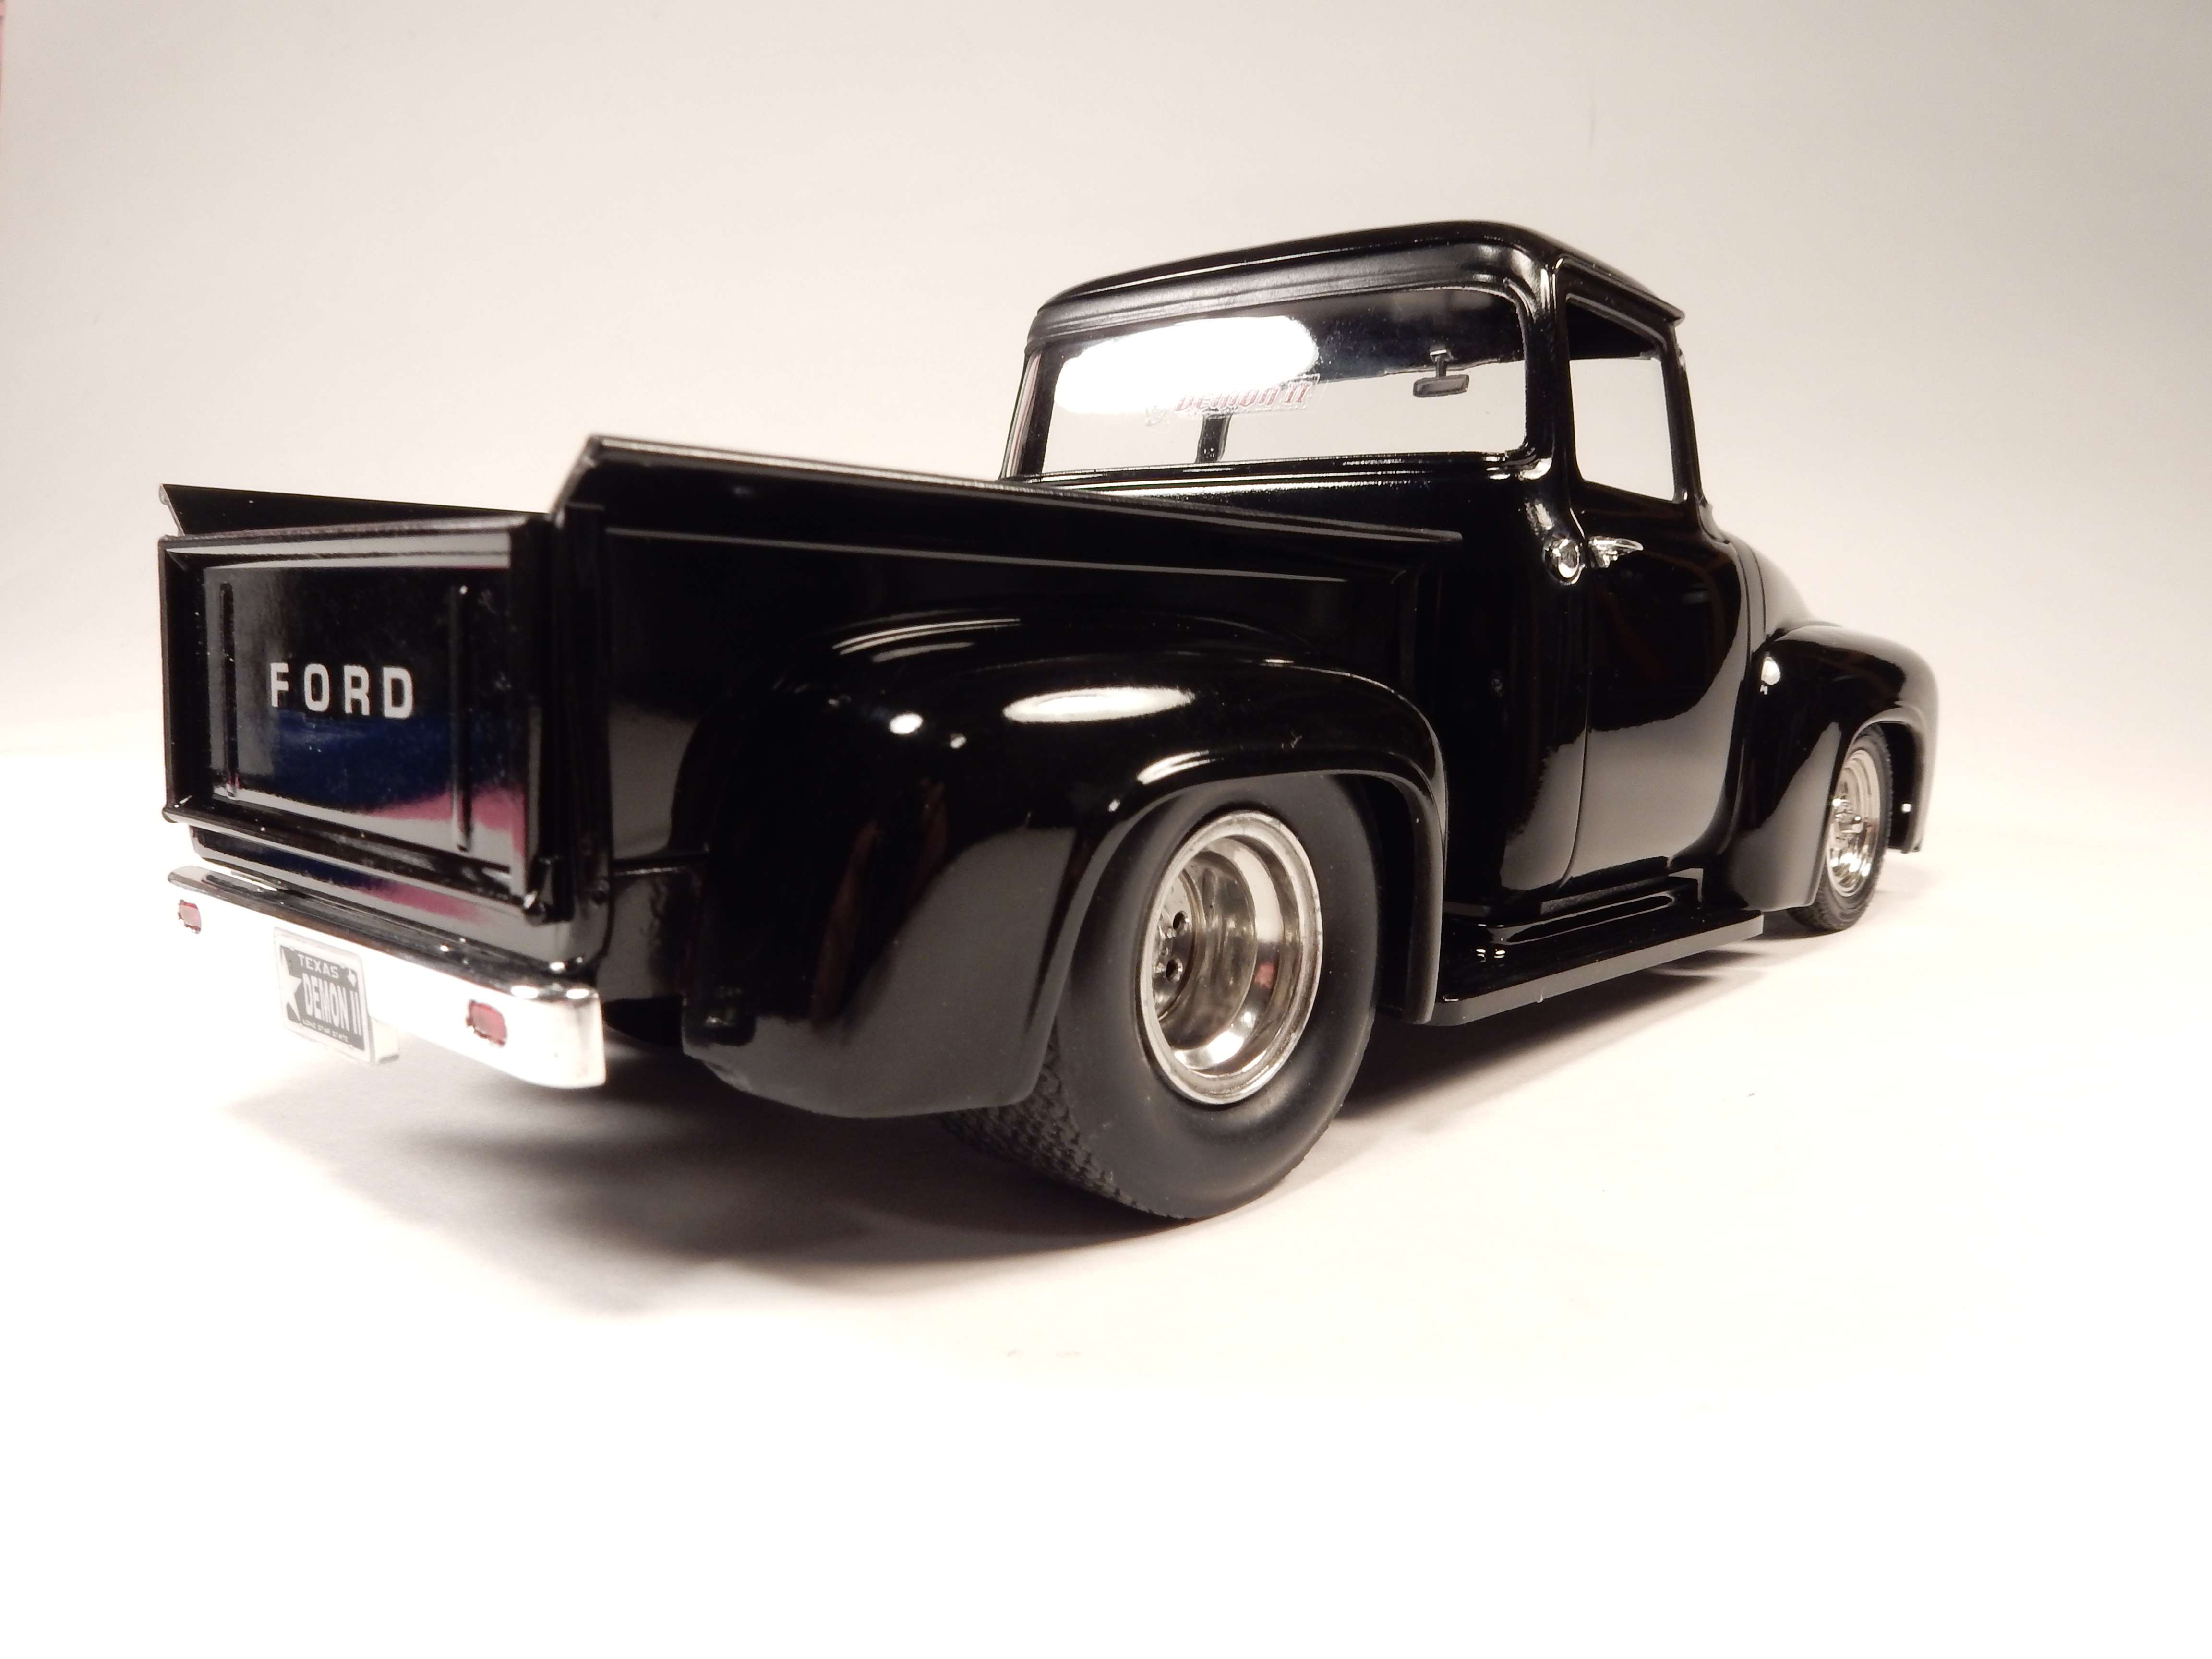
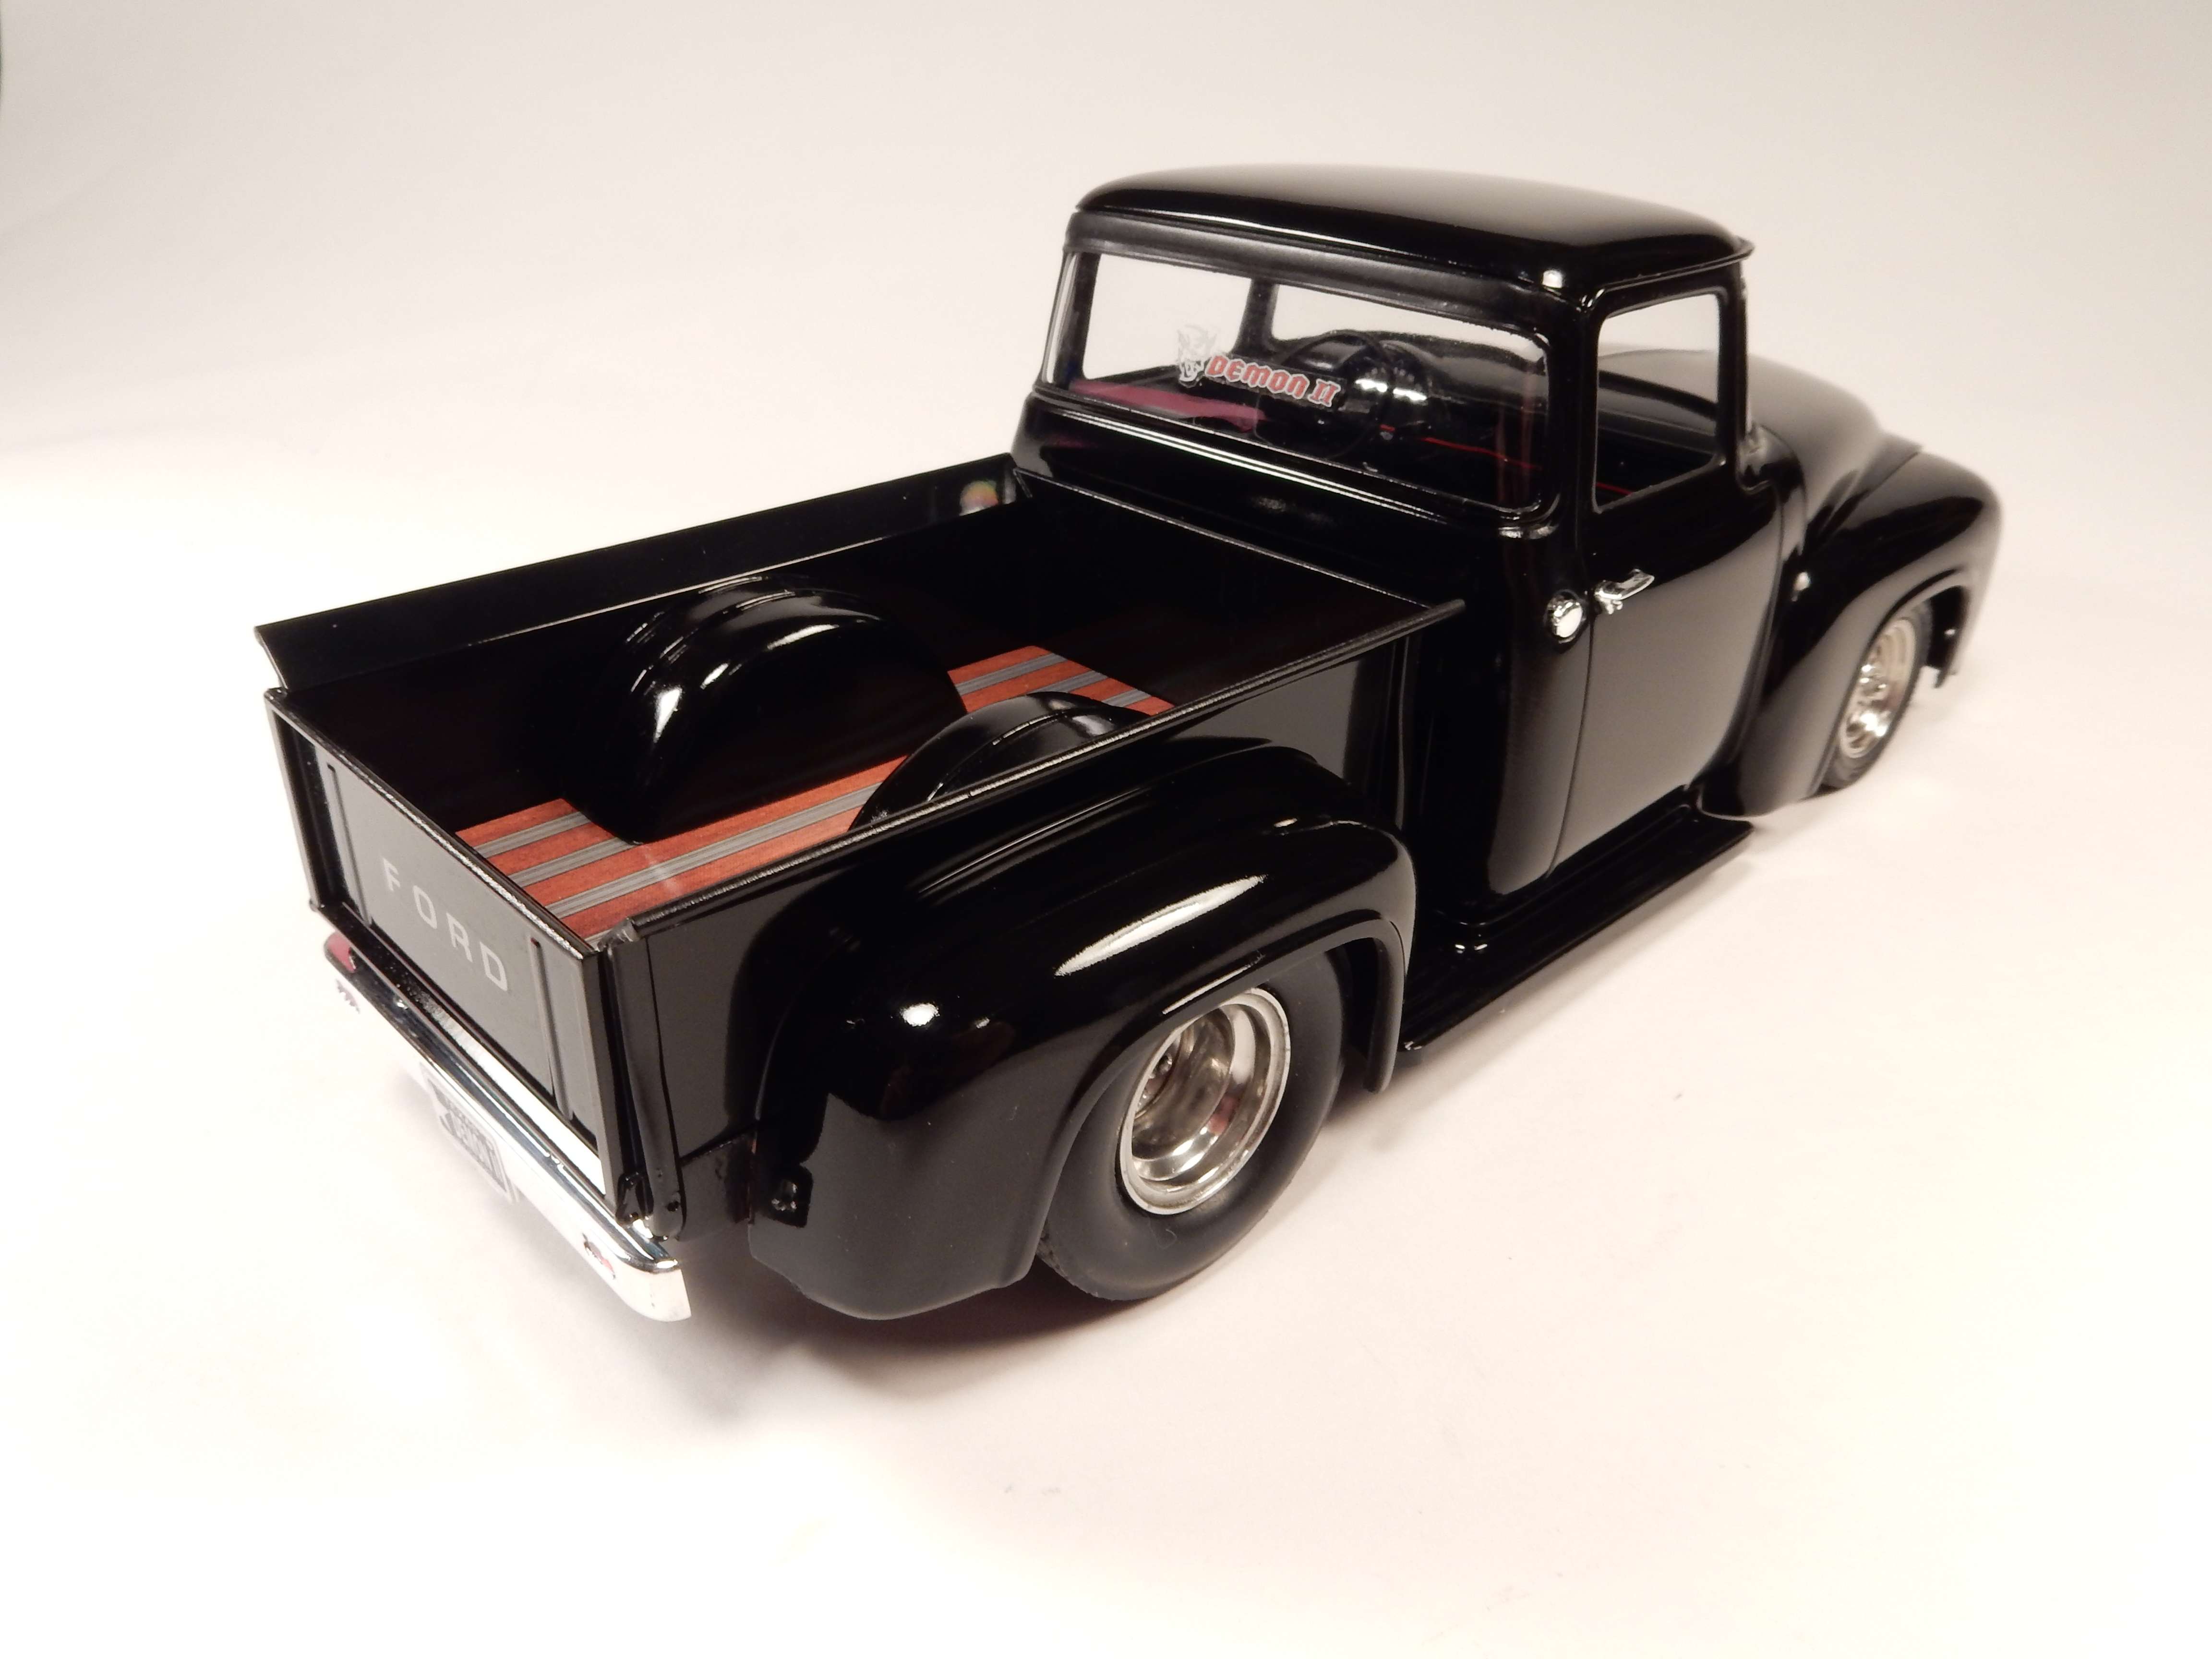

Once put alongside the original "Demon I" (which the front plate on it reads Demon 3 in the series of 6-I didn't know two years ago that I'd be building another one) the differences are painfully obvious in the overall shape of the truck-particularly in the areas of the fenders, grille area and cab height). I took full advantage of these differences to make a more aggressive looking pro street truck this time around.
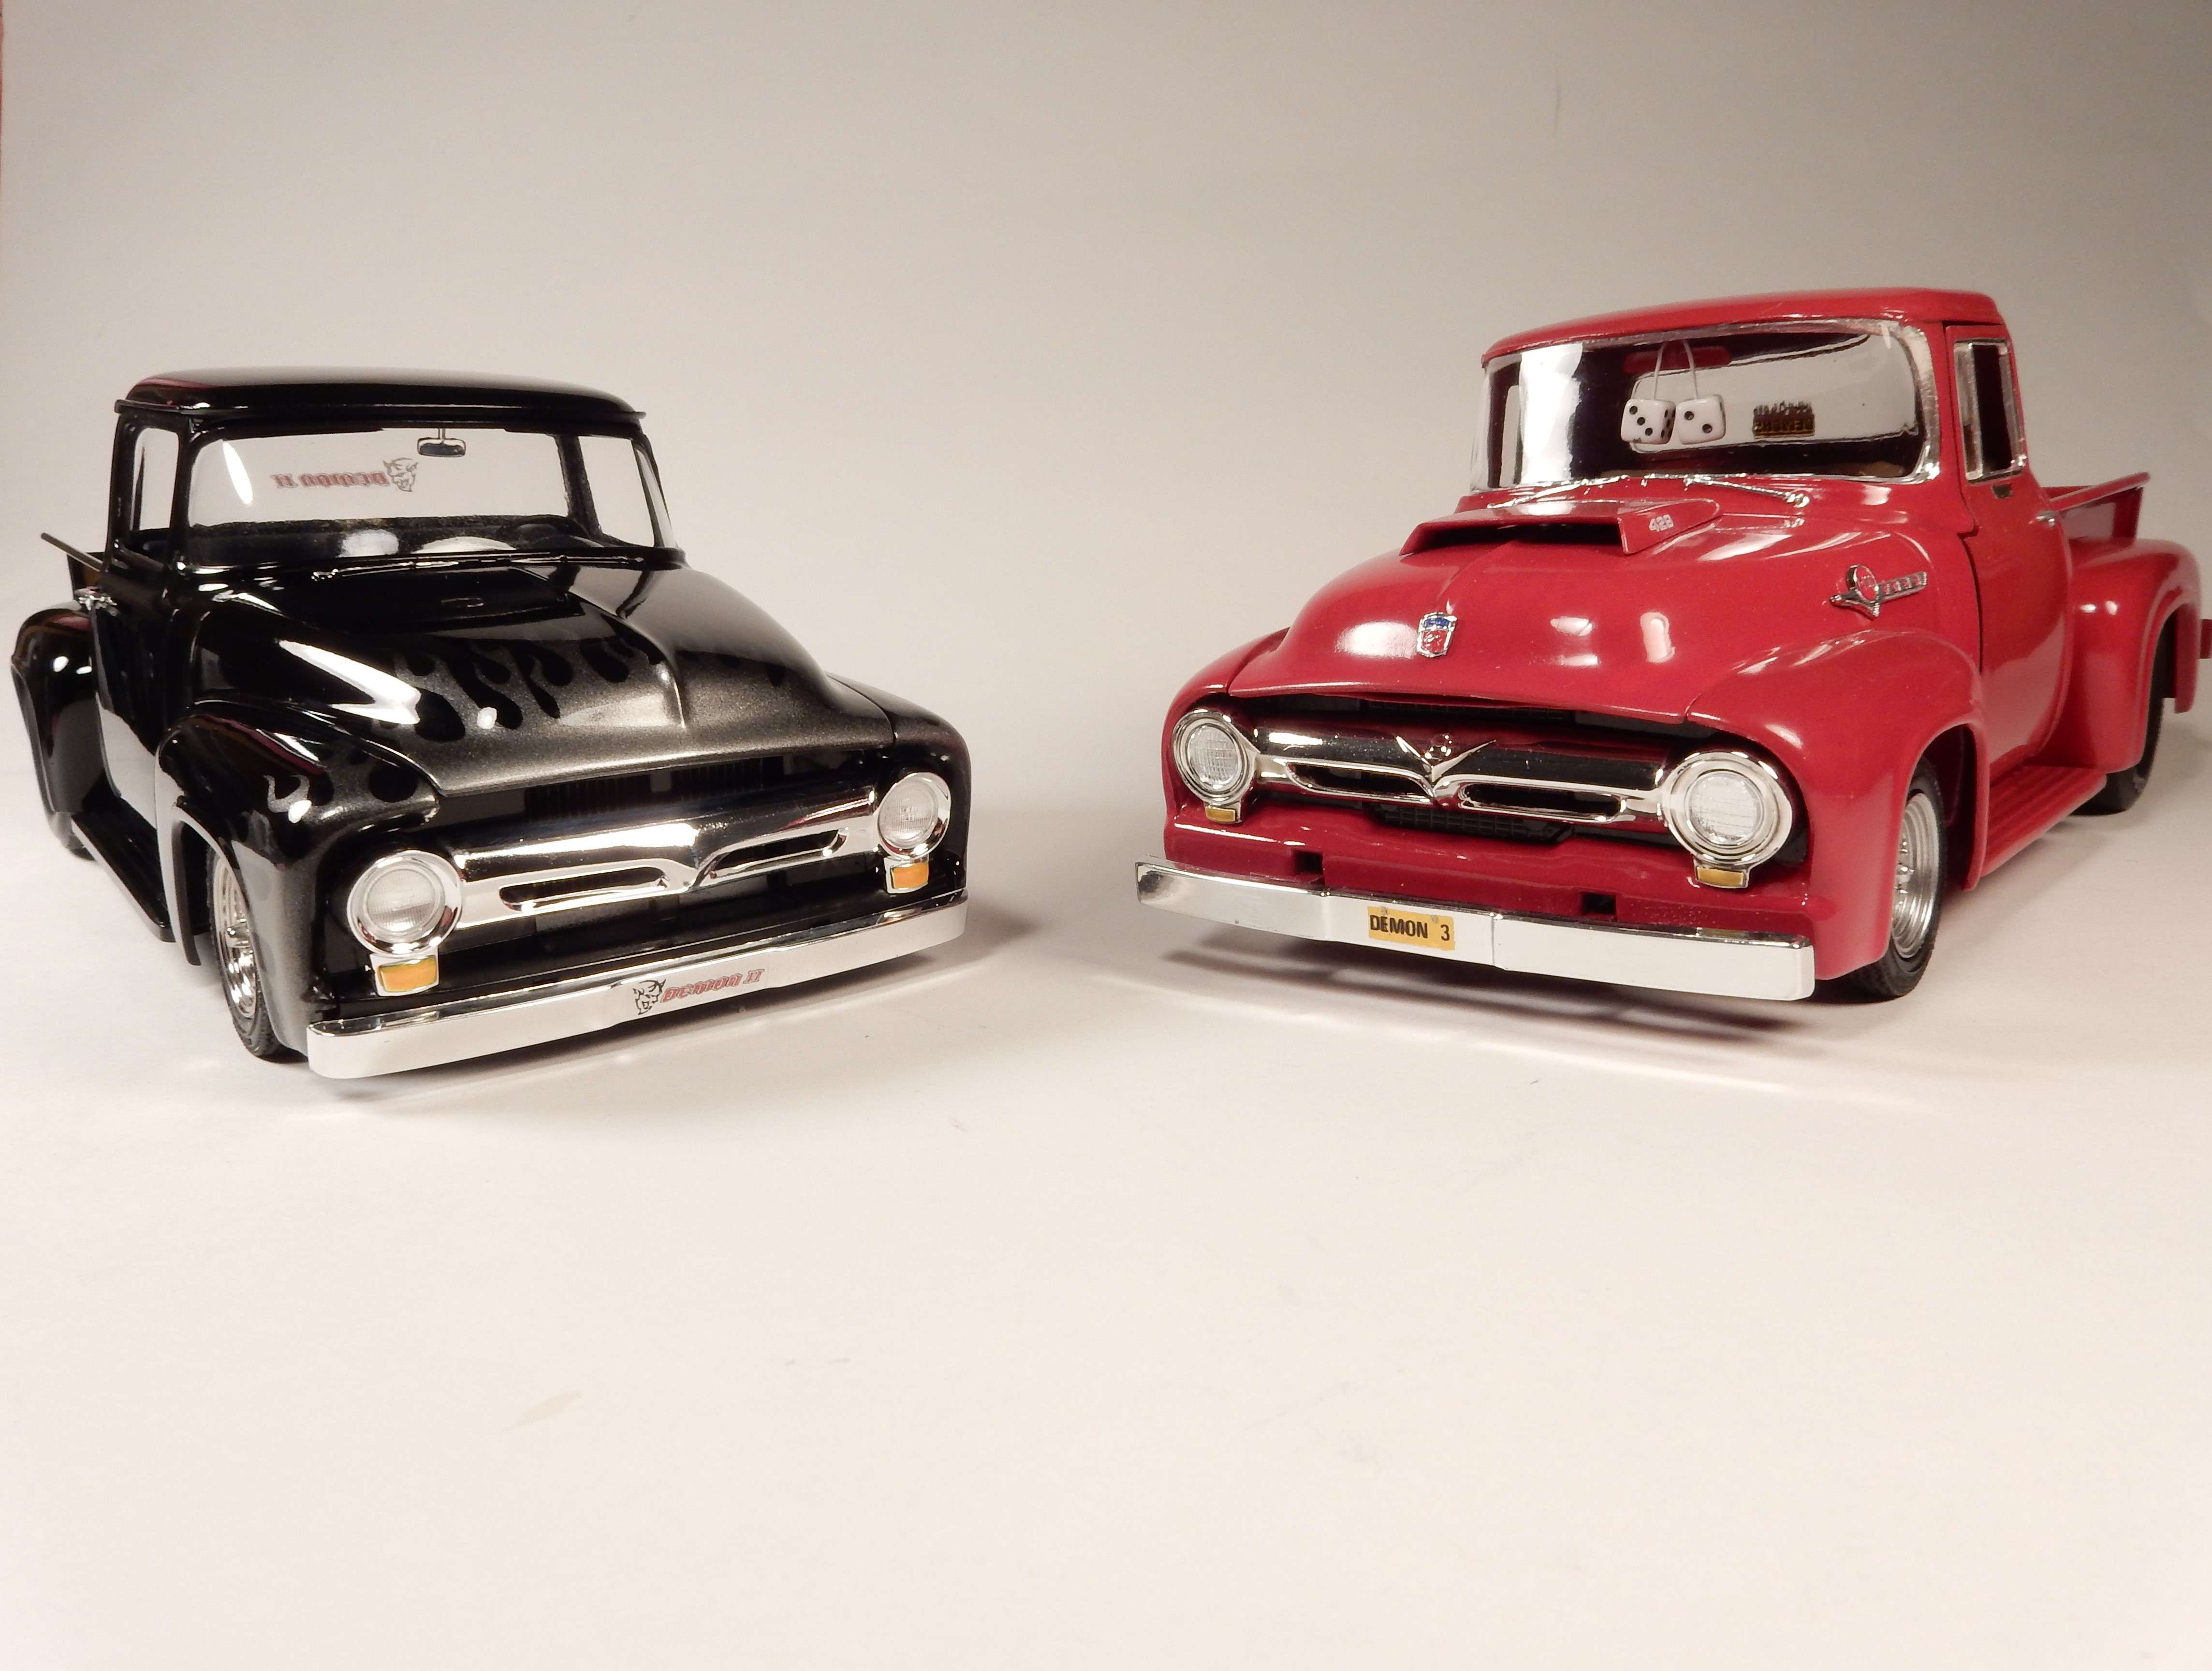
Side by side shot: (Sorry folks, the ol' 429 Boss truck just has to be in the lead
 )
)