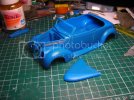
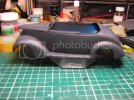
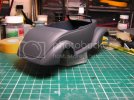
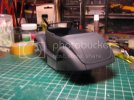
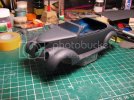
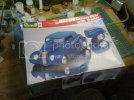
I want to build this one, but I don´t know how to paint the body.
The two last bodies were in one piece, but this one have multiple pieces one including the interior floor, so I don´t know where to begin.
Any advice on this one is more than welcome!!
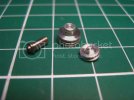
I turned some aluminum rod for the engine pulleys, but I can´t figure how to make the belts.
so I think i´m gonna use the kit pulley arrangement.
Painted the transmision in aluminum, also paint the engine block to find any flaws.
The distributor cap was drilled too.
Wich is the best way to make the spark wire boots??
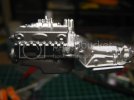
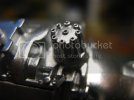
the chassis has too many sink marks, mold seams, ejector pin marks, etc.
It has to be filled, sanded and cleaned.
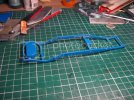
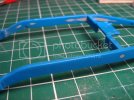
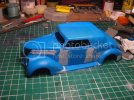
After sanding ( a lot ) discover many low spots, fill them and dry fitting the body.
Next..... more sanding!
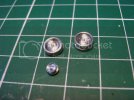
I made another set of pulleys for this model, and delete the AC one.
I hope this set will looks better.
I´m still sanding!
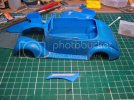
I have some troubles with this model, the big parts have many, many ejector pin marks, and the small parts have lots of flash and even some ejector pin marks.
I never see so many ejector pin marks in a small area on any aircraft model.
I have to fill and sand too much, my dear scale car modellers you have all my respect!!
did I mention that this kit have too many ejector pin marks?
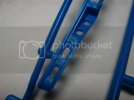
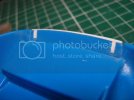
Even this small area will be visible.
So sanding and cleaning is in order.
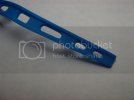
Under the body there are many ejector pin marks and flash.
I have to sand a lot here.
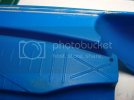
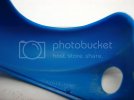
Under the hood there are more work to do.
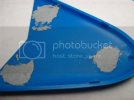
I cut the gas tank to make the cleaning and paint work more easier.
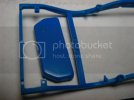
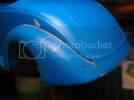
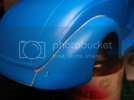
There are some notches that need to be filled, because I´m not planing to use the bumpers.
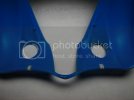
The two last bodies were in one piece, but this one have multiple pieces one including the interior floor, so I don´t know where to begin.
Any advice on this one is more than welcome!!

I turned some aluminum rod for the engine pulleys, but I can´t figure how to make the belts.
so I think i´m gonna use the kit pulley arrangement.

Painted the transmision in aluminum, also paint the engine block to find any flaws.
The distributor cap was drilled too.
Wich is the best way to make the spark wire boots??


the chassis has too many sink marks, mold seams, ejector pin marks, etc.
It has to be filled, sanded and cleaned.


After sanding ( a lot ) discover many low spots, fill them and dry fitting the body.
Next..... more sanding!

I made another set of pulleys for this model, and delete the AC one.
I hope this set will looks better.
I´m still sanding!


I have some troubles with this model, the big parts have many, many ejector pin marks, and the small parts have lots of flash and even some ejector pin marks.
I never see so many ejector pin marks in a small area on any aircraft model.
I have to fill and sand too much, my dear scale car modellers you have all my respect!!
did I mention that this kit have too many ejector pin marks?

Even this small area will be visible.
So sanding and cleaning is in order.

Under the body there are many ejector pin marks and flash.
I have to sand a lot here.


Under the hood there are more work to do.

I cut the gas tank to make the cleaning and paint work more easier.

There are some notches that need to be filled, because I´m not planing to use the bumpers.


