You are using an out of date browser. It may not display this or other websites correctly.
You should upgrade or use an alternative browser.
You should upgrade or use an alternative browser.
25 T Altered
- Thread starter RacerX
- Start date


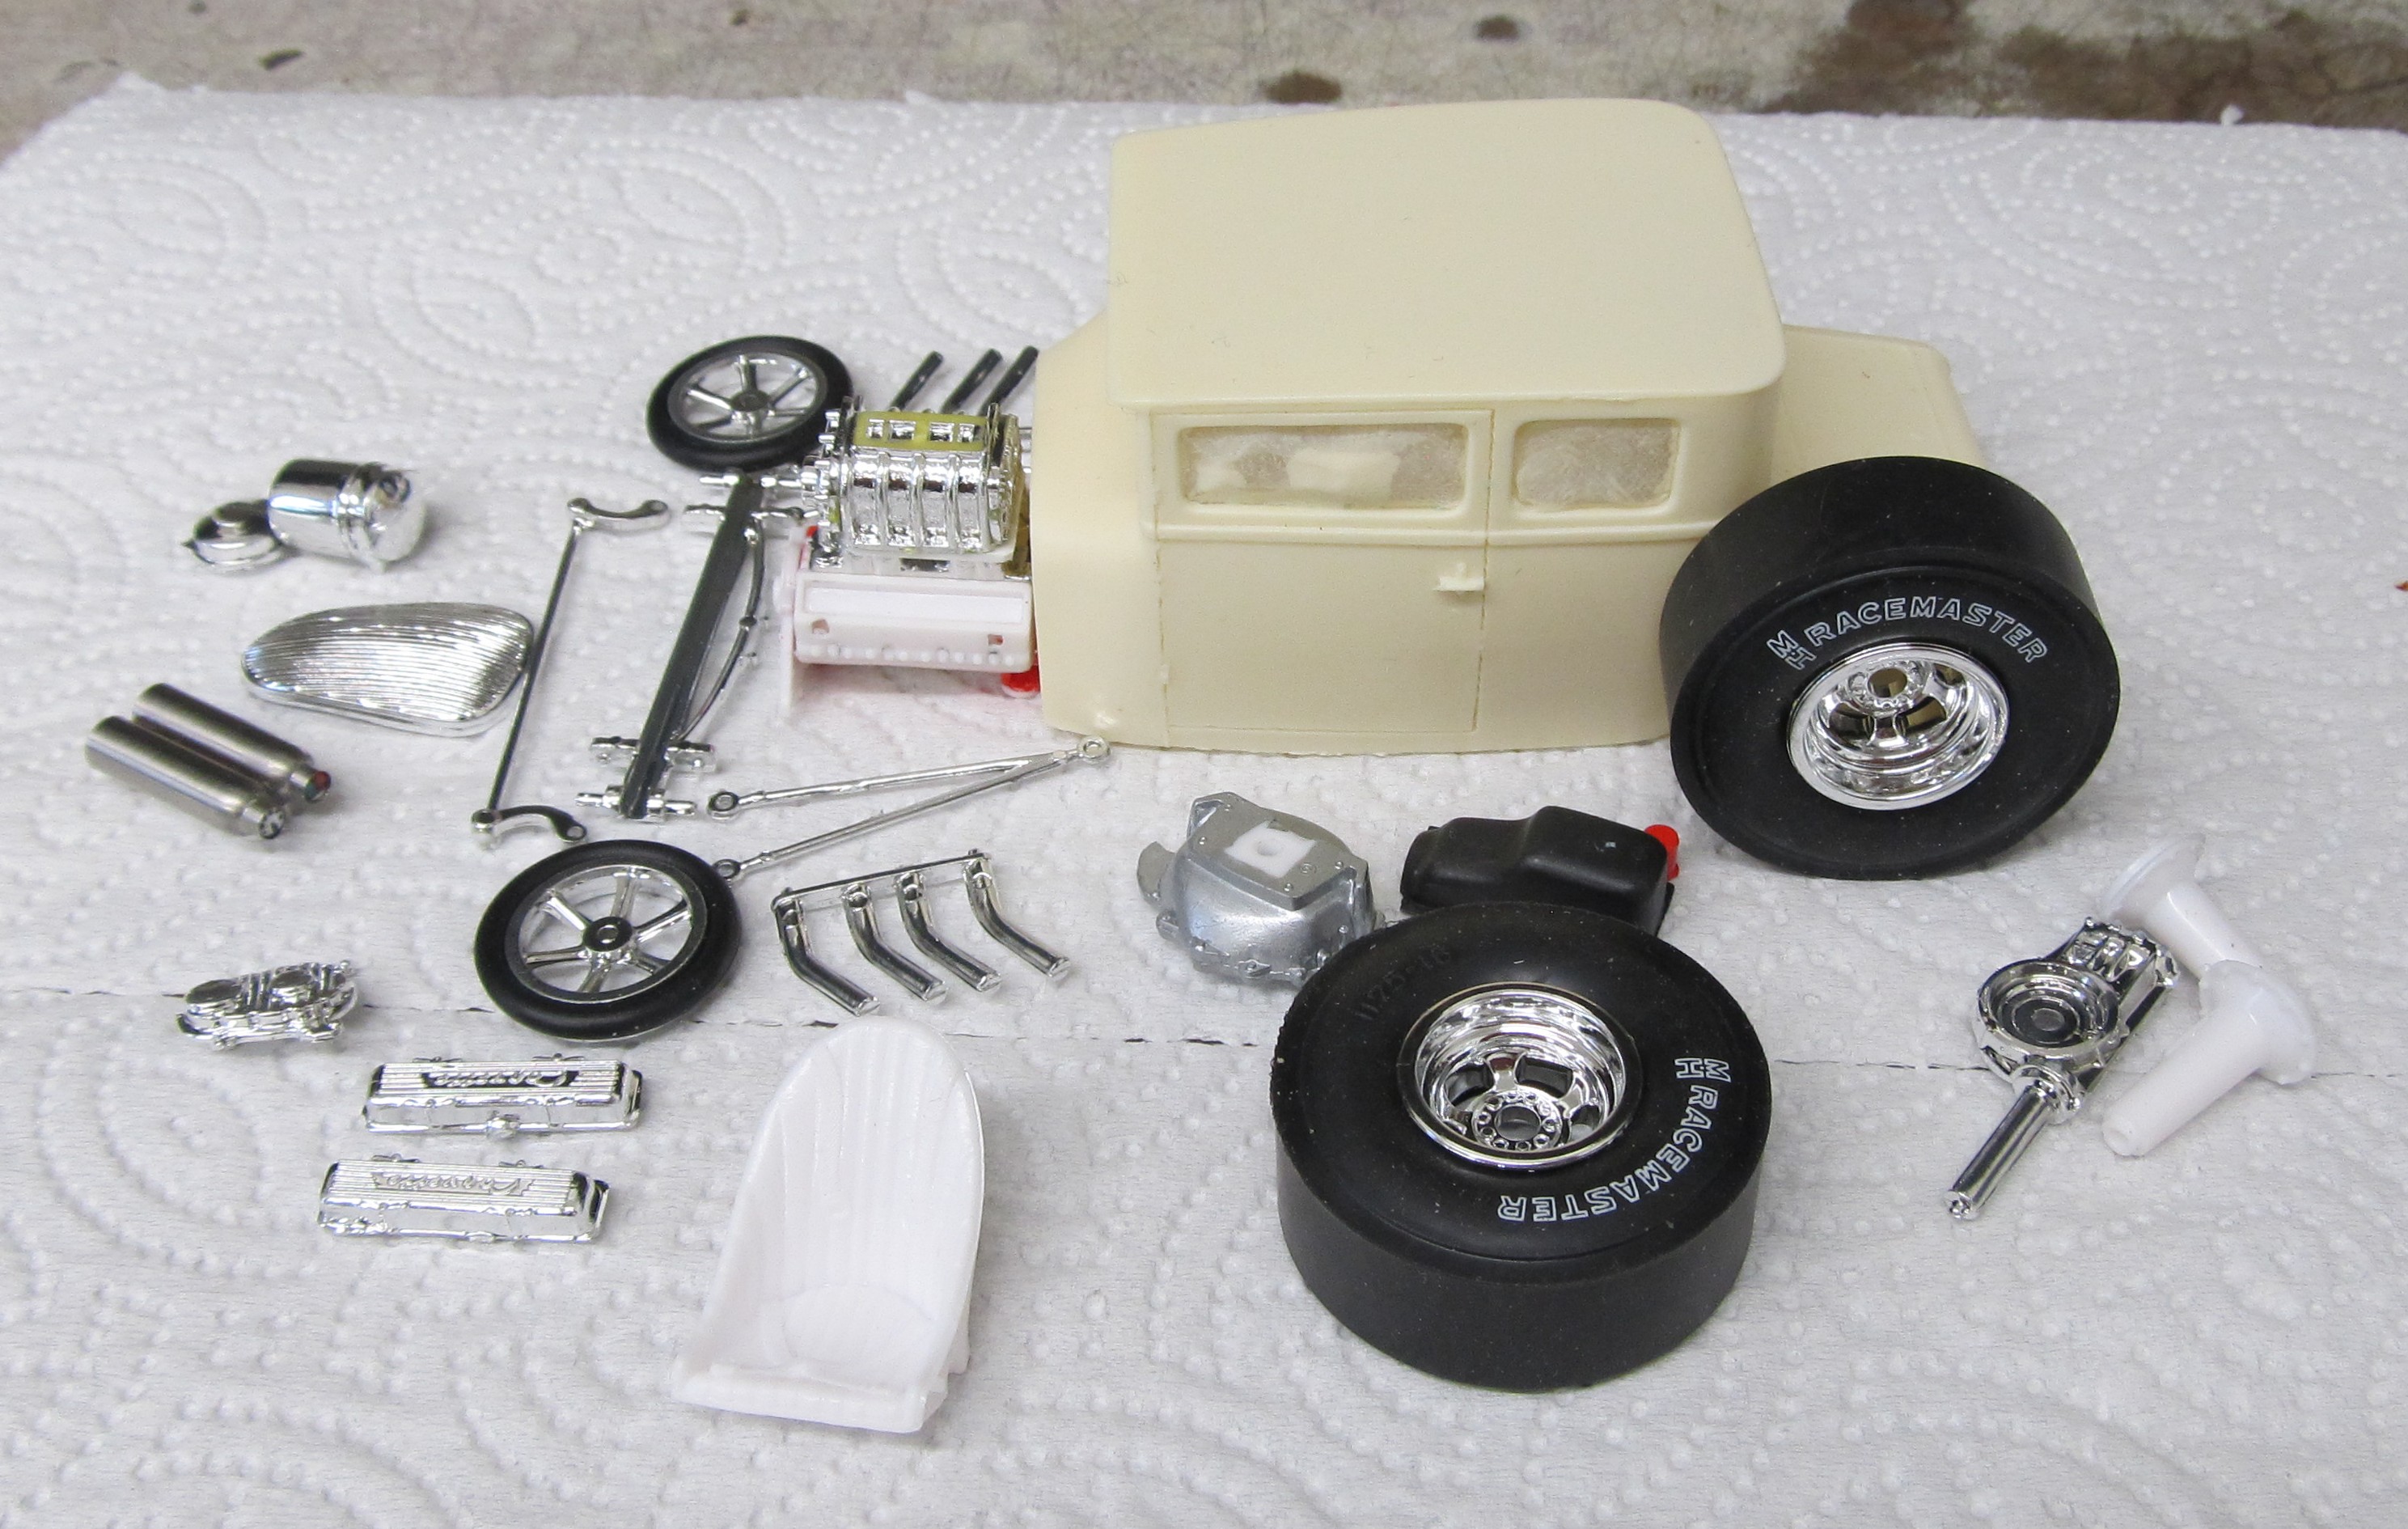
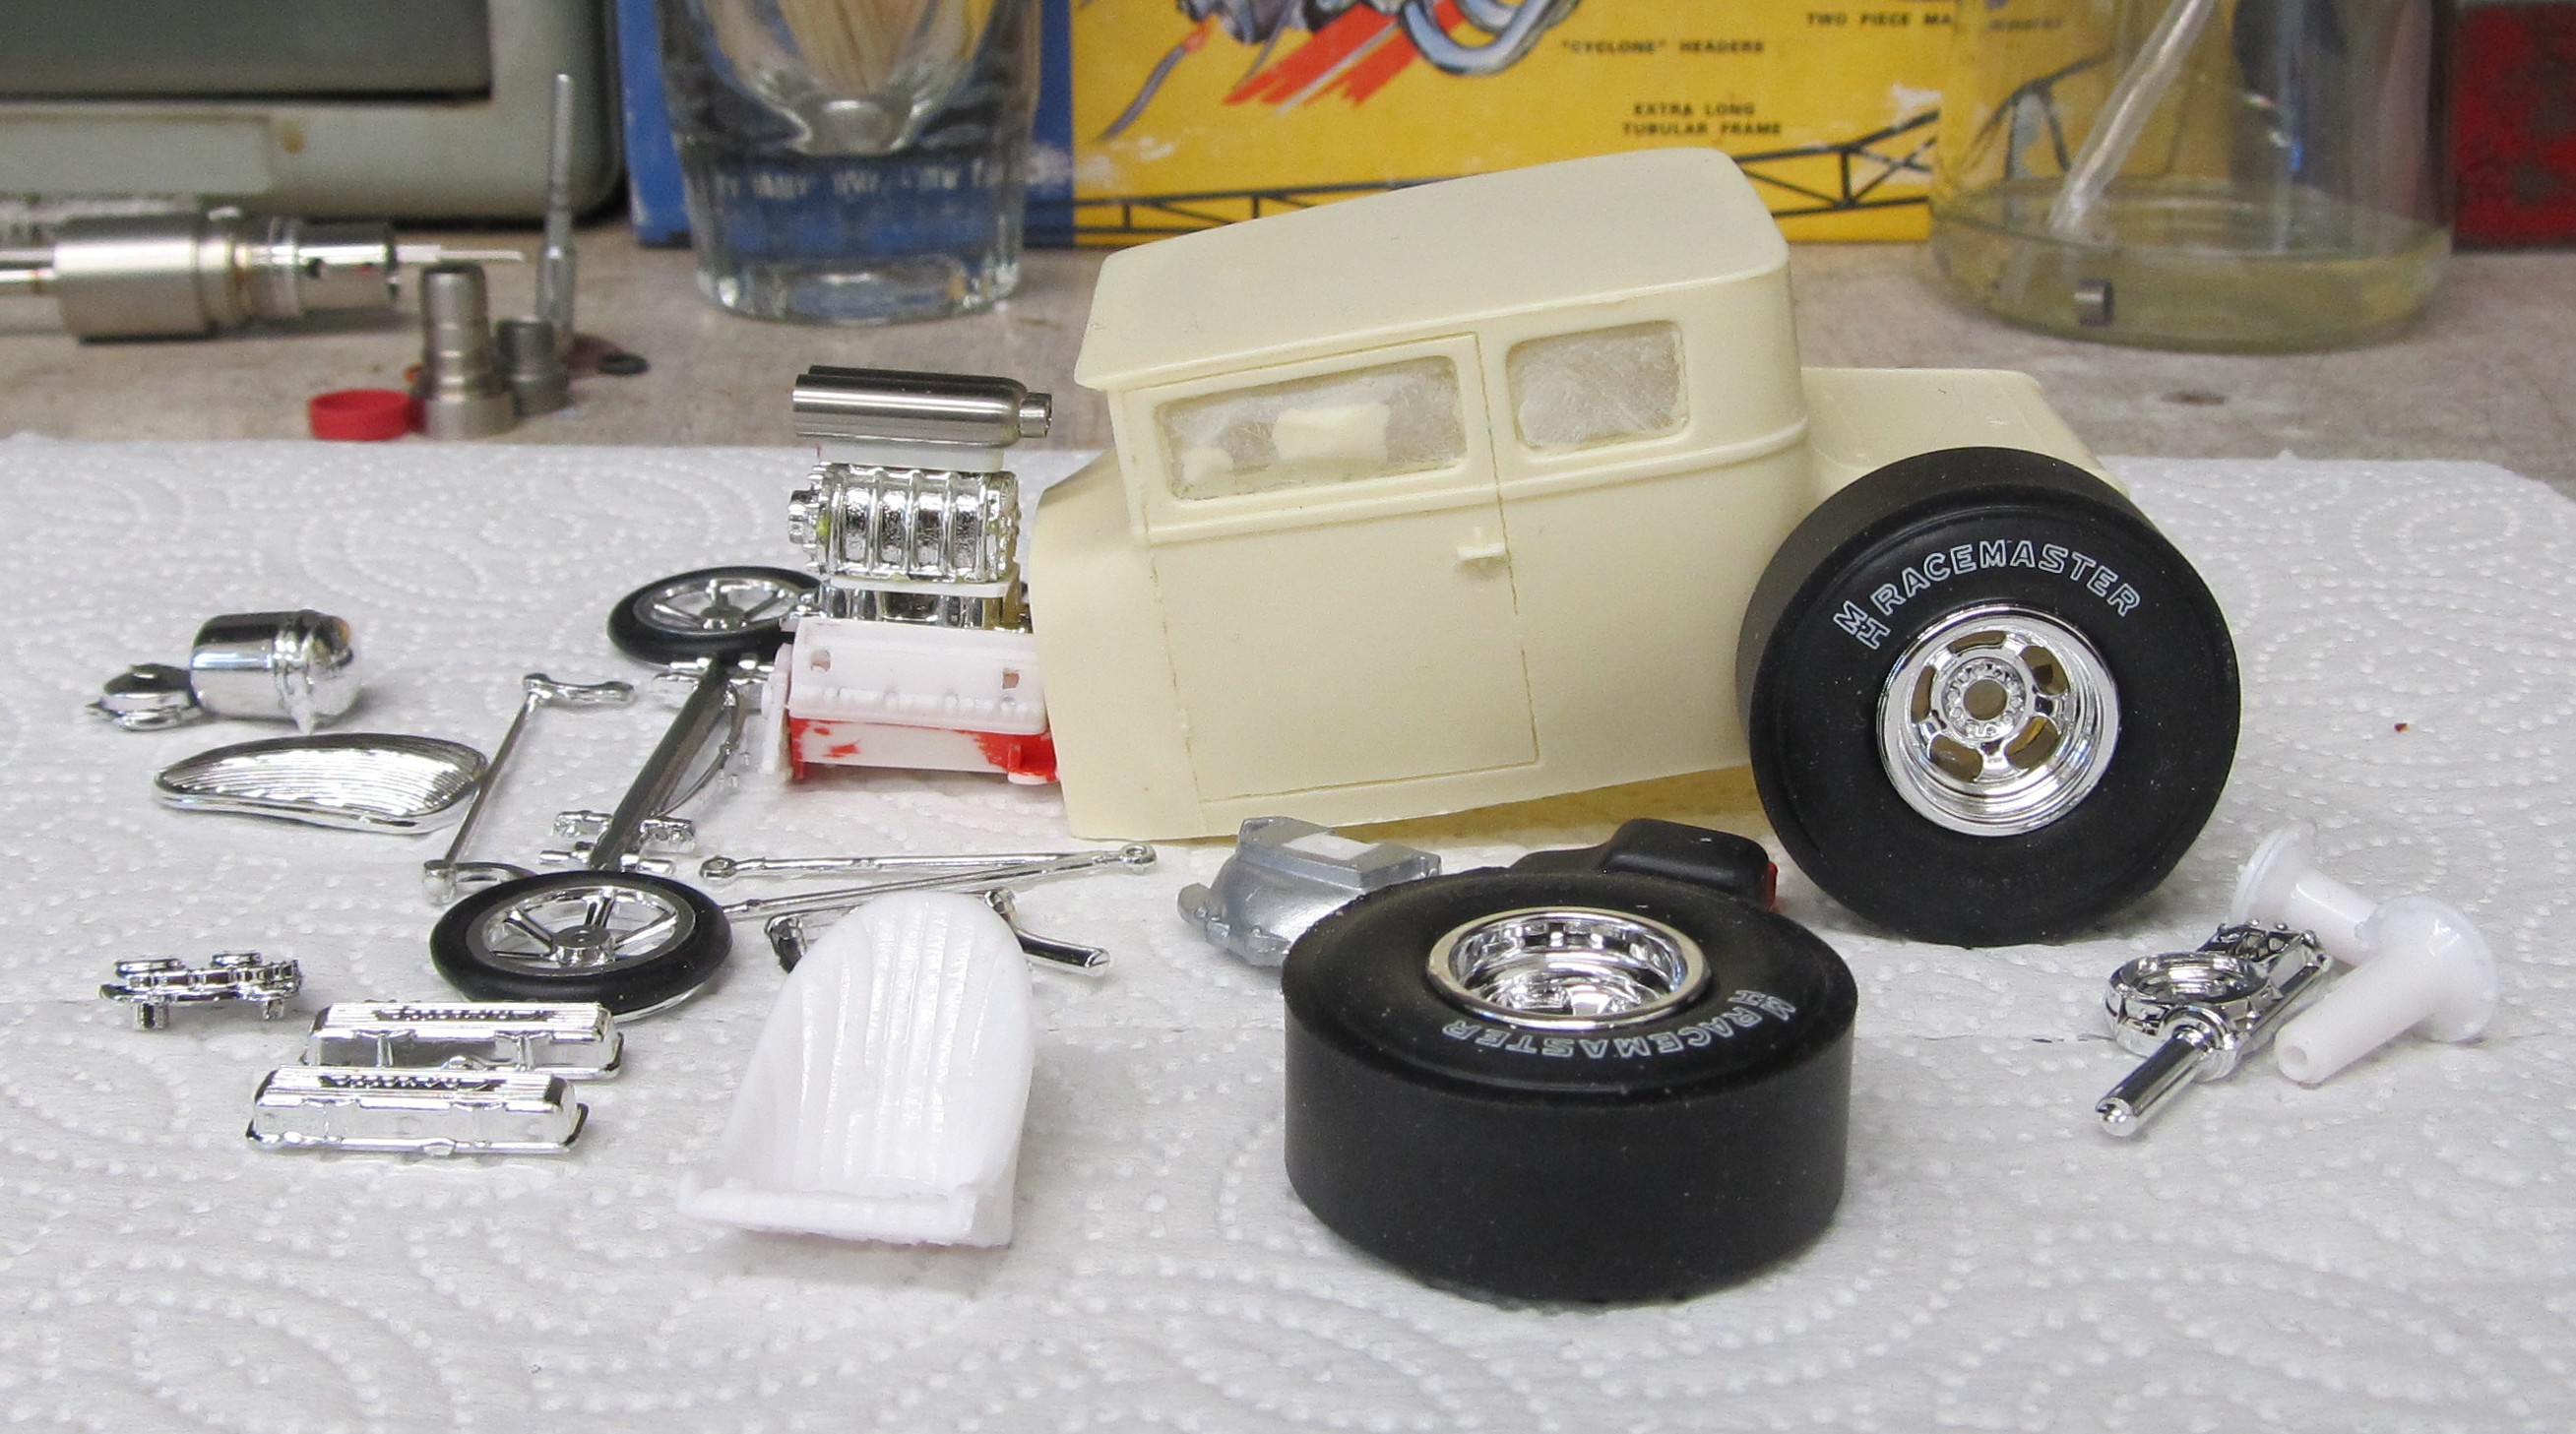
The tires are from the AMT parts pack stuff you get 6 sets in the box. L60/15 was the go to tire for me to in the 70s couldn't afford tub work or a narrowed rear so lots of wheel well opening butchering got done.Love the wheels! Always wanted a set of 60's for the rear of my car when I was a kid!
 Here is a crappy picture of a picture of my mouse, about 450hp in around 1978.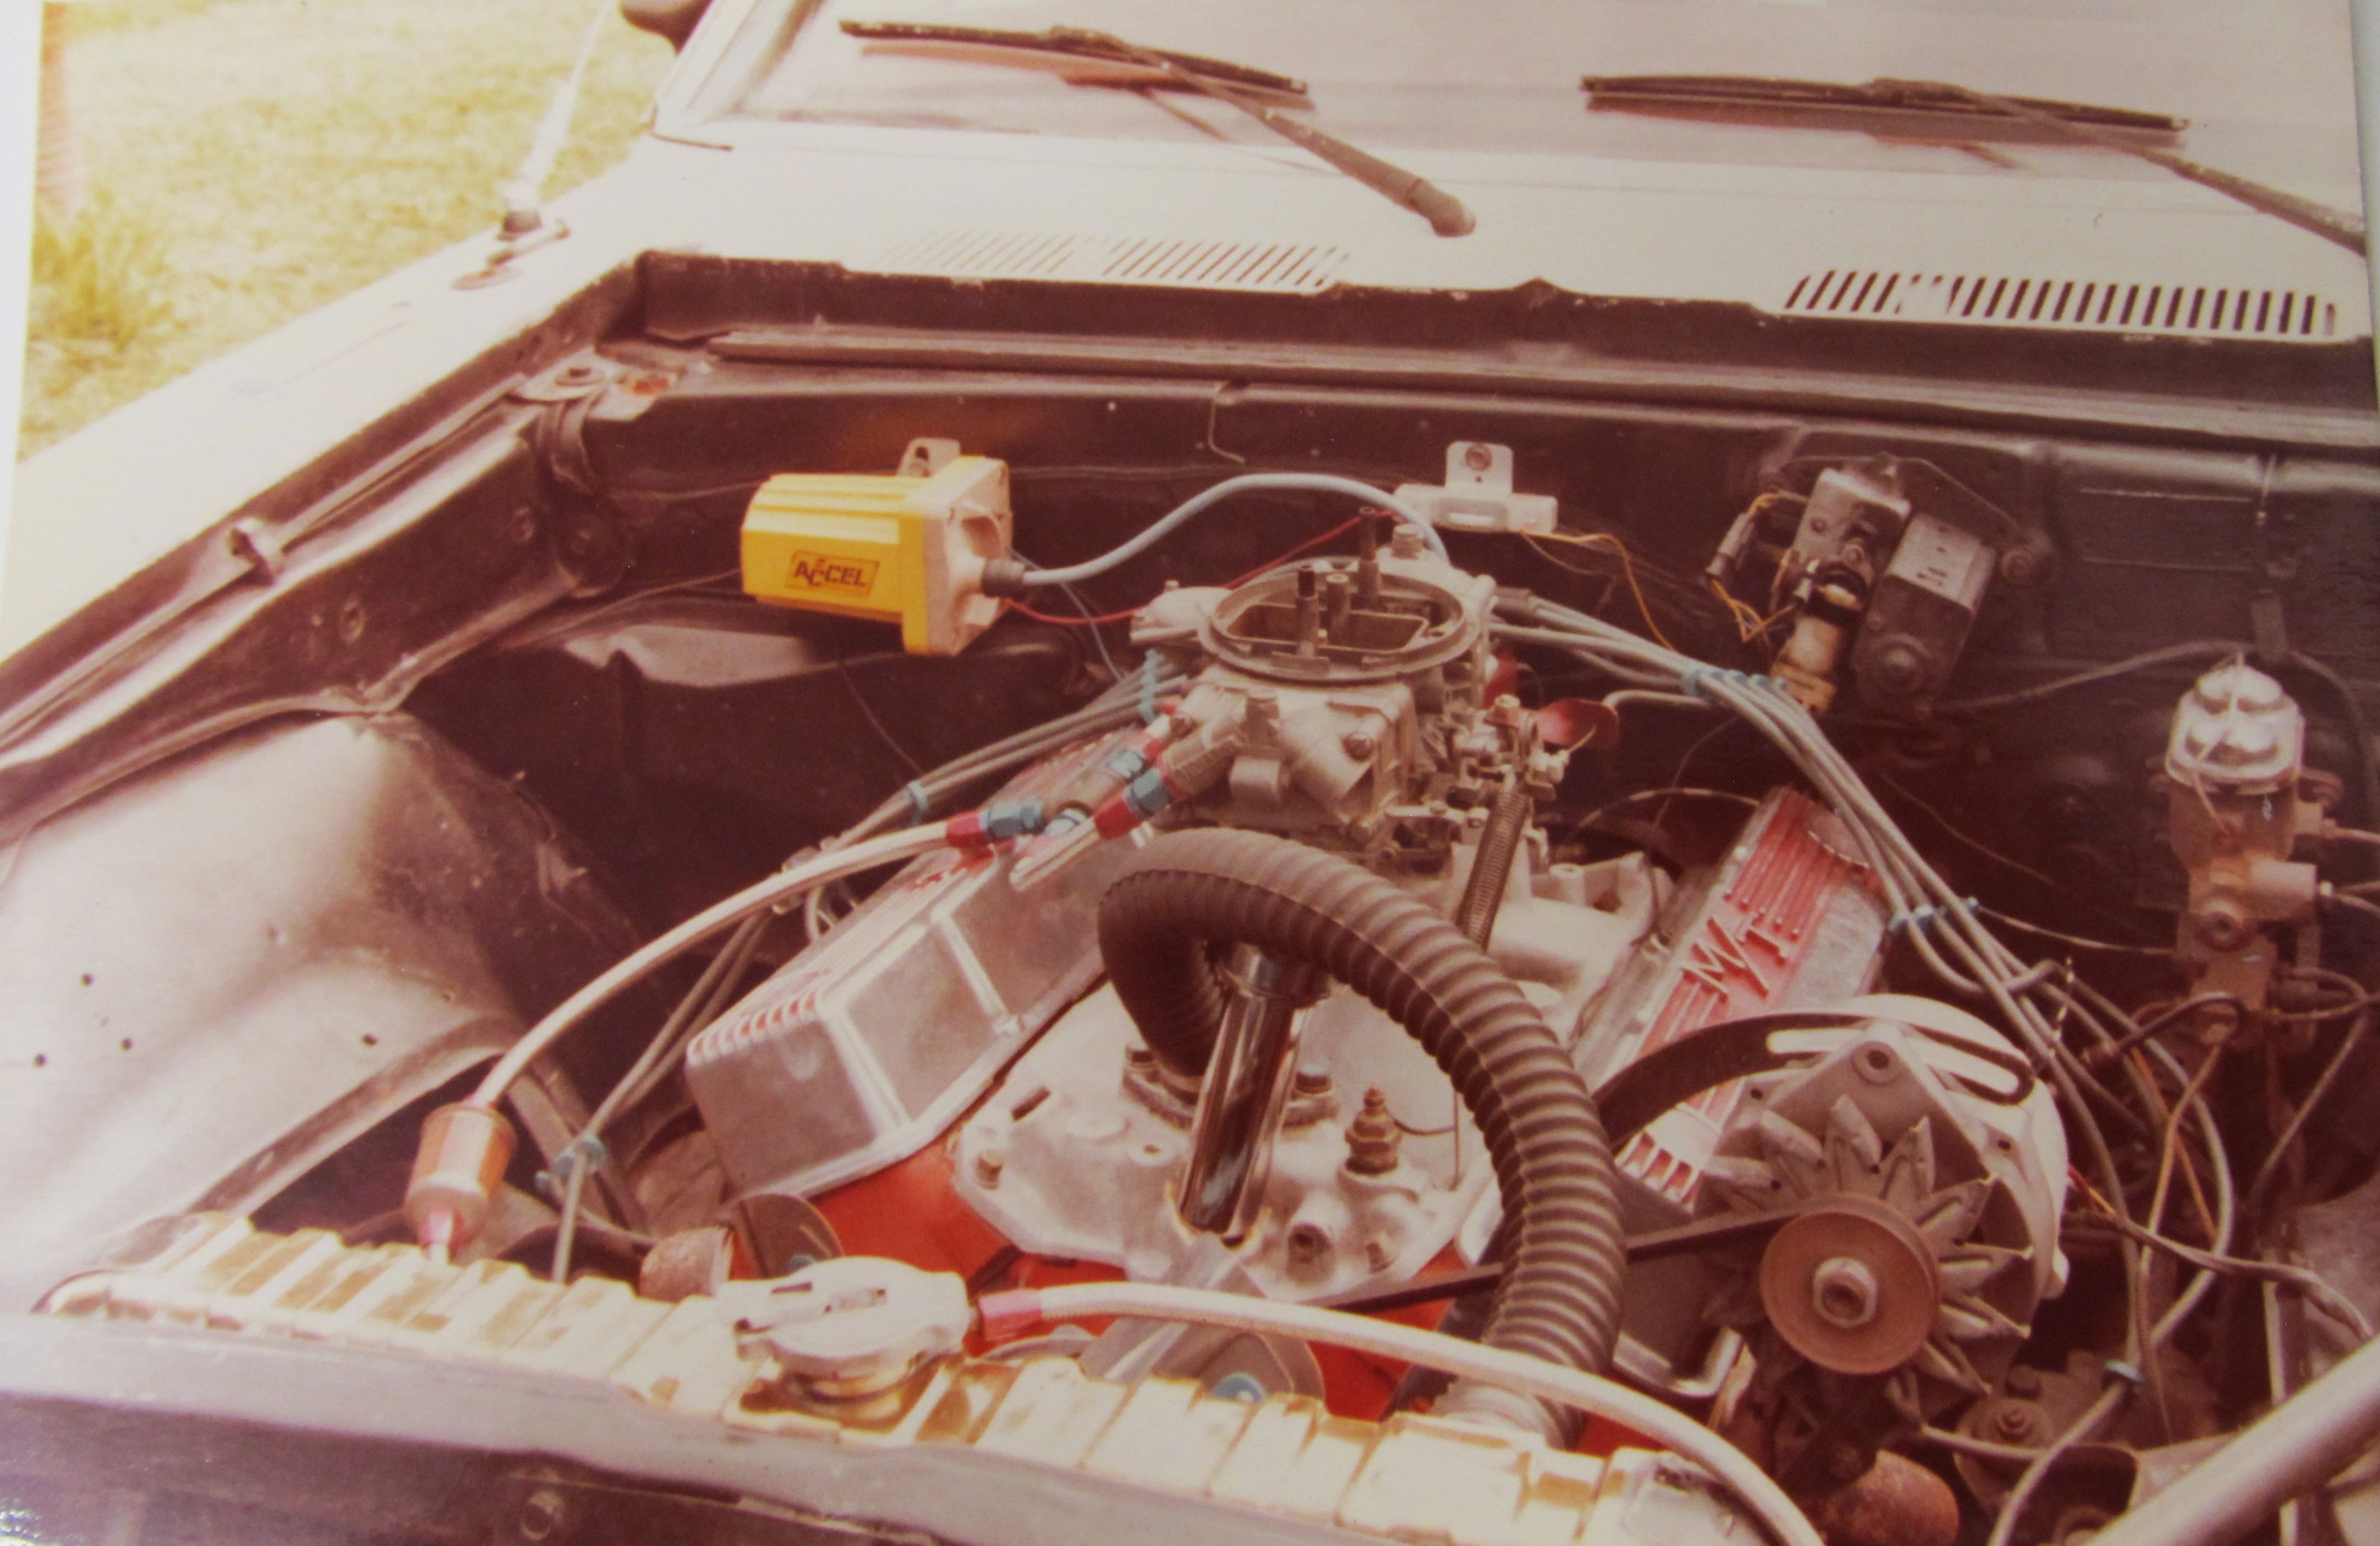
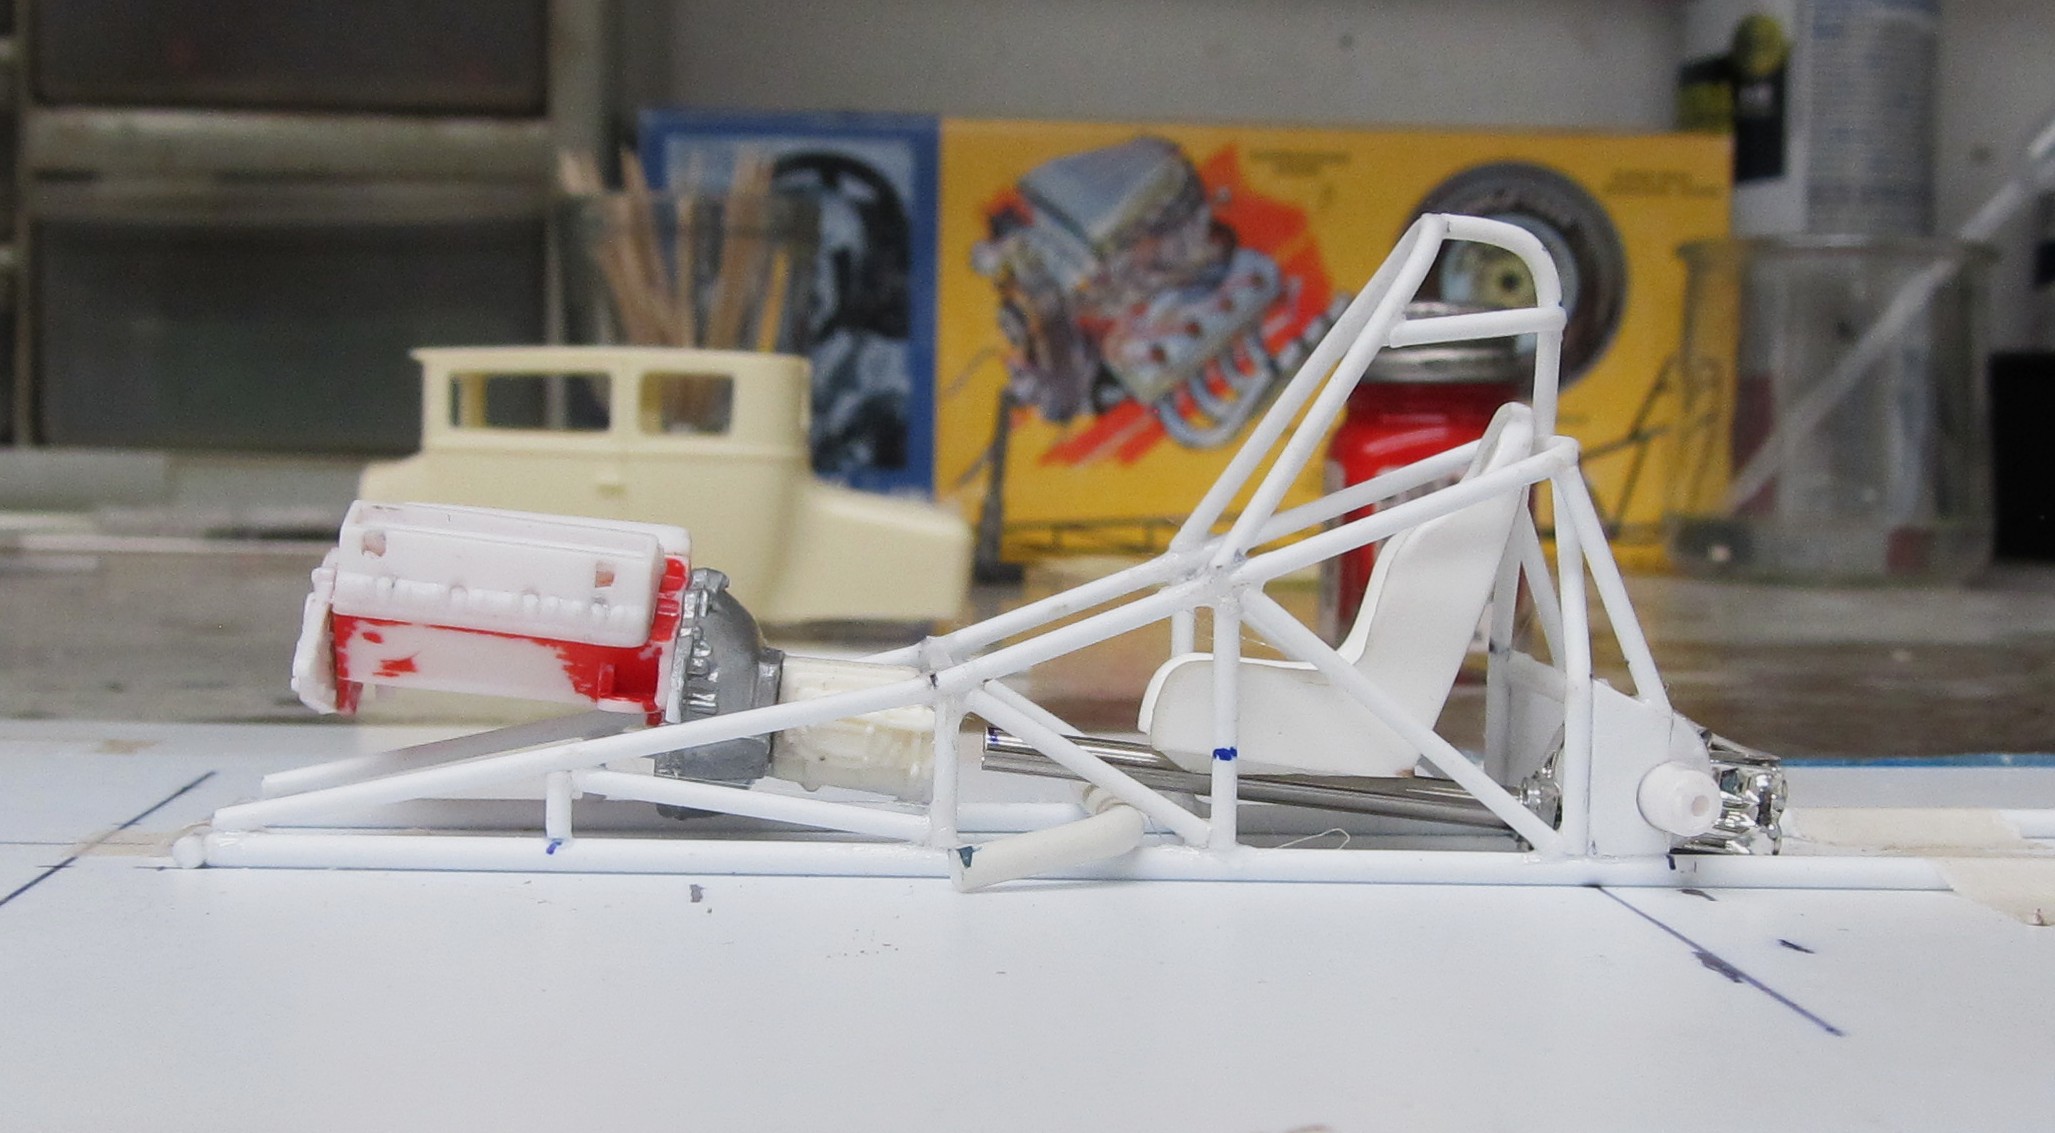
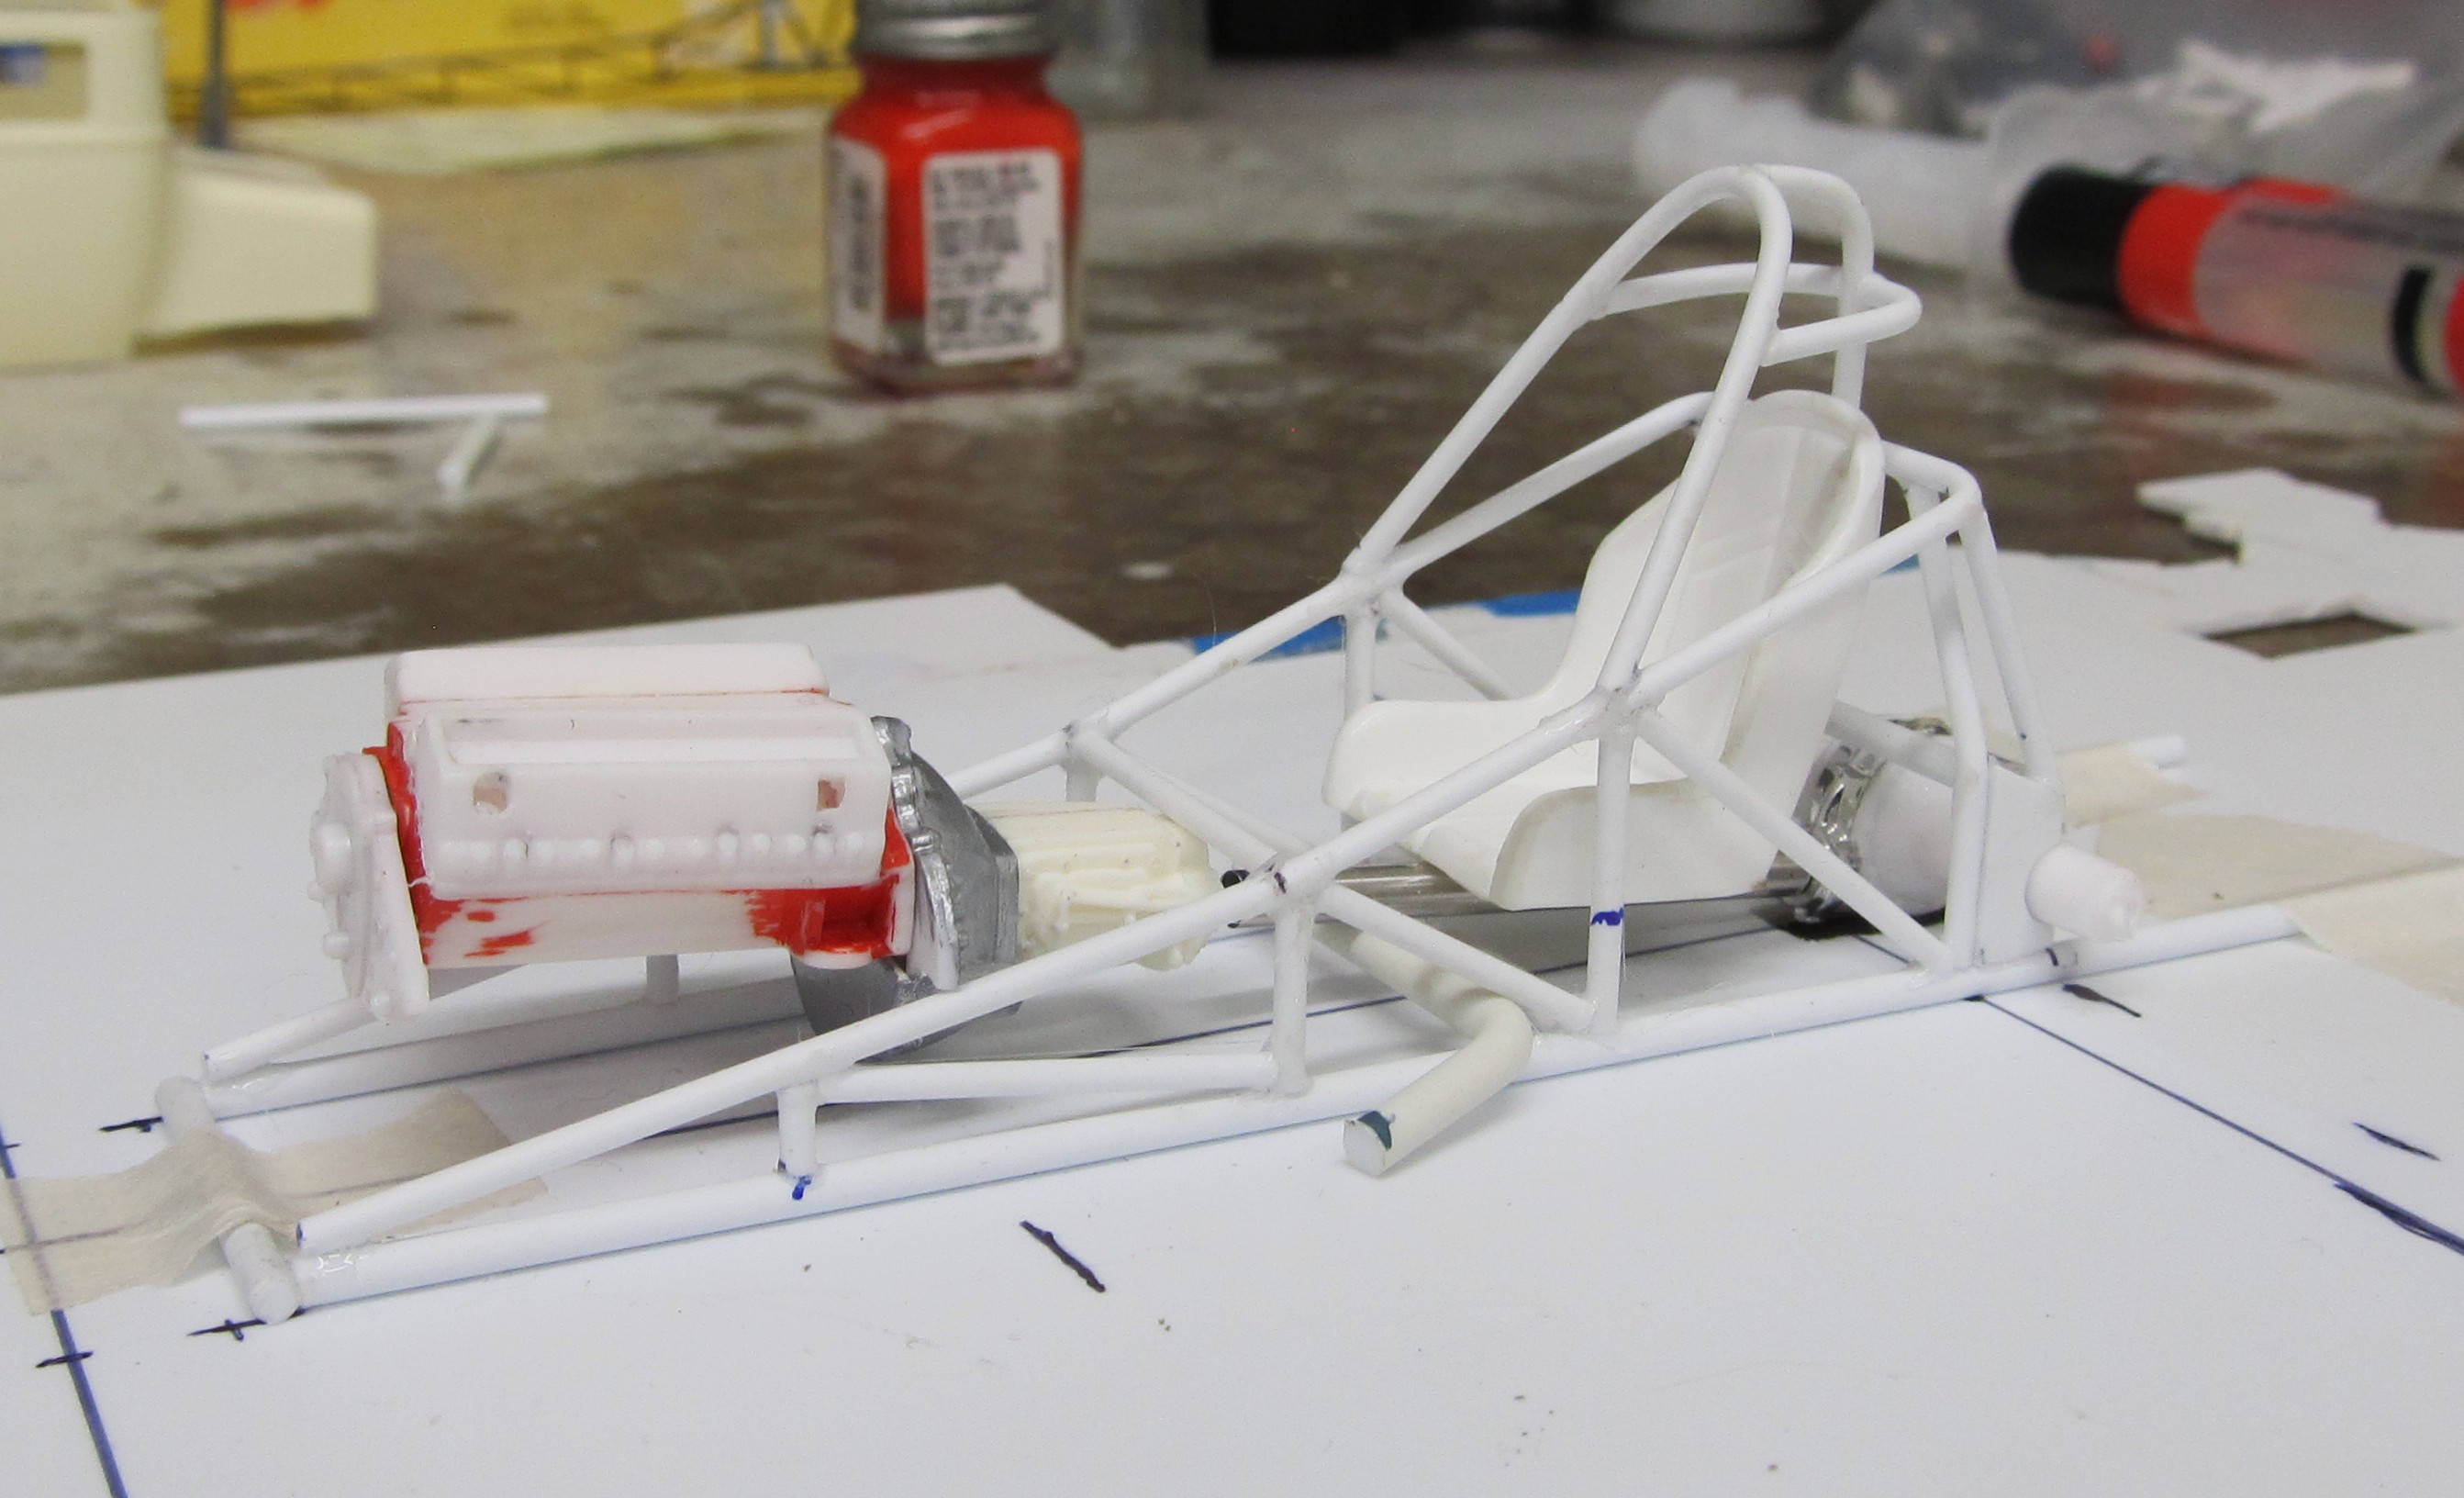
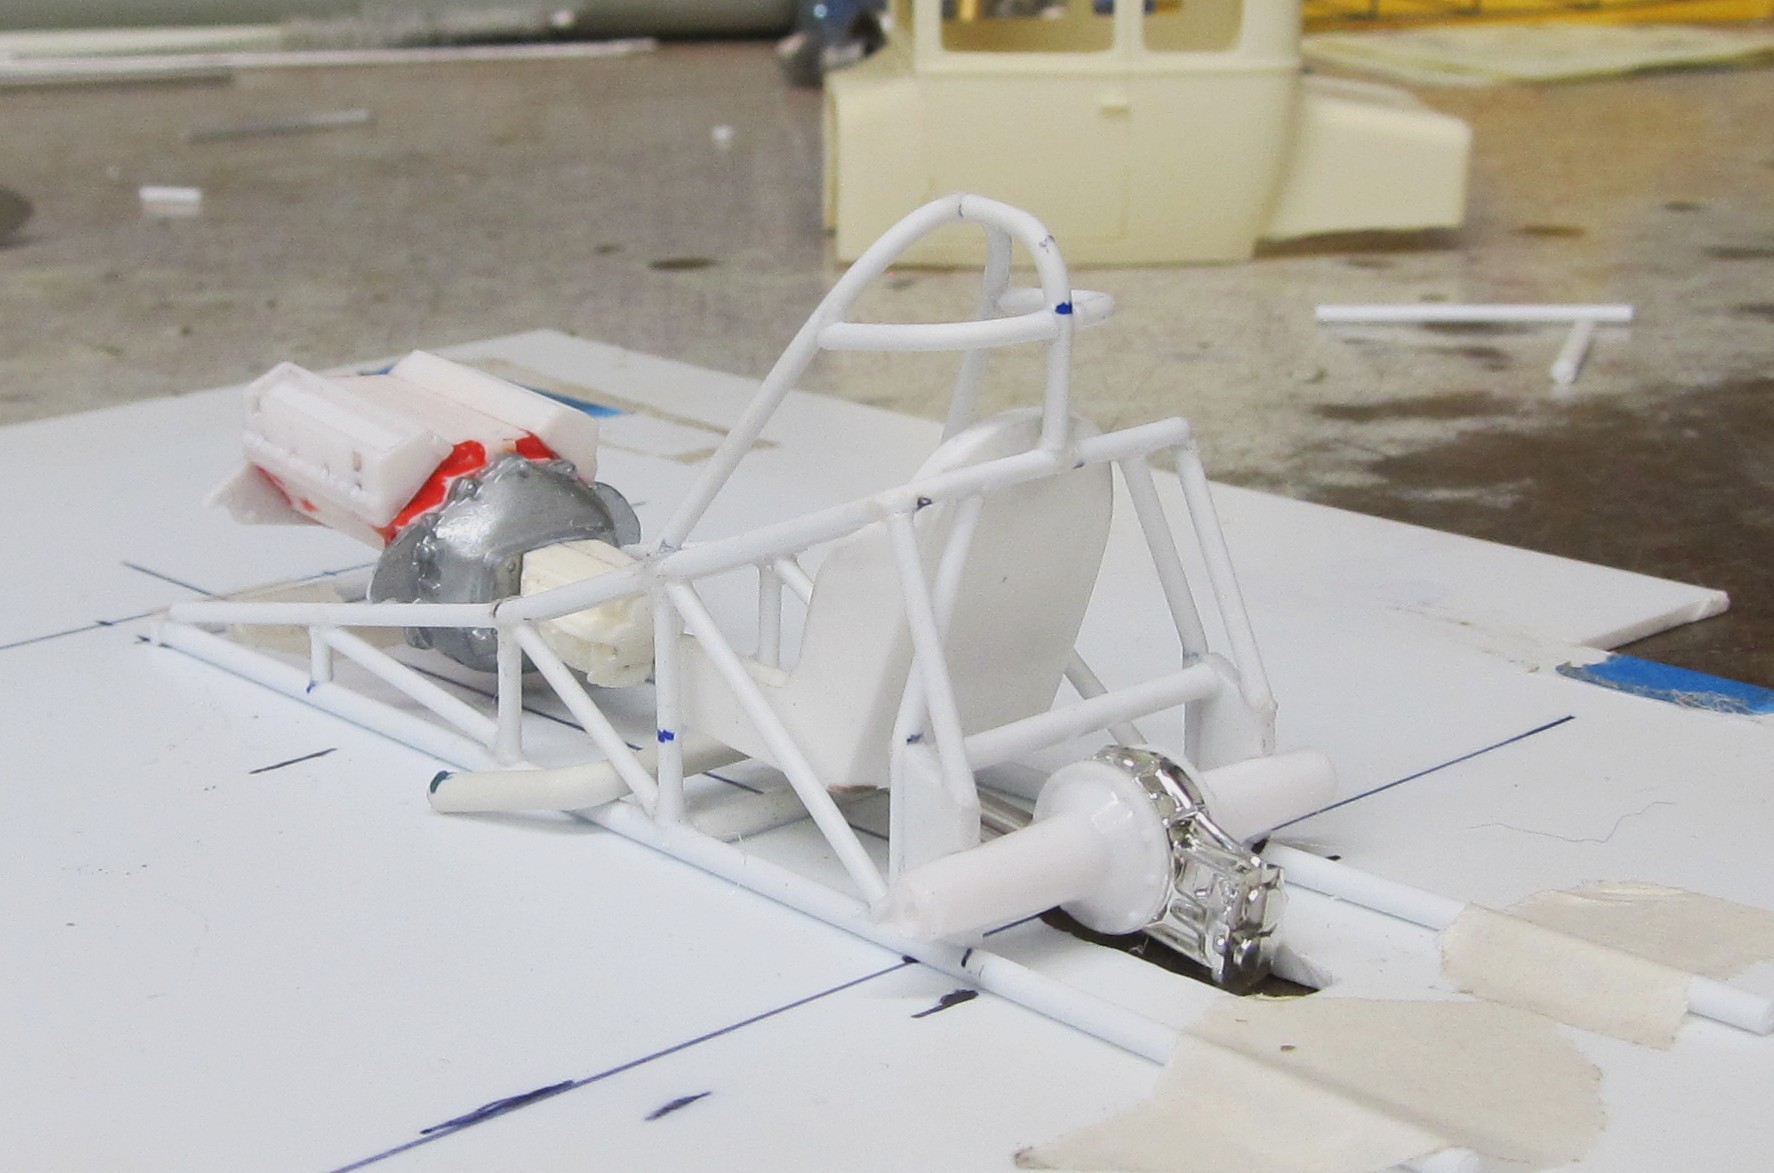
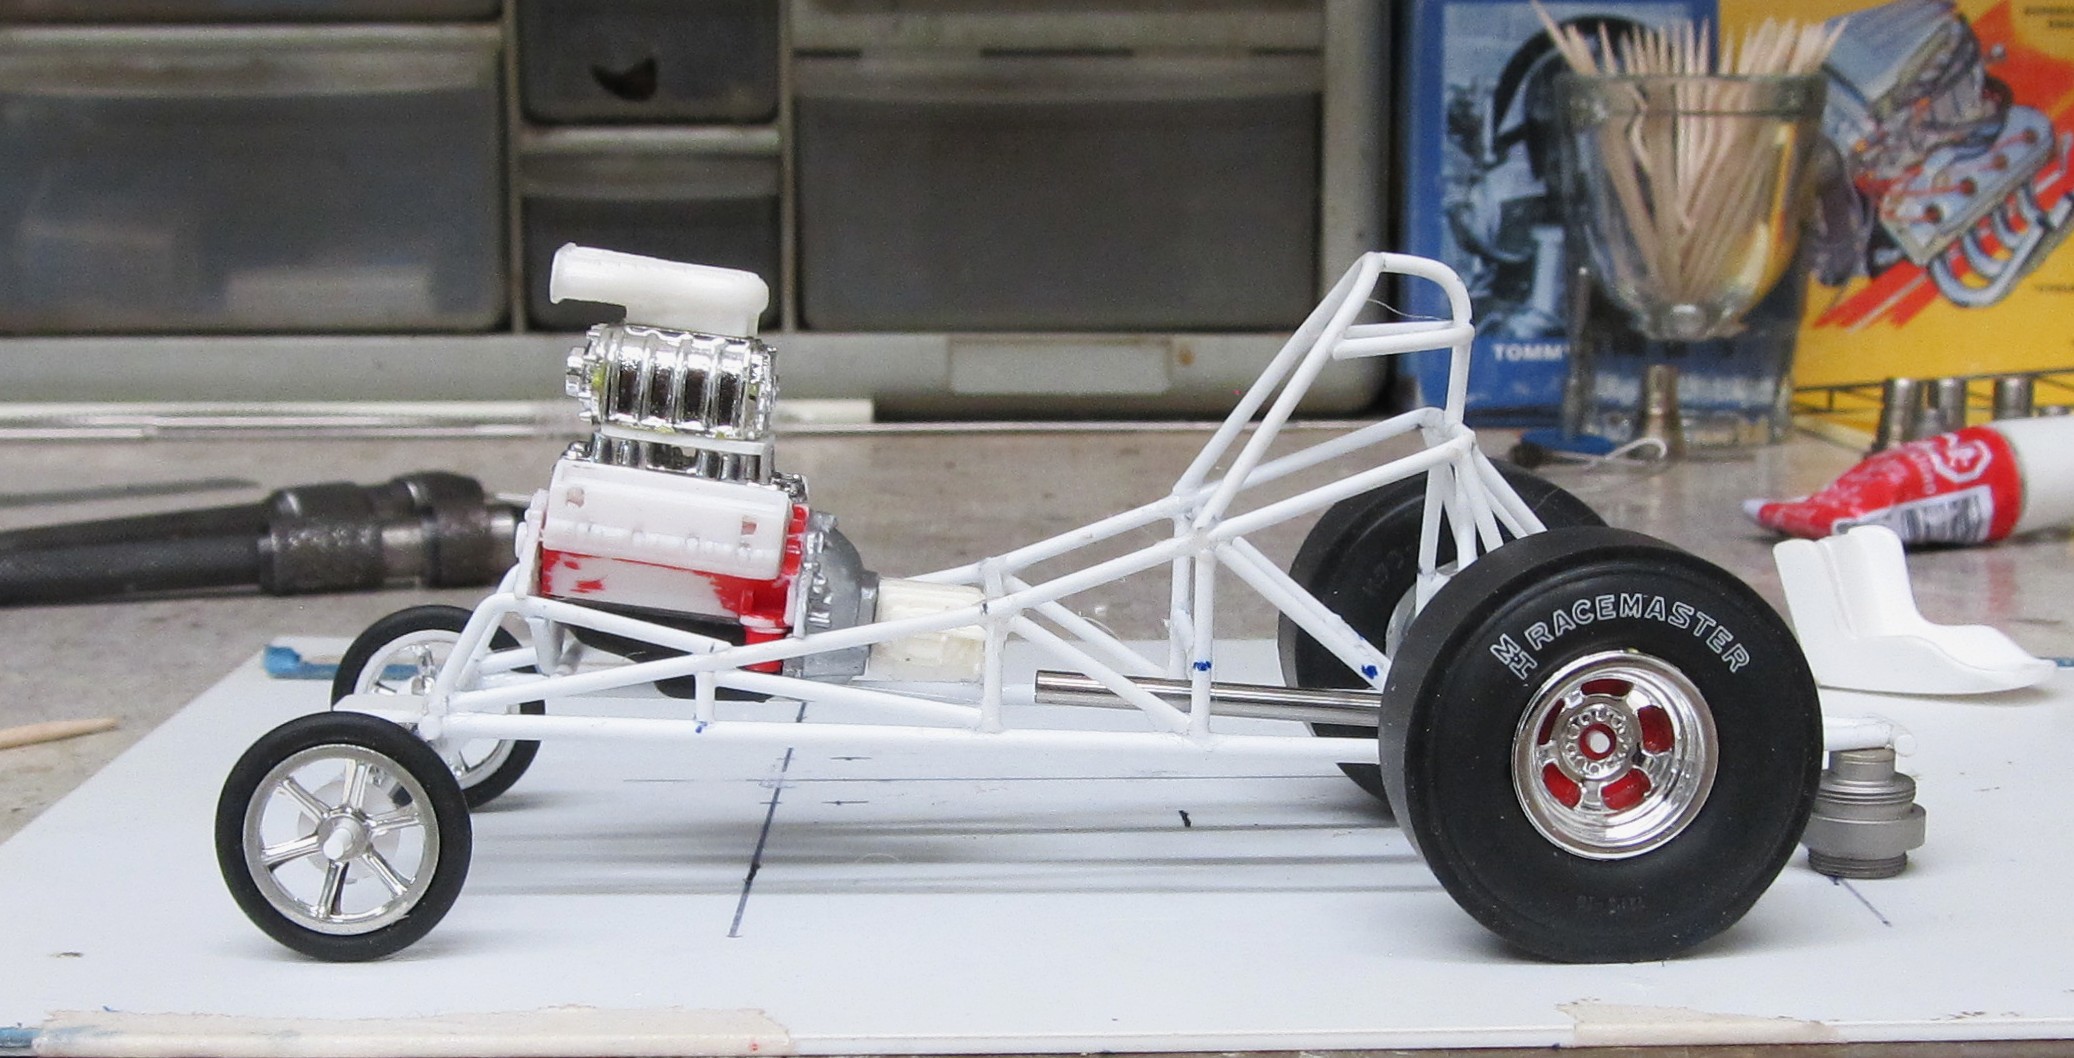
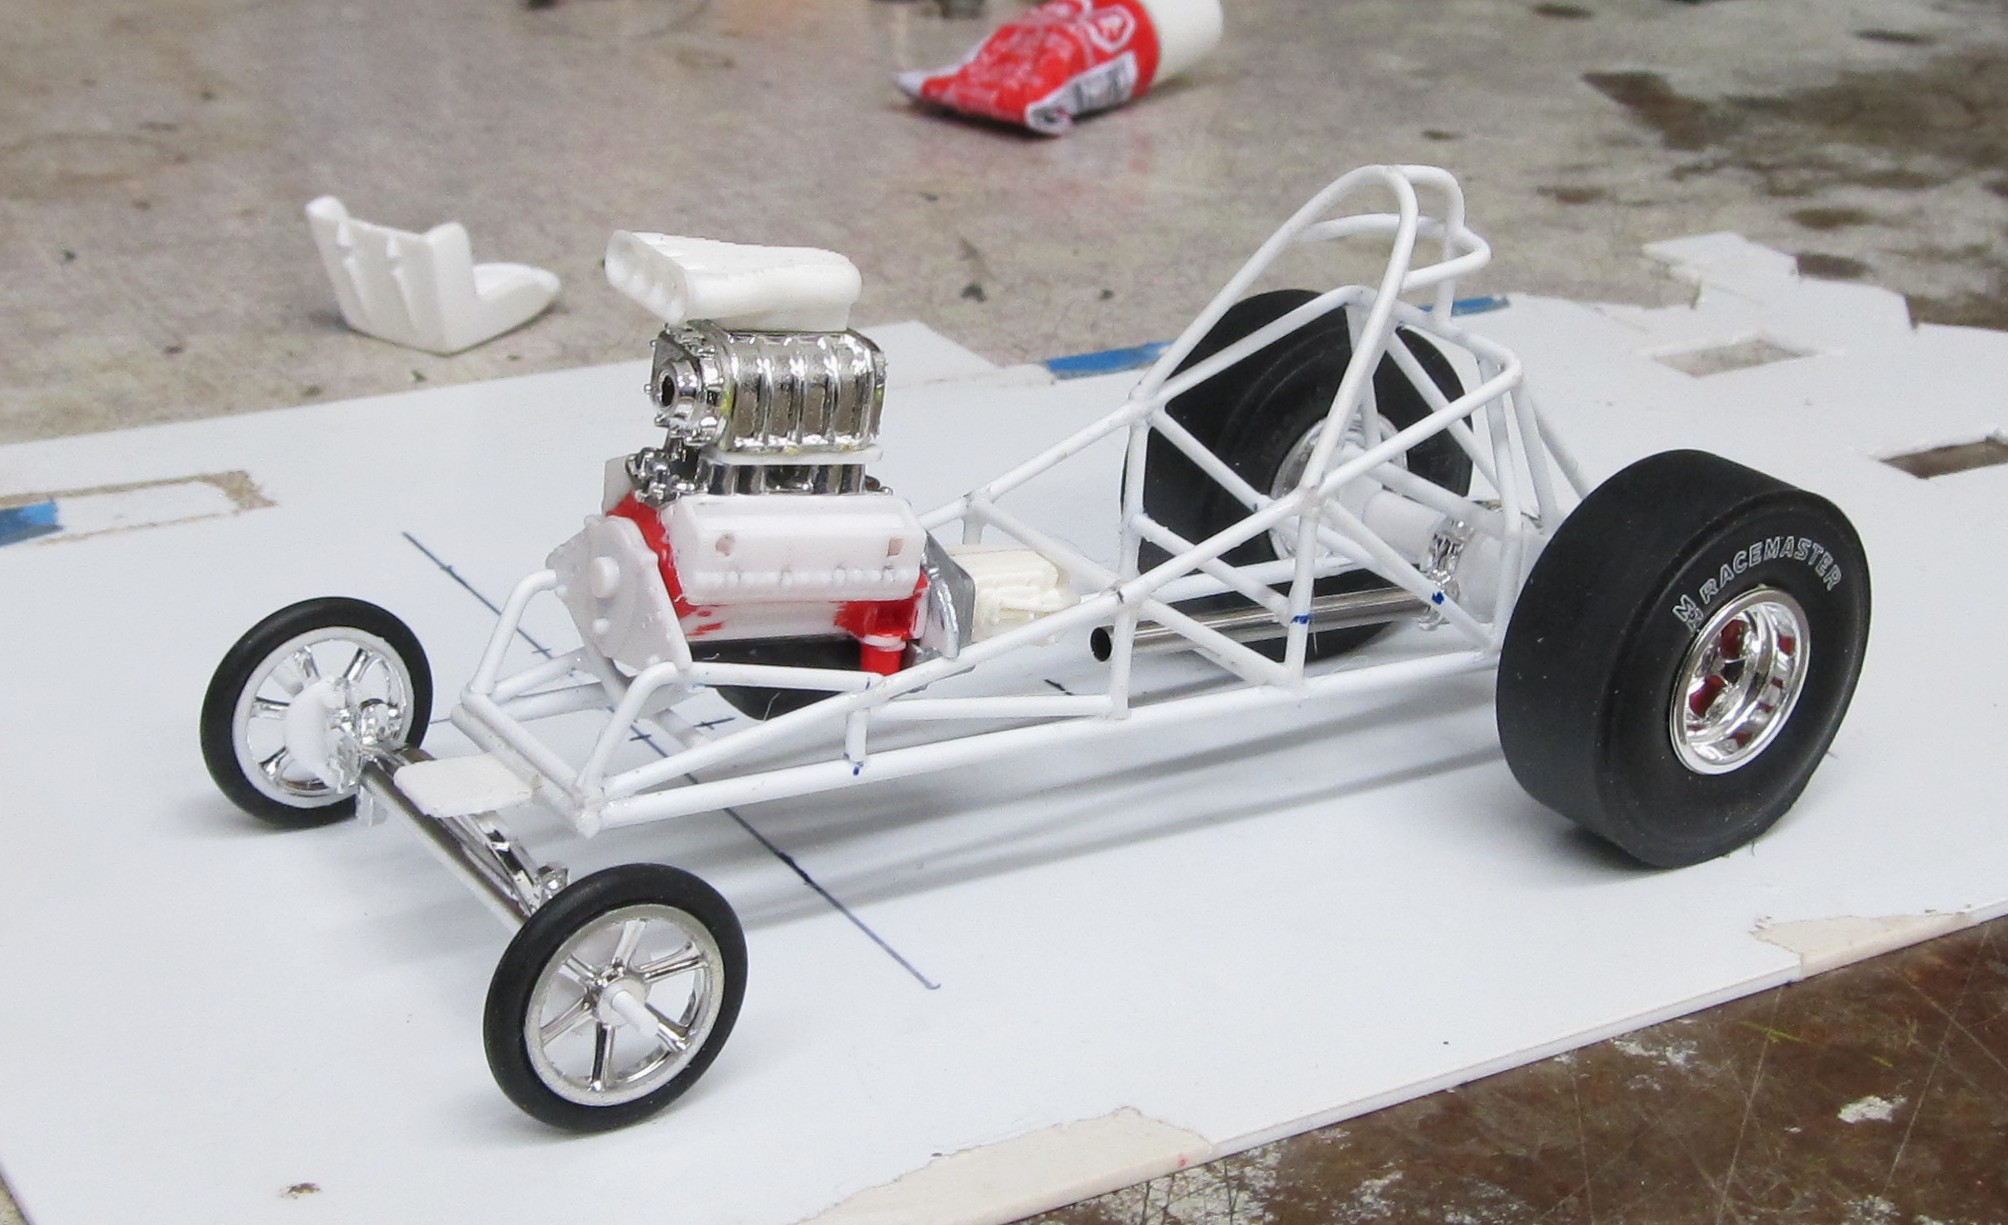
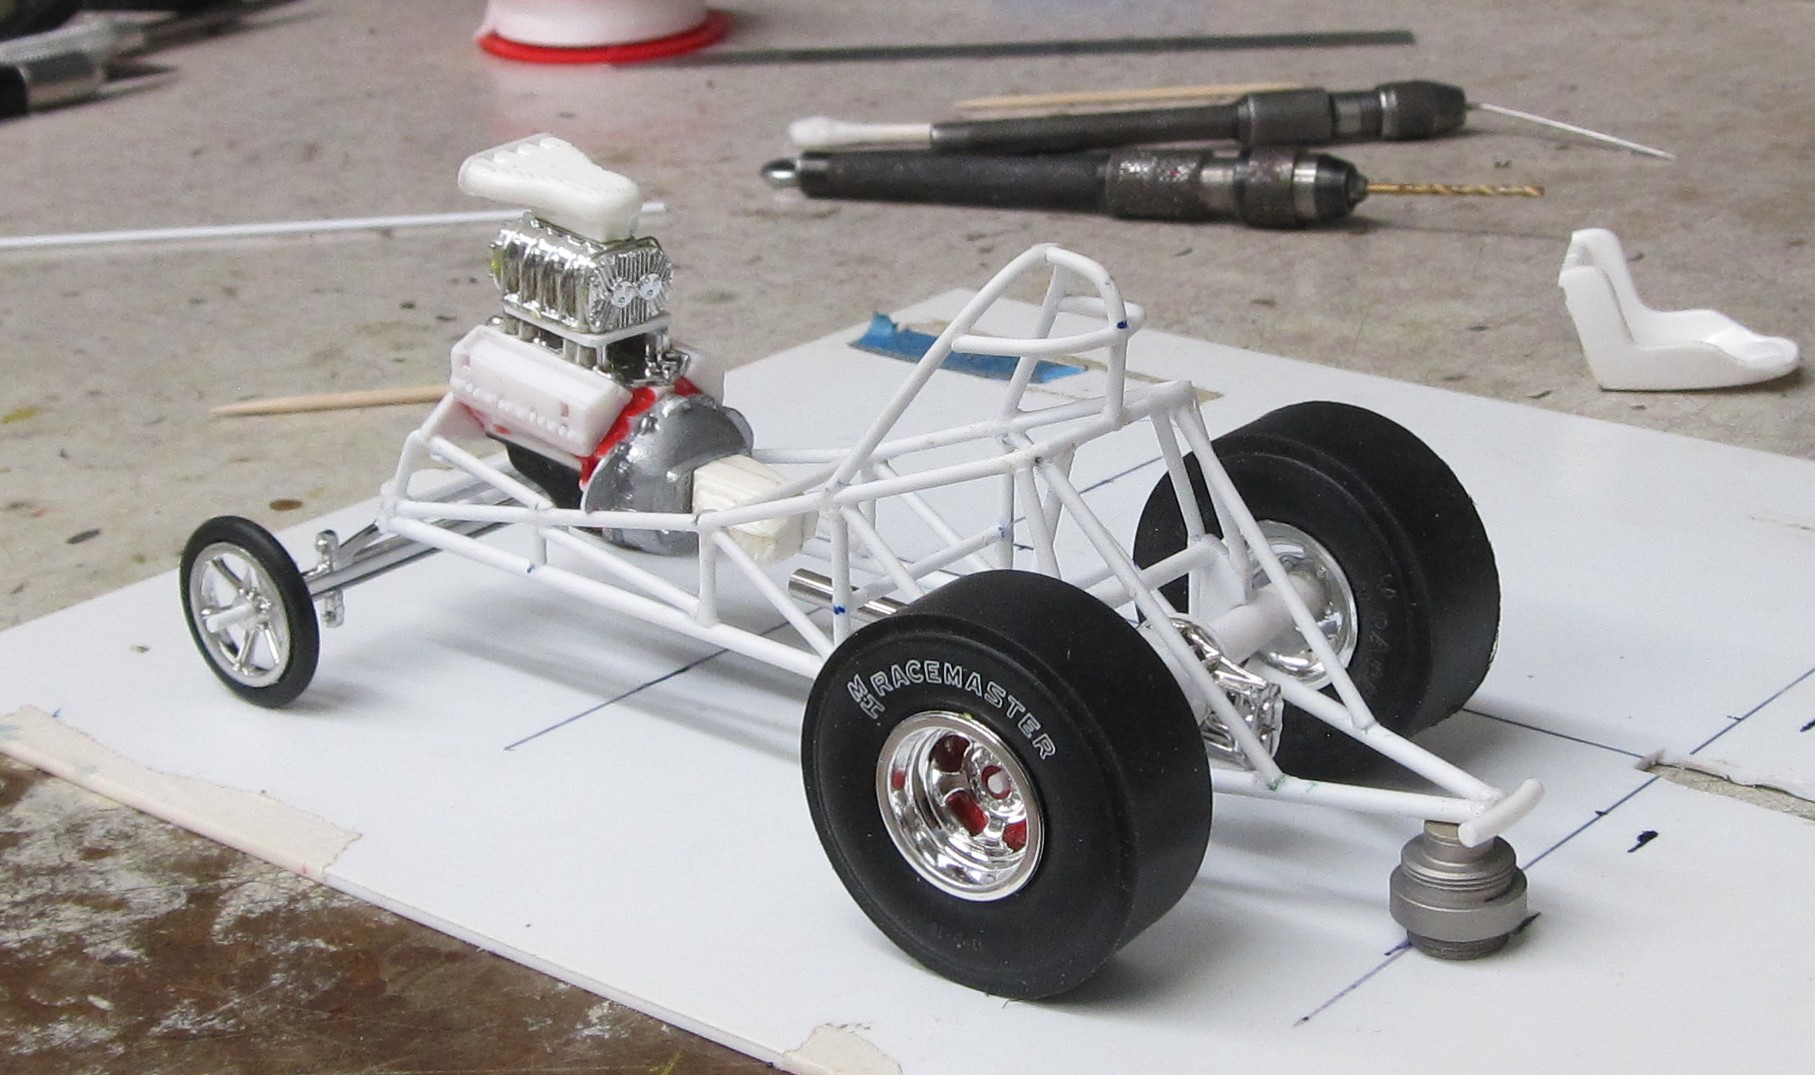
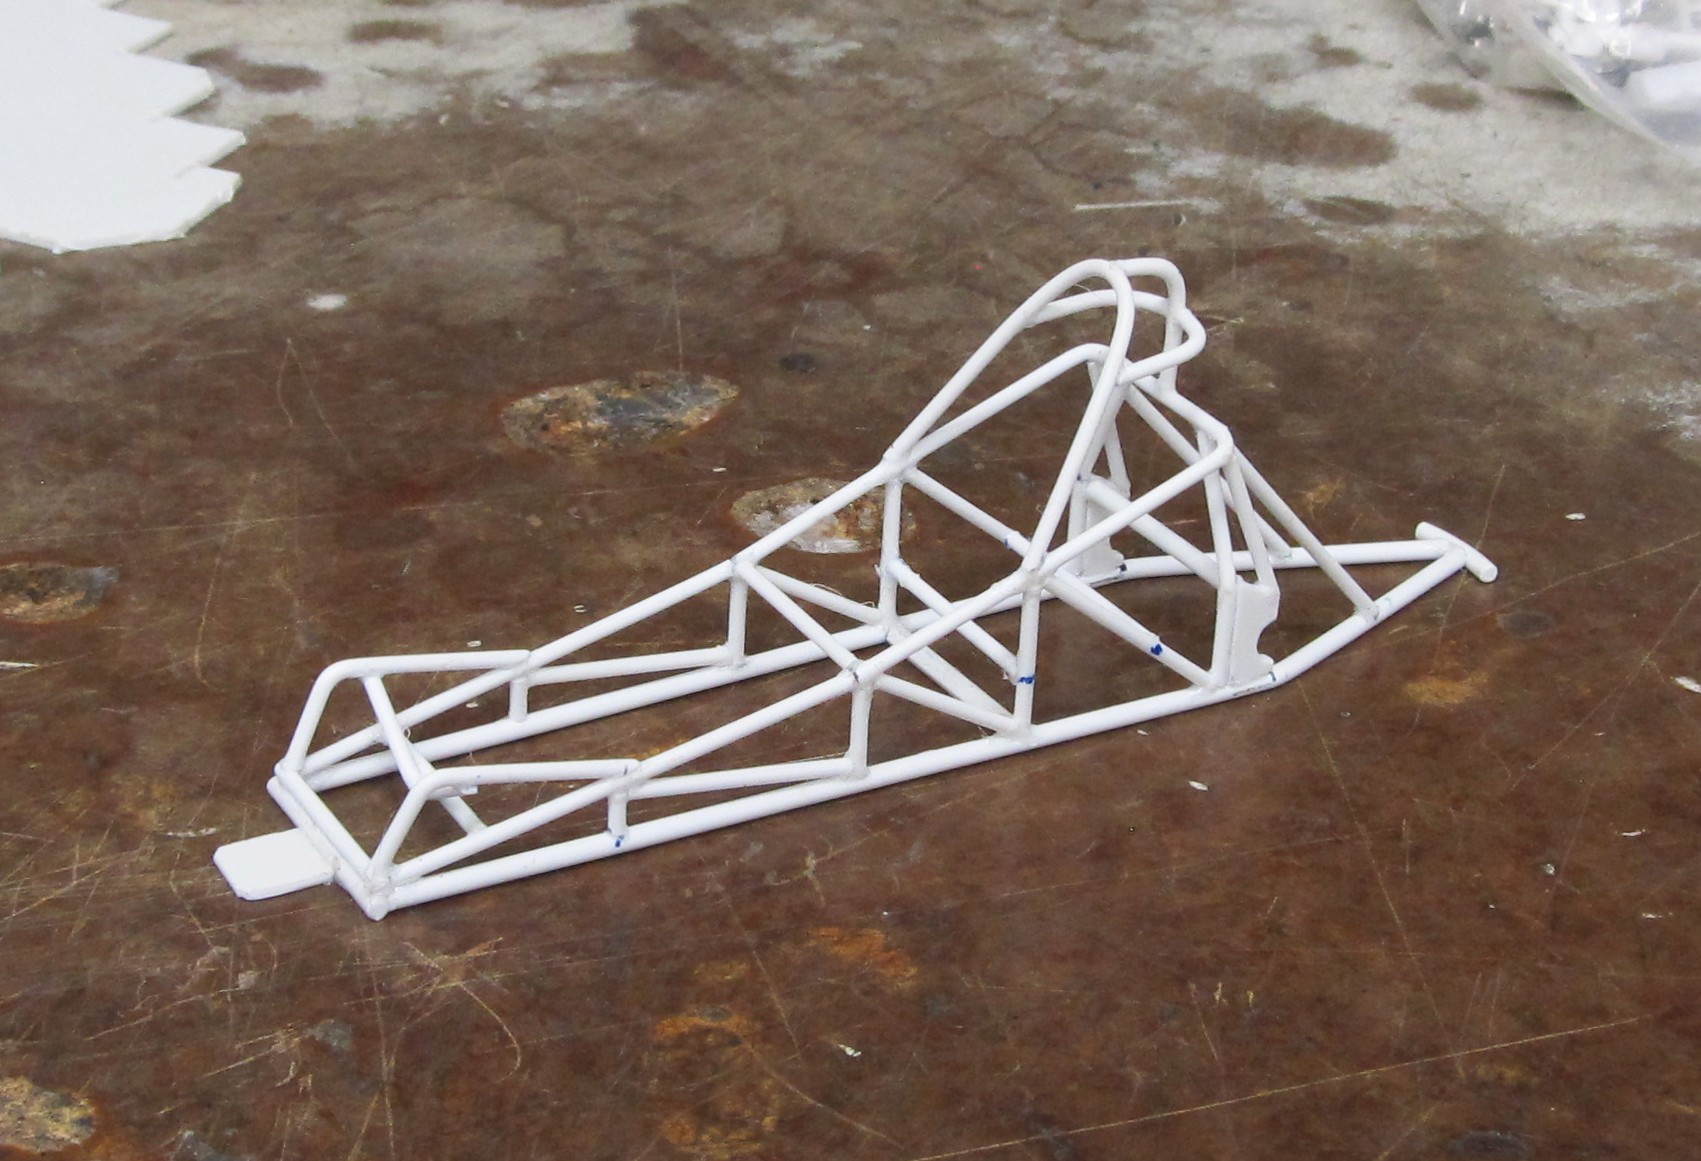
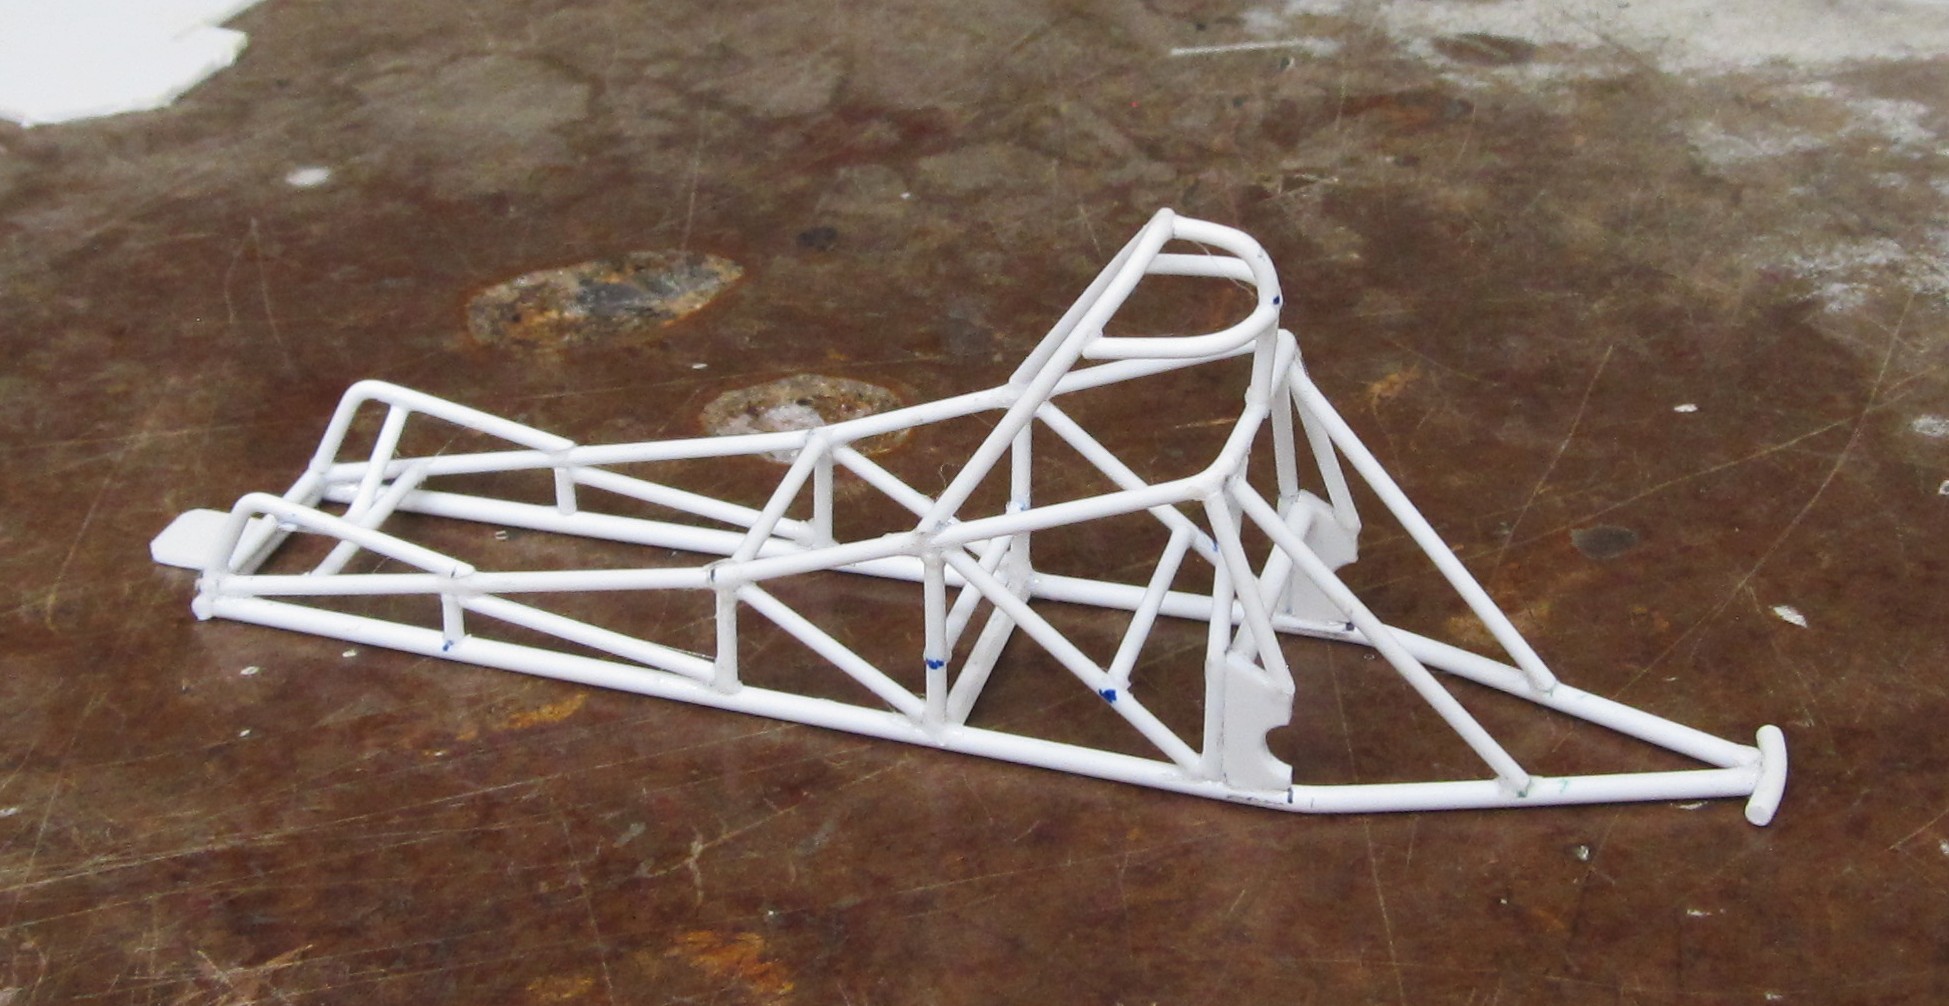
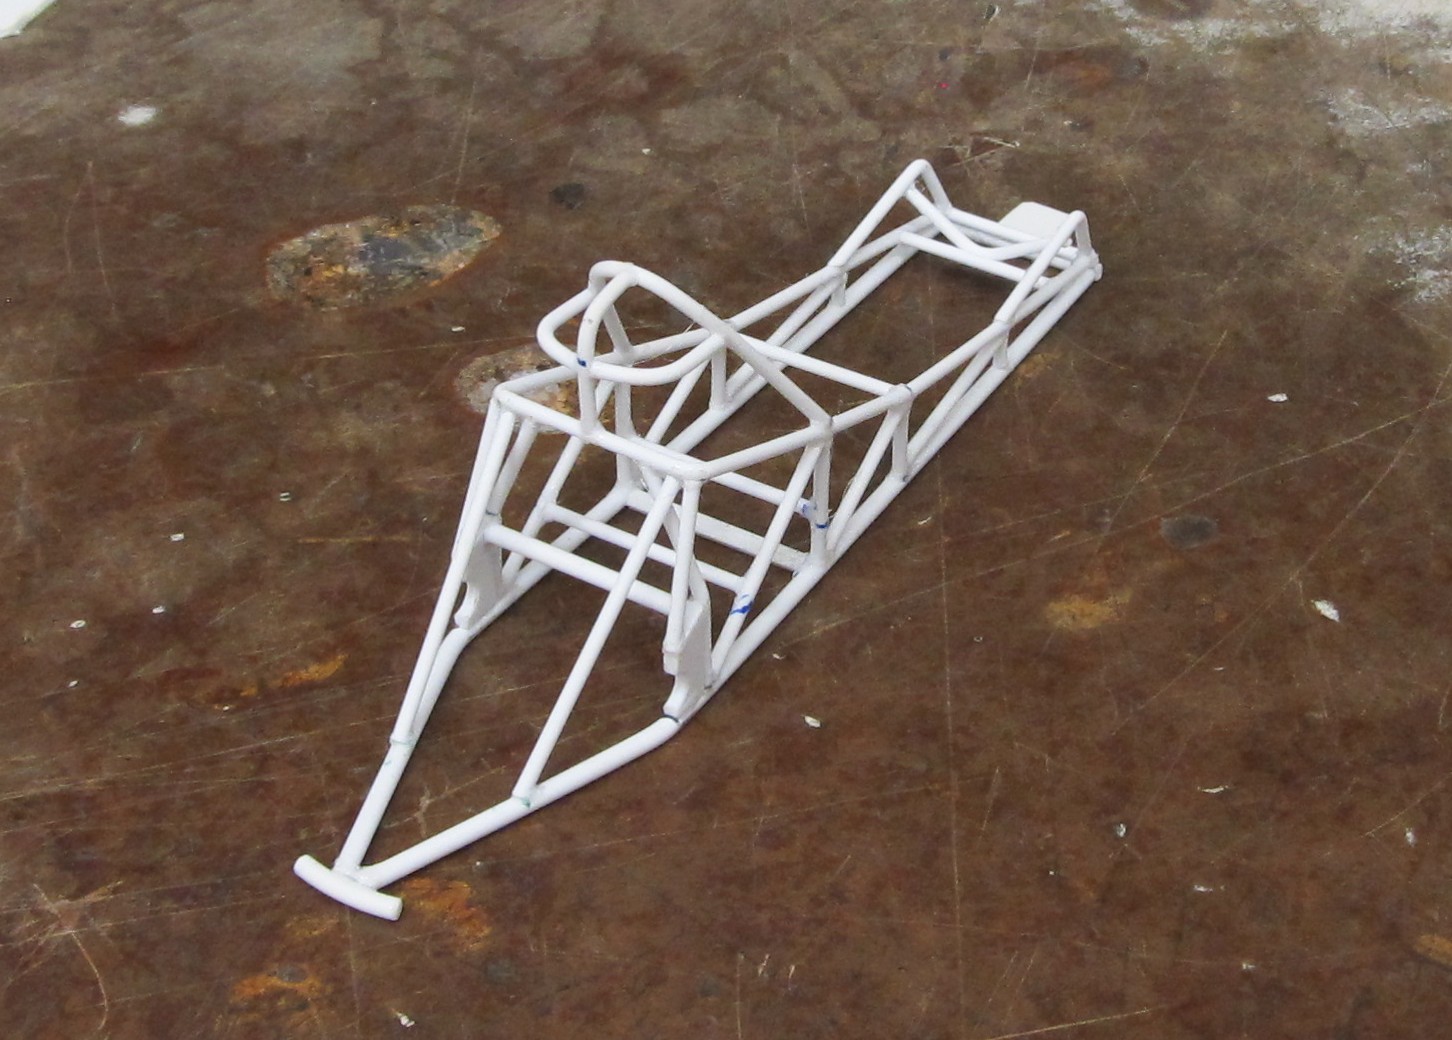
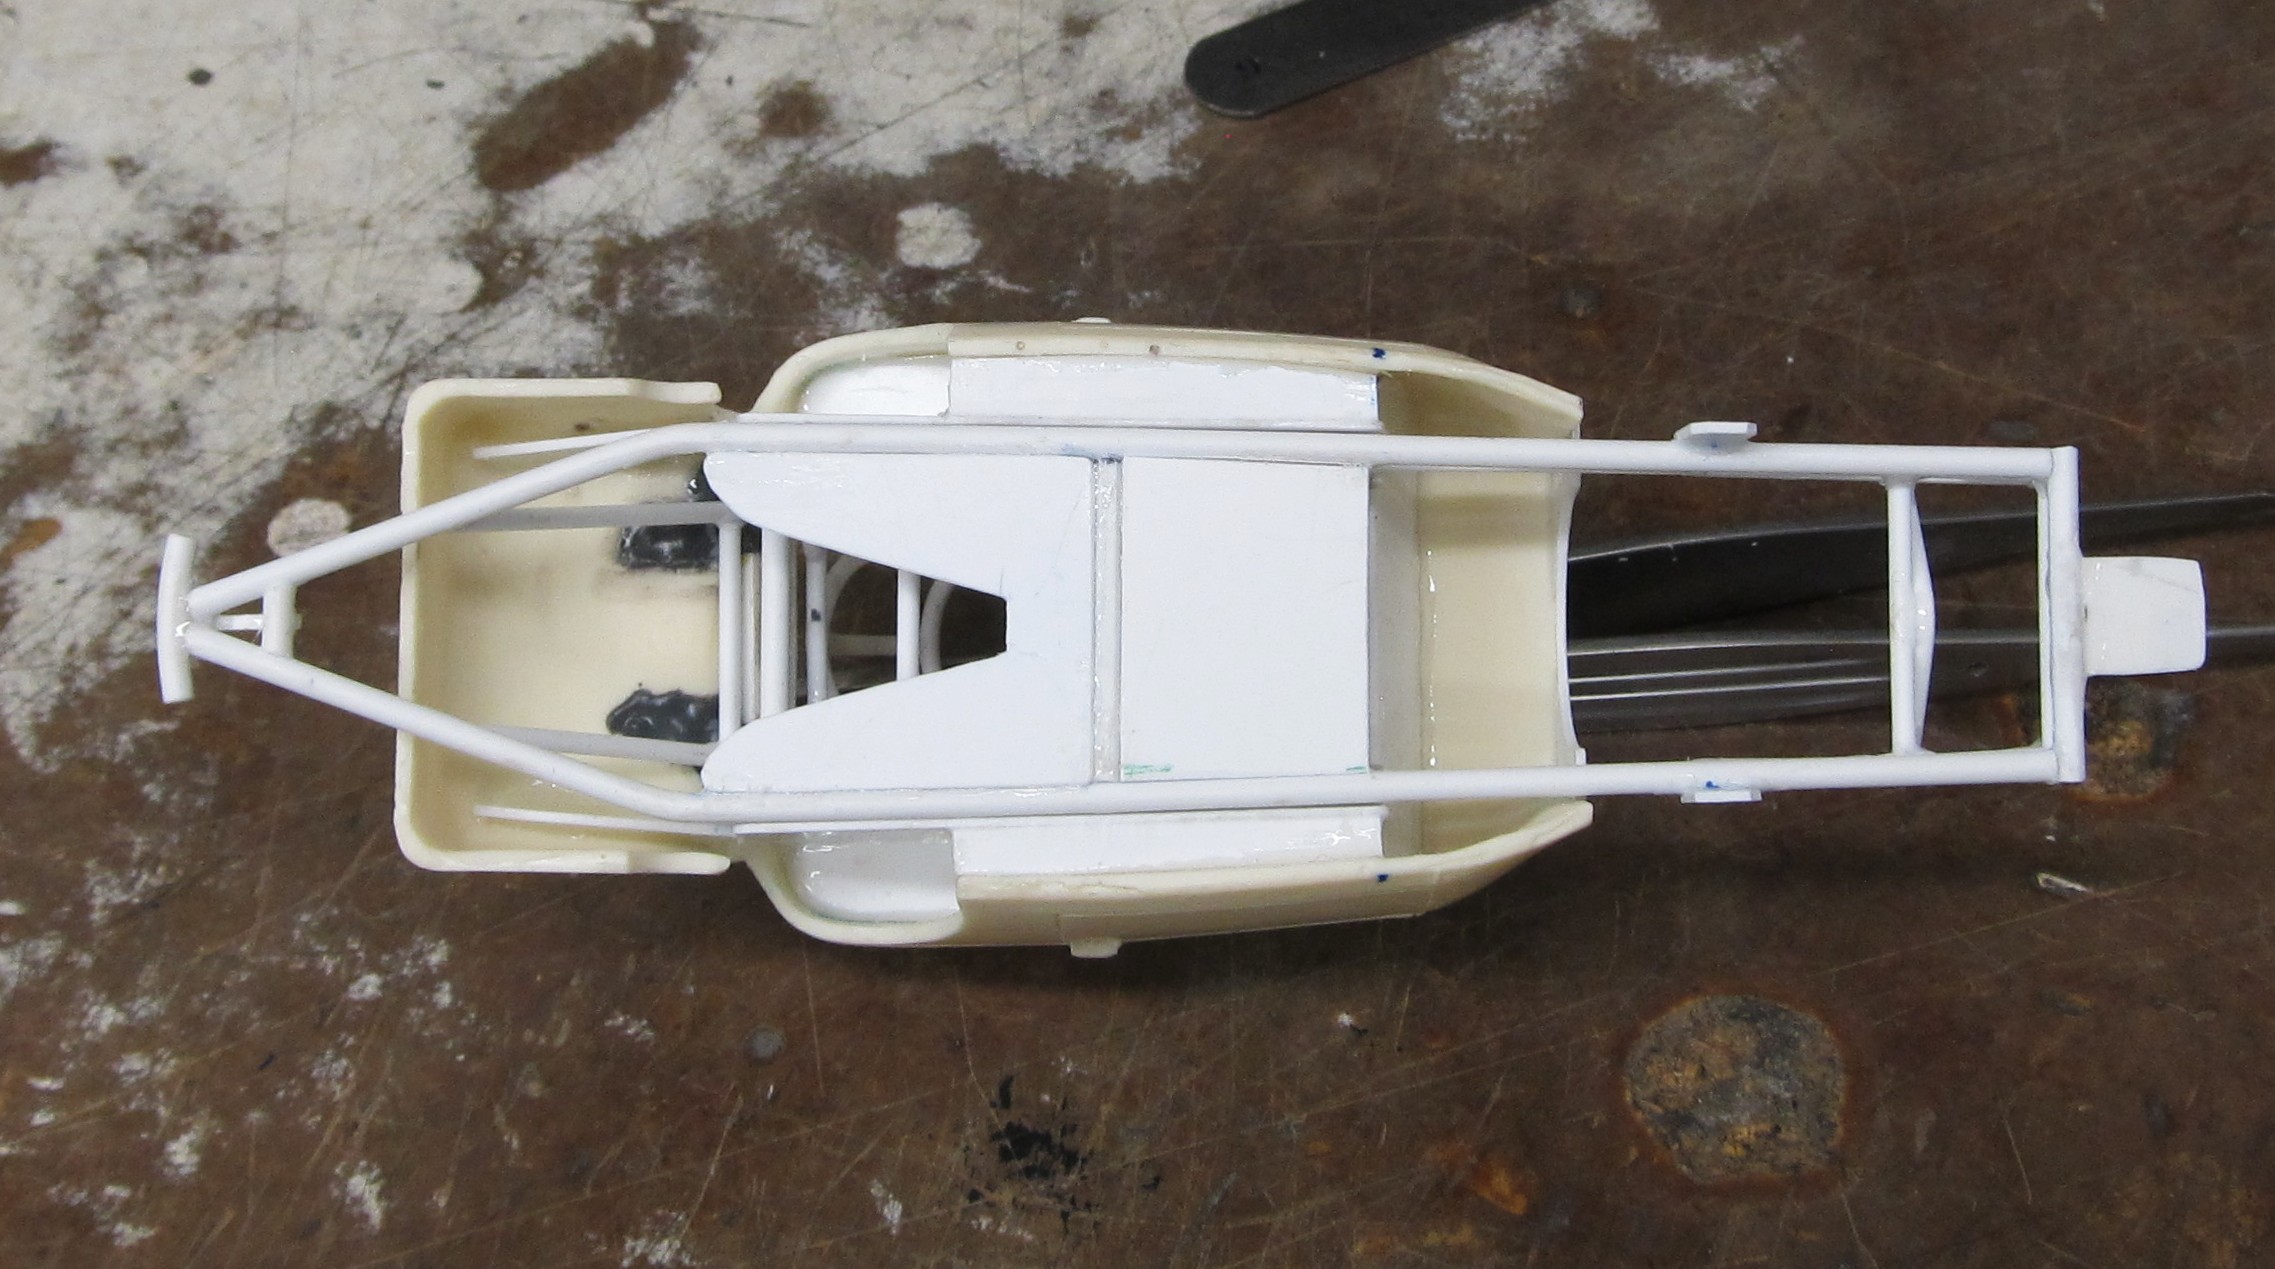
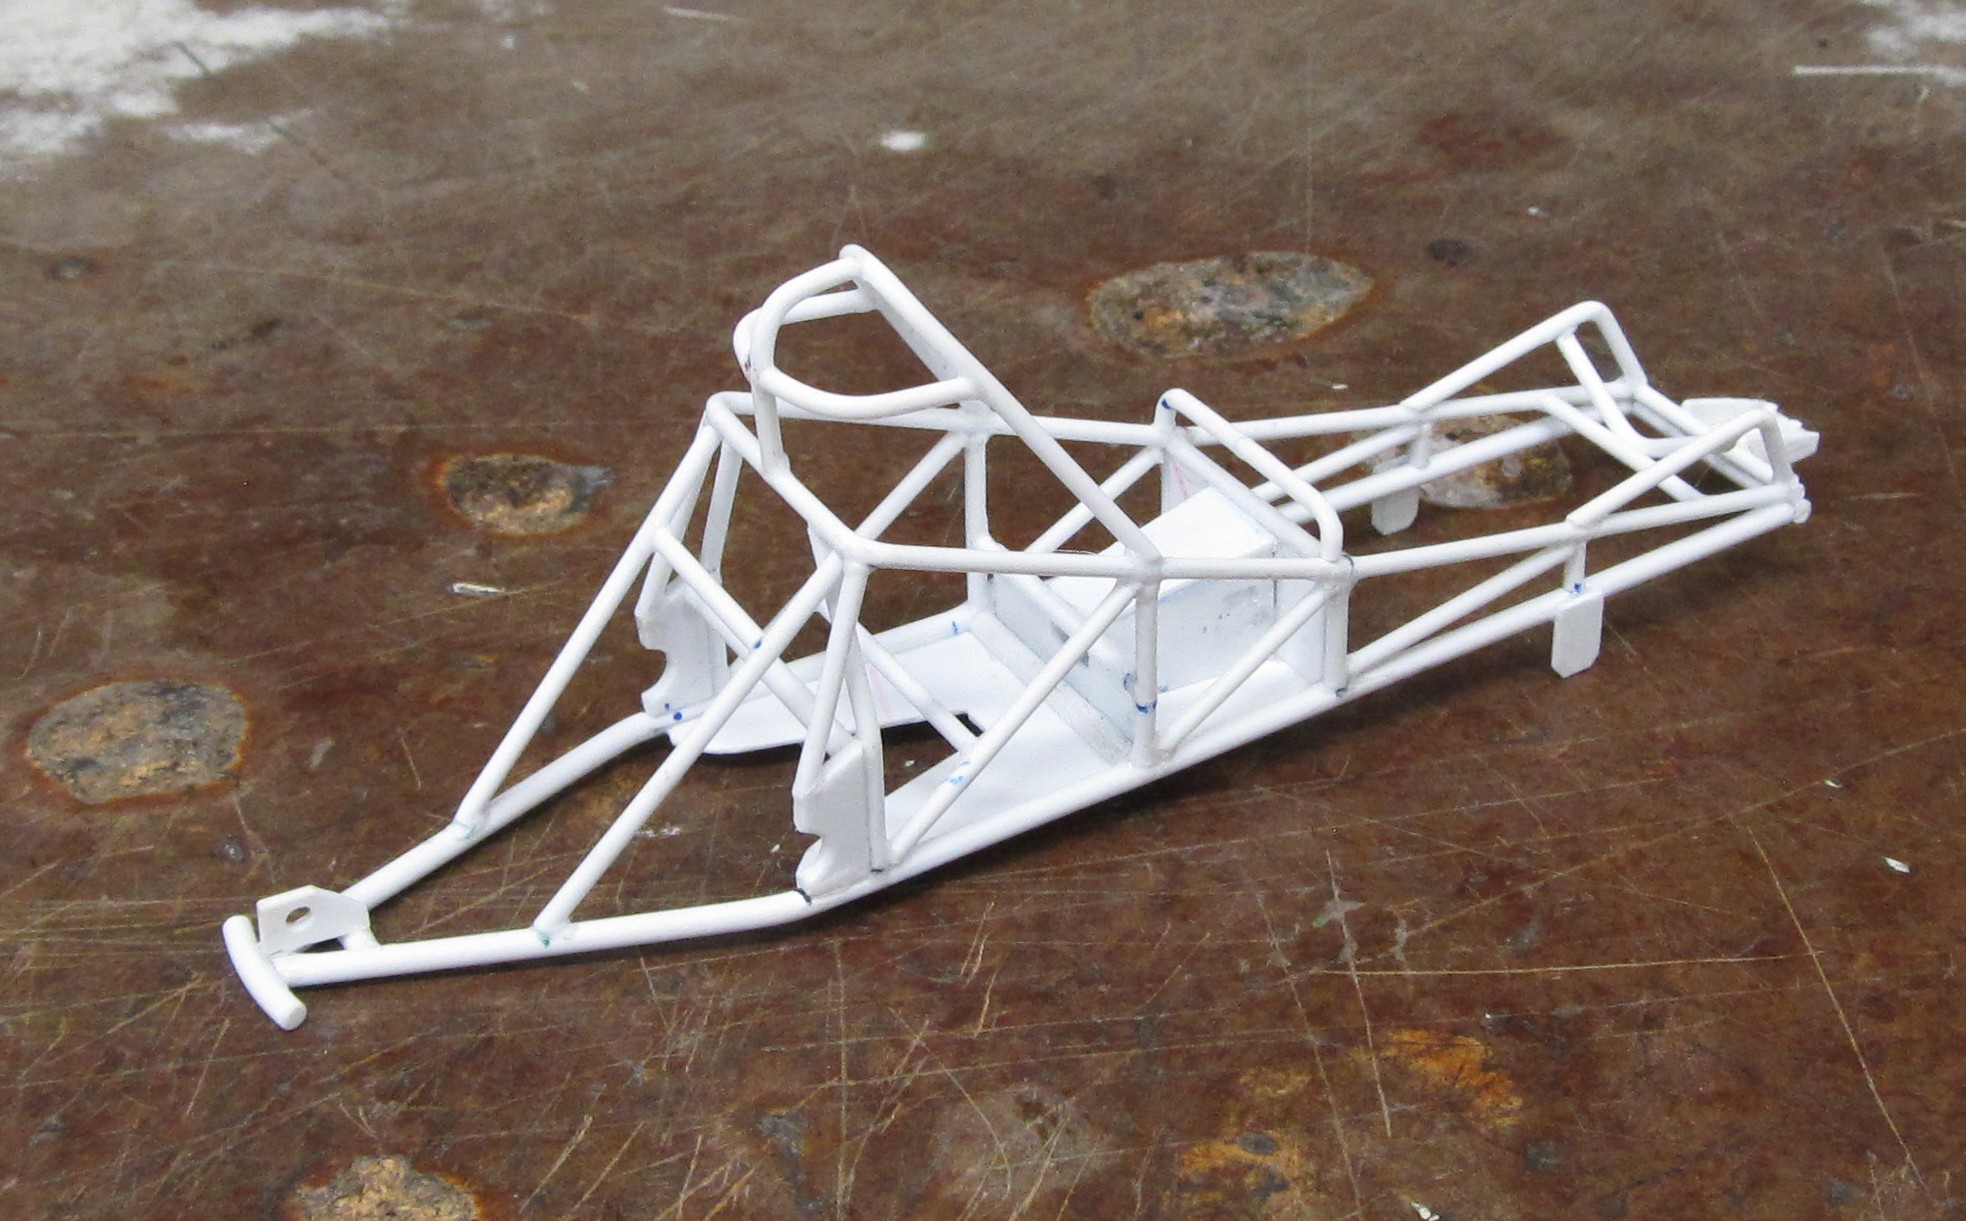
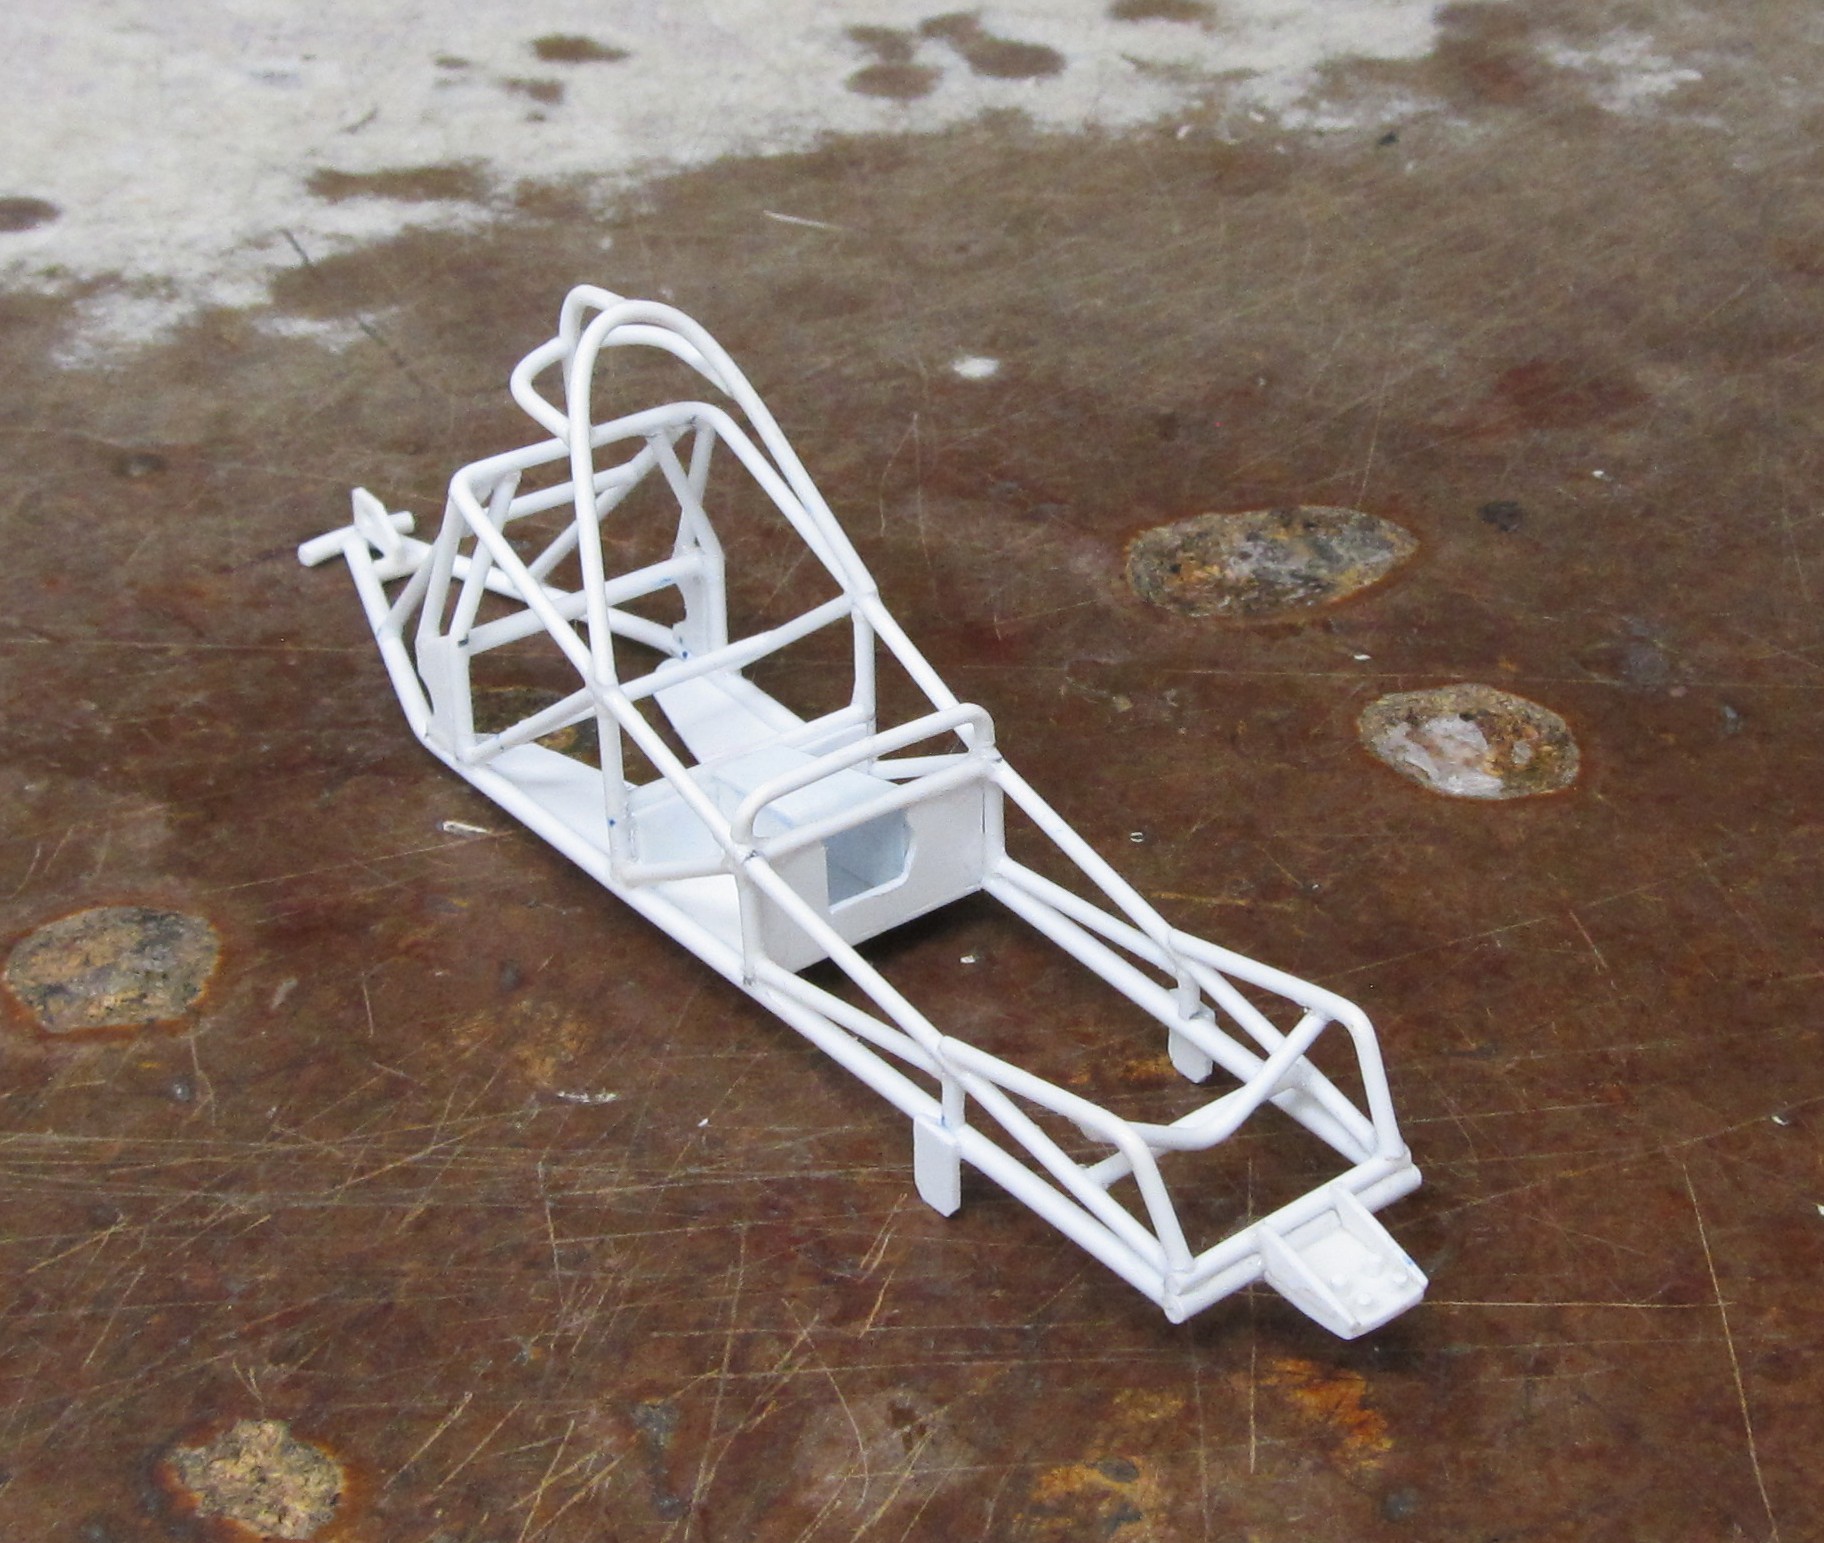
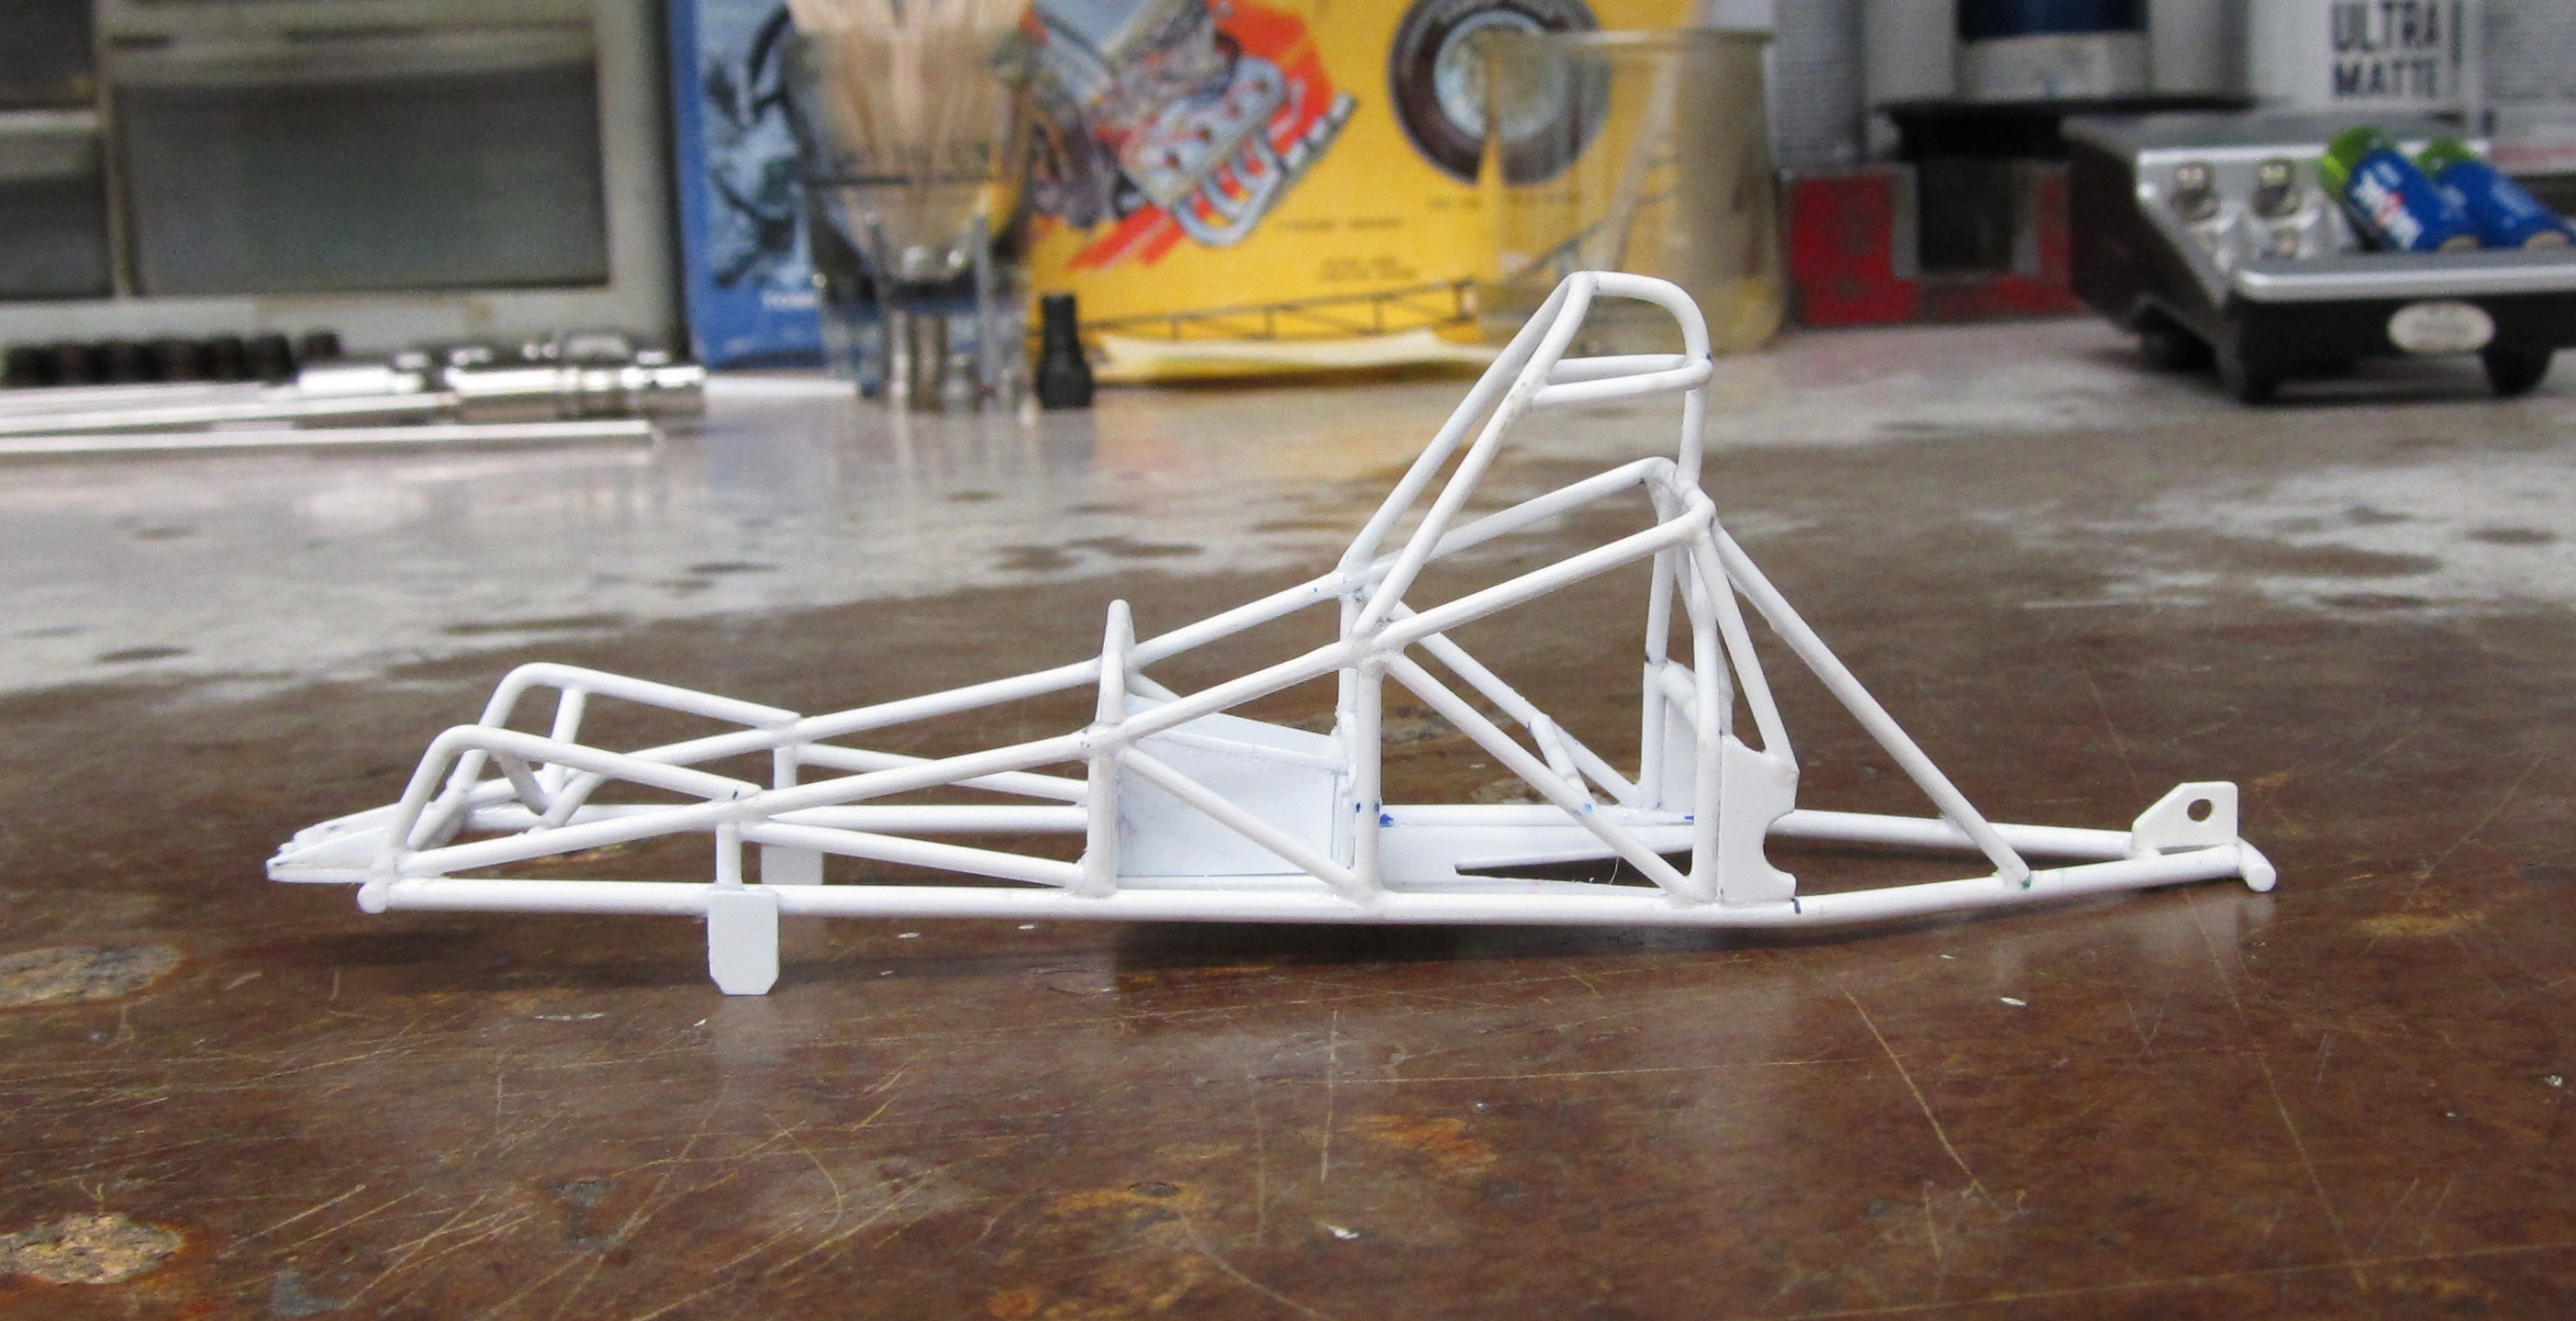
Getting a little more done, and a quick mockup, really stacked up with work right now. Wheels are made chassis is done for the most part , now for some driver compartment sheet metal and the yoke for holding the steering crank. Still lots more to do.






As an Amazon Associate we earn from qualifying purchases. Product prices and availability are accurate as of the date/time indicated and are subject to change.


I'm convinced @RacerX is somehow related to Buckminster Fuller...Dang. Some solid scratch building there.
...or has a side hustle building monkey bars!
Fantastic constructs anyway you look at it.
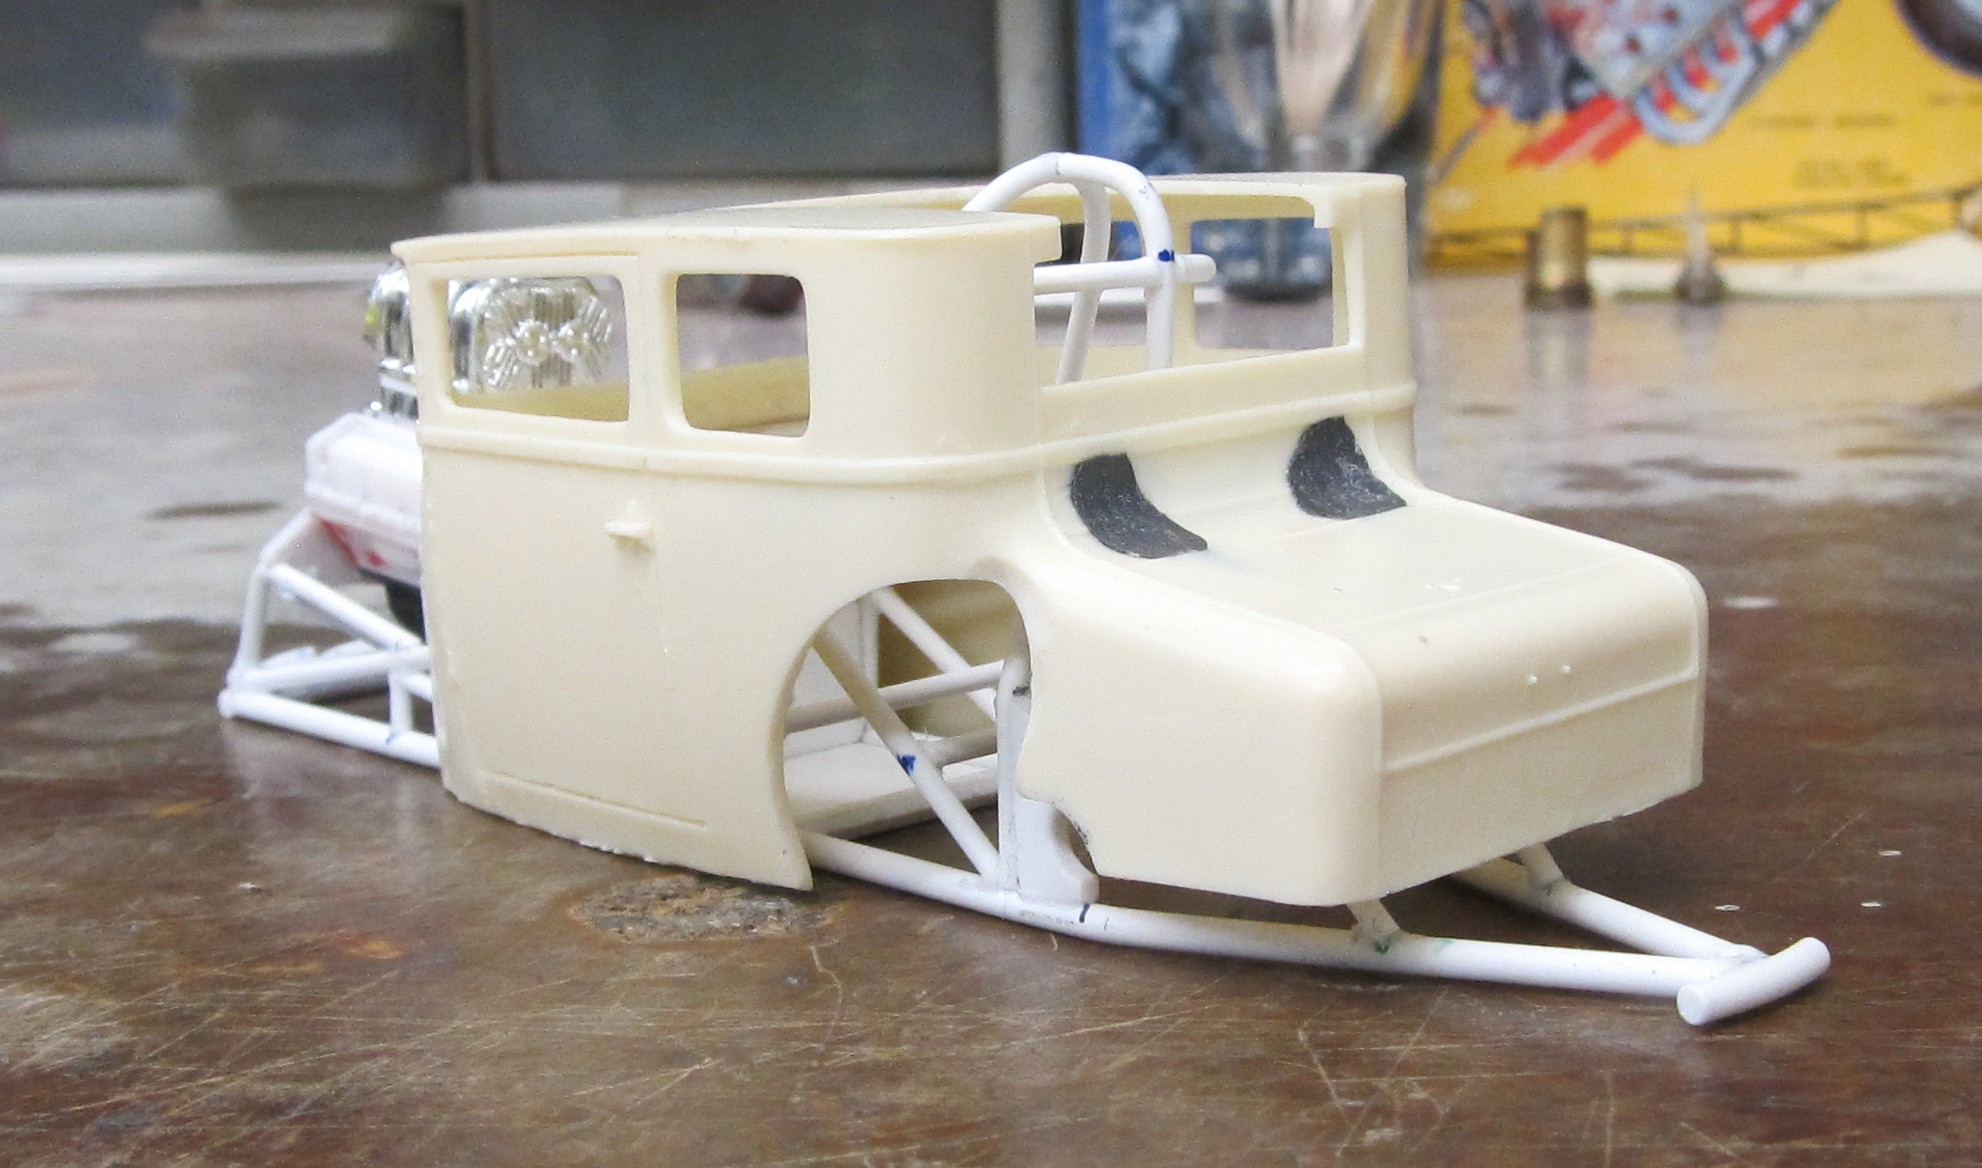
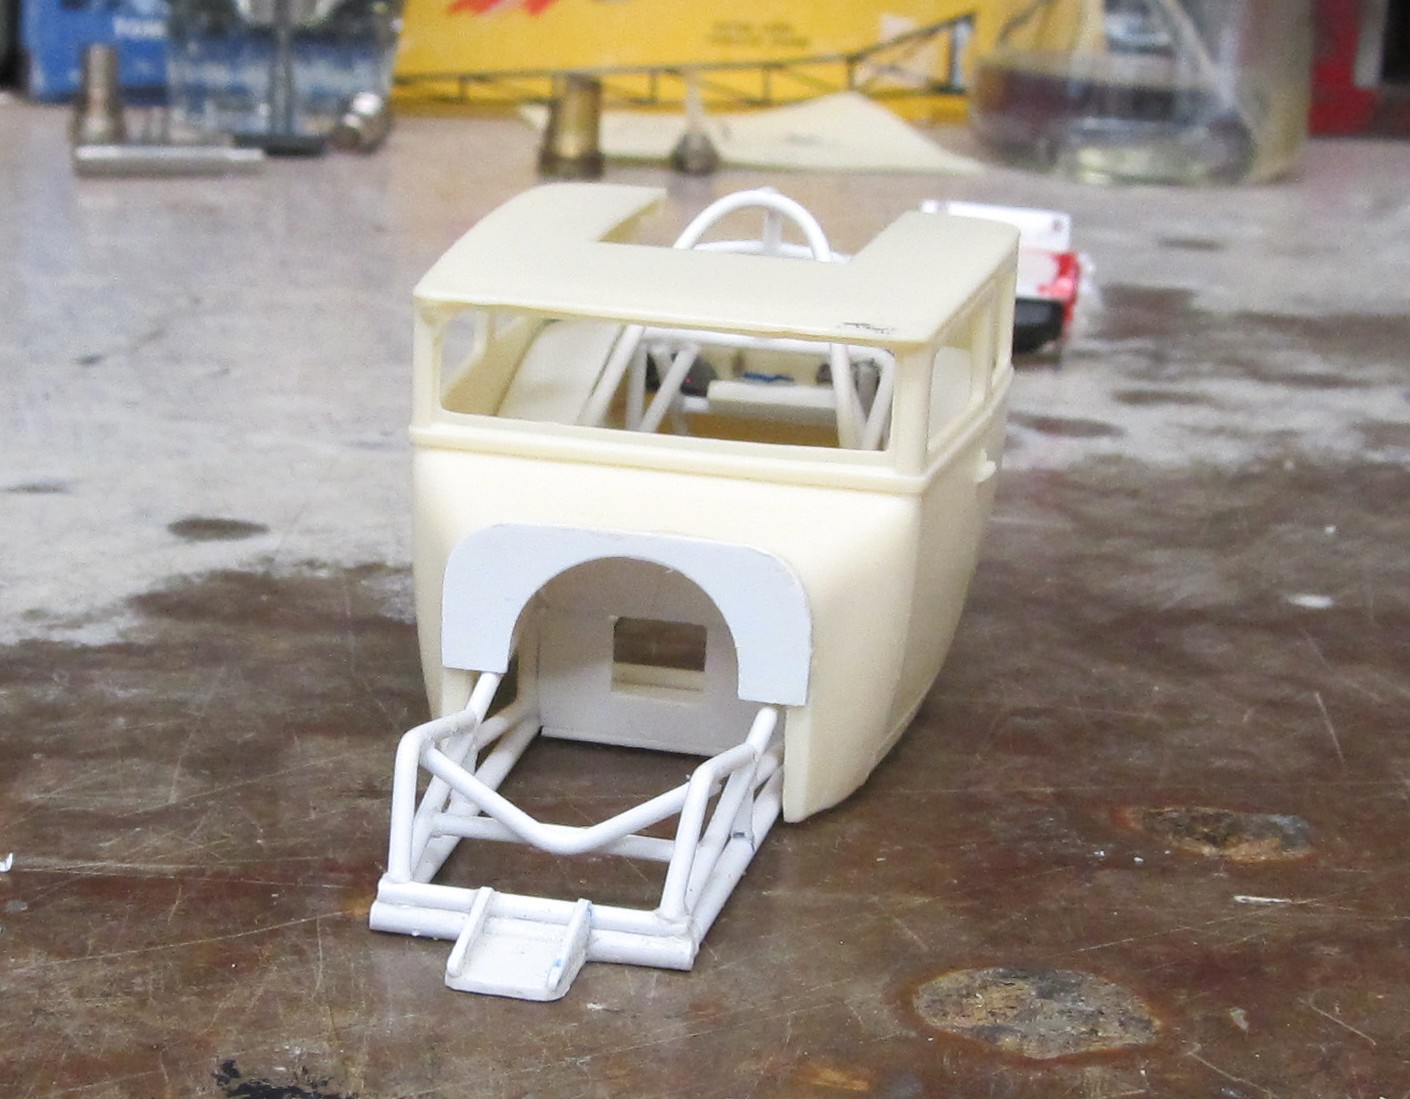
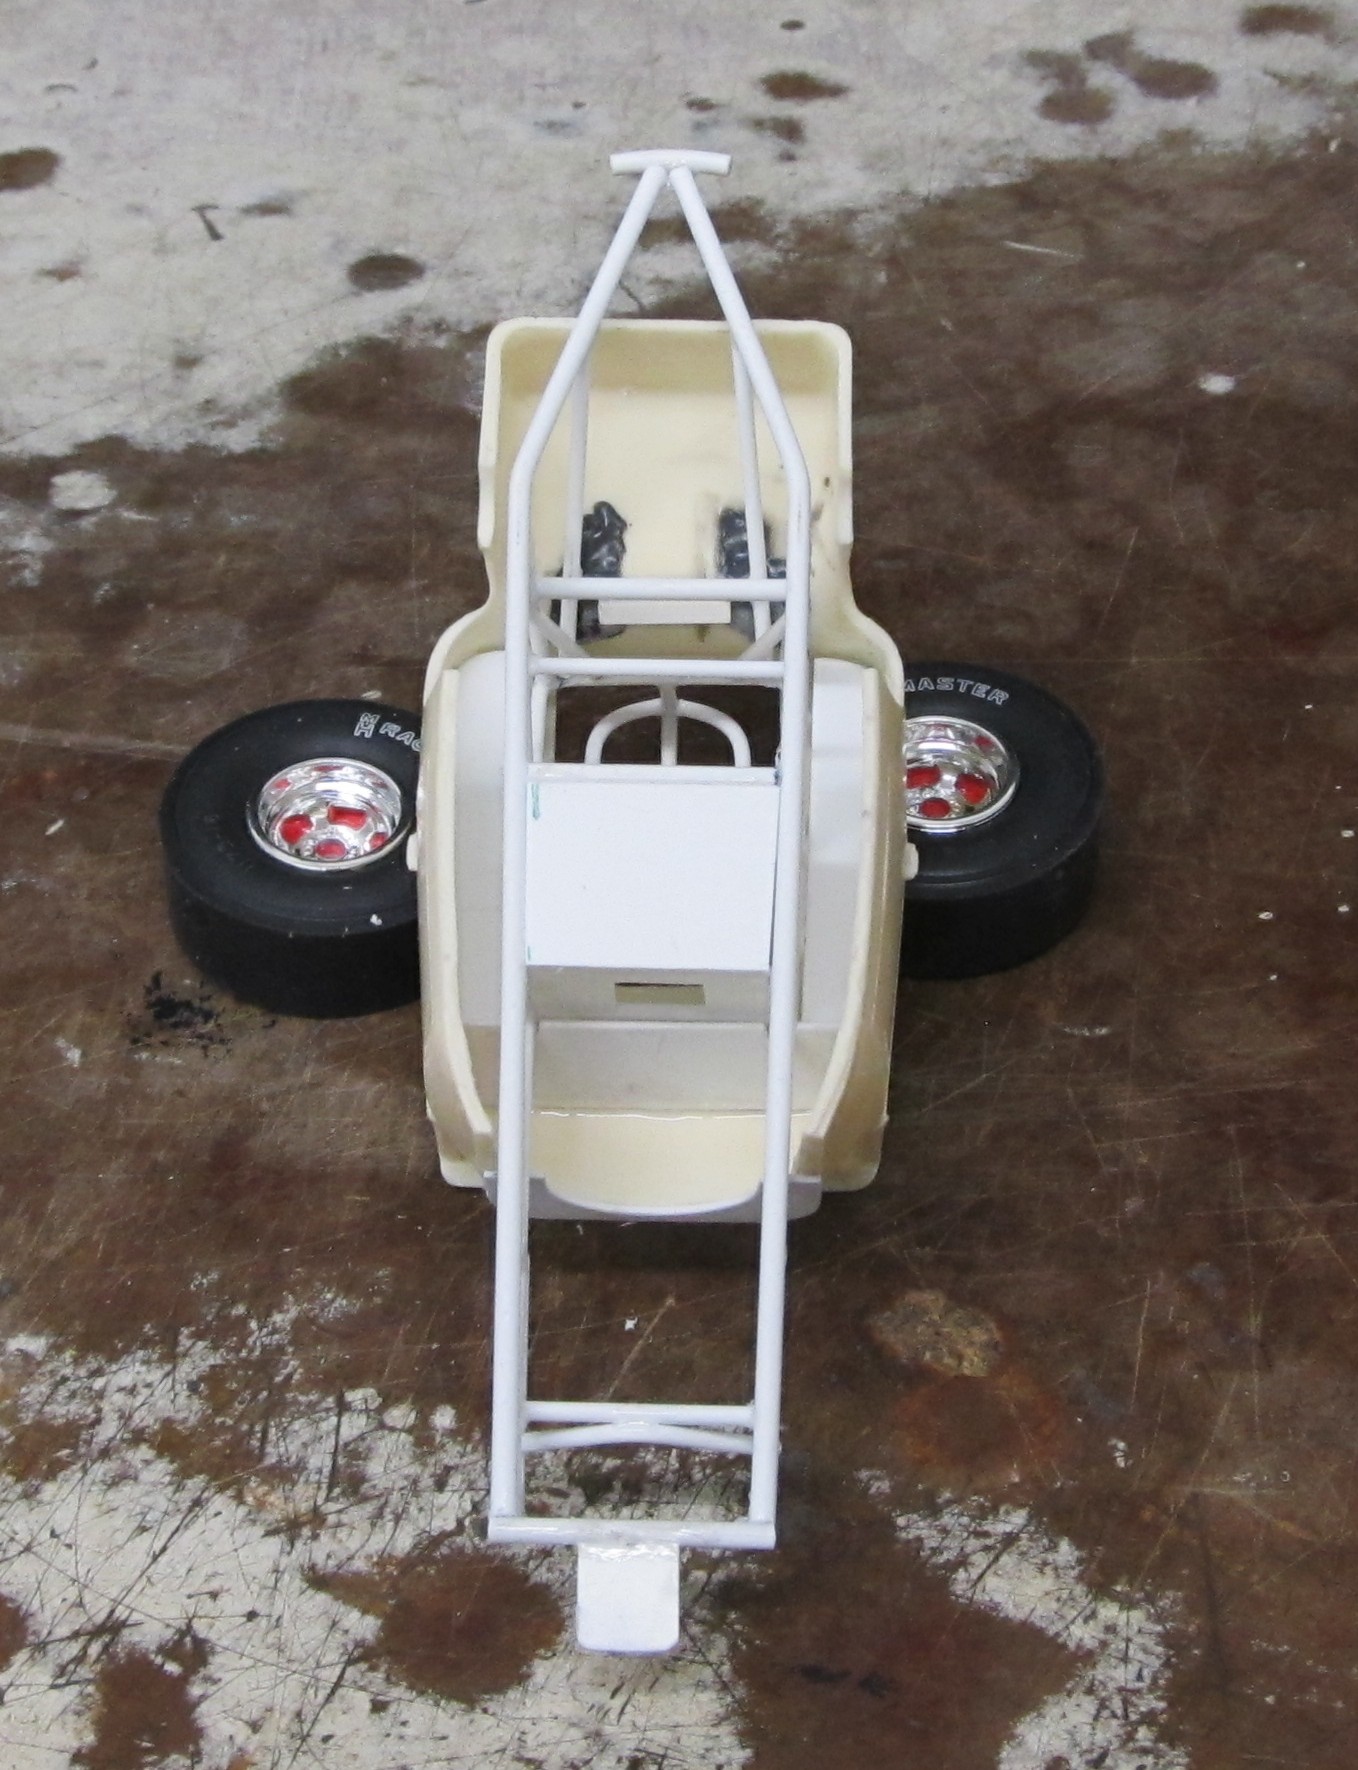
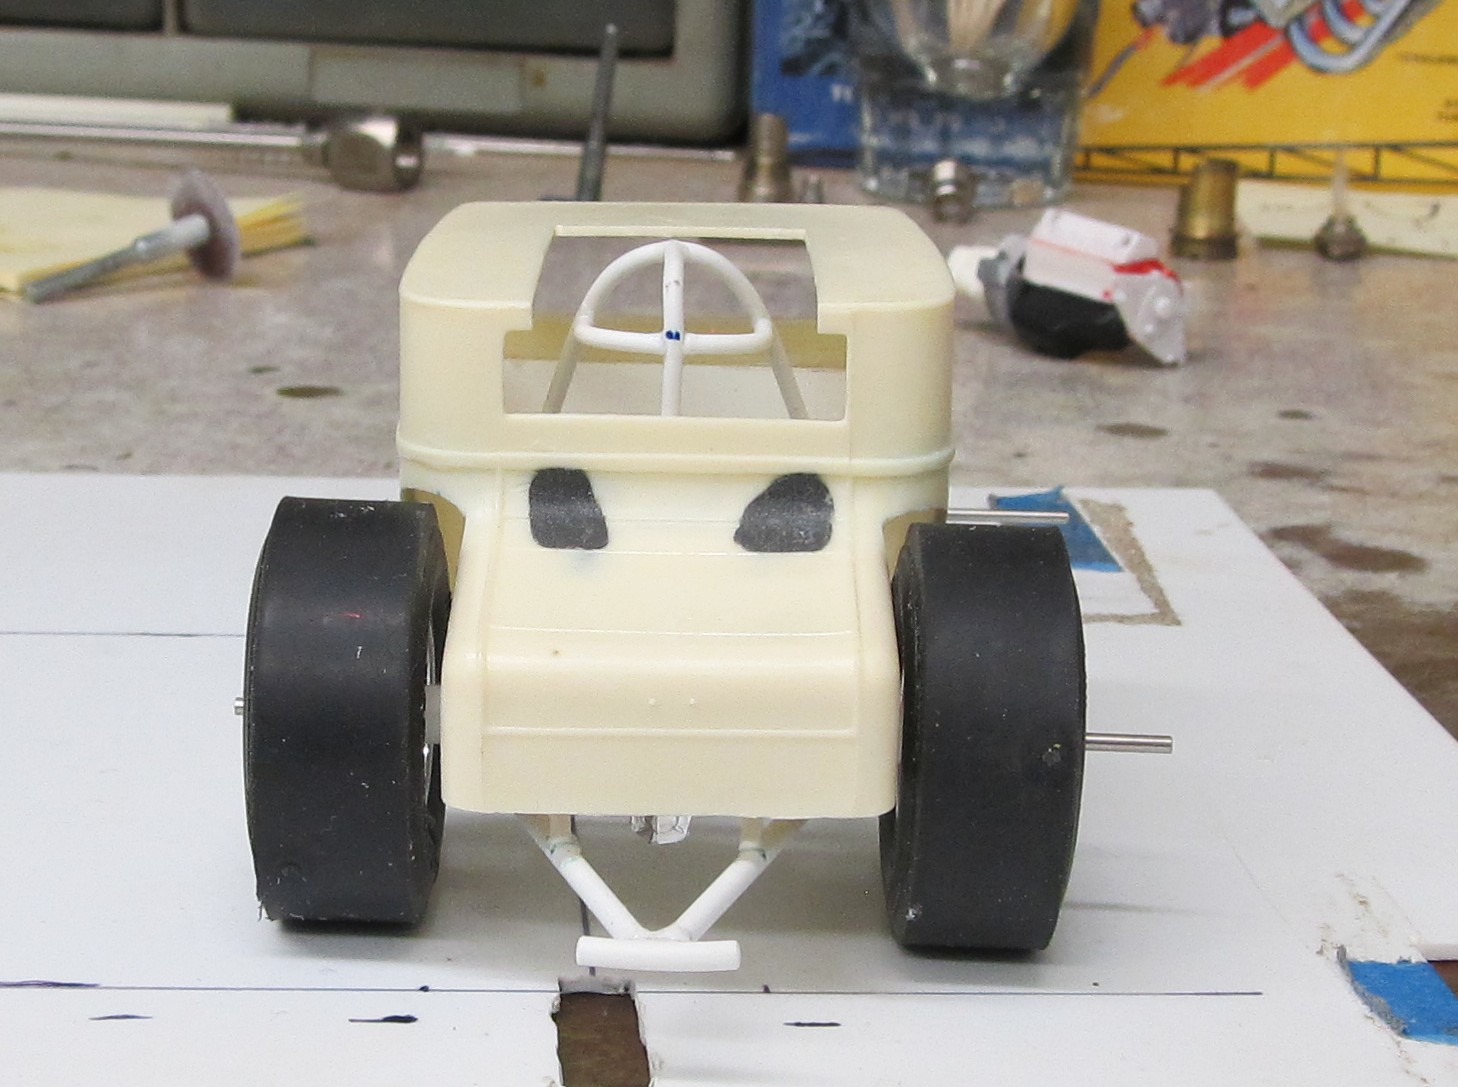
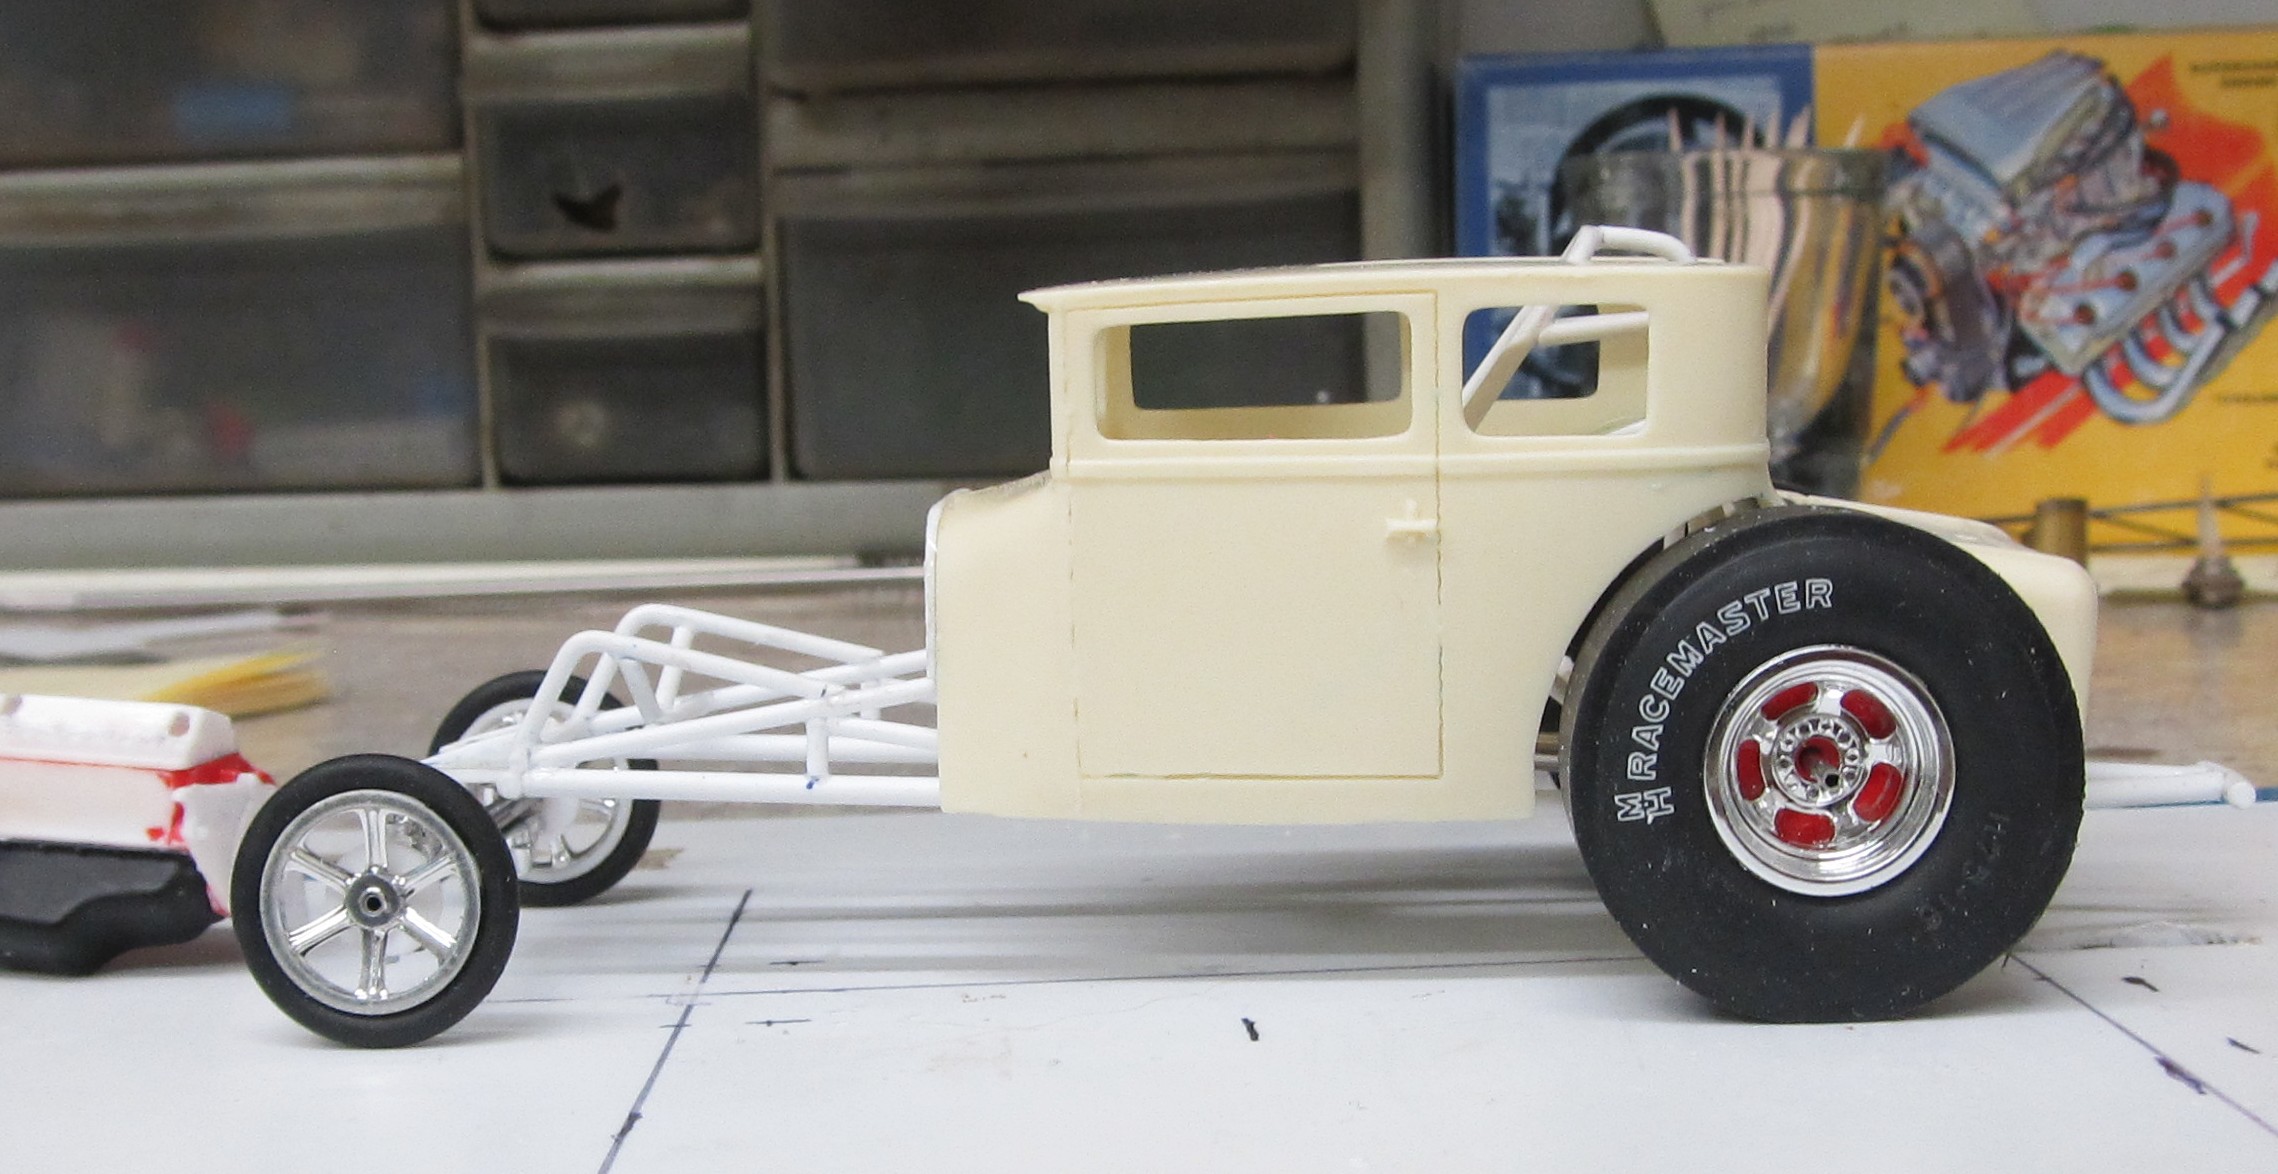
Started on some body work this weekend had to make room for the back tires. Lots more work needed to clear for all the accessories like the magneto and the steering drag link to start. Didnt know how to feel about a flat top, but so far its looking kinda tuff.
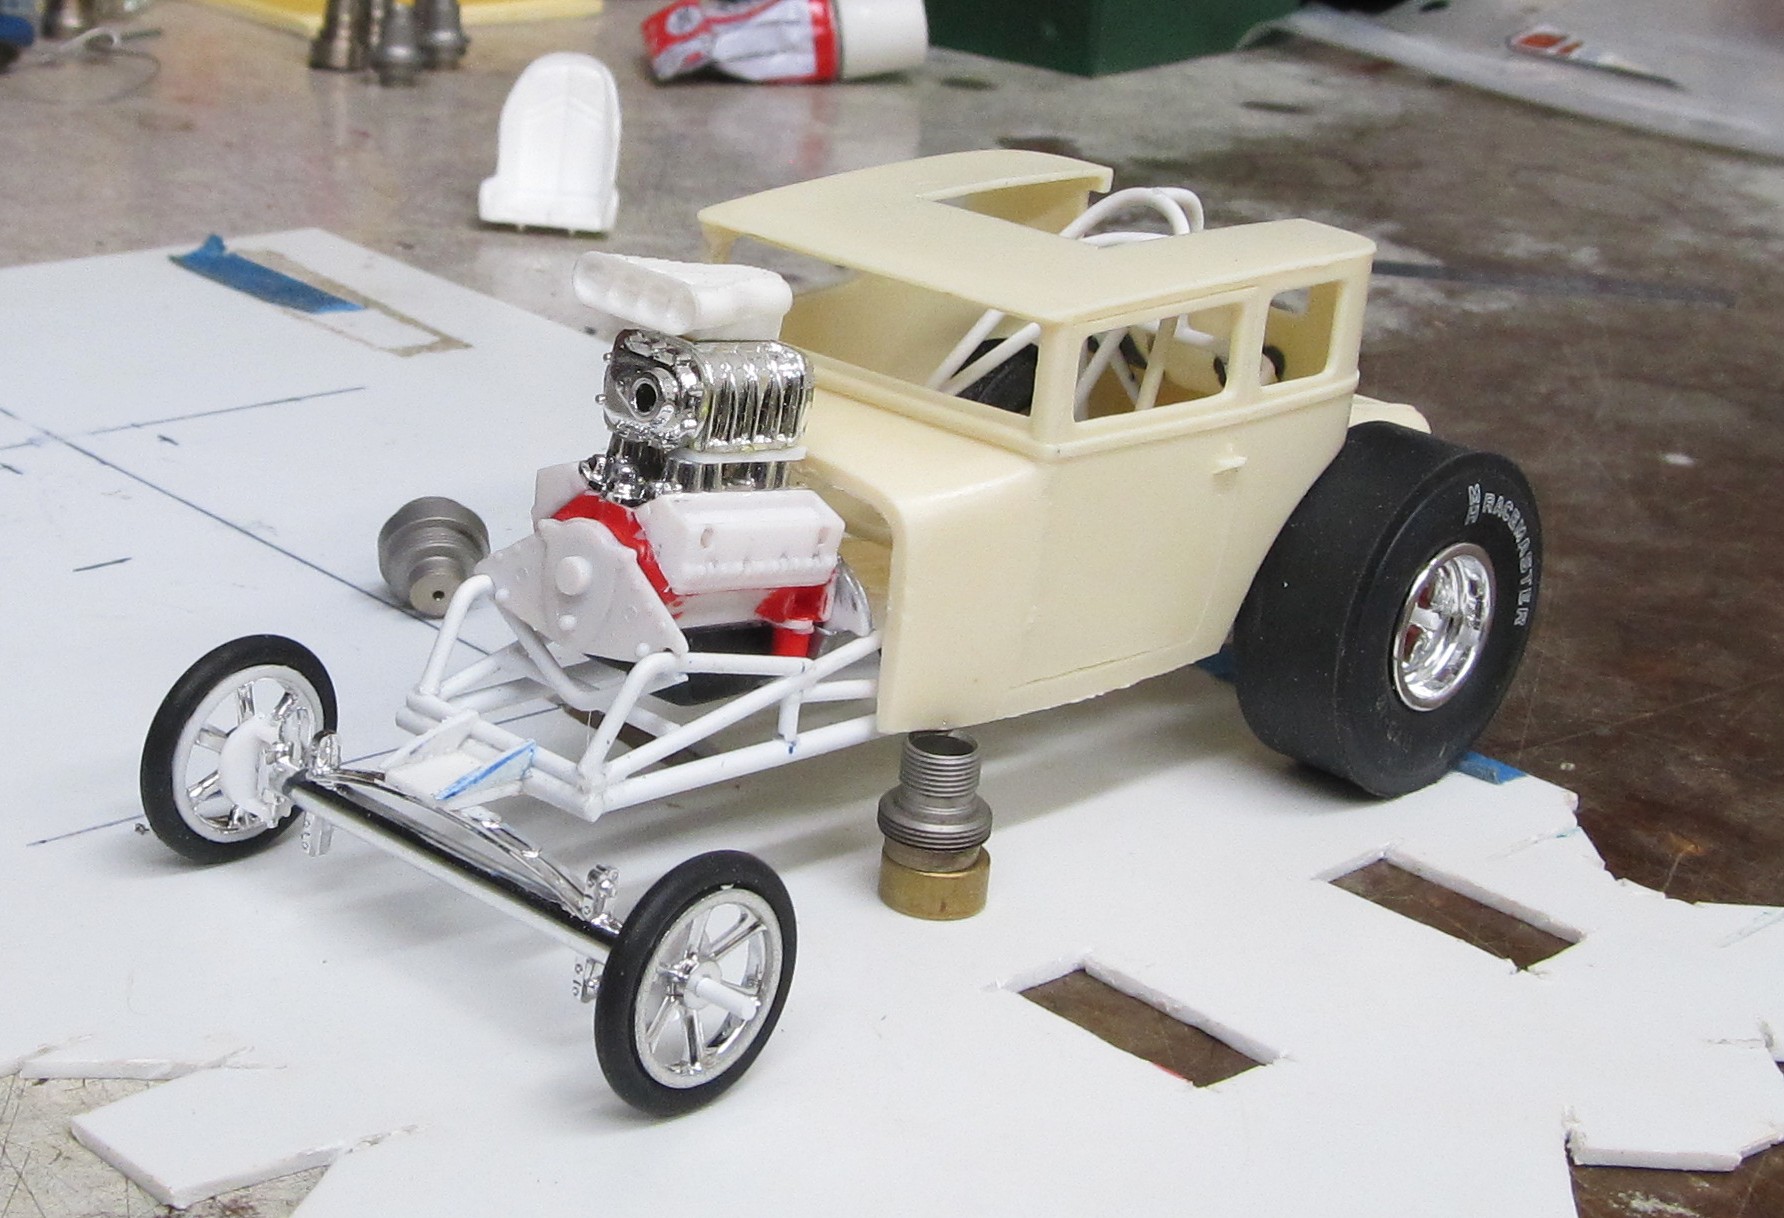
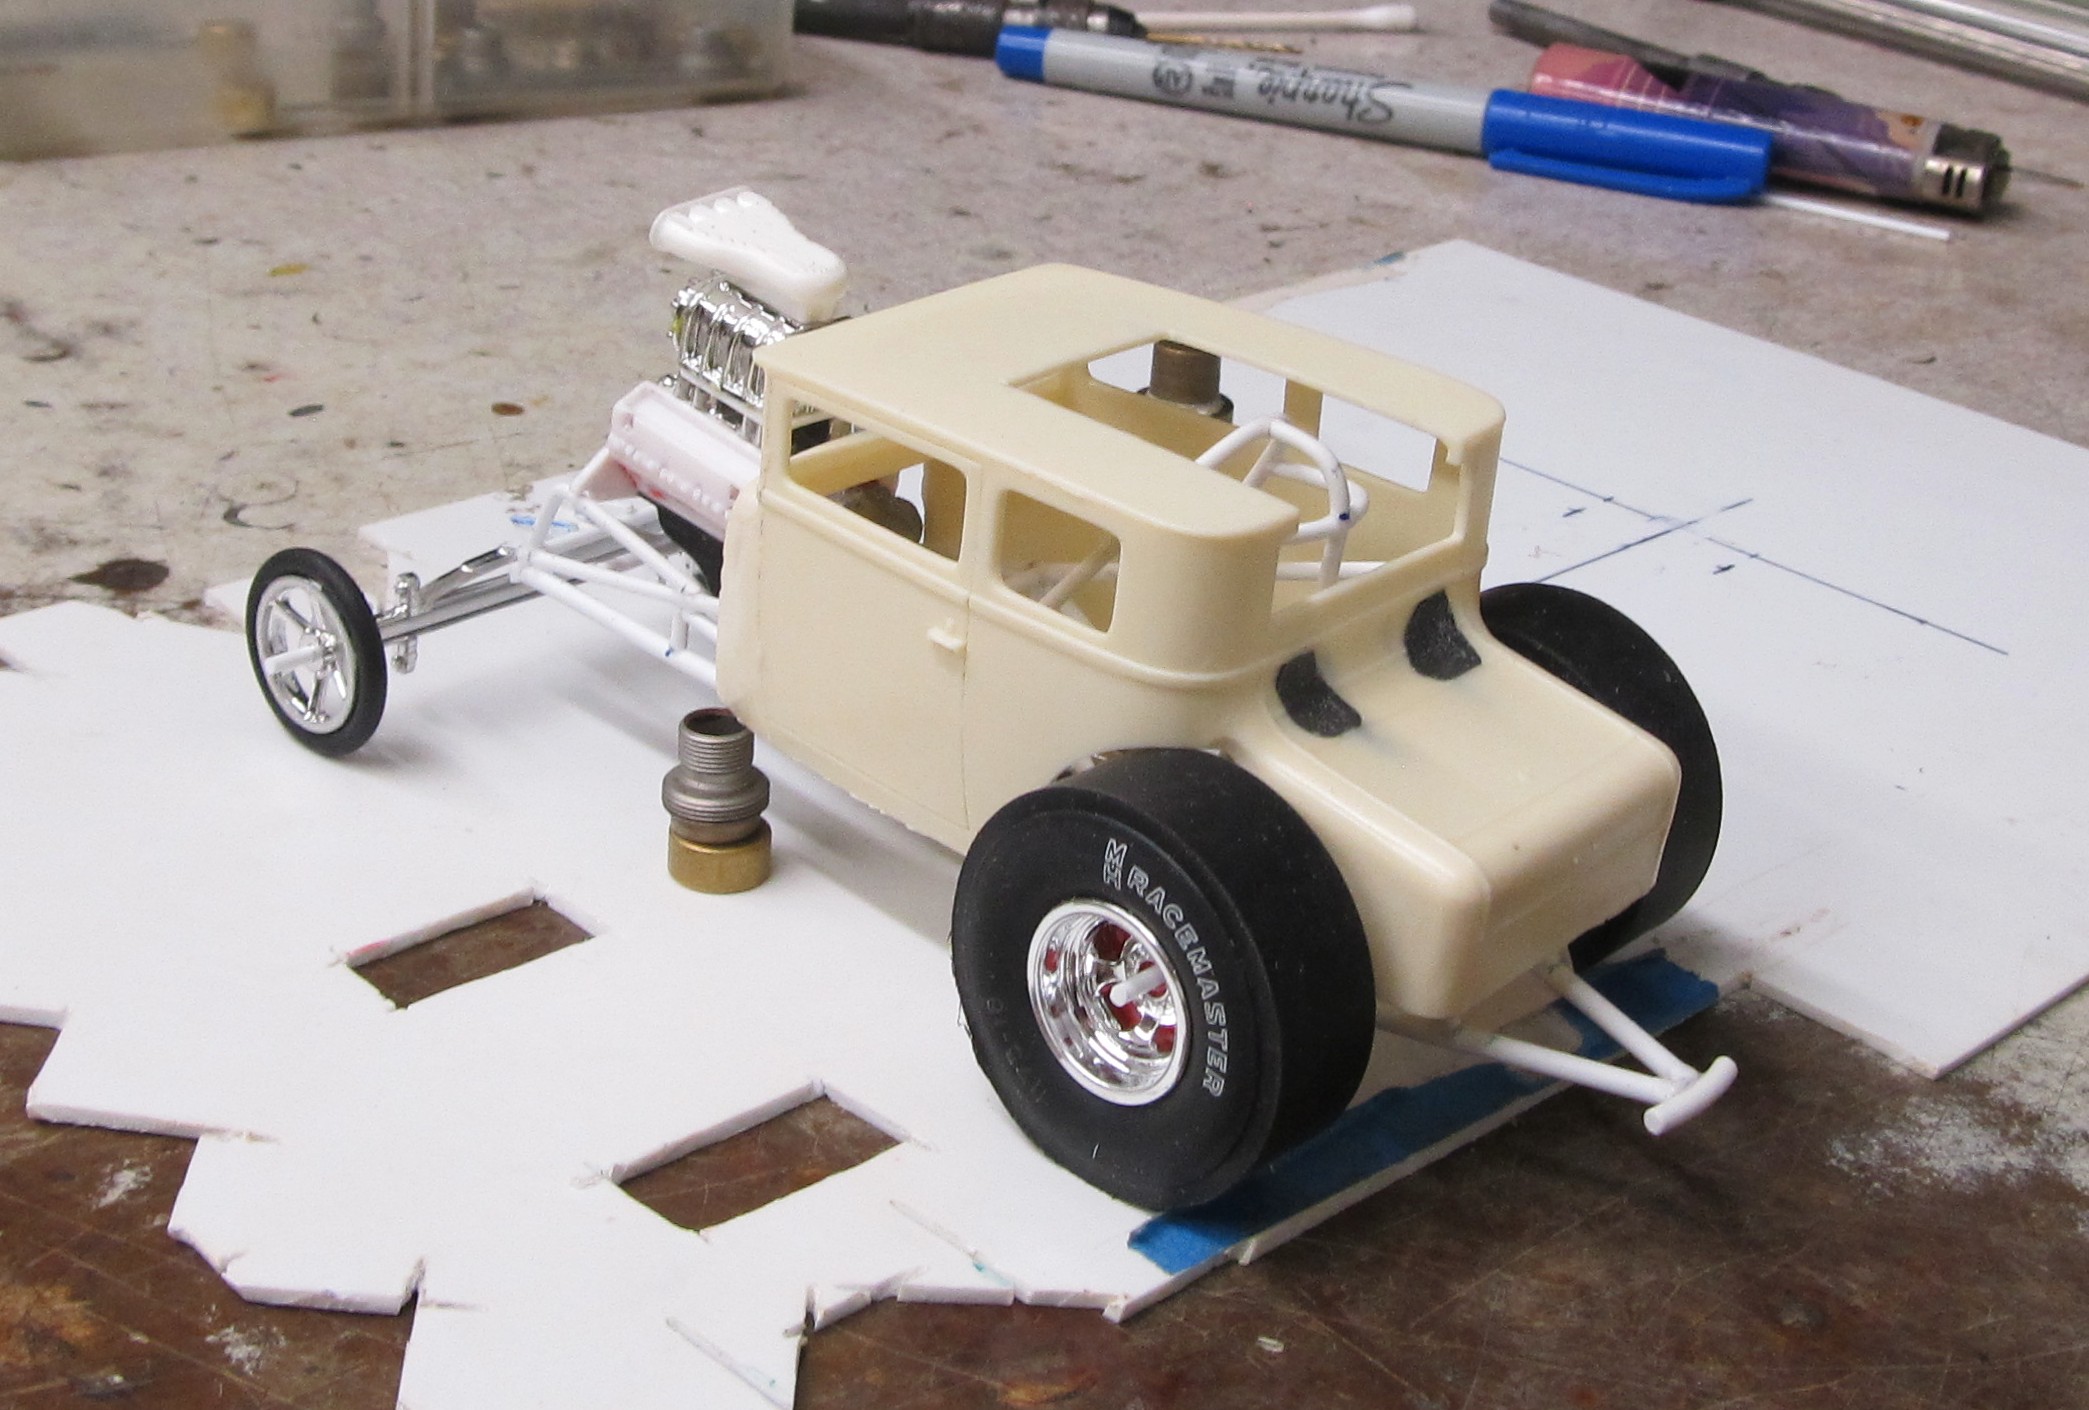
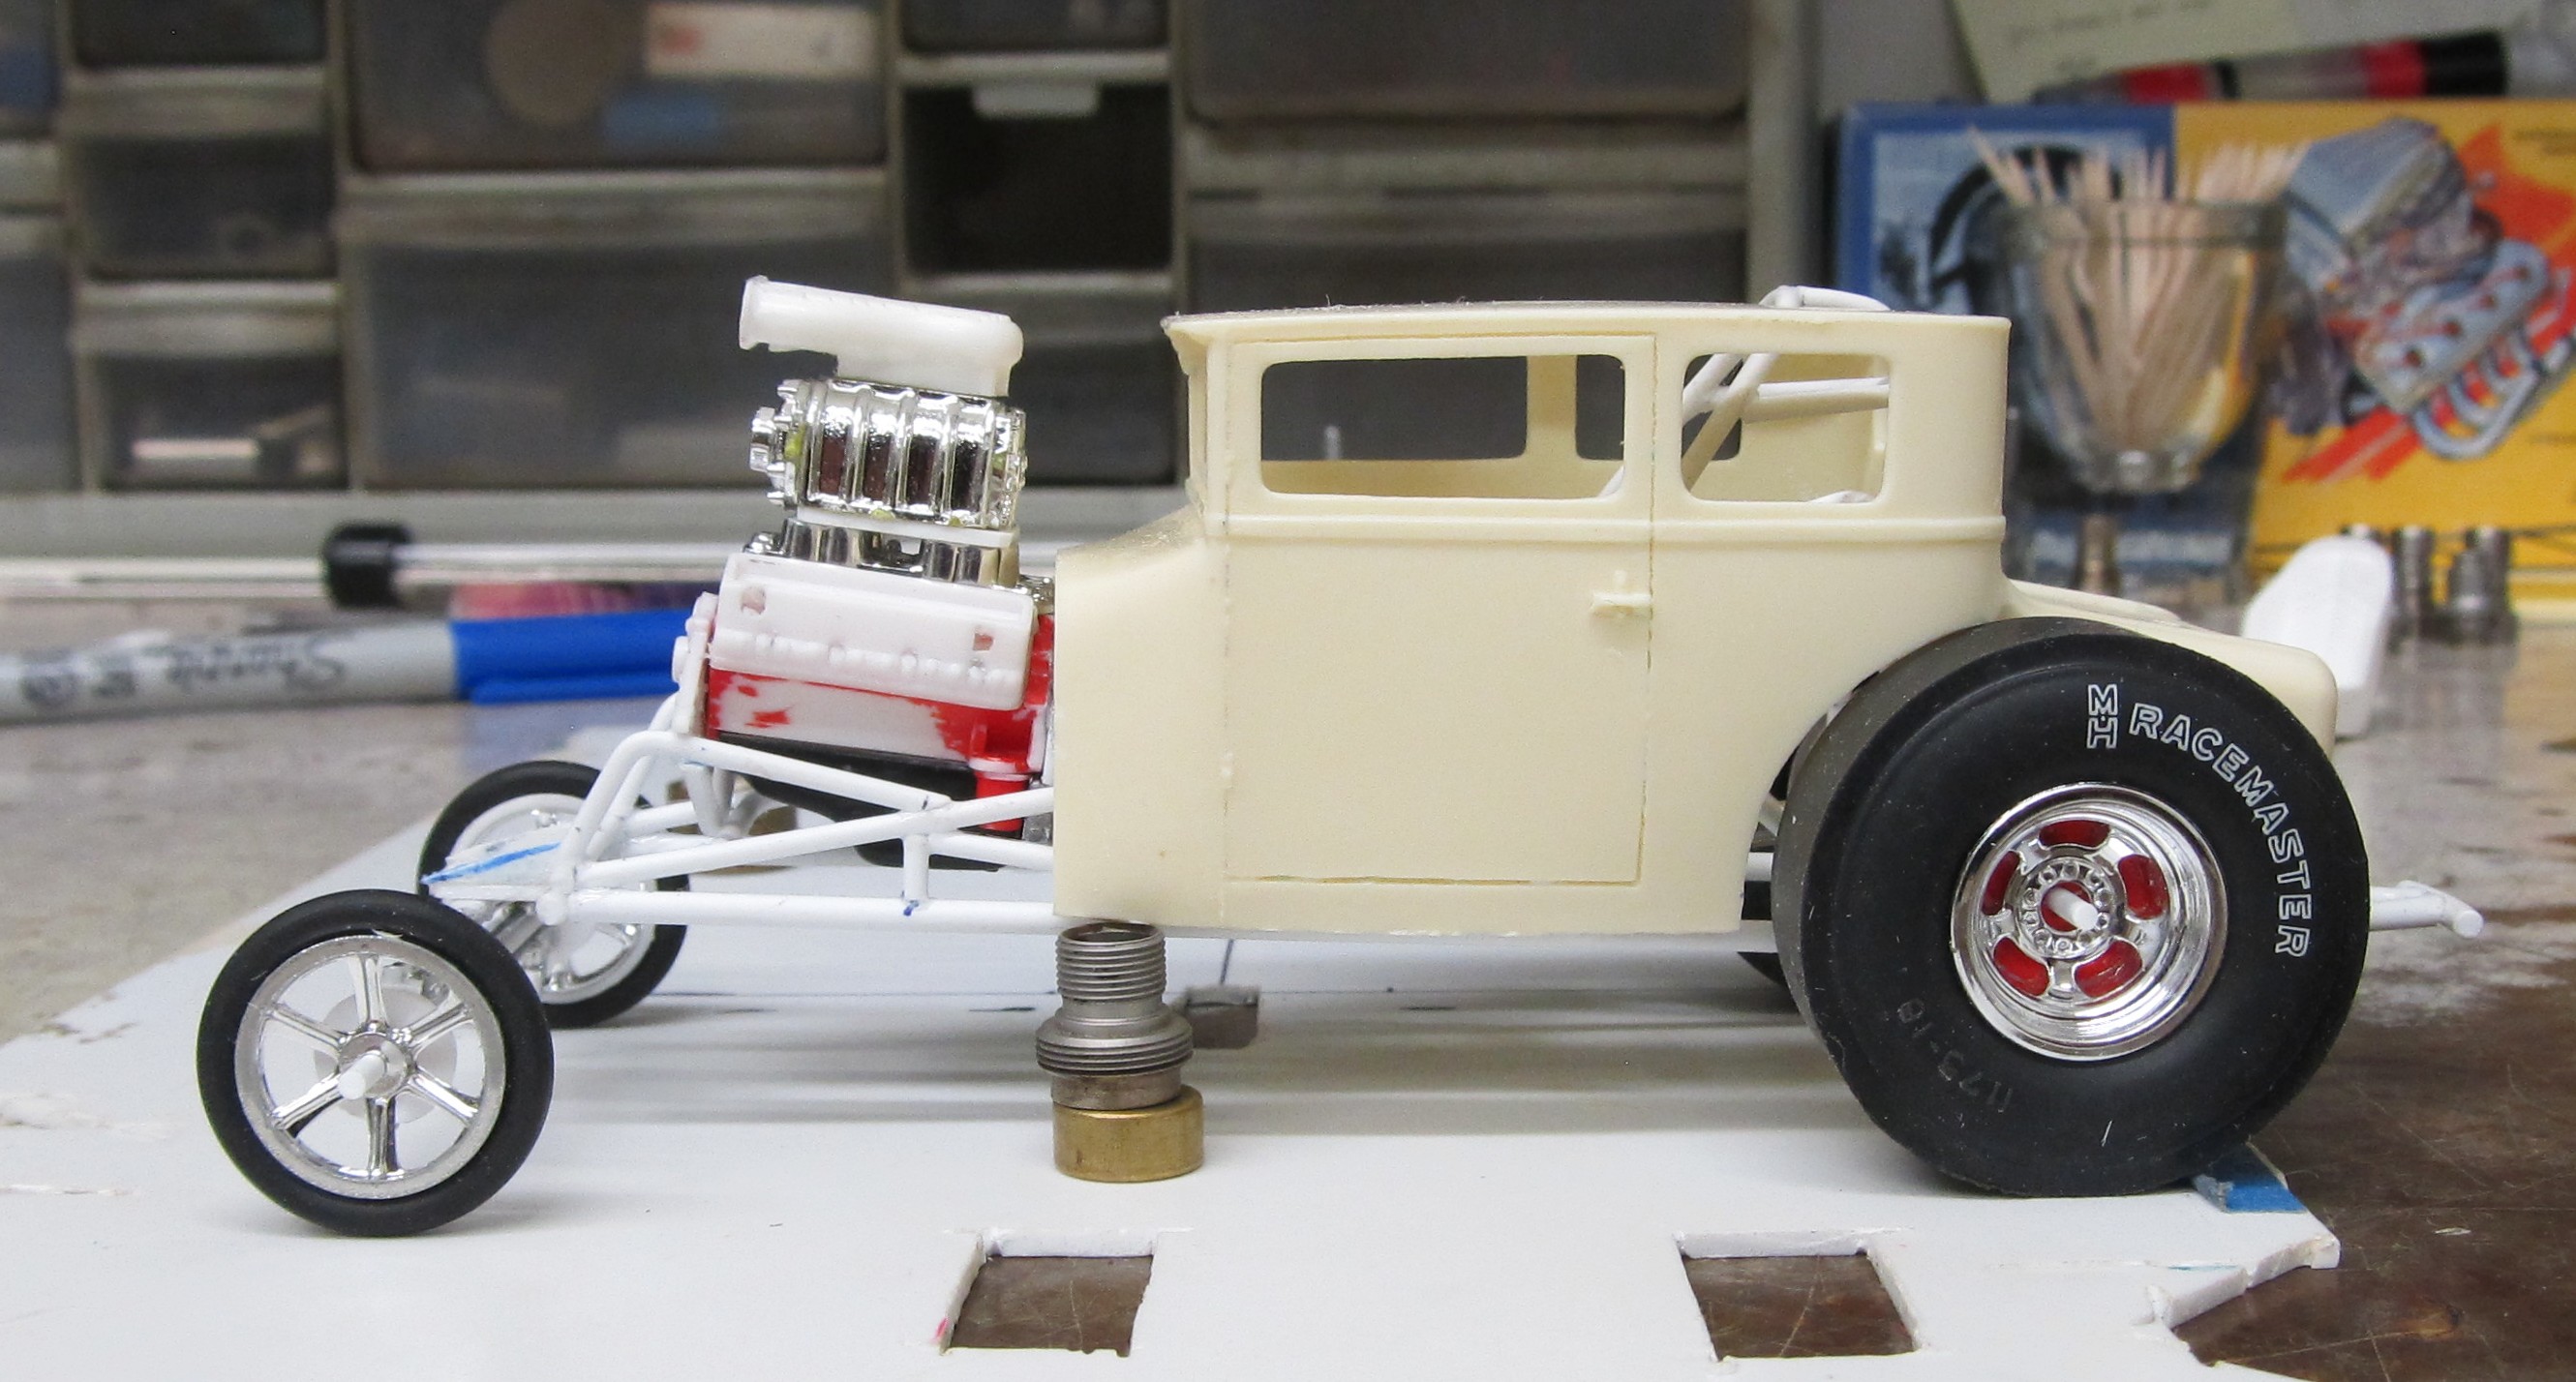
... kinda sorta tuff! (In gen z & alpha speak)
Now lets take this back some, 50s Its Boss, 60s its far out man, 70s bitchen, 80s awesome, from then on i dont really know... kinda sorta tuff! (In gen z & alpha speak)
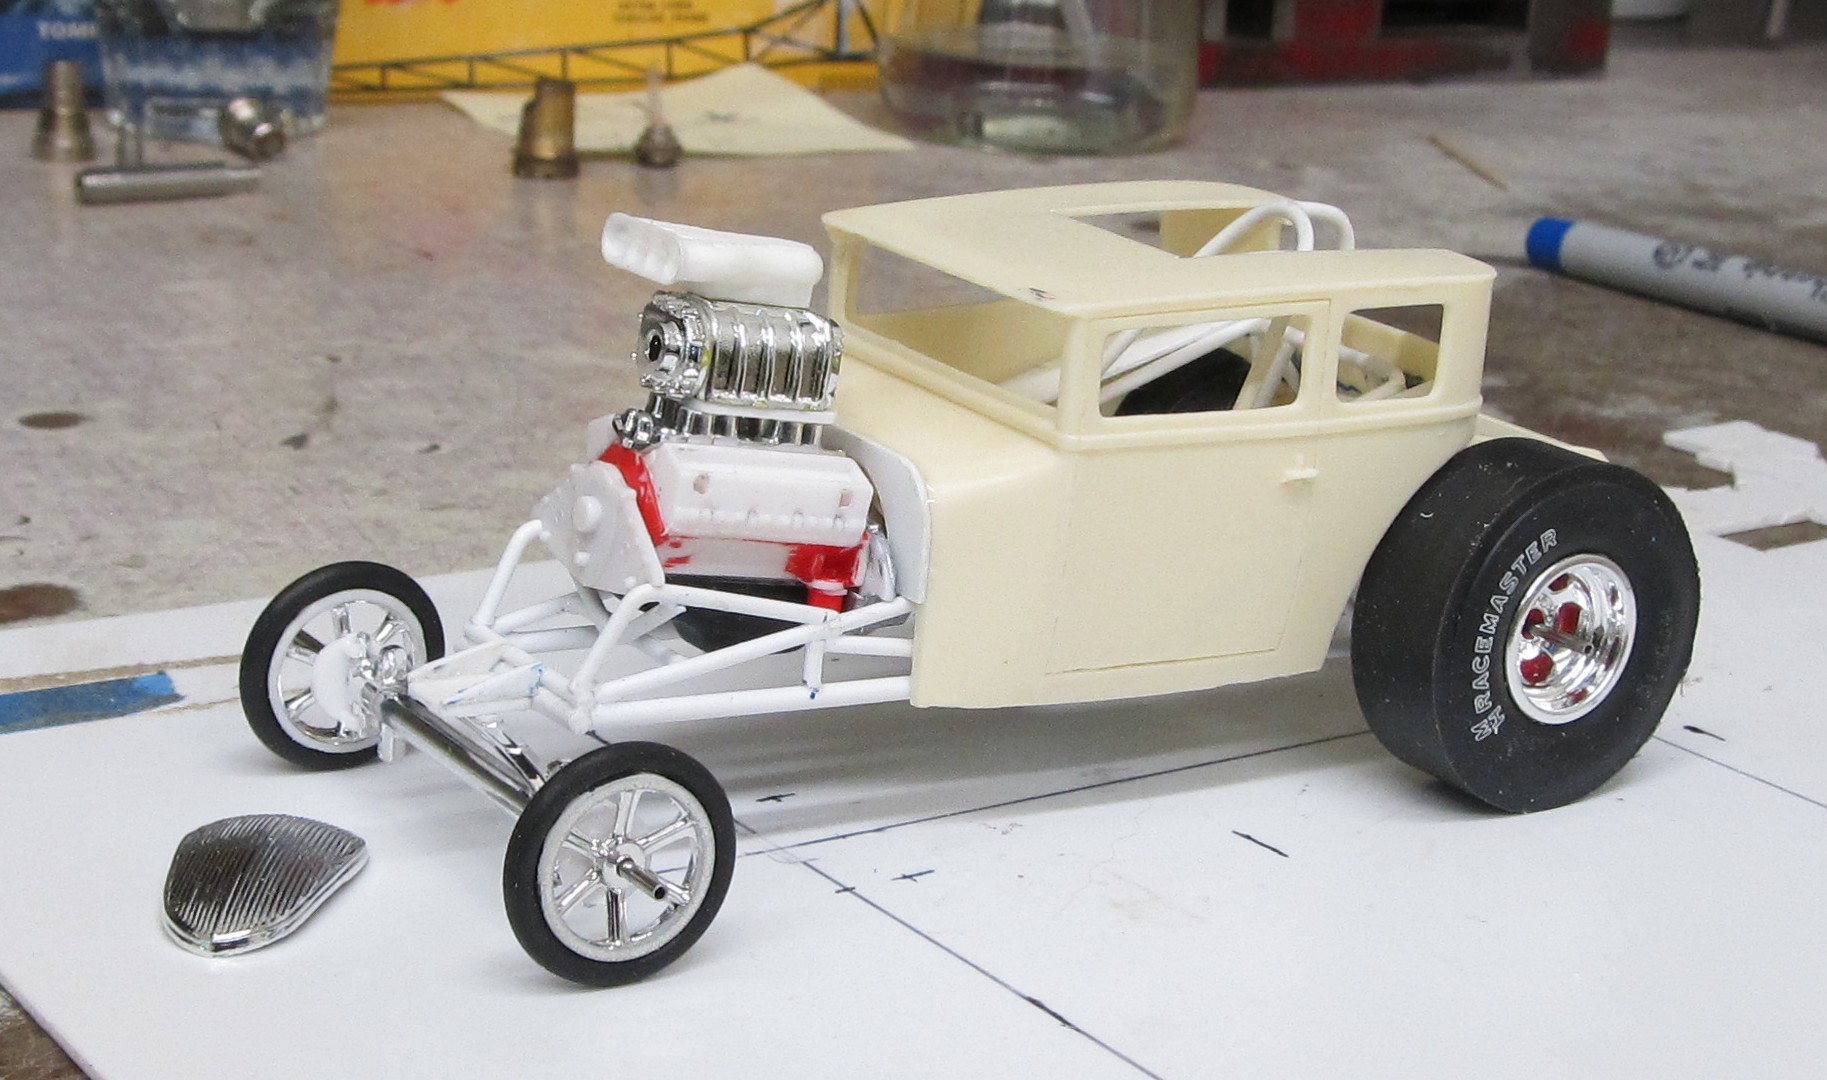
Interesting to see engine (and drive train I presume), mounted at such a steep angle!

Holz44
Well-Known Member
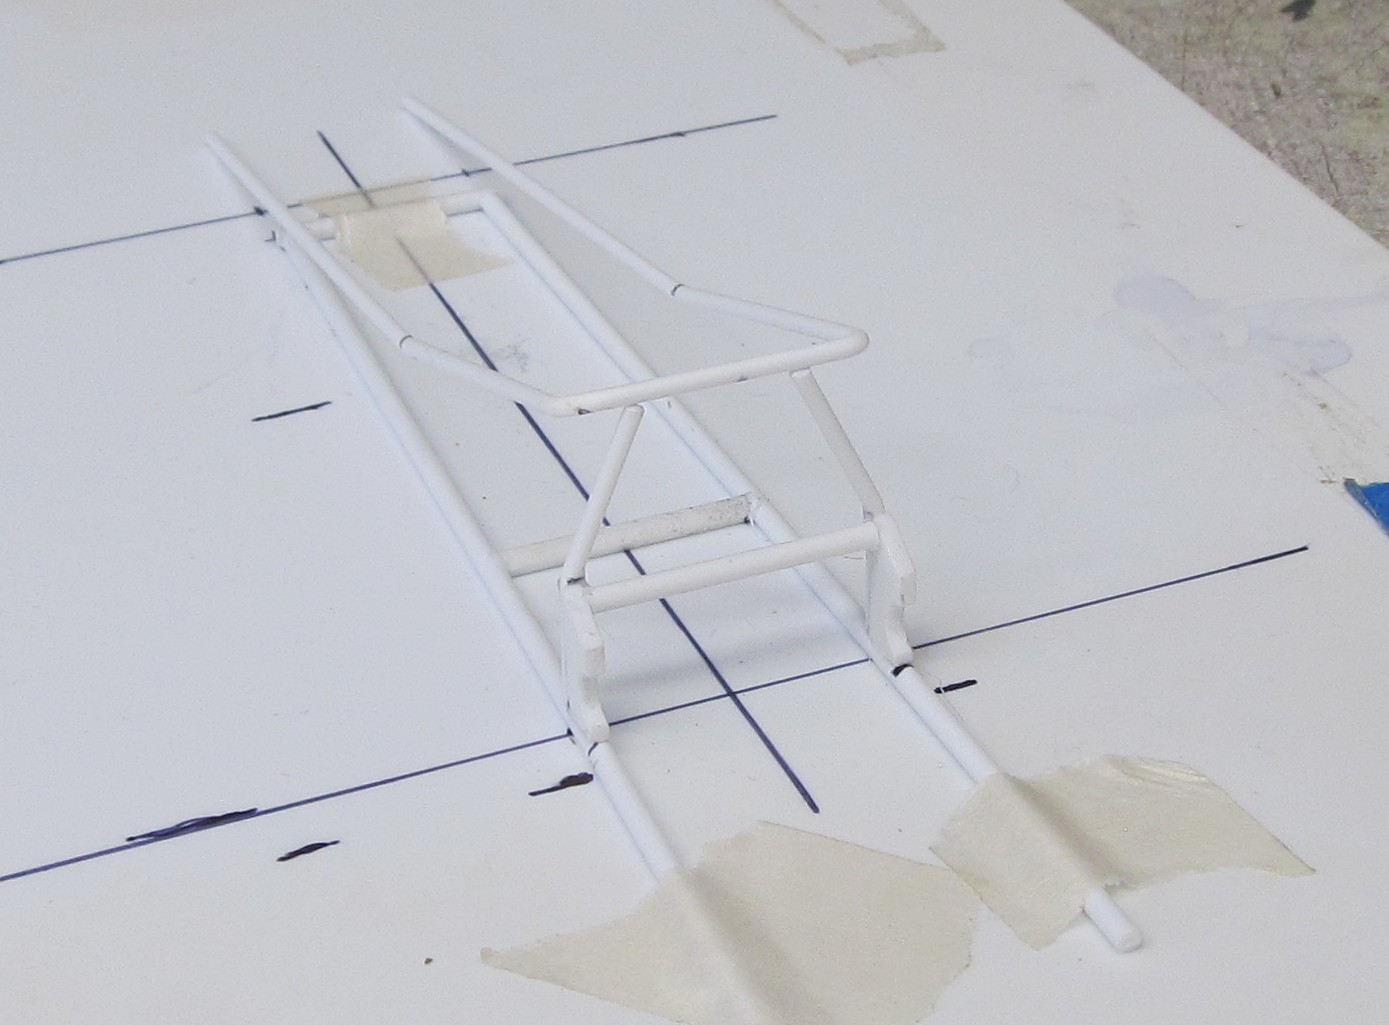
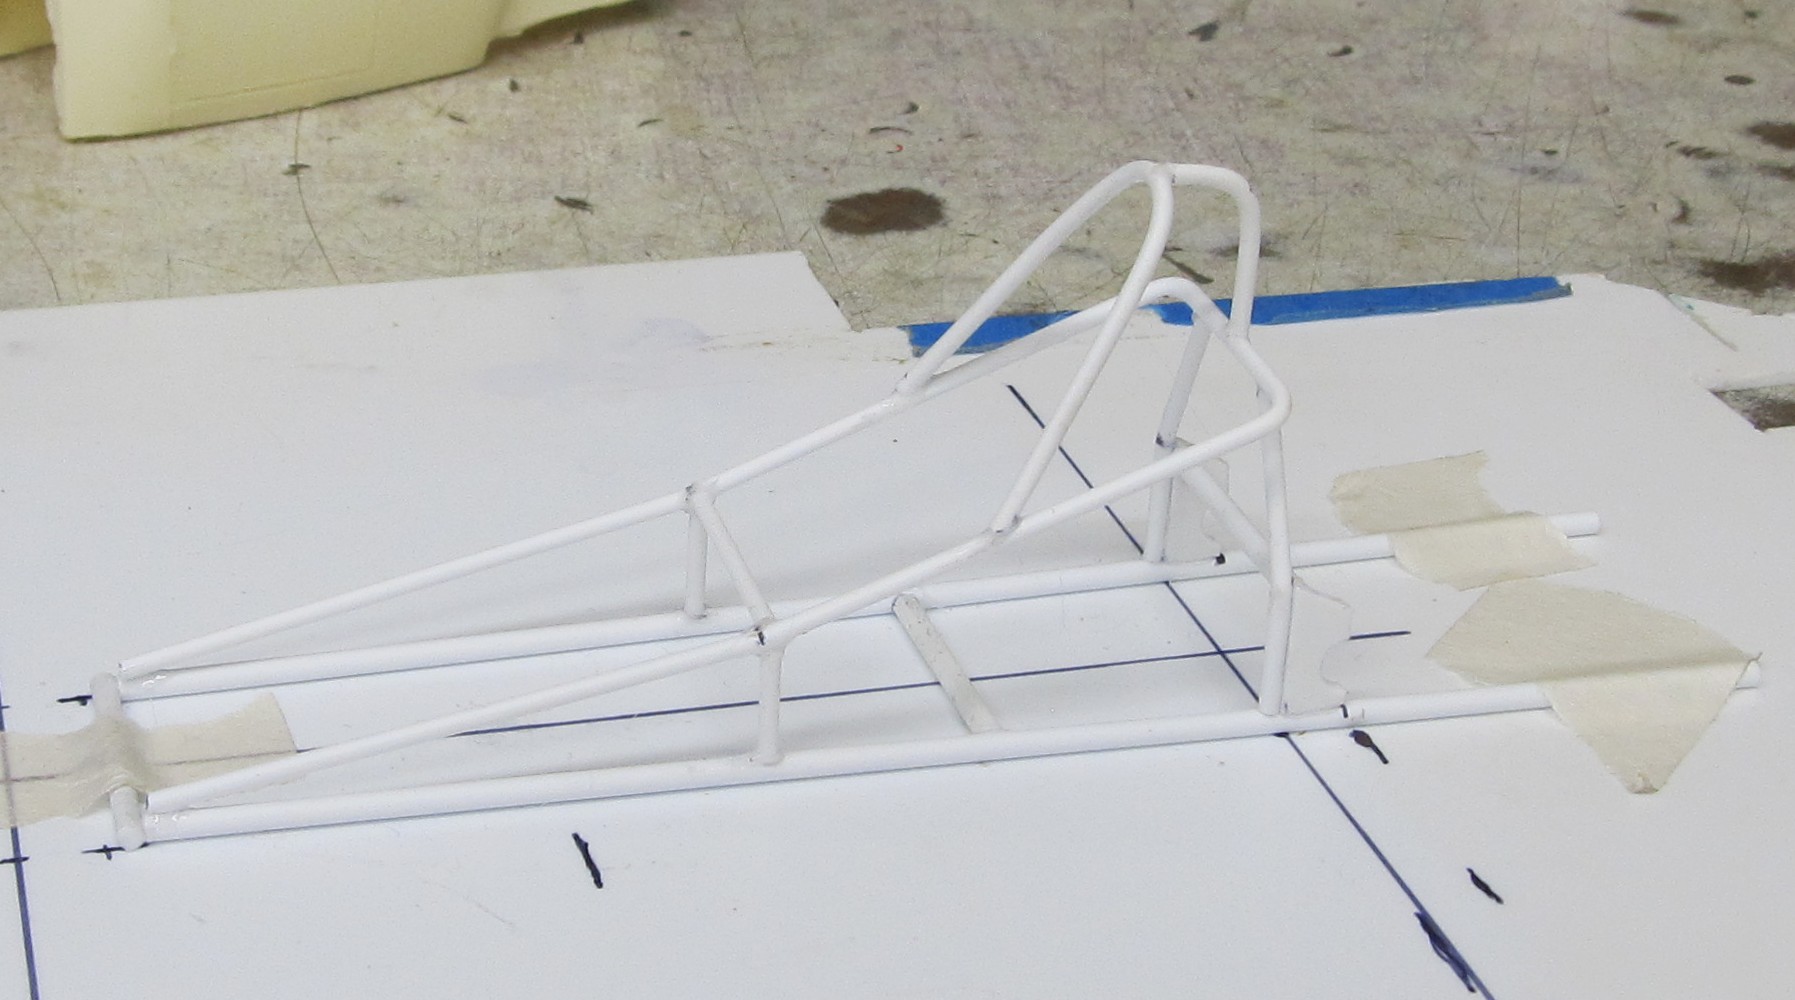
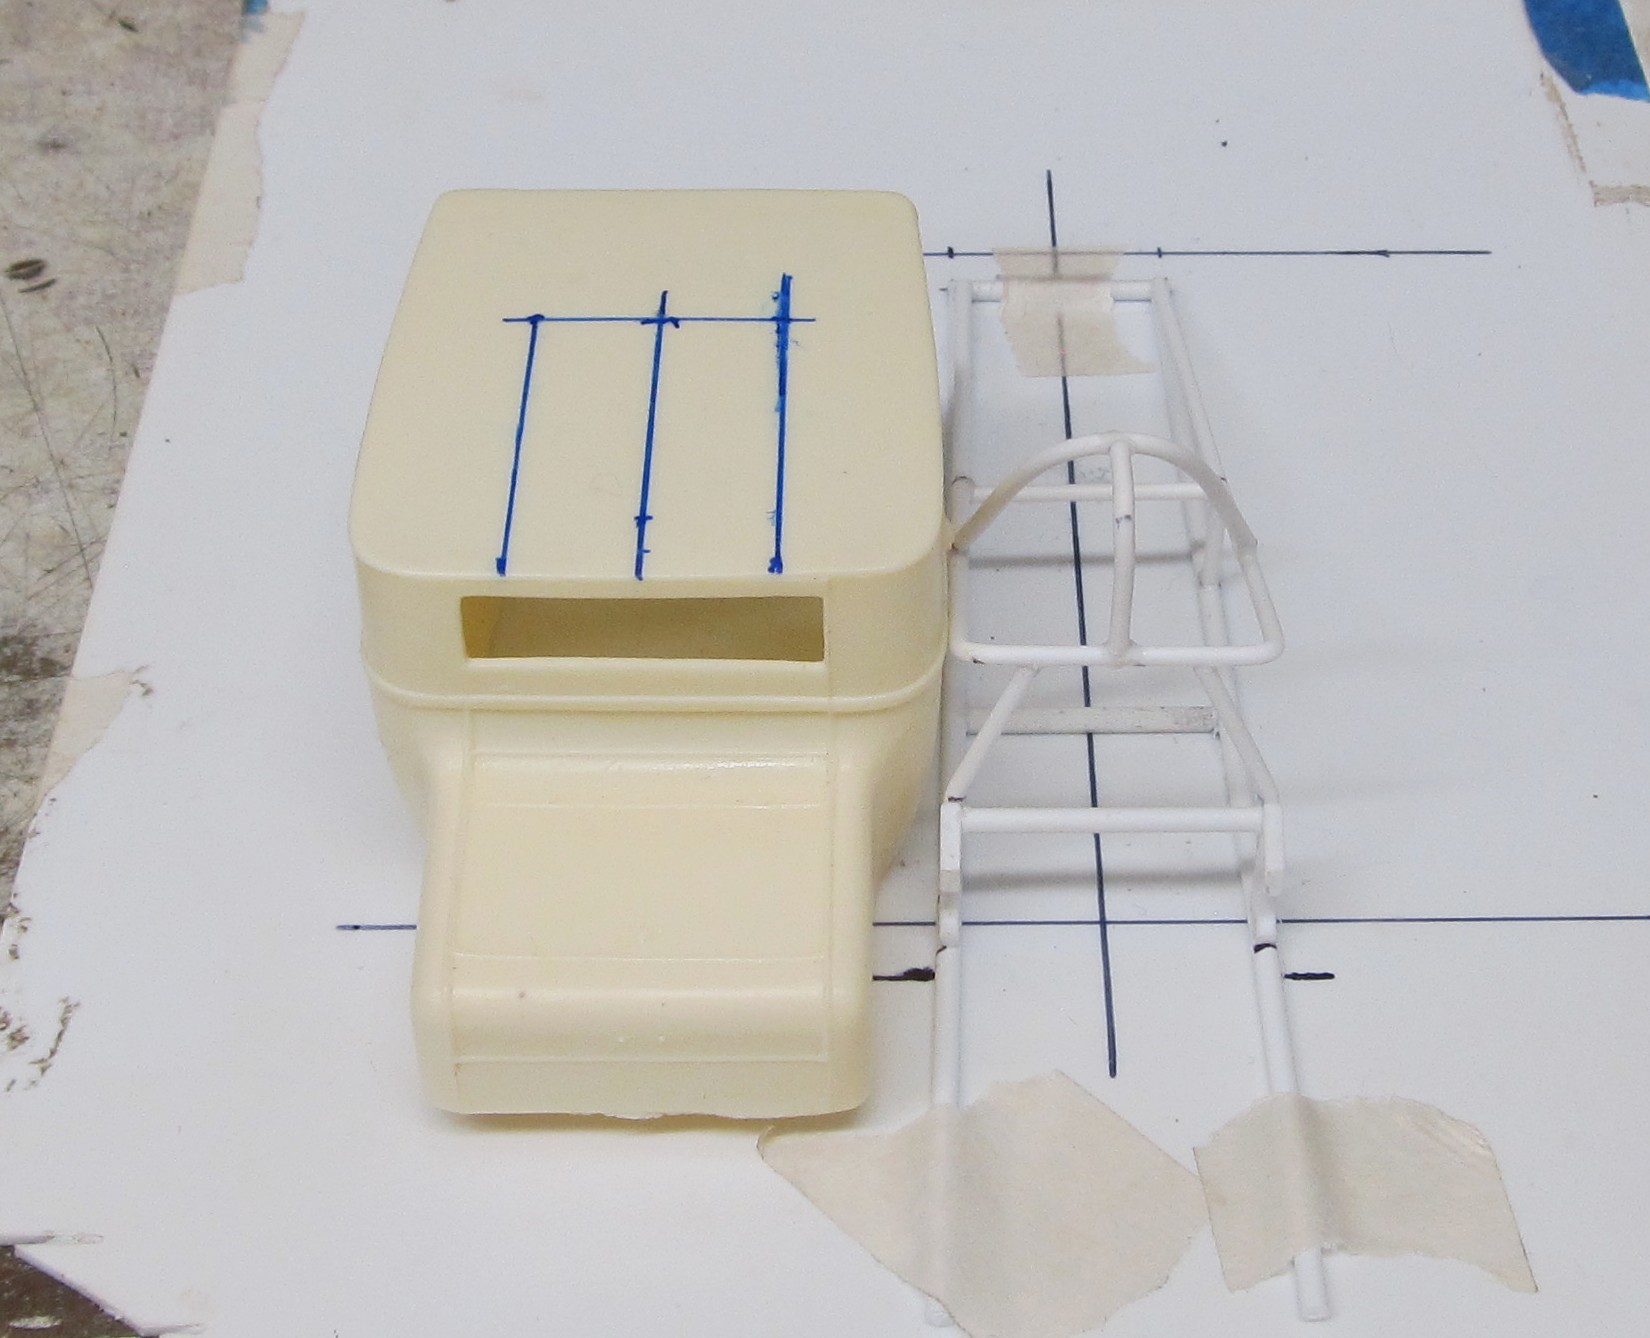
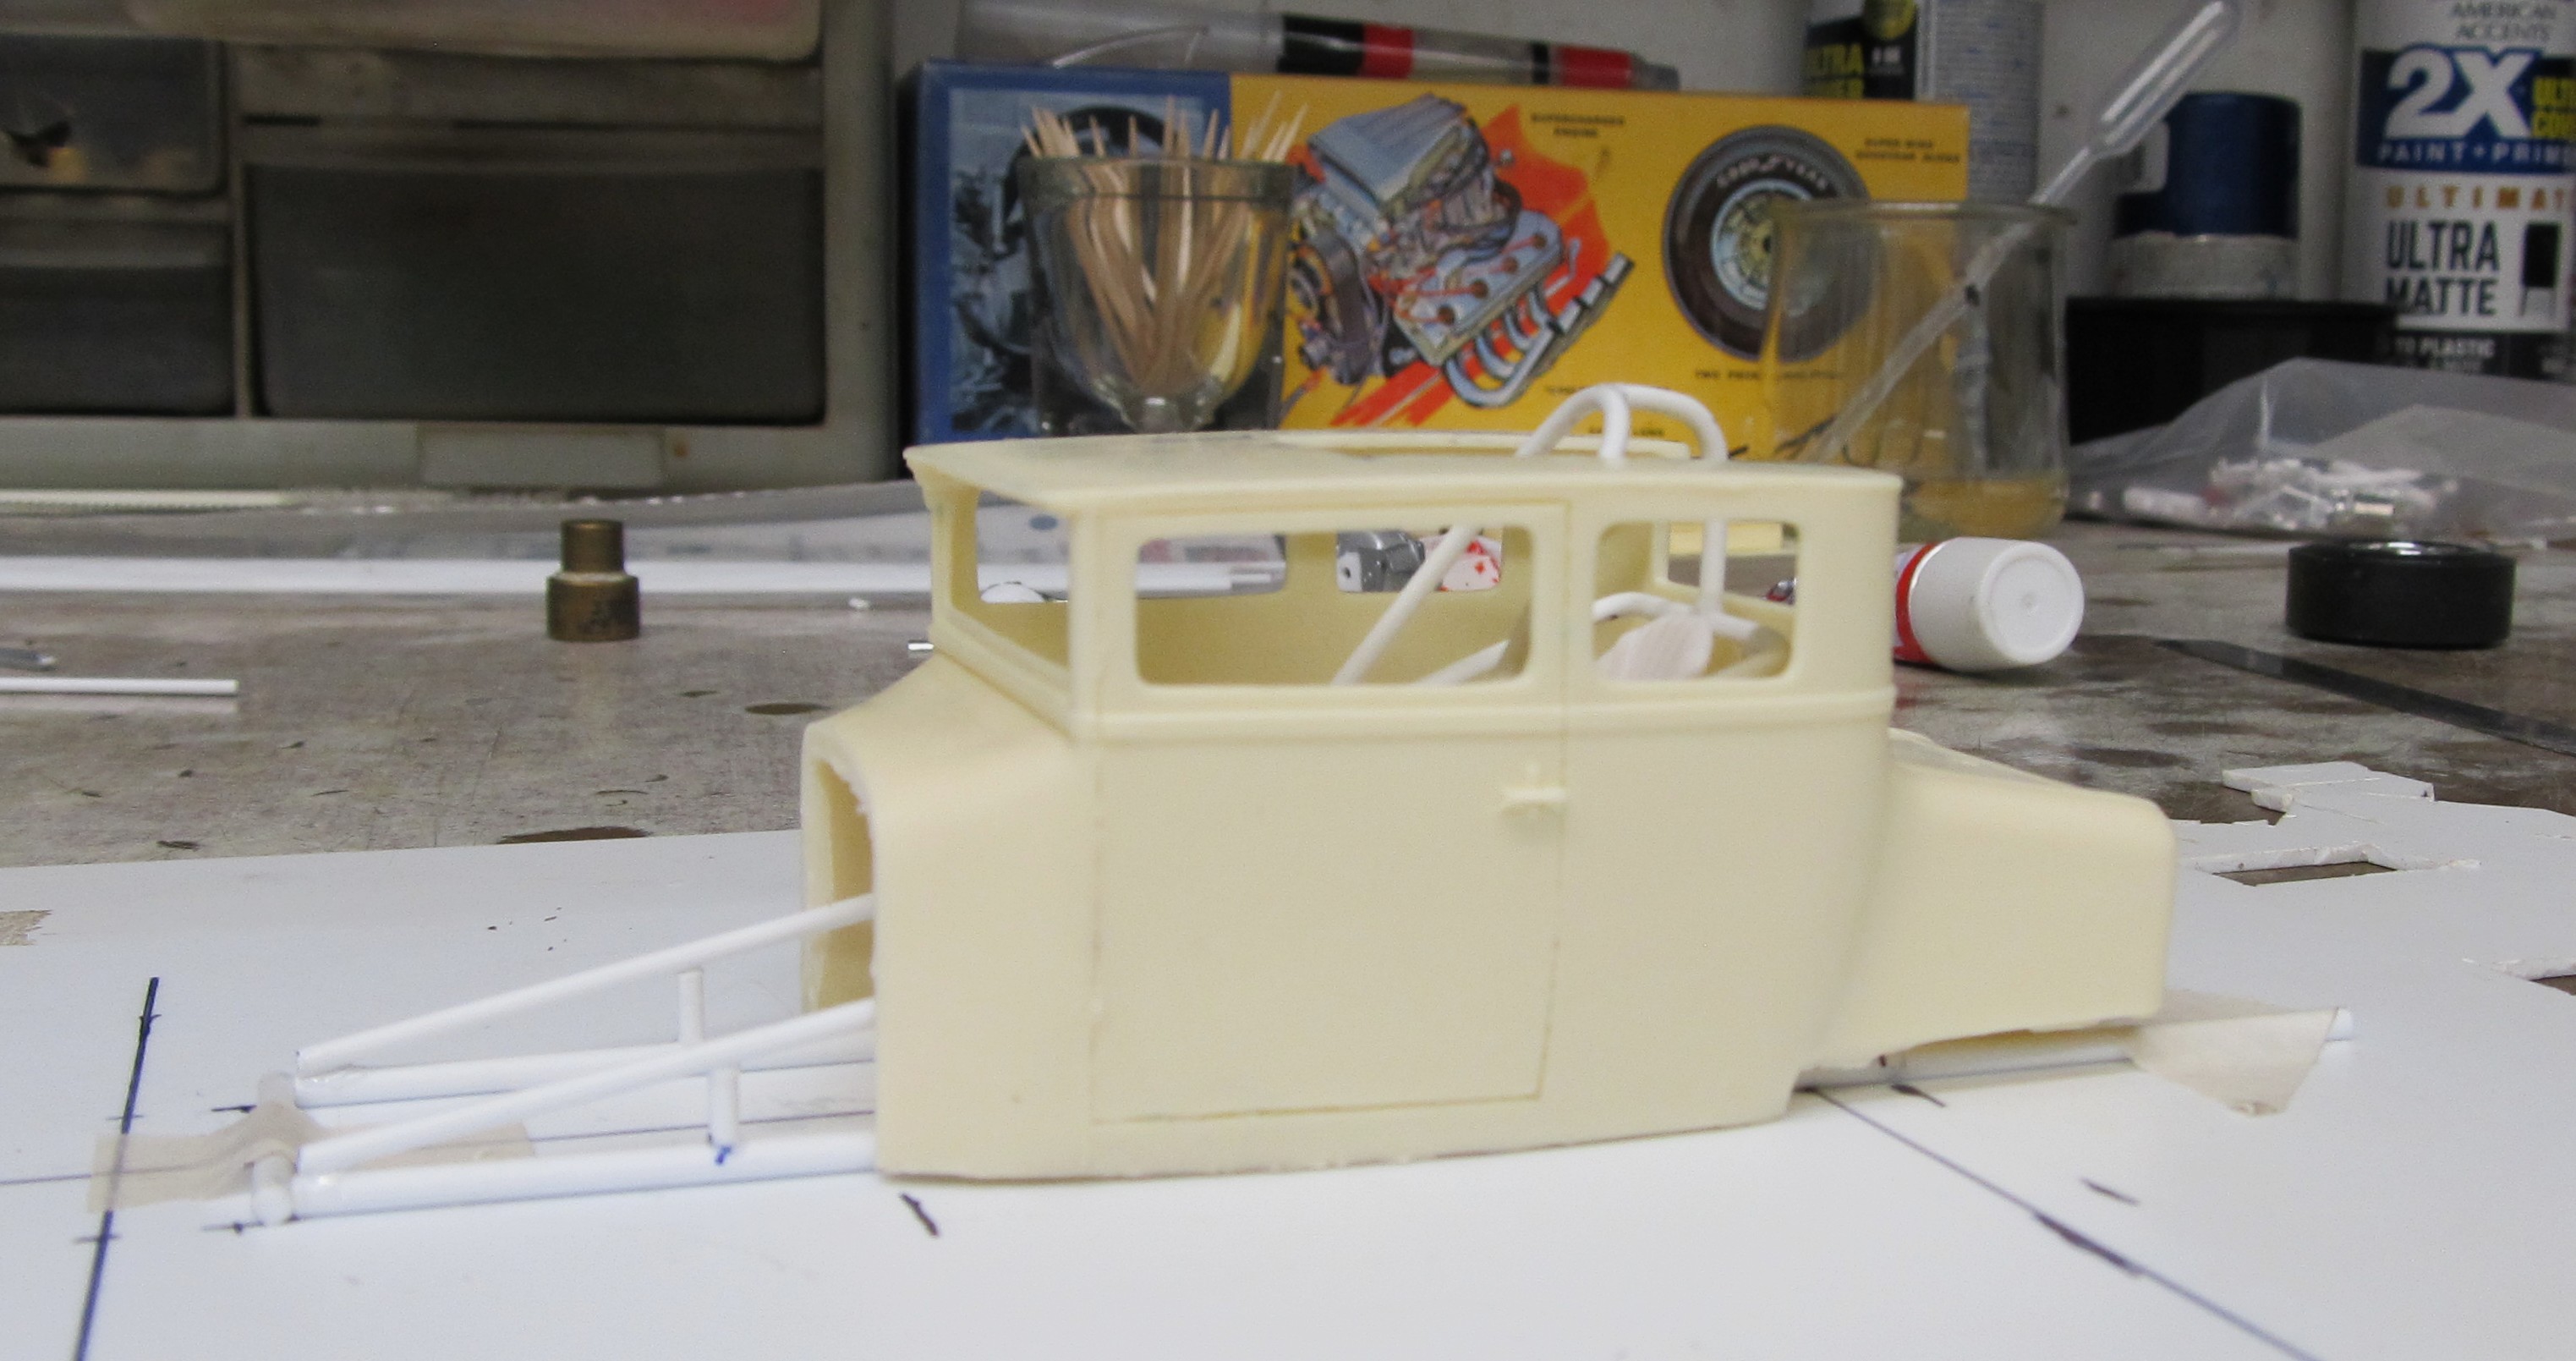
Love all the detailed layout work. Square, plumb, true, straight, level and "looks right"!Getting the chassis built up, and the escape opening in the roof cut out. Its nice to be doing more than just painting and detailing. View attachment 186422View attachment 186423View attachment 186424View attachment 186425View attachment 186426View attachment 186427View attachment 186428View attachment 186429View attachment 186431View attachment 186432
Holz44
Well-Known Member
Frame ready for powder coat!Getting a little more done, and a quick mockup, really stacked up with work right now. Wheels are made chassis is done for the most part , now for some driver compartment sheet metal and the yoke for holding the steering crank. Still lots more to do.View attachment 187638View attachment 187639View attachment 187640View attachment 187641View attachment 187642View attachment 187643
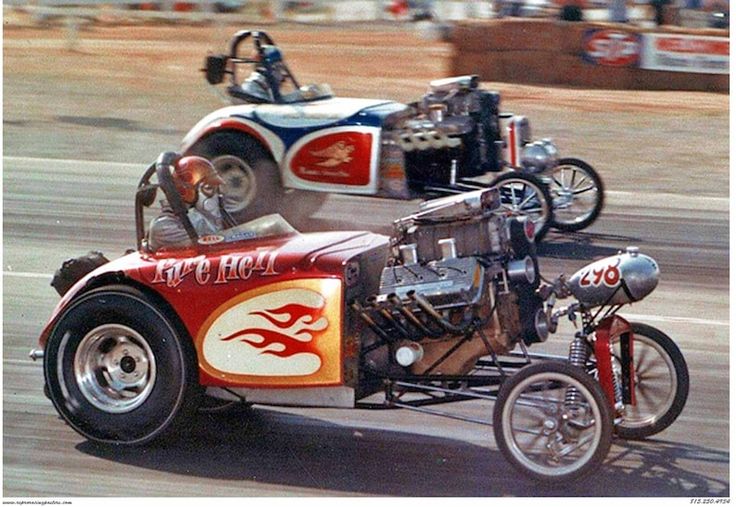
Like any other drag car i think its about weight transfer to make traction that seemed to never work really. Now here is something to ponder, why did the dragsters of the same era have forward tilted engines.Interesting to see engine (and drive train I presume), mounted at such a steep angle!
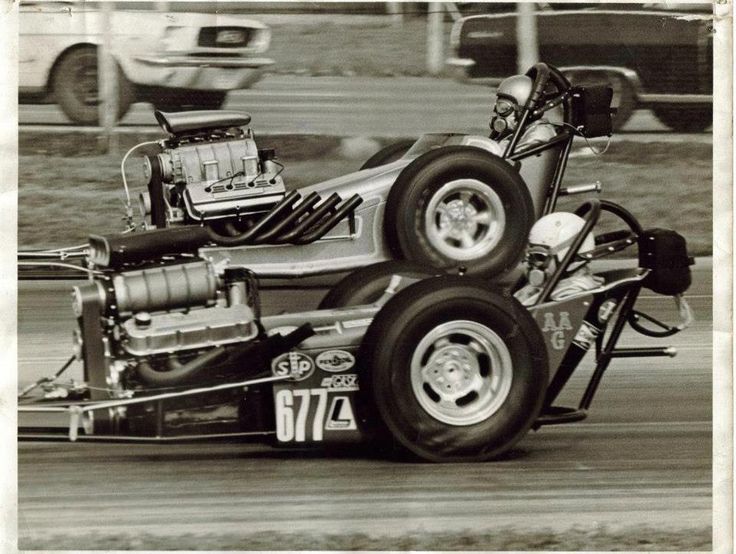
Holz44
Well-Known Member
Awesome Pix!!!Like any other drag car i think its about weight transfer to make traction that seemed to never work really. Now here is something to ponder, why did the dragsters of the same era have forward tilted engines. View attachment 188305View attachment 188306
Nice! Not sure why I am just seeing this now. Man that was a fun time.The tires are from the AMT parts pack stuff you get 6 sets in the box. L60/15 was the go to tire for me to in the 70s couldn't afford tub work or a narrowed rear so lots of wheel well opening butchering got done.
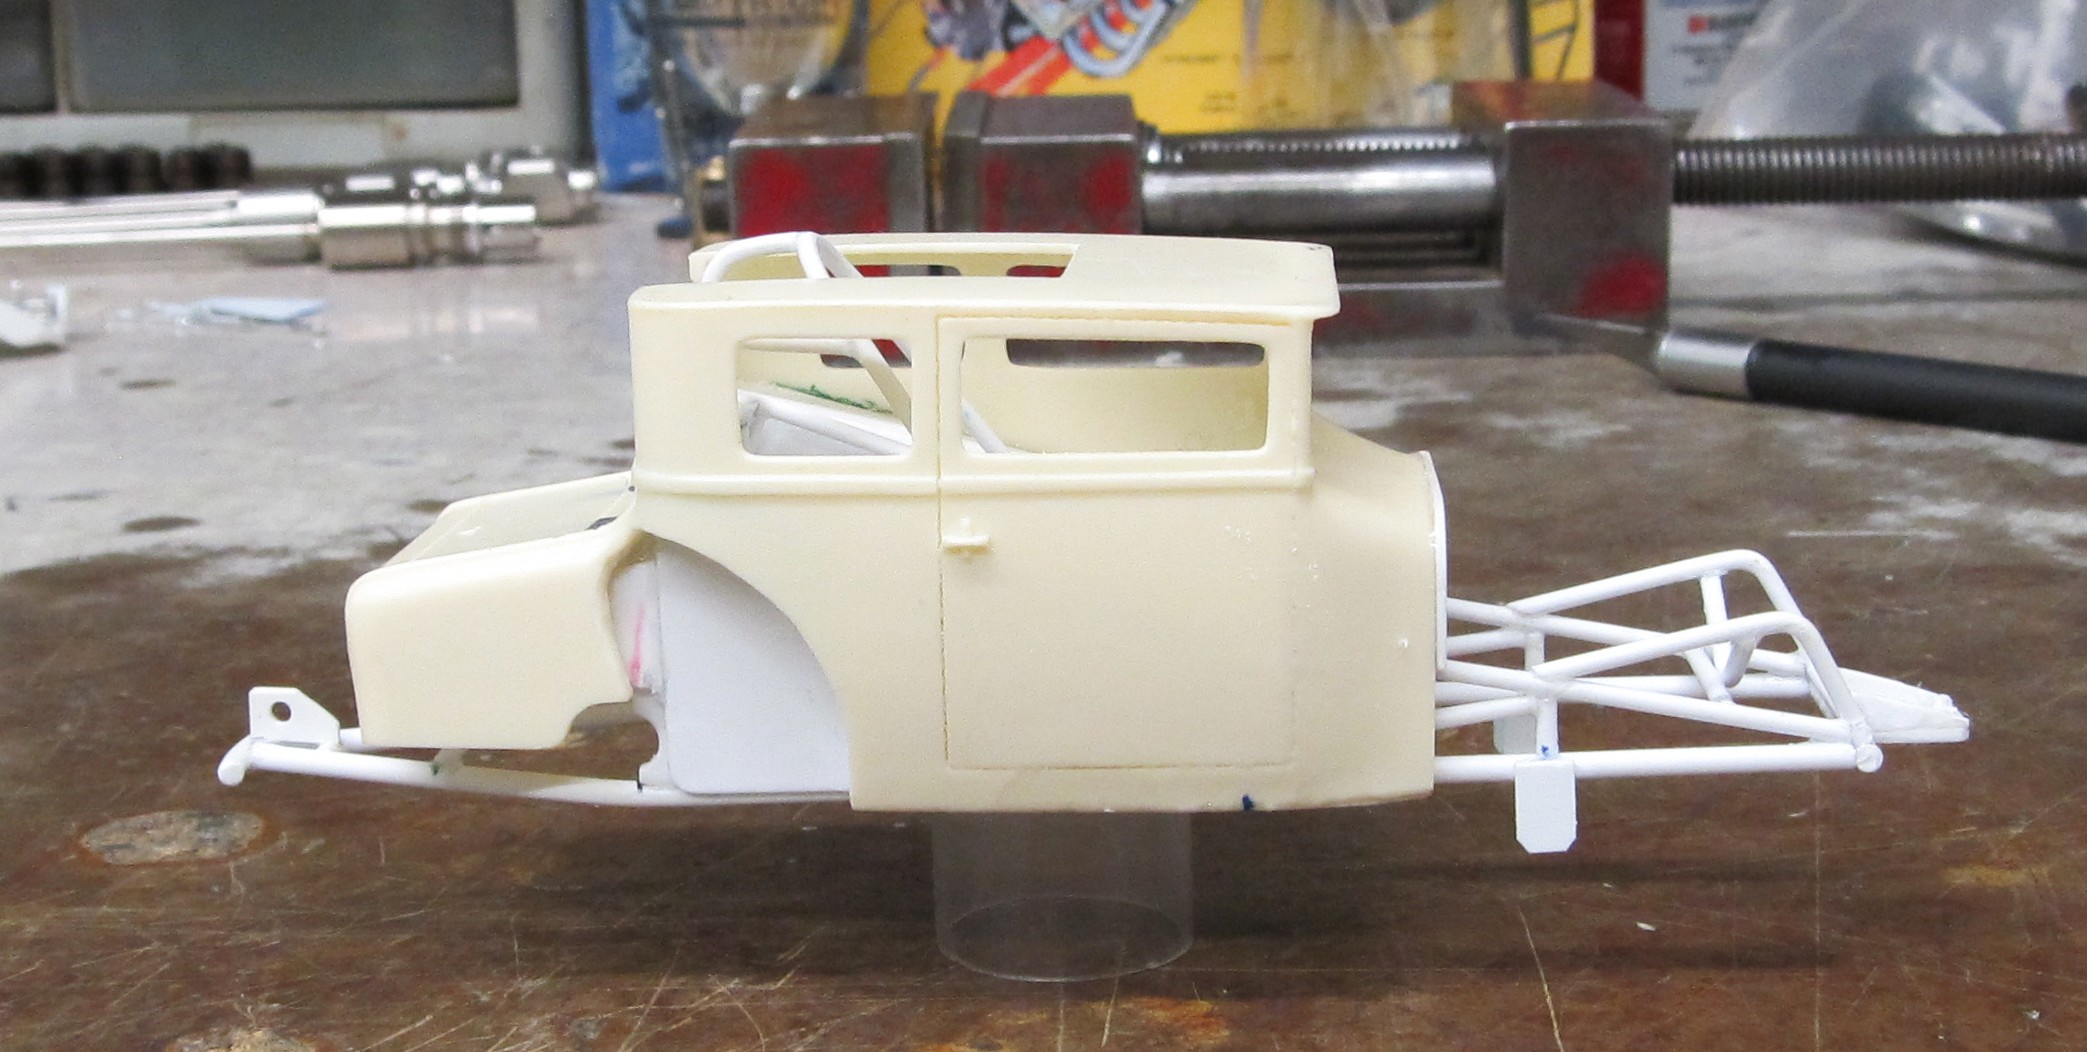
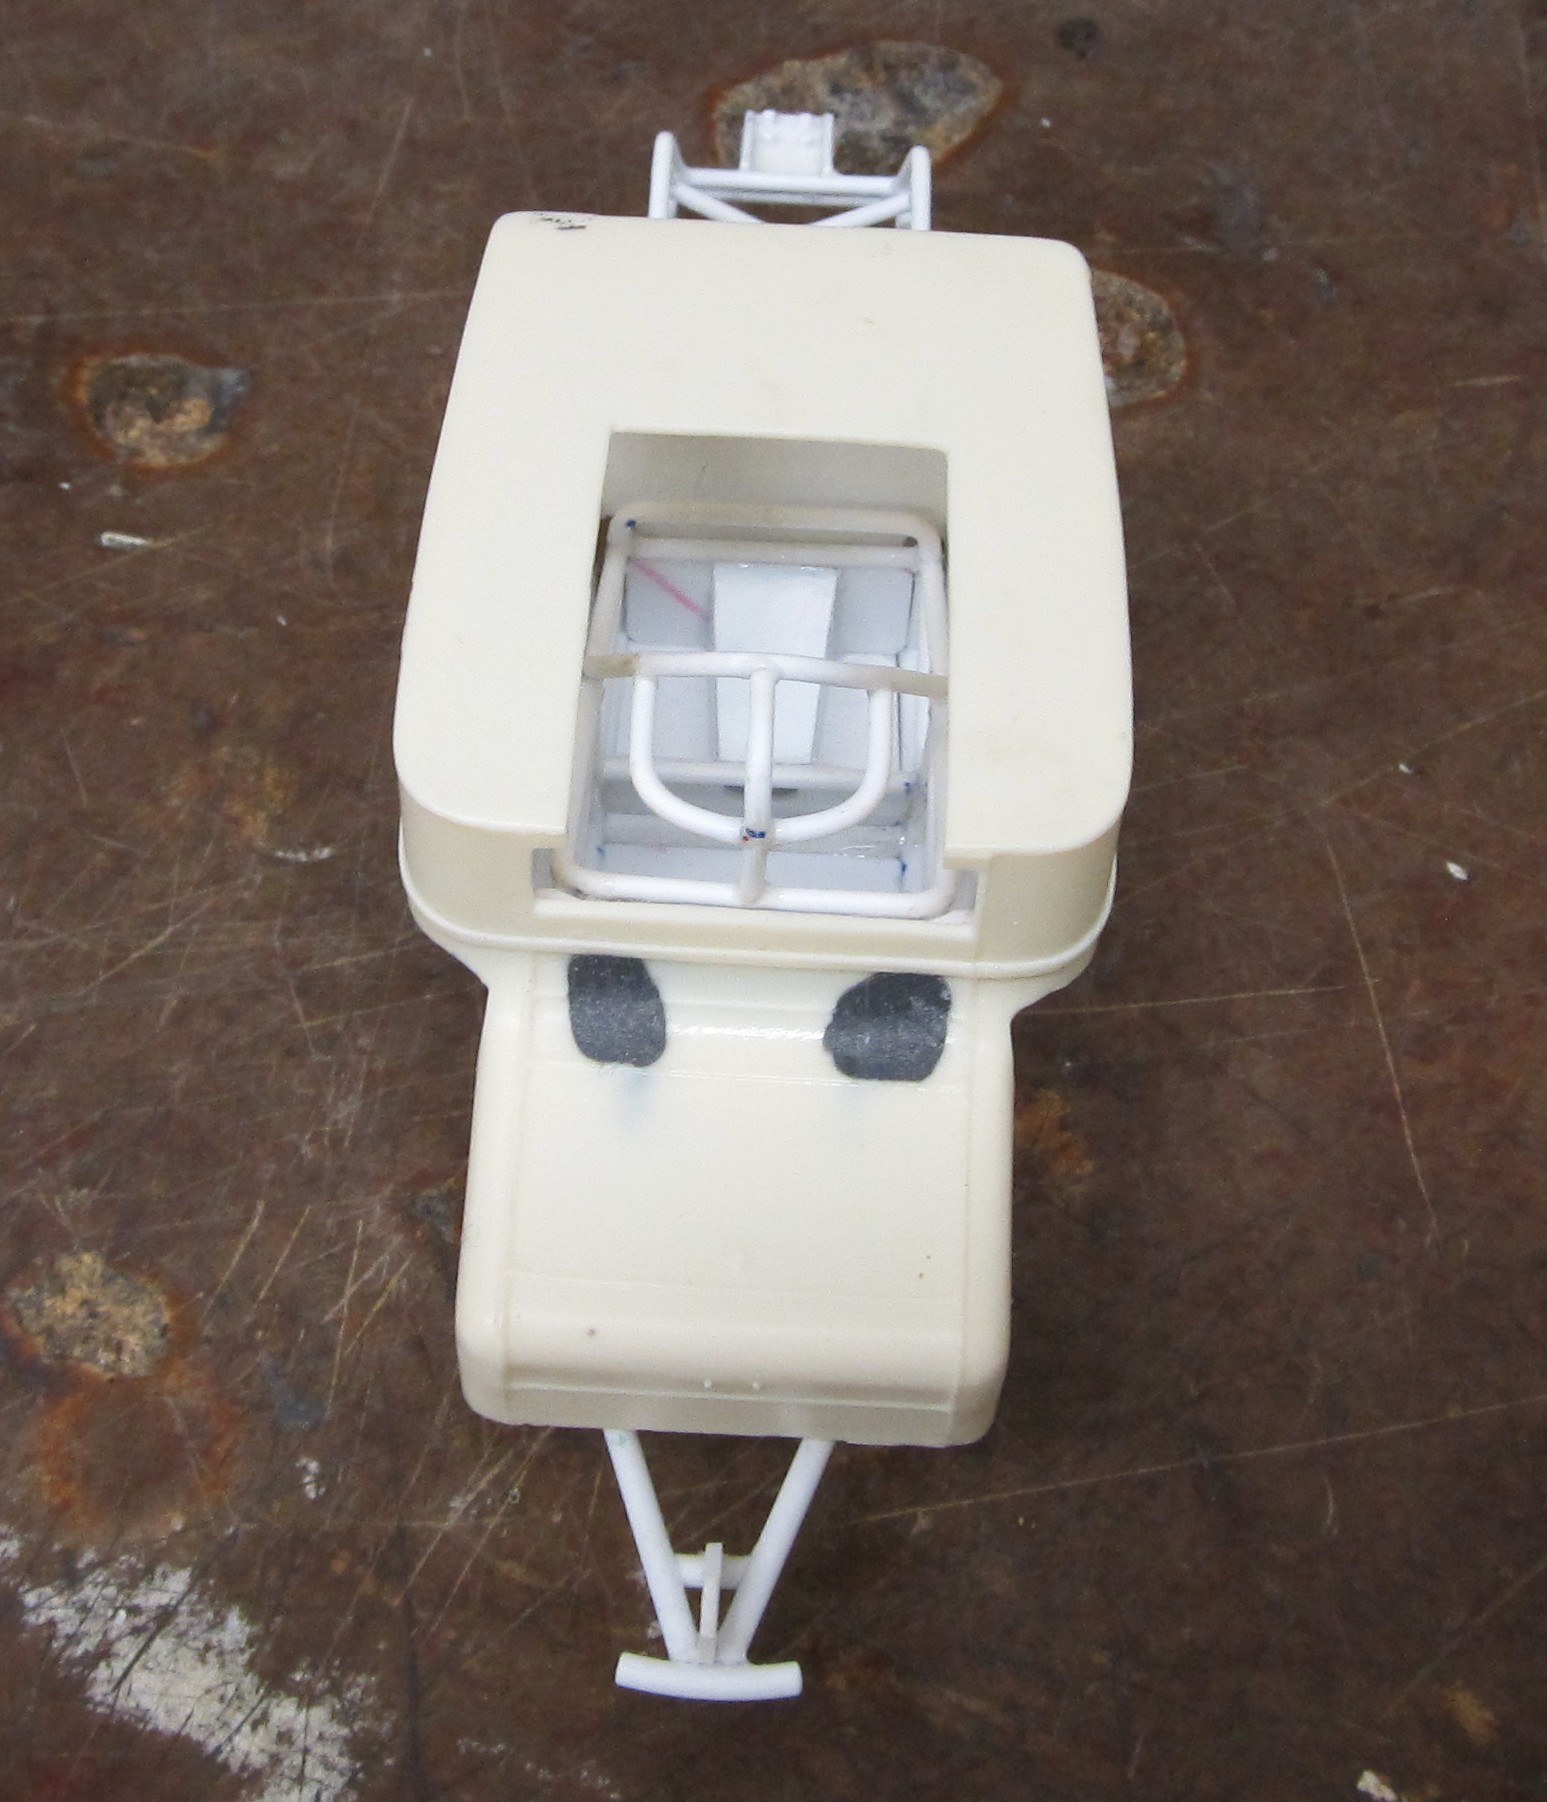
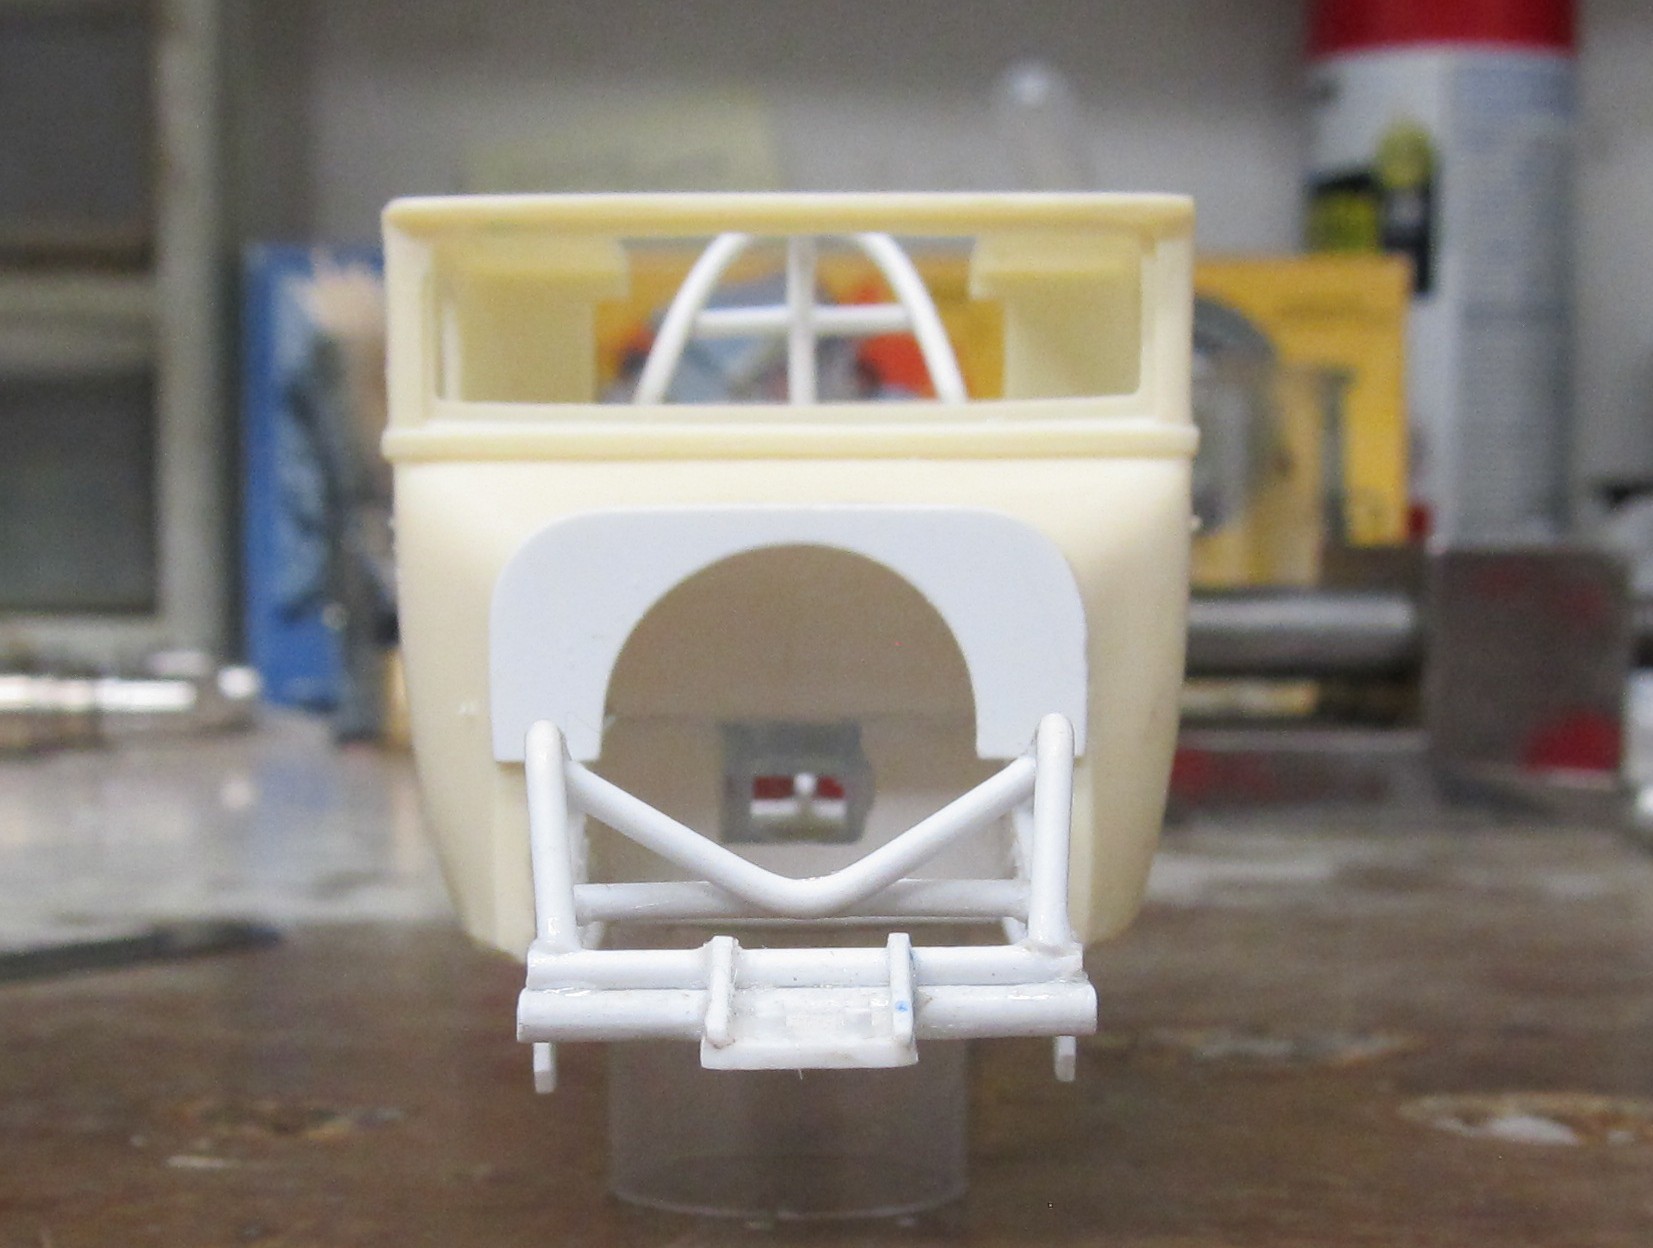
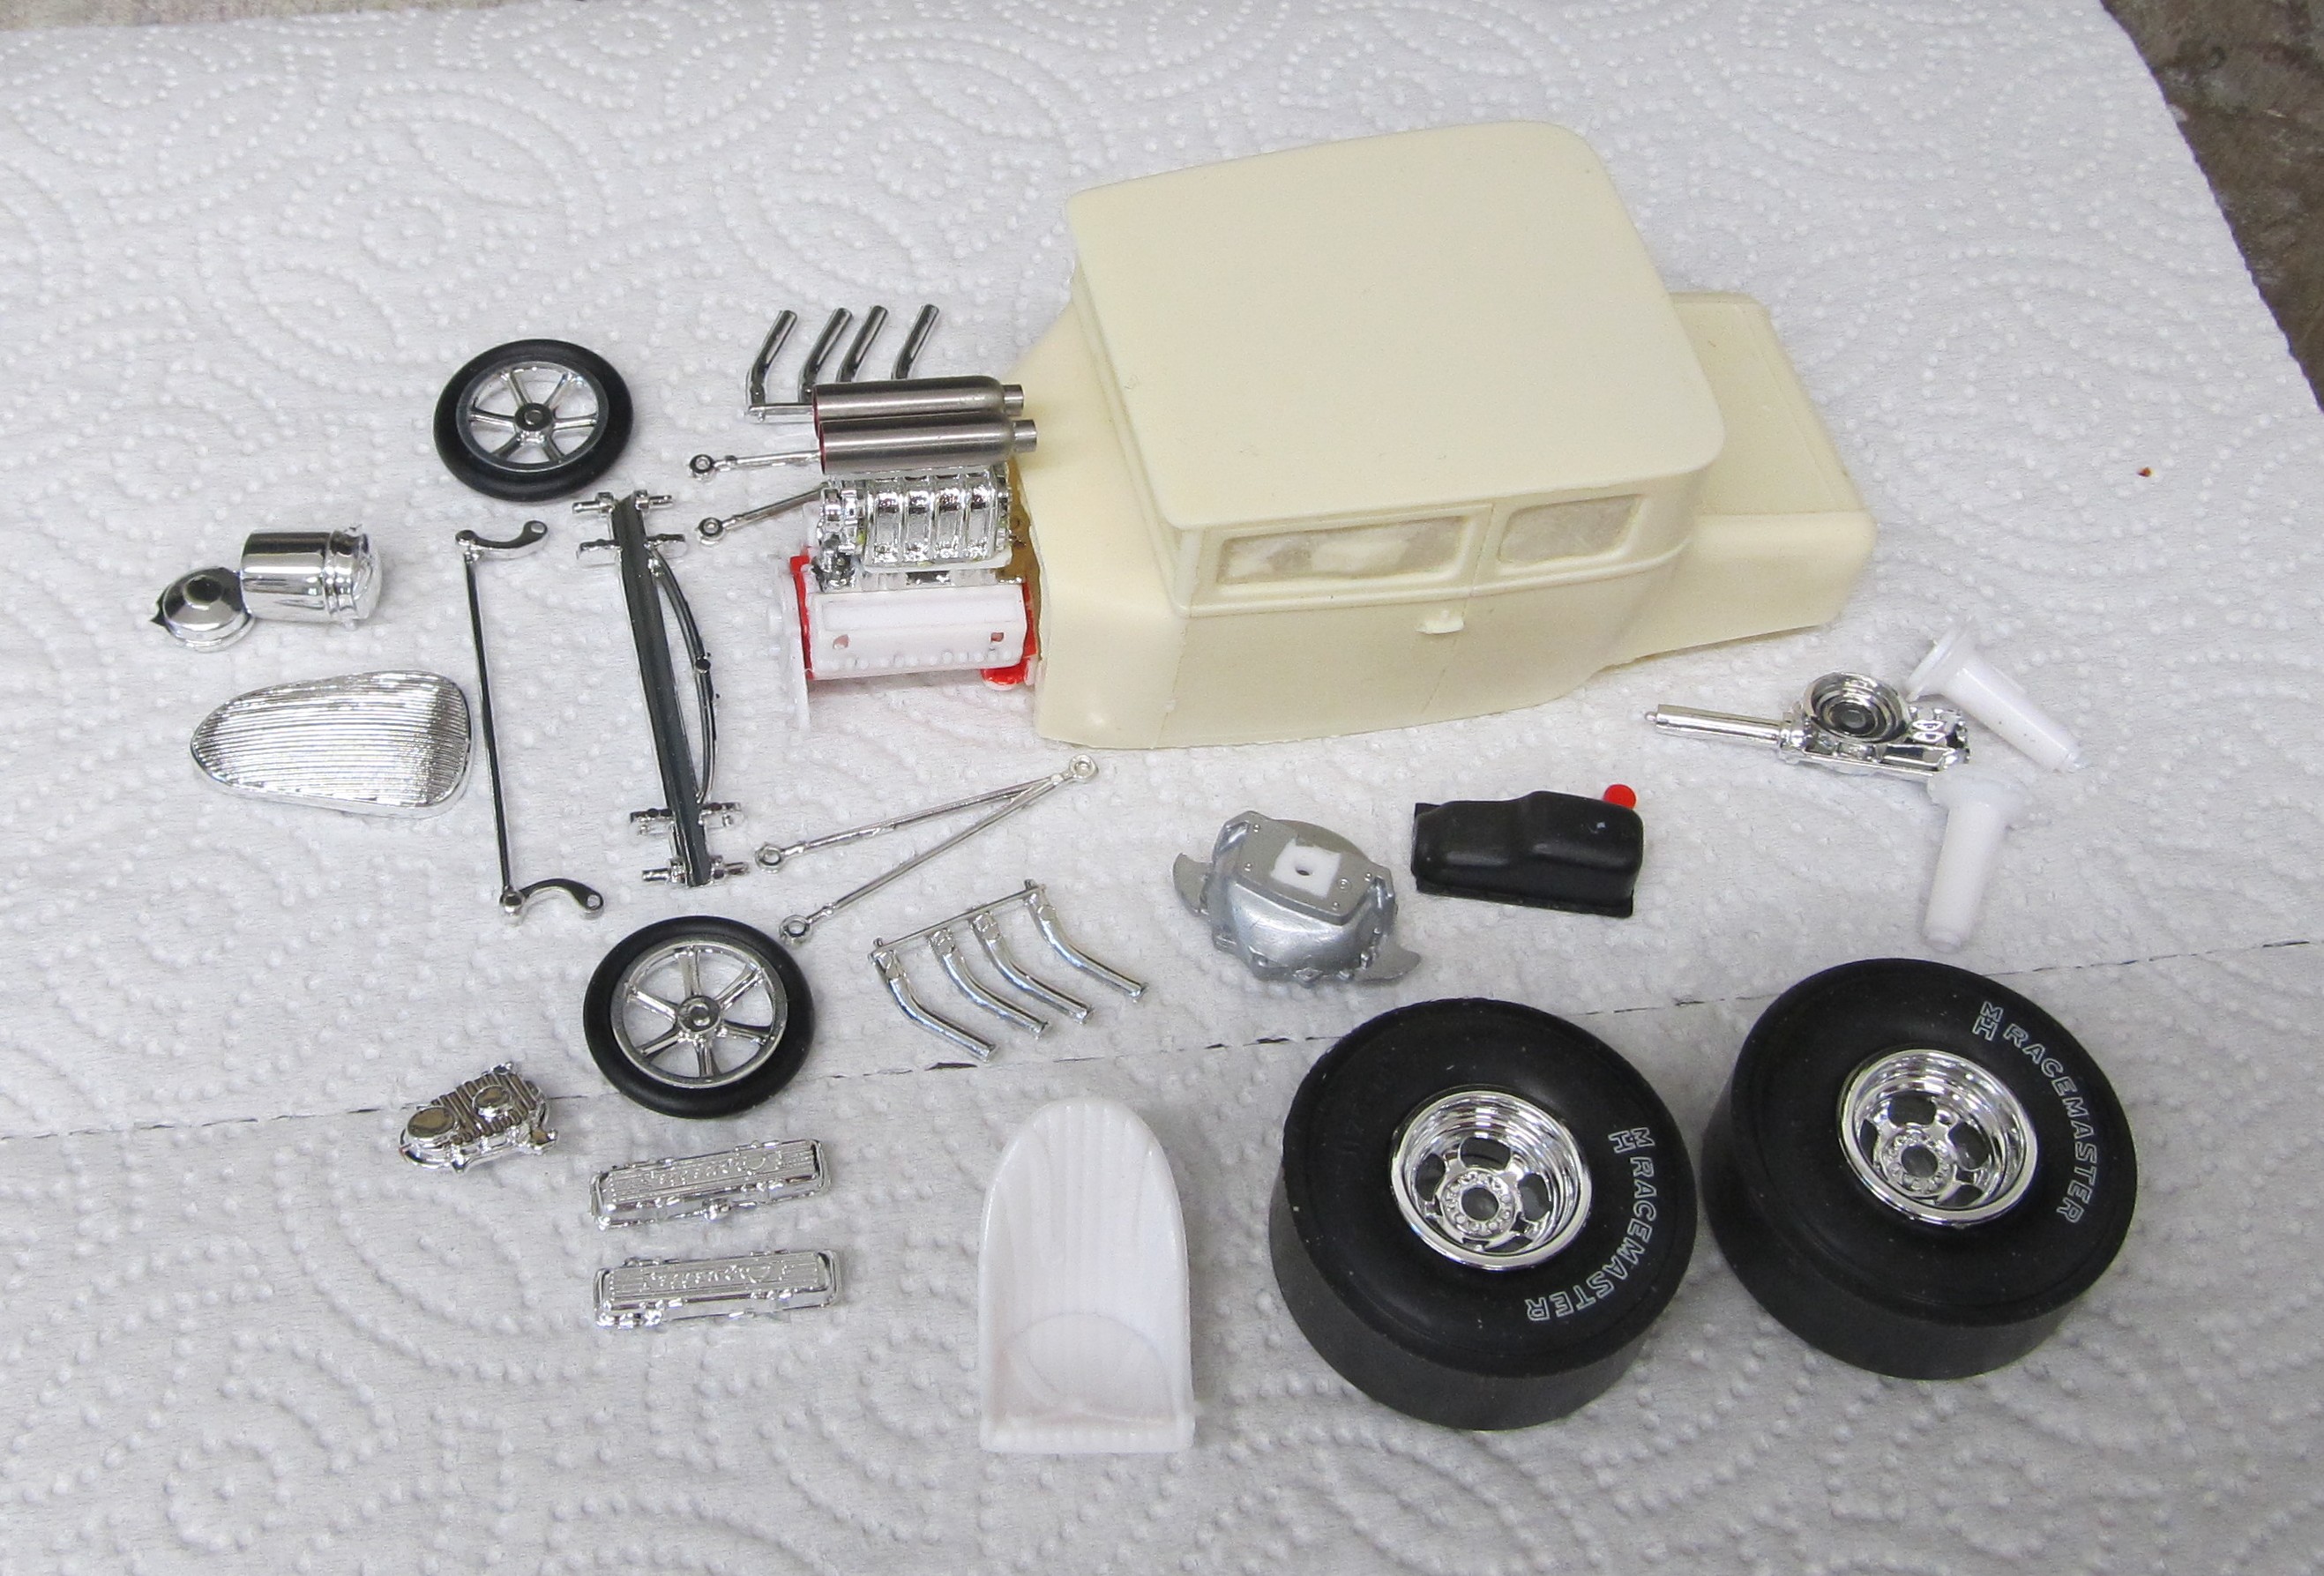
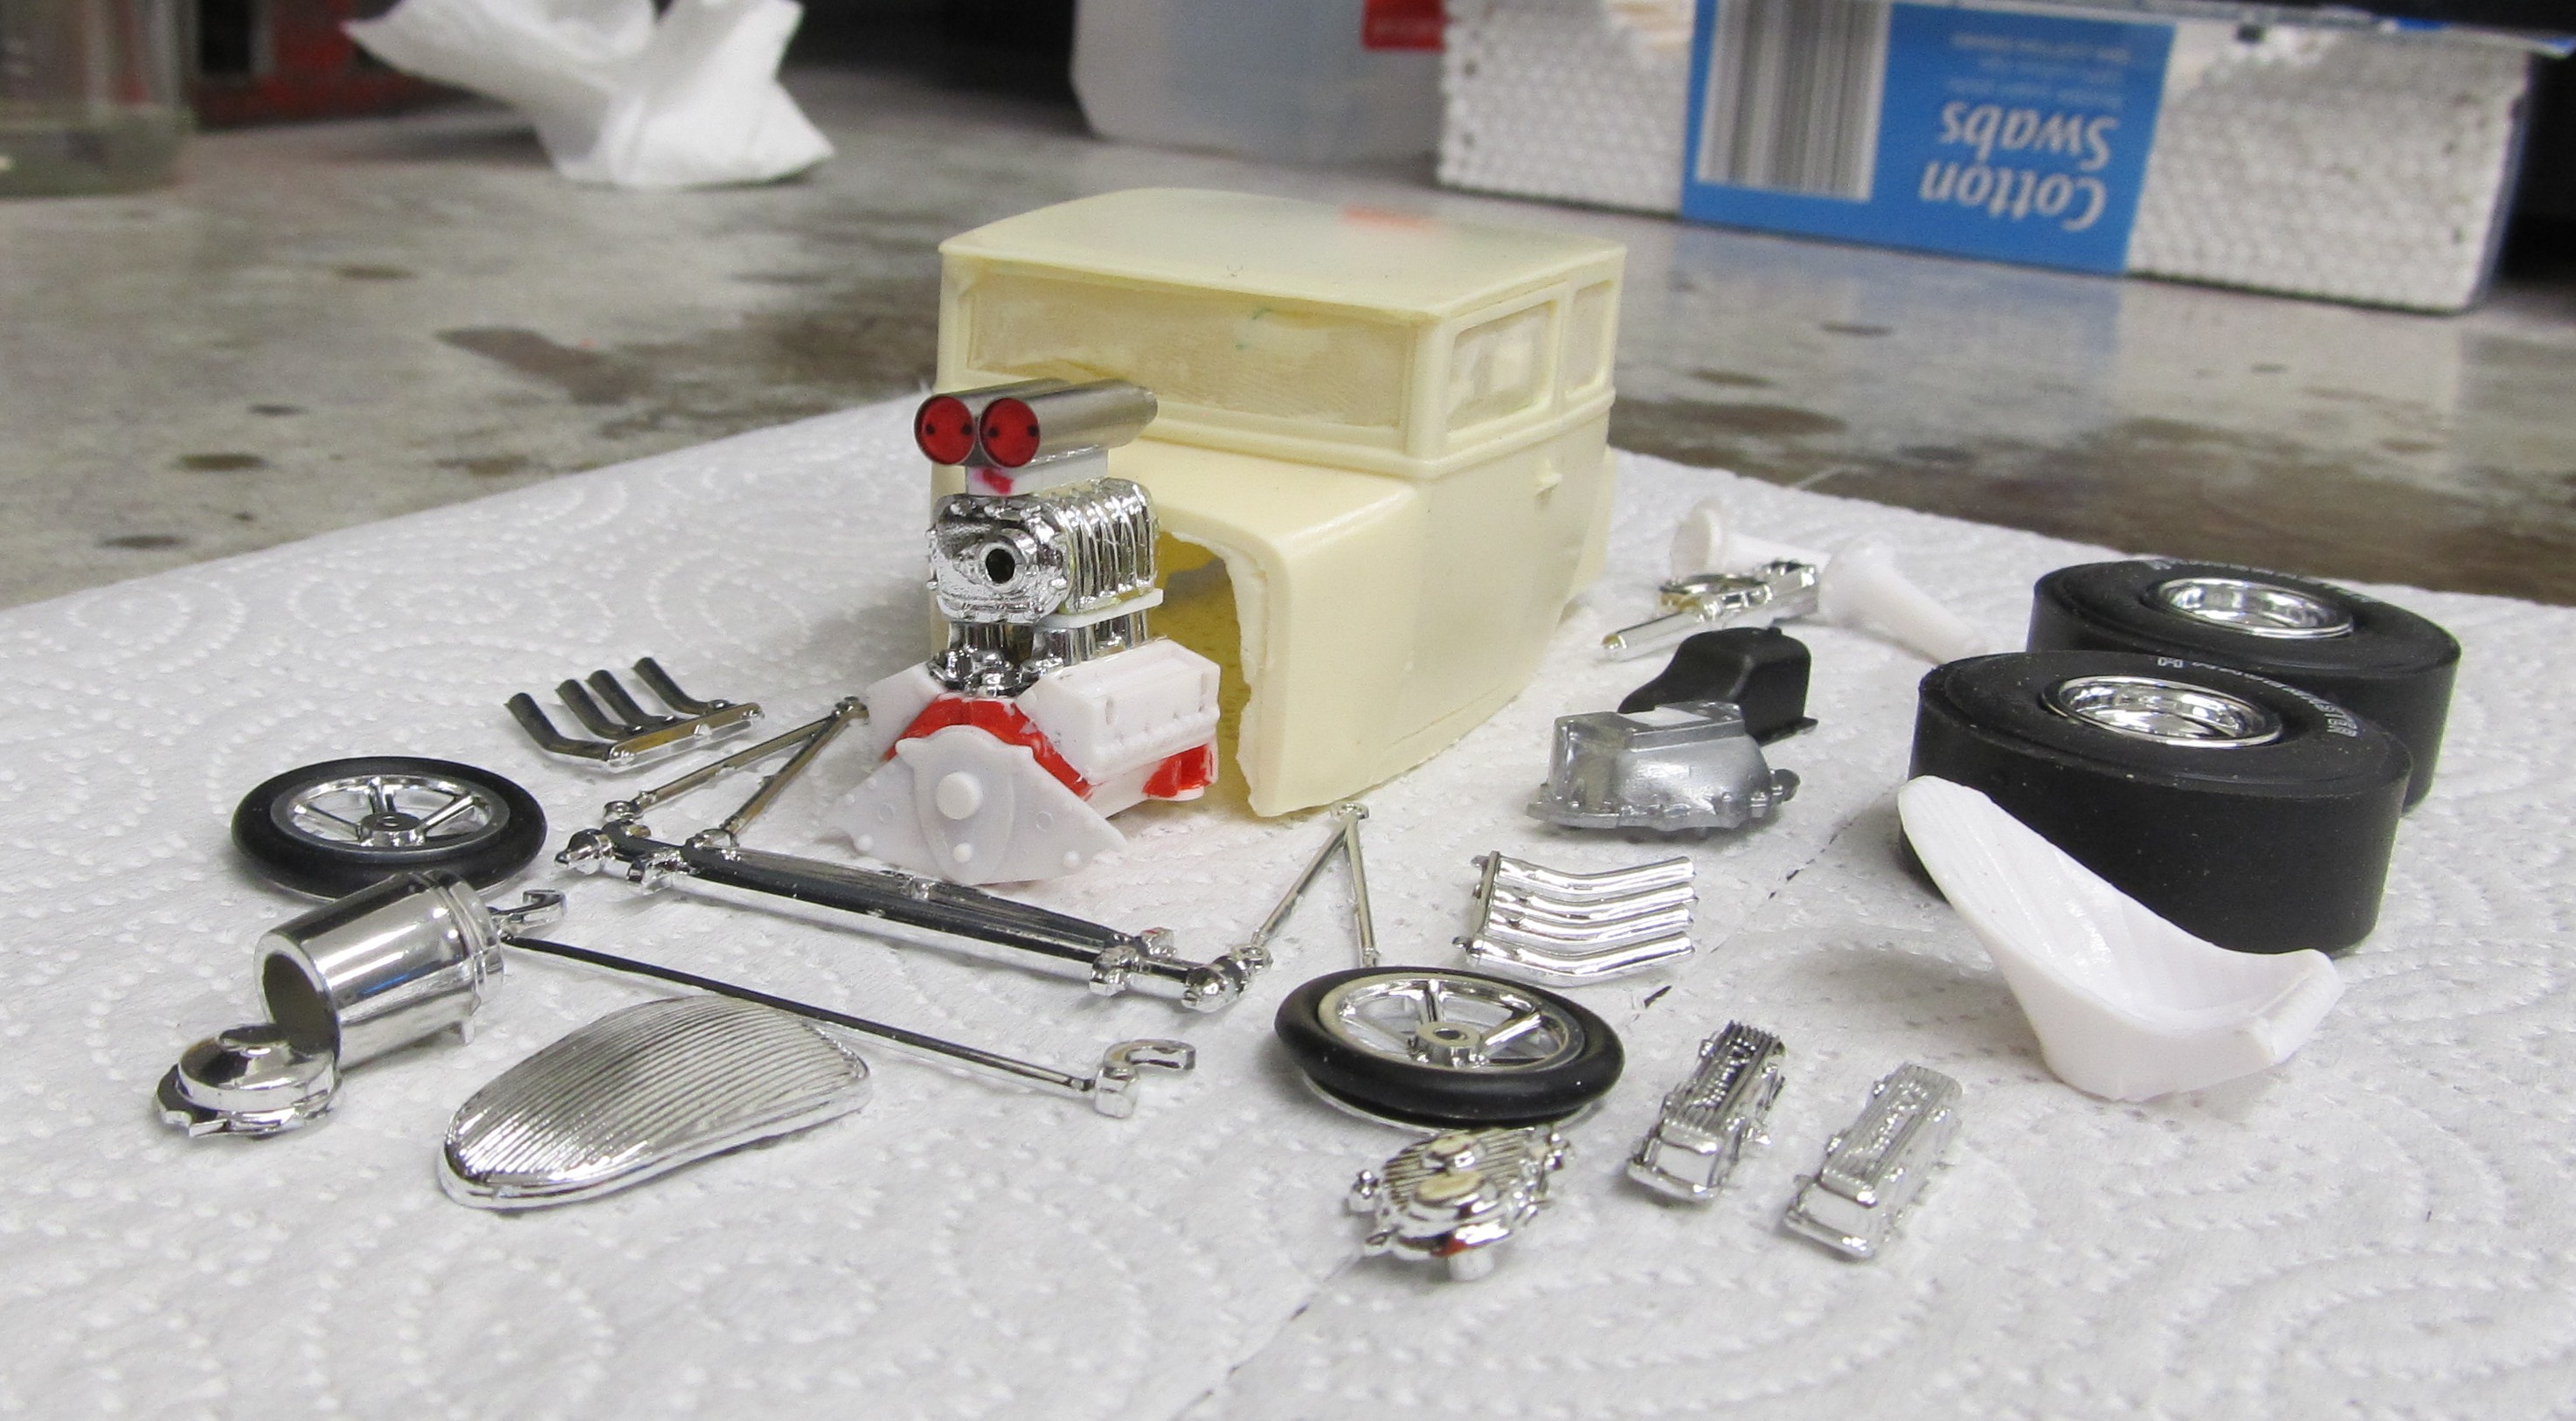
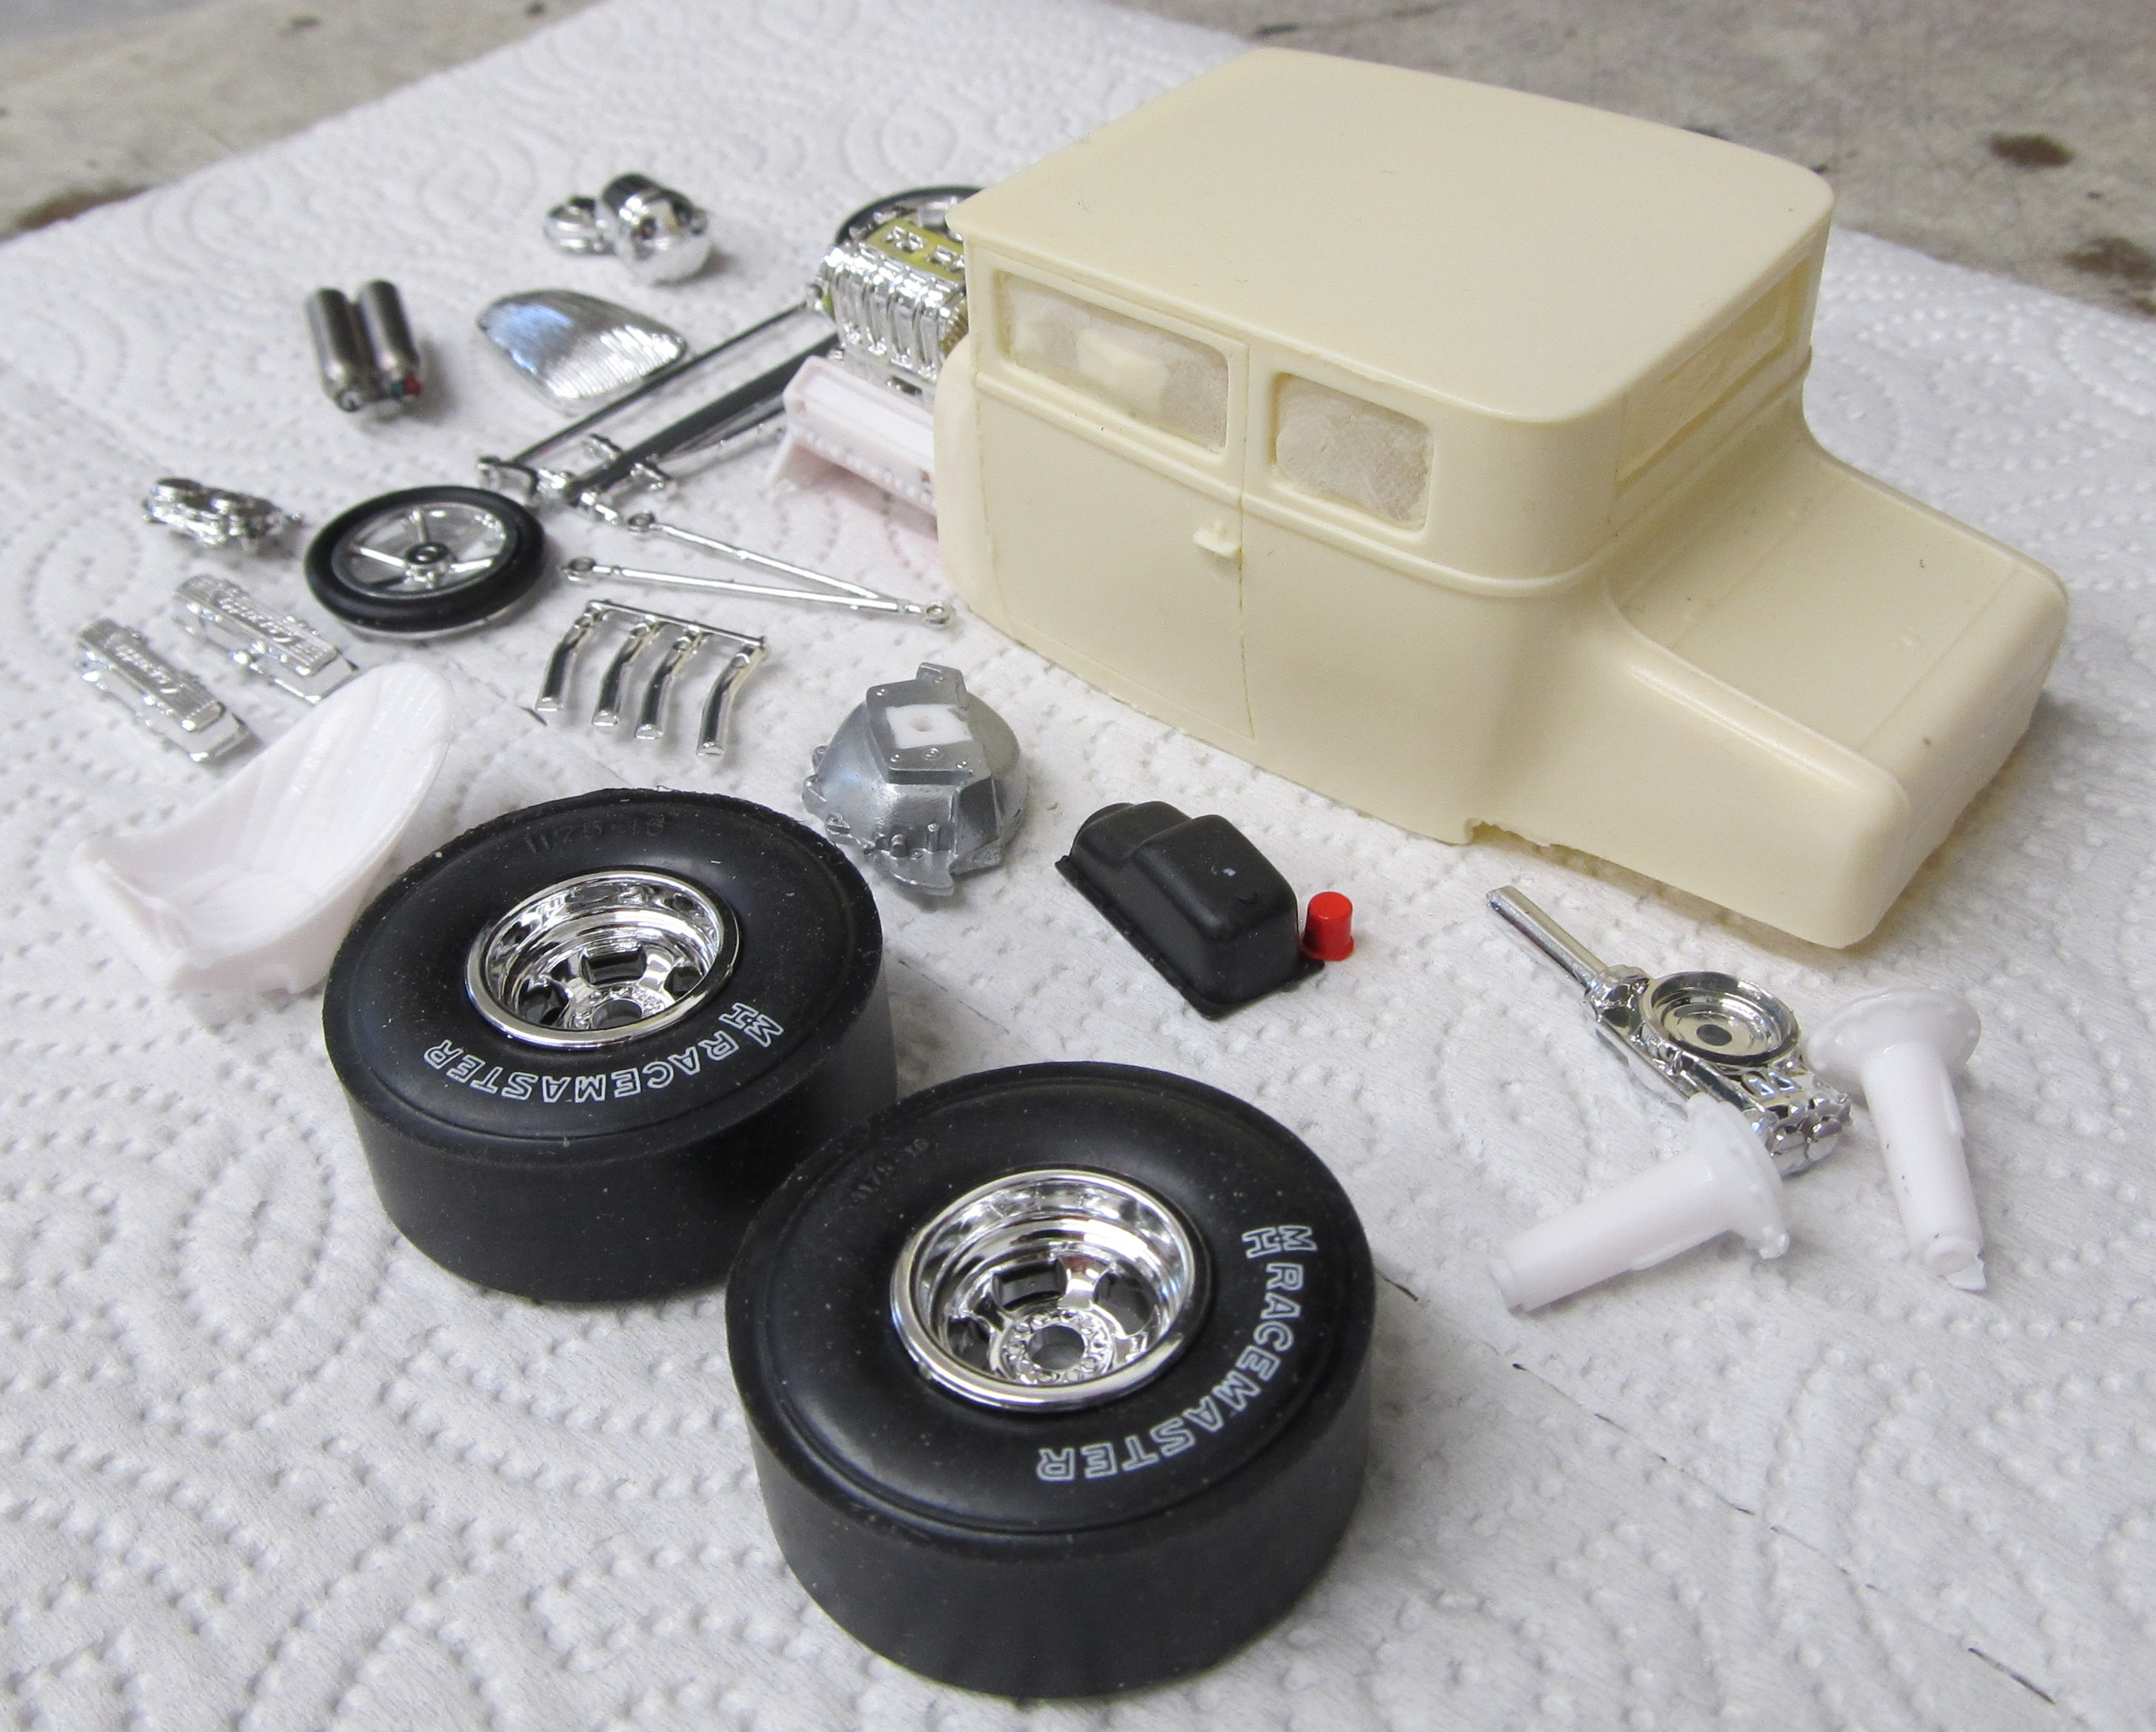
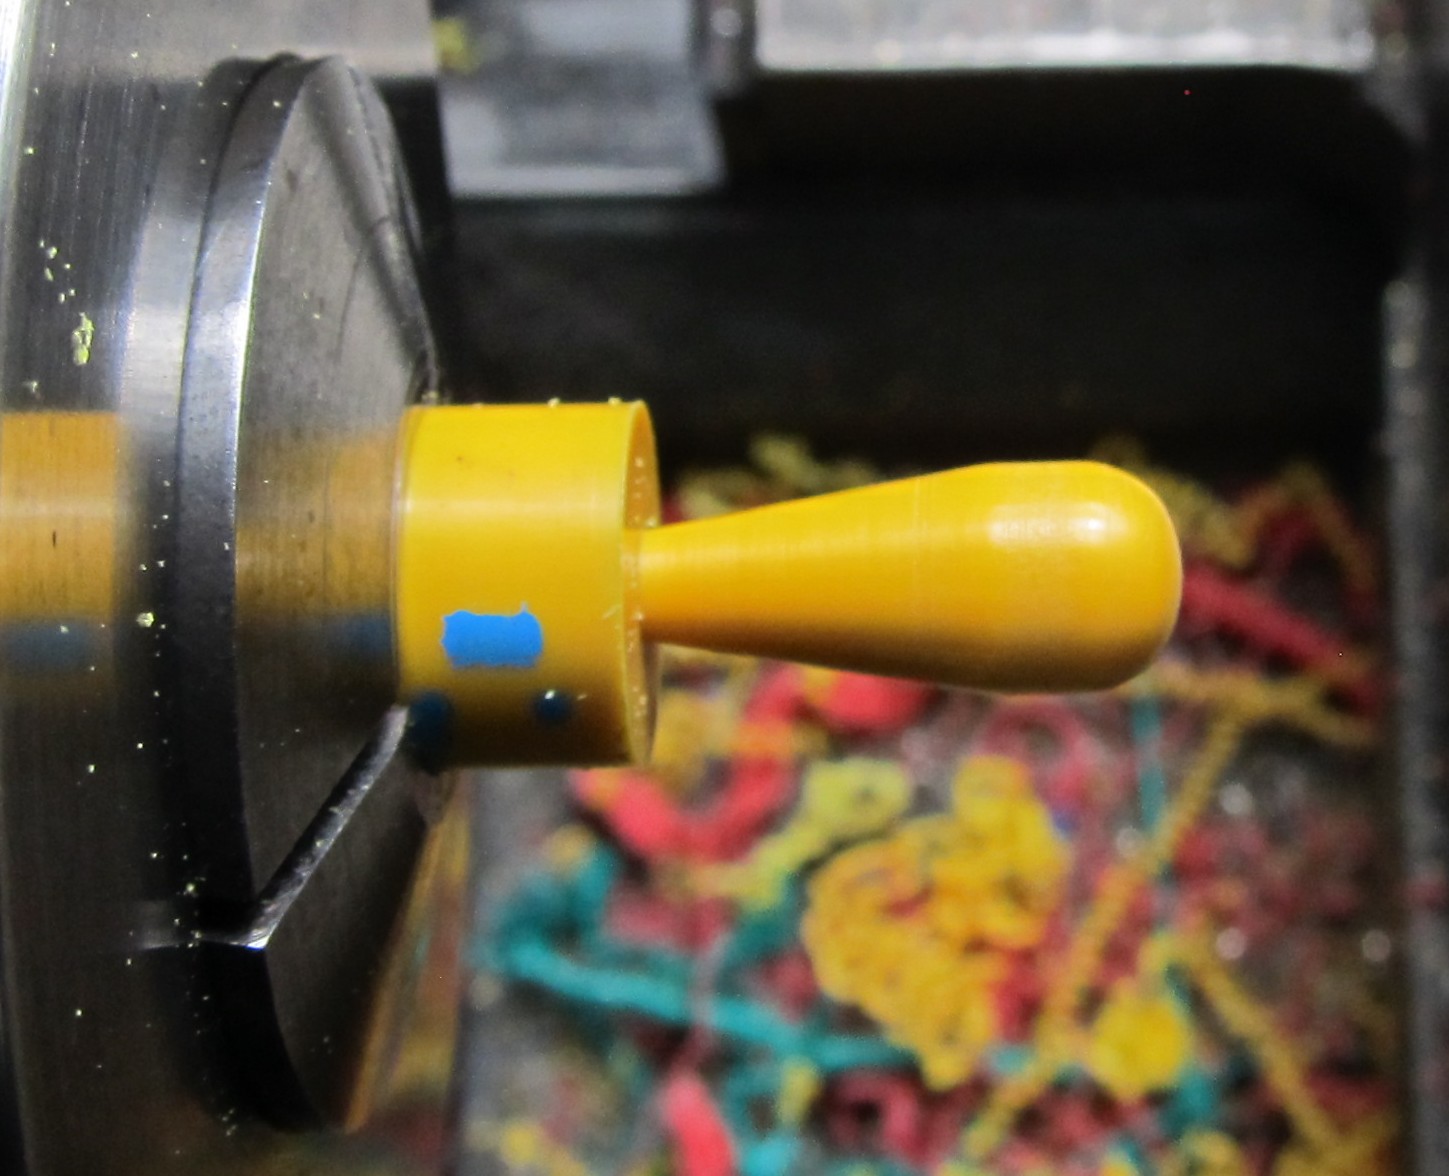
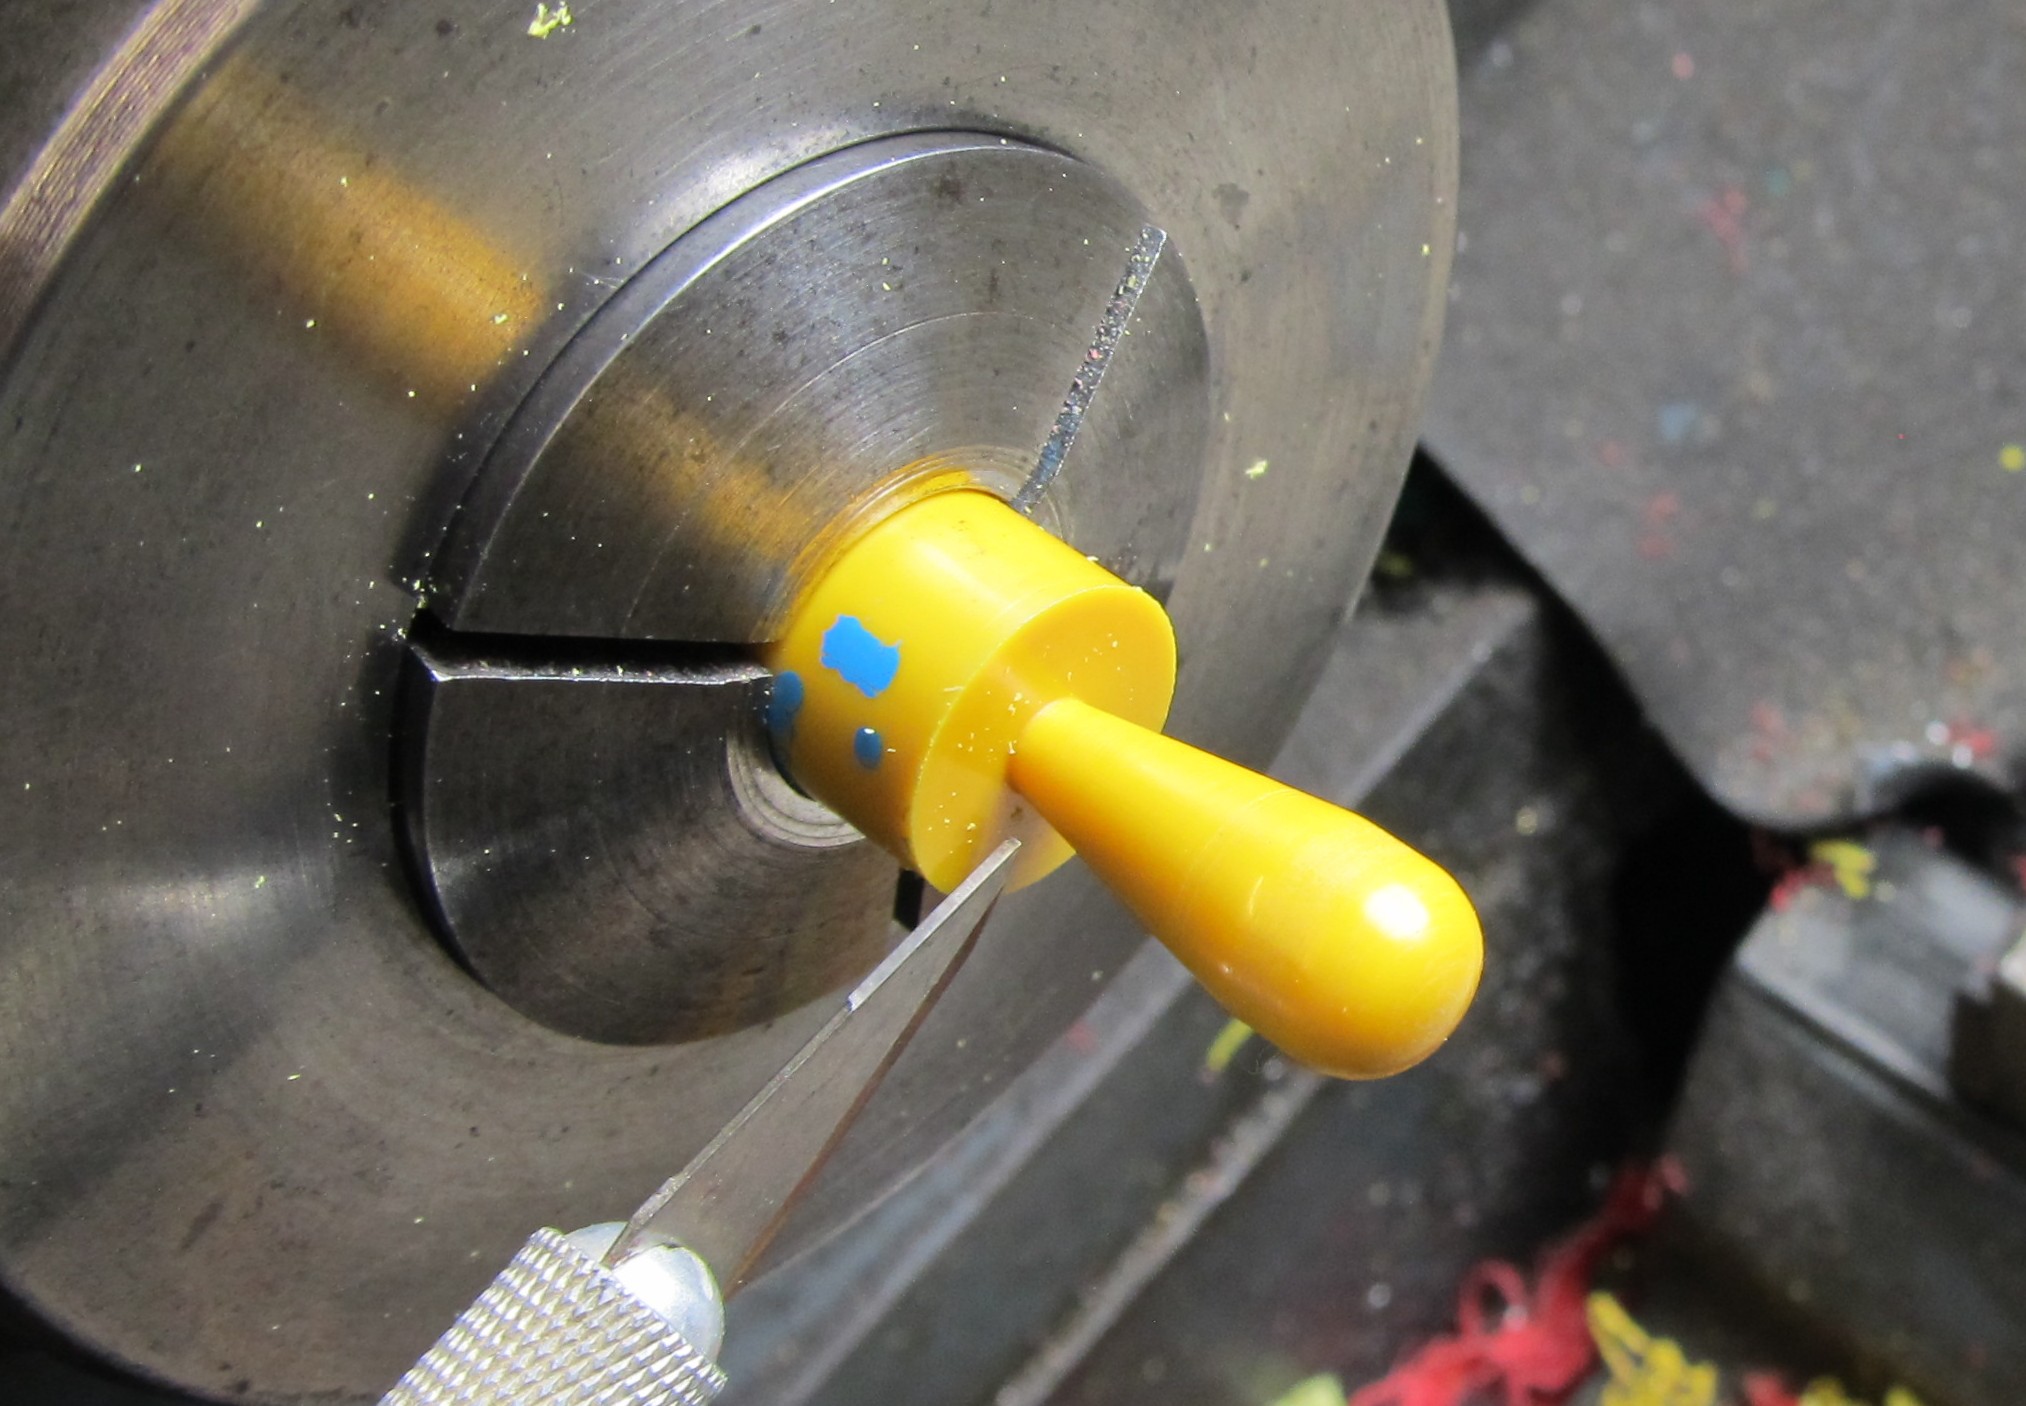
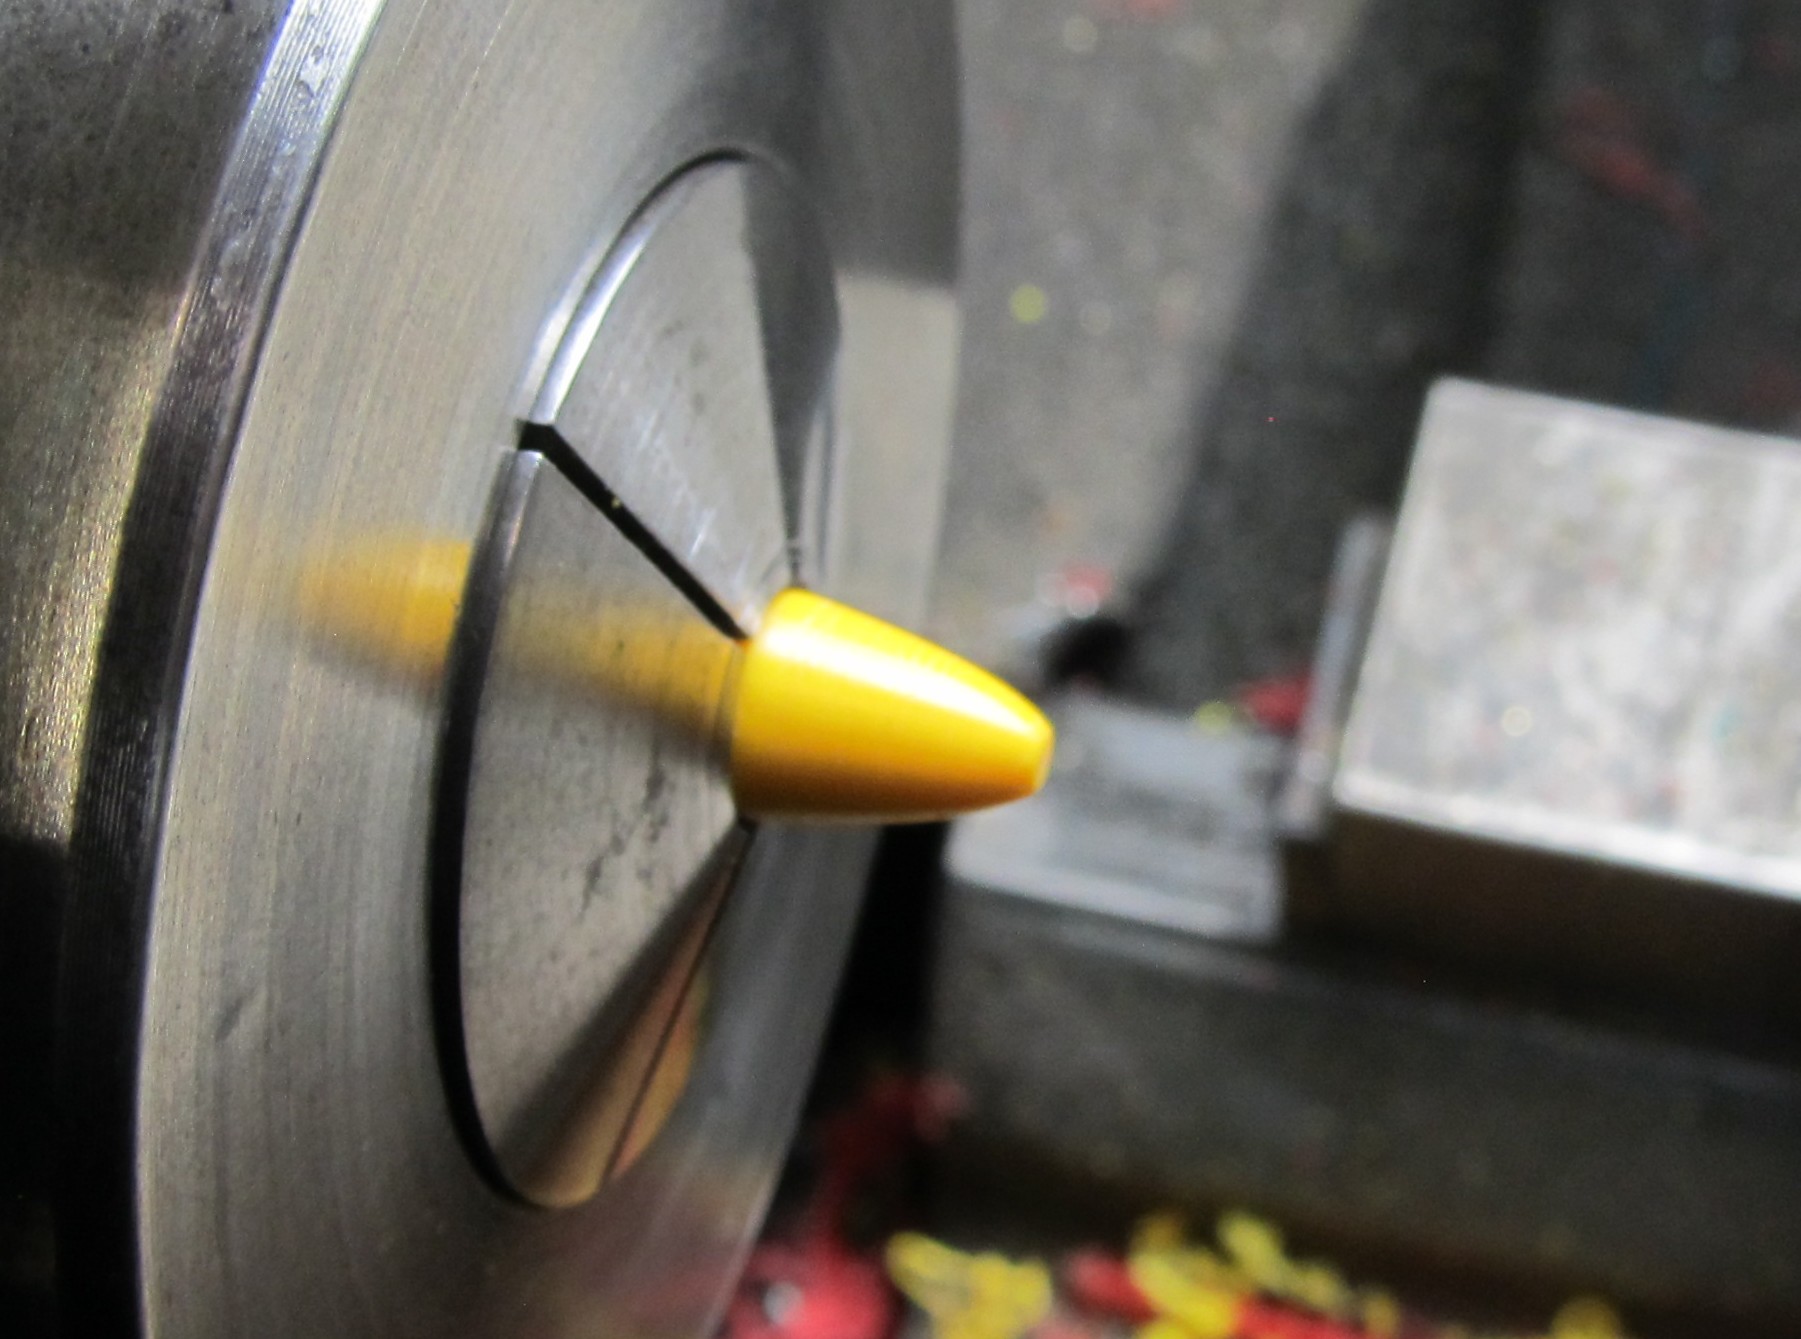
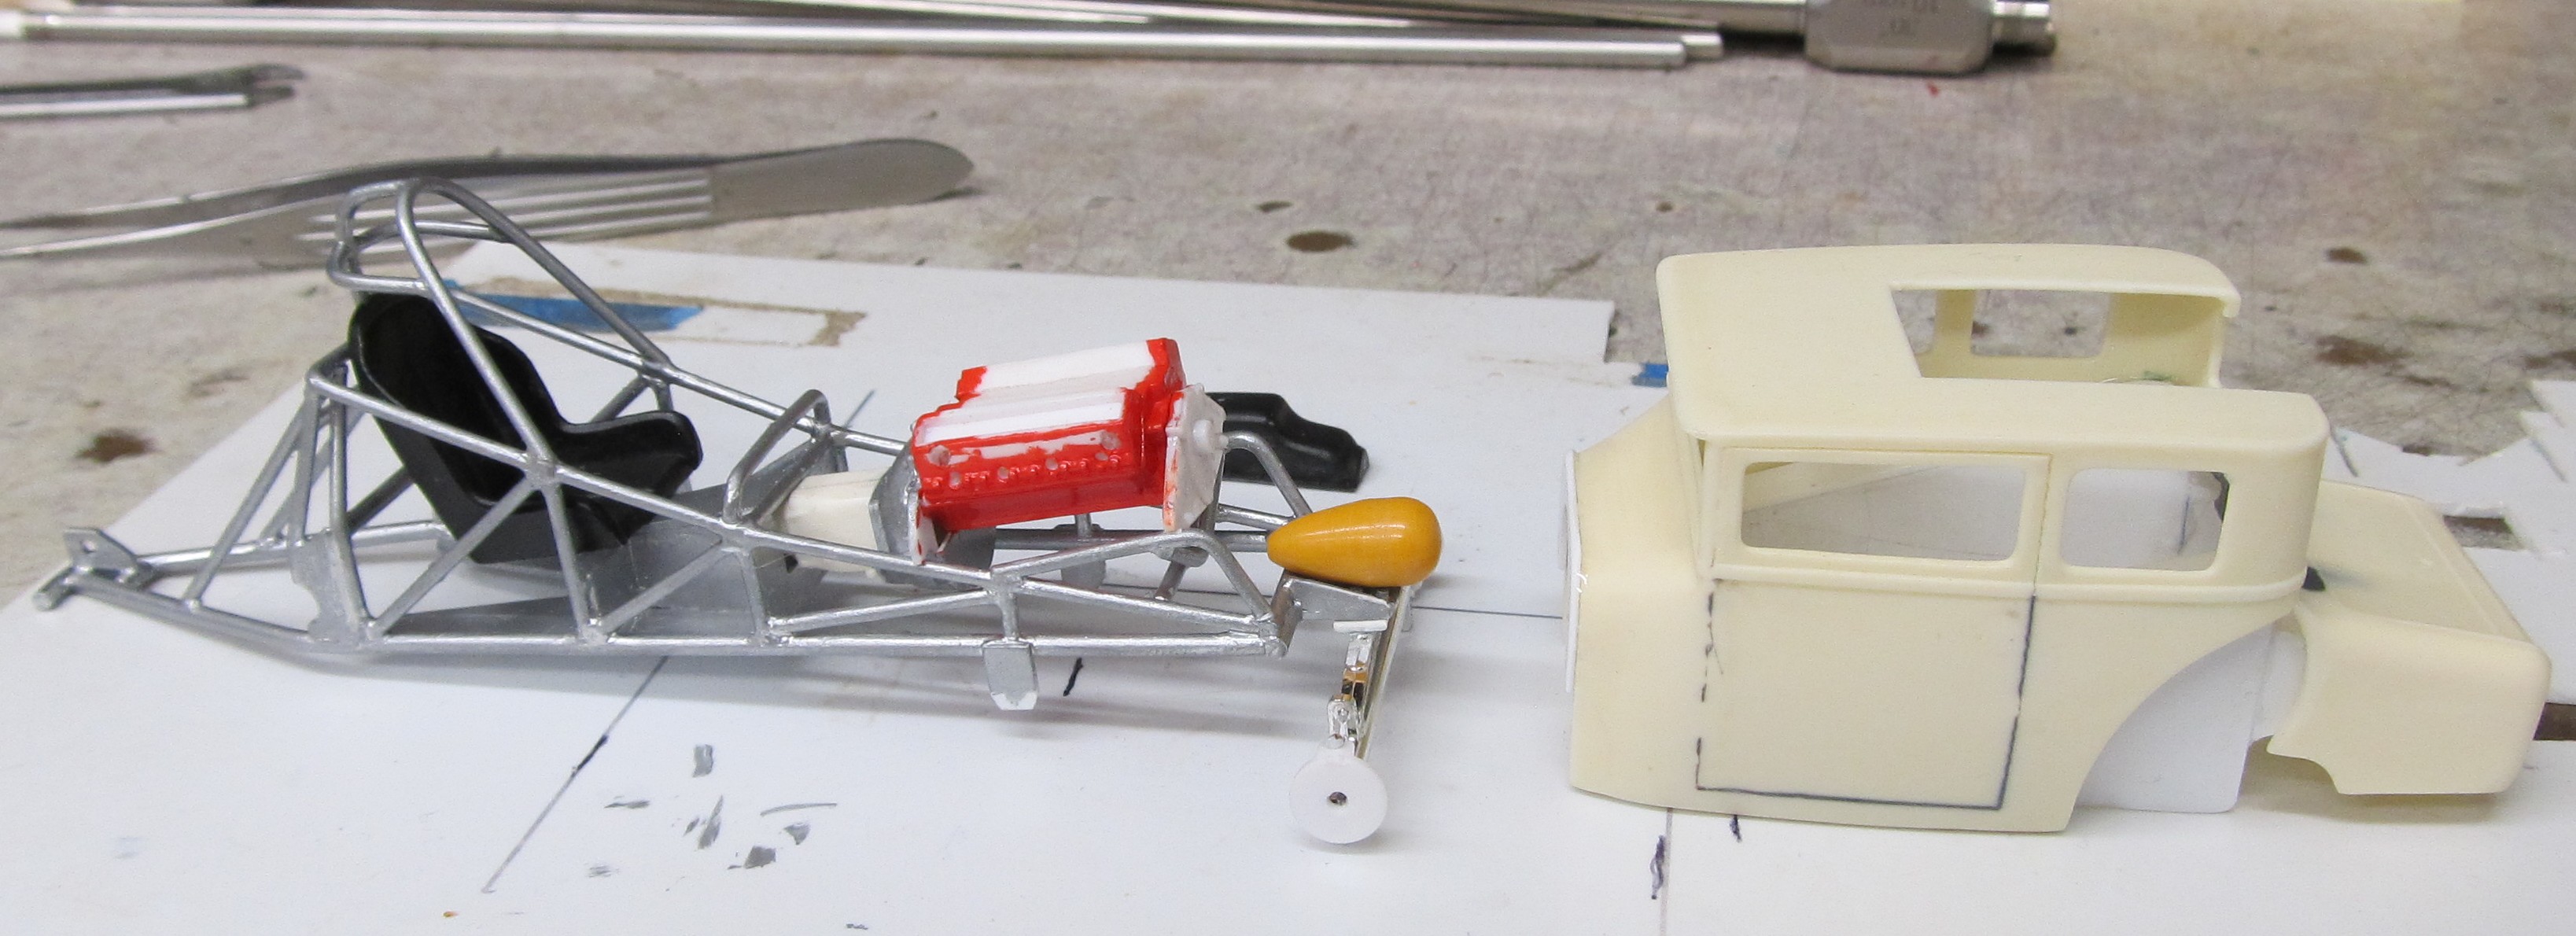
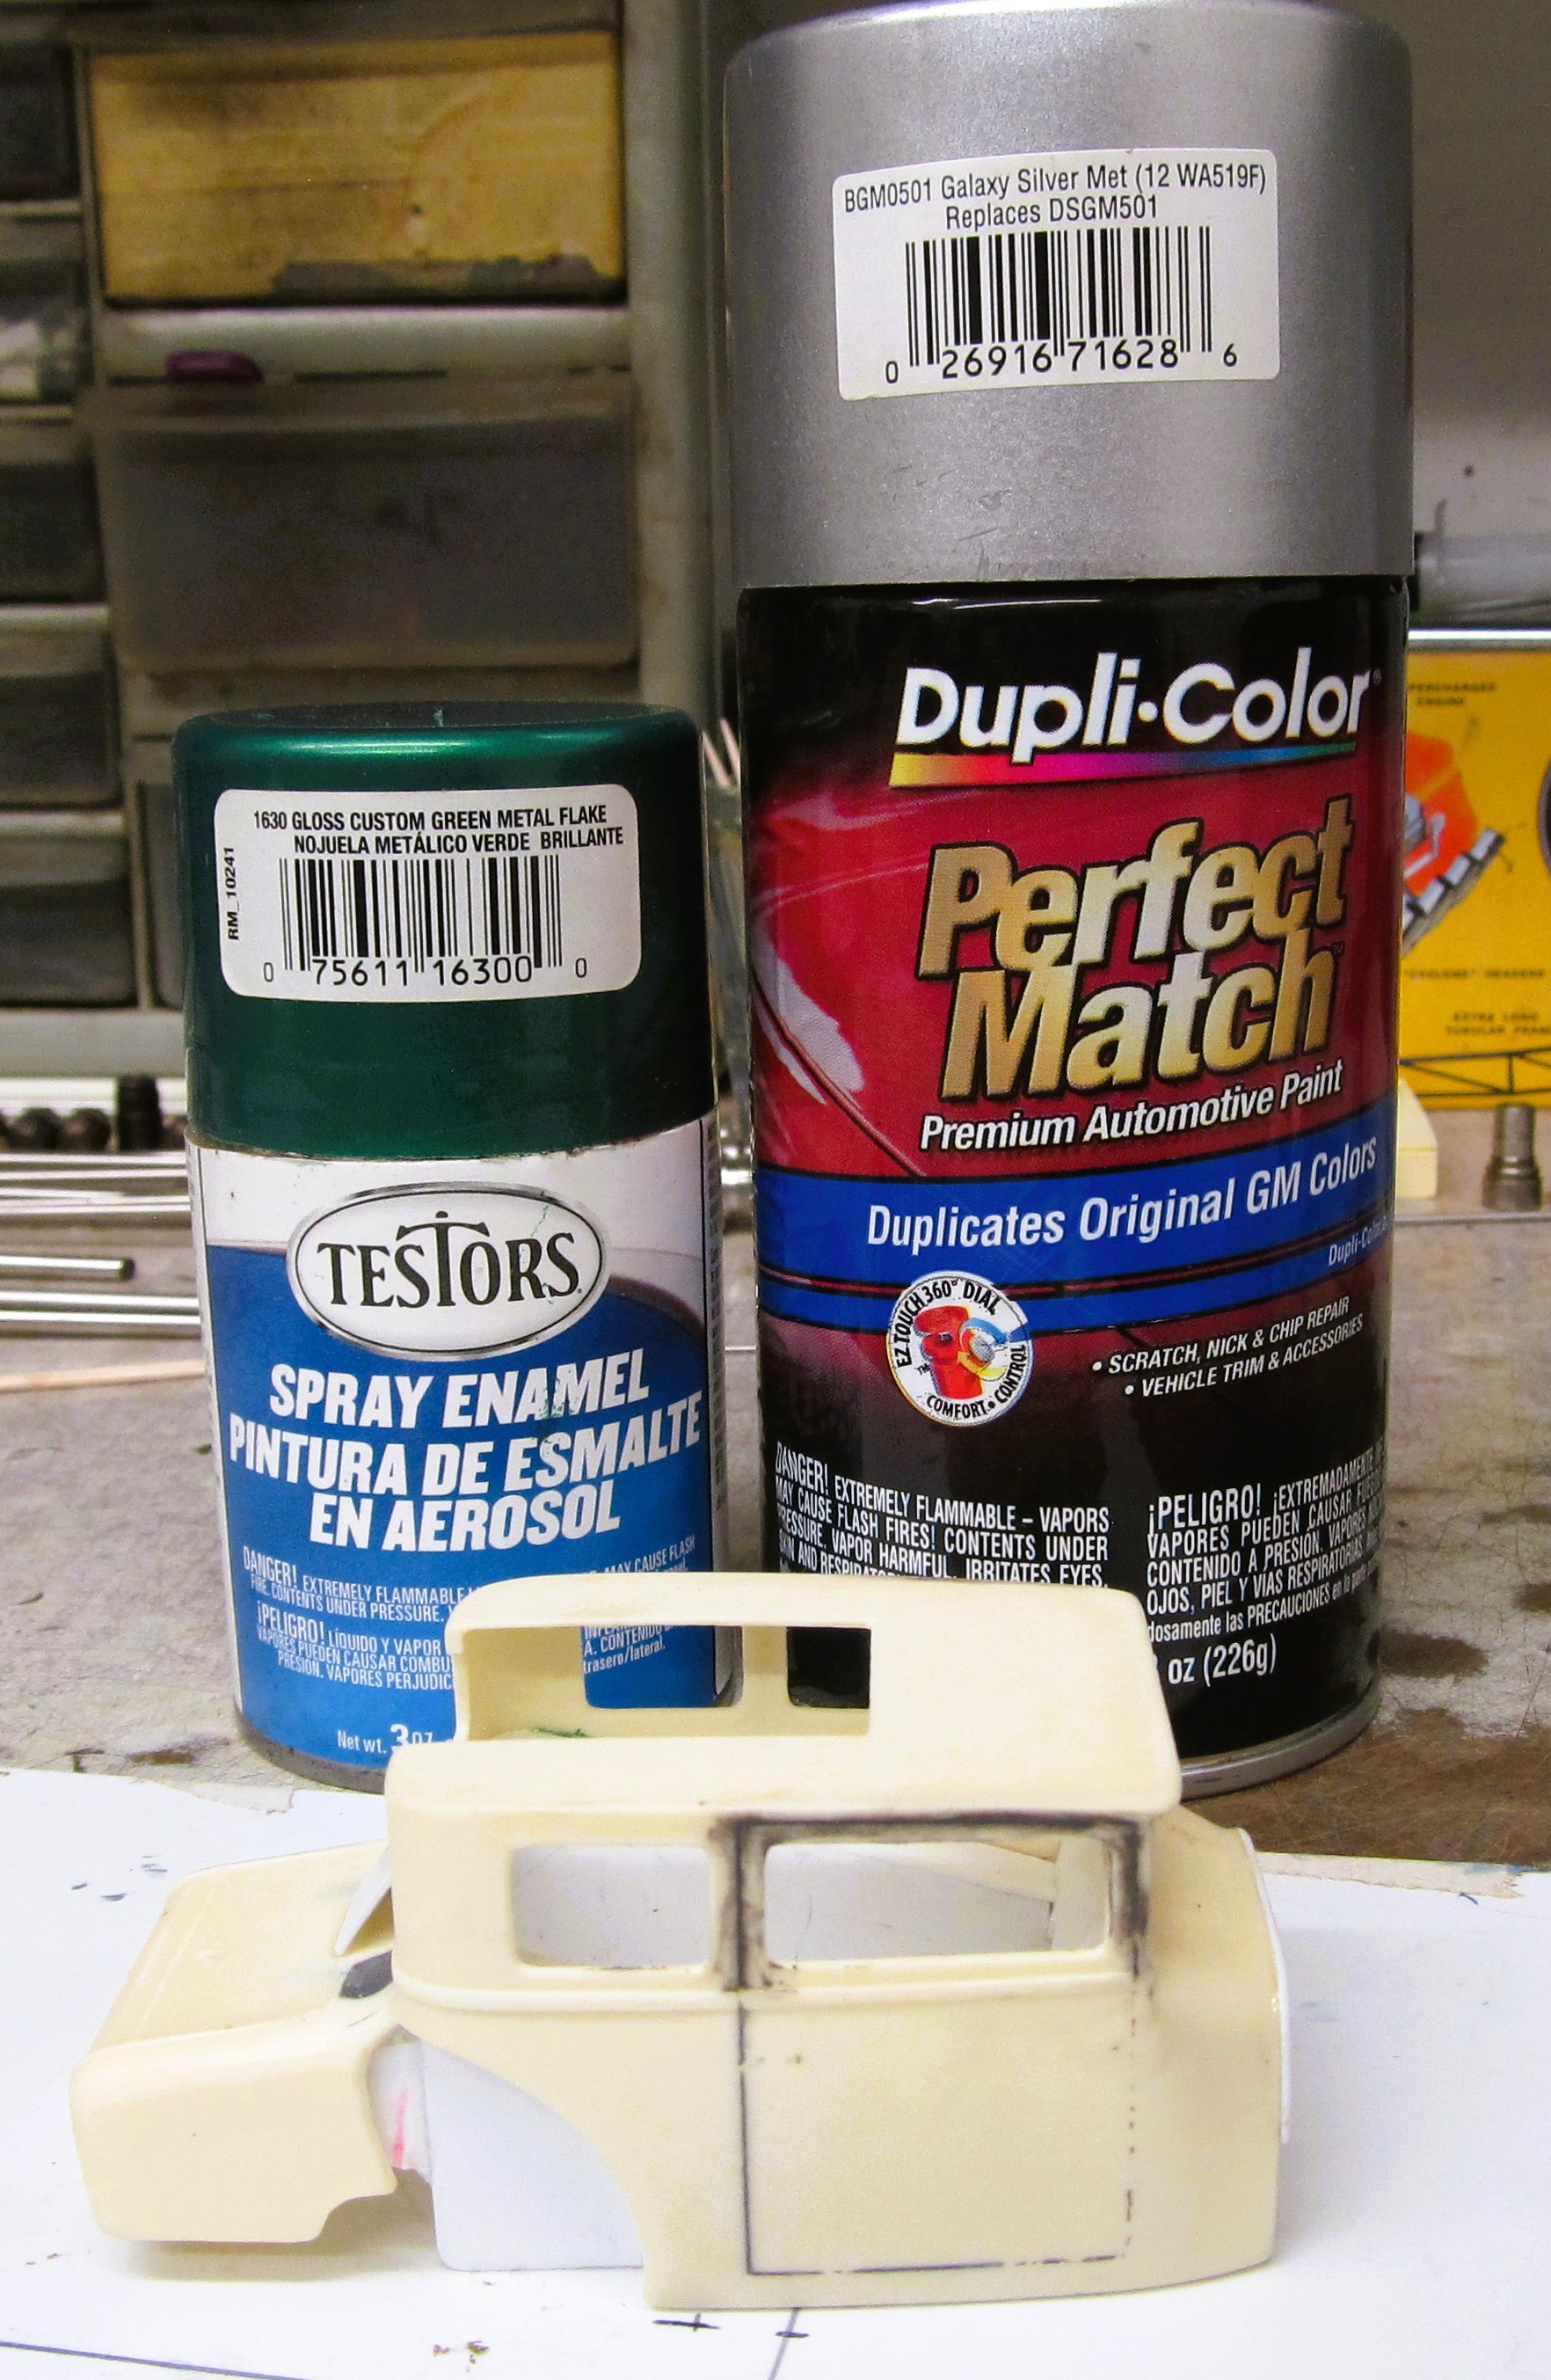
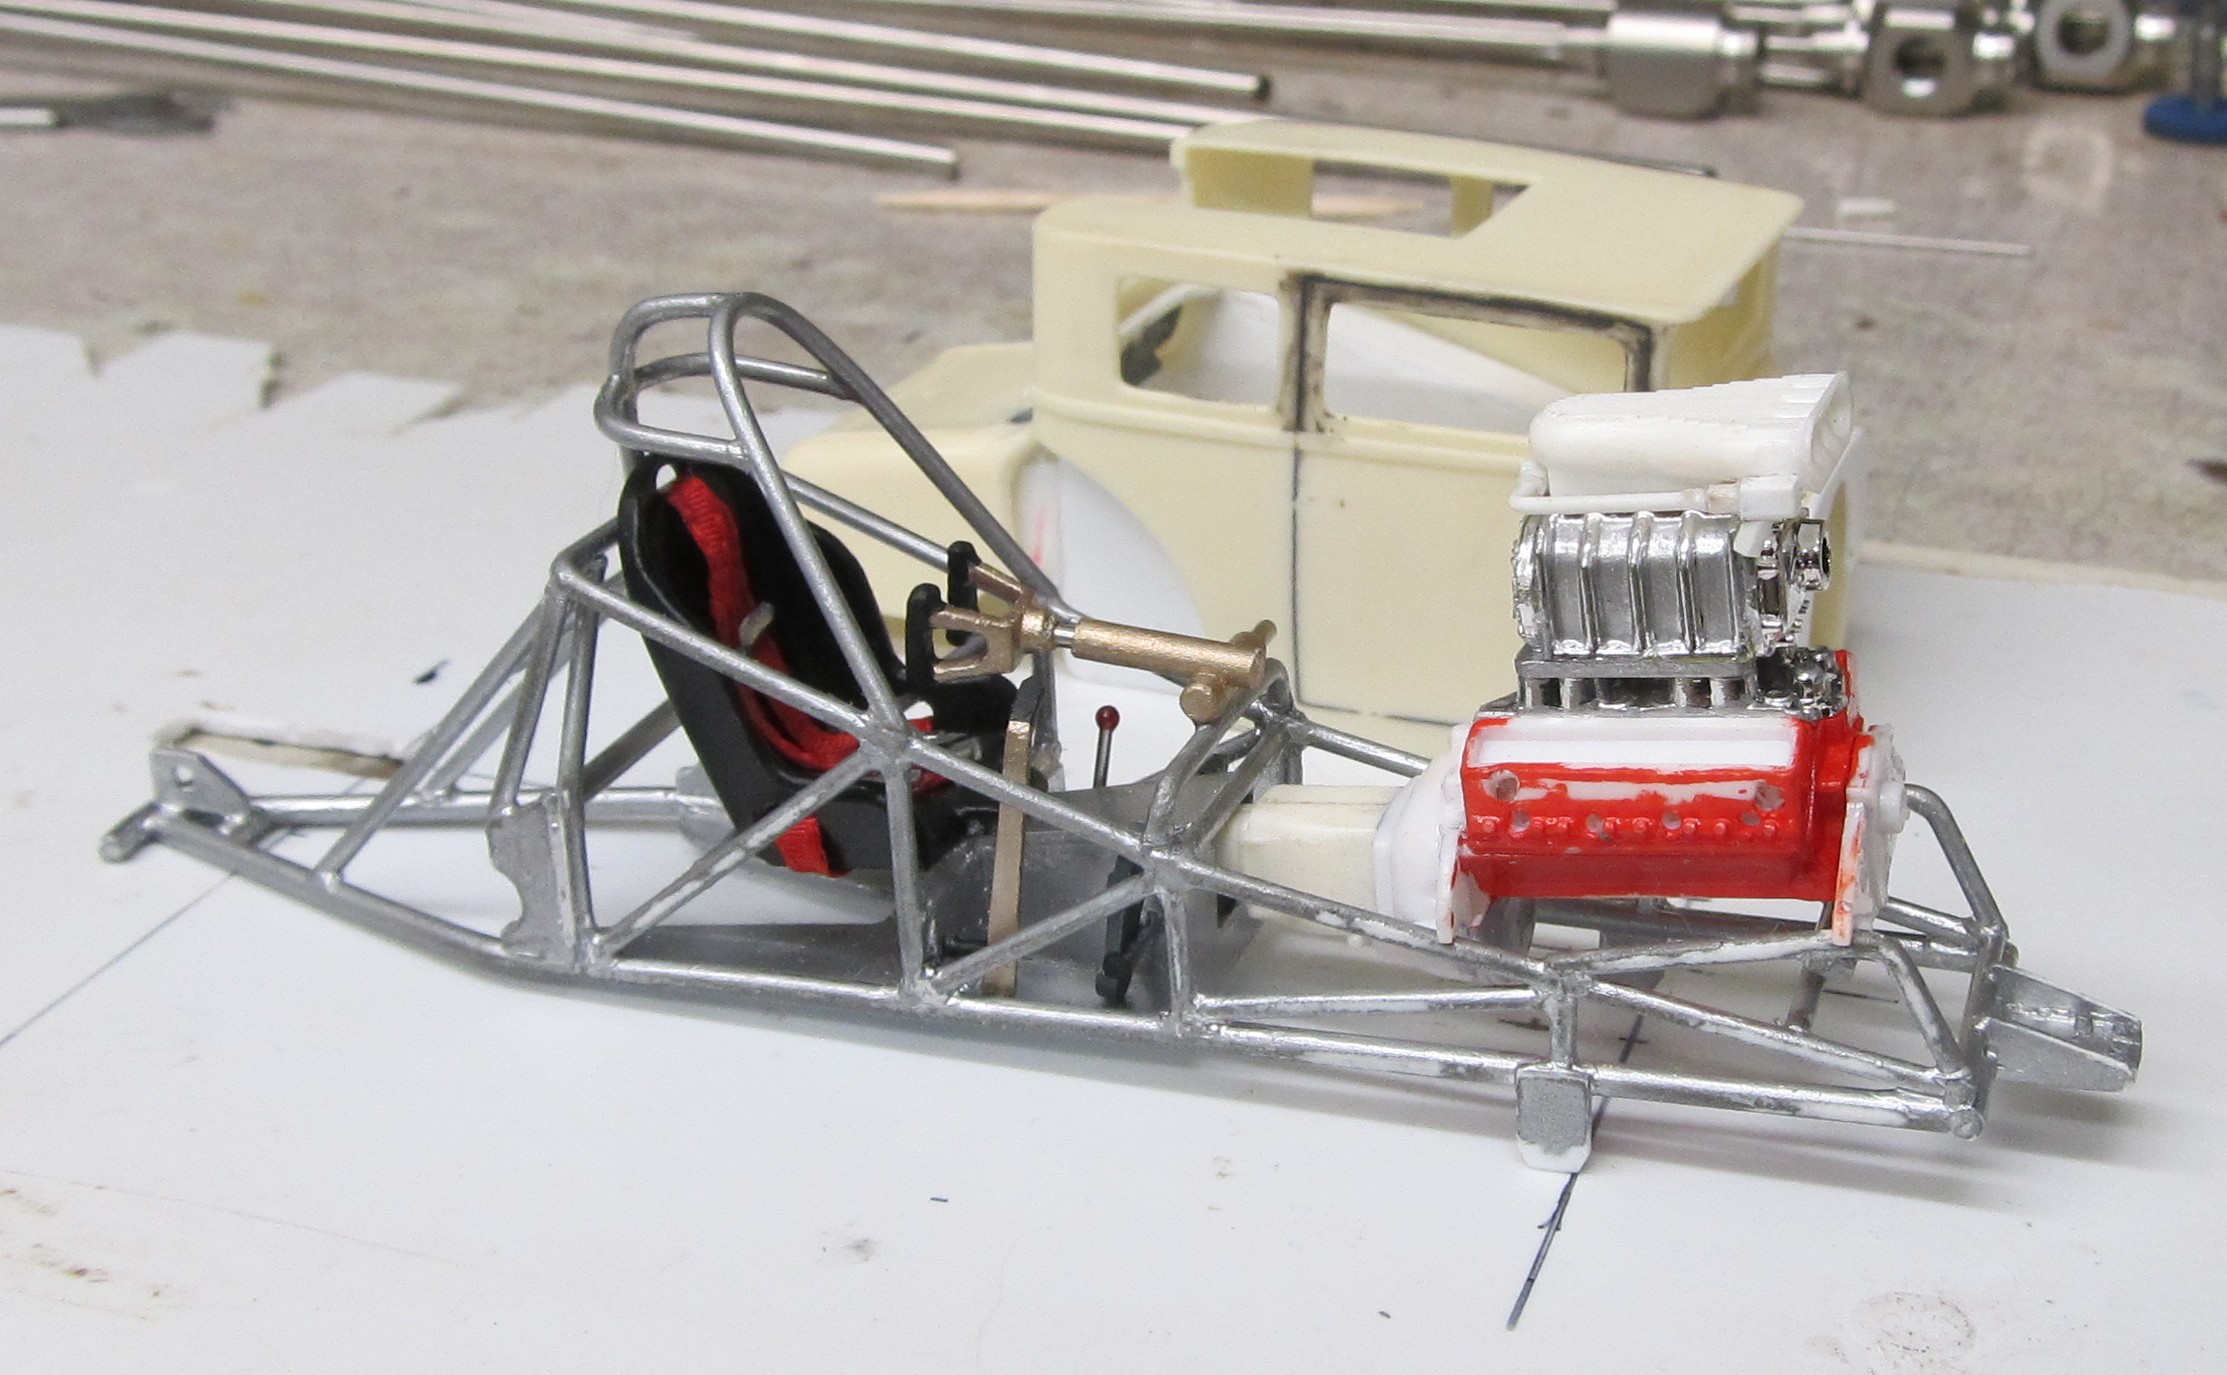
Slow going , got to much paying work on the bench. So i did get to paint the chassis, seat and engine block, made a tear drop fuel tank, and filled in some body lines, the JB weld works good as body filler, very tough sands good and wont let go of what you put it on. I will fill in the upper door lines tomorrow. Will also add most of the cockpit parts tomorrow then i can get to work on the front suspension.
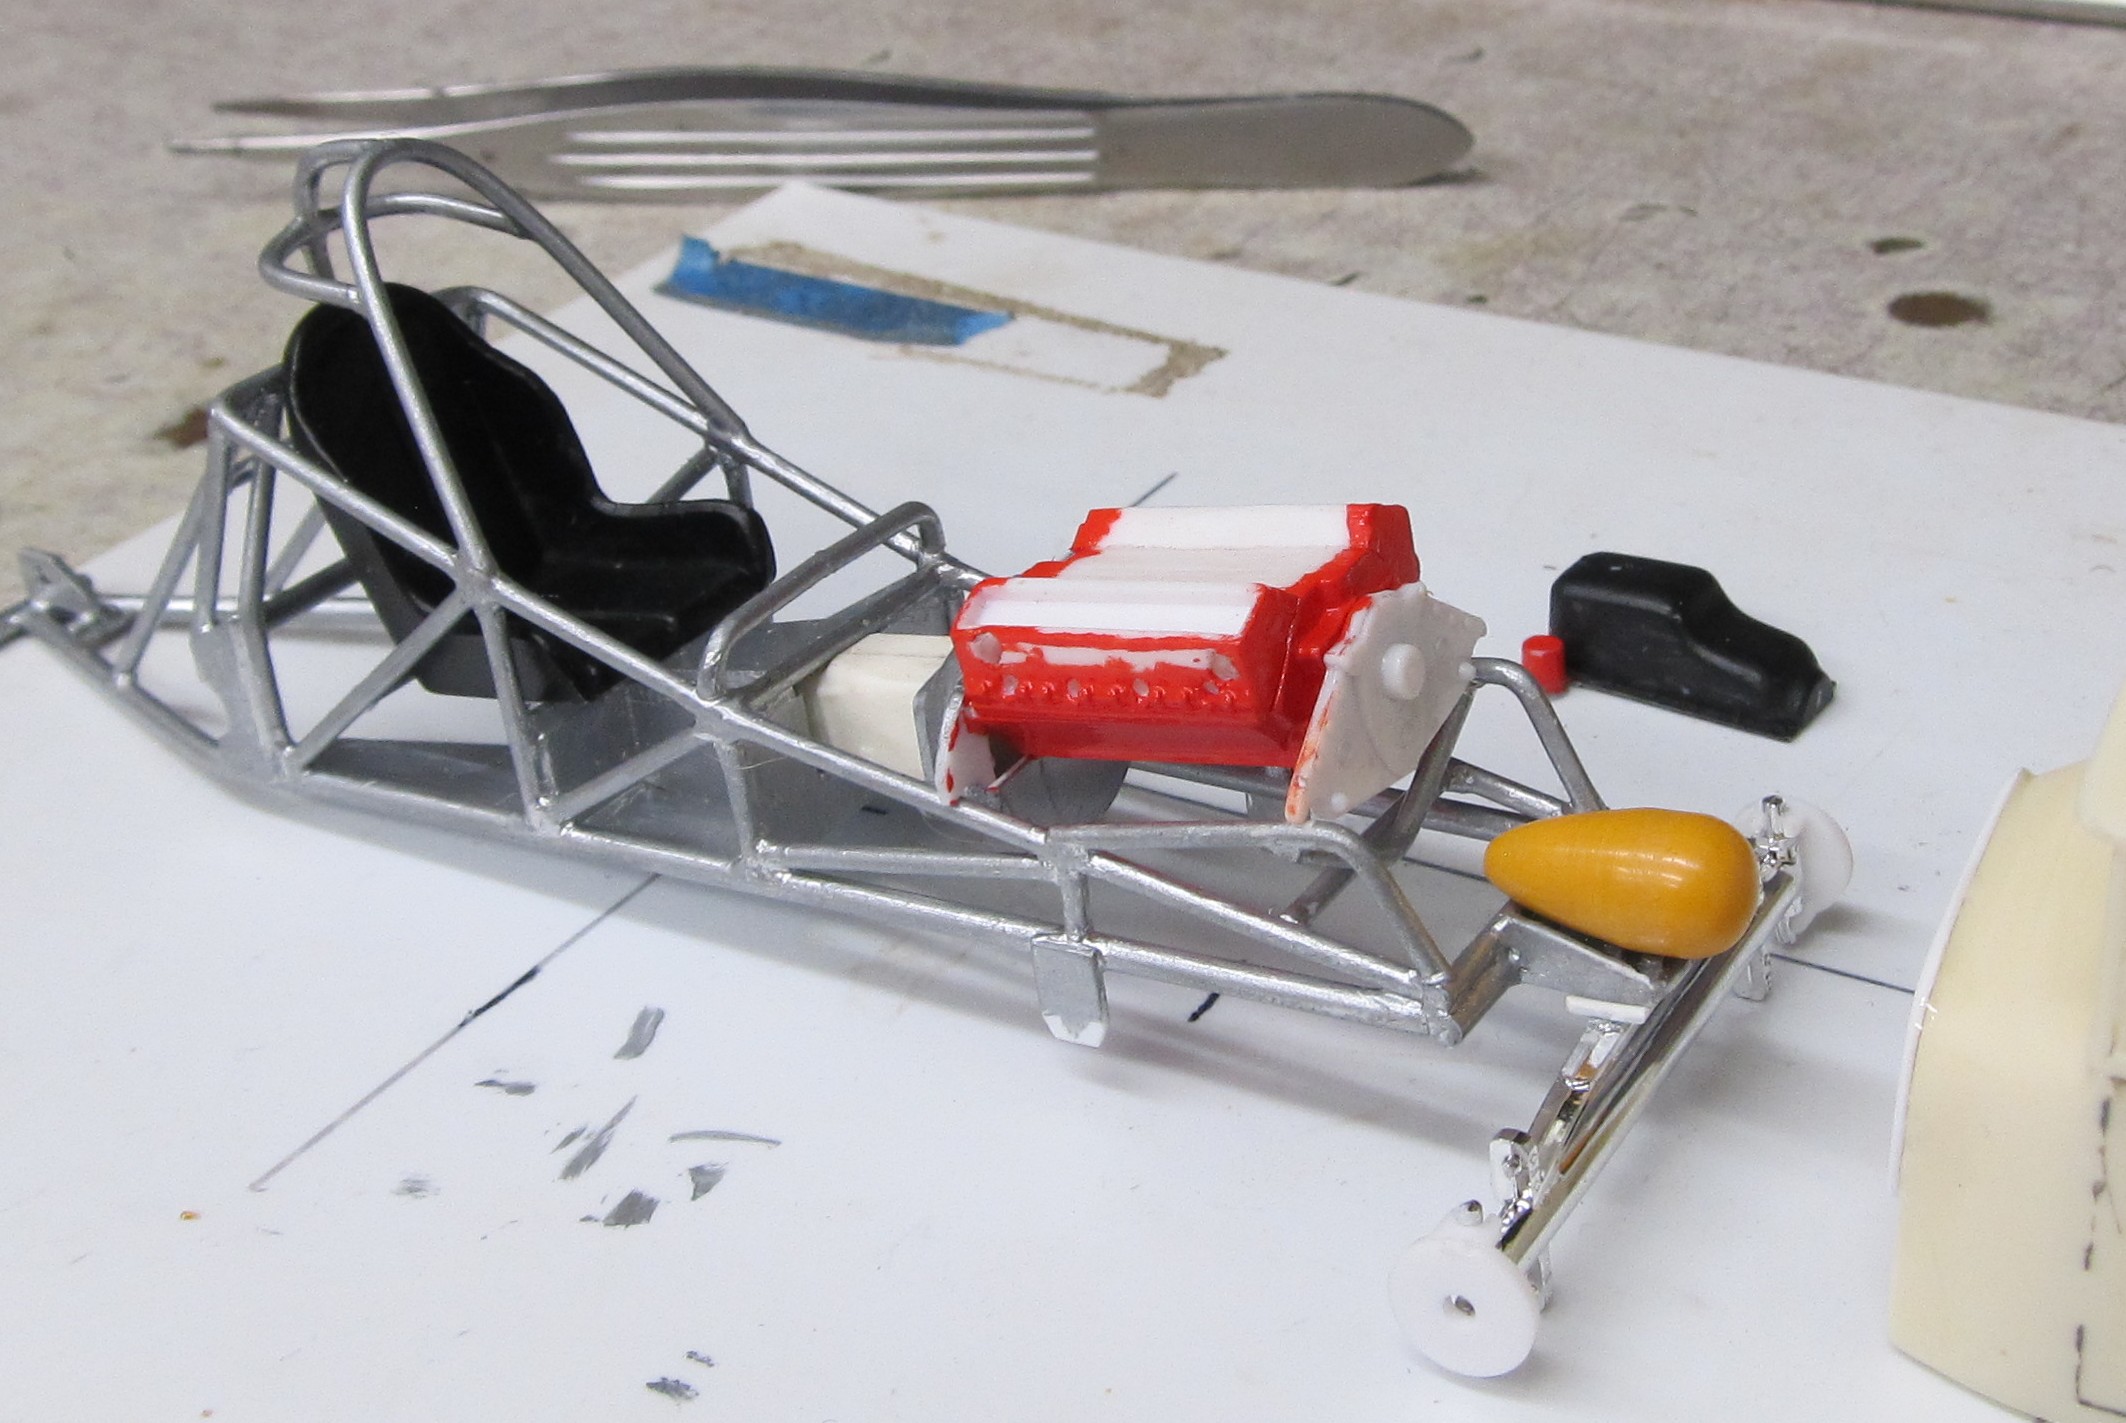
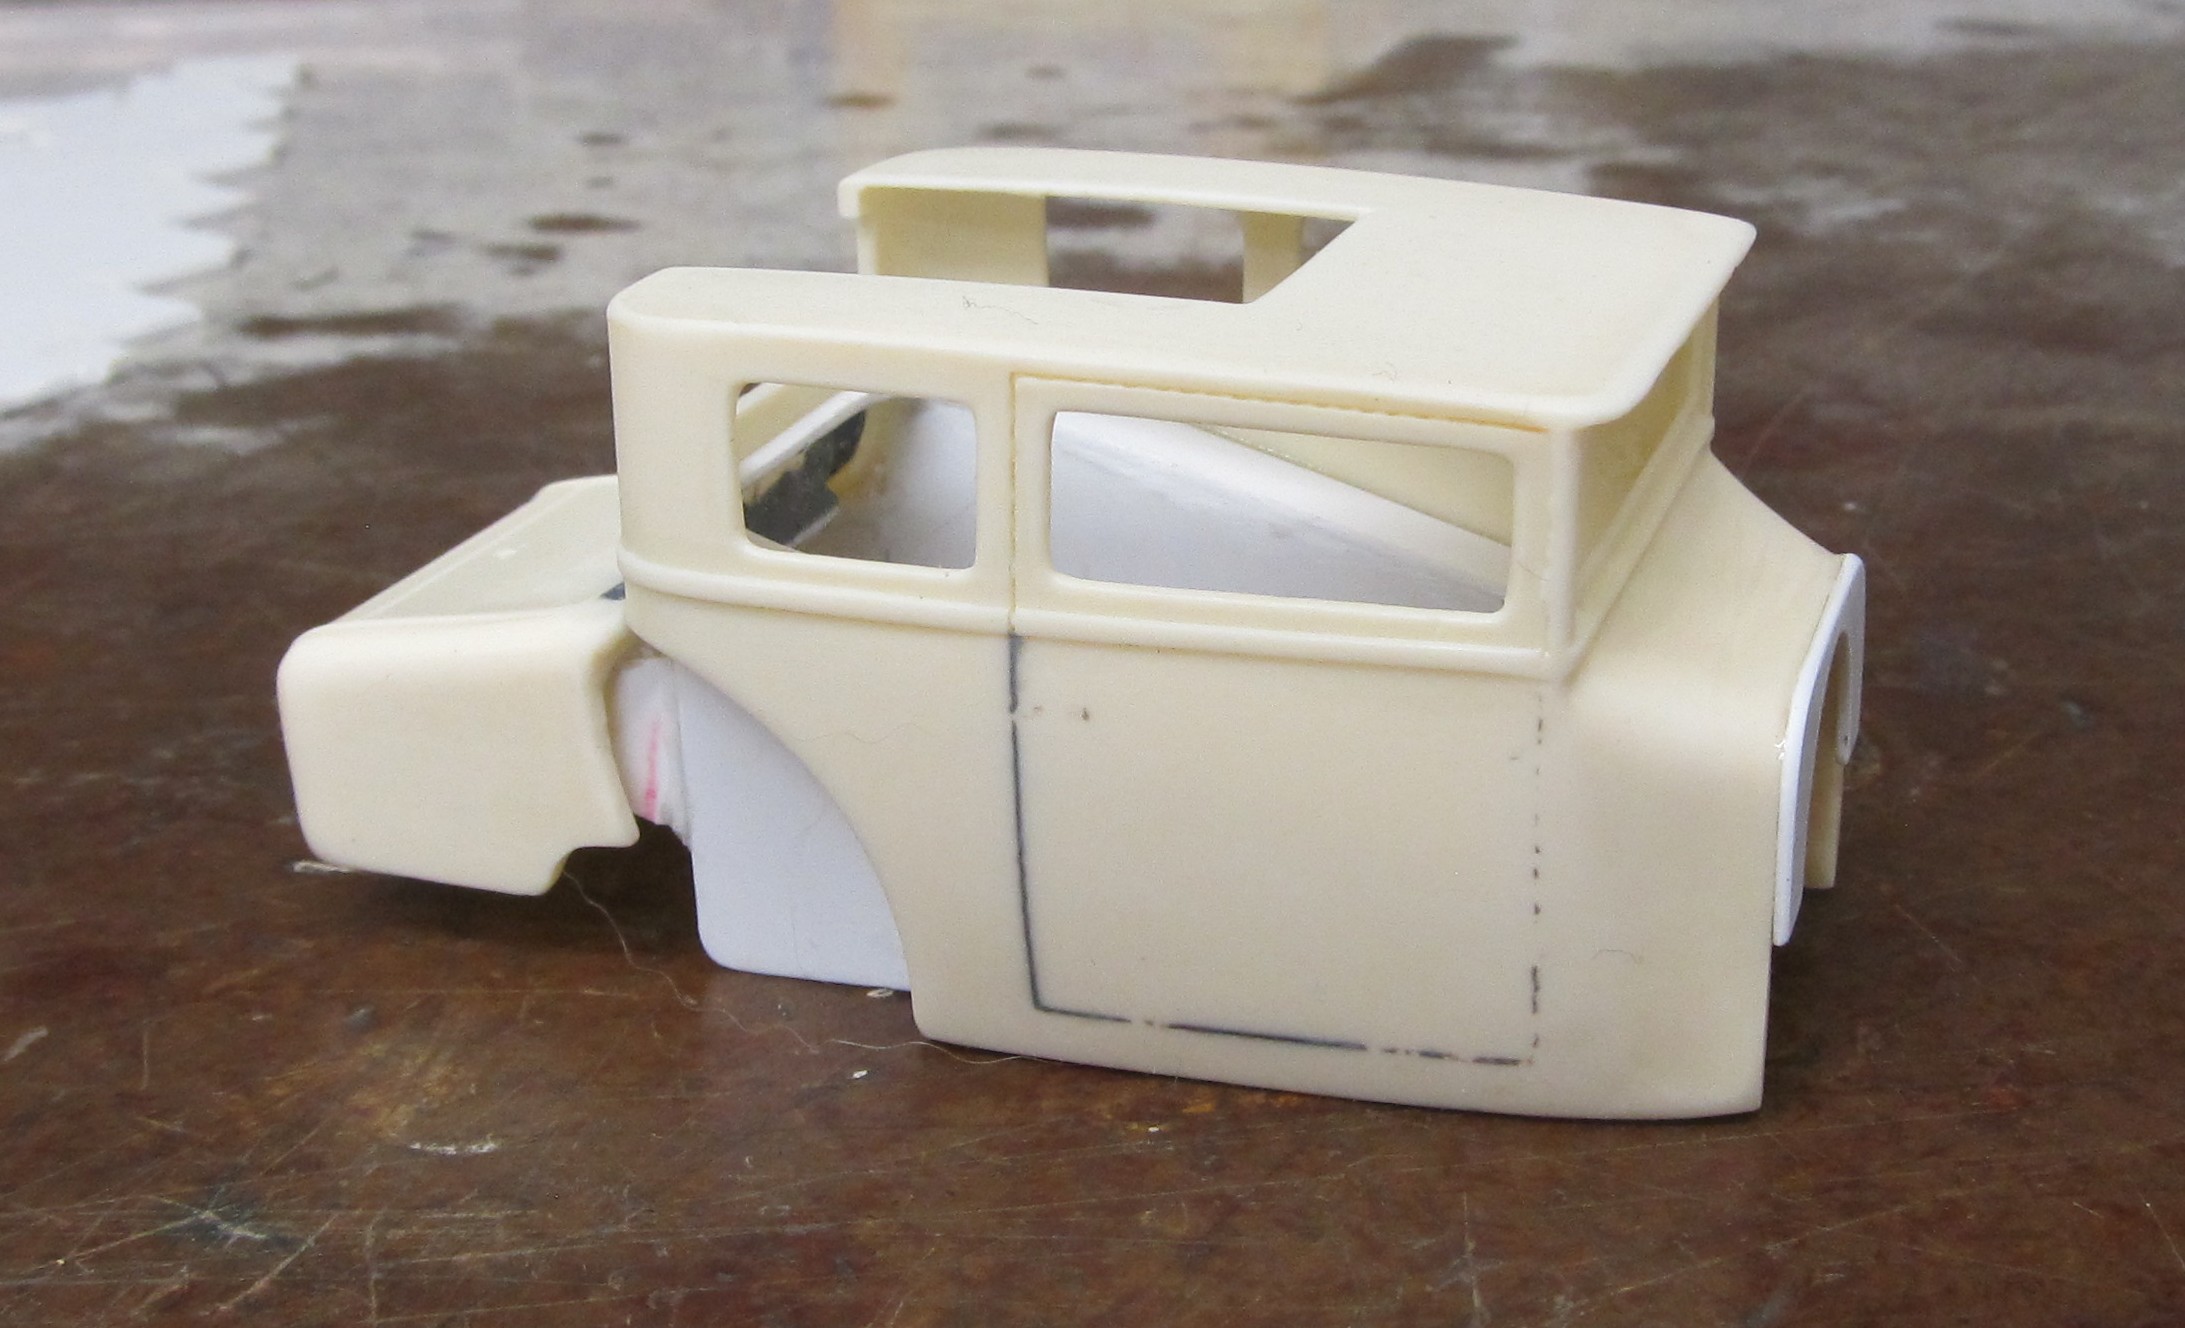
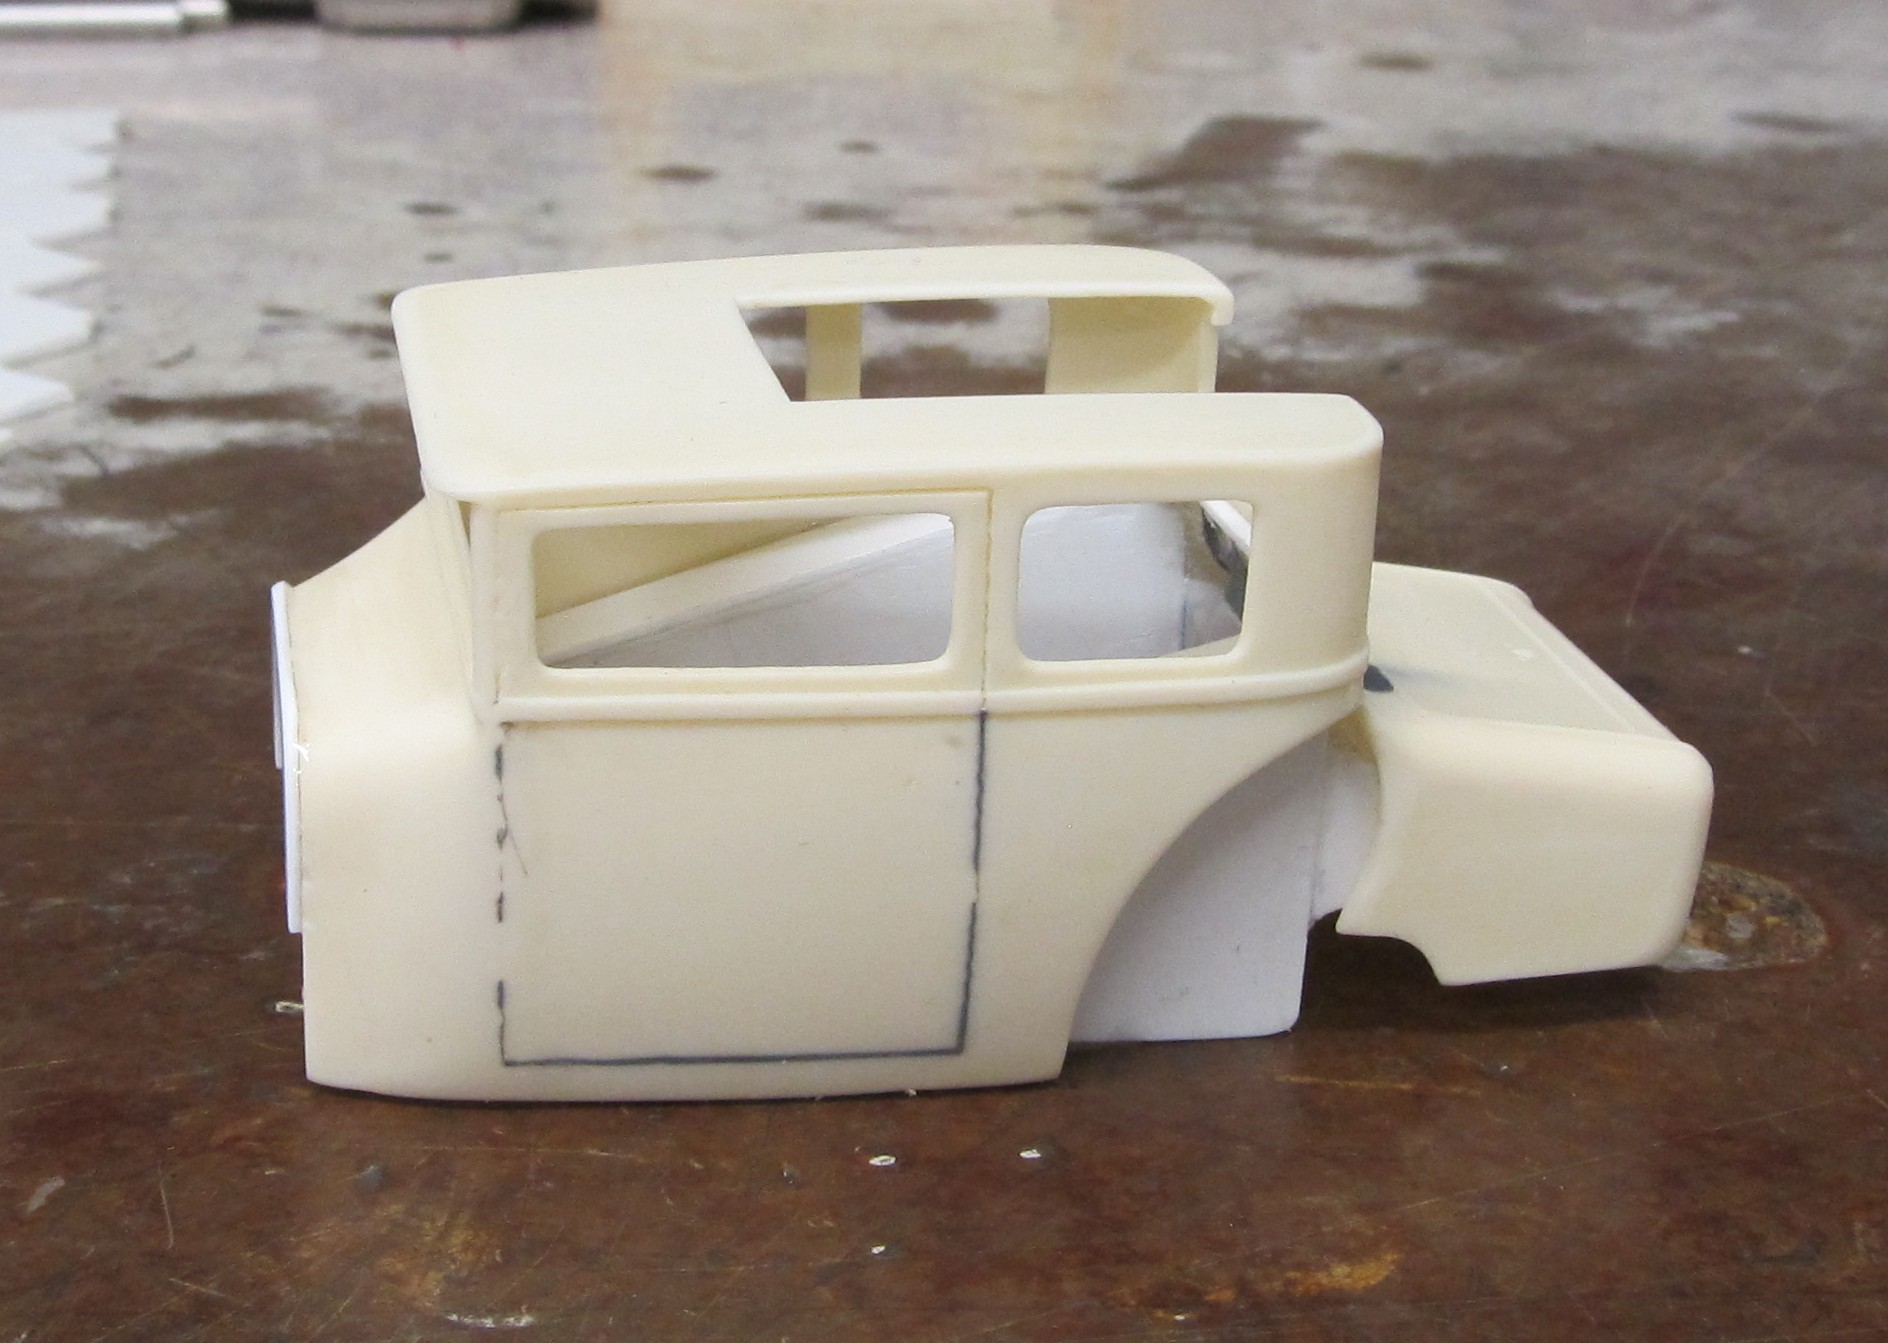
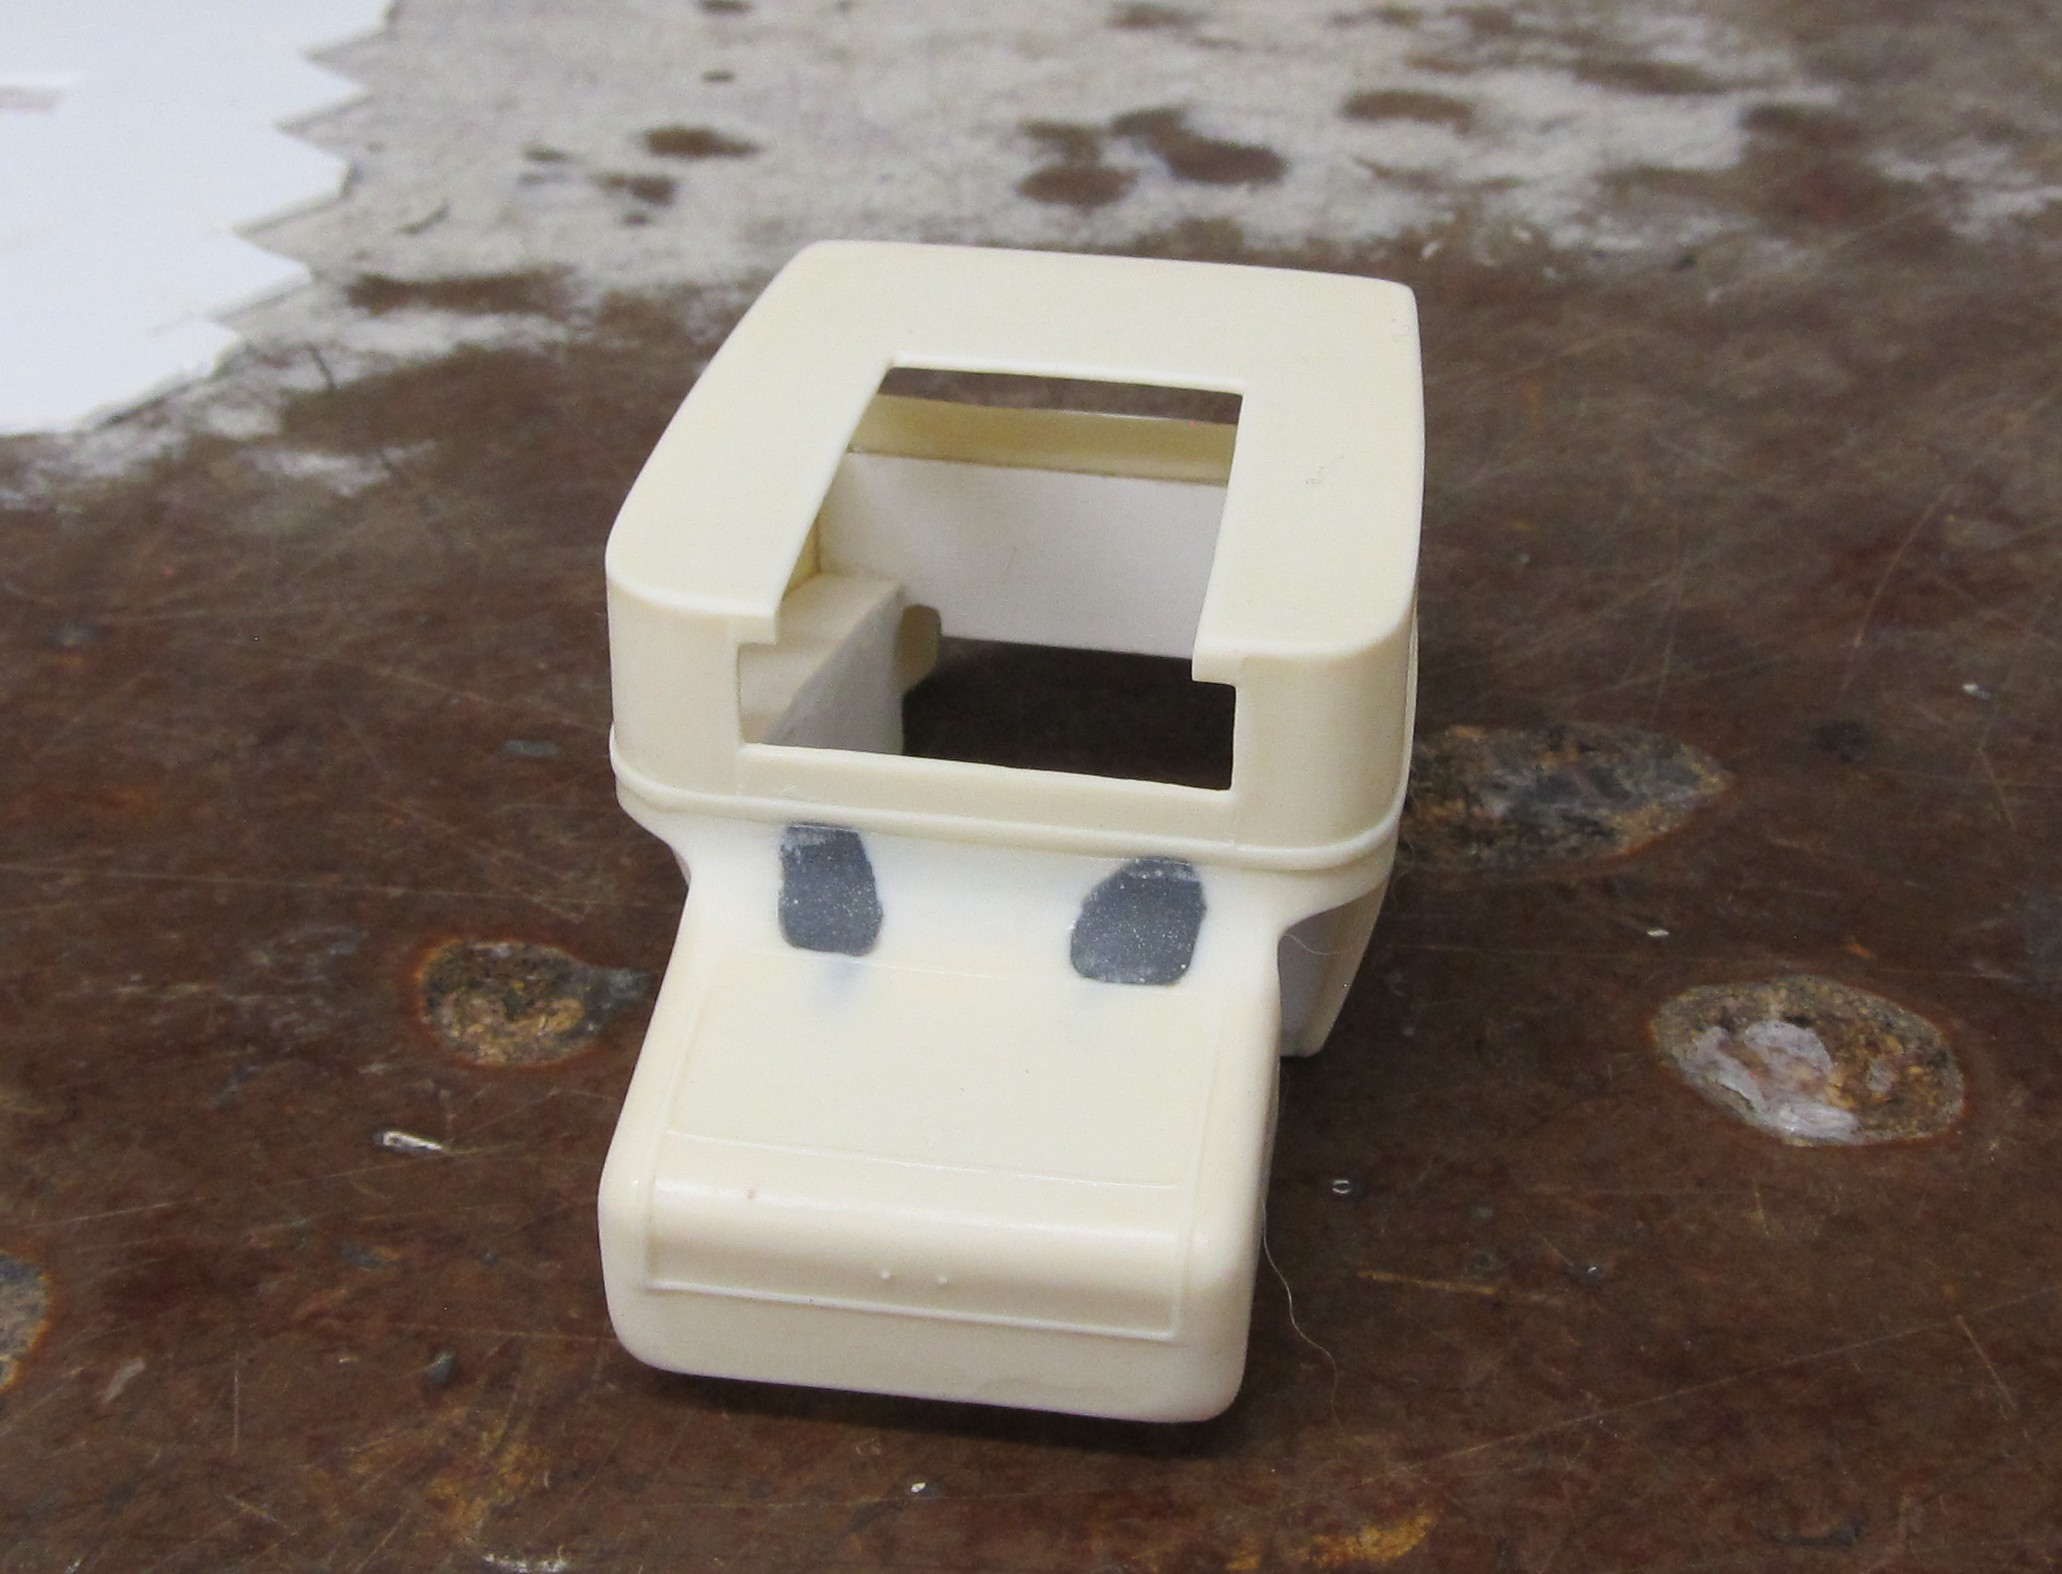
Finaly getting it to look like a car , cockpit is done , now working on the injector hat and fuel lines. Will be more engine work today with hedders, mag and wires and fuel pump. Picked out the paint, yesterday to.
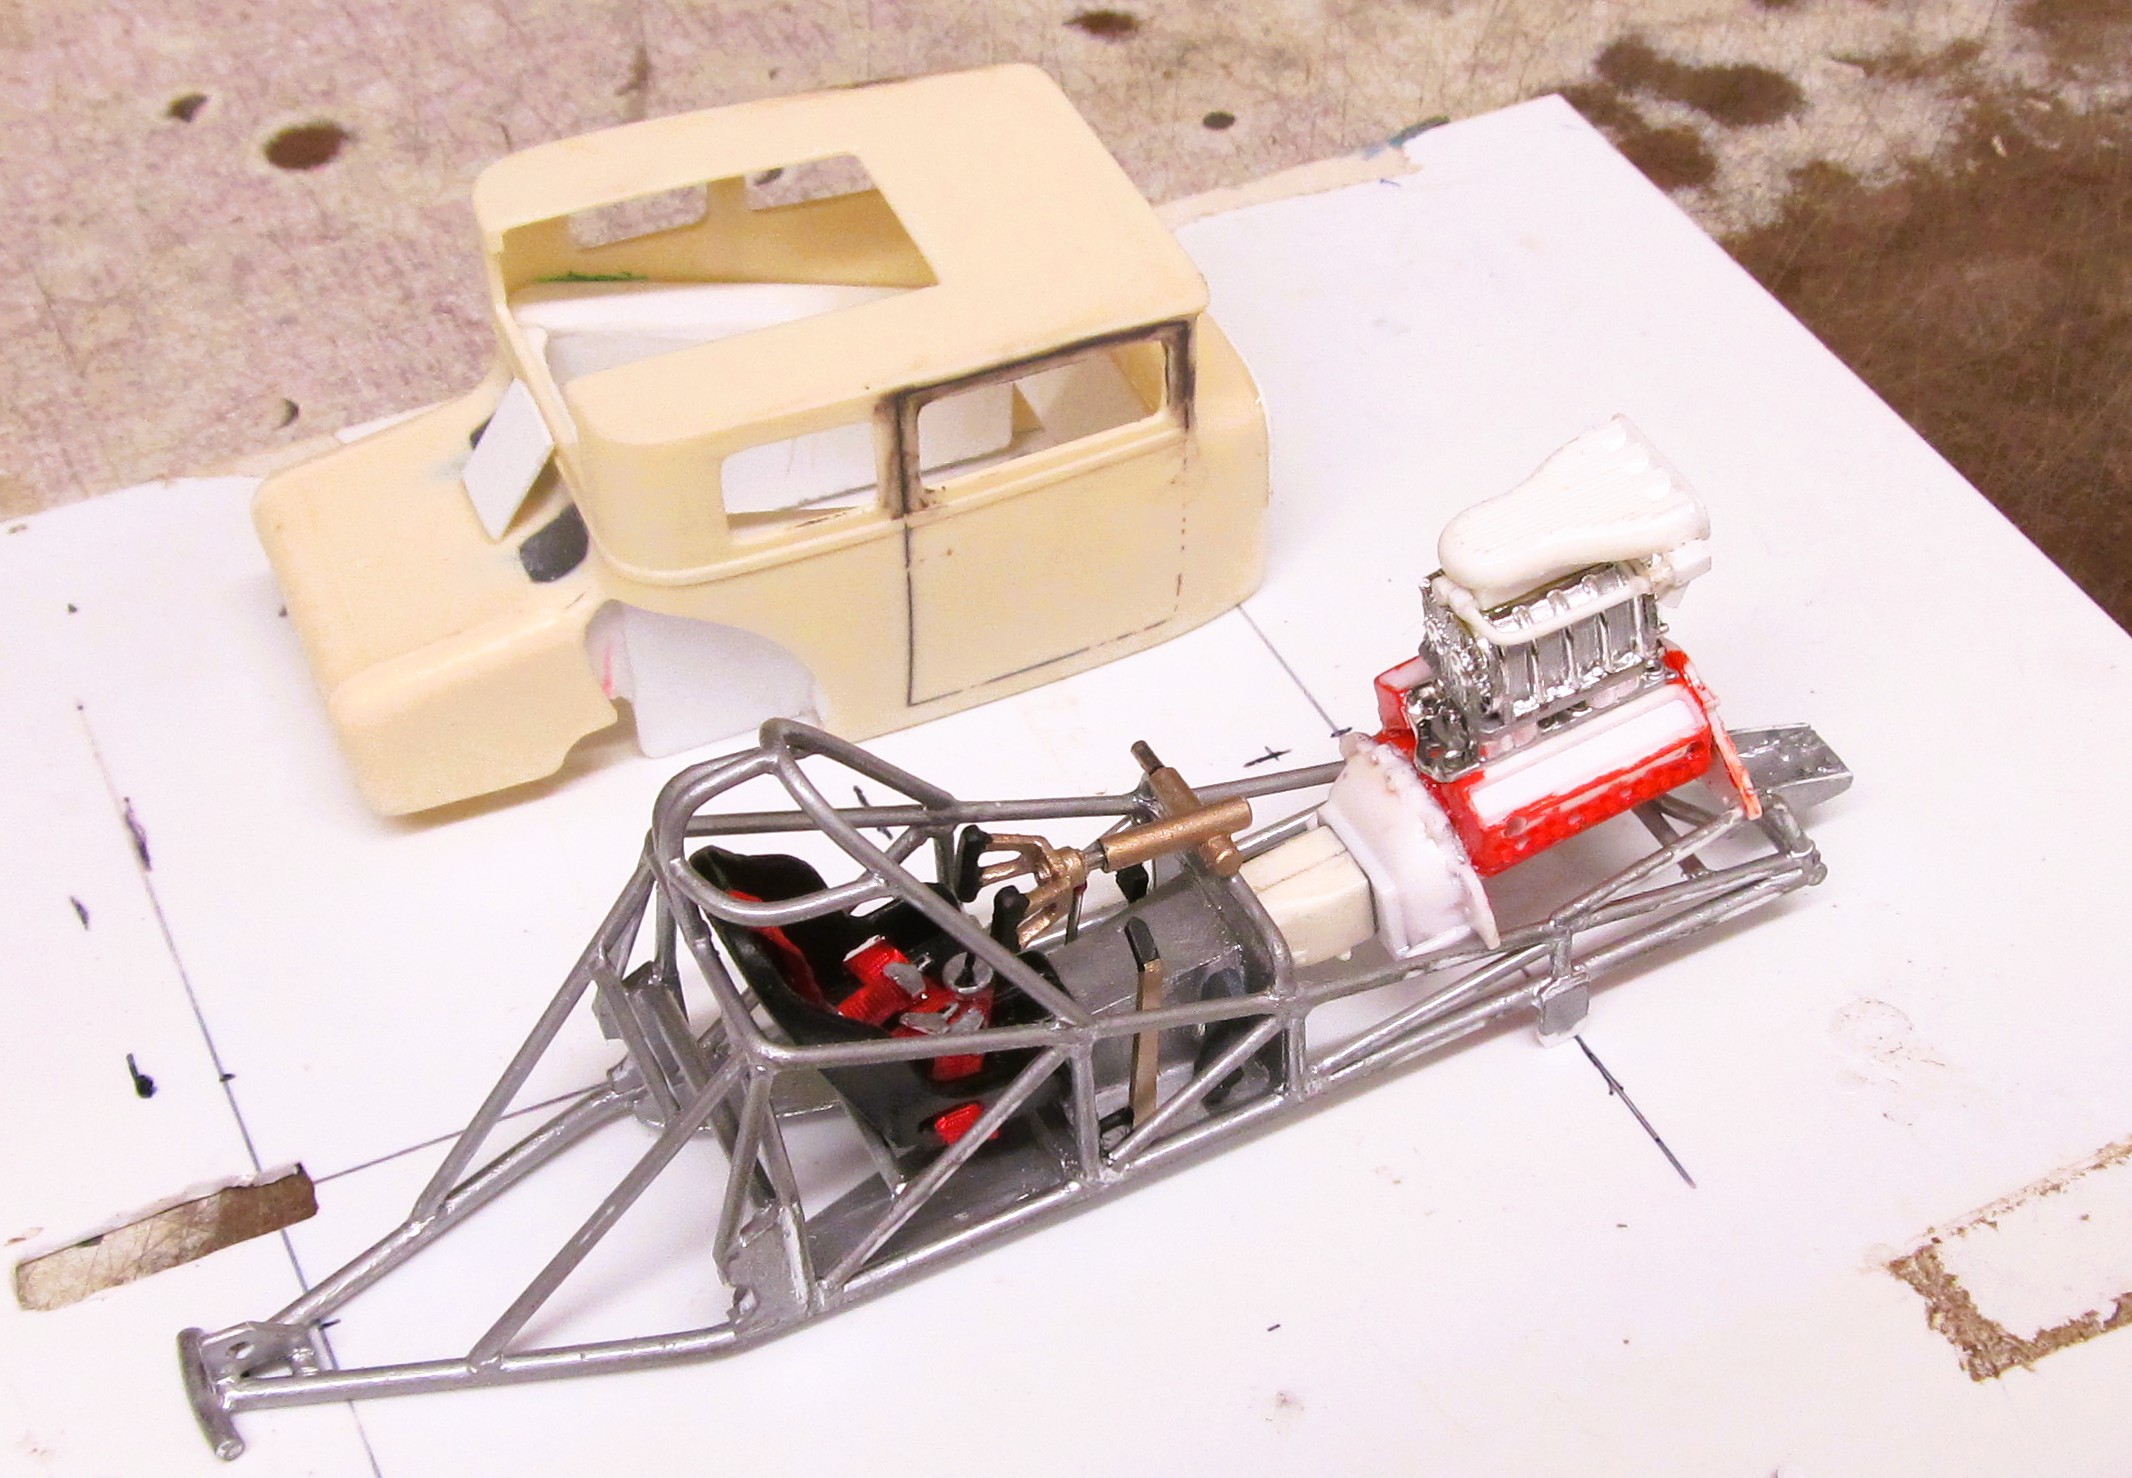
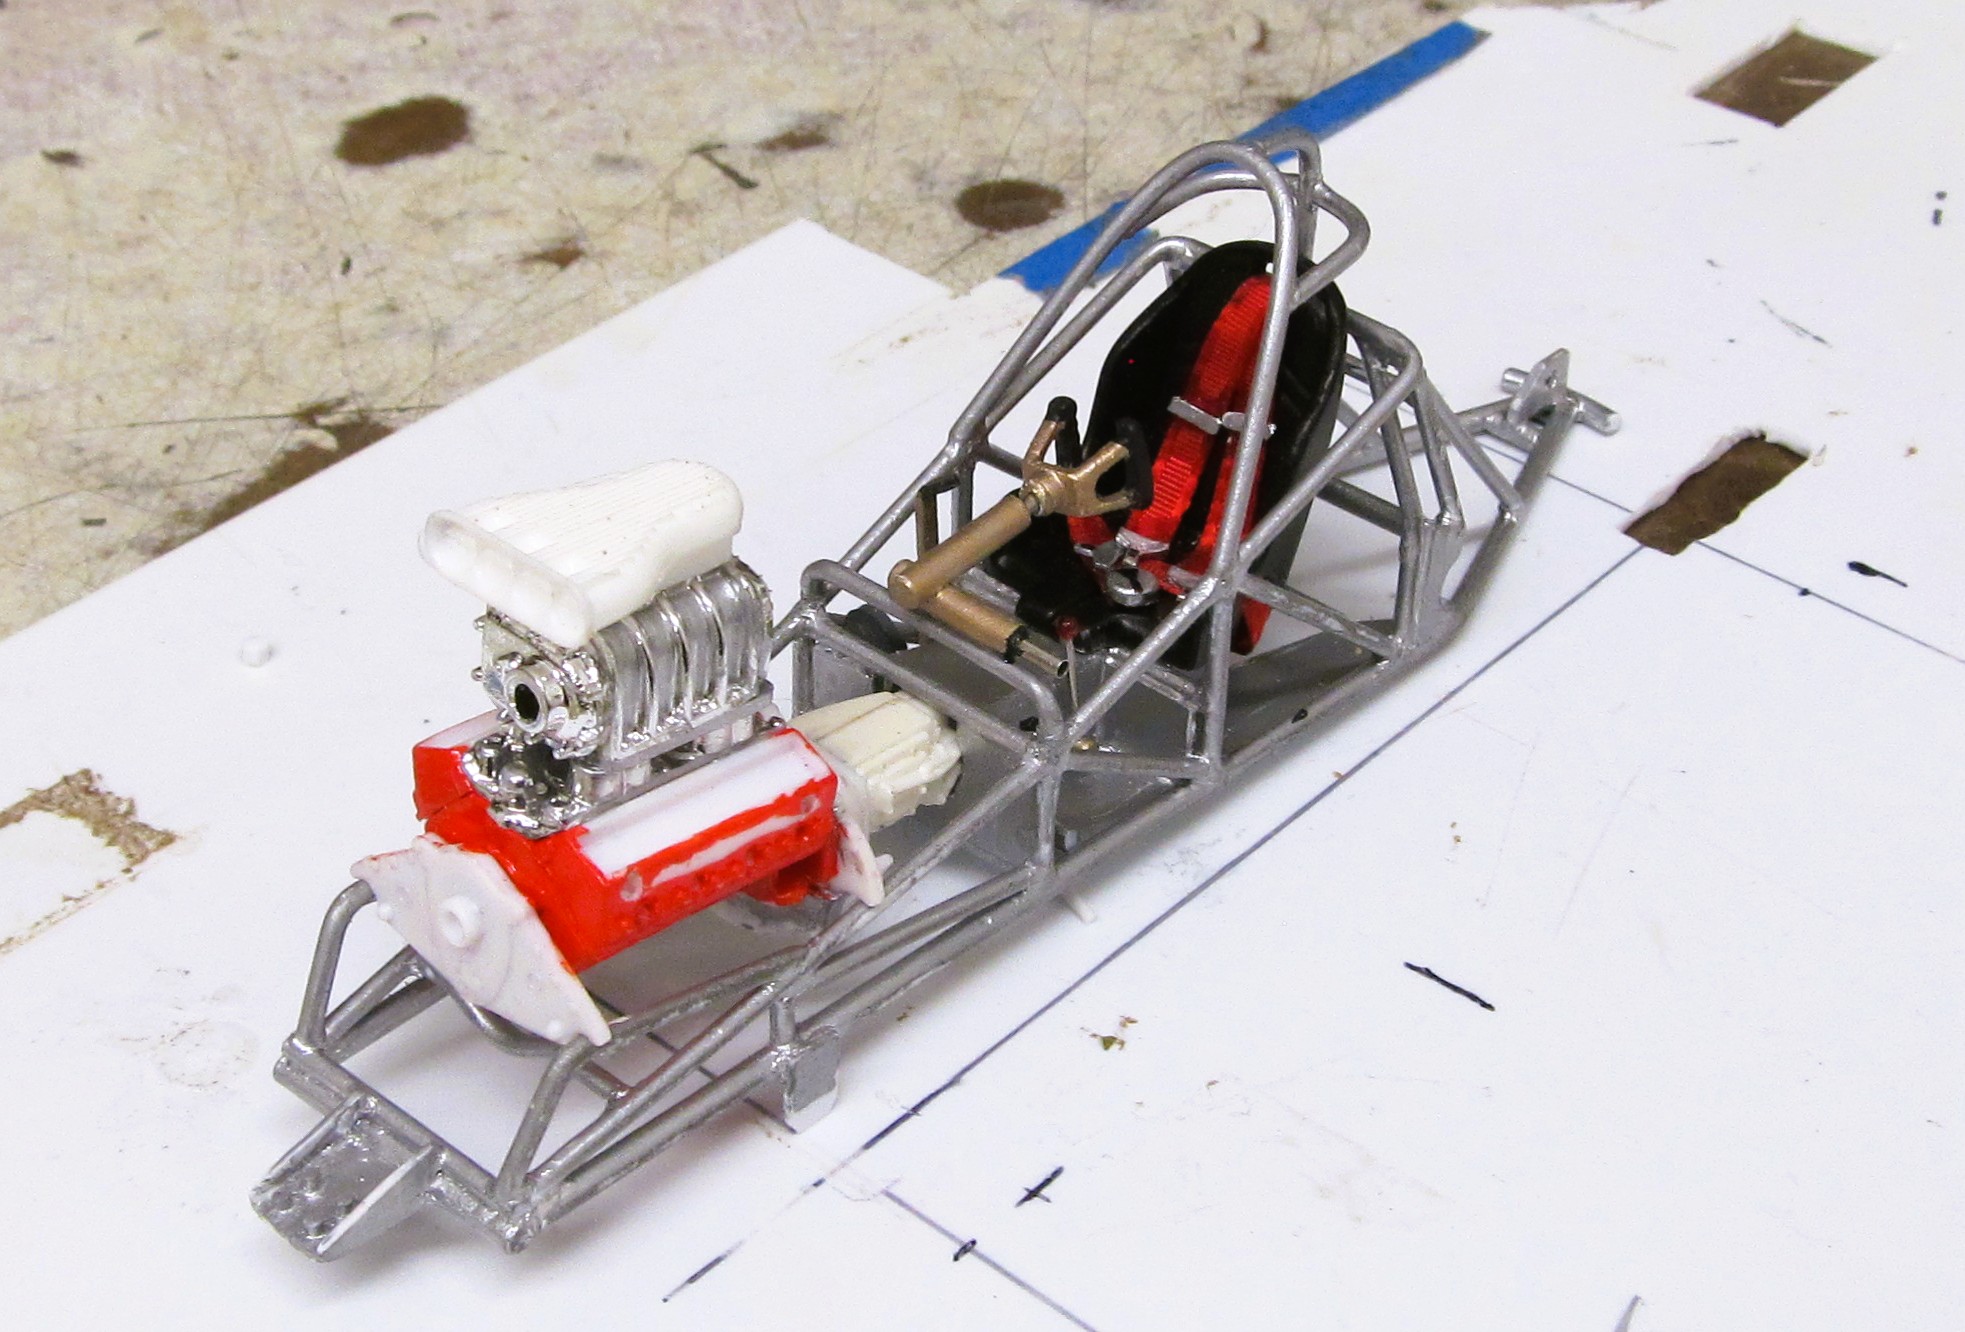
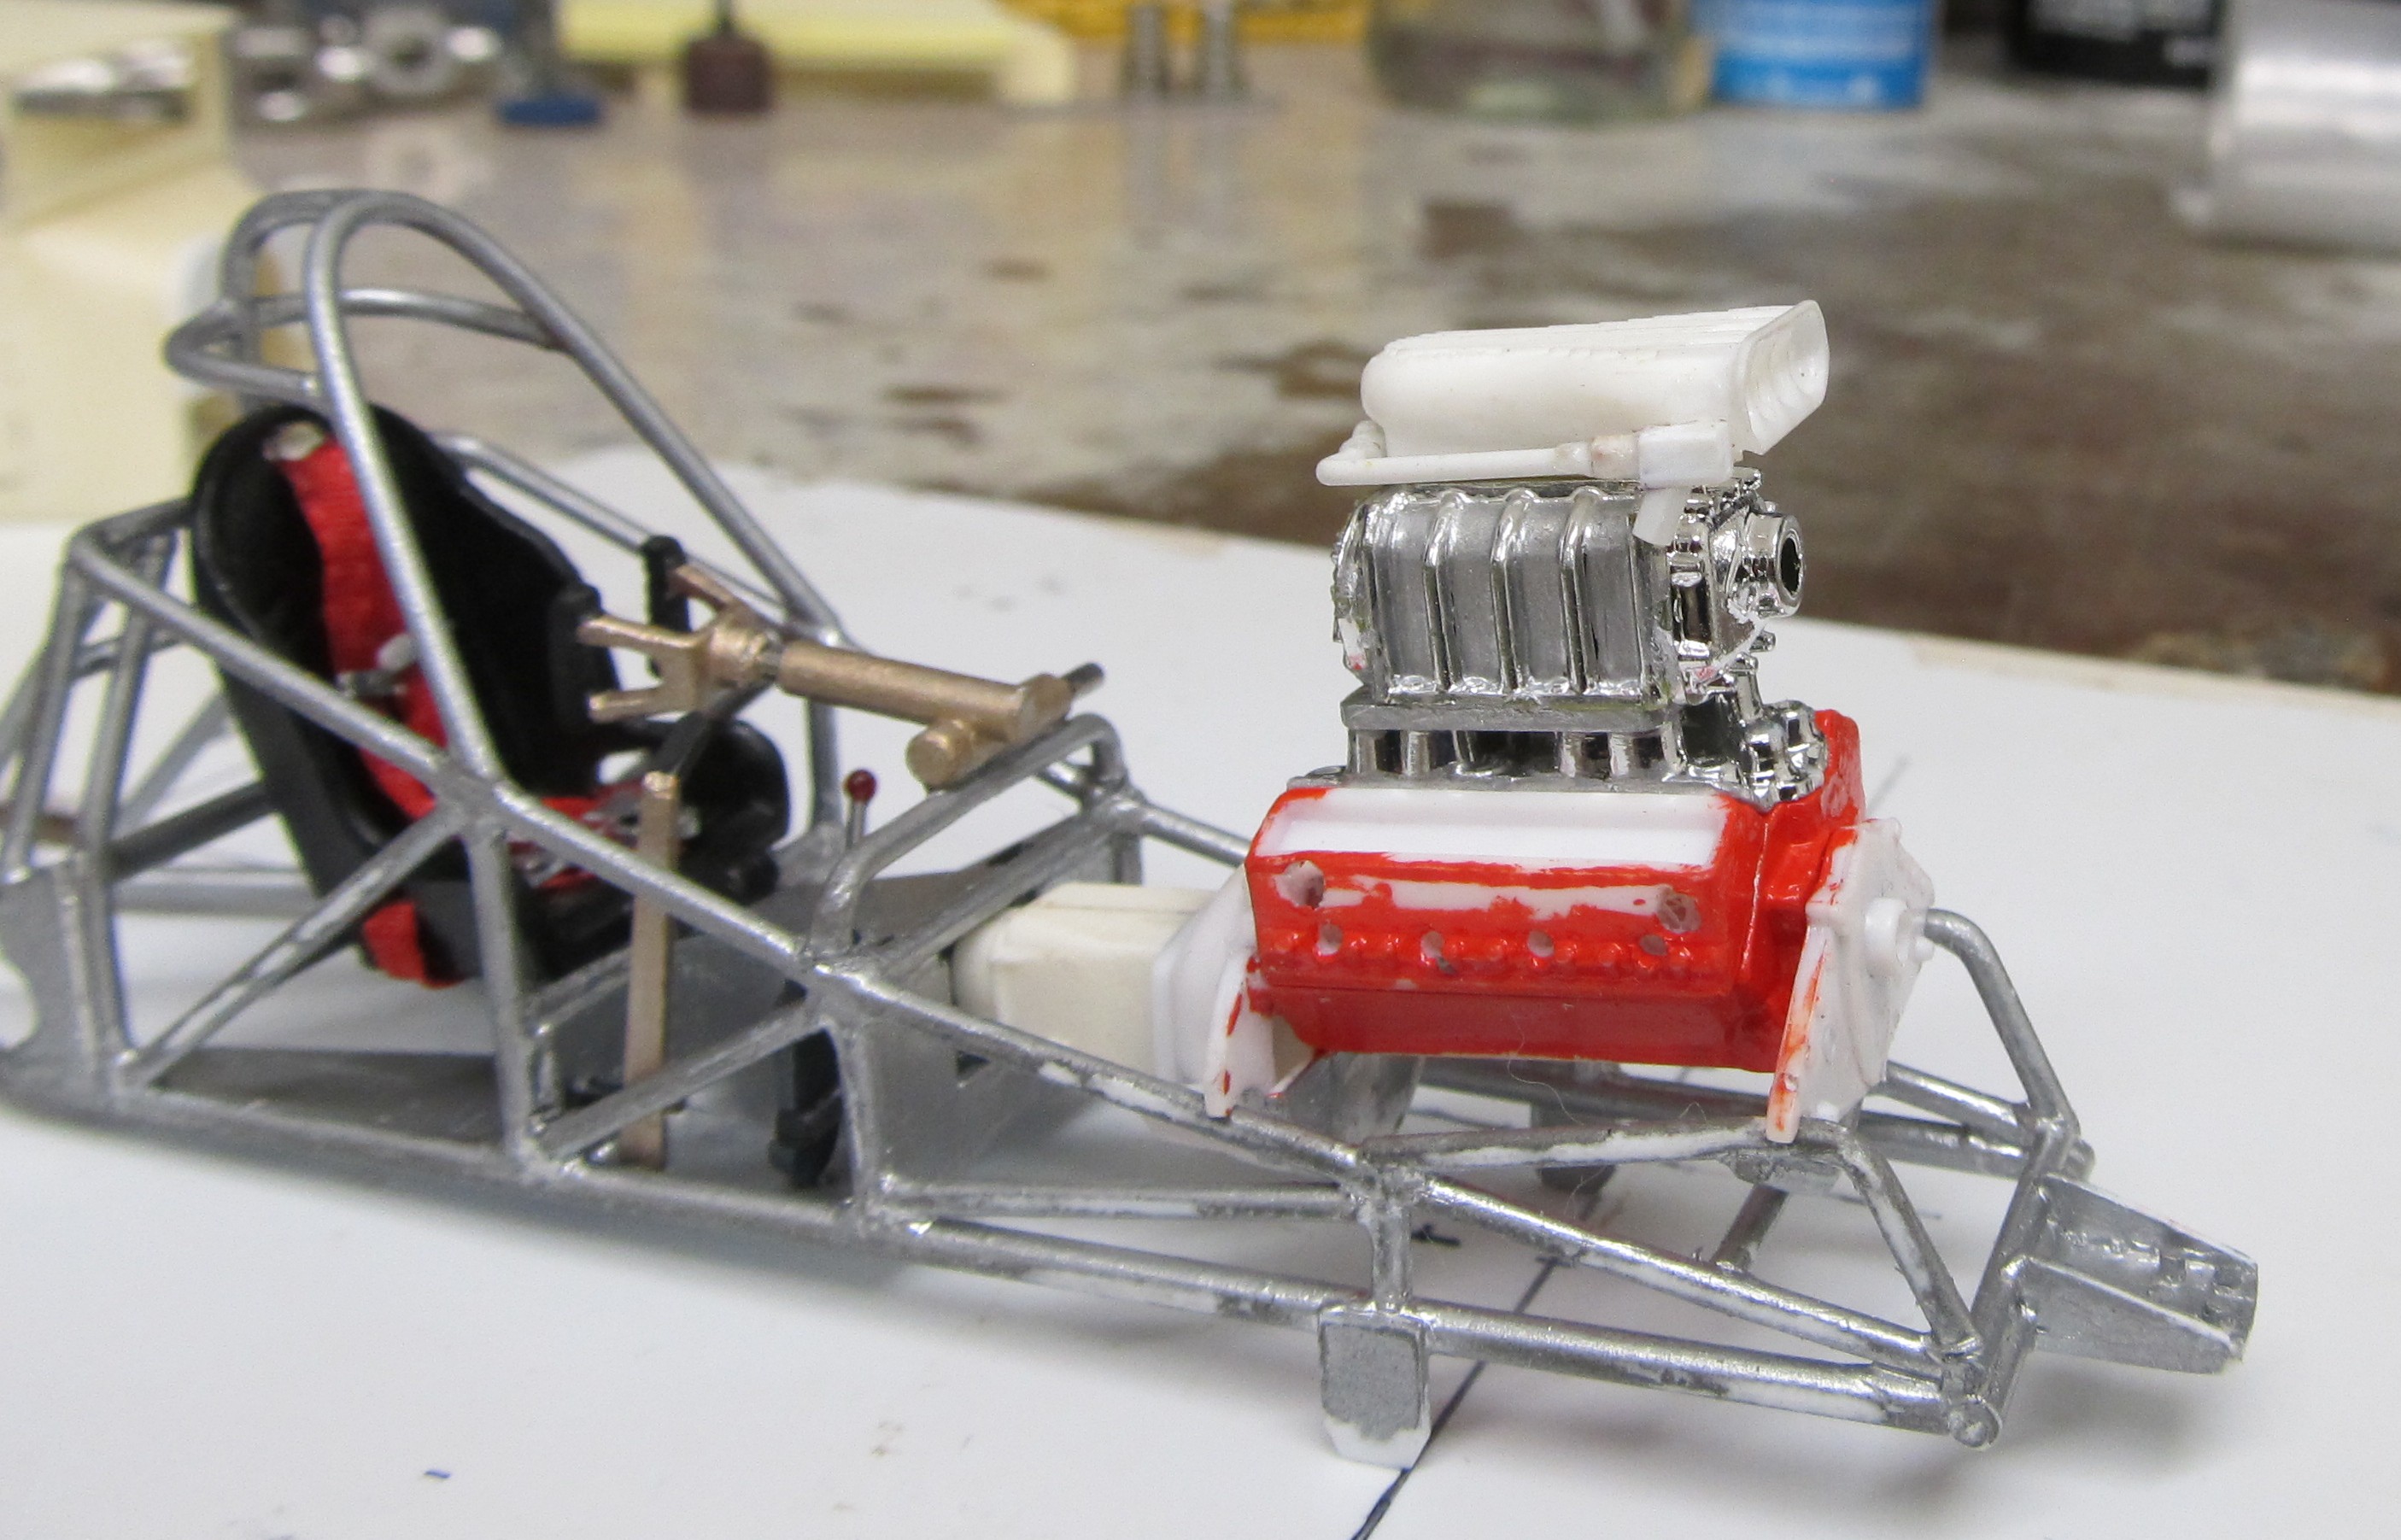
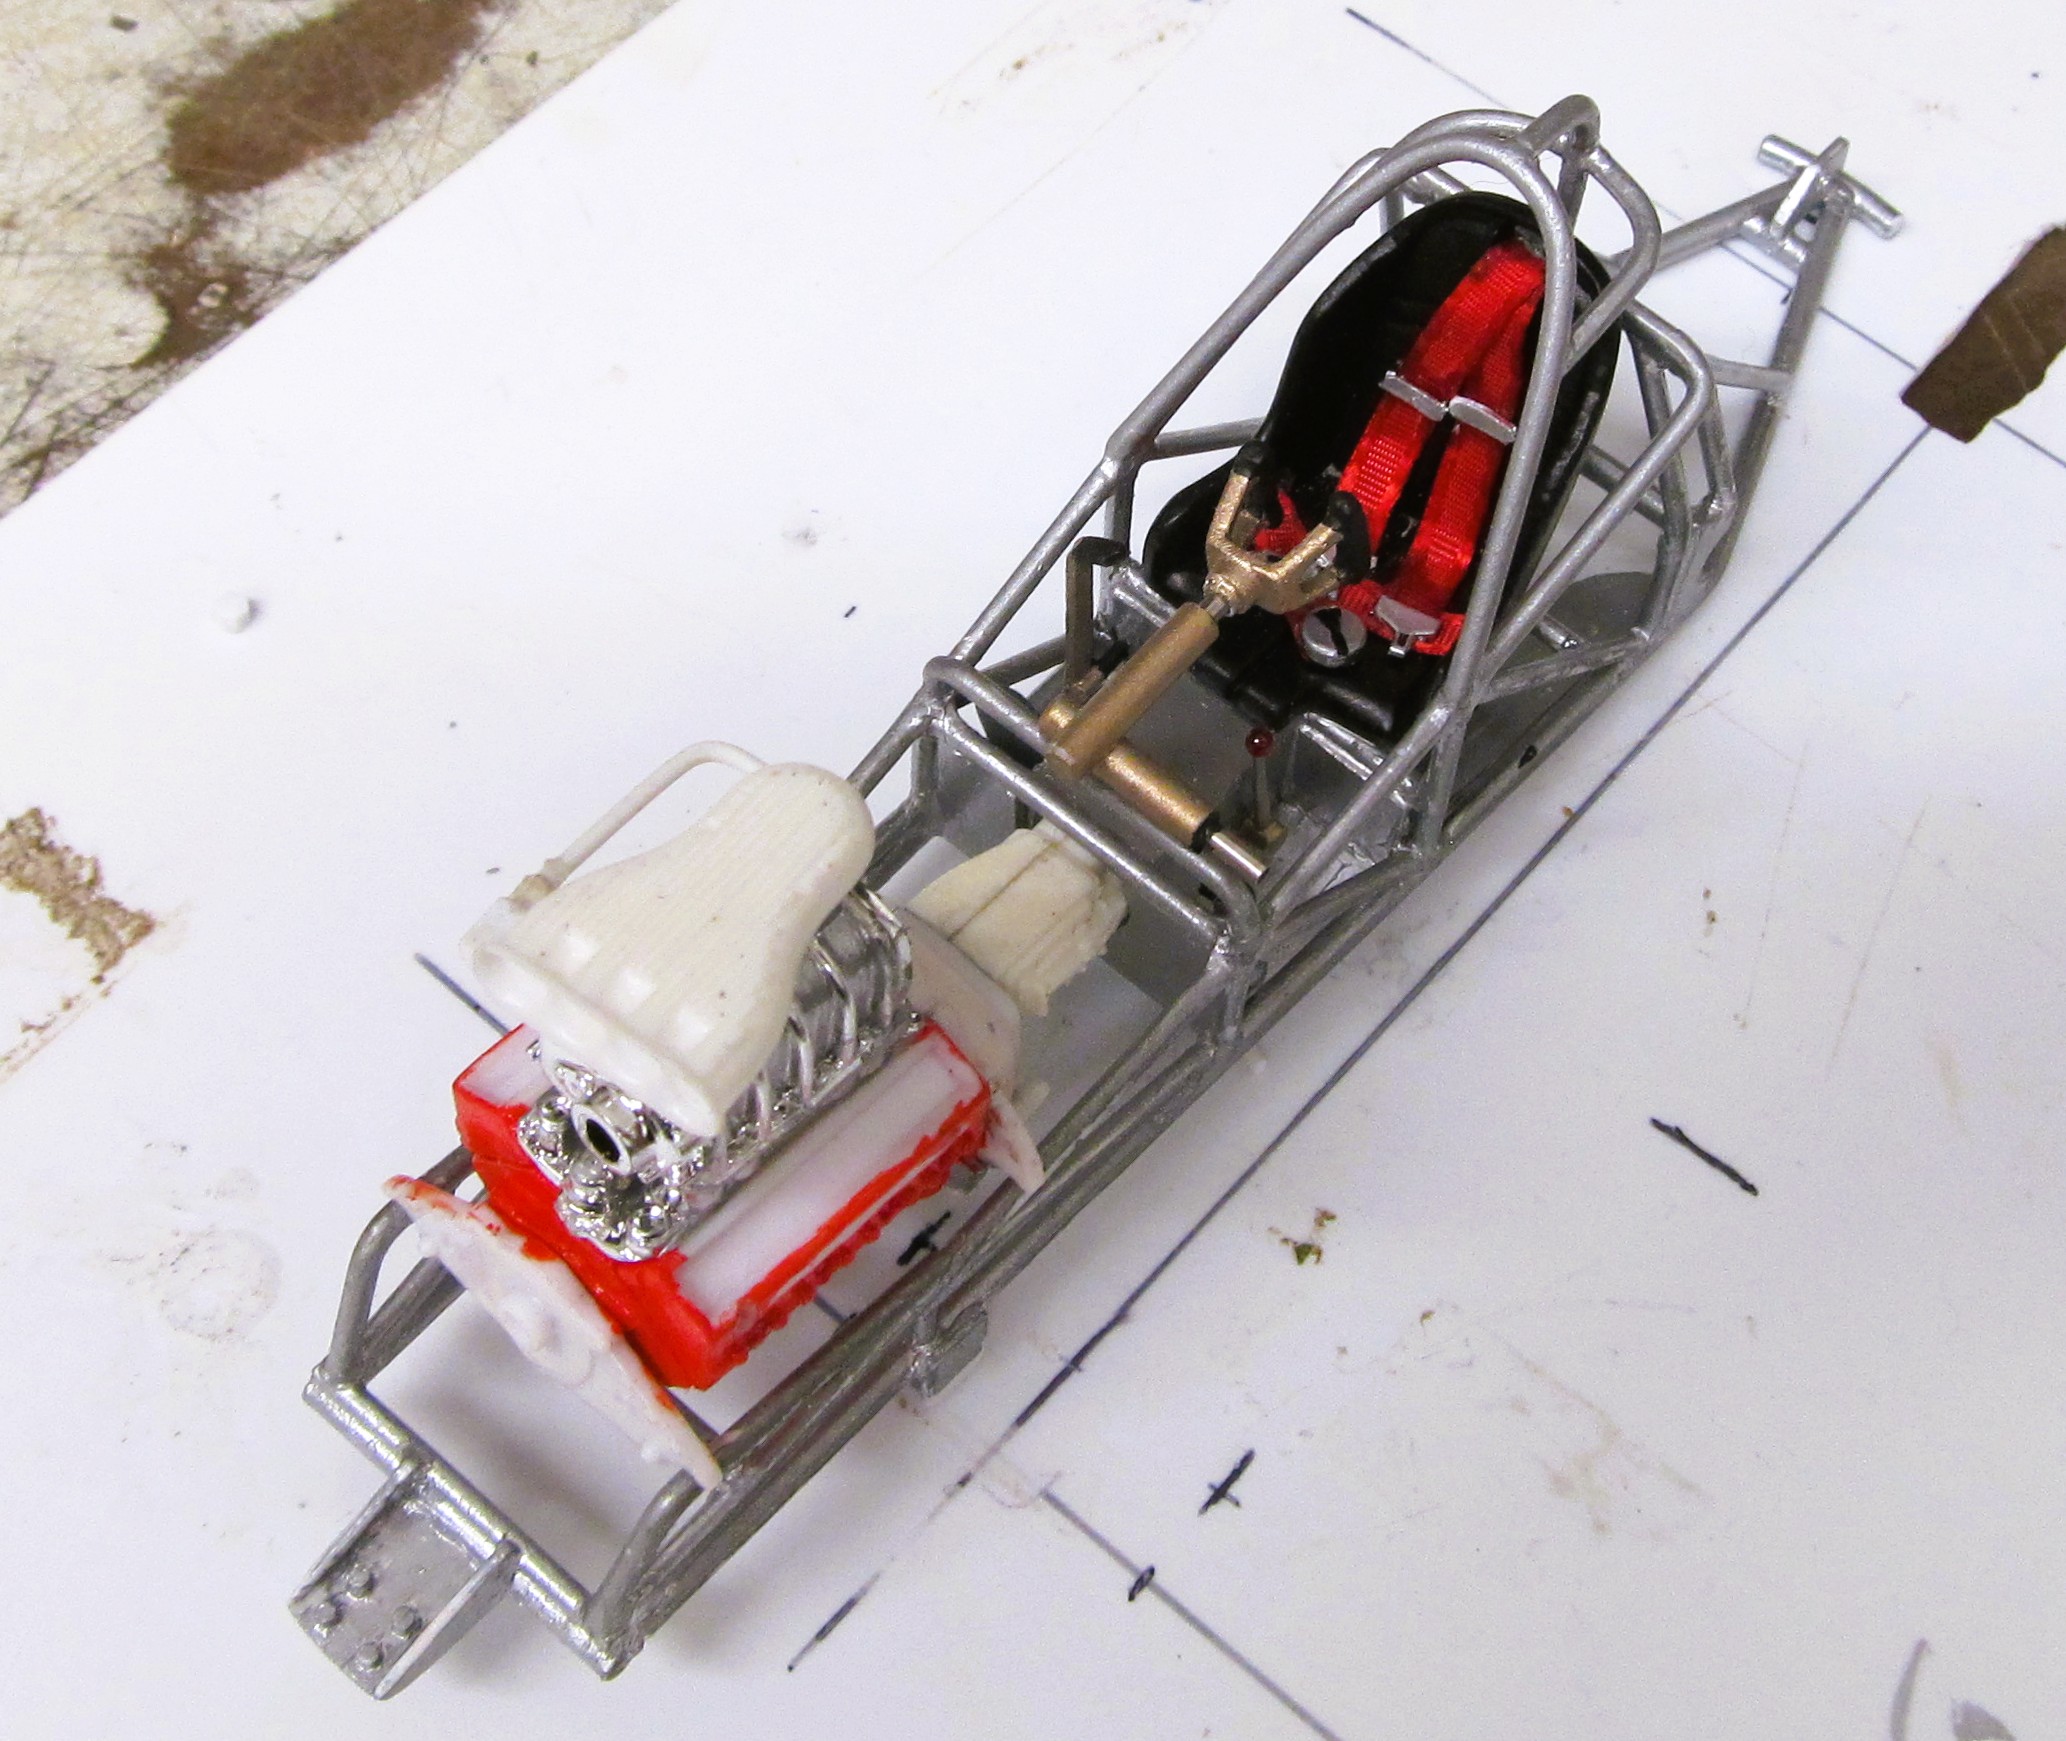
Getting there... Gonna be awesome!
Love that body style.
Love that body style.
I was always on the fence about a flat top, then a couple showed up in pic searches so with 3 round roofs and T bucket it was time for the T with a roof.Getting there... Gonna be awesome!
Love that body style.
...all about attitude!about a flat top,
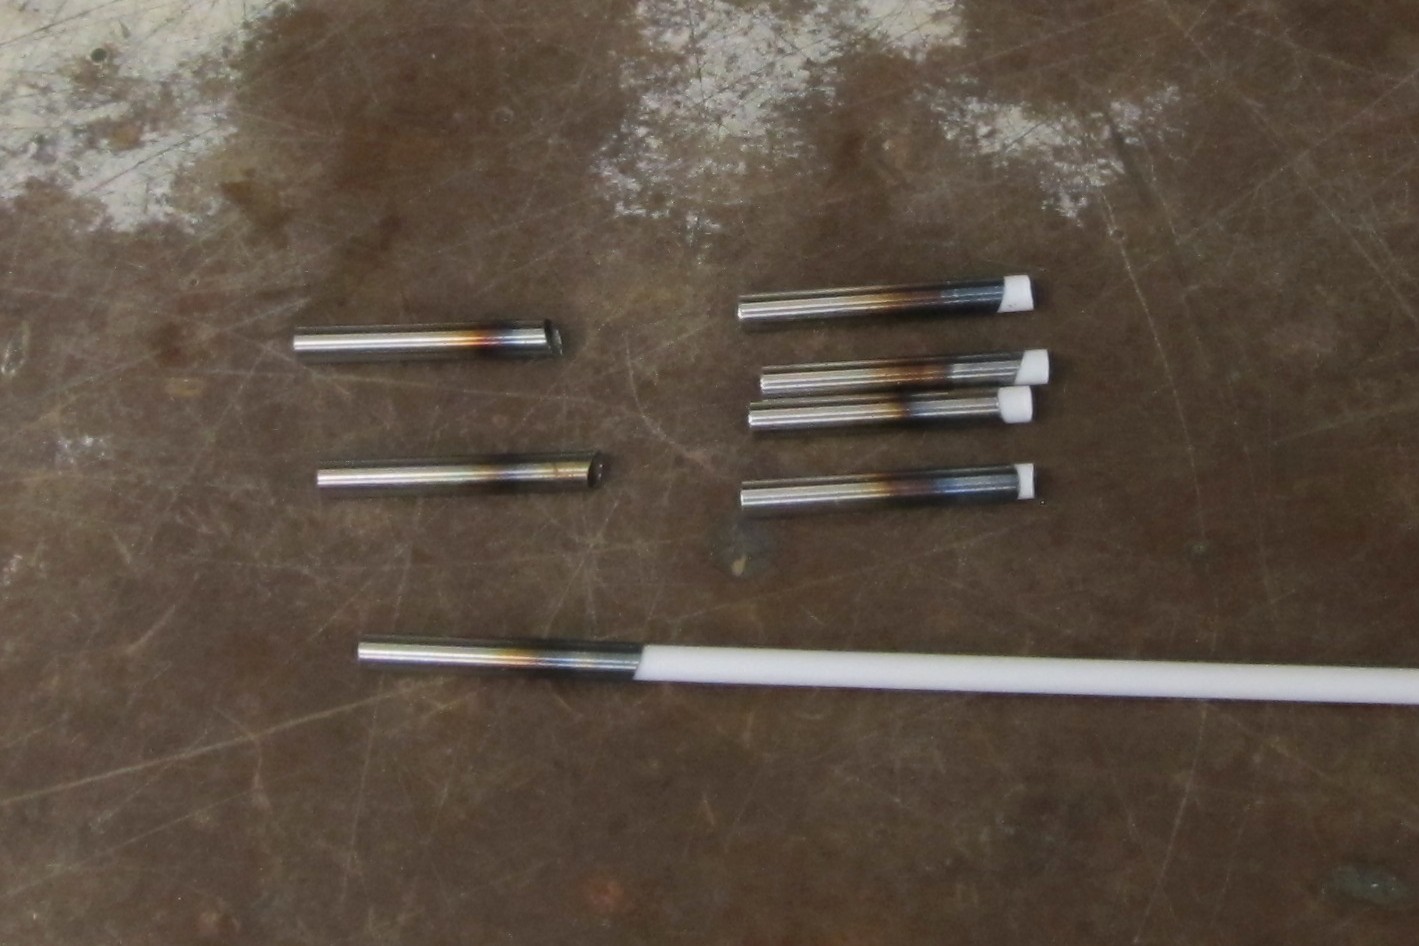
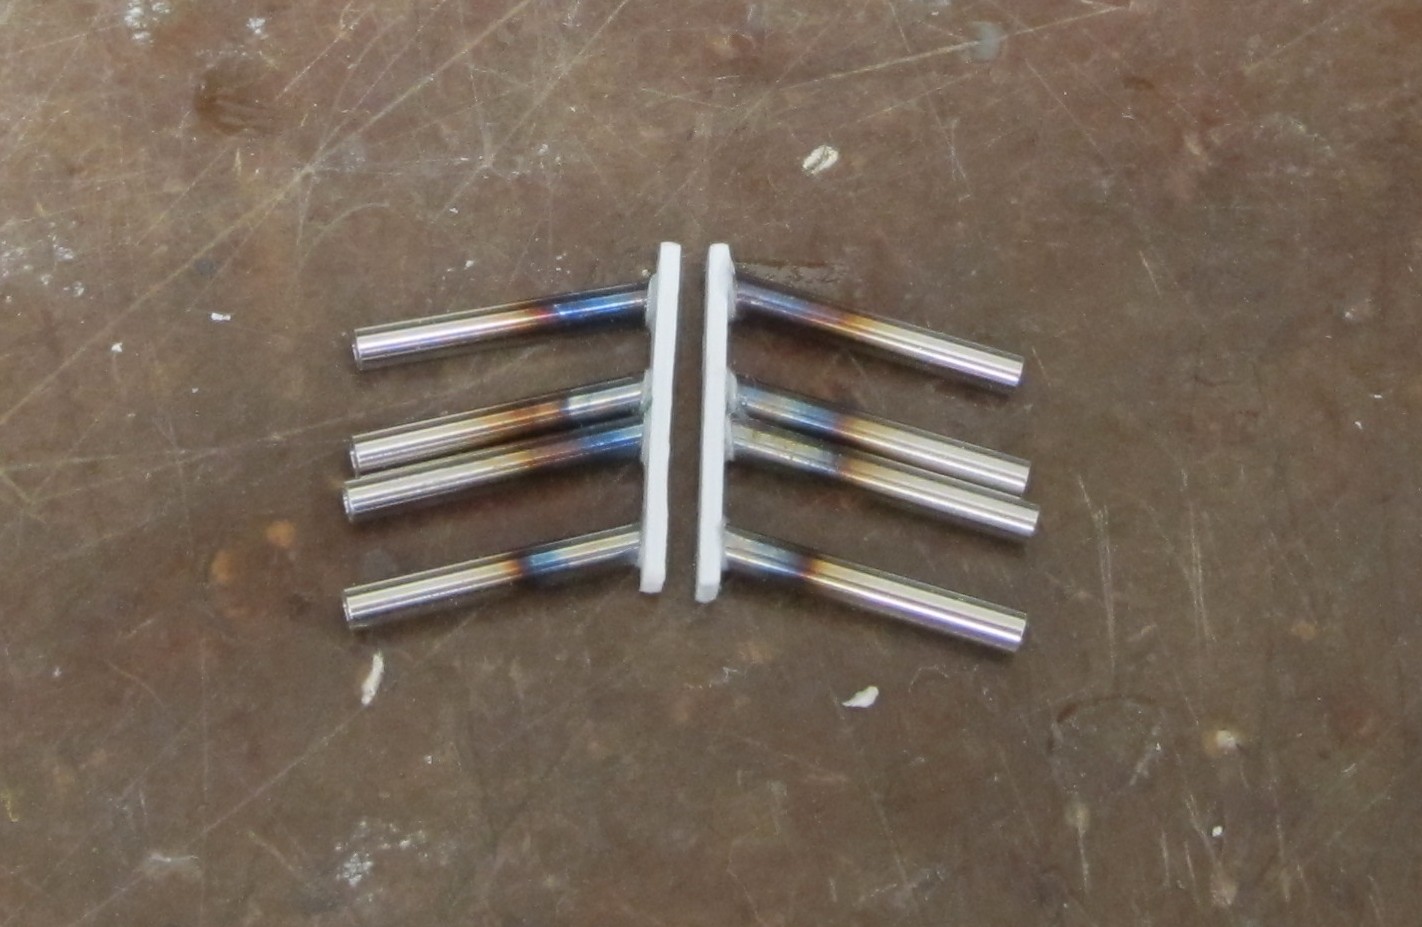
Making some no frills straight pipes. First thing is bluing the tube this only takes about 2 seconds each with a small butane torch . Then cut to desired length, these are 16mm with a 15 deg, angle. Use super glue and slide about 3mm of plastic rod into the tube cut them straight off, after the glue is set you will match the angles with a fresh blade or dremel wheel, leaving about .005 thousands of plastic sticking out to glue to the flange. Use testors or the like to attach the tubes so they will move for a wile so you can get them all going in the same direction. I painted the flange with a mix of silver and dark grey, and i will do some bolt detailing because everything is so exposed. Tubes and flanges are about 2mm in dia, and wide, respectively. Did a quick mockup with the scratch made valve covers and bug catcher with its fuel lines complete for a look see.
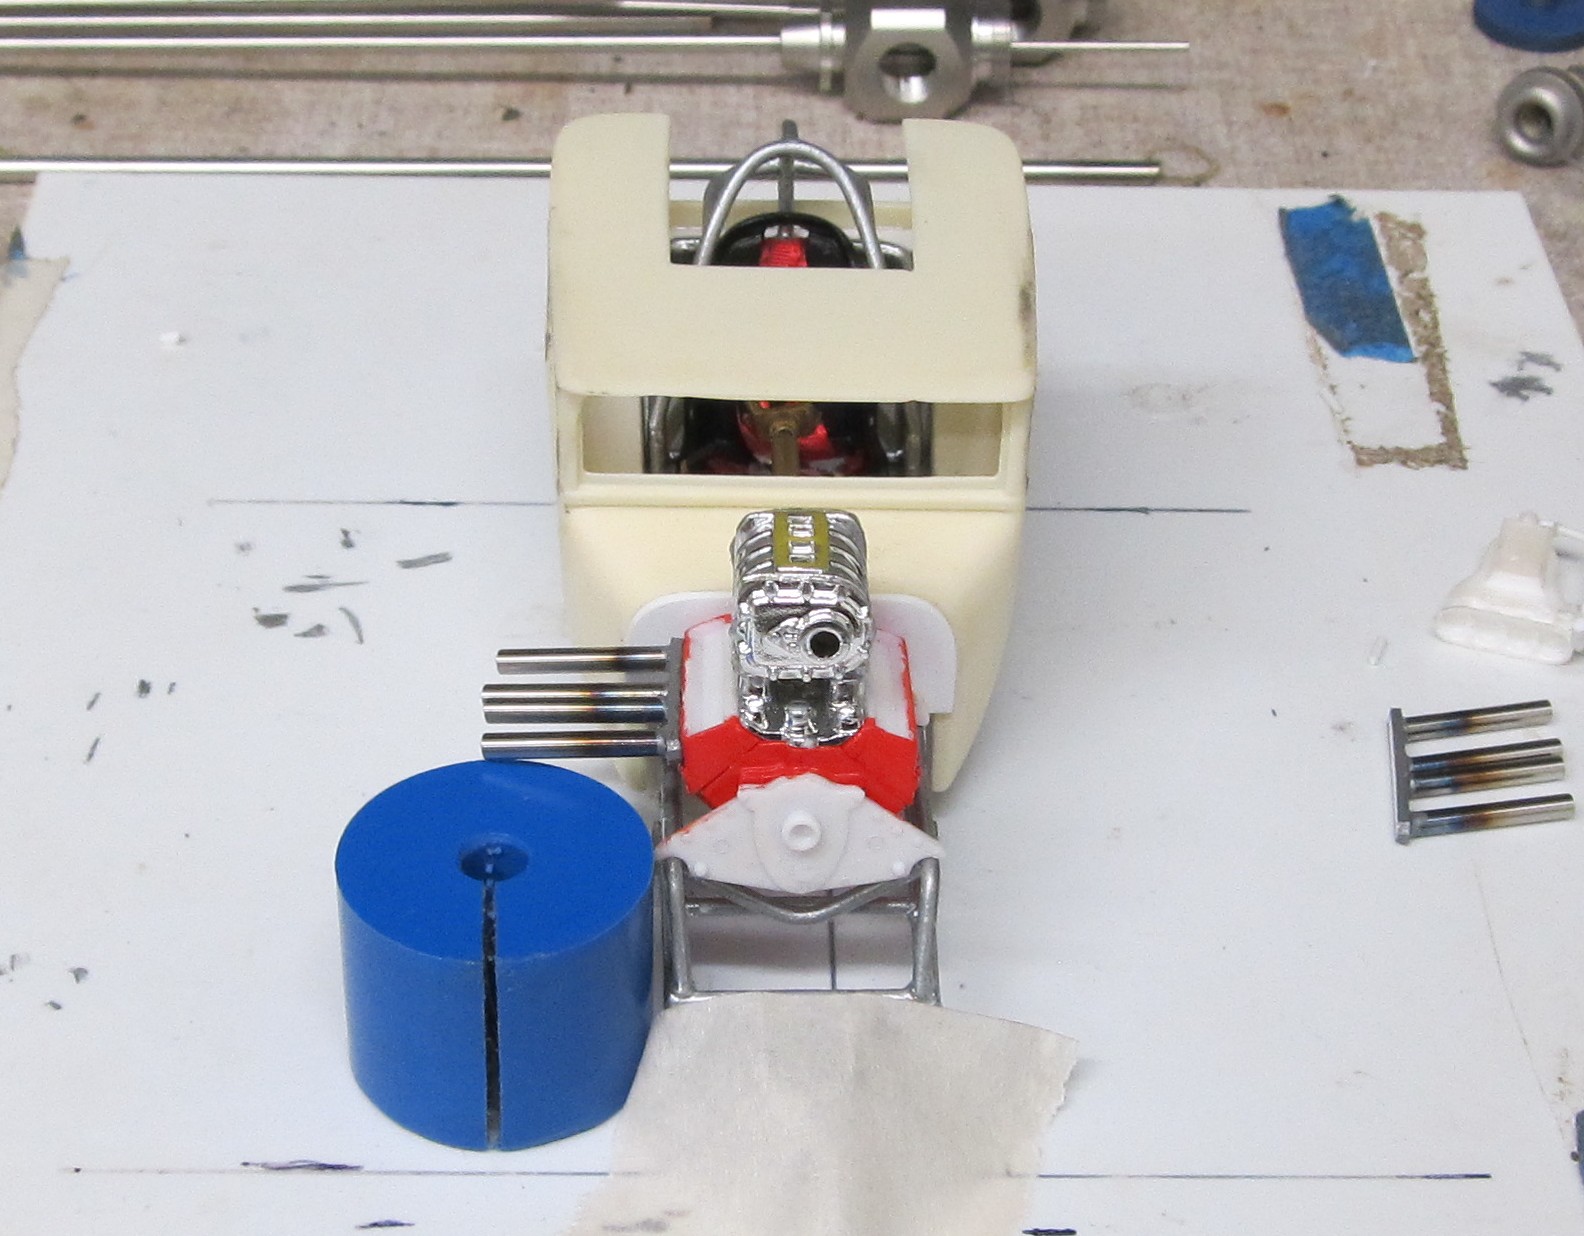
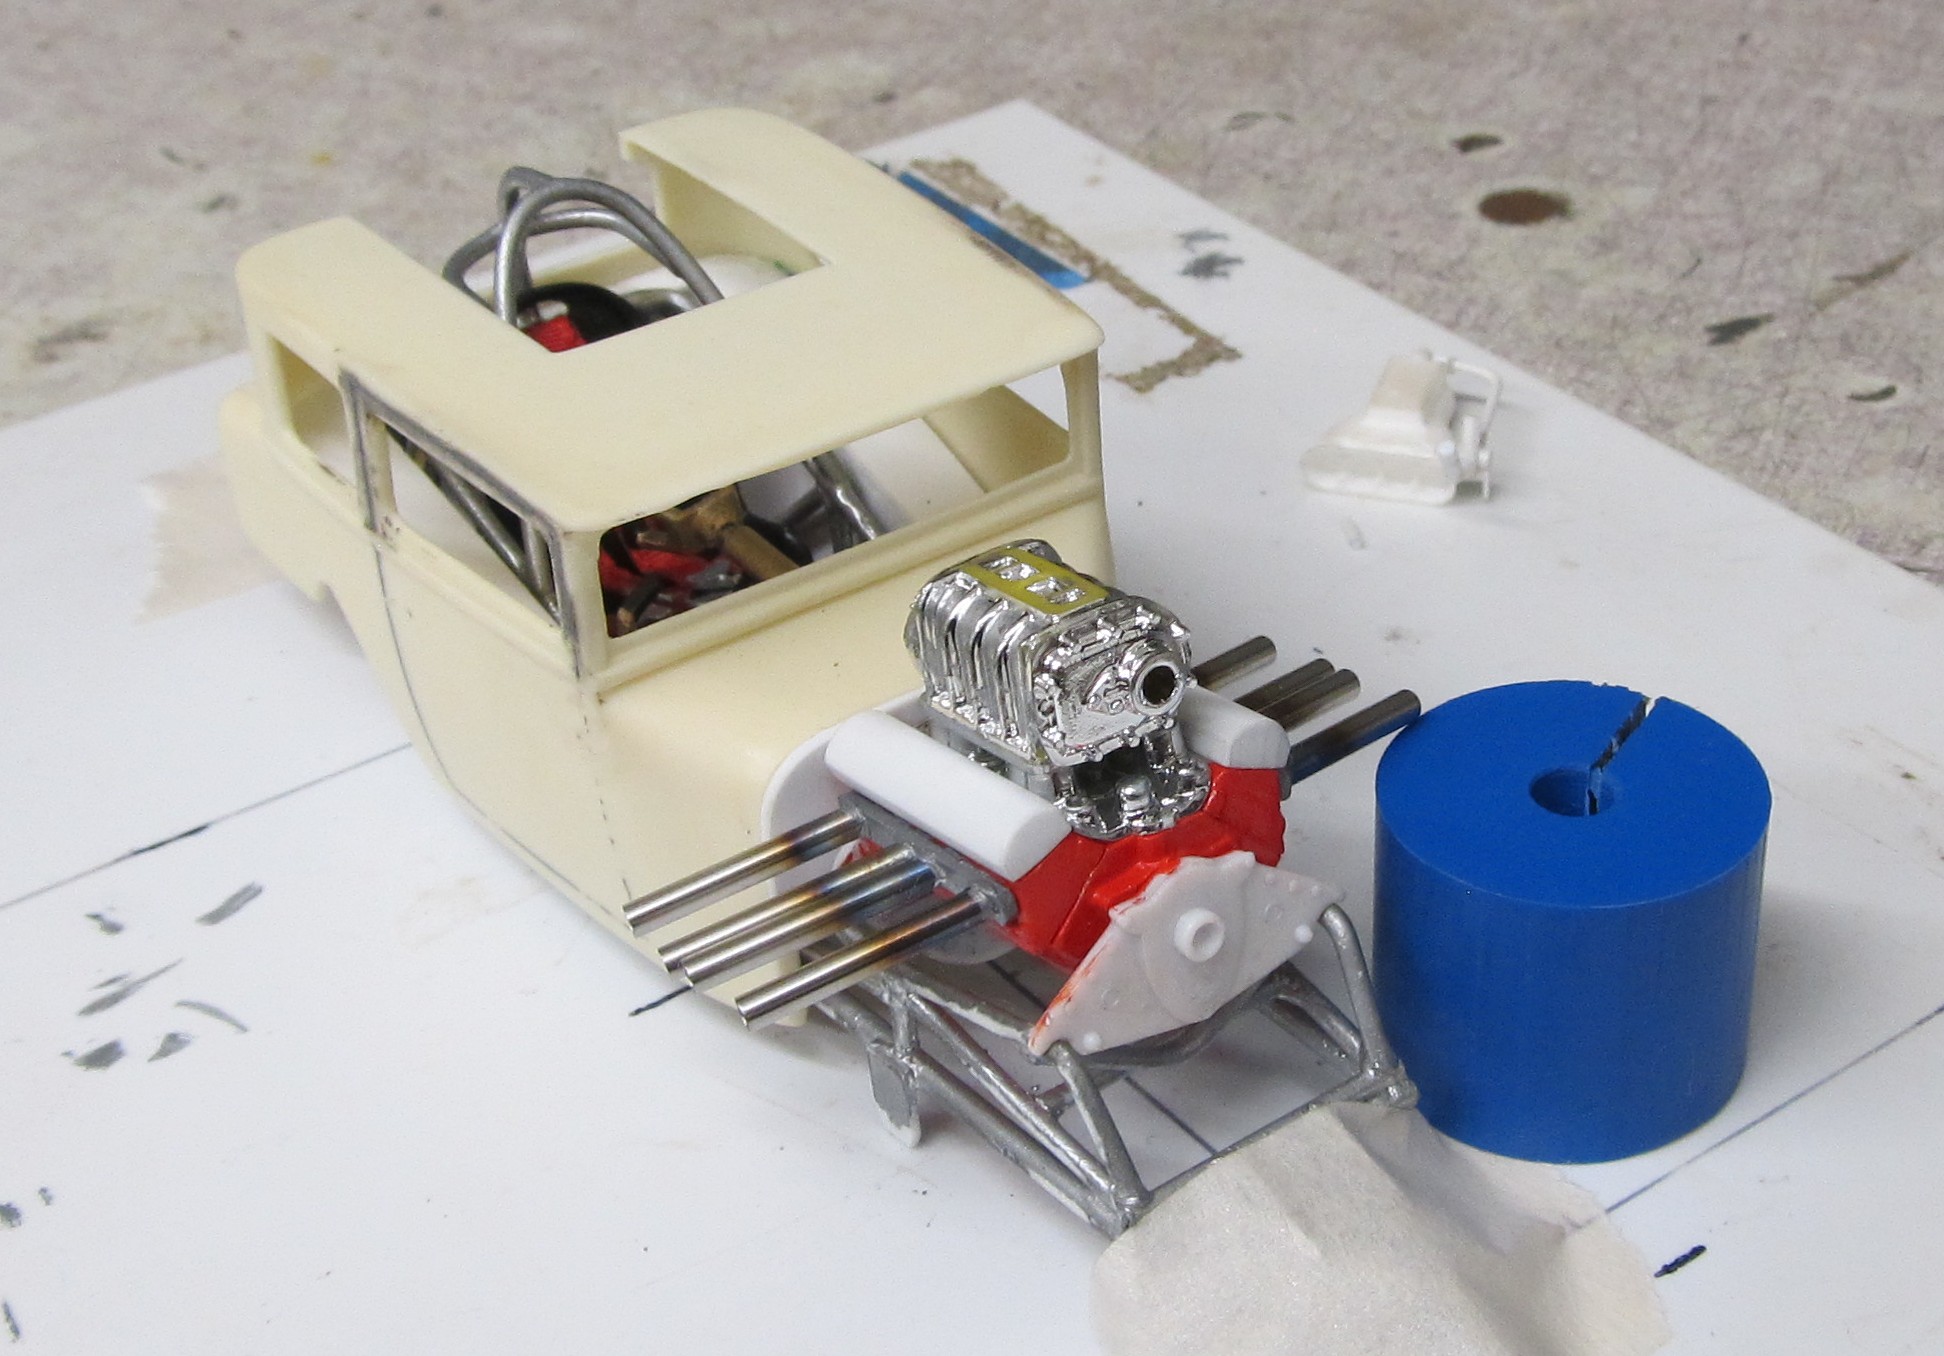
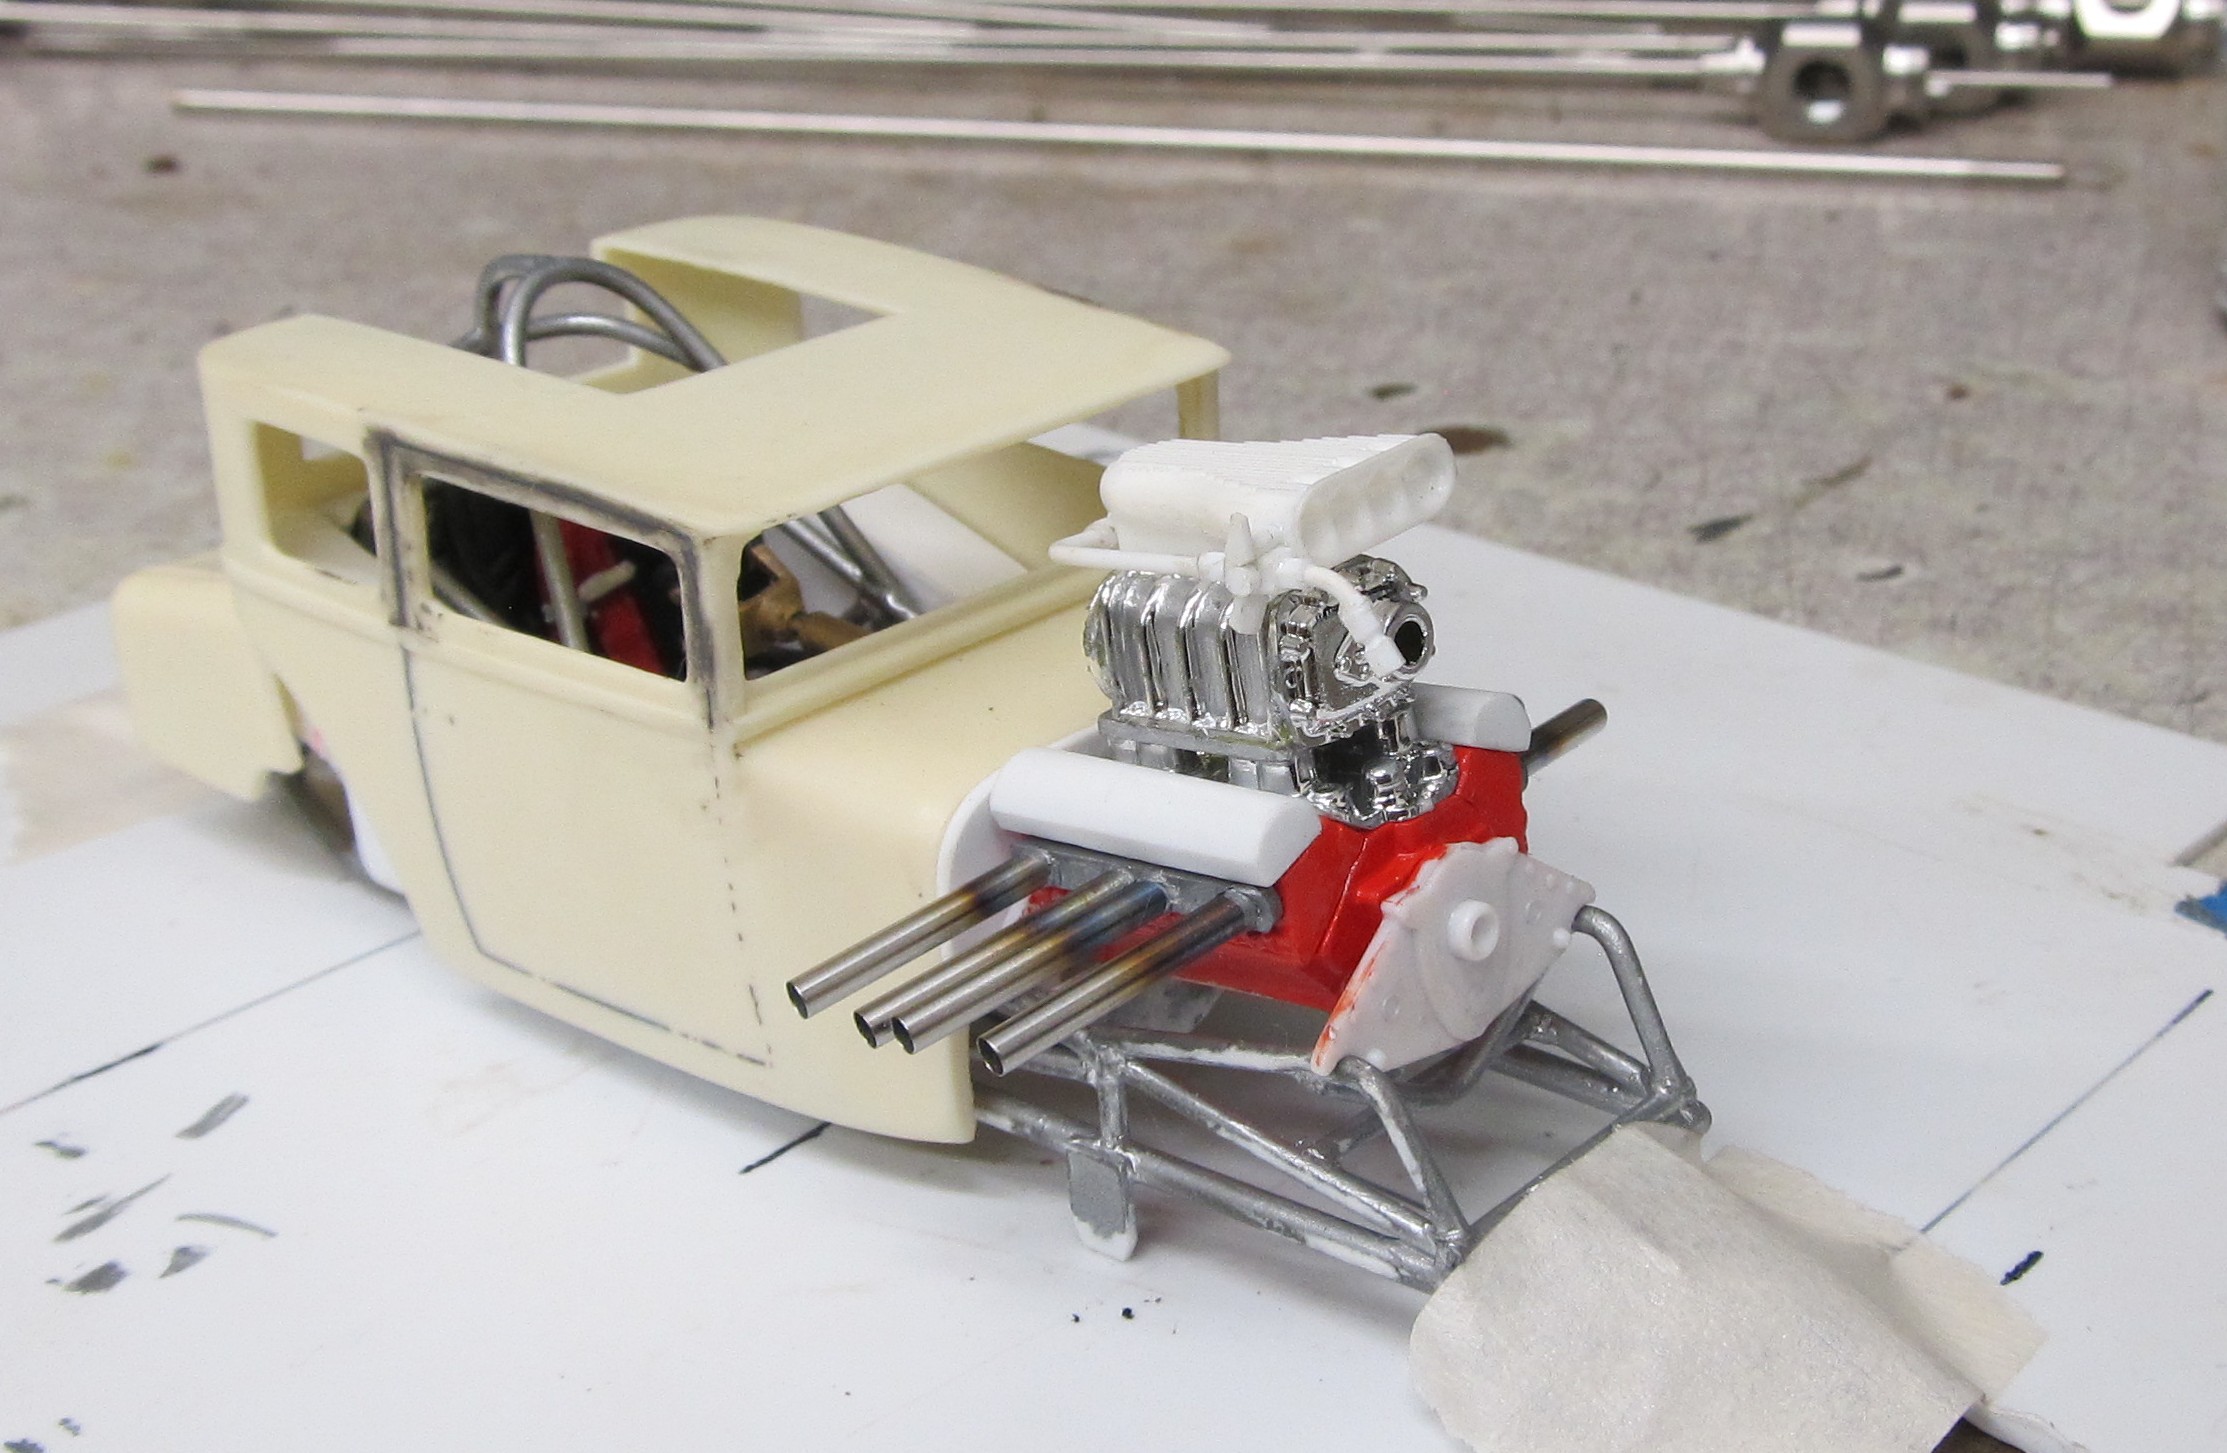
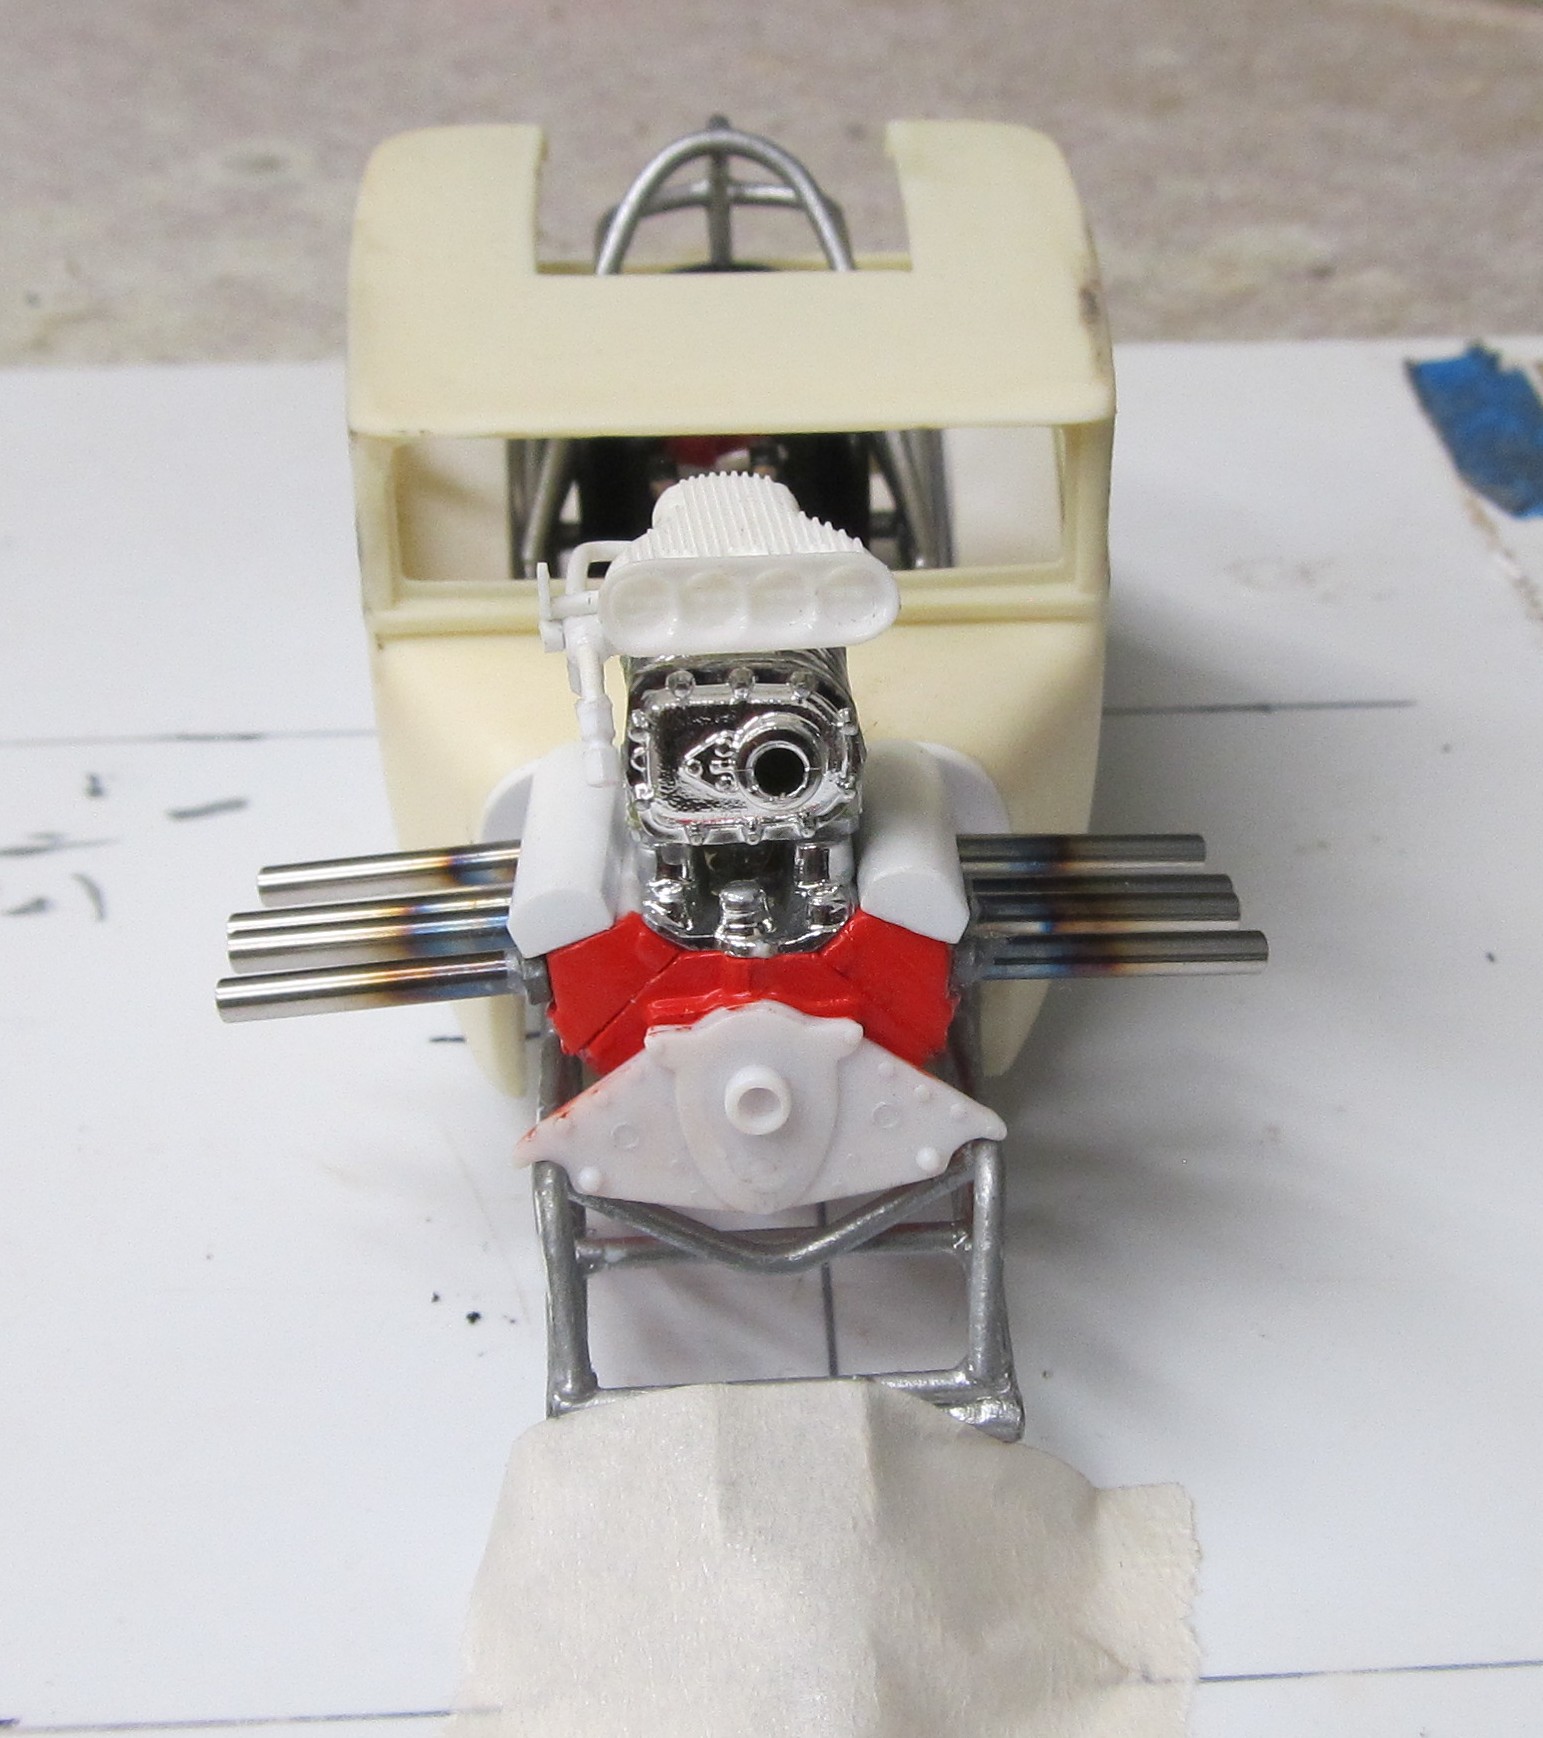
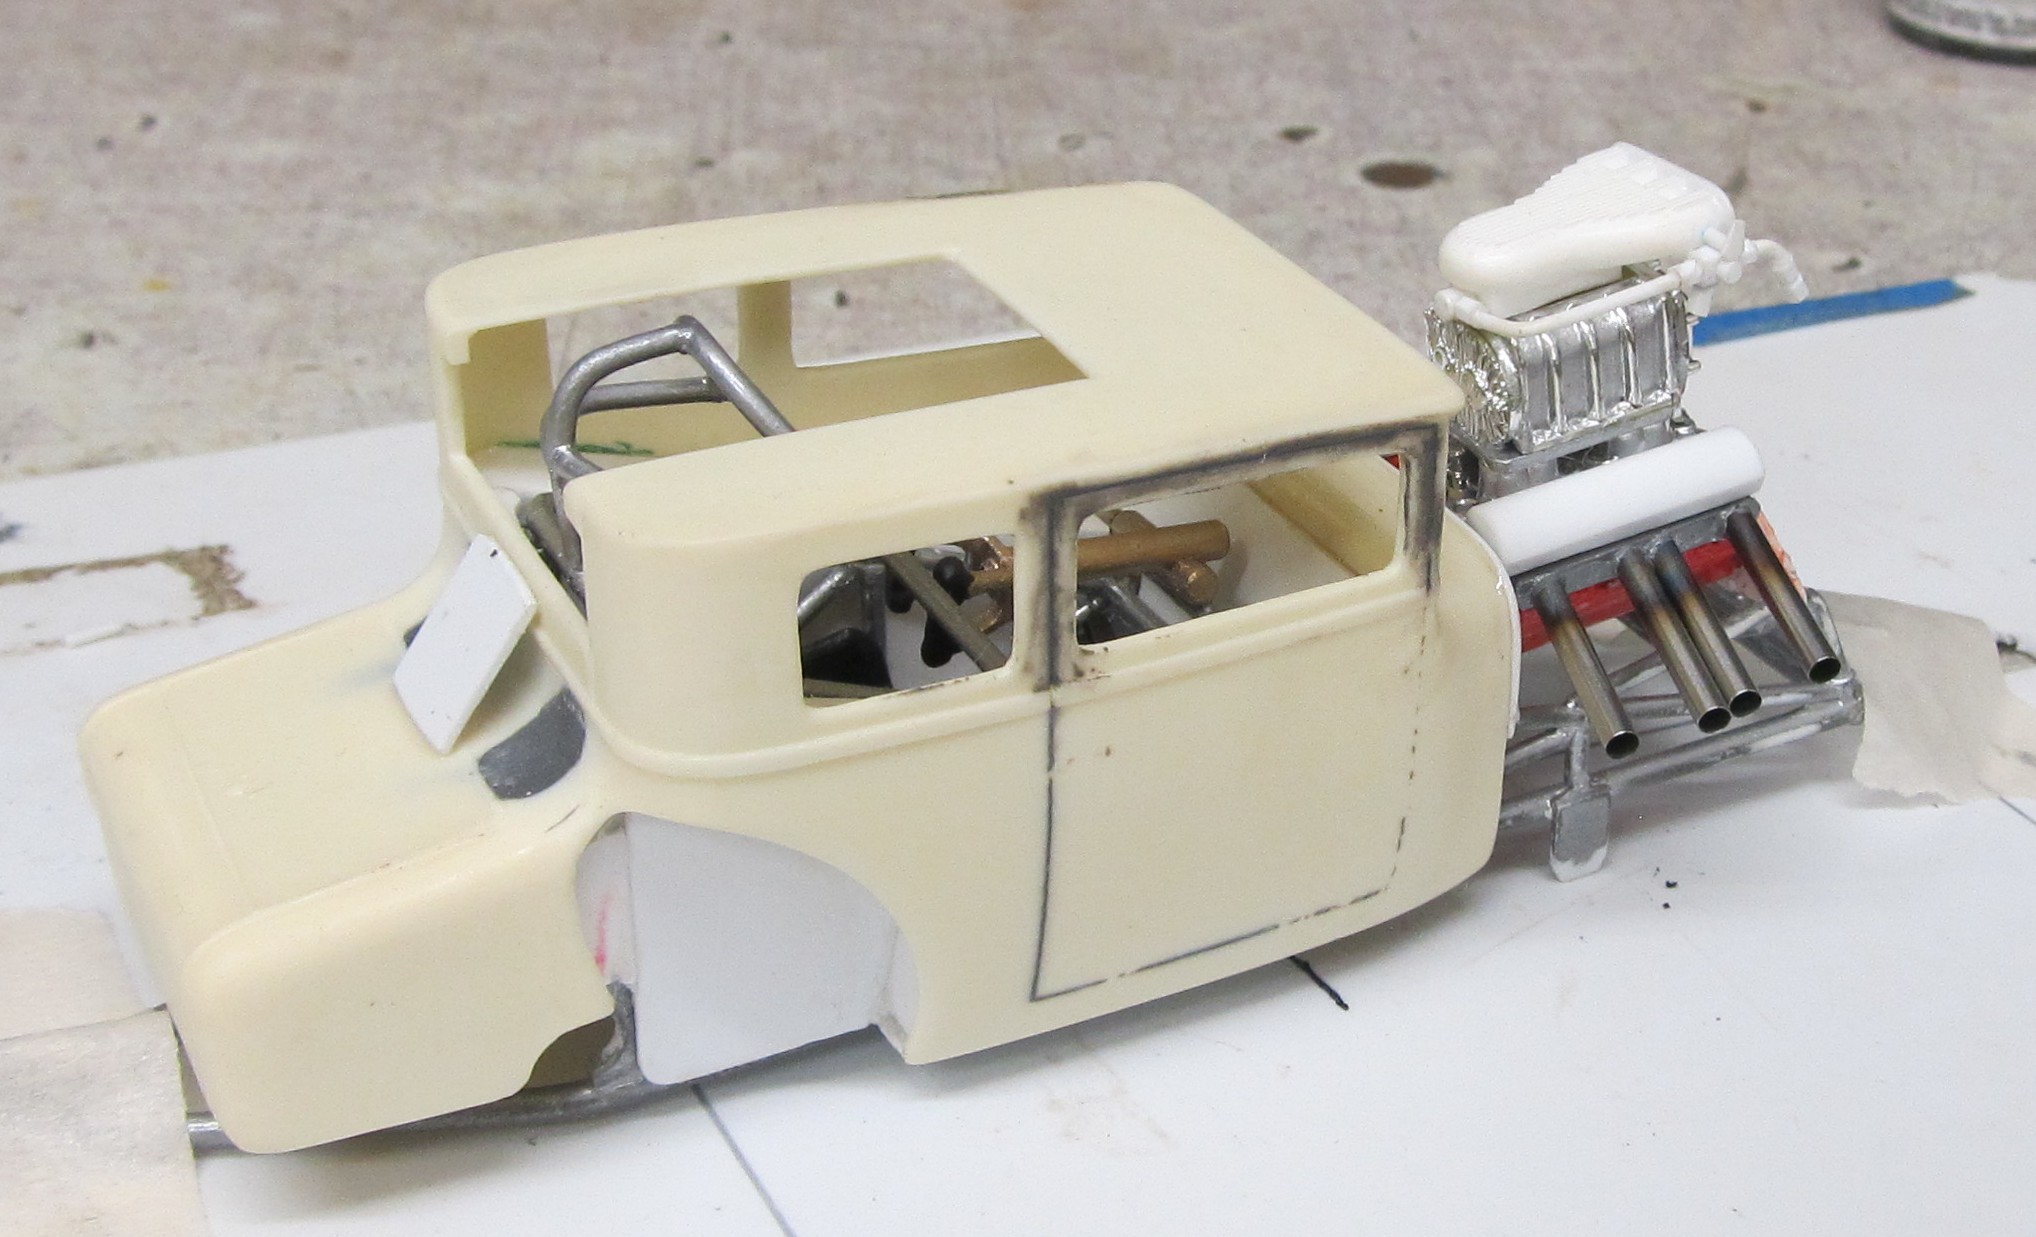
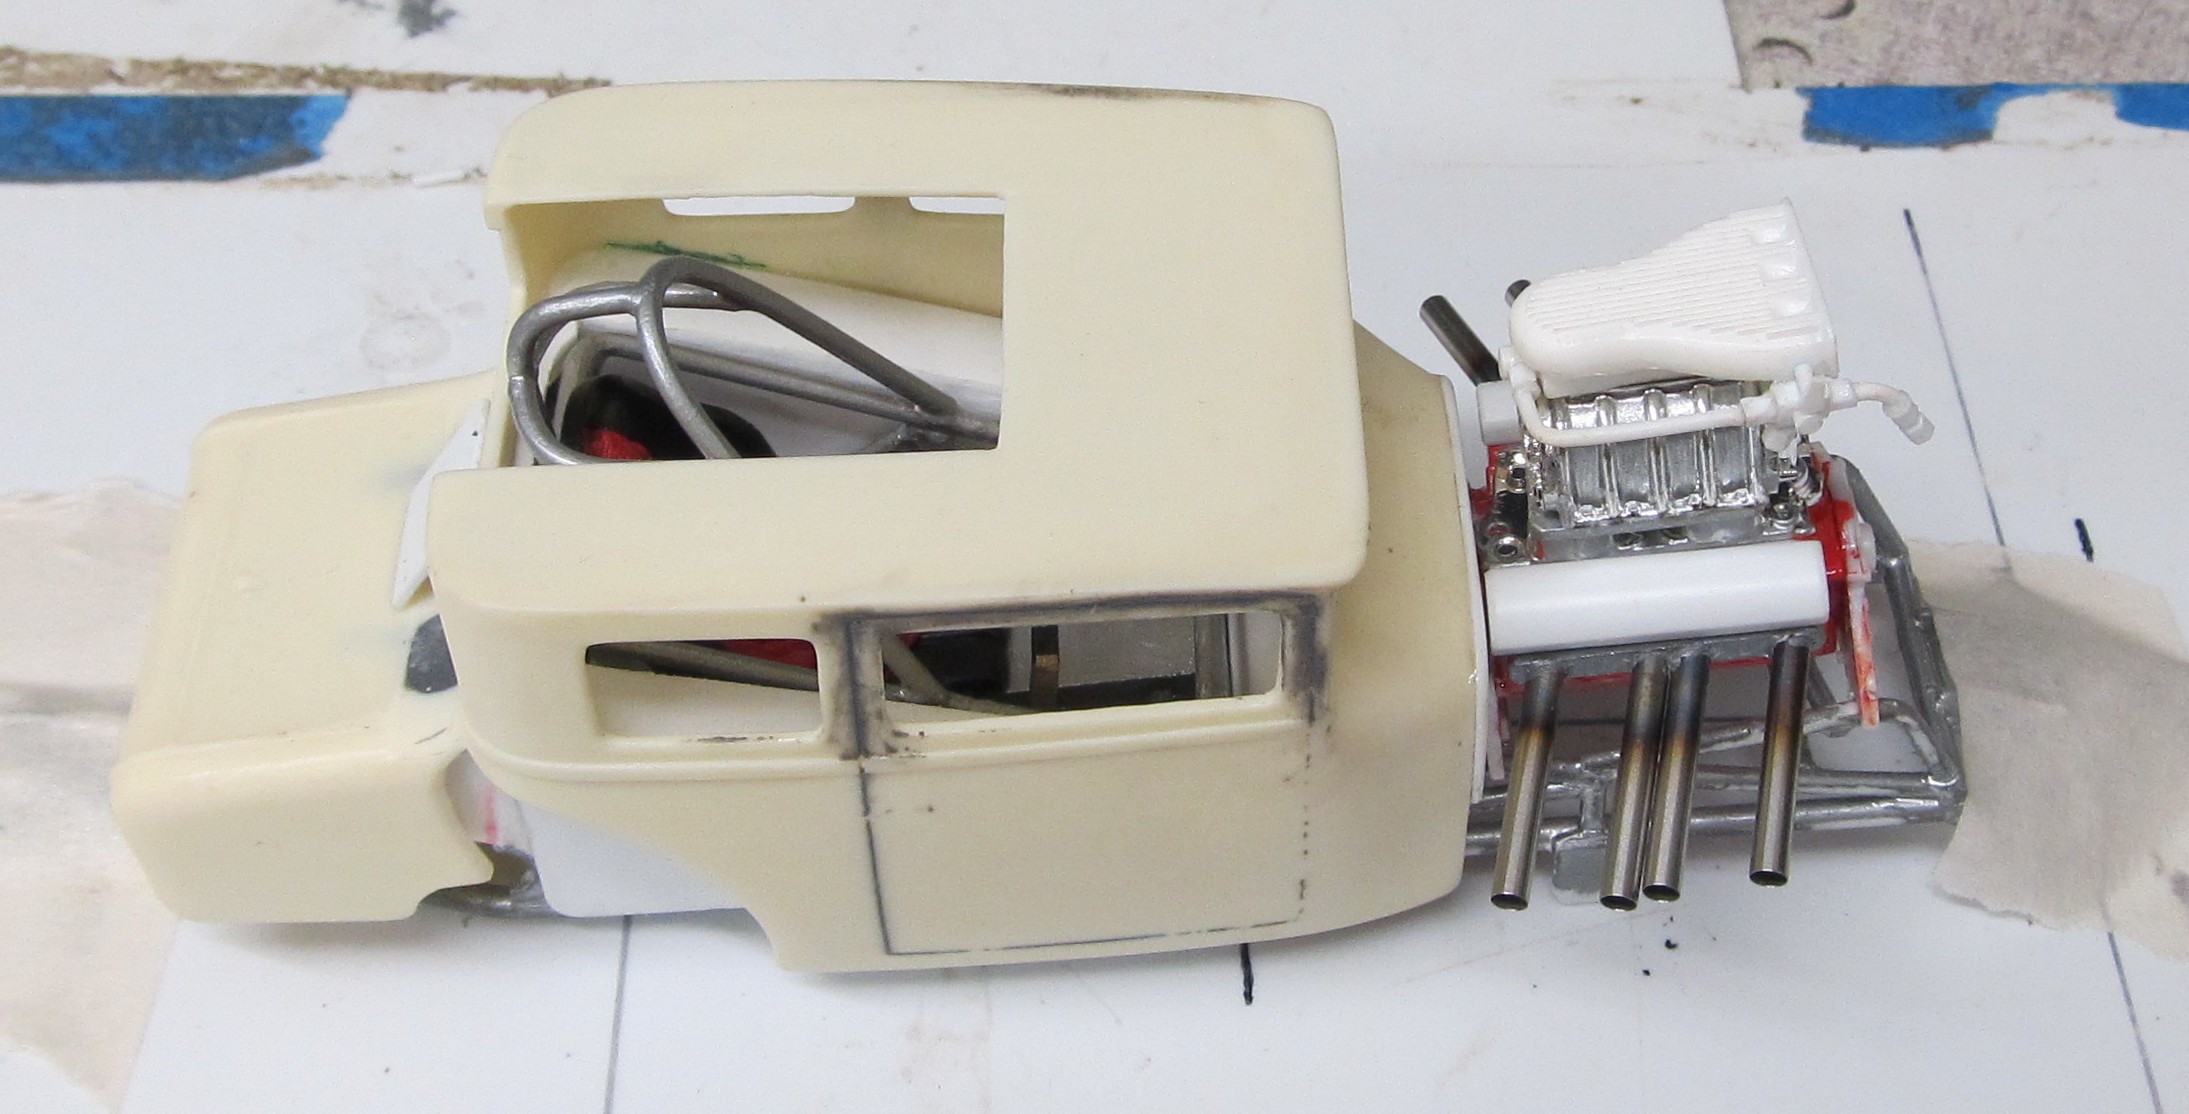
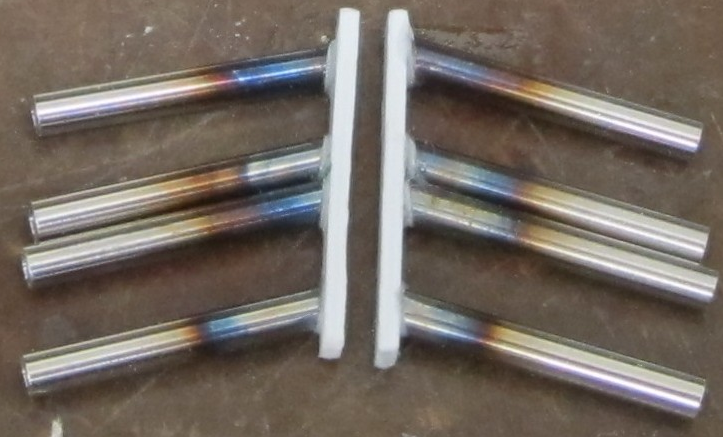
That is cool!Making some no frills straight pipes. First thing is bluing the tube this only takes about 2 seconds each with a small butane torch . Then cut to desired length, these are 16mm with a 15 deg, angle. Use super glue and slide about 3mm of plastic rod into the tube cut them straight off, after the glue is set you will match the angles with a fresh blade or dremel wheel, leaving about .005 thousands of plastic sticking out to glue to the flange. Use testors or the like to attach the tubes so they will move for a wile so you can get them all going in the same direction. I painted the flange with a mix of silver and dark grey, and i will do some bolt detailing because everything is so exposed. Tubes and flanges are about 2mm in dia, and wide, respectively. Did a quick mockup with the scratch made valve covers and bug catcher with its fuel lines complete for a look see. View attachment 191215View attachment 191216View attachment 191217View attachment 191218View attachment 191219View attachment 191220View attachment 191221View attachment 191222
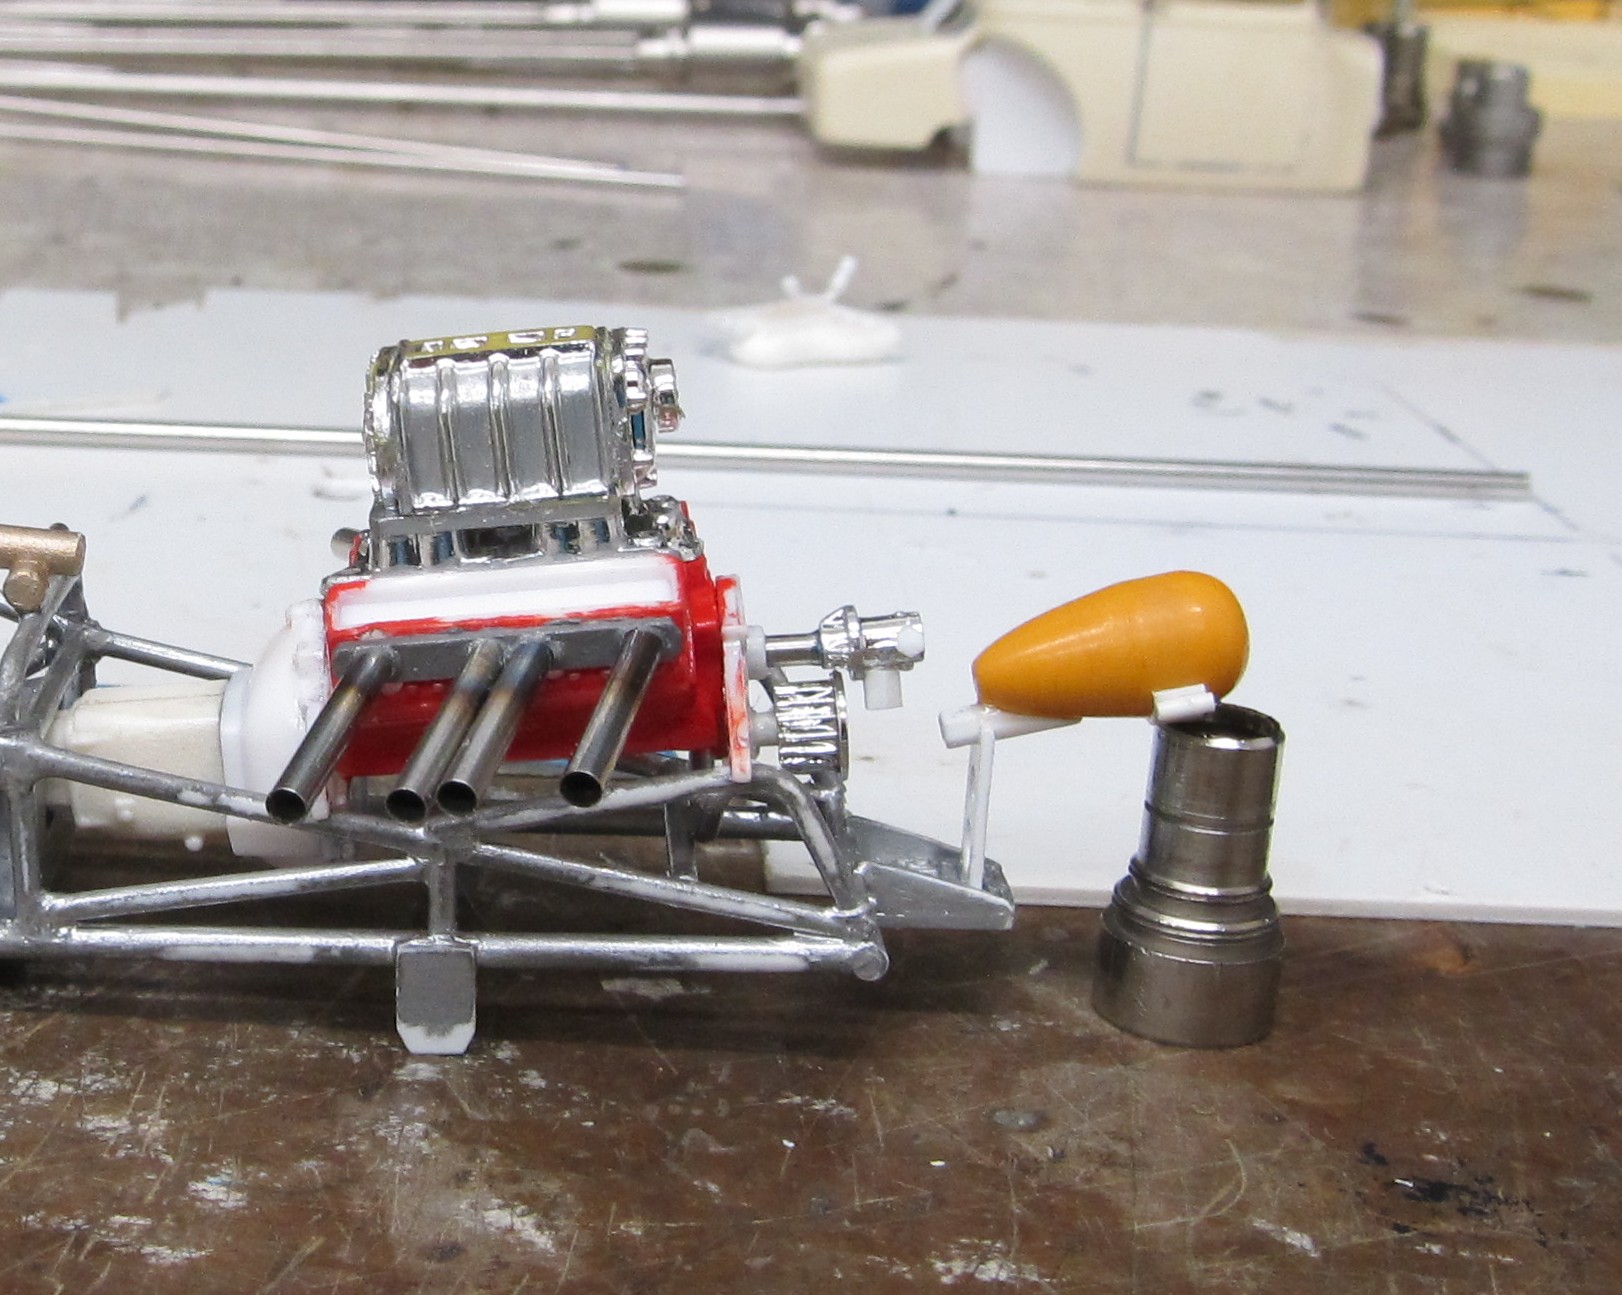
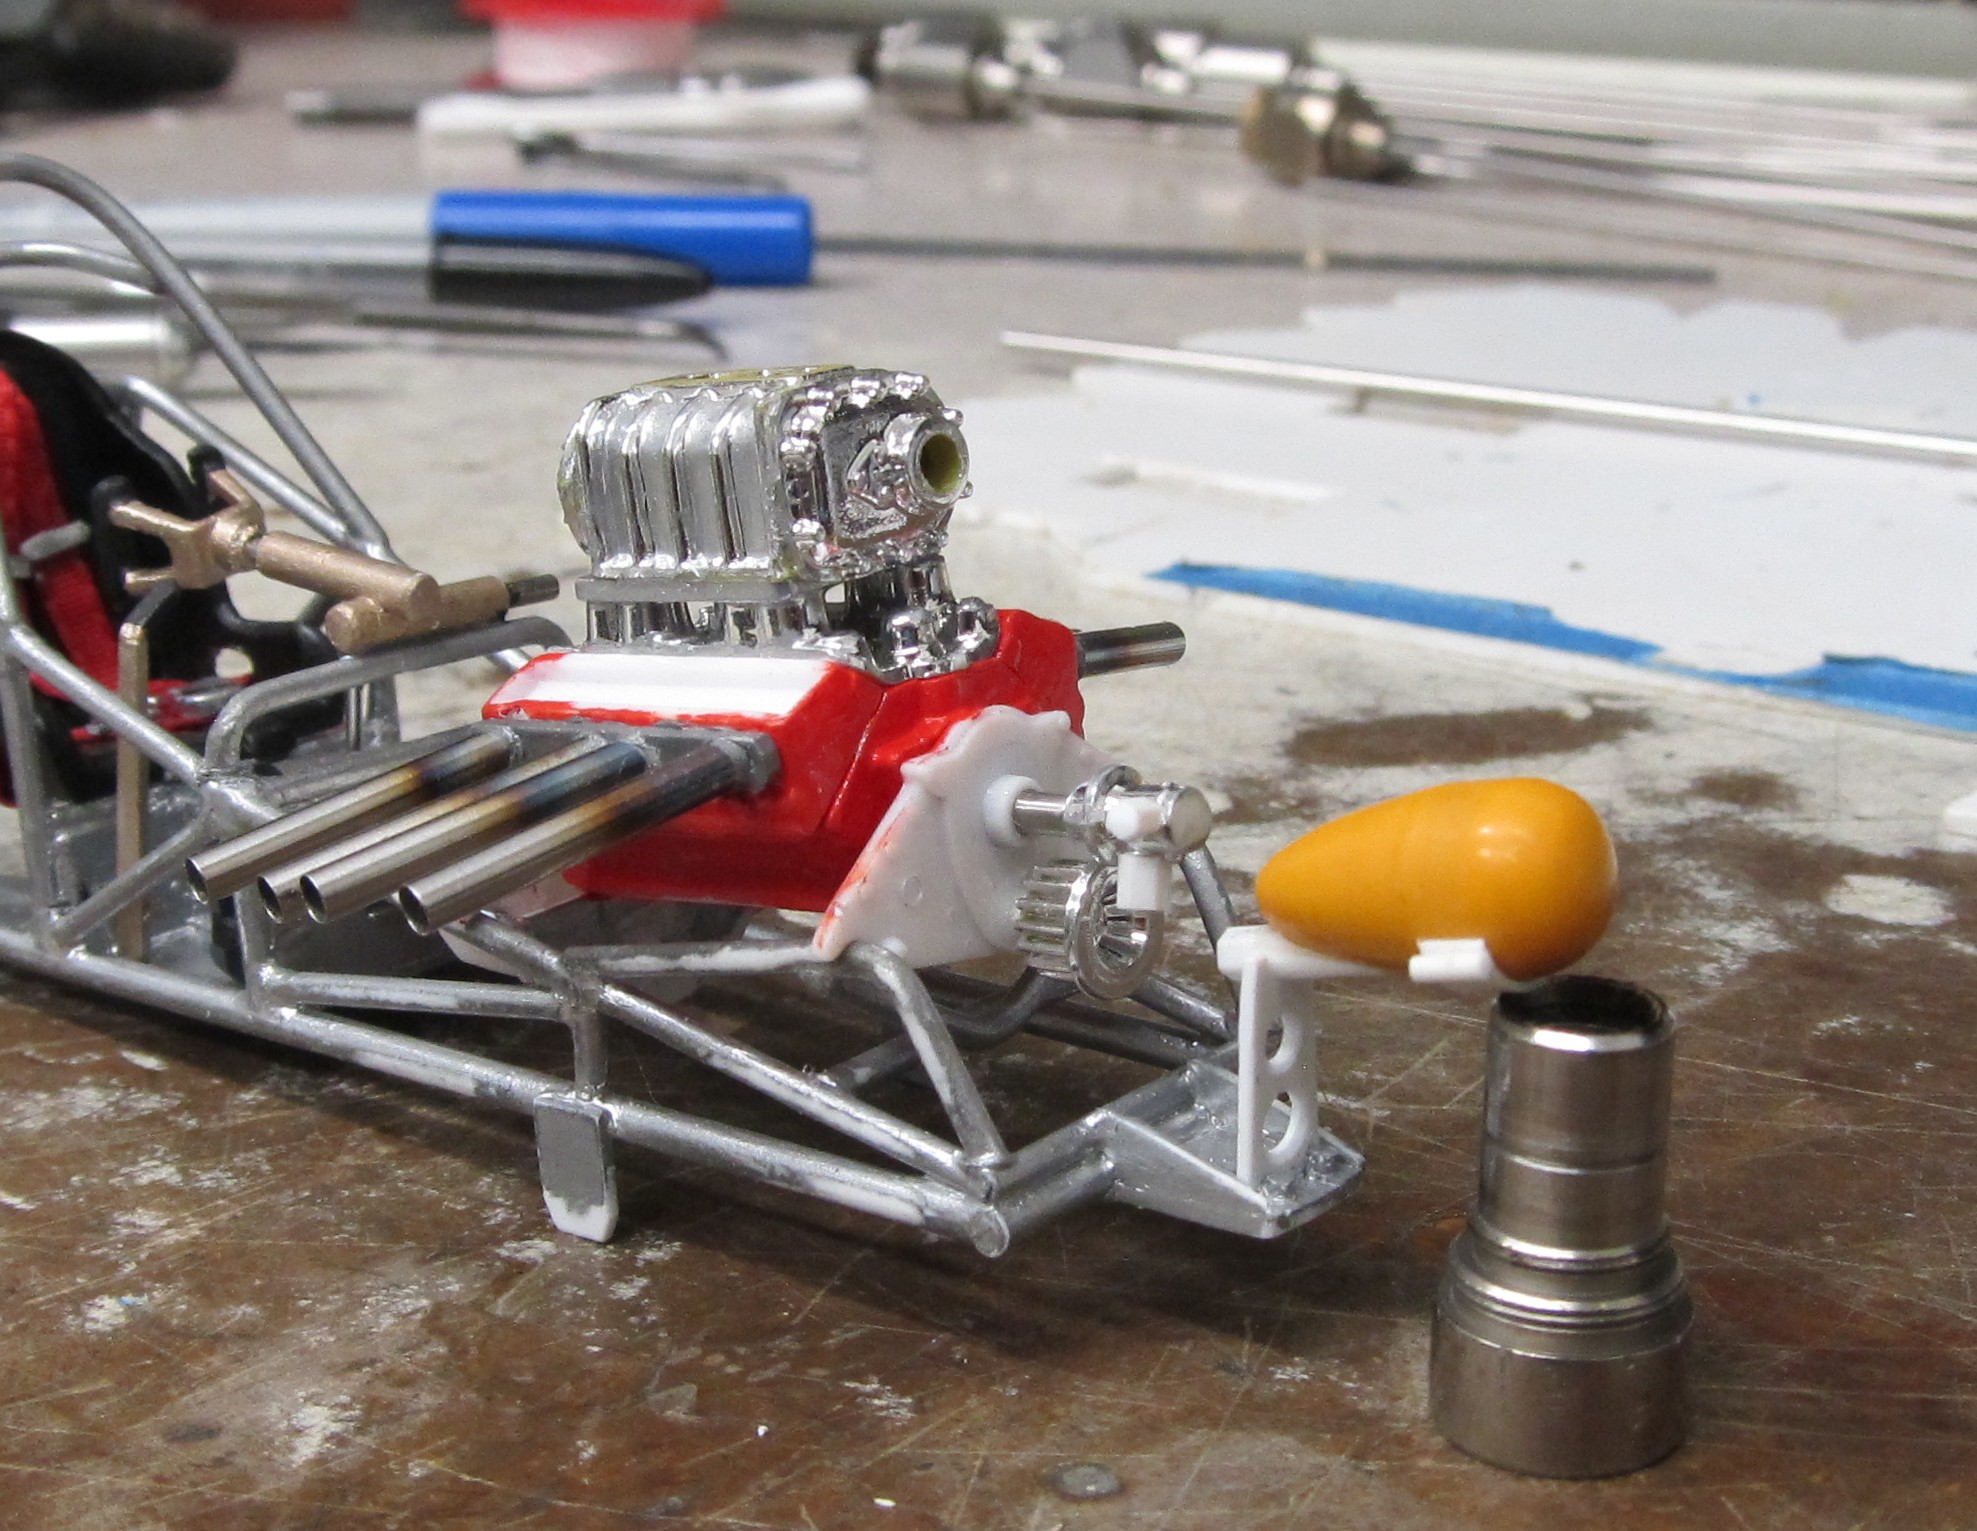
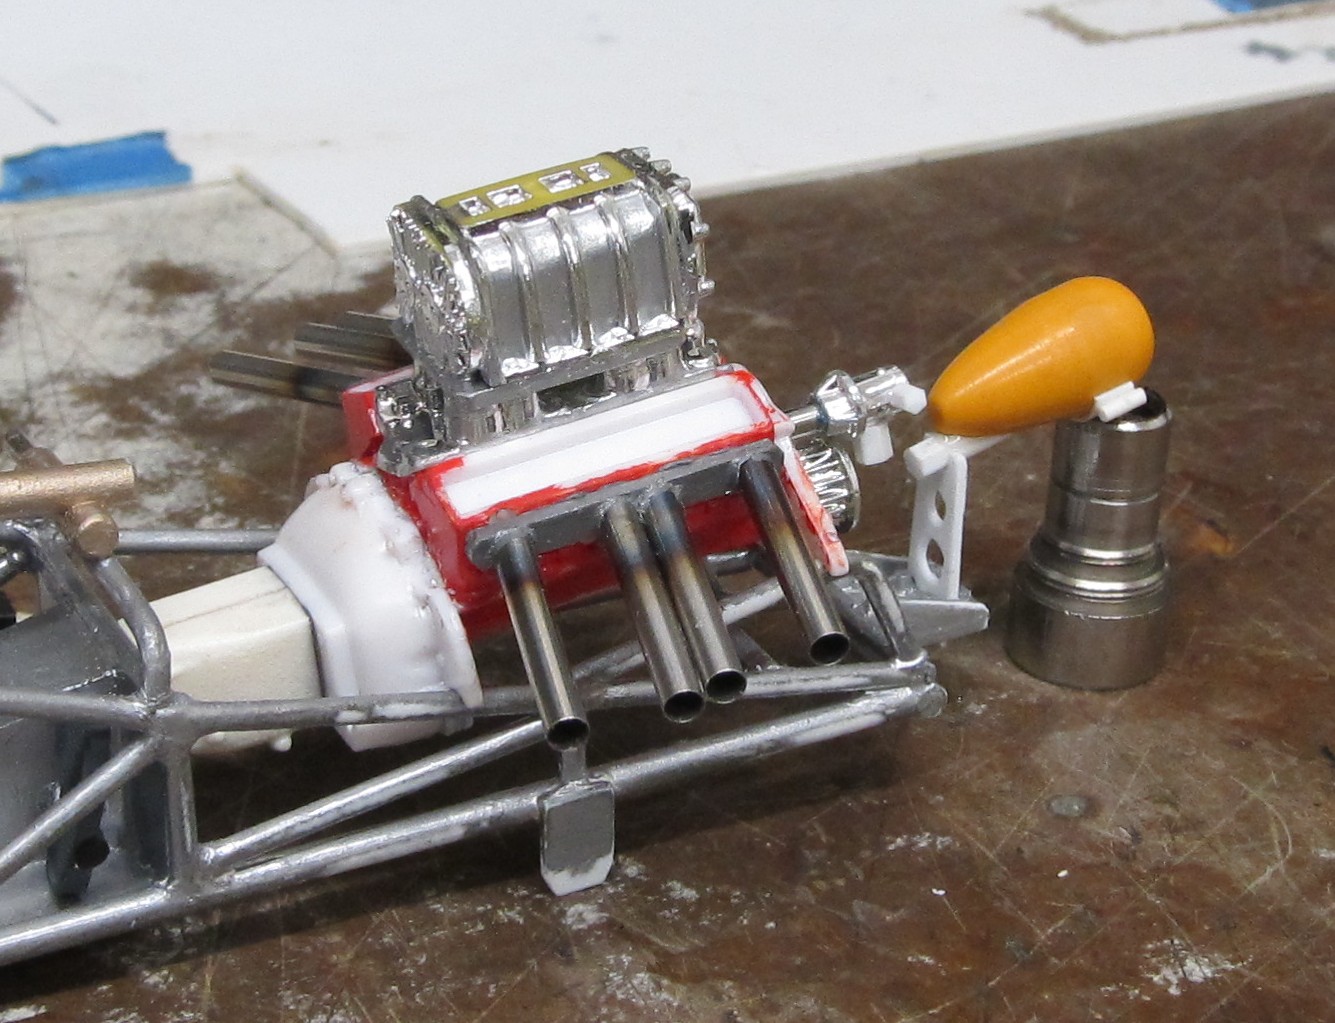
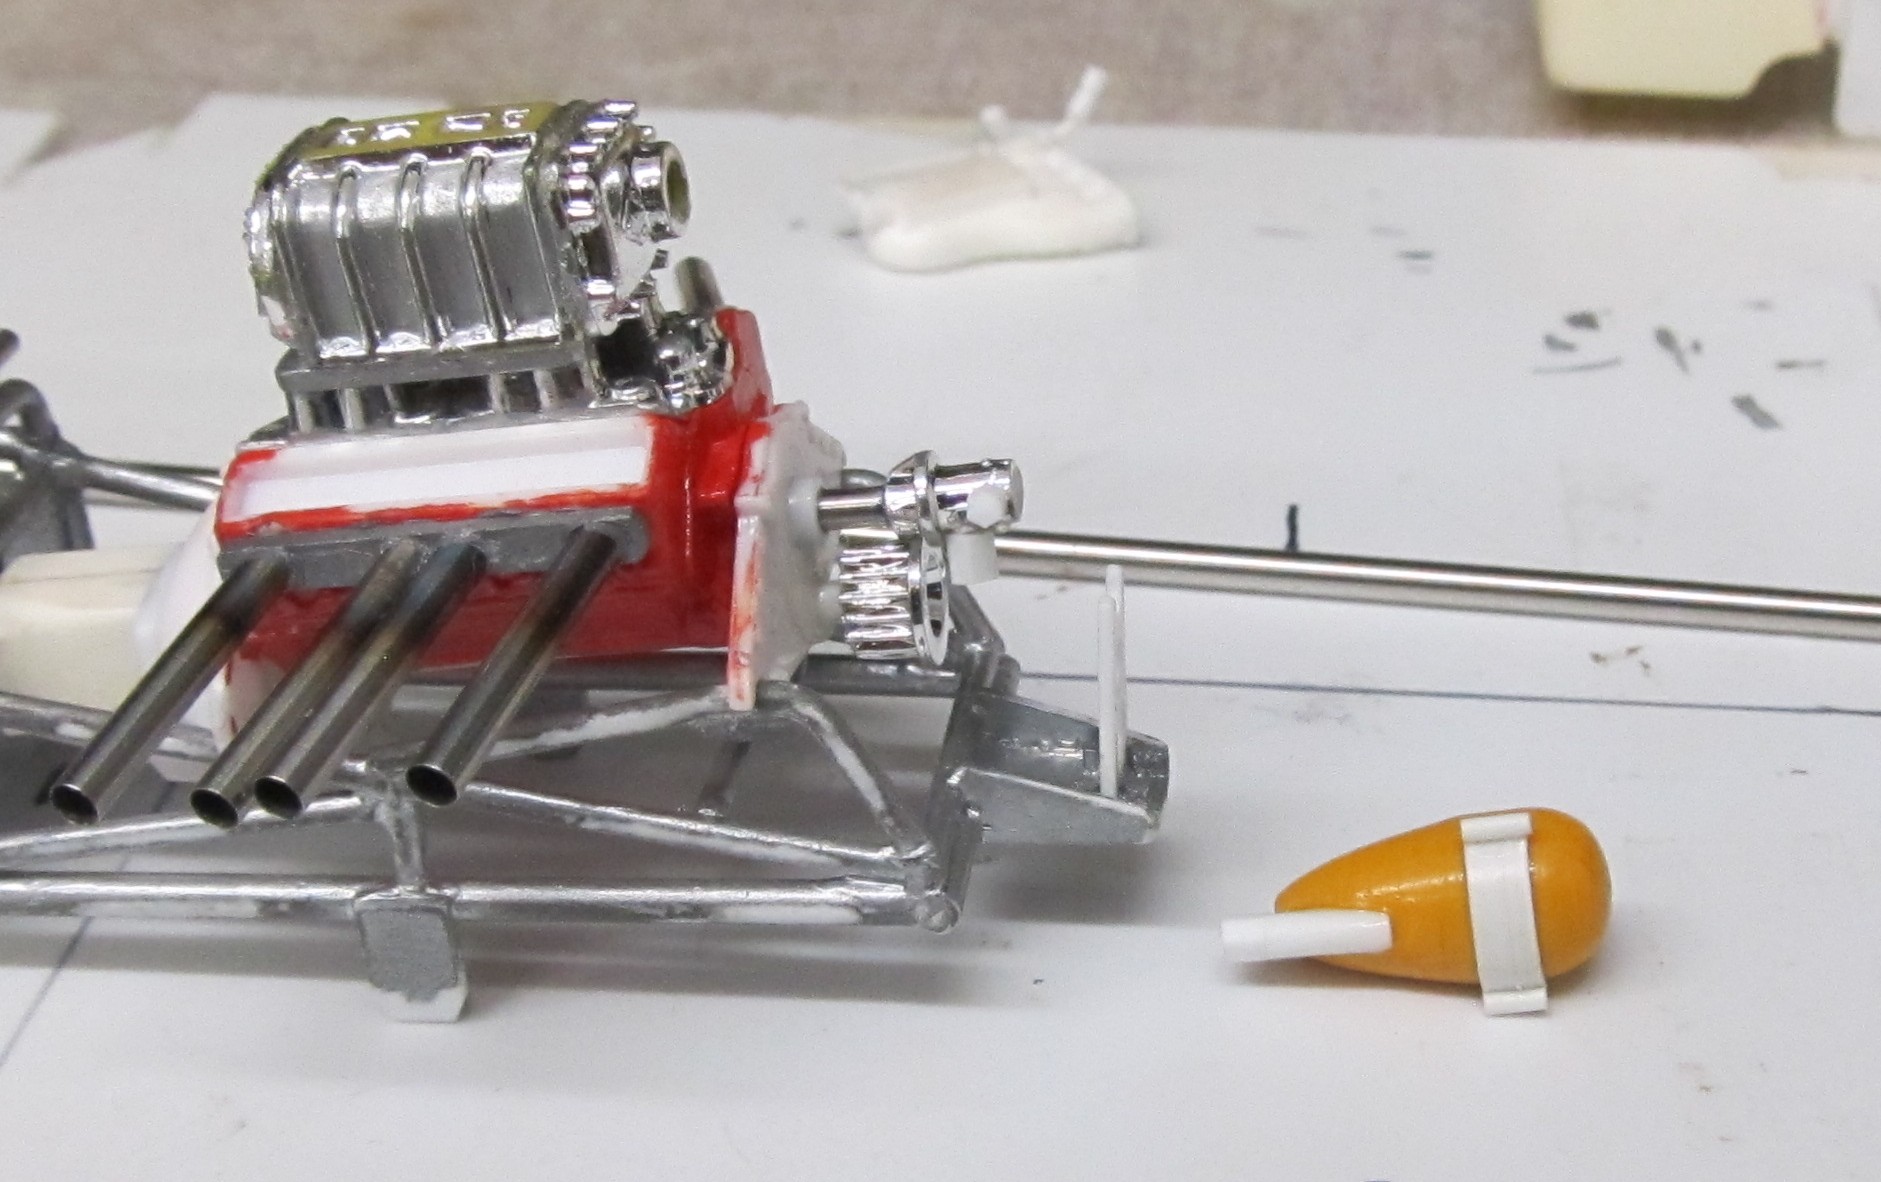
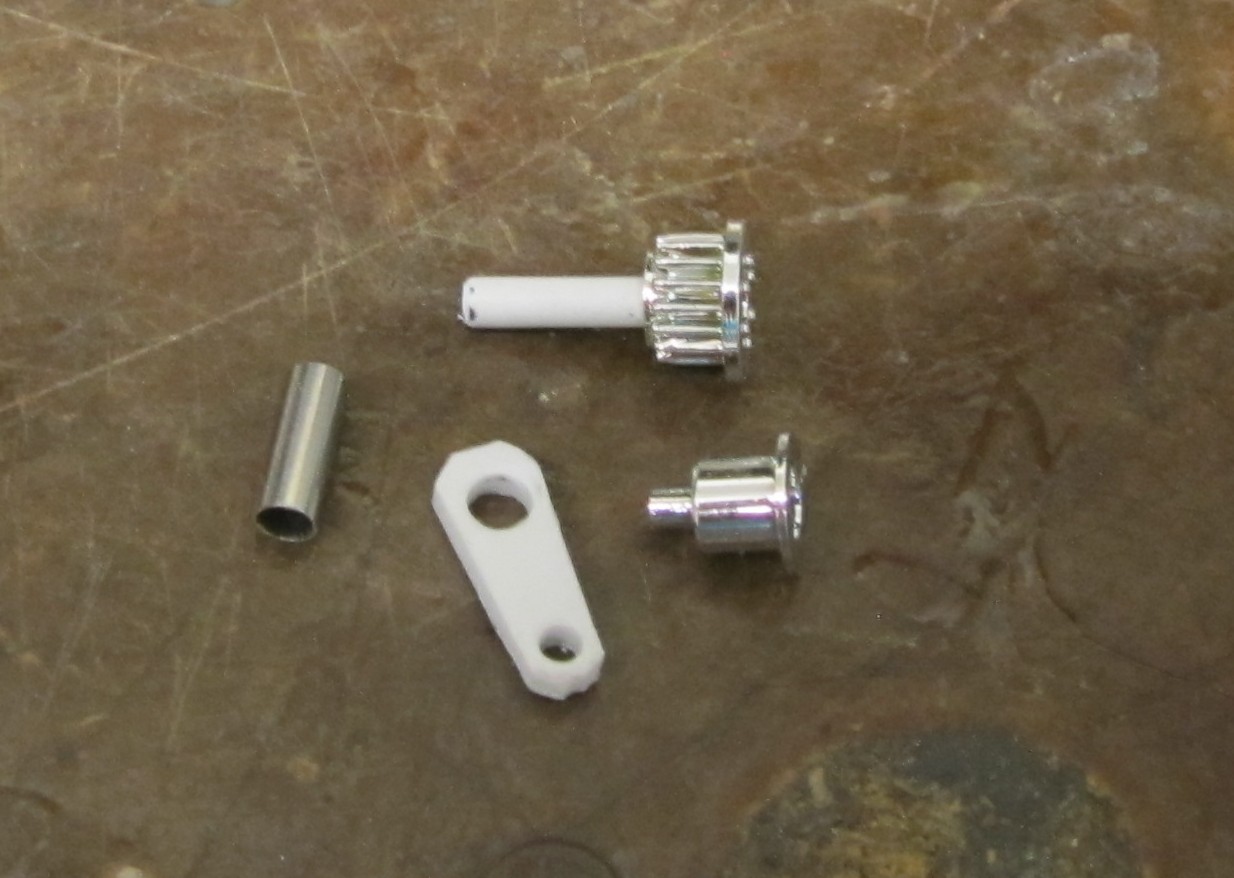
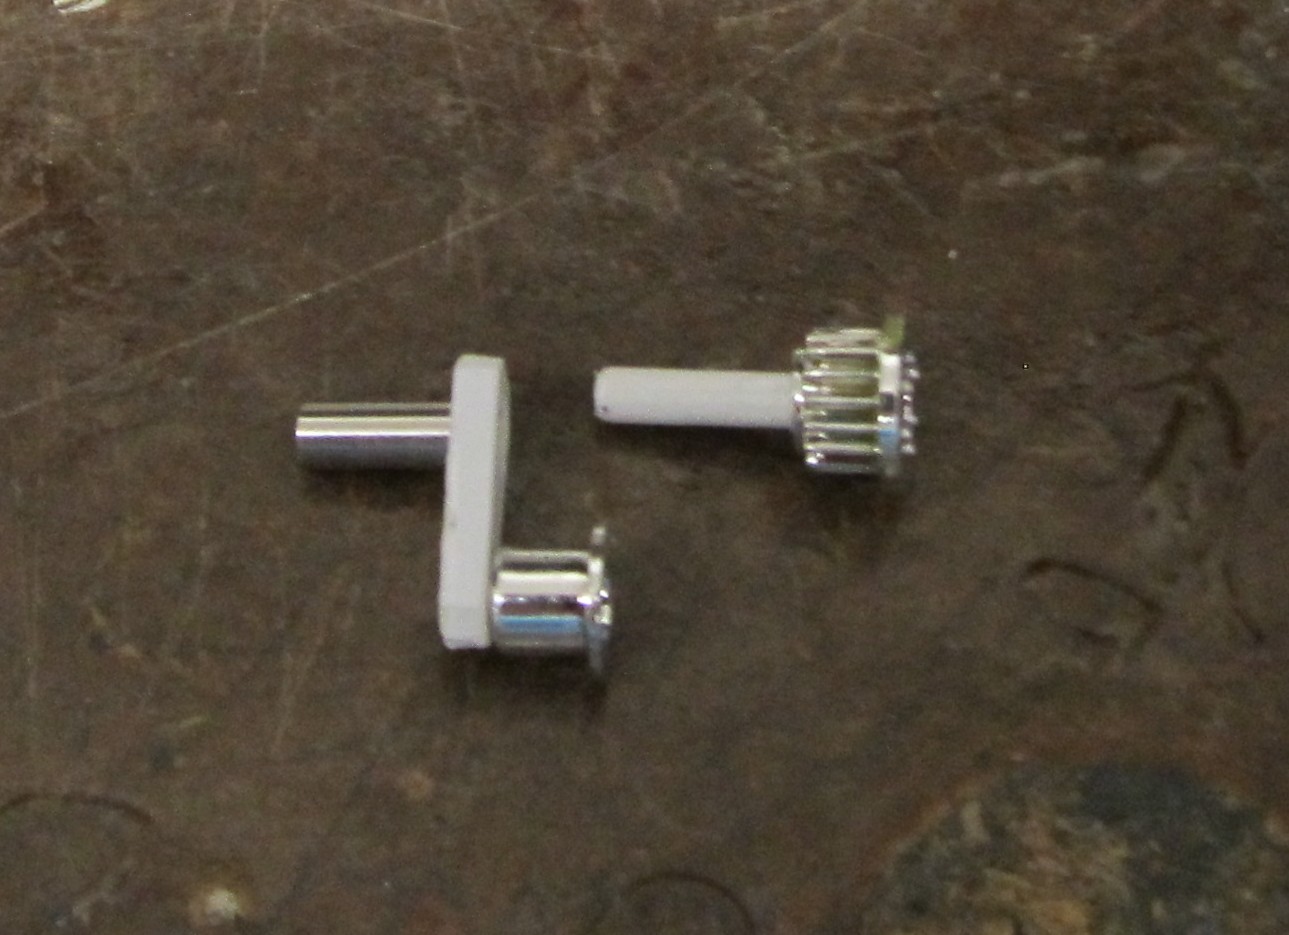
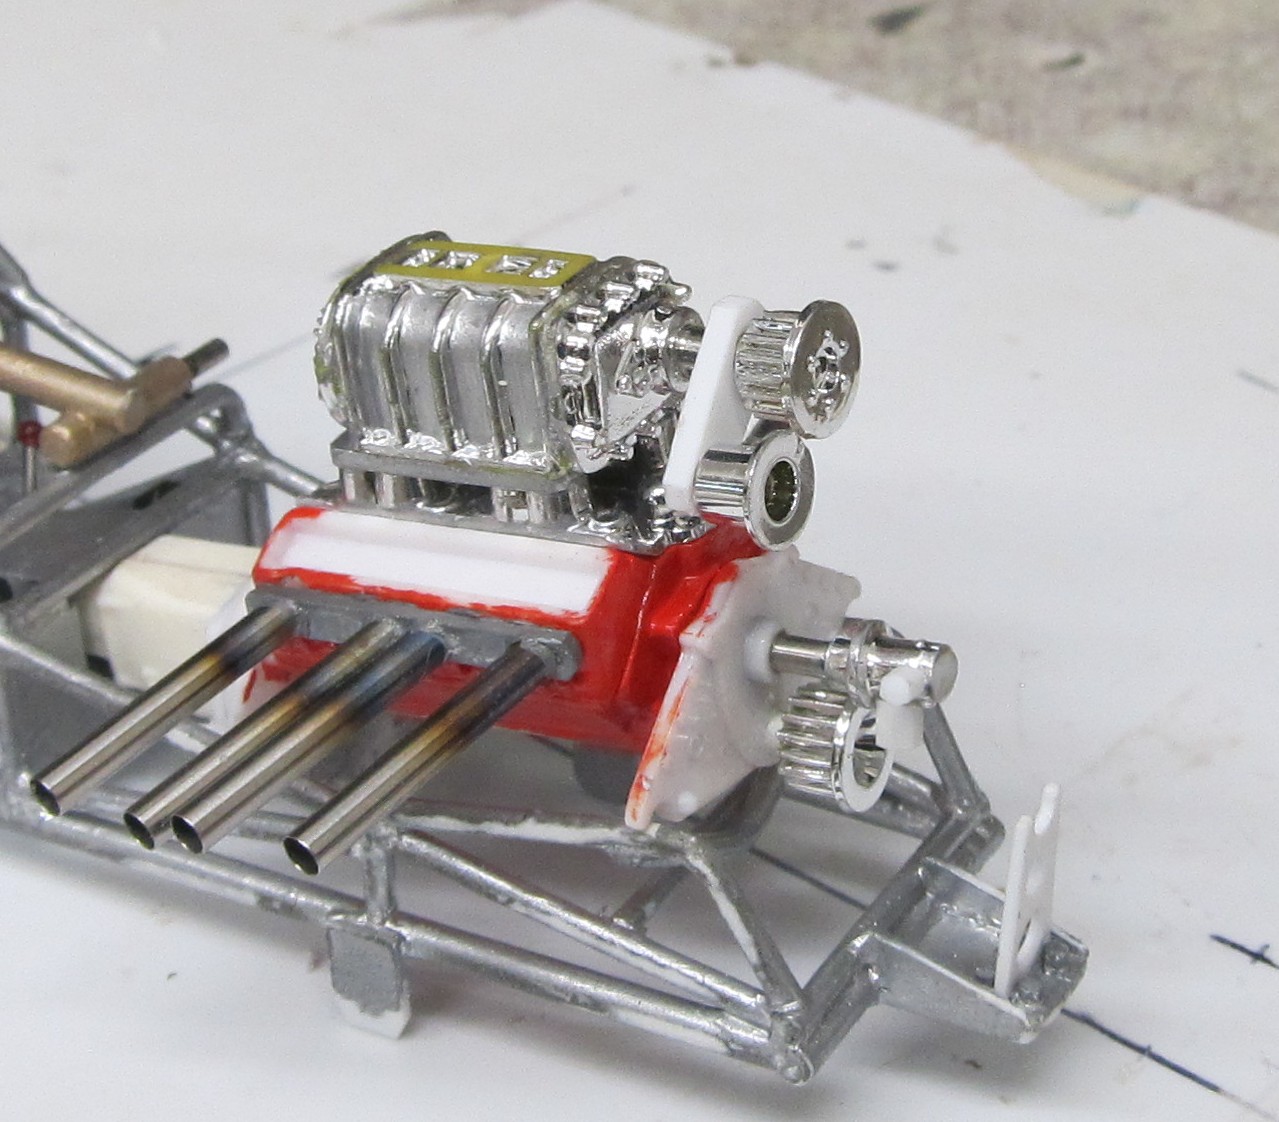
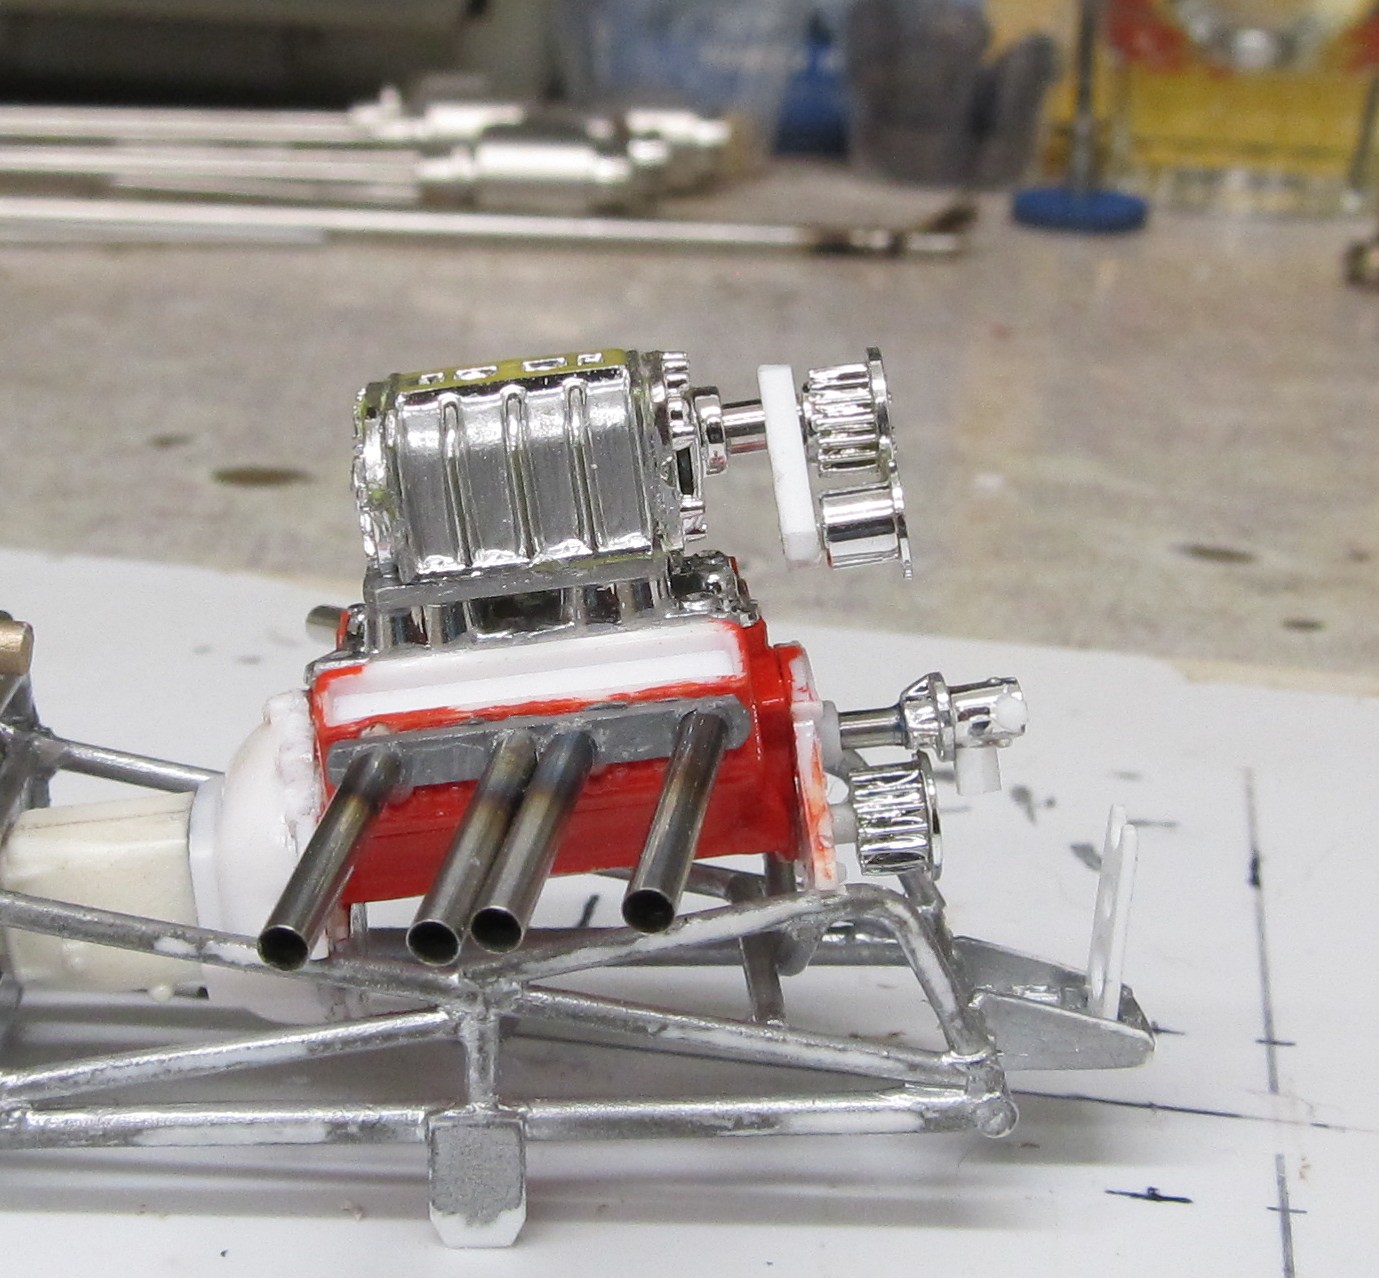
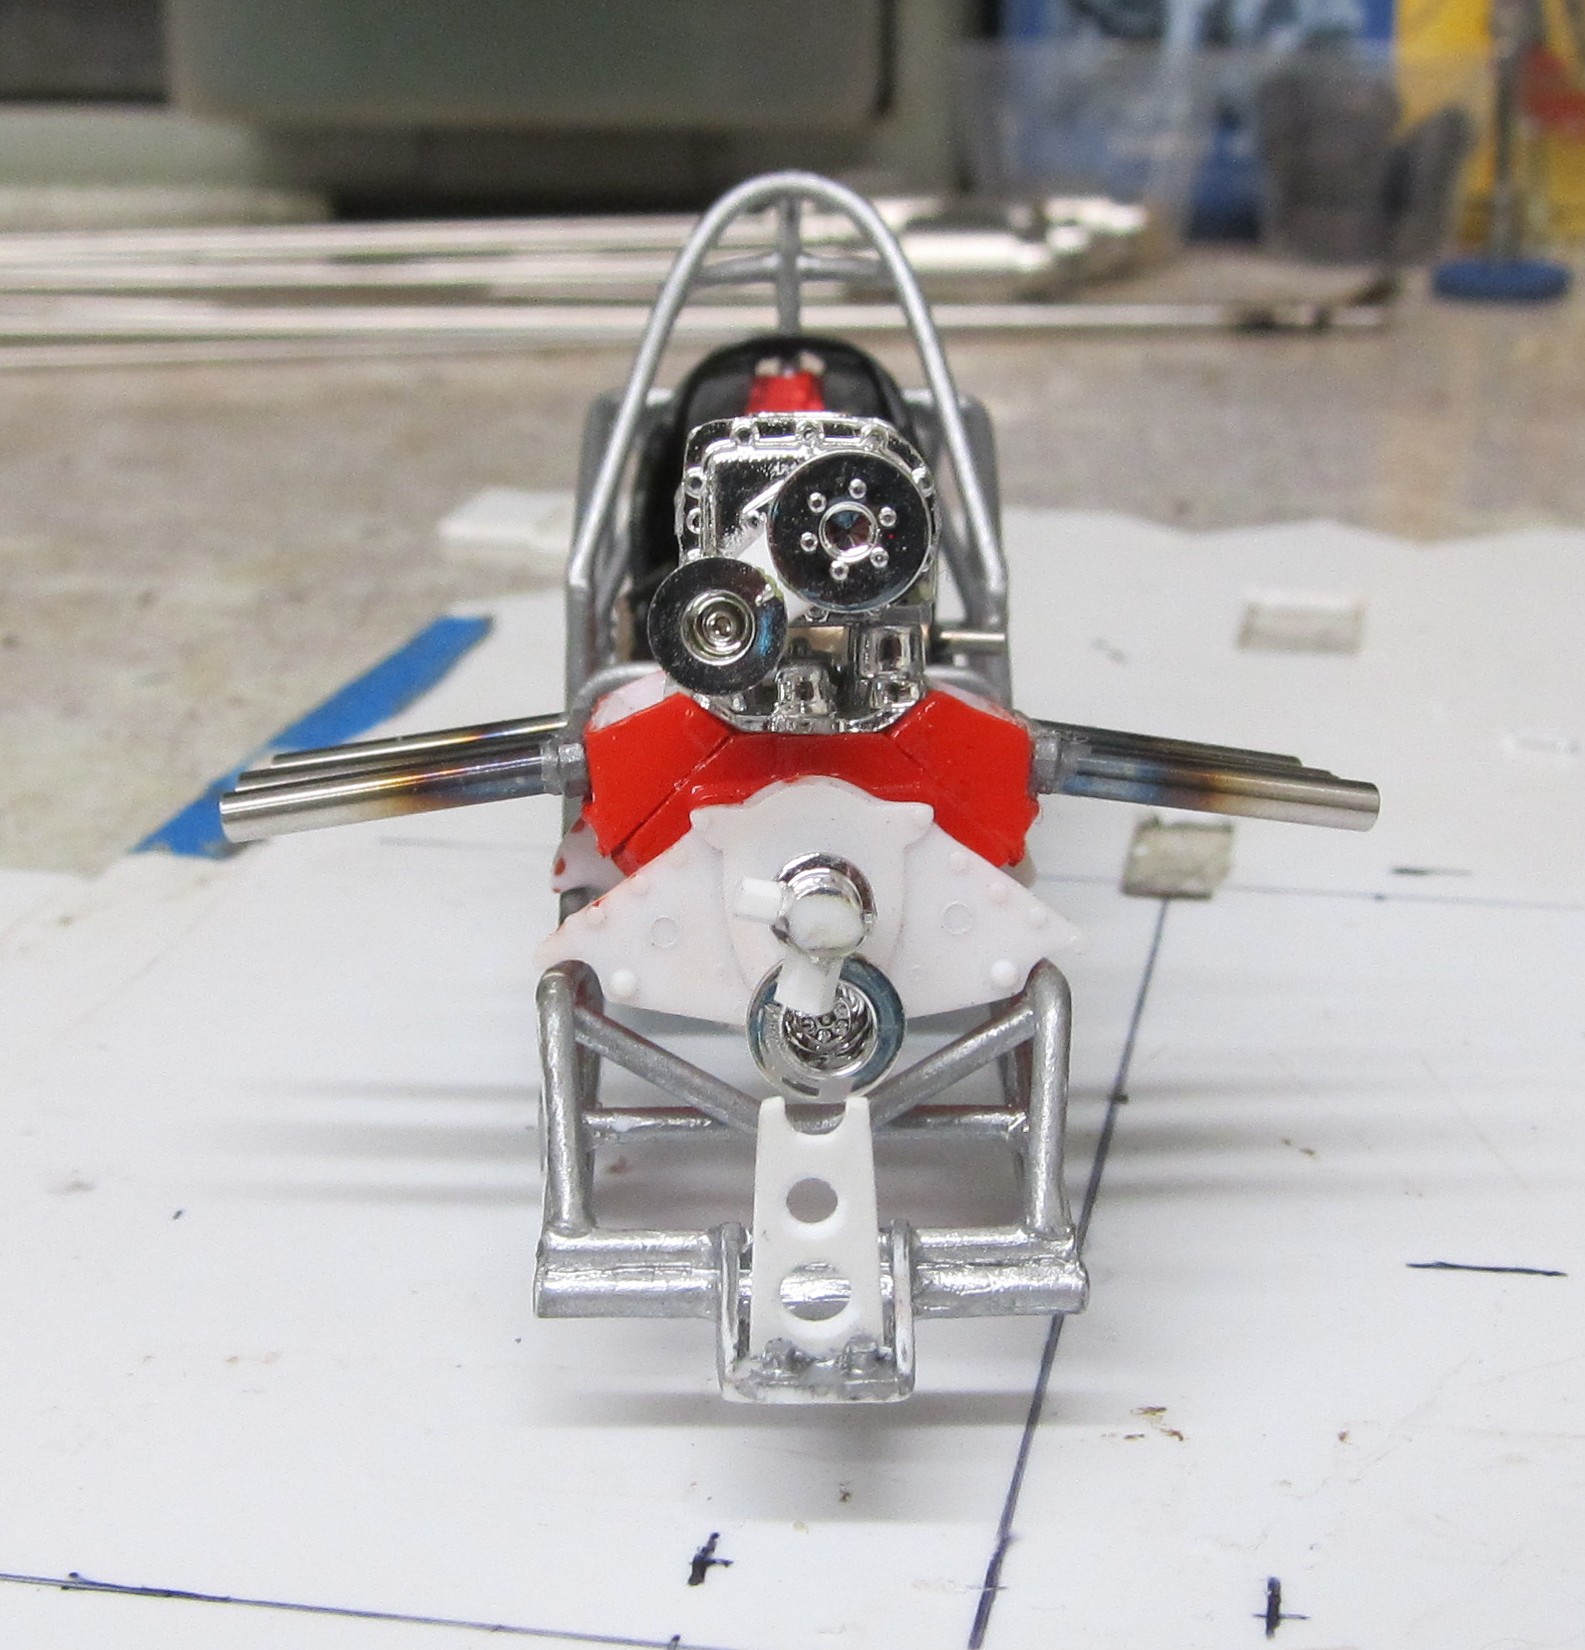
Finaly getting some time to stay with it , built part of the fuel tank mount, it will need a couple of more supports. and made the blower pully shaft and belt tensioner arm. After i get the tank mounted it will be time to get the front end going.
Amazing to see these come together!
It's almost as if you knew what you were doing!
It's almost as if you knew what you were doing!
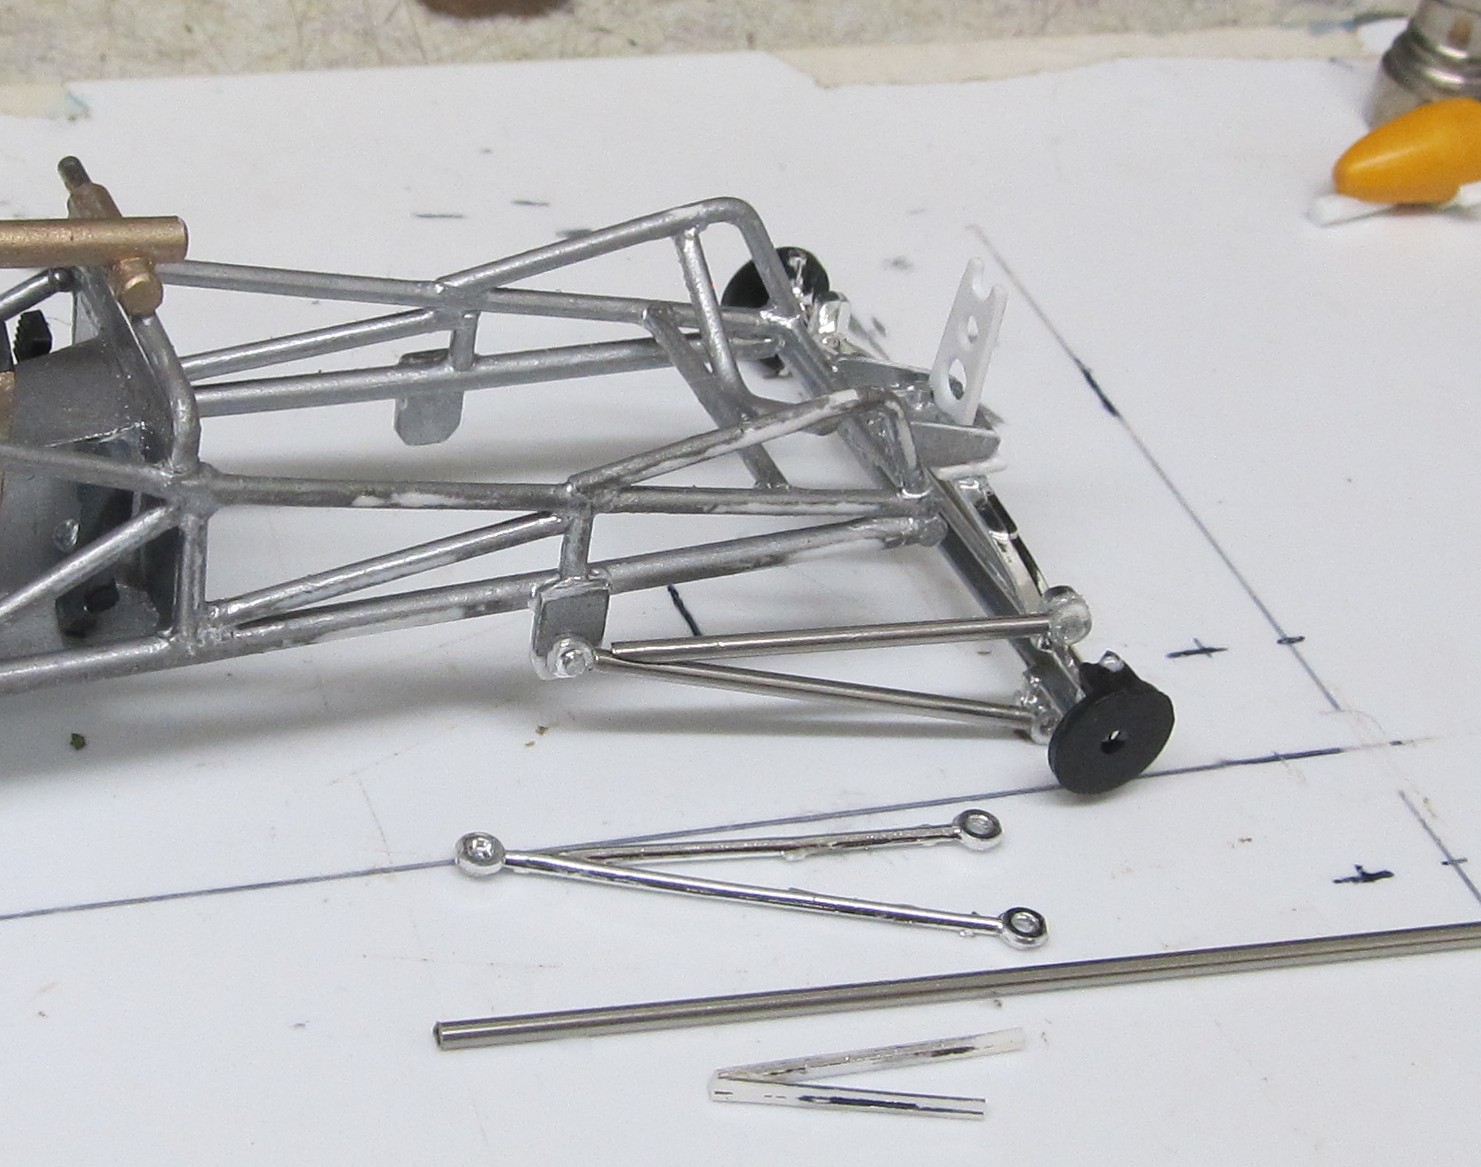
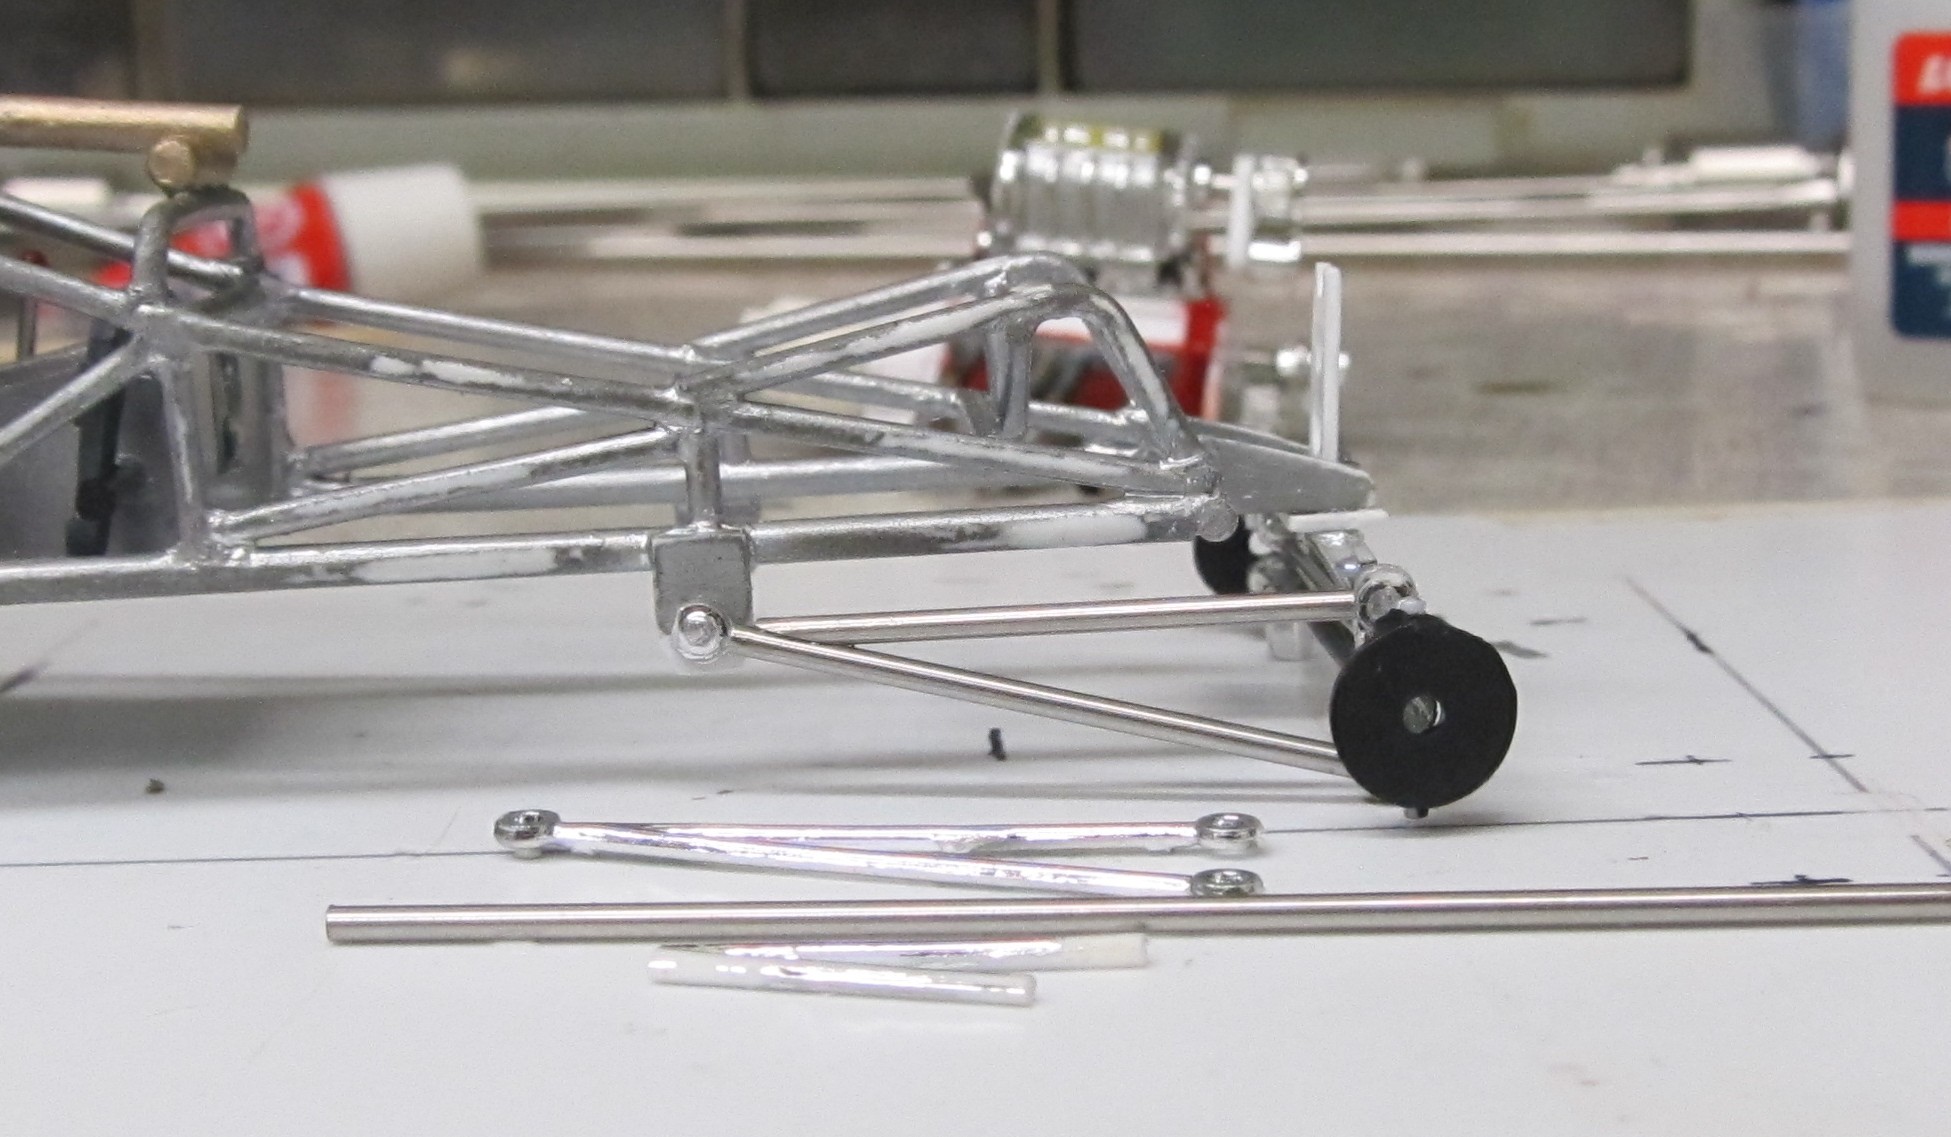
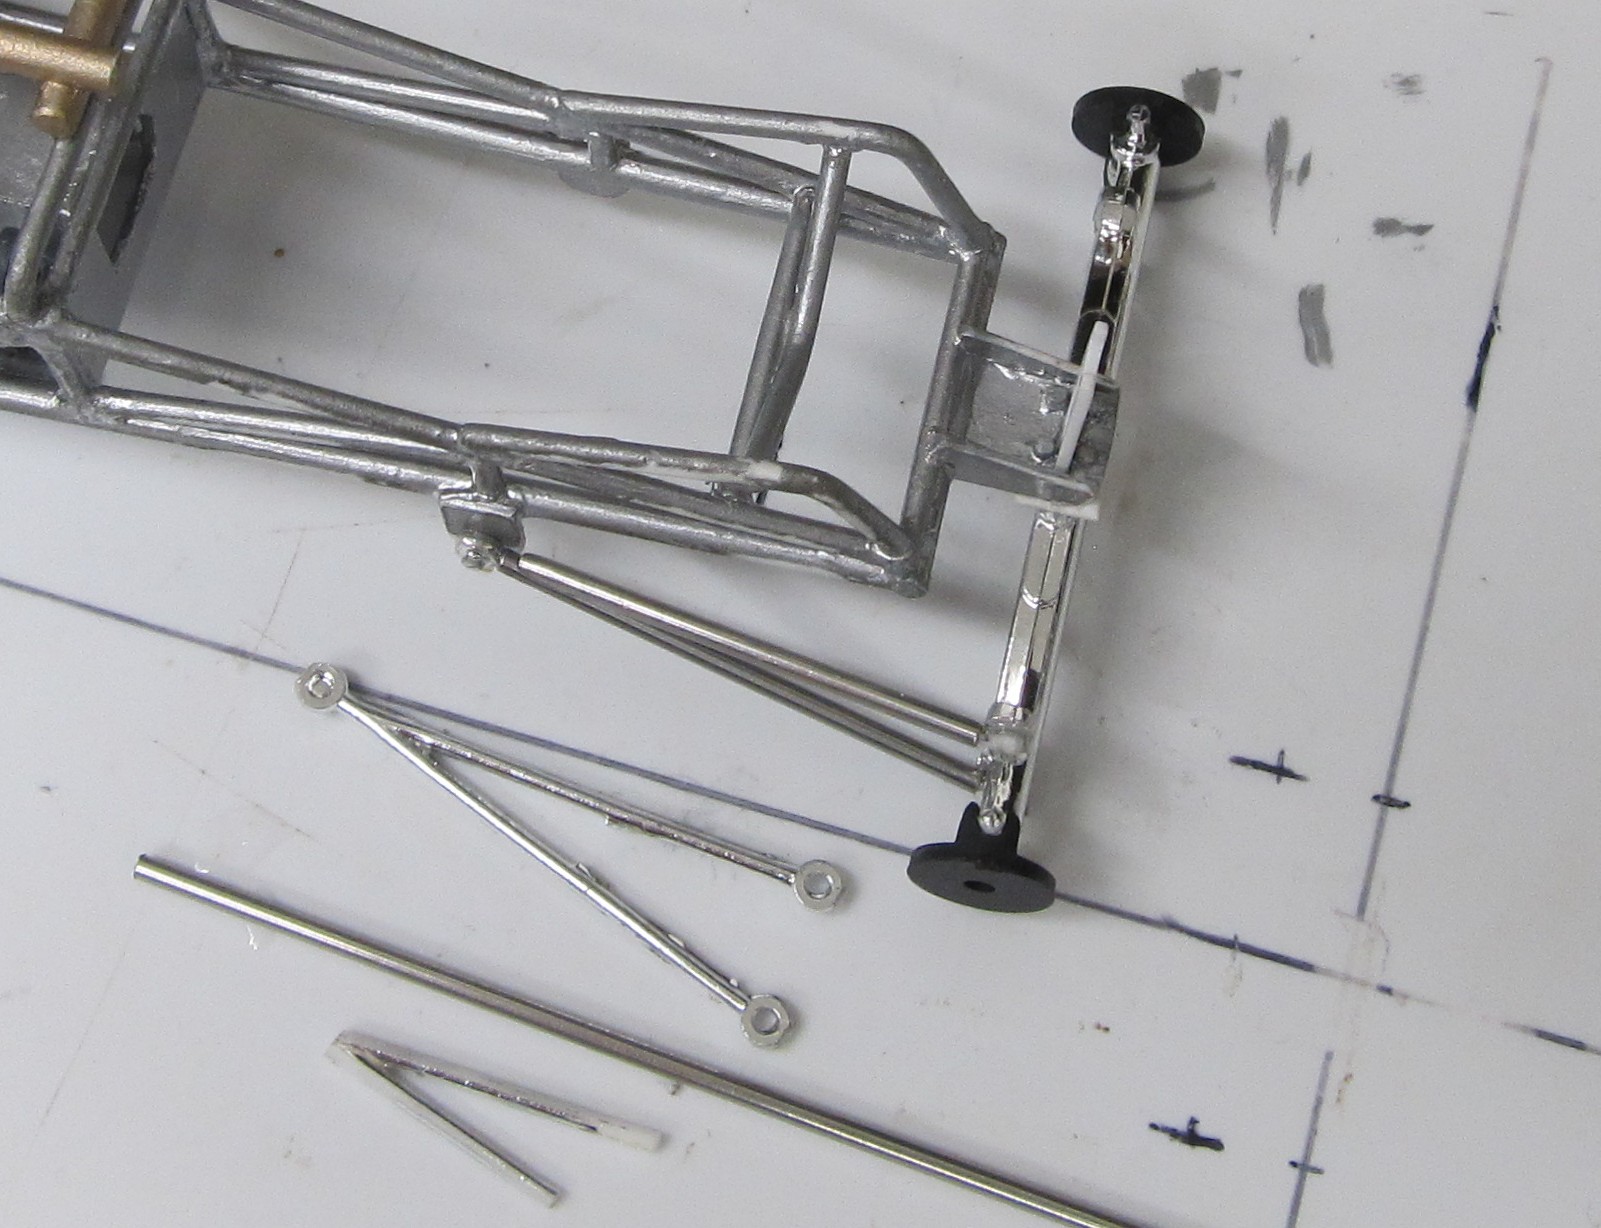
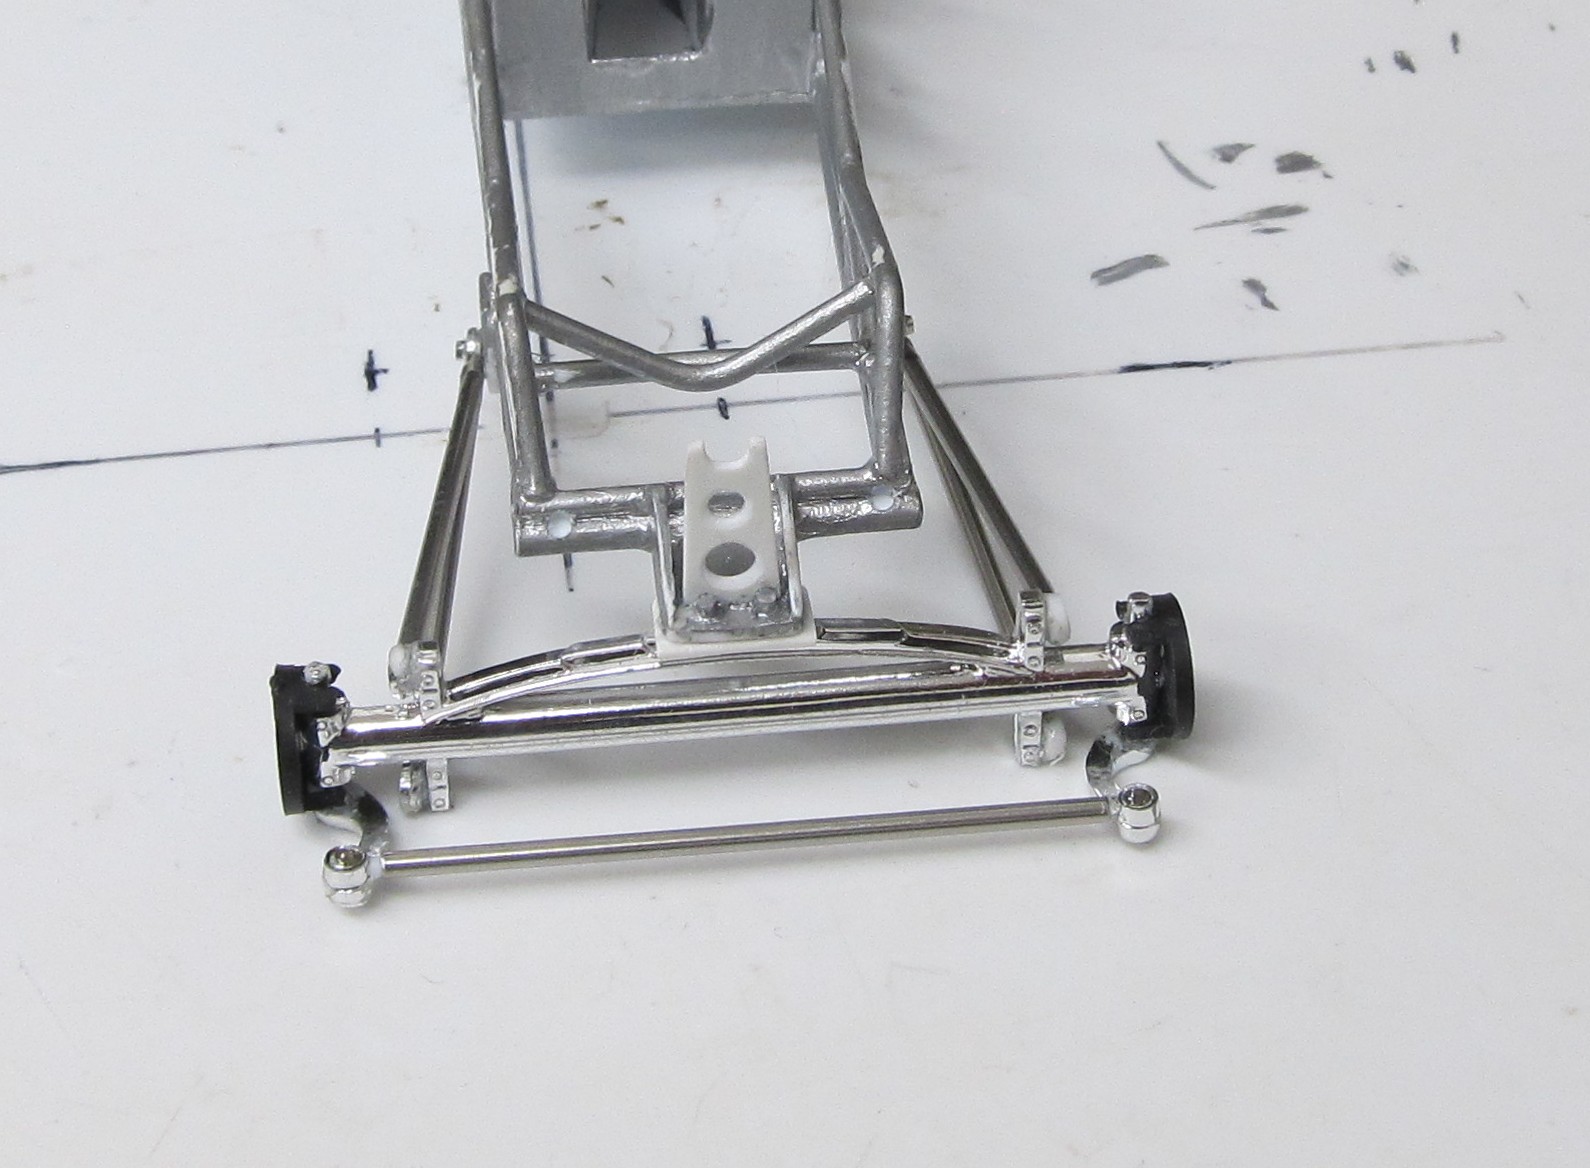
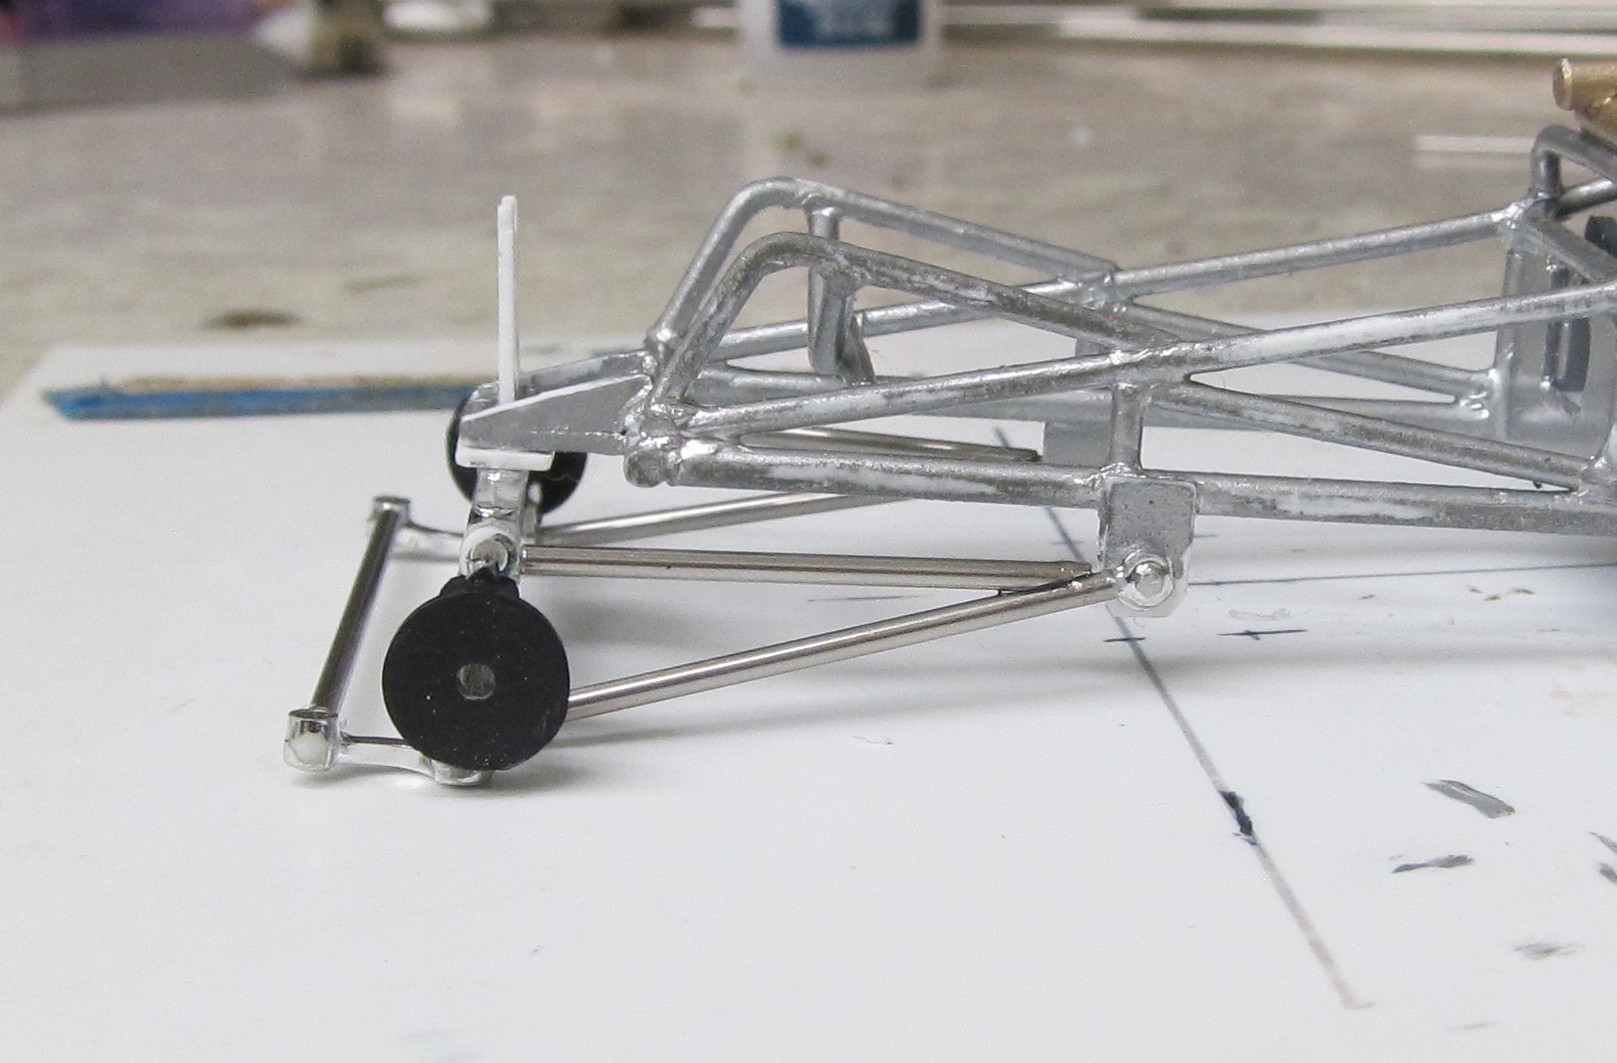
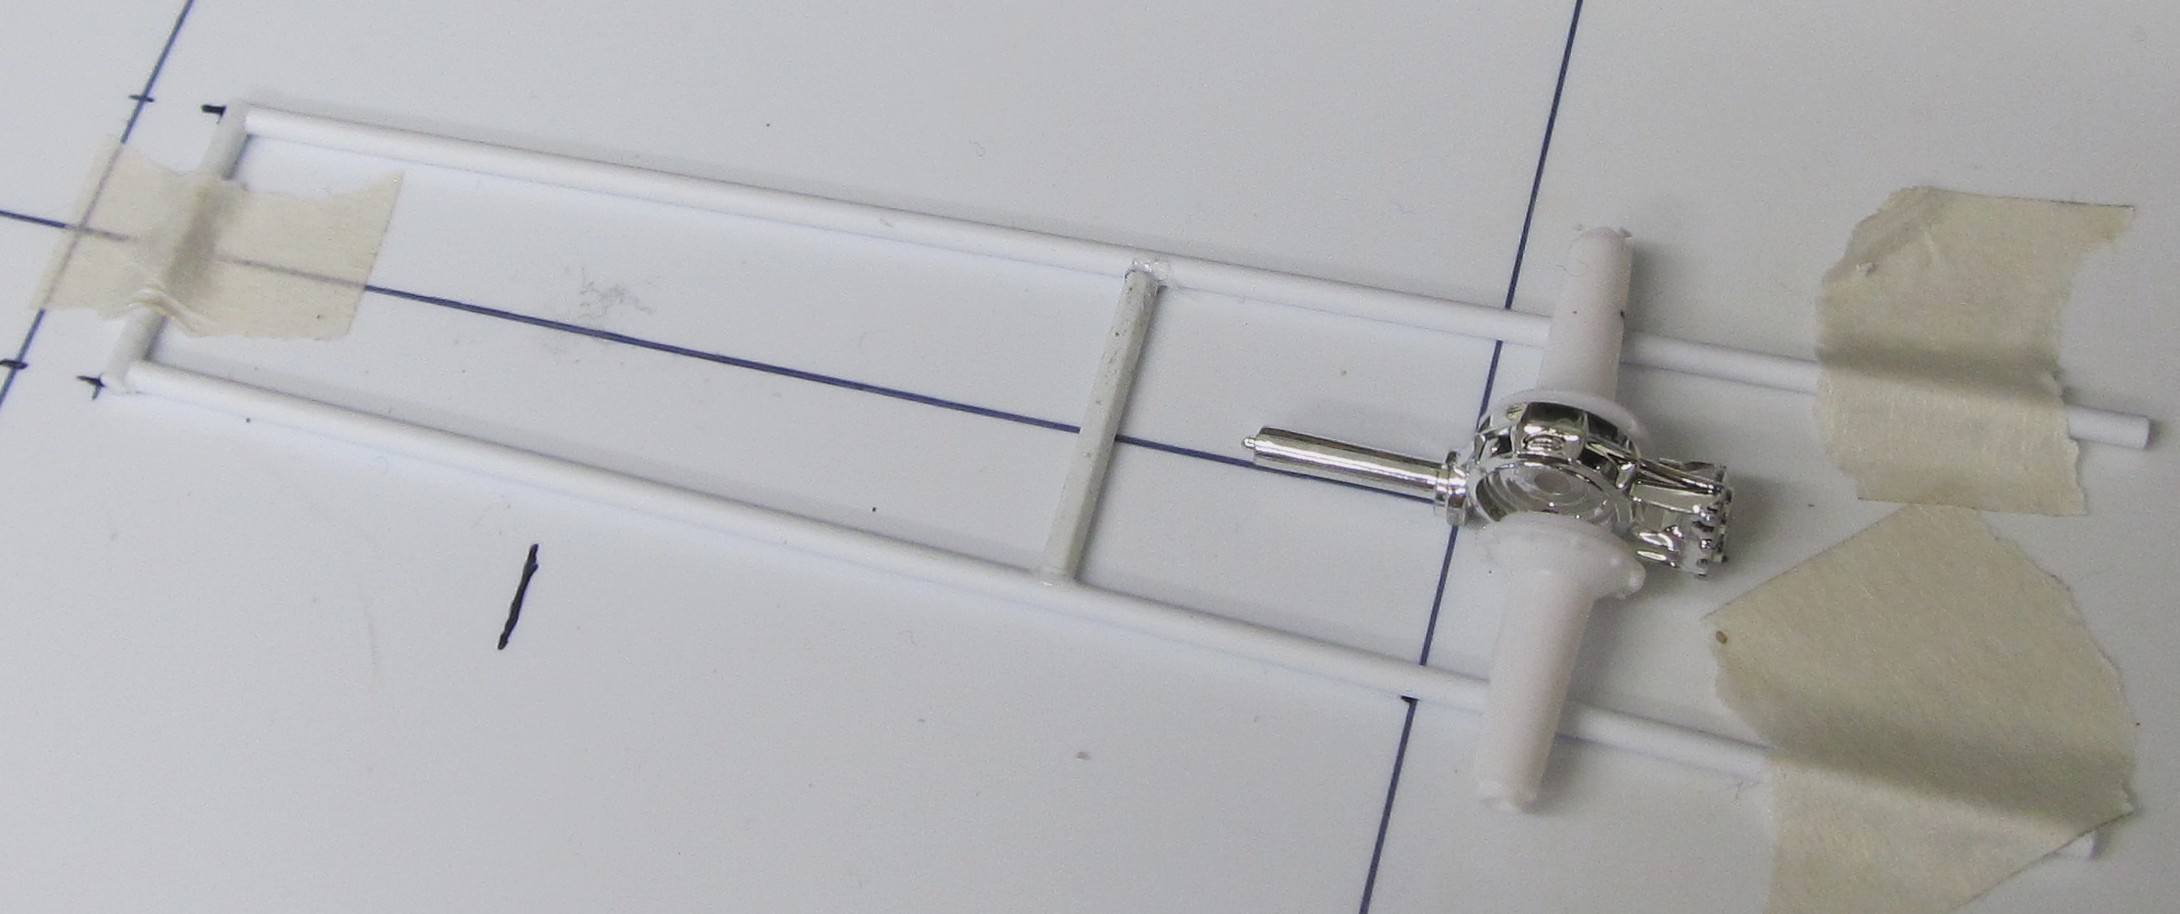
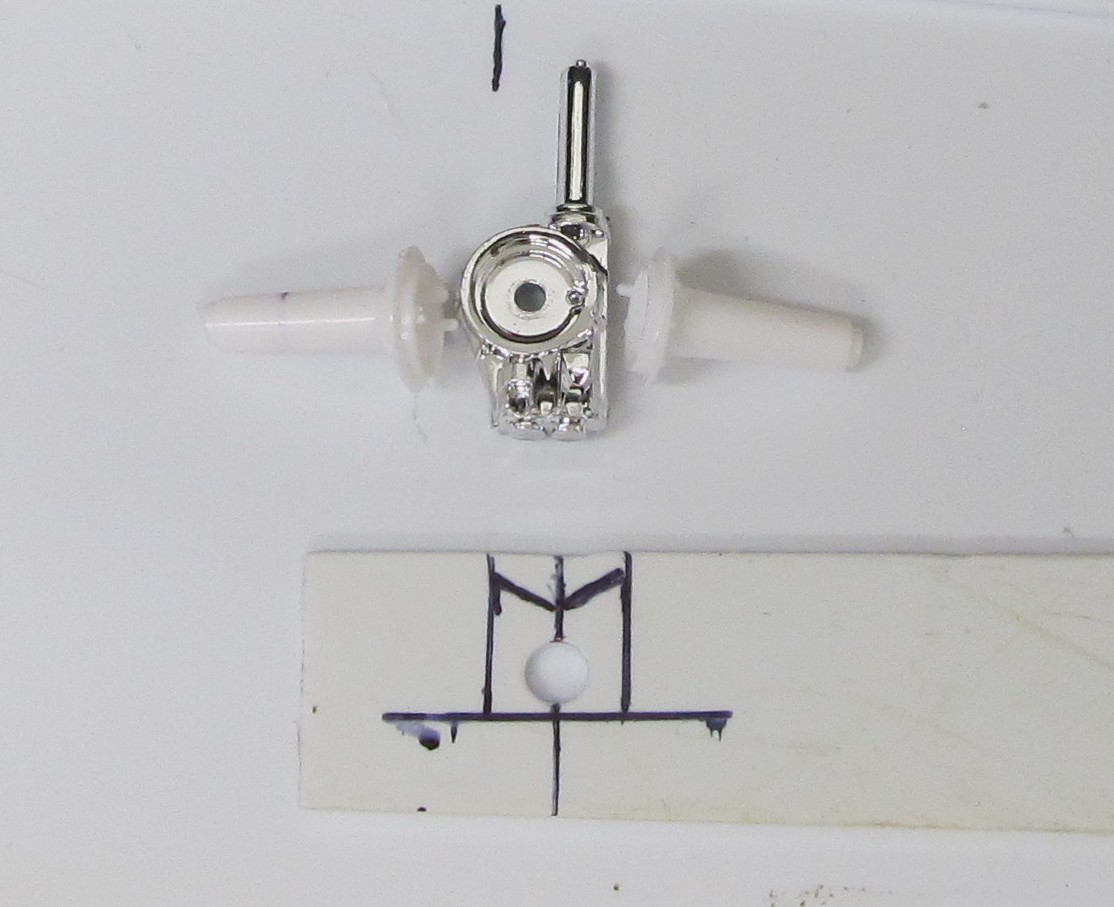
No more ugly bumpy and crooked, replaced the torsion bars and center link with tubing, just need to add the spindle arm to attach the drag link later. I will fill the metal to metal joint with more super glue then texture it and paint it silver to look more like a weld.