


mjensen939
Well-Known Member
- Joined
- Sep 22, 2025
- Messages
- 171
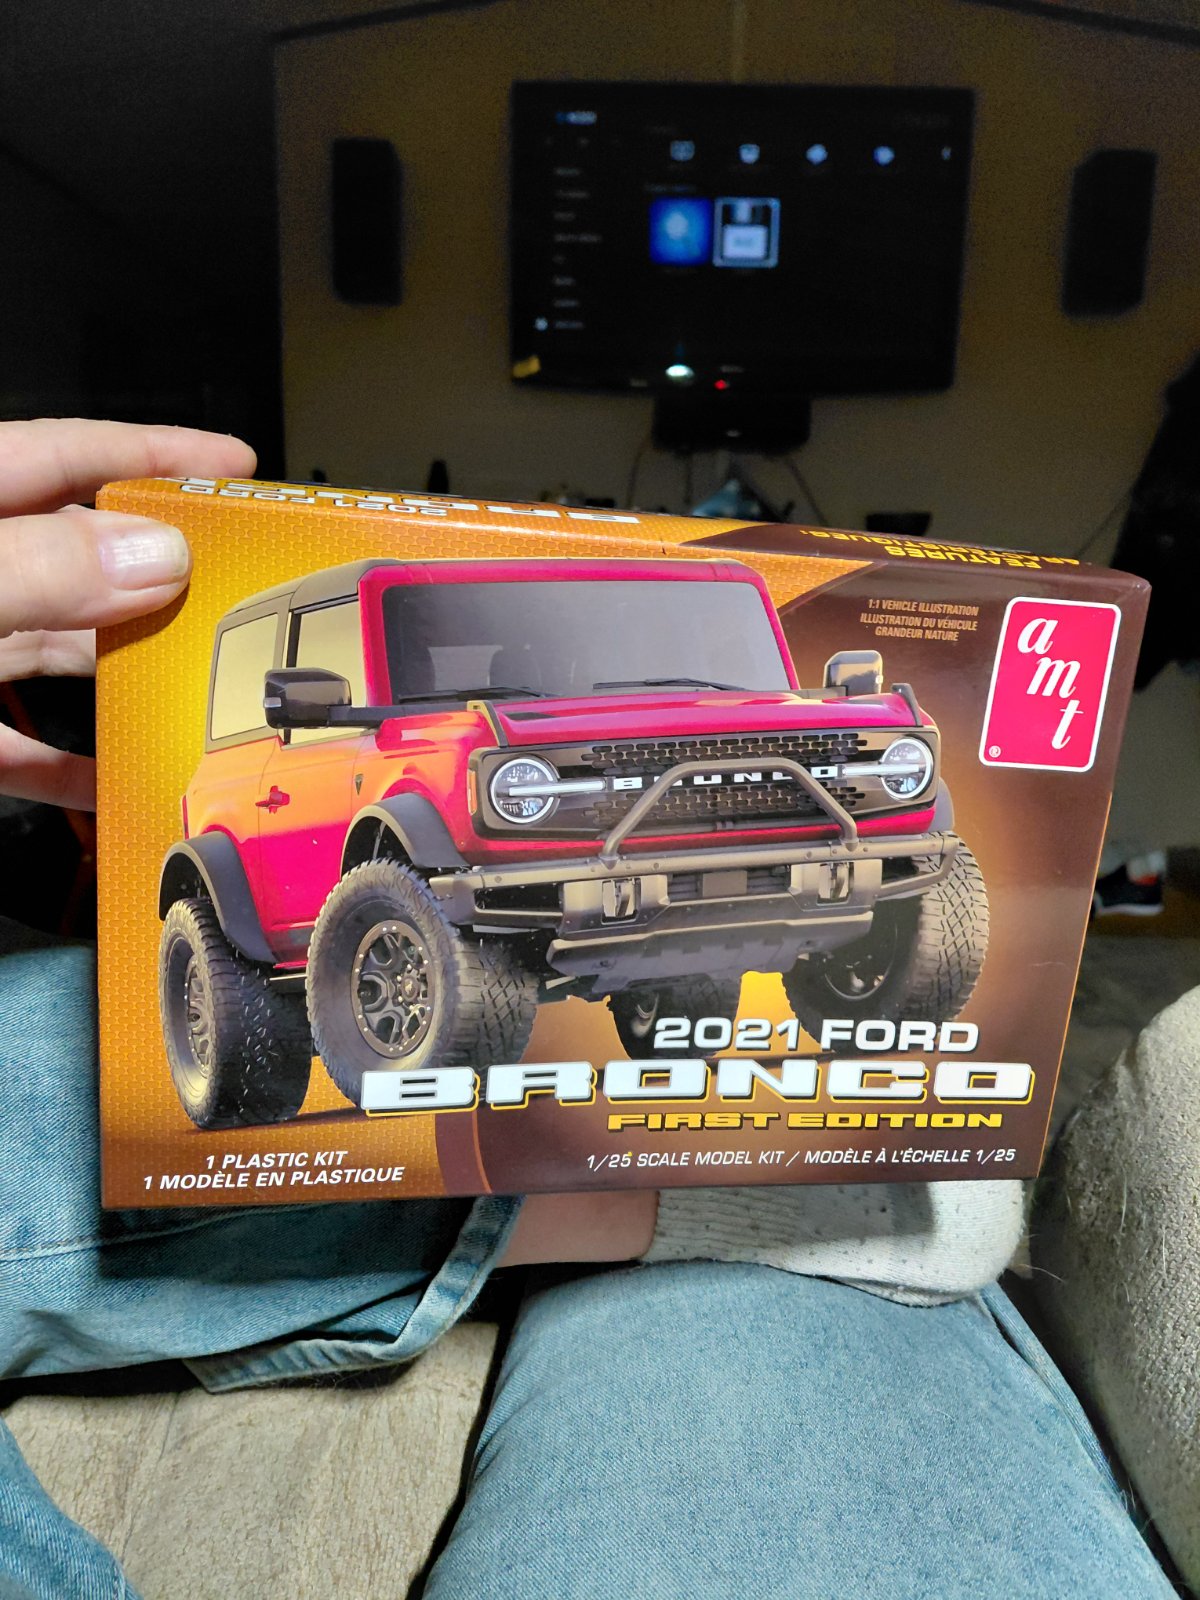
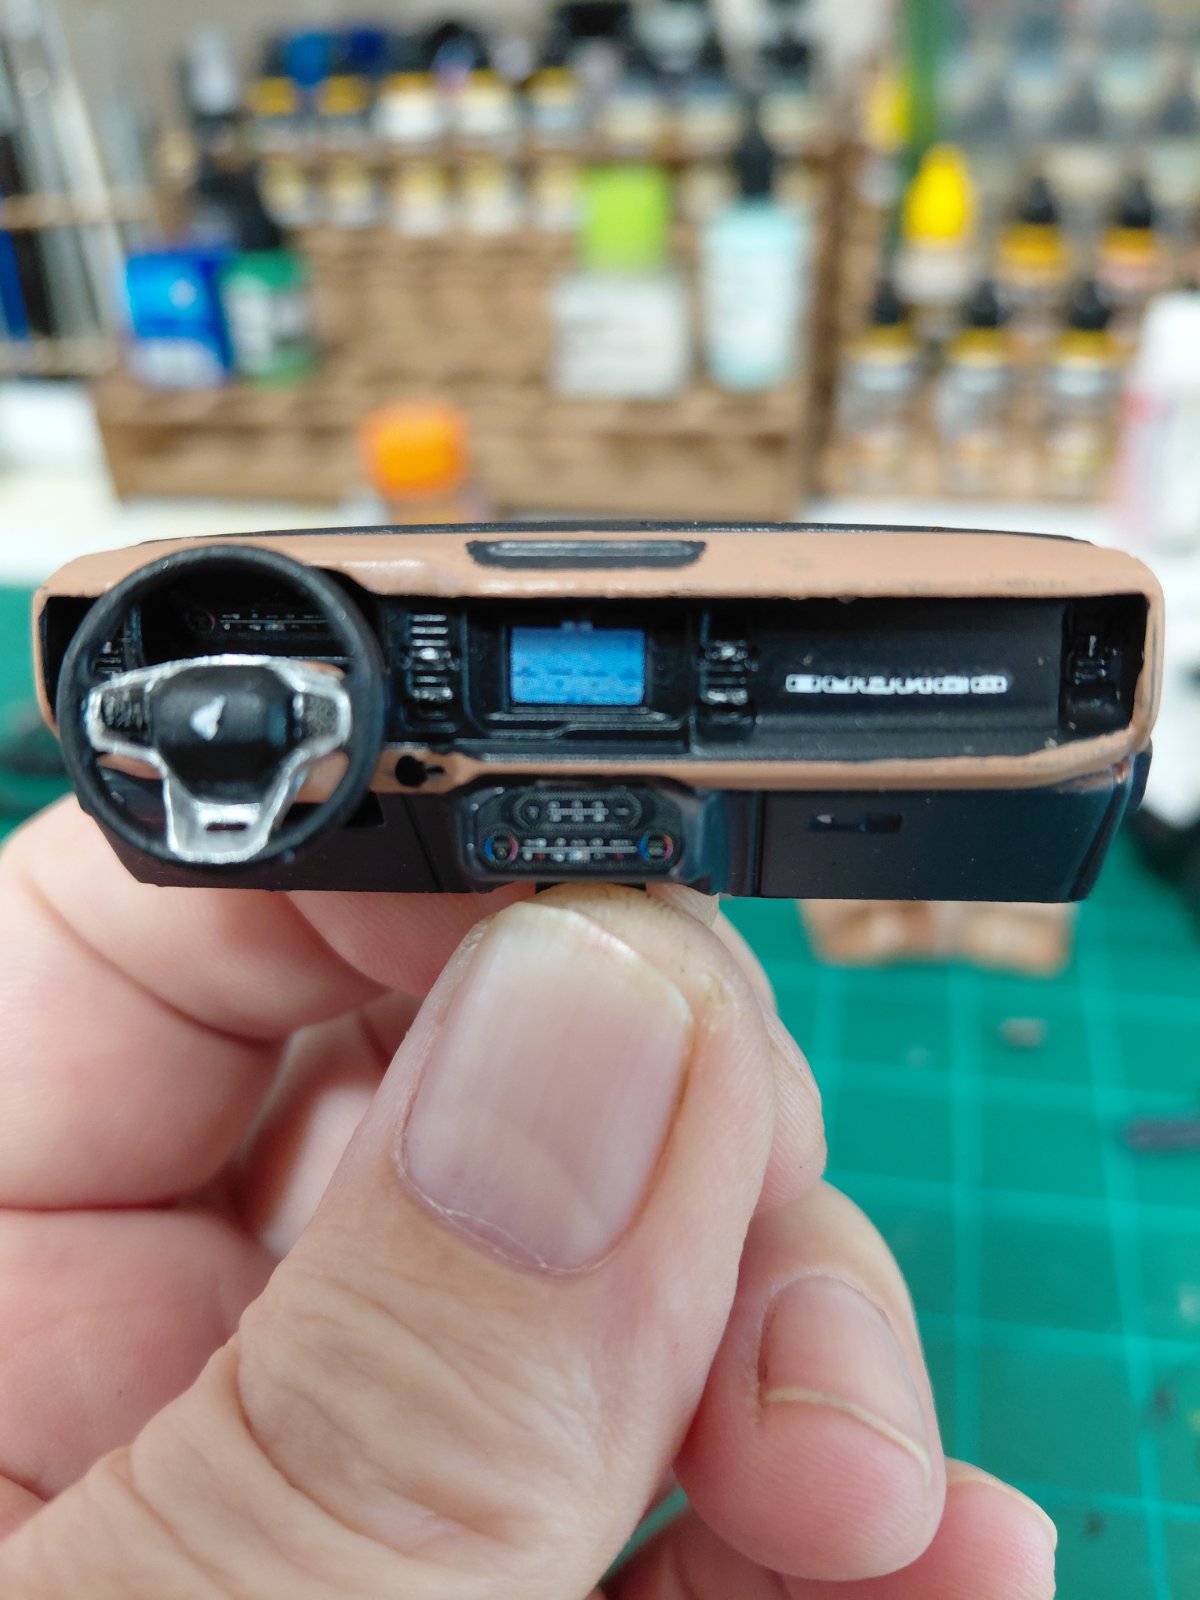
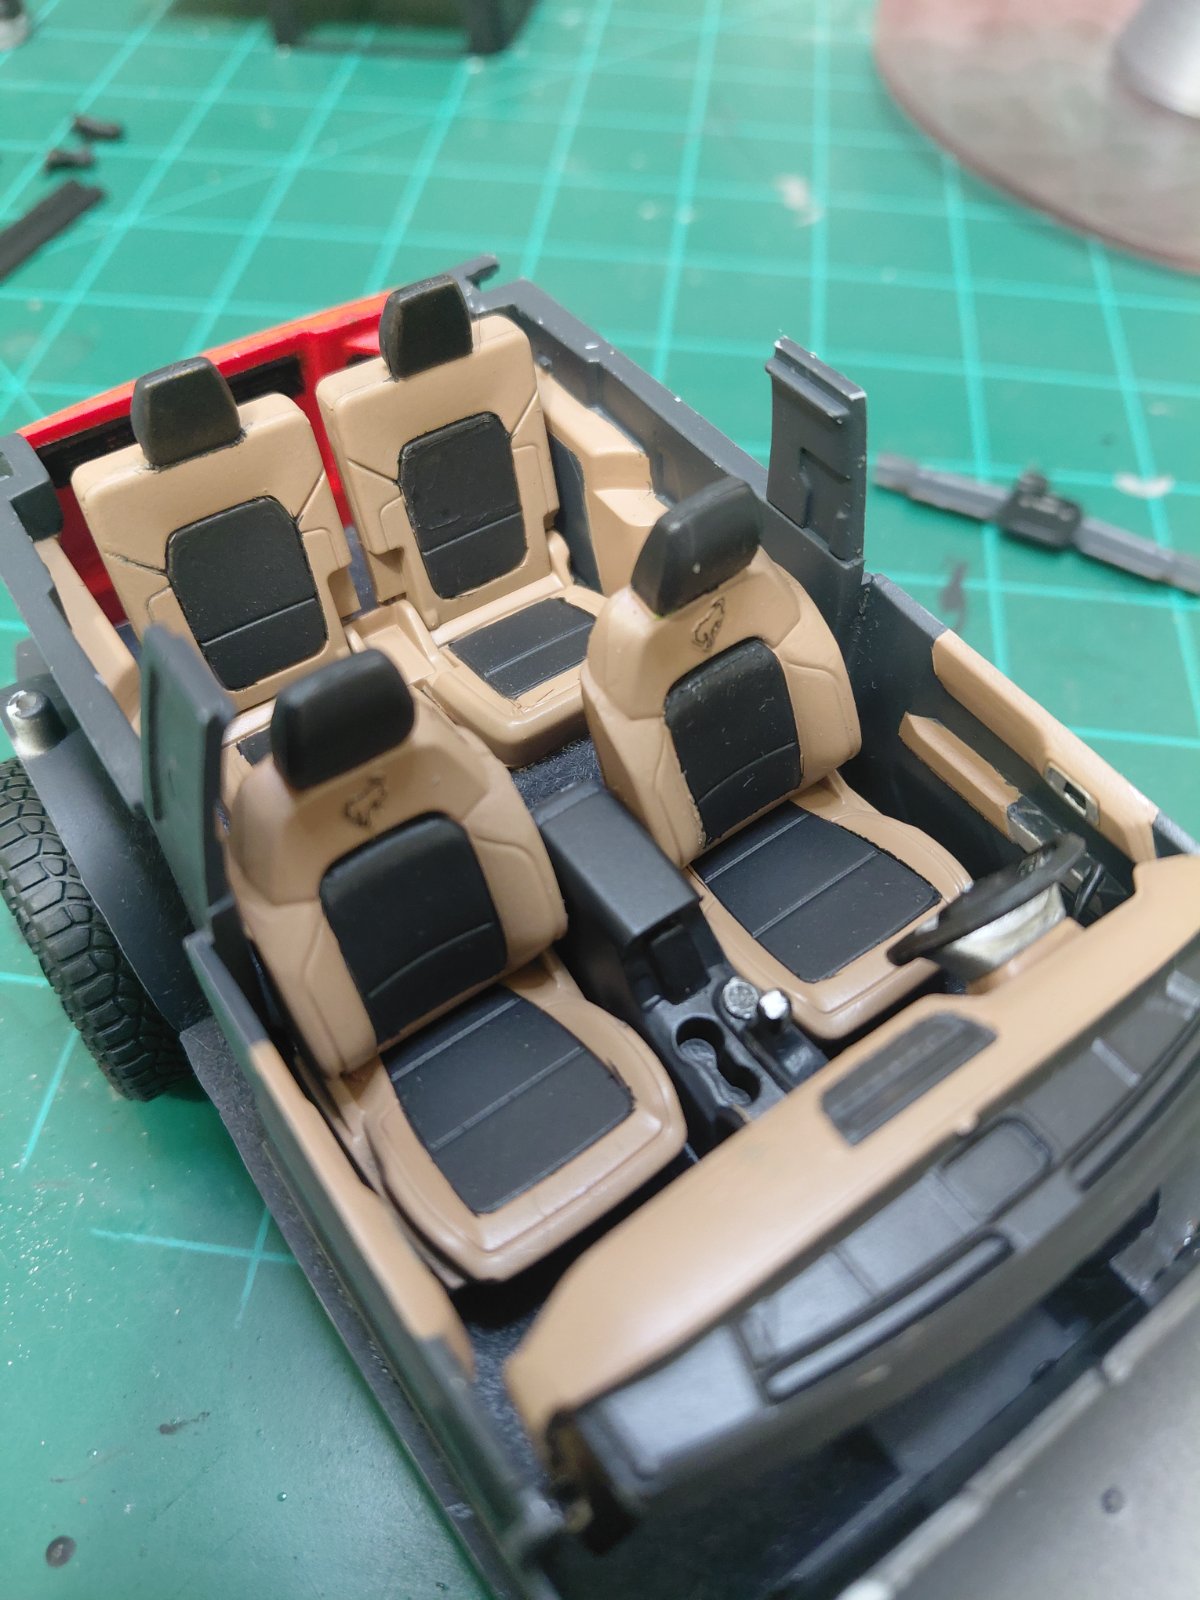
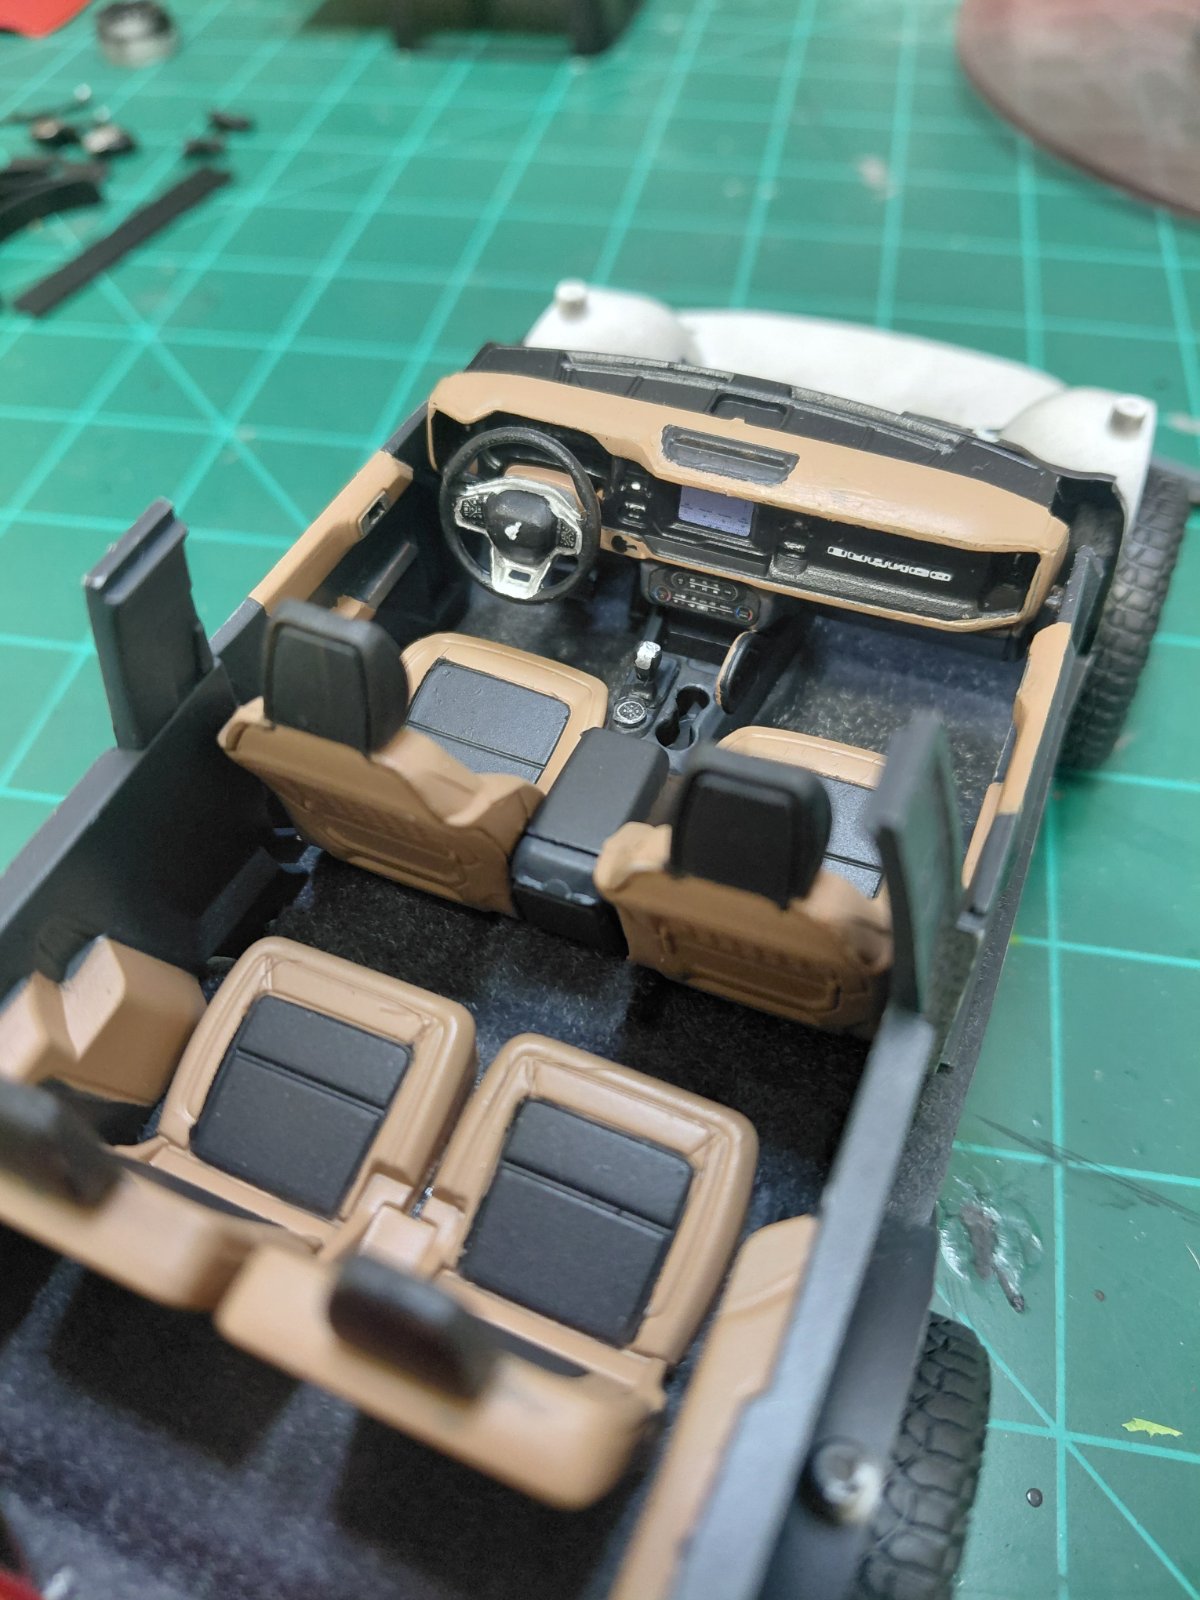
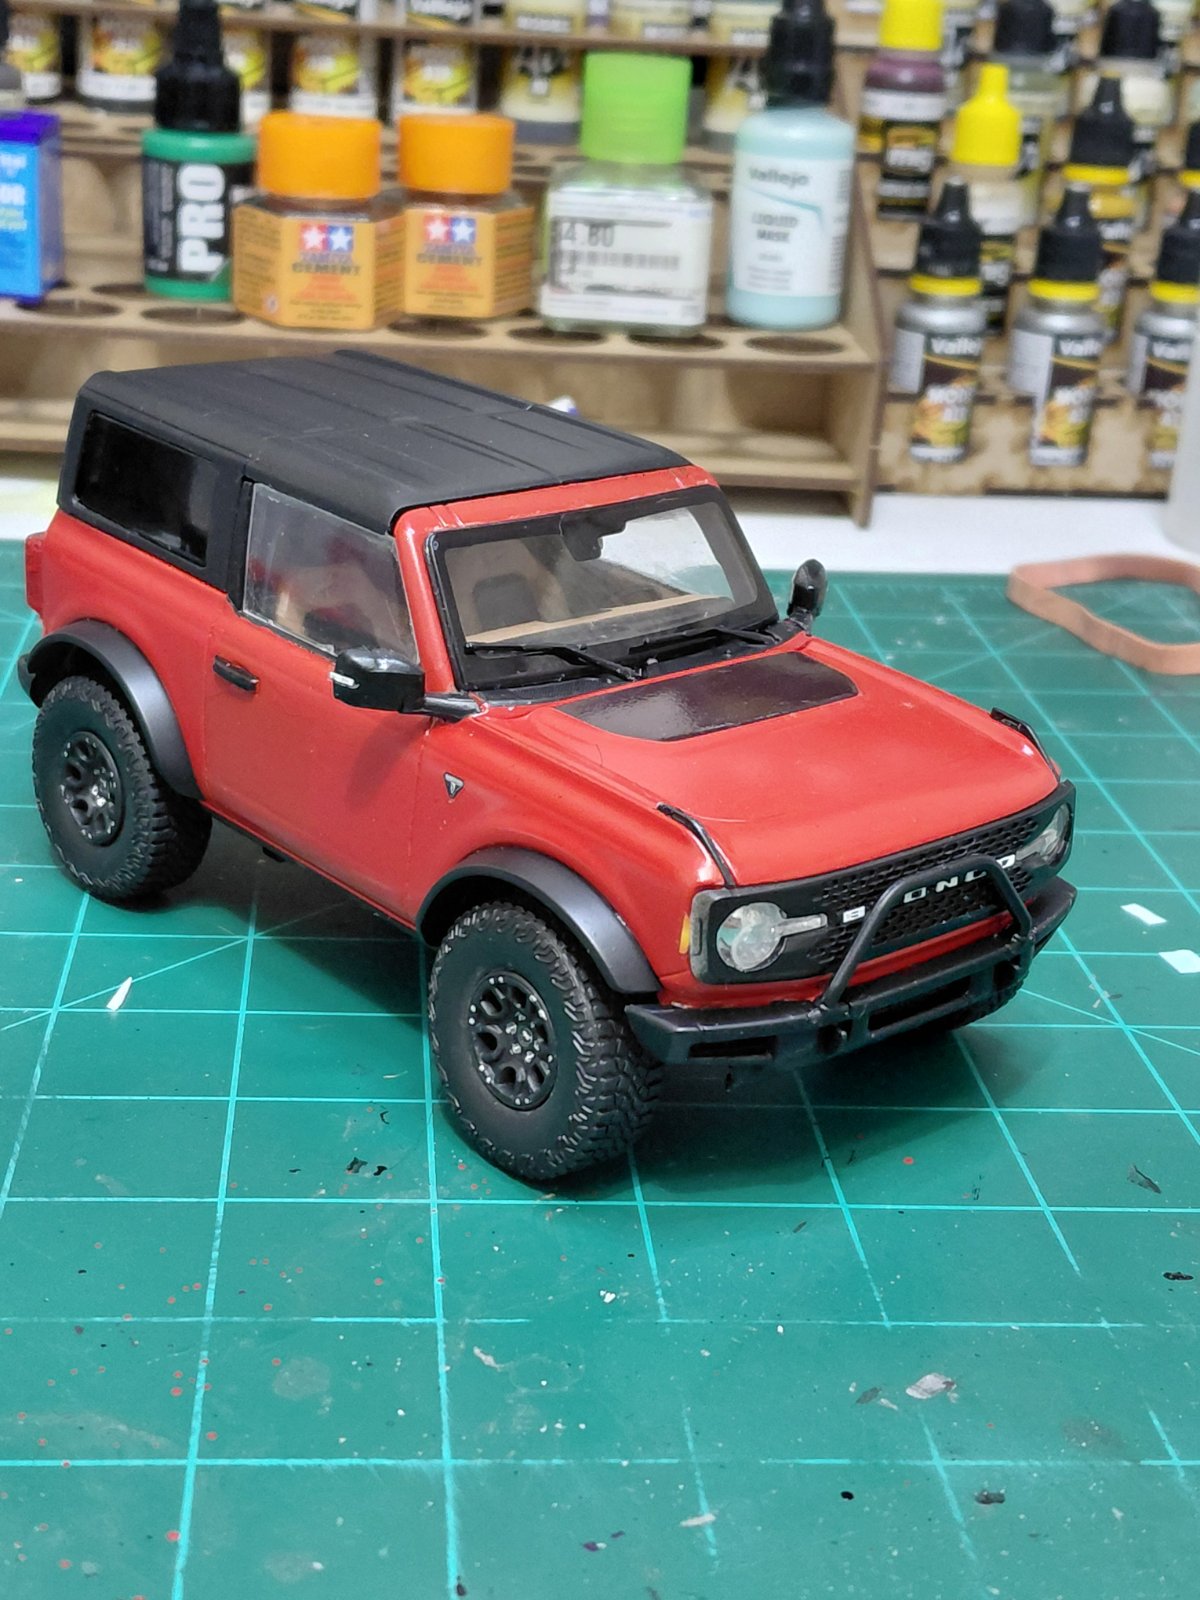
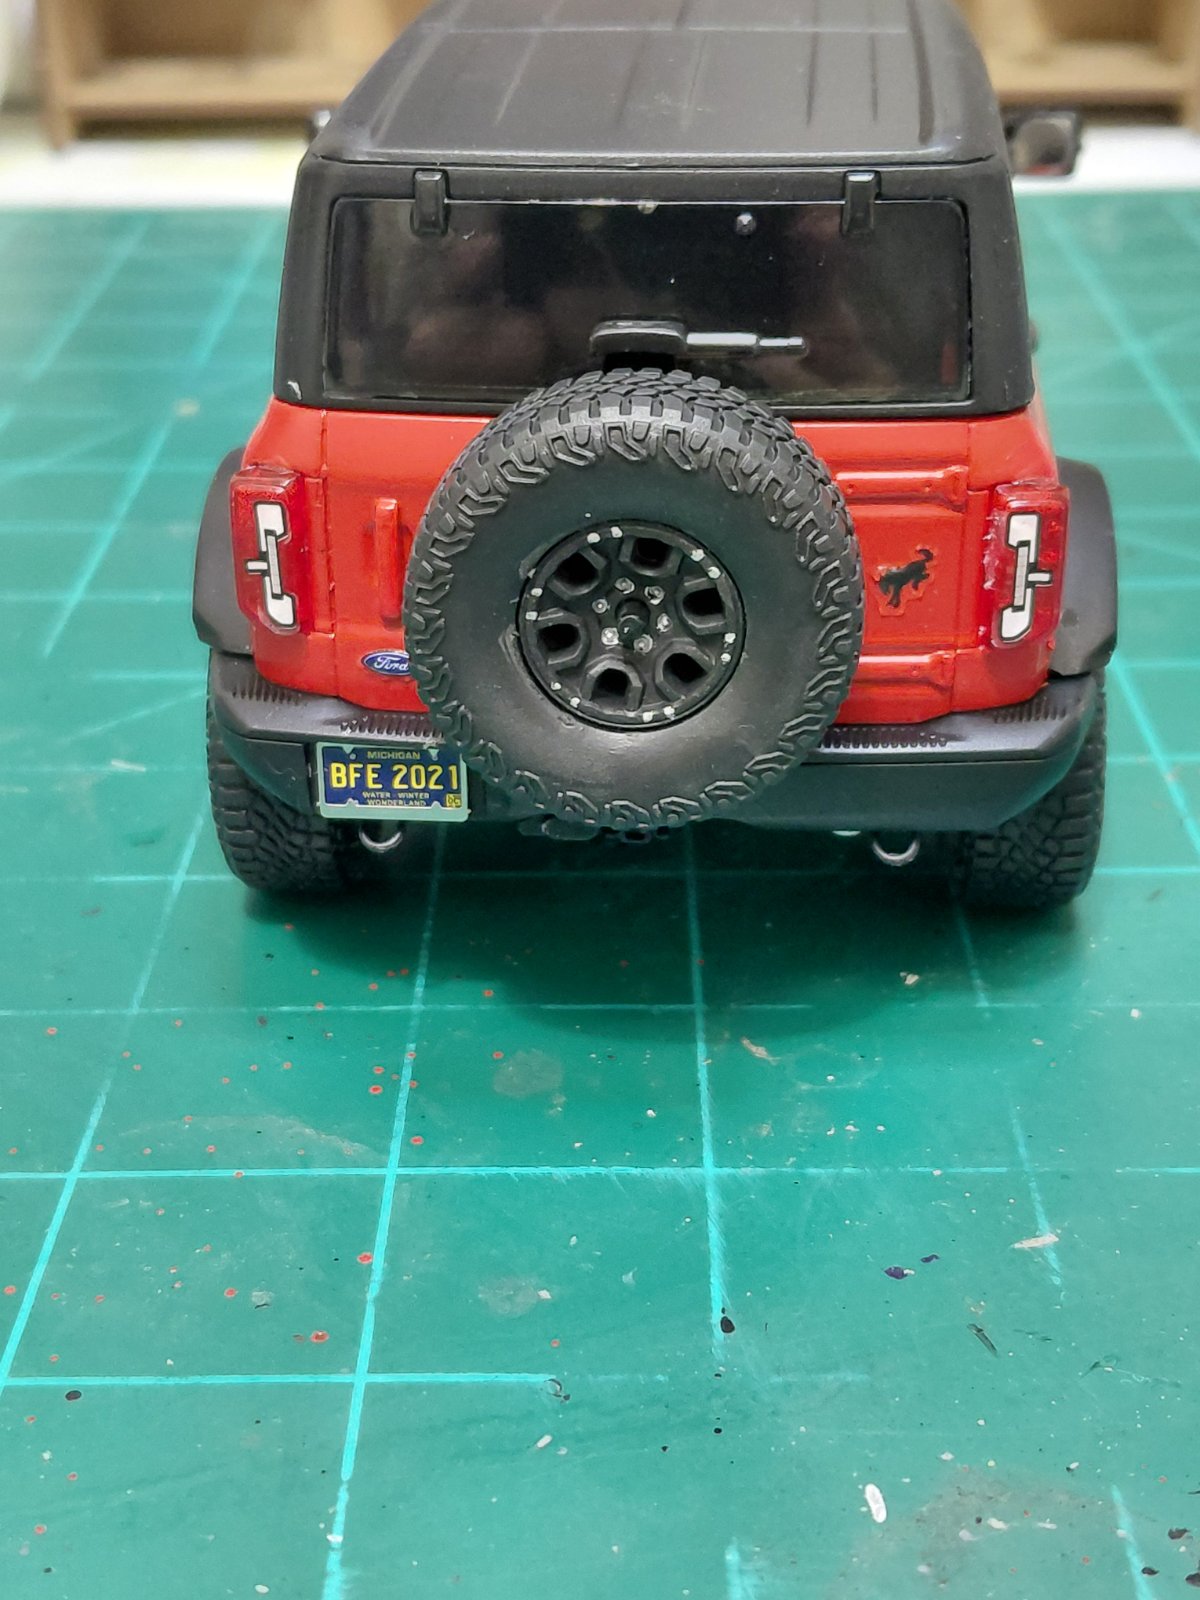
I've gotten a bit of a start on this bronco model and I'm finding it quite interesting in the detailing that went into the interior and the body and underside of this model. It doesn't have an engine but this will still be fun.
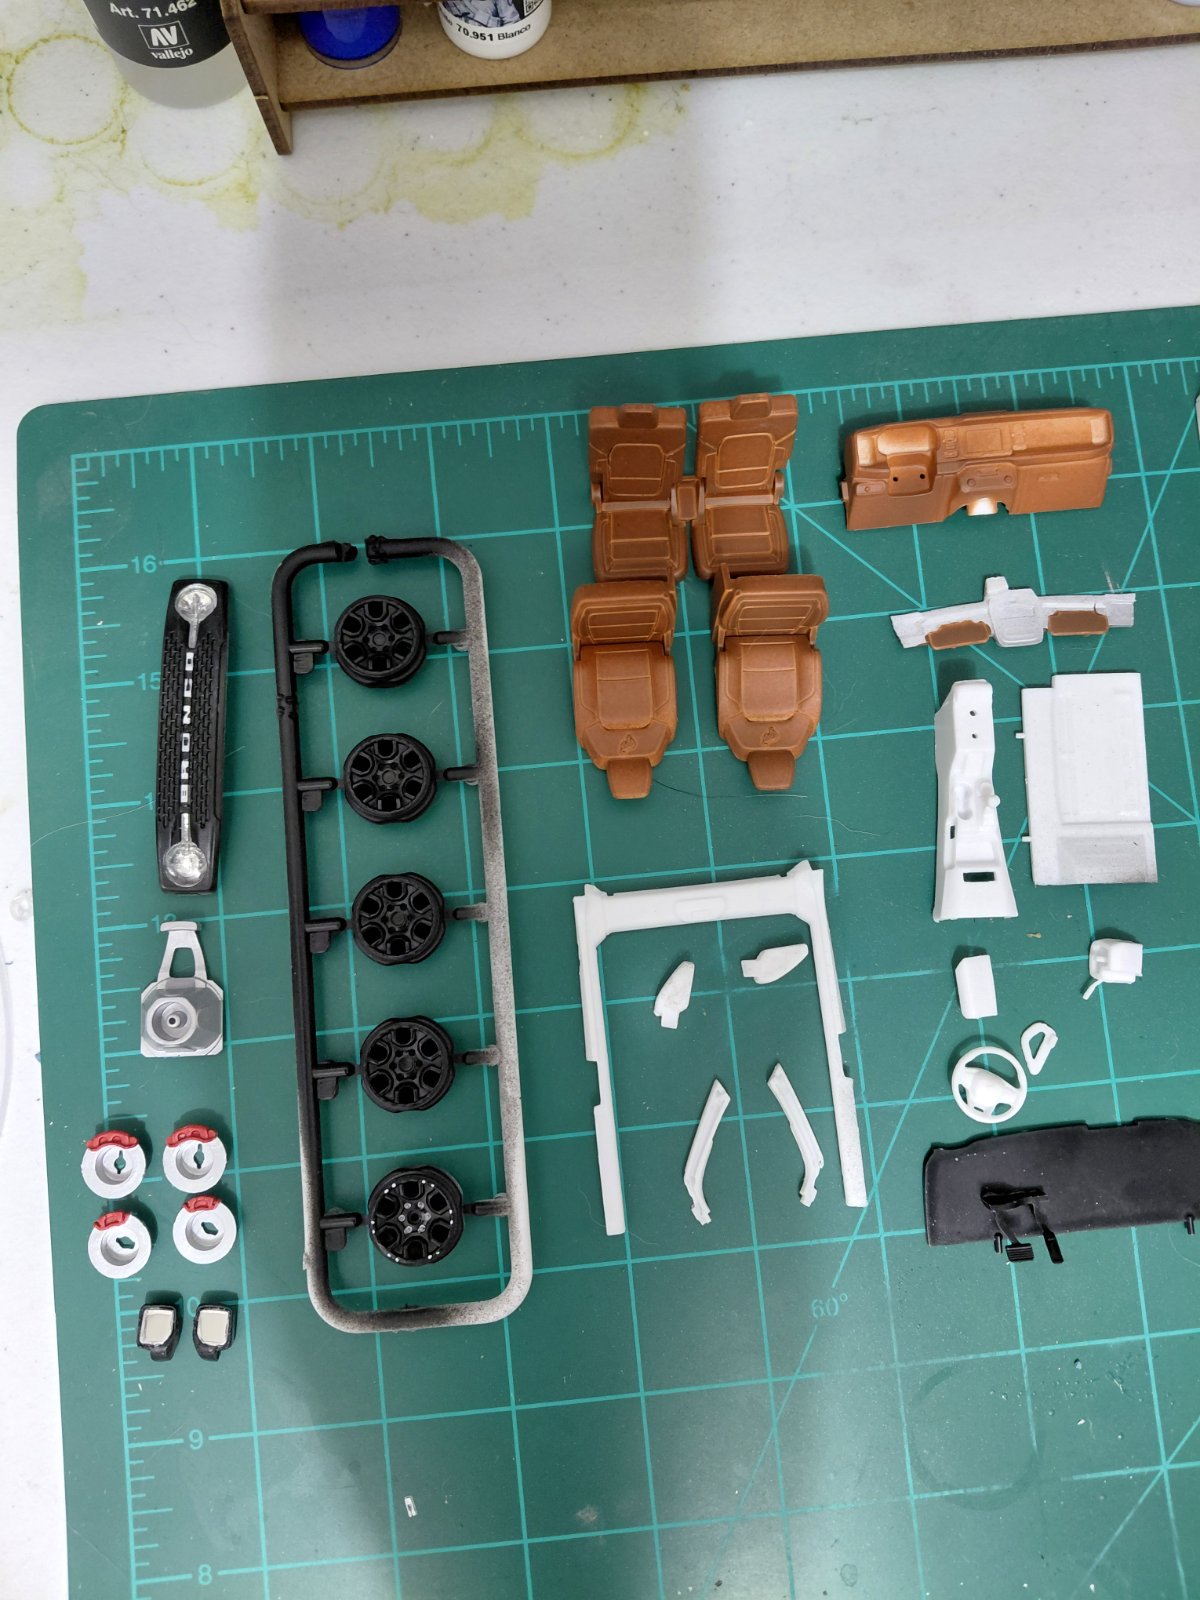
Did some part sorting and a bit of painting and started some assembly.
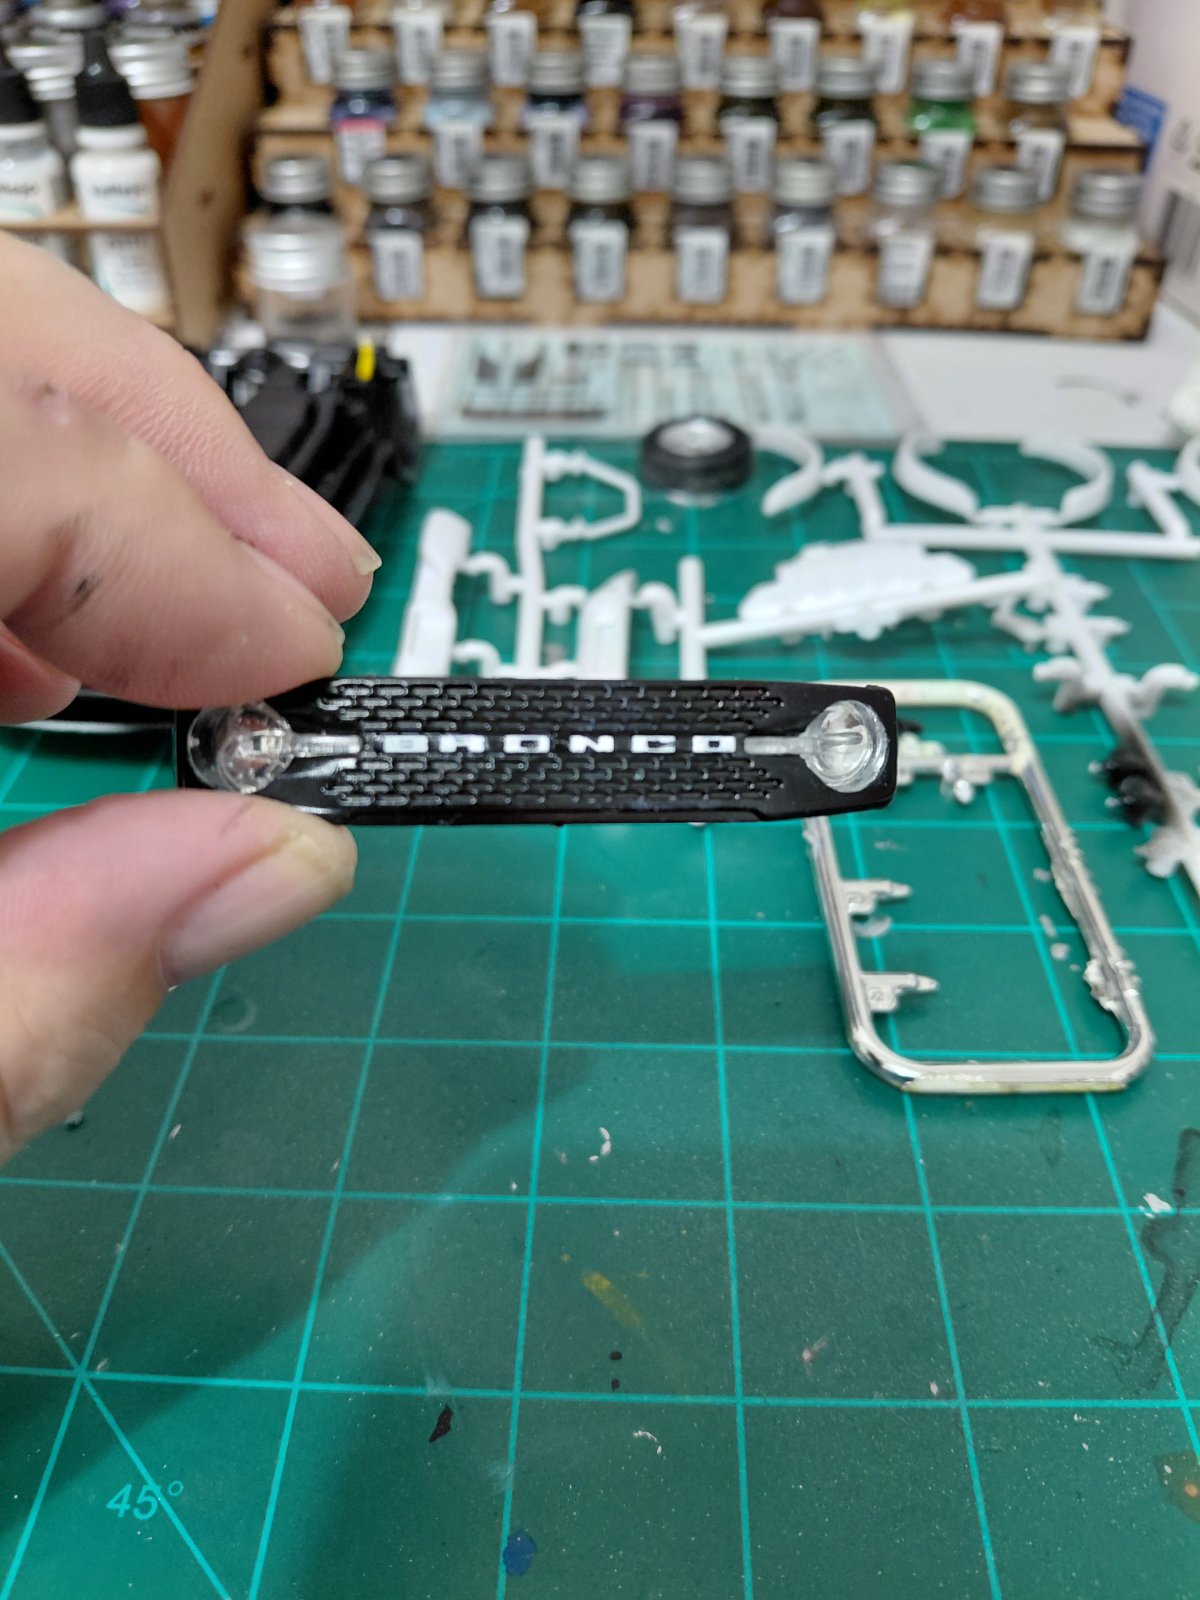
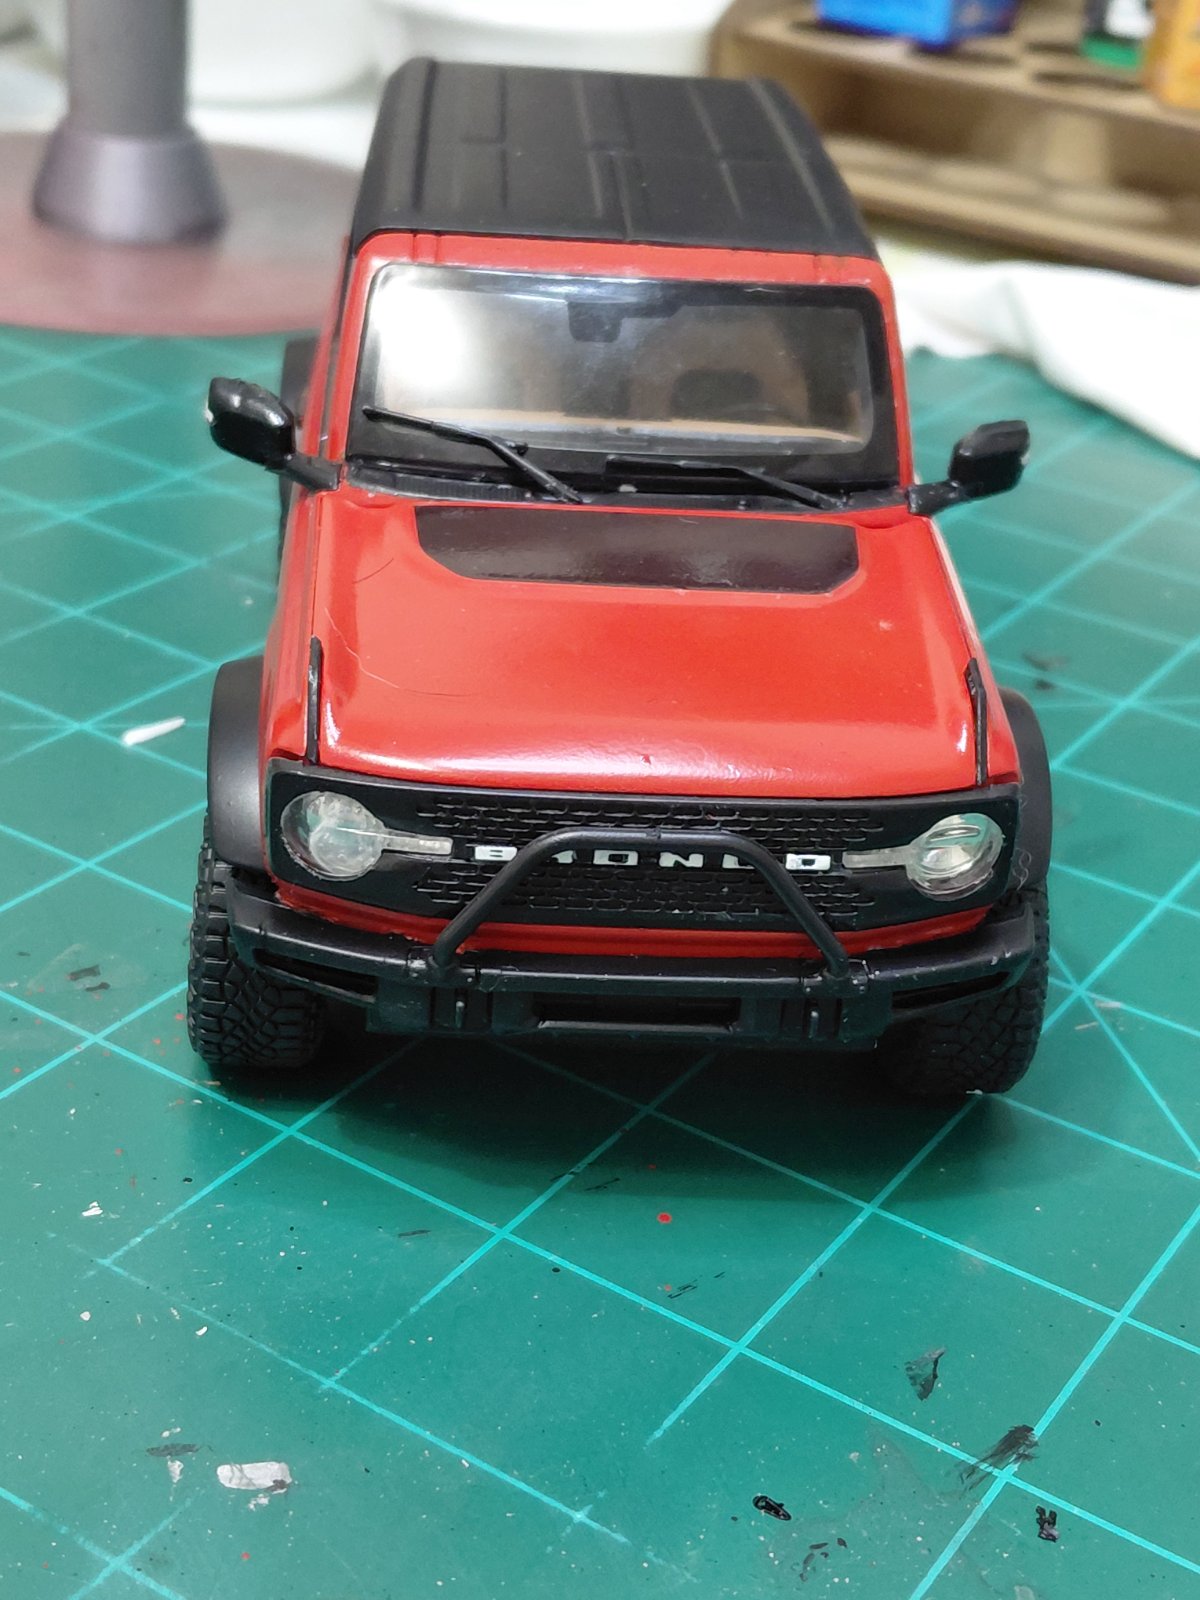
Really pleased with how the grill turned out. I tried assembling it and putting on the decals which were individual letters for the word Bronco; I managed to get the B on and then lost three of the last four letters because the decals were so thin and flimsy they would tear while trying to place them over the relief letters. I ended up taking them all off and painted the letters with a brush. Had to make a few touch-ups but nothing I couldn't fix.
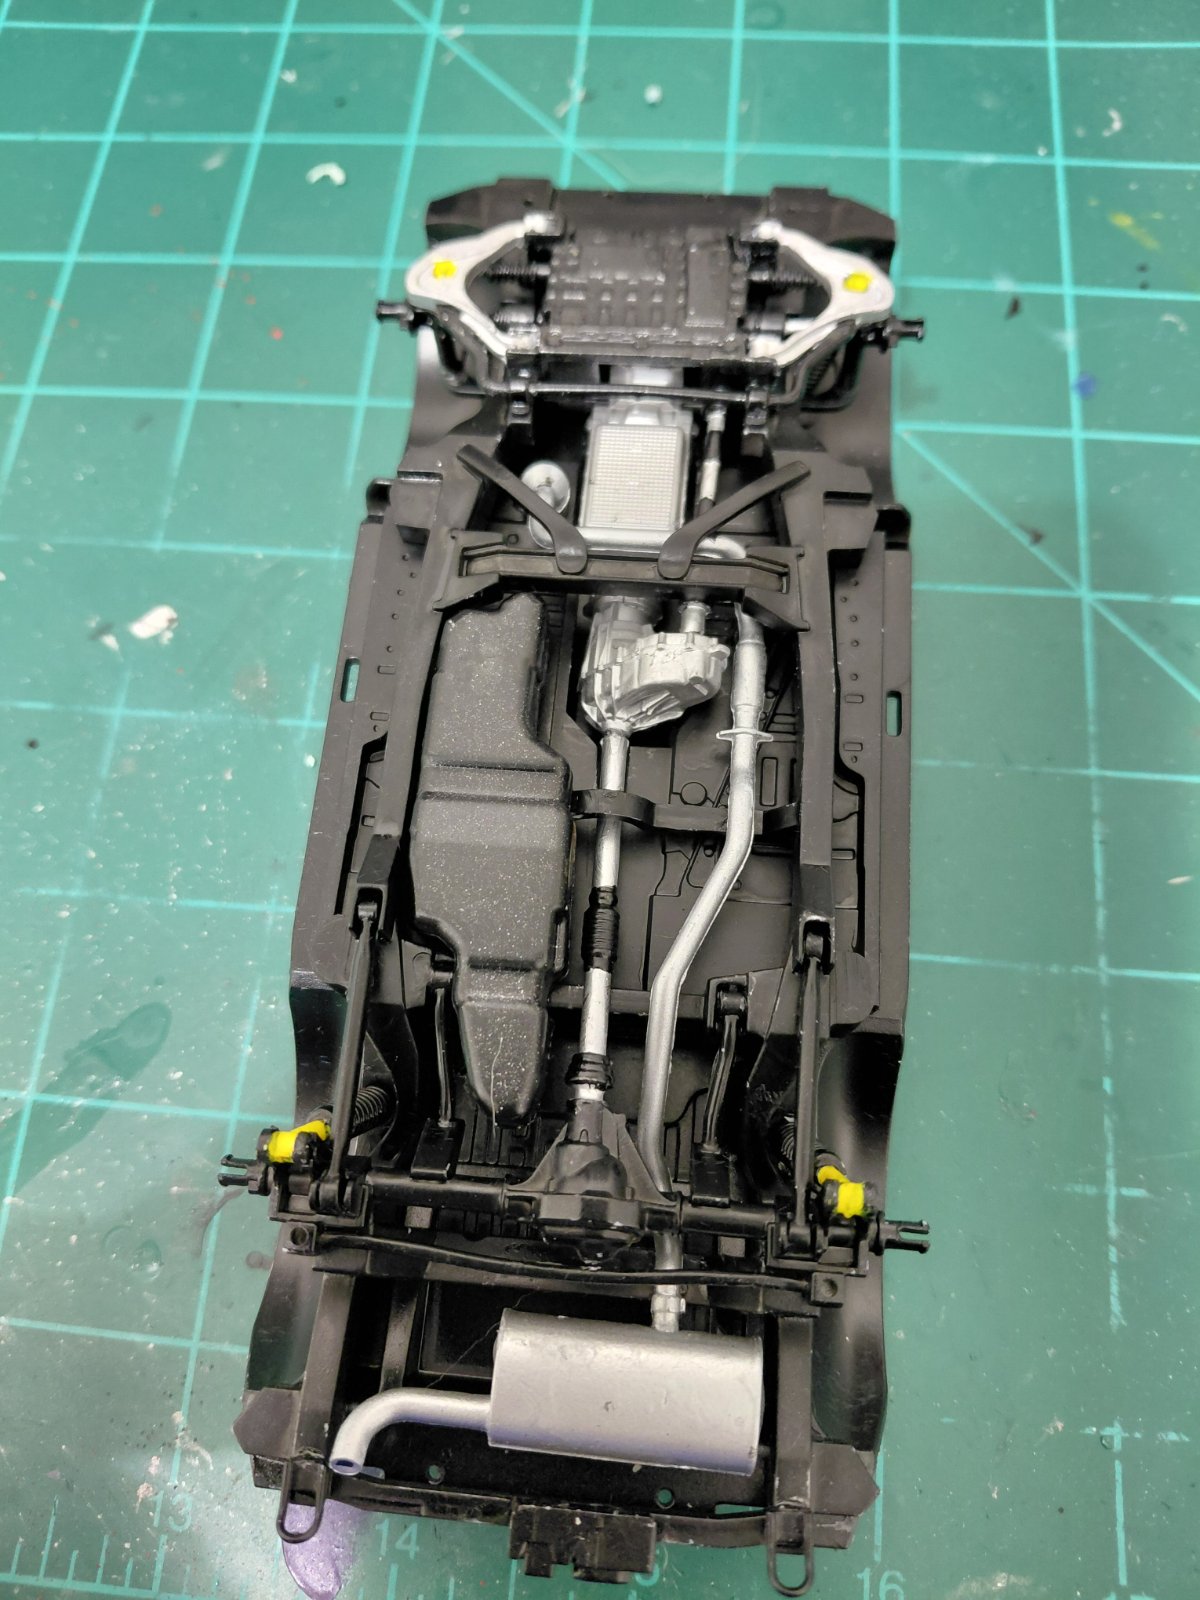
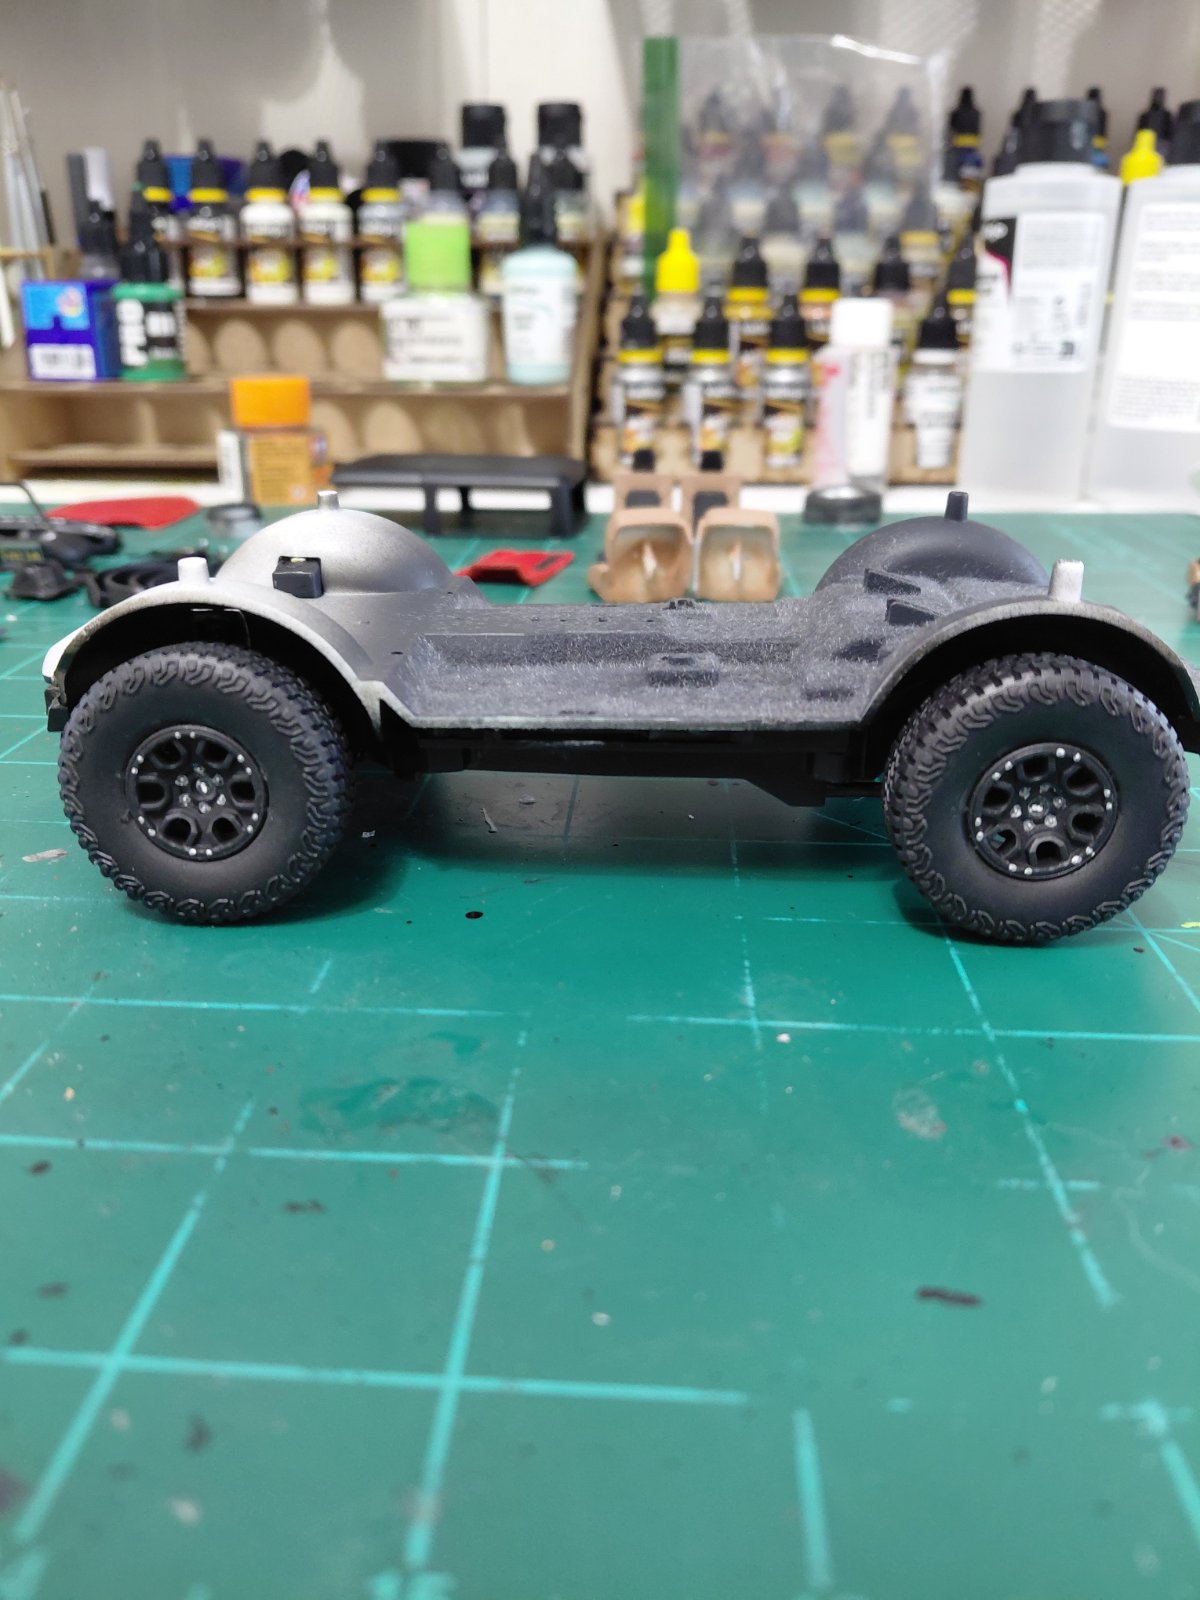
The underside of the chassis has a lot of detail in itself and the components that attach are quite cool and provide for a complex suspension. Also they did a good job of disguising that there's no real engine in this model. You wouldn't know by looking at a first glance from underneath. A couple of the photos show that I didn't quite get enough black paint coverage on the shocks and I'm glad. It actually enhanced the detailing.
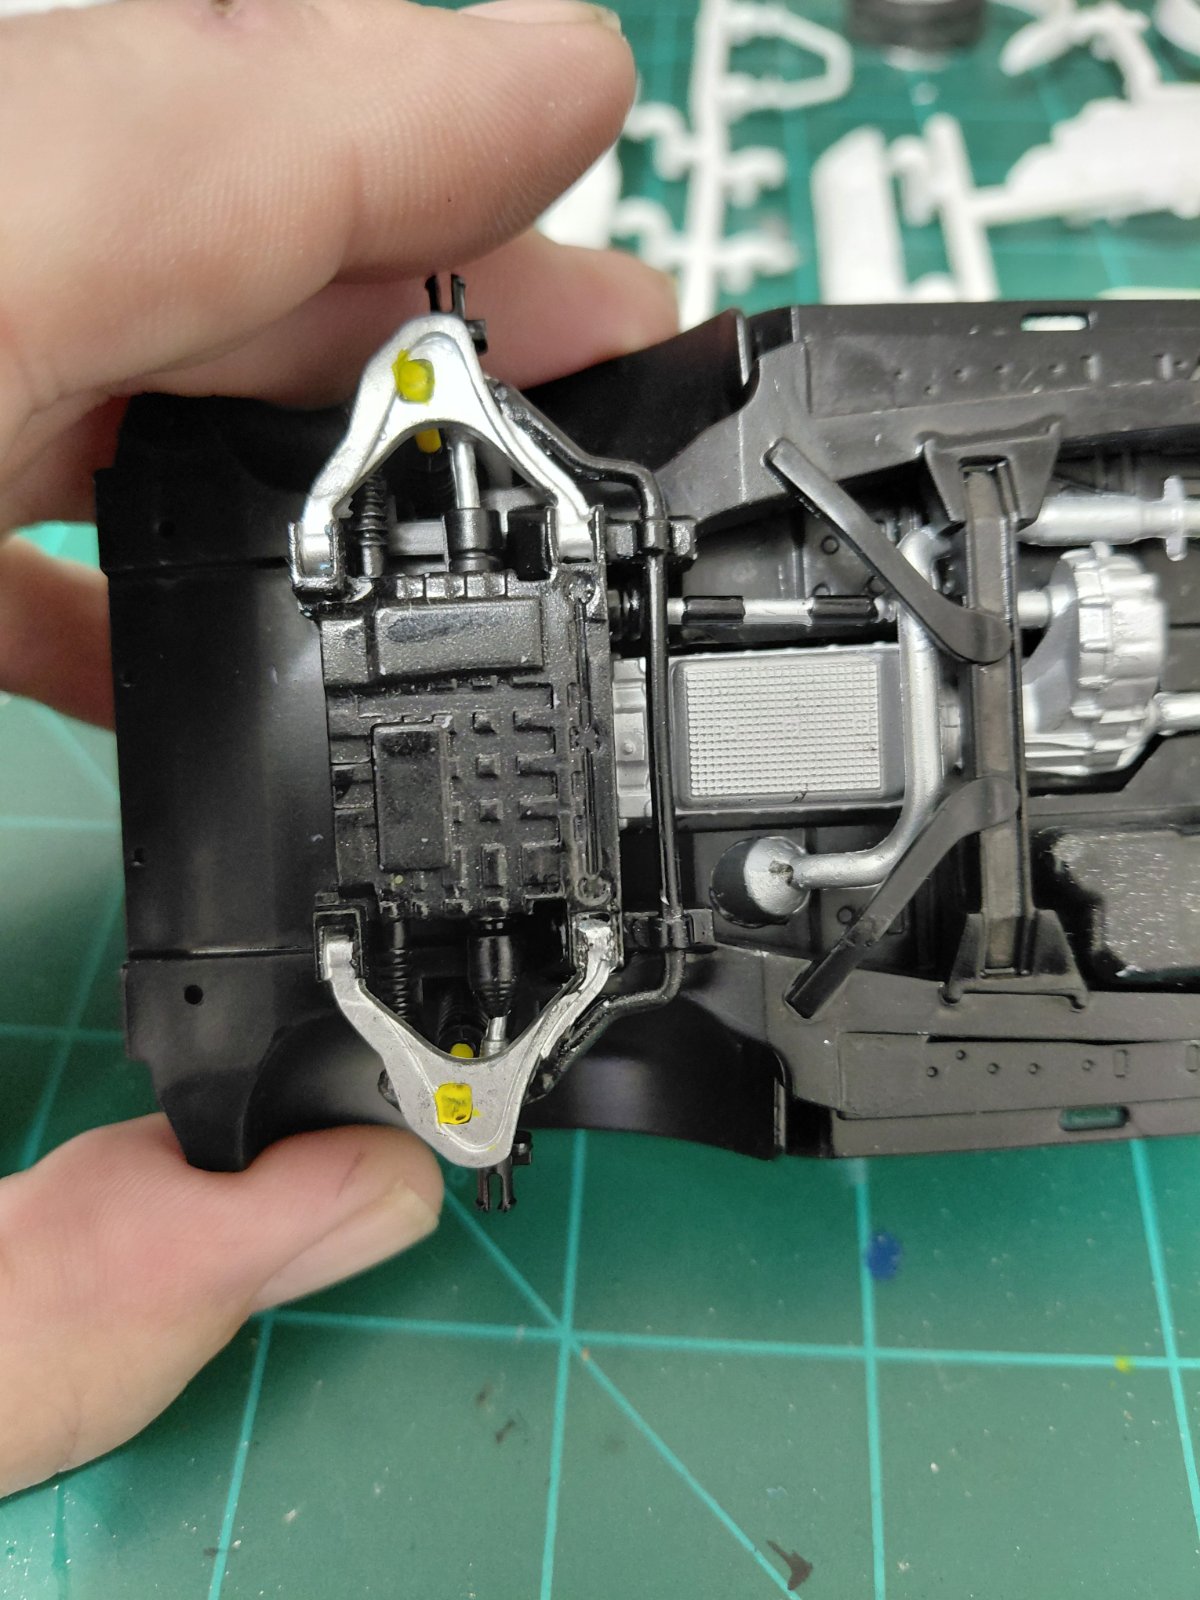
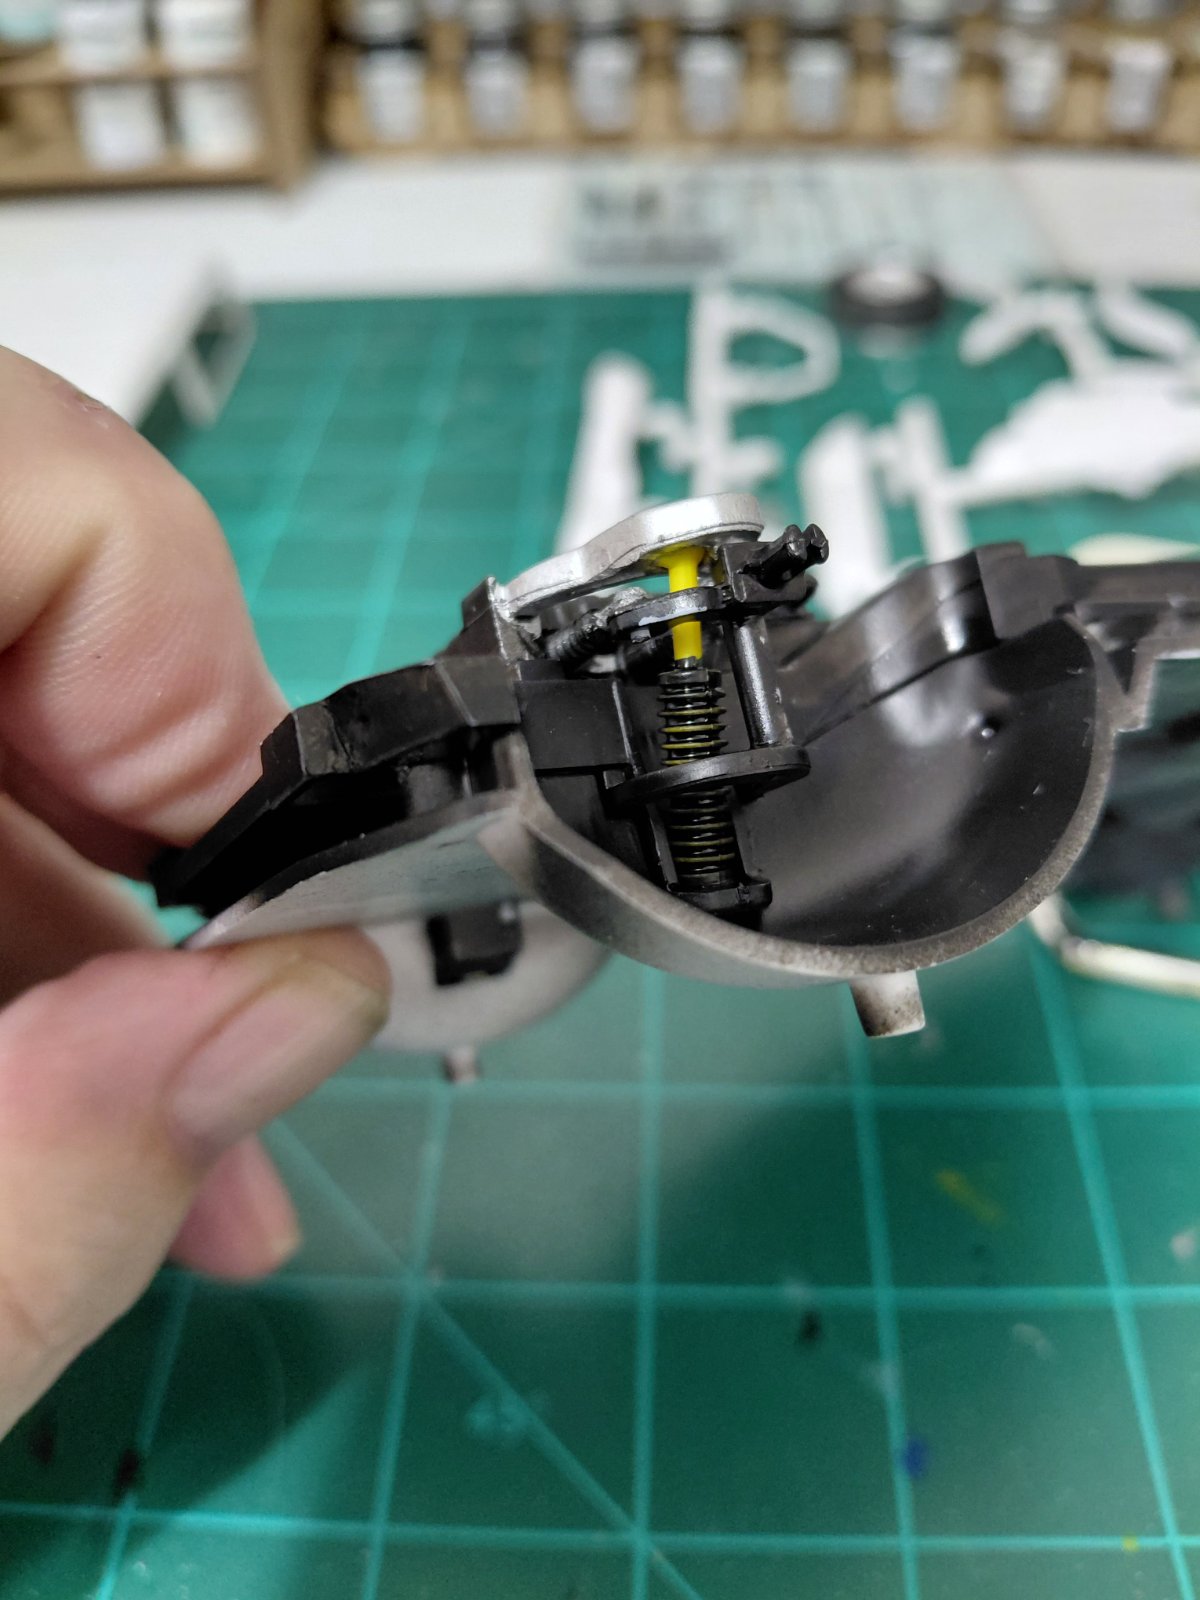
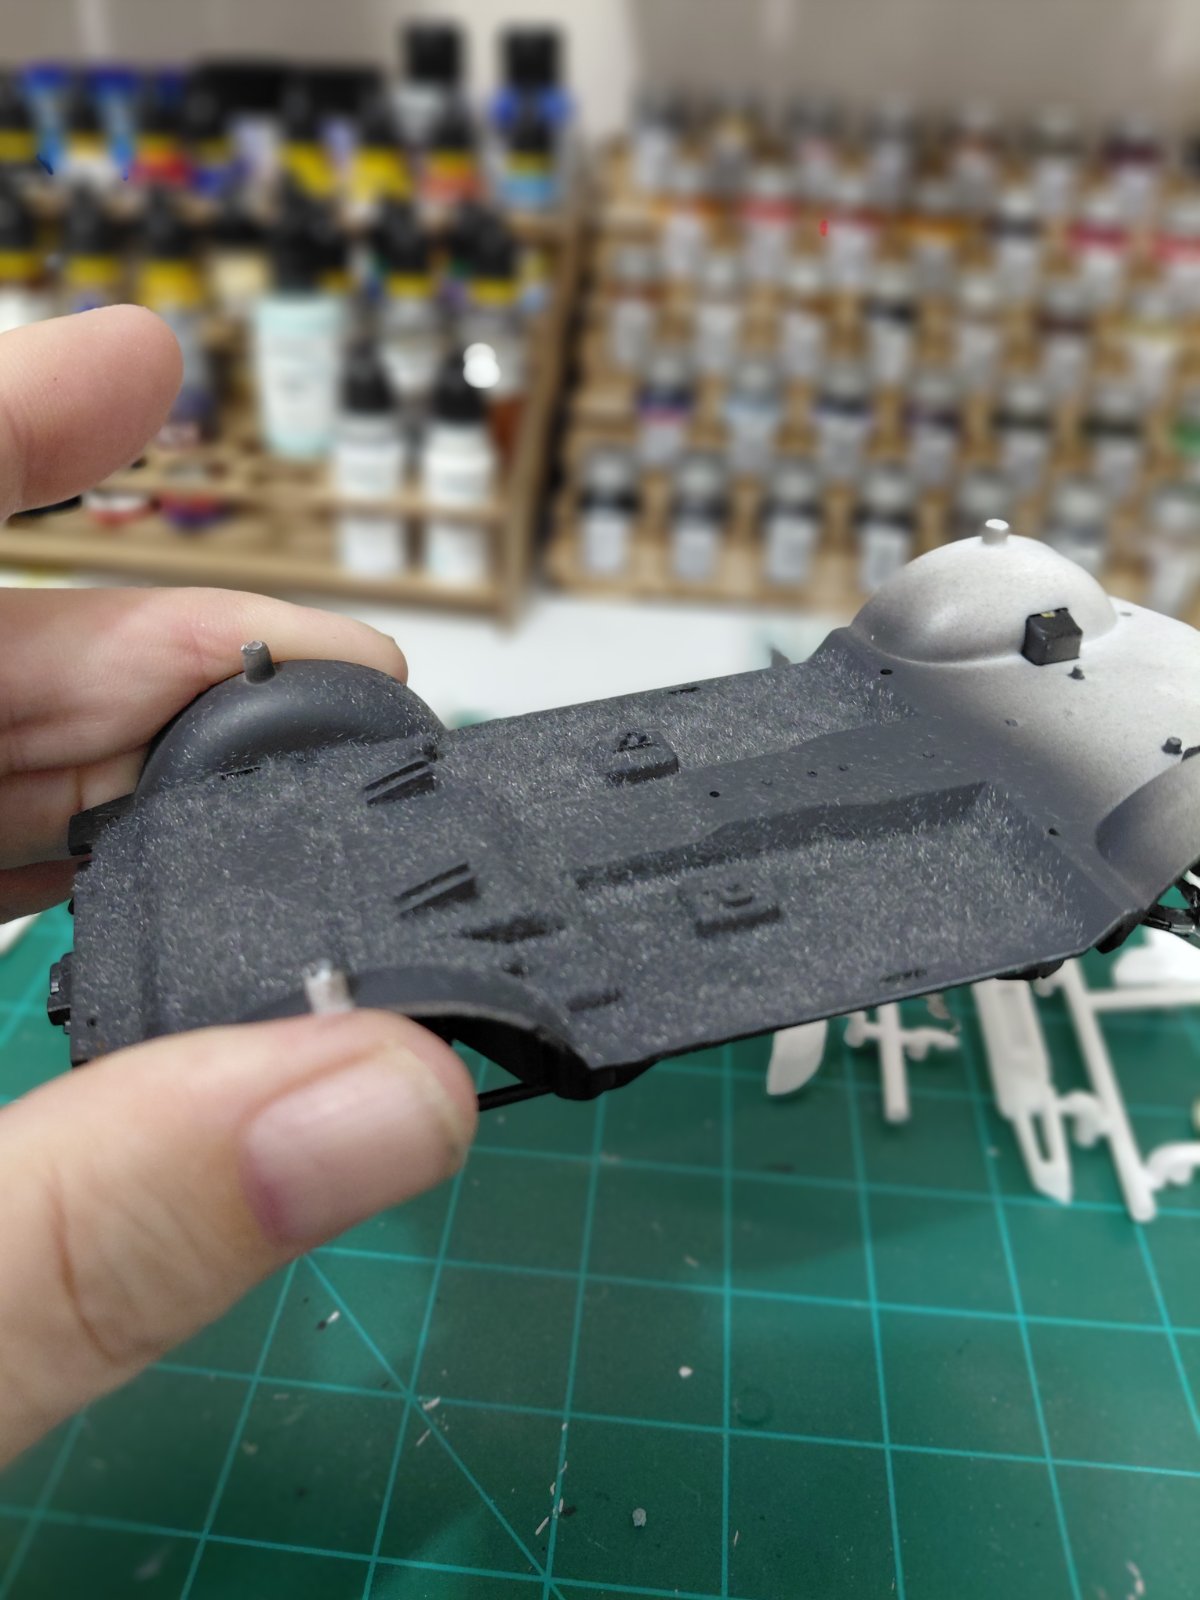
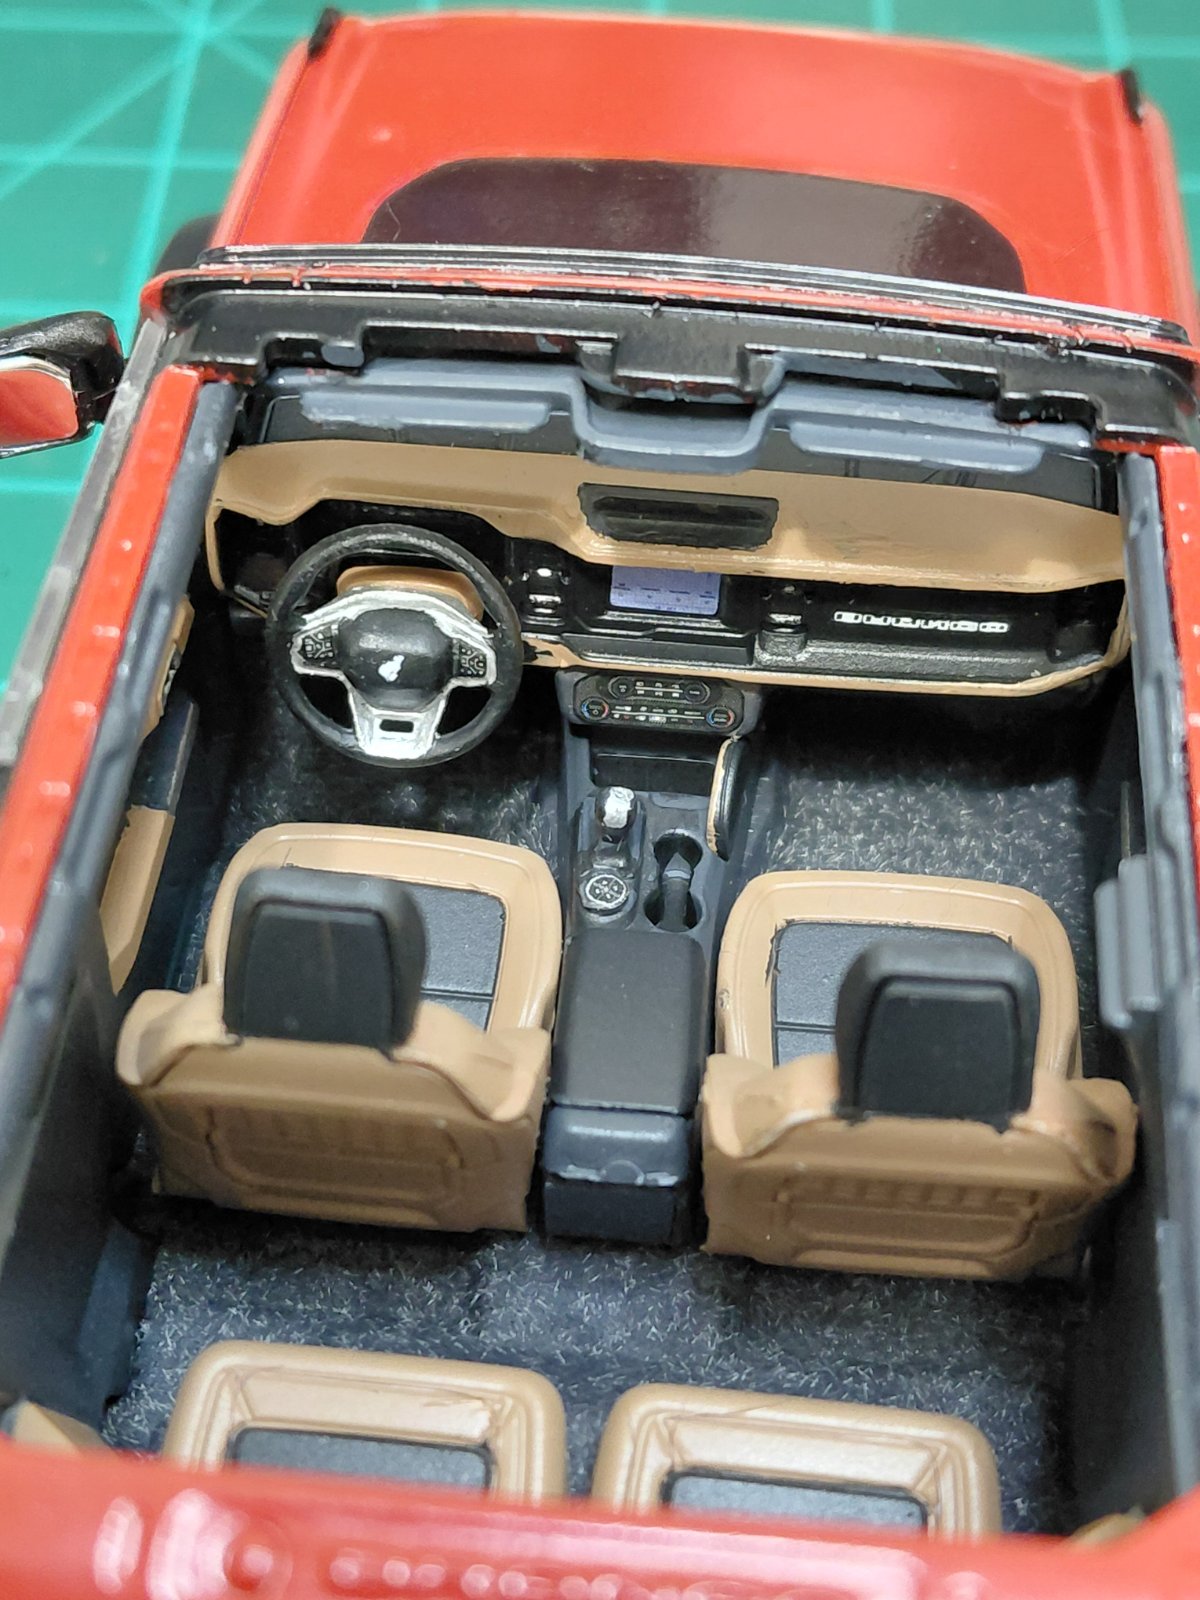
I also sprayed a heavy coat of my interior base color on the floor pans for the front and rear and then threw a bunch of gray flocking on it, shook it around, and then dumped it off onto a piece of wax paper that I had the fore thought to put down below it. The wax paper worked like a charm. It caught all the excess fall off and I was able to just fold it into a v trough and pour it back into the bottle; never having to touch it with my fingers.
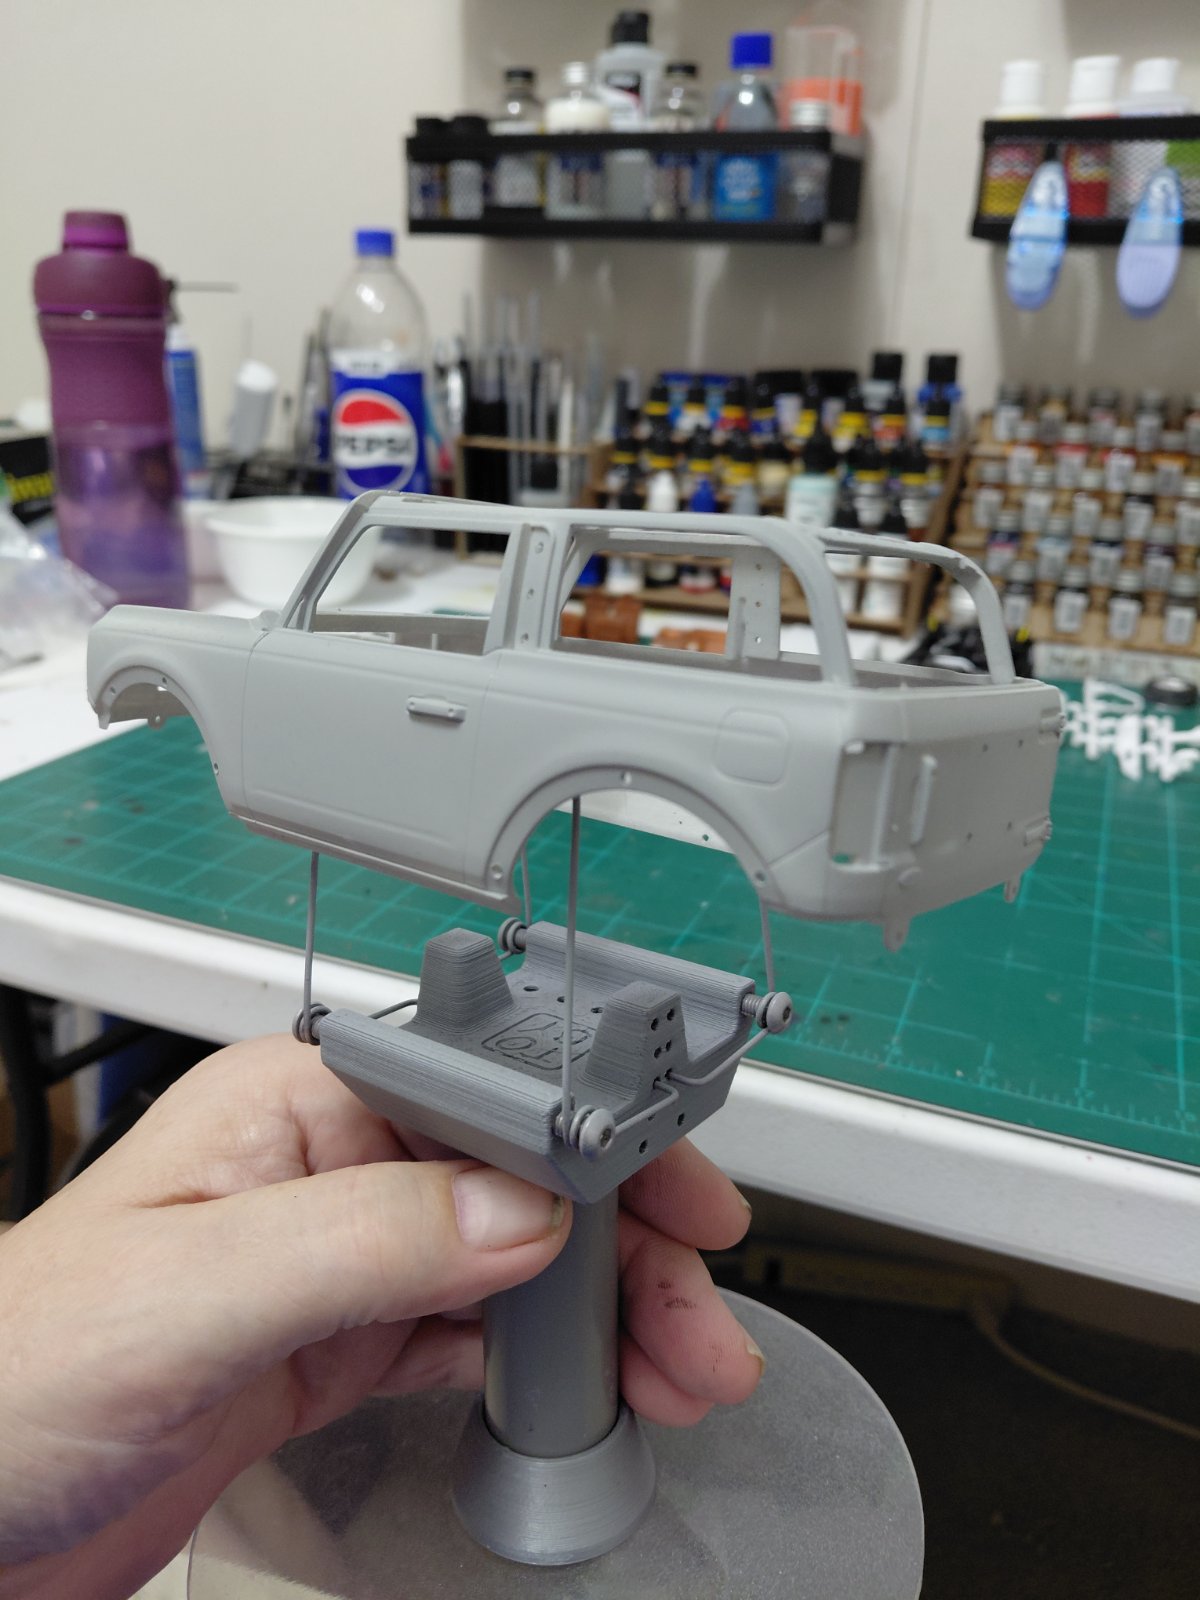
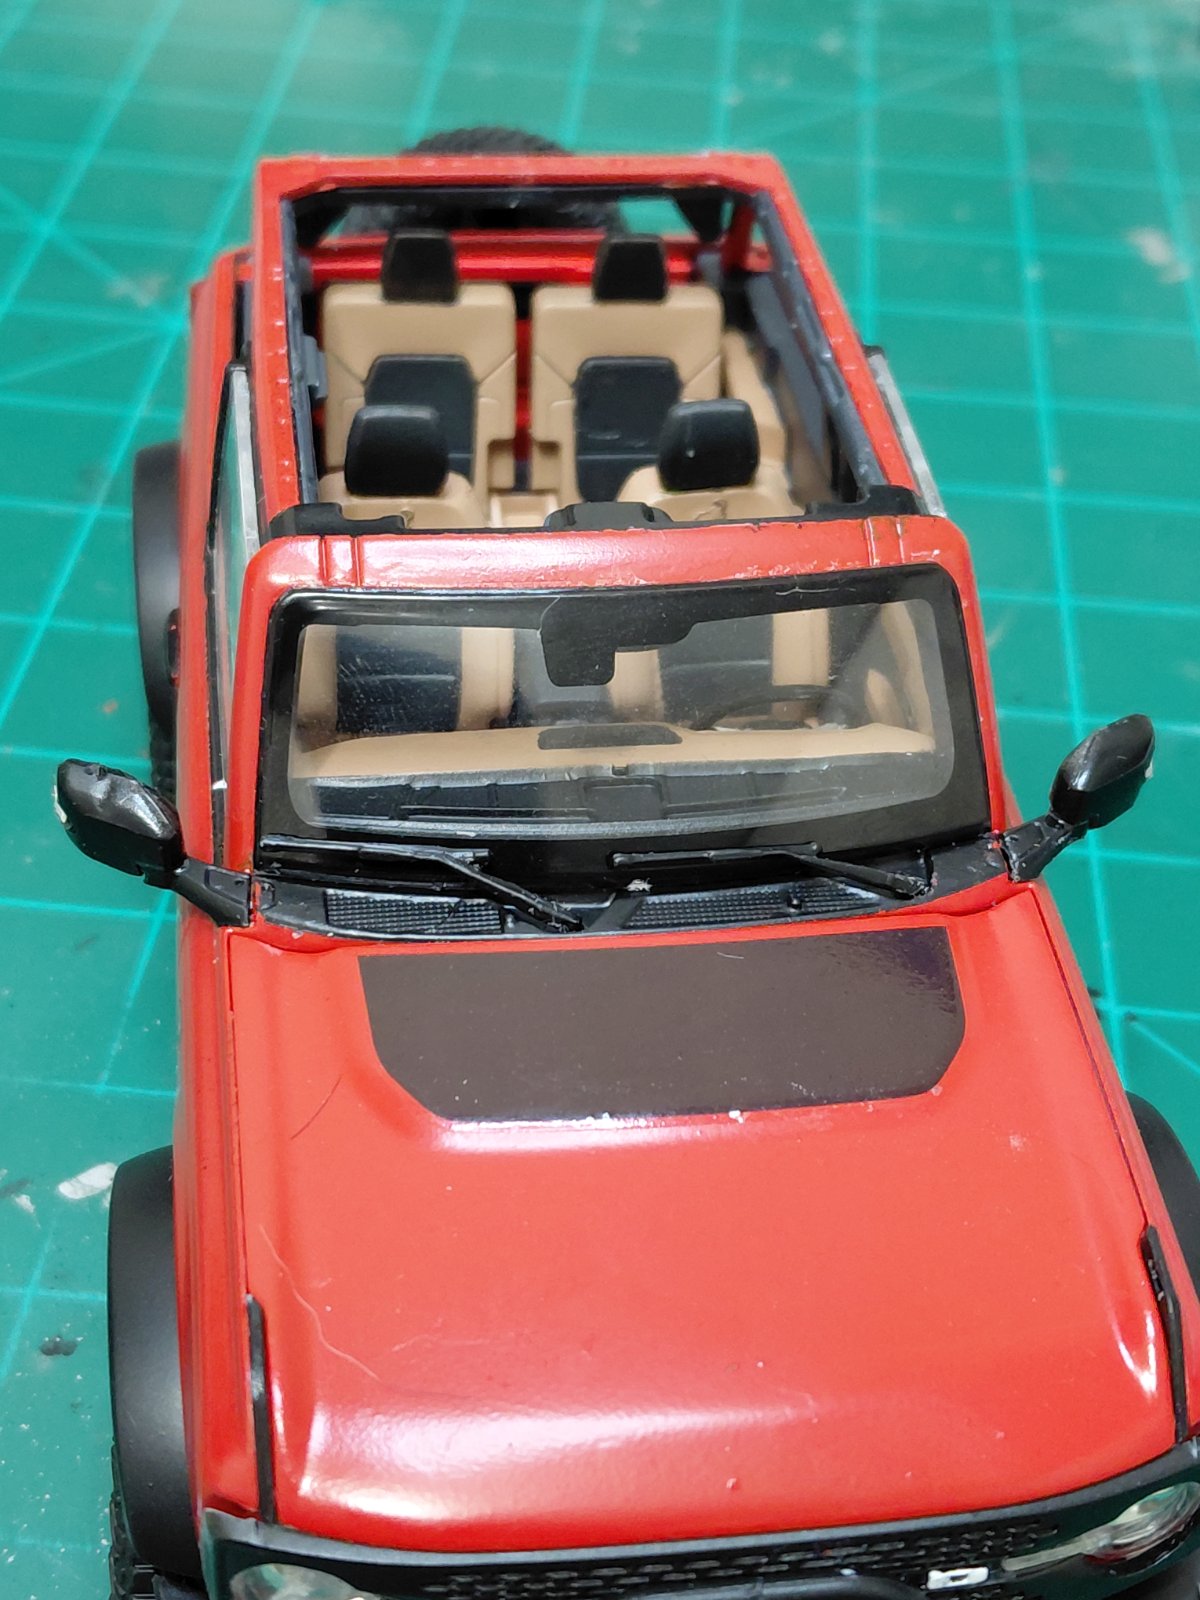
Lastly, I got some primer and color on the body and then gave it a gloss coat.
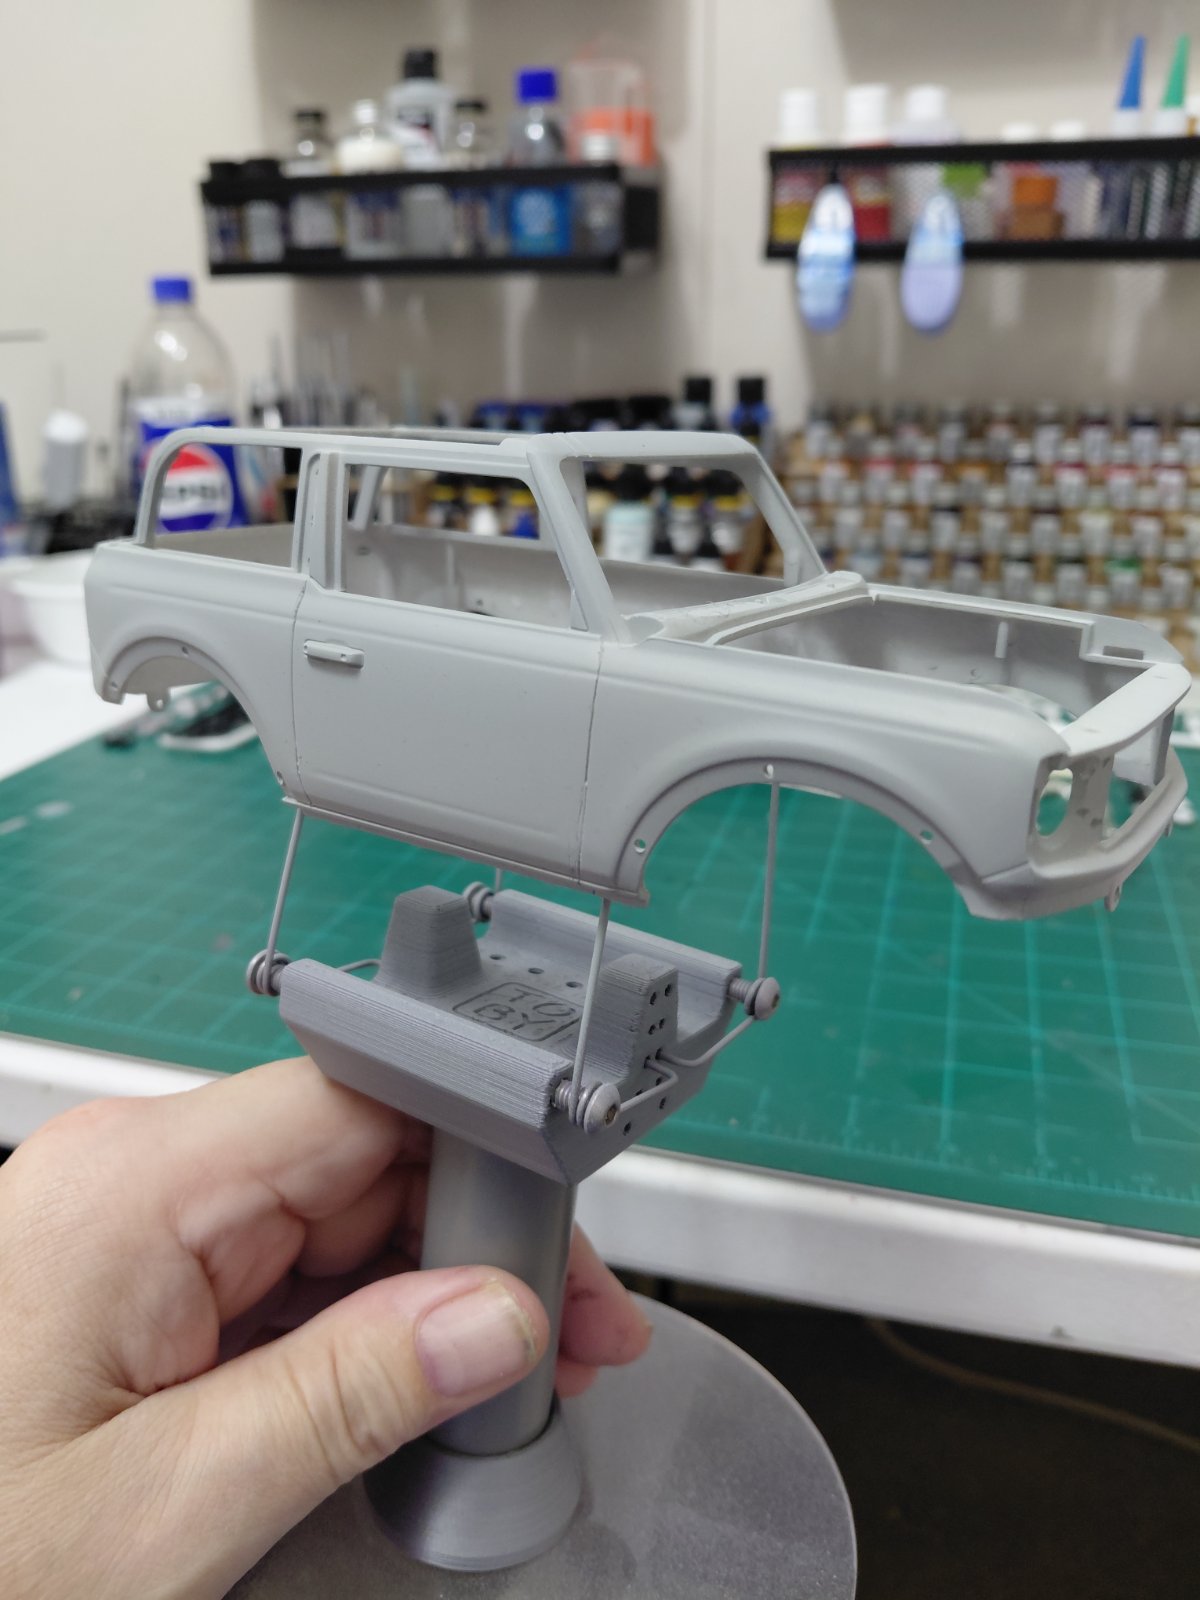
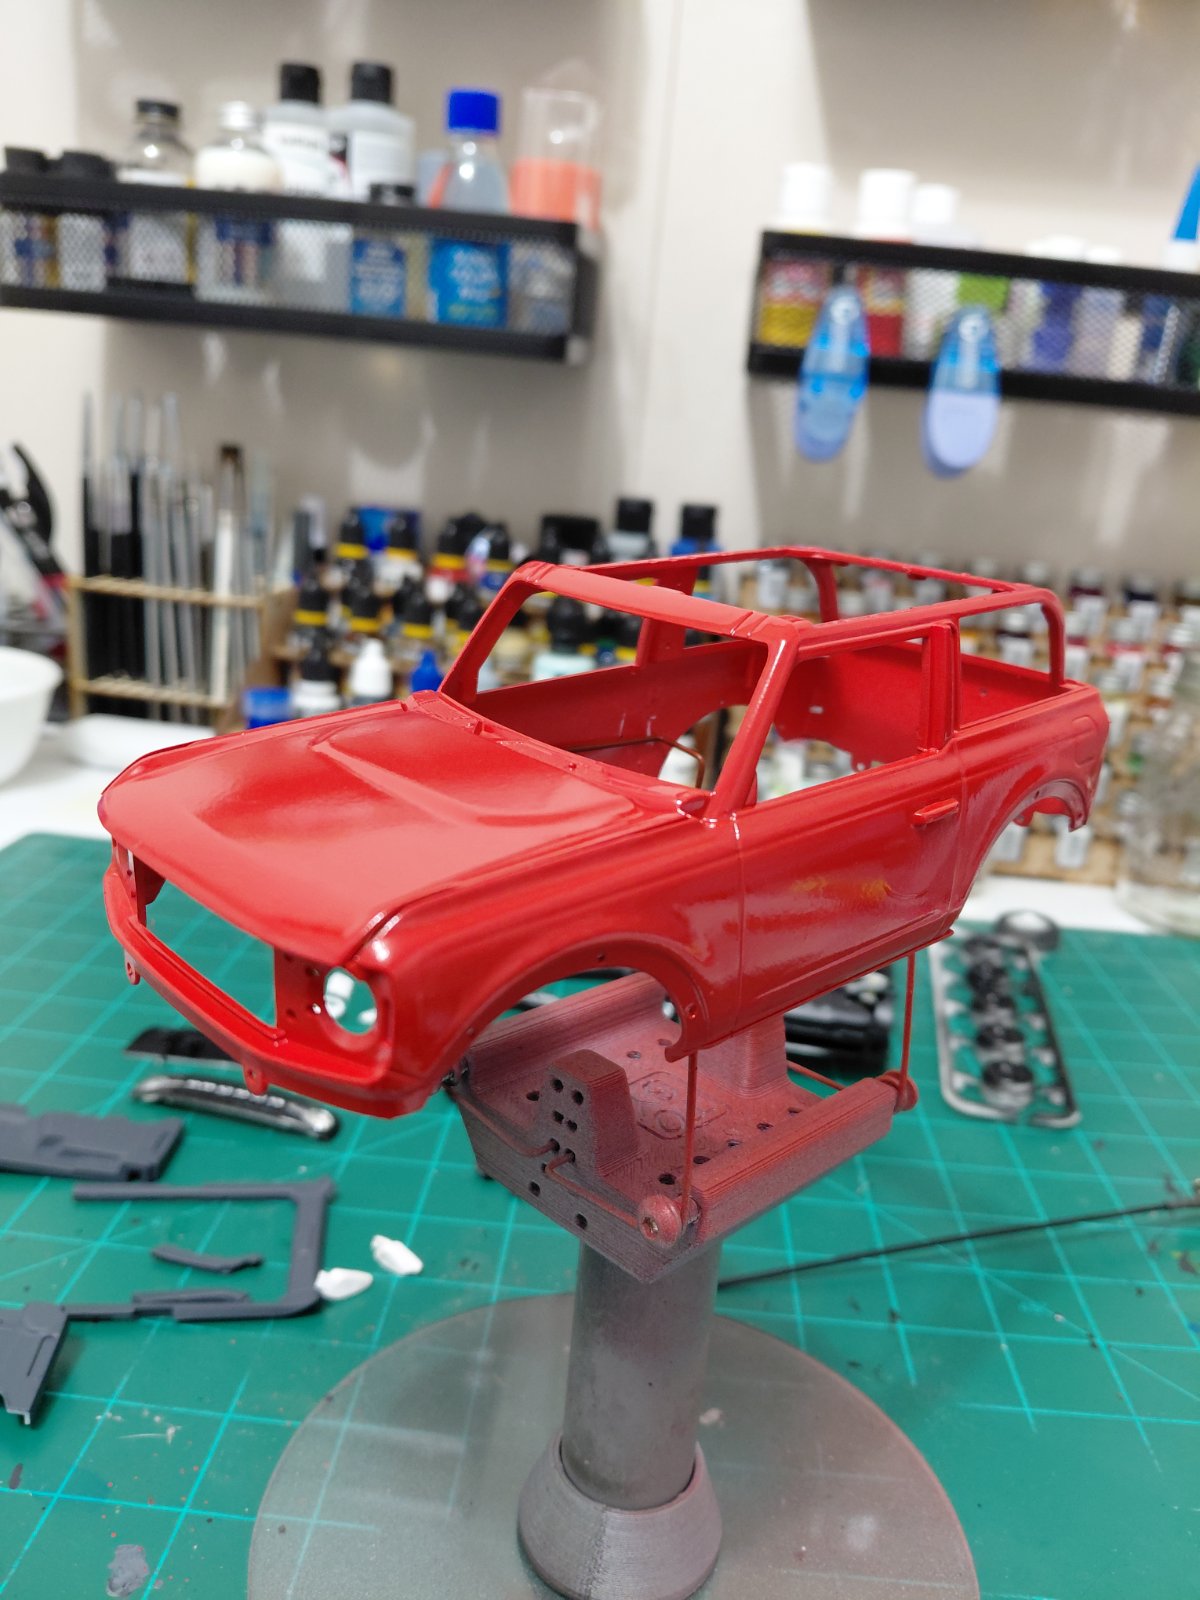
Well that's it for now. Taking Saturday off and maybe Sunday I'll try starting to mask this thing off for the black trim
Did some part sorting and a bit of painting and started some assembly.
Really pleased with how the grill turned out. I tried assembling it and putting on the decals which were individual letters for the word Bronco; I managed to get the B on and then lost three of the last four letters because the decals were so thin and flimsy they would tear while trying to place them over the relief letters. I ended up taking them all off and painted the letters with a brush. Had to make a few touch-ups but nothing I couldn't fix.
The underside of the chassis has a lot of detail in itself and the components that attach are quite cool and provide for a complex suspension. Also they did a good job of disguising that there's no real engine in this model. You wouldn't know by looking at a first glance from underneath. A couple of the photos show that I didn't quite get enough black paint coverage on the shocks and I'm glad. It actually enhanced the detailing.
I also sprayed a heavy coat of my interior base color on the floor pans for the front and rear and then threw a bunch of gray flocking on it, shook it around, and then dumped it off onto a piece of wax paper that I had the fore thought to put down below it. The wax paper worked like a charm. It caught all the excess fall off and I was able to just fold it into a v trough and pour it back into the bottle; never having to touch it with my fingers.
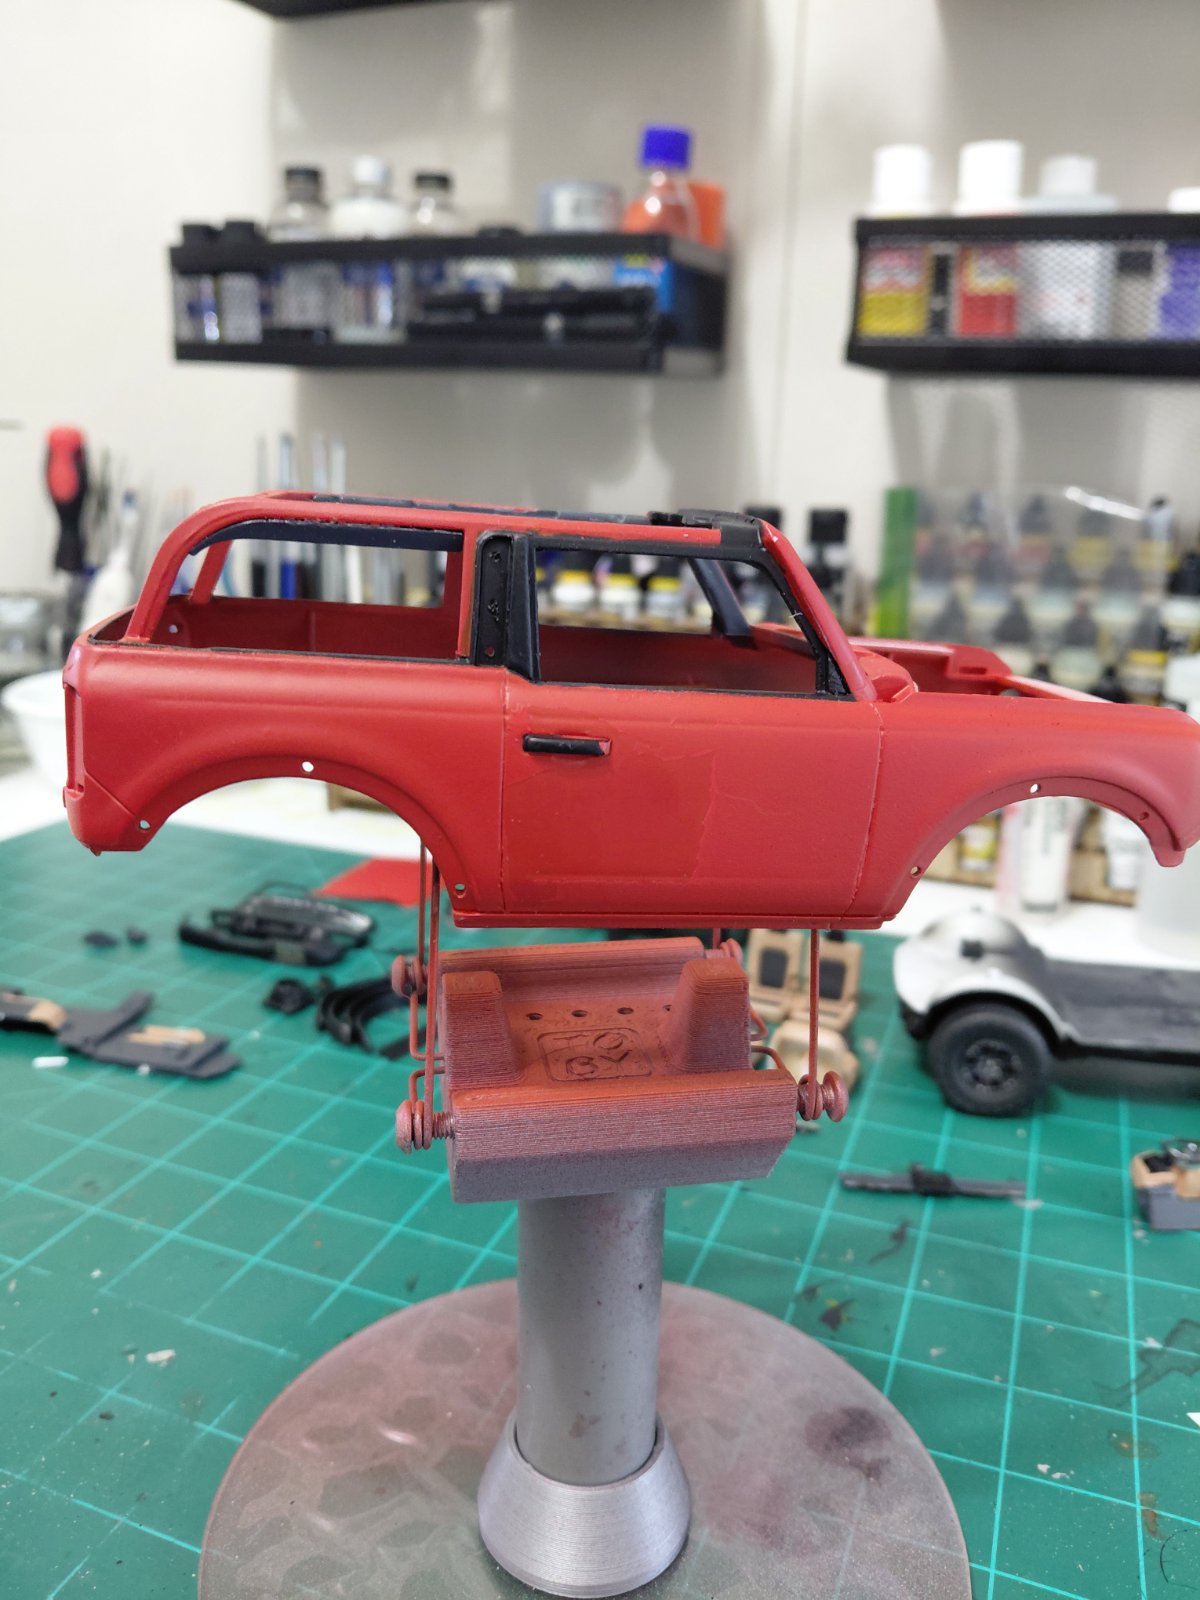
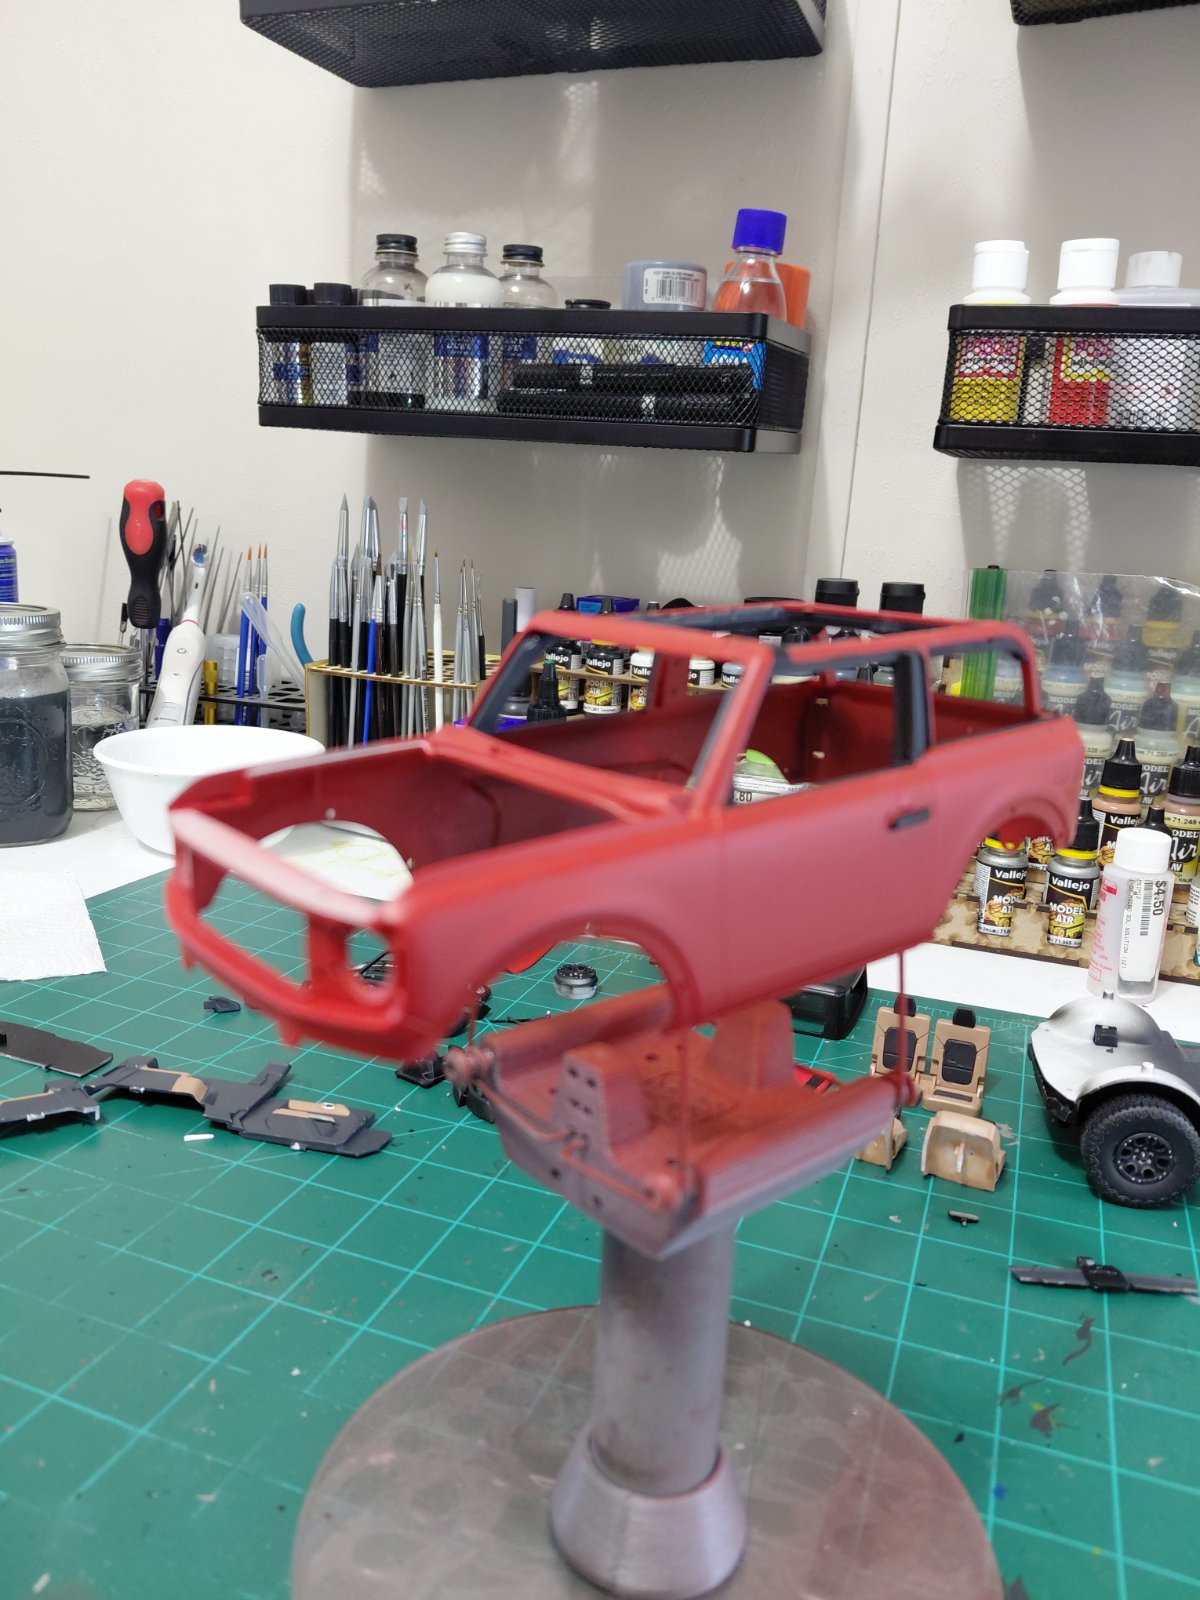
Lastly, I got some primer and color on the body and then gave it a gloss coat.
Well that's it for now. Taking Saturday off and maybe Sunday I'll try starting to mask this thing off for the black trim



![Pampers Sensitive Baby Wipes, Clinically Proven, Fragrance Free, Unscented, Water Based, Hypoallergenic, Multi-Use, Hand Wipes 336 Wipes Total (6X Flip-Top Packs) [Packaging May Vary]](https://m.media-amazon.com/images/I/41KLBHu9CAL._SL500_.jpg)








 I have a salt car the paint went south on so i rubbed it with a pencell eraser and gave it a blasted look on the front air dam and all the leading edges. i will post it later this evening east coast time.


