

Doing a great job in the worst of circumstances!chassis
It being winter now in this neighbourhood, at first glance I thought, "Wow, those are some heavy duty booster cables he's clamped on there!"


Doing a great job in the worst of circumstances!chassis
Thanks!Doing a great job in the worst of circumstances!
It being winter now in this neighbourhood, at first glance I thought, "Wow, those are some heavy duty booster cables he's clamped on there!"

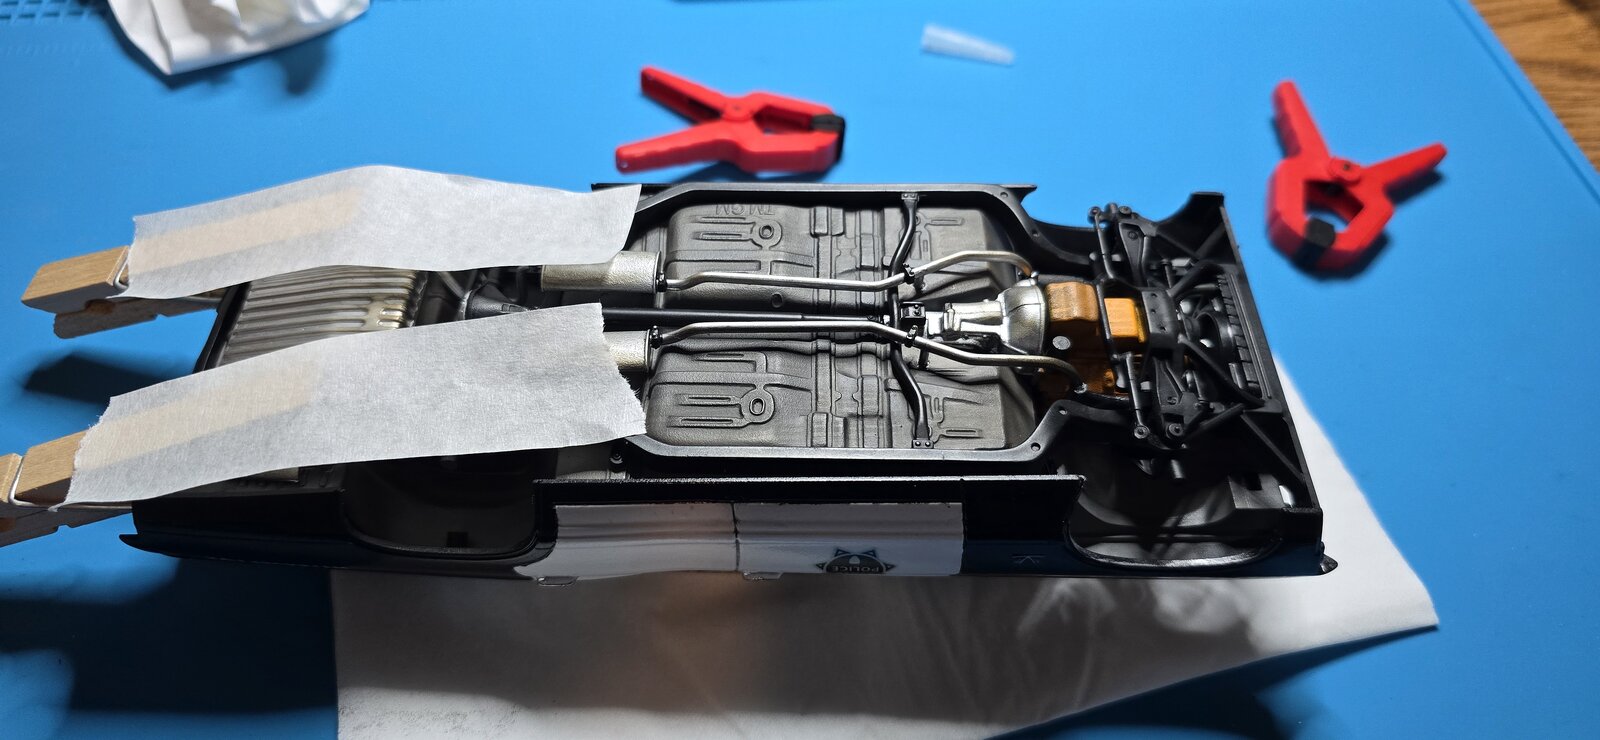
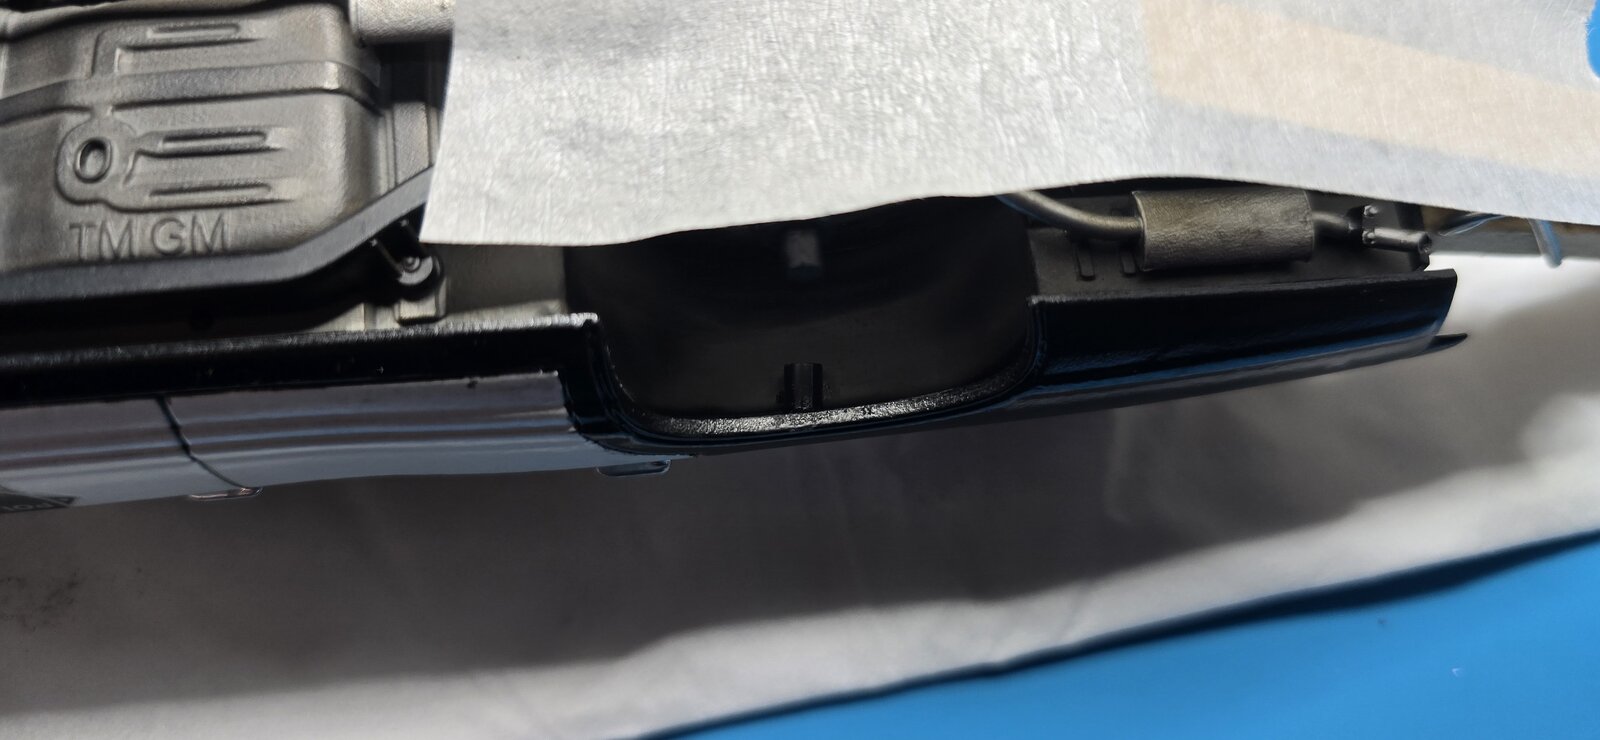
Thanks, right? I don't think they even check to see, or if they do, they just ship it off to sell anywayWell..your figuring it out quite well.
Makes you wonder if the model company people..build models..
Thank you very much.Really impressive build!
Thank you- I appreciate the head's up about the fit you gave me. I was able to bend the chassis just enough to sit into the body. But, (as you know) there's no attachment point, not sure if it's supposed to connect to the rear pain (behind the bumper) but the tabs I put in held it in place.great looking build, nice work arounds with the body, I used a torch lighter to gently heat the chassis to get it to fit better, but I couldn't get the rear to sit properly to the body.
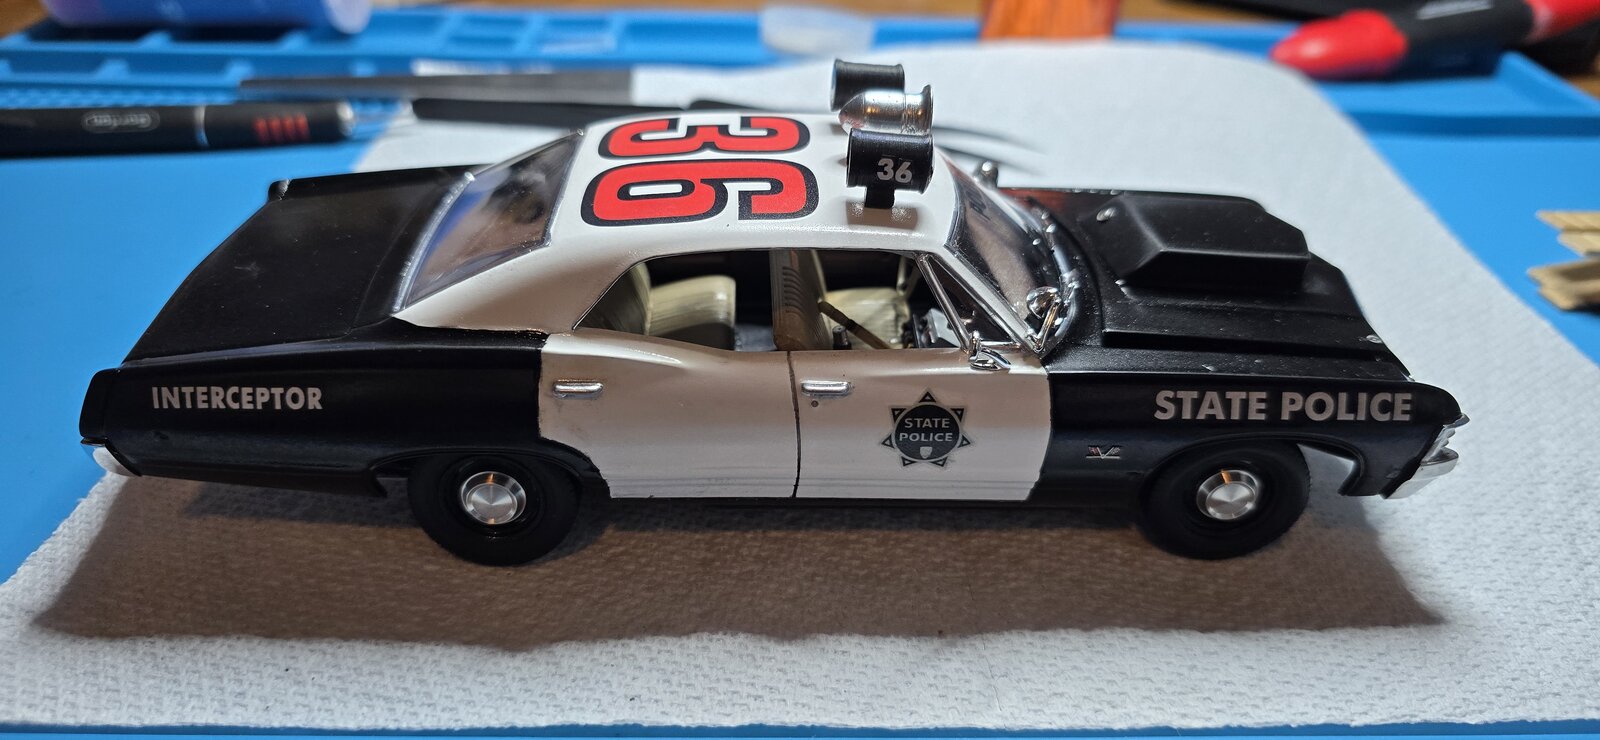
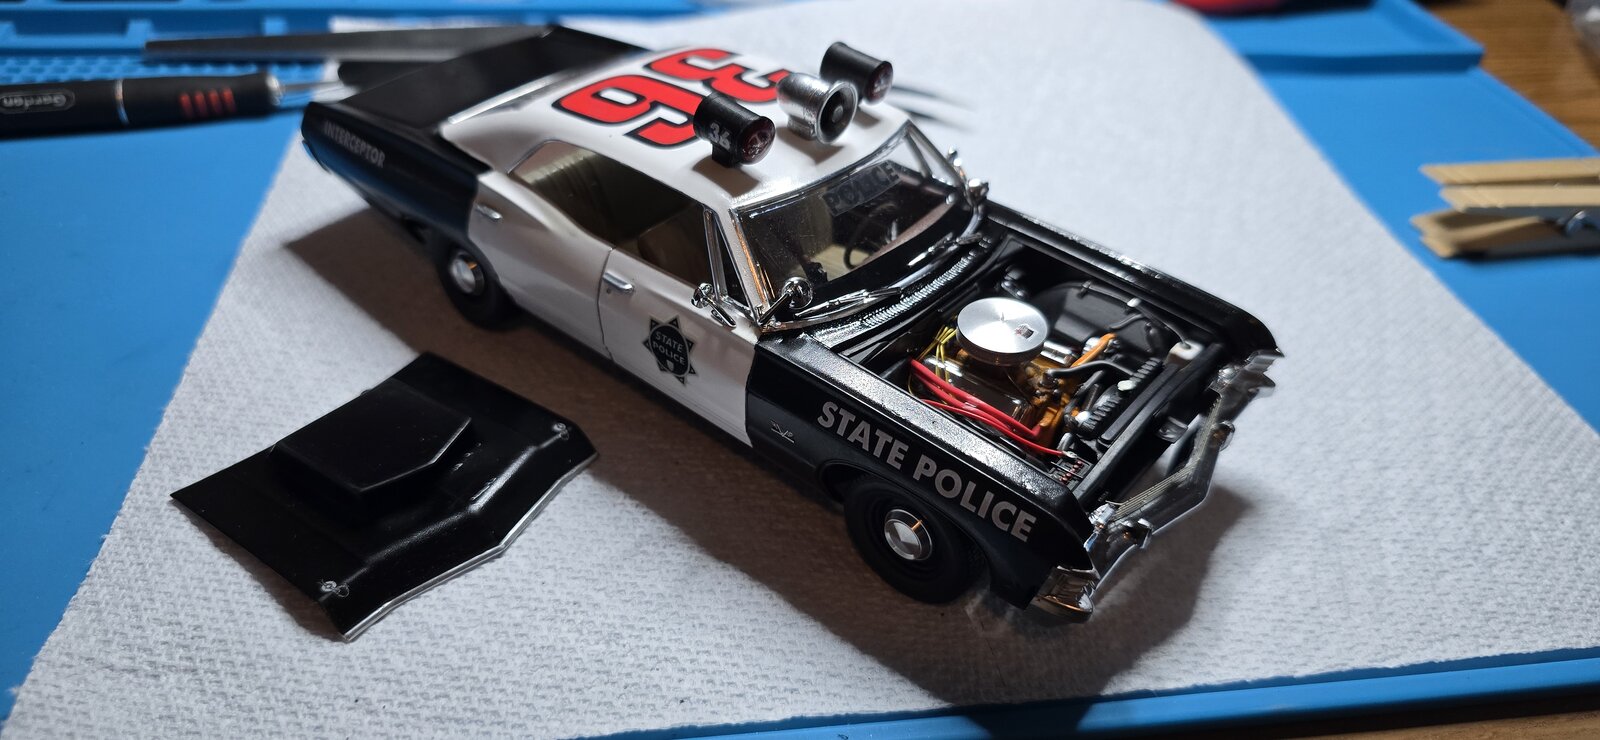
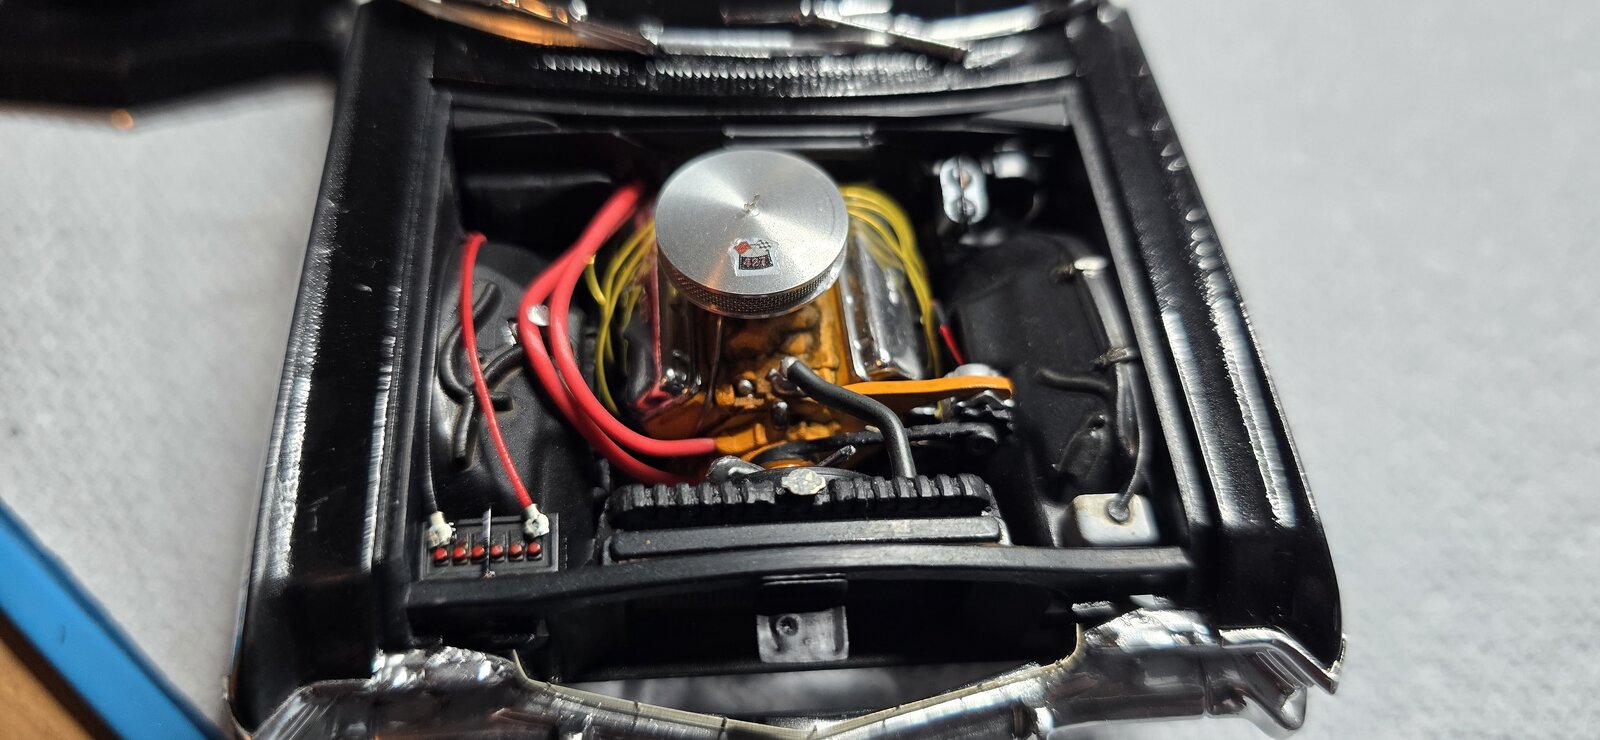
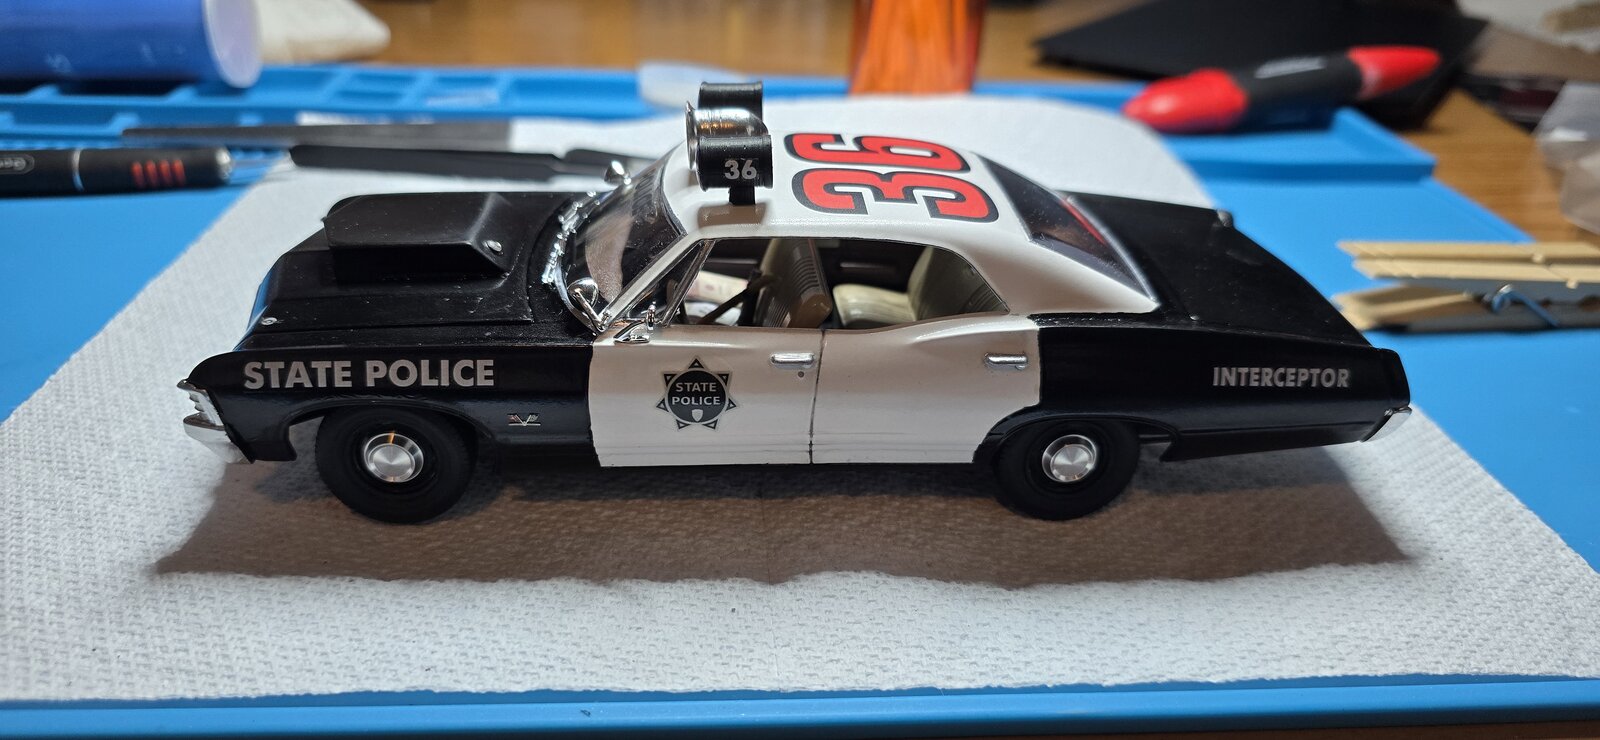
This is an AMT kit, which unfortunately has been consistent with the others ive done. Granted, im still pretty new to the return to modeling, but my last 8 builds were AMT, MPC and Revell, with the Revell being the nicest fits. I appreciate older kits tend to have these issues, but this was supposed to be a newer kit. I'll have to see how the next couple go, 1 of which is a Yodel (and obscure Japanese line, picked up on Ebay) and the other is Christine, which ive picked up a lot of resin aftermarket parts for.If you guys are looking for stock body cars look to AMT, everyone i have went together great. i have about 10 of them from the 66 olds bad moon gasser, the 57 Chrysler 300 gas chamber gasser, the 53 Studebaker Commander salt racer to the Raders coach, even the hippy hemi was a decent fit up for a very complex chassis and od shaped body.
Newer kit may be the problem, all the ones i listed are older designs 1990 and older. From what i hear Christine gos together good, is from around the same time as the olds and the 300. Alot depends on how well the molds are made and where the parts trees are cast, some of the injection molding companies they use dont let the parts tree cool properly, they toss the trees in a pile hot out of the mold. I have seen video of Revell models they demand the tree is set on a flat surface by itself when it comes out of the machine. They said it takes 90 sec, to two mins for the tree to set properly so you dont end up with warped parts. The build ;looks great sir you did the work and it paid off, welcome back to the fold looking forward to Christine and her new parts.This is an AMT kit, which unfortunately has been consistent with the others ive done. Granted, im still pretty new to the return to modeling, but my last 8 builds were AMT, MPC and Revell, with the Revell being the nicest fits. I appreciate older kits tend to have these issues, but this was supposed to be a newer kit. I'll have to see how the next couple go, 1 of which is a Yodel (and obscure Japanese line, picked up on Ebay) and the other is Christine, which ive picked up a lot of resin aftermarket parts for.
Its still fun, aside from the setbacks.
Thank you!I like the build. Great job WtShark


![Pampers Sensitive Baby Wipes, Clinically Proven, Fragrance Free, Unscented, Water Based, Hypoallergenic, Multi-Use, Hand Wipes 336 Wipes Total (6X Flip-Top Packs) [Packaging May Vary]](https://m.media-amazon.com/images/I/41KLBHu9CAL._SL500_.jpg)








