1/48 Hobbygawa Fw293A-2 / U1

Scale Model Addict - Model Tips, Guides, Tools & Tech, Tutorials, and Community

Help Support Scale Model Addict:

Oh , lol . it has my Alclad on pancakes quote at the top so I was cyphering that vector
trying to make a connection , lulz

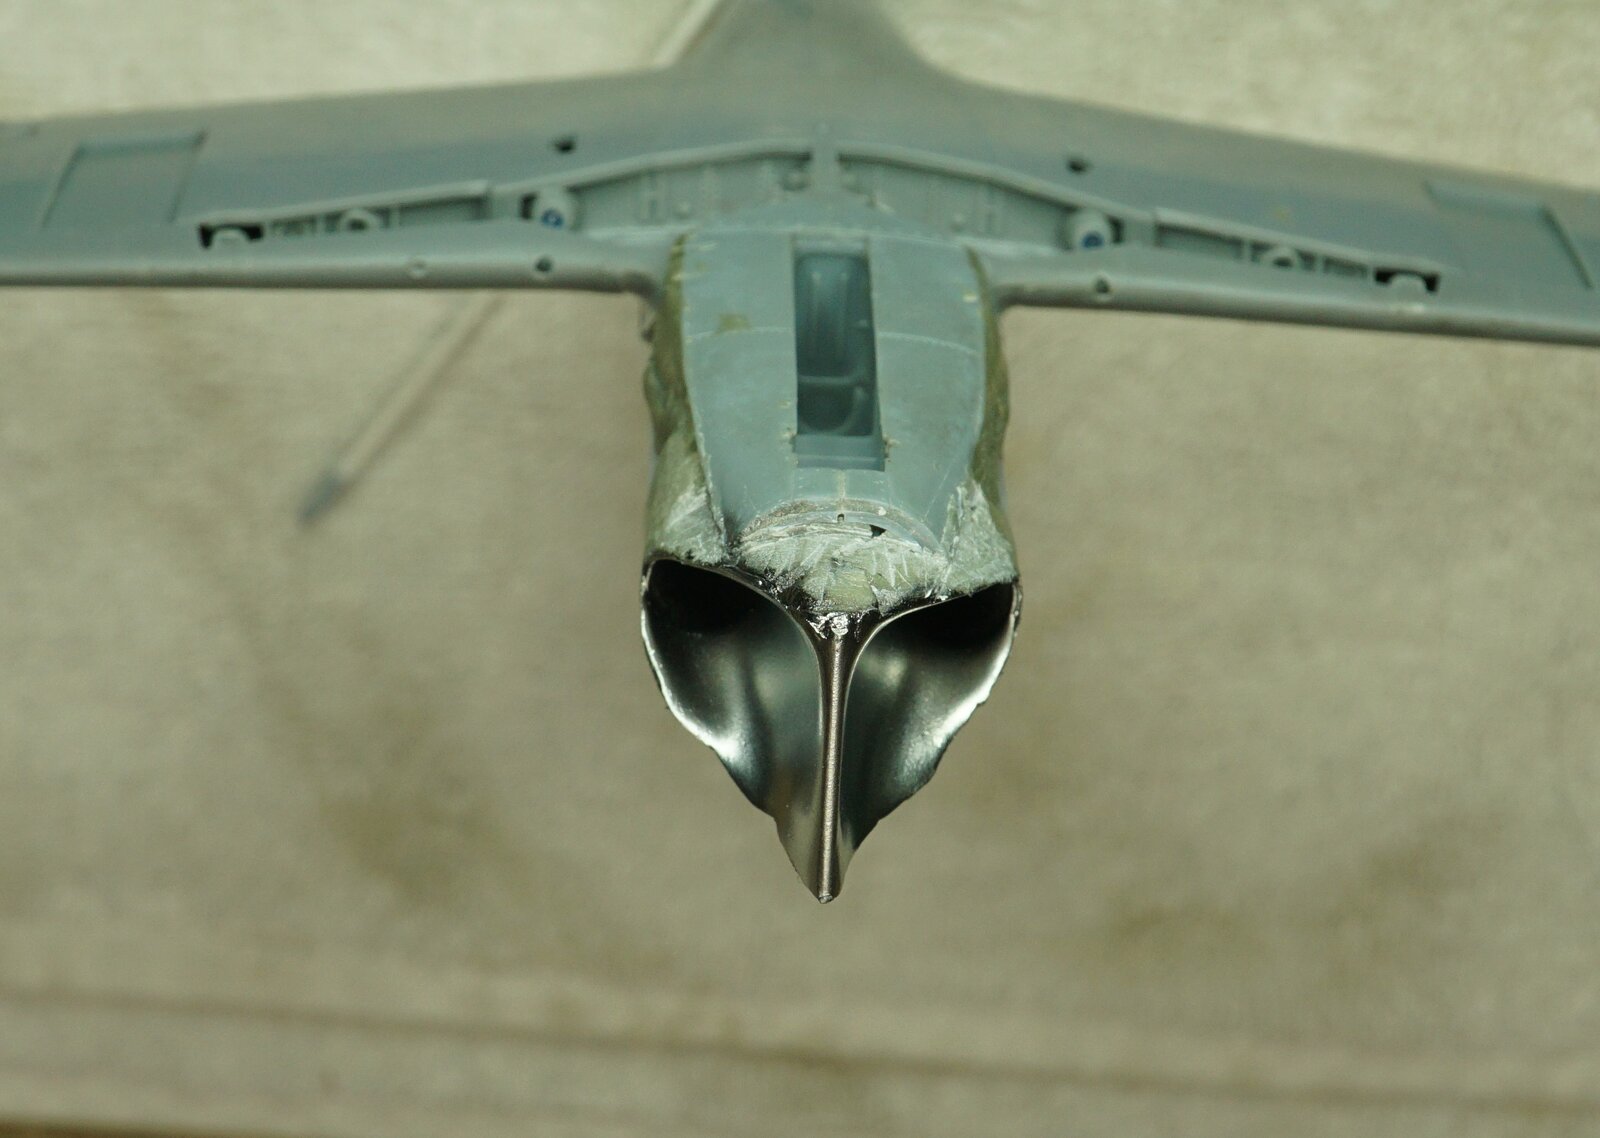
It always looked like an owl to me without the cowling .
Big time actually ,

DSC06494.JPG
 
Last edited:
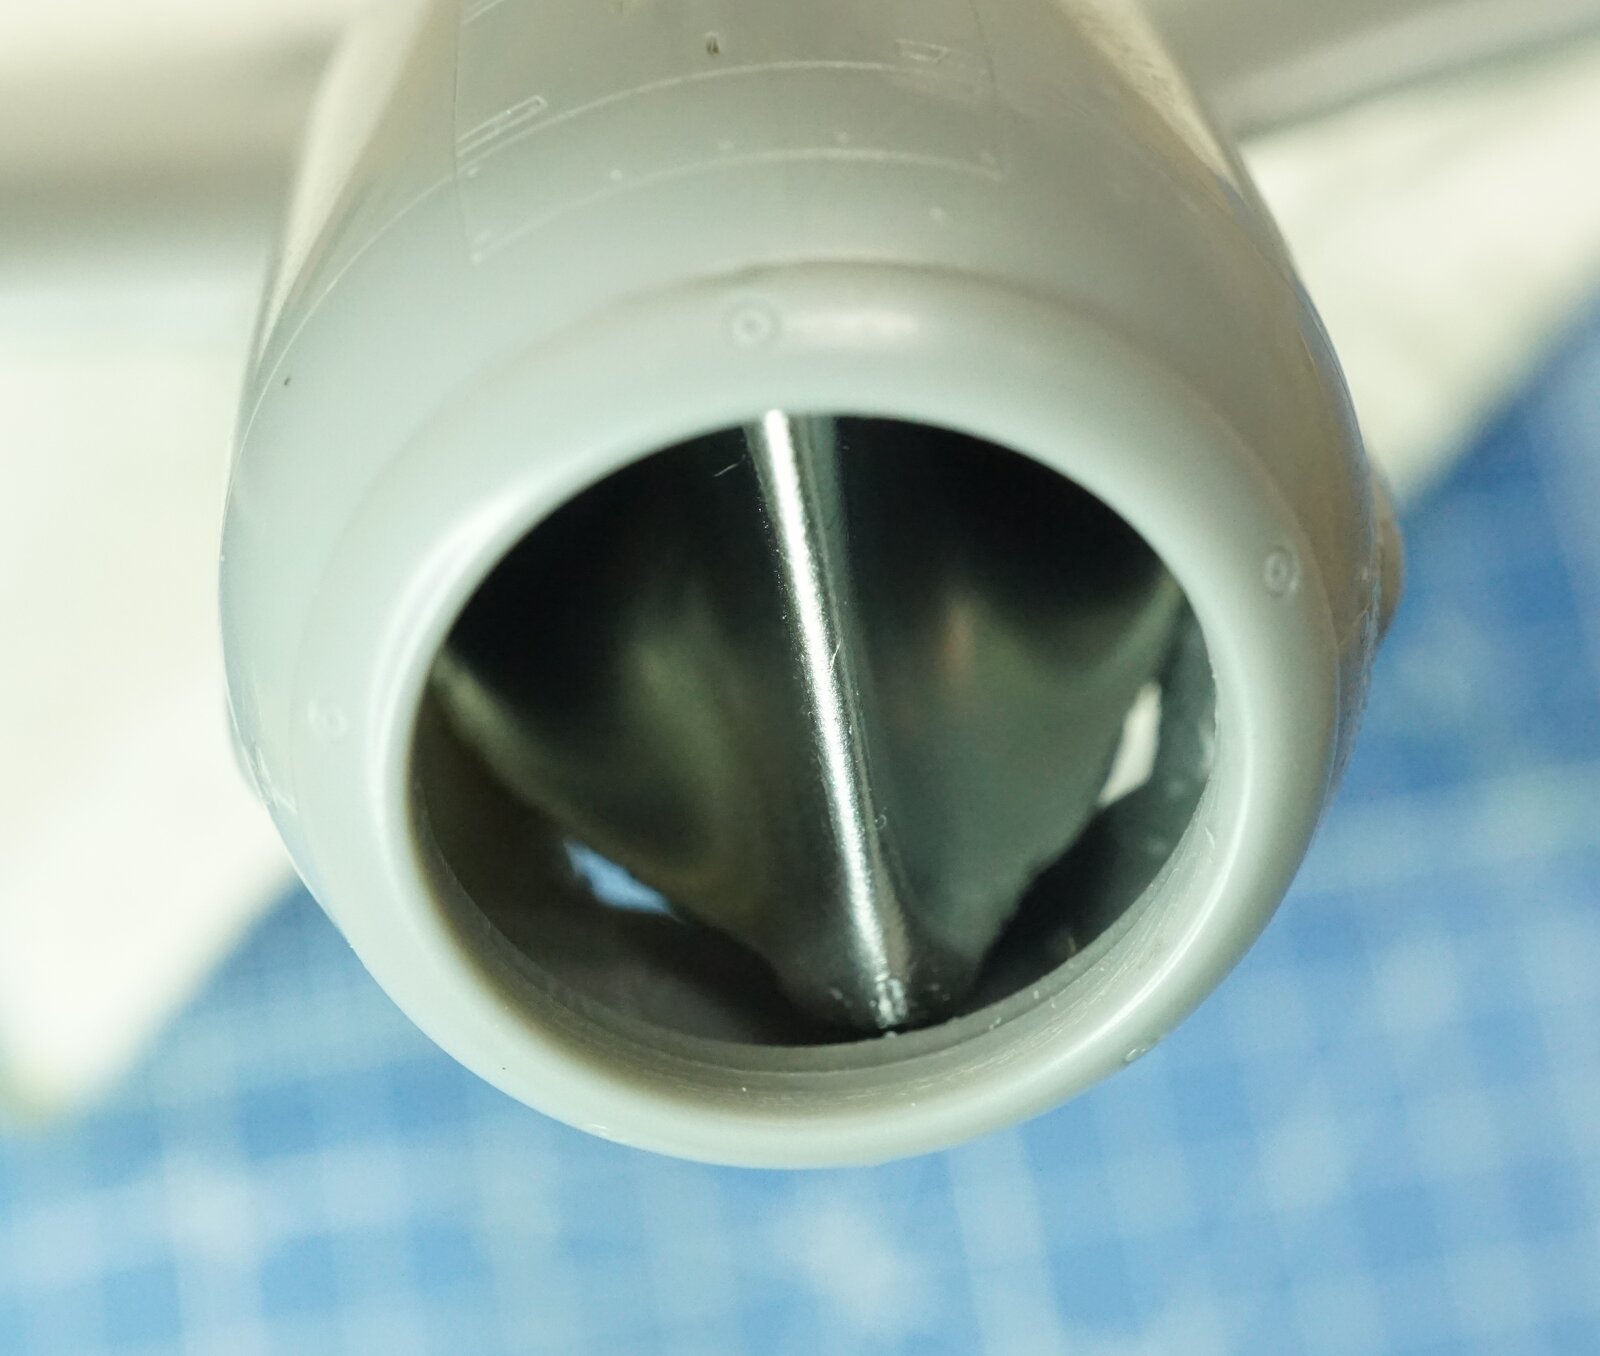
If you are needing space for another intake, would a belly intake like on a P-51 Mustang be something that you could consider? Or is that too big / too far back / or the wrong style?
 
no room .
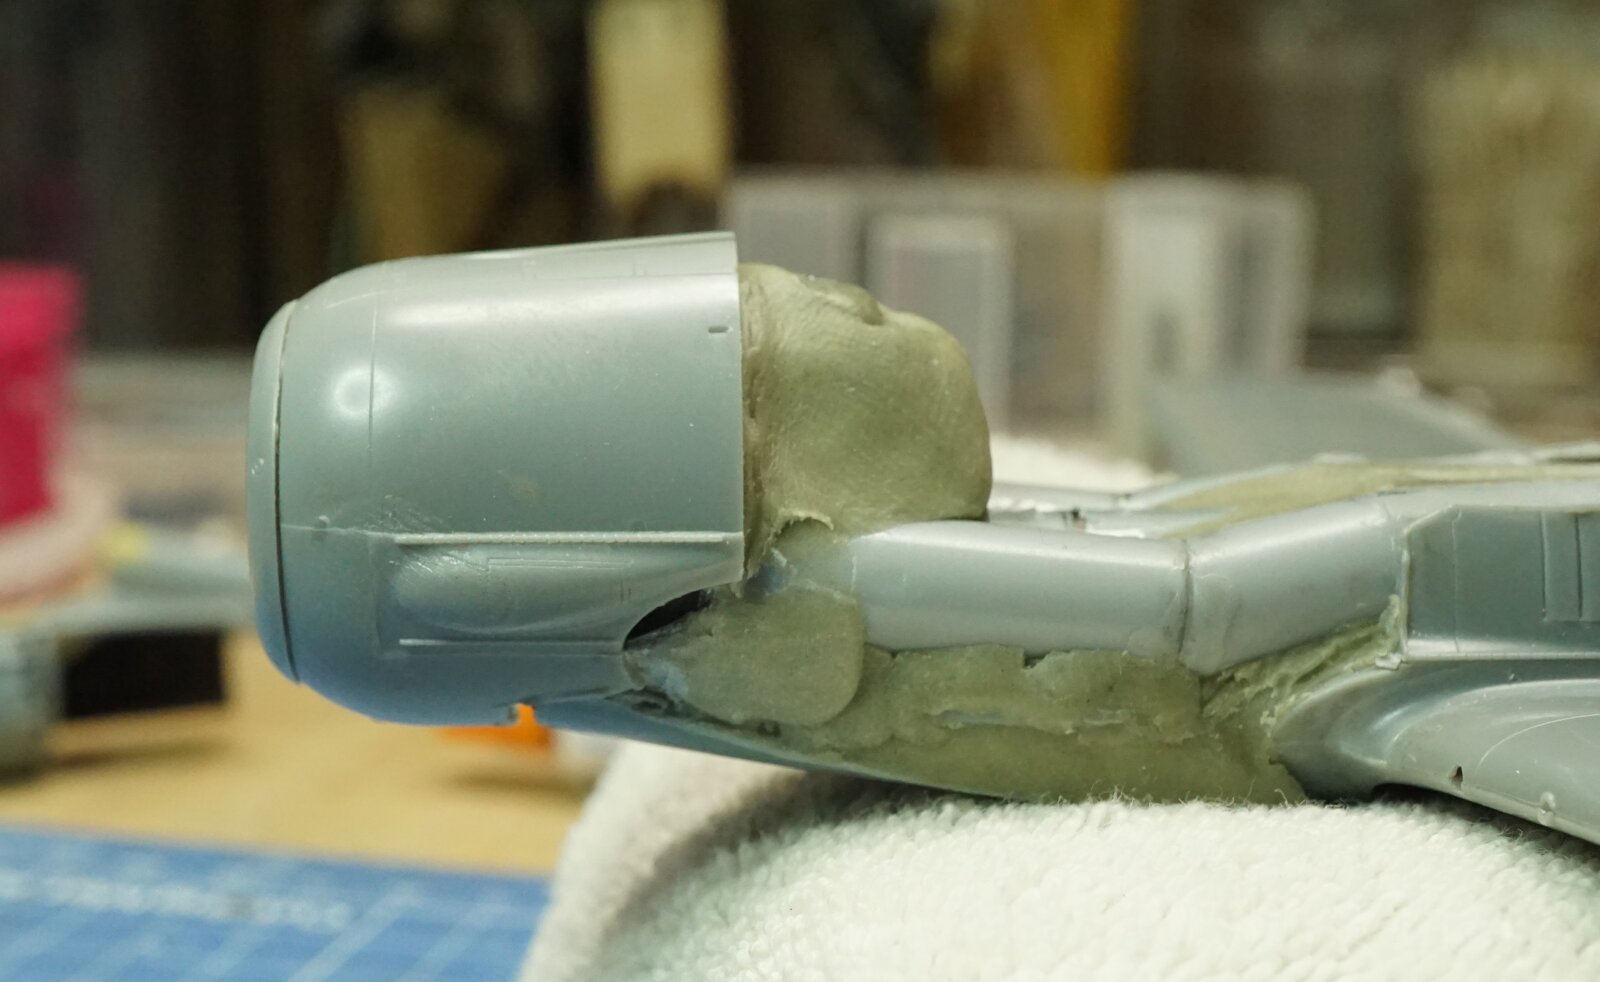
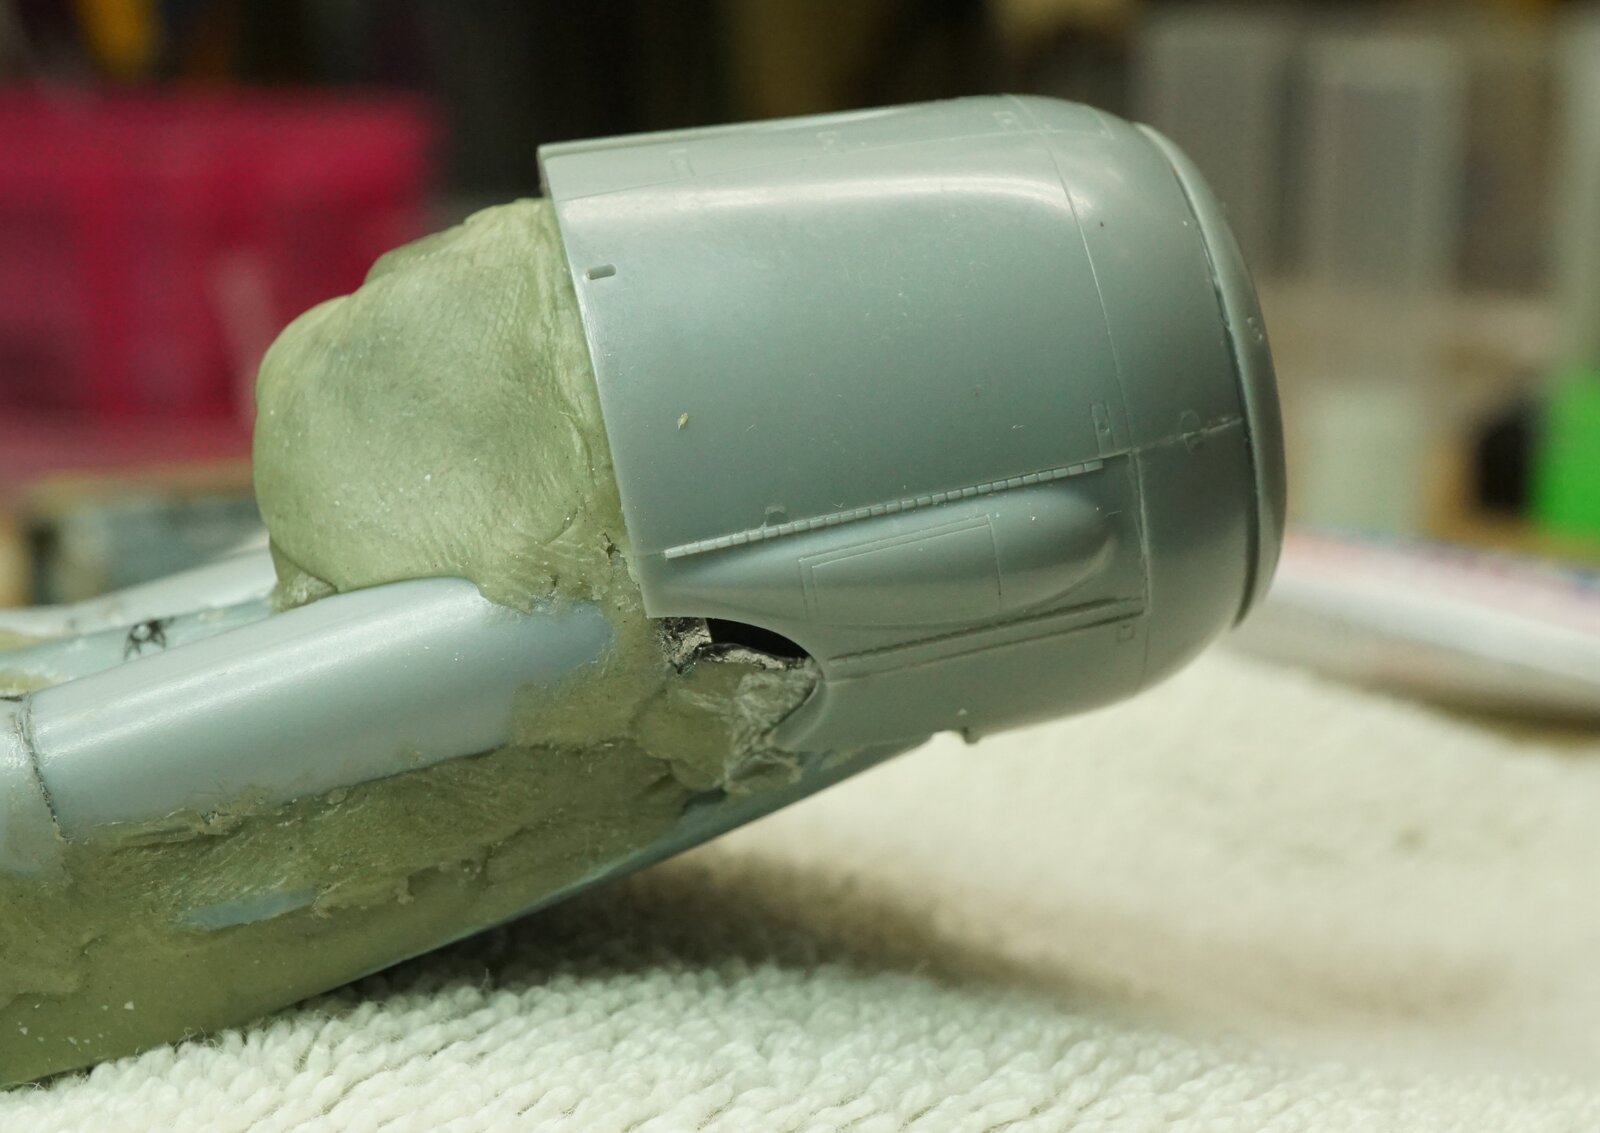
It's all ducting , engine and framing .
I have to make sure there are avenues for flight control cables and engine control cables too

Are you concerned with water intrusion ?

Last night I was pondering the duct geometry to shed water on it's way back there .
Dog leg trap action .
.. or a duct inlet door ,
of course , the radar would be useless in heavy rain
pulse doppler is at least weeks away , lol
 
I have heard nothing but great things about Hobby Boss kits. I don't build aircraft, so I can't speak from experience, but my fellow model club members that do build them have no complaints.

I really like how you are actually thinking of everything. Building this mashup like it would really be done.
 
Hobby Boss / Trumpeter make a lot of cool kits .

" Building this mashup like it would really be done. "

haha , it wouldn't be done this way .
I appreciate what you're saying but this thing has some deleterious CG issues .
I considered keeping it a tail dragger but I didn't like the visual of having a protrusion for retractable tail gear . really tall tail gear too .

Wanted to move the engine much farther forward but the main landing gear well pushed it up too high and the front nose gear well interfered with the intake ,, and then all that put the cockpit tub into not really fitting anywhere that was sane .

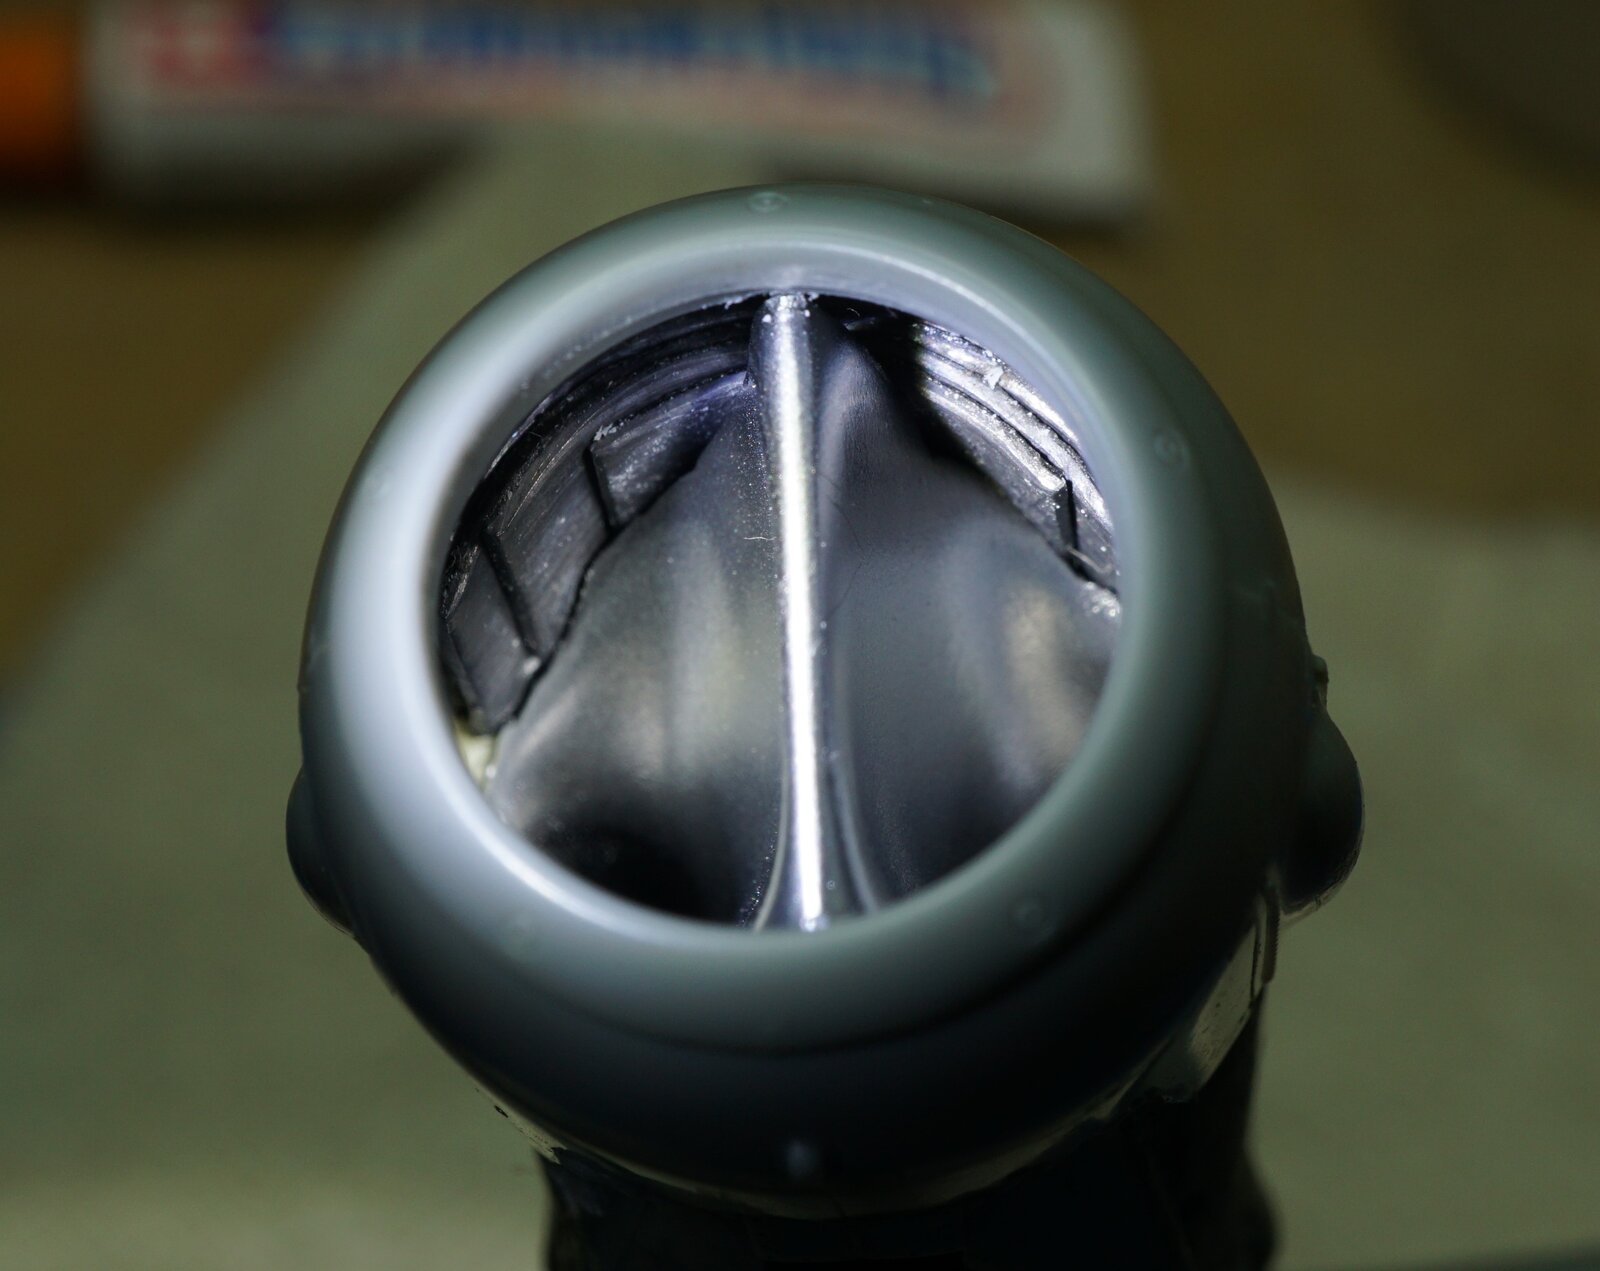
I did consider that the curvalicious intake would be fabricated in fiberglass , negating panel lines .
I assume it would be left unpainted to avoid FOD .
but , that would add much more weight than aluminum and I was really liking the idea of panel lines in there .

I now have a plan to easily and accurately scribe the longitudinal joints inside .
One easy jig and I'll need to make only one cutting tool .


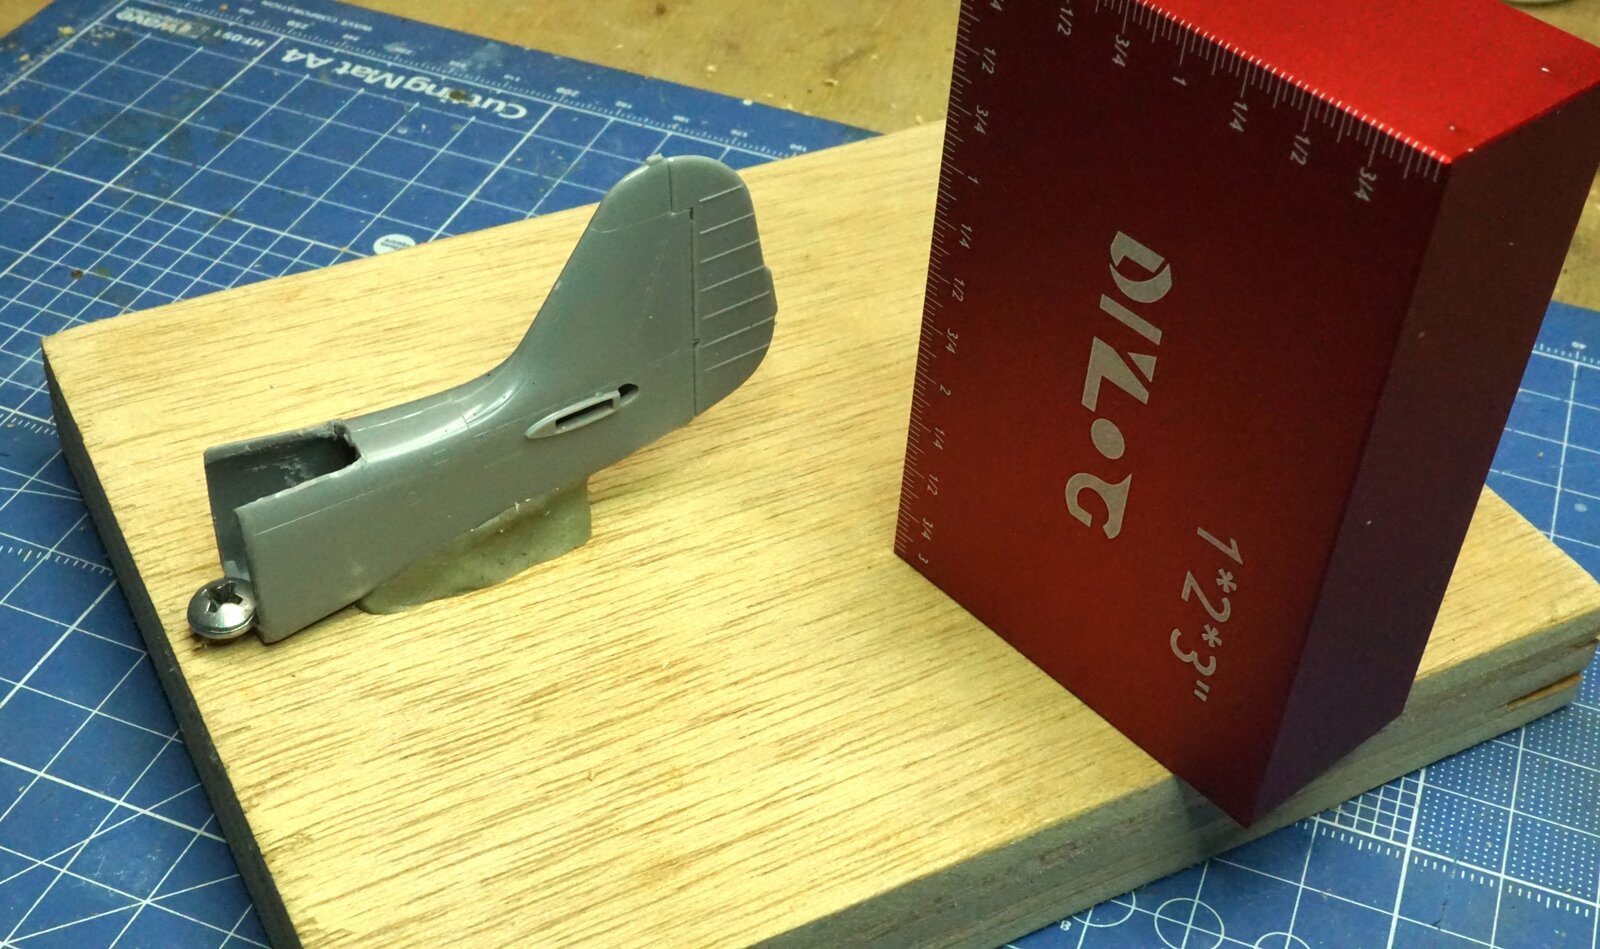
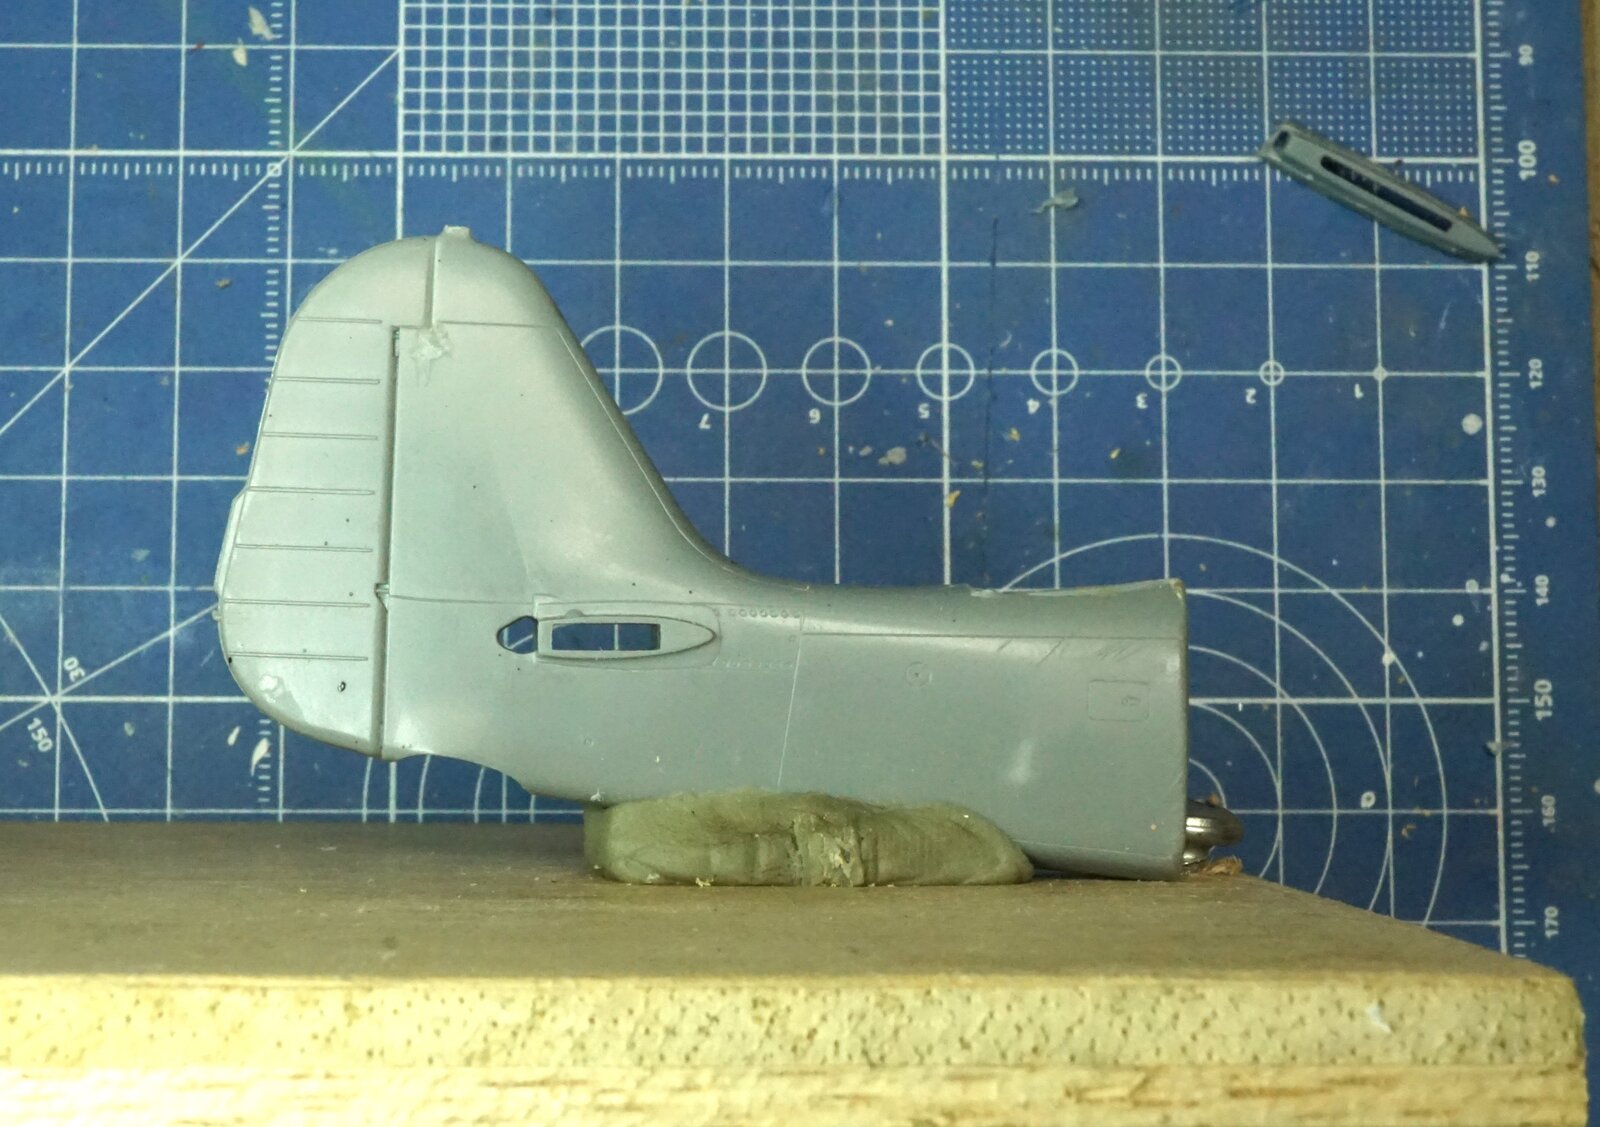
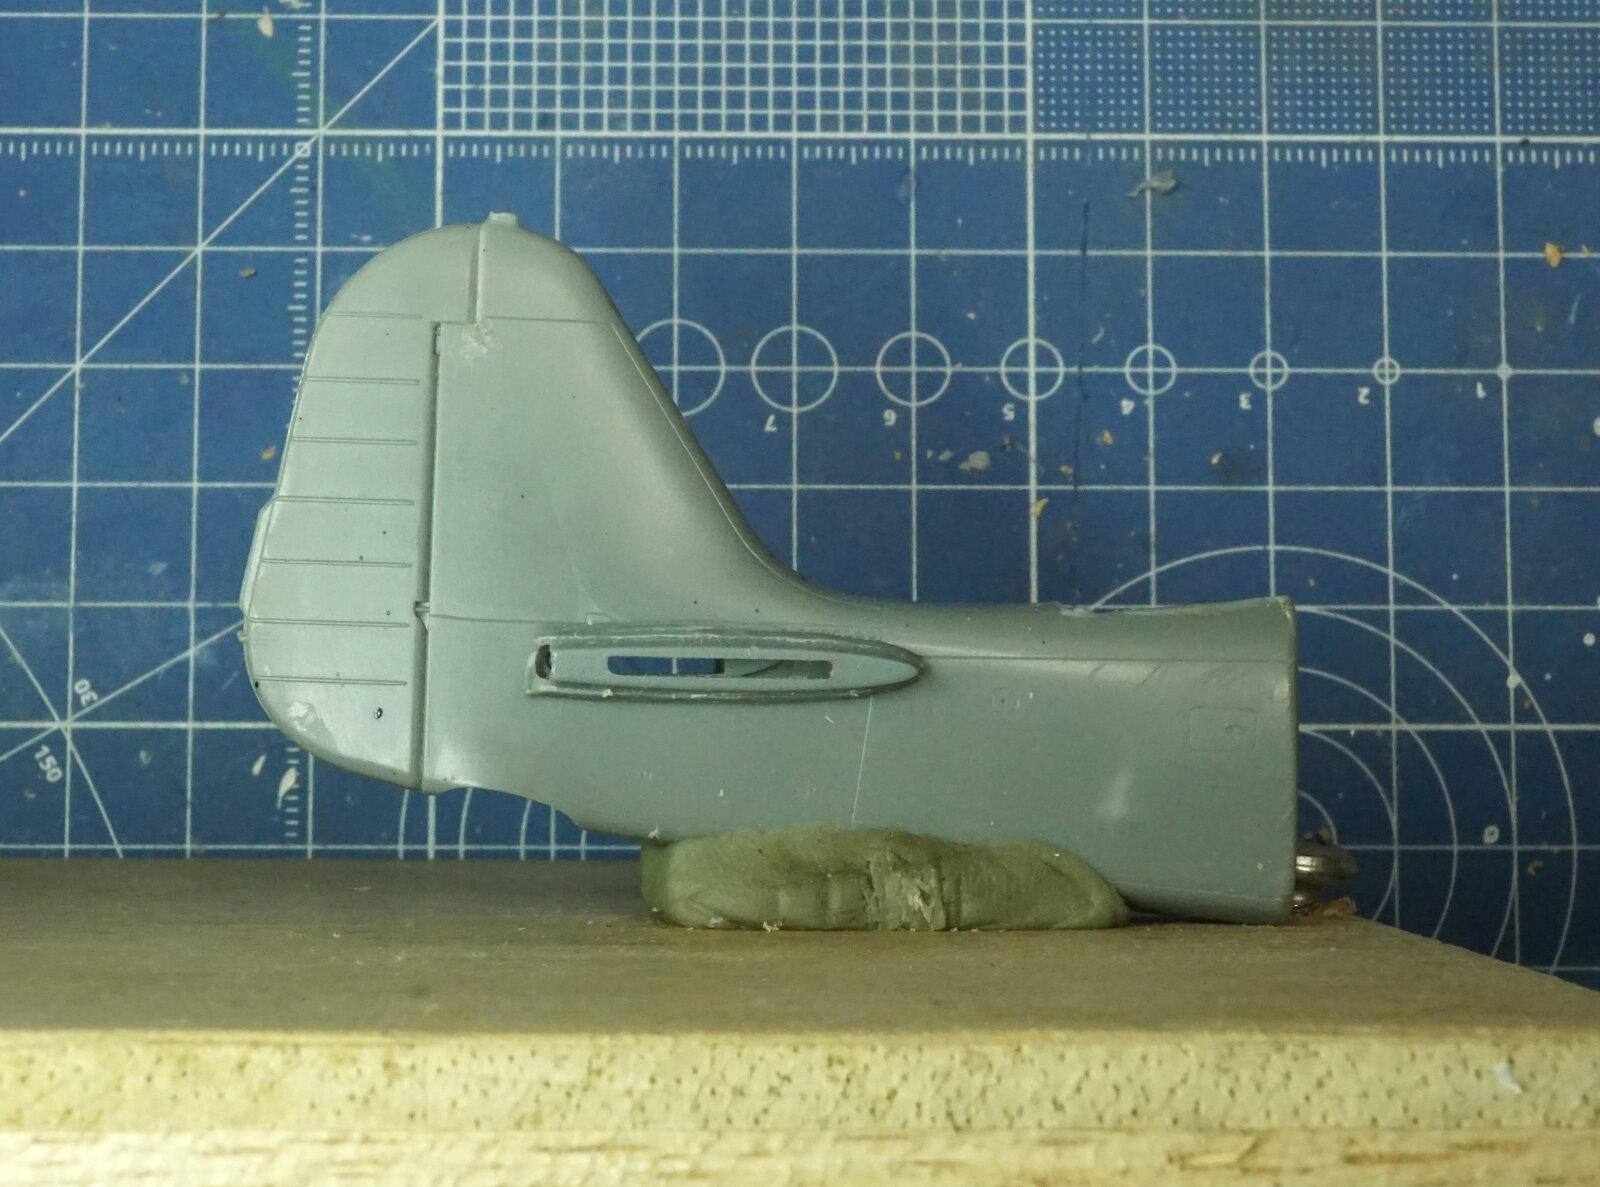
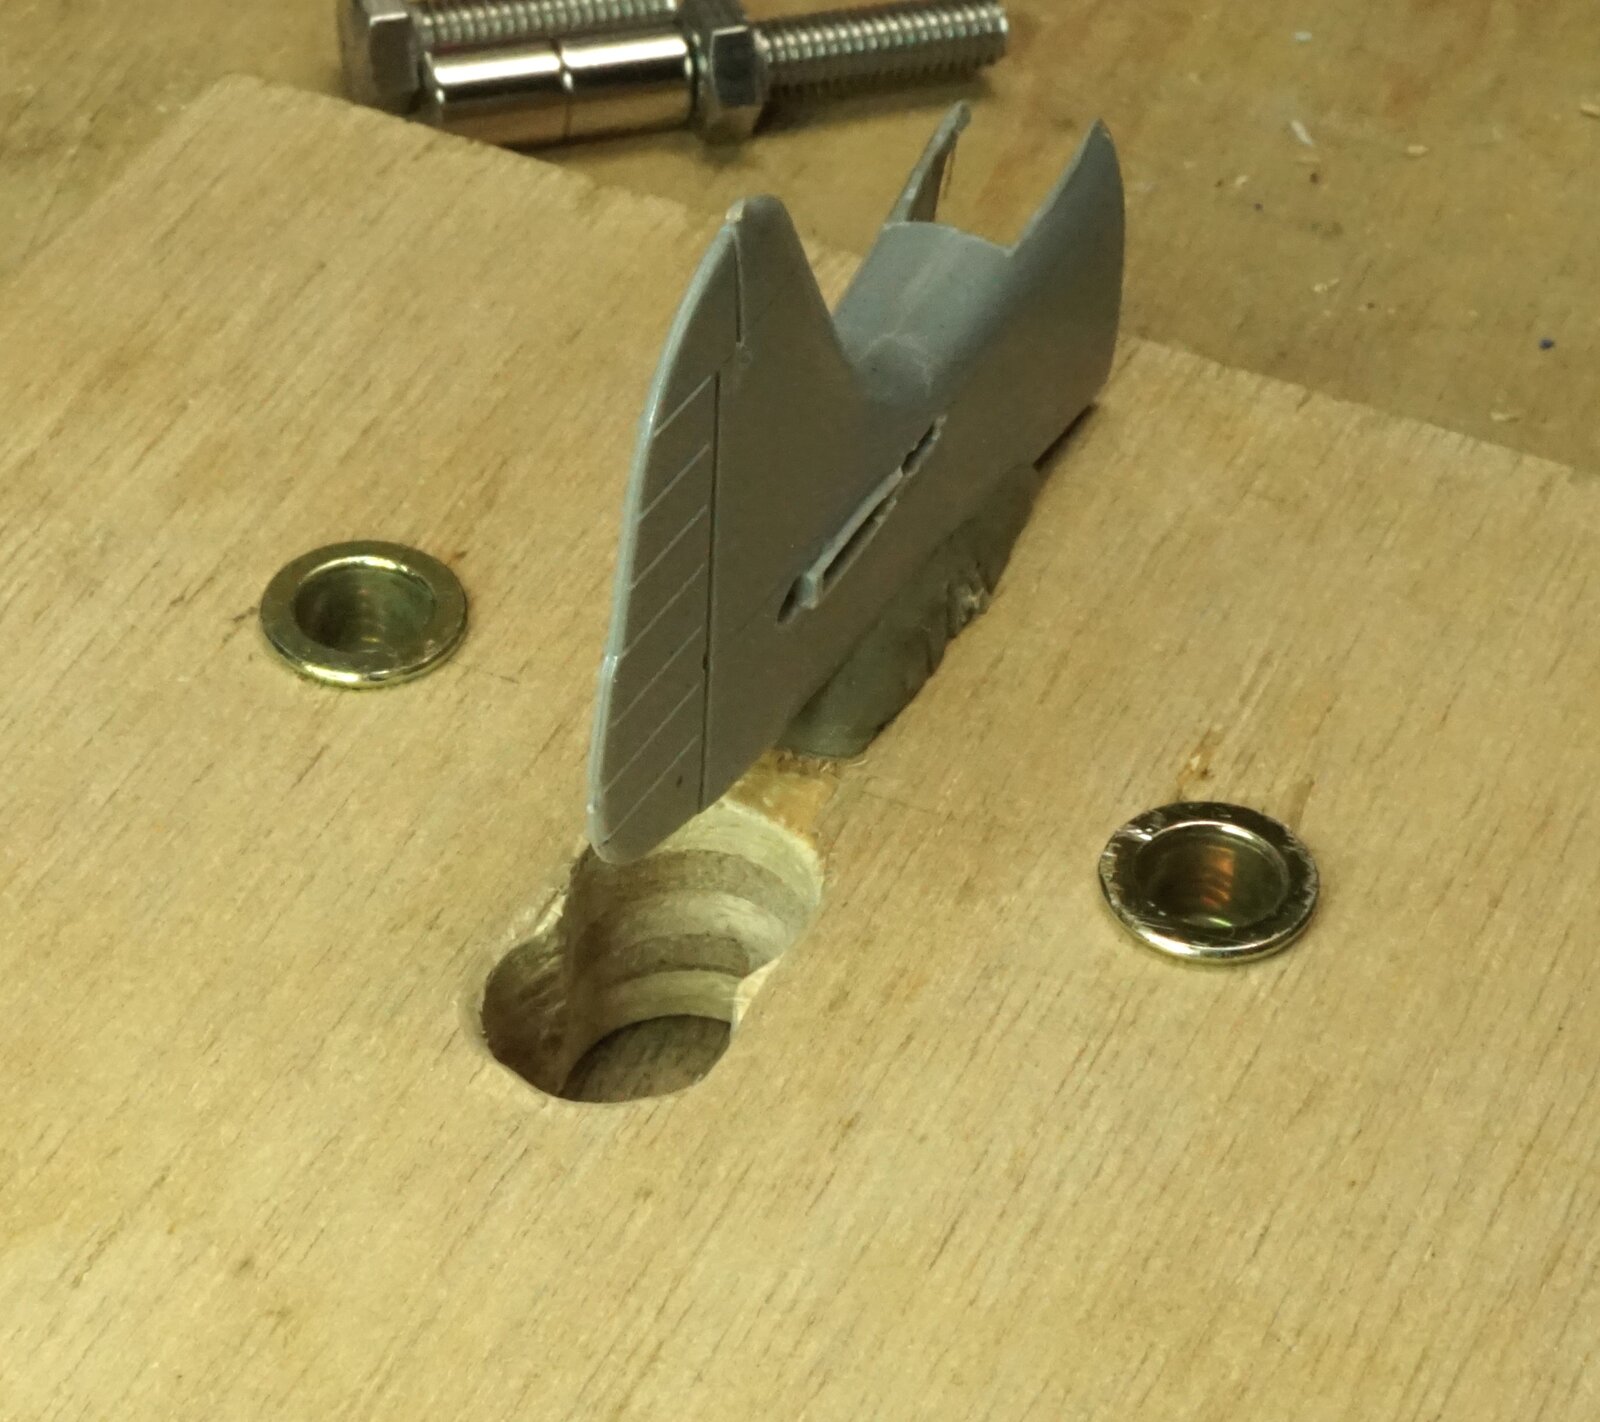
Last night I securely mounted the tail to Mr Plywood Scrap so it sits level and plumb to facilitate installing the horizontal stabs dead-nut square and in plane :

DSC06513.JPG


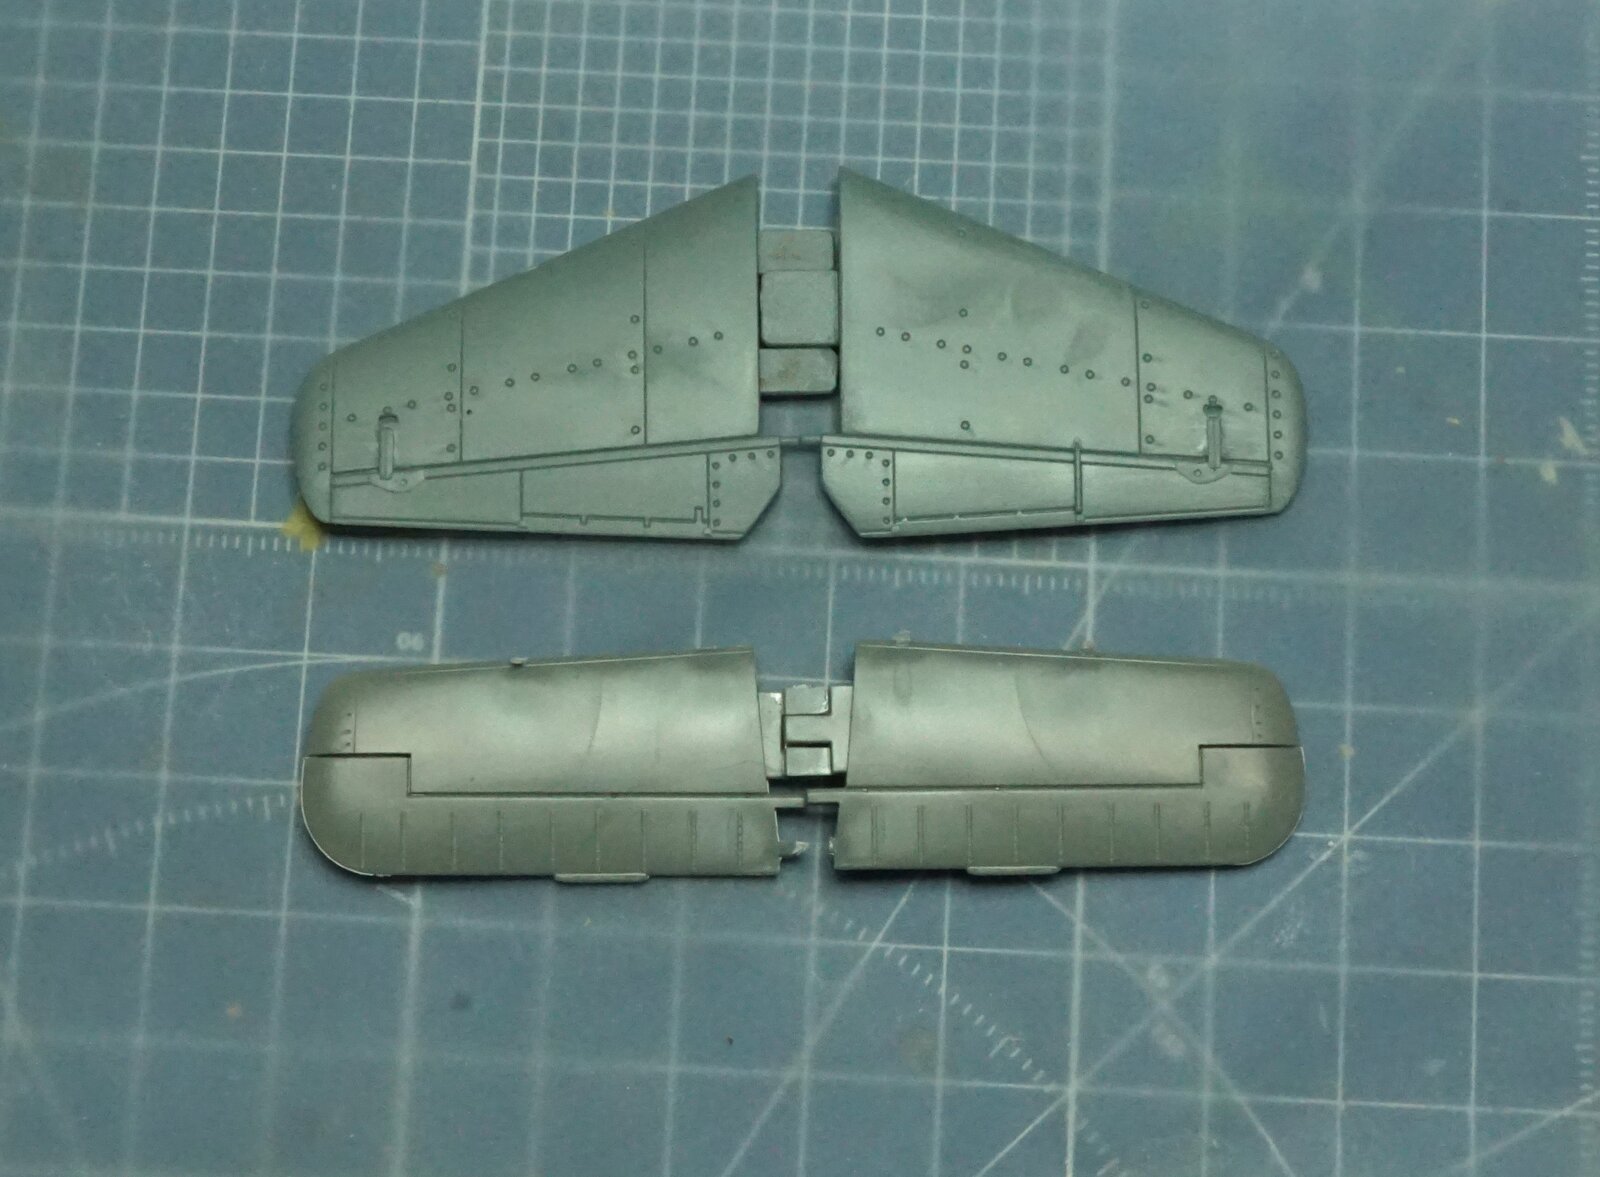
It gets the 262 stabilizers ,


DSC06518.JPG
DSC06514.JPG
DSC06515.JPG
DSC06516.JPG


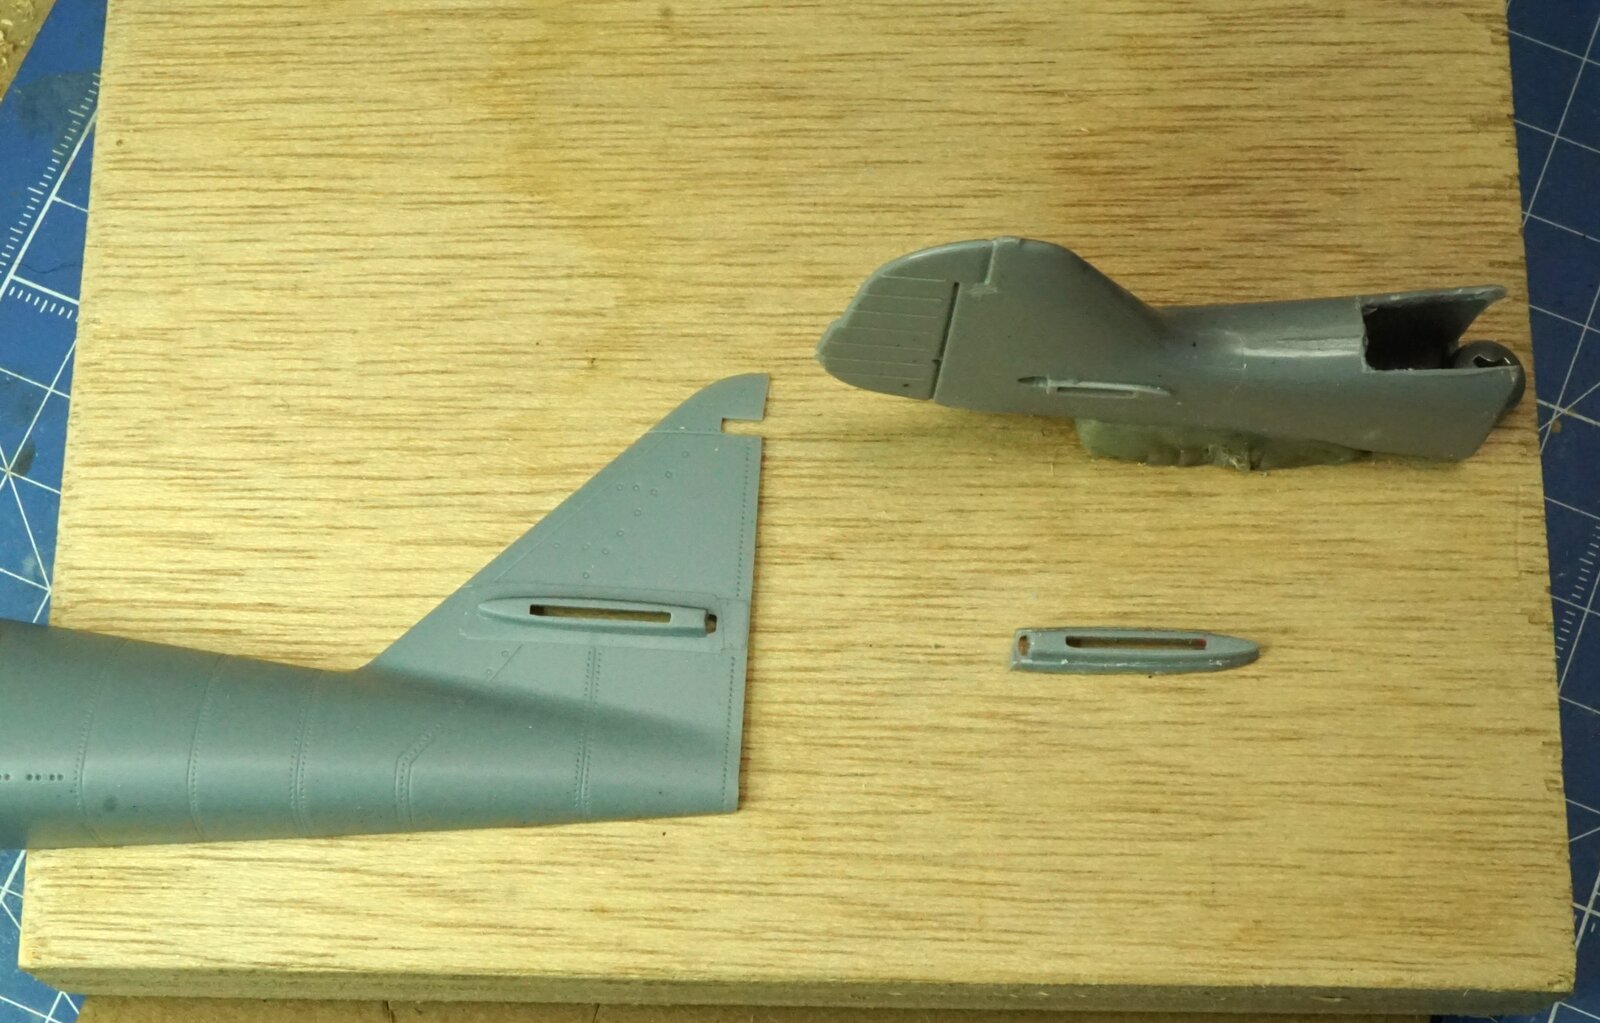
Just roughed out and sitting there to show the position .
 
Last edited:
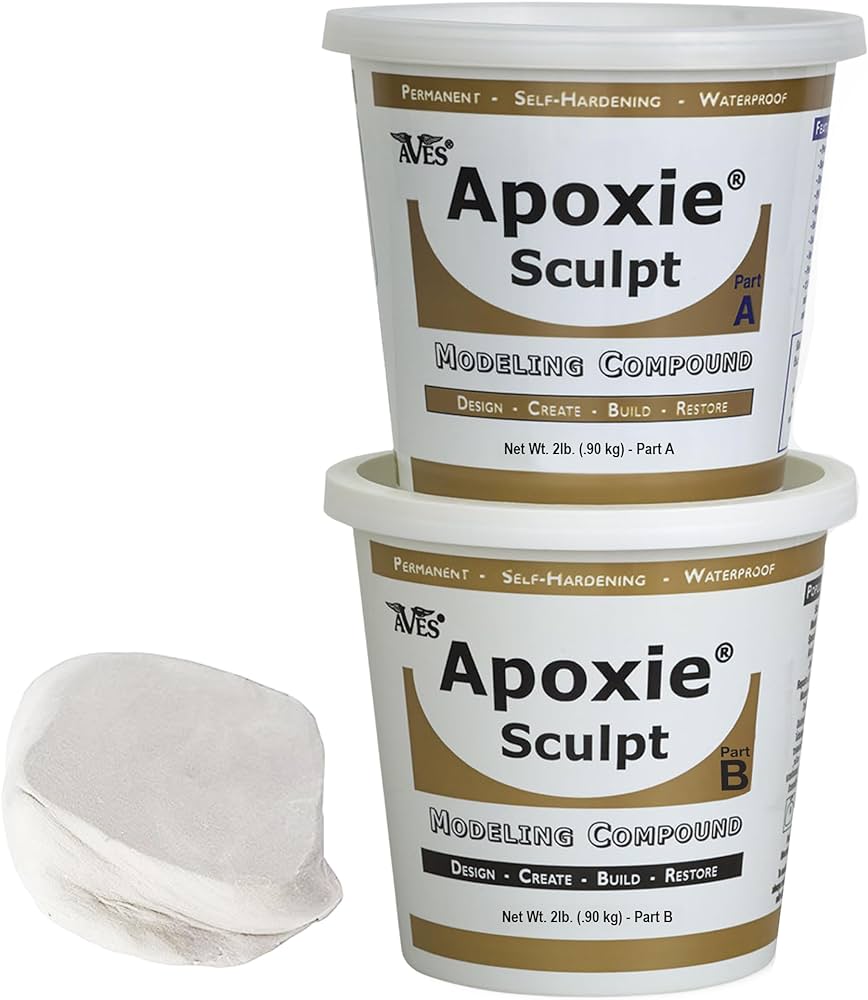
Gotta ask, what is that ektoplasmic goop you used to comp the build? And it adds volume to help visualize the shapes and layout as well as temporarily holding parts in place while you try things out!
 
Thanks! I'm sure to try it out... I've only ever sculpted in clay, for plaster molds and cast plaster in art school. I did cast in wax once, that was an adventure.
For model making, only small amounts of two part, not the dollops I see you working with!
 
It's good stuff .
I think it's been around for a really long time but I started using it about 15 years ago .
Their old webpage had a very short retailer list and only one in Houston , a taxidermist .
So I was buying it from him for a while .
It's more than doubled in price since then .
I would get the 4 lb ( 2 lbs each part ) for 21.89 -- now that's 50 bucks .
I'm way better at mixing only exactly what I need now . ;)

well , this explains the taxidermy part : https://avesstudio.com/about-us/
I need to try their cheese .
 
Oh , you initially said 70 Canadian for 1 lb.
35 a pound is still pretty Yikes! , lol

Can you get it directly from Aves ? - or is there still a bunch of tax ?
 
Amazing story.

Unfortunately, political and business leadership ineptitude with lack of vision, are all too common in aviation history and technological innovation.

As a Canadian kid, I remember being so perplexed and angry when I learned about the Avro Arrow.
Talk about the shelf of Doom!
https://en.wikipedia.org/wiki/Avro_Canada_CF-105_Arrow
Maybe that's what put me off plane models back then...

Any more progress on your build?
Your fans are waiting!
 
" Your fans are waiting! "
haha
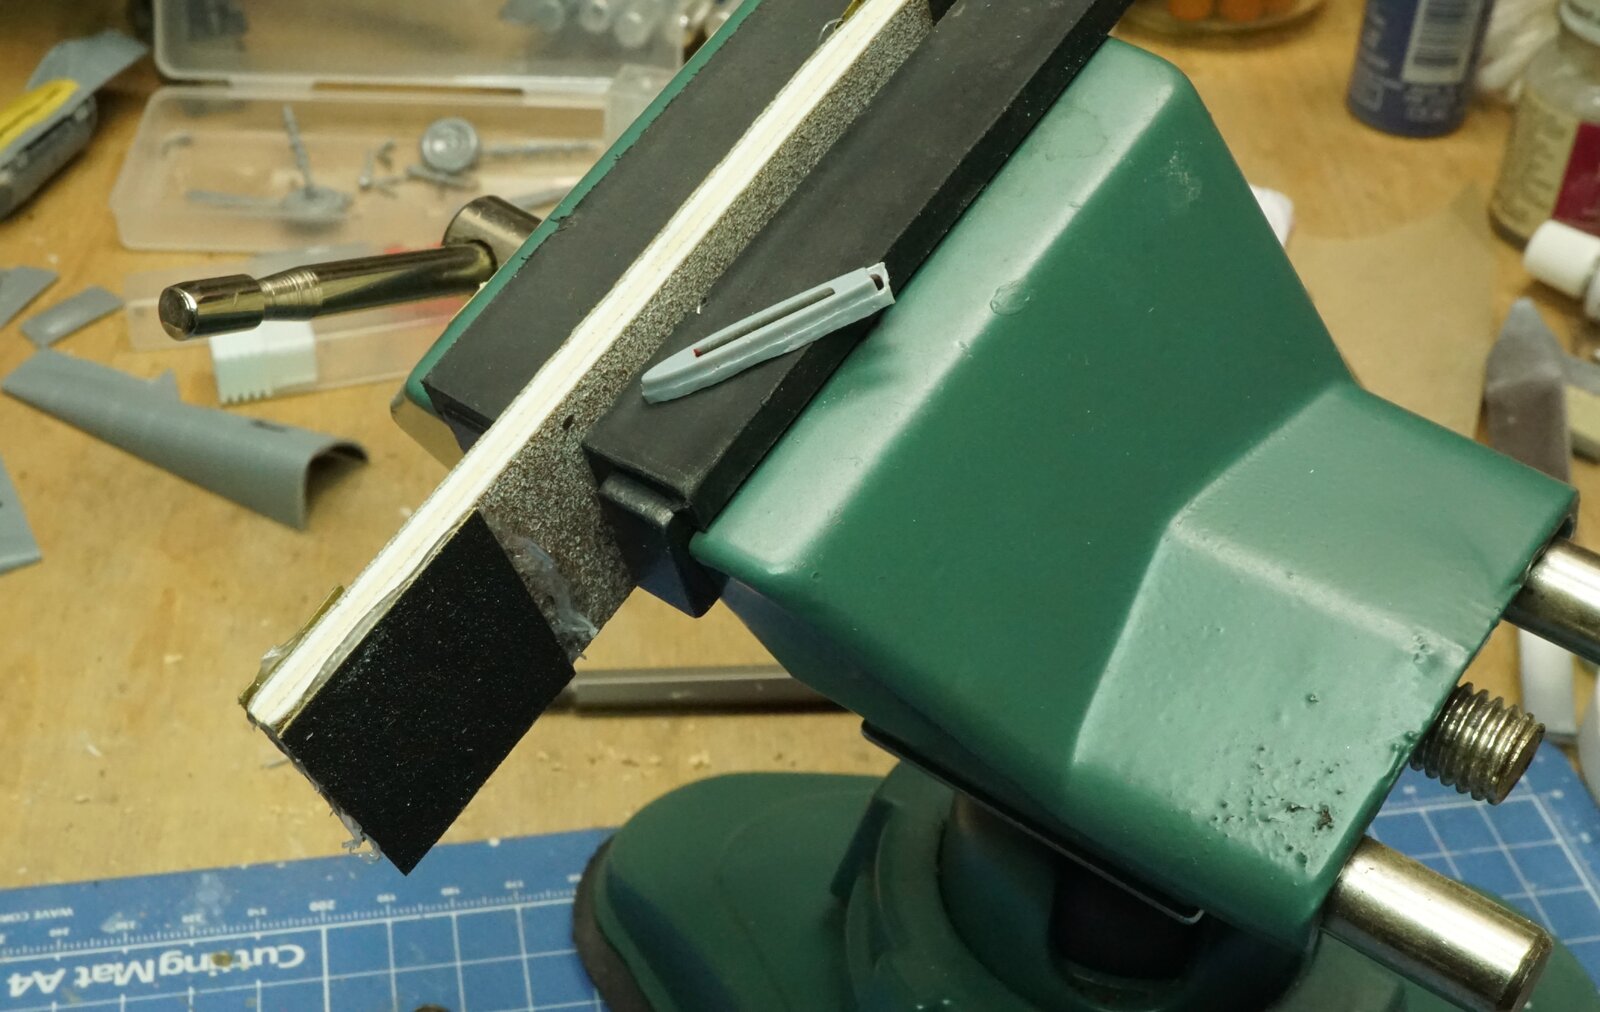
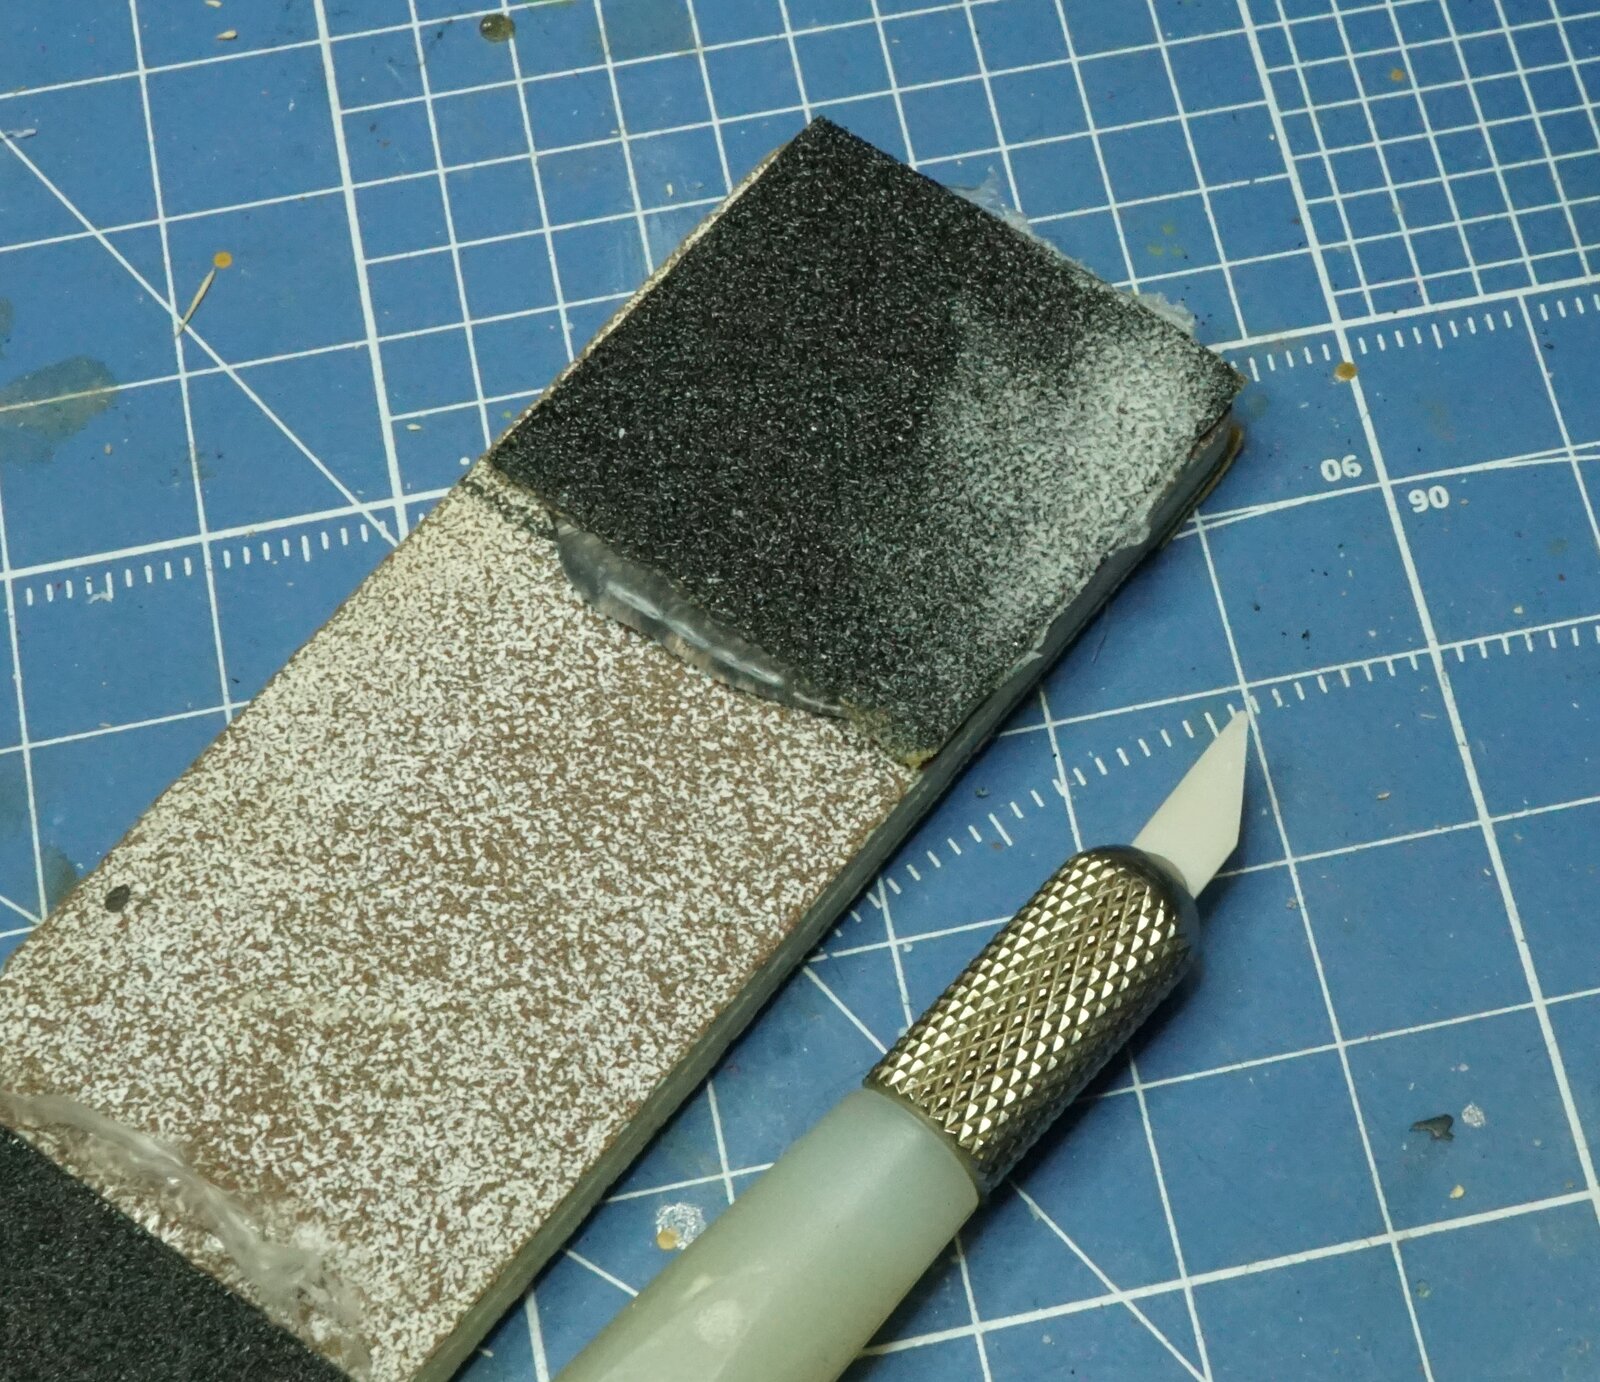
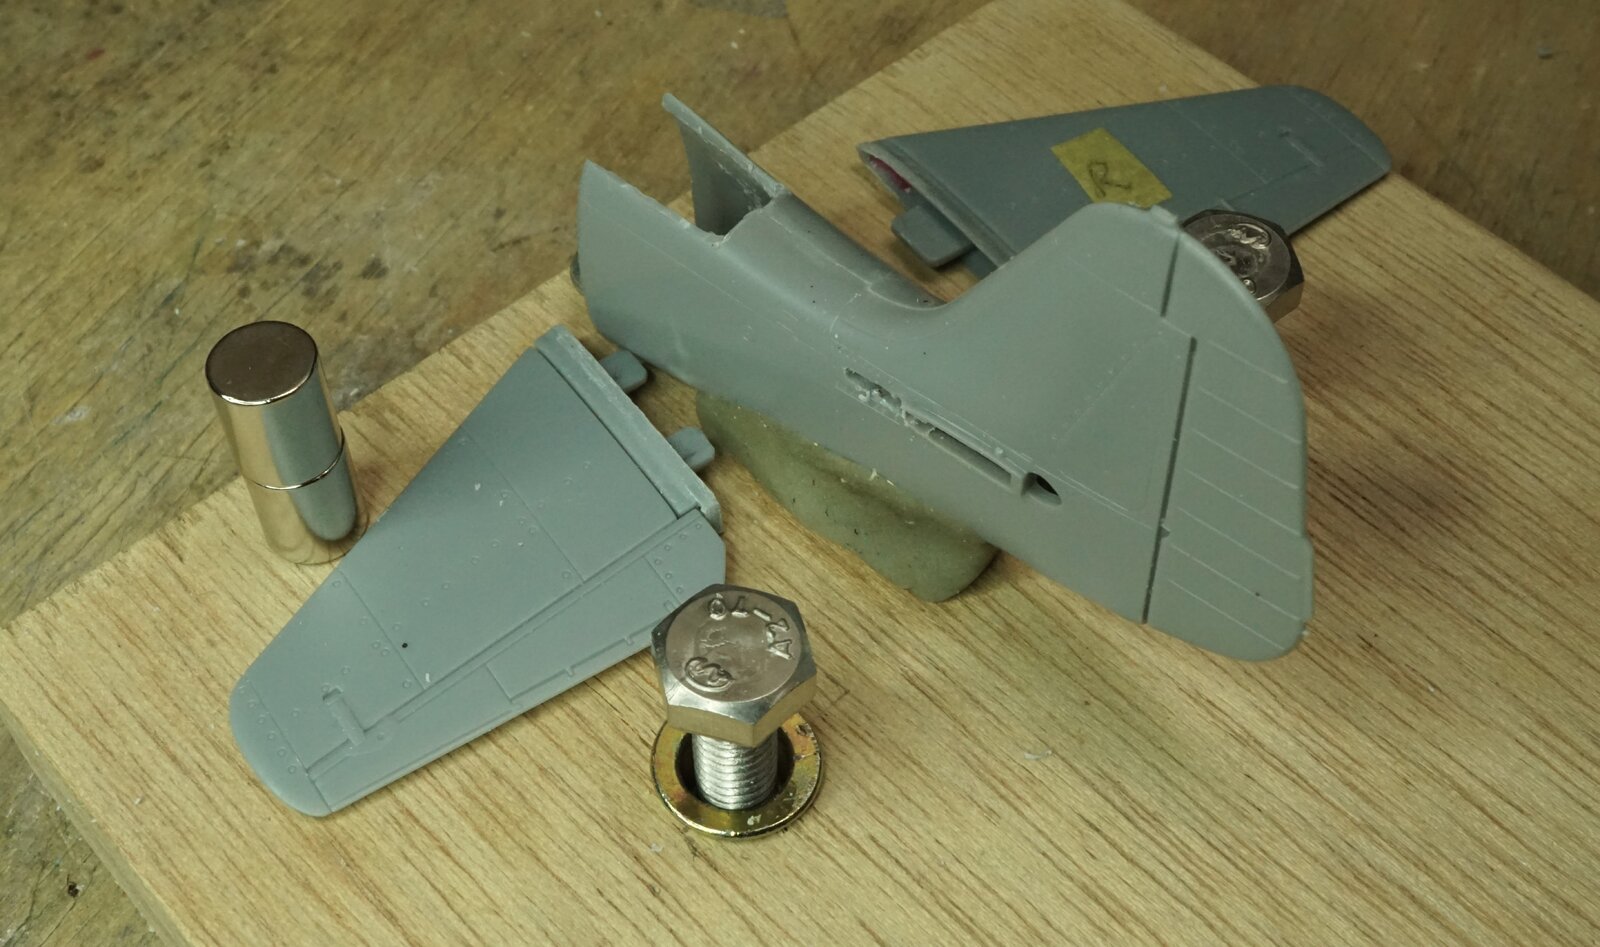
well all I've done is hot glue some various grits of sandpaper to an old sanding stick and chucked it up in the vise so I can use both sets of thumbs and index fingers to control that tiny part , to sand off that remaining plastic around the horizontal stabilizer mounts .
They slope into a wider base against the fuselage .,
so I can position the sanding stick at the best angle to sight that slope while sanding .

DSC06521.JPG


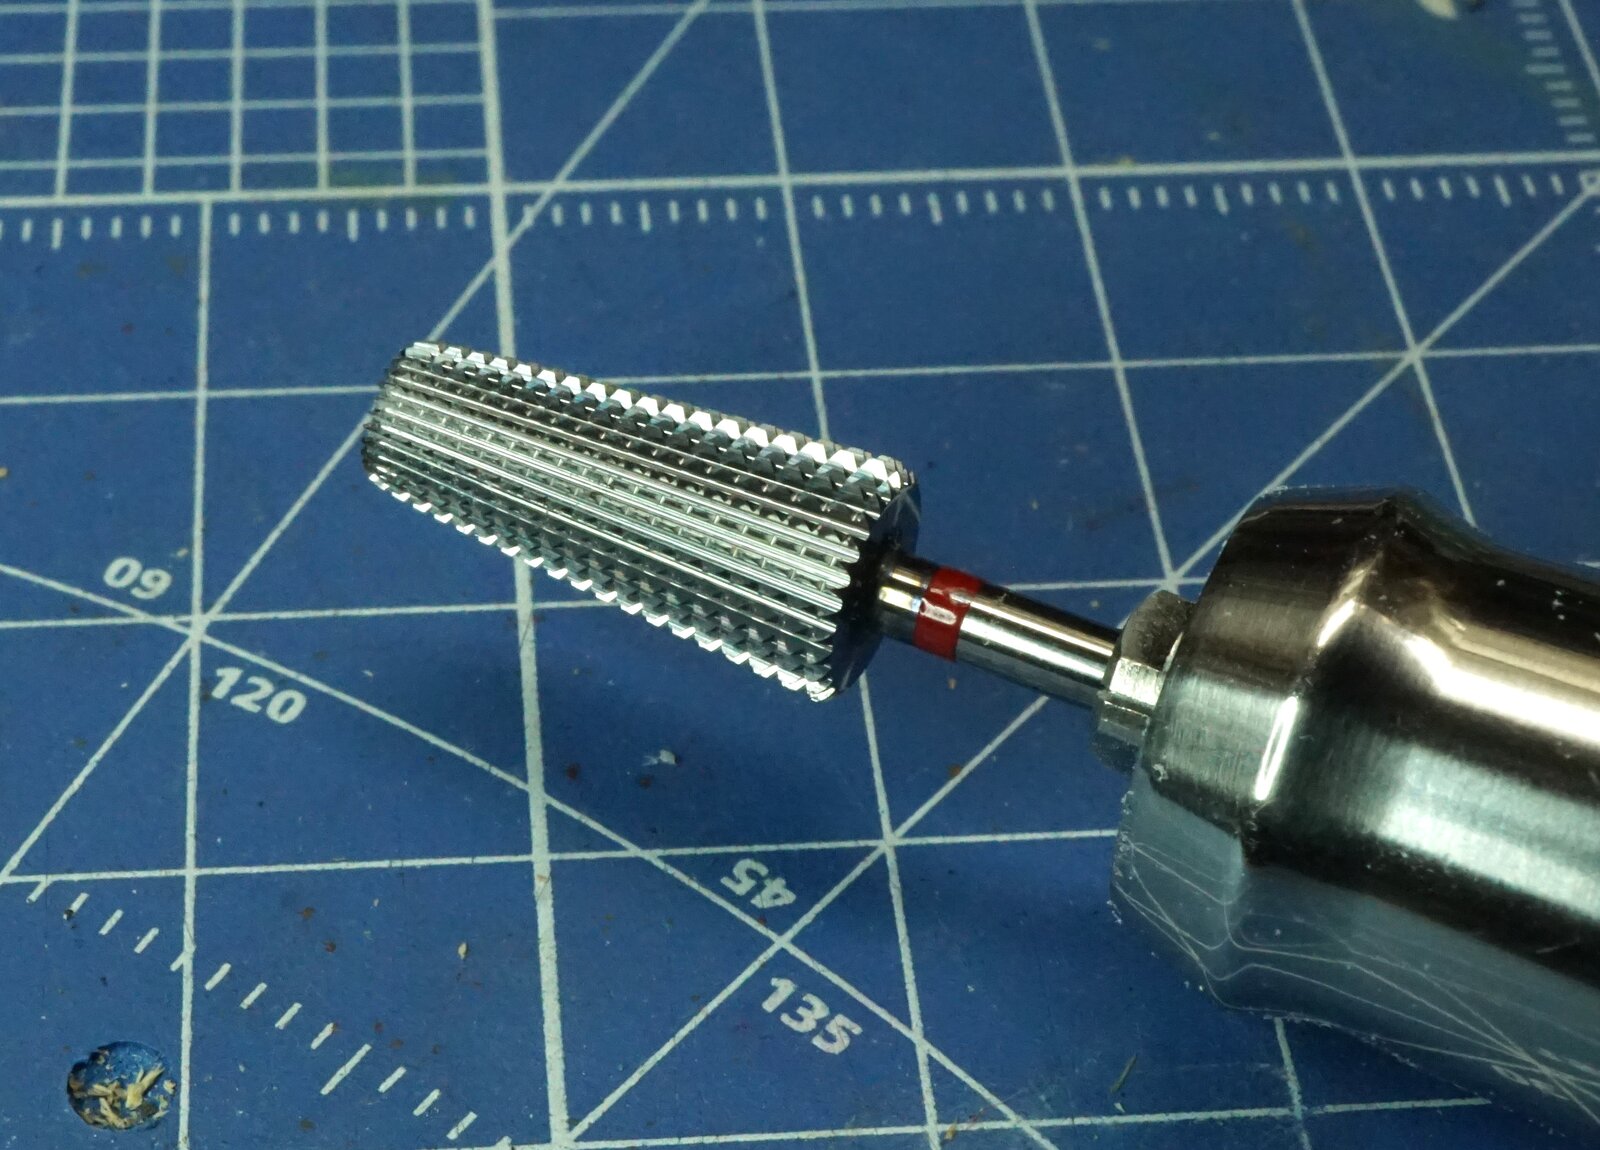
I removed the bulk of it with a burr . Initially cut out of the tail with the ultrasonic knife .
I highly recommend this bit below .
2.3 mm shank .
It's the Cadillac of burrs ,
ultra smooth cutting in resins / plastics

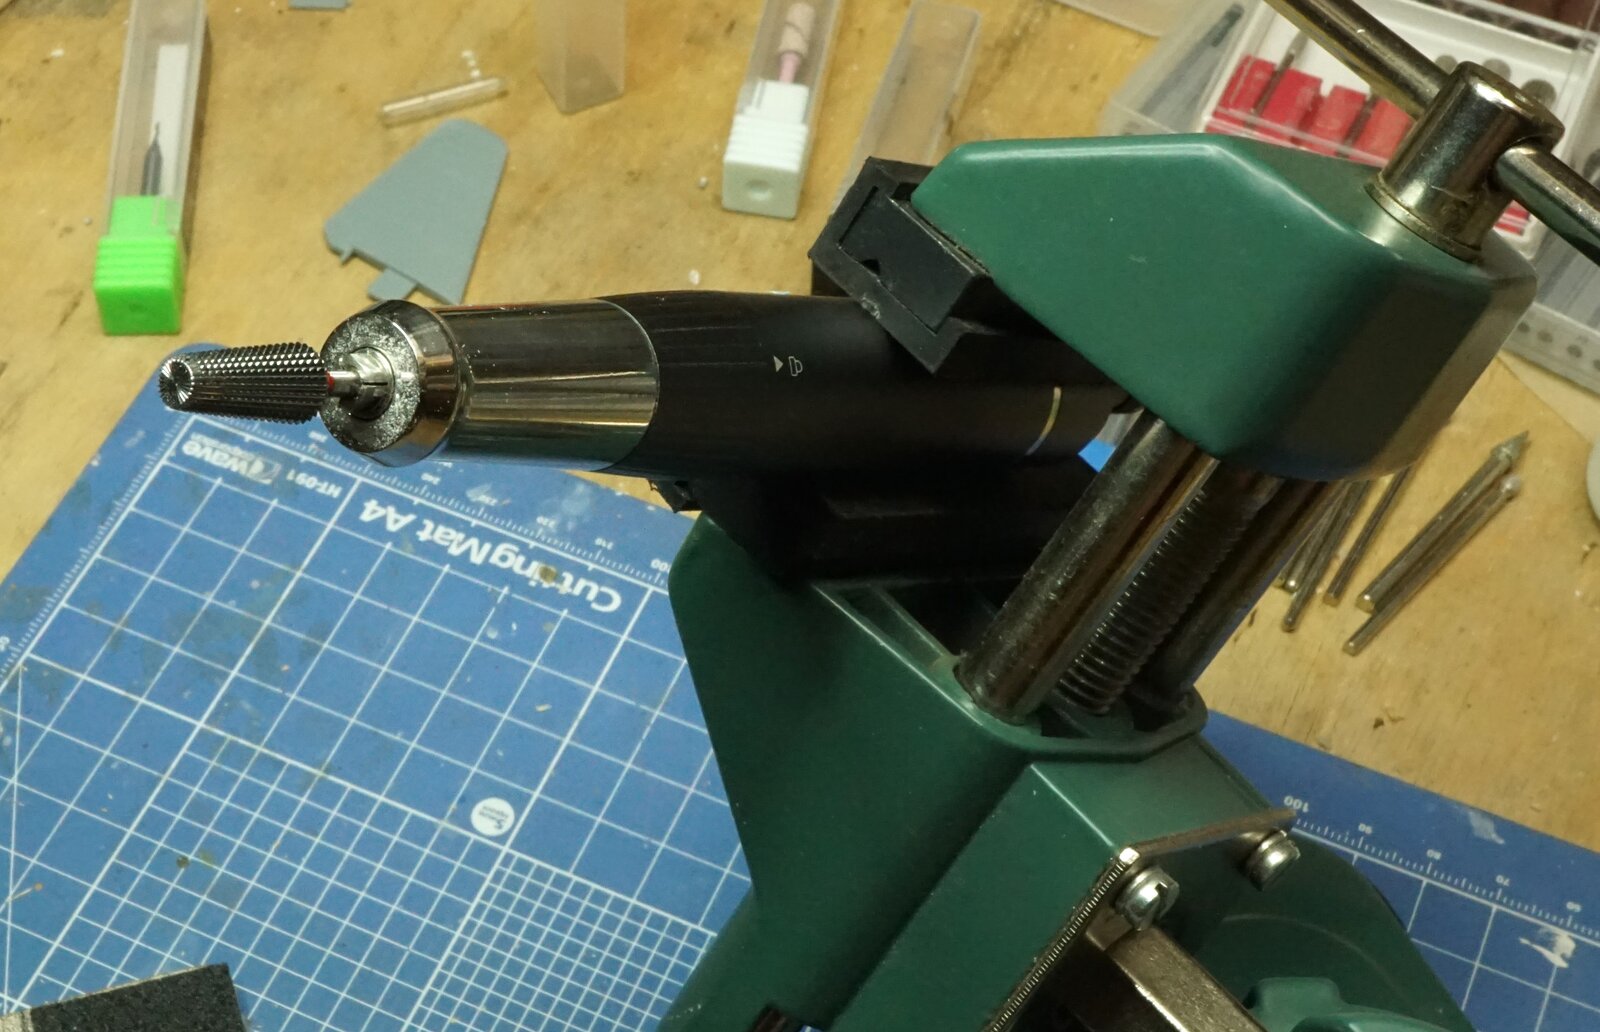
That rotary tool I'm using is badass also .
Ultra fine speed control with plenty of power at all speeds .
super quiet . : https://www.amazon.com/gp/product/B0CQR8YM5R/ref=ppx_yo_dt_b_search_asin_title?ie=UTF8&psc=1

DSC06522.JPG

https://www.amazon.com/gp/product/B0DBX8BC8G/ref=ppx_yo_dt_b_search_asin_title?ie=UTF8&th=1
 
Last edited:
That first photo I didn't resize and it was 5341 wide .
so the forum handles that .
It wouldn't auto resize when I first attempted to upload here back when I had to abandon Imgur .
 
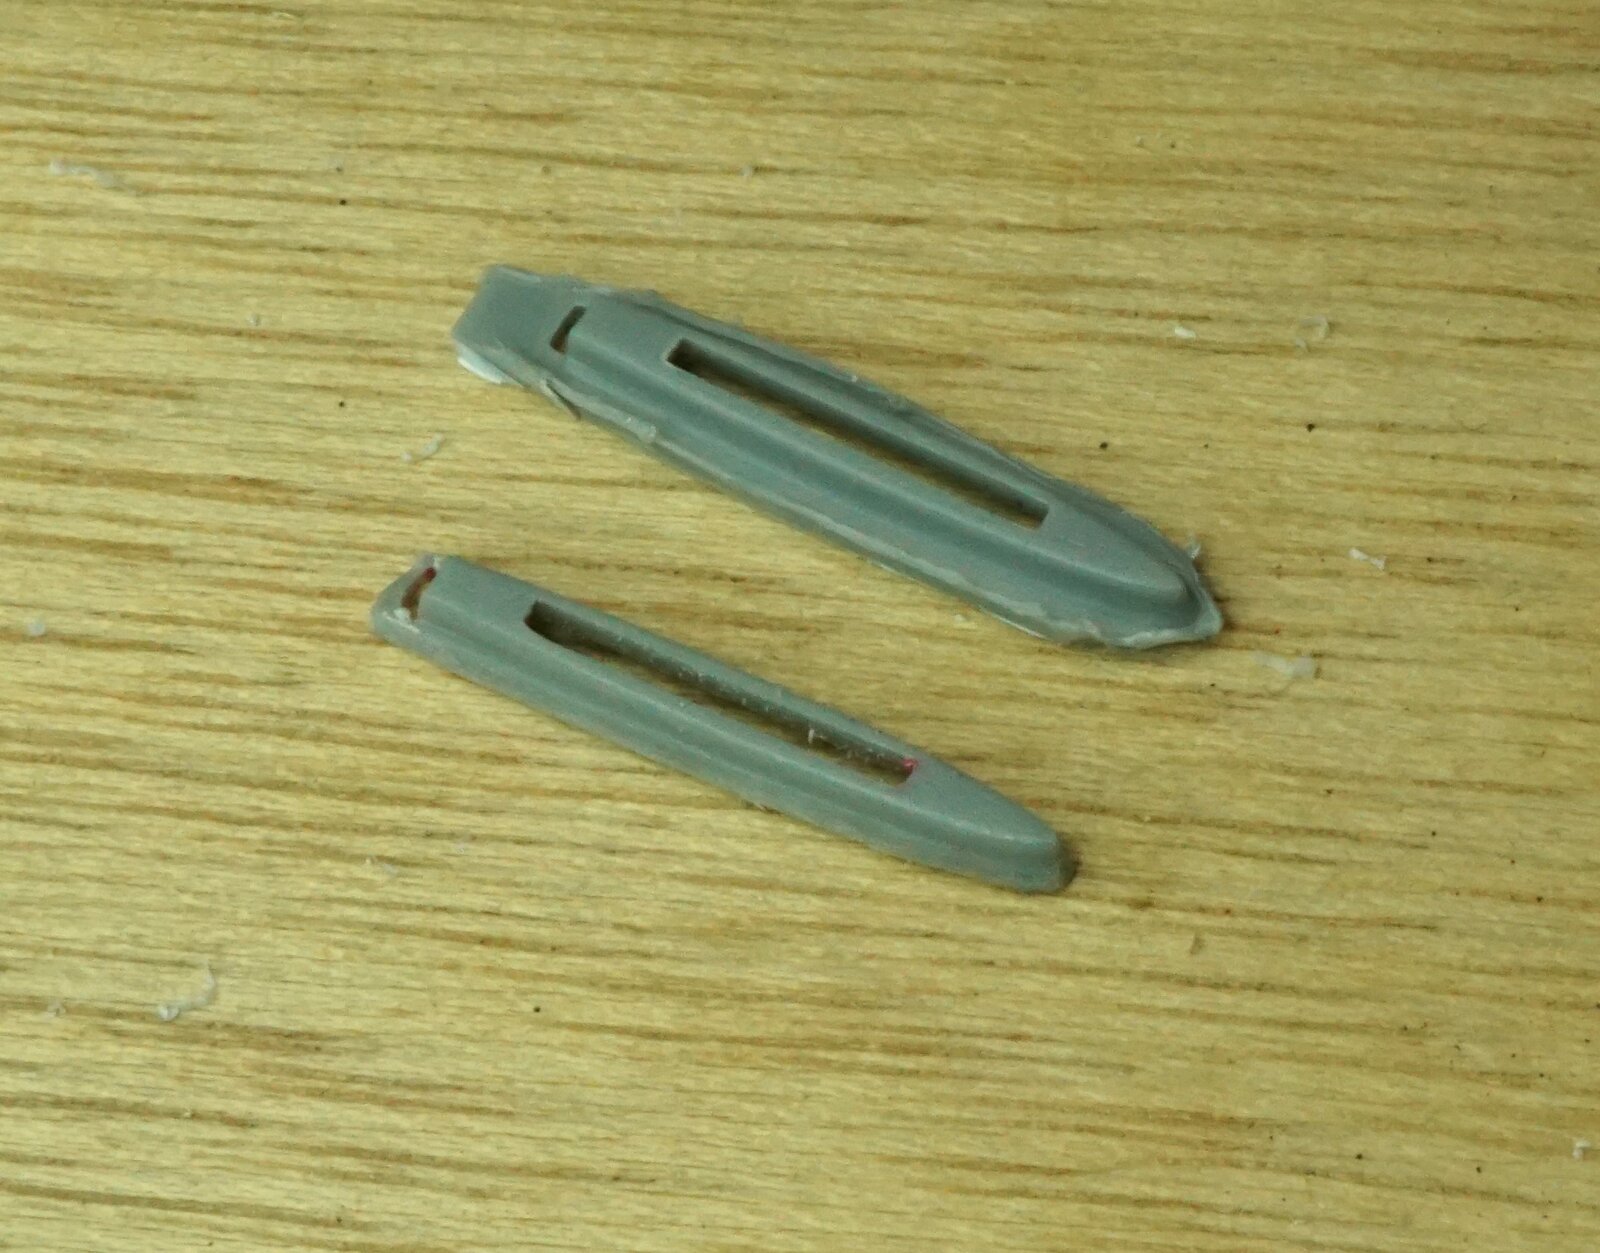
After using the rotary bur for the bulk of the material removal ,
I ended up using the ceramic scraper for most of the rest , and finished off with the sandpaper .

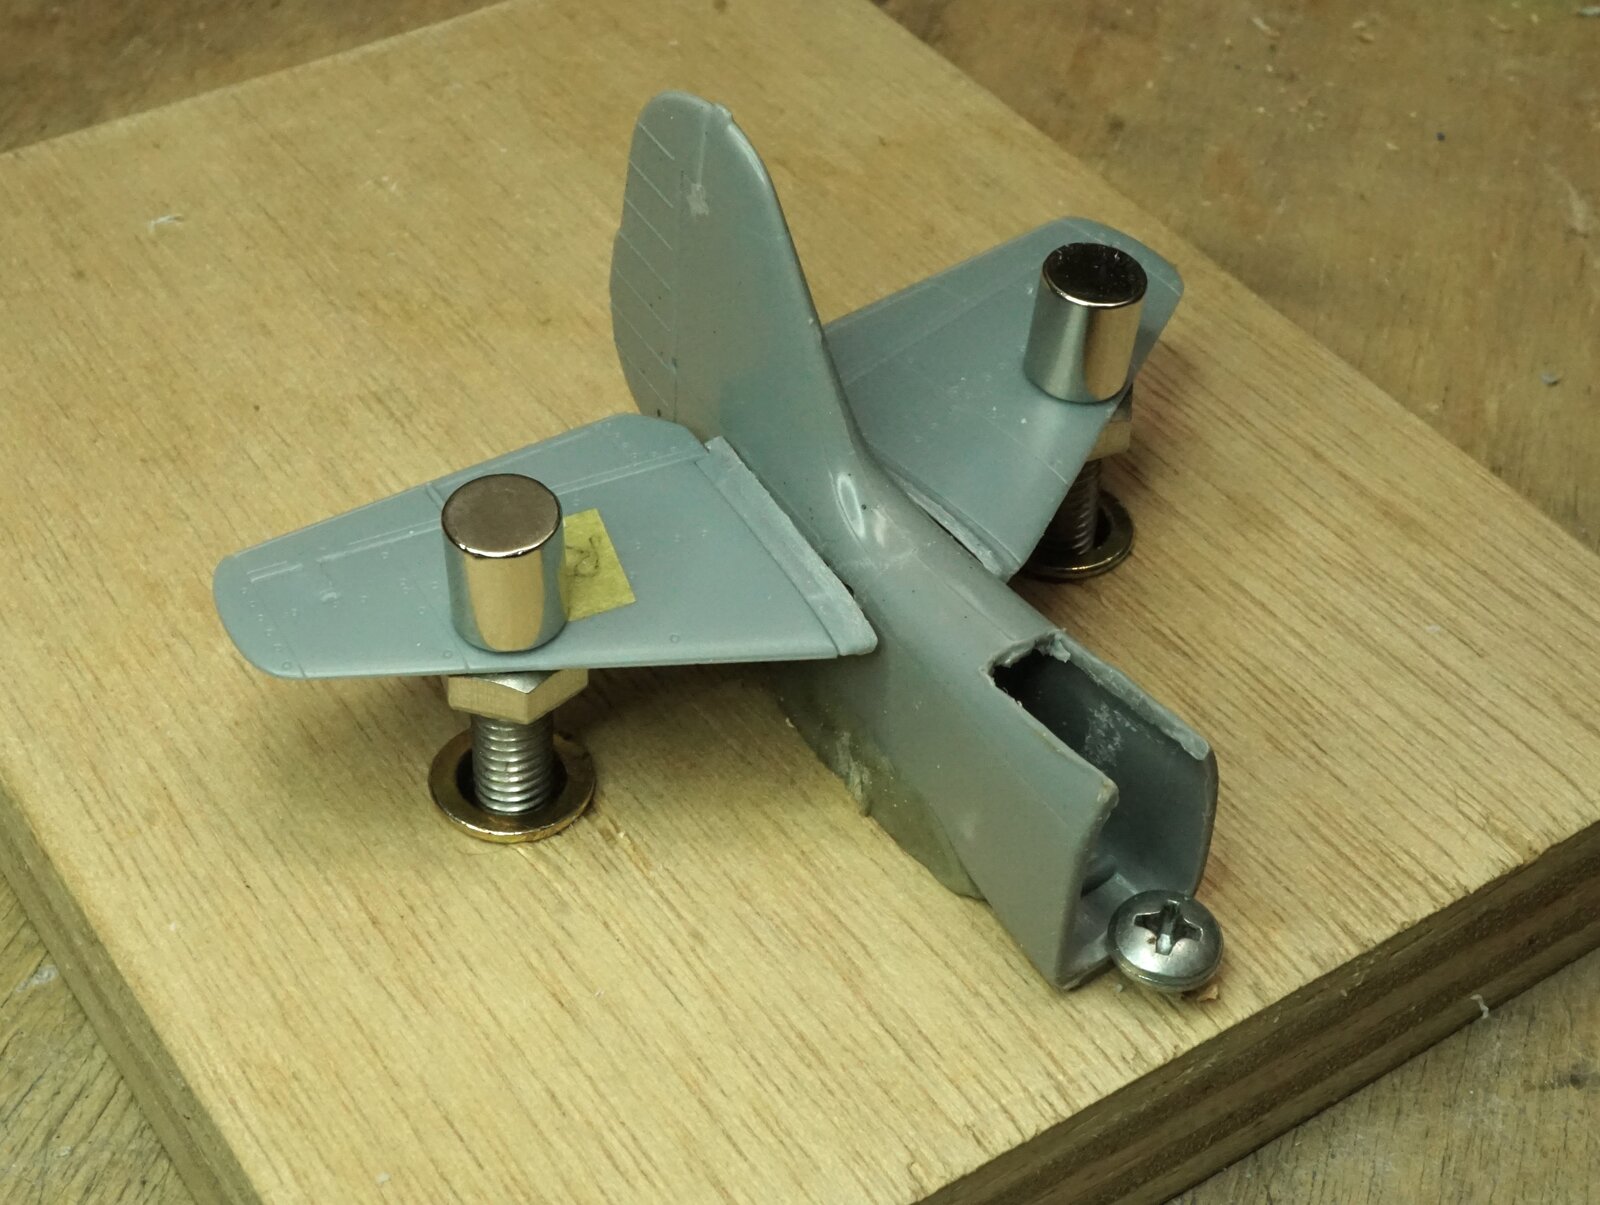
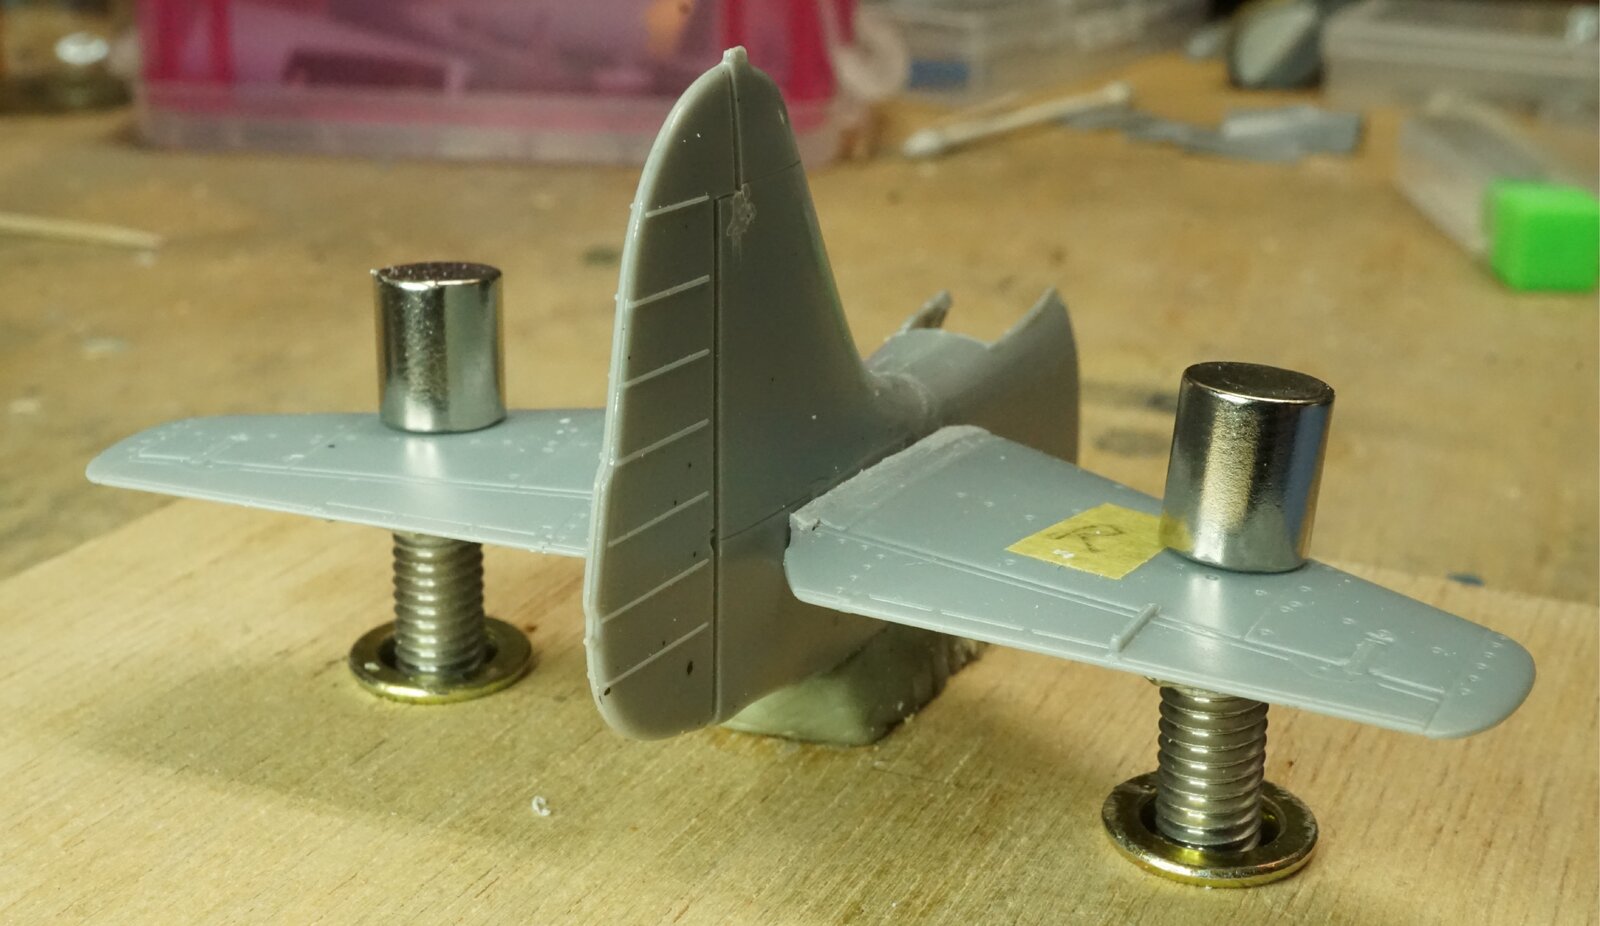
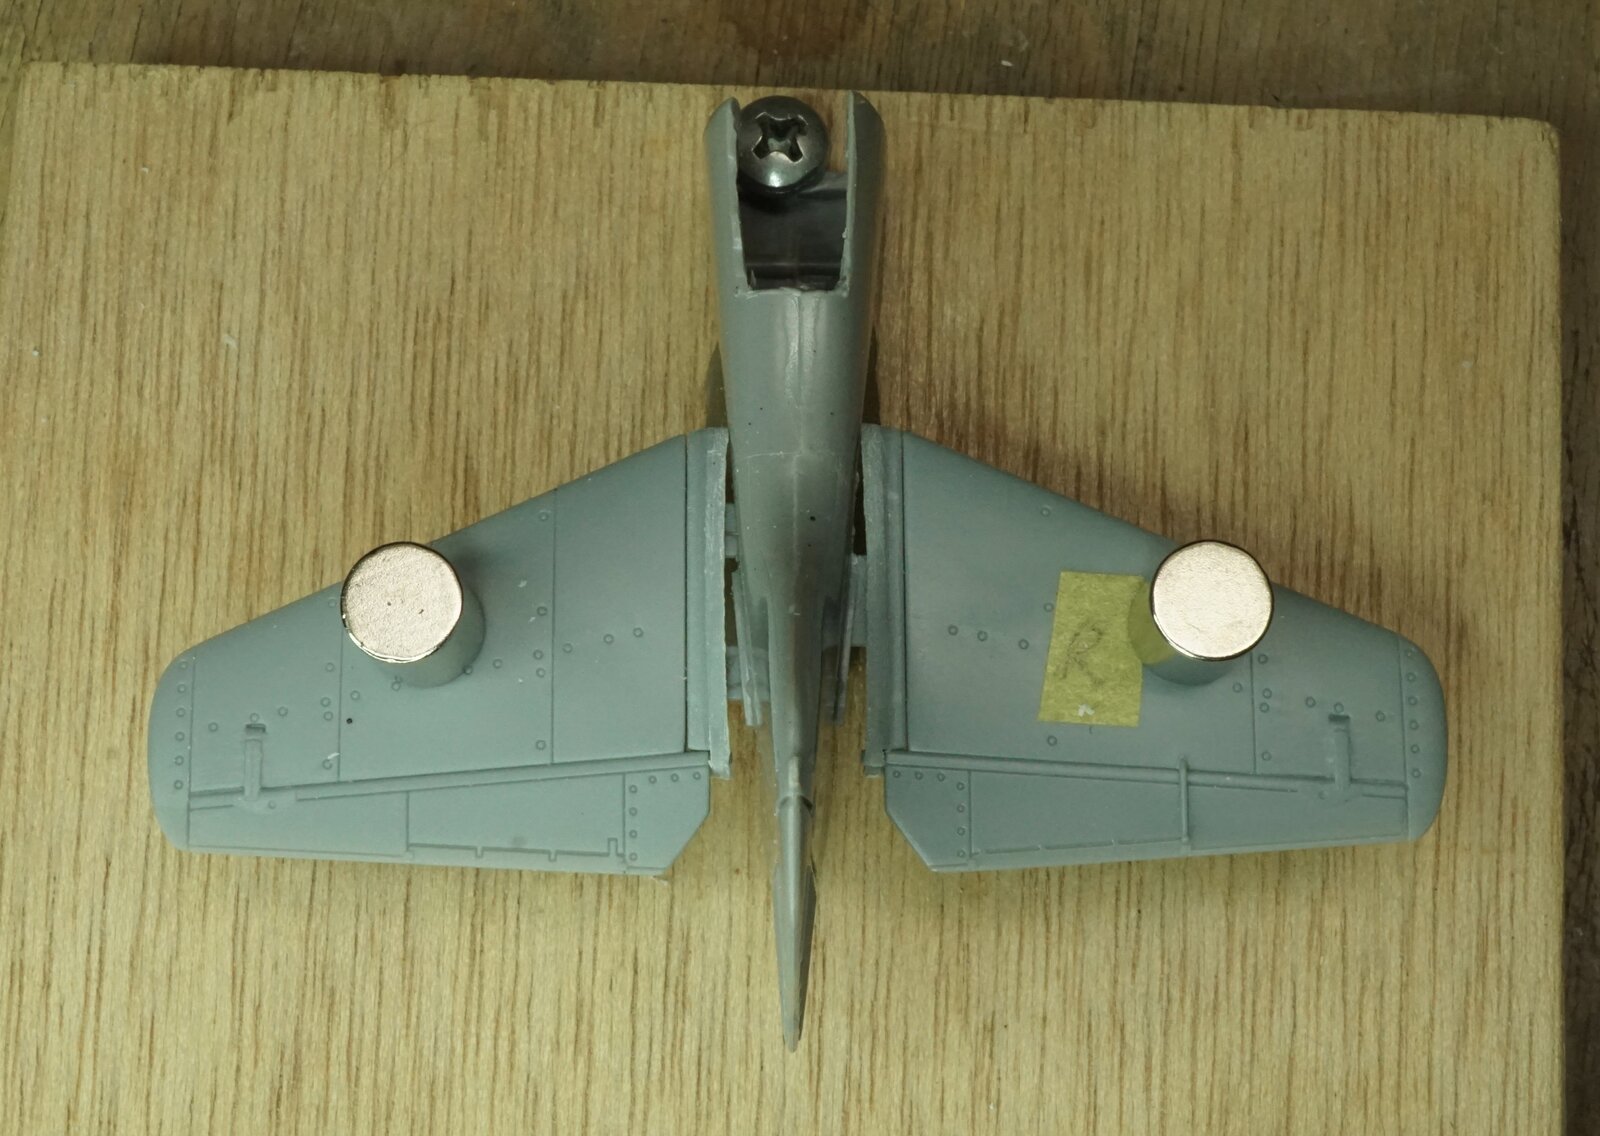
Now I need to decide on the exact rake and if there will be any dihedral .
The 6 mm rivet nuts and bolts with magnets makes it easy to hold them in the proper orientation during the weld-up .

DSC06524.JPG

DSC06523.JPG
DSC06525.JPG
DSC06530.JPG
DSC06527.JPG
DSC06528.JPG


as far as the wing rake ,
Probably will be going in like below ,
with the mounts parallel and the gap filled in ,
but it works fairly well with them running along the existing skin like above

DSC06529.JPG
 
Last edited:
I think I'm going to drill a hole beneath the tail gear opening , from below on the press , to allow easy access for anchoring the stabilizers .
I'm pretty sure I can do it all from the front , that's the reason for the extra-clearance-notch ,
but ,
yeah , I'm going to do that just in case .
The ole better to have and not need pizza topper
 

Latest posts

Back
Top