1/4222 Dominator (ISD conversion)

nicholassagan

sippin on gin + juice
Joined
Dec 28, 2011
Messages
2,013
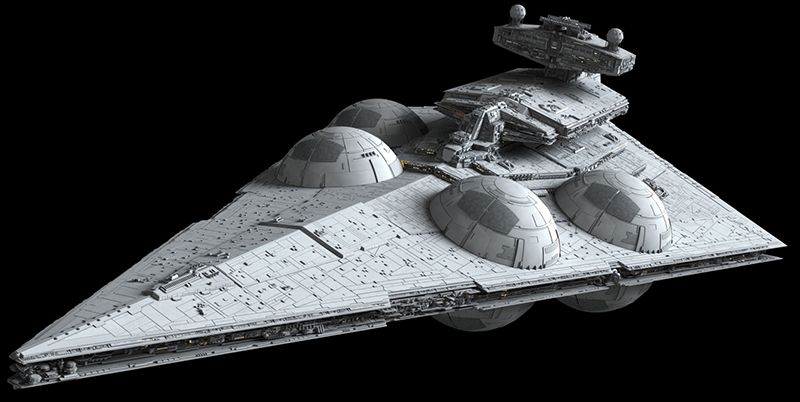
Oh boy. How to start to describe this...it's late and I'm exhausted so I'll be brief. I first saw this ISD variant in a X-Wing Comic Series and thought it was pretty damn cool. Then I saw that Scale Solutions had a version and wasn't too keen on picking it up...so I figured I'd do a scratch/bash on another AMT/Ertl kit from my stash in the same manner of treatment from last year's Errant Venture. THEN the Essential Guide to Warfare book came up and Anselo Haio (aka Fractalsponge) had a render in it. A beautiful render can be inspiring....
dom_dominator7.jpg

dom_img_2018.jpg


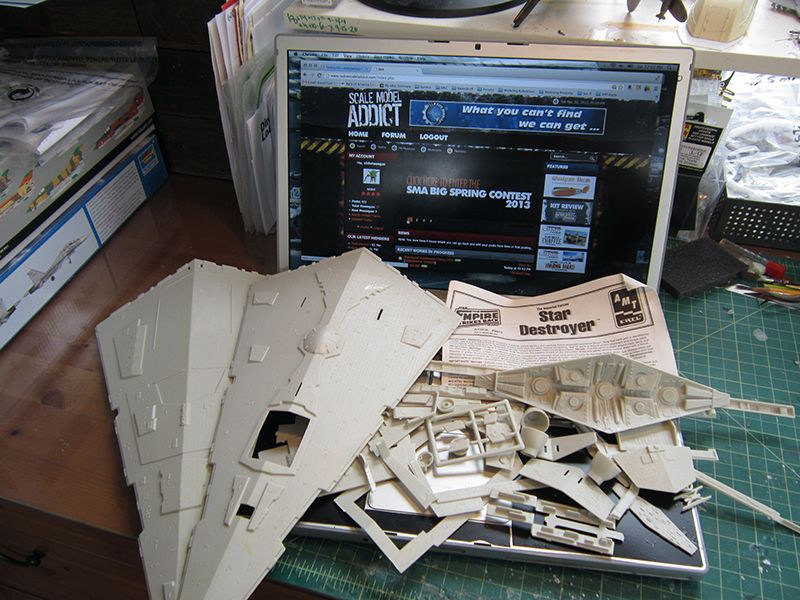
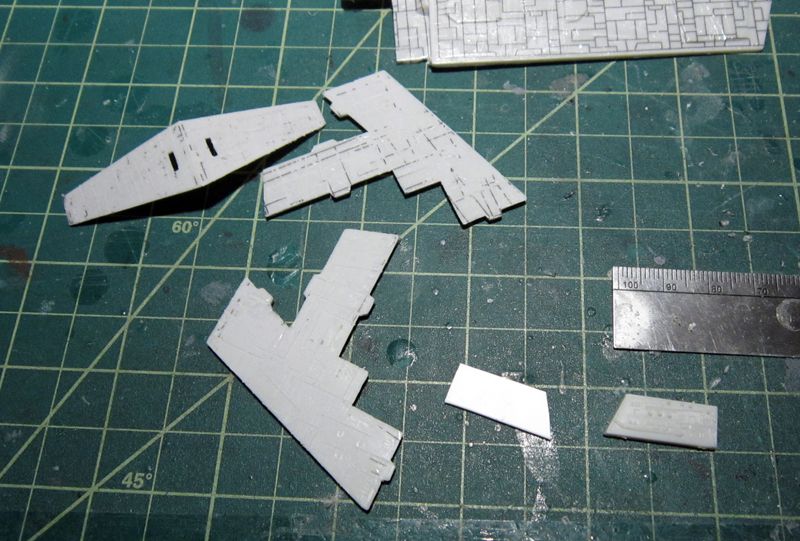
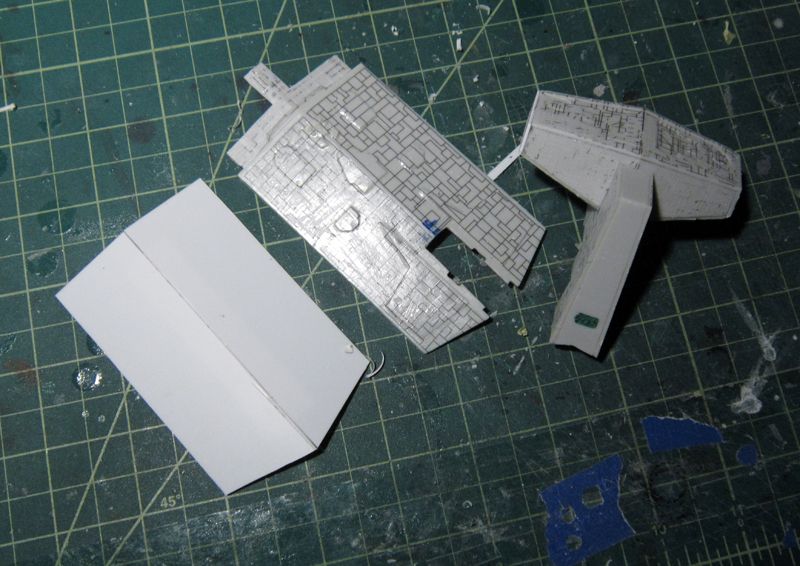
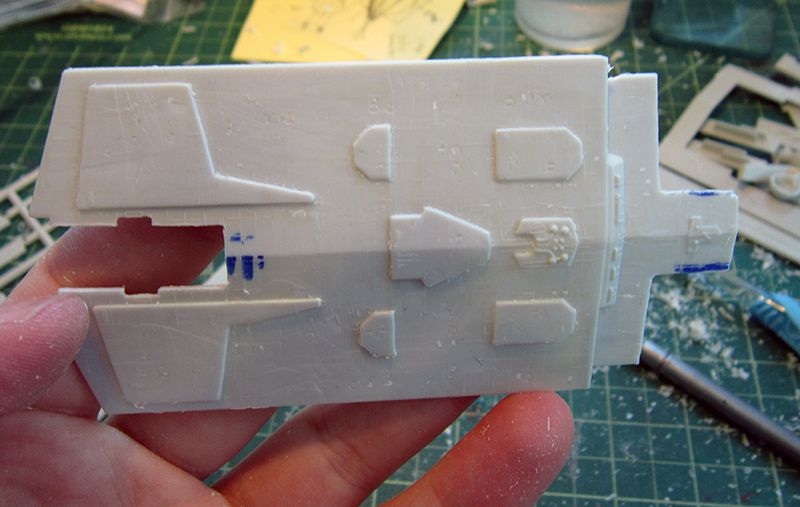
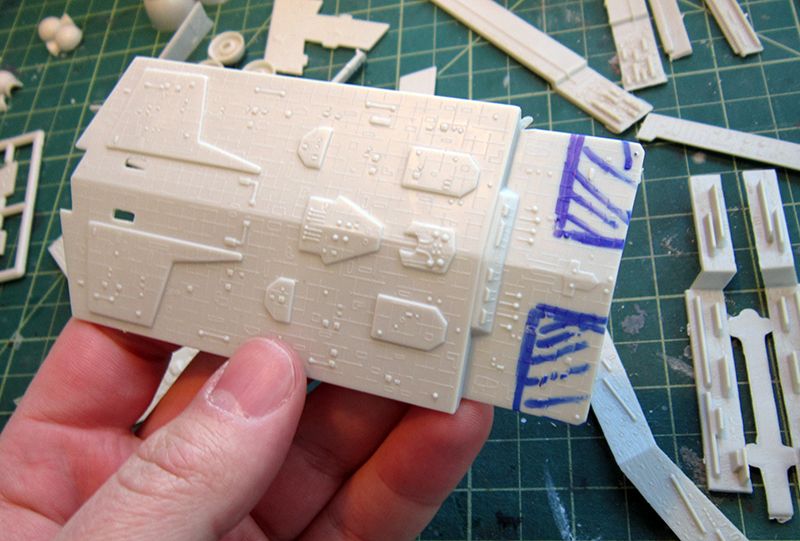
Basically the process is the same as last year but with fewer conversion parts and less complex add-ons, etc. I started by sanding down all the raised panel detailing and small panels.
dom_img_2227.jpg

dom_img_2231.jpg

dom_img_2234.jpg

dom_img_2254.jpg

dom_img_2256.jpg


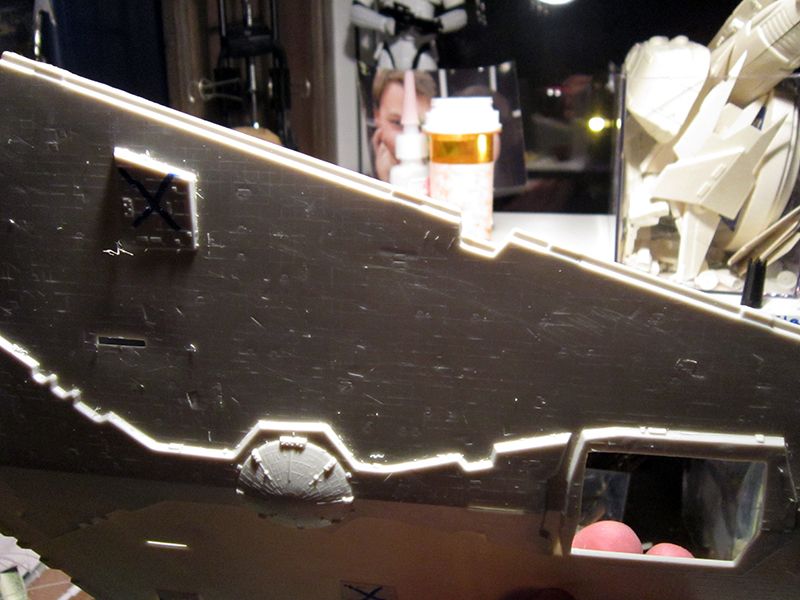
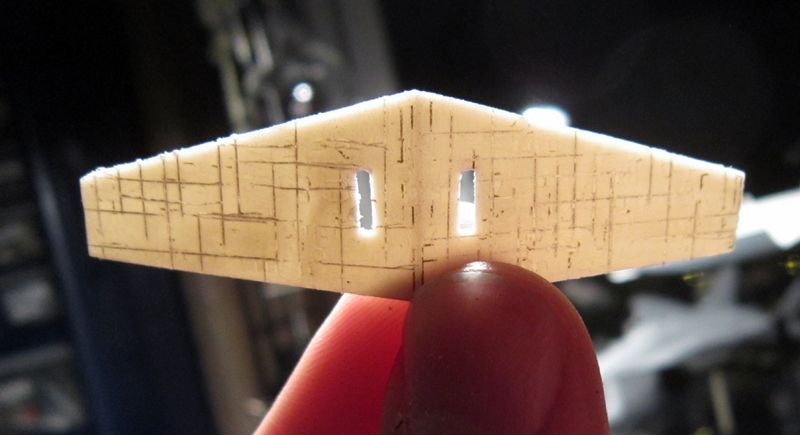
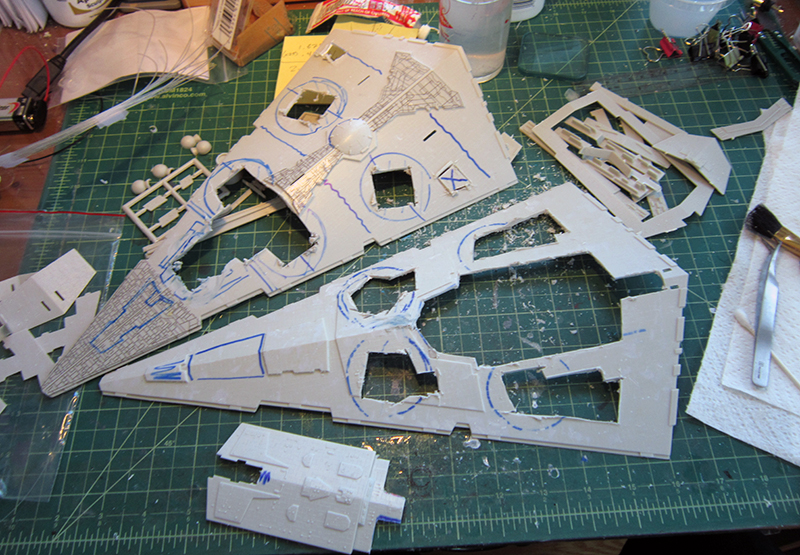
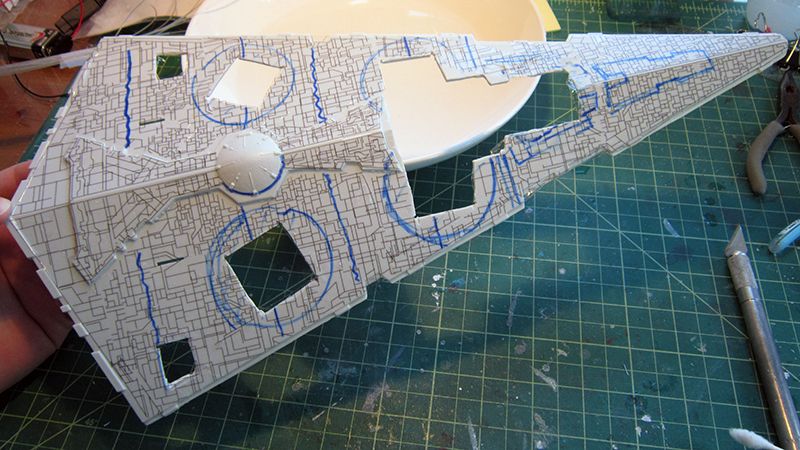
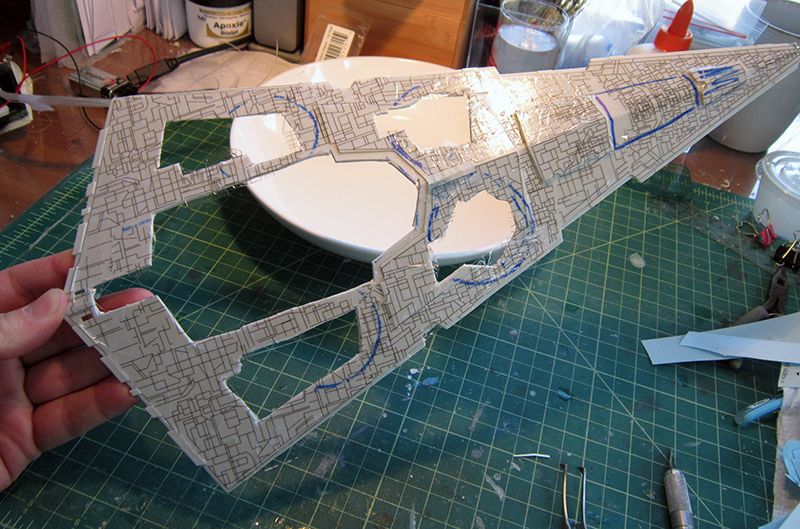
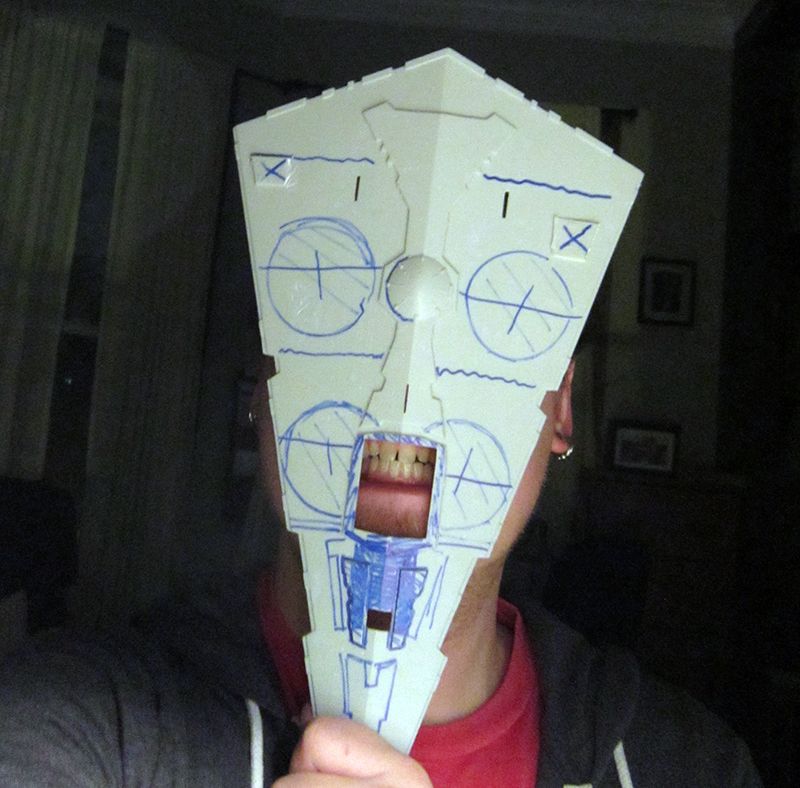
Then there was some good Dremel time opening up all the right holes.
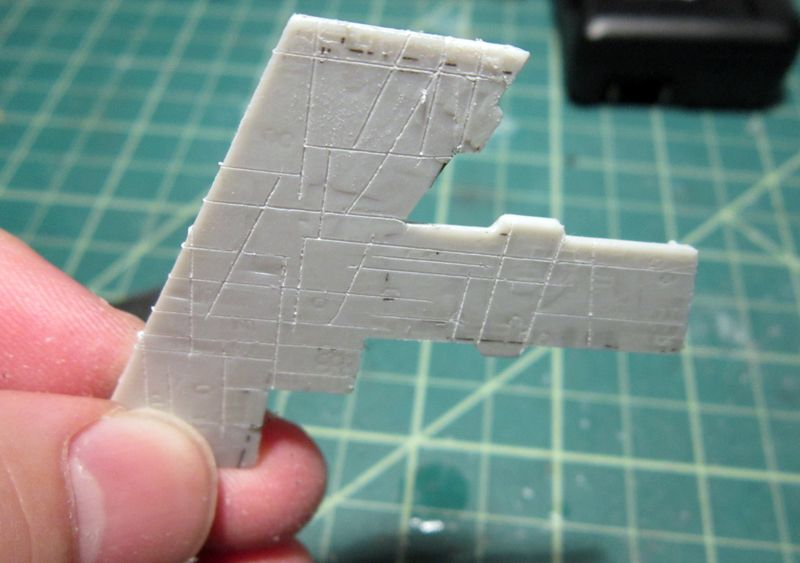
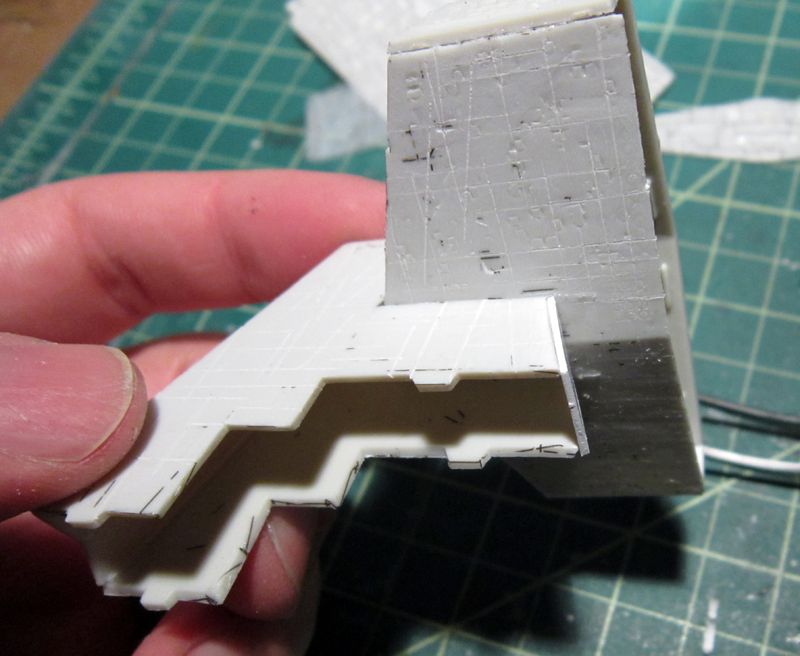
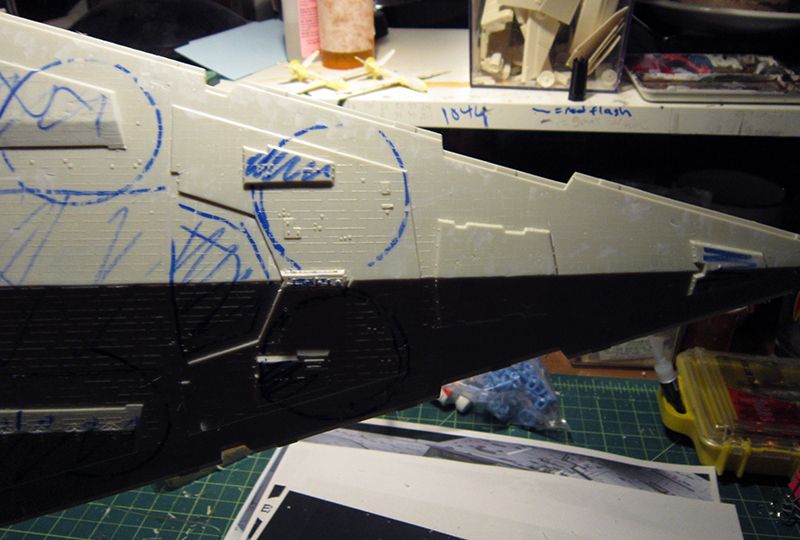
Then the scribe line guide decals....I marked it up for proper details, etc, too
dom_img_2255.jpg

dom_img_2237.jpg

dom_img_2251.jpg

dom_img_2252.jpg

dom_img_2253.jpg

dom_img_2261.jpg

dom_img_2262.jpg


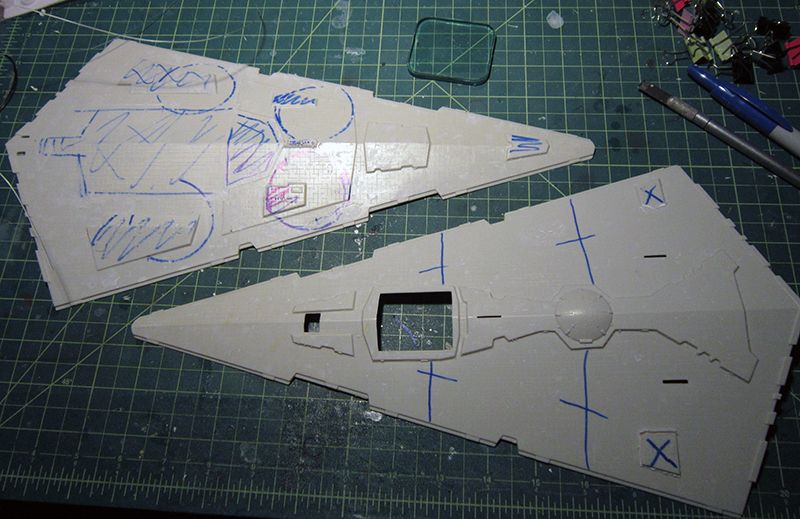
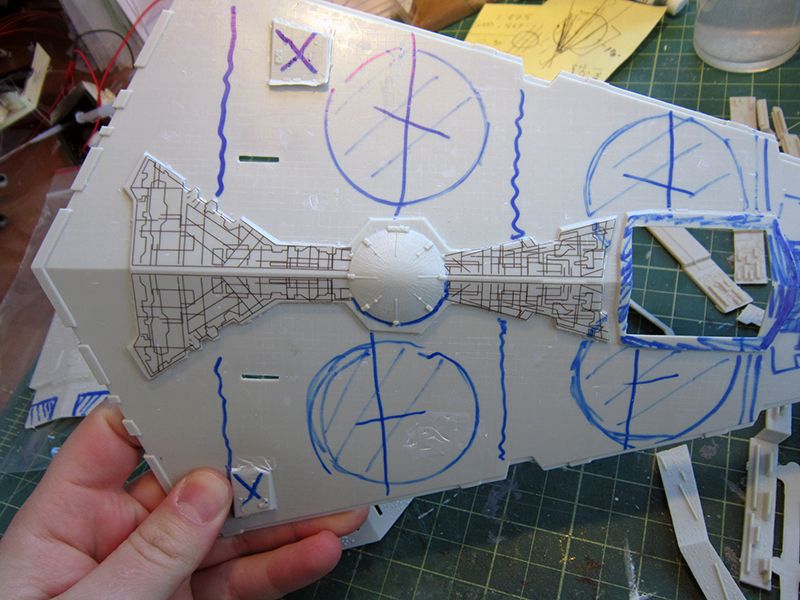
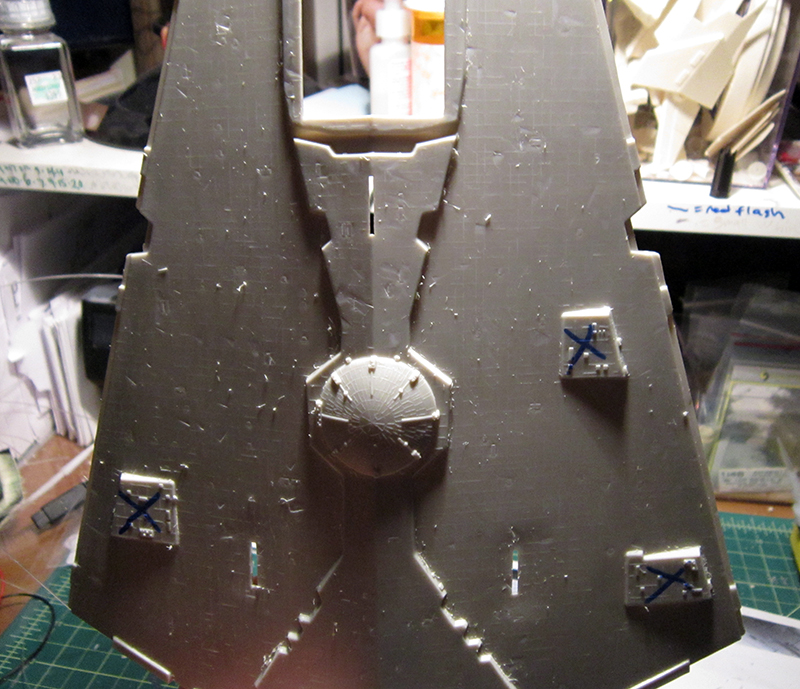
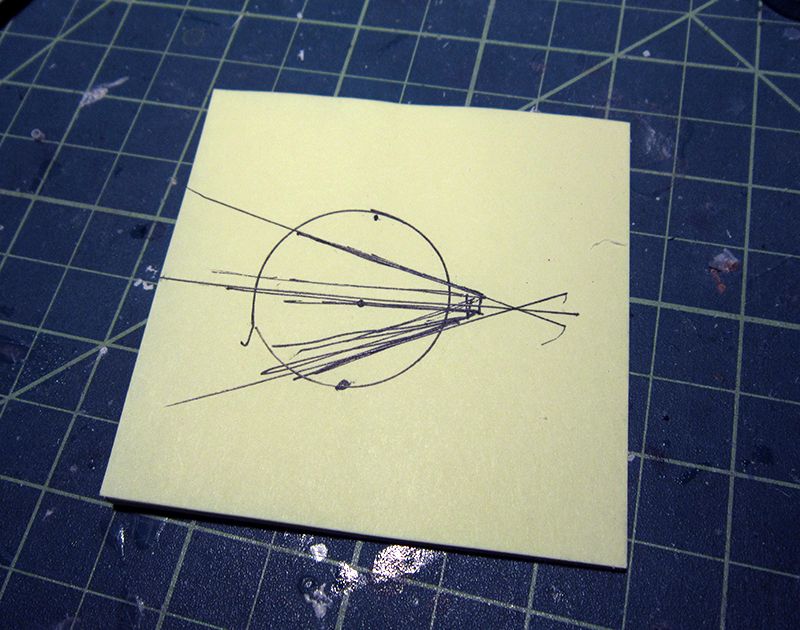
and even figured out the right diameter sphere needed to get the semi-submerged look of the domes.
dom_img_2239.jpg

dom_img_2240.jpg


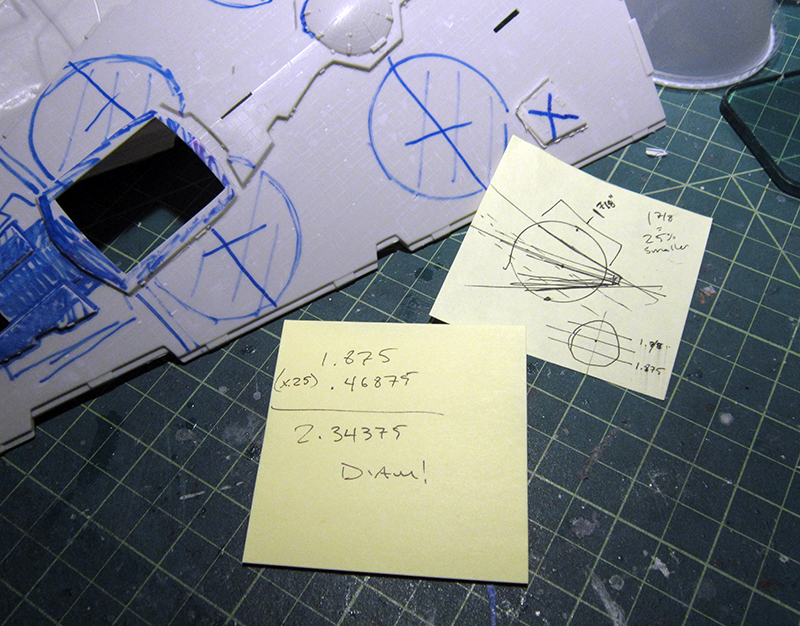
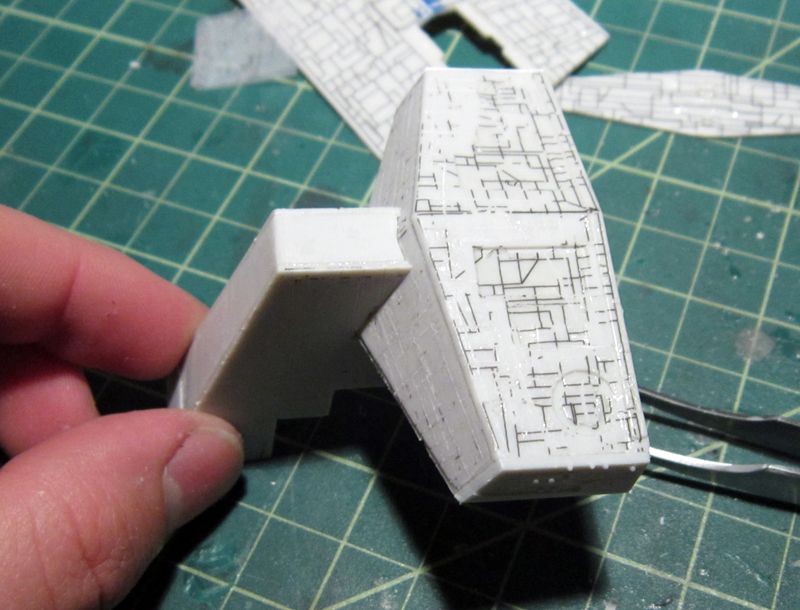
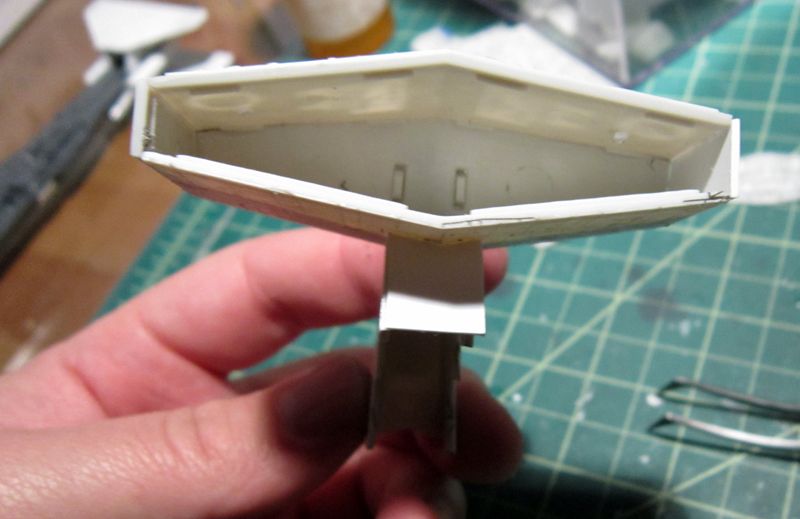
Since the placement of the lower forward domes overhangs the main hangar, I'm getting rid of the auxiliary hangar and moved the main forward. It'll also be just a little smaller...
dom_img_2238.jpg


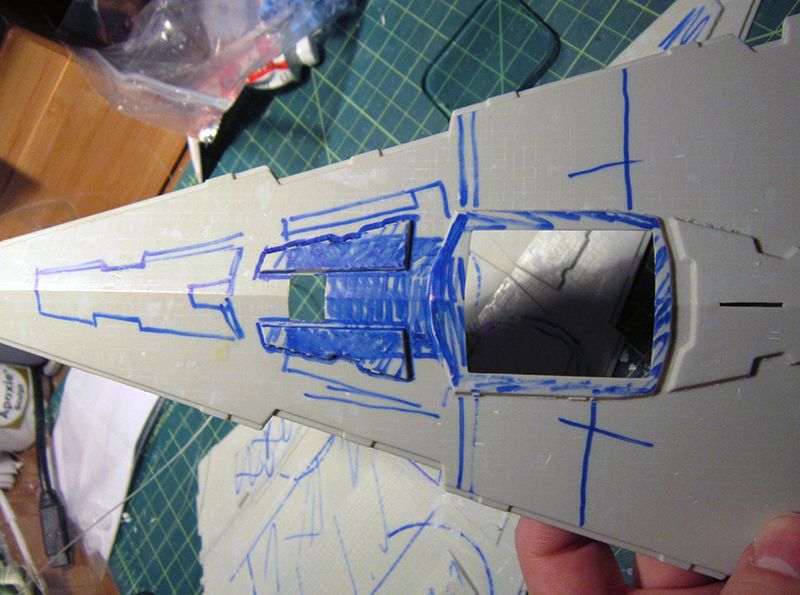
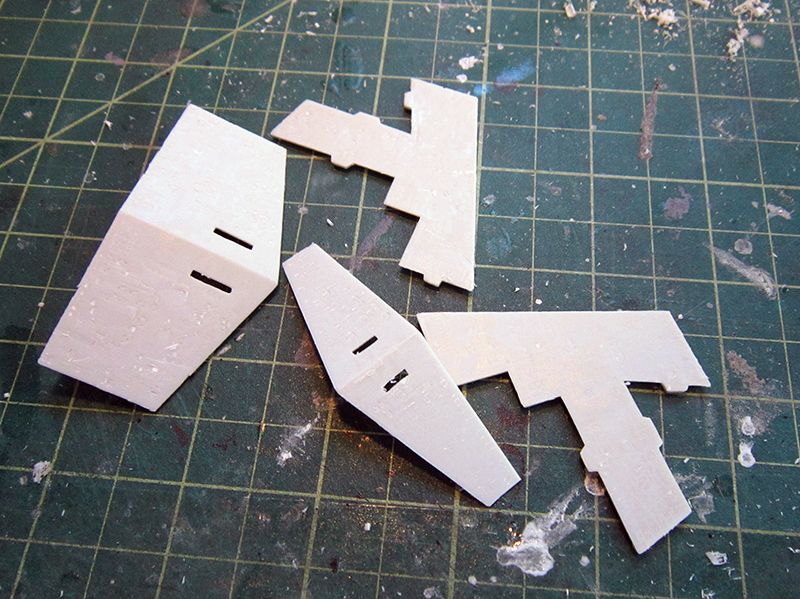
A little bit more prepping for the sidewalls
dom_img_2235.jpg

dom_img_2243.jpg
 
Impressive chop-up! It'll be interesting to see how all the bit will fall back into place!
Cheers!
 
thanks guys! some of the blue pen marks, like the ones with fill-in or big X's were for gutting. some of the others outline armor paneling that i'll be adding and some of the horizontal lines (like on the bottom hull) are for the armor banding strips. or if you mean all the black lines, those are my scribing guide. which means a straight edge and a scriber will be used to trace over them. :D
 
nicholassagan said:
thanks guys! some of the blue pen marks, like the ones with fill-in or big X's were for gutting. some of the others outline armor paneling that i'll be adding and some of the horizontal lines (like on the bottom hull) are for the armor banding strips. or if you mean all the black lines, those are my scribing guide. which means a straight edge and a scriber will be used to trace over them. :D

That is what I ment, the black lines....
 
ah yes. so in more detail, i've been working on star destroyer master patterns on and off here and there :p part of that process was to make a bunch of laser cut and etched pieces. so i designed a vector file for ALL the paneling on an ISD, most variants and scalable to whatever. in this case i did a pattern for a 10k avenger and scaled the file to 4222, make the vector lines black and printed on decal paper. :D i also used some micro set to get the decals to stick a little better. when i go in with the scribing tool it will just slice the line and not tear up large sections of the decal. once scribing is done i'll go back in, clean the lines up, use a toothbrush to remove remaining decal and then do some light sanding.
 
Man the sci Fi catergory will be tough to decide this year! Awesome stuff Nick.
 
A friend of mine just happened to have the exact size half-sphere I need for the domes and did some vacuforming with different thicknesses. So now I'll have MORE balls to play with...ugh.

[attachment deleted by admin]
 
not all hope is lost!!!! this will be a photo finish but i think i can do it.....

i've been scribing away off and on here and there...now that other projects are in their waiting for paint or drying stage....

i pieced together the bridge and started building the modified super structure....pics tomorrow probably
 
Here goes! A couple of the original pieces were missing so they were substituted with styrene. Easy. I also shortened the length of the neck by about 5mm. The face of the bridge was just too close. The main super structure is interesting because it more or less "floats" above the main hull. My plan is to get as much of the super structure done and in place on the upper hull before the real detailing begins. I think I'll have a go at scribing the main hulls next...

dom_img_2619.jpg

dom_img_2990.jpg

dom_img_2991.jpg

dom_img_2992.jpg

dom_img_2993.jpg

dom_img_2994.jpg

dom_img_2995.jpg

dom_img_3000.jpg

dom_img_2998.jpg

dom_img_2999.jpg
 

Latest posts

Back
Top