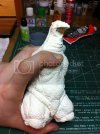
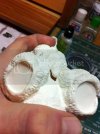
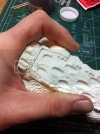
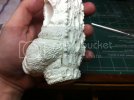
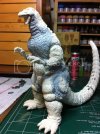
1/400 Godzilla 1992 (vinyl)

MrNatural

my head is falling off my head
Joined
May 27, 2009
Messages
983
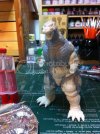
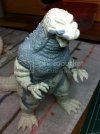
Godzilla rules. Although this model is technically a figure because it has arms and legs, Godzilla, to me anyway, represents sci-fi. Feel free to move this if need be. Now, I really love all 30-40 Godzilla movies, but for me the most fantastic era of the franchise takes place from the mid 80s to early 2000s. This kit represents the 1992 Godzilla from Godzilla Vs. Mothra the Battle for Earth.

I bought this kit on Ebay. It is a re-cast vinyl kit from Hong Kong if I remember correctly. Very cheap, think I paid $15 for it. Upon close inspection you can see why it was that cheap. some of the detail is soft and there are pin holes EVERYWHERE. But that really doesn't bother me because I love a challenge and I love not paying hundreds of dollars for original Godzilla resin cast kits. And all the plastic kits available especially the Aurora kit are pretty pathetic. So this will do just fine for my needs.

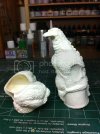
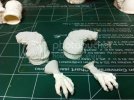
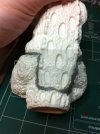
This is what you get...

A bag of parts
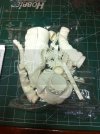
001-69.jpg

A photo of the original kit (im assuming its from the original kit, but who knows?)
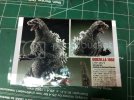
002-71.jpg

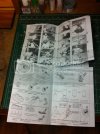
Some incredibly crude instructions and what seems like a guide to working with vinyl models
003-68.jpg
004-61.jpg

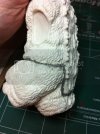
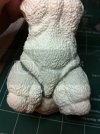
On to the parts...
005-56.jpg
006-51.jpg
007-44.jpg
008-42.jpg
009-30.jpg
010-25.jpg
011-20.jpg

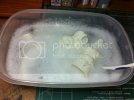
First crucial step. Bath time. This is to rid the model of the mold release agent and help your paint adhere to the surface. You can really tell its on there pretty heavy, he feels greasy. I have him soaking in water with dawn dish soap. I spent a solid half hour scrubing him down with an old tooth brush and he'll continue to soak over night. I have always heard that this is a good idea to do with every model kit (plastic, resin, vinyl,..) truth is I have never done this with my plastic models and I have never had any issues with paint adhesion. But I could tell this guy needed it bad, not only greasy but dirty.
012-25.jpg

Thats it for now my friends. Hope ya'll enjoy this one. I definitely have. More to come very soon. Its vacation time!
 
I will be following this one for sure. I watched quite a few of these kits on ebay over the years but never picked one up. For the very reasons you outlined in your post.

I will be following this one for sure!
 
Grendels said:
Tracked down the seller, just bought a version of Godzilla 2000.

Awesome man! They are definitely challenging models!
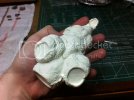
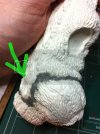
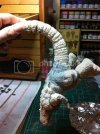
Ok so upon doing a little test fitting, I have found that the torso and hips/crotch parts are very badly warped, Im going to have to try and heat him up with some warm water and try to bend him back into shape, this vinyl is very soft and flexible. The arms and legs seem to fit ok, their are definitely a lot of gaps but nothing aves cant take care of.

No more photos to show just yet I actually had to dunk him back into the bath for another good soak. I got most of the mold release off but not all, so another long soak and scrub session should take care of the rest.
 
Alright so made some good progress on the beast this week. It was a pain in the neck trying to get this thing clean and free of the evil mold release agent. I put wire brush on my list of model stuff to get. I think that would work a lot better than a tooth brush next time. But he's clean now and ready to go. I decided to go ahead and tackle attaching the torso to the hips and taking care of the horrible gaps first.

Here is a dry fit, as you can see nothing fits, not only is there a giant gap but there is a step in it, so I had to cut a good chunk of detail off of the back to reshape the part so it wasn't bulging out. I'll go back and resculpt all that detail.
035.jpg
034.jpg
033.jpg

Mixed up some 5 minute epoxy and did my best as a human clamp. reinforced certain spots with CA. Overall, im very happy with the bond, its very strong and now I have it down to a manageable shape to work with.
038.jpg
037.jpg
036.jpg

A quick dry fit with the legs.
039.jpg

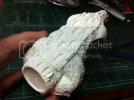
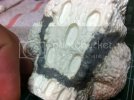
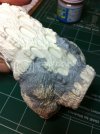
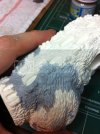
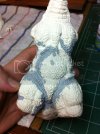
mixed up some pro-create and went to town on those gaps. once this first layer cures up I'll go in with some more pro-create and start replacing those details.
041.jpg
042.jpg
043.jpg
044.jpg

I forgot to take a picture before I put the pro-create on, but I had cut a huge chunk out of the lower back on the right hand side.
0411.jpg

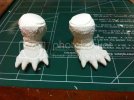
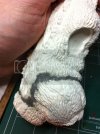
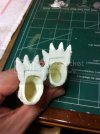
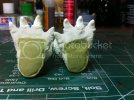
Here are the hollow feet. I need to fill these up with something to give him a little more weight and stability and to seal up the giant hole on the bottom.
046.jpg

Mixed up a bunch of milliput and stuffed the legs nice and full.
001-70.jpg

Thats it for now my friends. Thanks for checking it out, more to come soon. Later dudes.
 
Lot of work going into this, but it will look good in the end. I feel your pain on those seams, I faced that back when I built up mine.
 
Quaralane said:
Very good work on him so far. Especially with those nasty seams

Thanks bud, the seams are really gnarly but easily taken care of with epoxie putty, all of the pin holes and surface imperfections are becoming more of the problem on this one.

ModelMakerMike said:
LOVE me some "GOJIRA"...... Godzilla, so I will be watching this one intently.
;)

Glad we got some Godzilla fans up in here! Thanks for watching man, really appreciate it!

Grendels said:
Lot of work going into this, but it will look good in the end. I feel your pain on those seams, I faced that back when I built up mine.

You said it brotha! You really get what you pay for when it comes to these resin/vinyl recasts. If you are willing to put the work in, they can be just as beautiful as an original.

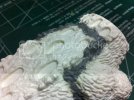
Cool. Been slaving away at this thing all week. If you plan on tackling a recast kit like this expect to do a lot of sculptural type work. Been working with ProCreate epoxie putty for the most part. Really awesome stuff, its intended for sculpting miniatures so its very nice for re-sculpting lost detail.
001-71.jpg
002-72.jpg

Once I let the putty cure I brush on some Mr. Surfacer 500 to help blend everything and check for trouble areas.
003-69.jpg
004-62.jpg
005-57.jpg

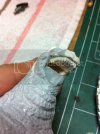
Decided to go ahead and install the mouth pieces. Some would recommend painting these parts before installing them as it would make it easier. But since there is so much filler work needing to be done I know I would just botch all my paint work with all the gluing, sanding, and filling.

Quite of bit of clean up to get these parts to fit.
006-52.jpg

Dry fit
008-43.jpg

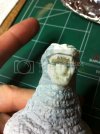
Decided to cut out the back of the throat so it doesn't look like everything just stops
009-31.jpg

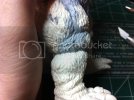
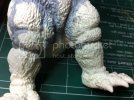
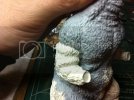
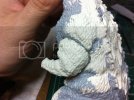
Just been repeating the same process with the ProCreate on the legs and arms.
010-26.jpg
011-21.jpg
012-26.jpg
013-17.jpg
014-14.jpg

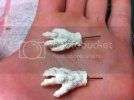
The hands needed a little help finding their right position so I went ahead and pinned them to help me guid them into place while the 5 minute epoxie cures.
015-7.jpg
020-3.jpg

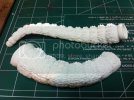
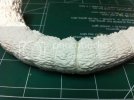
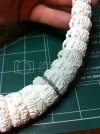
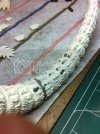
And started work on the tail. Got the two main sections together and working on the seam and surface detail
017-8.jpg
018-5.jpg

All for now my friends. Next update very soon. Very excited to start painting this thing and I would like to make a pretty dramatic base for him but we shall see ;)
 
You are really doing a great job with killing those seams, and keeping the texture!
It's a lot of work, but I am sure you are enjoying it. I have built some pretty bad kits before that take a lot of extra work, but you get in the zone, and it's just cool!
;) I hope you know what I am talking about. :)
;D ;D
 
Great seam work my friend... I've never used ProCreate before... if its anything like Magic Sculpt I'm sure you're having a great time using it!
 
Glorfindel said:
Nice! Look at you go!

Thanks dude!

ModelMakerMike said:
You are really doing a great job with killing those seams, and keeping the texture!
It's a lot of work, but I am sure you are enjoying it. I have built some pretty bad kits before that take a lot of extra work, but you get in the zone, and it's just cool!
;) I hope you know what I am talking about. :)
;D ;D

Thanks man, yeah I smell what you're stepping in ;) Its always more gratifying when its a difficult kit

Grendels said:
You are doing great work ont his kit! Keep it going!

Thanks bud!

Quaralane said:
Great work on this. Your fixes are looking excellent

Thanks Q, you're awesome.

LrdSatyr8 said:
Great seam work my friend... I've never used ProCreate before... if its anything like Magic Sculpt I'm sure you're having a great time using it!

Thanks man, the ProCreate is really awesome stuff for sculpting, I usually use Aves for this type of work but I've had this stuff sitting around for 2 years so figured I'd use some of it up.

Sweet. Been inching along on the beast this week not a ton of progress but some. I finished up repairing the tail.
003-70.jpg

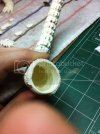
I really need to pin the tail to the body but there is nothing to drill into the tail to secure a pin luckily the business end of Godzilla had a solid piece of vinyl...
001-72.jpg
002-73.jpg

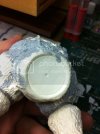
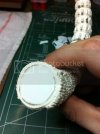
So I cut out a rough circle with styrene and slowly tacked it into place with CA this also help bring the tail back to a better shape, then reinforced it with 5 minute epoxy
004-63.jpg

This gave me a nice sturdy surface to a attach a brass rod
005-58.jpg

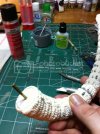
After epoxying the tail into place its not going anywhere
007-46.jpg

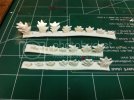
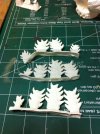
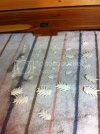
Now I have to start working on getting the fins on I cut them all out last night
1231.jpg

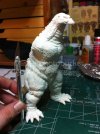
He's gettin there
1232.jpg

As always thanks for checking out my build, till next time, later dudes!
 
Your making great progress on this.

One quesiton, what do you glue the vinyl together with?
 
Grendels said:
Your making great progress on this.

One quesiton, what do you glue the vinyl together with?

Thanks man, its slow progress, but at least its progress!

I have been gluing everything with a 2 part 5 minute epoxy, I cant remember what brand it is. Its the cheap stuff from Micheal's but it works really well. It might be Elmer's brand now that I think about it.
 

Latest posts

Back
Top