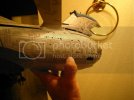
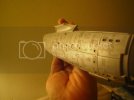
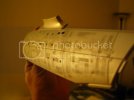
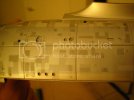
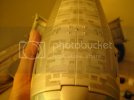
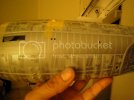
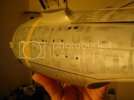
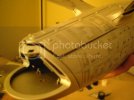
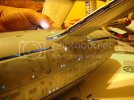
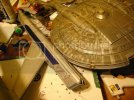
1/350 polar Lights Enterprise Refit

Joined
May 13, 2009
Messages
257
Greetings, Y'all


This one has been going for a few months already..off and on while I worked on other projects or just tried to figure out what I was going to do and how I was going to start it.
I've already had a few missteps but things have begun to progress very nicely with this model. I've mentioned this on another forum, but growing up..THIS was the first and only real Enterprise that I came to love.
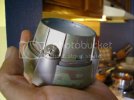
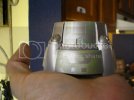
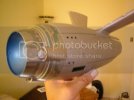
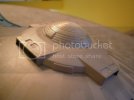
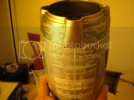
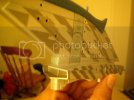
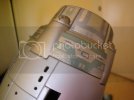
I jumped right into it with the deflector housing, My first attempt was done using Aztec Dummy's templates.
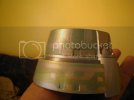
DCFC0003.jpg
DCFC0002.jpg
DCFC0001.jpg

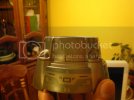
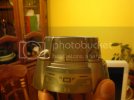
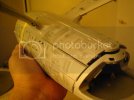
I wasn't very happy with these results so I went back to the drawing board then decided to go ahead and create decals for the part. And here's the first attempt with the decals..
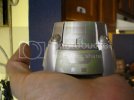
DCFC0001.jpg
deflectorwdecals12.jpg

I darkened the colors to make them stand out a bit more, and this is the final result for the deflector housing thingie...
DeflectorDetail.jpg
EngineeringWIP1.jpg
EngineeringWIP2.jpg
NewDeflectorDishDecal.jpg

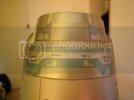
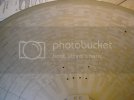
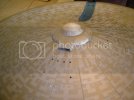
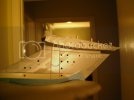
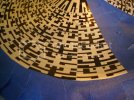
Next for me was the significant job of aztecing the ship...
AztecTemplate1.jpg
AztecBottomSaucer2.jpg
PlanetaryDome2.jpg
PlanetaryDome3.jpg
RefitNeckDetail1.jpg
RefitNeck3.jpg
RefitNeck2.jpg
EngineeringSectionAztec.jpg
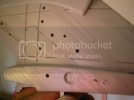
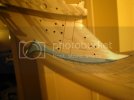
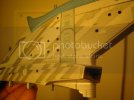
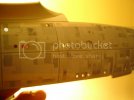
I found out that you need to get a little more creative with the Engineering section. With only one layer of paneling the model still looked too much like a toy, so I just layered a few squares and shapes to flesh out the pattern..and these are the results..
StarboardSideDetail3.jpg
StarboardSideDetail2.jpg
PortSideDetail1.jpg
PortSideDetail2.jpg
Underside.jpg
NeckwithDecal2.jpg
NeckwithDecal1.jpg
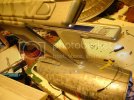
FinalAztecEngineering4.jpg
FinalAztecEngineering3.jpg
FinalAztecEngineering2.jpg
FinalAztecEngineering1.jpg
FinalAztecEng5.jpg

Well, that's pretty much all for now. More to come later.
 
Wicked!!! ;D

Is your house going to be big enough for that beautiful monster? Are you going to light her up?
 
I'll be adding the special star trek wing of the house on next summer to hold this one..and I'll need the space too, cause I have another one on the bench right behind this one.
And this one is going to get some lights as well...I just haven't gotten that far yet, but that headache will begin soon enough.
 
I can't get over the size of the thing, but more than that, the size betrays some weirdness in the design I never thought abut before. I am looking at the docking ports and imagining them to be perhaps 10 feet in diameter at most. Then when you look at the neck of the ship goig up to the saucer, that seems to make the neck somewhere around 15 feet wide. Not much room in there to move about.

Your work is amazing and yummy. I can't imagine for the life of me building a model after doing such a fantastic paint job on her.

Cheers
Gary
 
You know...Now I'm starting to realize what I've done.
The Engineering section was glued together initially before I started the painting..but then I dropped it while Pew pew pewing around the house and it broke down to the basic panels again.
Of course, I realized how crazy it was to try to install lights in this thing anyway, but the damage had been done.
It's more than painfully obvious to all though that I do not know what I'm doing when it comes to lighting my models, but I've been working with these christmas lights that make this almost idiot proof when wiring them up. But I've made some serious progress...in my own head anyway...towards the completion of this big nasty model.

And yeah..looking at the docking ports..there doesn't seem to be a lot of room for a full service funeral in the torpedo bay..but oh well. I'm not the type to obsess over the tiny details of scale and accuracy anyway, but i still think it's a cool bird..

Anyway..away with the pics..
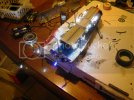
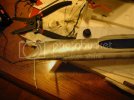
Lowerhullguts.jpg
Girlfriend didn't know she would be losing her kitchen table when I moved in..

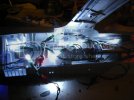
EnginneeringCutaway.jpg
And a shot of the guts from the other side..
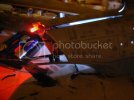
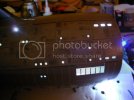
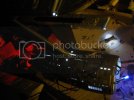
EngineeringLightTest3.jpg
EngineeringLightTest1.jpg
EngineeringLightTest2.jpg
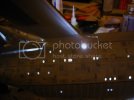
EngineeringSectionLightTest.jpg
More to come after this weekend..Not even Xbox is going to distract me from my unoffical goal to get this section done before the end of the weekend.
 
This quick vid pales in comparison to anything the nerd herd is used to, but this just shows off the flashing pretty lights on the Engineering section.

http://www.youtube.com/watch?v=iHCRS7hGwUA
 
That is incredible model work there screamingsamuraistudio

Thankyou so very much for posting these beautiful photographs, you are an amazing modeler, whom deserves my respect and admiration.

Best Regards to you Sir, and Good Luck :)

God Bless you.

-BTTFSpencer
 
Wow, thanks for the great words, Spencer

I can only hope to live up to those great words..

But this weekend was dedicated to working on the nacelles for the Enterprise.. In fact they were almost a hindsight mistake when I was assembling the engineering section..just before applying glue i noticed I hadn't wired the nacelles or even run the wiring up the struts for the nacelles..
So I focused on getting the nacelles worked on and ready before setting up the rest of the engineering section. I simplified the paint on the nacelles and for the most part, I'm happy with the results.

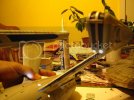
A quick shot of my poor girlfriend's kitchen table..we're actually serving turkey for the family around this...they just have to be careful not to get gravy on anything

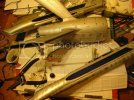
TheEnterpriseWorkBench.jpg

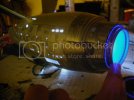
NacelleLightTest3.jpg
NacelleLightTest2.jpg
NacelleLightTest1.jpg
NacelleAztec3.jpg
NacelleAztec1.jpg
NacelleAztec2.jpg
 
Beautiful work so far. Really this is building into an impressive model. I have the same kit at home, in a box on the shelf, I'm intimidated to start it. :-\
I think I'll try something smaller to light first...

Have you decided what you are going to do with the shuttle bay?
 
This sat on my shelf for about four months before I even got into it..

This is the first time working on this, and i know there are some out there who can build this kit with their eyes closed..
I just haven't gotten to that point...
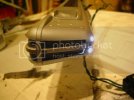
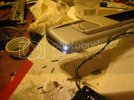
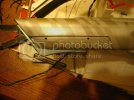
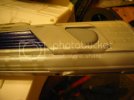
But yeah..it's a ton of work if you want to light this up..I've resorted to cheating a bit after getting a couple of tips out of ModelManTom. I'm using christmas lights in this kit, which have worked out better than I imagined.

Anyway, here are a couple of pics..
EngineeringAlmostdone1.jpg
EngineeringAlmostDone2.jpg
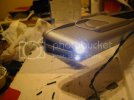
NacelleHeadlights.jpg
This side will be going towards the wall..I goofed on one of the floodlights under the nacelle strut. I moved it when I squeezed the section together..so..this won't be the hero side of the model.
OneflawedLight.jpg
And a little size comparison..
Thesizecomparison.jpg
 
Thanks for the update. Looks good (and like a lot of work too).
 
I have that Baby in my Closet.... Still buying aftermarket stuff for it...

and Your Build shows me Just How Much work it really IS !!!

I guess I better start Planing !!! Mostly where in the world ? Will I Display Such a Beast !


Great progress so far !!!

as for those Light Beams you talk about in your latest video ! Those you didn't get quite right as you mentioned !!!

Don't worry too much about it..... Photoshop will be your friend !

Keep up the Good work !!


Norm.
 
HA!
Great Minds, man...

I was thinking already about just using photoshop to "adjust" any issues with the model..

It's kinda like changing the size of the fish you caught at the coast, but what everyone doesn't know won't hurt them.
 

Latest posts

Back
Top