1/35 Tamiya Jagdpanther (#203)

Scale Model Addict - Model Tips, Guides, Tools & Tech, Tutorials, and Community

Help Support Scale Model Addict:

Edbert

Well-Known Member
Joined
May 16, 2024
Messages
3,121
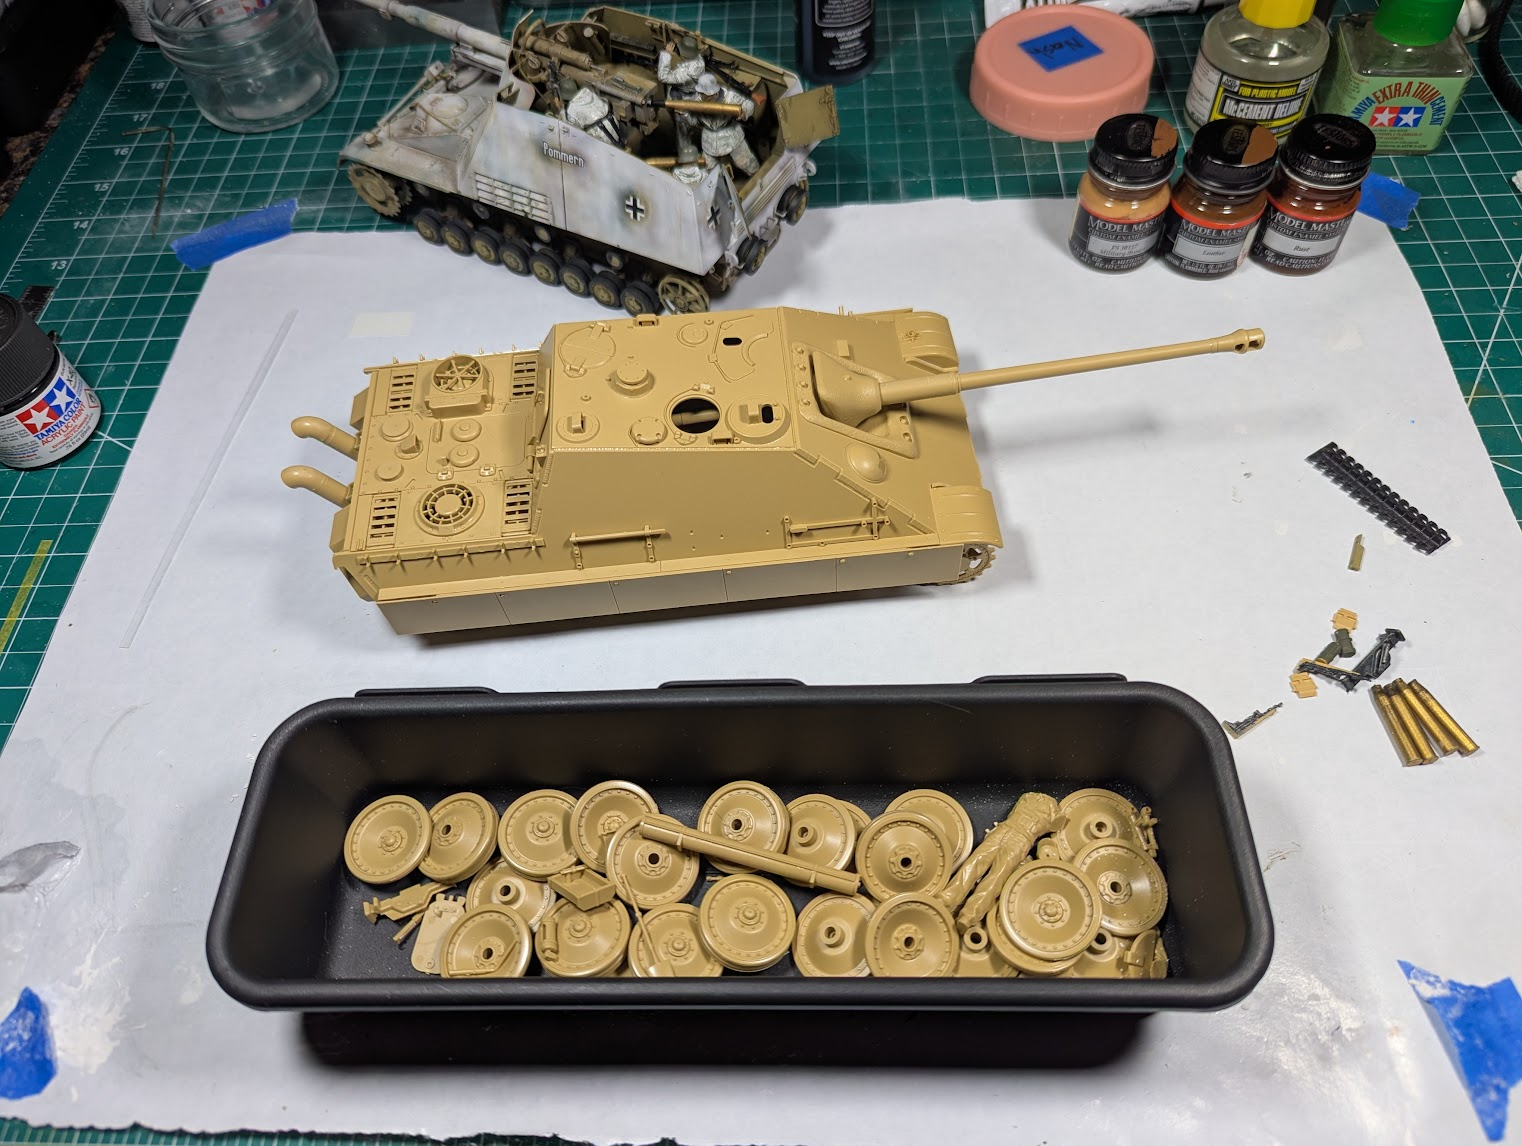
The buildup of this kit was amazingly simple. There was not a lack of parts, in fact there were 5 sprues just of the yellow plastic. But it was super-basic, nothing fancy. Because of that I did not take any pics of that stage, at least until this.
1760730905003.png


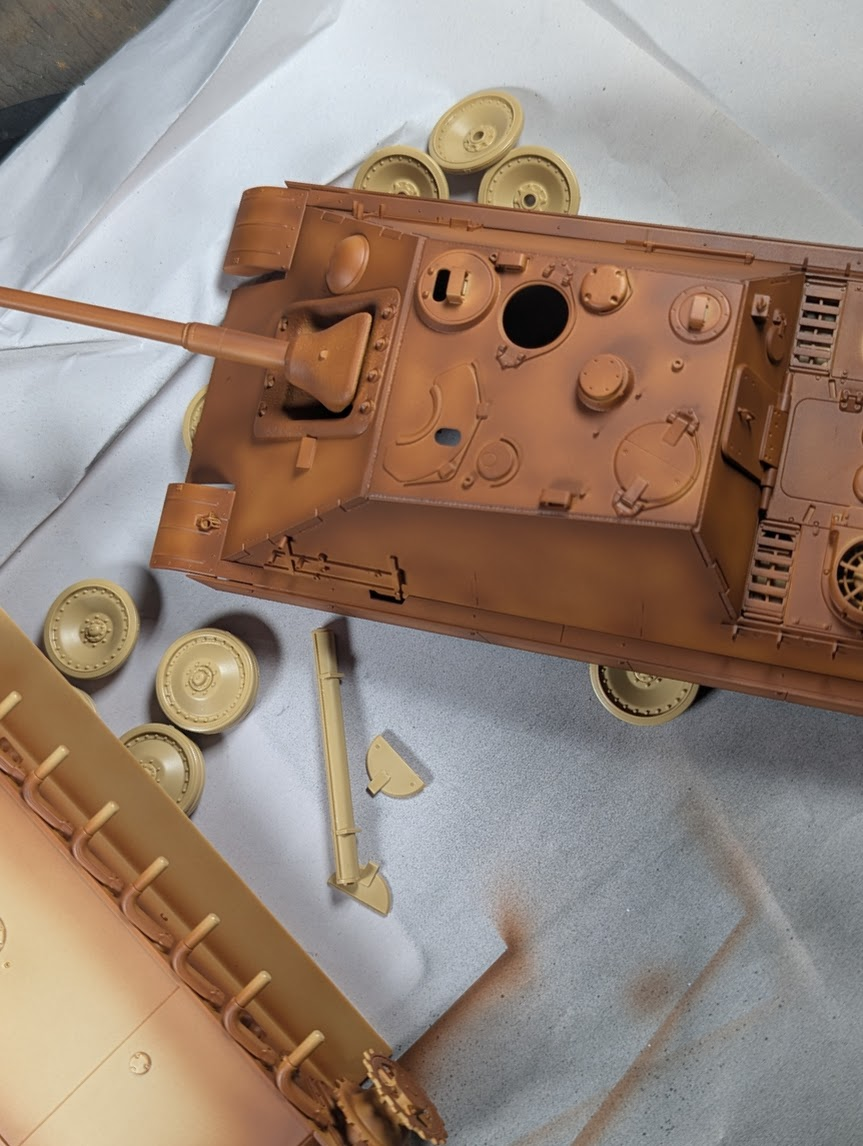
The small pile-o-parts off to the right there are from the Nashorn in the background. Almost everything missing from the body of the TD is in the black container in the forground.

It was ready for paint.
1760730997109.png

1760731085693.png

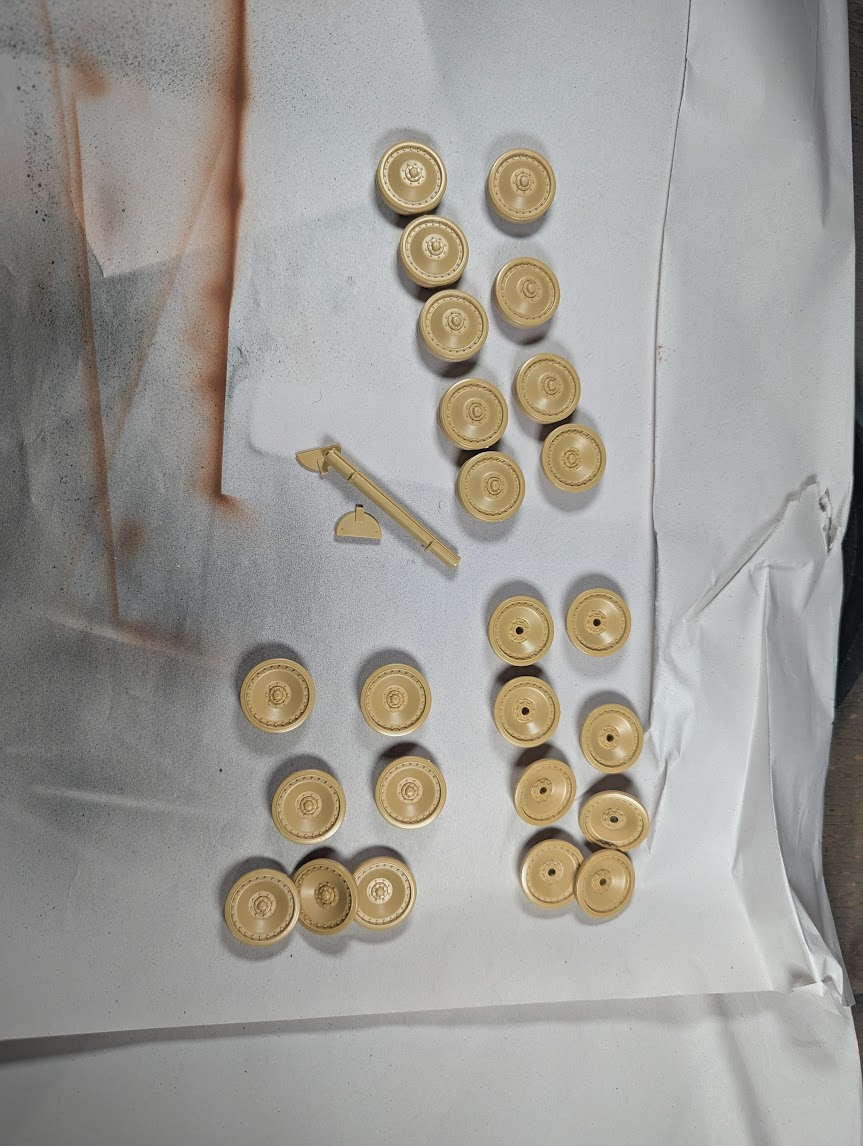
Shown above is a layer of Testors "Model Masters" enamel. I put it down as my own primer, but also to simulate the reddish-brown primer the Germans used for later chipping. I'm sort of experimenting here, but the color-coats will be Tamiya acrylic, which should chip off the enamel pretty easily, at least I am hoping so.

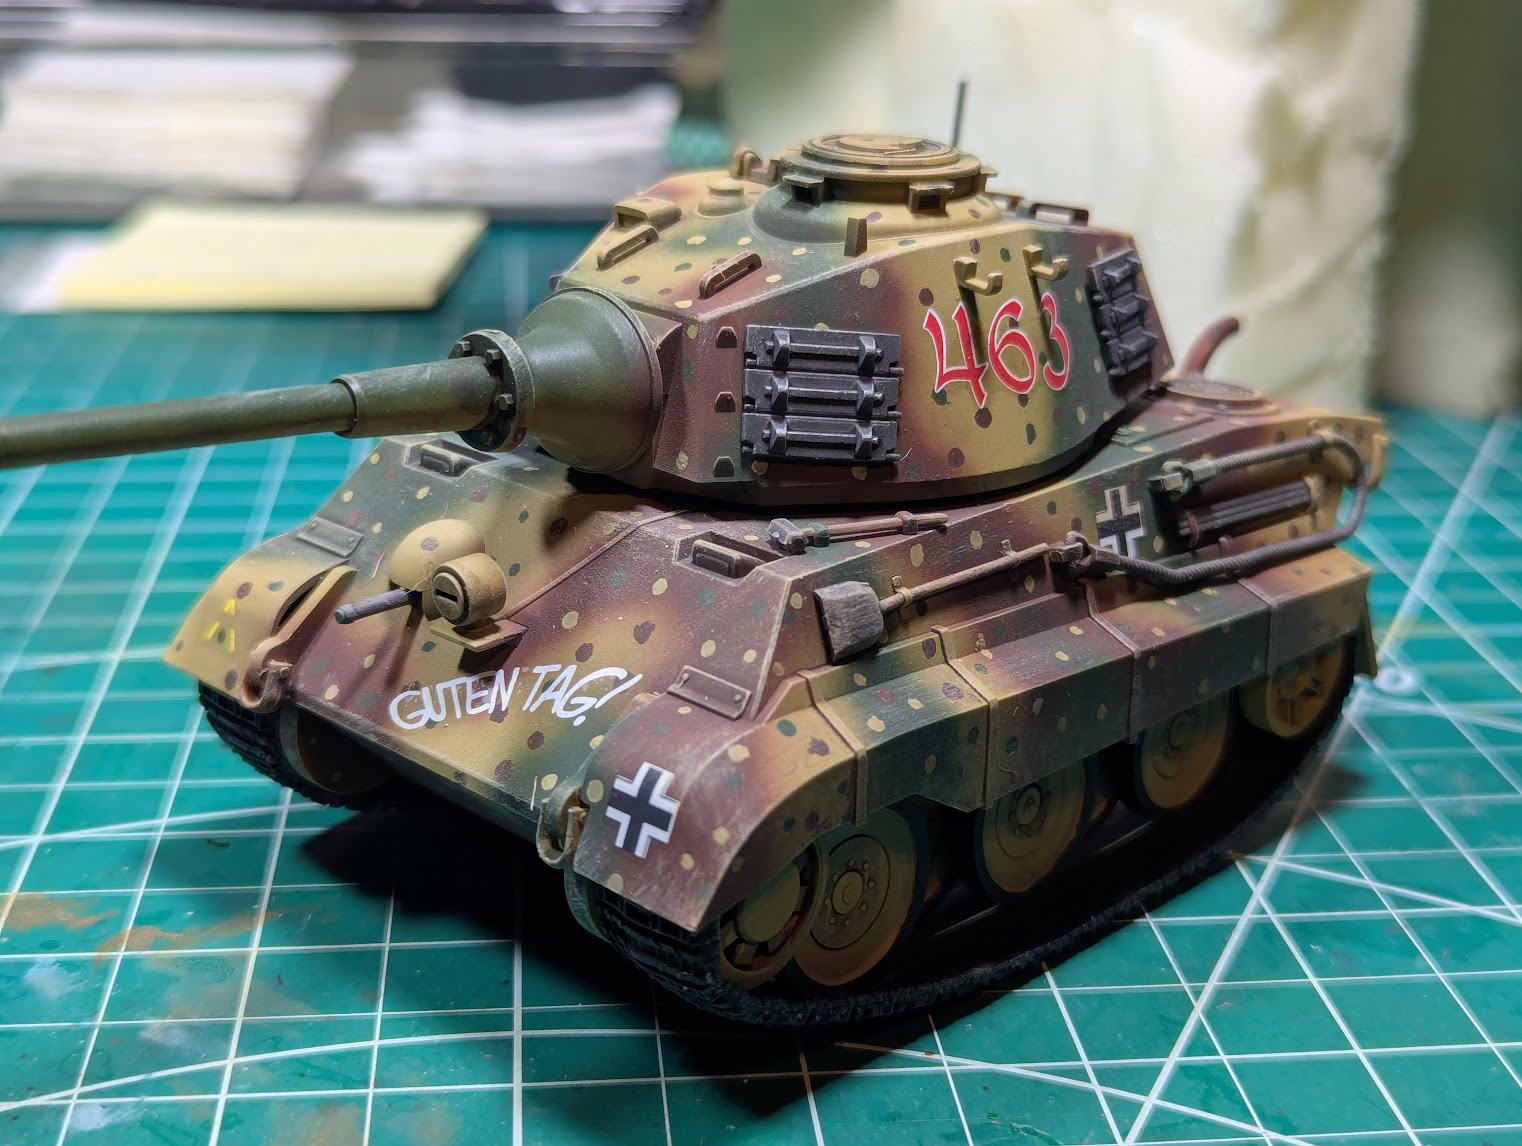
I'm debating what camo pattern to use, and if I'll use any sort of masking putty for a sharper delineation or just feather it in. From my research the sky is the limit here, few color photos exist of historical ones, and modelers seem to just do whatever they want, so I'll follow that lead. I think the camo-scheme I put on my "toon-tank" is cool, does anyone know if it was used by only the SS or did Wehrmacht units use it too? Below if the version I am talking about.
1760733253828.png
 
I'm debating what camo pattern to use, and if I'll use any sort of masking putty for a sharper delineation or just feather it in. From my research the sky is the limit here, few color photos exist of historical ones, and modelers seem to just do whatever they want
That's because on the real thing, the camouflage from early 1943 until late 1944/early 1945 or so (and beyond, for existing vehicles anyway) was at the discretion of the unit commander, or even the individual vehicle commander. Usually a combination of both. Vehicles came out of the factory in dark yellow, and crews were issued red-brown and olive-green paint (in the form of blocks of paste, IIRC) with which to camouflage the vehicle to suit local conditions. Since tanks had an on-board compressor, all they needed was a spray gun, air hoses and either petrol or water to thin the paint. Petrol was better because it gave a more durable finish, but often in short supply, so colours would end up muted and wear off more quickly.

All this means you could see all kinds of patterns, like large patches of all three colours, or stripes of them, or swirls, or angular patches and stripes, or only two colours, or pretty much anything else. For a model, you can either go with whatever you like, or you can find photos of a real vehicle and copy its pattern (closely or otherwise).

Your toon Tiger II is painted in what's usually called "ambush" camouflage: large areas of colour with little "dots" of another — usually dark yellow on the brown and green, and either green or brown on the dark yellow. The idea was to recreate the effect of light falling through leaves and trees. IIRC, this pattern was factory-applied late in the war.
 
Last edited:
1761254525229.png

1761254535319.png

1761254548053.png


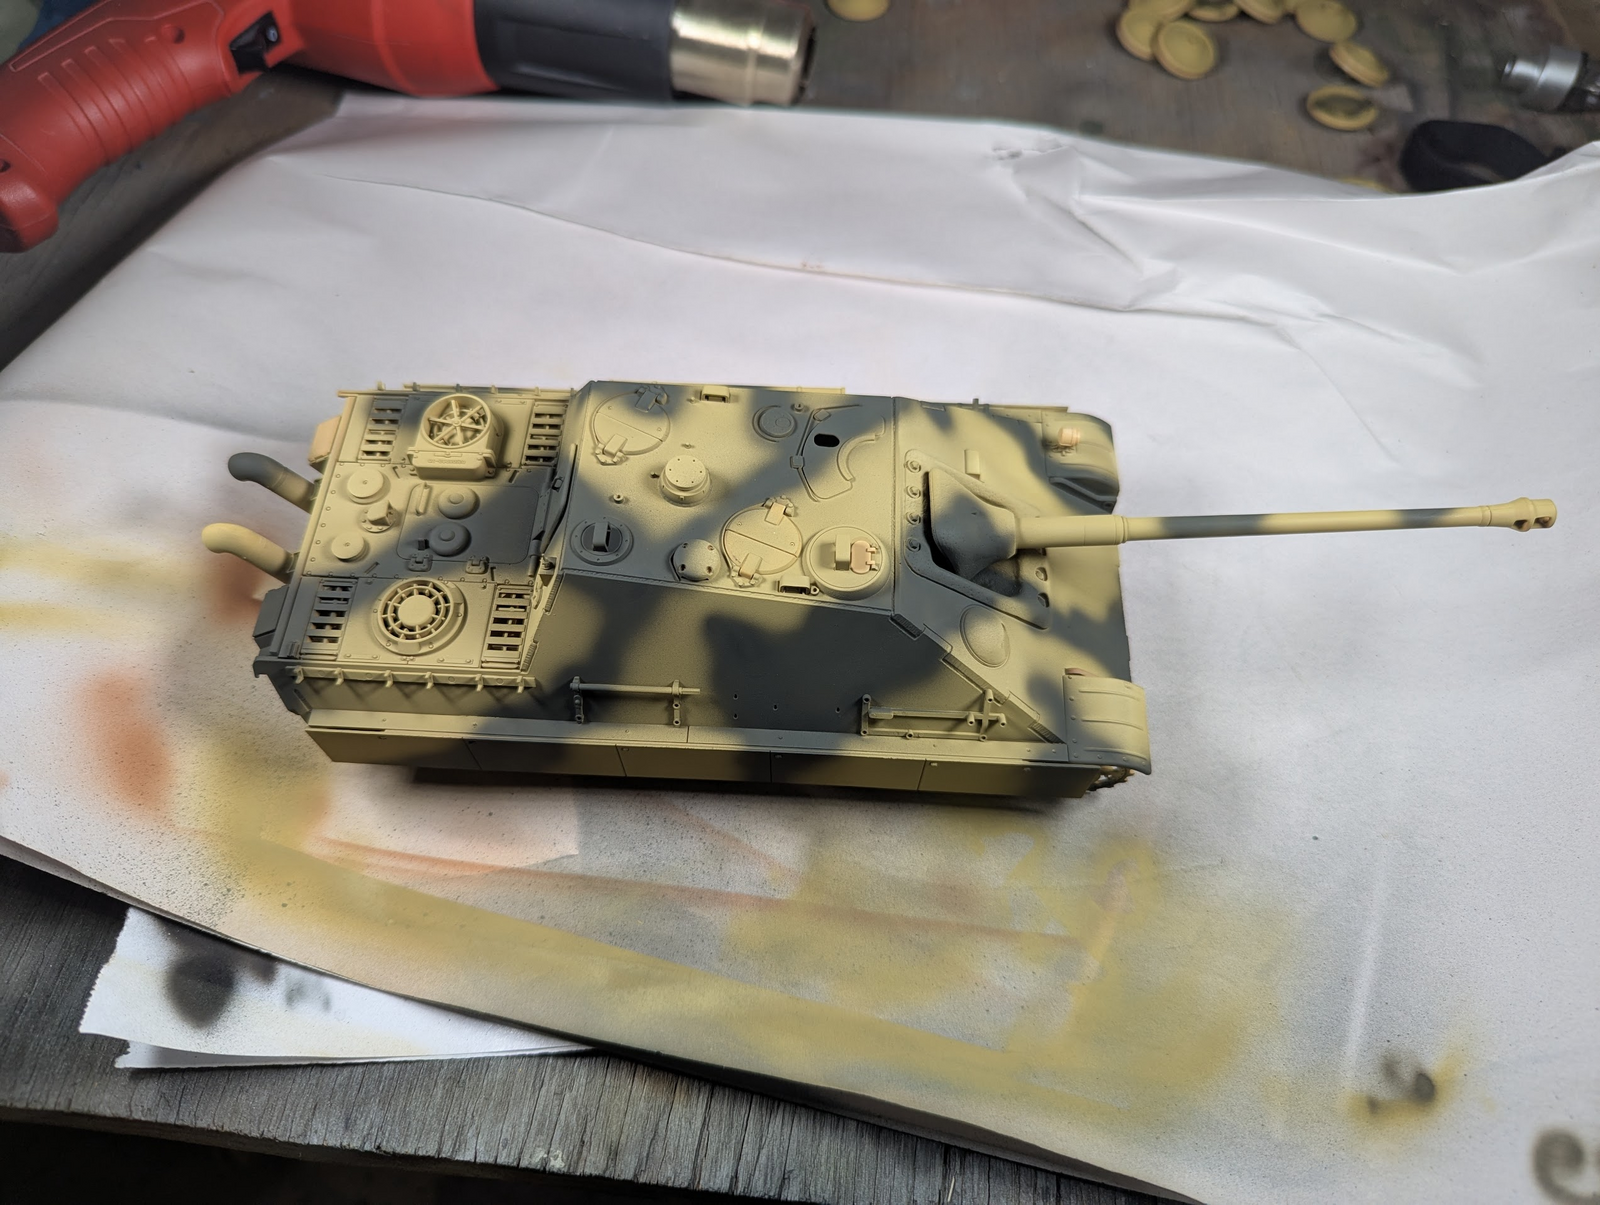
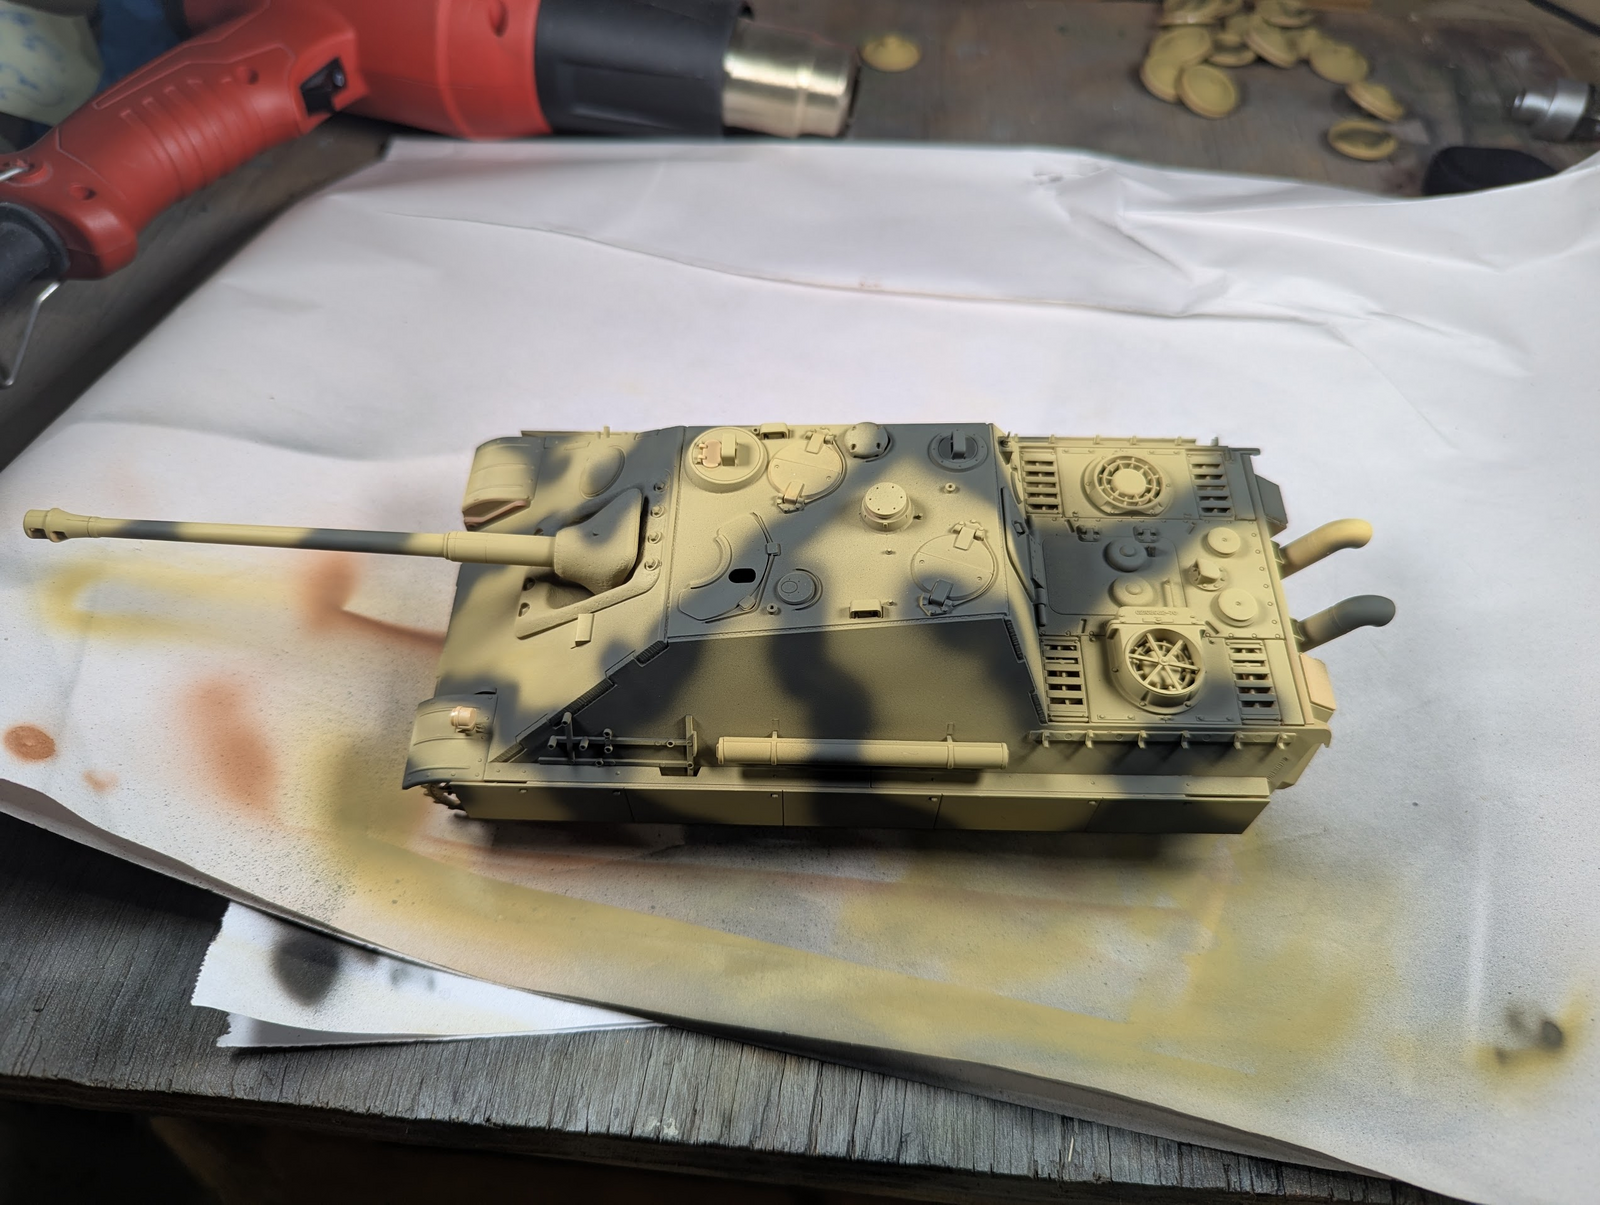
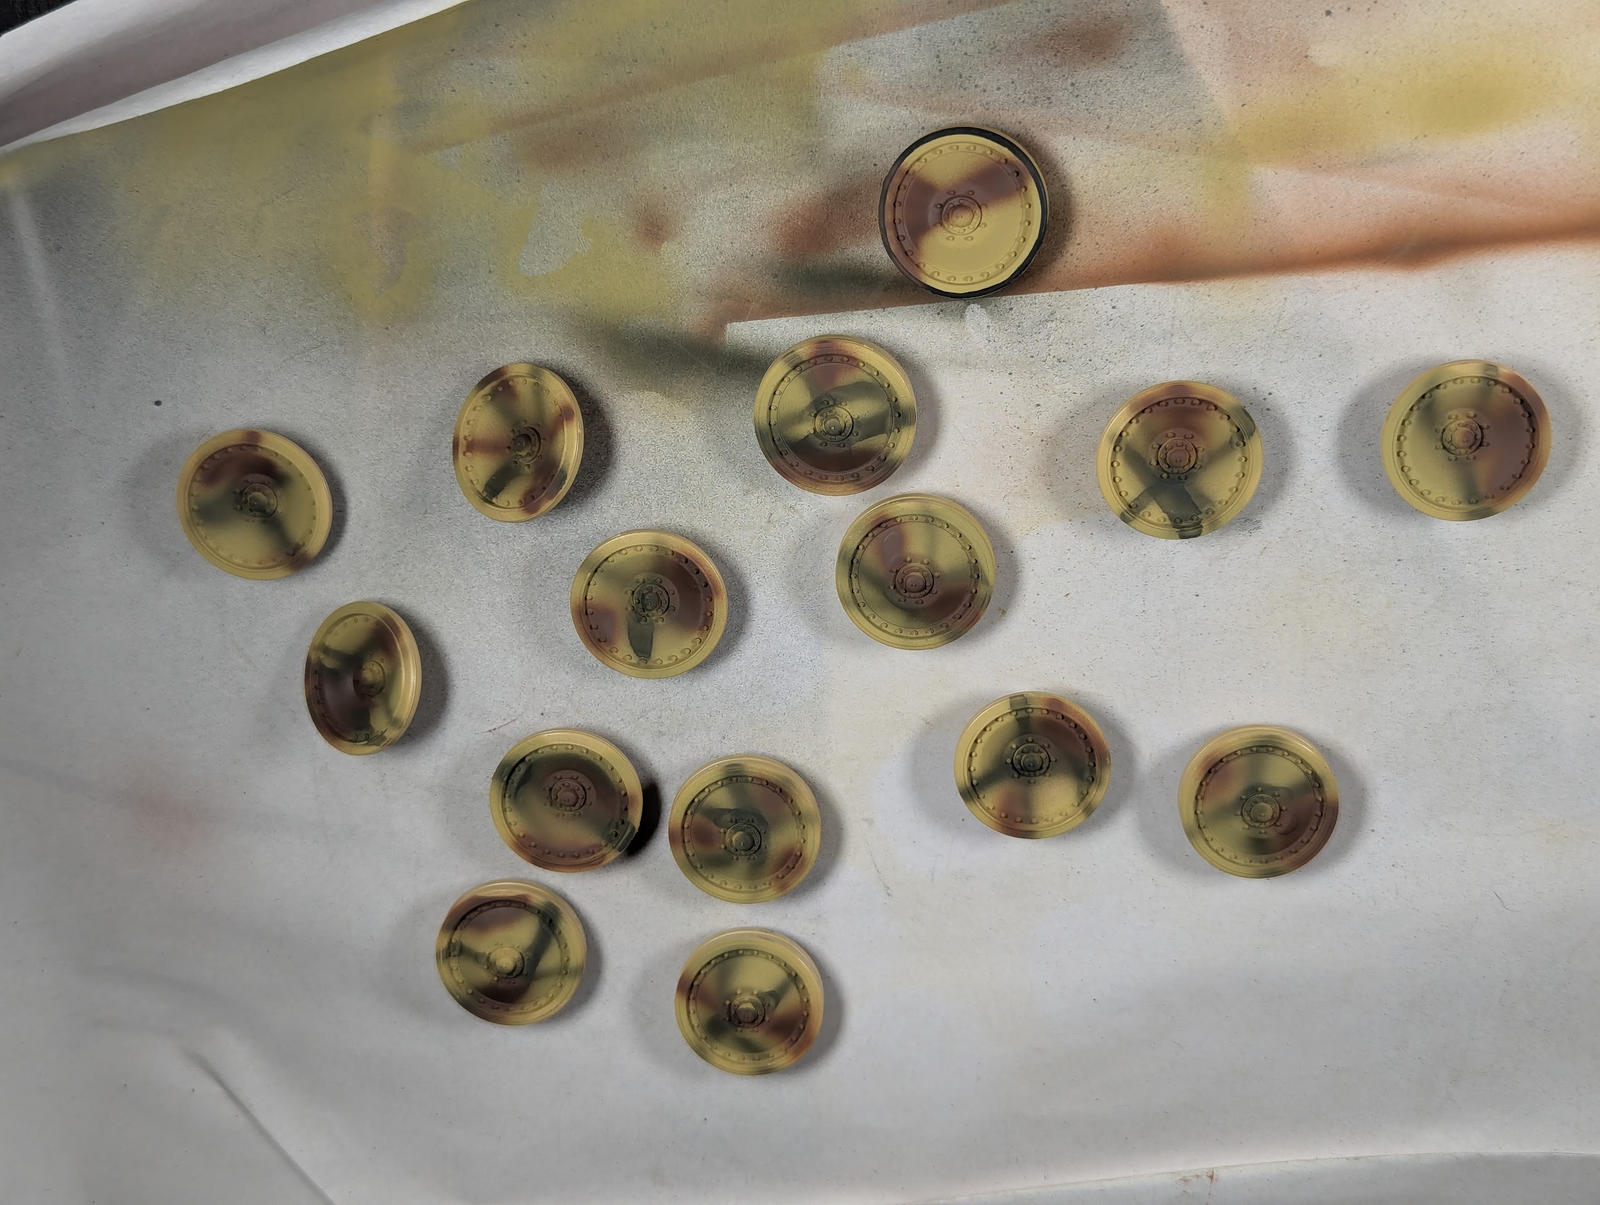
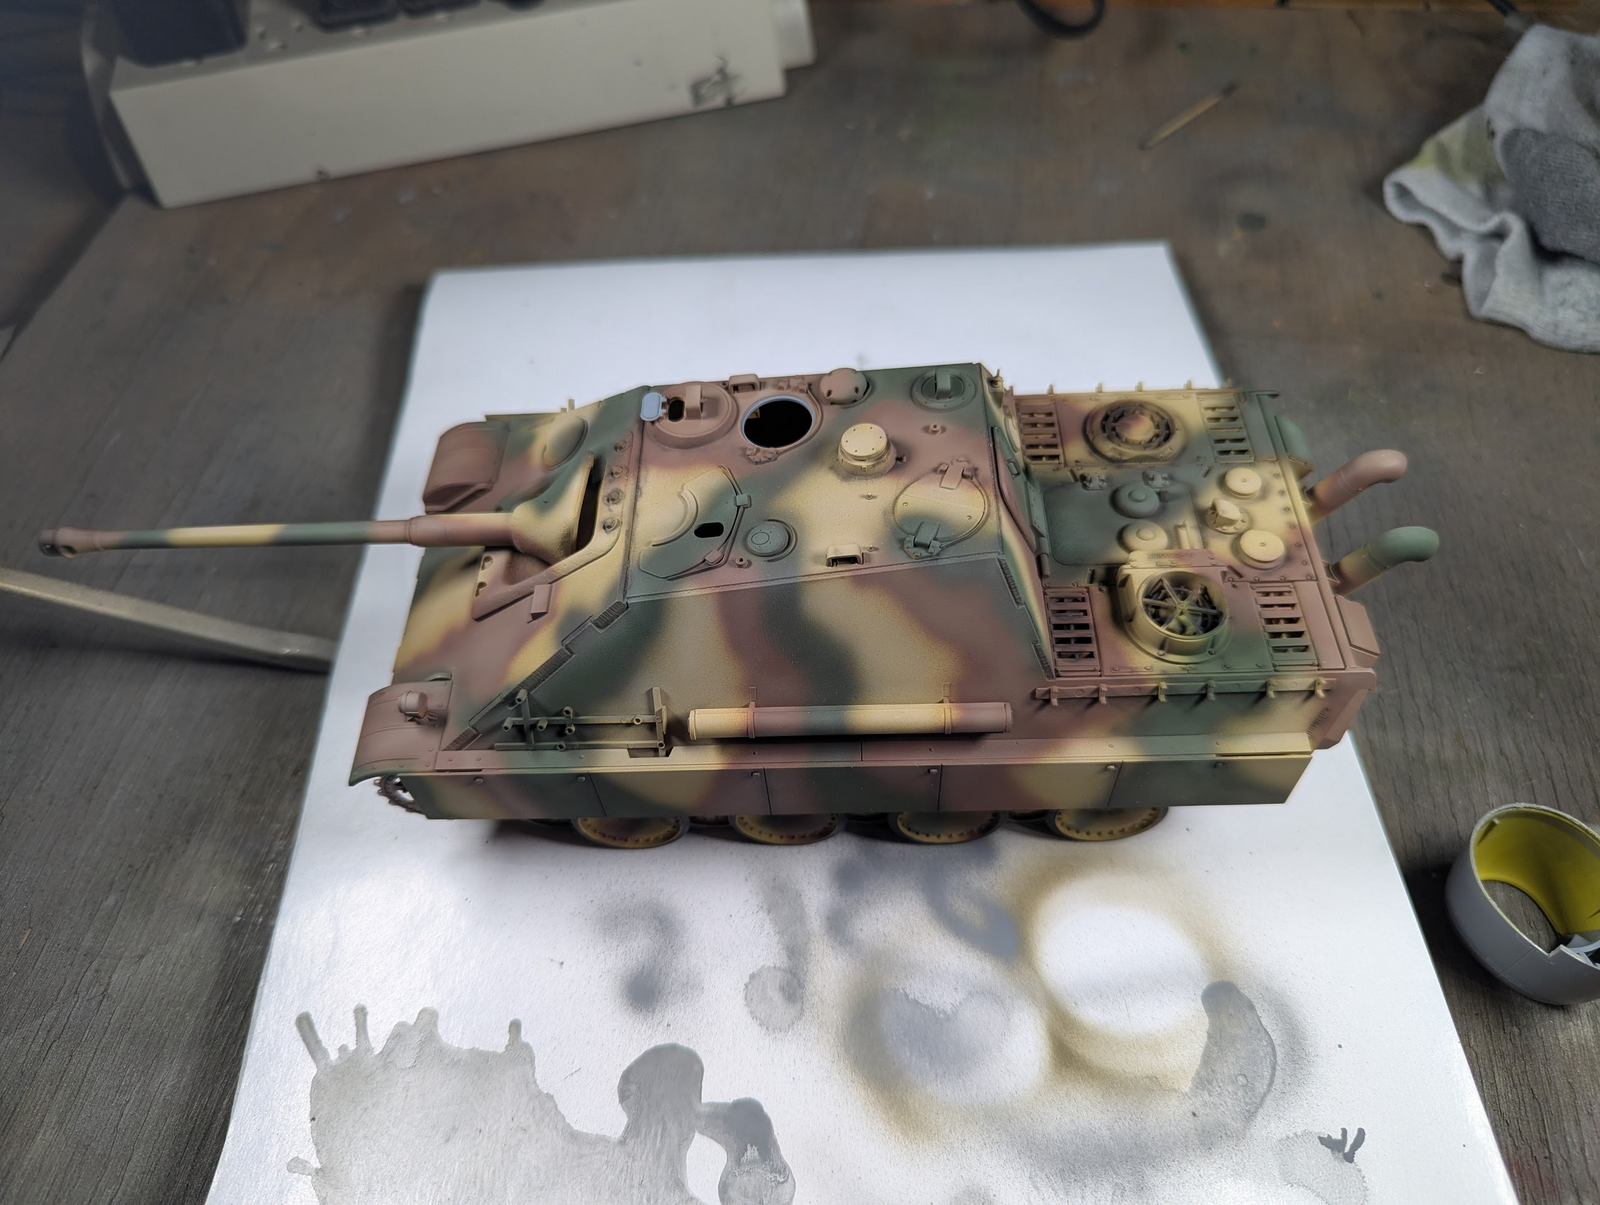
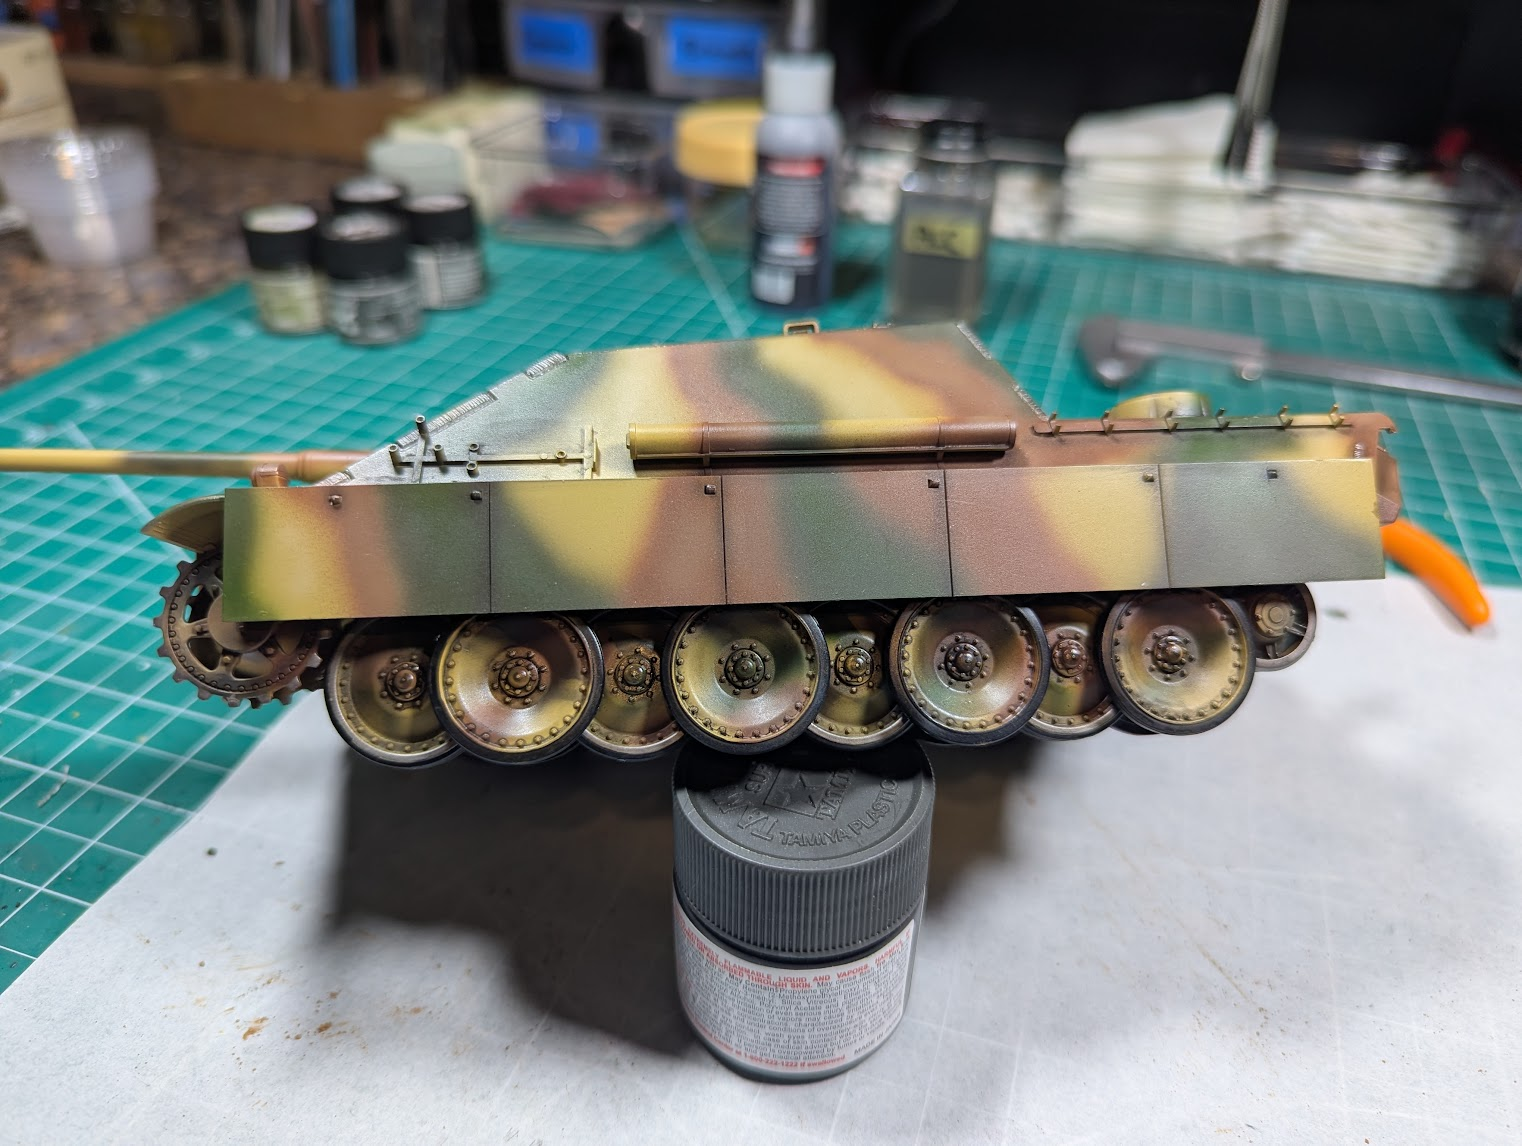
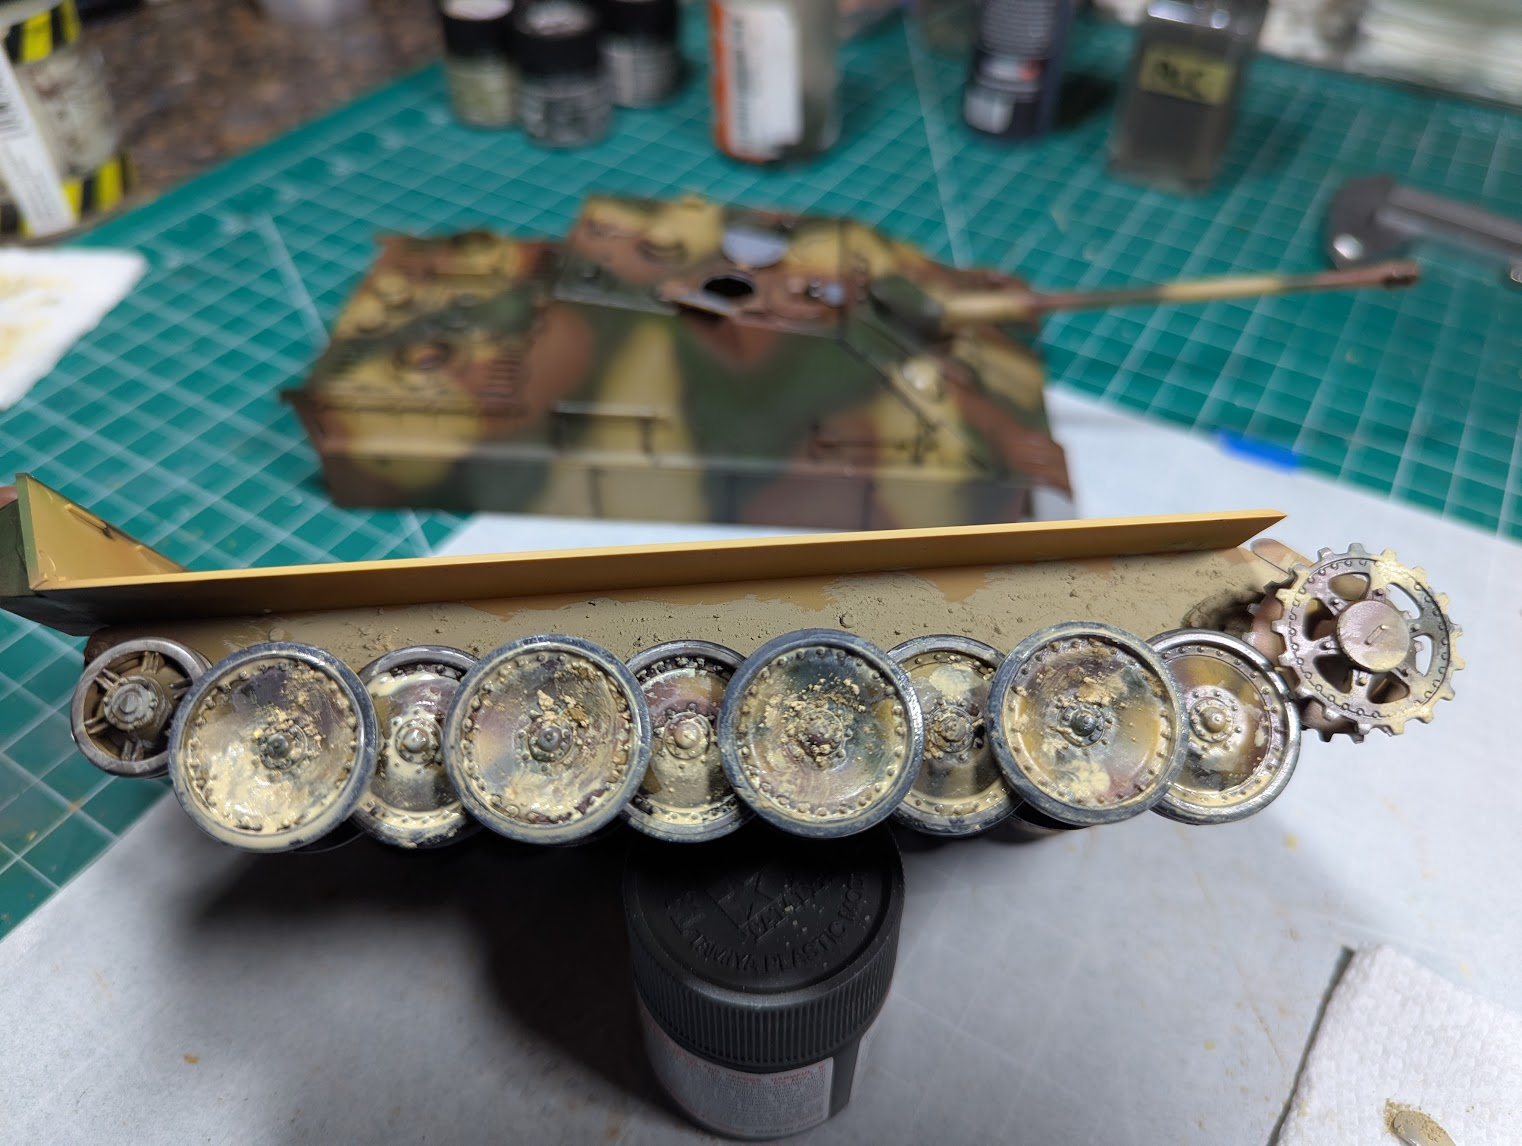
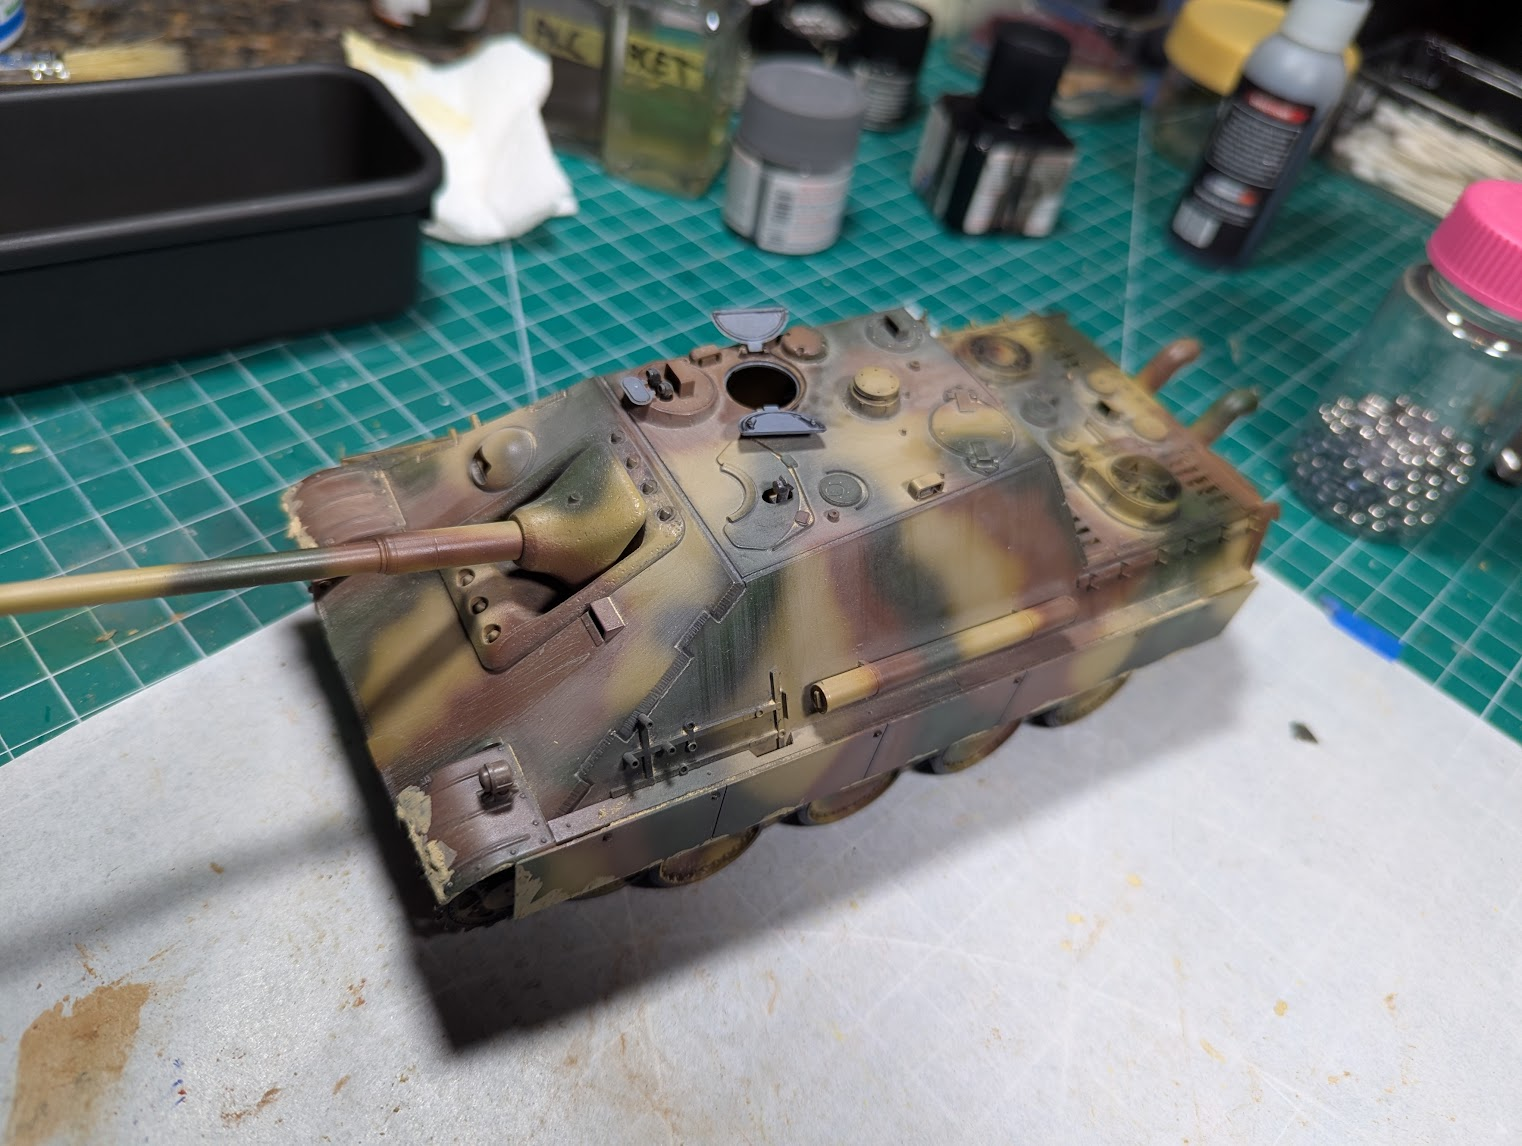
She looked good in green and yellow, considered skipping the brown, for at least a few seconds. Also, I rushed the wheels a bit, knew it when I was doing it, considered leaving them all yellow too. But I think I'll put a lot of weathering on the running gear so not too worried about that.

Did something I've never done on armor...post-shading. Like I said I'm testing all sorts of stuff here and am willing to take lessons of "yeah, don't try that again". Got to say the relatively flat surfaces on aircraft are better candidates for this practice. But she's ready for a gloss clear now.

1761254773951.png
 
As an Amazon Associate we earn from qualifying purchases. Product prices and availability are accurate as of the date/time indicated and are subject to change.
I rushed the wheels a bit
The veal vehicles were often also painted in a rush, or by people who didn't much care to do things neatly :) Though it would be a little unusual to have the hull painted "properly" and the wheels rushed, but maybe the crew ran out of time?
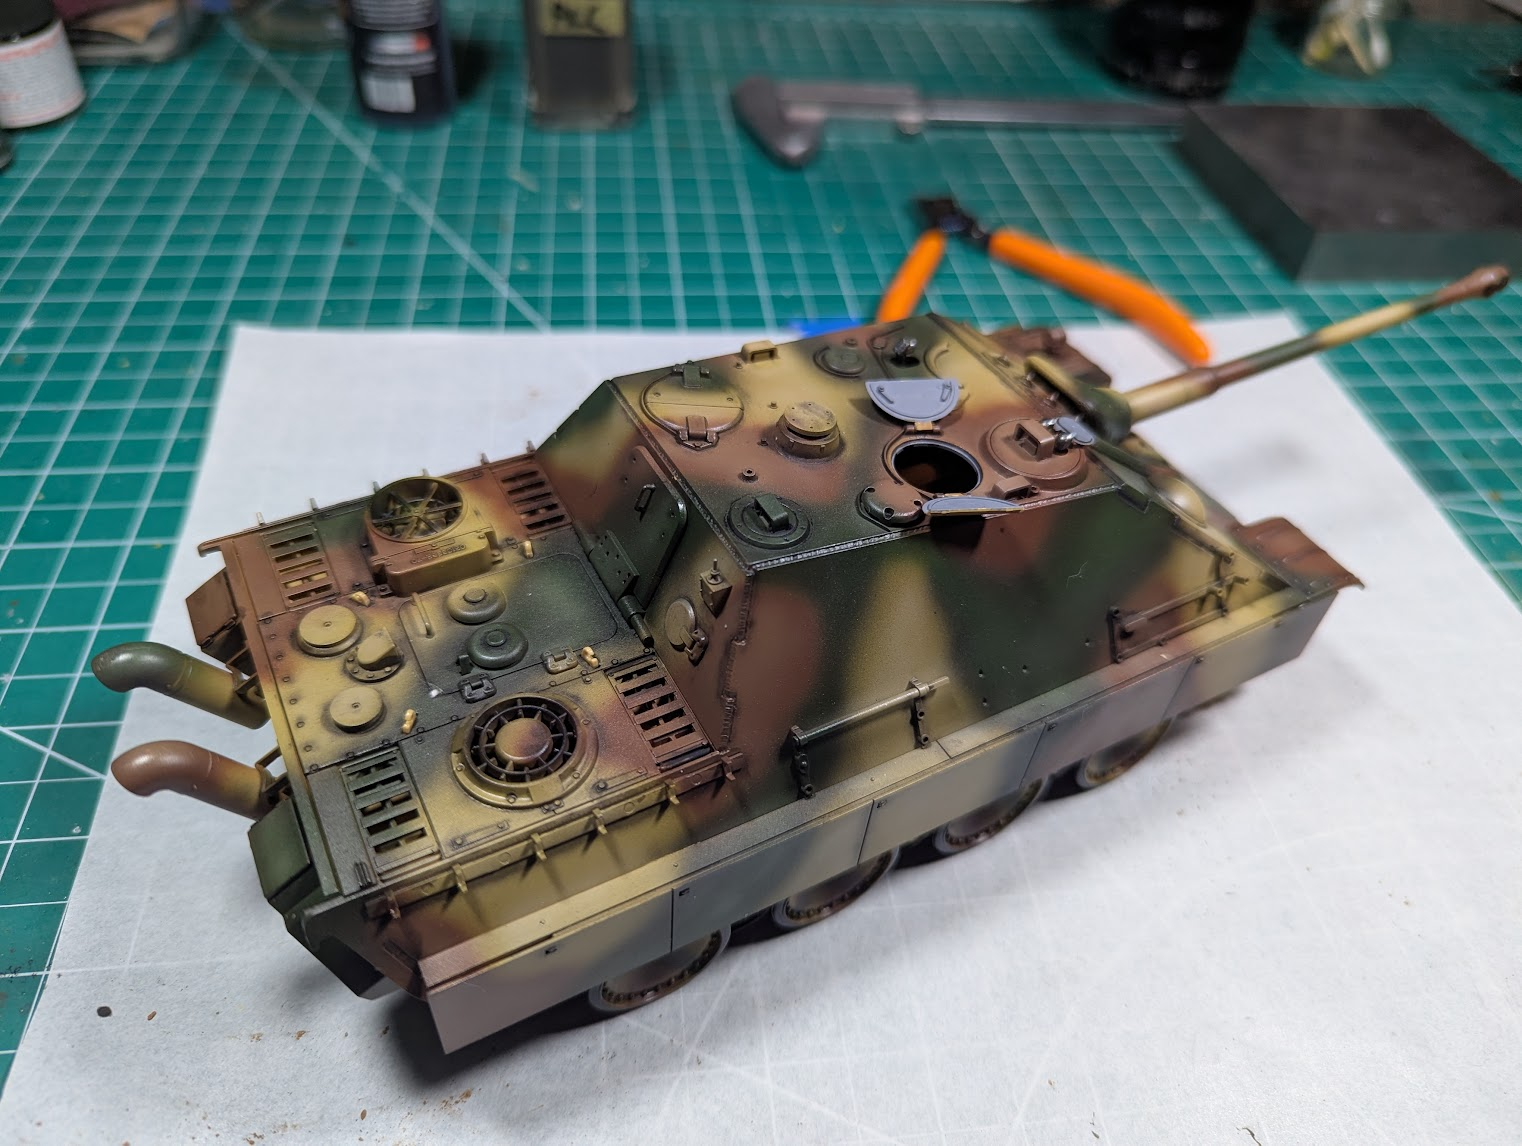
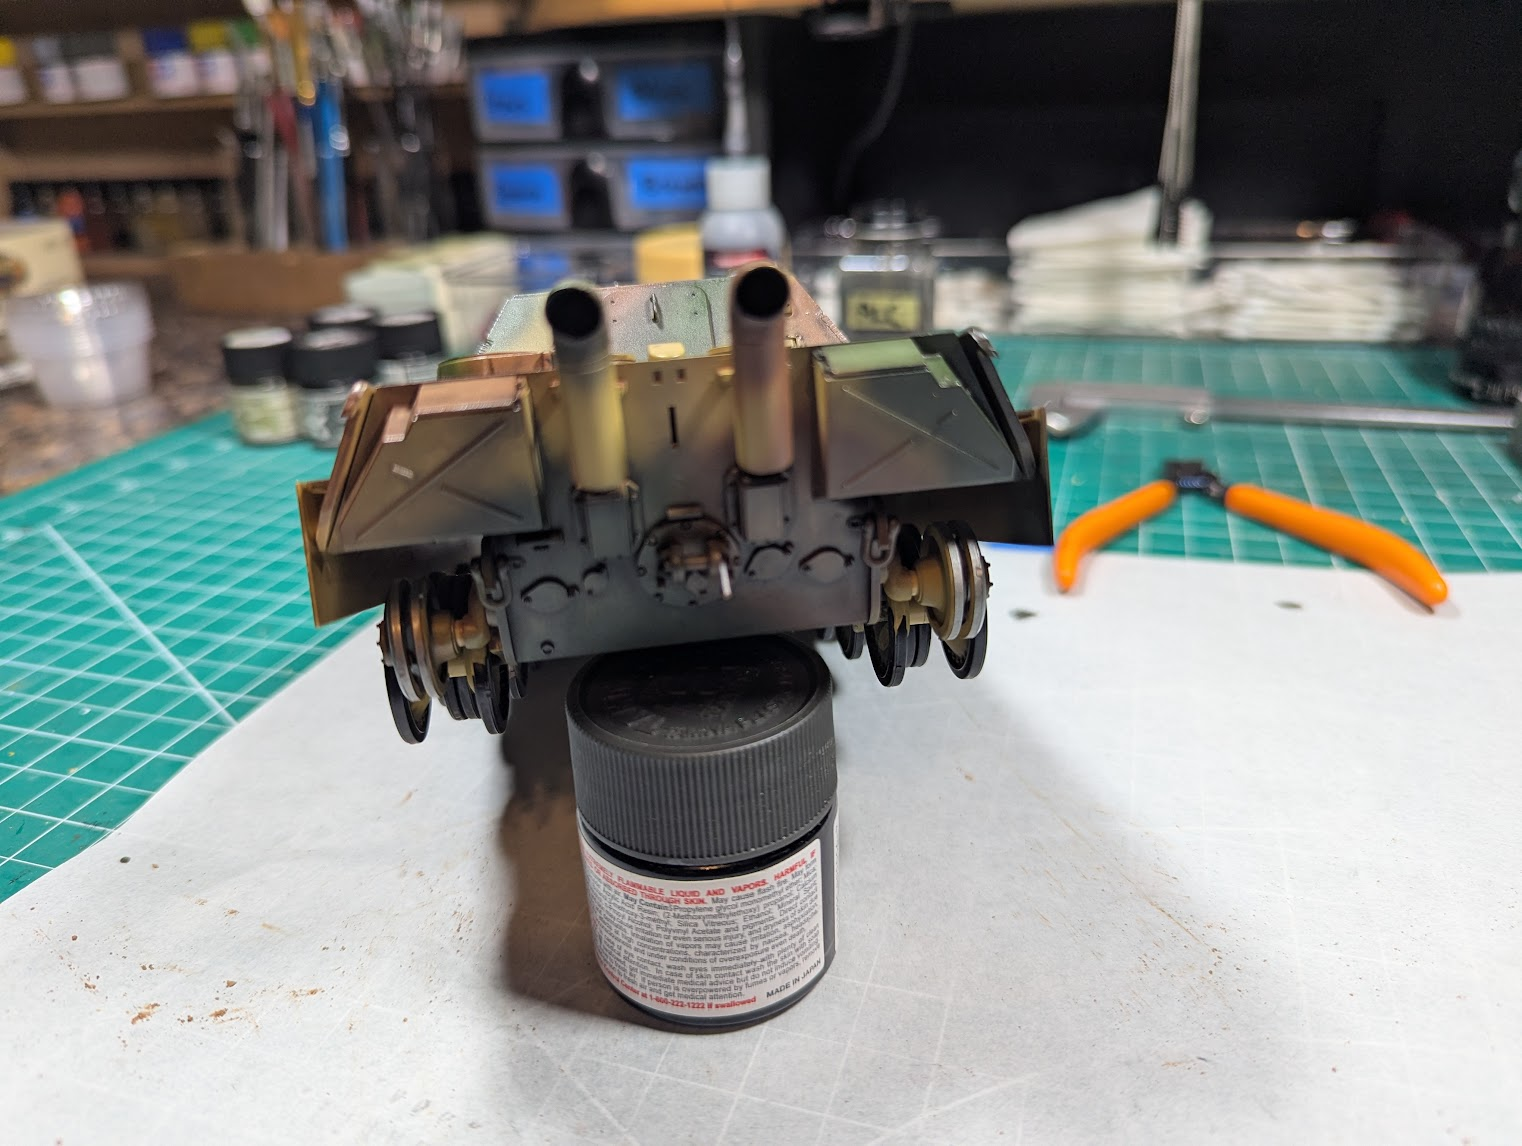
 
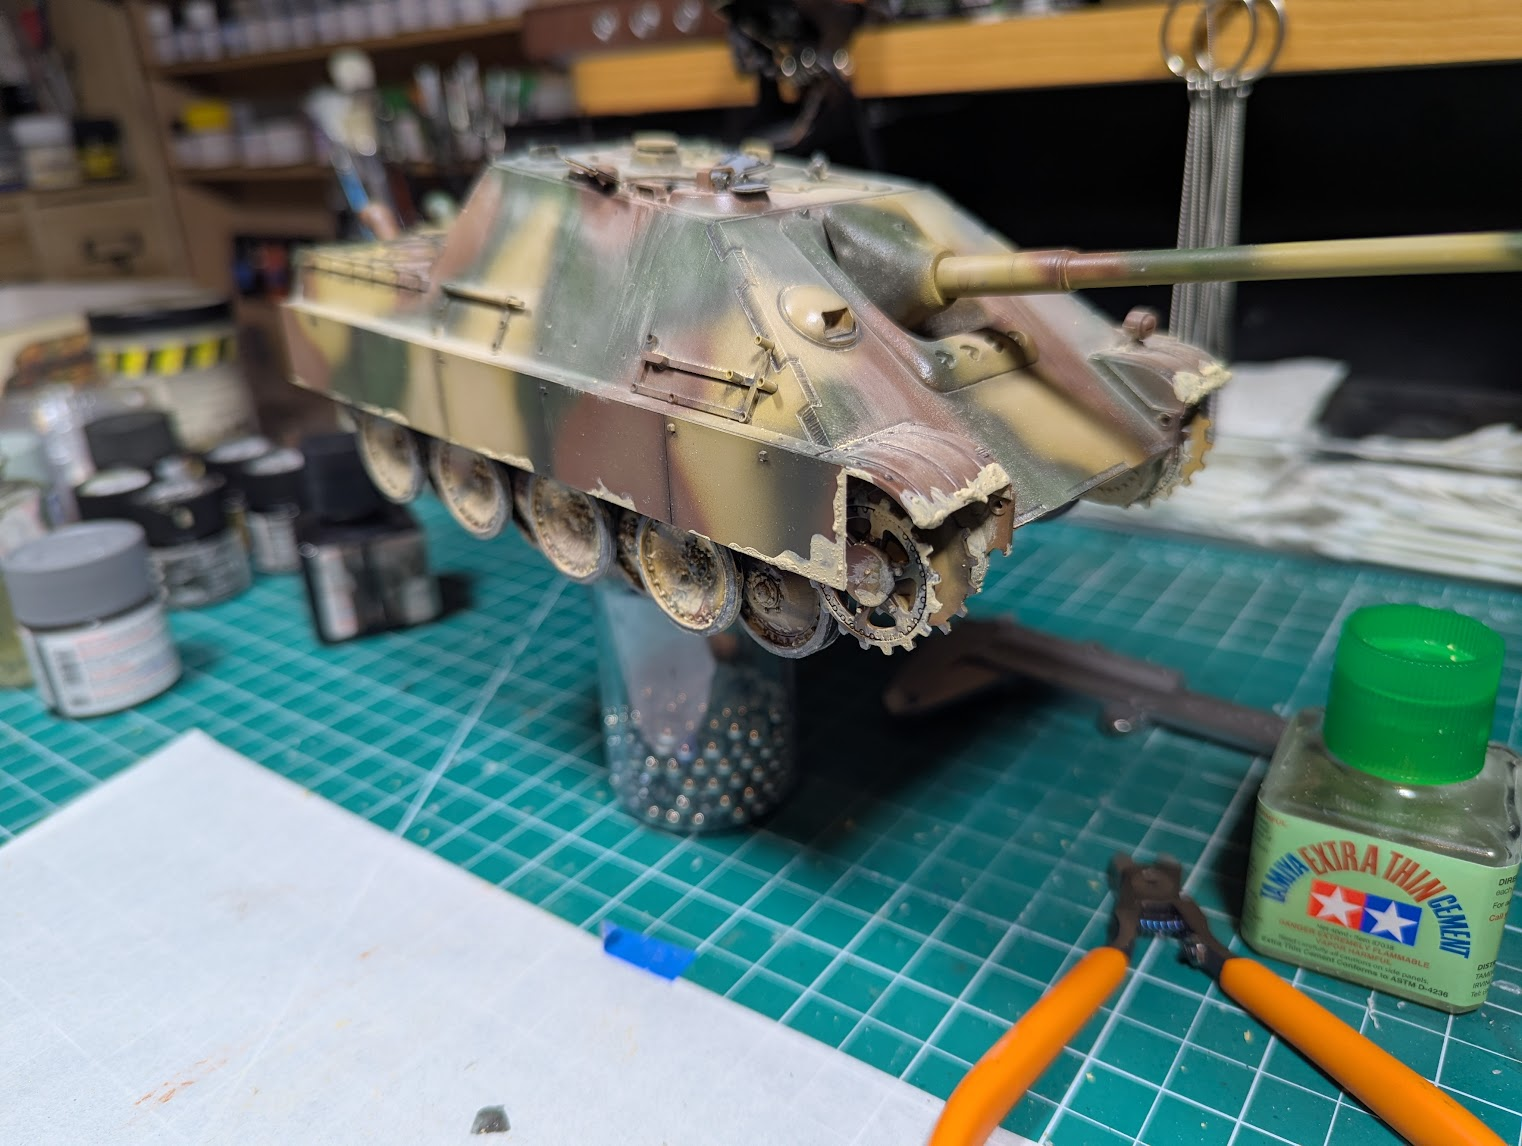
I changed my mind on the ambush scheme and started with panel lining and grime washes.

1762546391128.png

Realized I had left 4 tiny hooks off the rear deck. I assume these were used to life the full engine cover off for maintenance. They look a bit stark in the bare plastic color here, but some more washes and dirt should obscure that mistake.

1762546542141.png

The bright looking part near the center is just a reflection caused by my gloss varnish. I've already decided to not use a gloss coat in the future, just my aircraft centric thinking caused me to do it out of habit.

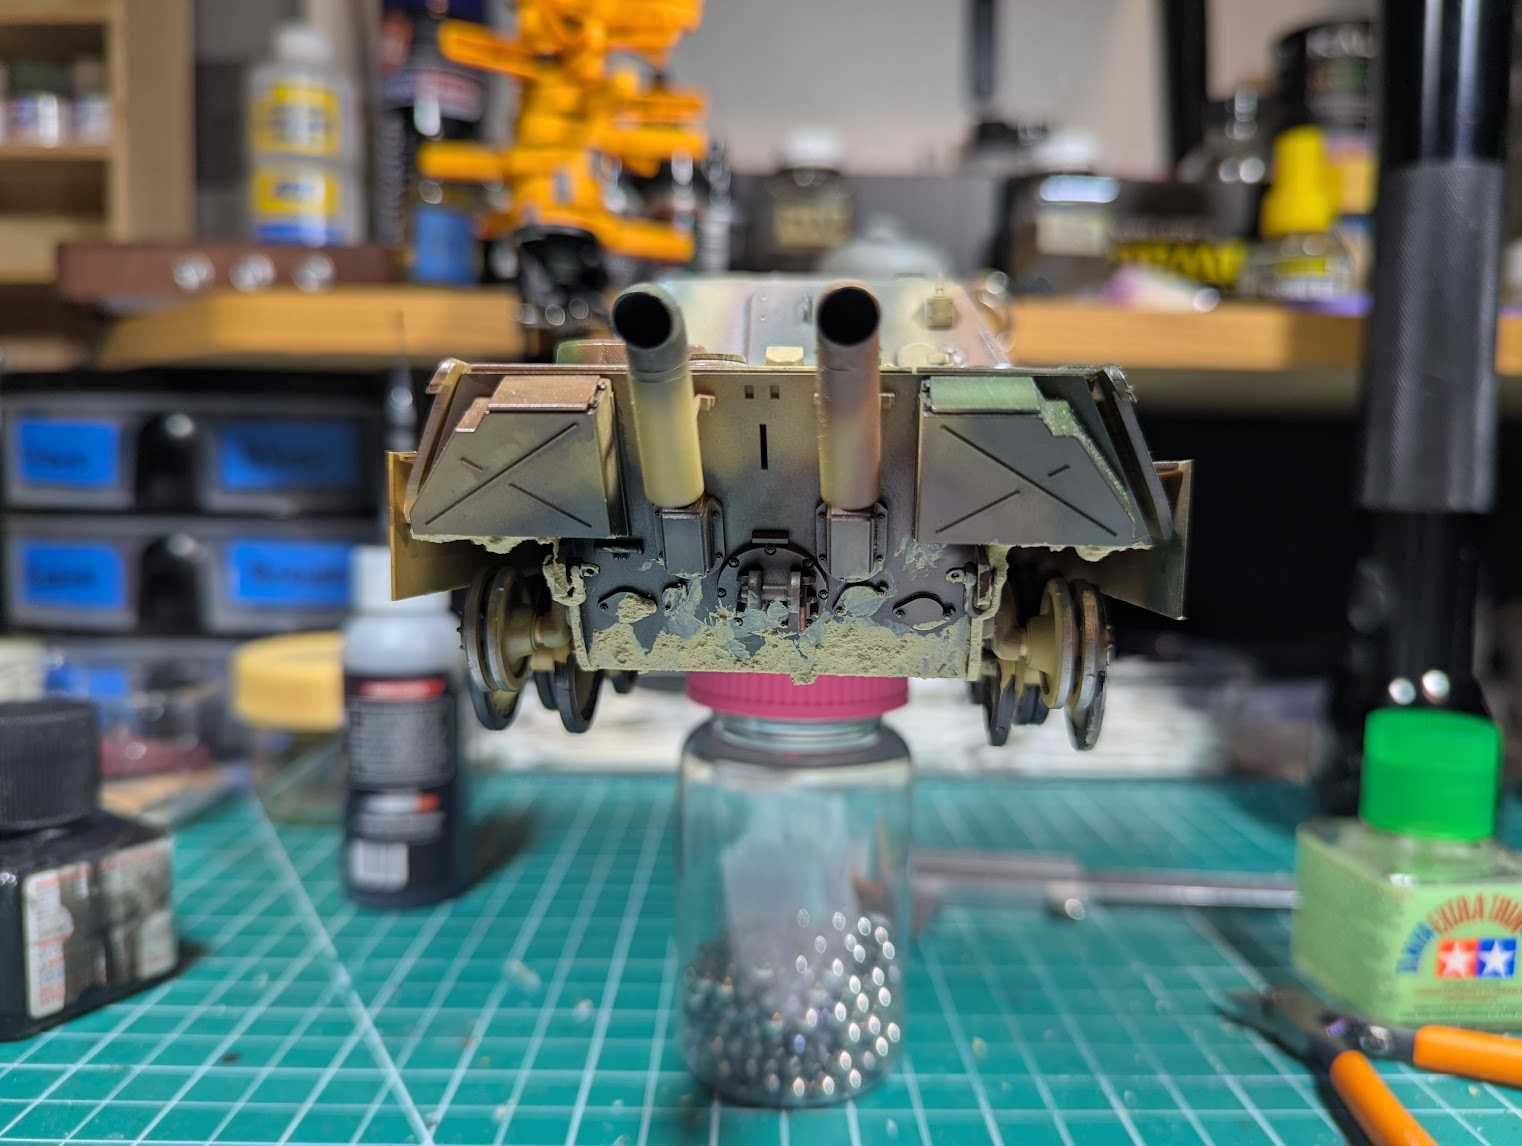
This is my first attempt at using pigments and "3D" mud. In the old days I just splattered some paint using an old toothbrush, but after watching a few videos decided to try my hand.

1762546653696.png

This is a "before" shot.

1762546680551.png

"After"

Here's some more WIP shots, still a lot to work on and learn.
1762546840425.png

1762546855749.png

1762546867032.png
 
WelI I think you off to a good start. Keep it up.


To me weathering is many layers. Initial paint color, color modulation, paint chipping, washes , drybrushing, dirt or mud with pigments or texture, paint over that, add more, etc., etc.......and go back and forth a few times if you rethink you overdone any of the effects.
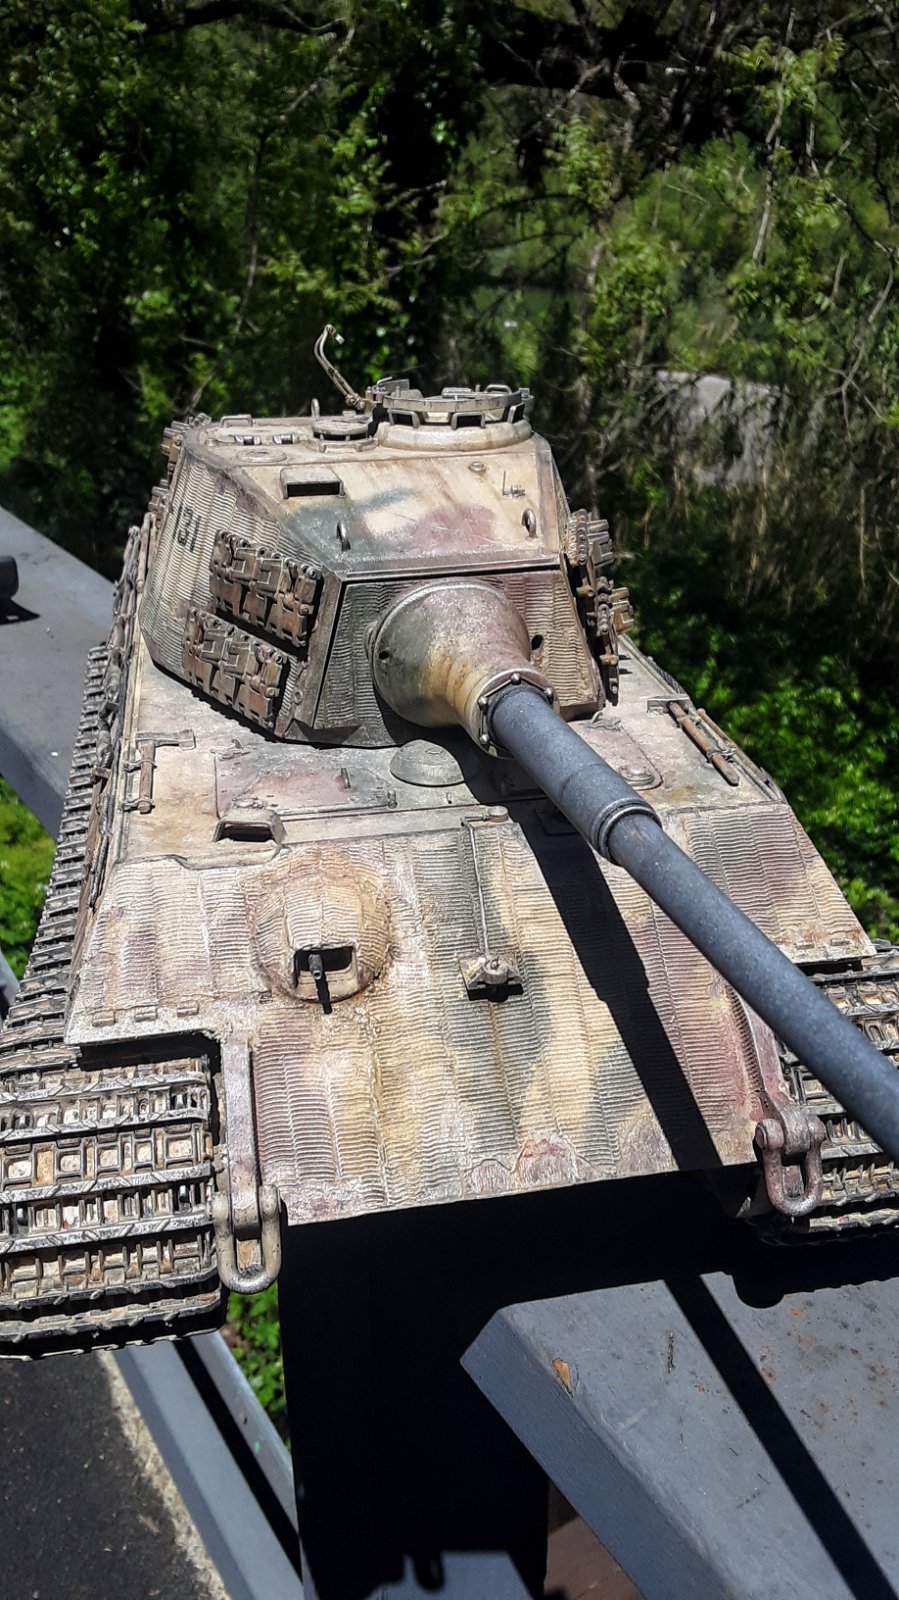
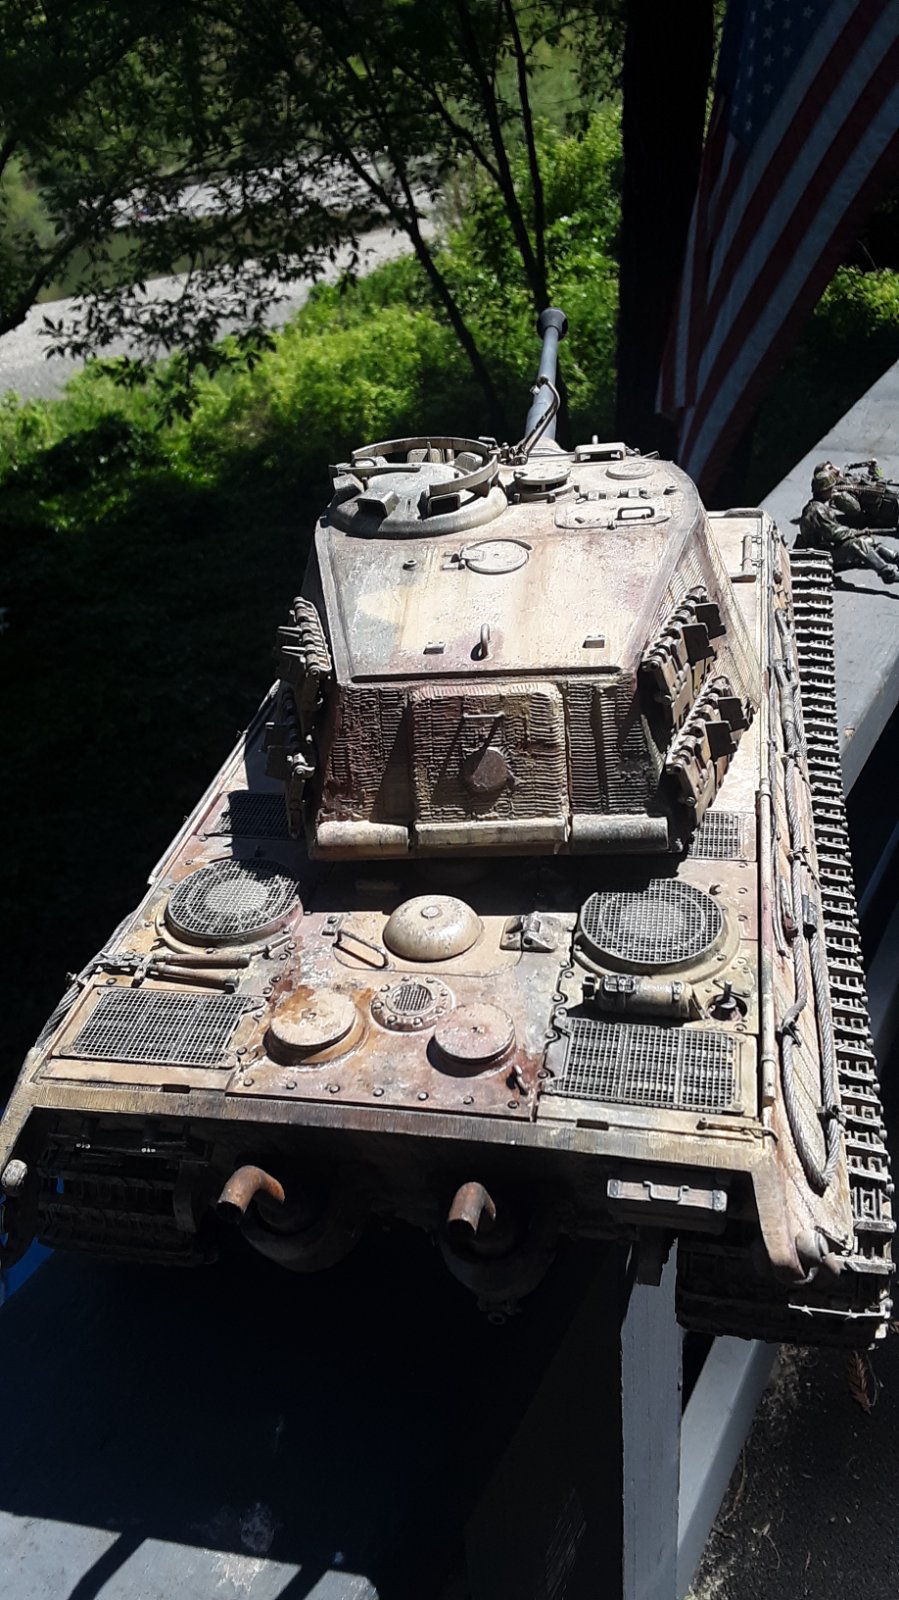
This is my 1/16 ( which makes weathering alot easier than 1/35), King Tiger from a few years ago, and looking at it now, I can see where I can keep going on some effects, but eventually you got to call it done. I realize many people think it's all too much, but its so much fun.
20240421_124819.jpg

20240421_124757.jpg

Again, you are off to a good start. I would encourage you to keep going, and going.......:)
 
Love the mud and grit effects that you're putting into this one Ed. Those grit effects make muddying things up all too easy don't they? Lookin' good so far.
 
Finally decided to pull this dude out of the closet and wrap it up, had been "close" for a while.

I can't say why, but I was kinda stuck on the tracks. When I had four kits waiting on me to paint the tracks I decided to assembly line them a little but and "just do it".

The tracks on the Jagdpanther were similar enough to the other two (Sherman and Pz-4), but the ones for my halftrrack have very little exposed metal and are 1/16 scale, so I only primed them and will address later.

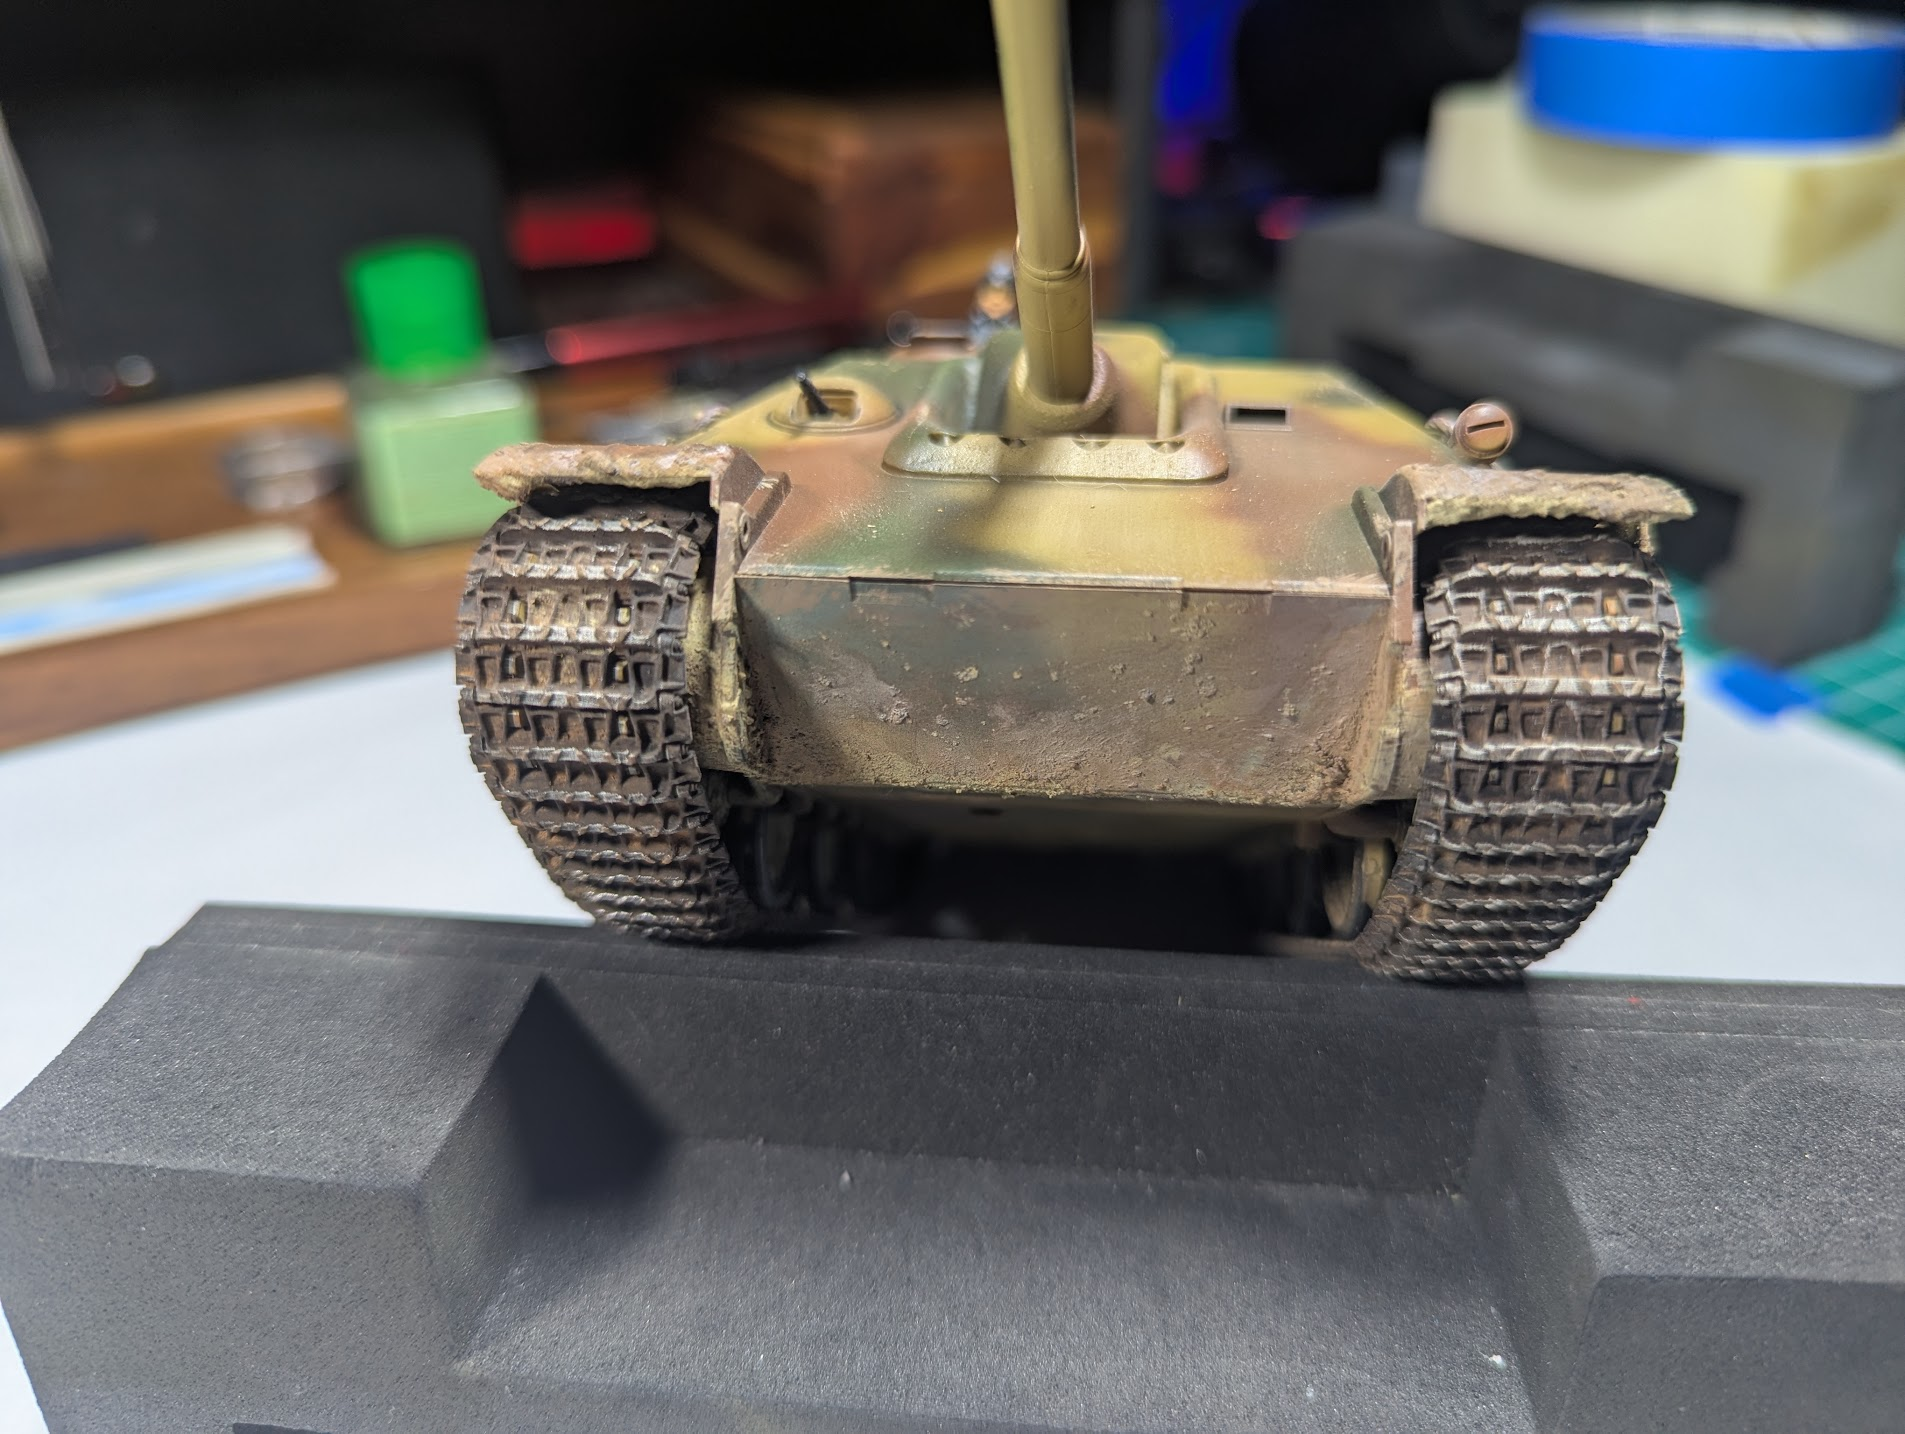
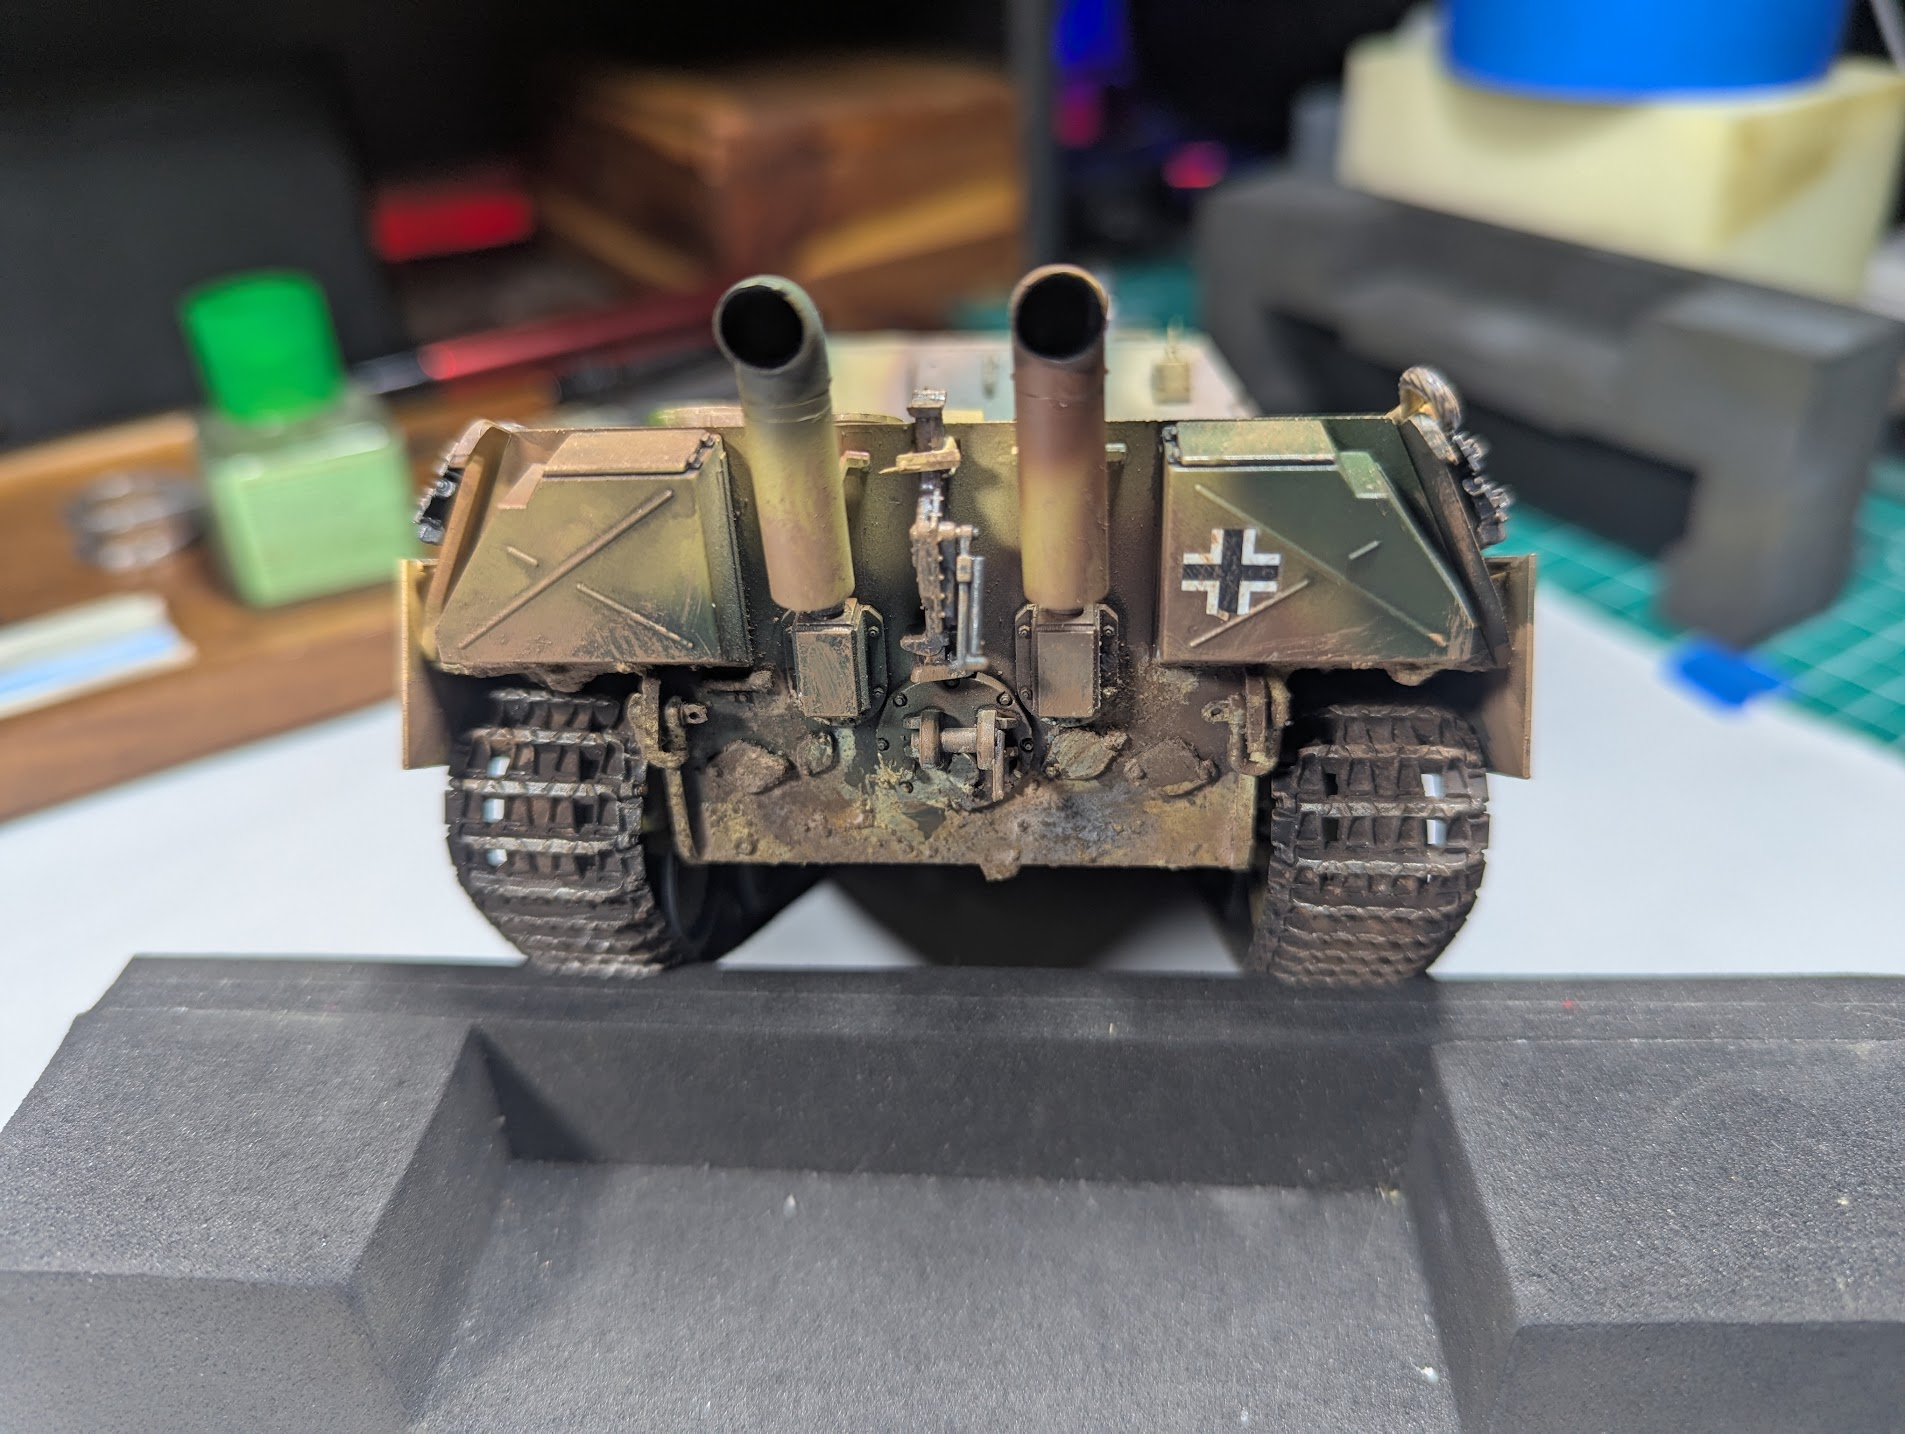
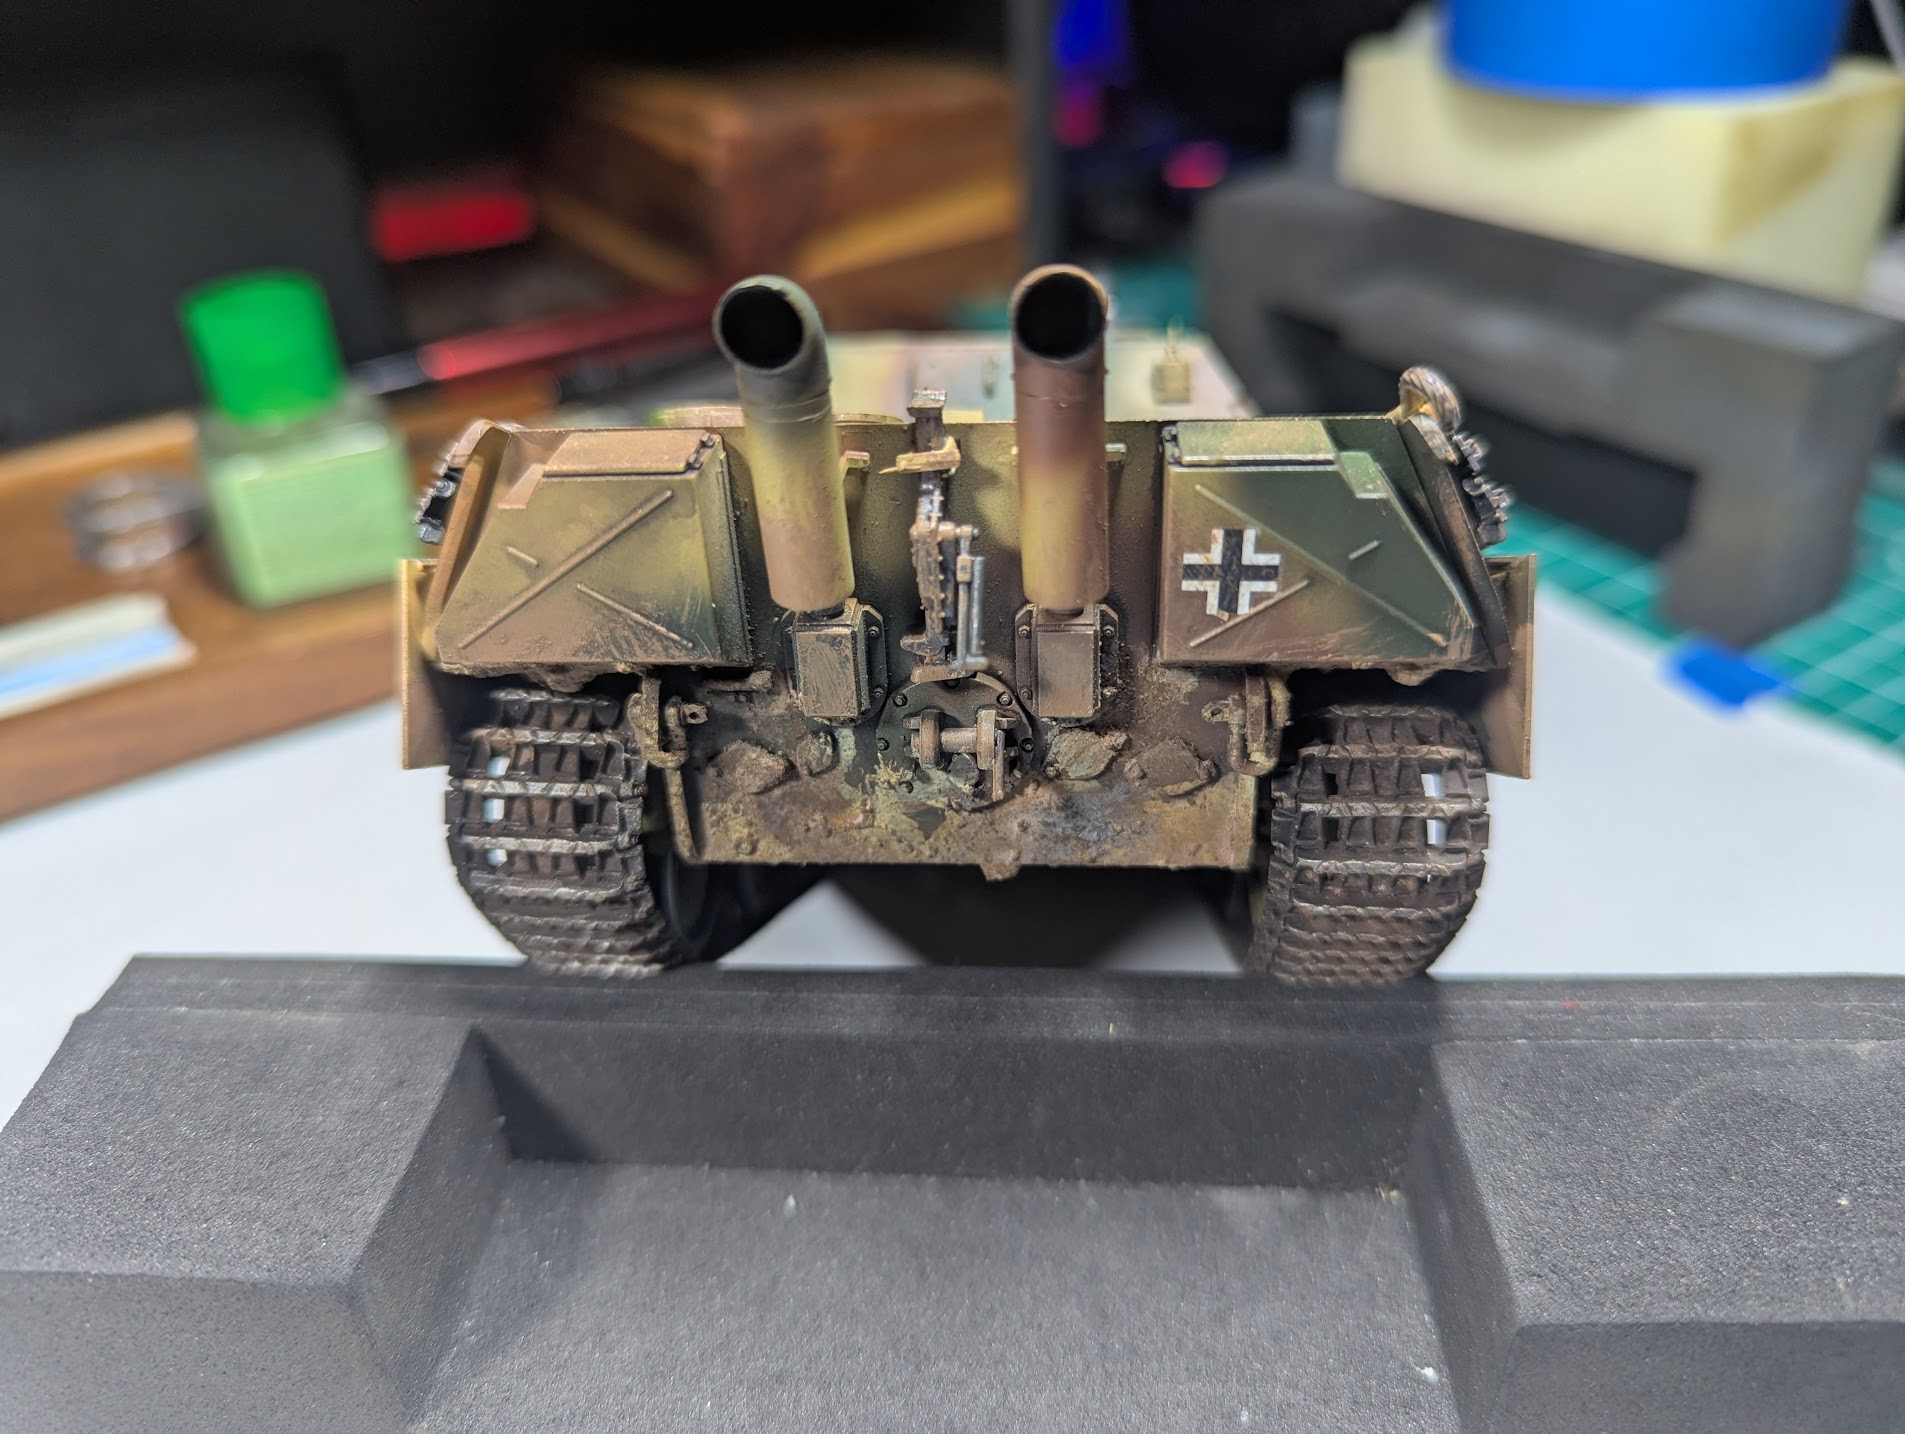
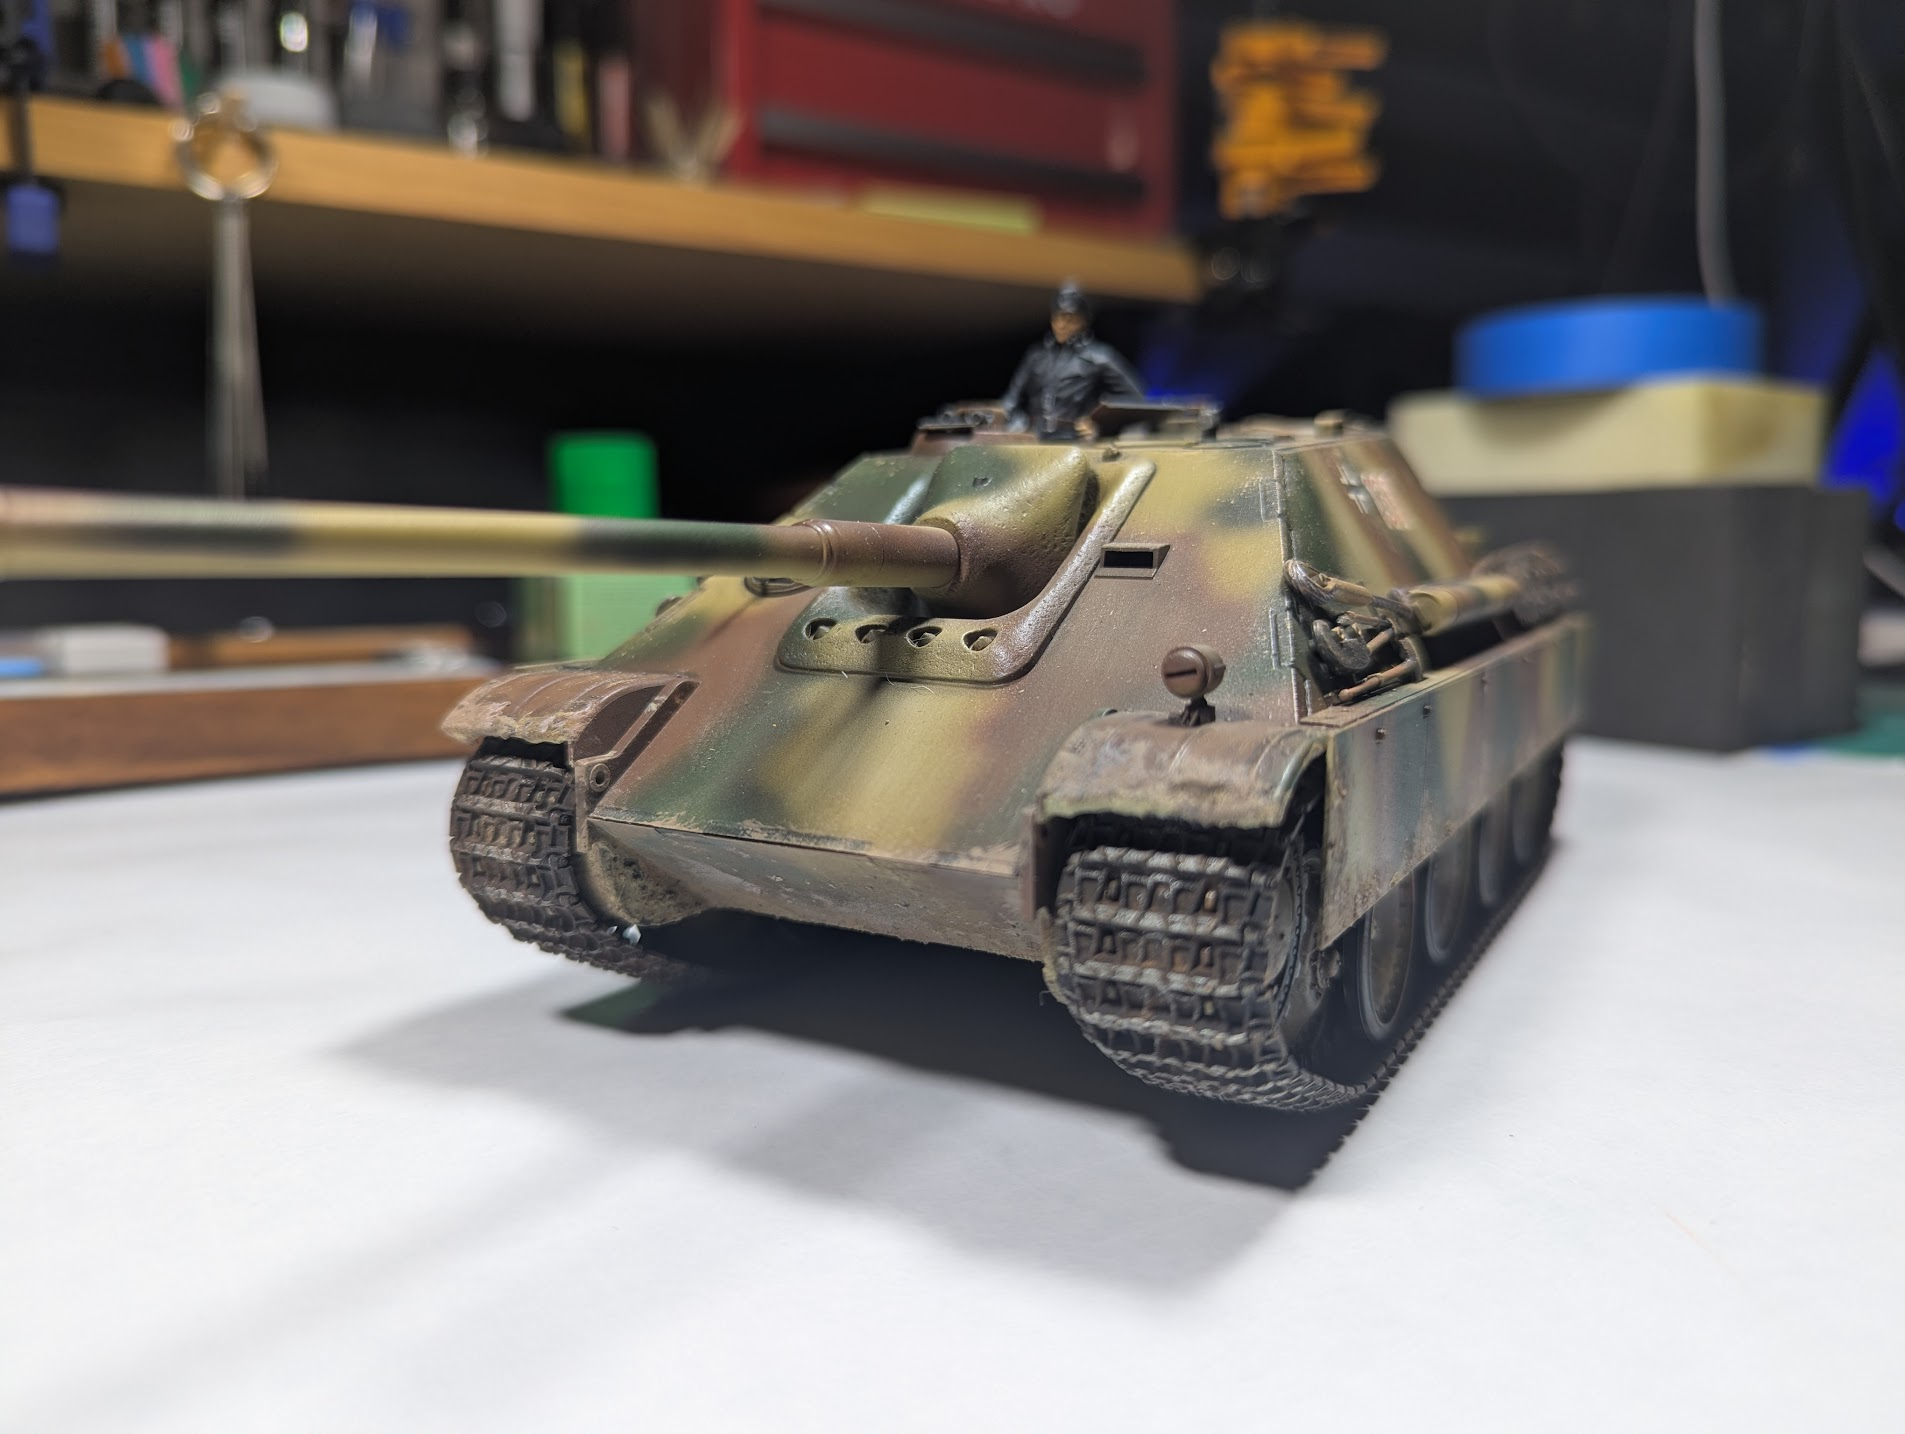
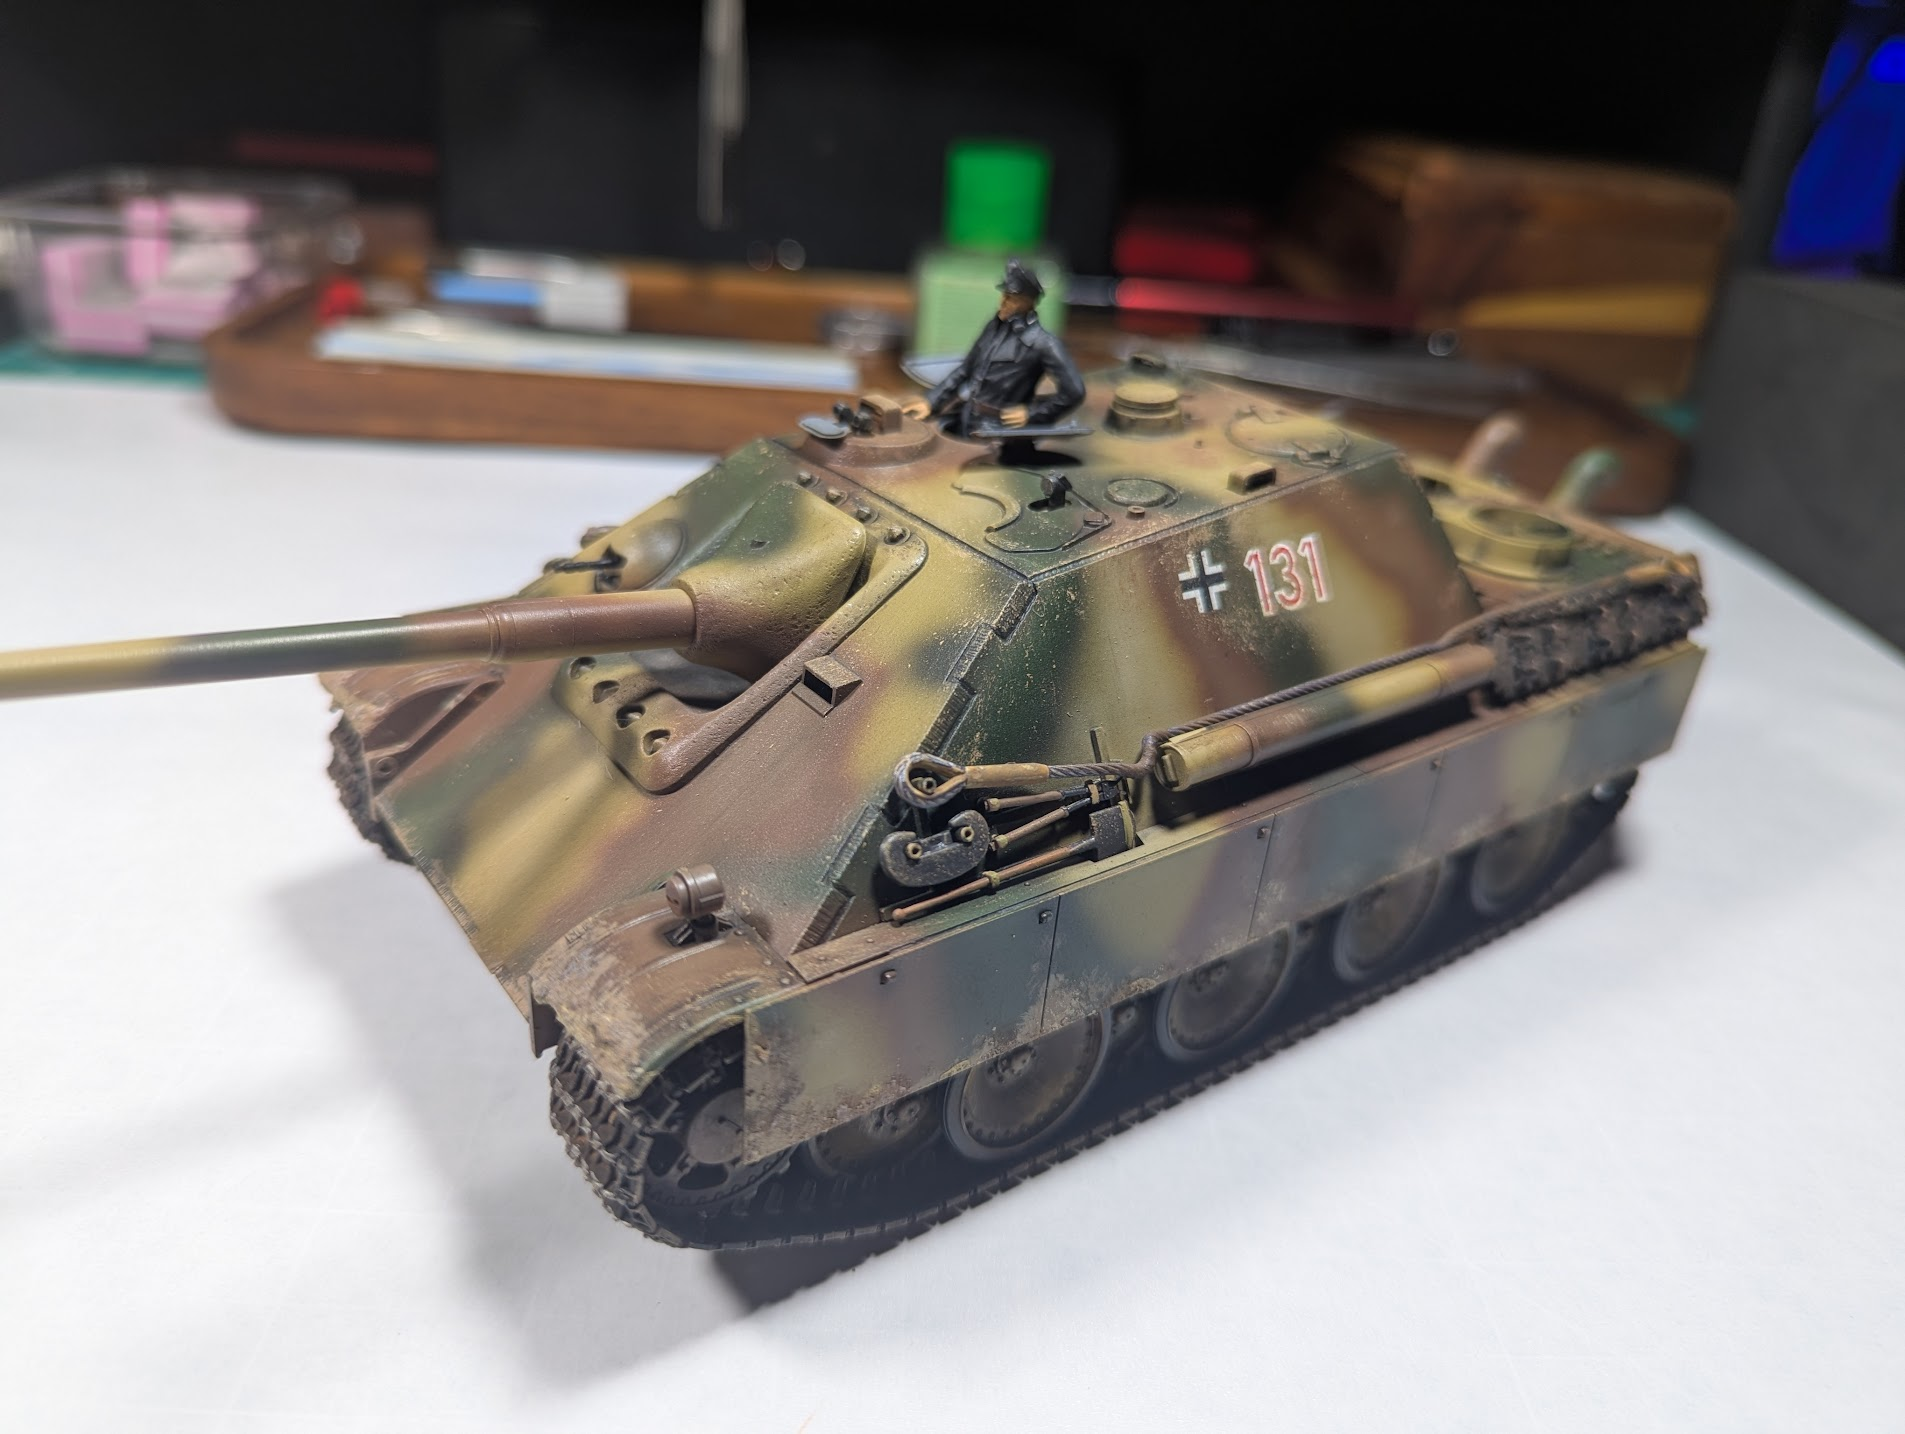
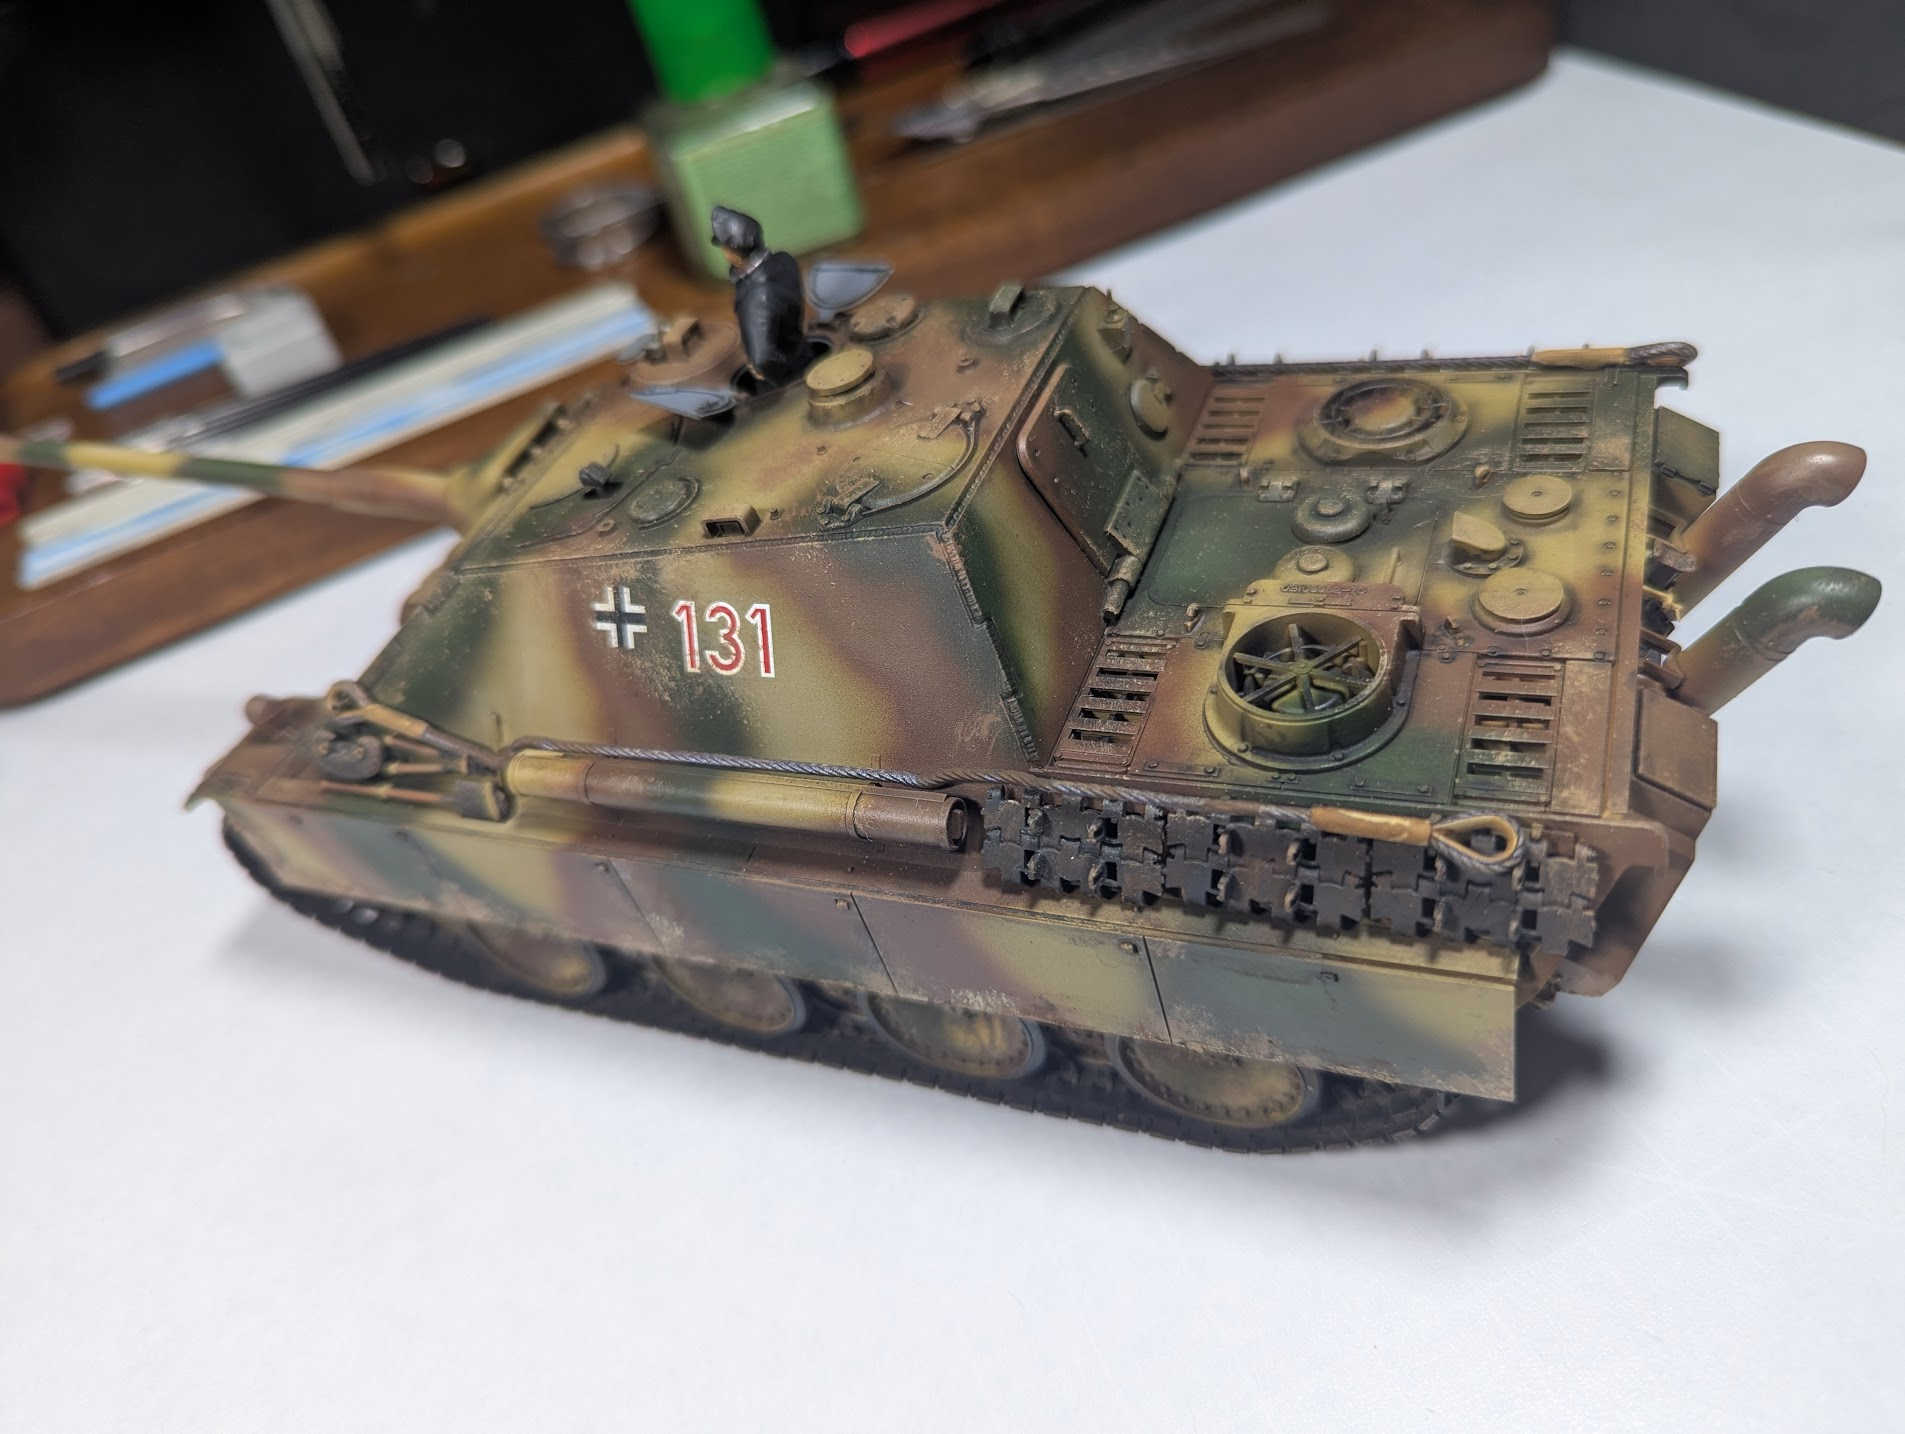
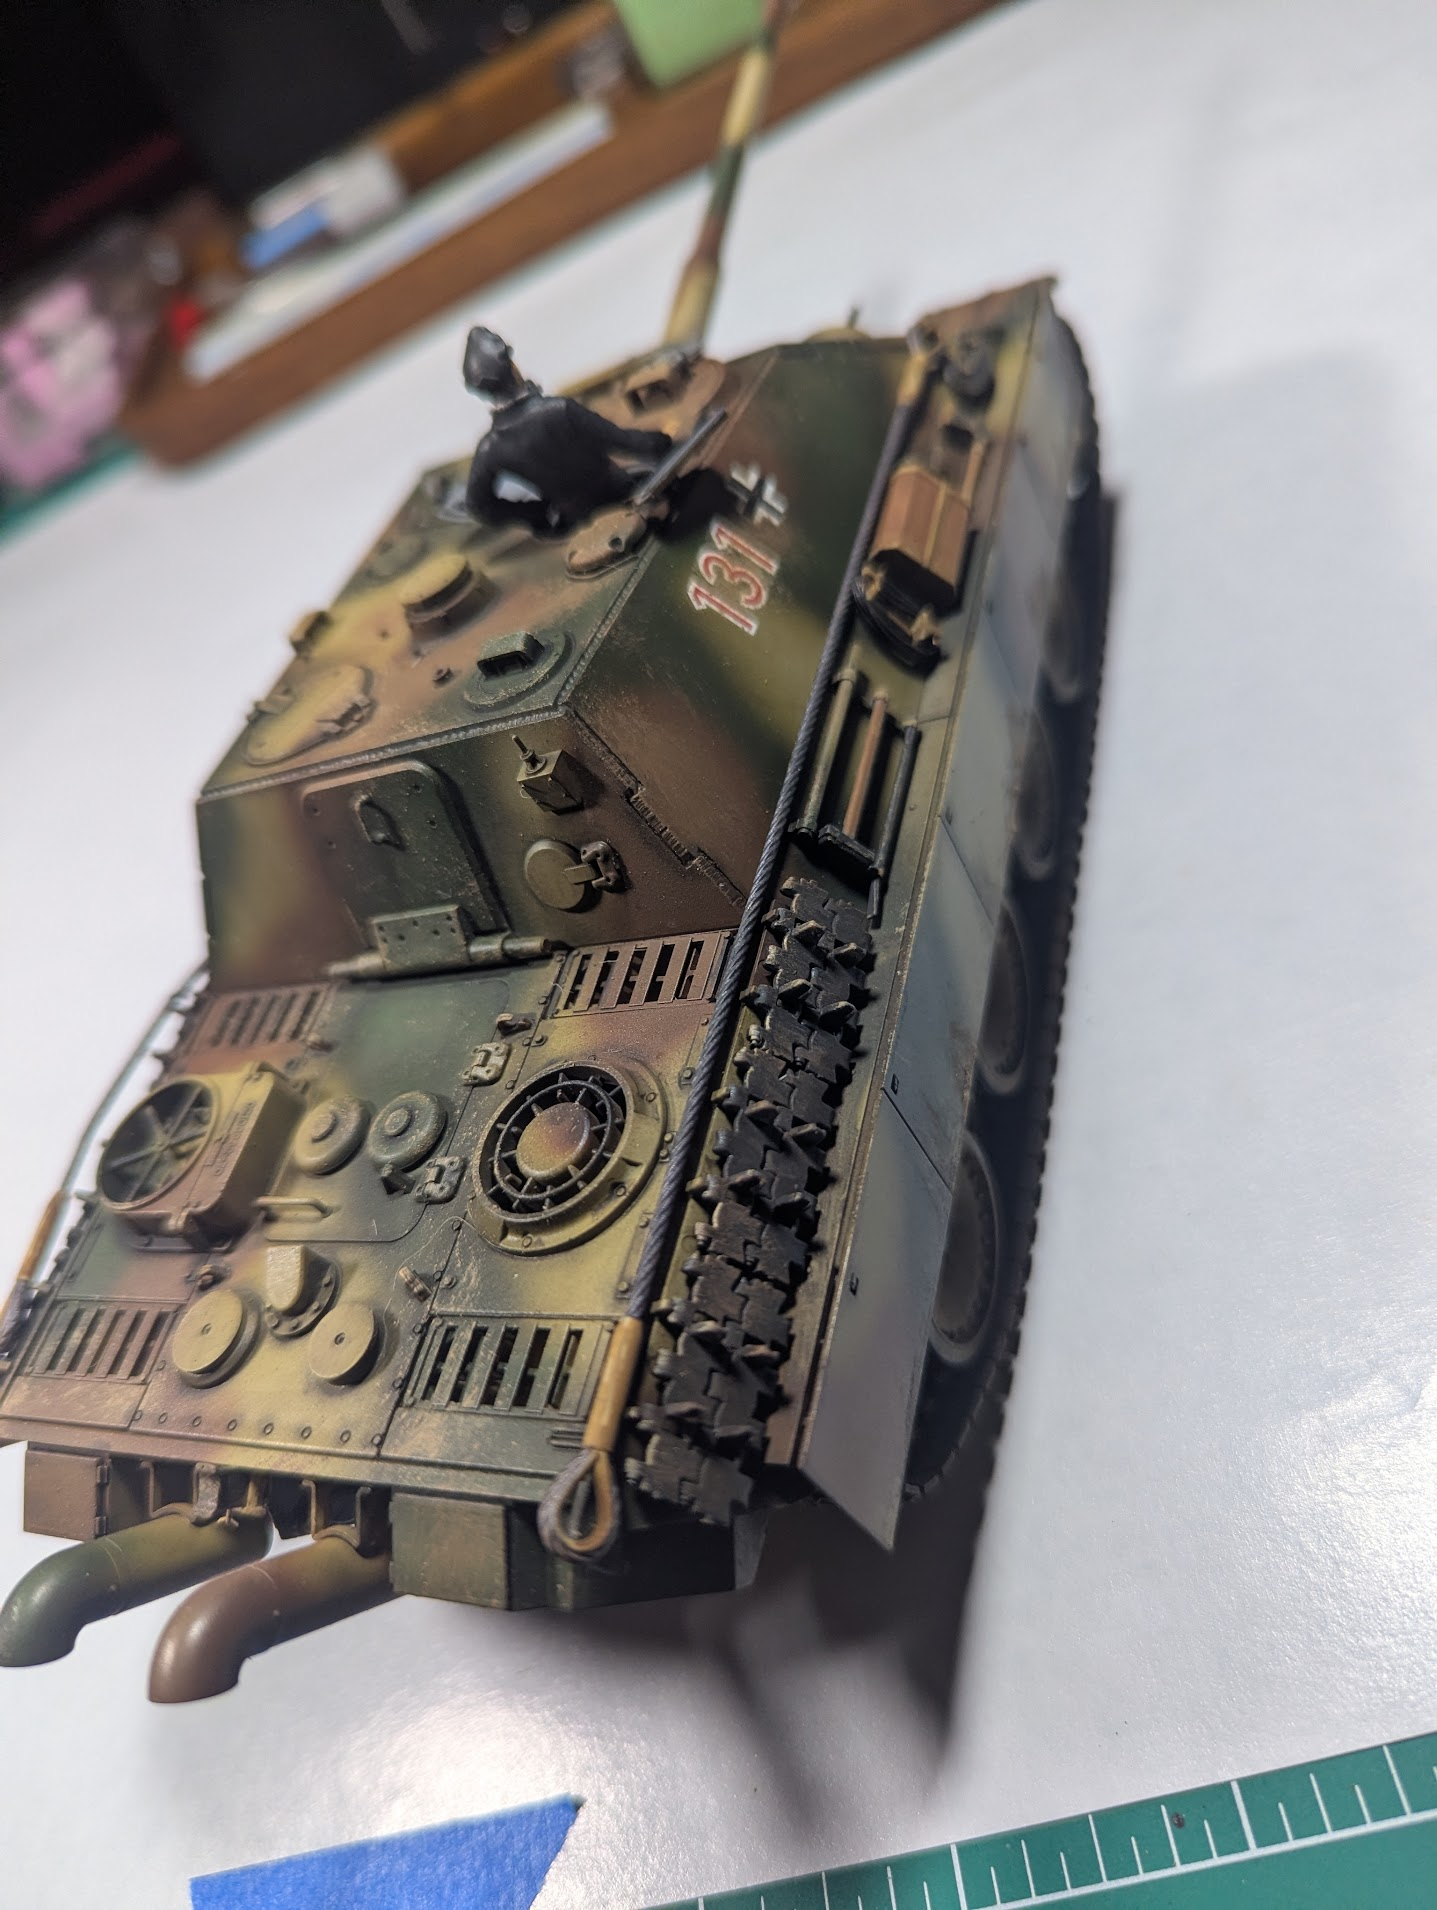
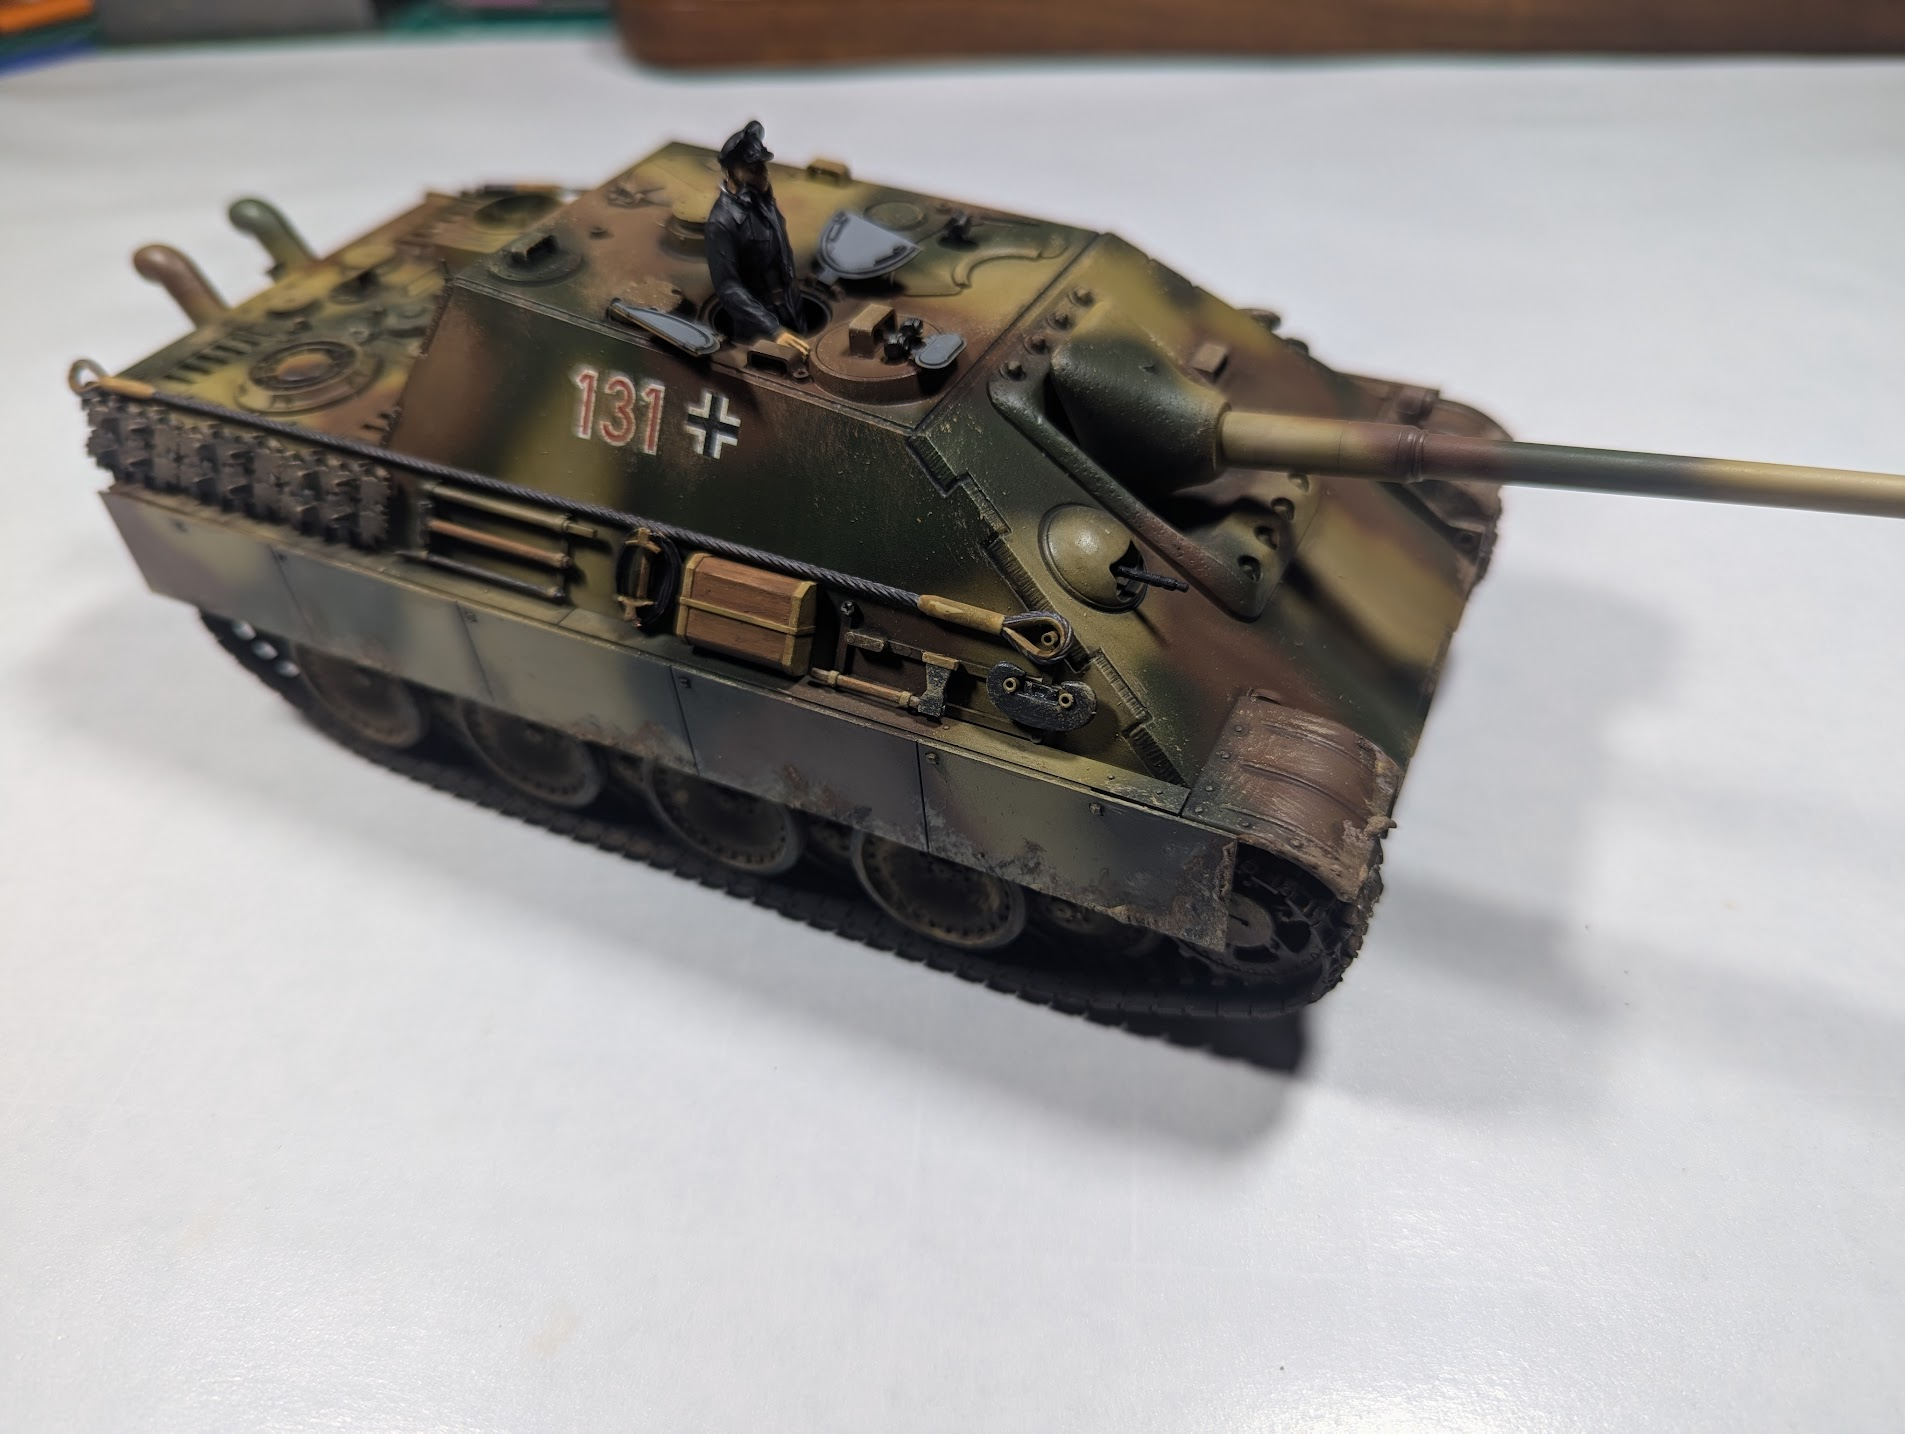
But here she is after all the weathering/dirt and fiddly parts were put on. I feel like it is missing an antenna, I see mounts, but nothing in the instructions. Guess I'll dig around for some vintage photos and decide later.

1777469449088.png

You might see the small gap on the front seam/weld. That is because the top half is still loose from the bottom. Was thinking I might leave it that way in case I want to mess with the figure later, but only glue will make that small line go away.

1777469632327.png

1777469641723.png

1777469658857.png

1777469664976.png

1777469678216.png

1777469686730.png

1777469709442.png

1777469724785.png

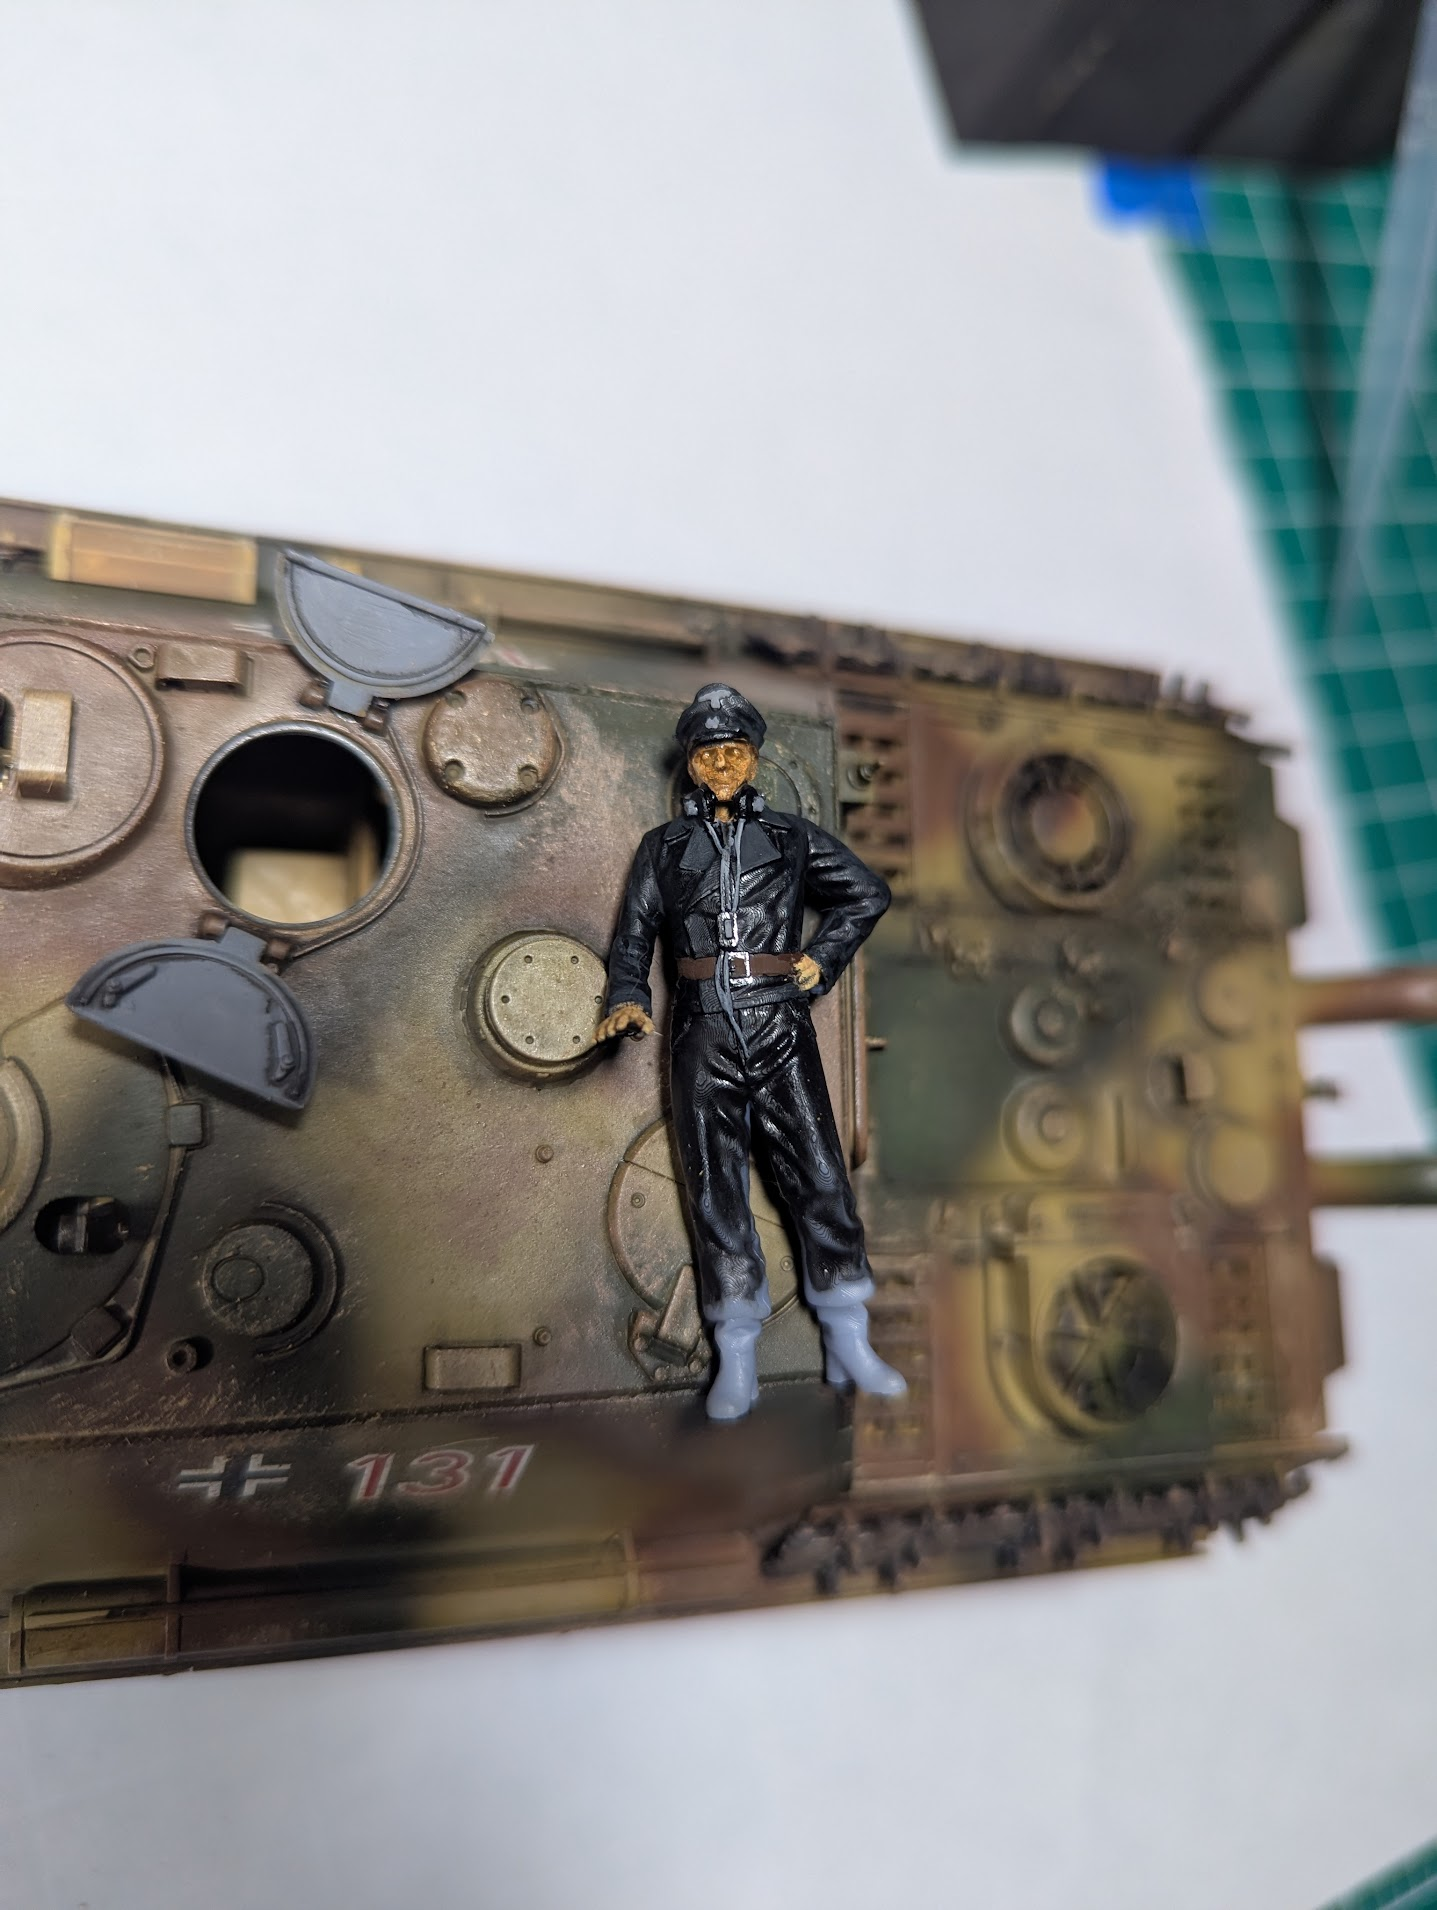
I printed my own "commander", you can see the little lines on him in bright light where there's a semi-gloss appearance.
 

Latest posts

Back
Top