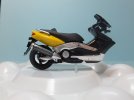
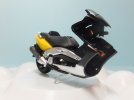
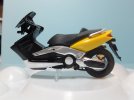
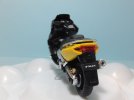
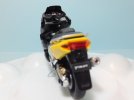
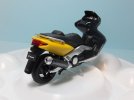
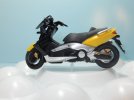
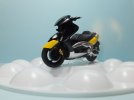
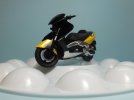
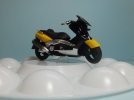
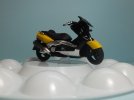
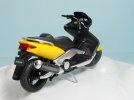
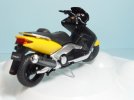
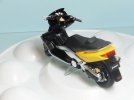
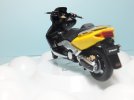
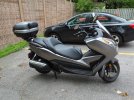
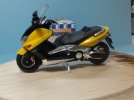
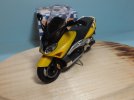
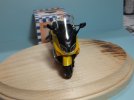
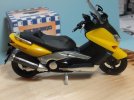
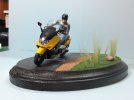
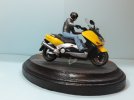
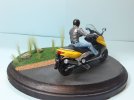
1/24 Yamaha TMAX Maxi Scooter

Papermodder

Modeller in both Plastic and Paper Card
Joined
Jan 2, 2013
Messages
1,224
Good Evening.
I know it has been a while since I posted, but with the riding season slowly coming to an end, time to get the bench mojo working again.
Now before I return to my Me-329 build, I thought I would start off with a build of the Tamiya TMAX that was purchased a couple of weeks ago.
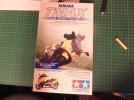
YamahaT-Max_zpsaee50f39.jpg

This will be the first styrene build that I have done in a few years. So time to relearn a few skills. This is a partial snap kit, with a lot of detail options.
The worst seams so far are on the figure, and a great opportunity to build my figure painting skills.
The fit has been quite good so far, and as most of the seams for the body are hidden by the body panels, have not yet had to fill a seam. I wish they had decals rather than stickers, but will make due.

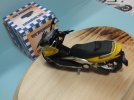
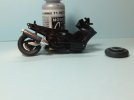
Here is where I am at tonight.
TMAX1_zps891651f0.jpg

TMAX2_zps9cf1f2ab.jpg

TMAX3_zps672793ca.jpg

TMAX4_zpsf60c0890.jpg

TMAX5_zps021cad5a.jpg

TMAX6_zps17761a64.jpg

TMAX7_zps90c6a83a.jpg

TMAX8_zpsc6d4a943.jpg

TMAX9_zpsd737a86a.jpg

The kit comes with a centre stand but not a side stand. ::) That will have to be scratched.

Thank you for following.
Questions and comments always welcome.

Jim
 
Good evening all.
Time for an update.
I started working on the trees for this bike. The rear front fender had a bad seam that had to be repaired.
Then the trees were painted and assembled.

TMAX10_zps4c8008f0.jpg

TMAX11_zps9d9bd073.jpg

TMAX12_zps633c9012.jpg

The Bars came next. A little bit of cleanup, then on to the painting.
The trees were then attached and the bars installed.
This is where I am at tonight.

TMAX13_zpsd95de9c5.jpg

TMAX14_zps4cff40b0.jpg

TMAX15_zpsd2994058.jpg

TMAX16_zpsdec31b8c.jpg

TMAX17_zps9ed4a754.jpg

TMAX18_zps34adbb7a.jpg

TMAX19_zps73aa25e7.jpg

TMAX20_zps05a2d503.jpg

TMAX21_zps4bd96088.jpg

Got to come up with some floor mats for this bike. It just looks wrong without them.

Thank you for following,
Comments and questions welcome.

Jim
 
Looking fantastic! I'm gathering these are normally seen with floor mats?
 
Thanks Dazed1.
Yes all scooters have rubber runners so your feet don't slip.

If you look along the foot tread of my bike you will see them.

DSCF0627_zpsf02973be.jpg

Jim
 
Something different, I like it !

Awesome detail on what is a tiny subject
 
Thanks Rookie.
Yes it is not a common modeling subject in the motorcycle genre.

Jim
 
Hello, Time for another update.
The front cowl is now assembled, and has been attached to the frame of the bike.
The foot treads have been painted with wrought iron craft paint, to simulate the molded rubber mats that would be there. This gives this area enough contrast with the semi gloss black of the centre console.
I did some detail painting to some of the what would be visible fasteners.
The rest of the stickers were applied. I wish that they had water slides, but these will do.

TMAX22_zpsebe5b192.jpg

TMAX23_zpsebae53bd.jpg

TMAX24_zps89b998d3.jpg

TMAX25_zpsf00aef70.jpg

TMAX26_zpsf9335a5d.jpg

TMAX27_zpsfb71f80a.jpg

TMAX28_zps8eafade3.jpg

TMAX29_zps8273b8eb.jpg

This completes the bike portion of this build. Up next are the figure and the construction of the base.

Thank you for following.
Comments and questions are welcome.

Jim
 
Good evening.
Time for another update.
I've started on the figure, but have only dealt with the flash so far. I hope to start some paint this week.
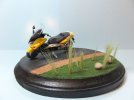
In the mean time, started work on the base. Got the edge of the base painted and applied some 800 grit sandpaper for the roadway. Other elements have been added for interest.
the other thing that has been done is to replace the straight support stand, which was handy during construction, with the leaning stand. this is to give the bike more of a lean into this fictional bend in the road.
One issue that came up was that this support was a little too tall, and did not let both wheels touch the ground. This was readily fixed with a file.
So here is where I'm at this evening.

TMAX30_zpsf73f6d0c.jpg

TMAX31_zps55a447f6.jpg

TMAX32_zps794e622e.jpg

Thank you for following.
Questions and comments are always welcome.

Jim
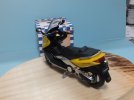
 
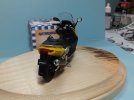
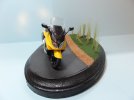
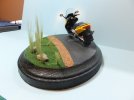
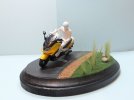
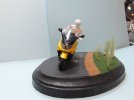
This past weekend I finished the Tmax build. Spent last week finishing and painting the figure for the bike.
Used Vallajo white primer on the figure then hand painted the rest. In order to give a dark tint look to the helmet visor, a base of flat black then a top coat of Tamiya clear blue.

TMAX33_zpsb313e5ee.jpg

TMAX34_zps59edafe0.jpg

TMAX35_zpsd0e5bc19.jpg

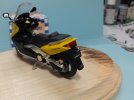
The finished figure was glued to the bike using white tacky glue. This was done because both the figure and the bike seat are made of a pliable plastic and wanted good adhesion.
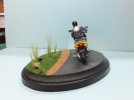
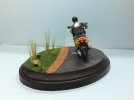
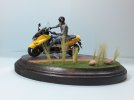
The completed bike was then glued on to the base.

TMAX36_zps9ad2b24b.jpg

TMAX37_zpsaff1b3e2.jpg

TMAX38_zpsec64f9e3.jpg

TMAX39_zps29aaef4a.jpg

TMAX40_zps4e418215.jpg

TMAX41_zps6bc556c2.jpg

This completes this project. Now back to the Me-329.
Thank you for following.
Questions and comments are always welcome.

Jim
 

Latest posts

Back
Top