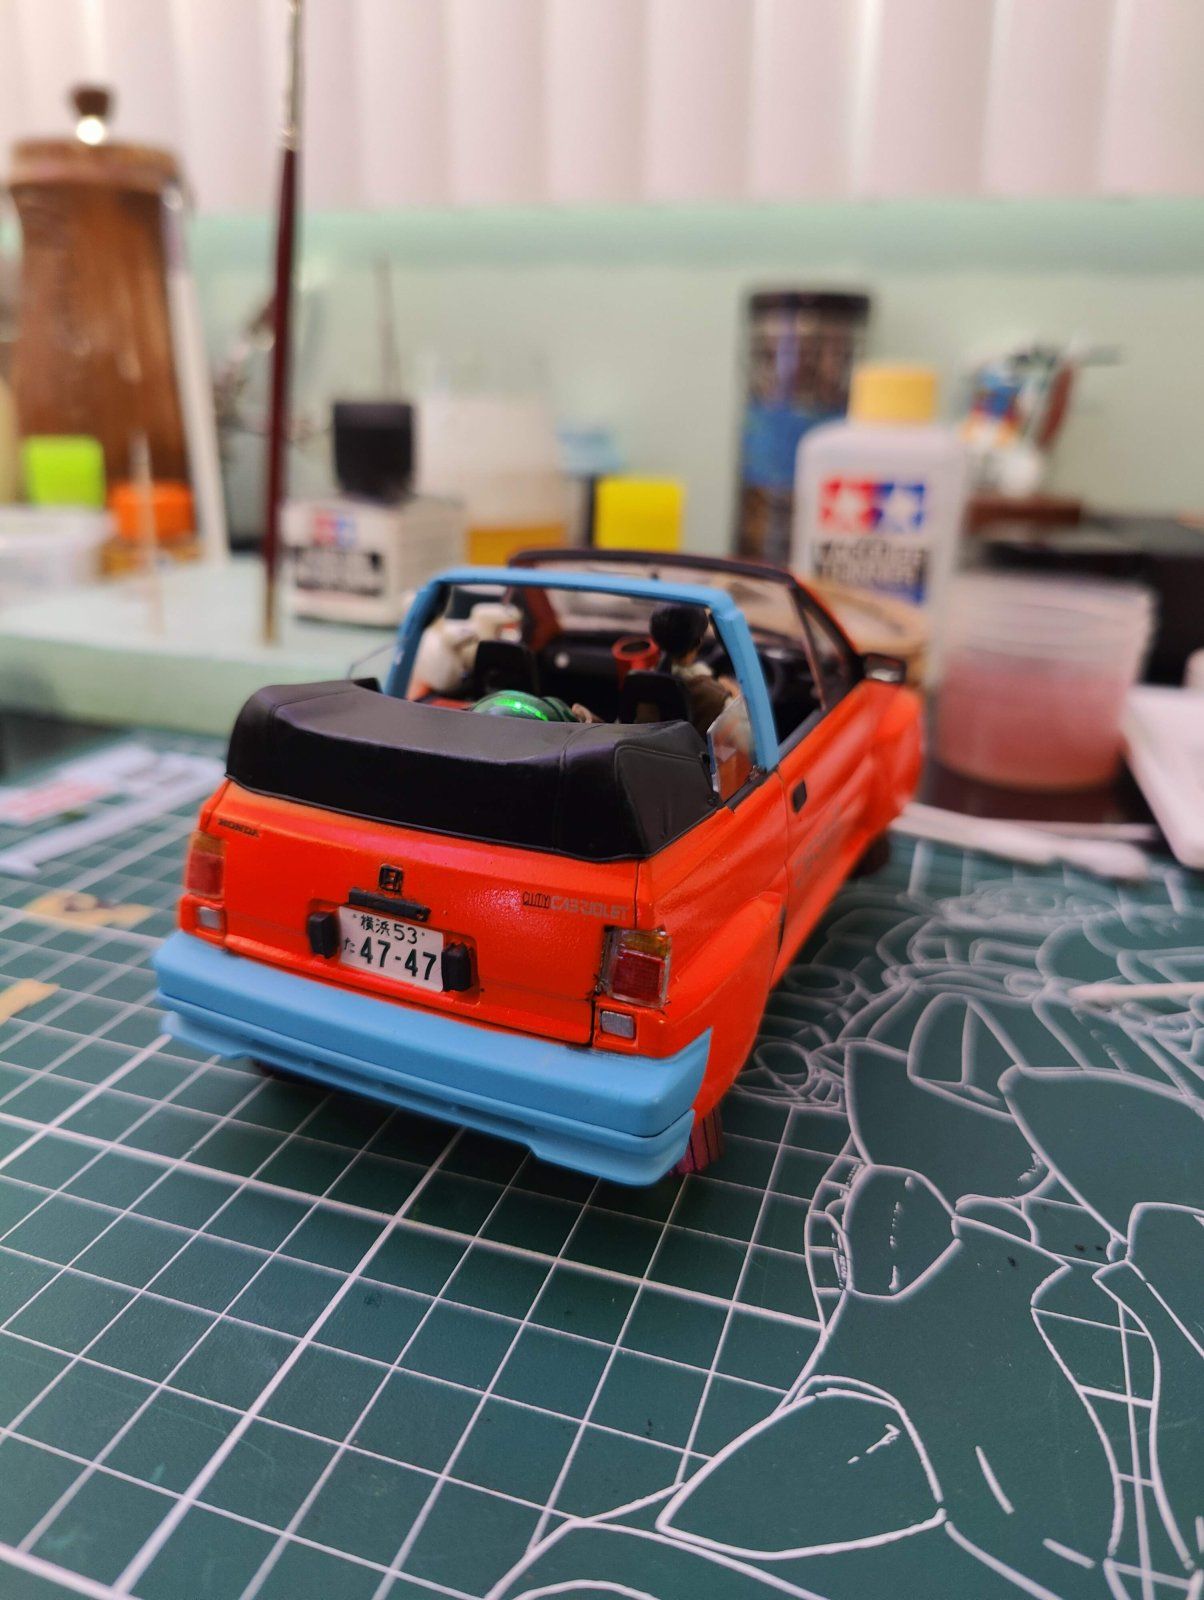
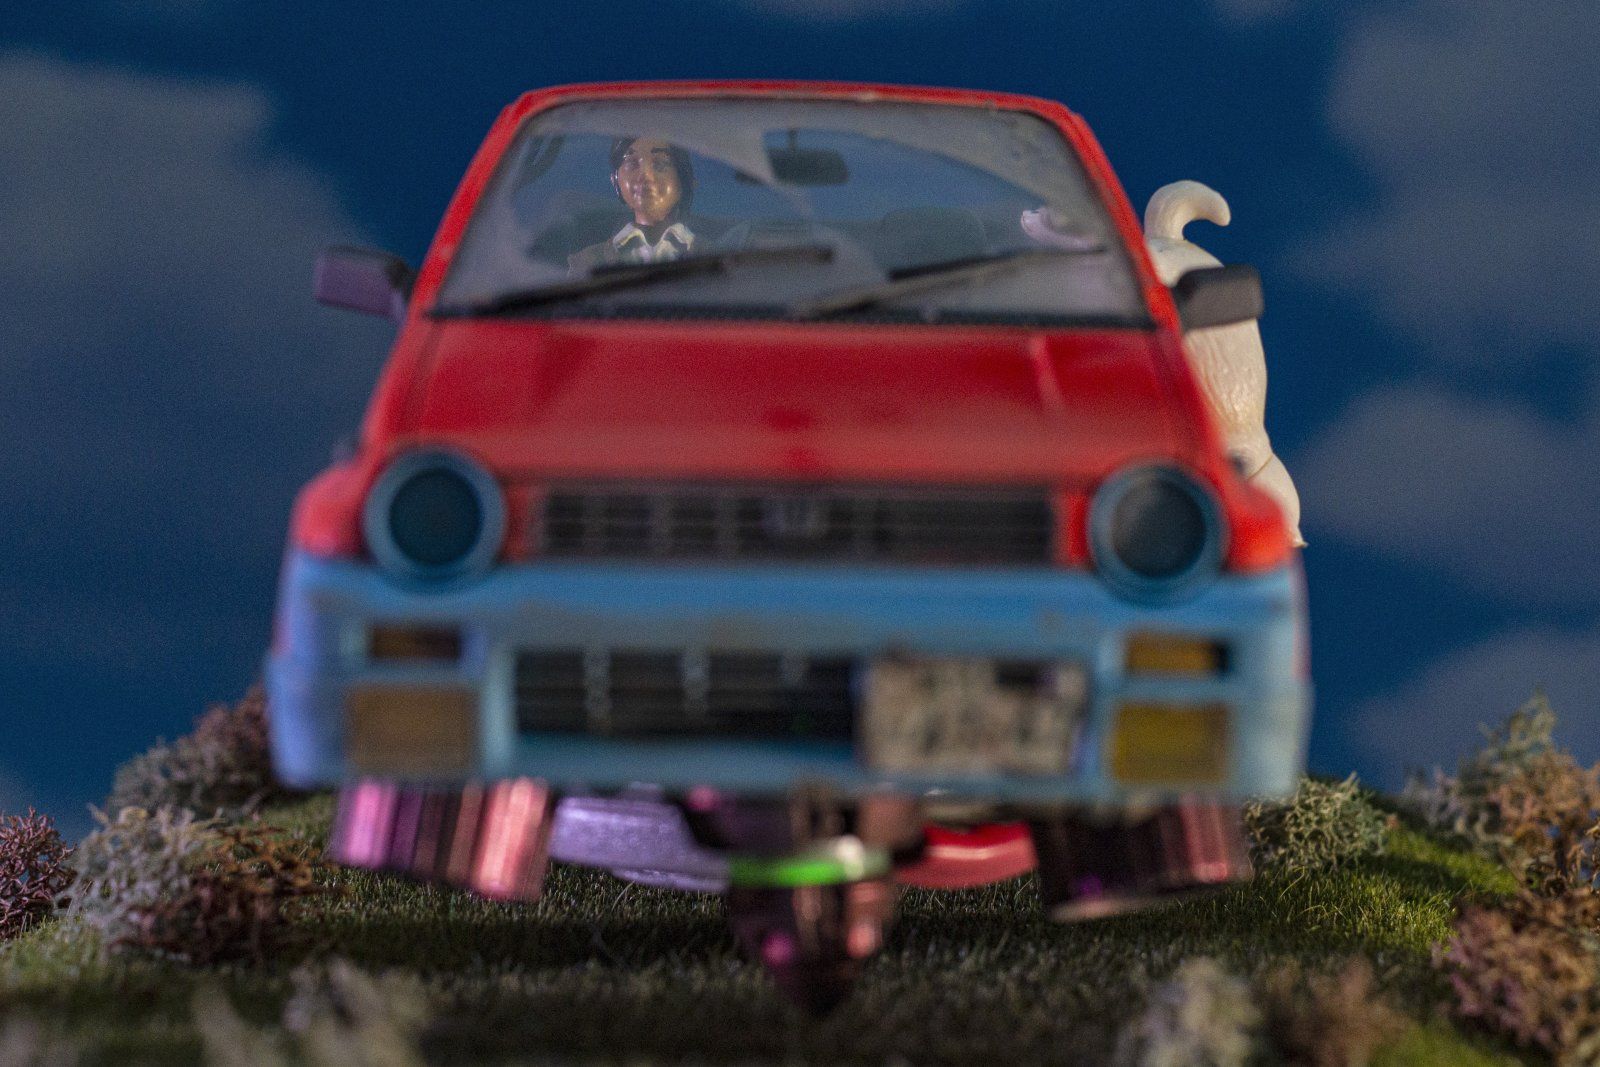
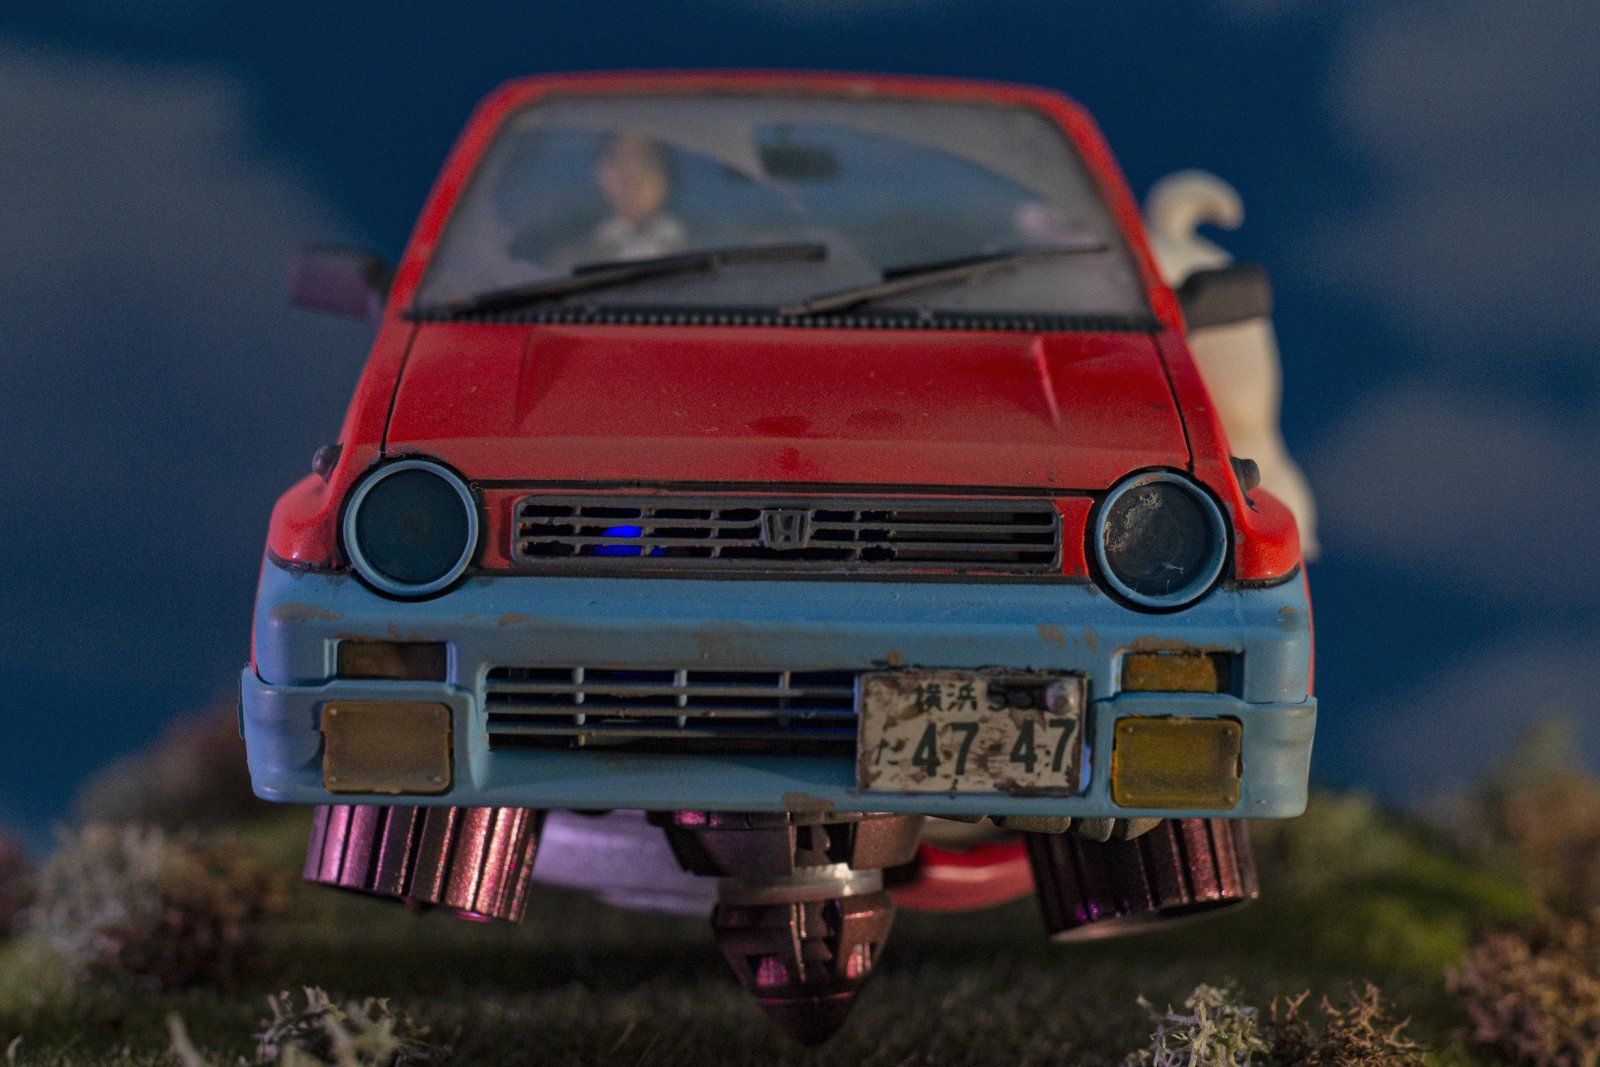
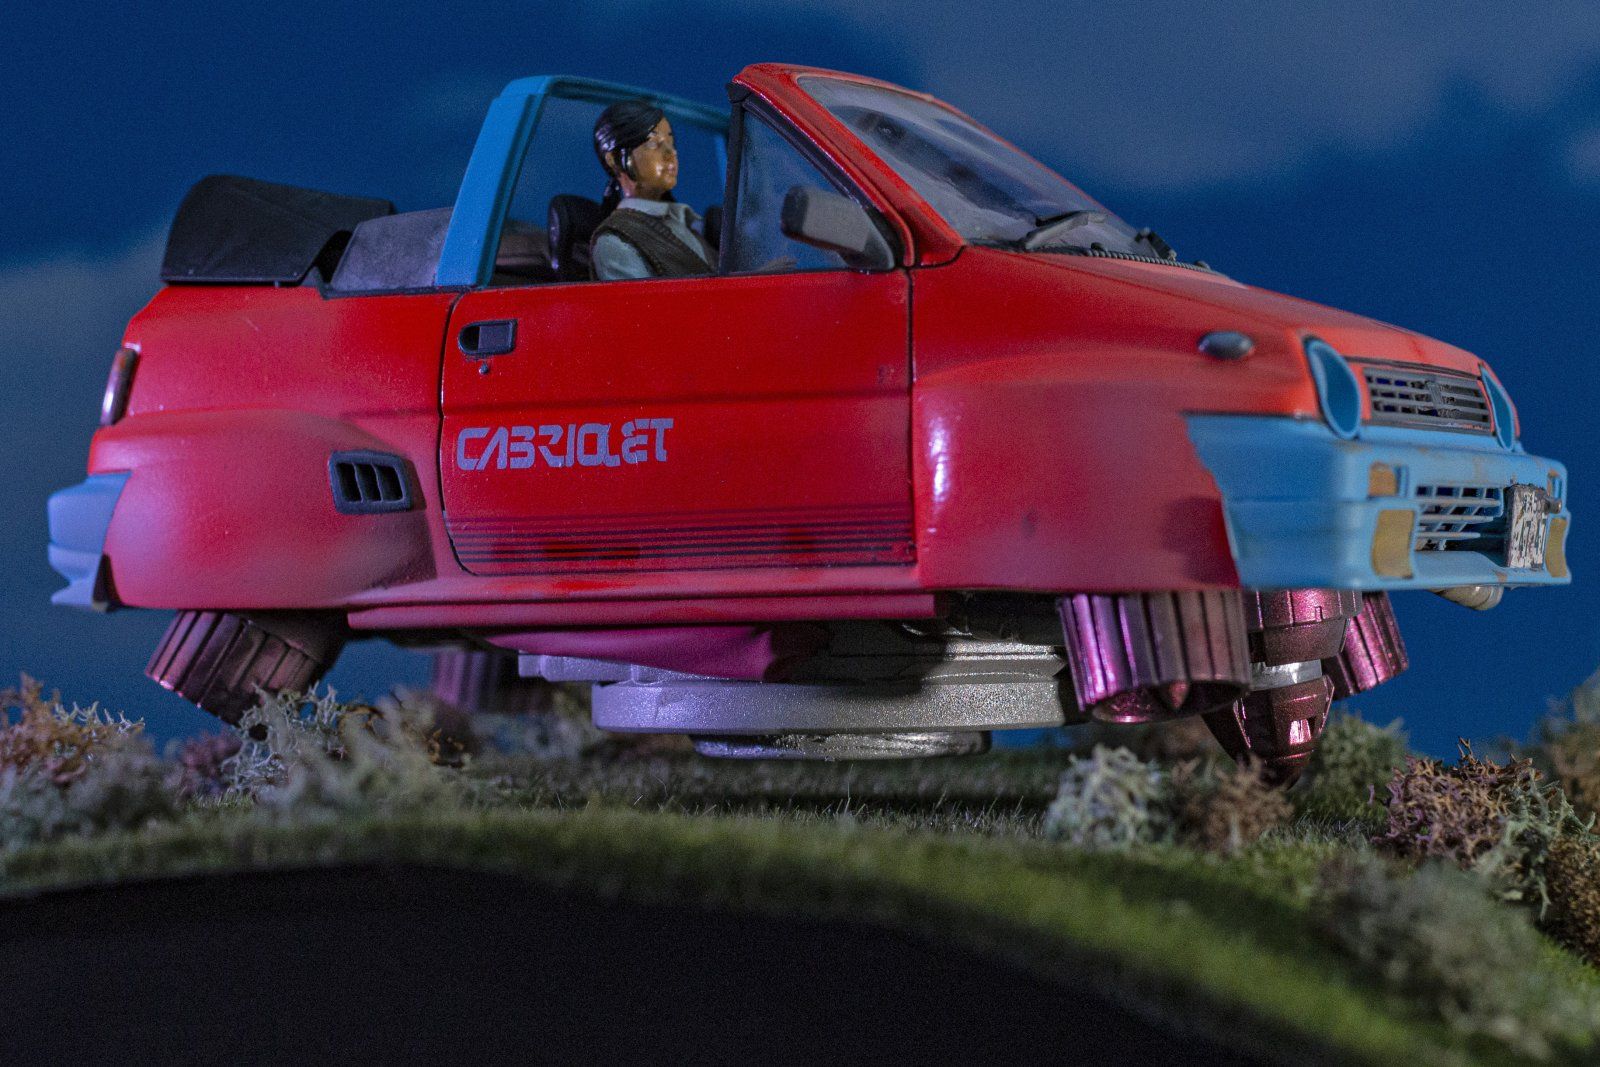
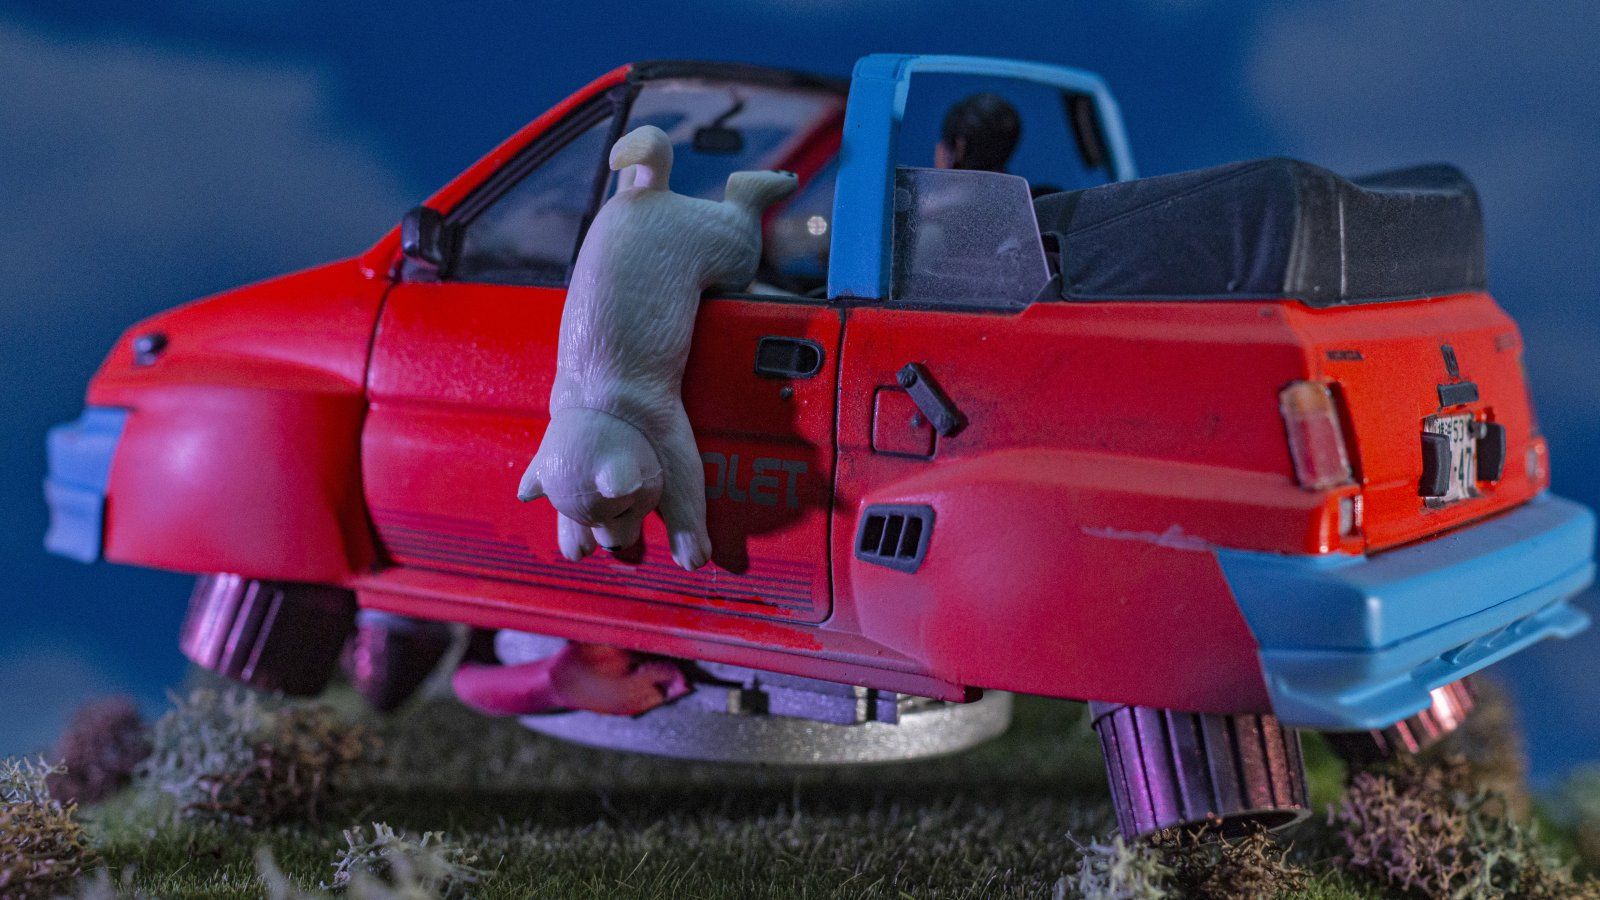
1/24 Tamiya Honda City Cabriolet (hover conversion)

Scale Model Addict - Model Tips, Guides, Tools & Tech, Tutorials, and Community

Help Support Scale Model Addict:

Once I finish the body detailing I will start weathering the whole thing. I may lighten the windshield up some... I haven't decided yet.

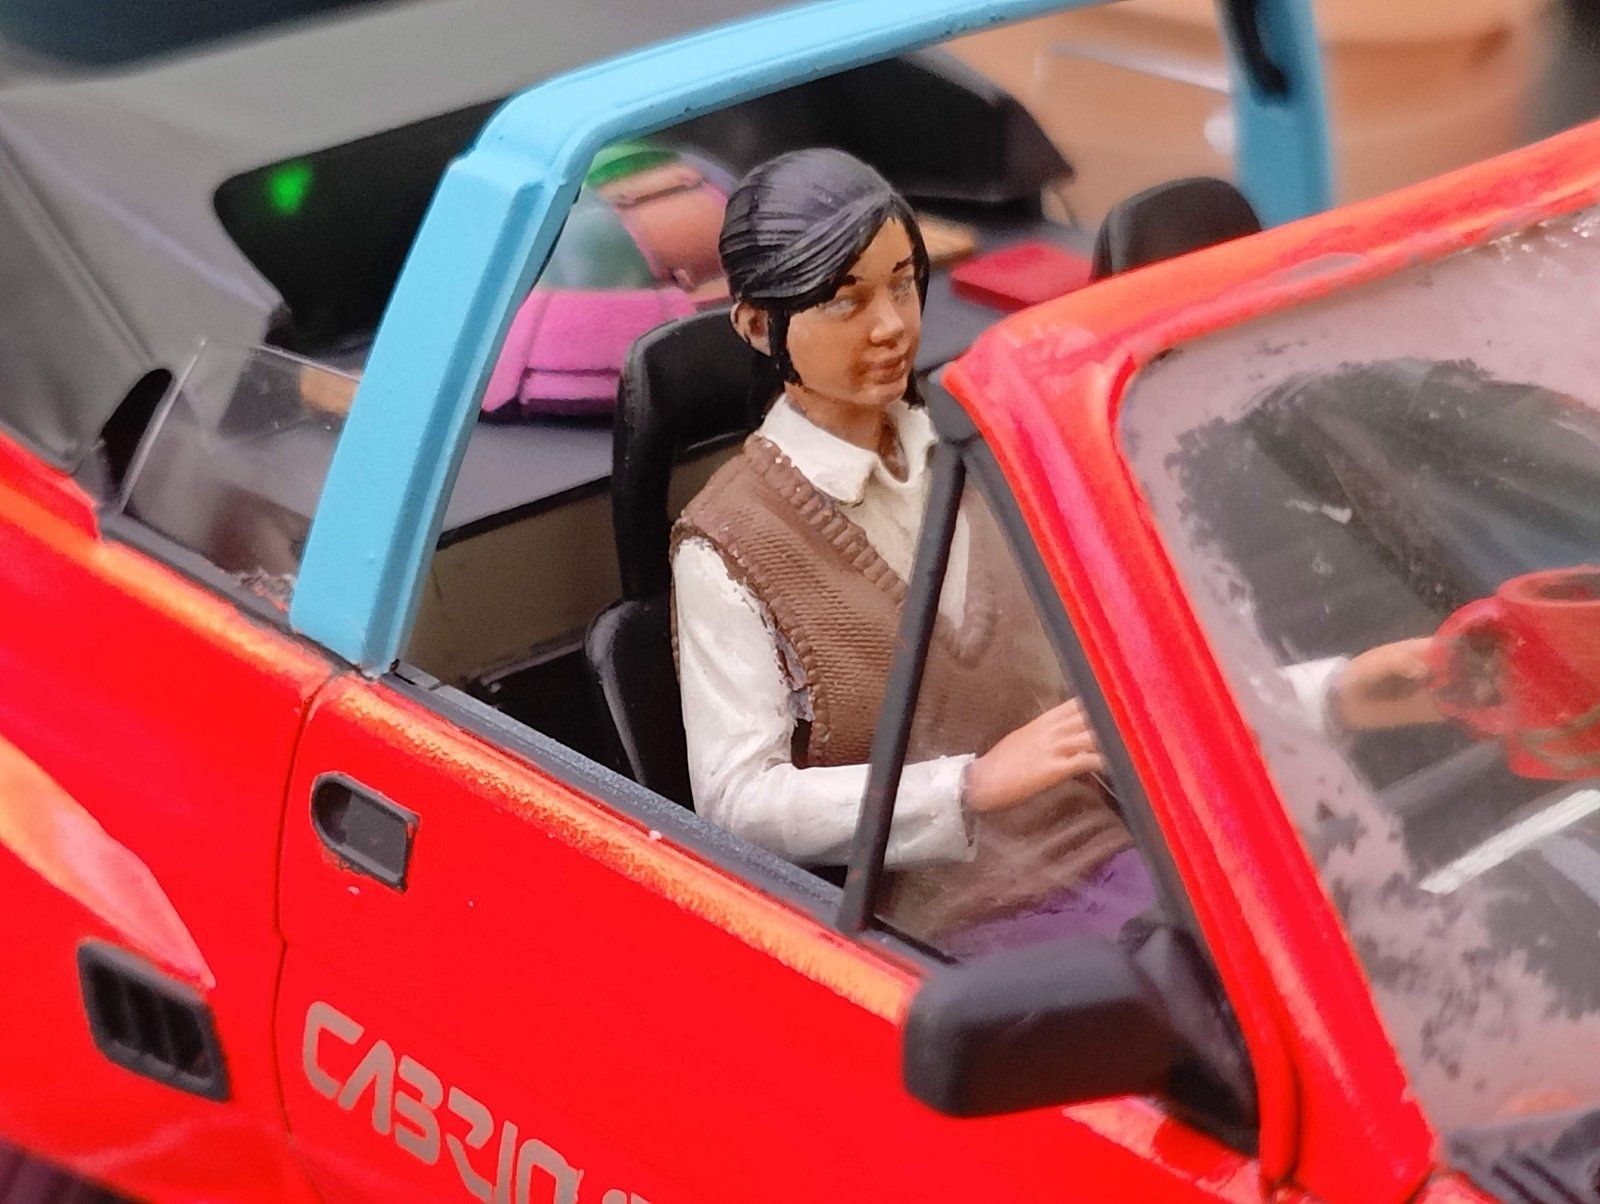
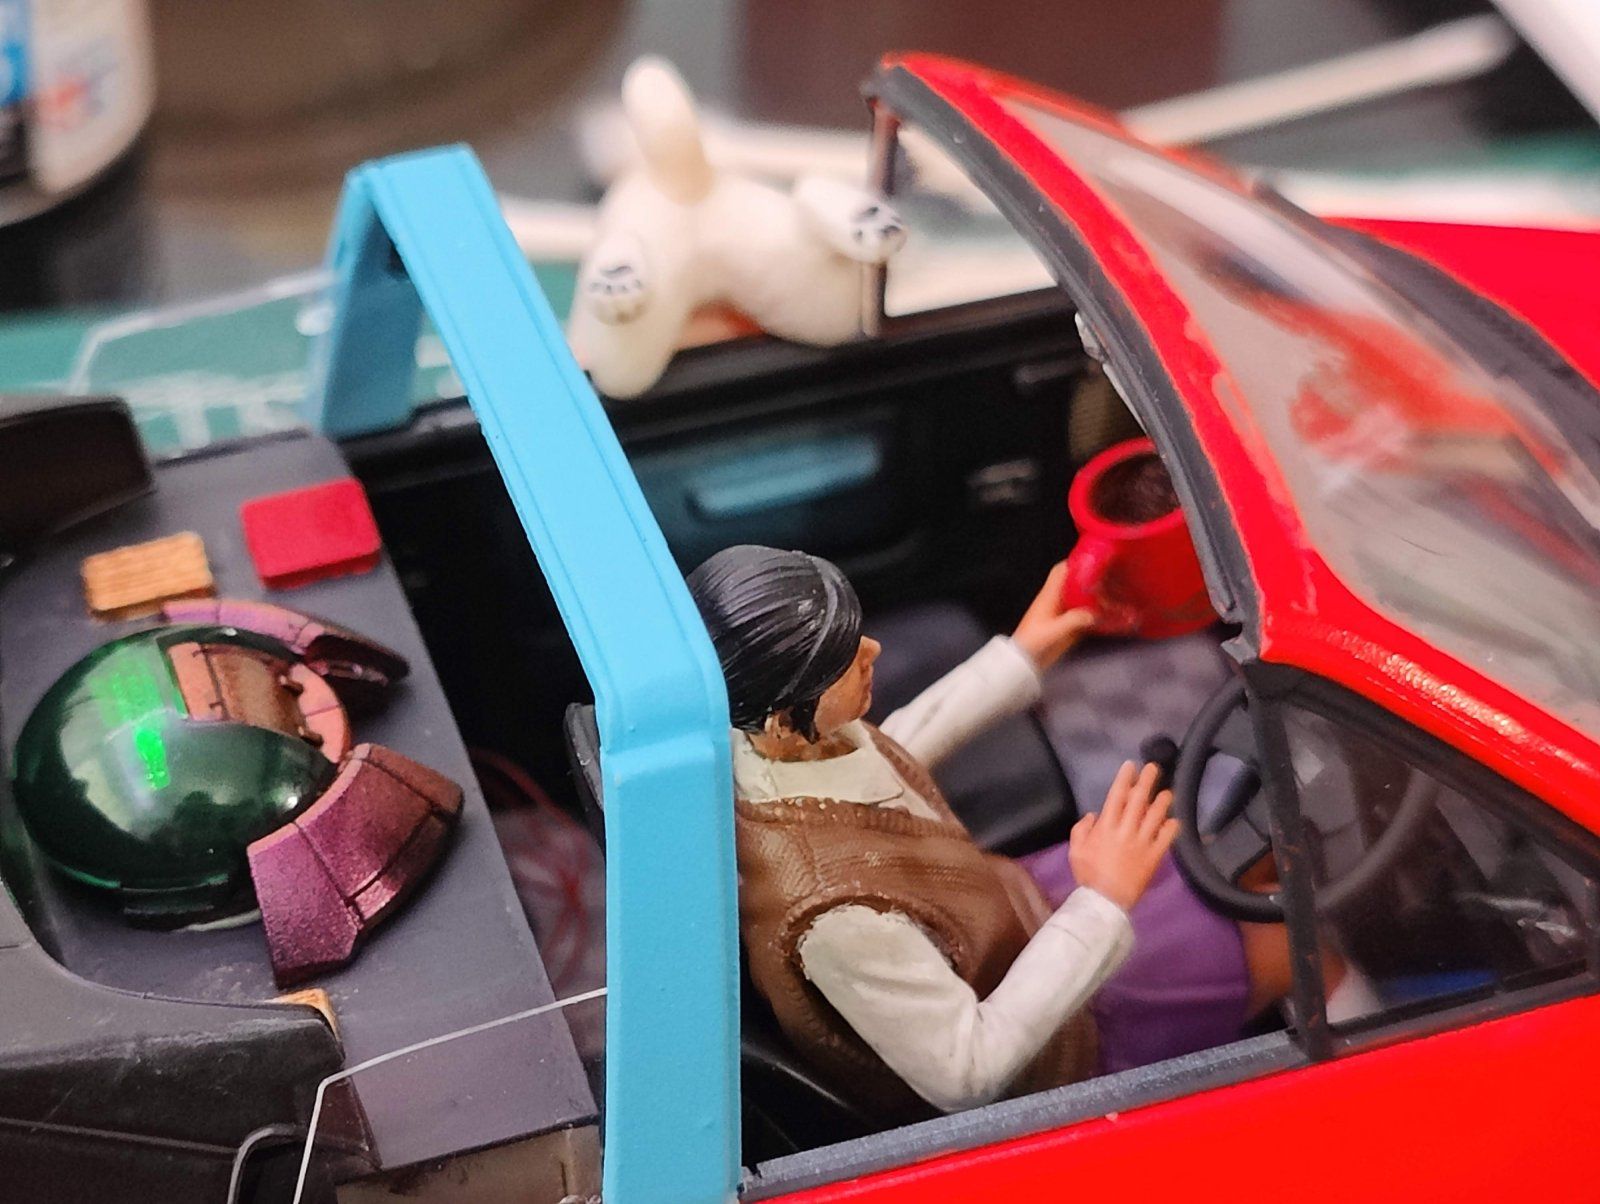
The trick to holding your cup like that is all in the pinky my friend. ;)
 
The brunt of assembly has been completed. I still need to fix the thrusters to a static place, and then explore greebles on the bottom after mounting the magnet. And of course it needs final detailing and weathering.

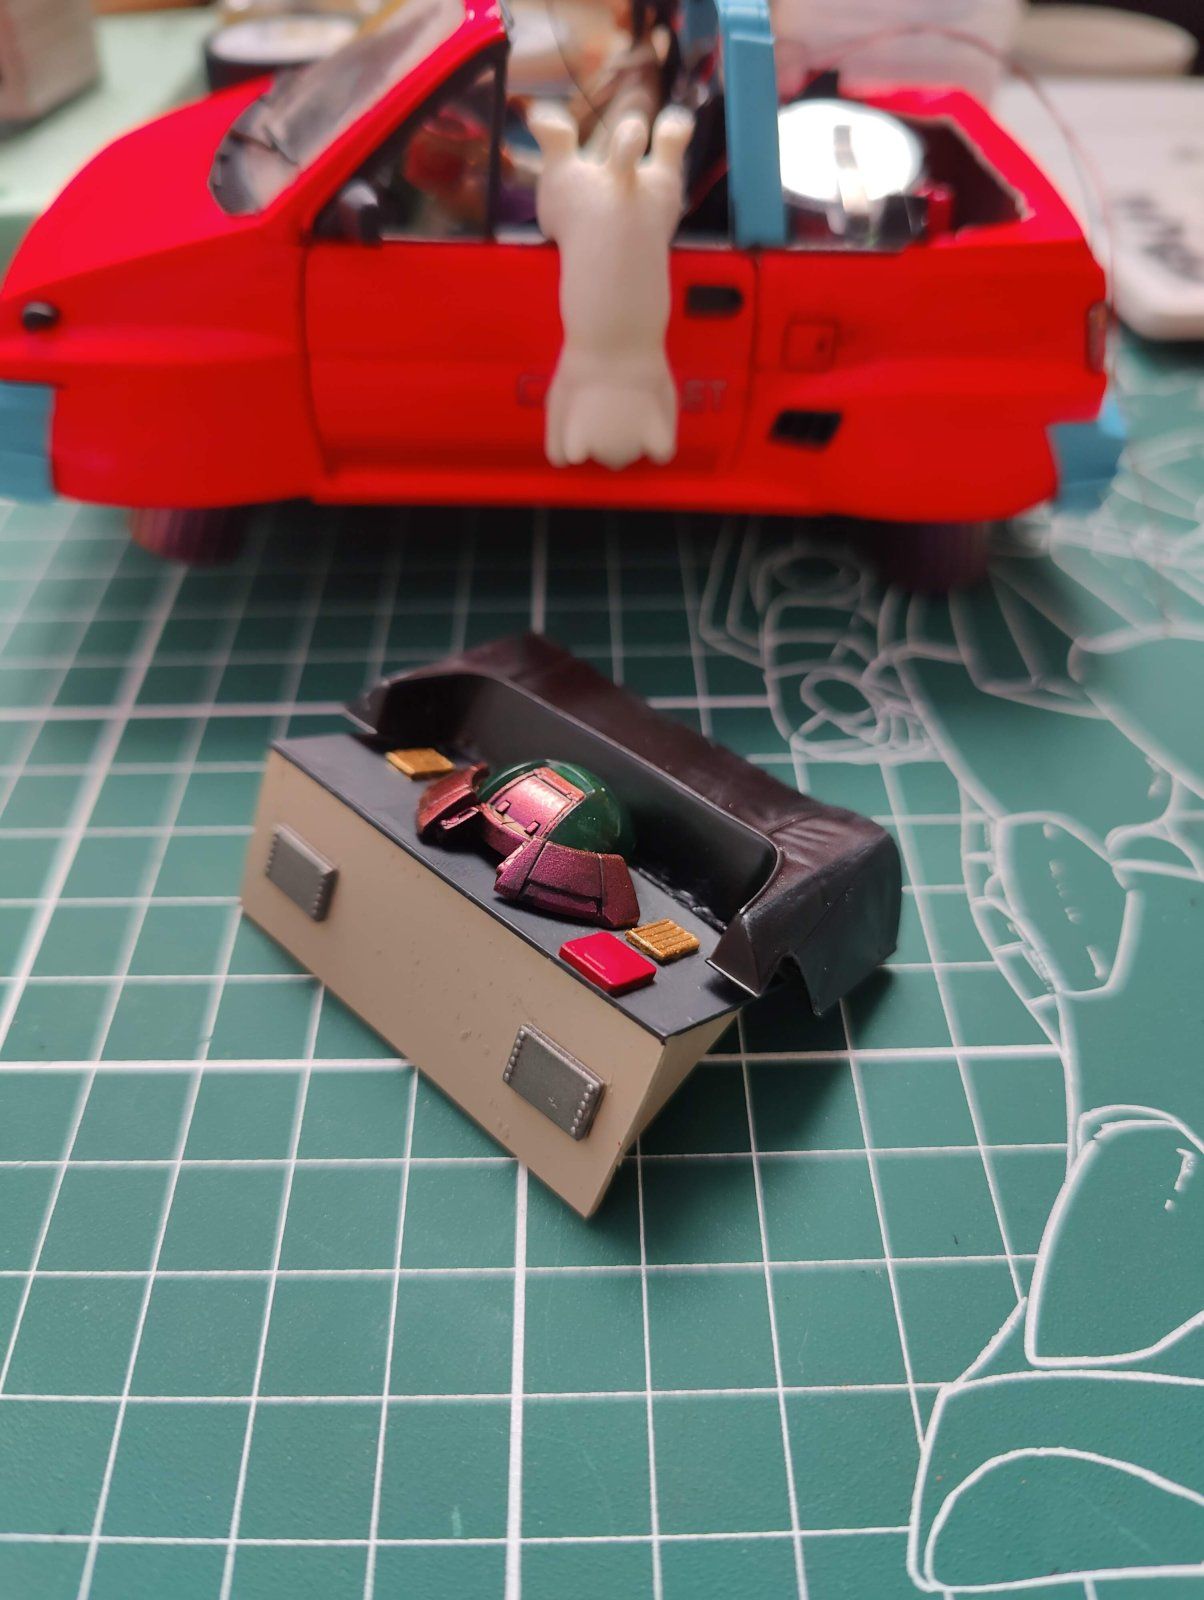
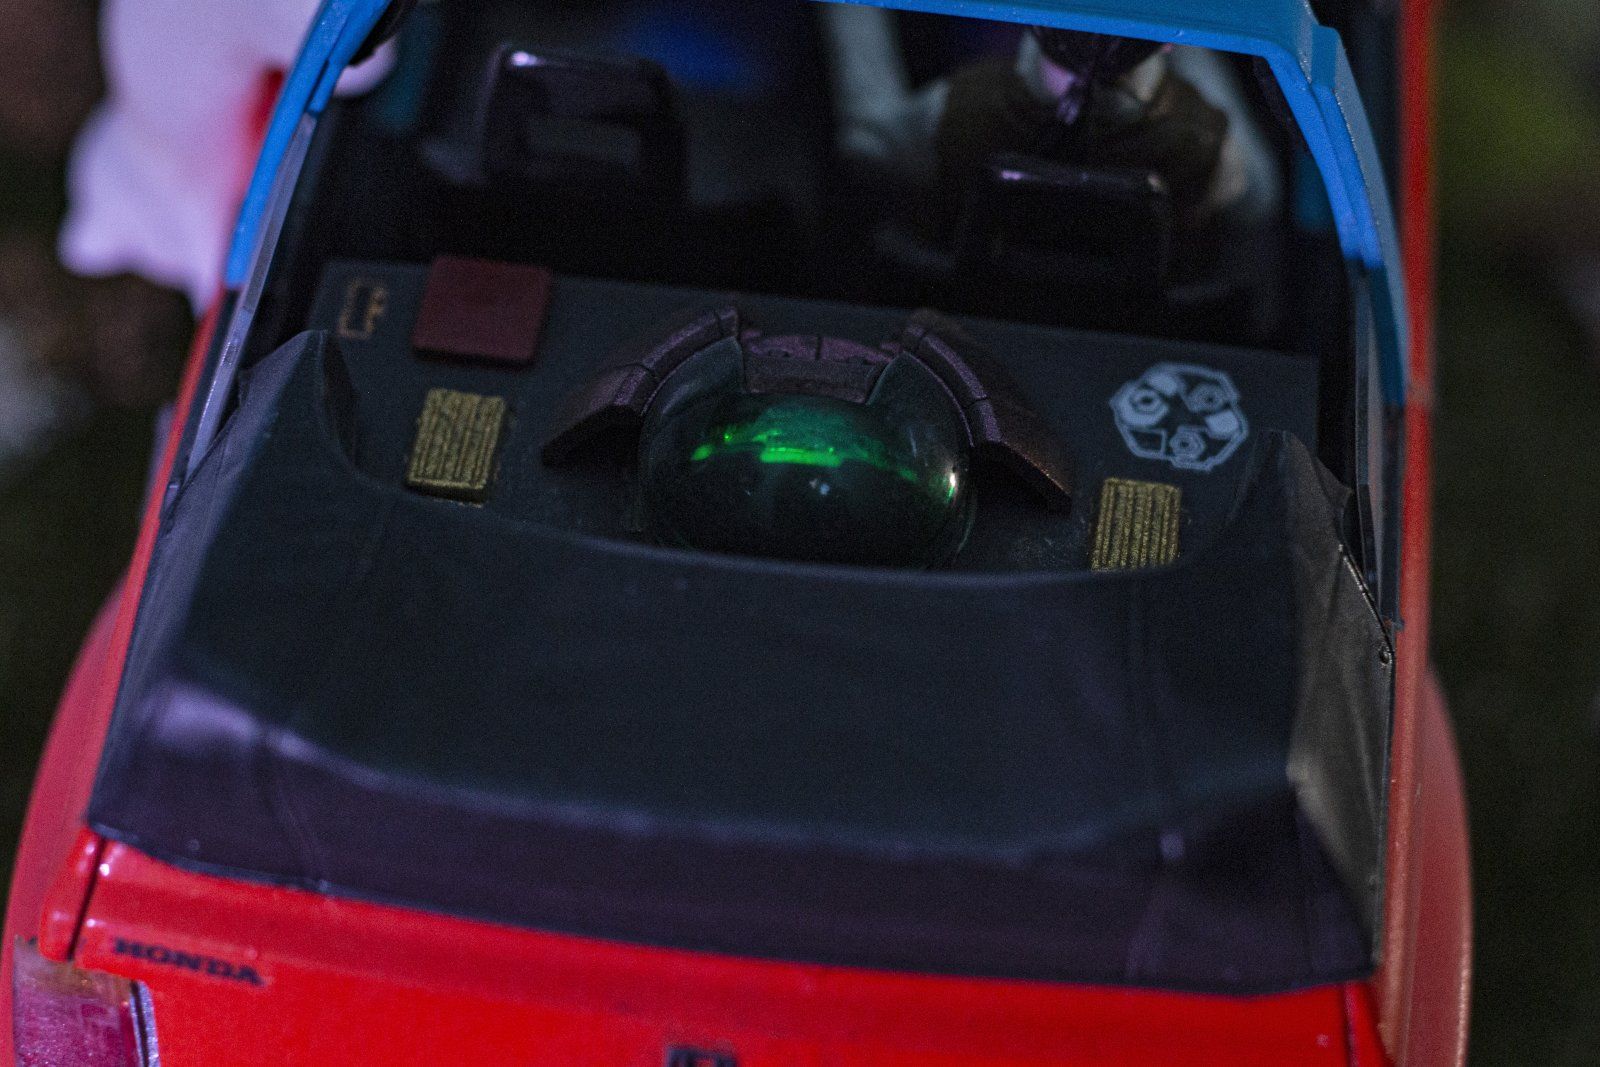
I made a very simple and large battery to replace the backseat:
IMG20220814170252.jpg

The sand/tan color I used was old, and it shows in the way it laid down, but it's so tight in the car I'm not going to dwell on it.
IMG20220814172126.jpg

IMG20220814172146.jpg

The body assembly is pretty much good now, just need to address the undercarriage and final details/weathering.
IMG20220814172035.jpg

IMG20220814172046.jpg

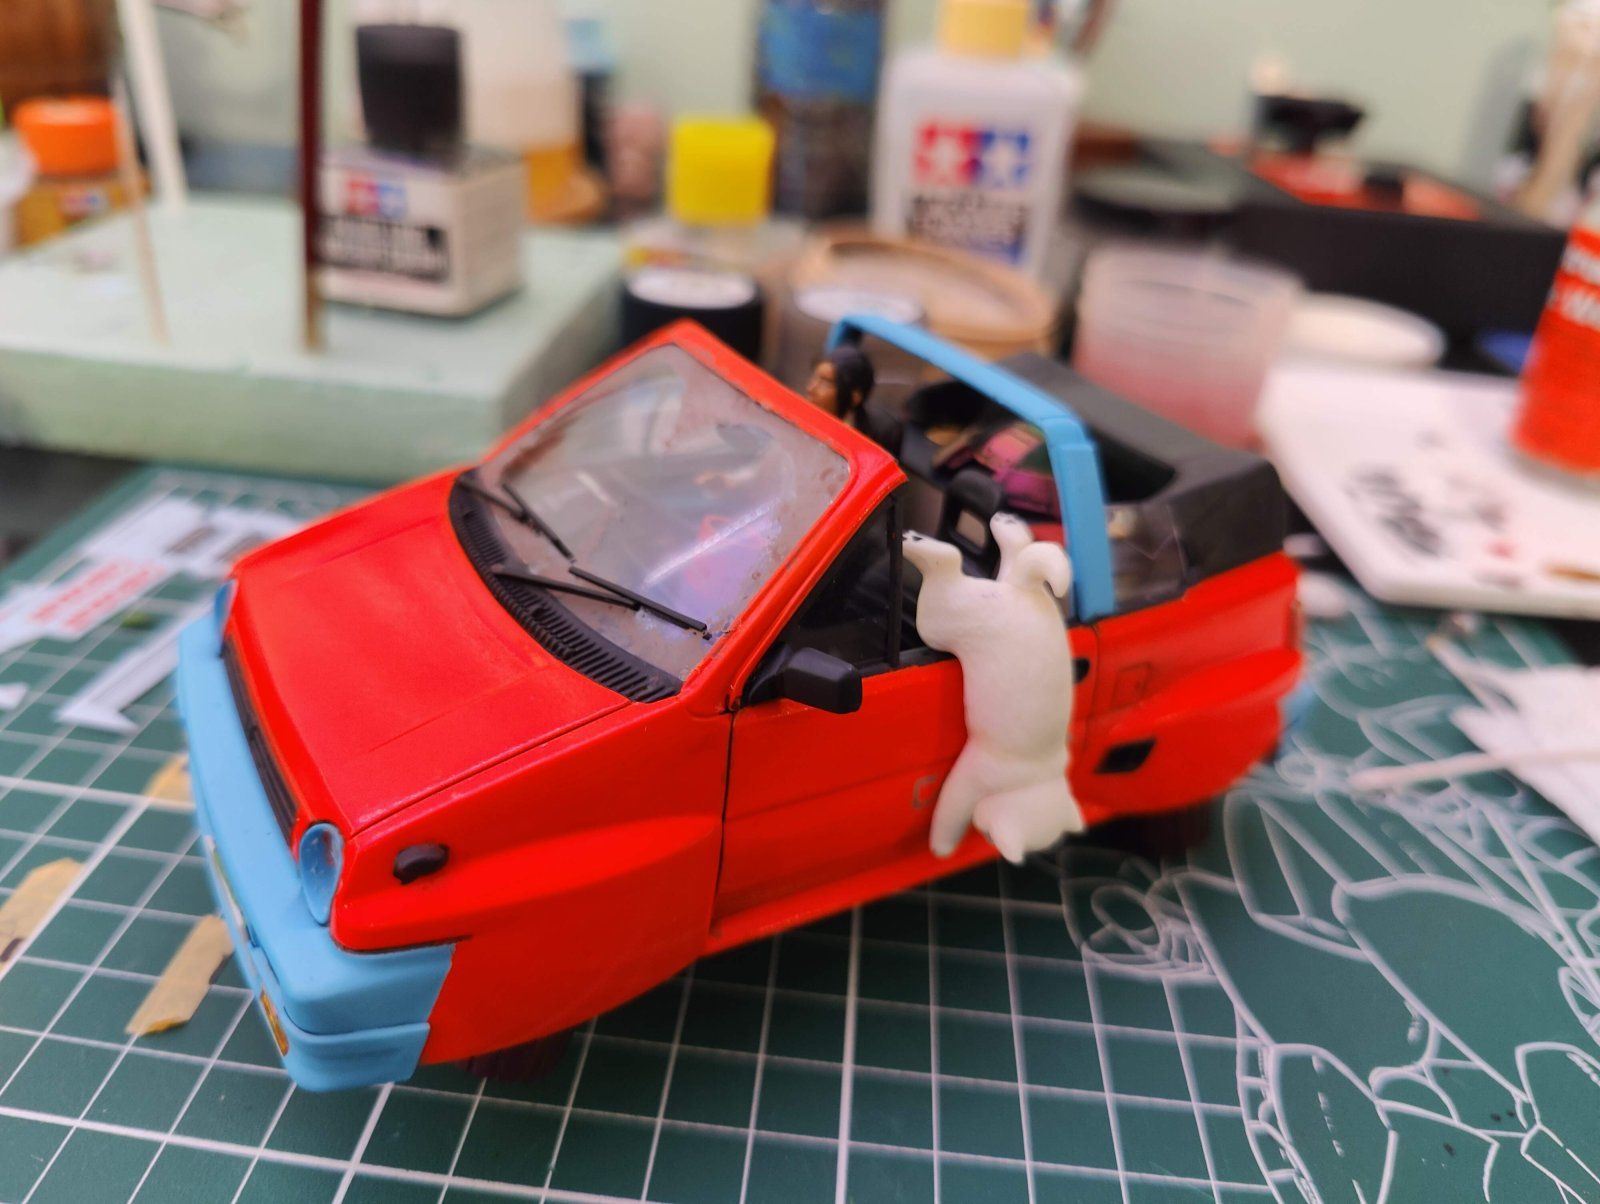
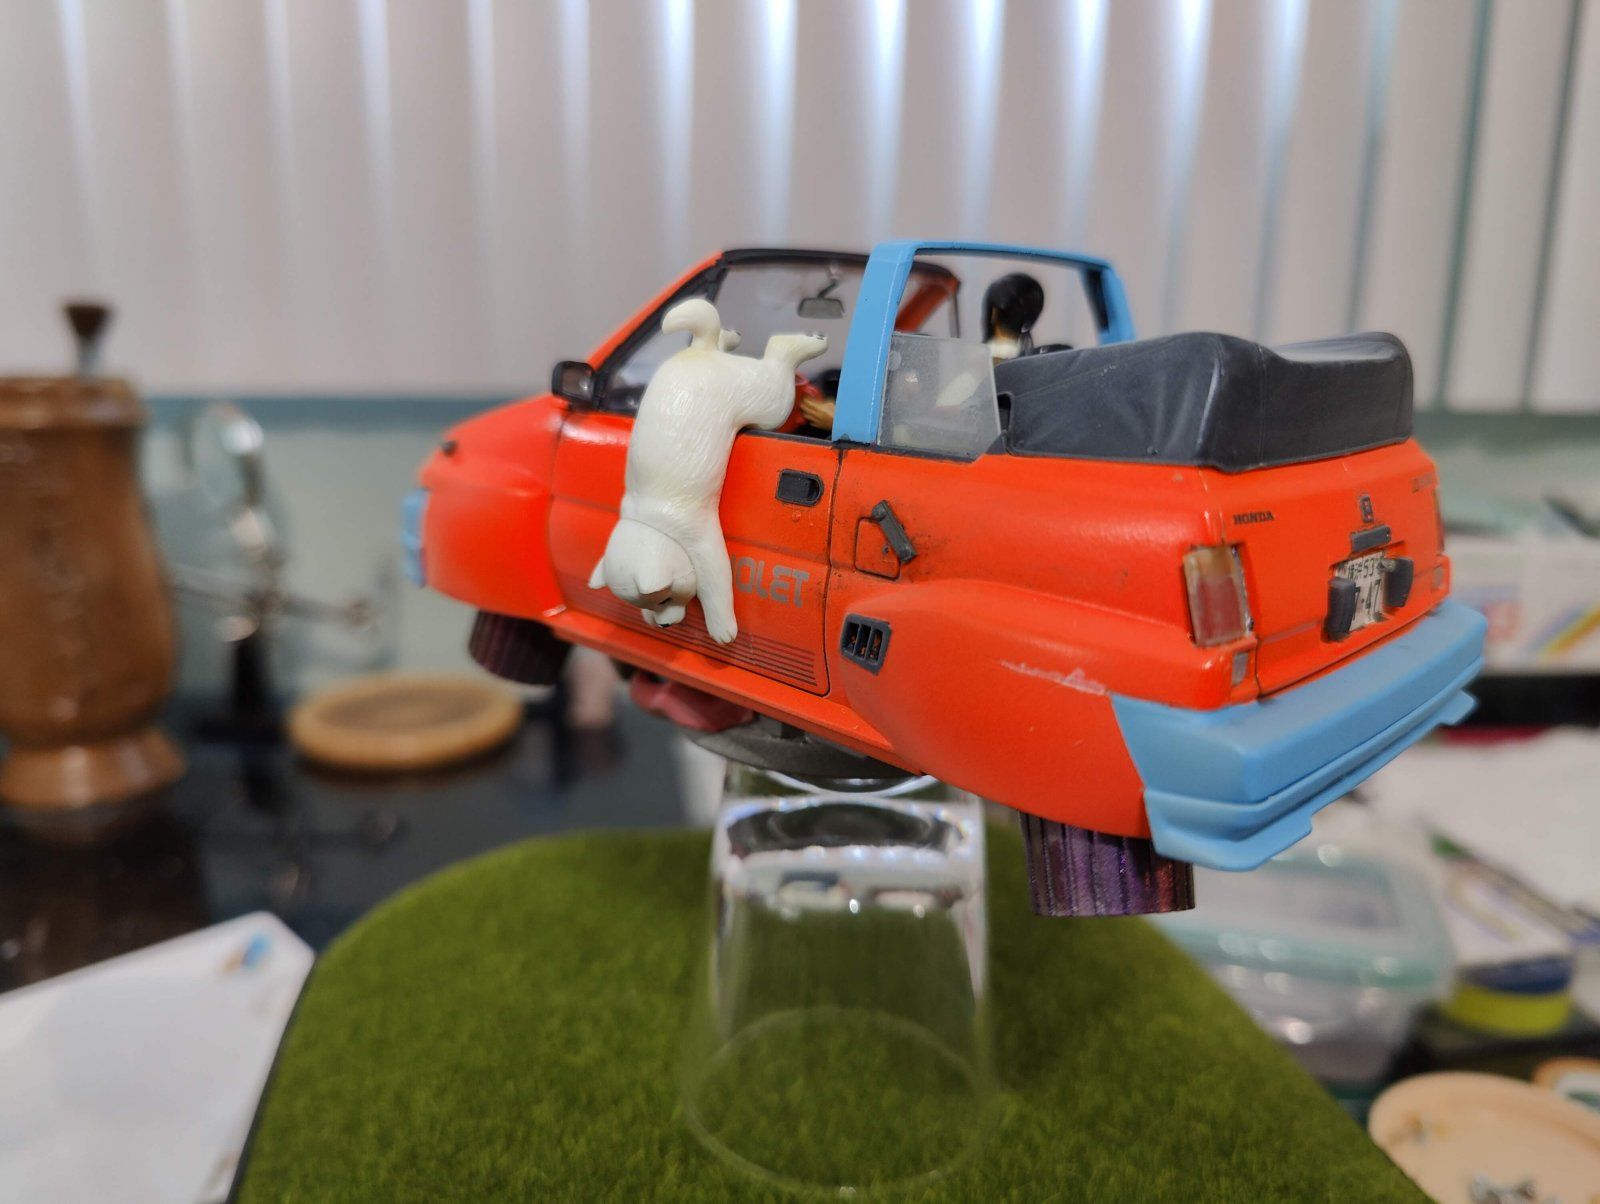
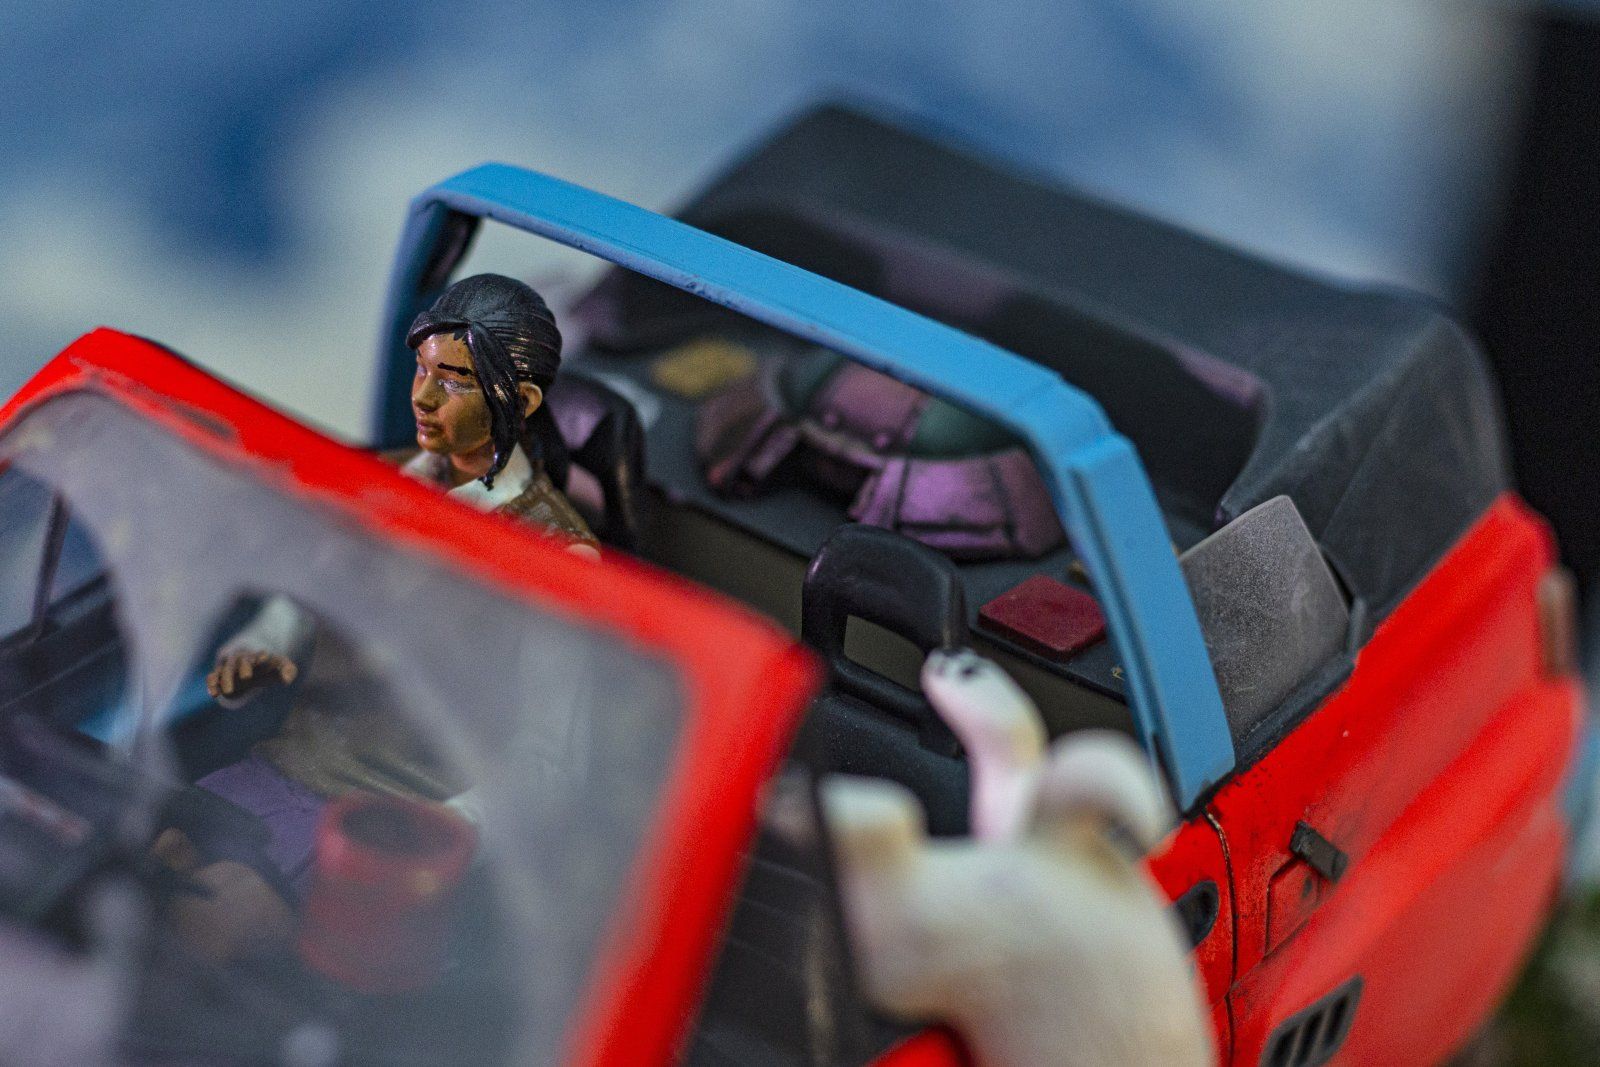
IT'S A DOG!

IMG20220814171937.jpg

IMG20220814172019.jpg


I've had glue mishaps and I found the waterslide decals included in this kit to be VERY brittle... and I ripped most of them at least once removing them from the backing, lol.


As a result this will not be a clean build, lol.
We're making happy little trees over here.

Focusing on the basic building of the base next.
 
I just noticed your cutting mat, Mork. Did you add that design yourself, or was that something commercially available? It looks cool!
 
Last edited:
I just noticed your cutting mat, Mork. Did you add that design yourself, or was that something commercially available? It looks cook!
I got a Zaku II and an RX-78-2 cutting mat on HLJ. They had a red one for Char's Zaku, and I think there may have been a Dom?
I don't care for Char, and the 4th one was very sold out, lol.
I wouldn't recommend going the eBay route on these those. I paid around 900 Yen a piece for them and saw them going for roughly double that on eBay when they were in stock on HLJ.
They're made by Sunstar Bungu (never heard of them before buying these, lol.)
RX-72-8 HLJ page

Actually it looks like they are making and stocking SEED ones currently.
 
I like the widebody treatment, @Marktastrophe. Reminds me of the 22B Subaru.
Thank you!
I actually didn't change the width beyond blocking out the wheel wells.
I definitely want to try the same as wheel skirts on a build that will actually include wheels, lol.

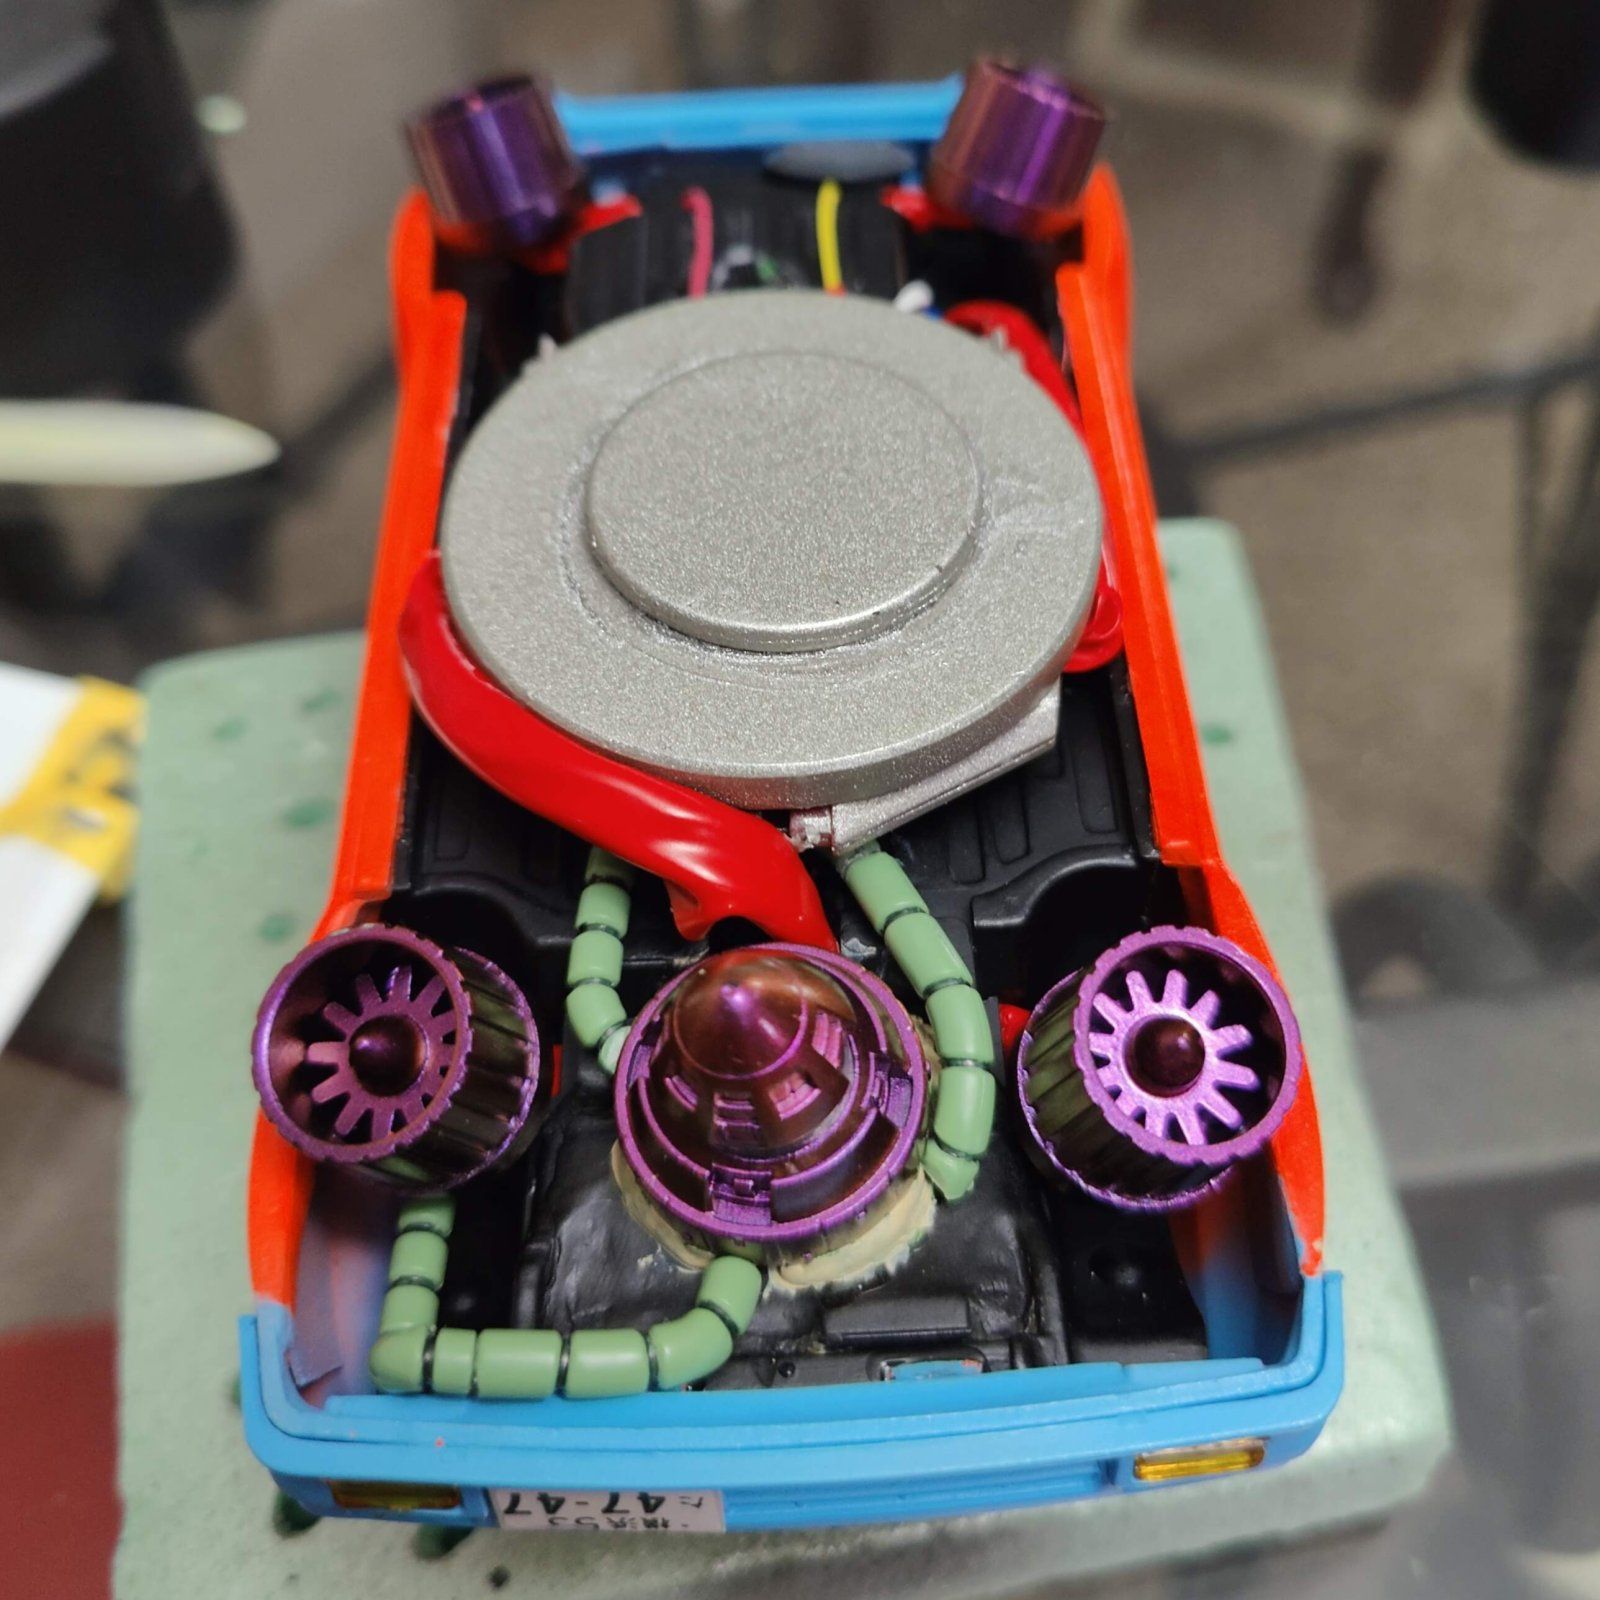
This thing is getting bricky though (more happy little trees) as I had to add part of a MG (1/100) backpack to the underbody to lift the car and create hover clearance for the GN drive/engine swap. More mass just means I need greebles! (which is what I'm working on now, but I'm giving loads of time to dry between gluing pieces because I'm tired of reglueing pieces. :rolleyes:
 
A couple of small updates here:

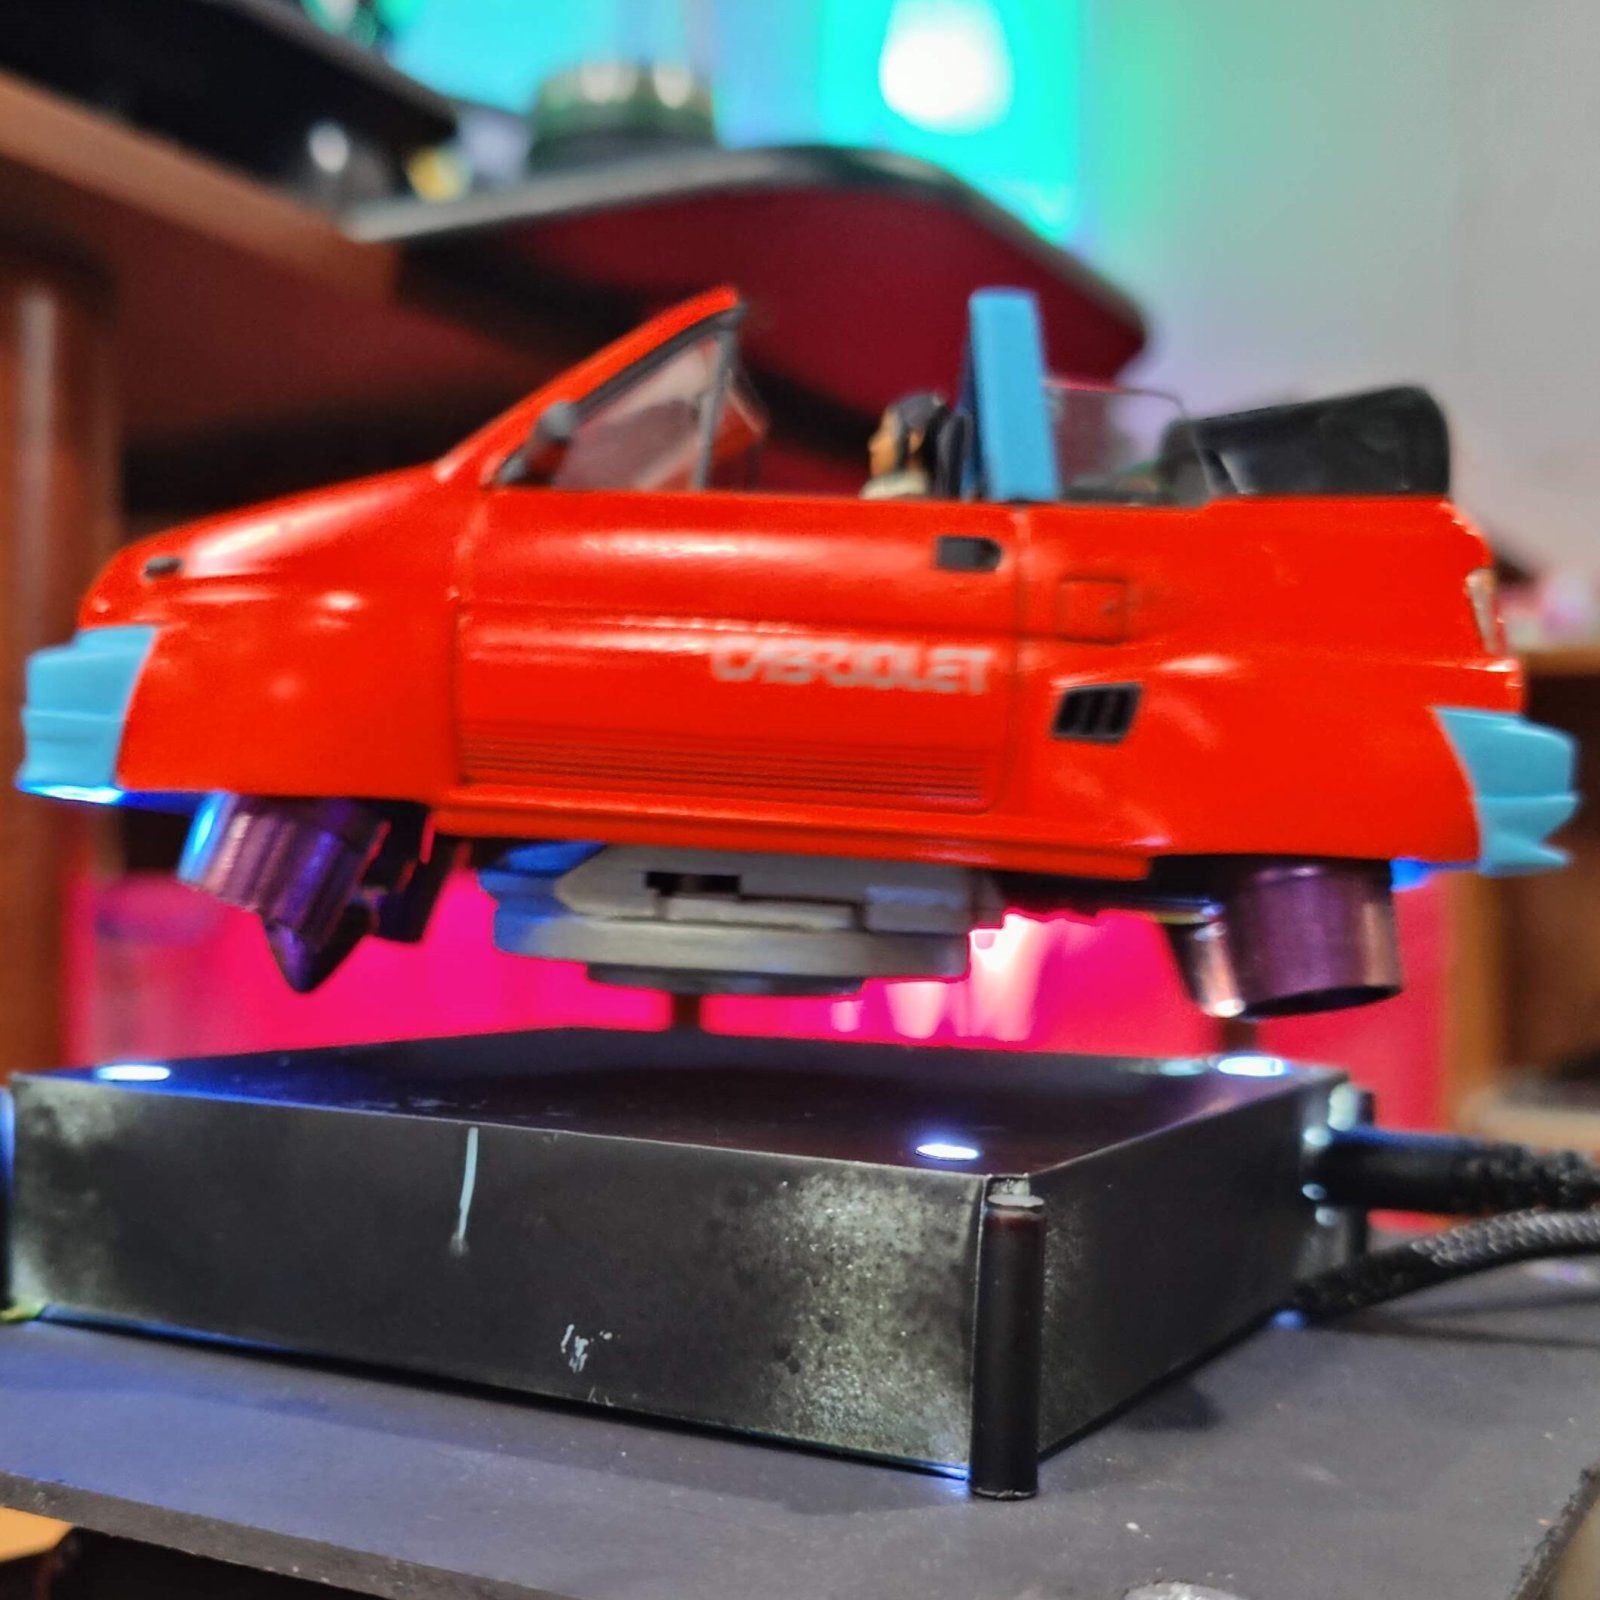
First I tested the hover gimmick after making a simple base to provide active cooling to the electro magnet.
IMG20220817144138(1).jpg

My GN Drive bottoms out!

From here I used the very basic assembly of the backpack from the MG Infinite Justice Gundam as a riser for the chassis magnet.

IMG20220819142730(1).jpg


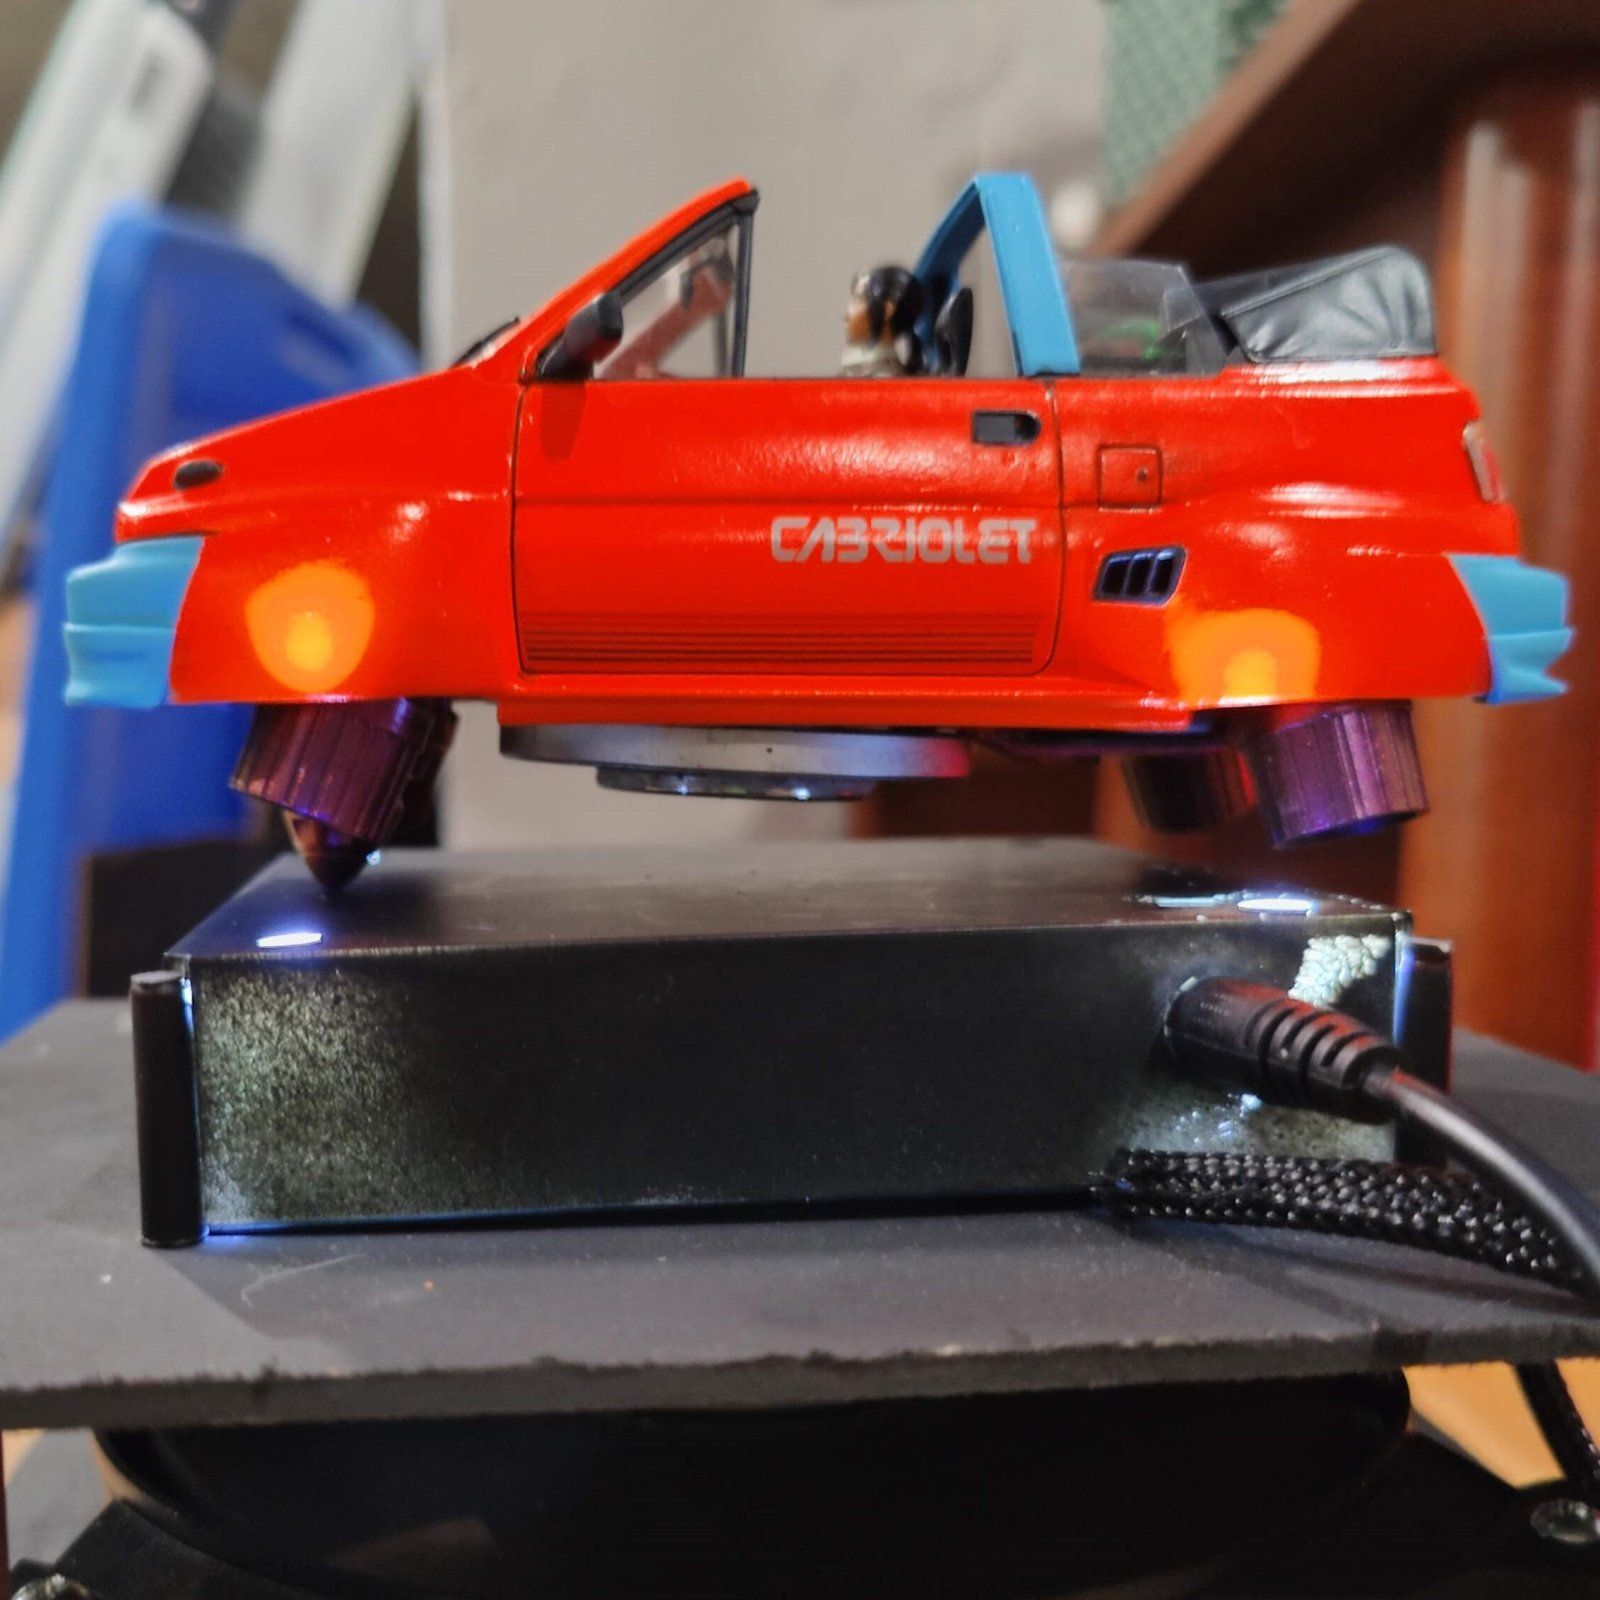
We have lift off! And a shutter speed that is way too slow for the lighting in this picture!

I am adding some greebles to build the bottom out some, but I'm trying to keep it simple since the body of the car is so simple and boxy.
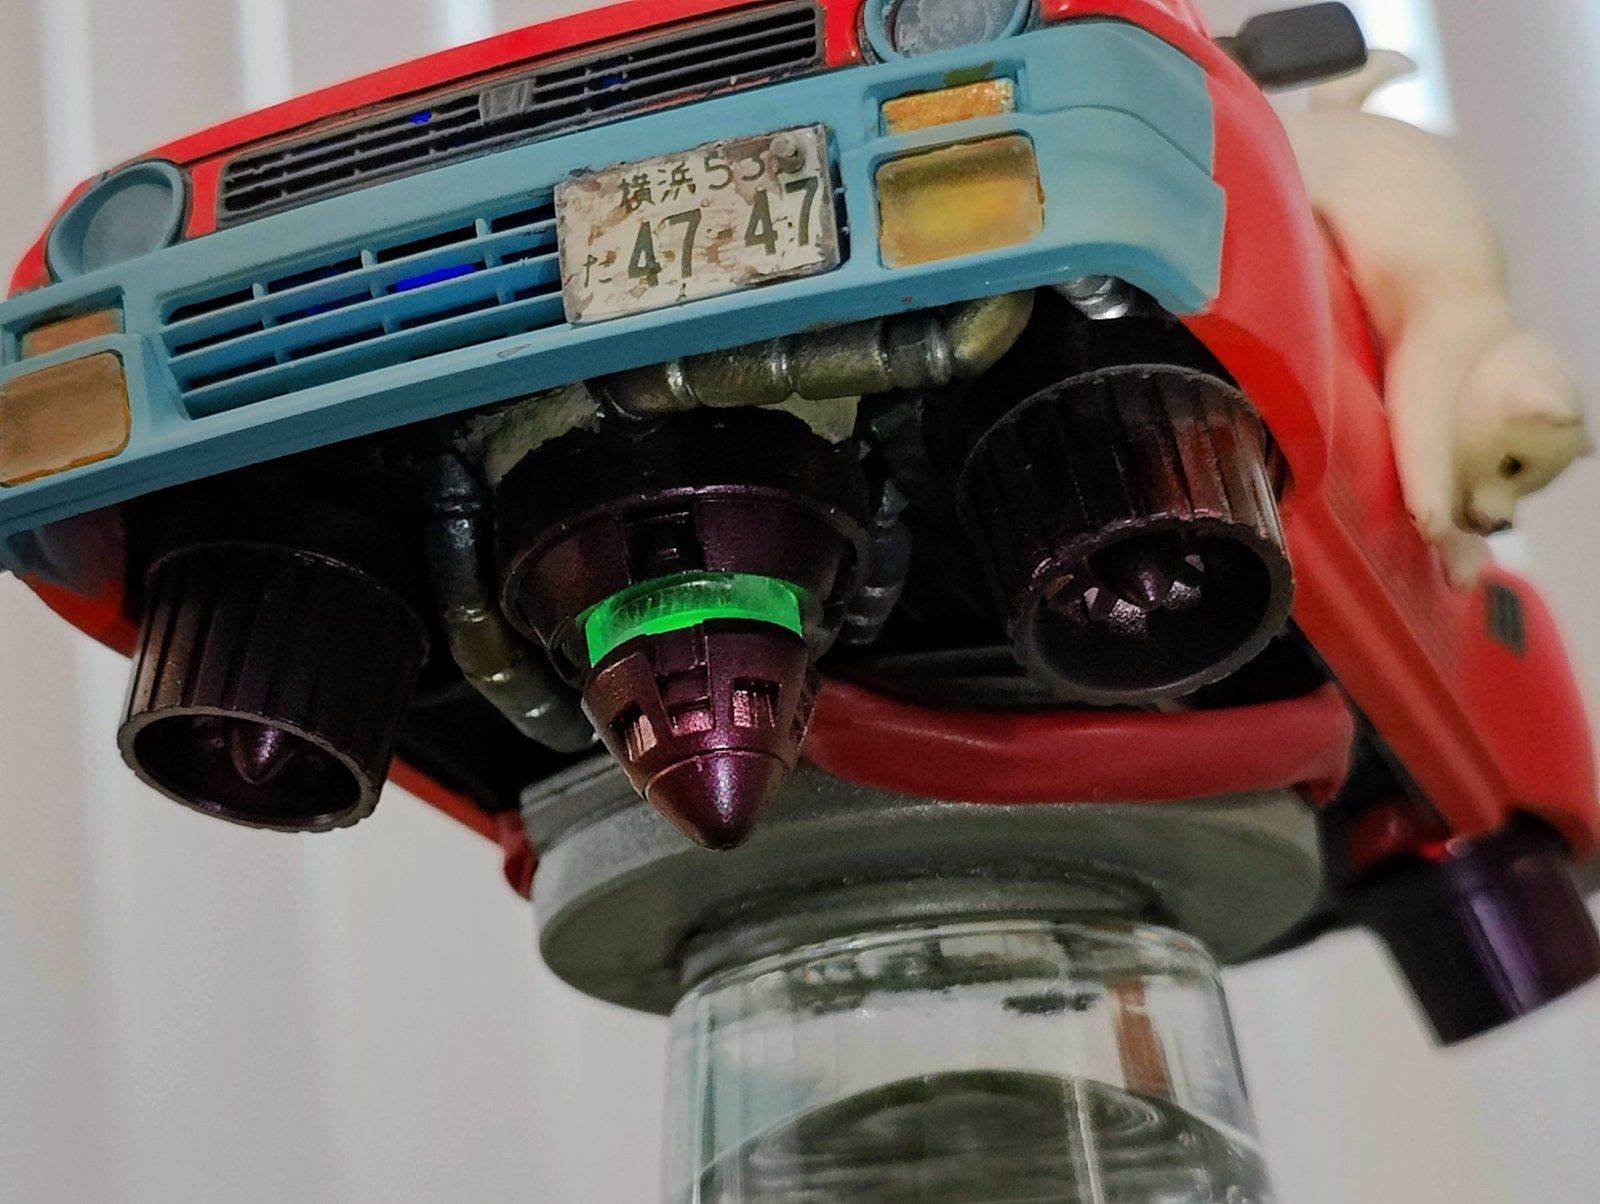
I've added some wire shielding wrapped in the same electrical tape used on my solder joints to tie those in without need for paint coverage. I will need to add a bit more glue and do some weathering on these (as well as pretty much everything else). And I've sourced some hydraulic actuator cables from an SD Zaku II to use around the GN drive. They dry fit in a way that works for me! although I am entirely unsure what color to paint them.

IMG20220823121141.jpg
 
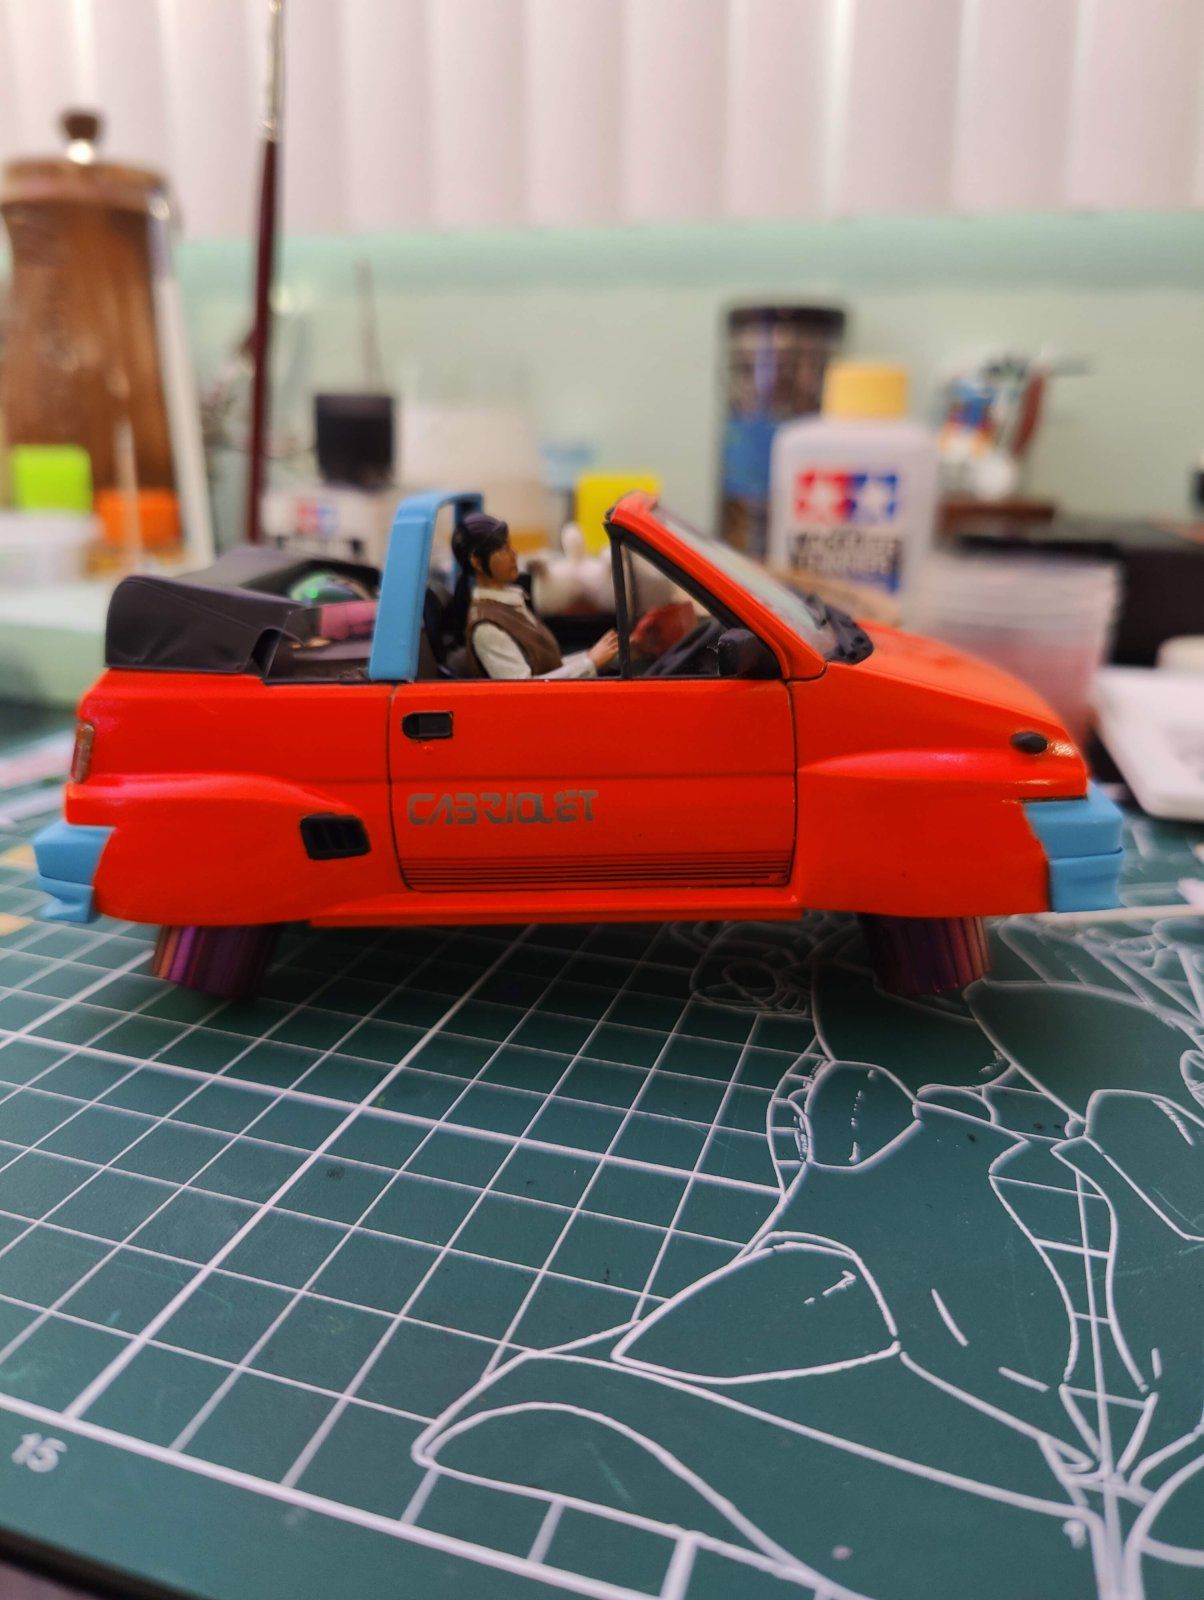
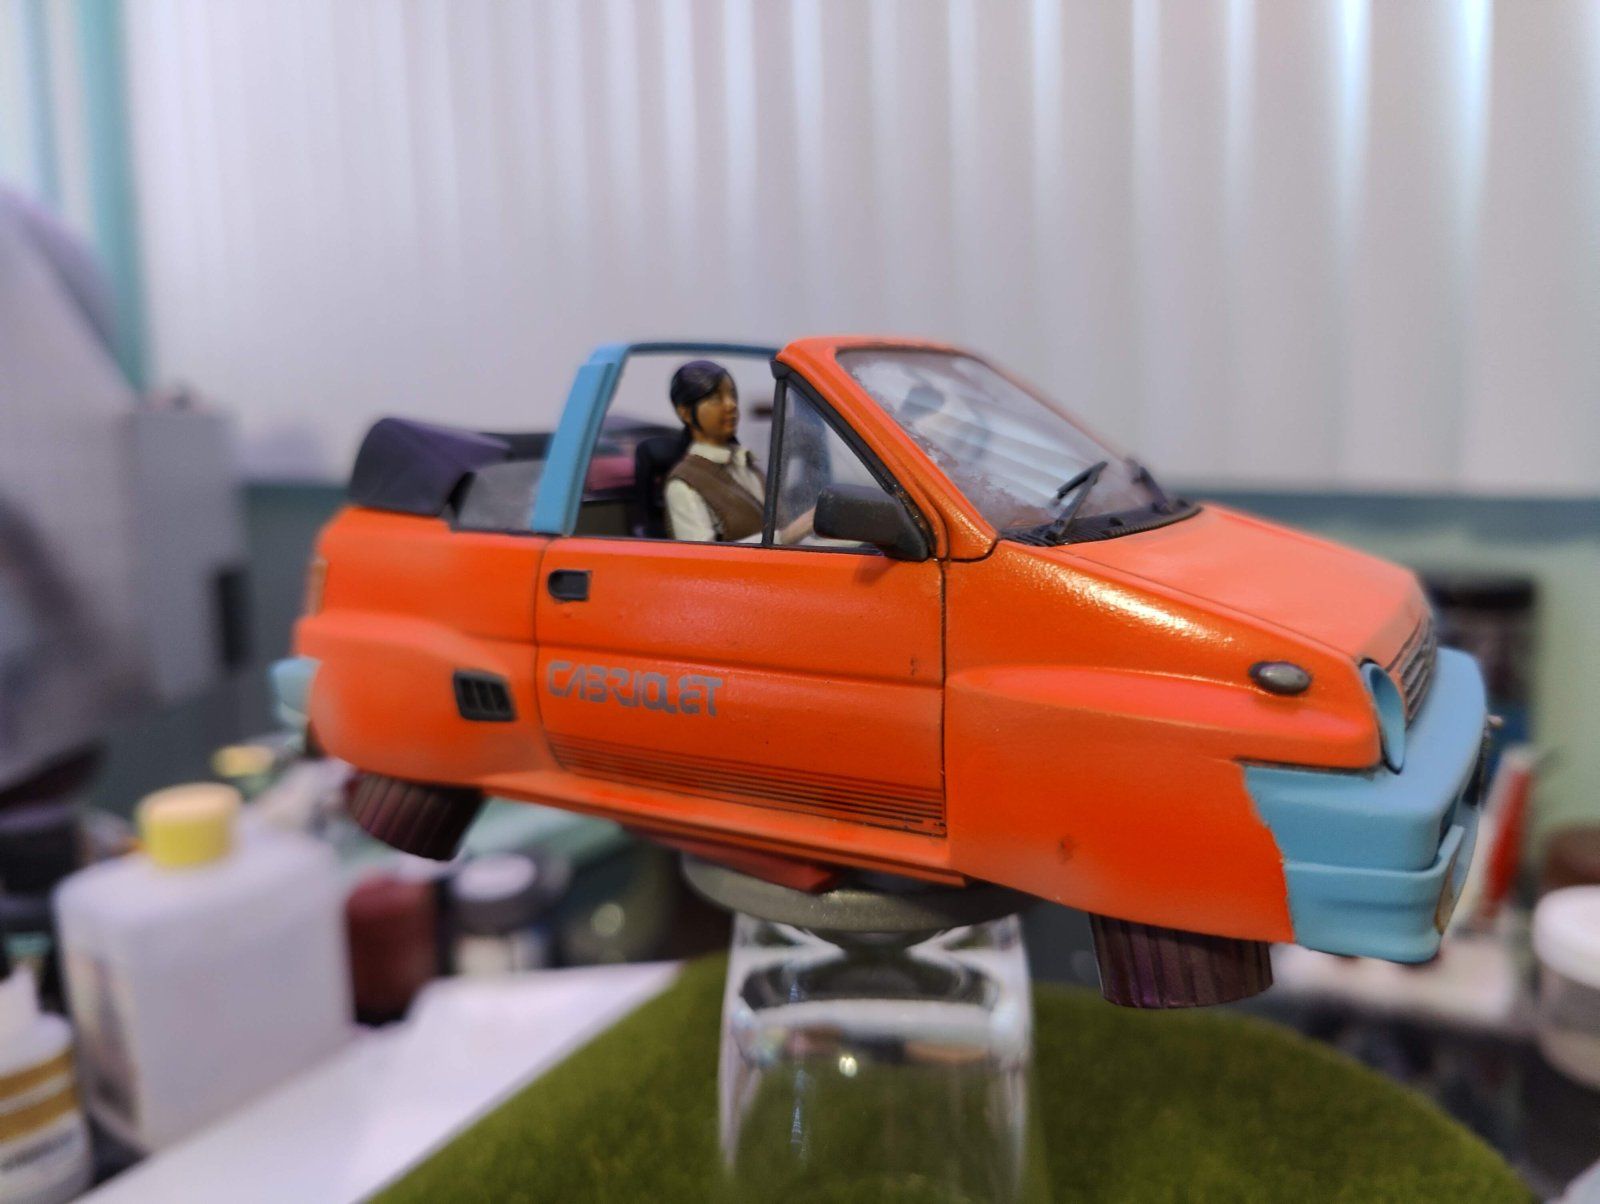
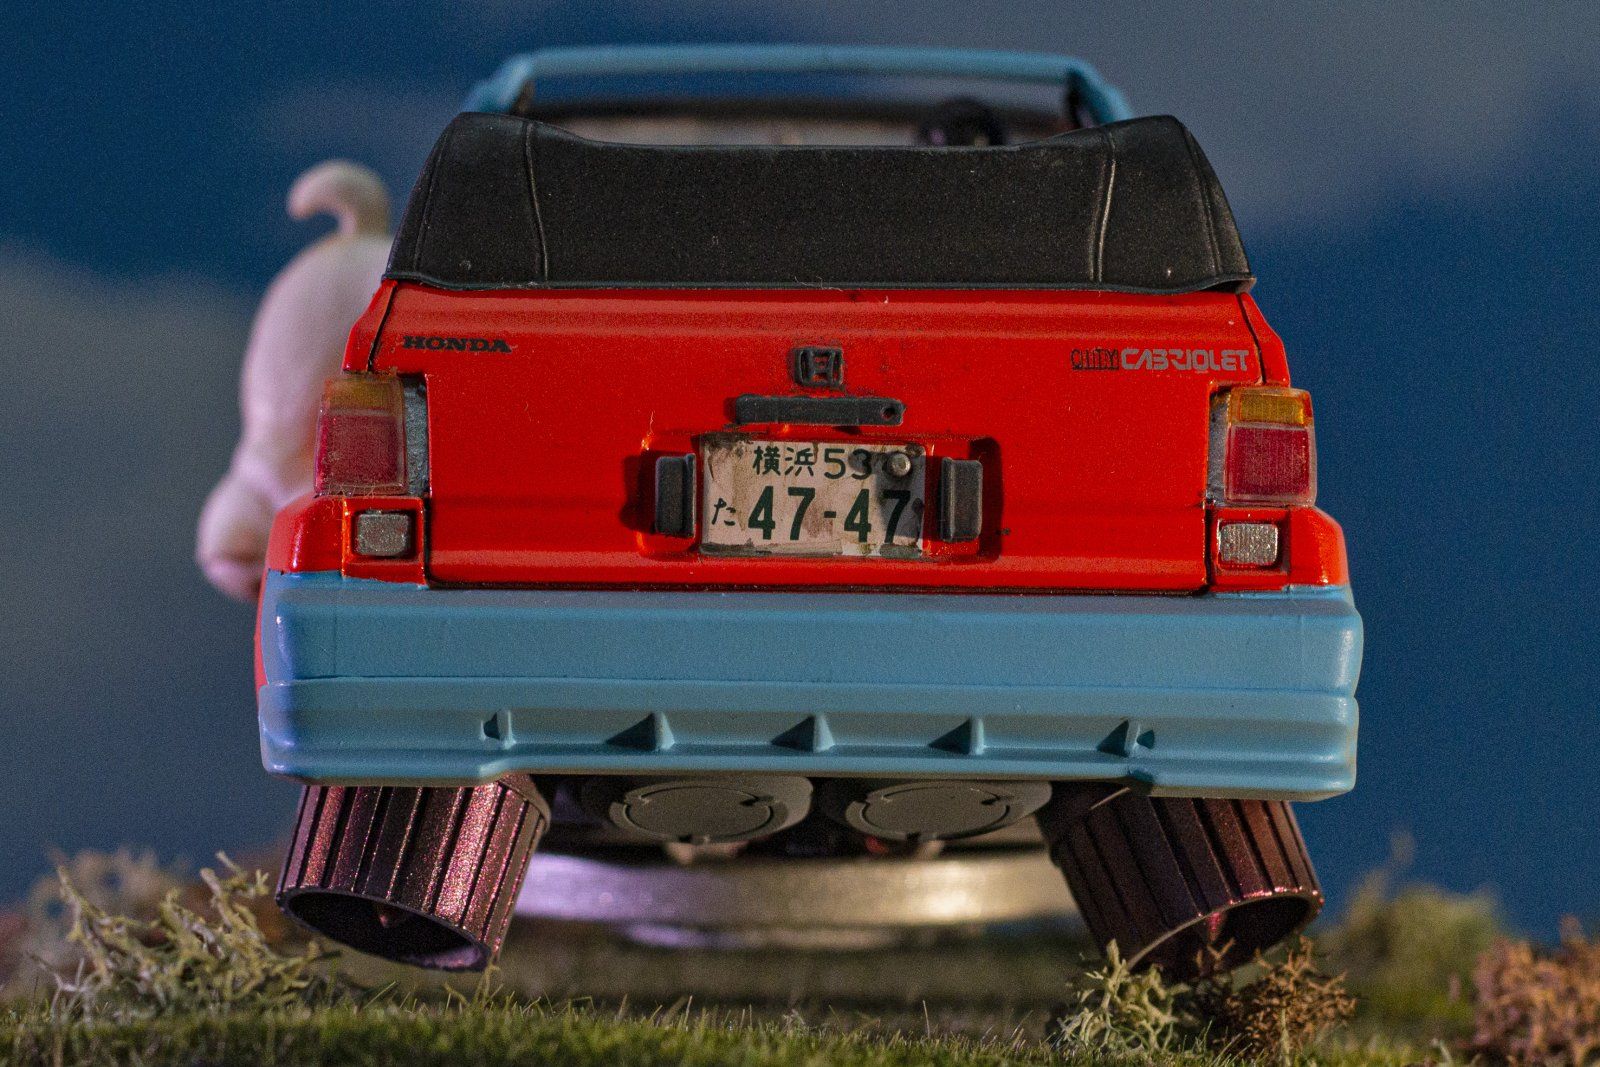
I THINK the Honda City Hover Cabriolet is done. I think.
So far it's proven to be brightly enough colored to just thrash the auto white/color balancer on my cell phone camera, I'll have to fiddle with a real camera to take final pictures.

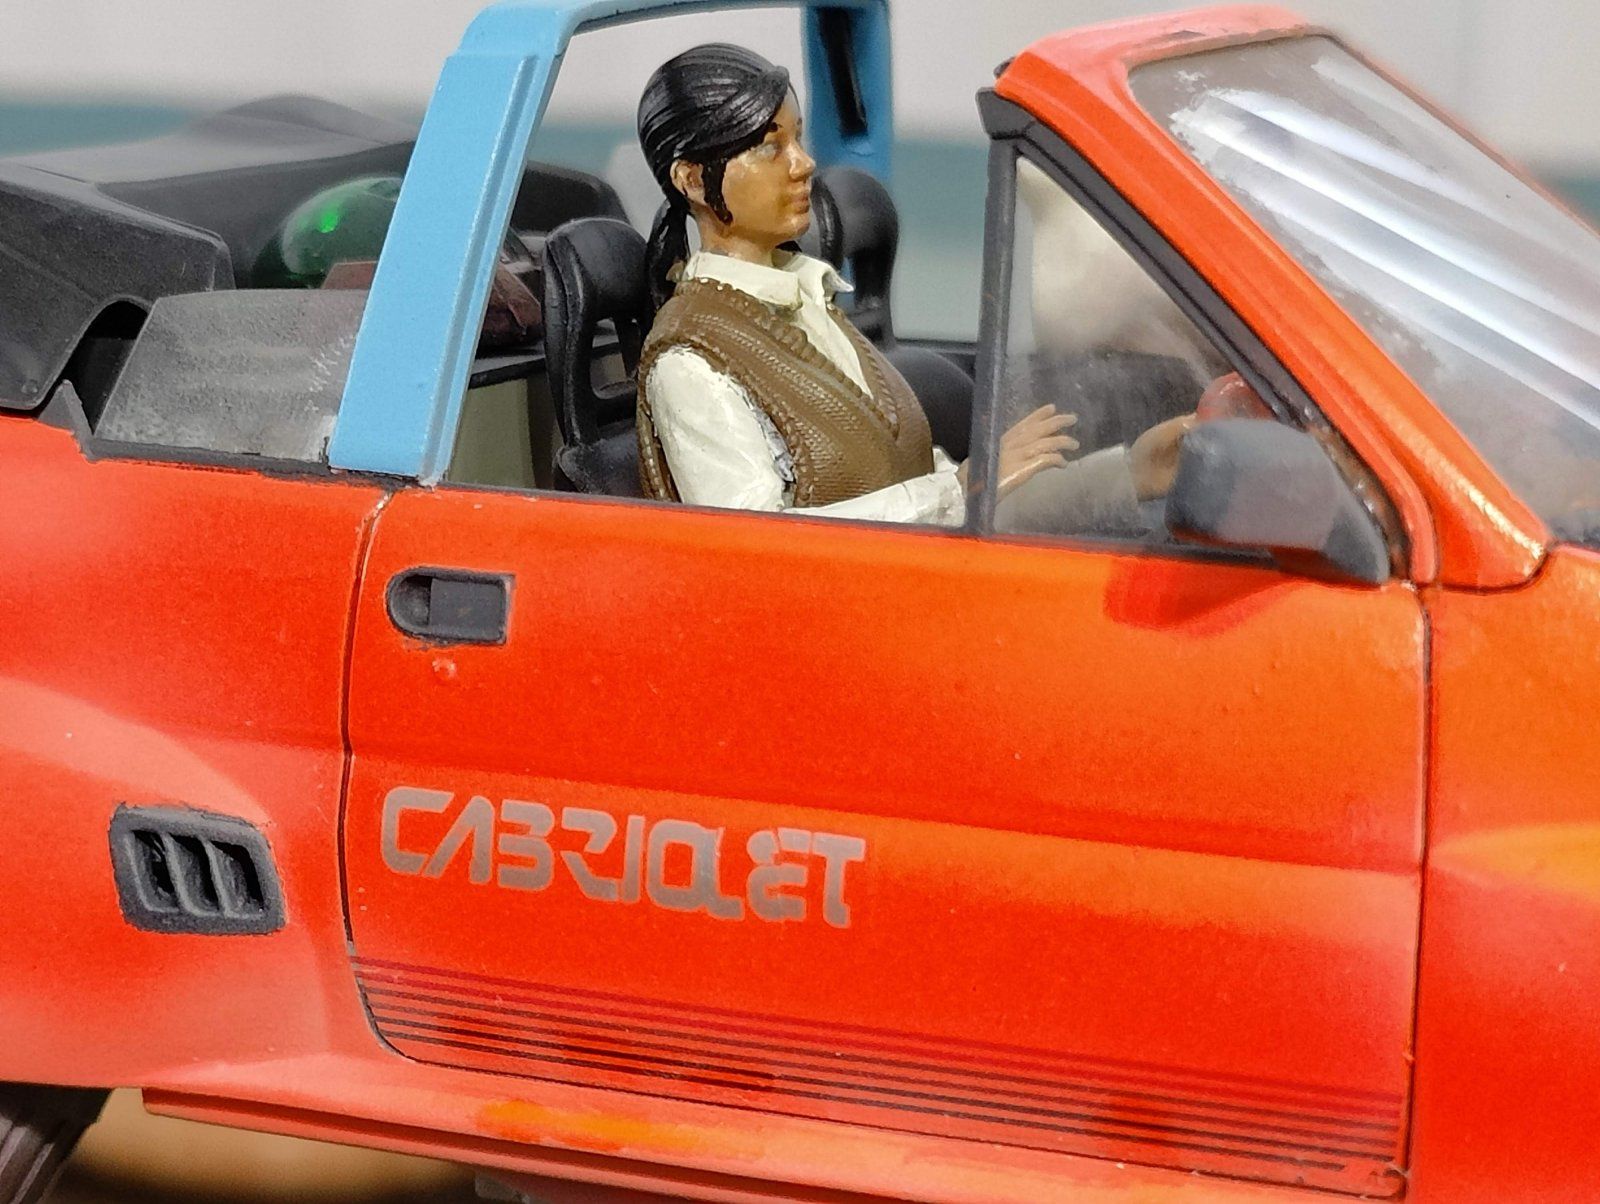
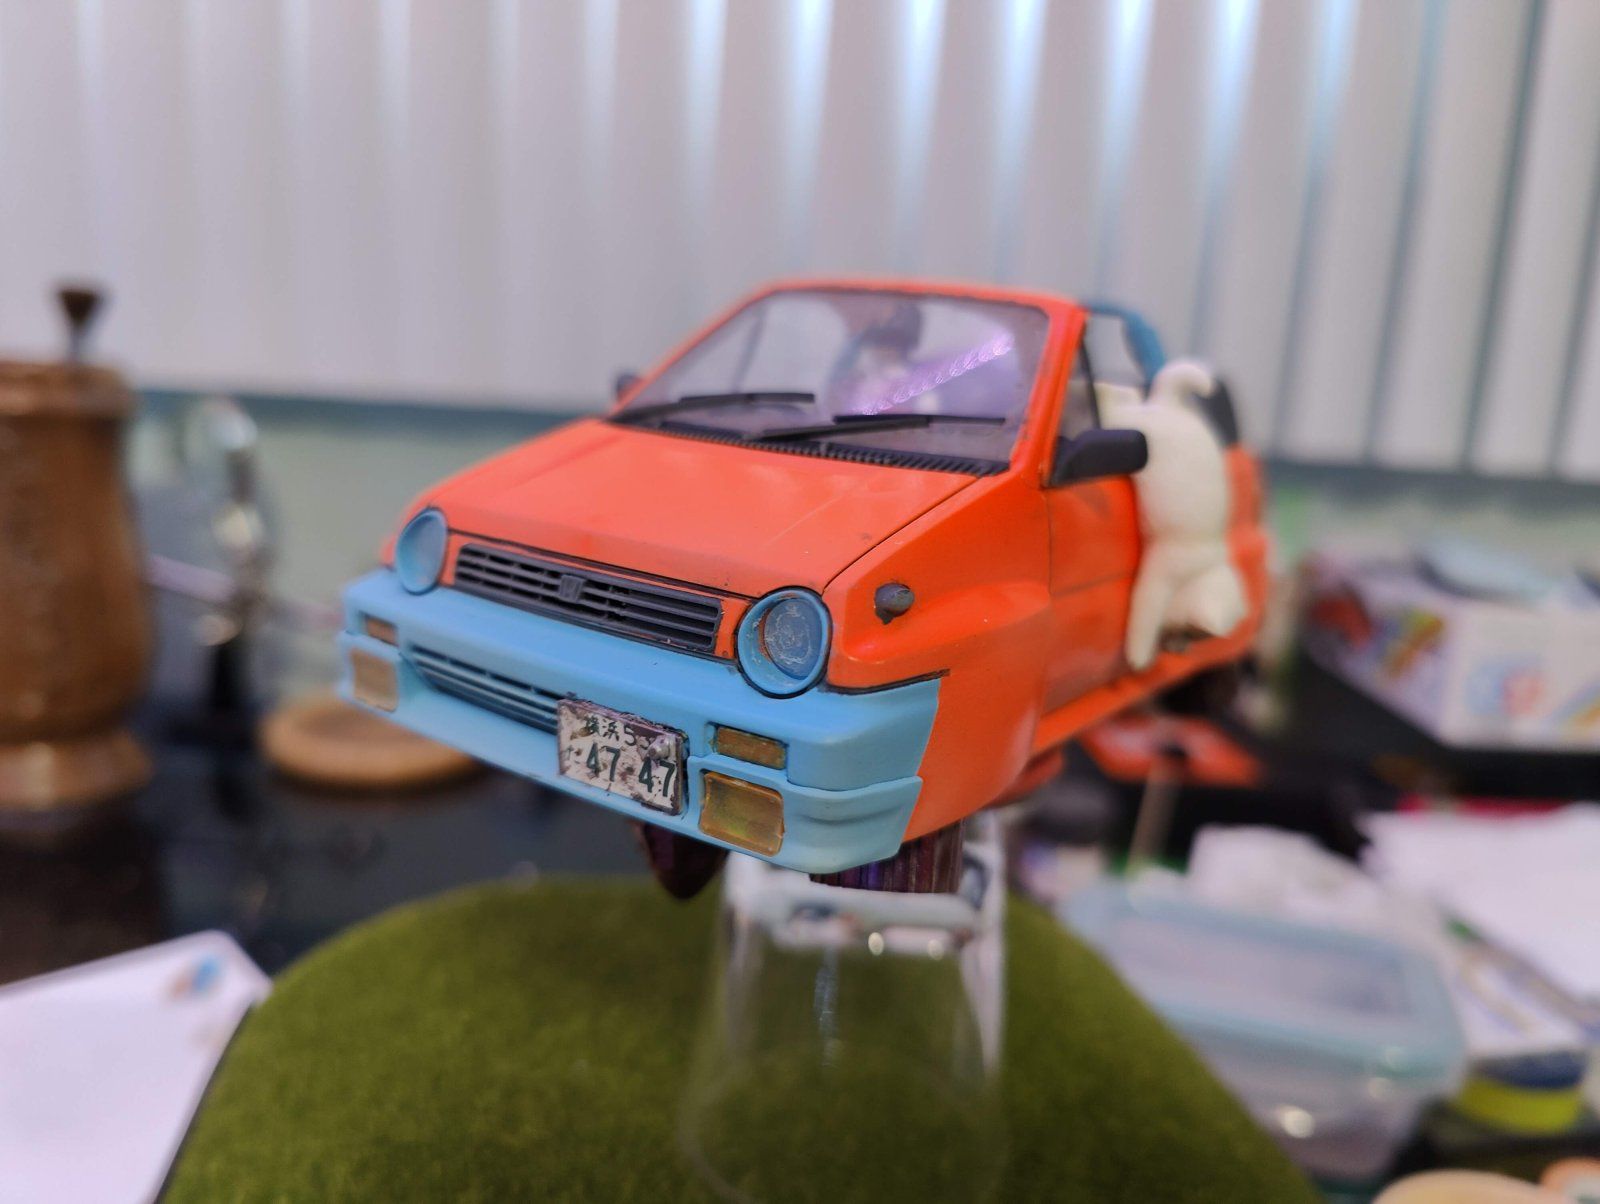
I ended up on a fairly subtle dust for weathering. I was gearing for a really old car that had been retrofit to be usable in a fantasy future. Old, but continuously used. So I didn't want it to be too beaten up, or a rust bomb (which is way far outside of my comfort zone, lol). The vehicle isn't meant to be pristine either, as most commuters are not.

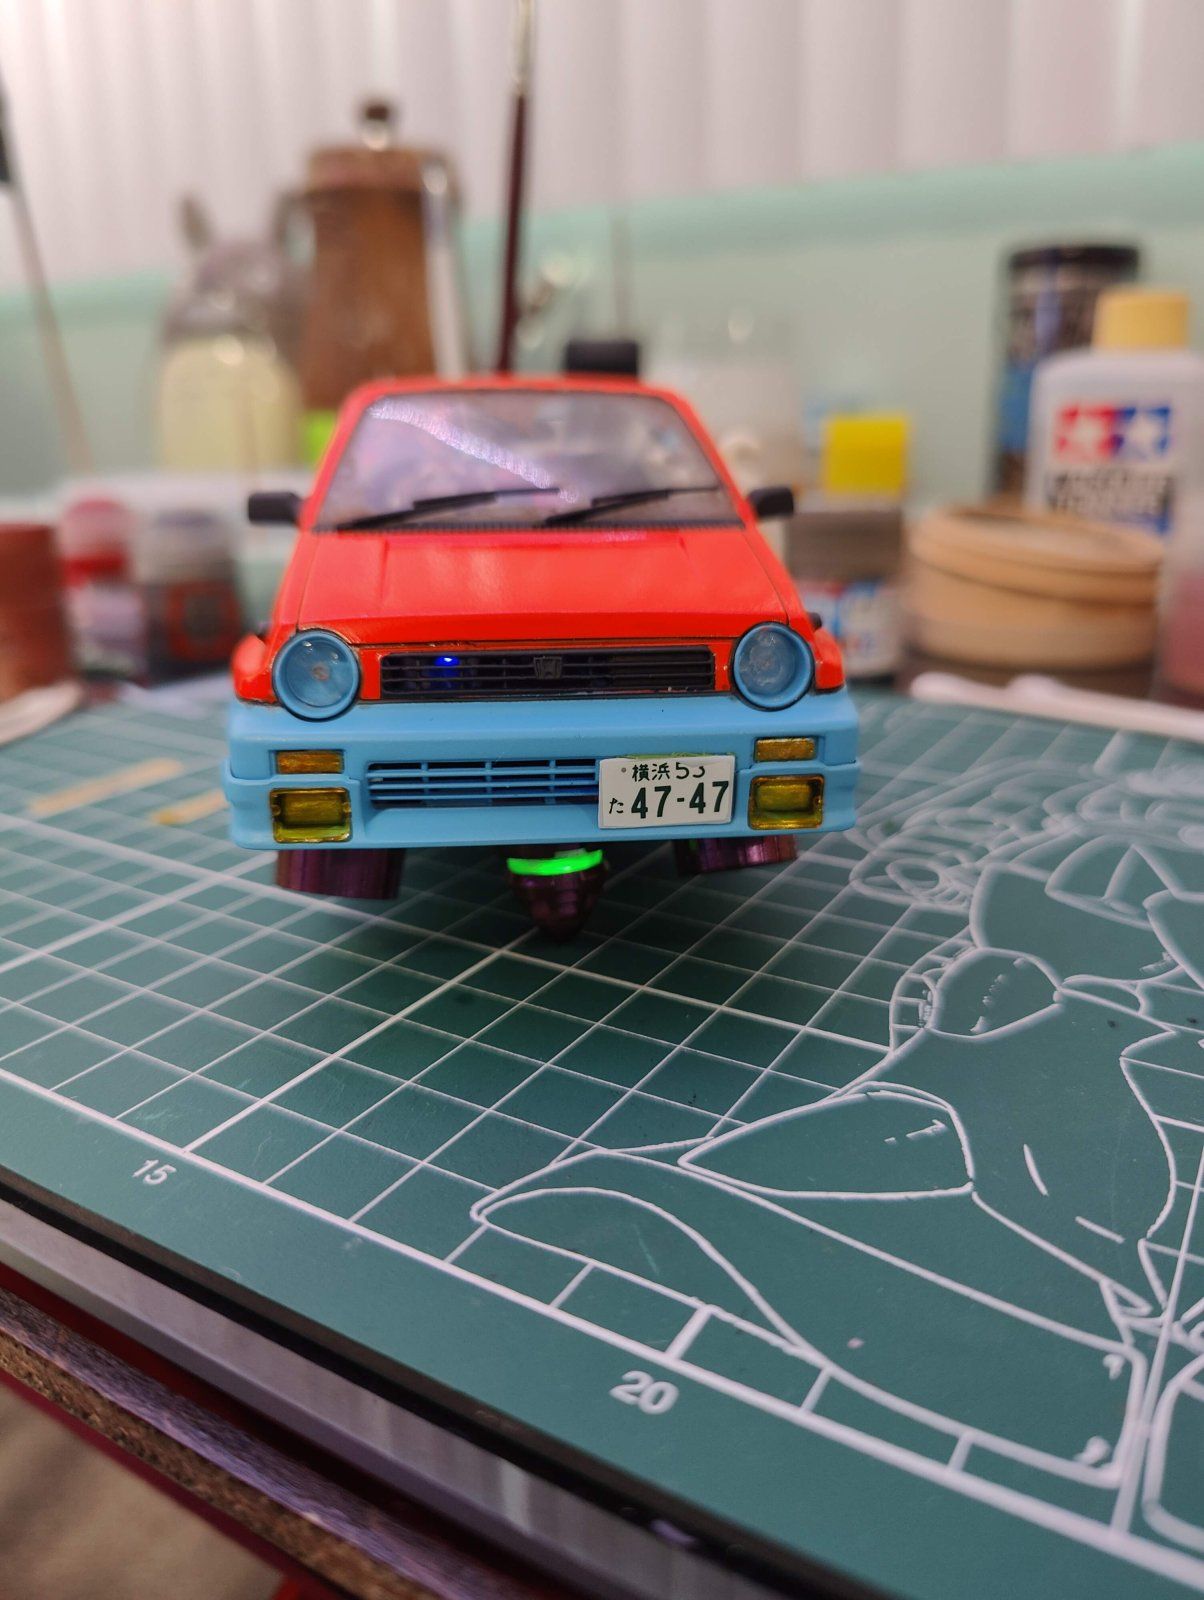
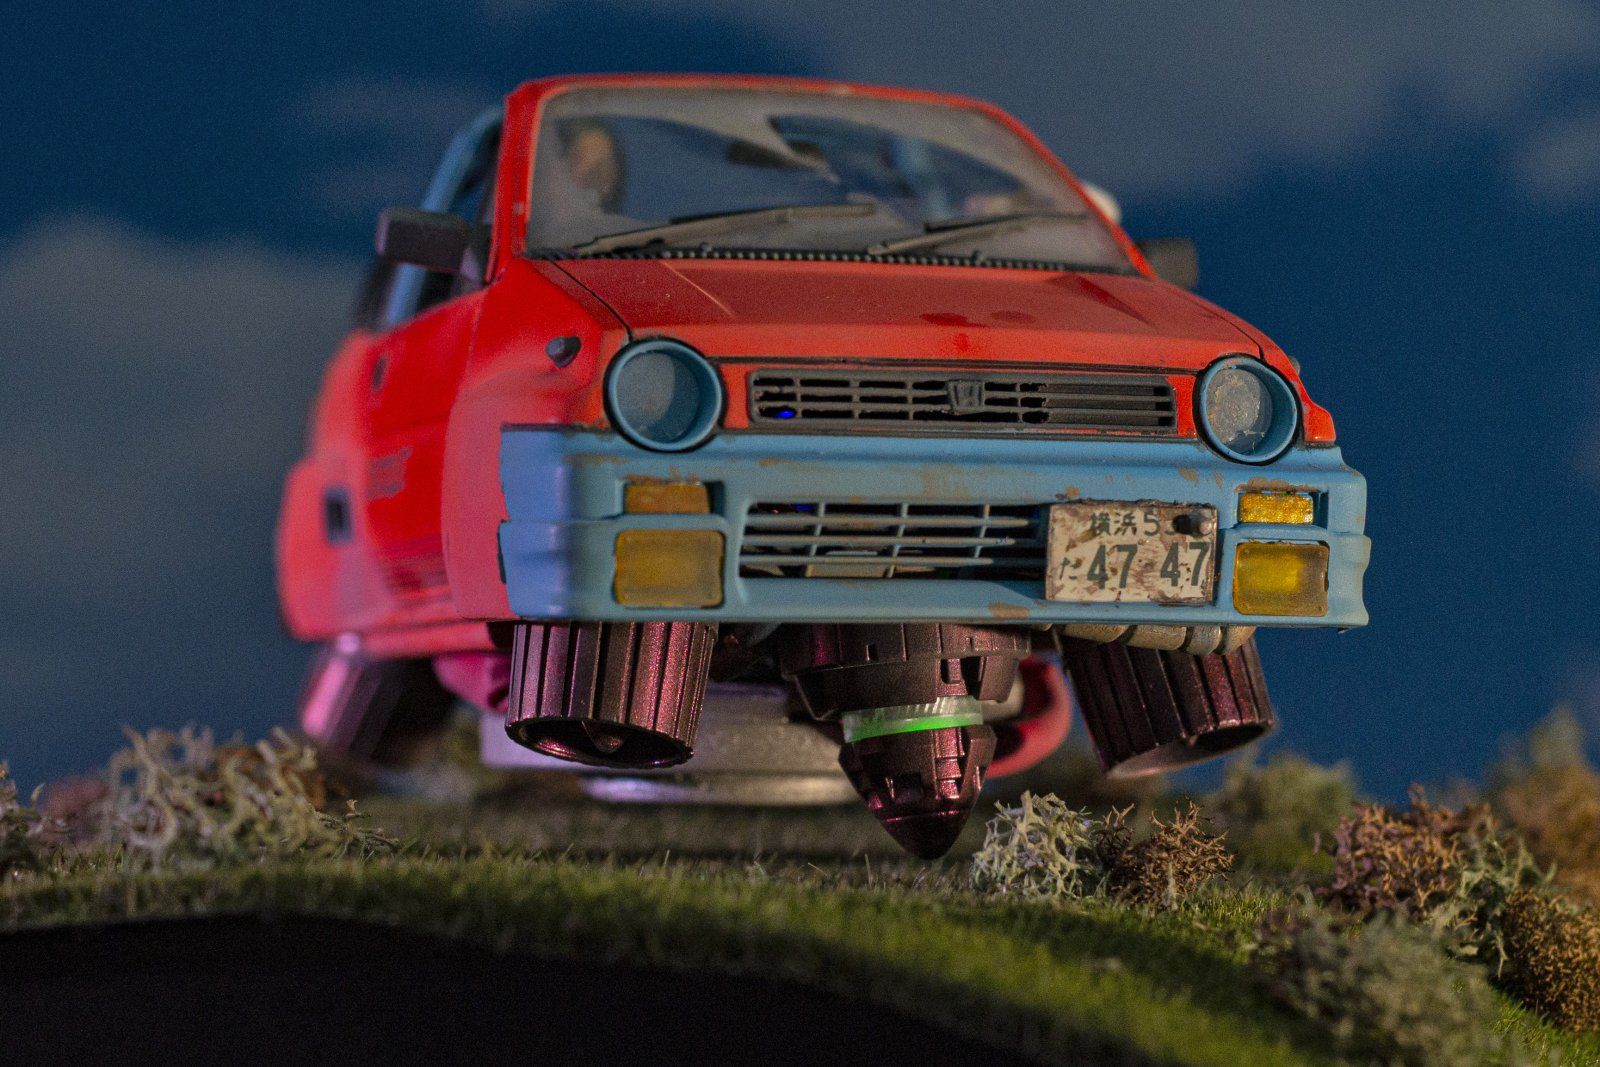
I landed on pretty standard coloring for my pipes/greebles on the undercarriage. I also added the little anti-theft studs that are standard on all JDM license plates... although I'm pretty sure I put them on the wrong side of my plates, lol.

IMG20220903191055.jpg


Photos sure make it easy to pick out stray brush strokes... I may add a few more small bits of weathering in an attempt to blend some of those in.

IMG20220903192655.jpg

IMG20220903190919.jpg
Attempted to make it look like the dust has been disturbed by entering and exiting the drivers seat.

IMG20220903192505.jpg

IMG20220903190945.jpg

Fiberglass damage on the rear passenger side spat, courtesy of me being really green and not confident with panel lining, lol.
 
This has been loads of fun... but it's made me realize a couple of weak points. Good thing I have more kits to practice on! lol.

I feel pretty comfortable with over the top grimy dystopian weathering. Trying a subtle approach made it clear to me that I need some practice on clean building first. Gotta get that foundation down when you aren't planning on using liberal damage and gunk to hide any whoopsies :p
 
The lights ended up pretty underwhelming on this... And the car hovers much lower as a result of the added weight of batteries, wires, diodes, and solder.
 
I'm calling it done, and it hovers! lol
The base is very basic, in hopes of being able to use it for a 1/32 hover build in the future as well. (I ended up with a broken electromagnet in this process meaning I have an additional load bearing mag on hand.)

View attachment 93596

View attachment 93600
View attachment 93601
View attachment 93599
View attachment 93603
View attachment 93597
View attachment 93598
View attachment 93602
Well I'm impressed. Lot's of work and it shows. Can't wait to see the next hover project .
Pantherman
 
@Marktastrophe , very cool :cool:.

I am always cautious about handling very strong magnetic fields. I was told by an electronics engineer that there is the possibility of DNA damage on prolonged cellular contact.
 
No ,, or are you being sarcastic ?
No danger from magnetic field regardless of the flux strength .
Ionizing radiation ? yes . Not electromagnetic radiation .
 
I'll do some more reading since the references are extensive ,but that's a very specific and relatively high energy study .
.1-.5 millitesla at the target site .
A cell phone is about , max , .006 millitesla and of course far far higher frequency .
That study is low frequency specific - " This hypothesis could have an important implication for the possible health effects associated with exposure to extremely low-frequency magnetic fields in the public and occupational environments. "

Magnetic field strength decreases with the inverse square , so , I wouldn't hold a 60 Hz electromagnet up to your head for prolonged amounts of time ,, especially if you are a rat !
An electromagnet or certainly a permanent magnet at a normal distance from the user will be benign .

There isn't any evidence in the world's population of brain injuries or DNA damage from exposure to magnetic fields .
That study is from 2005 .
But , thanks for my new research topic ;) I'm now interested in how the frequency of the source affects the outcome.
I'll see if this experiment was peer reviewed or expanded upon .
 
Last edited:
I am only saying that I remain cautious, especially those small strong magnets of high flux density. Meaning, I would not carry one around for hours in my pocket. I have those magnets at home, but when I handle them I do not hold them between polar ends, where the most concentrated parts are the pinpoint centres of the ends. It's those pinpoints where a cell is mostly exposed to any possible disruption.

NB: A single blood cell contains iron so oxygen can attach to it and get transported to where the oxygen is needed. Iron can become highly magnetised from magnetic contact... like a screw driver after touching the back of a speaker (hate that when it happens).
 
I'll never tell anyone to throw caution to the wind .
The frequency of the field appears to be key and not the gauss .
The field is static with permanent magnets .
The effect isn't from magnetizing the iron it's from free radical production through movement , vibration , of the iron atoms within the molecules which is induced by the expanding and collapsing field . 60 Hz in that study's case .
The radicals produced are what is causing the damage , similar to the molecular degradation induced by ionizing radiation .

Assuming this is what they have found .
I'm intrigued by that study so I'll be looking further into it .
 
I appreciate the kind words, and the concern!
I do not have any parts of this magnet in my pocket, ever, for what that's worth :D

I'm still contemplating where I'm storing it too. The Model will likely sit on a shelf on top of an upside down shotglass for safety. I wouldn't want this rig running all the time, and it is quite sensitive to other magnetic fields when it's running (The only place I've been able to get this build to float stably is my basement, and dead center on a small wooden table.)
The other magnet I have is smaller and floats a little more reliably (the load bits are actually two concentric magnets glued together, the one on this Honda is a step or two towards eccentric though... part of why I ended up with a second one.)

Knowing my luck, If I were to get it up and stable in the build cave, it would probably come crashing down the next time we mowed the lawn.
And when the magnet offsets past the strength of the PID controlled copper coils... it crashes down HARD. The thrusters and bottom bits on this build have been glued in place multiple times, lol.

The next hover car is almost definitely going to be a 65' Skyline. However I do want to knock a couple of foundation focused builds out before hand.
 
Lol, like dealing with those seam lines I didn't notice until I painted the bumpers blue.

Going to aim for as close to an automotive quality paint finish as possible too (I need compound! And probably wet sanding!)

This is not a foundation of building... But I'll probably try to stance a car as the only deviation/mod outside of instructions.

In other words I'm aiming to build something that doesn't require weathering or happy little trees.
 

Latest posts

Back
Top