Leighbo
Active Member
- Joined
- Sep 15, 2011
- Messages
- 1,033
Hi Guys, back again
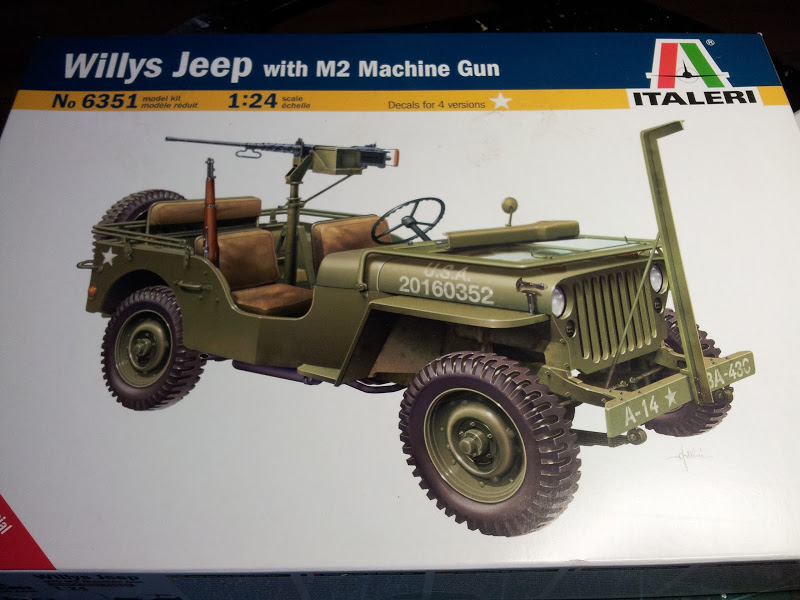
This time I'm taking the 1/24 Italeri Willys Jeep and turning her into a Rat Rod. Heres the start kit
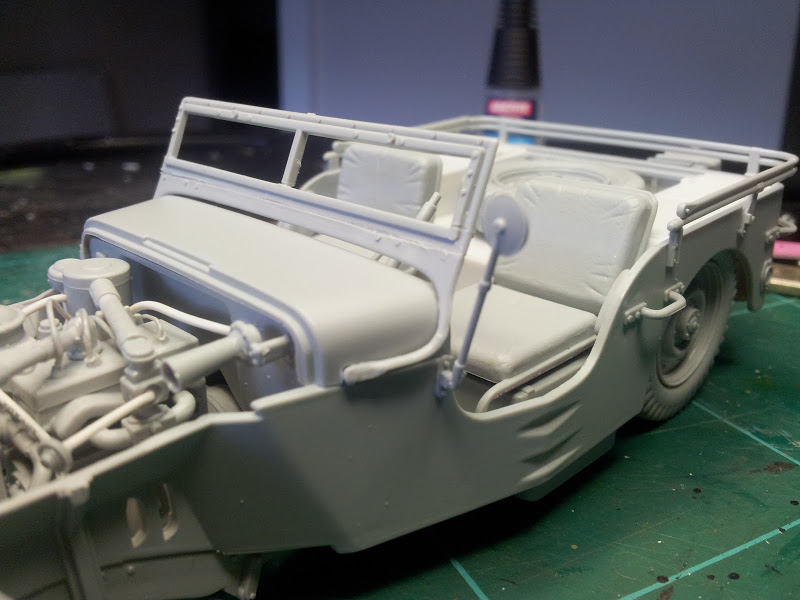
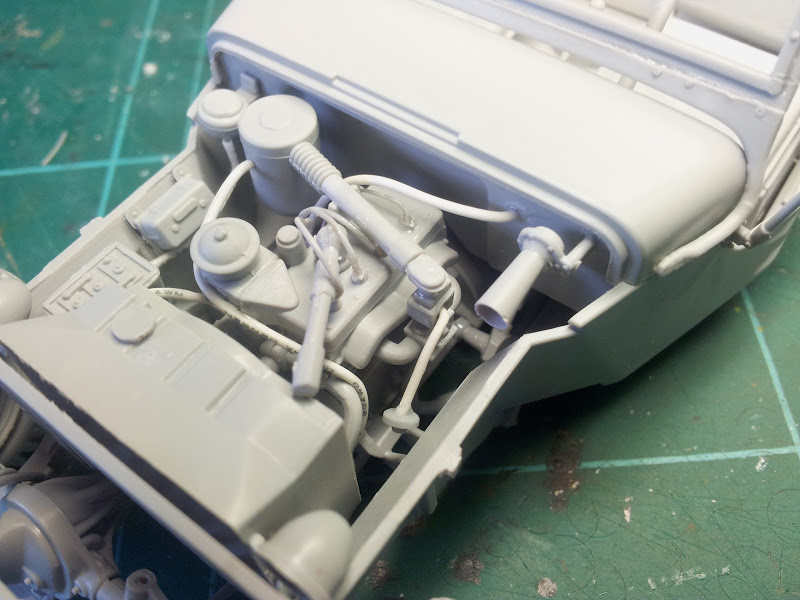
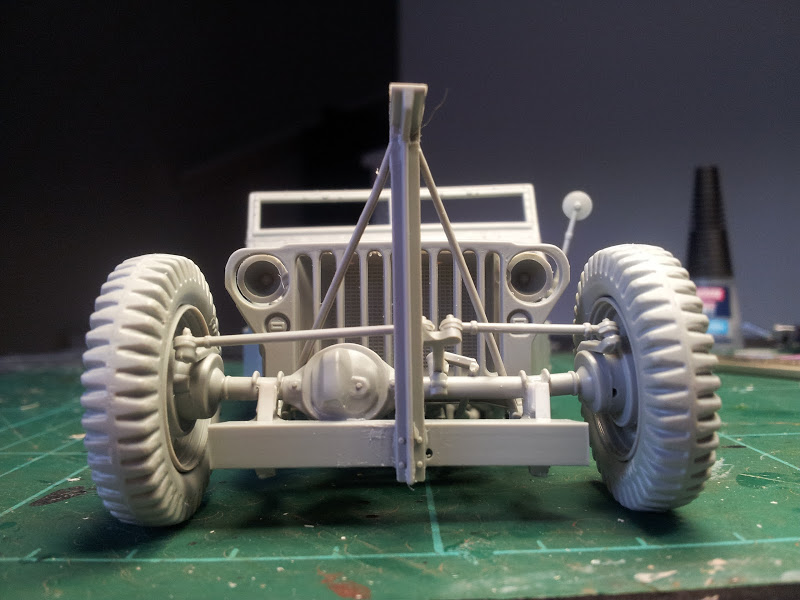
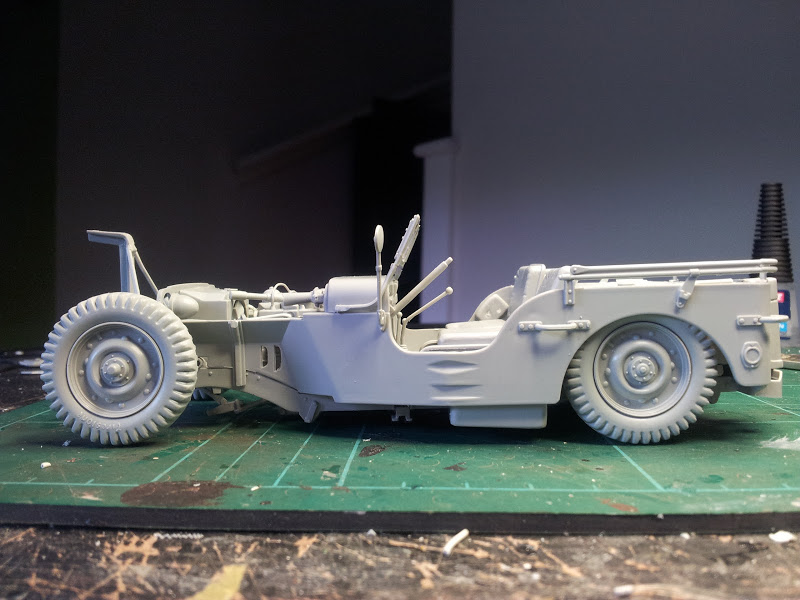
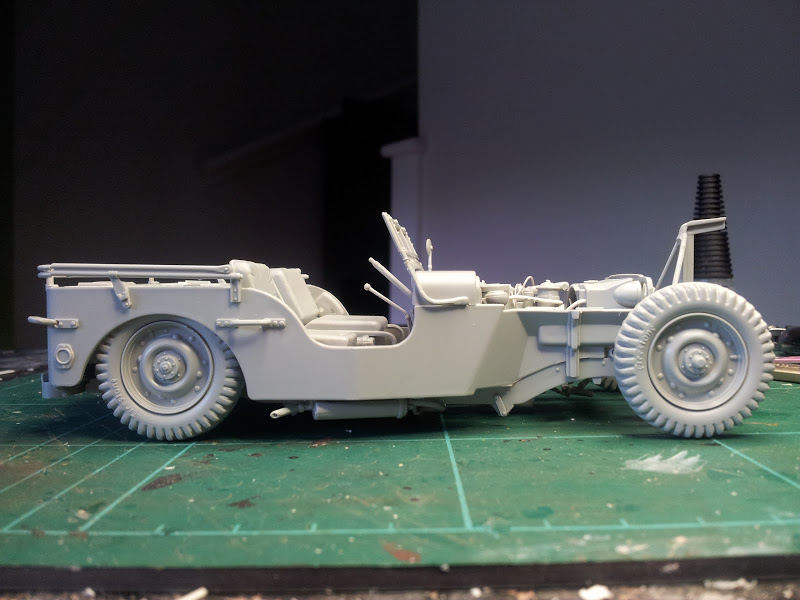
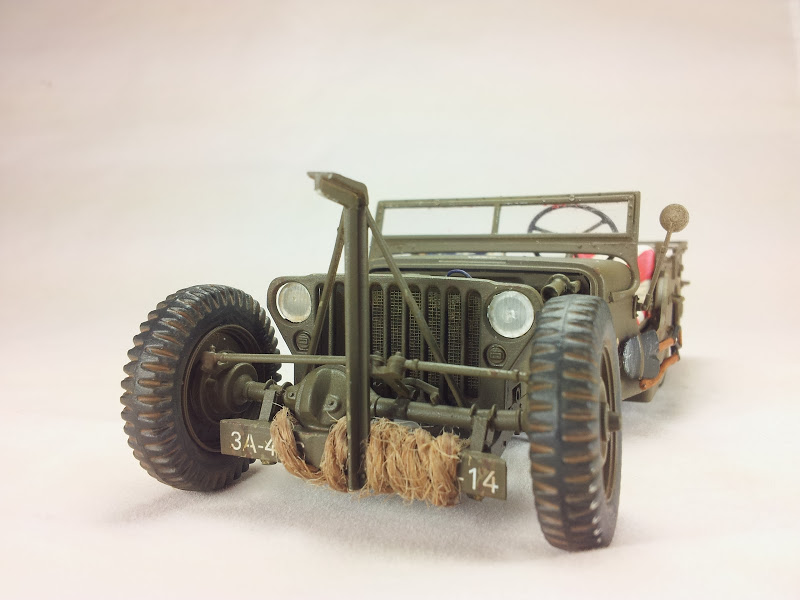
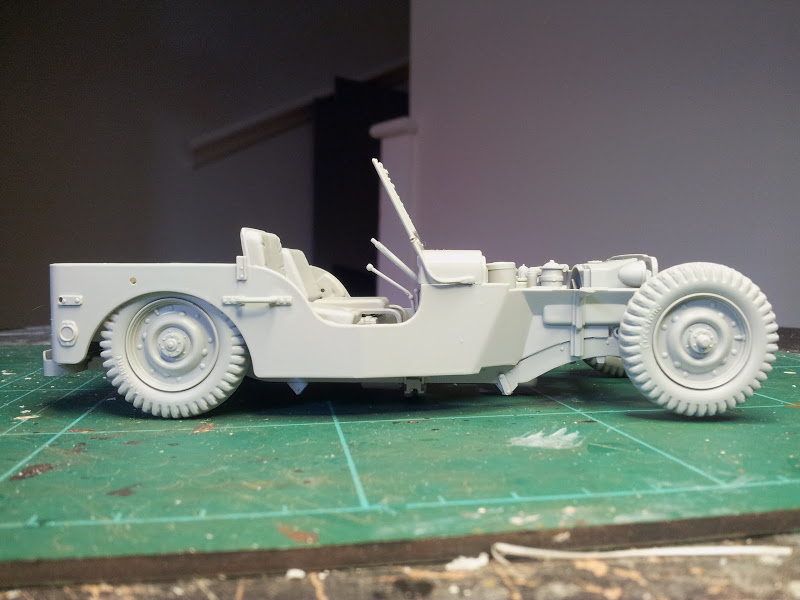
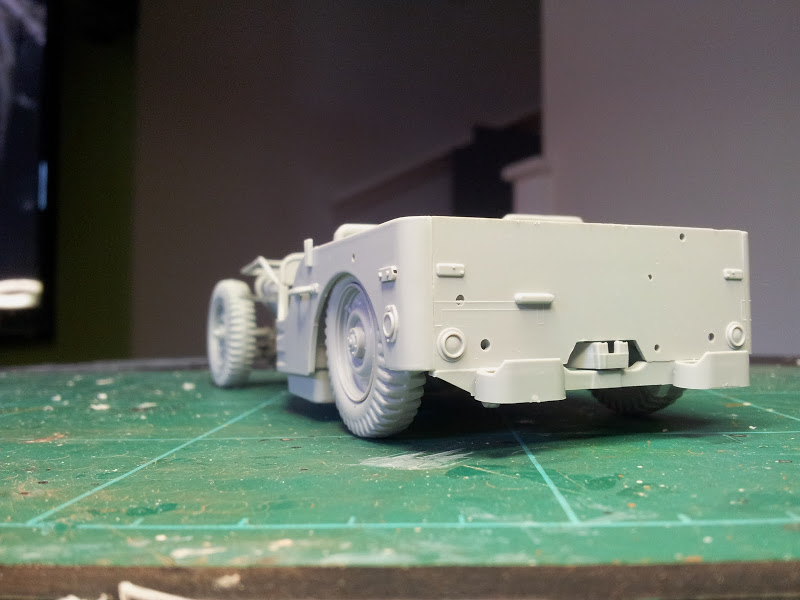
I've been working on it this weekend and almost managed to get it built, had to do a lot of working out on where to put the wheels. I couldn't decide whether to extend the axles outside the body and drop it to the floor or try and drop it in the original wheel arches. I decided on the latter which meant creating a new rear interior. I cut out the old inner wing top and raised it with plastic card to allow for the wheels. Going this way also meant cutting part of the body to get the axle over the chassis, I also put the front axle over the frame too to give that low and dirty look. The bottom part of the windscreen was cut down too.

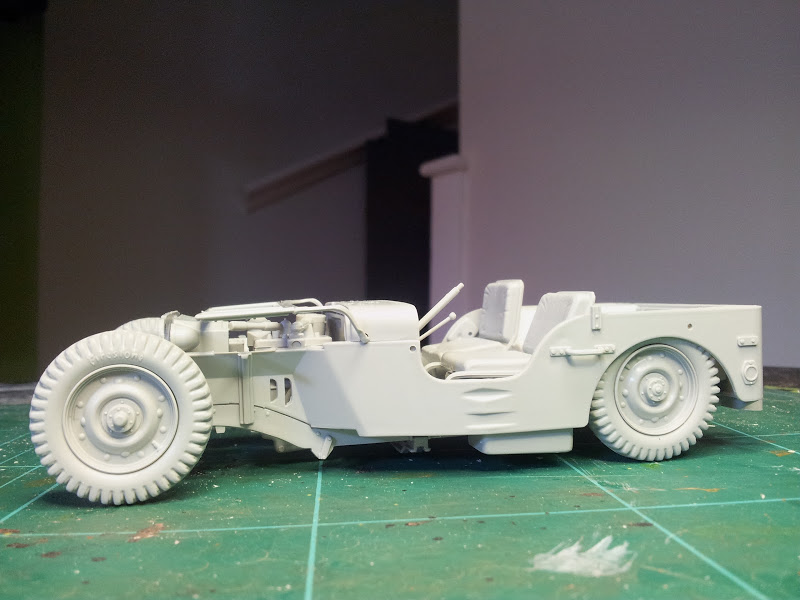
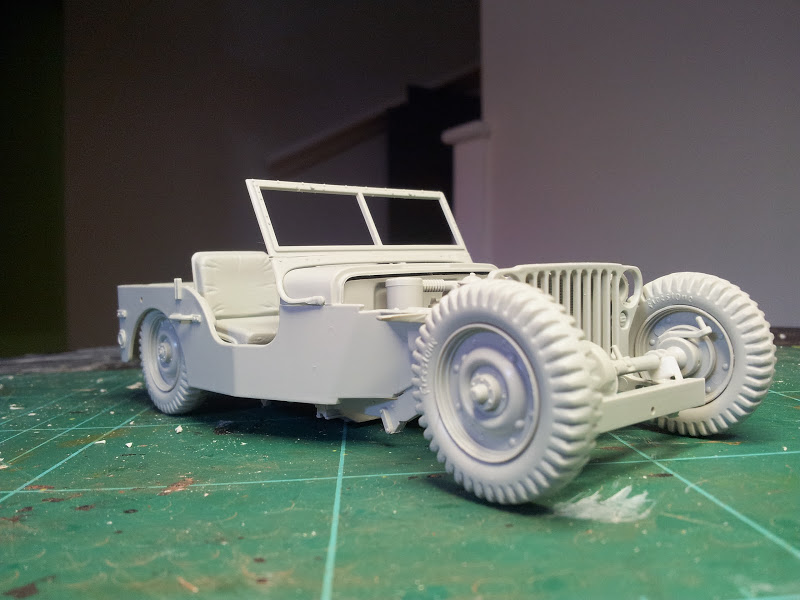
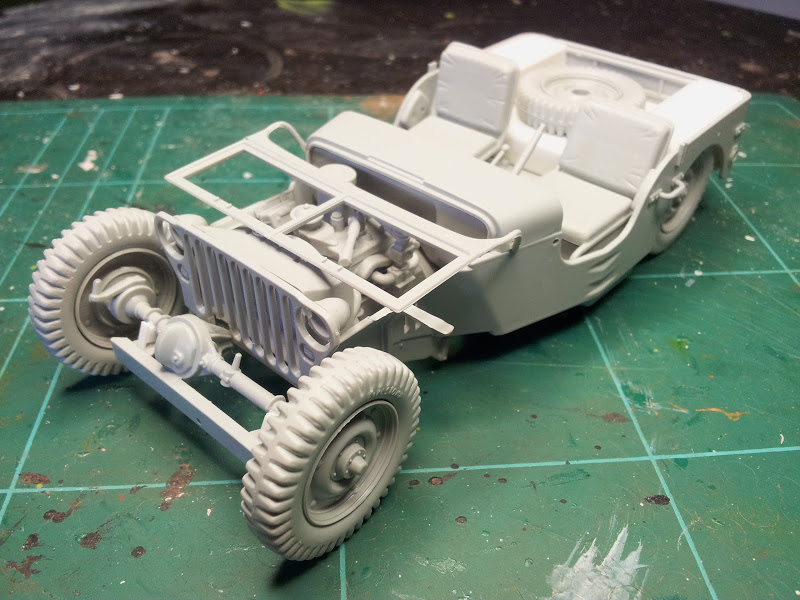

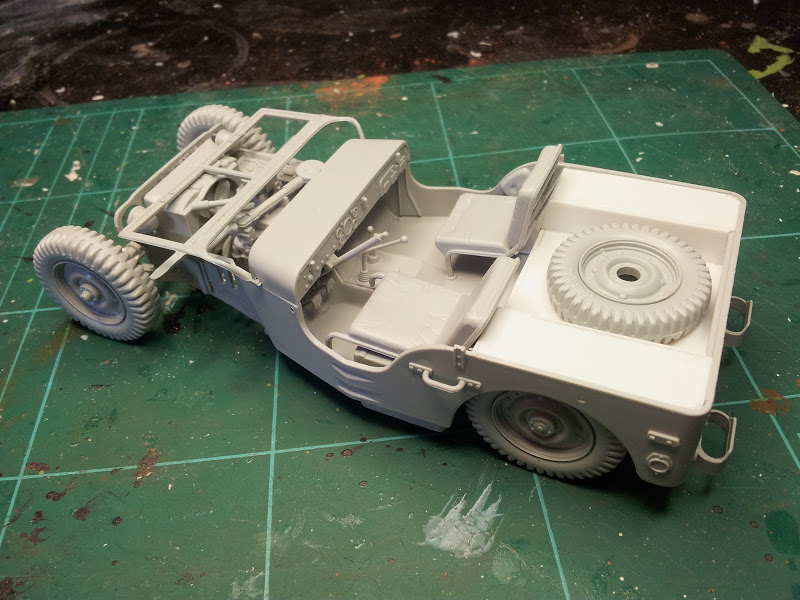
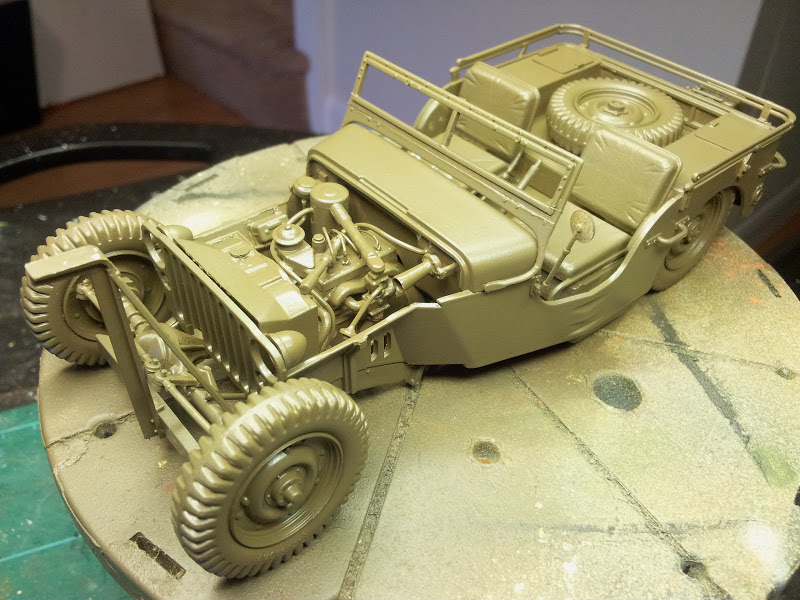
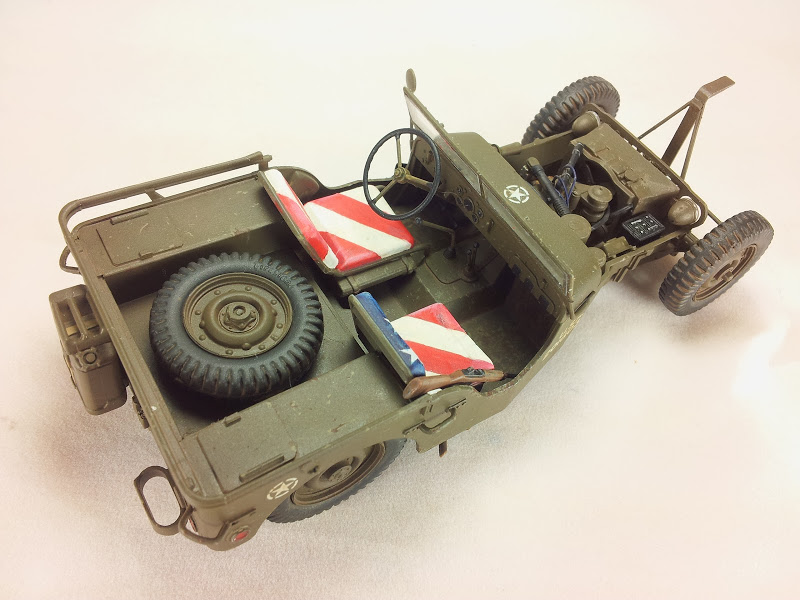
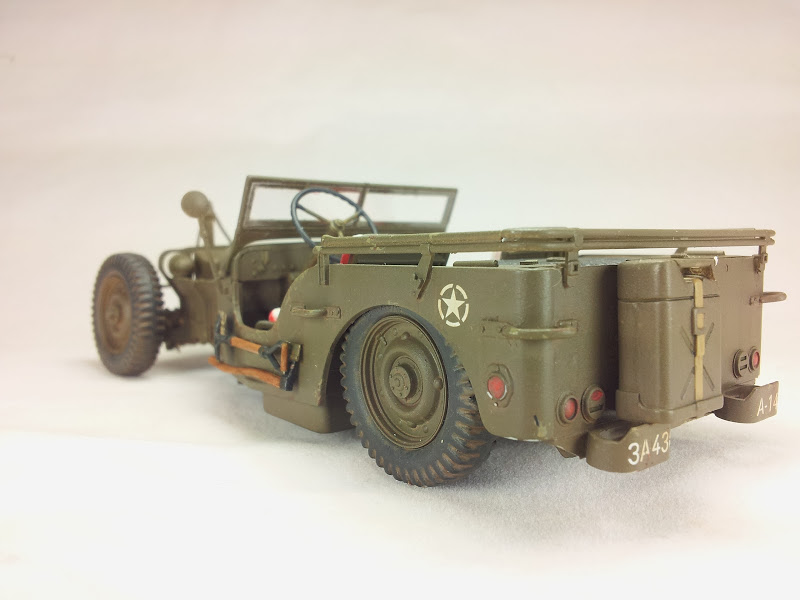
Obviously I'll be going with Olive Drab but plenty of fading, scratching & a little rusting. I'm going to leave the weapons and kit on to add to the interest. I might also go for a stars and stripes cover for the seats to add to the Ratty look.
Thanks for looking
This time I'm taking the 1/24 Italeri Willys Jeep and turning her into a Rat Rod. Heres the start kit
I've been working on it this weekend and almost managed to get it built, had to do a lot of working out on where to put the wheels. I couldn't decide whether to extend the axles outside the body and drop it to the floor or try and drop it in the original wheel arches. I decided on the latter which meant creating a new rear interior. I cut out the old inner wing top and raised it with plastic card to allow for the wheels. Going this way also meant cutting part of the body to get the axle over the chassis, I also put the front axle over the frame too to give that low and dirty look. The bottom part of the windscreen was cut down too.
Obviously I'll be going with Olive Drab but plenty of fading, scratching & a little rusting. I'm going to leave the weapons and kit on to add to the interest. I might also go for a stars and stripes cover for the seats to add to the Ratty look.
Thanks for looking