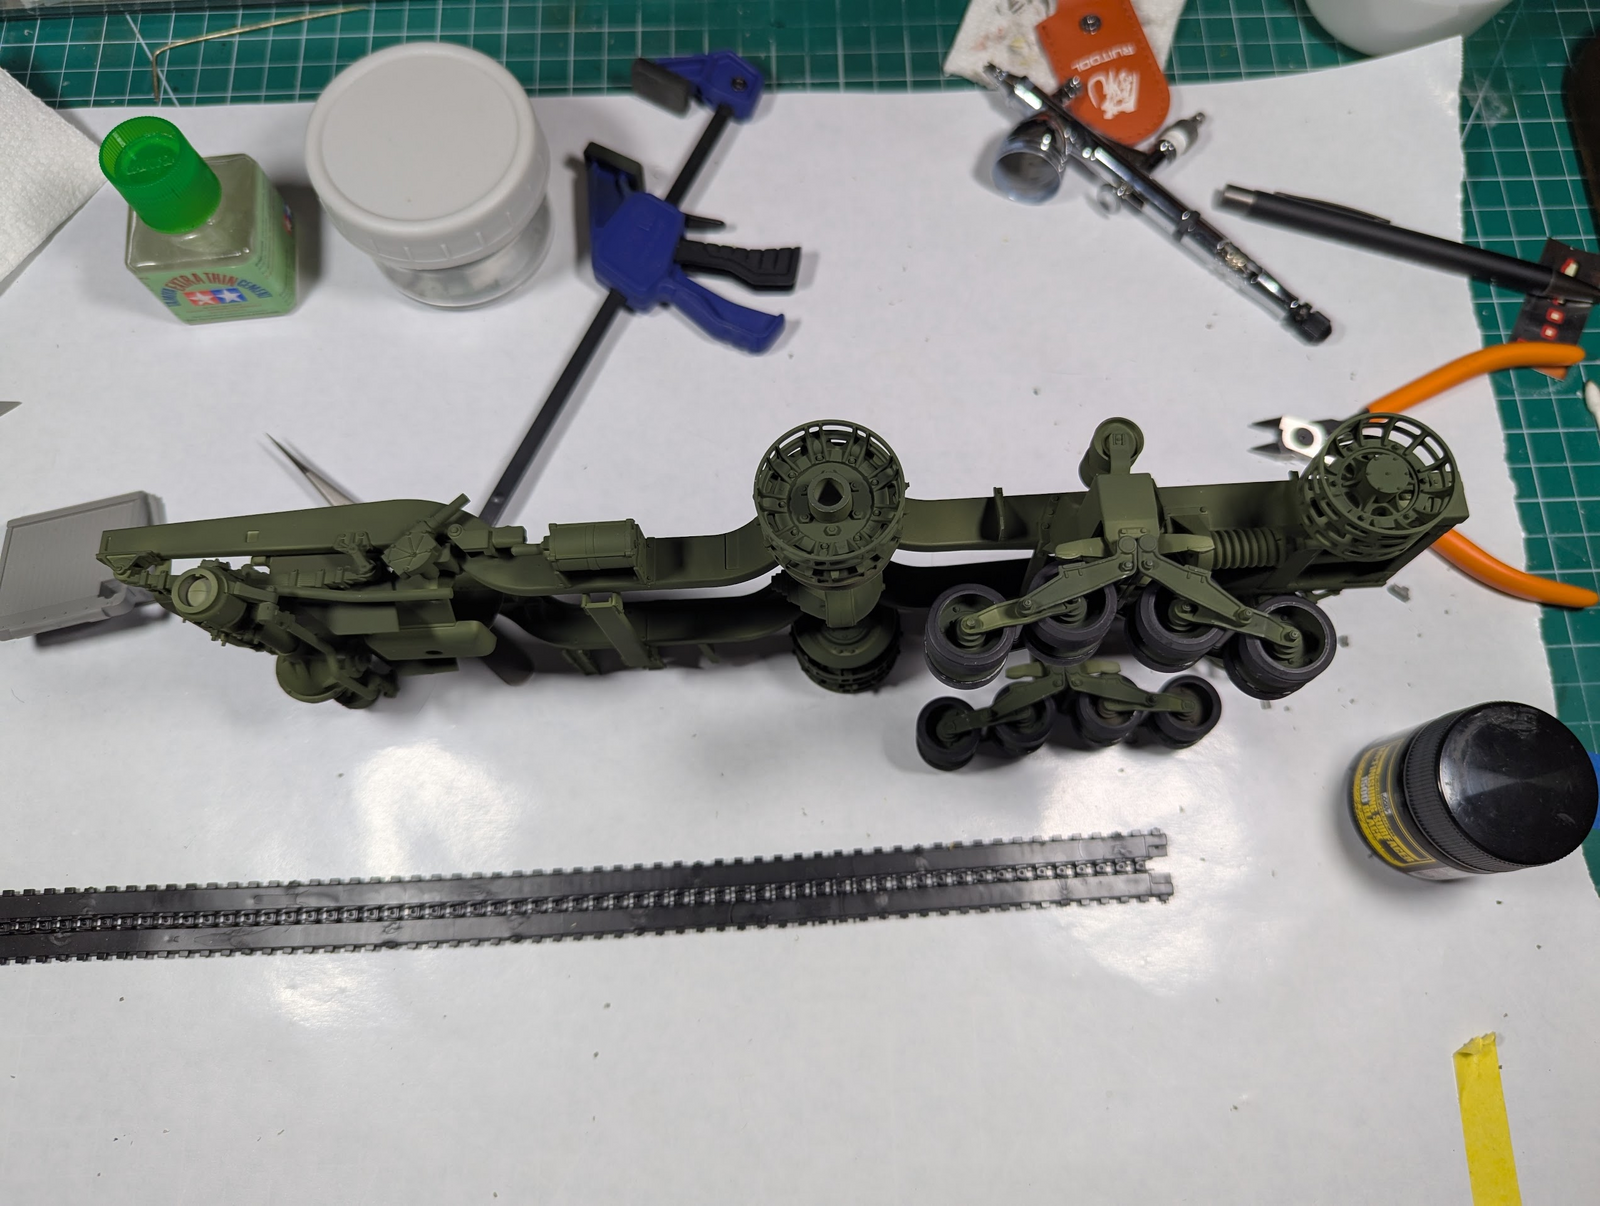
1/16 M3 Halftrack from AHHQ

Scale Model Addict - Model Tips, Guides, Tools & Tech, Tutorials, and Community

Help Support Scale Model Addict:

Edbert

Well-Known Member
Joined
May 16, 2024
Messages
3,123
I know damn well I will not resist breaking bags on this kit, so might as well open up the thread. The pre-order arrived today, it was a pretty large box considering that no parts are very large, as in those 5th gen 1/48 aircraft that need the floor-space of a 20+ inch box. But it was heavy and deep, with 18 sprues an whatever else.
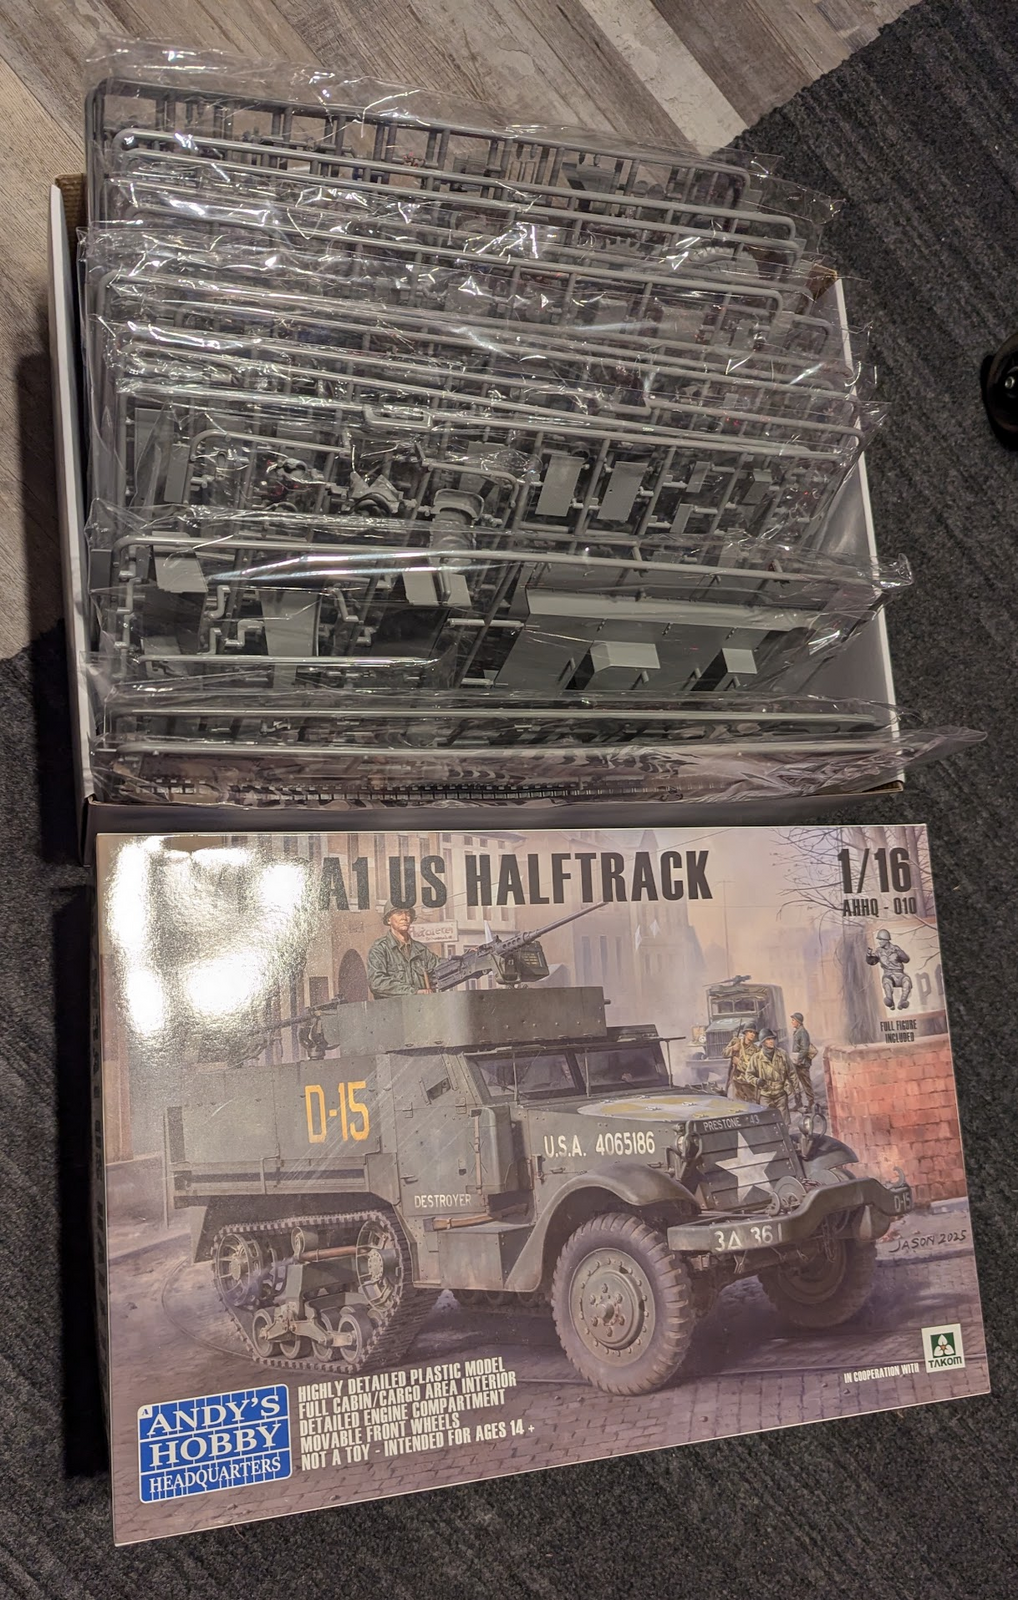
1755132275318.png


I started reading the manual which is laminated paper in full color and about 50 pages with a fold-out at the end. After a very personal greeting letter at the beginning (from Andy duh) it lists an image of the contents and then goes straight in to assembly. I was instantly aware that there are no color call outs. First thought was to panic because I did not buy any walk-arounds or similar literature about 1944-45 M3 halftracks in Western Europe and Italy. But it dawned on me that the color to use is "green".

There were CAD drawings of the drivetrain shown in gray or black, and the green on the seats was lighter than the green on the rest. But, other than those exceptions, she's green!
 
Last edited:
Nice! You'll need a bigger garage!
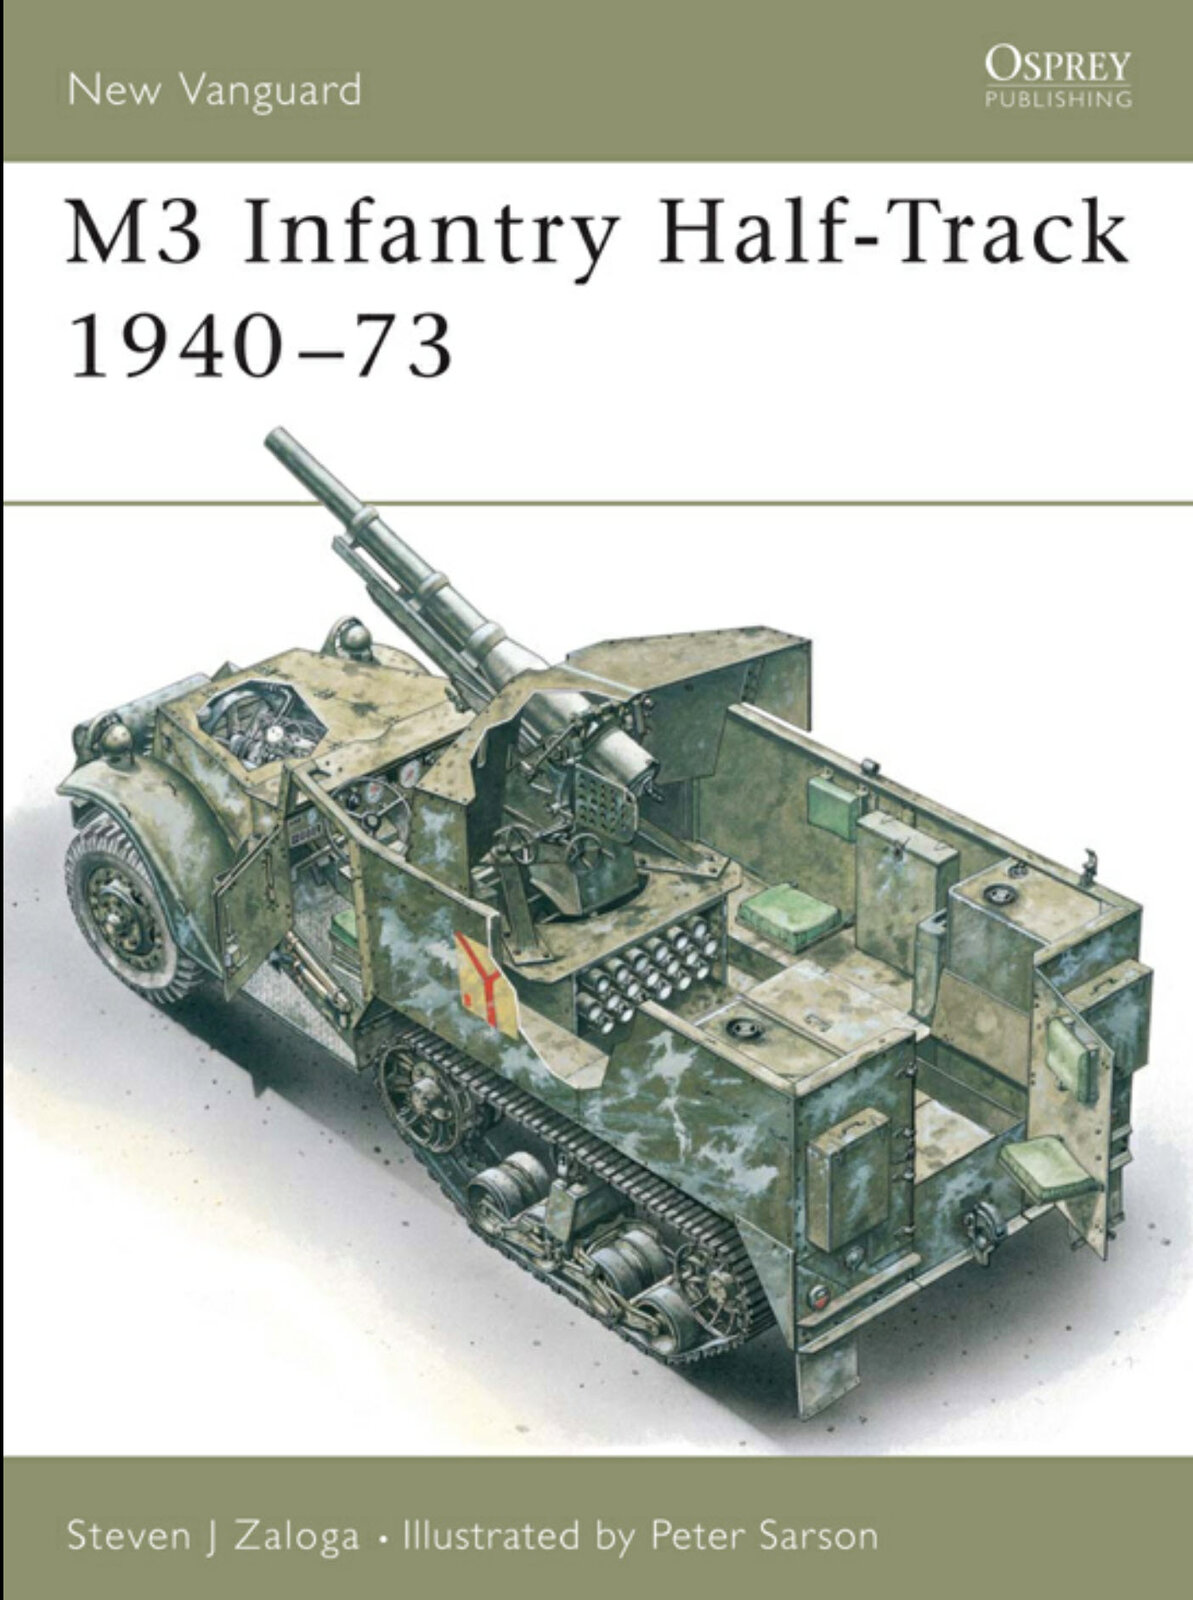
This book is available on Kindle:
Zaloga, Steven J.. M3 Infantry Half-Track 1940–73: 1940-73 (New Vanguard Book 11) (p. 54). Bloomsbury Publishing. Kindle Edition.
The cover shows the M3 75mm Gun Motor Carriage... but it covers many variants.
And for $10 on Amazoony for the ebook, you get some good background info and illustrations!


2025-08-14_0-34-22.jpg
 
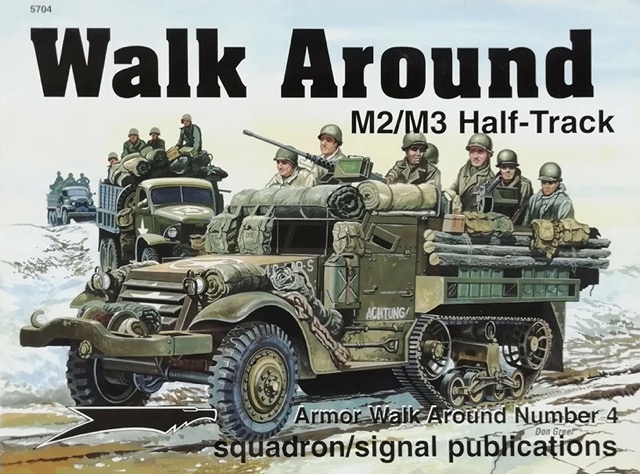
A good reference book for details of the vehicle rather than a history, is Squadron/Signal's Walk Around M2/M3 Half-Track:

Squadron:Signal Walk Around M2:M3 Half-Track.jpeg


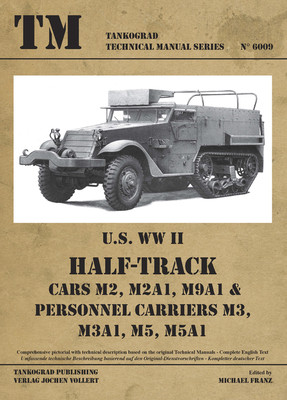
This is full of photos of preserved/restored vehicles that show all kinds of details. Also good is Tankograd U.S. WWII Half Track Cars M2, M2A1, M9A1 & Personnel Carriers M3, M3A1, M5, M5A1:

Tankograd 6009.jpg


You can also find TMs of real half-tracks online, but all of the ones I've seen had very poor quality images, as if they were scanned for text rather than the photos as well. The most useful ones are TM 9-710 Basic Half-Track Vehicles (White, Autocar, and Diamond T) and TM 9-1710 Power Train (Axles, Transmission, and Propeller Shaft) for Half-Track Vehicles. The Tankograd book contains a lot of good scans of illustrations from these.
 
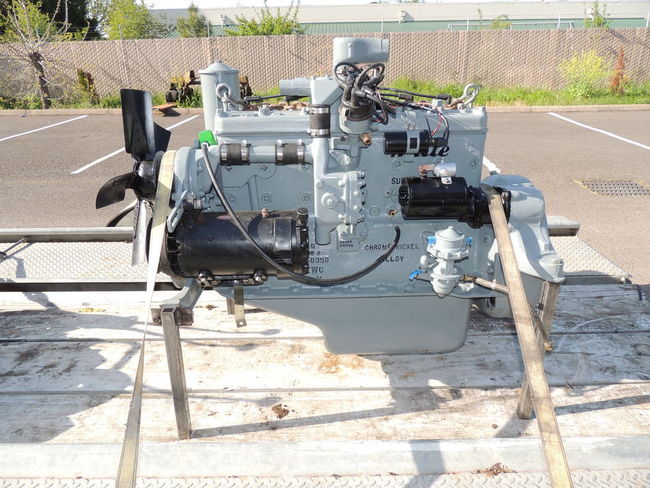
I found a long thread where a guy (who I admire) is restoring one of these. His work is a treasure to me for details! I understand the hazzards of using restored/museum images, but unless they are in direct opposition with historical images, I'll use them

Here's the thread on page-6.
https://halftrackinfo.com/index.php?topic=375.75

...and here's one example of his work that fits REALLY well with this kit.
1755381549453.jpeg

Right down to the black painted wording on the engine block!

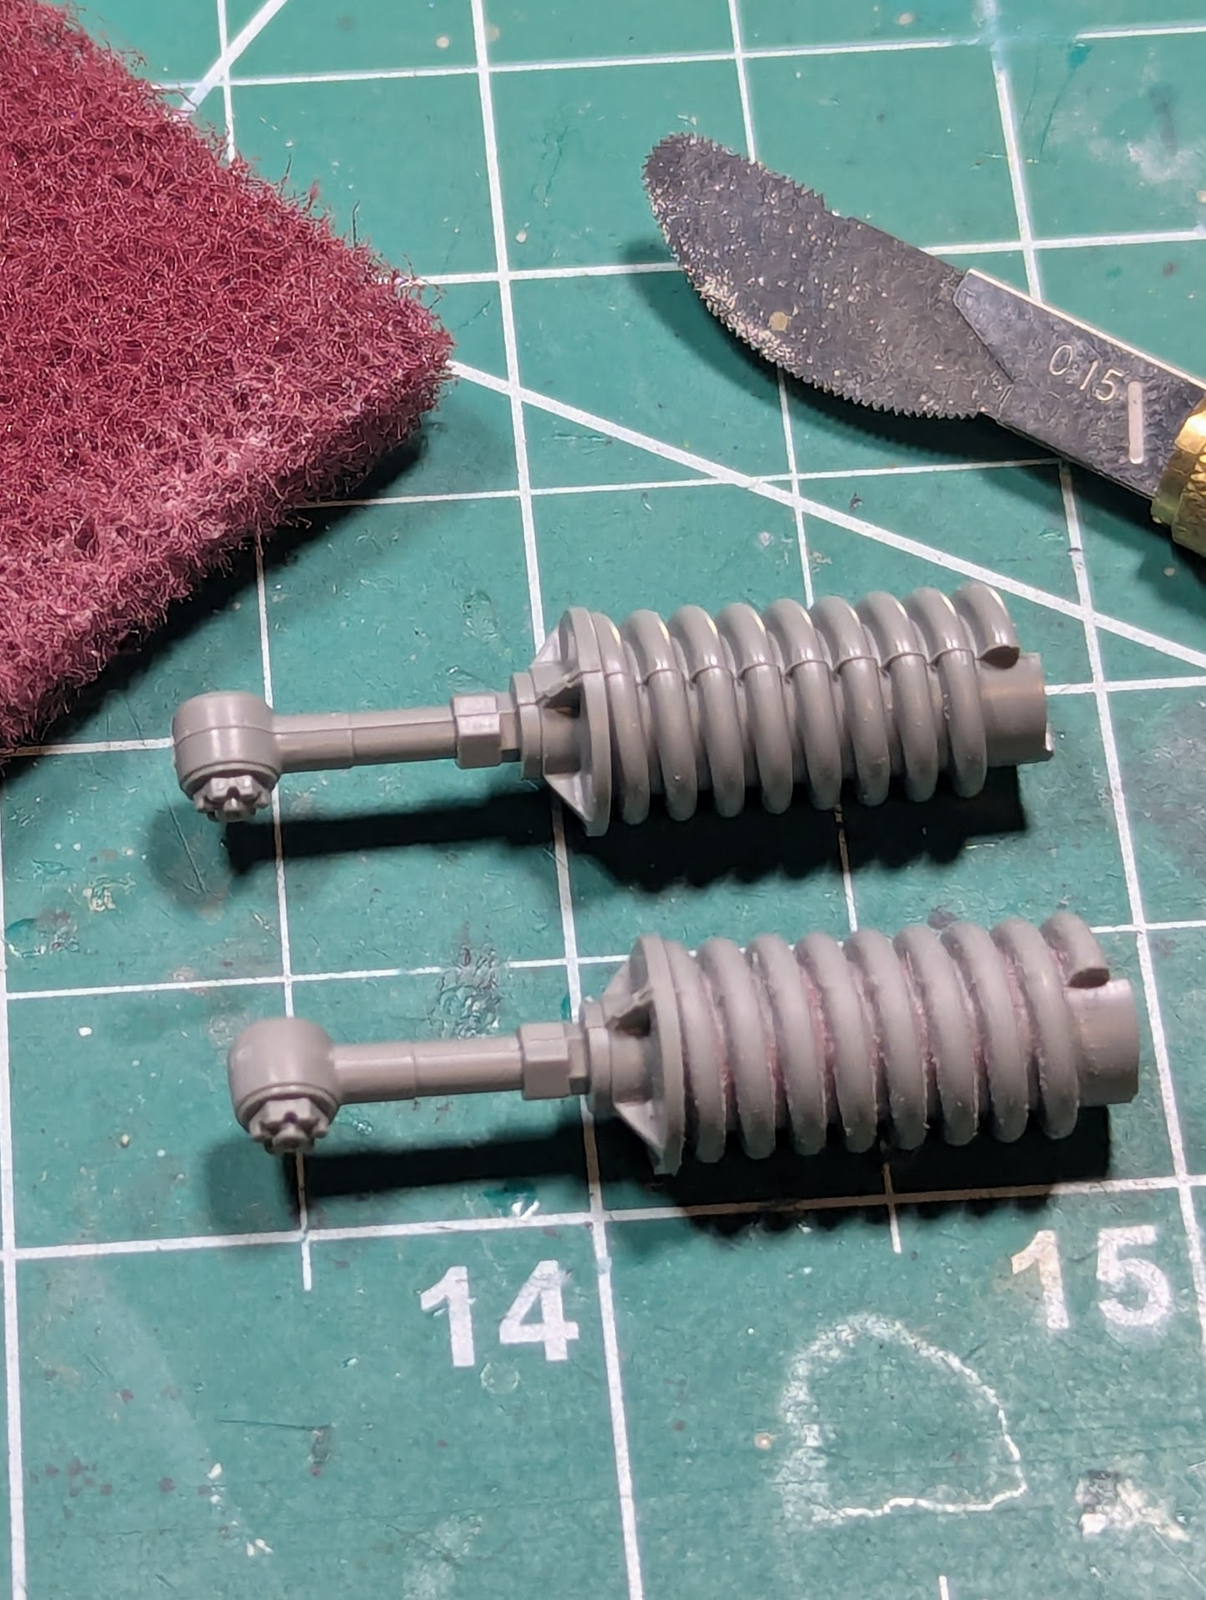
Assembly is underway. Overall I am very pleased. One thing I'd call out is there are seams on a lot of items cause by the two molds allowing some seepage. It is not "flash", much less severe, but it is almost everywhere. So parts cleanup is taking a lot of time. In many cases it is just time consuming; side-scraping with a #11 blade, or a low-grit sanding stick are working, in most cases. But there are exceptions, like the tensioner (?) springs for the running gear.

This is what I mean...

1755381805245.png


The effect is ubiquitous, but in the case shown above, quite difficult to remove. Here's a case where I said fuggetaboutit...

1755381983595.png

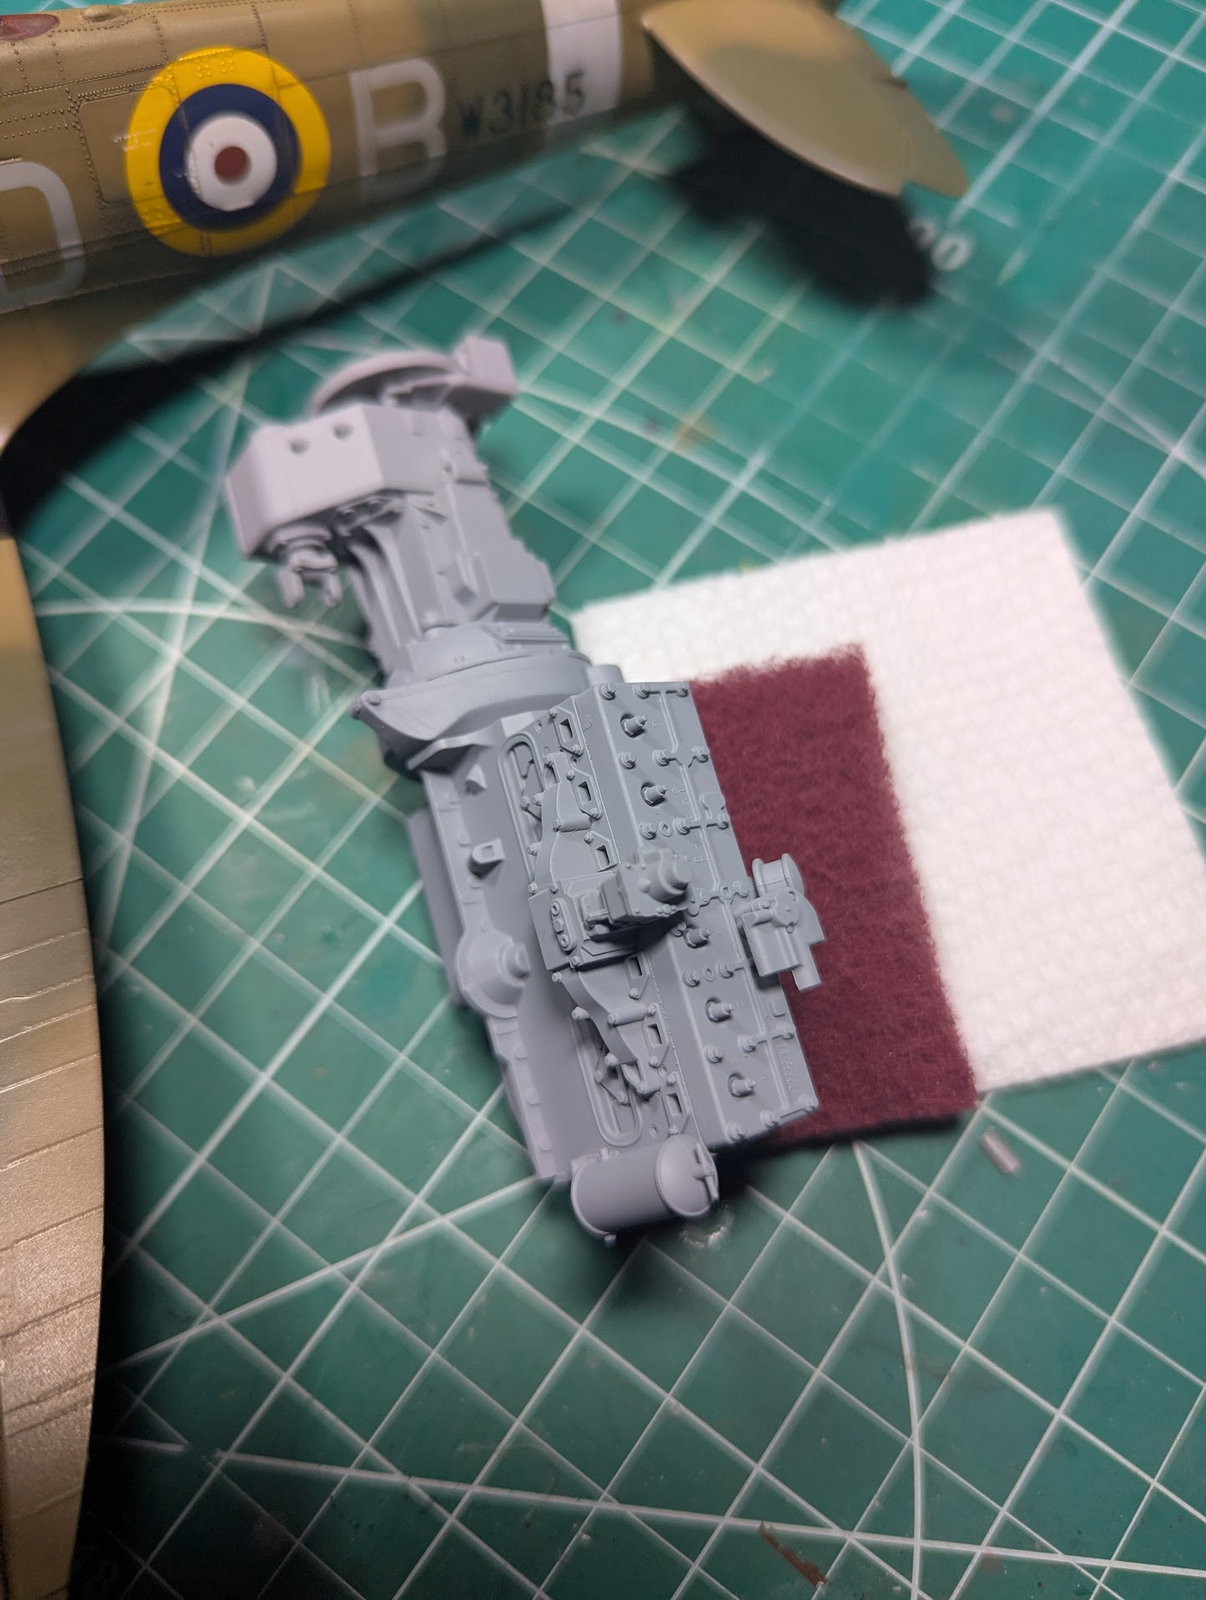
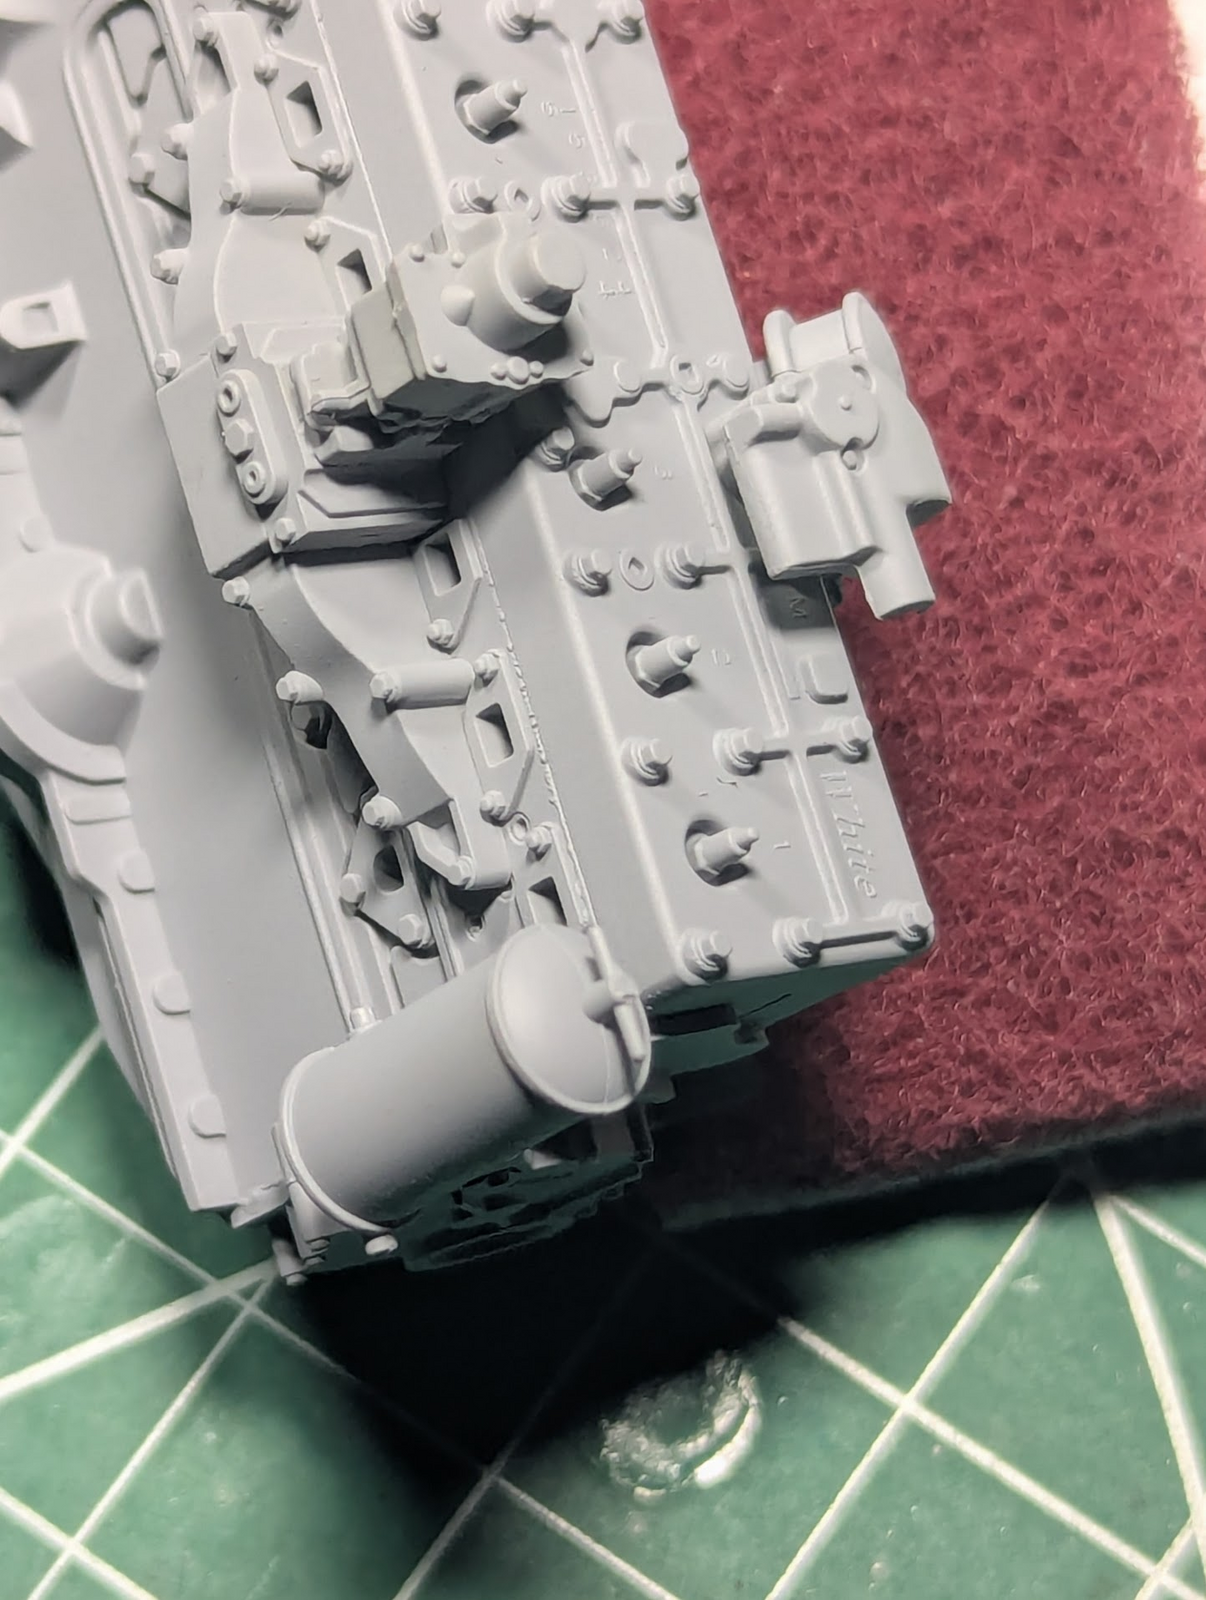
See that catch-can on the front of the inline-6?

Here let me zoom in...
1755382053013.png


I would try to remove it, but not underneath that handle on the top, it is very thin and easy to break.
 
the tensioner (?) springs for the running gear.
That's exactly what they are, yes. The original design had a (semi-)fixed idler wheel: it could be adjusted to properly tension the tracks, but that meant that with the suspension compressed, the track sometimes jumped off the idler. The solution proved to be to add a spring that pushes the idler to the rear. First they used a thin one, then later a double spring (a thick one over a thinner), which is what your model has.
 
As an Amazon Associate we earn from qualifying purchases. Product prices and availability are accurate as of the date/time indicated and are subject to change.
I have the Osprey book in hand, it is very nice, several color pages with profiles of actual versions. I was happy to note that there was a camouflaged M3A1 shortly after D-day, the kit's manual showed the only one that was not solid green was the M3 in Italy in 1943. It also illustrated some whitewashed versions that are extremely attractive subjects.

The one from Squadron, the "walk around" series will be here in less than a week. That is my favorite series of books from the 1990s, I have several in aircraft subjects.

I spent some time on the assembly, okay a lot. Learning fast hat these large ones are not necessarily easier than the small ones very quickly. But I always have to try to slow down, so I've put it aside again. Just want to show some progress being made.

1756157820067.png

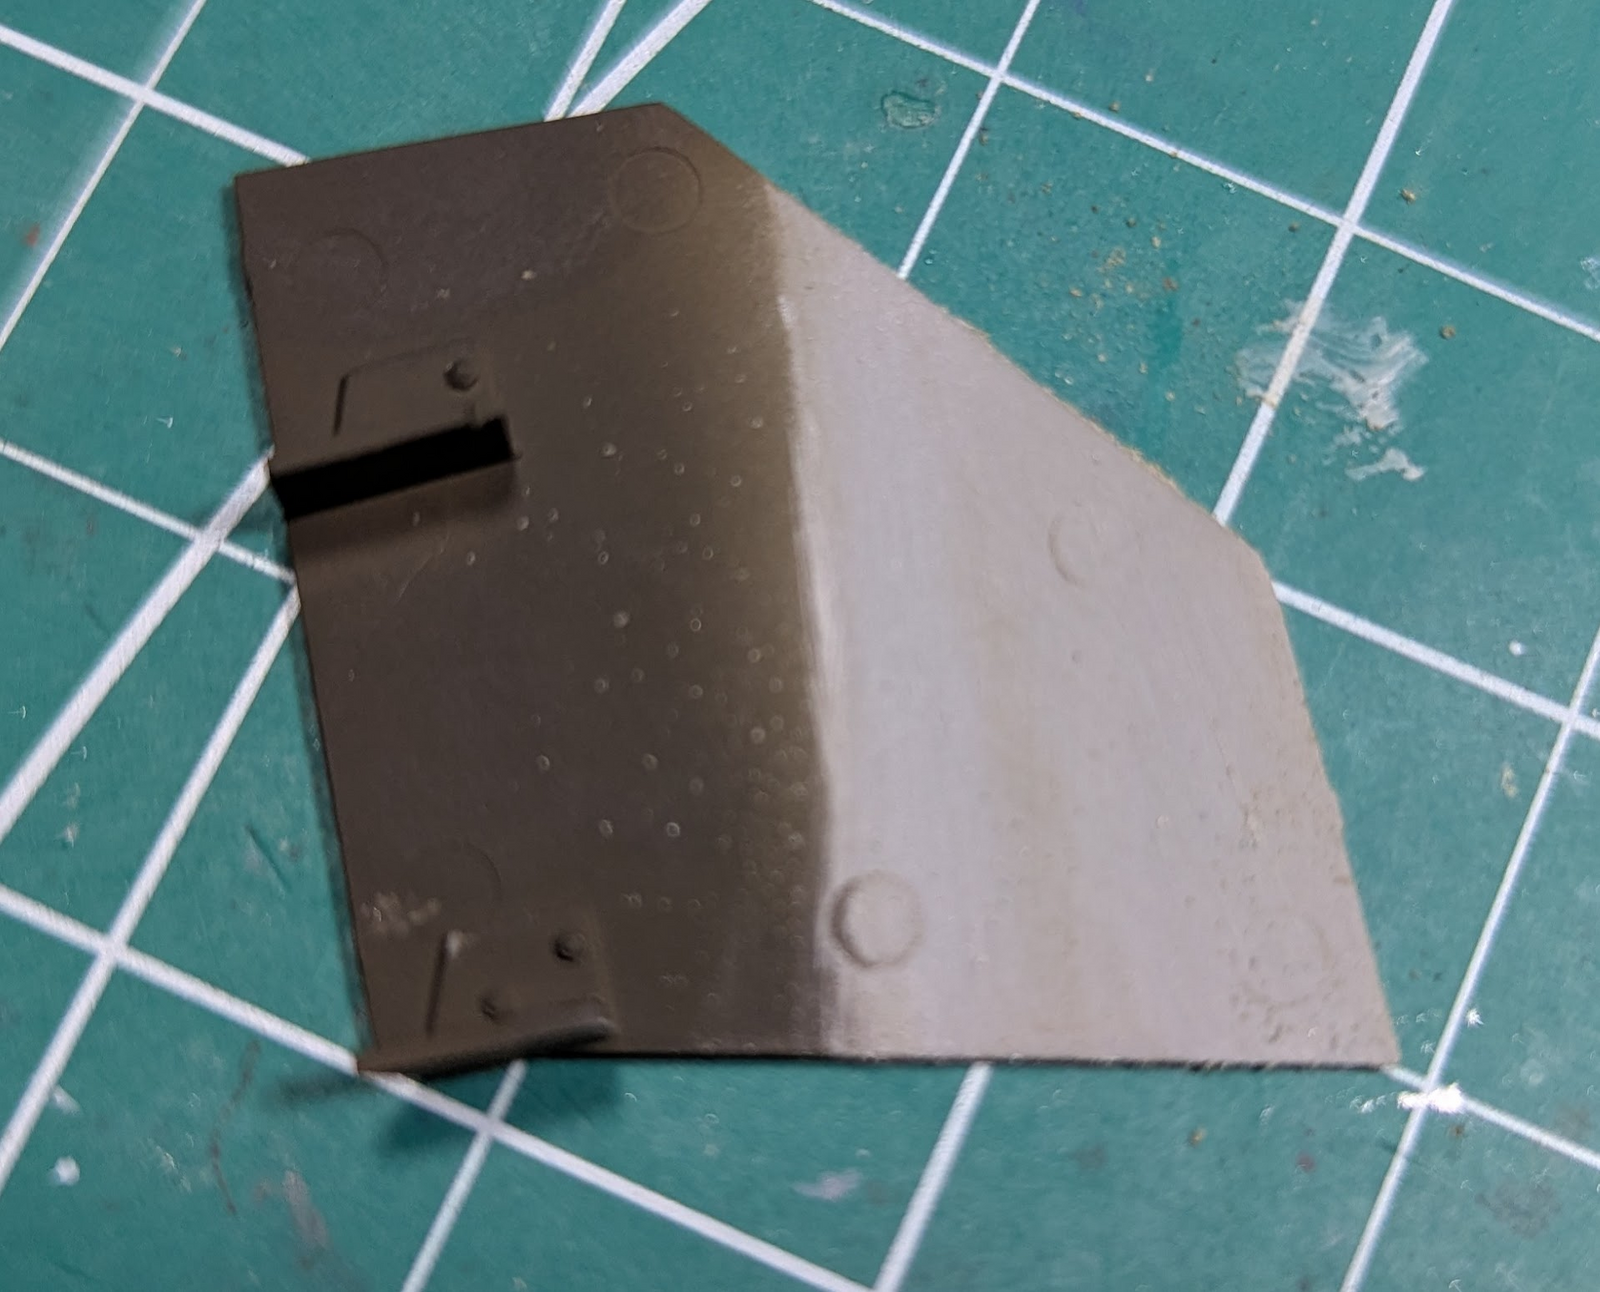
Apologies for the focus, or lack thereof. This one part of that part would be obscured by the frame once assembled. So I shot some OD int here before attaching it. Again, the camera shows things my poor eyesight is missing, took care of those ejector pin marks with sanding.

1756157933360.png

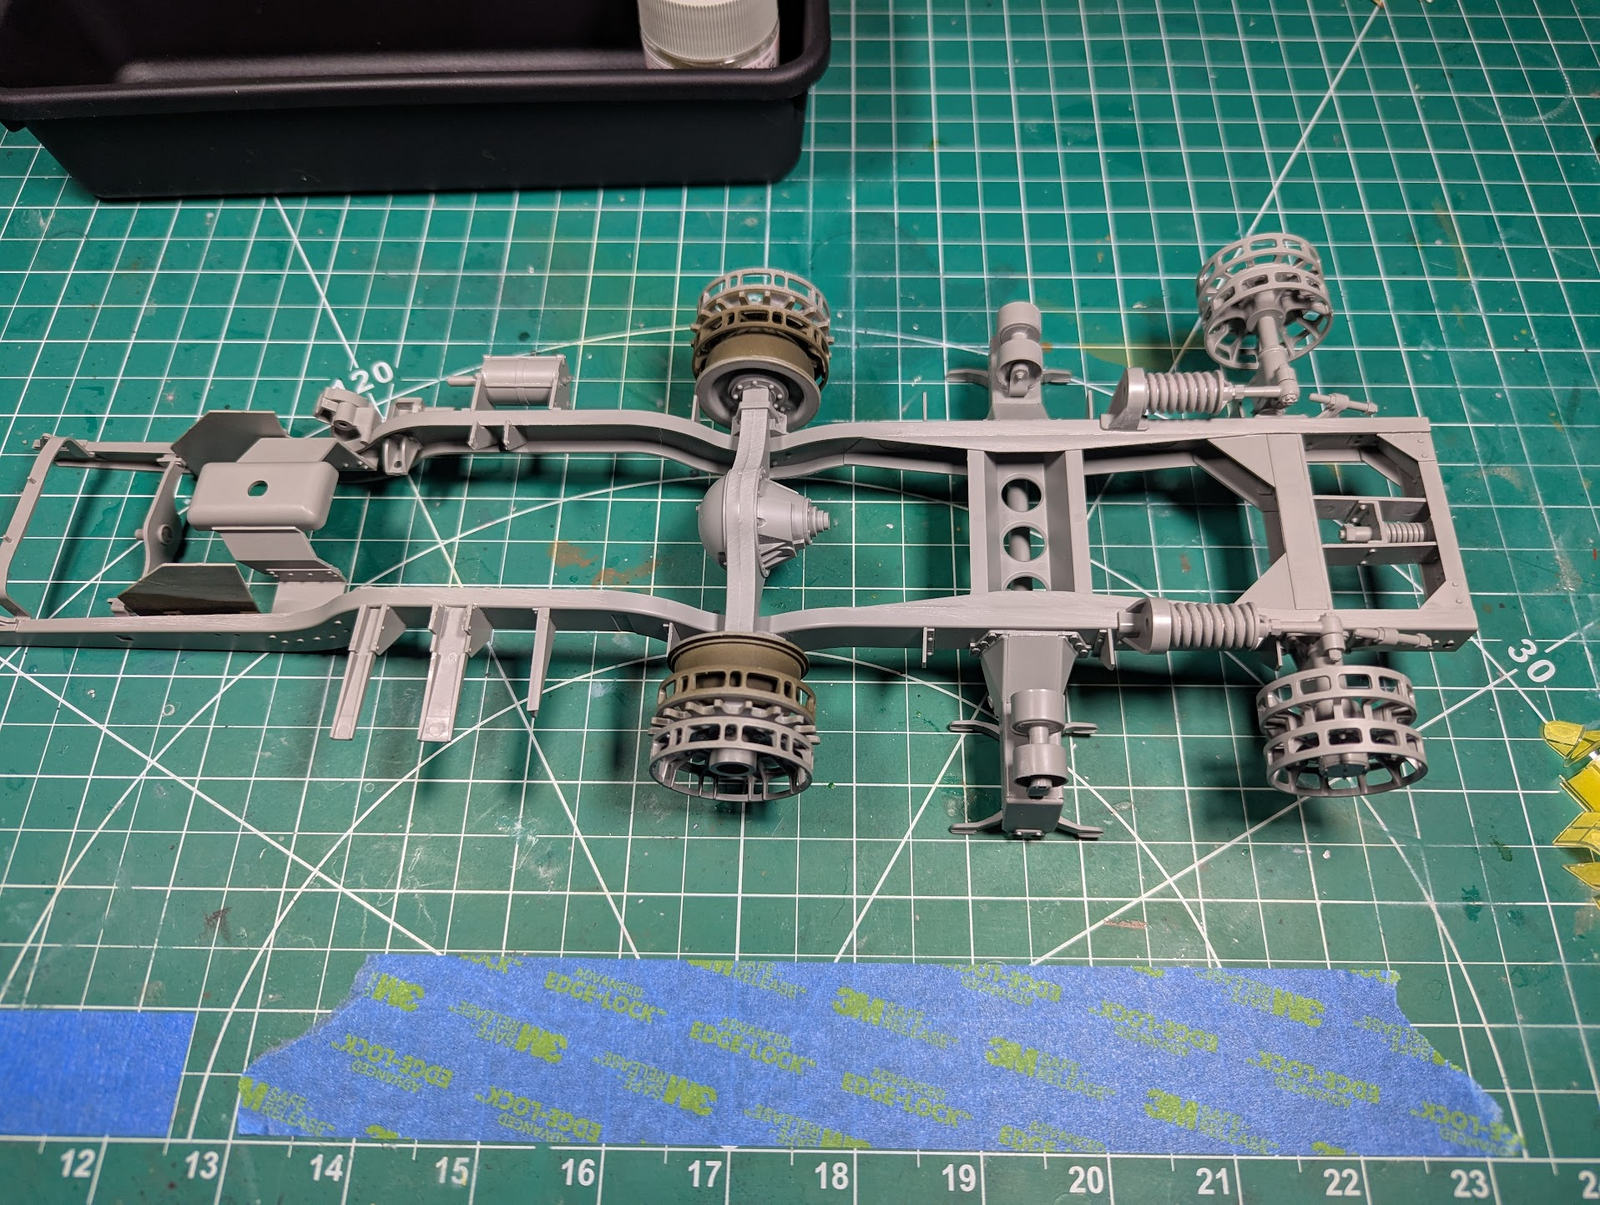
Current status (almost) of the frame. There's one serious issue shown there, do you see it?

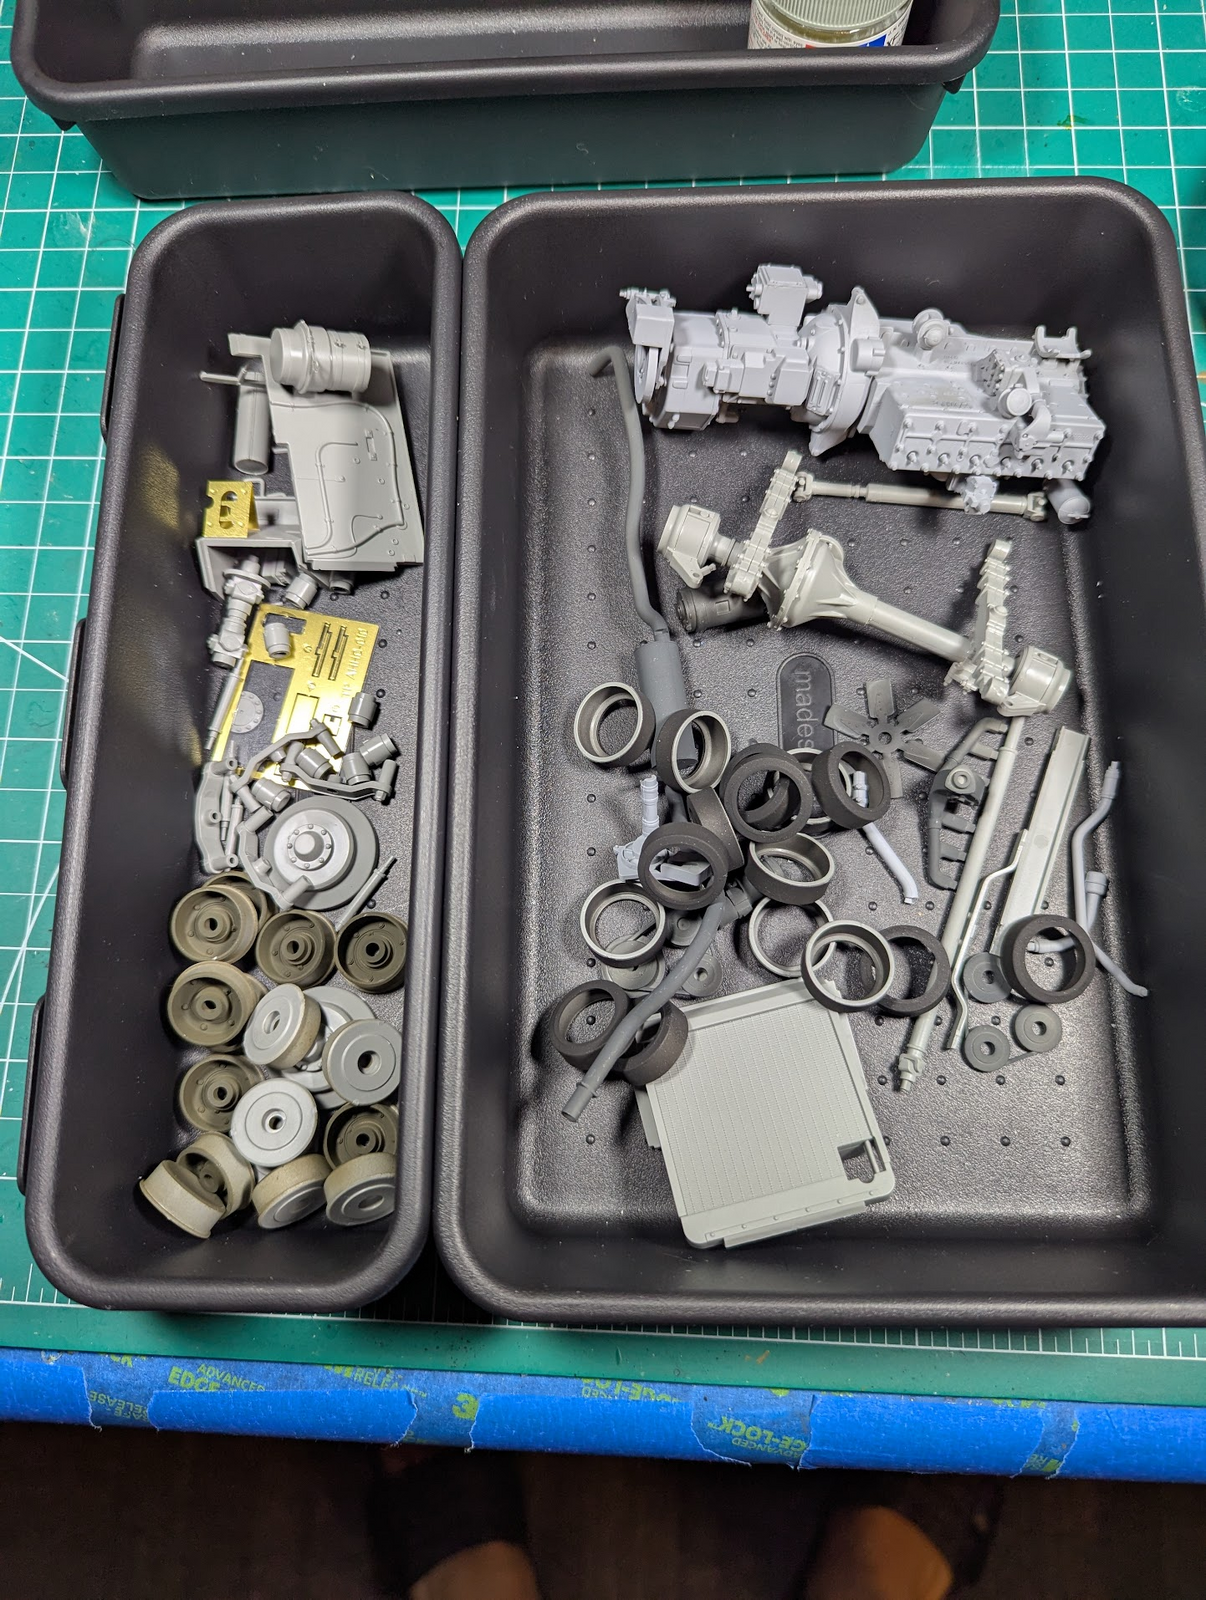
Organization is critical.

1756158003984.png
 
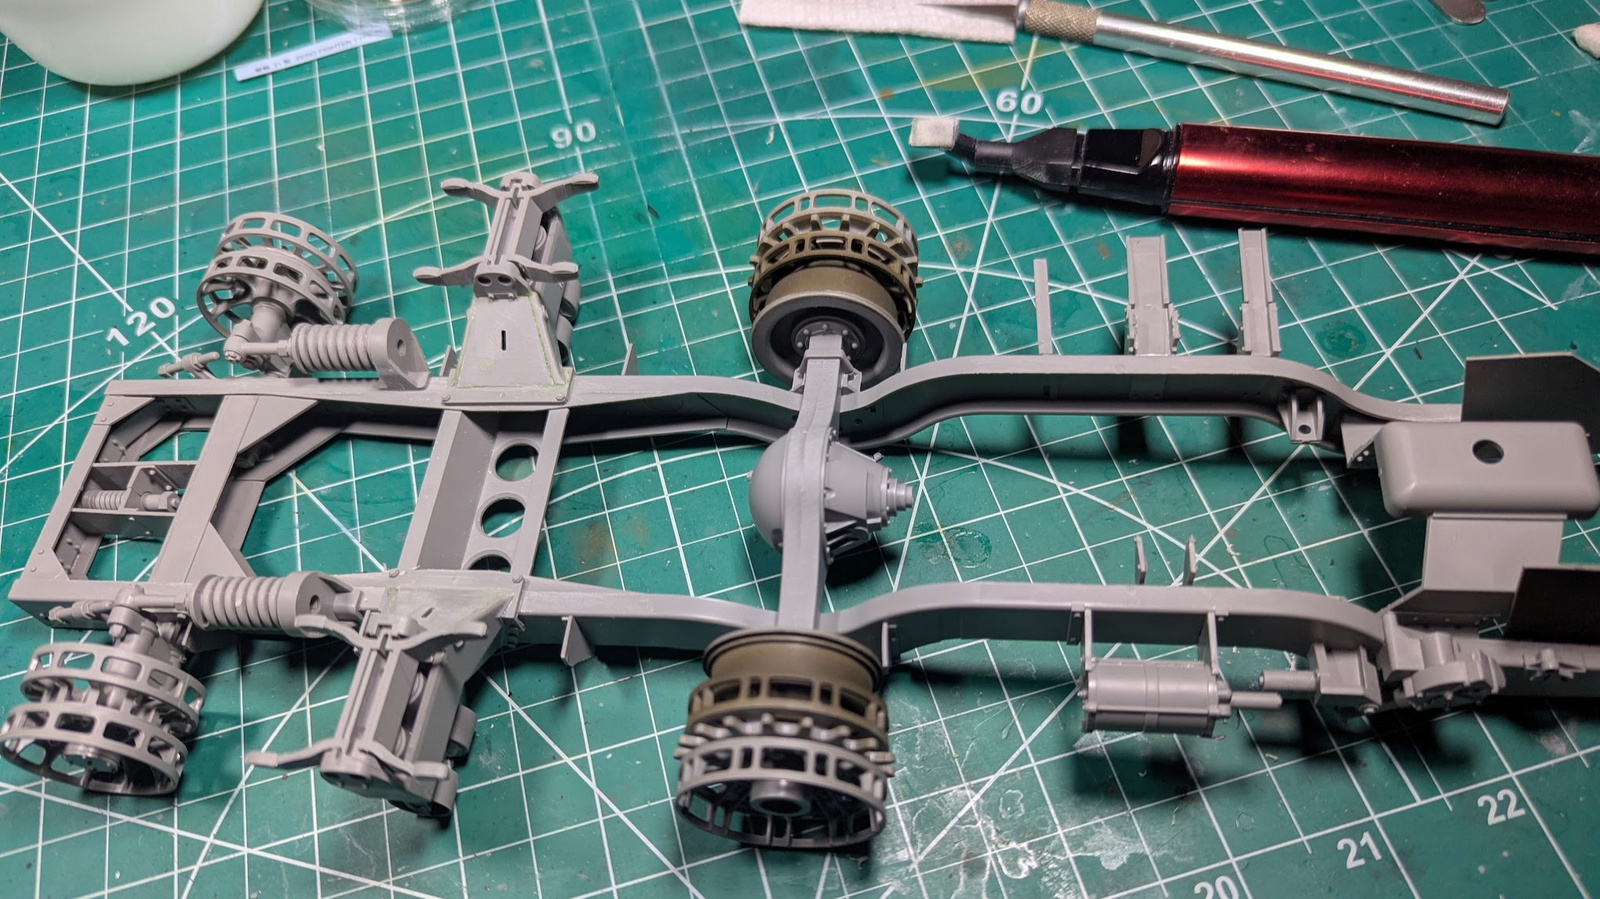
Yes, that axle is just resting there (bassackwards) in the pic, but the large mounting brackets for the road wheels are upside down and was glued. I fixed that before putting this aside to clear other WIPs.

But then it started bugging me, could hear the whimpers even with the closet door closed, so I fixed it.

1756238197010.png


Axle/diff is glued now, and I smashed some putty in some gaps where the two plates (ones with the notch) are.
 
Ah, of course … I was wondering if the idler springs were on the correct side, but put it down to not quite remembering correctly how they fit. I hadn't even noticed the whole chassis was upside-down, so the springs were in the correct position but the bogies weren't … :confused:
 
I'm an airplane builder at heart. The biggest issue with those being essentially symmetrical builds comes down to minutiae. Horizontal stabs being the most common, which are either negligible or irrelevant. I confess as well to being a mid-range builder, with mid-range skills, who might have bitten off more than I can chew with the 1/16th scale stuff (alert to @kevin here), but paying attention, and forcing myself to slow the eff down is still, one of my major challenges.

I'll get it right, eventually, and recovering from mistakes is part of the game right?
 
Last edited:
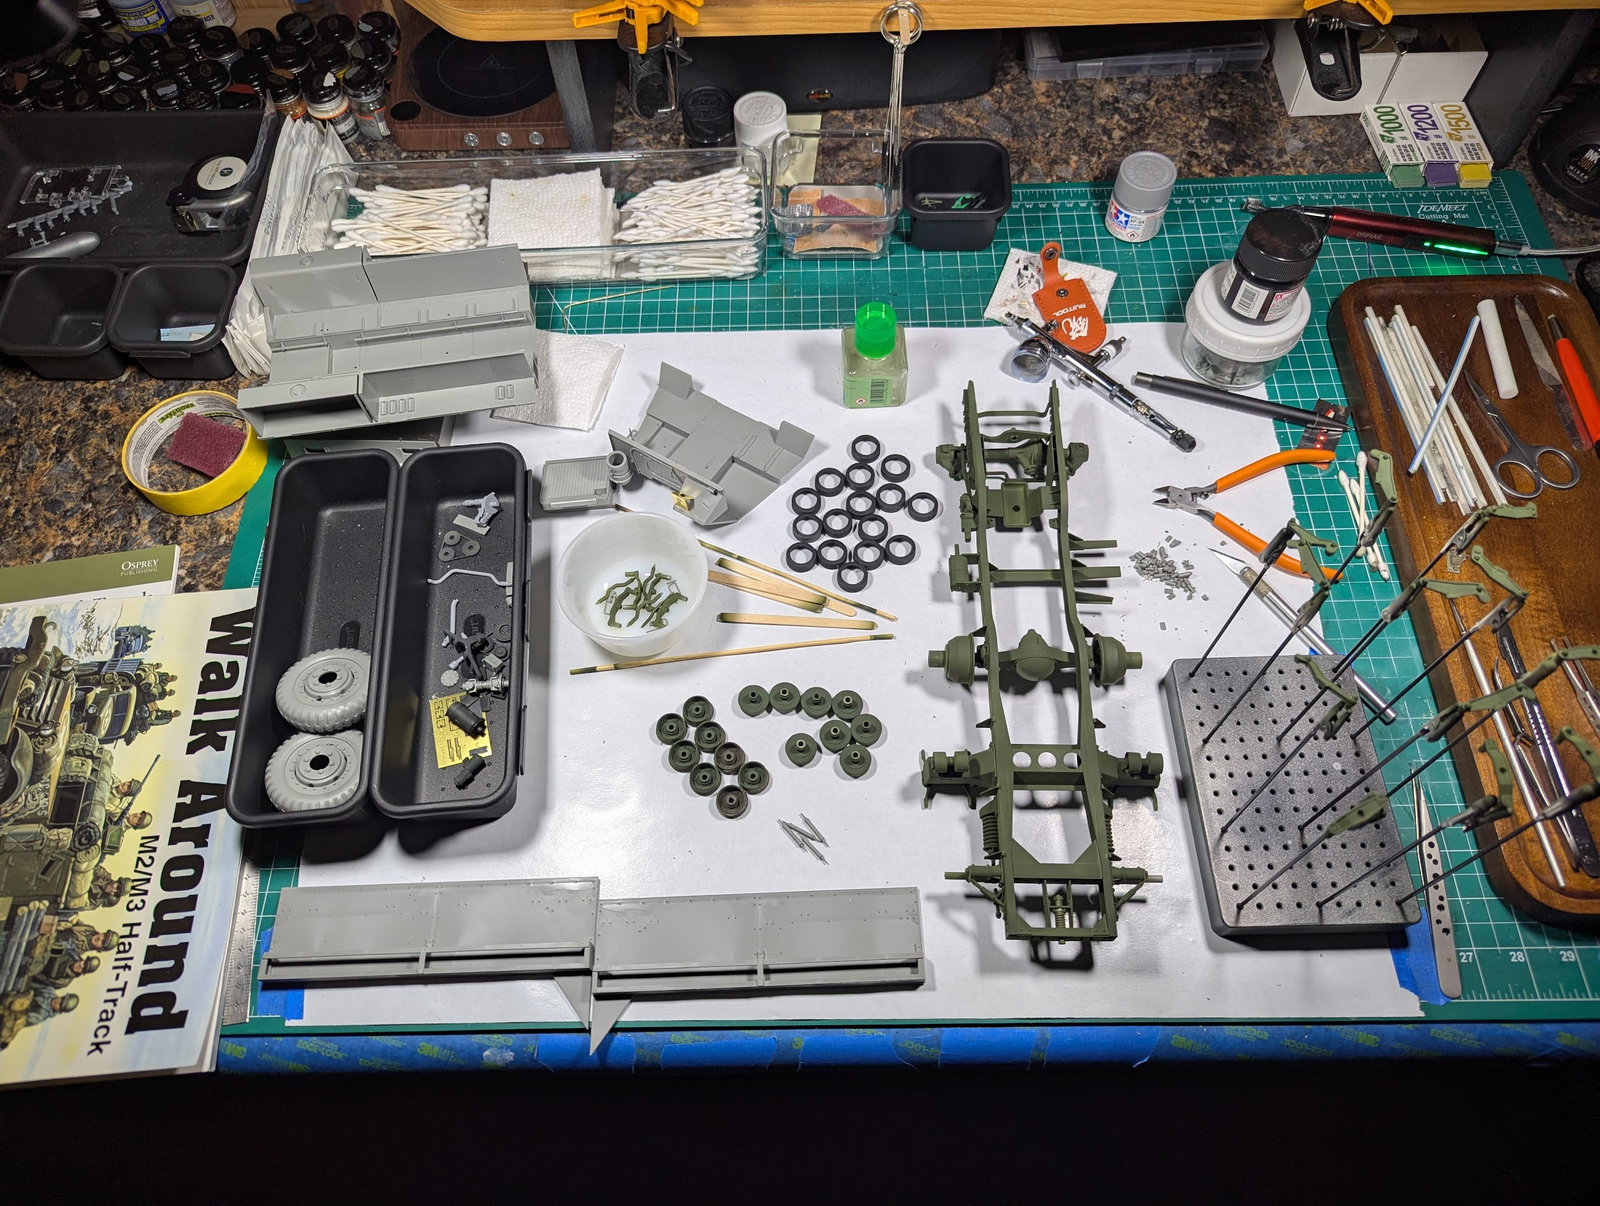
I'm still putting in some time on this kit, it is really a massive undertaking and expect it will take me many months.

Nice that the tyres are separate parts, that should make painting a lot easier.

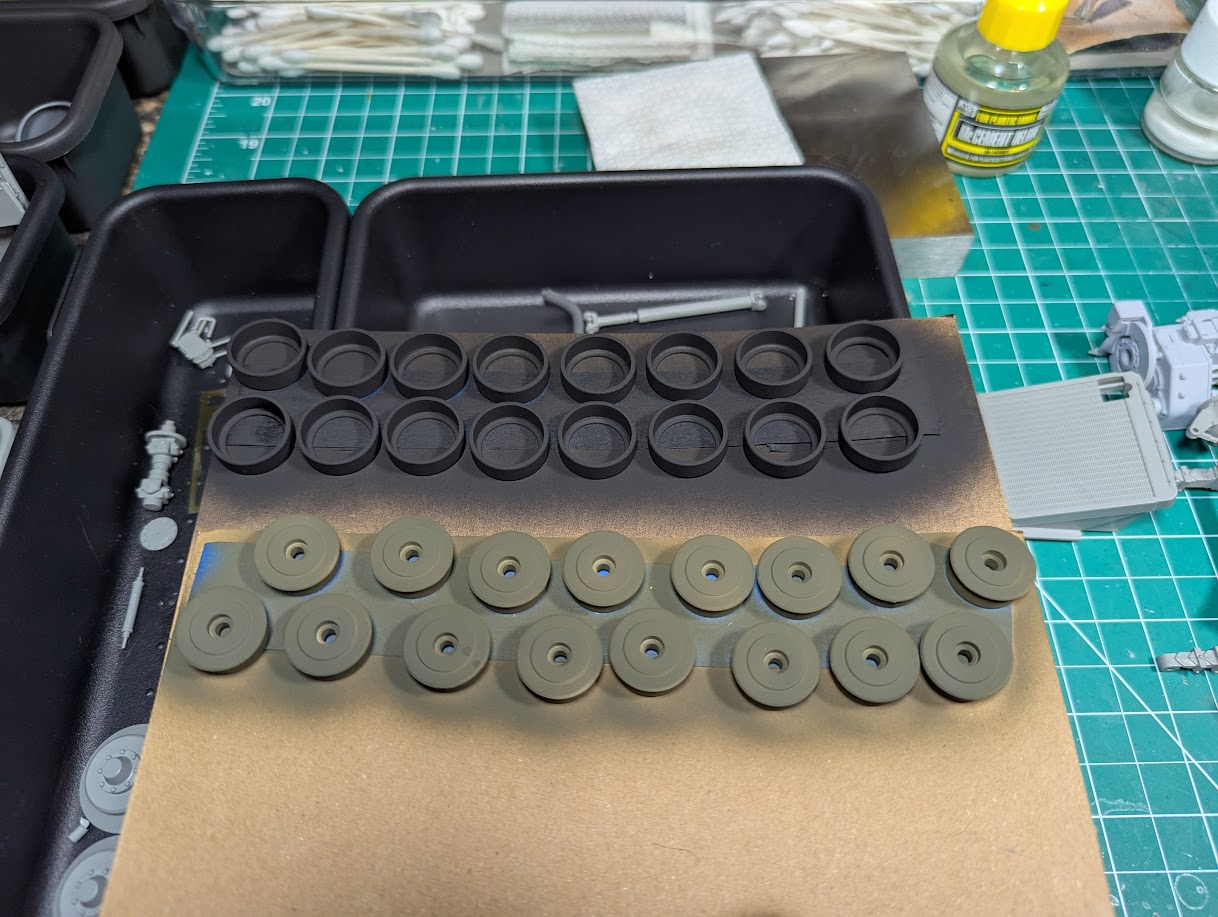
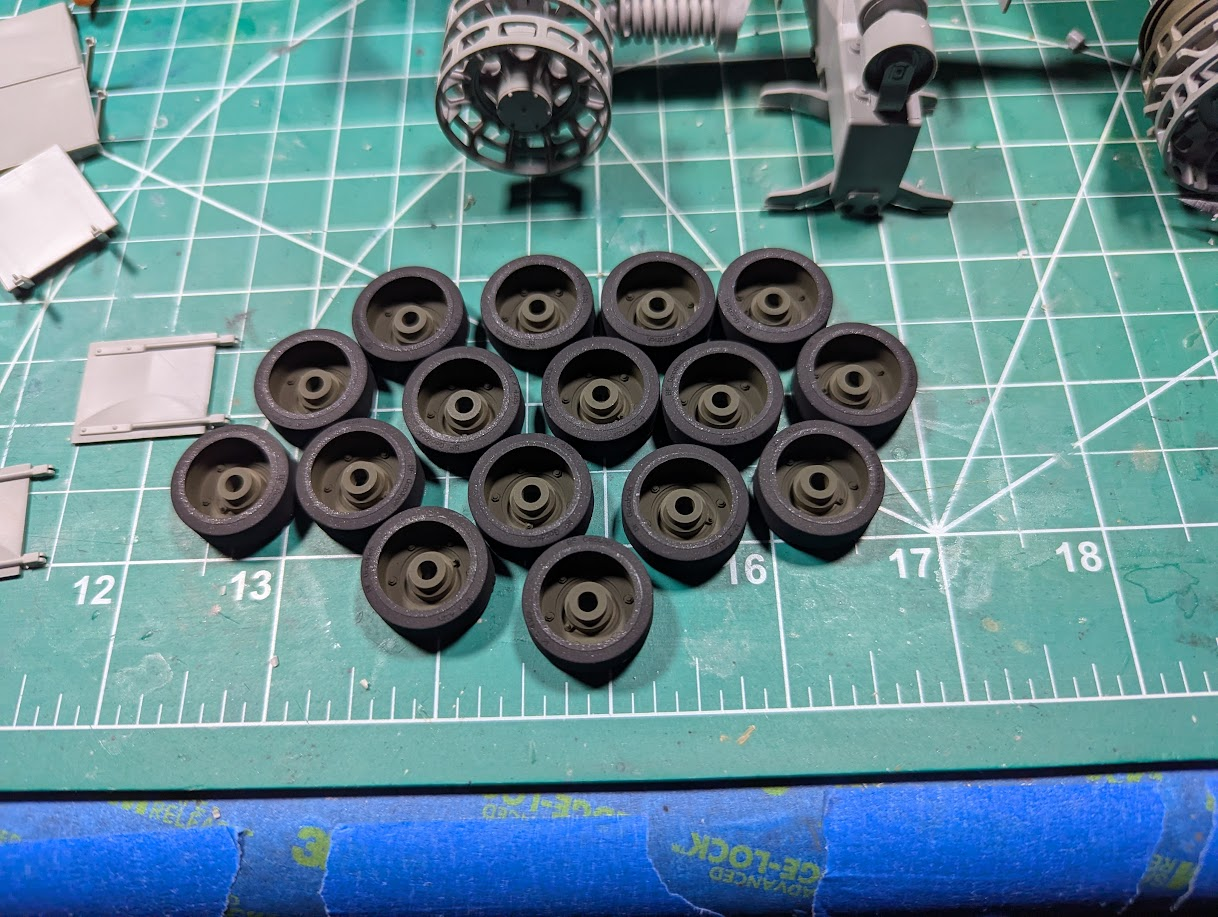
Definitely true, but you might notice my "olive drab" was a bit too olive. I thought it was dark when spraying, but it was not the right color. I've corrected that.

Nearly every part requires a lot of cleanup, and there are a LOT of parts. NUmbers do not bother me (a kit in my stash has 1,800+) and cutting sprue-gates is just normal, but most parts have seams, lots and lost of them. Not the aircraft seams where two parts connect, I mean molding seams.

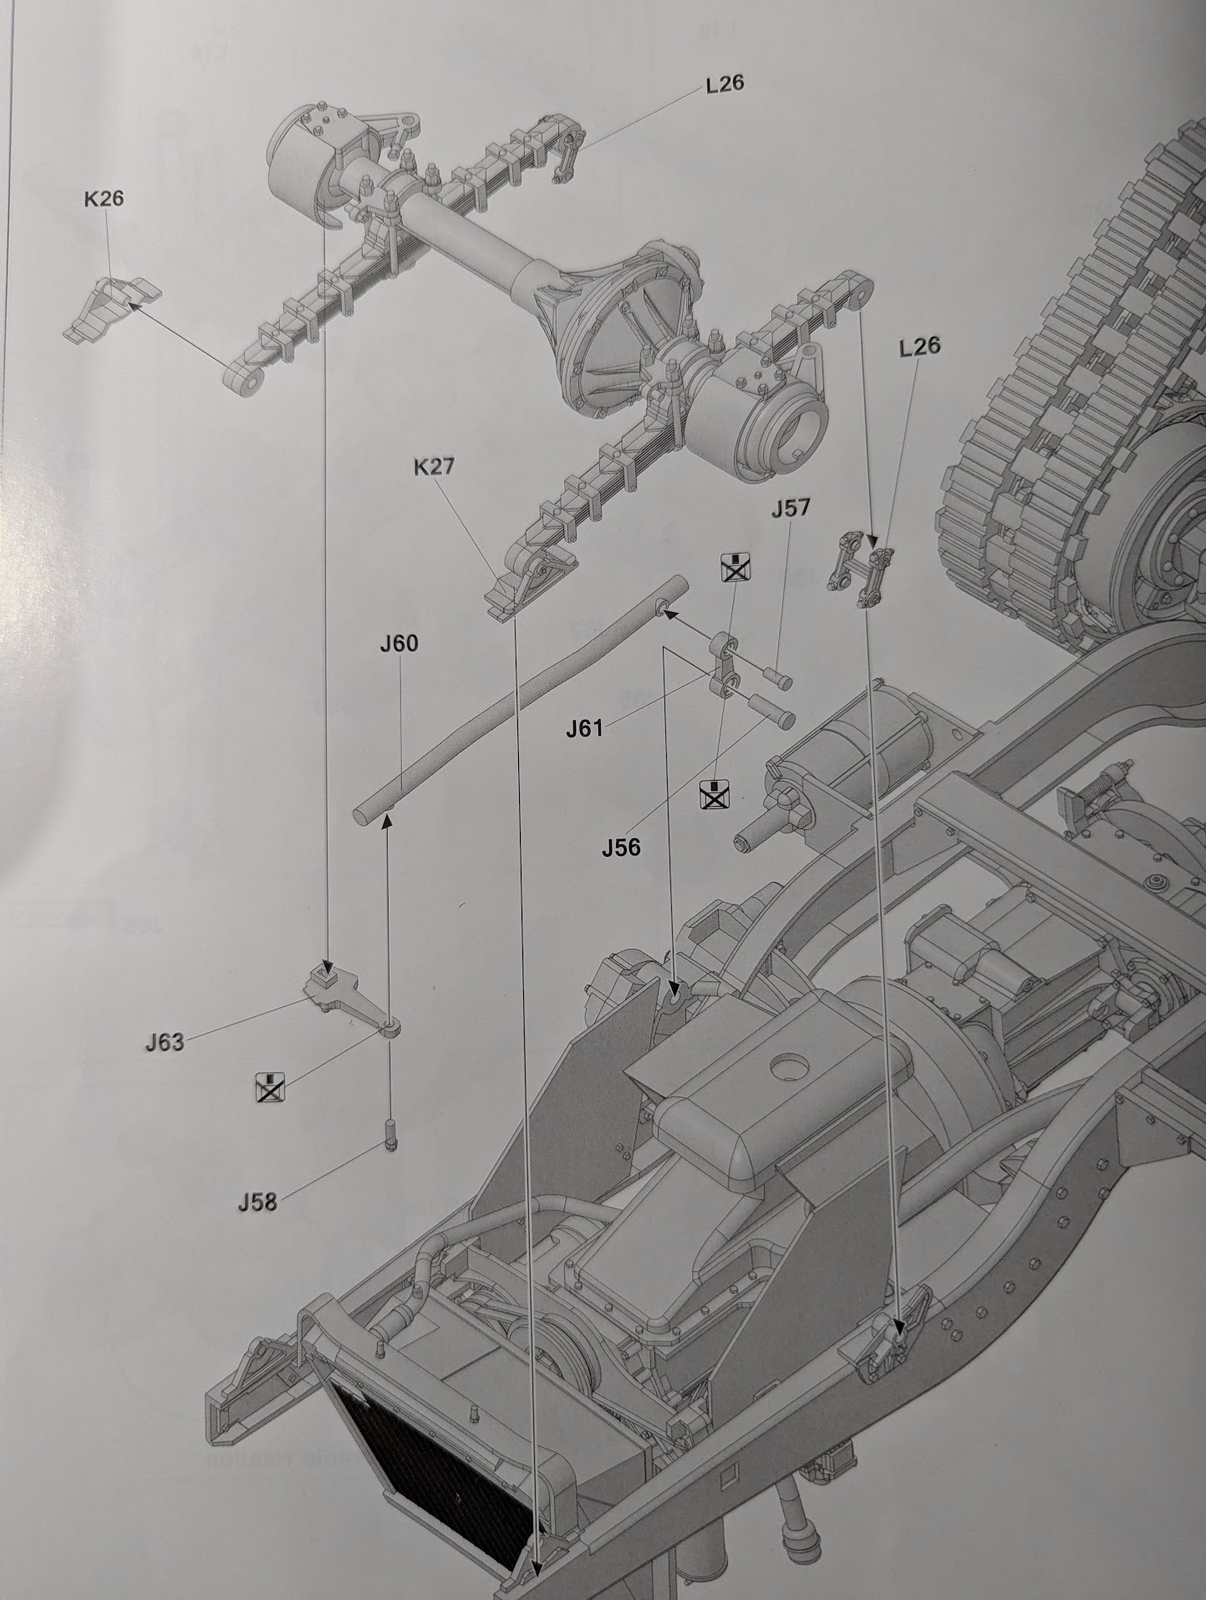
Assembly is not hard, the parts fit well, really good engineering, and the instructions are pretty good. I've recent experience with really bad ones (for aircraft...Academy, Hobby Boss, Trumpeter) and this is not bad. What I would complain about is probably 50% on me, I do not build armor much, but there are not many call-outs. Here's one example...

1759181689694.png


The two leaf springs shown above (no part #), I cut them both off (mistake) to assemble. Before using glue I test fitted, they are equal length, the U-bolt mount is right in the middle of both. What is not apparent is that K26/K27 do not fit in the same size hole as L26 does. Odds are 50% you'll get one installed backwards, and I did despite checking their length and center-mount before glue.

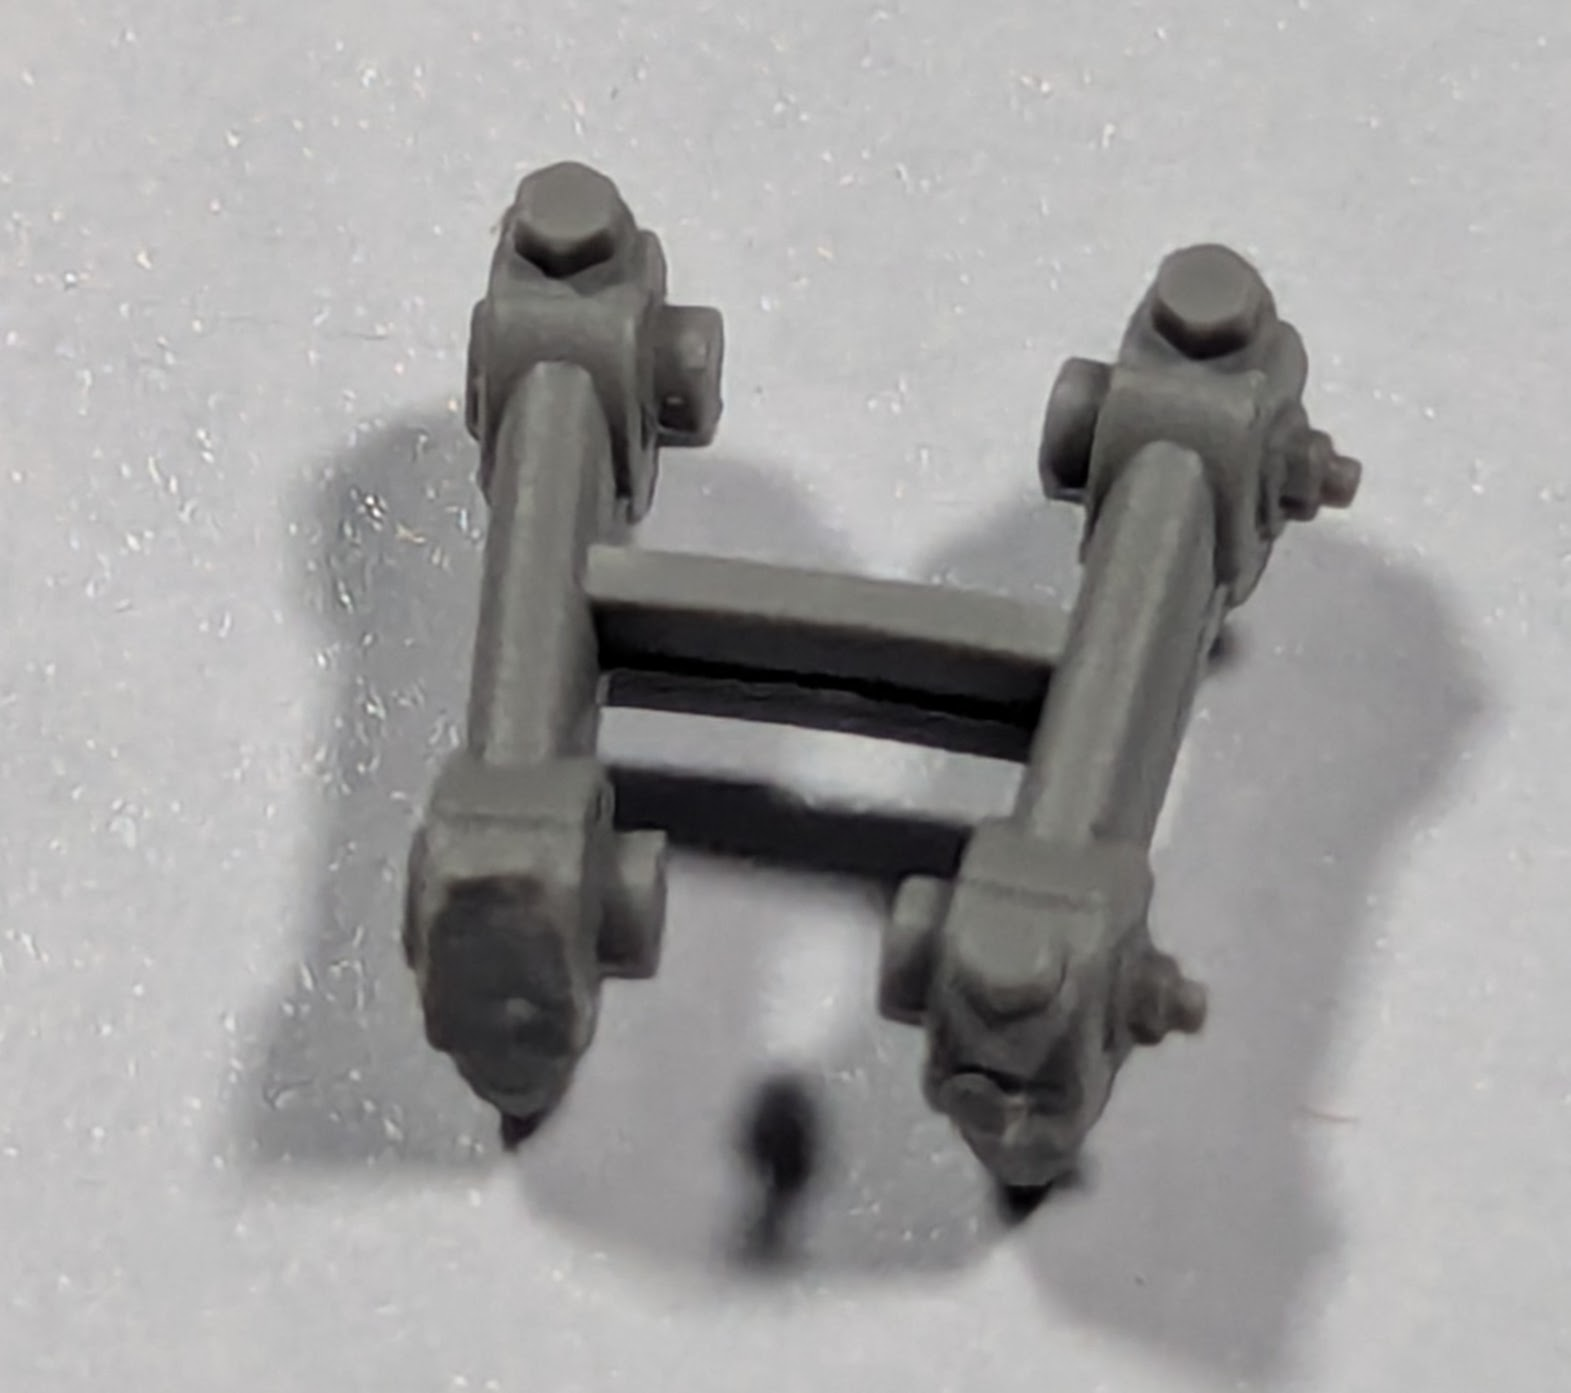
To make things a bit worse, theose L26 parts do not quite fit right either.

1759182081148.png


The top portion was made to fit the fram and the eyelet in the leaf, both required it to be stretched out (as seen) but that means the bottom part will never fit the other end. Had to cut the center to get them in there.

None of this is insurmountable, and I do enjoy a challenge. Maybe this is expected on such a complex 1/16 kit, who knows.

That said, progress continues.

1759182239603.png

1759182311535.png
 
Well, I never said I was an armor modeler, but at least I figured out my mistake the the greens. It is my fault of course, but there's "Olive green" and "Olive Drab" both of which are...green...sigh.

I read somewhere (I think it was in the instructions for this kit) that Tamiya XF from the bottle was correct, but I'm quesioning that. I know it is hard to tell from photos on the interwebs, but I think the drab (original photos) is too dark and the green (above) is too bright. Should I look into a cistom mix at this point? I guess a better way to ask is...what would you do?

I'm thinking most of what is painted will be covered by shadowns and weathering, so will probably leave it for the most part, but the upper sides I need to get right.
 
The thing is that olive green is a military green, but olive drab is more a greenish brown. Steve Zaloga wrote an article about the colour in Military Modelling over twenty years ago, which gives a good explanation of what the colour is and what it isn't, and also explains where some of the common misunderstandings of that come from.

For model paints, Mr. Aqueous H52 is apparently a pretty good match, though it can stand being desaturated a little, like by mixing in a small amount of sand-coloured paint. The article recommends Tamiya XF-62 as the best colour straight from the bottle, but that's no longer the case: the shade of that paint has changed a few times over those 20+ years, and what you buy in an XF-62 bottle now is not the same colour as back then.
 
...my two cents, from my own limited experience, using a brush, when not wanting to repaint entirely, is to experiment with filters or suitably thinned colors that will pull the hue in the direction I'm looking for.
As you seem most concerned with the upper surfaces, that is a bonus, because you can also slightly lighten it at the same time, much like you would on a plane.
Granted, this approach is easier with desert colours, but I have had some success with the darker greens and drabs.
 
I was looking at this new kit, but not available in Europe, at least at this time..
 
And a question: I thought Andy's Hobby was a reseller, not a manufacturer. It also says Takom on the box...??
 
I was looking at this new kit, but not available in Europe, at least at this time..
MBK says "Trifft voraussichtlich Mitte / Ende November 2025 bei uns ein" so I guess you need about two months' patience :)

And a question: I thought Andy's Hobby was a reseller, not a manufacturer. It also says Takom on the box...??
It's a Takom product, but Andy's Hobby Headquarters has some kind of deal/partnership with them to have their name on the box. I'm guessing it's similar to Das Werk (which is an MBK subsidiary) in this respect.
 
Andy himself relased a "build" video recently.


He mentioned they were sold-out in Europe but that another container ship was on the way somewhere in there :-)

The problem I have with watching the video is now I need stowage/gear. Figures are scarce too, the one with the kit is excellent but the pose is a bit odd. You can see Andy had someone paint his figure (very well) but he has the passenger window closed which makes the pose even weirder.
 
Edbert, please continue posting the challenges you face. I will follow your steps!
 
The article recommends Tamiya XF-62 as the best colour straight from the bottle, but that's no longer the case: the shade of that paint has changed a few times over those 20+ years, and what you buy in an XF-62 bottle now is not the same colour as back then.
I think this explains it. Do not remeber where I rerady that XF-62 was correct, but after applying it I did not agree. Will work on a custom color that "feels" right to me and proceed.
when not wanting to repaint entirely, is to experiment with filters or suitably thinned colors that will pull the hue in the direction I'm looking for.
Yup! I might do a slight overspray that way on the lower bits just in case the mismatch ends up being a glaring issue. I'm also topying with the idea of a winter white-wash and do something from the Bulge or Bastogne time period. I don't want to offend those with extreme historical correctness so might do something from Feb-45-ish when the white was wearing off. Who knows, that is likely many months away and I change my mind hourly :-)
And a question: I thought Andy's Hobby was a reseller, not a manufacturer. It also says Takom on the box...??
You are correct on both. Takom is the actual manufacturer, Andy runs a Hobby Shop in Arizona, this is a collaboration effort. Not the first, he has a few 1/16th kits in the catalog. Two different (slightly) Shermans, a Tiger-I, an M113 and I think a M8 Greyhound too.
 
Edbert, please continue posting the challenges you face. I will follow your steps!
Here's another minor one...

I had trouble forcing the U-bolts into the brackets on the front axle, actually broke one by pushing too hard, so I drilled out the holes in the brackets just a little and they fit right in.
 

Latest posts

Back
Top