1/144th Prometheus scratch build
- Thread starter The Nylon Gag
- Start date
The Nylon Gag
New Member
- Joined
- Nov 14, 2011
- Messages
- 829
LrdSatyr8 said:Love it bro! One question... where did you get the detailed photos for your build?
Thanks everyone
http://digitawn.co.uk/prometheus-wip-2.html
enjoy mate
Gag
NecronautDrummer
Member
- Joined
- Sep 25, 2011
- Messages
- 804
Excellent work here, as always. I love the warm yellow glow of the zillion watt LED's for the engines! 
Quick question: how do you cut your circles out of styrene sheet? Cool tool or technique, or just "very carefully"?
Quick question: how do you cut your circles out of styrene sheet? Cool tool or technique, or just "very carefully"?
The Nylon Gag
New Member
- Joined
- Nov 14, 2011
- Messages
- 829
Evenin all,
Thanks guys much appreciated.
The full array,
The one i use depends on the accuracy required and the surface/material to be cut.
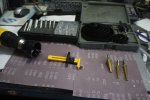
Lots and lots to get too, soooooooooooooooooooooooo......................... everybody ready
Standby
GO
Started work on the engine internals, basically a hinge mechanism to achieve the slight "in toe" it adopts when landed because i do plan to have both, "in flight" and "landed" options.
first i oval'd out the inner wall opening
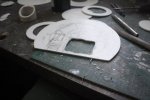
Fiddled until i got the angle looking right and attached the location sleeve
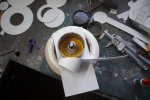
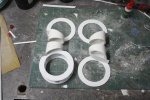
Made top and bottom rings and spacers
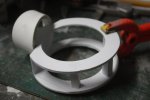
X four
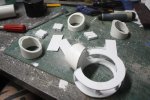
Two left, two right.
Dry fit
Straight
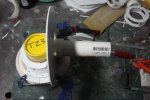
Angled
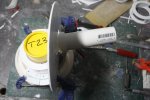
Prep the bottom of the outer ring
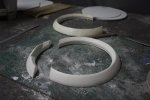
Outer support wall gluing
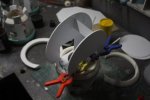
X four
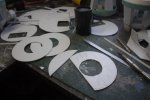
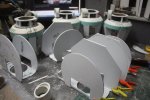
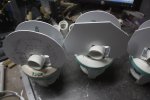
With shafts
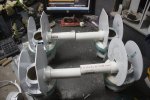
Complete assembly
Bulb holder and support ring
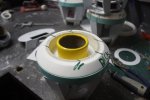
Rotating hinge
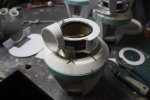
Inner wall
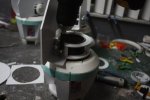
Outer wall
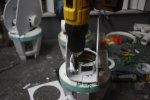
Dry fit with dome master as stand in
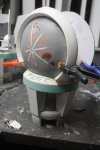
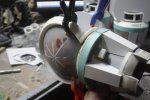
Engine pivot assembly
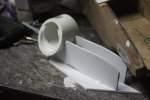
In position in the arm
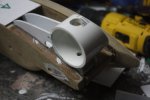
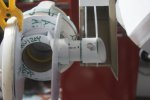
The story so far
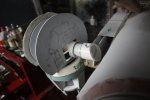
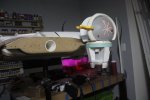
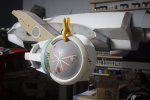
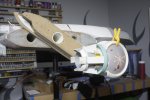
And thats it
Forgot to wish my Prometheus Happy birthday
Started on November 1st 2014
Have an all day session planned for saturday, my wife is busy all day.
hope to have all engines attached by next time
Thanks again for the support
Take care everyone
Gag
Thanks guys much appreciated.
NecronautDrummer said:Excellent work here, as always. I love the warm yellow glow of the zillion watt LED's for the engines!
Quick question: how do you cut your circles out of styrene sheet? Cool tool or technique, or just "very carefully"?
The full array,
The one i use depends on the accuracy required and the surface/material to be cut.

Lots and lots to get too, soooooooooooooooooooooooo......................... everybody ready
Standby
GO
Started work on the engine internals, basically a hinge mechanism to achieve the slight "in toe" it adopts when landed because i do plan to have both, "in flight" and "landed" options.
first i oval'd out the inner wall opening

Fiddled until i got the angle looking right and attached the location sleeve

Made top and bottom rings and spacers

X four

Two left, two right.

Dry fit
Straight

Angled

Prep the bottom of the outer ring

Outer support wall gluing

X four


With shafts

Complete assembly
Bulb holder and support ring

Rotating hinge

Inner wall

Outer wall

Dry fit with dome master as stand in


Engine pivot assembly

In position in the arm


The story so far


And thats it
Forgot to wish my Prometheus Happy birthday
Started on November 1st 2014
Have an all day session planned for saturday, my wife is busy all day.
hope to have all engines attached by next time
Thanks again for the support
Take care everyone
Gag
Mikey_W_1980
New Member
- Joined
- Jan 17, 2014
- Messages
- 229
Simply stunning!!
Huge progress there chap!!
I was wondering what you may be considering after this epic build?
May I suggest Serenity?
You skills would be perfect for such a boat.
Huge progress there chap!!
I was wondering what you may be considering after this epic build?
May I suggest Serenity?
You skills would be perfect for such a boat.
Chiefpettyofficer
...we all are victims of Shermans march to the sea
- Joined
- Dec 20, 2010
- Messages
- 904
Excellent work. Shes huge! 
The Nylon Gag
New Member
- Joined
- Nov 14, 2011
- Messages
- 829
Evening All,
Thanks for the kind words guys.
Hit 335 hours of work so far on this bad boy, really beginning to need details.
Ive decided that as this is only a water pistol Prometheus and not 100% cannon that i will be using artistic licence with some areas of the ships details and it's lighting effects.
You have been warned
Enough chit chat
Slush casting first attempt,
took the mold and sandwiched it between two boards with all thread on opposite outside corners.
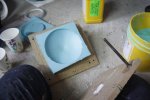
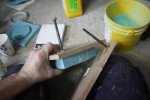
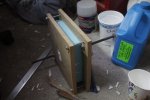
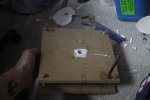
Pour hole.
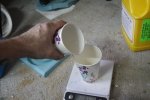
Weigh and mix my Smooth-on 300 and pour into the cavity
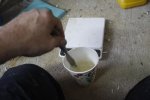
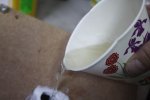
Spin by hand being mind full to coat all the right areas
Warning action shot
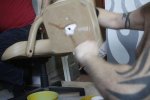
Keep it going
At least five minutes if you wait until the plastic/cup starts to warm up in your hand whilst you stir it, its all about timing.
Warning another action shot
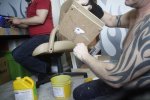
Leave for ten mins and then pop them out. It's a good upper body workout i tell ya. Hollow domes, need a bit of filling here and there but its a good base to start from.
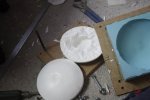
Together with nozzel
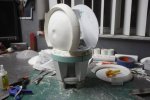
Moved on to the engine attacher thing
Made four
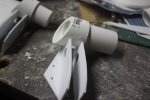
Cable access
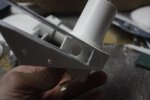
Dry fit
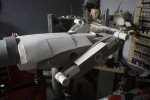
Money shots
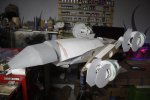
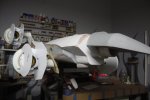
Started on the joint surround. took a while, one bondo disaster in the middle. epoxie problems. basically it was a complete pain in the buttarks
So here is a selection of pictures that require no words
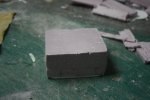
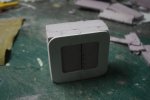
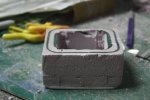
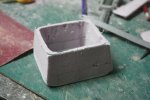
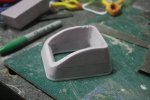
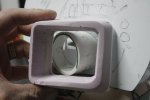
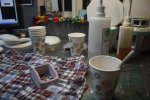
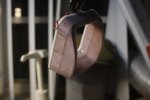
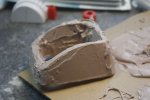
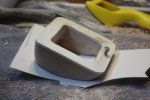
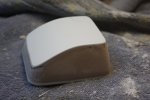
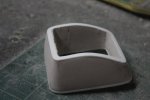
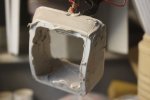
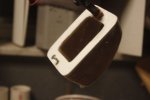
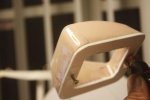
Needs only a final sand
Started on some of inner engine details, hoping to be casting these as small assemblies soon
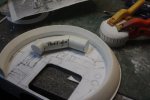
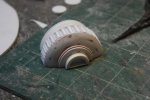
And thats about the size of it so far
Enjoy Episode 7 everyone
I'm doing a marathon of the Bluerays, the wifes away all weekend in New York, then i'll go see it in the middle of the night when it might be a bit quiter
Anyhoo
Take care my friends
Gag
OUT
Thanks for the kind words guys.
Hit 335 hours of work so far on this bad boy, really beginning to need details.
Ive decided that as this is only a water pistol Prometheus and not 100% cannon that i will be using artistic licence with some areas of the ships details and it's lighting effects.
You have been warned
Enough chit chat
Slush casting first attempt,
took the mold and sandwiched it between two boards with all thread on opposite outside corners.


Pour hole.

Weigh and mix my Smooth-on 300 and pour into the cavity


Spin by hand being mind full to coat all the right areas
Warning action shot

Keep it going
At least five minutes if you wait until the plastic/cup starts to warm up in your hand whilst you stir it, its all about timing.
Warning another action shot

Leave for ten mins and then pop them out. It's a good upper body workout i tell ya. Hollow domes, need a bit of filling here and there but its a good base to start from.

Together with nozzel

Moved on to the engine attacher thing
Made four

Cable access

Dry fit

Money shots


Started on the joint surround. took a while, one bondo disaster in the middle. epoxie problems. basically it was a complete pain in the buttarks
So here is a selection of pictures that require no words


Needs only a final sand
Started on some of inner engine details, hoping to be casting these as small assemblies soon


And thats about the size of it so far
Enjoy Episode 7 everyone
I'm doing a marathon of the Bluerays, the wifes away all weekend in New York, then i'll go see it in the middle of the night when it might be a bit quiter
Anyhoo
Take care my friends
Gag
OUT
The Nylon Gag
New Member
- Joined
- Nov 14, 2011
- Messages
- 829
Ello,
Not been about muchly
Been off the boil a bit,
Dry spell,
Just got into it again
Thanks for stopping by, very encoraging to know you guys are with me
Finally managed to get this bloody thing finished and molded
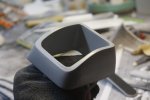
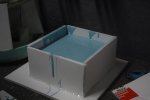
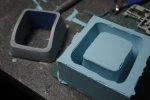
Also molded the top cap
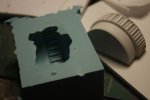
Bashed out four of each
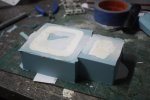
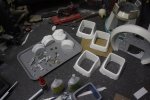
Then it was on to the best bit..................................................freesyle detailing.
Marked my canvas and began cutting relief so the tubes could be angled correctly
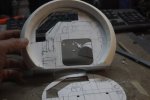
Then we were off and running
Used items i had four of in my scrap bins, i put three aside for the other engines
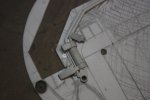
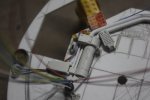
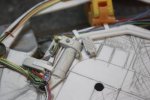
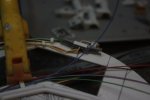
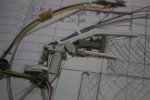
Started on the outer cylinder assembly
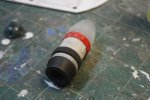
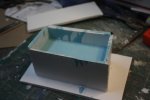
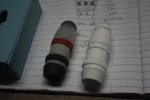
Like everything popped out four
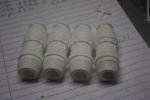
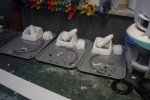
Tom's set, Dick's set and Harry's set.
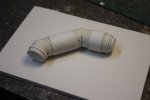
Main tube
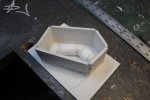
Ready to mold
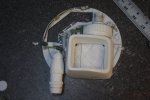
Beginning to fit all the castings together with the detail assembly
Dry fit
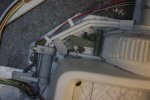
And thats all she wrote
Cheers
Stay frosty
Gag
Not been about muchly
Been off the boil a bit,
Dry spell,
Just got into it again
Thanks for stopping by, very encoraging to know you guys are with me
Finally managed to get this bloody thing finished and molded


Also molded the top cap

Bashed out four of each


Then it was on to the best bit..................................................freesyle detailing.
Marked my canvas and began cutting relief so the tubes could be angled correctly

Then we were off and running
Used items i had four of in my scrap bins, i put three aside for the other engines


Started on the outer cylinder assembly


Like everything popped out four

Tom's set, Dick's set and Harry's set.

Main tube

Ready to mold

Beginning to fit all the castings together with the detail assembly
Dry fit


And thats all she wrote
Cheers
Stay frosty
Gag
Jason Abbadon
Member
- Joined
- Nov 1, 2015
- Messages
- 139
Damn impressive. I'm always fascinated by expert scratchbuilding skills and this certainly qualifies!
Cave_Dweller
New Member
- Joined
- Mar 18, 2011
- Messages
- 812
Good to see you're making headway on it. Quite a massive project, and I can only imagine how much patience it would take to get the bulk forming work done while you want to just add details and do the fun parts.
Similar threads
- Replies
- 4
- Views
- 840
