Jantk14
Well-Known Member
I feel your frustration with decals.Now I know why I prefer ship's to aircraft, alot less decals.
I am happy for hours doing PE but decals just frustrate me beyond belief. Pantherman
View attachment 193527

I feel your frustration with decals.Now I know why I prefer ship's to aircraft, alot less decals.
I am happy for hours doing PE but decals just frustrate me beyond belief. Pantherman
View attachment 193527

Some are tough as nails and others just disintegrate in front of your face. At least with PE you have a chance. PanthermanI feel your frustration with decals.
Tell you what, since I like doing decals, come over to my house for a weekend and organize my work station and I'll do your decals!Some are tough as nails and others just disintegrate in front of your face. At least with PE you have a chance. Pantherman
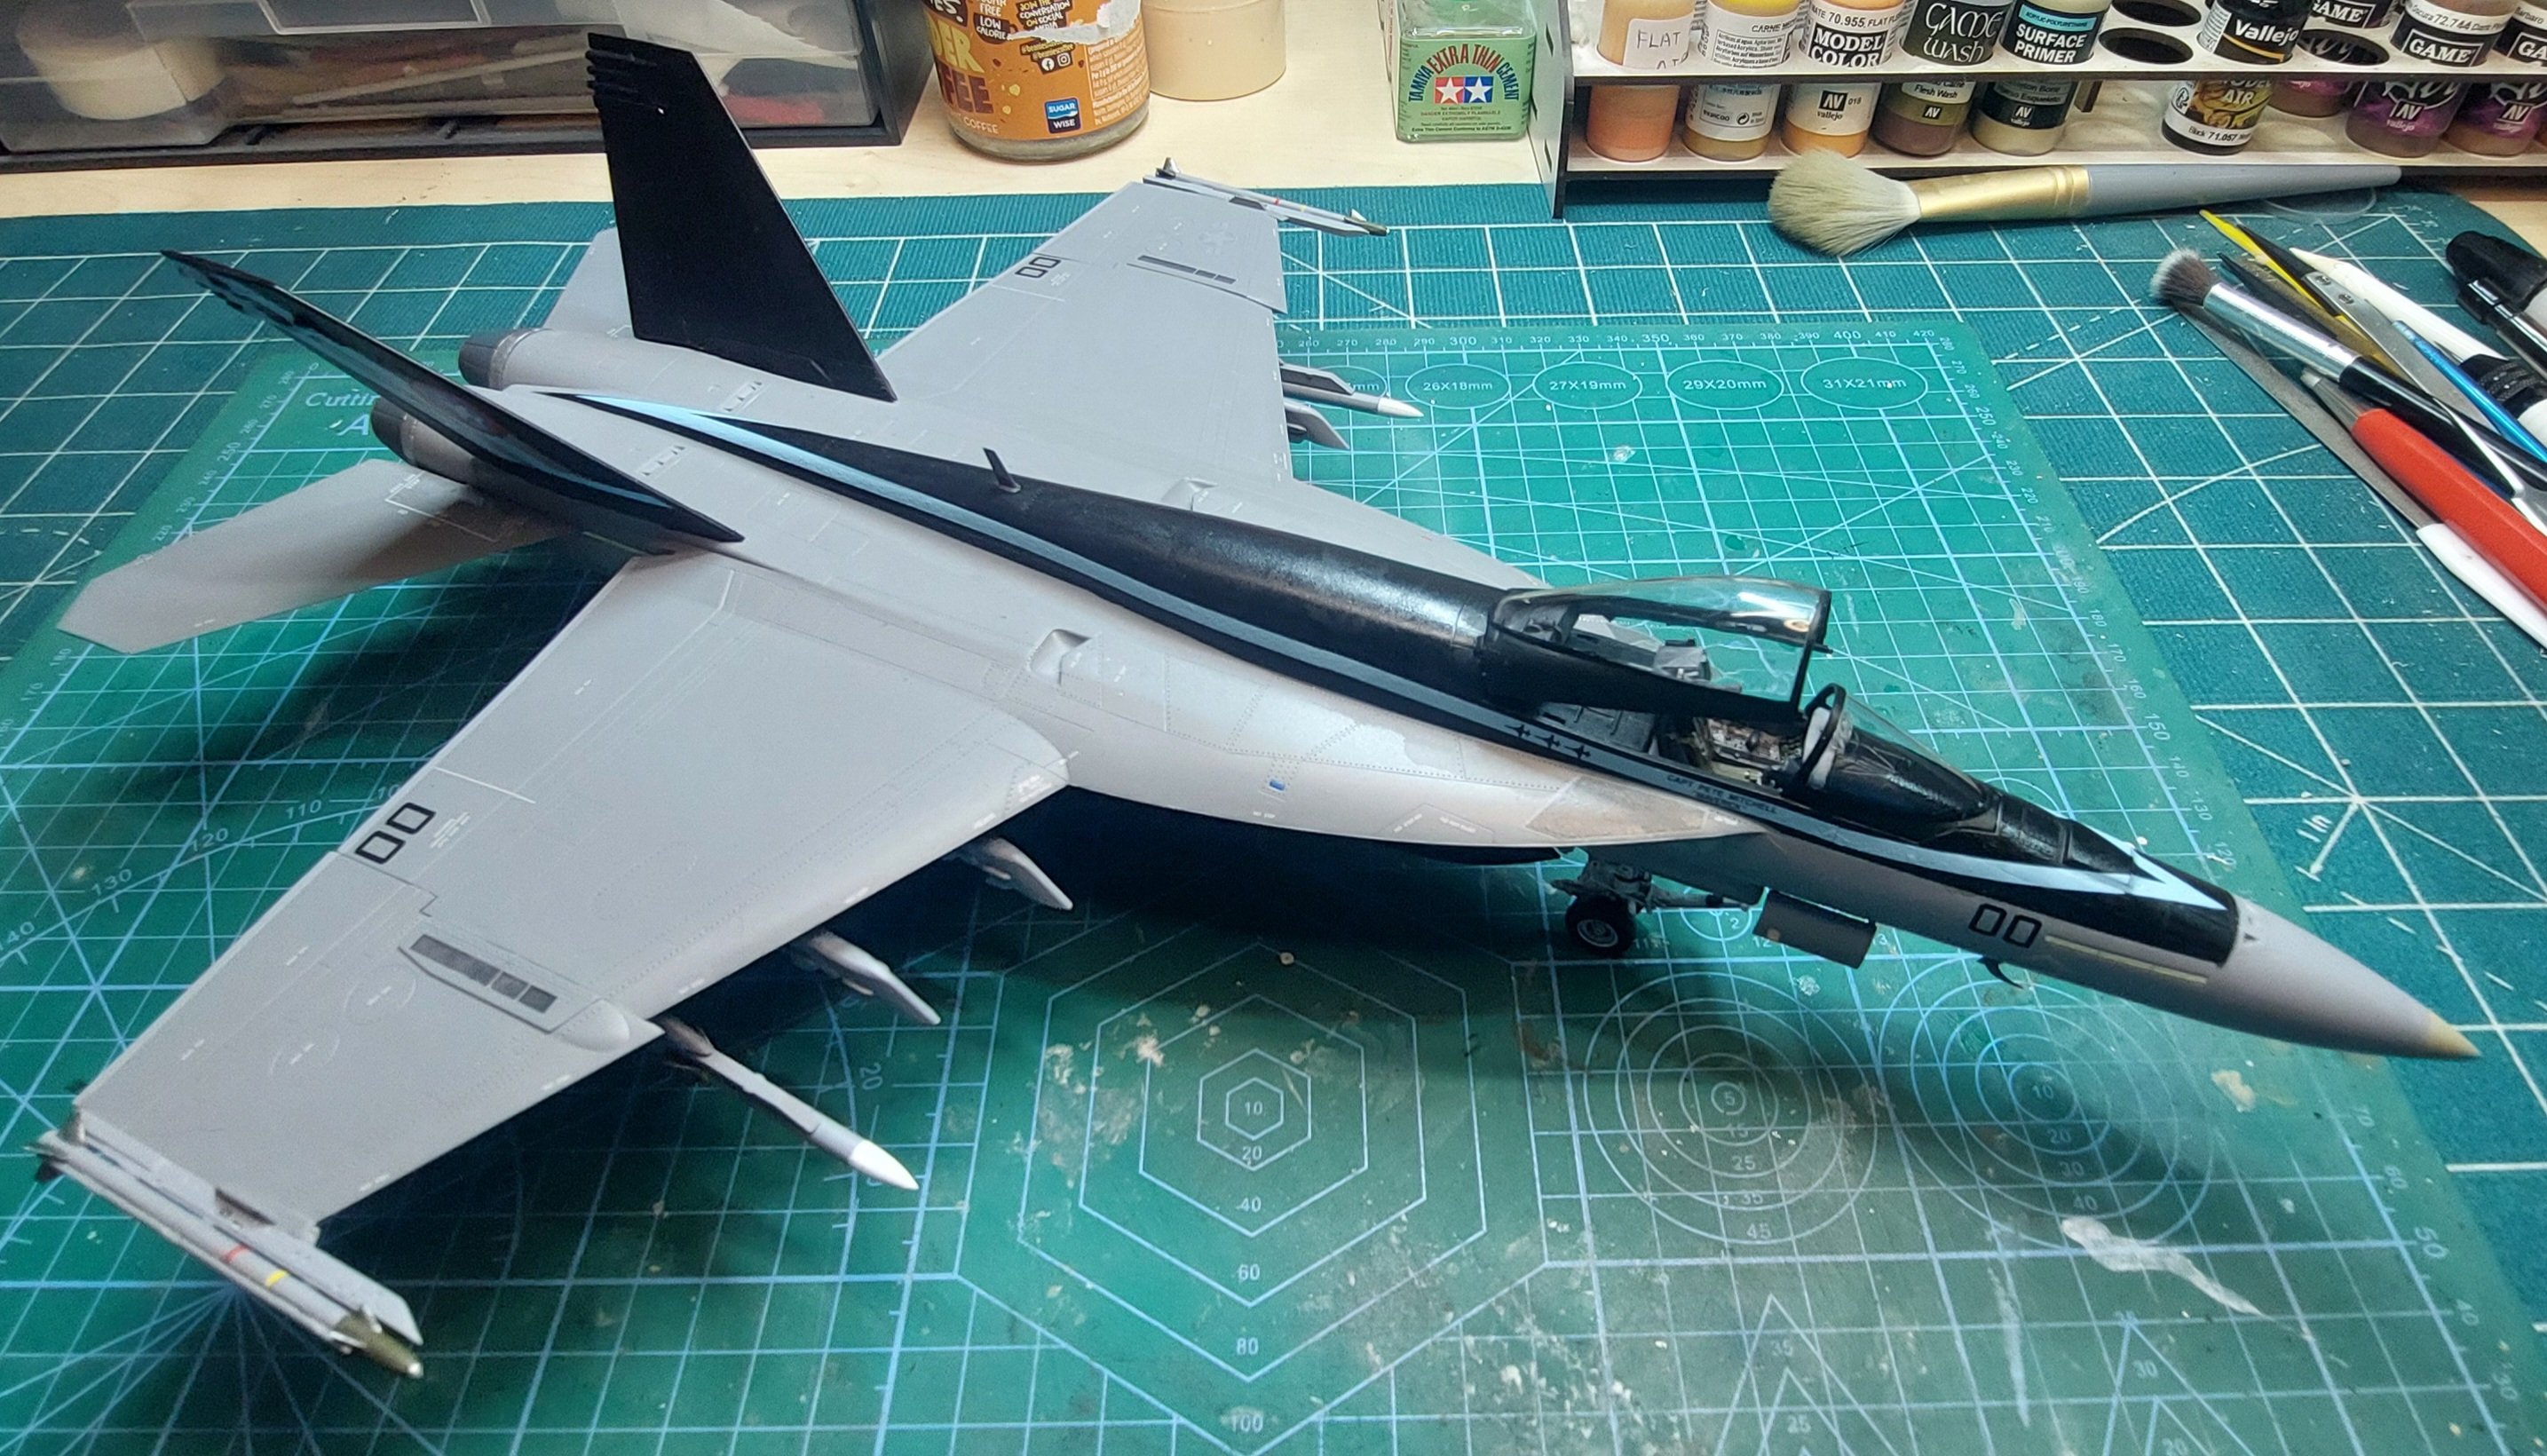
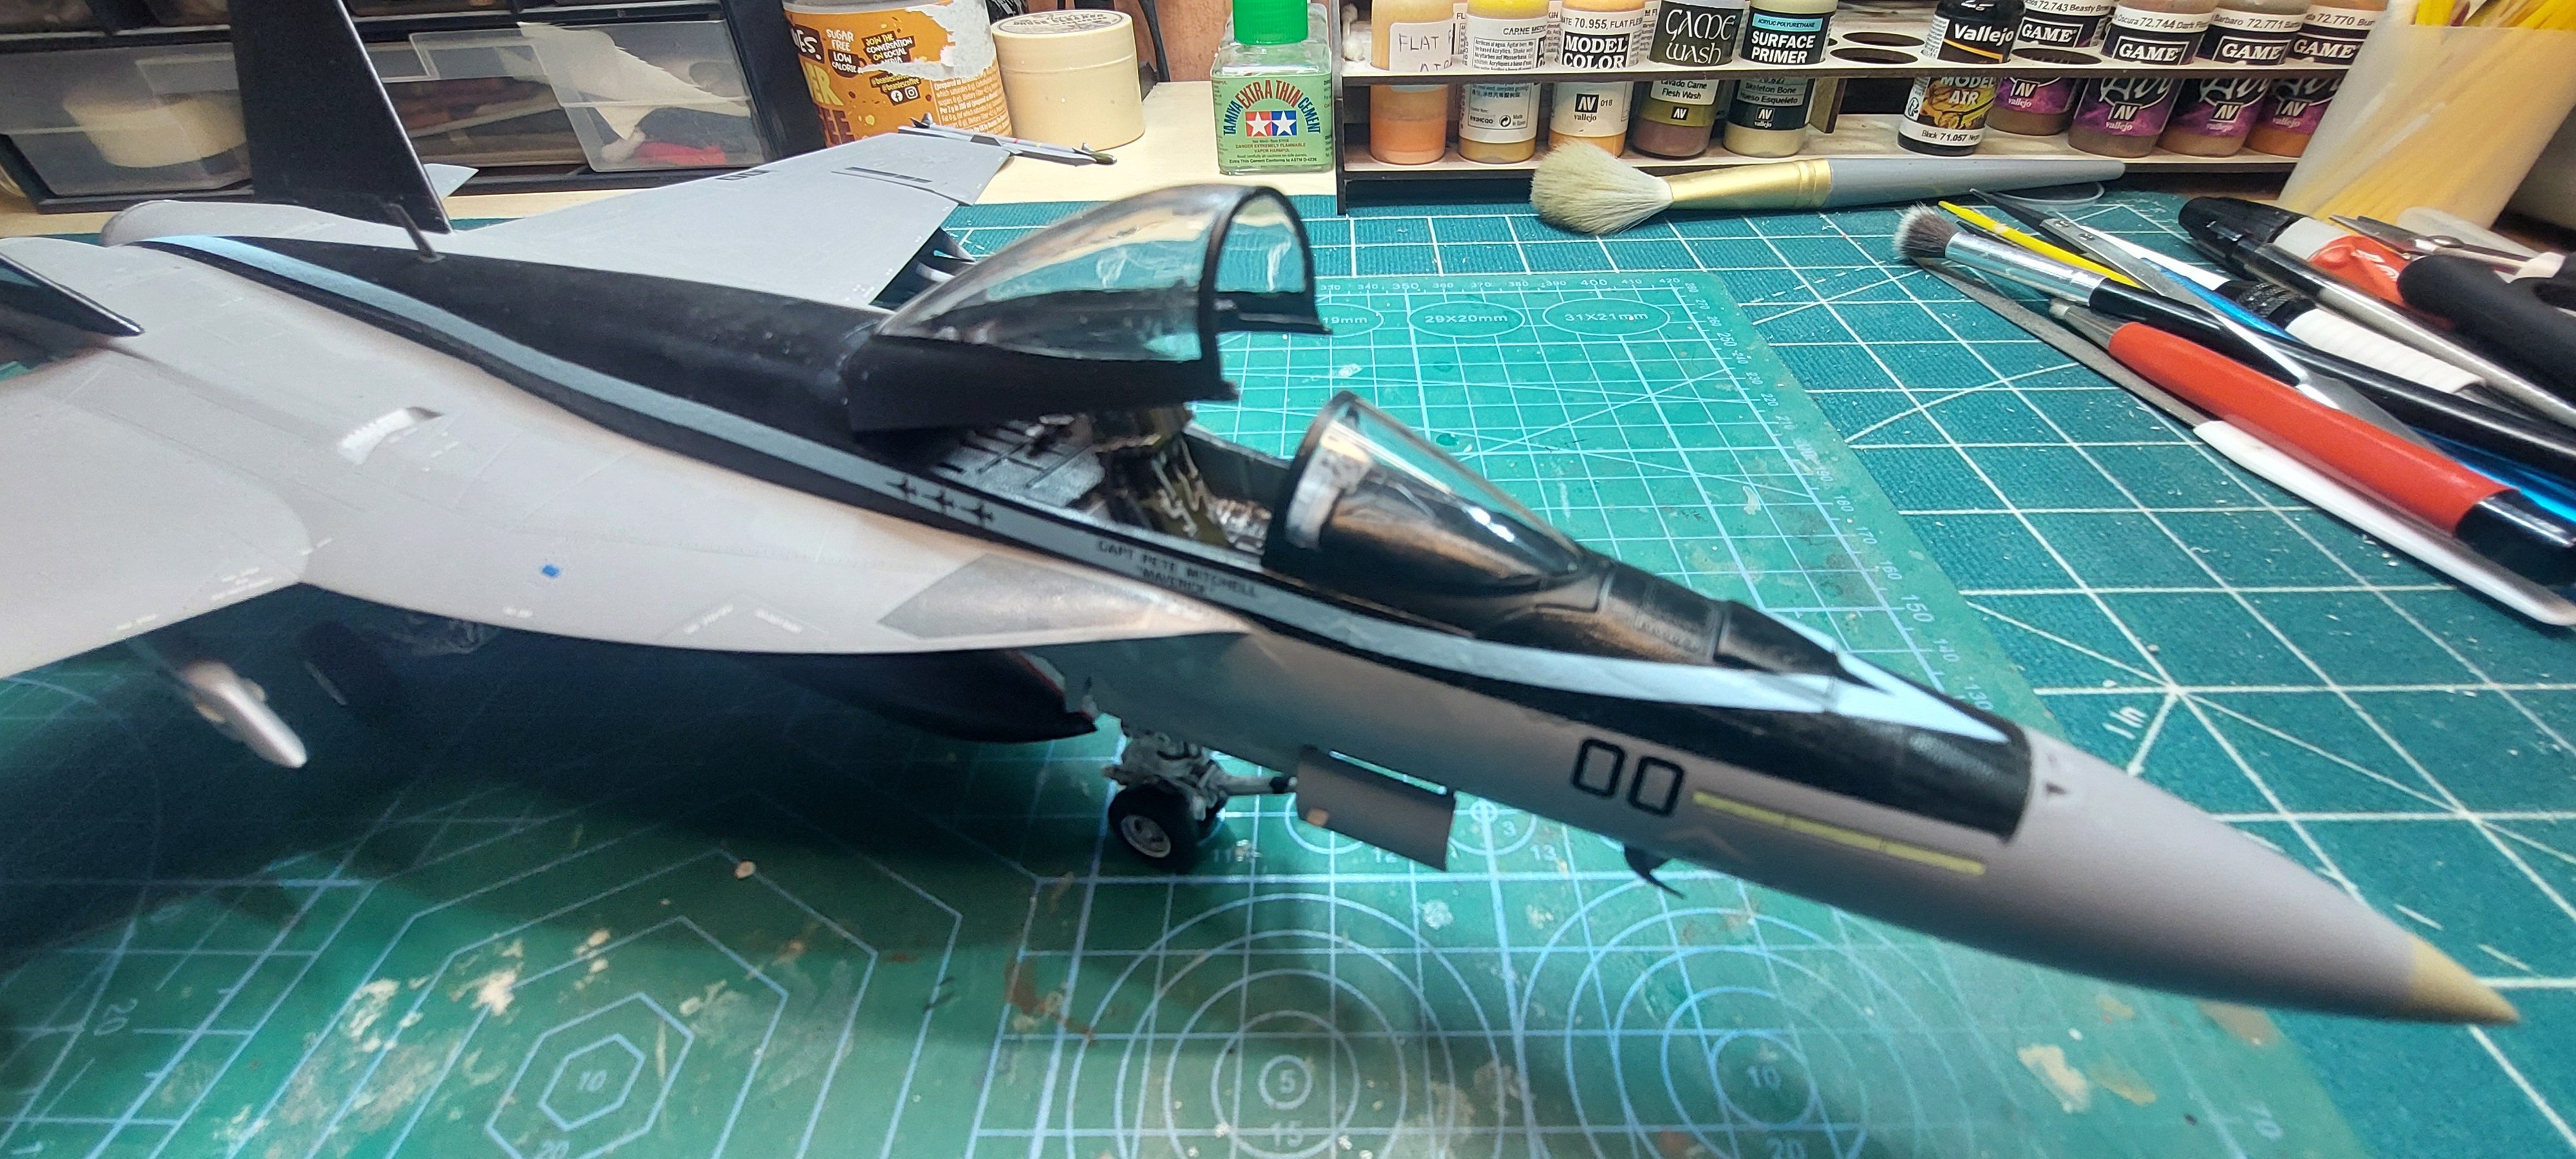
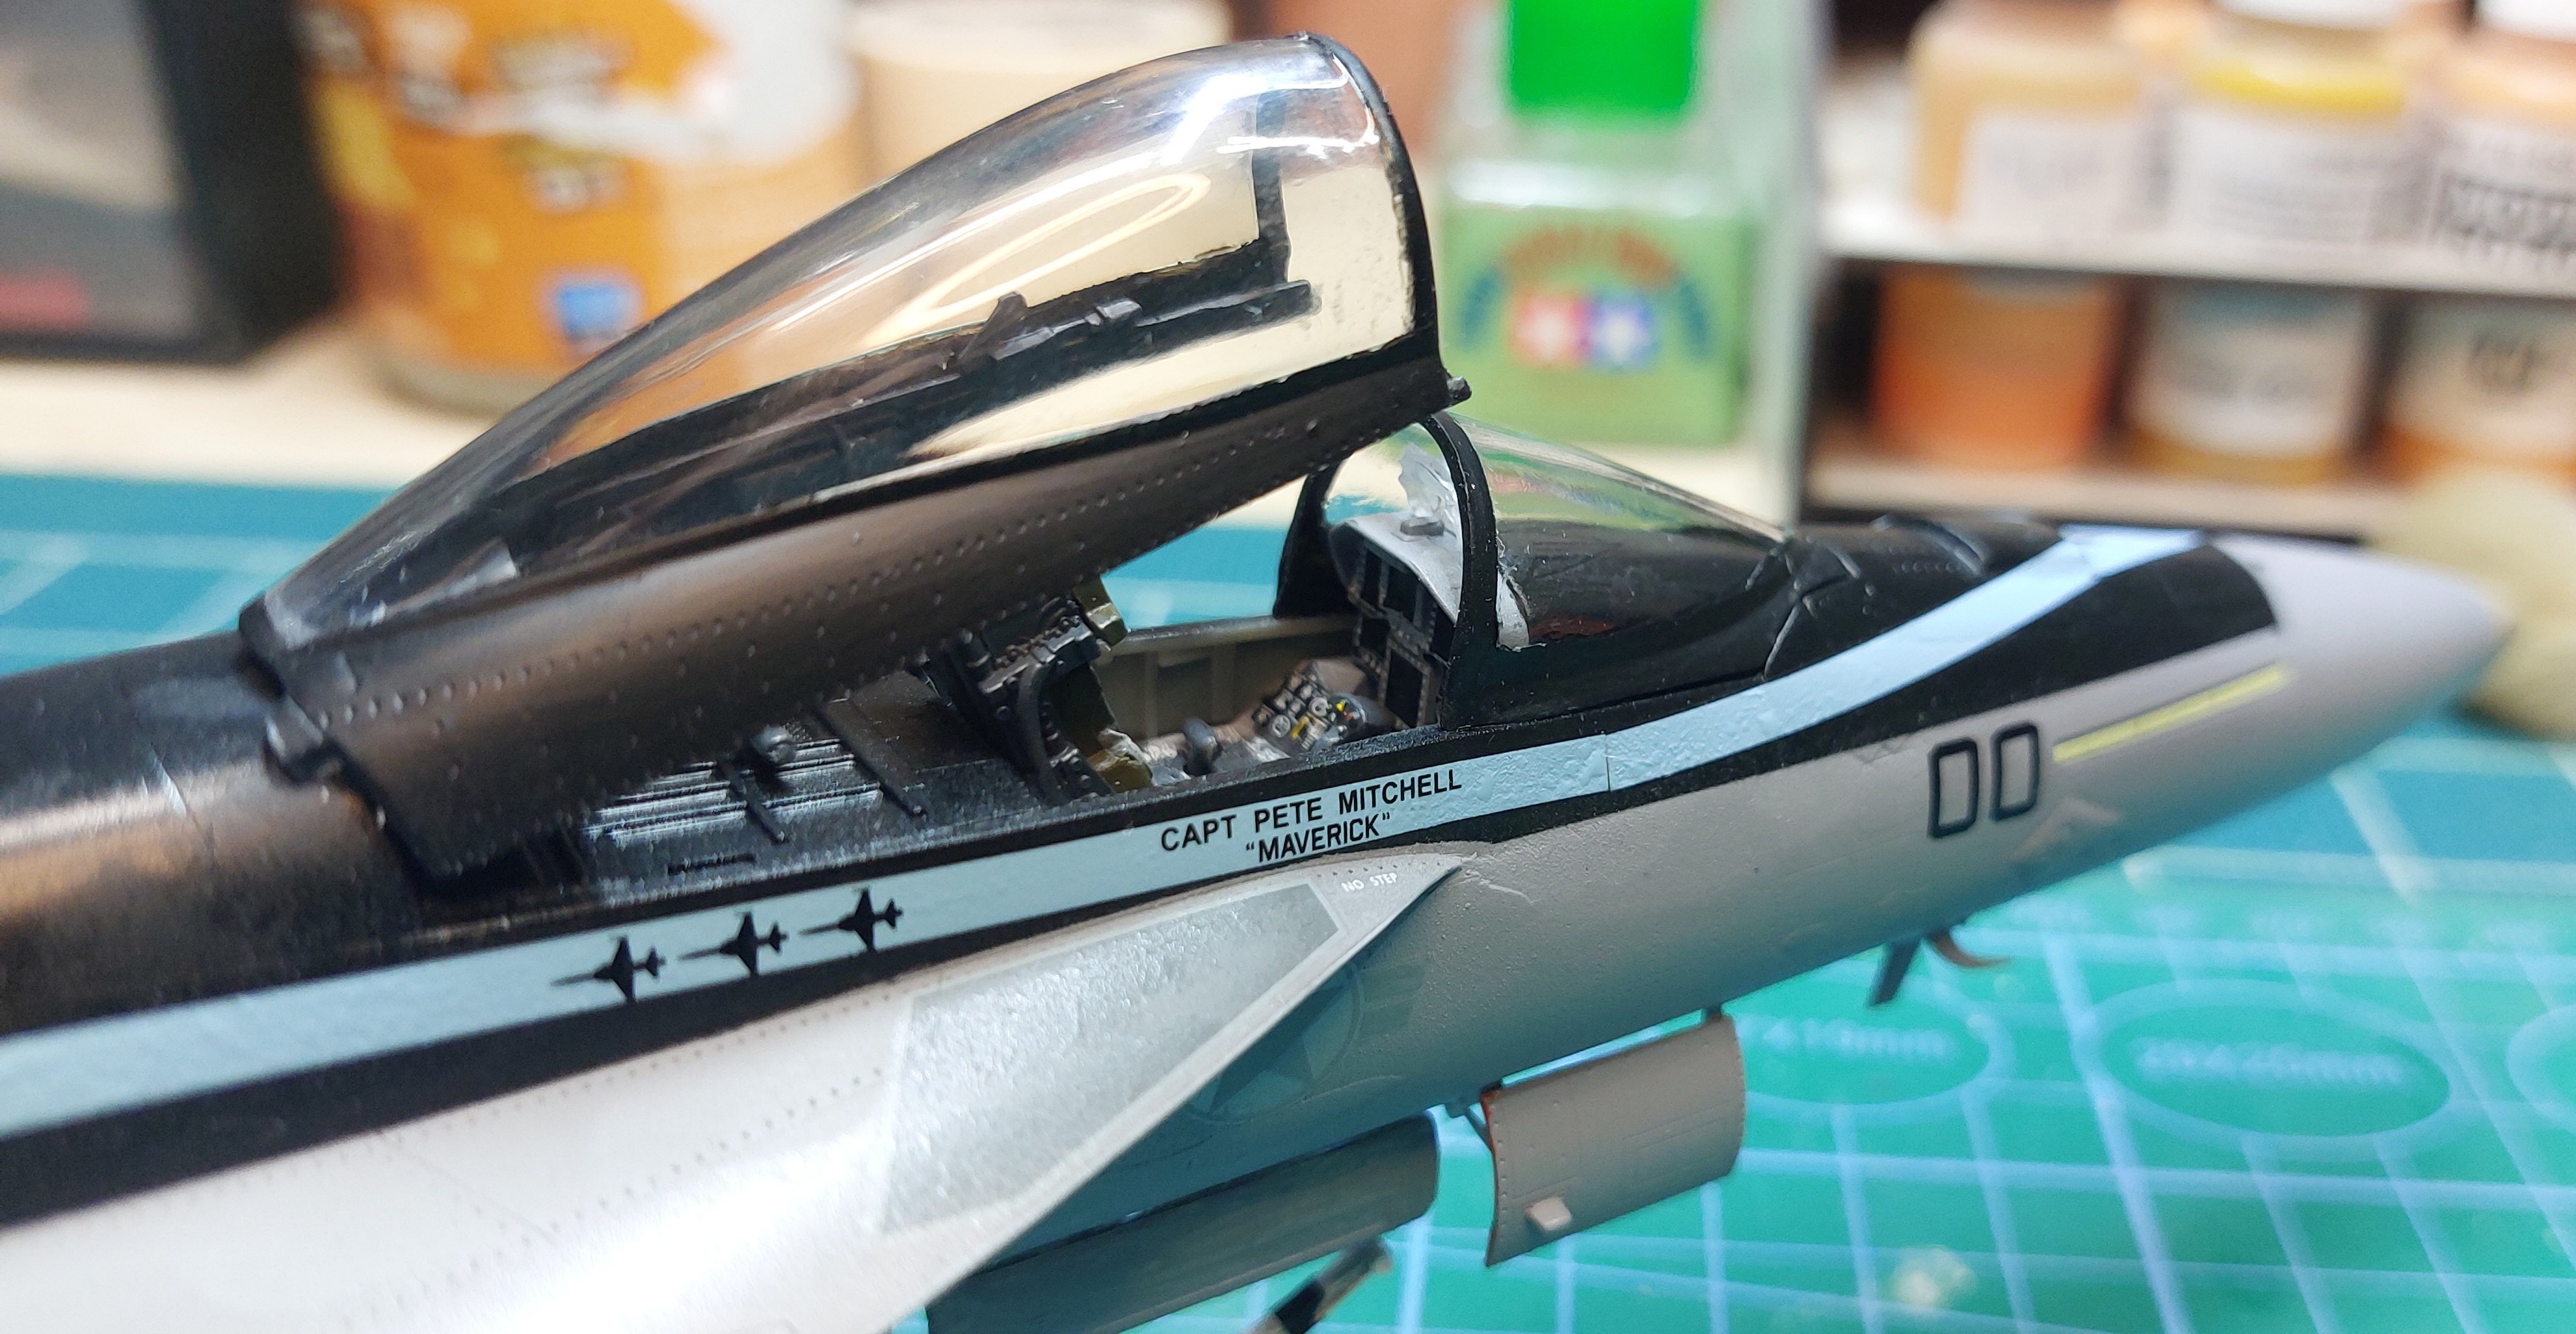
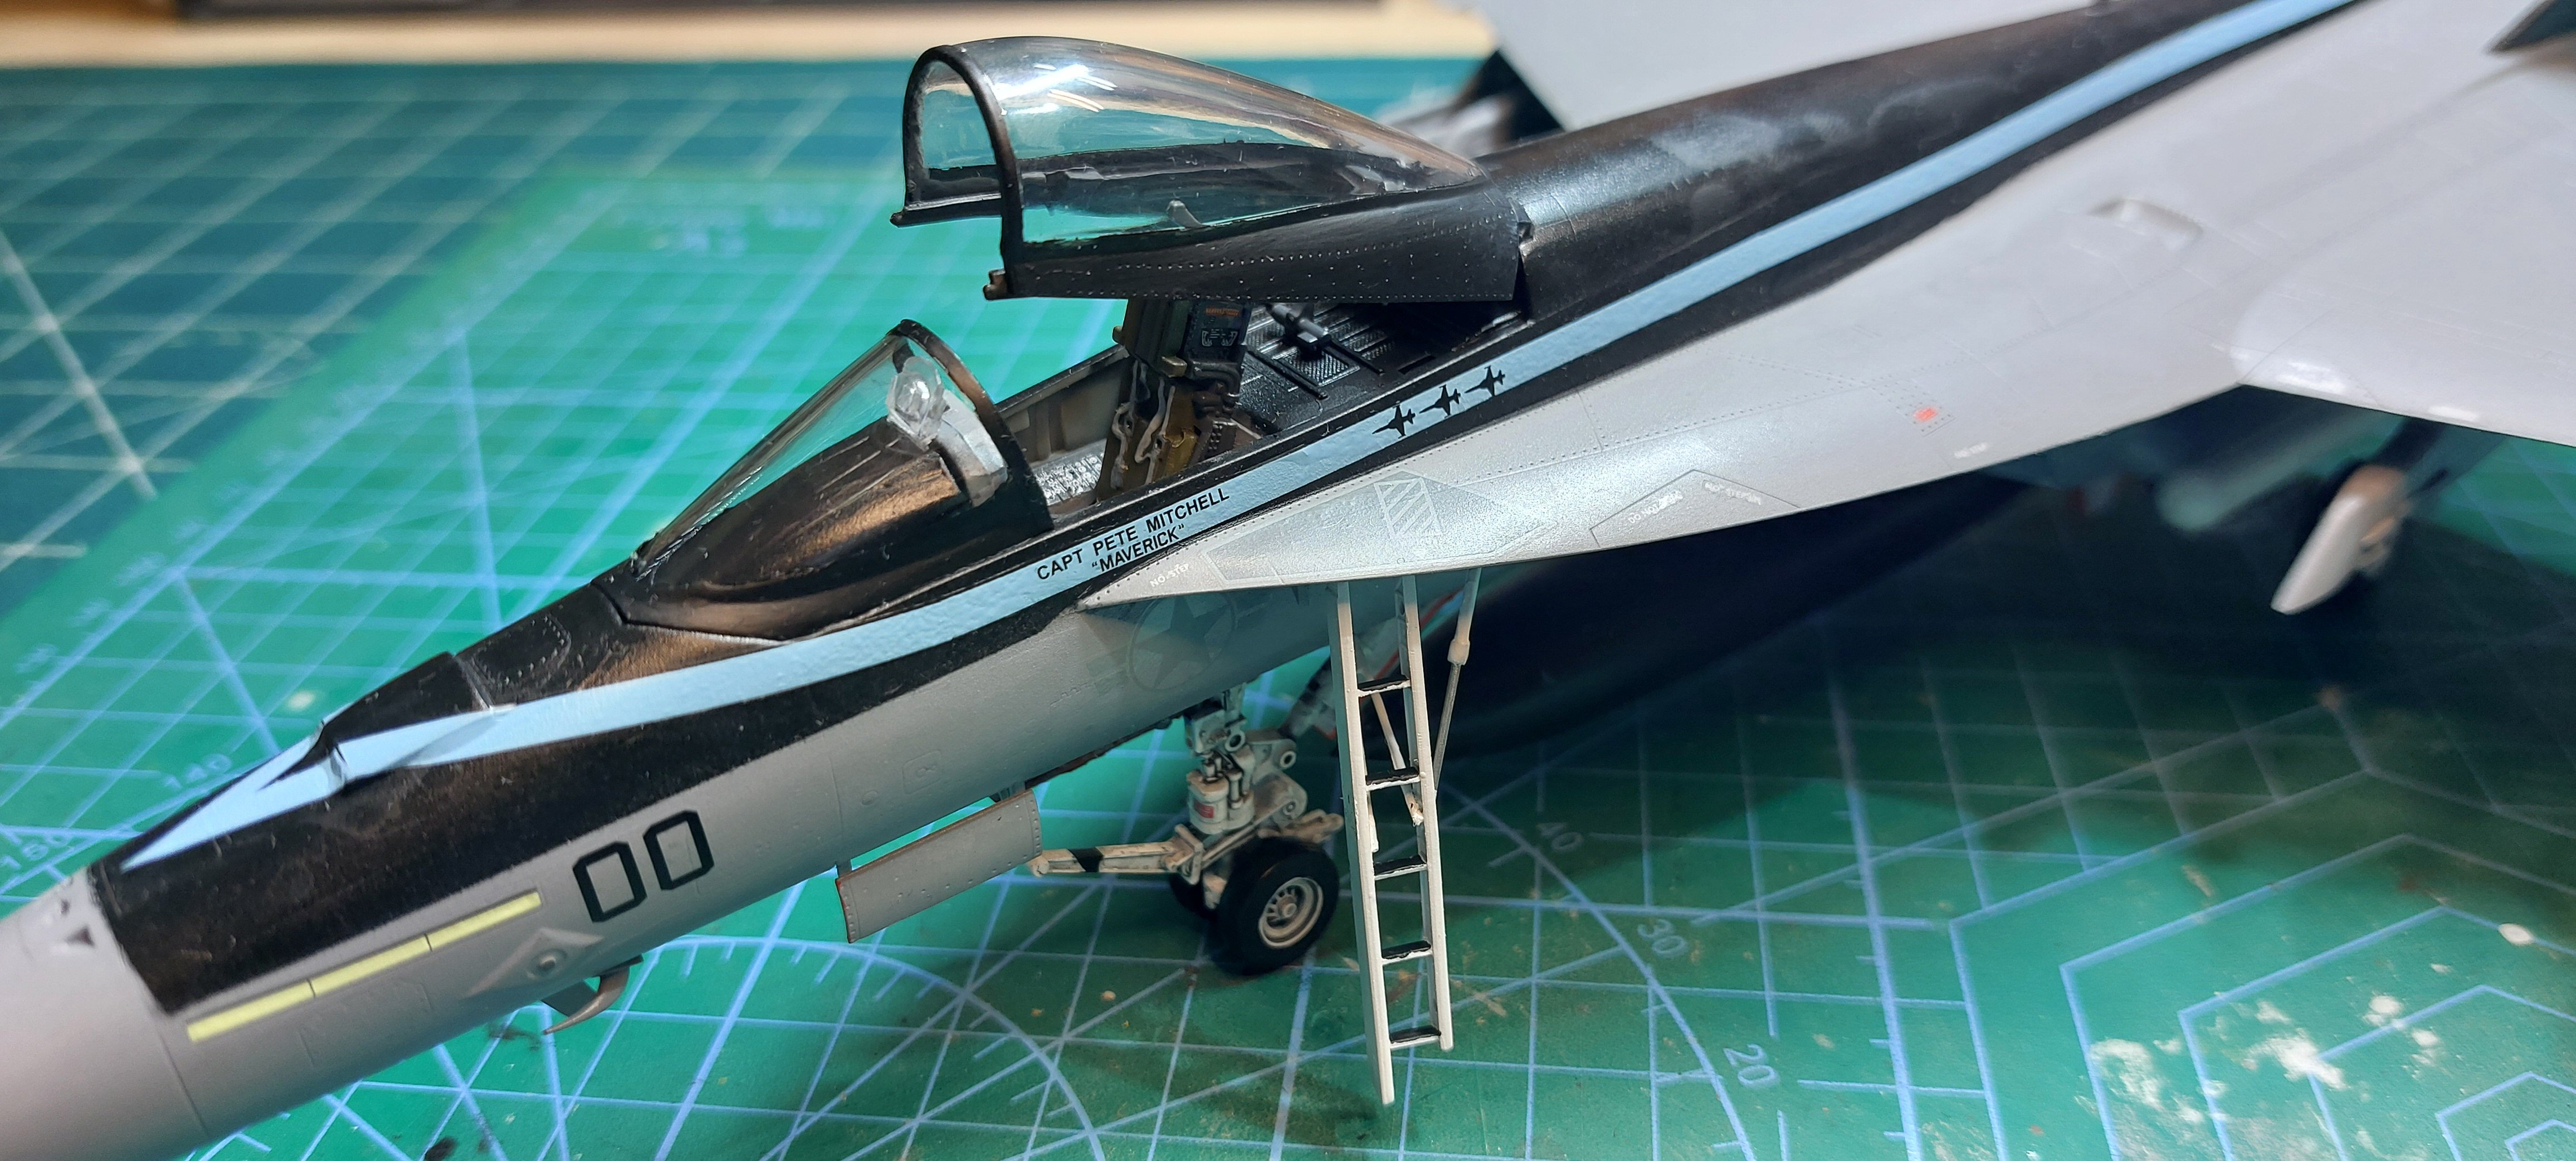
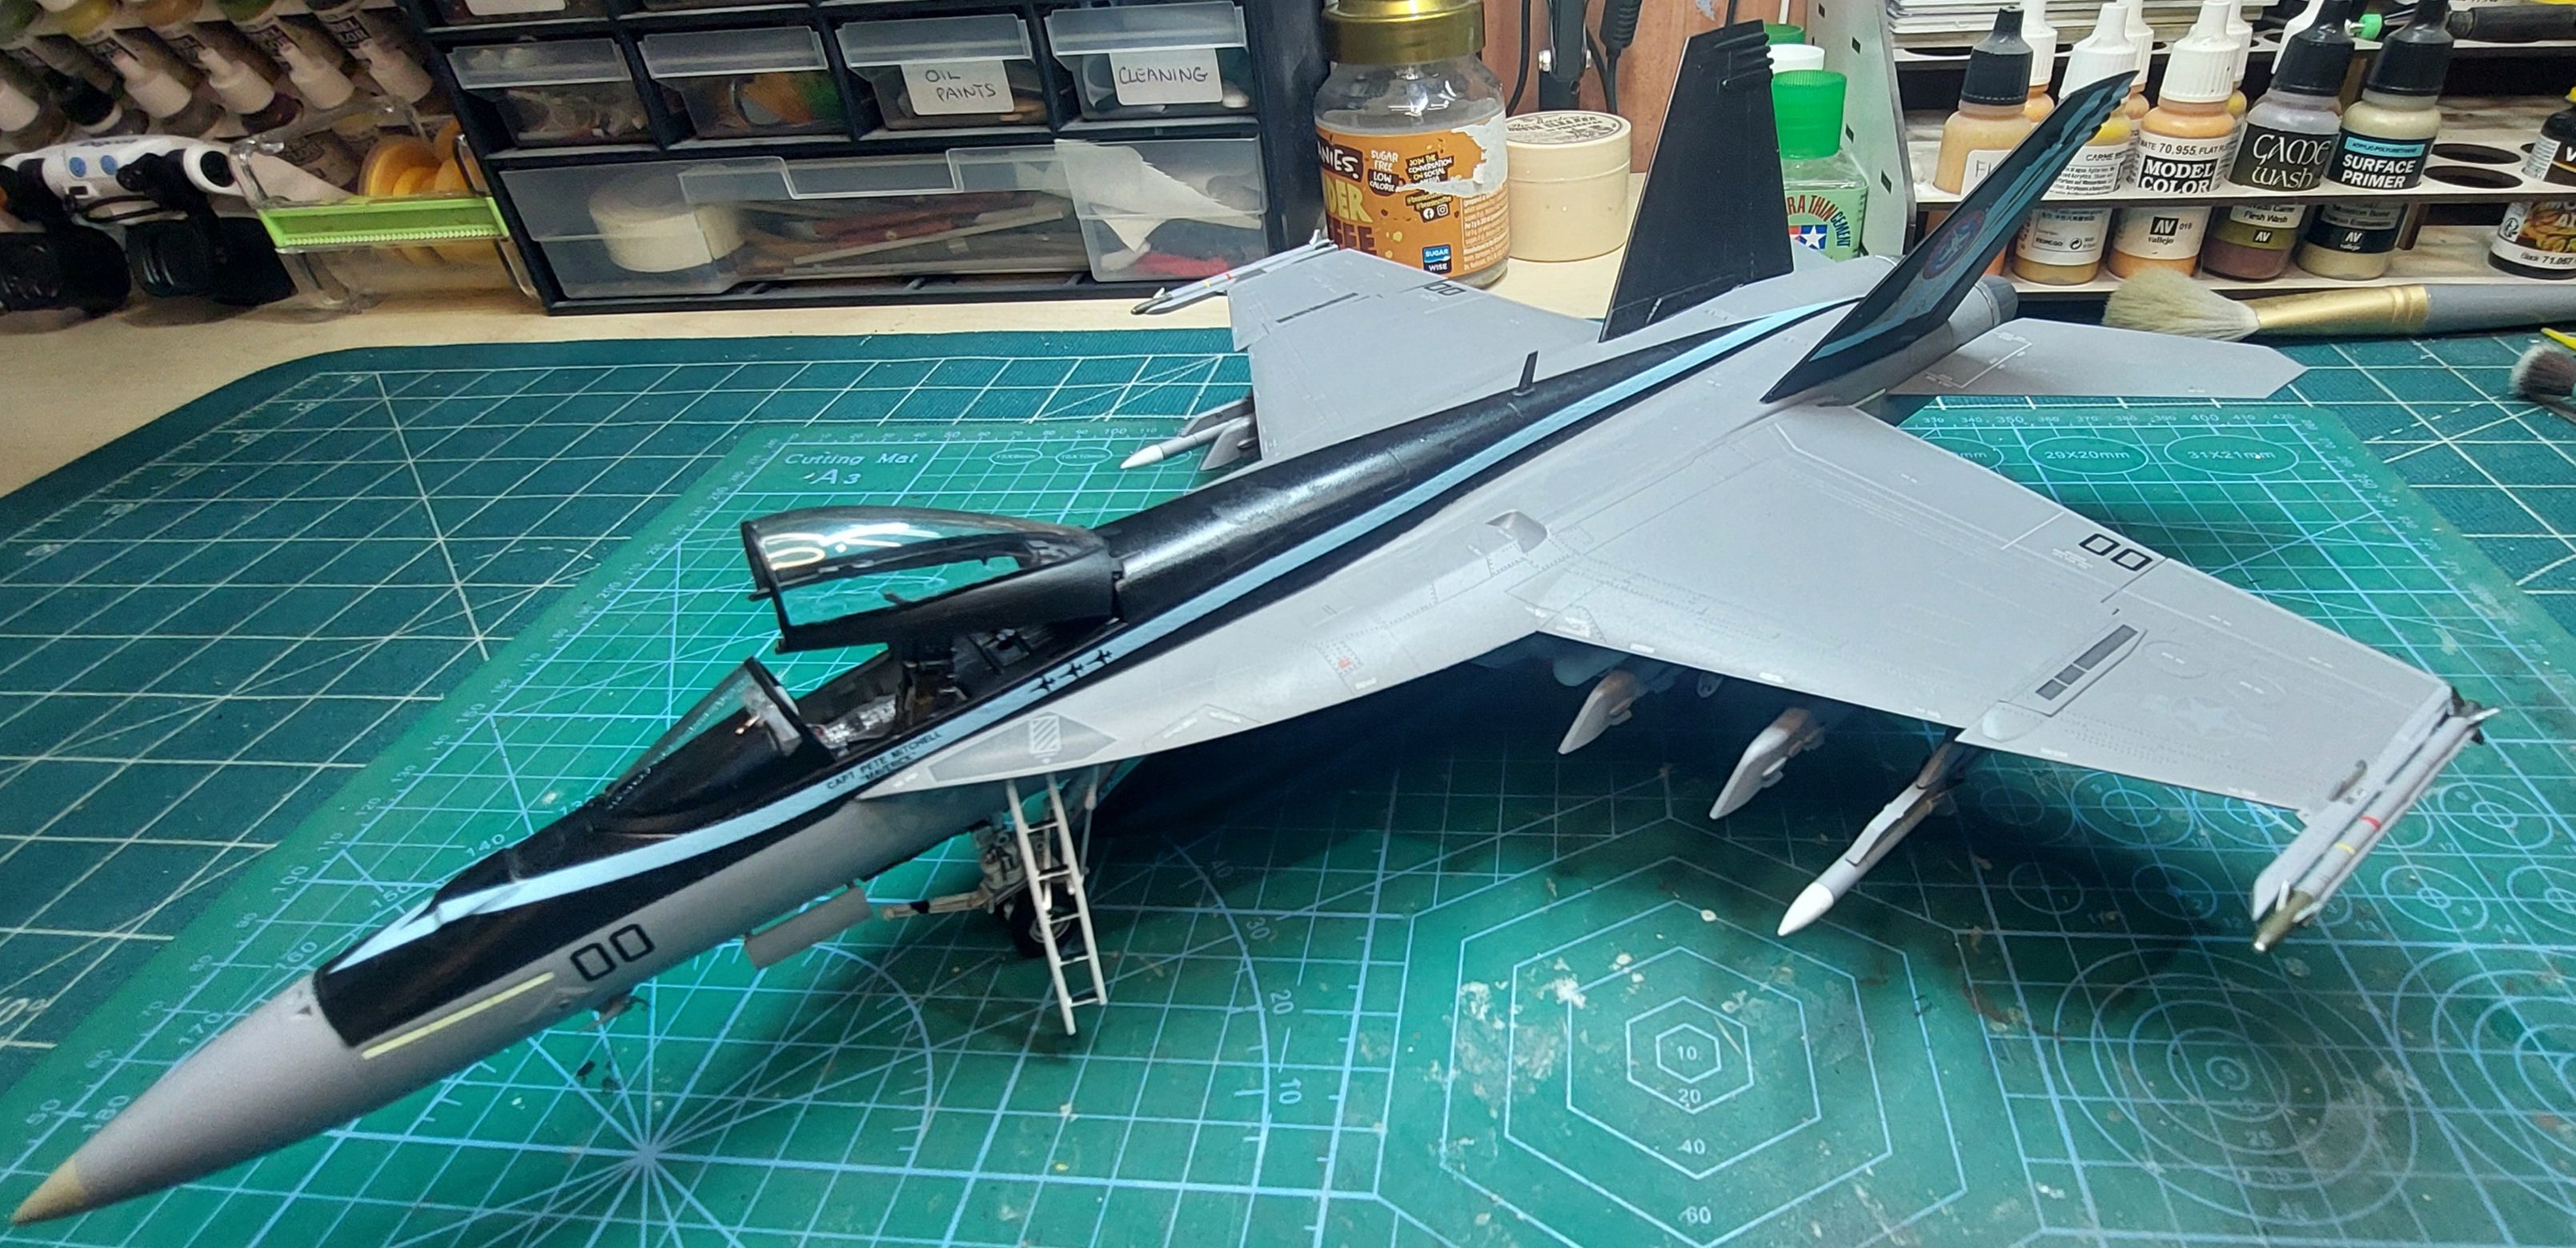
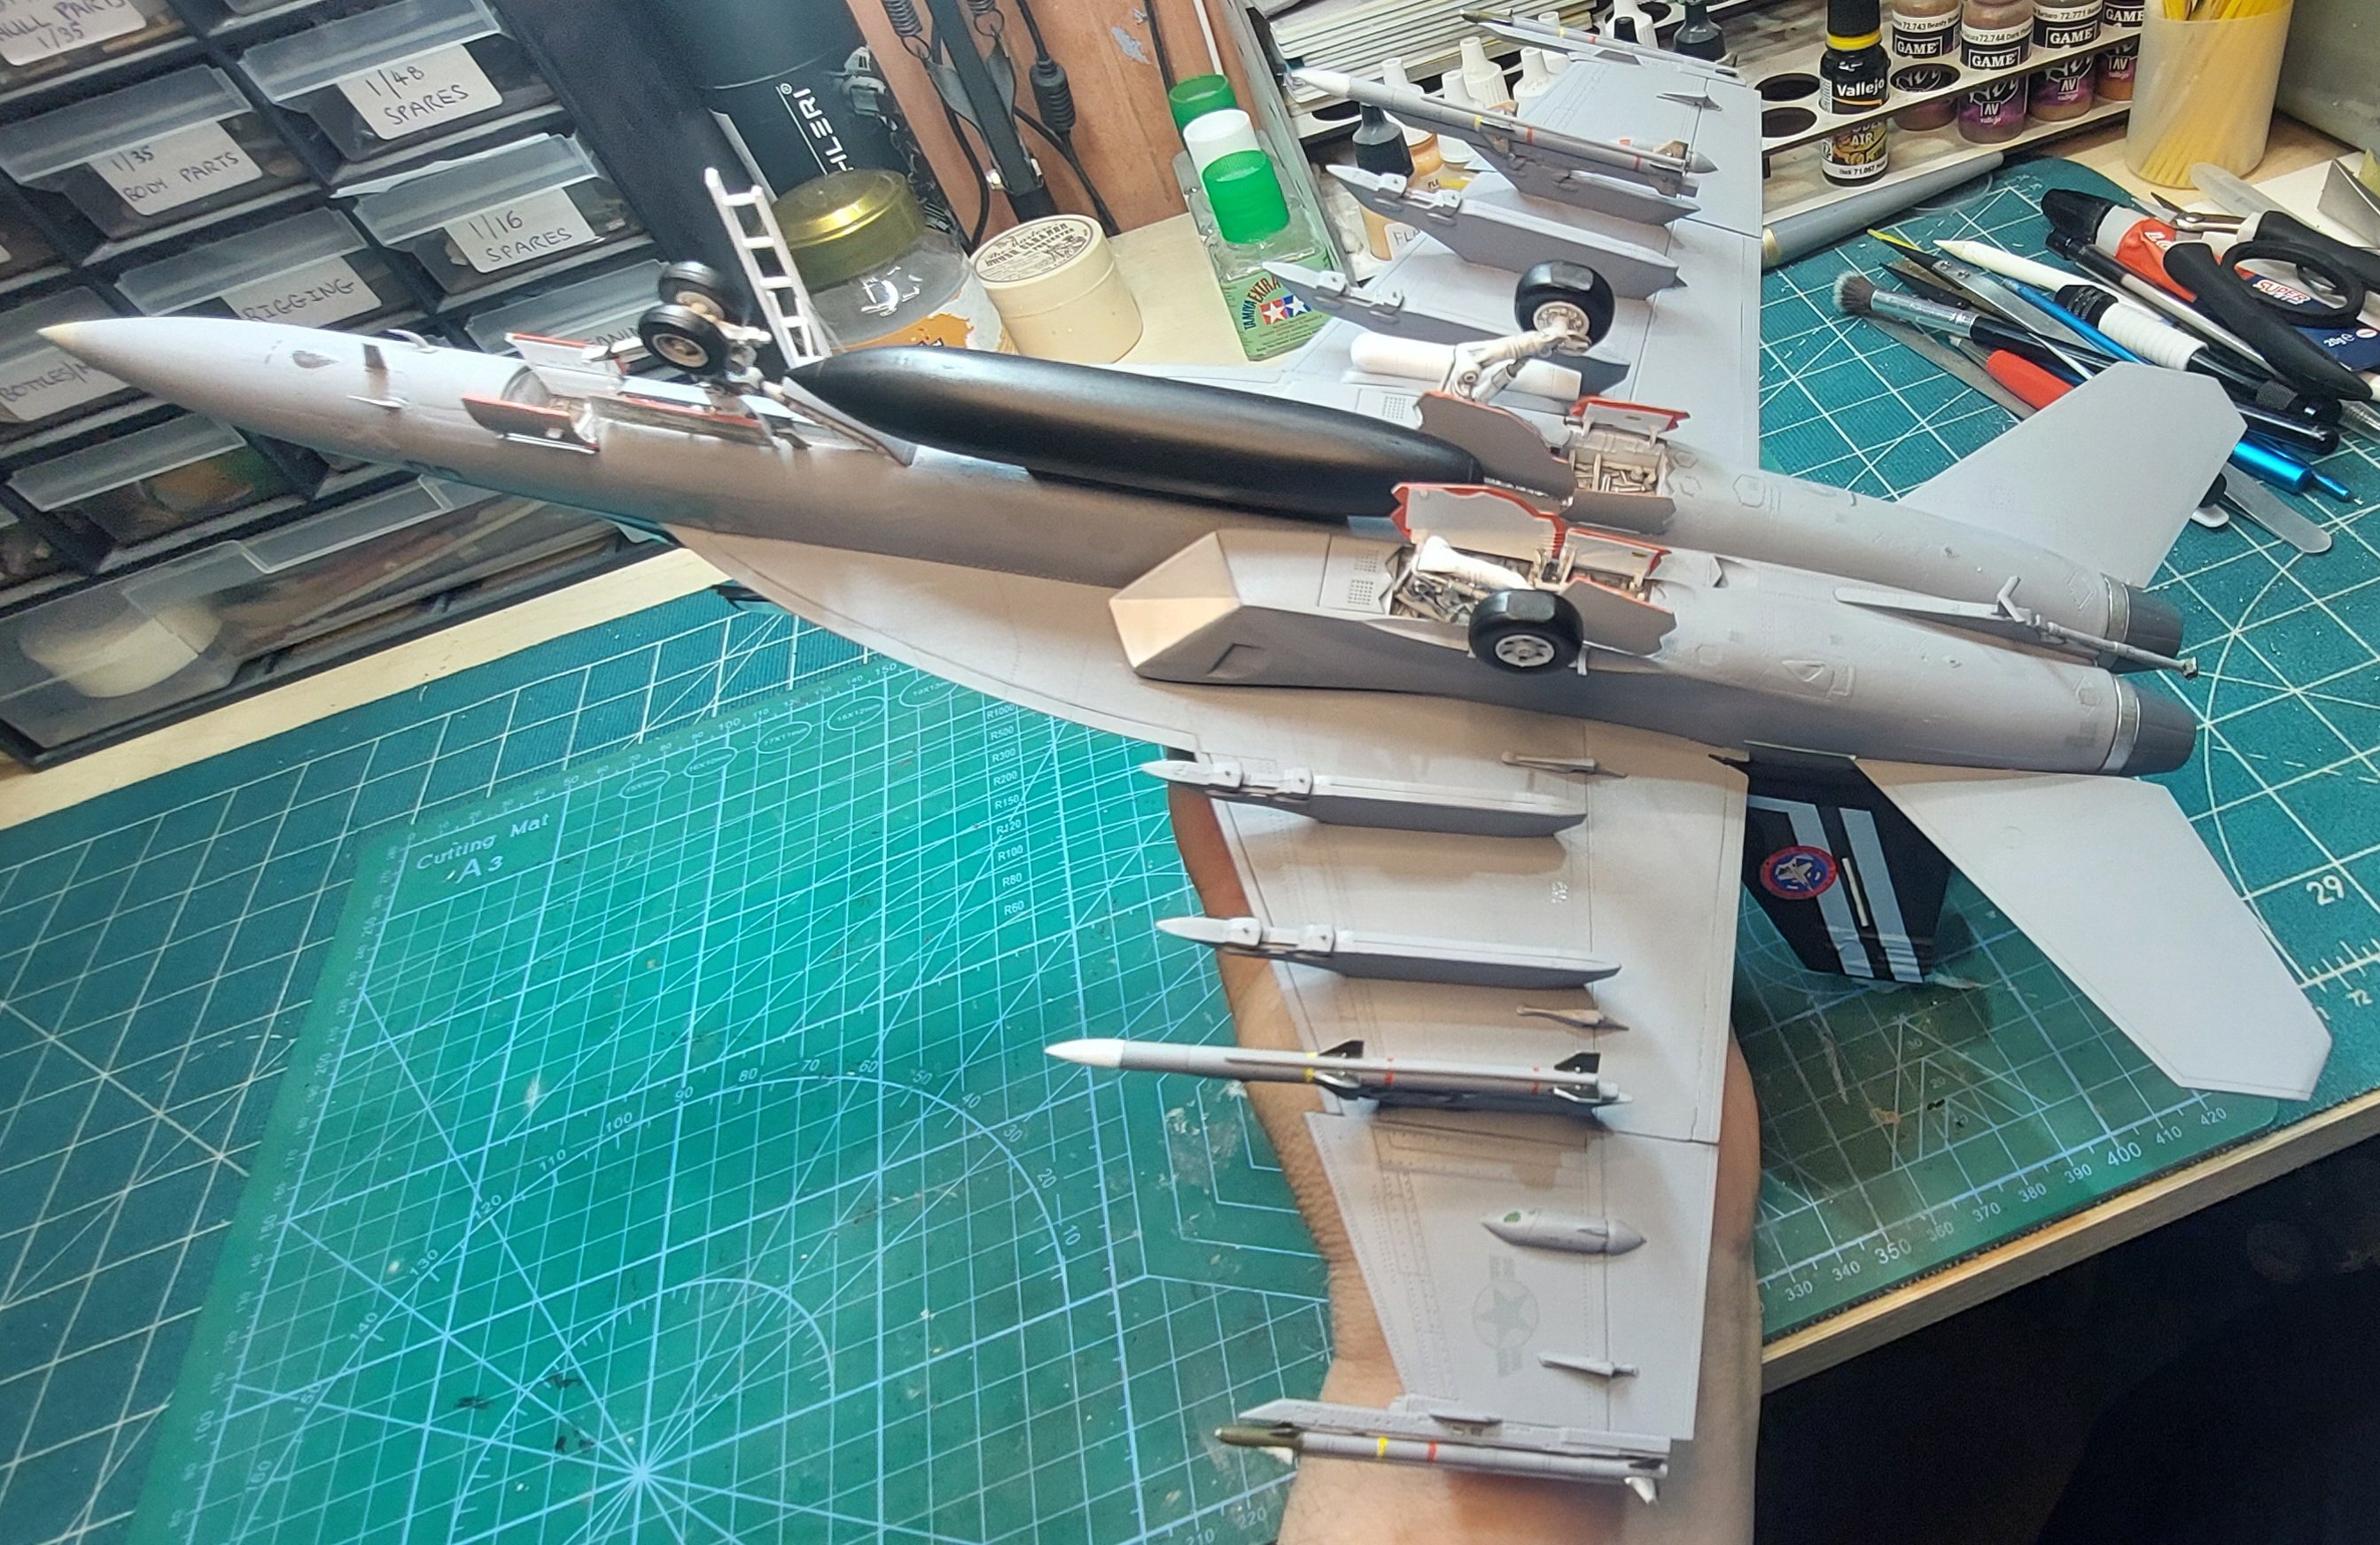
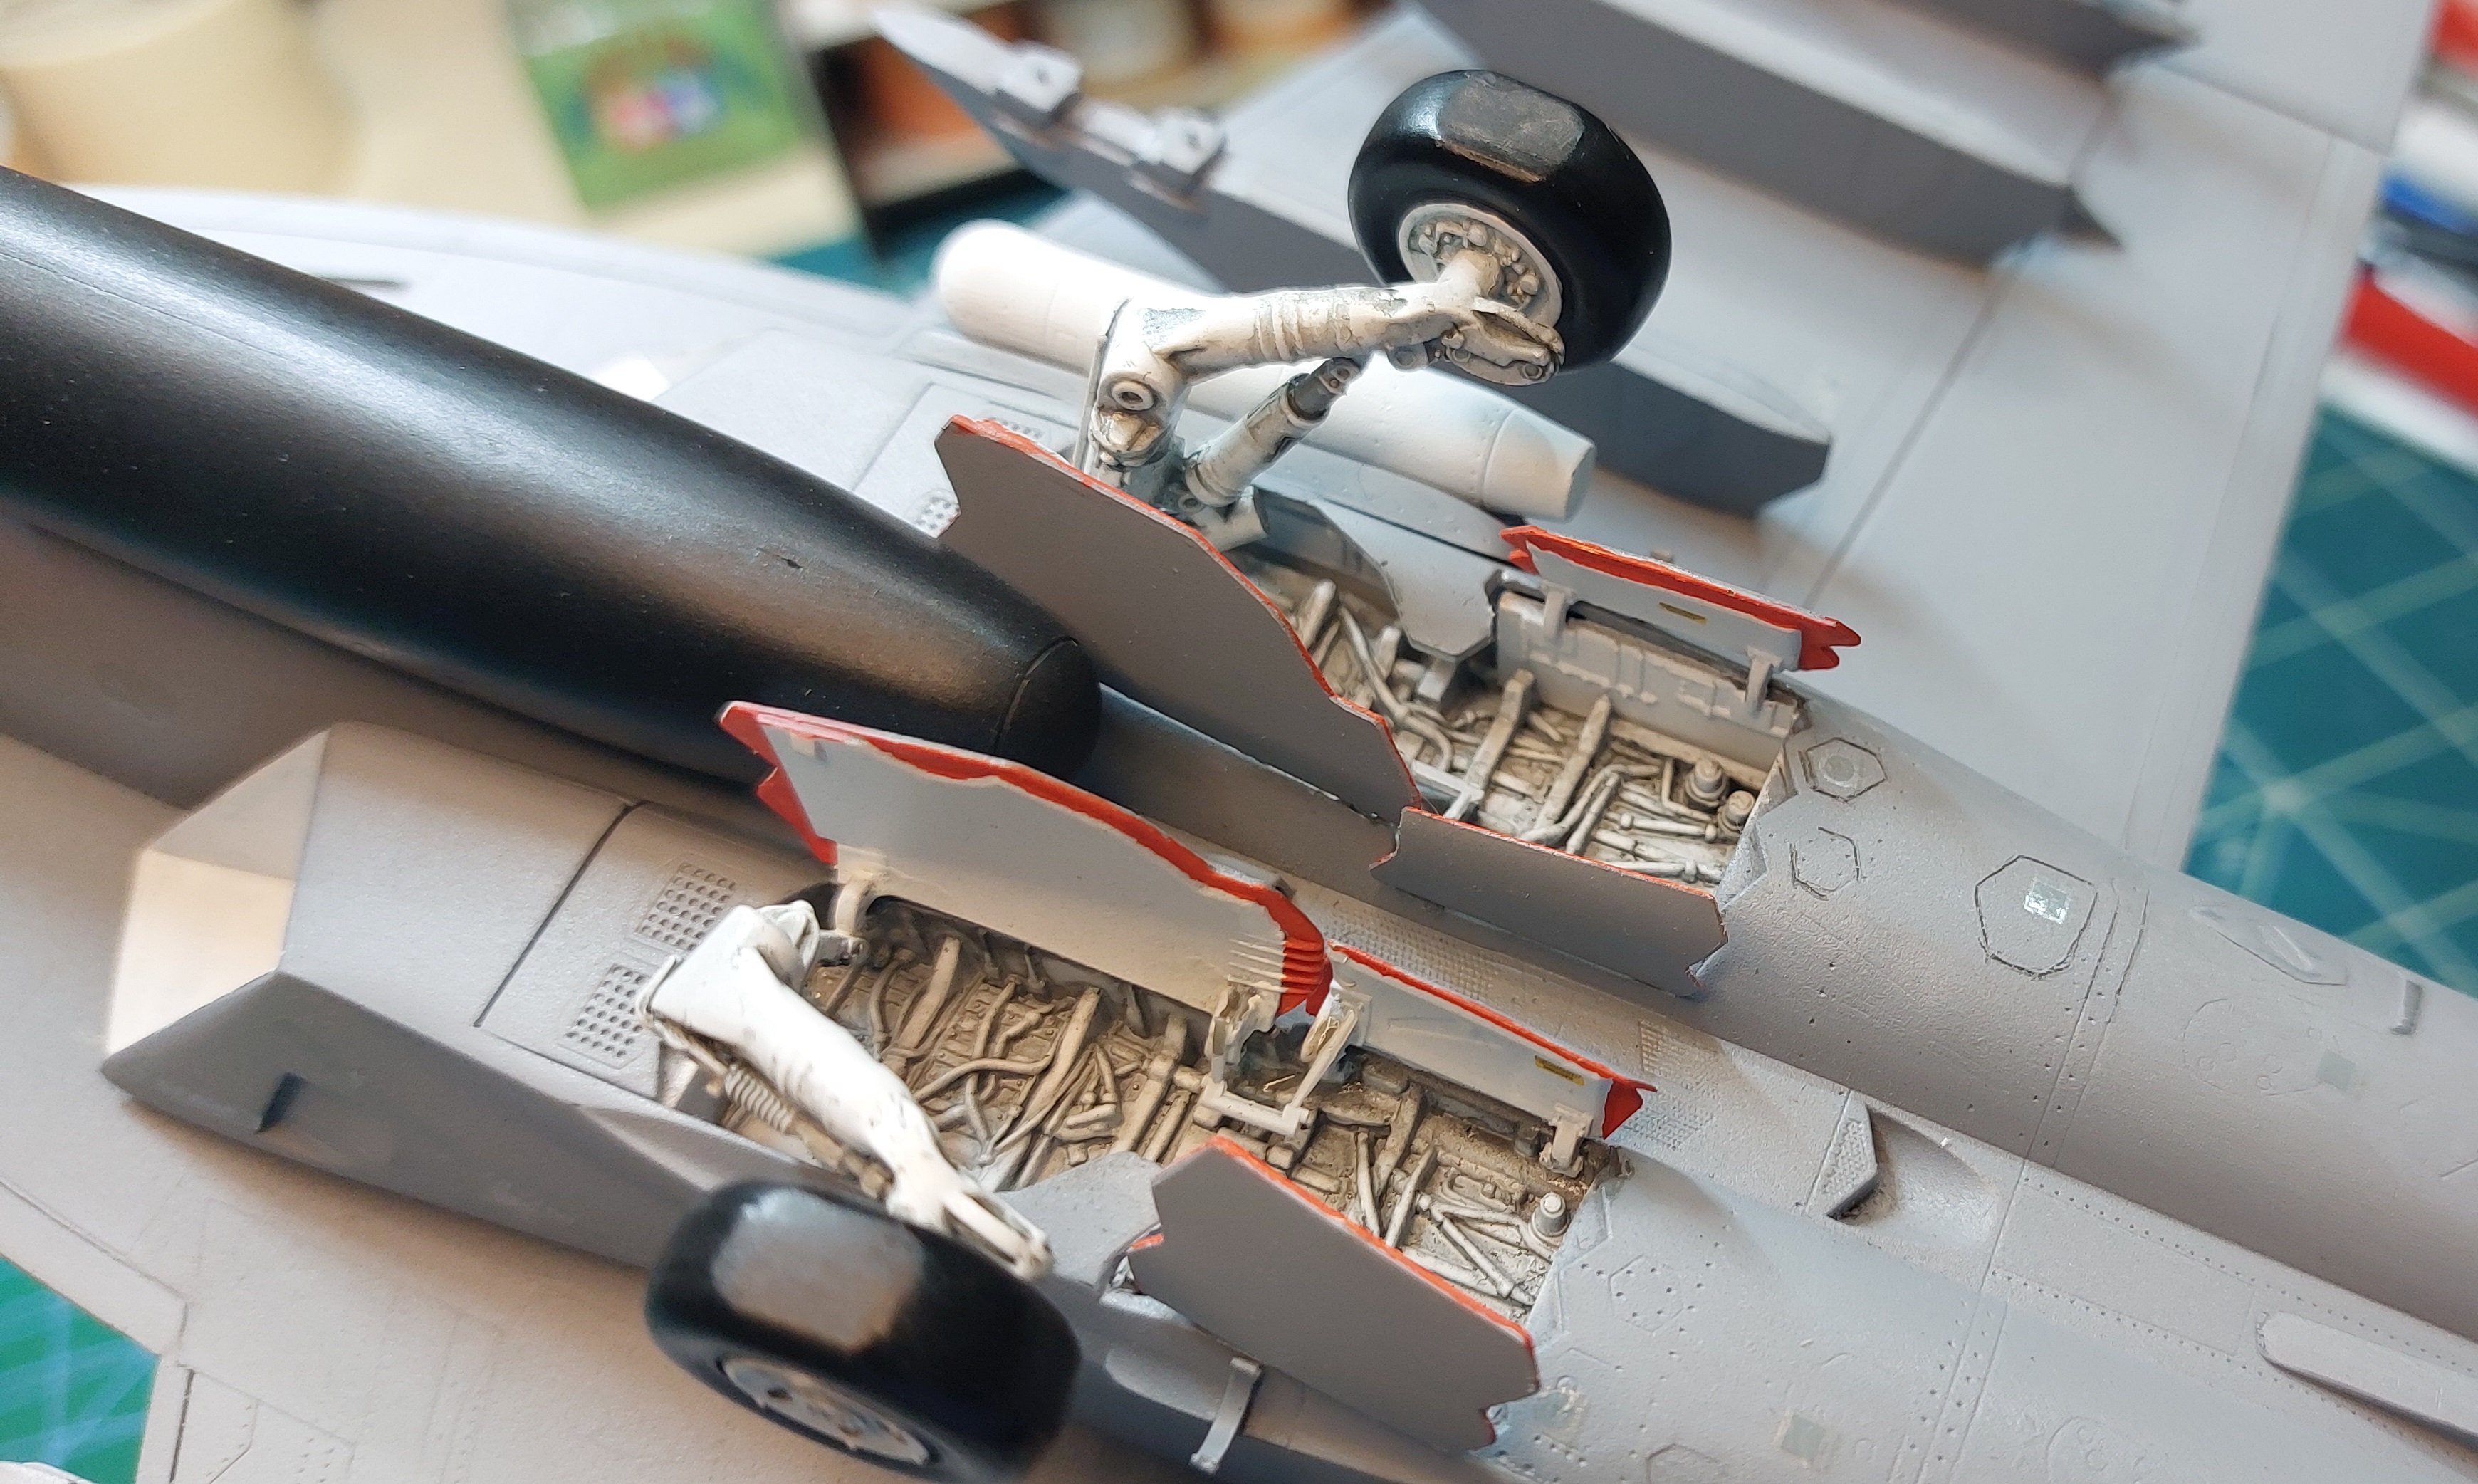

Nice. Clean.done


Needs more decals! Nice build! That's some pretty good detail in the wheel wells!Well I'm calling this build done. It's OK but definitely could have done better. Pantherman
View attachment 193646View attachment 193647View attachment 193648View attachment 193649View attachment 193650View attachment 193651View attachment 193652
I was the same but Tamiya's polishing compound and vallejo liquid mask have made it easier for a clean shiny finished canopy. PanthermanYeah, don't beat yourself up. I think it looks okay. You just got to the end of the build with all them decals and you were looking for ways to speed up this build so you can get back to building ships with all that PE! That's how I felt after building an F4. At least you're canopies look great. I still have problems with them.

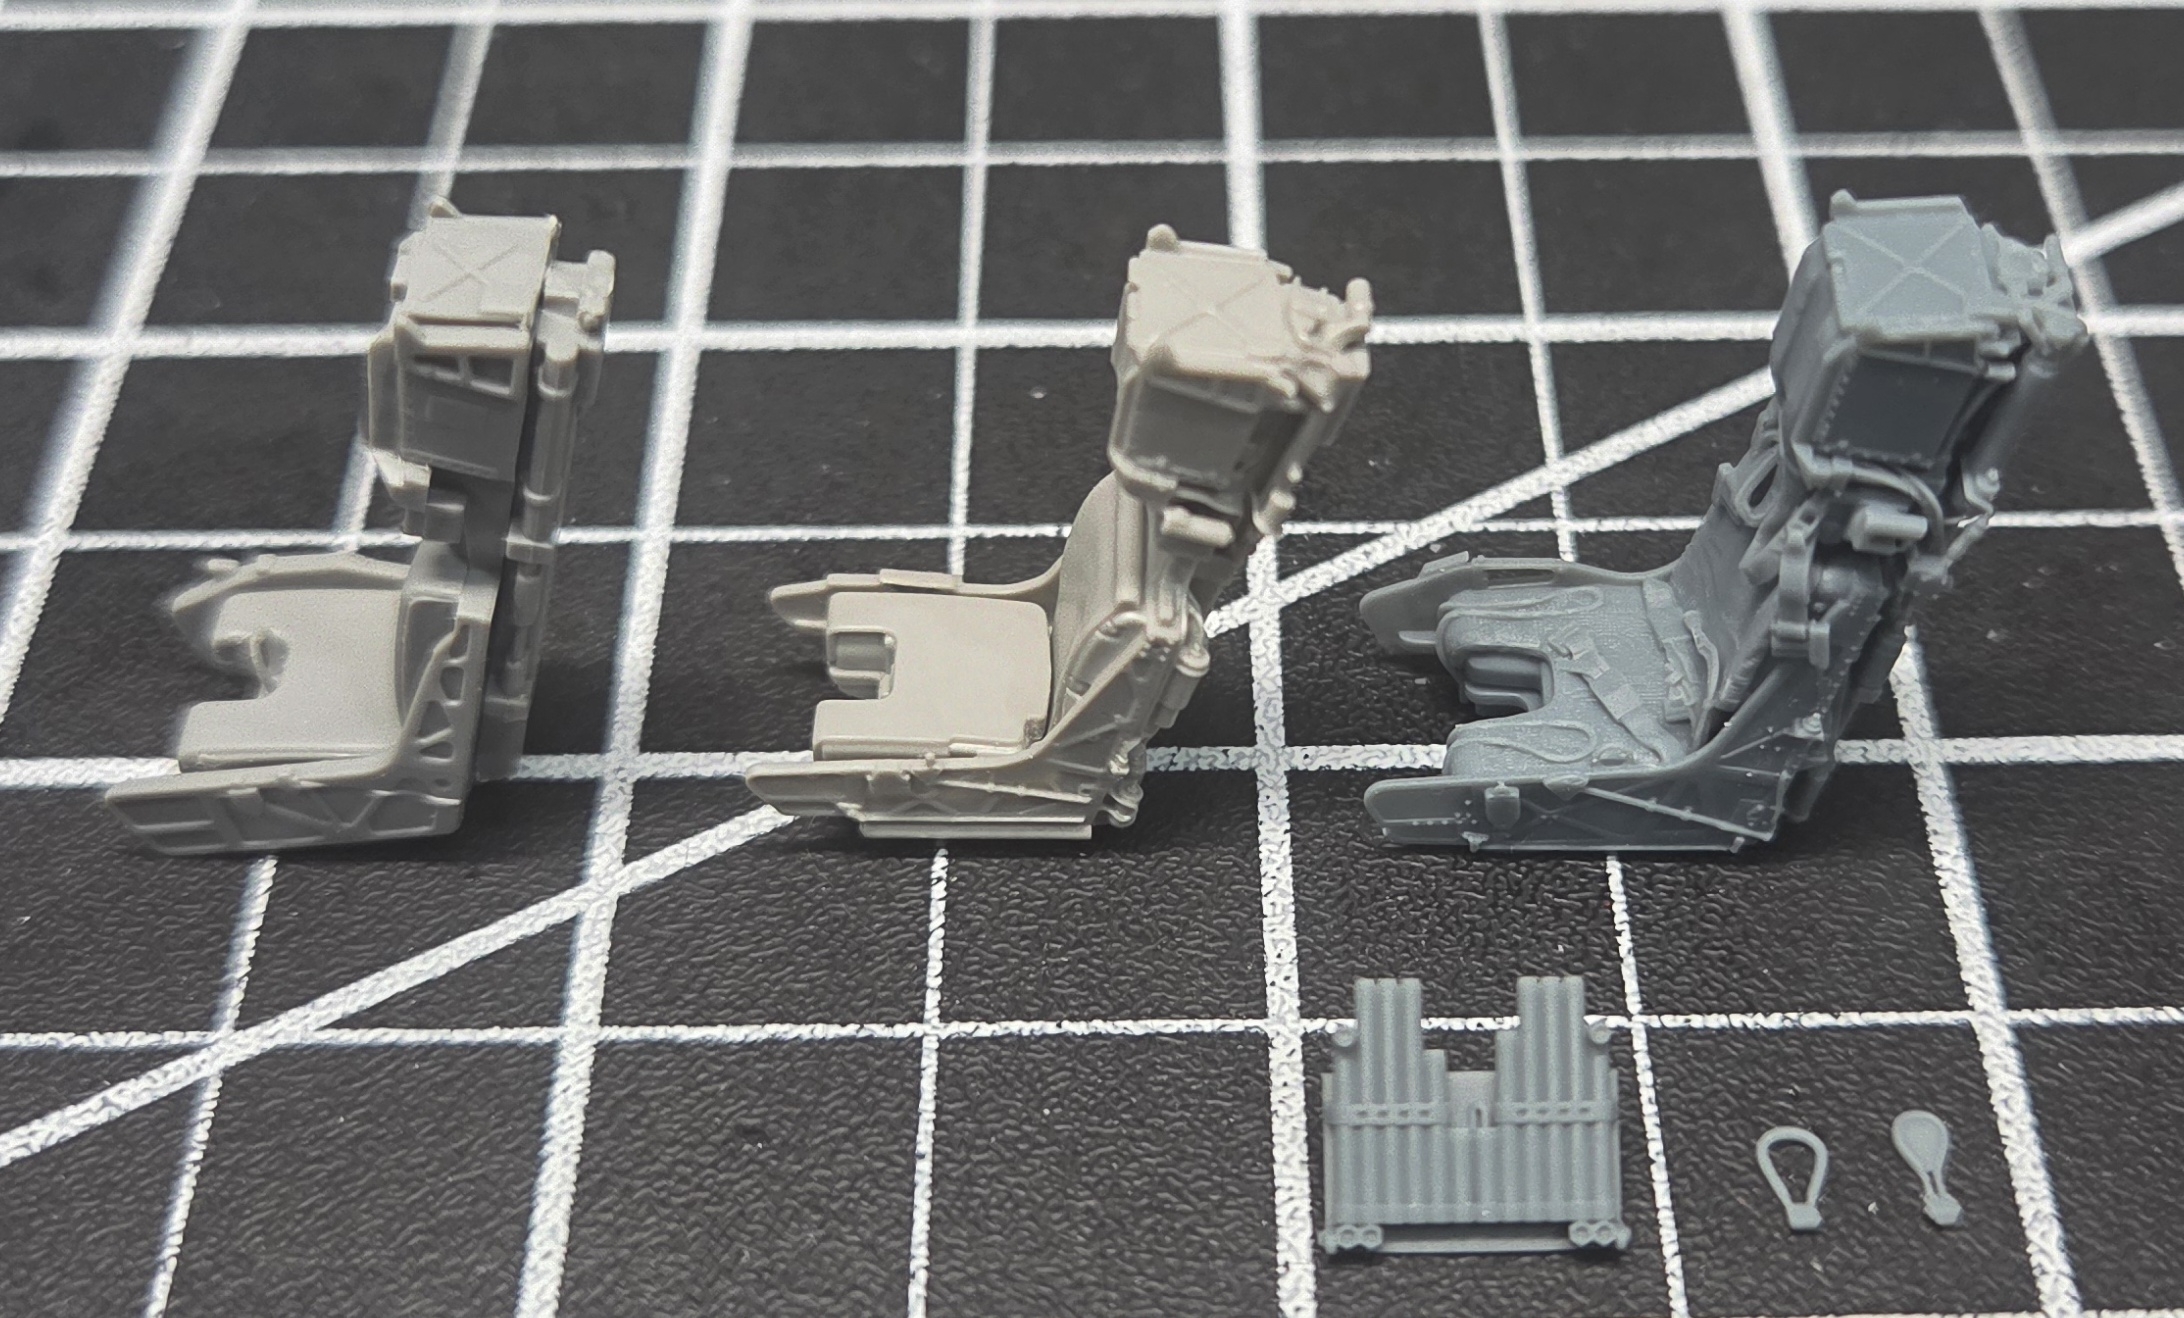
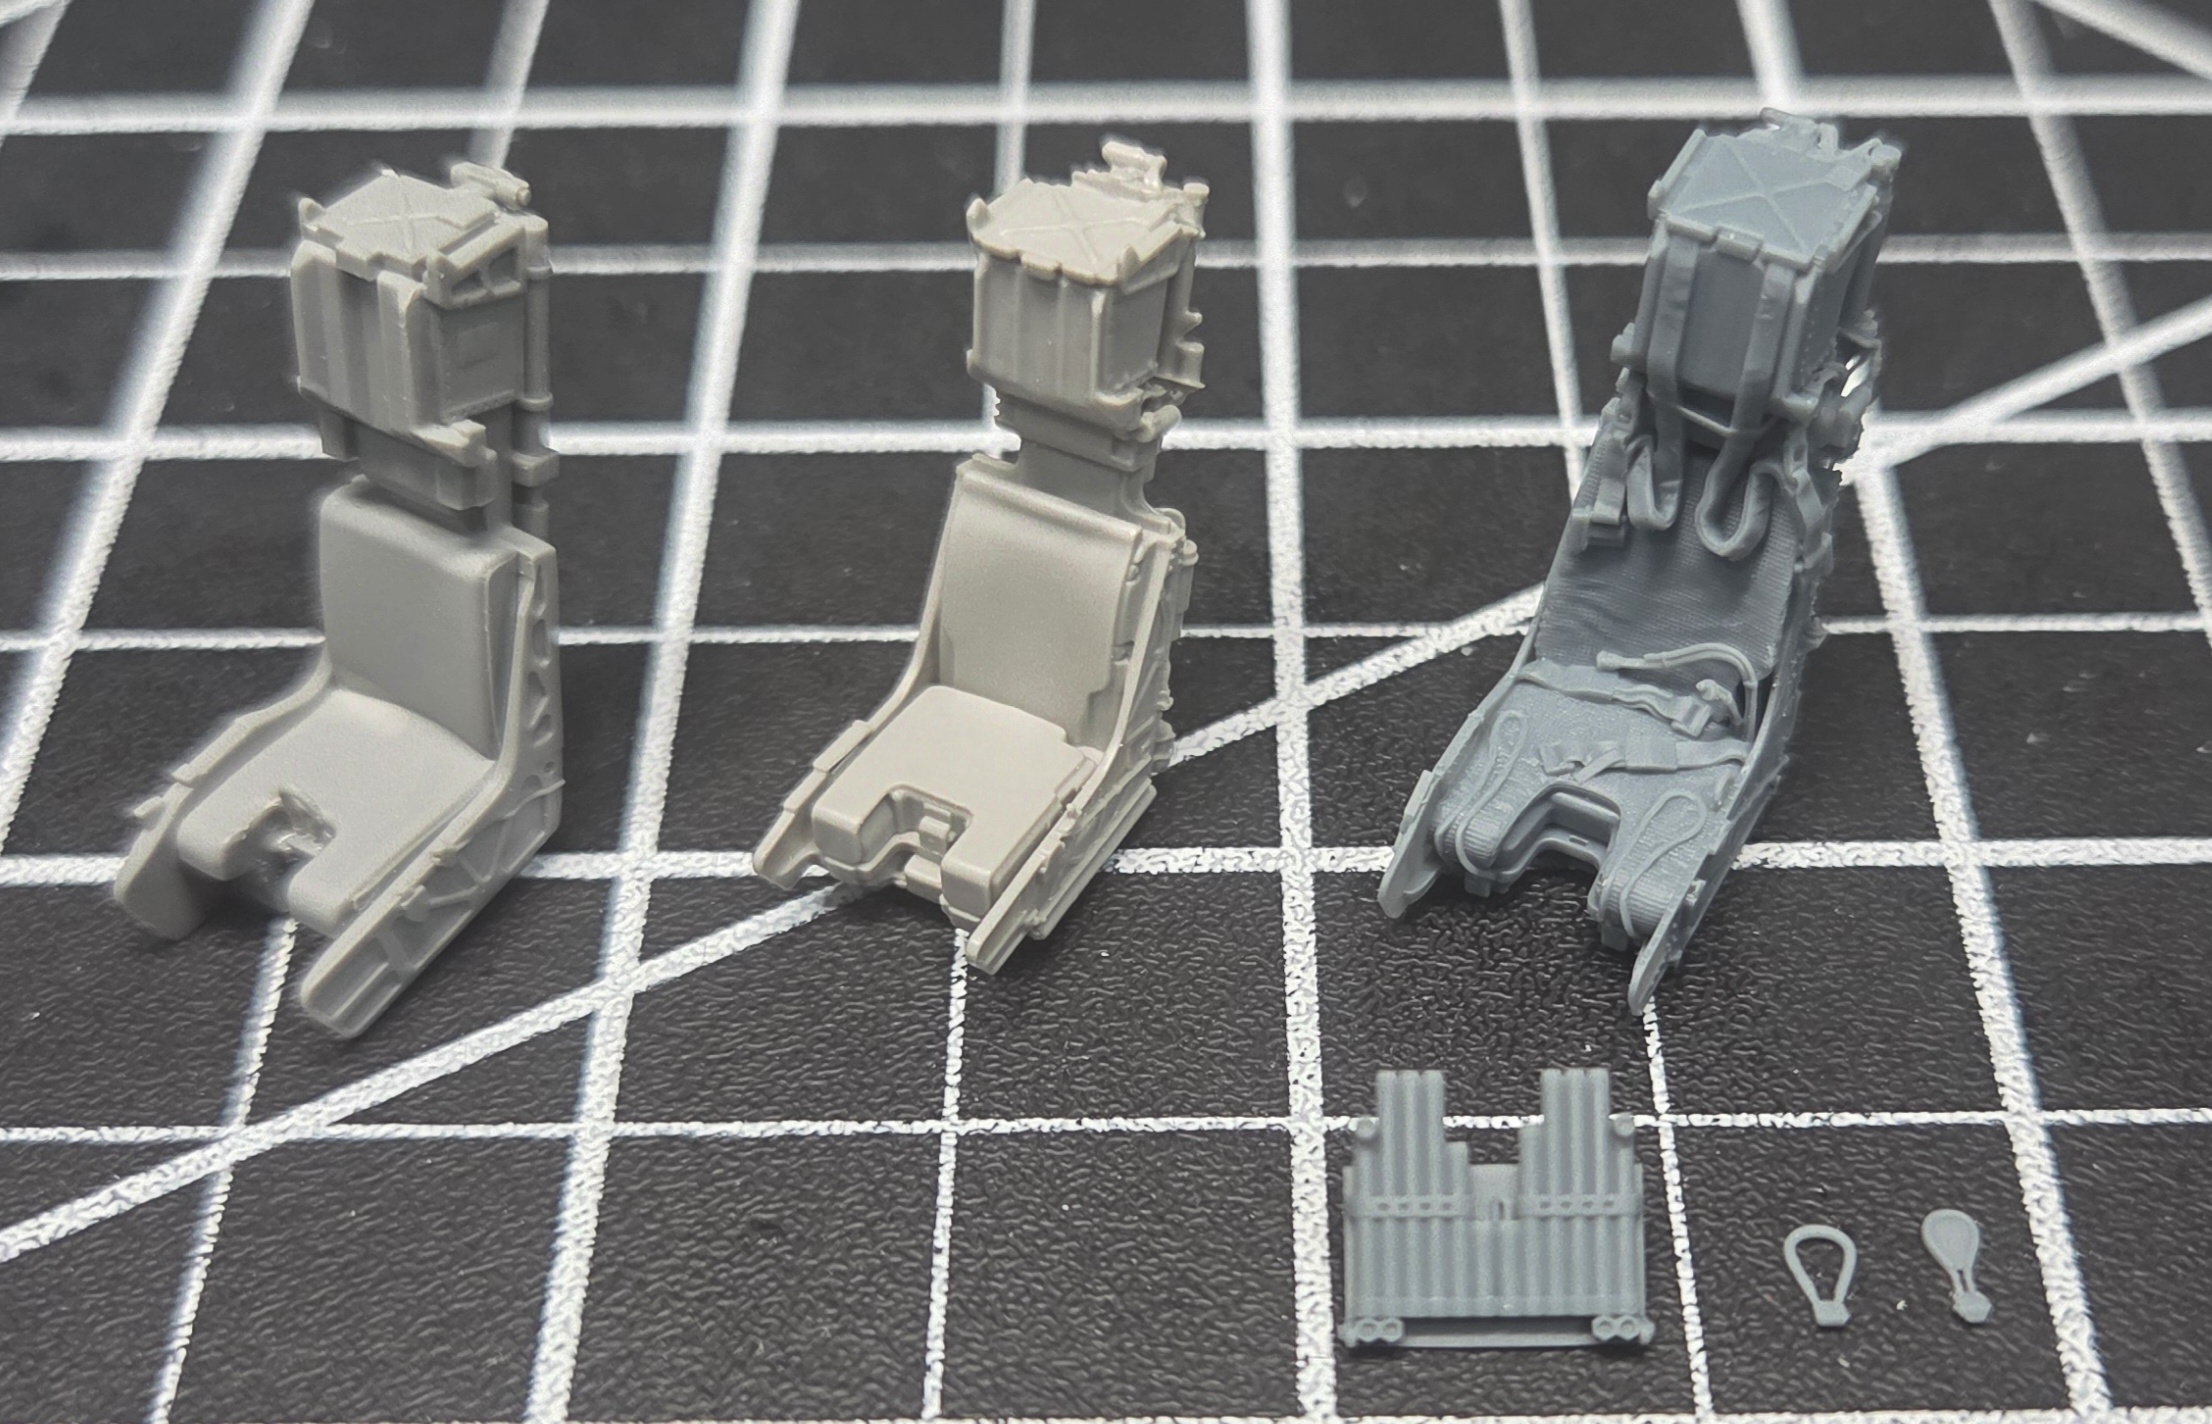
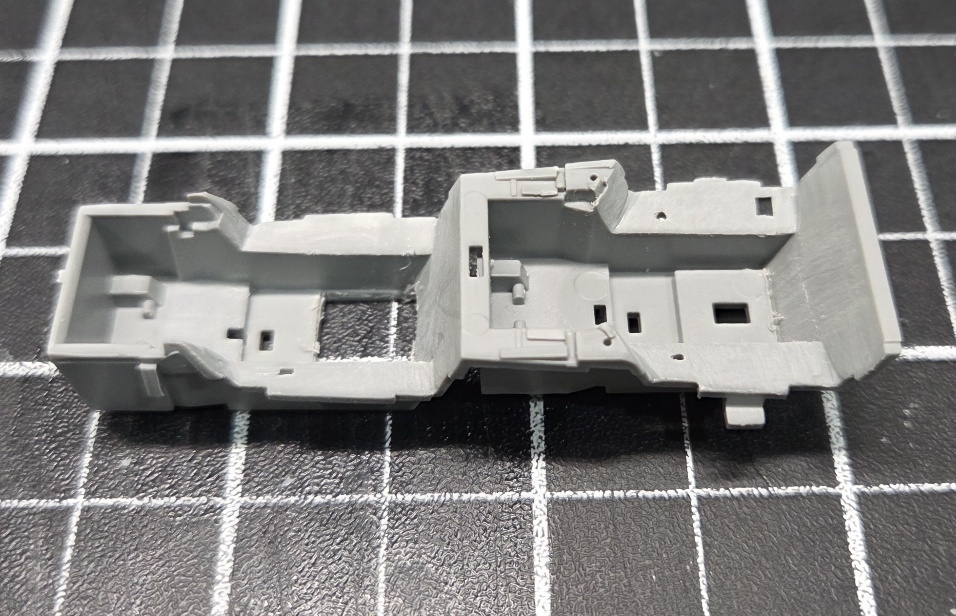
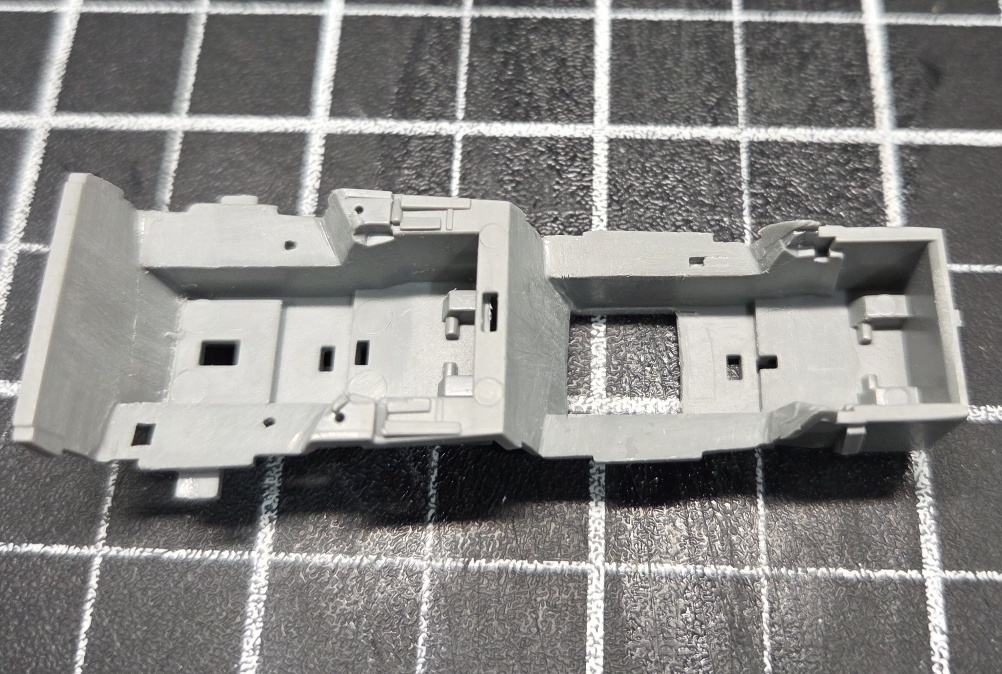
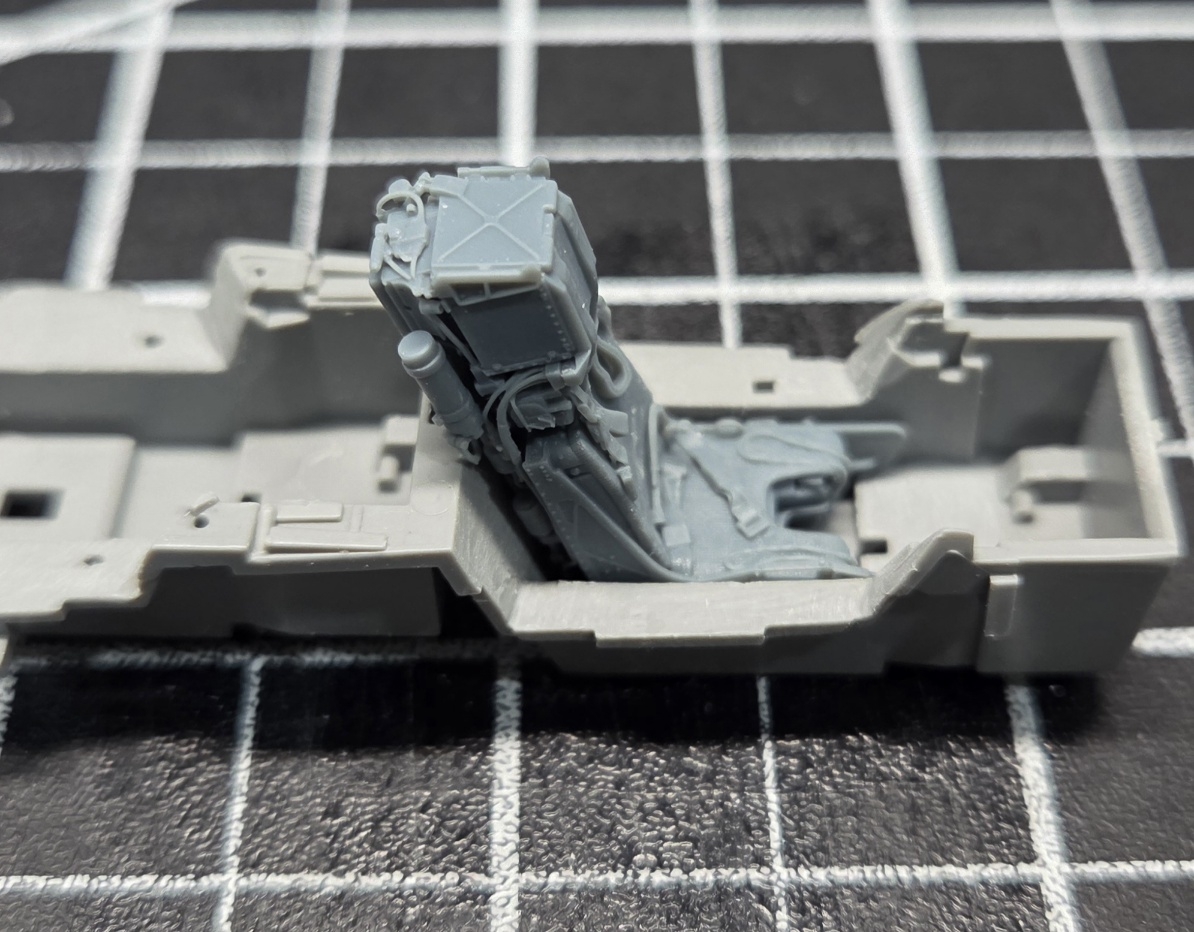
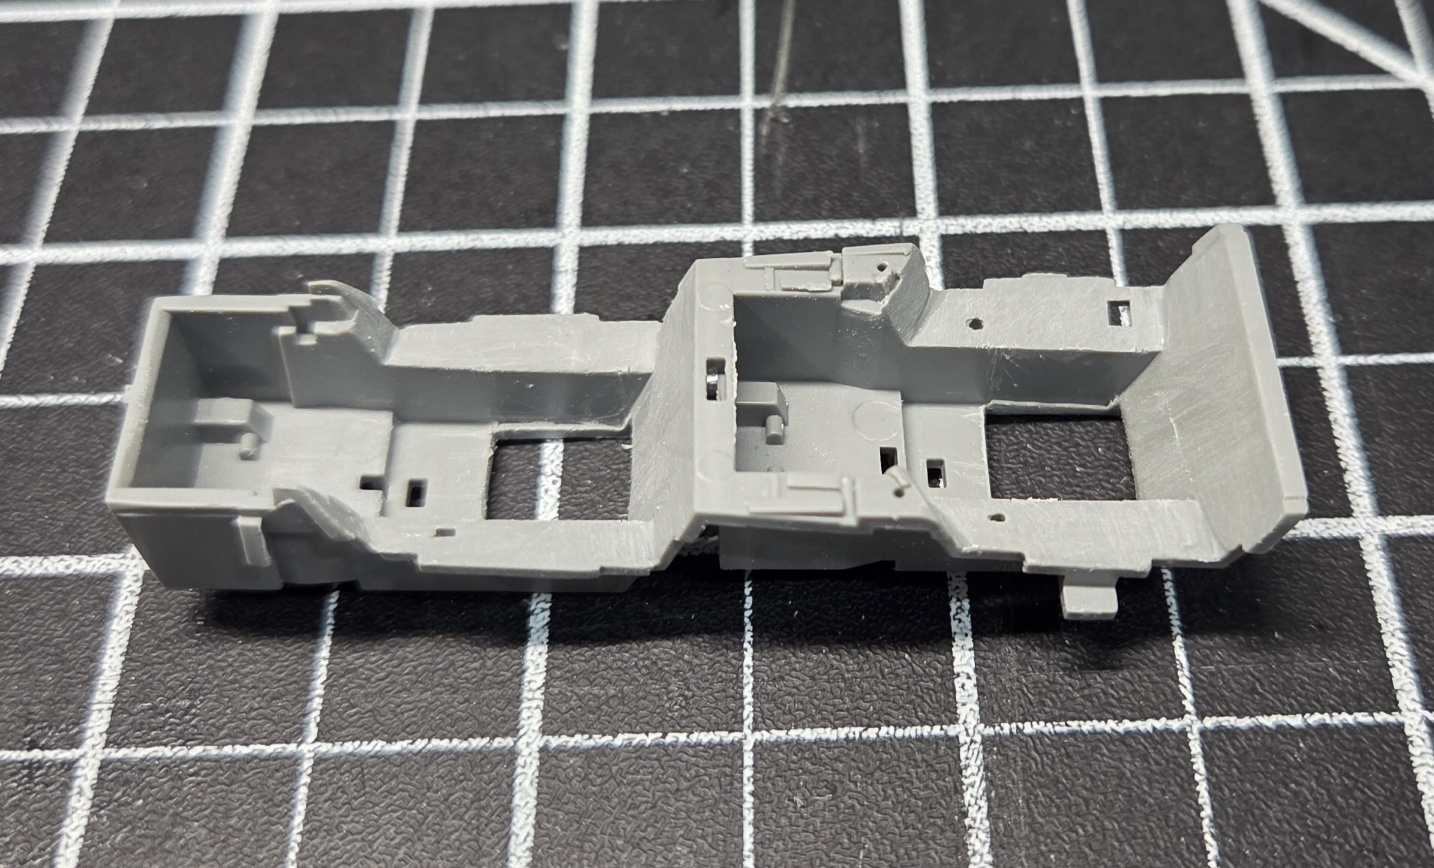
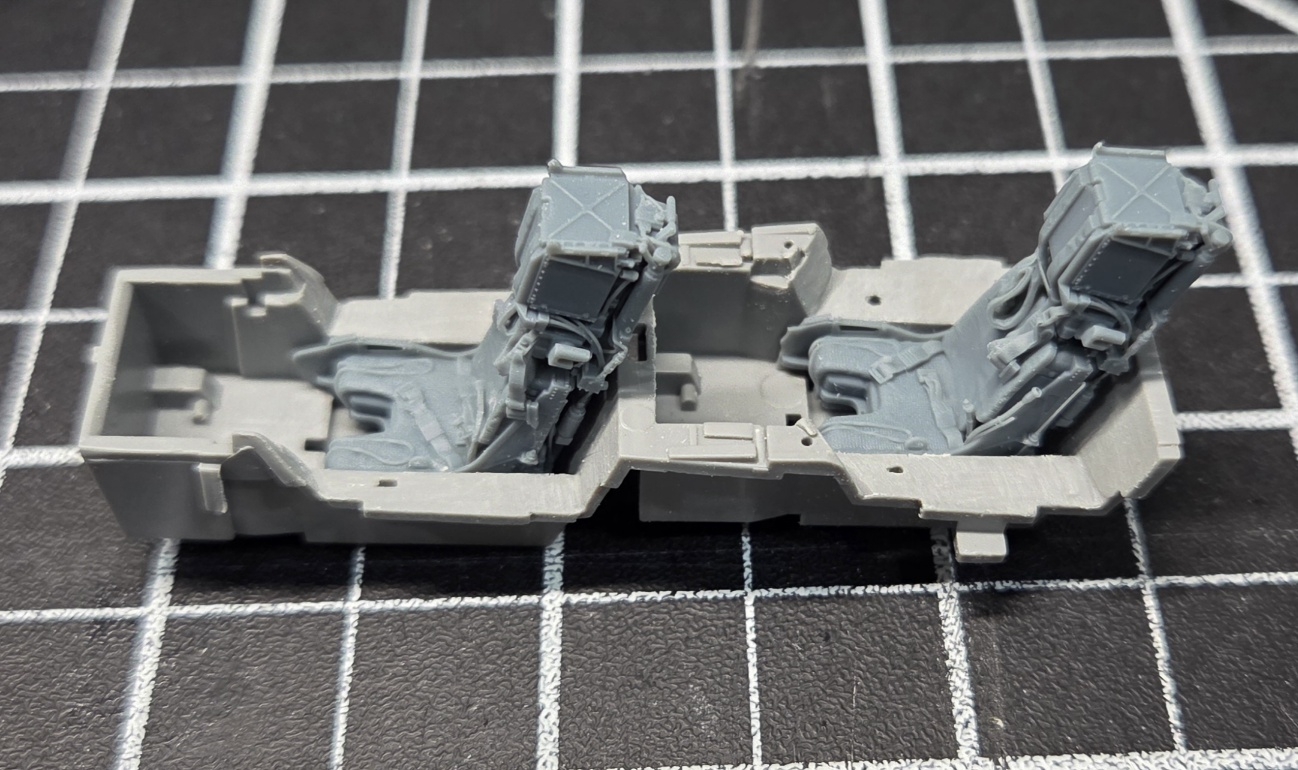
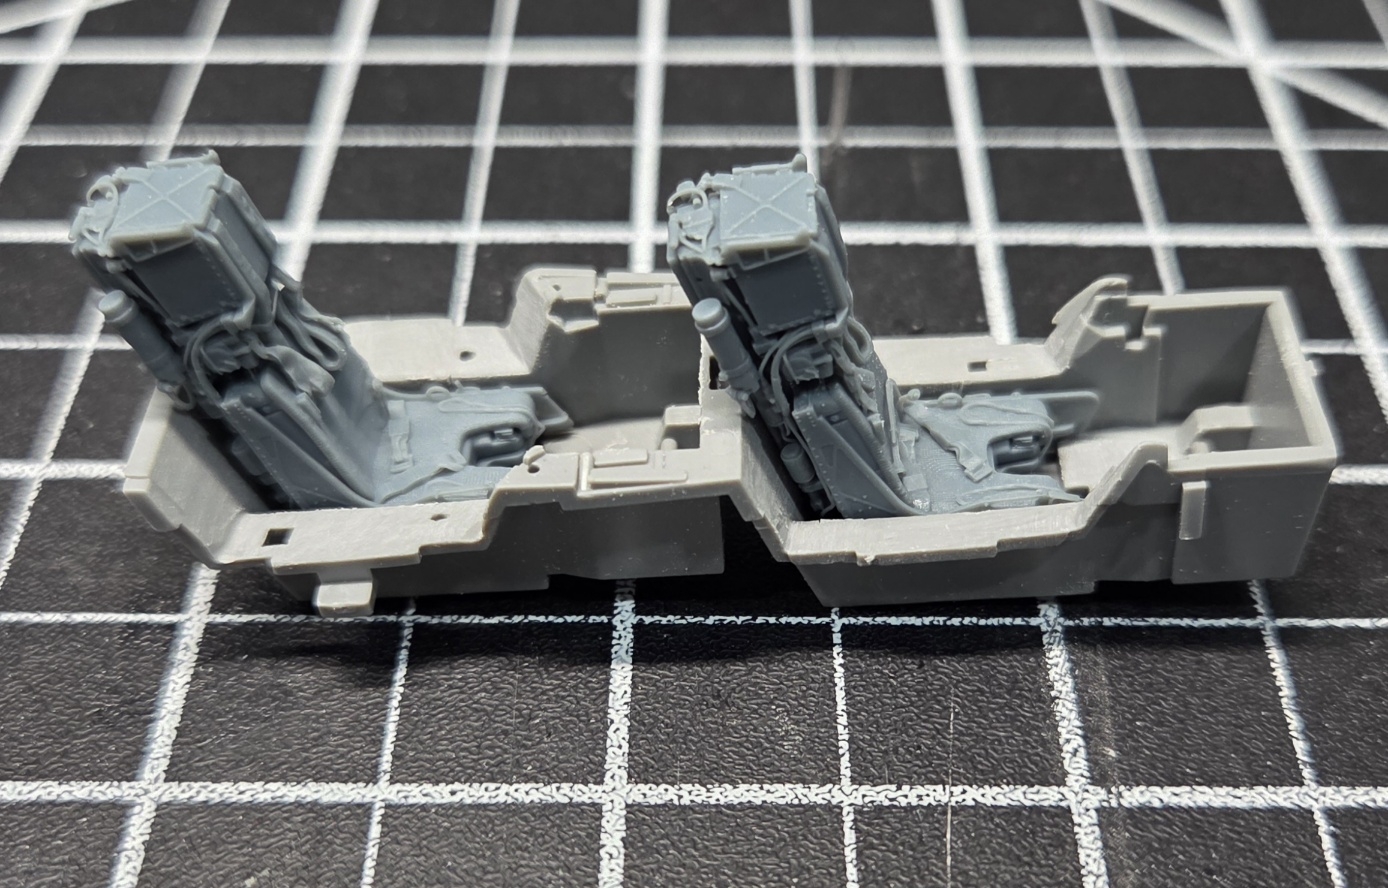
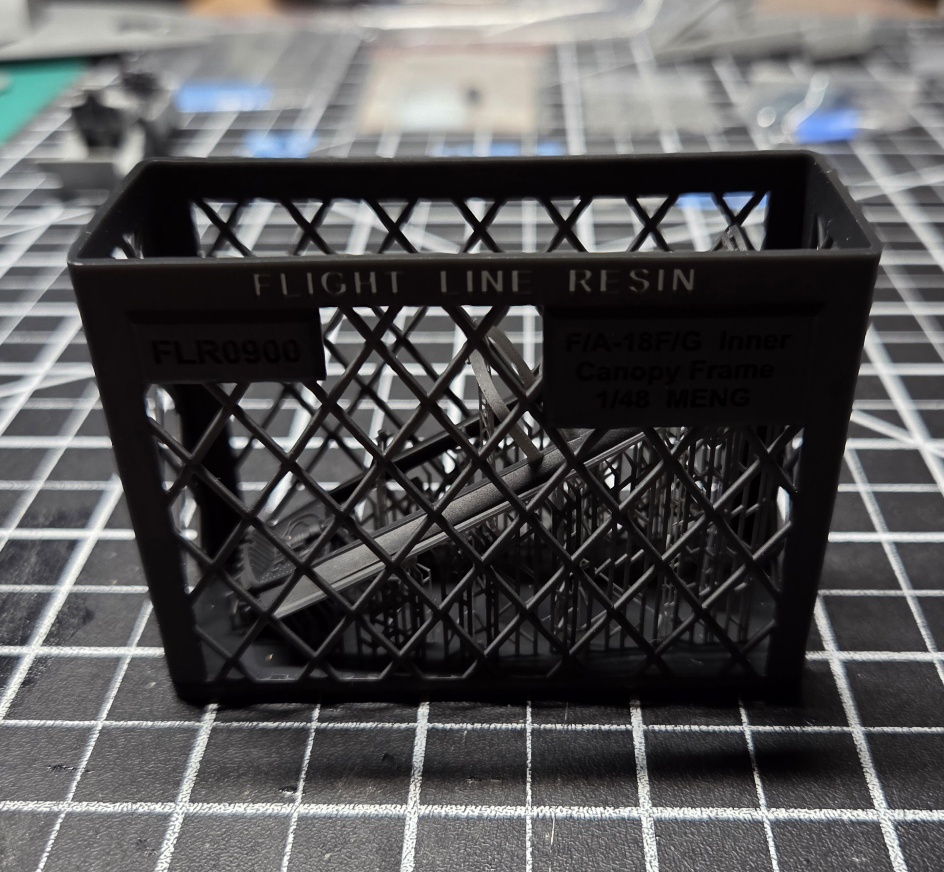
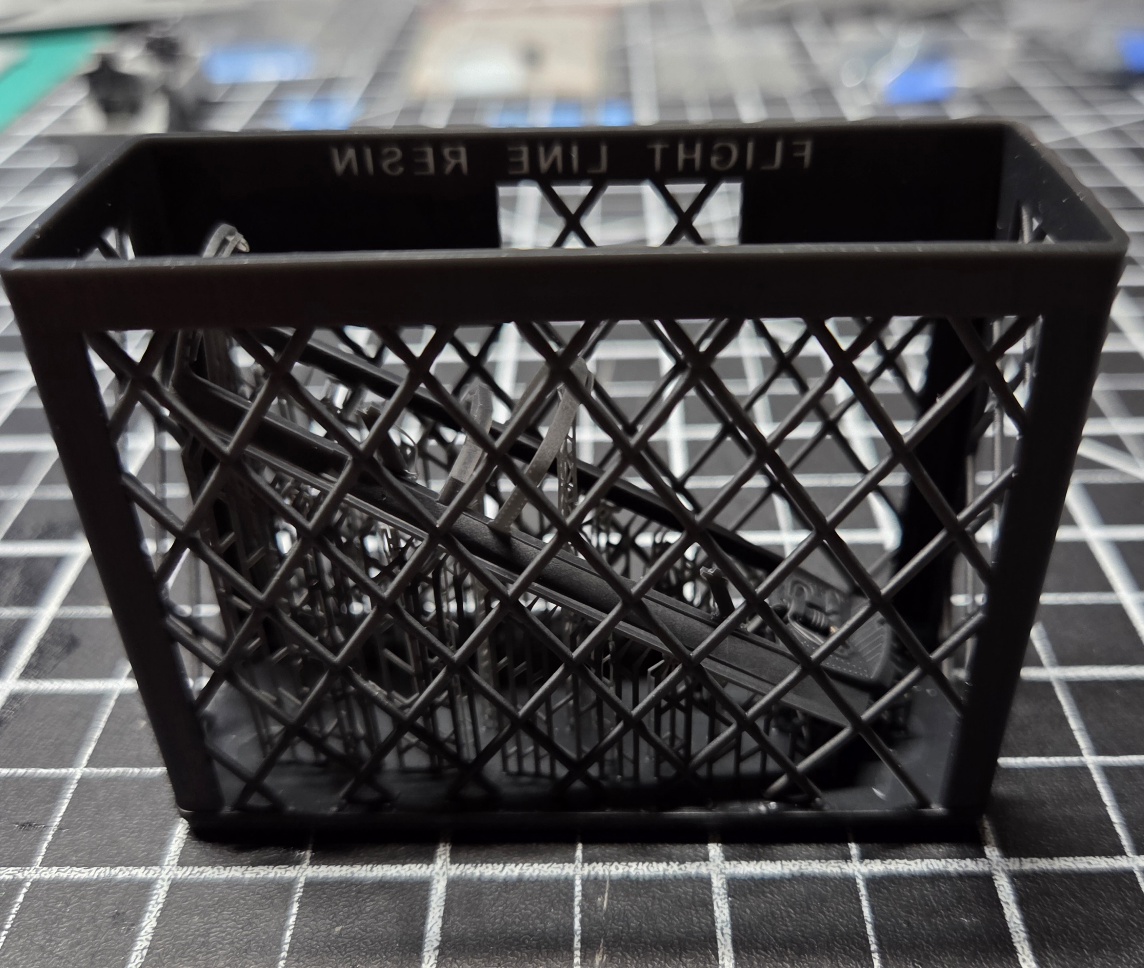
Good call on the seatsHello GBers, back at the bench, finally, and working on the office. Specifically, the ejection seats, the options I have pondered, and the final decision and modifications needed to make it happen. So the story began with a search for upgraded SJU-17 ejection seats for the build. The kit seats aren't awful in any way, but with a lot of the upgrades I'm doing, didn't want to slack in the "box".
Initially, I opted for a cast resin set, which are very nice, they include photo-etch parts and decals, but there is something just off with the overall look and height difference in the headrest and framing. It almost seems to be slightly under scale. So it was back to searching and I have discovered with a lot of upgrade parts for this build, 3D printed parts are fitting the bill much better, and the detailing can get hyper realistic. So let's look at the comparisons.
View attachment 194619View attachment 194620
From left to right- Kit parts, cast resin seat, 3D resin printed seat.
As you can see the level of detail increases. The kit part lacks the correct top, slope and canopy breakers, as well as the correct seat backs. The cast resin brings more details, which included PE belts, leg straps, plus decals. The headrest is not the correct shape and is a bit shorter, and with other minor issues that overall make it appear slightly under scaled. The 3D printed resin set really gets the ejection motors under the carriage right. However, there really isn't room in the Meng kit in the tub for them, and they won't be seen at all. The detail on the framing, seats (even the material texturing) is spot on and much closer to scale, with all the elements angles on point when compared to the actual seats. So, it was a no brainer for me to go with these, but there is a cost, and that cost is extra work and modifications to the base platform for the kit seats.
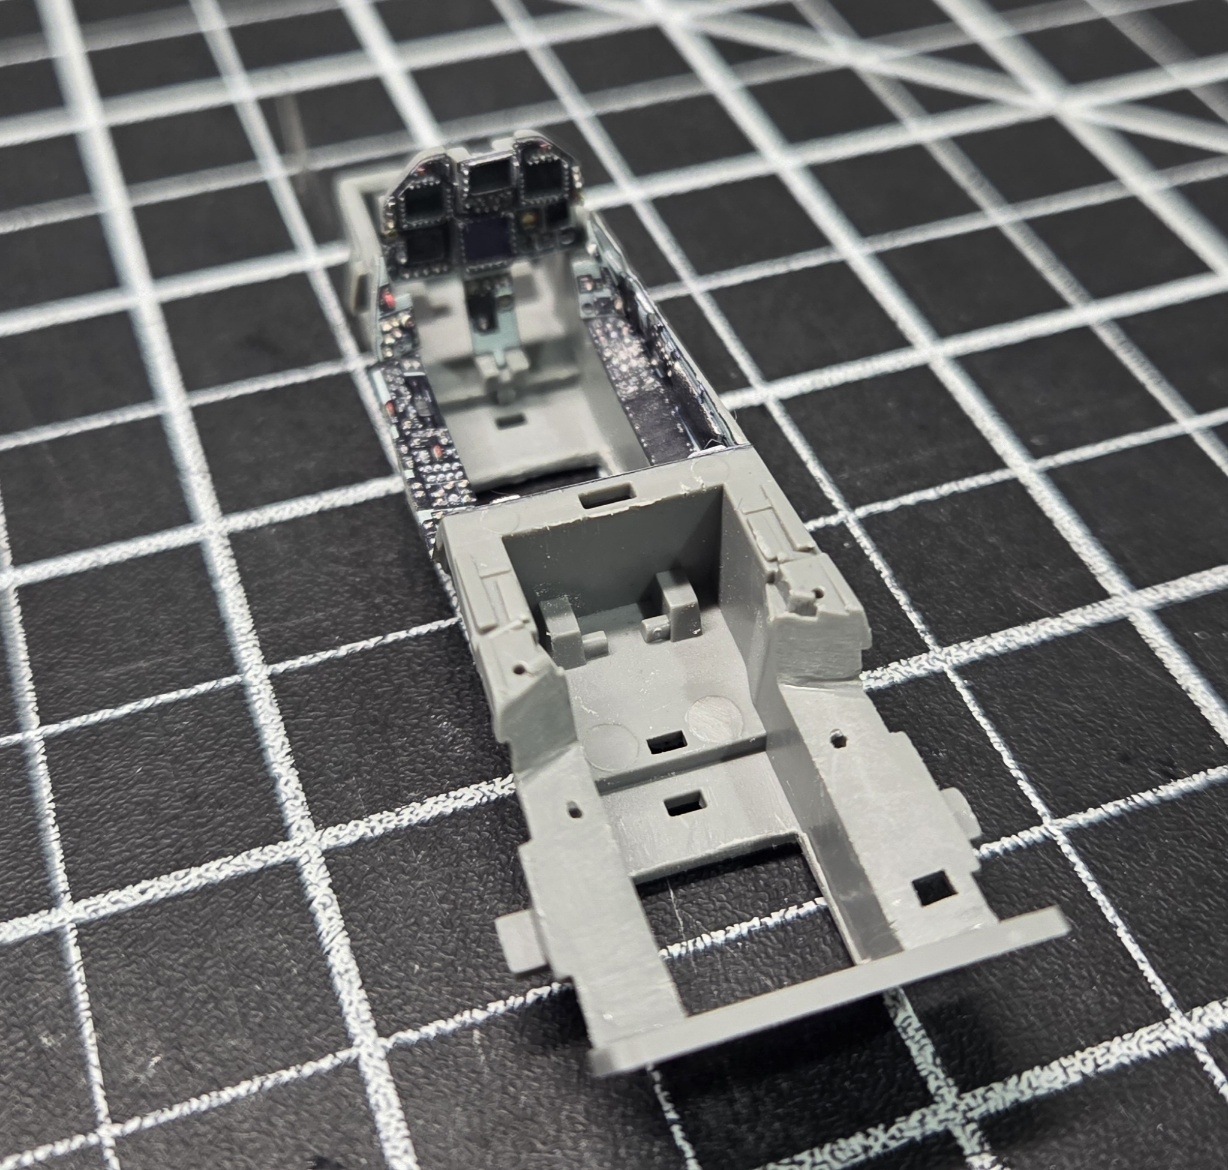
First step is carefully cutting out the raised base from the floorboards, so that the seats can sit at the proper depth and angle. Below I have removed the base and then cleaned it up and test fitted the seat, and it does the job.
View attachment 194633View attachment 194634View attachment 194635
Once I was satisfied, I moved on to apply the same treatment to the rear WSO area. I had to be careful to not apply too much pressure while cutting things out, as the tub would flex and possibly break in half. I then cleaned it up and test fitted again. Here are the results.
View attachment 194636View attachment 194637View attachment 194638
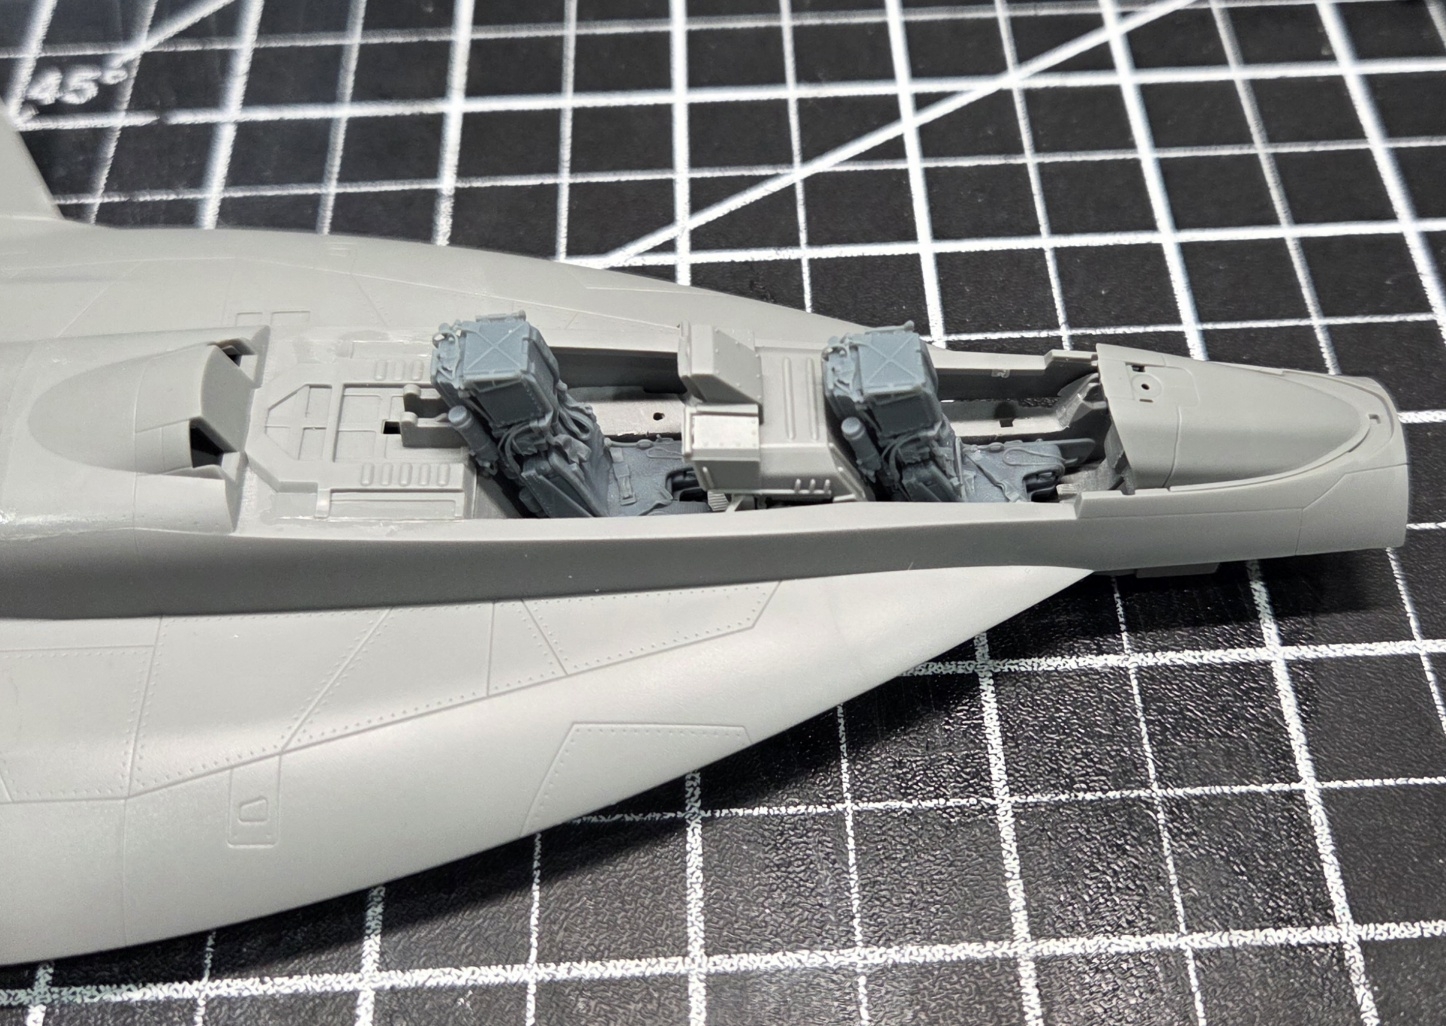
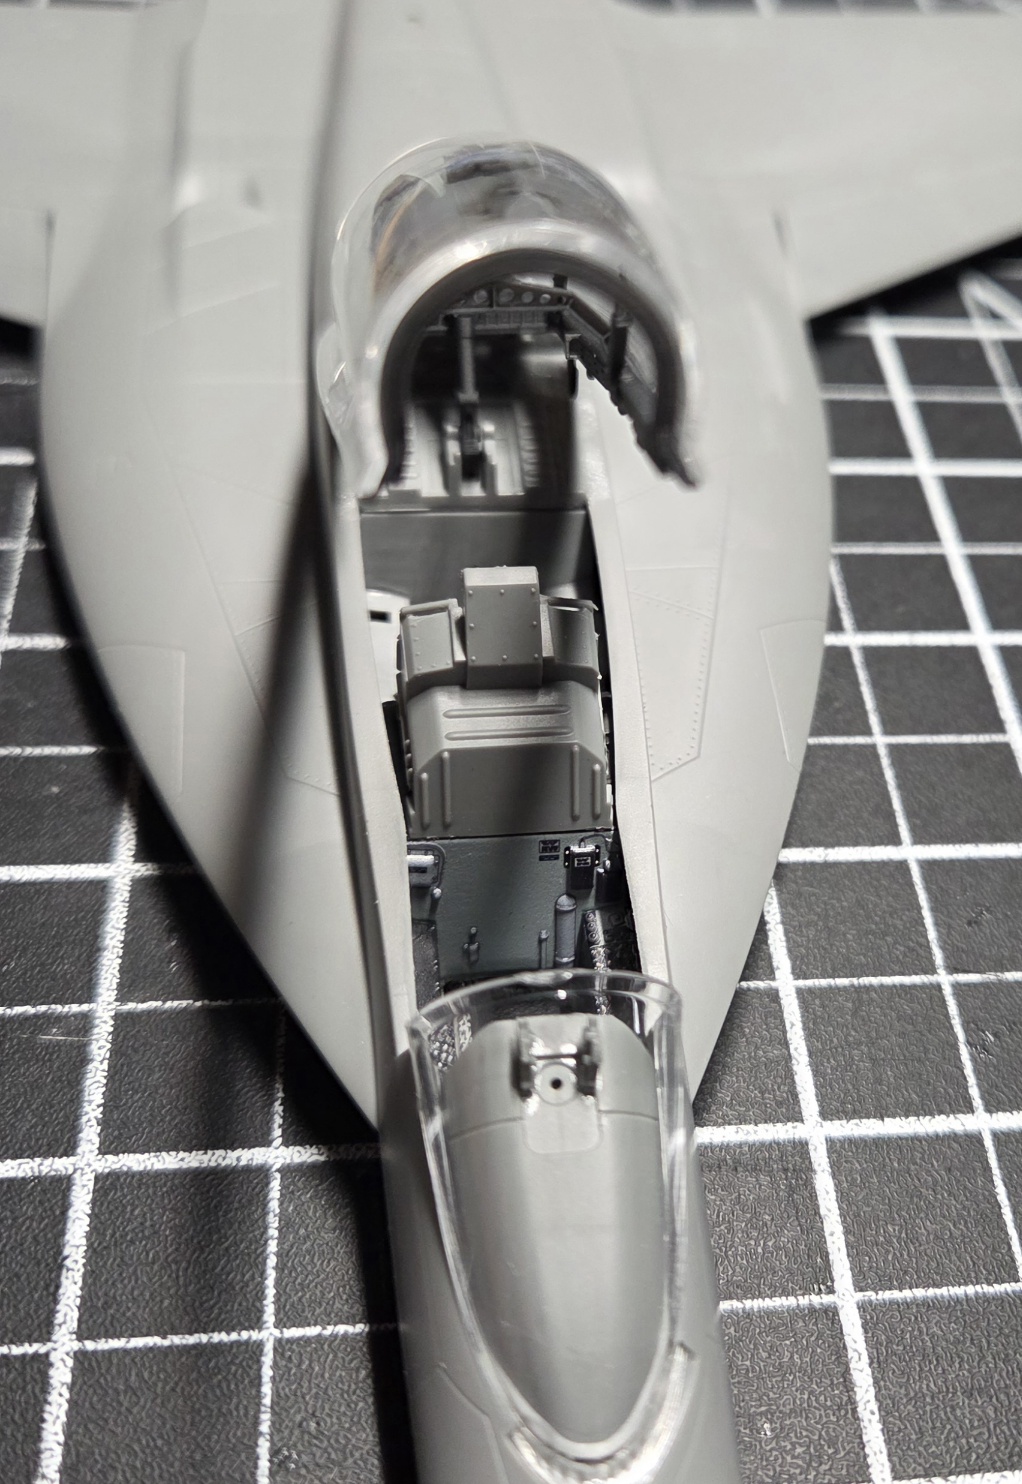
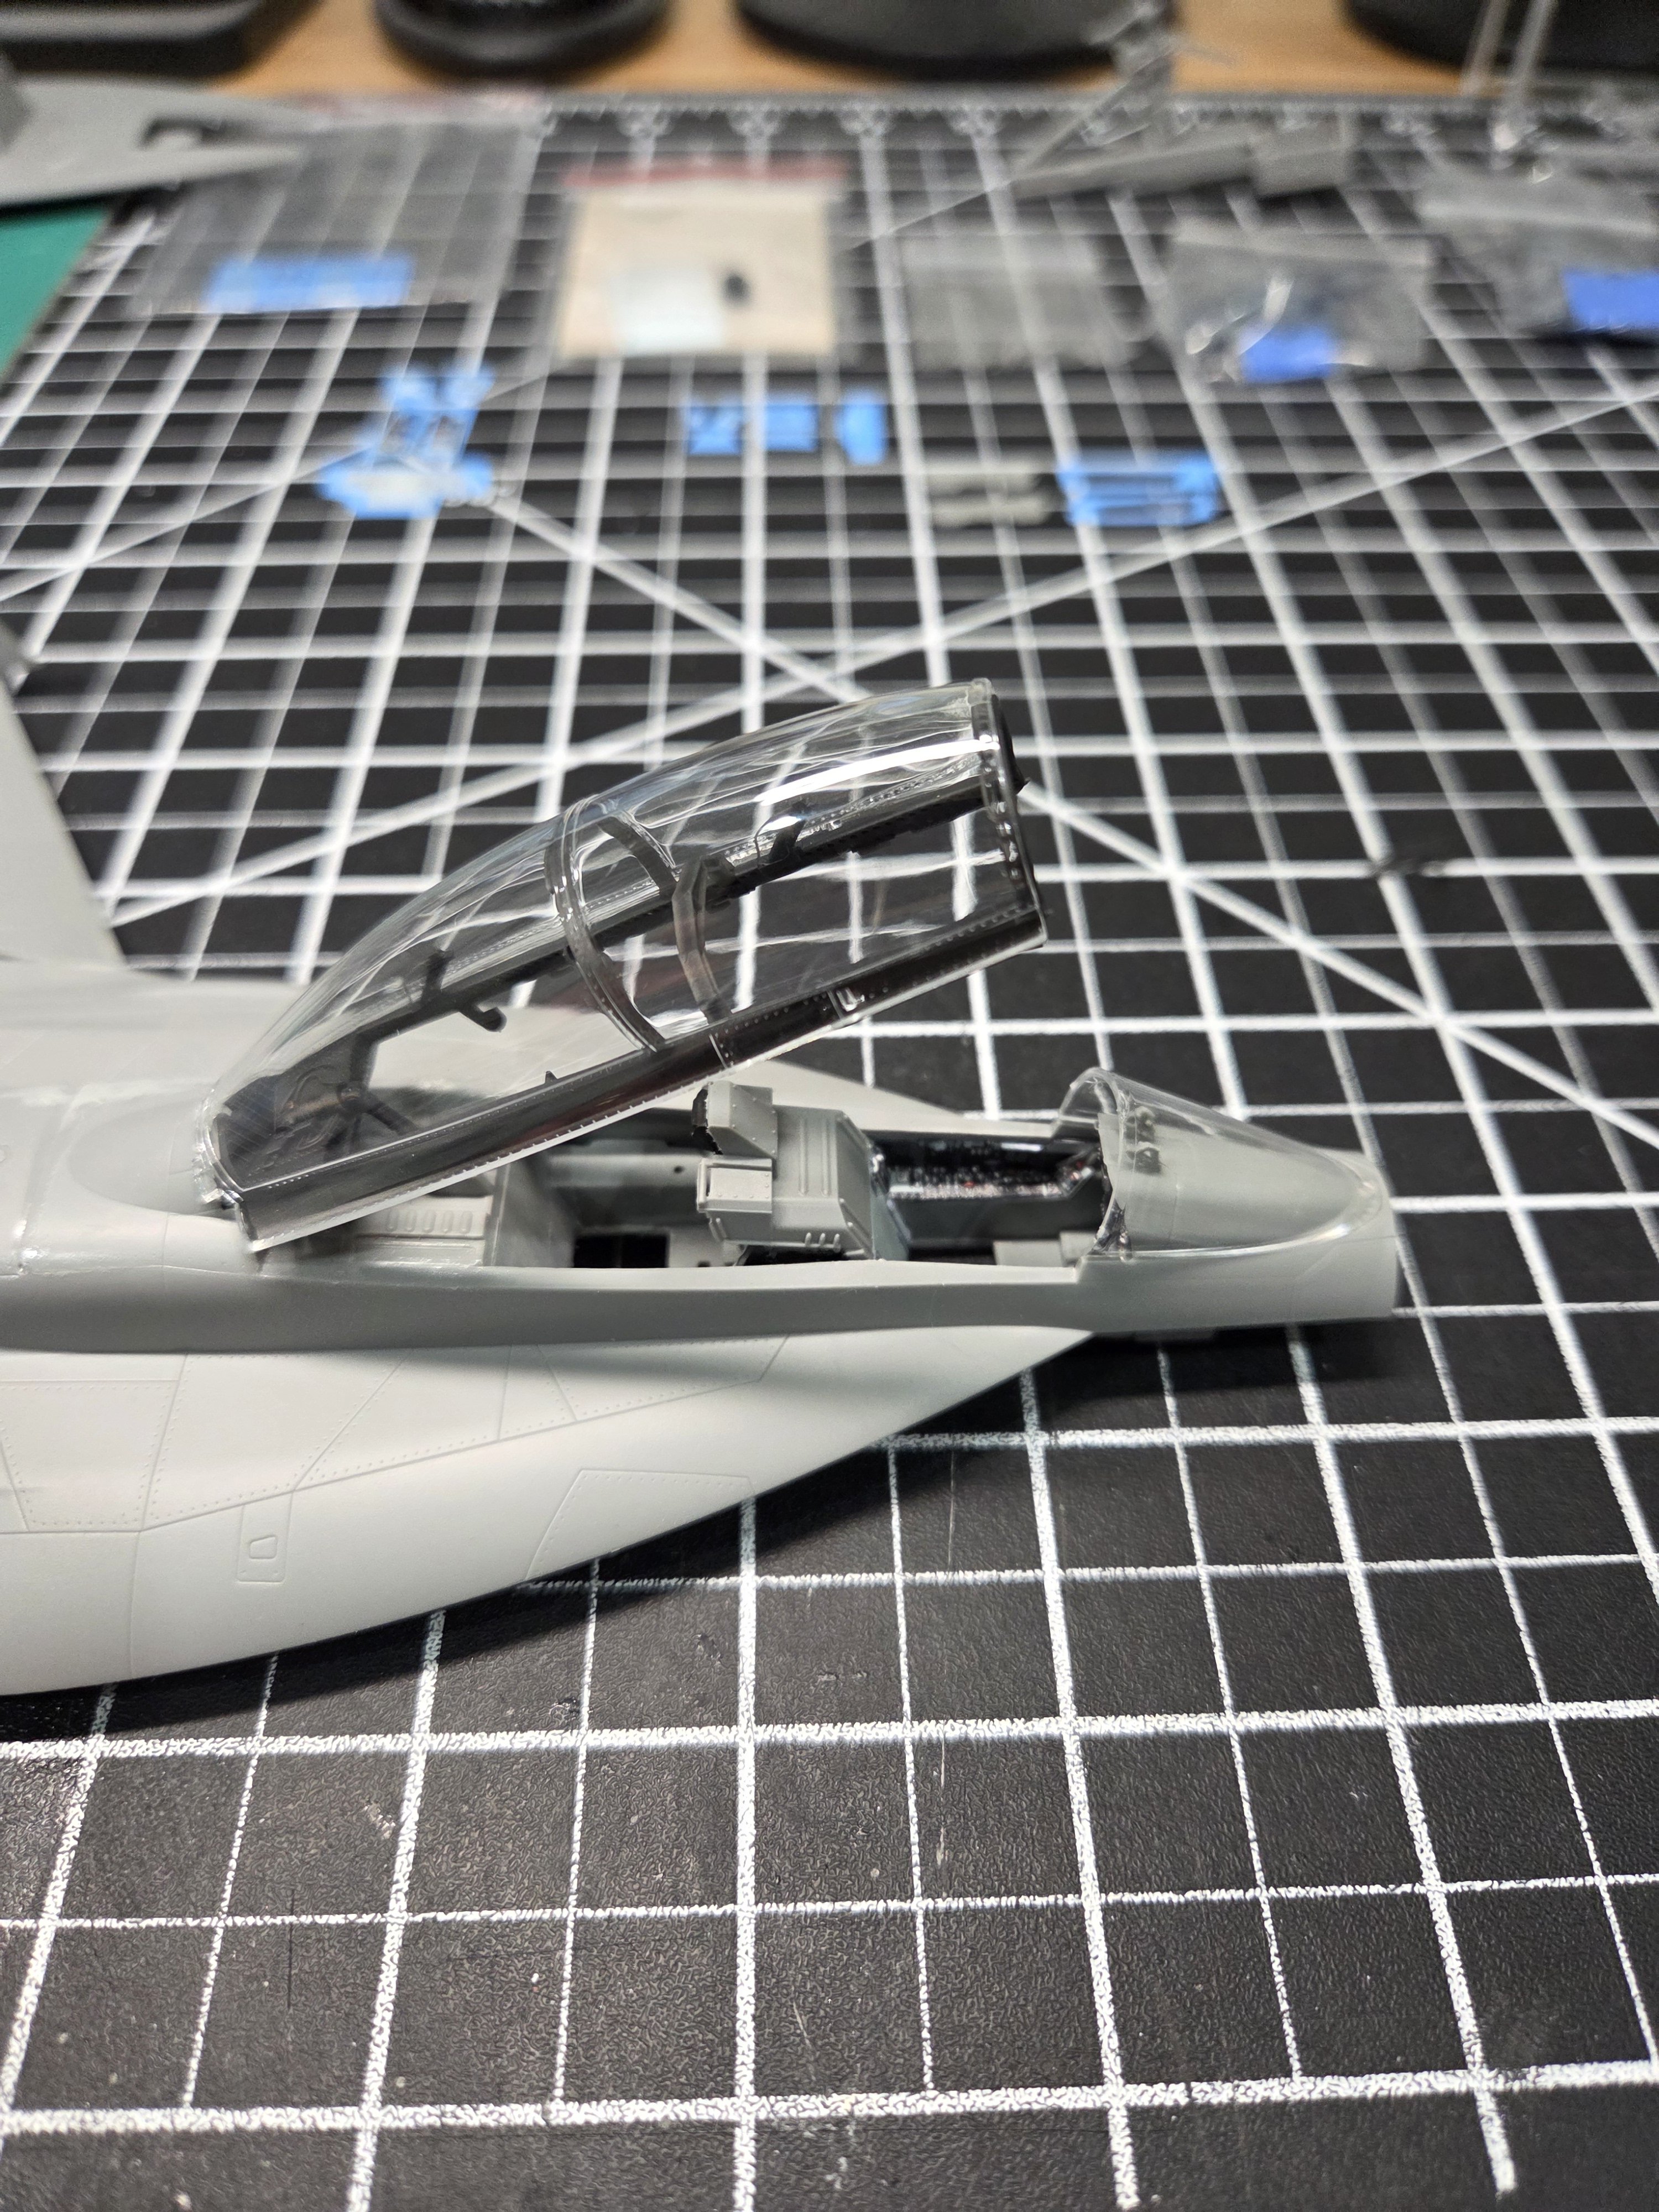
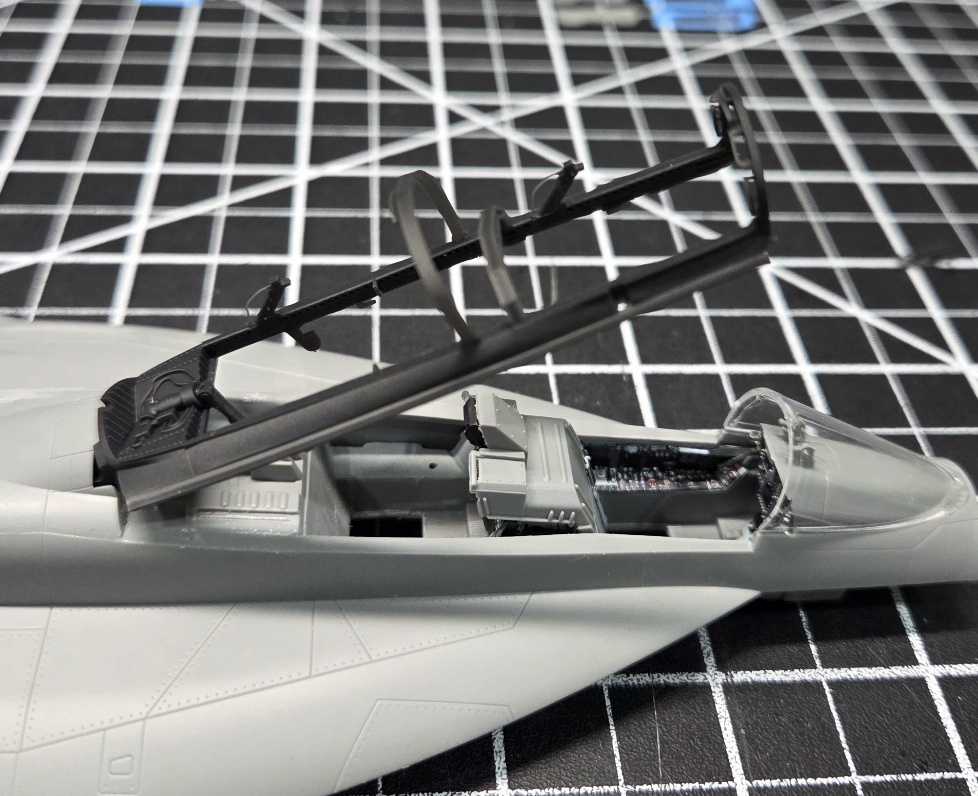
To check everything from there, I put the box in the upper airframe and console hoods to make sure it all lines up and looks the part. Here's the result.
View attachment 194639
The ejection seat kit actually has the proper front and rear seats. There are slight differences in the angles, height, and canopy breakers on the tops. They also mold the harness systems in different positions to add more realism.
Project continues and plan to get some painting, detailing, decaling, and instruments all in place. See you all soon with the next update!
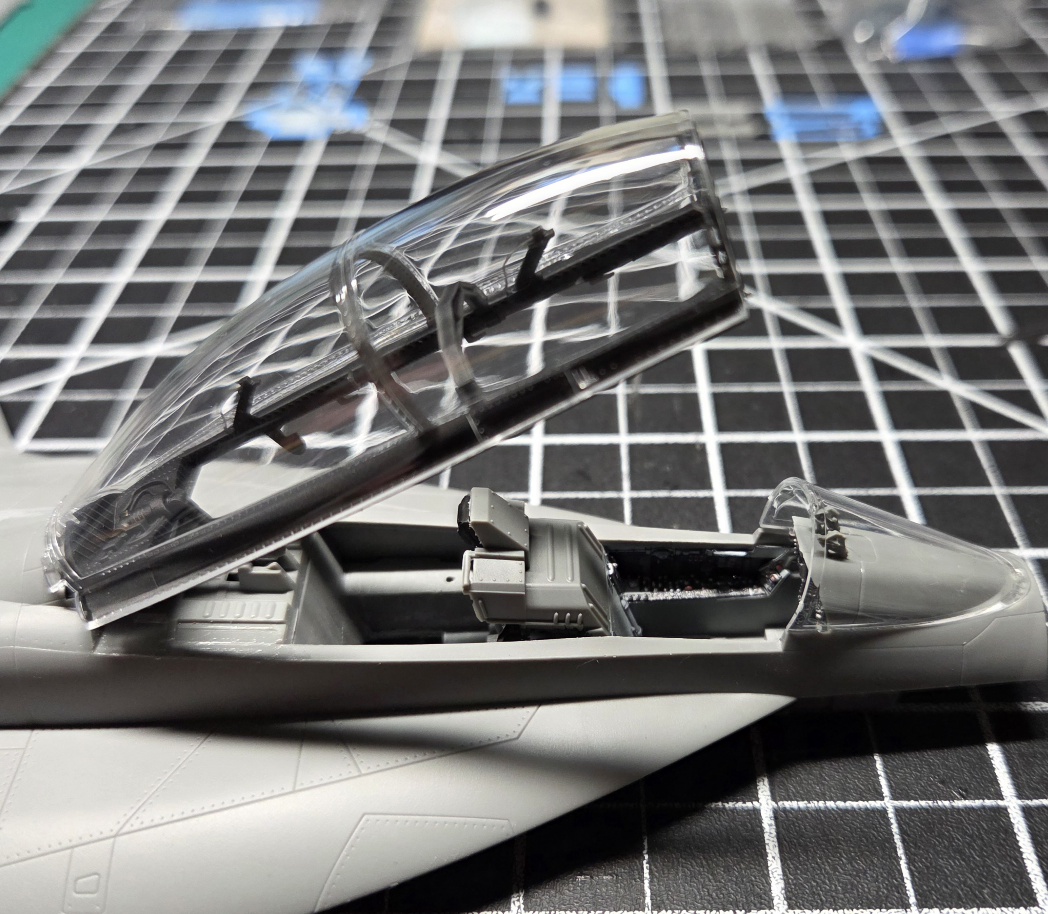
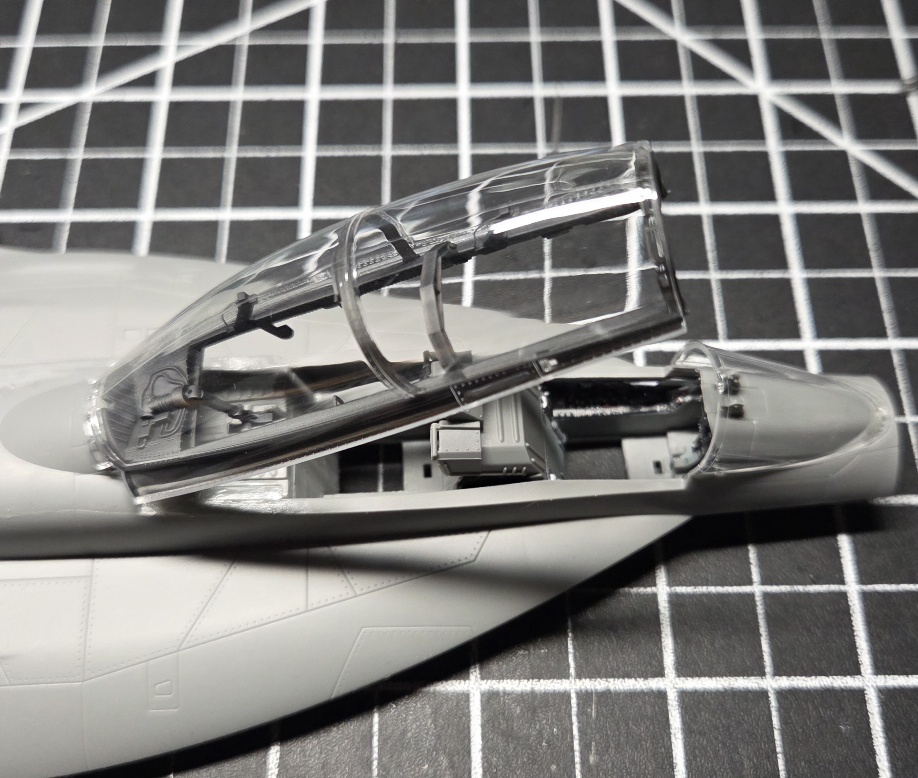
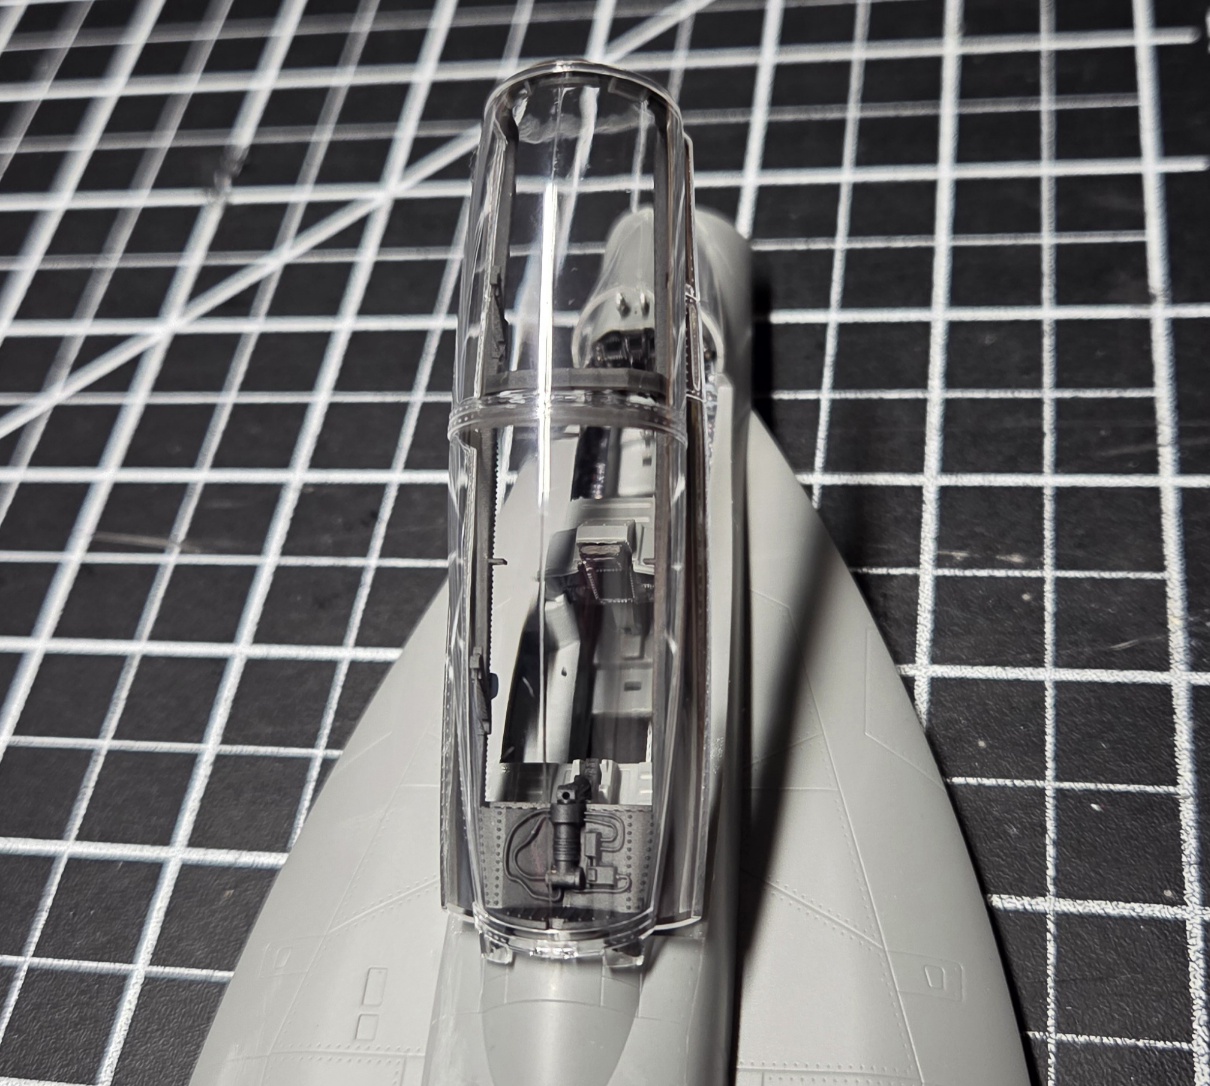
For sure, a good call and the amount of work to get them in properly doesn't seem excessive. Final check … make sure the canopy will seat properly with those seats in.
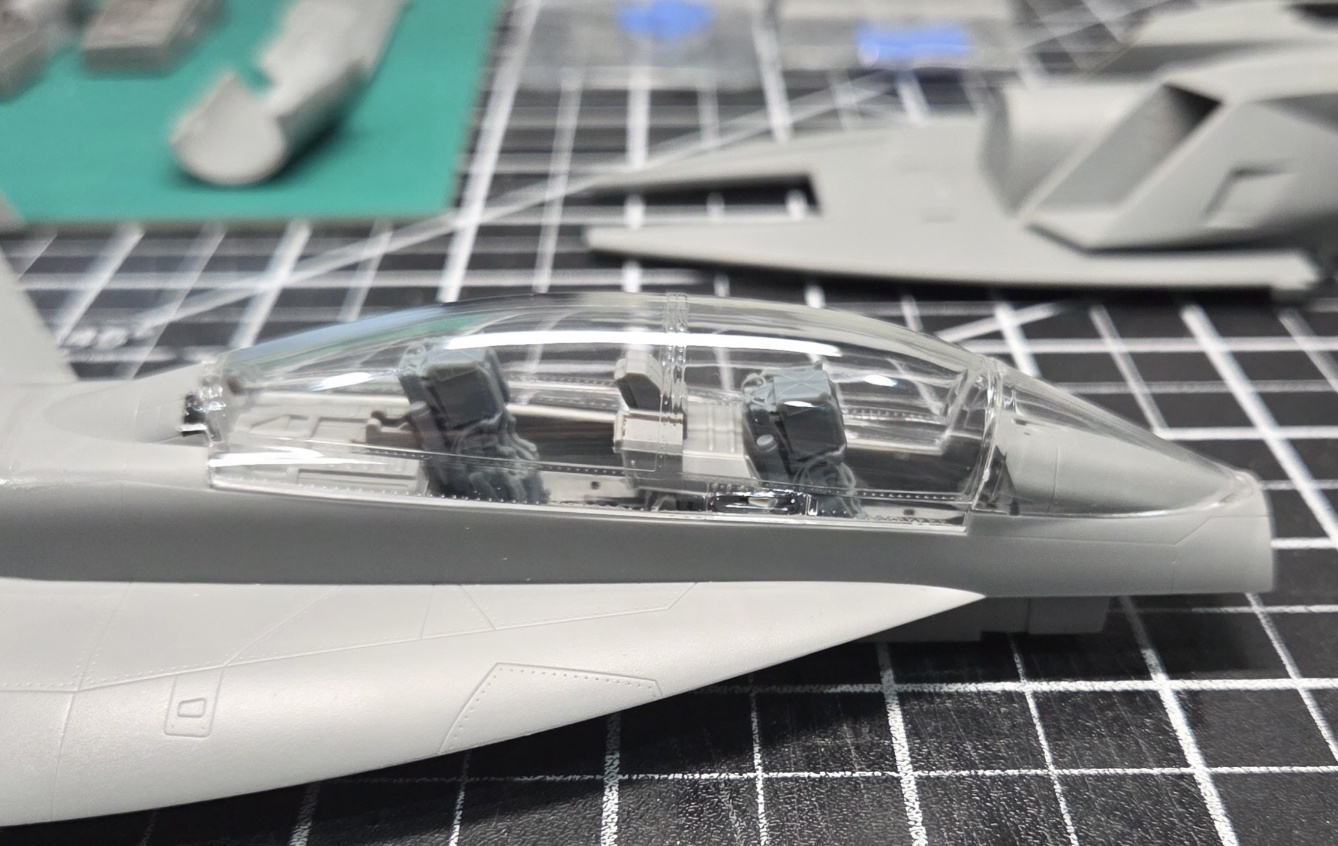
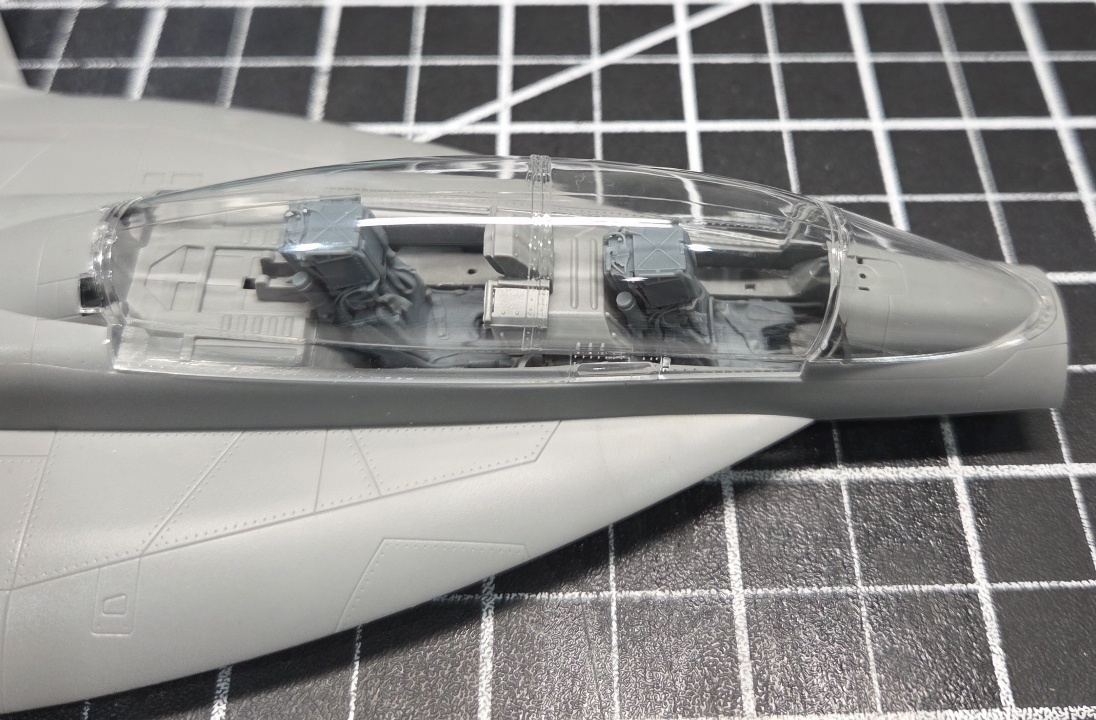
Like Liberace's jacket!hard to photograph

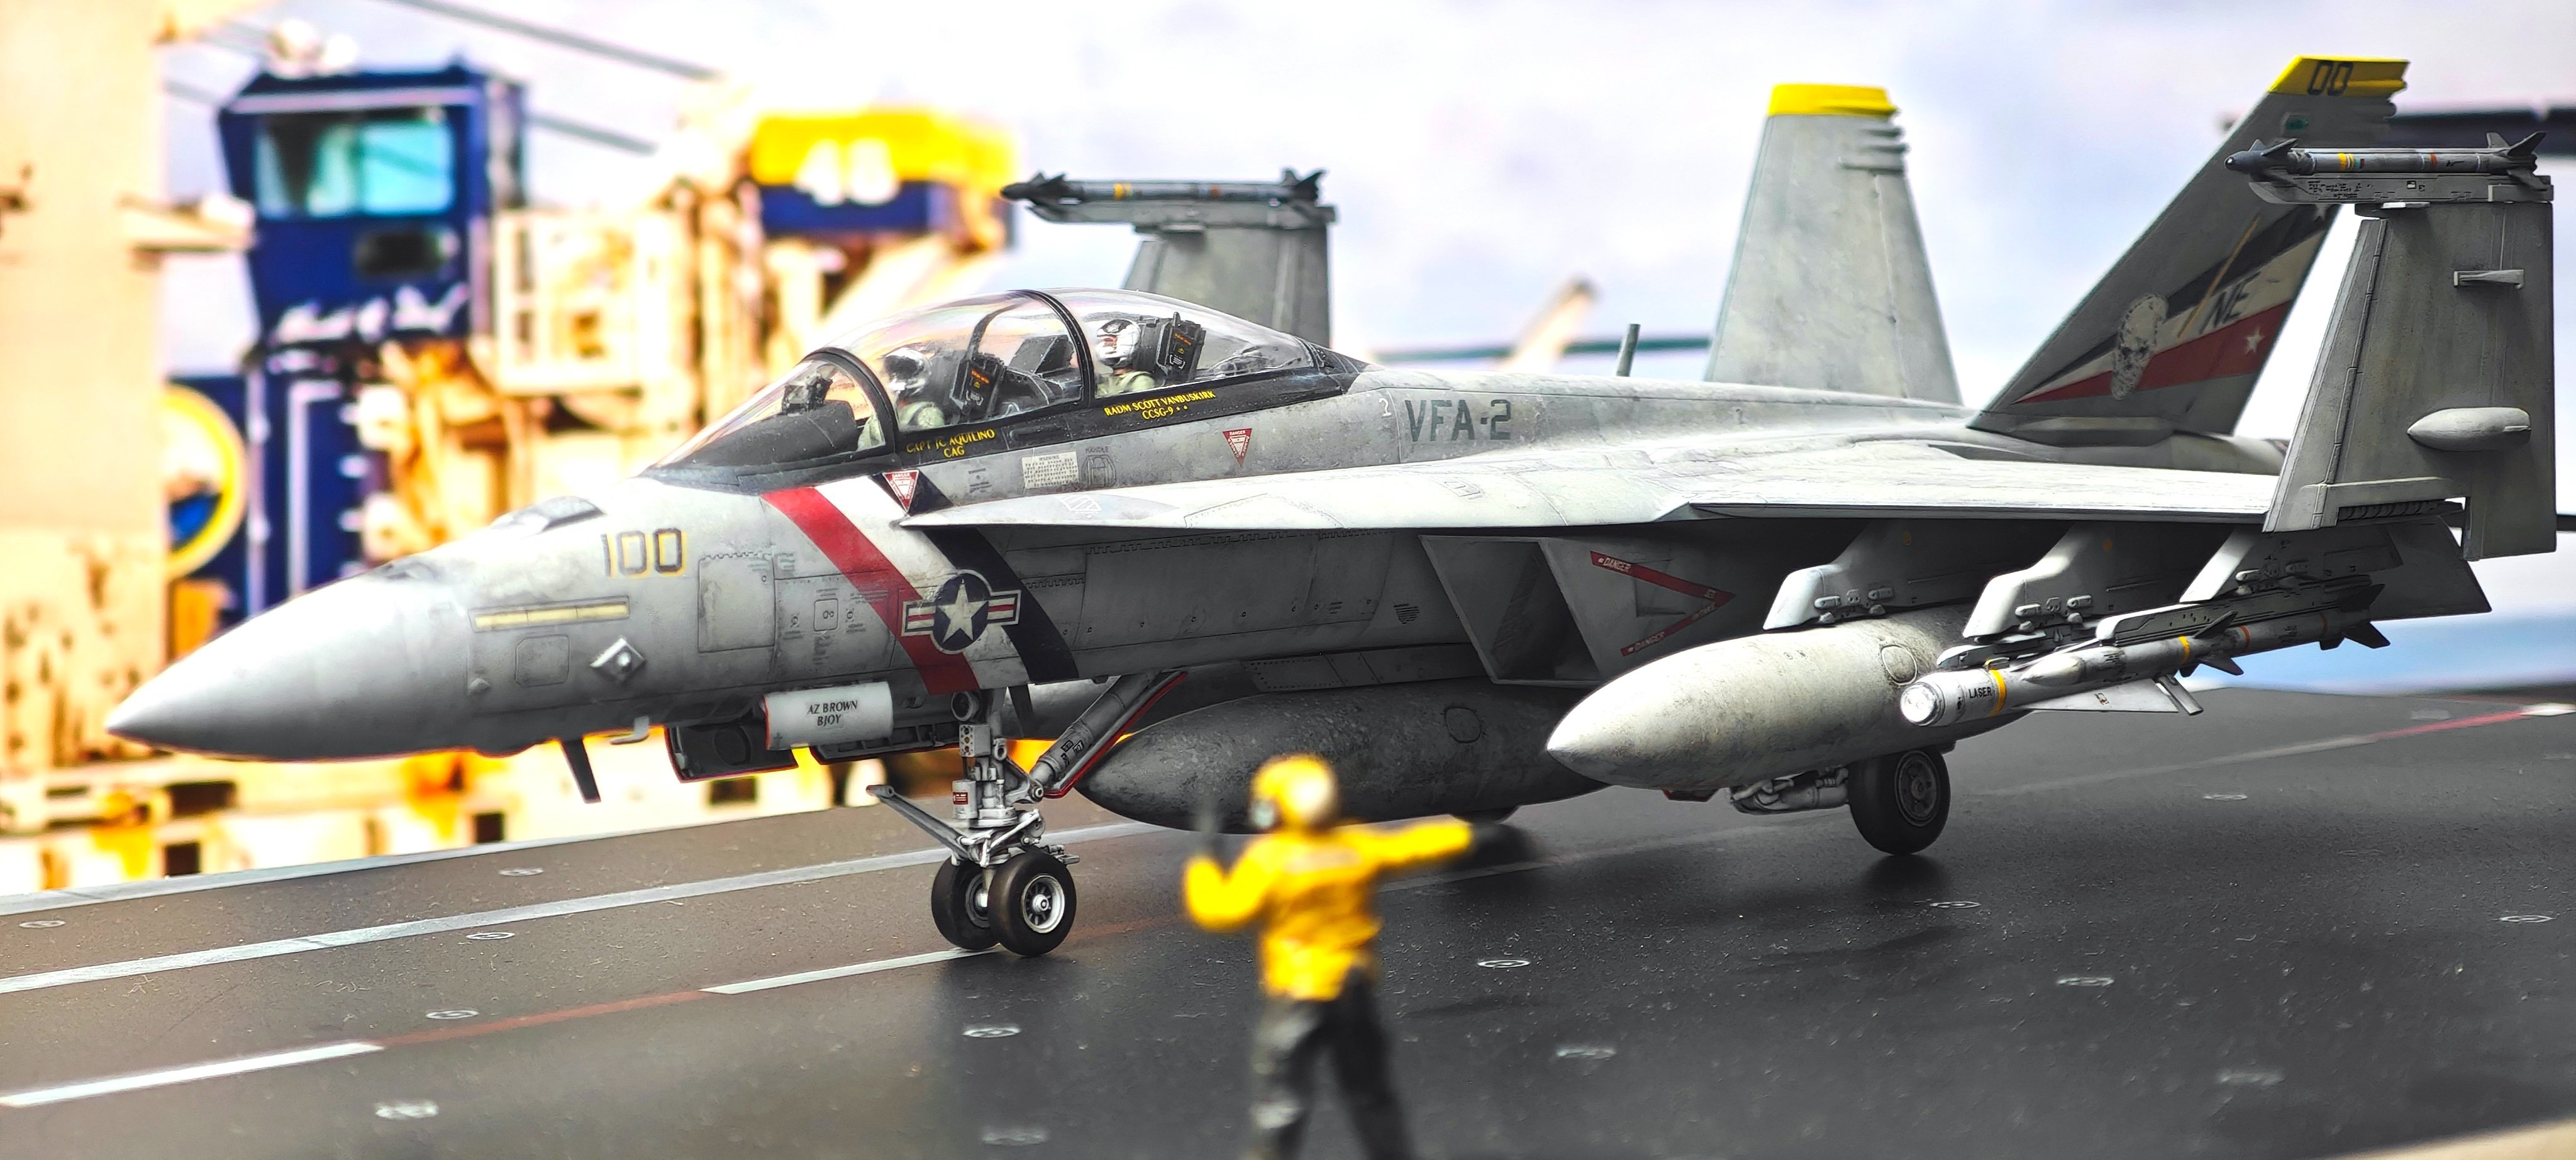
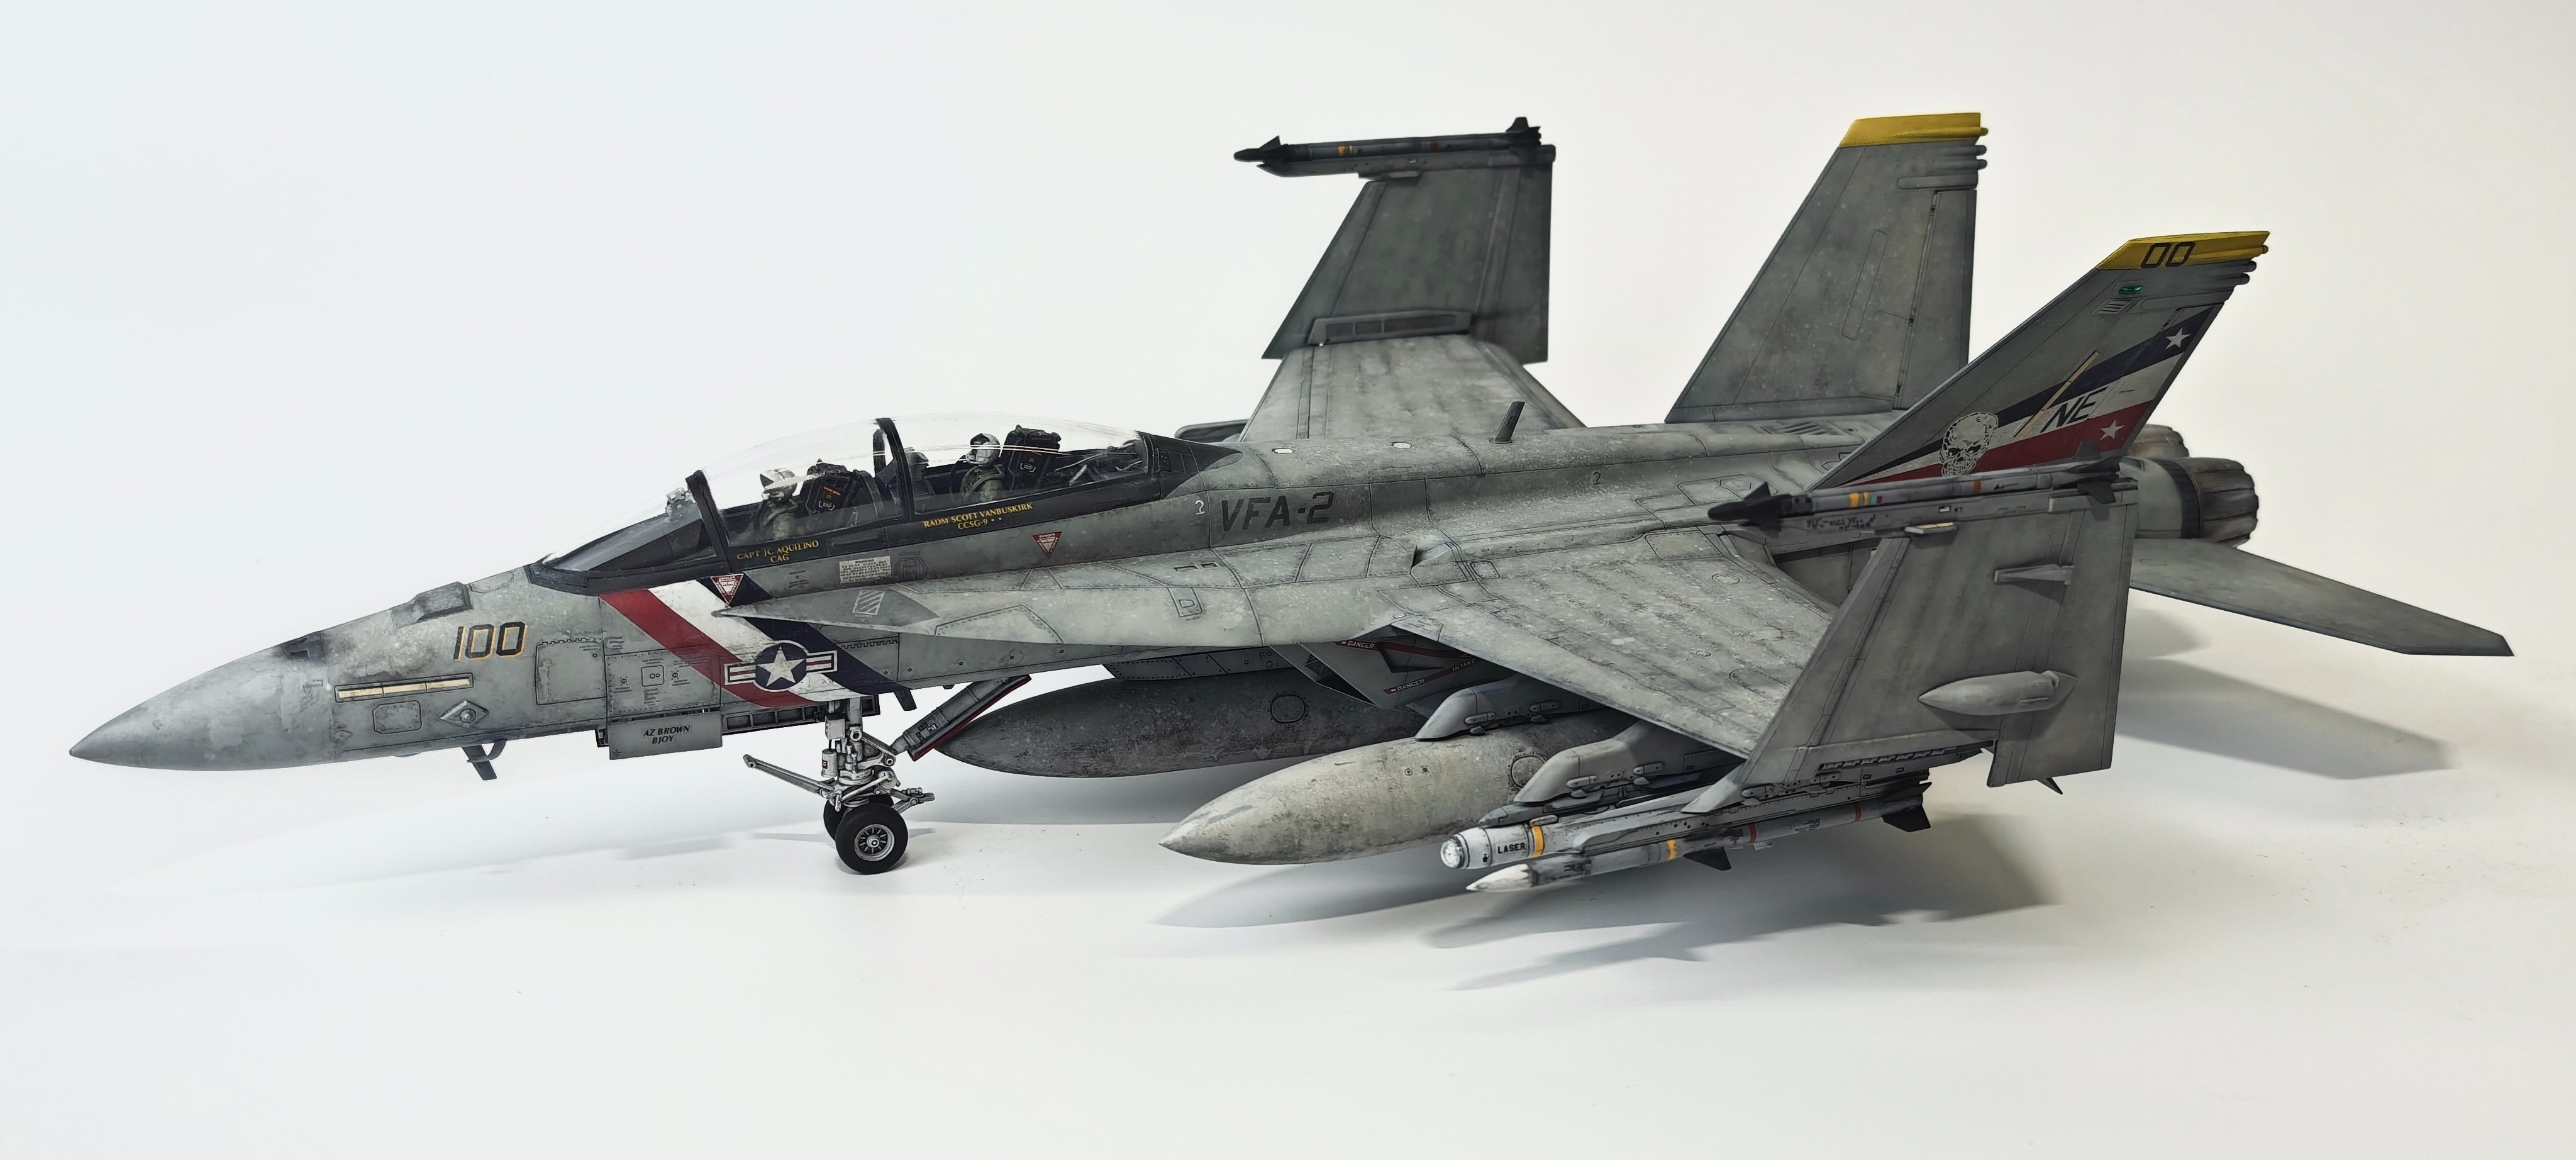

NEVER too late!Didn't see this post early enough. Hope it is not too late to make my contributions here.
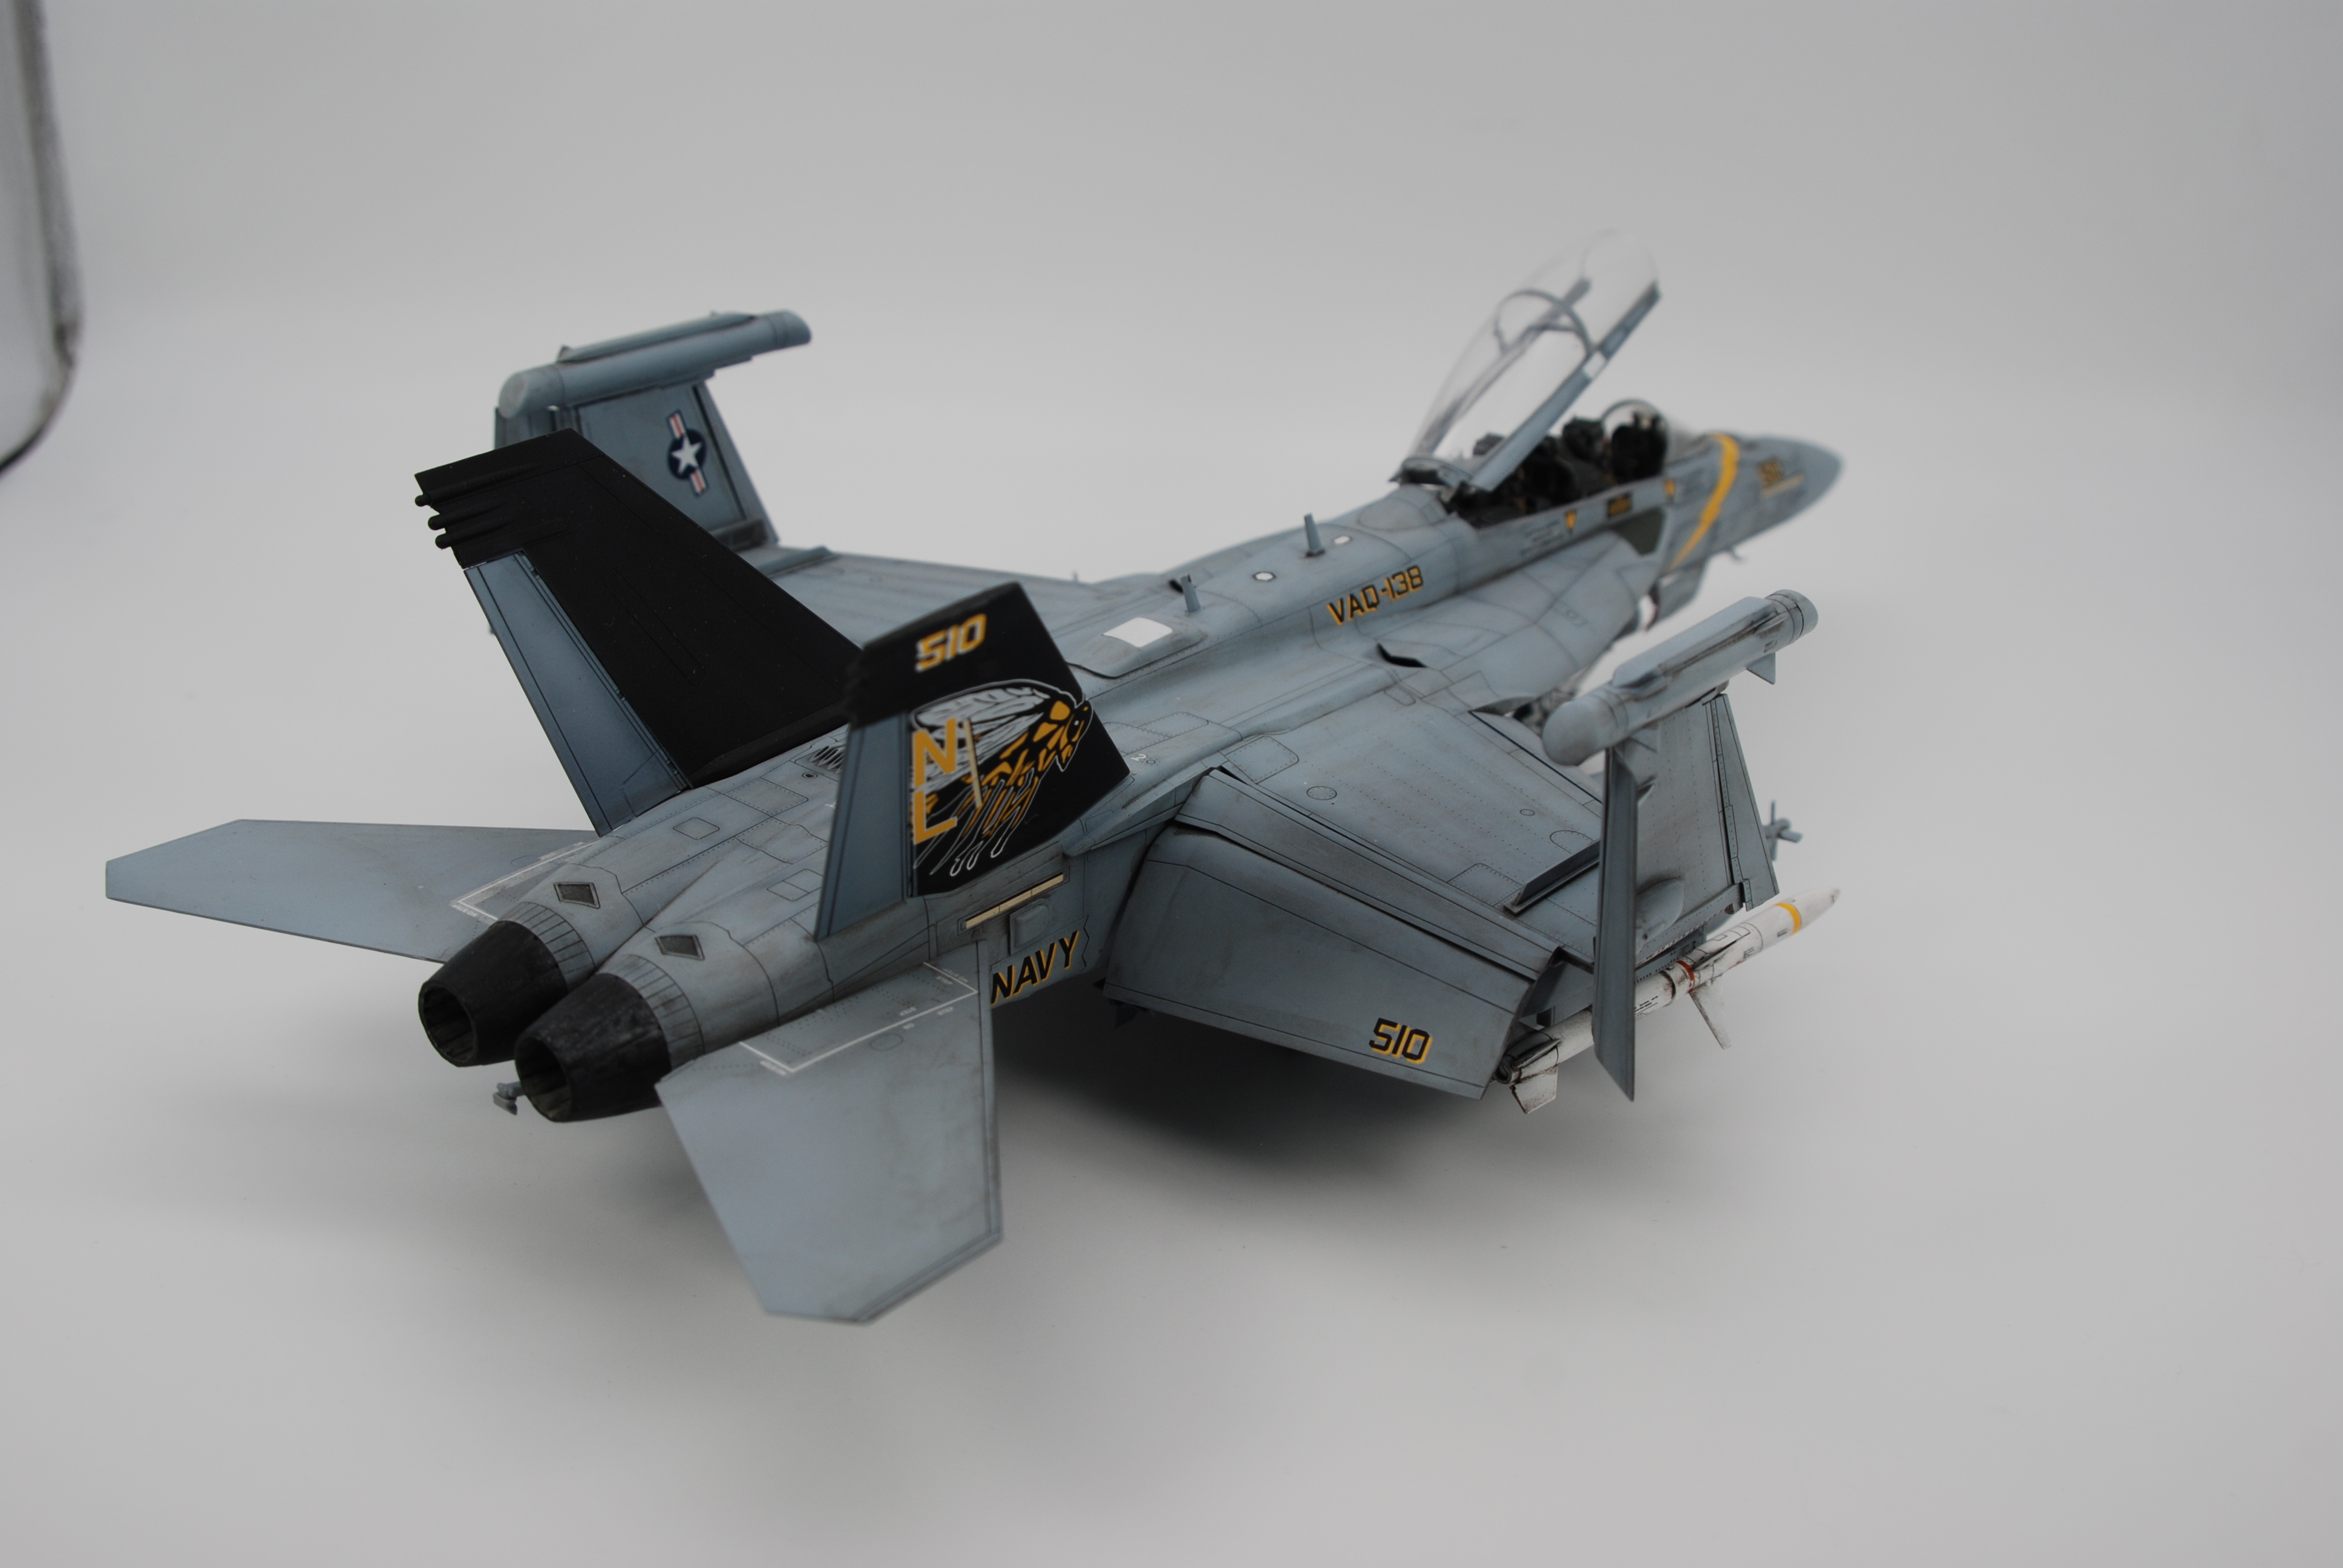
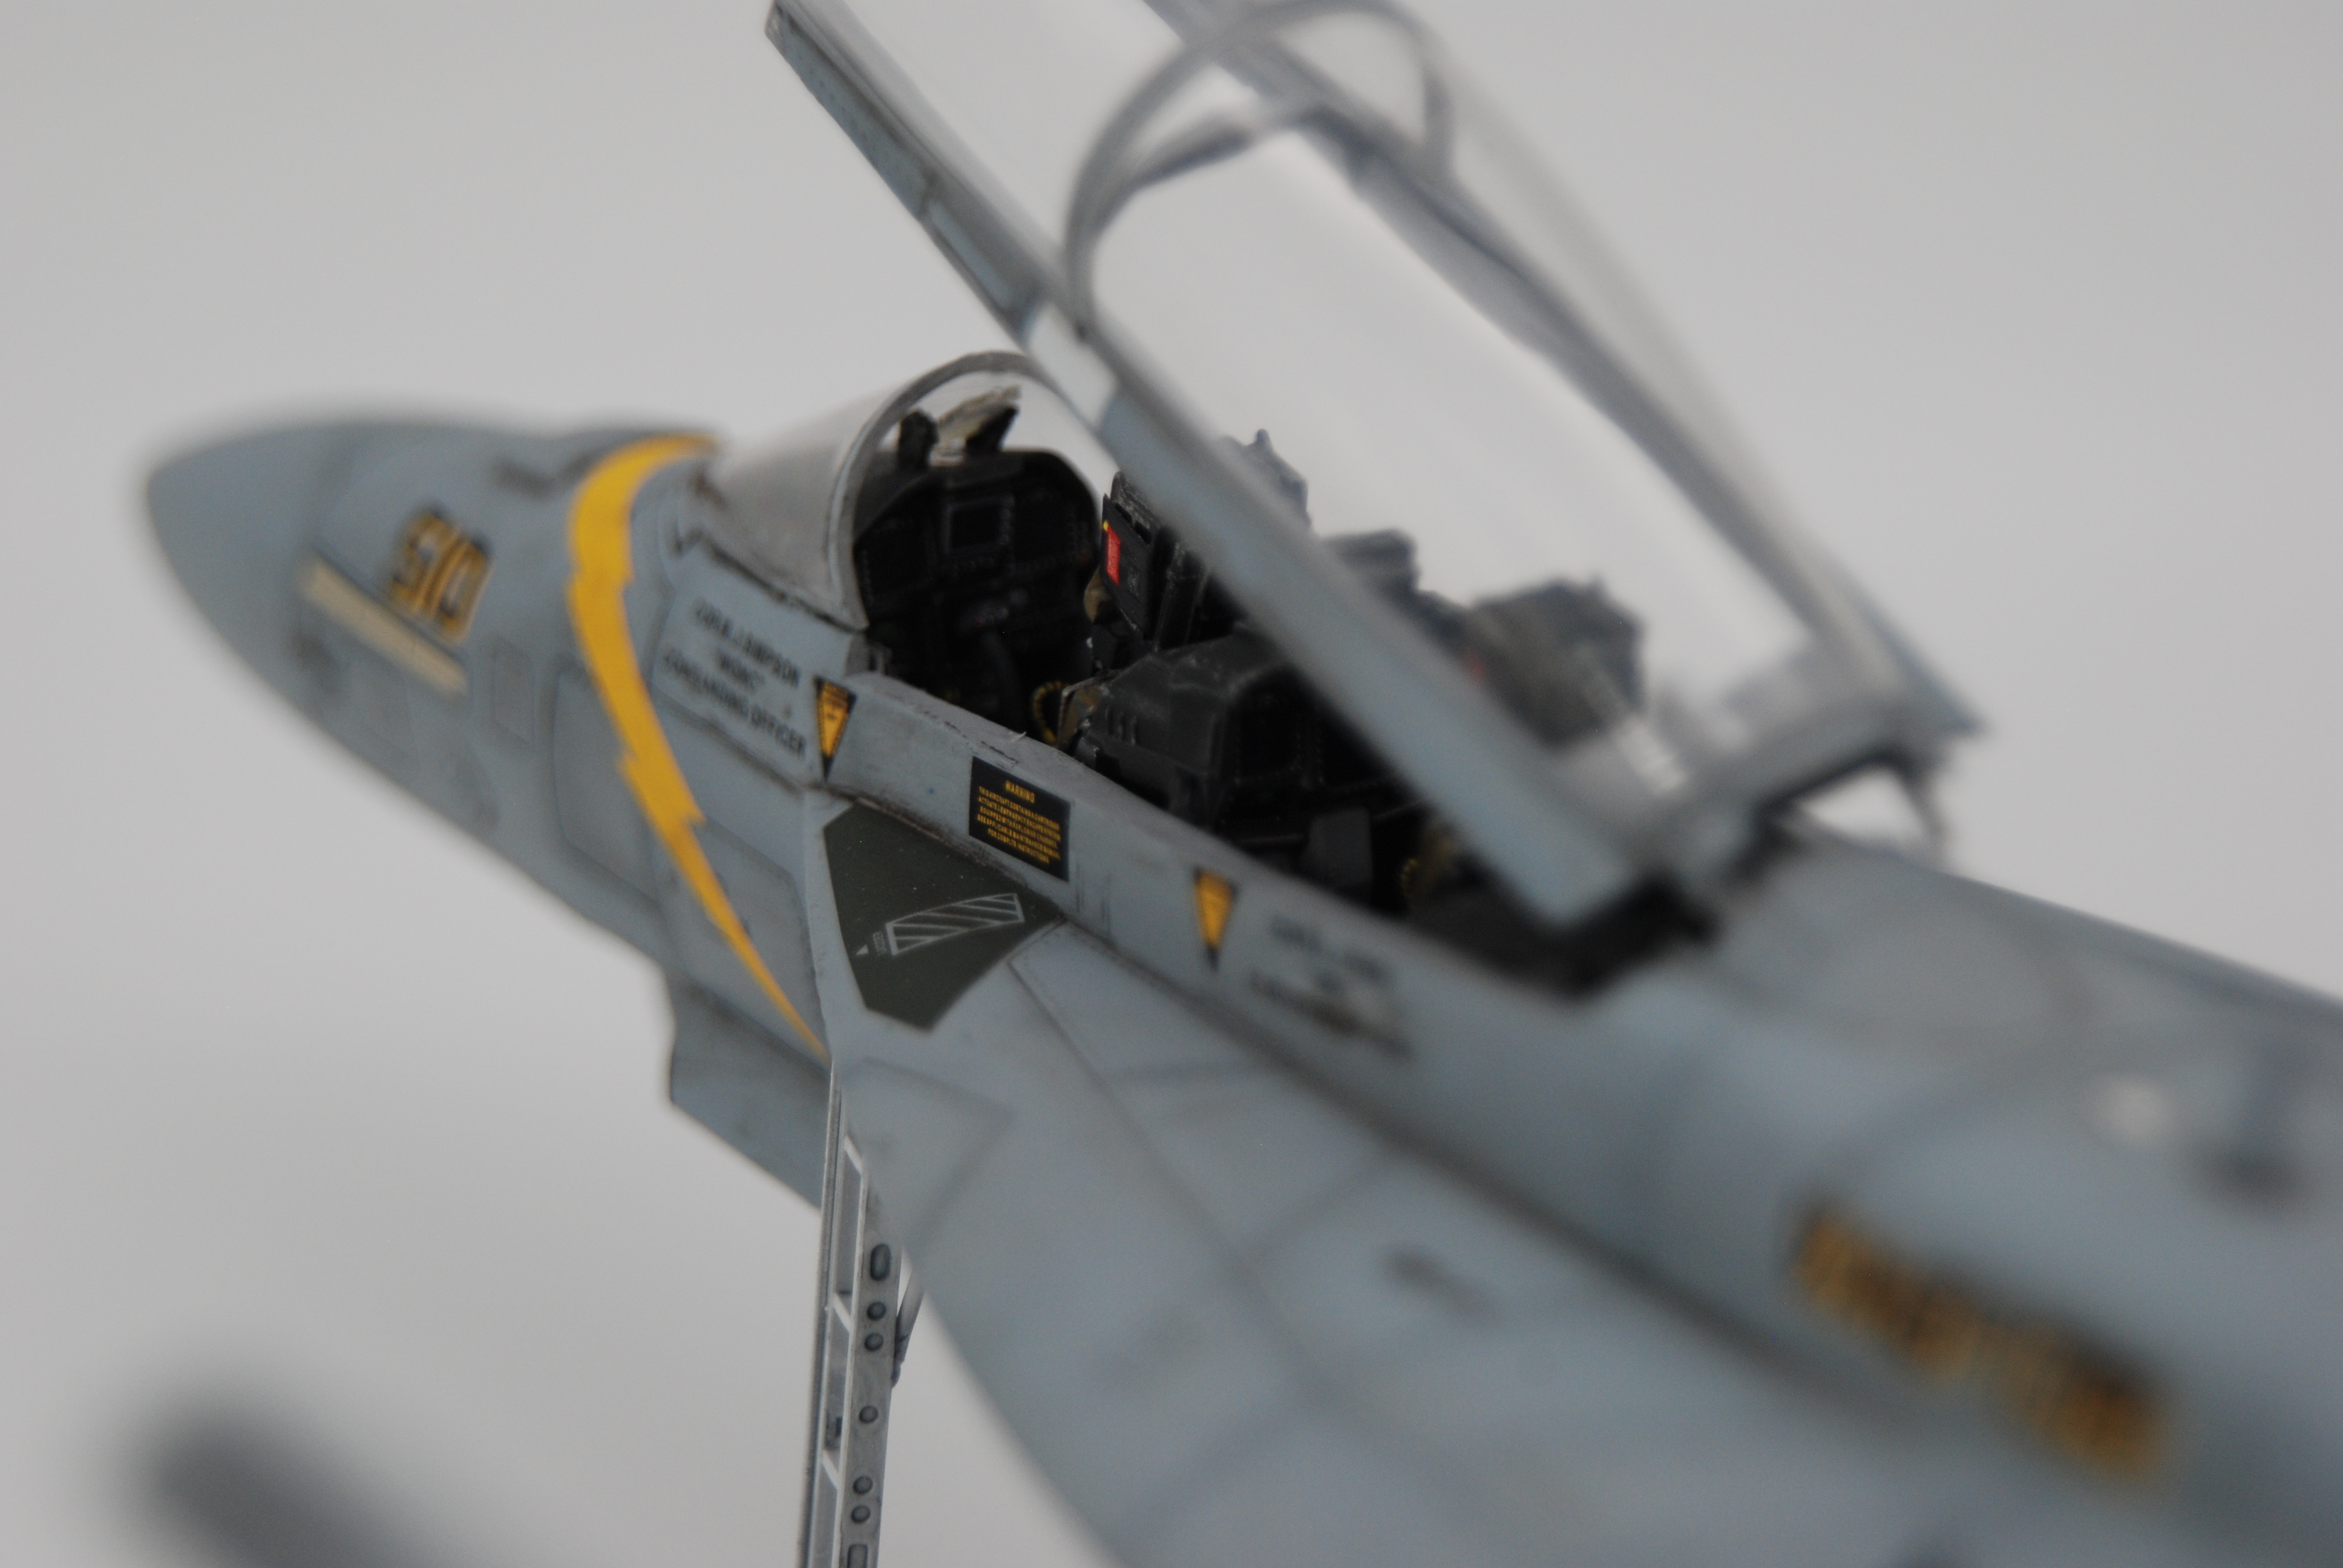
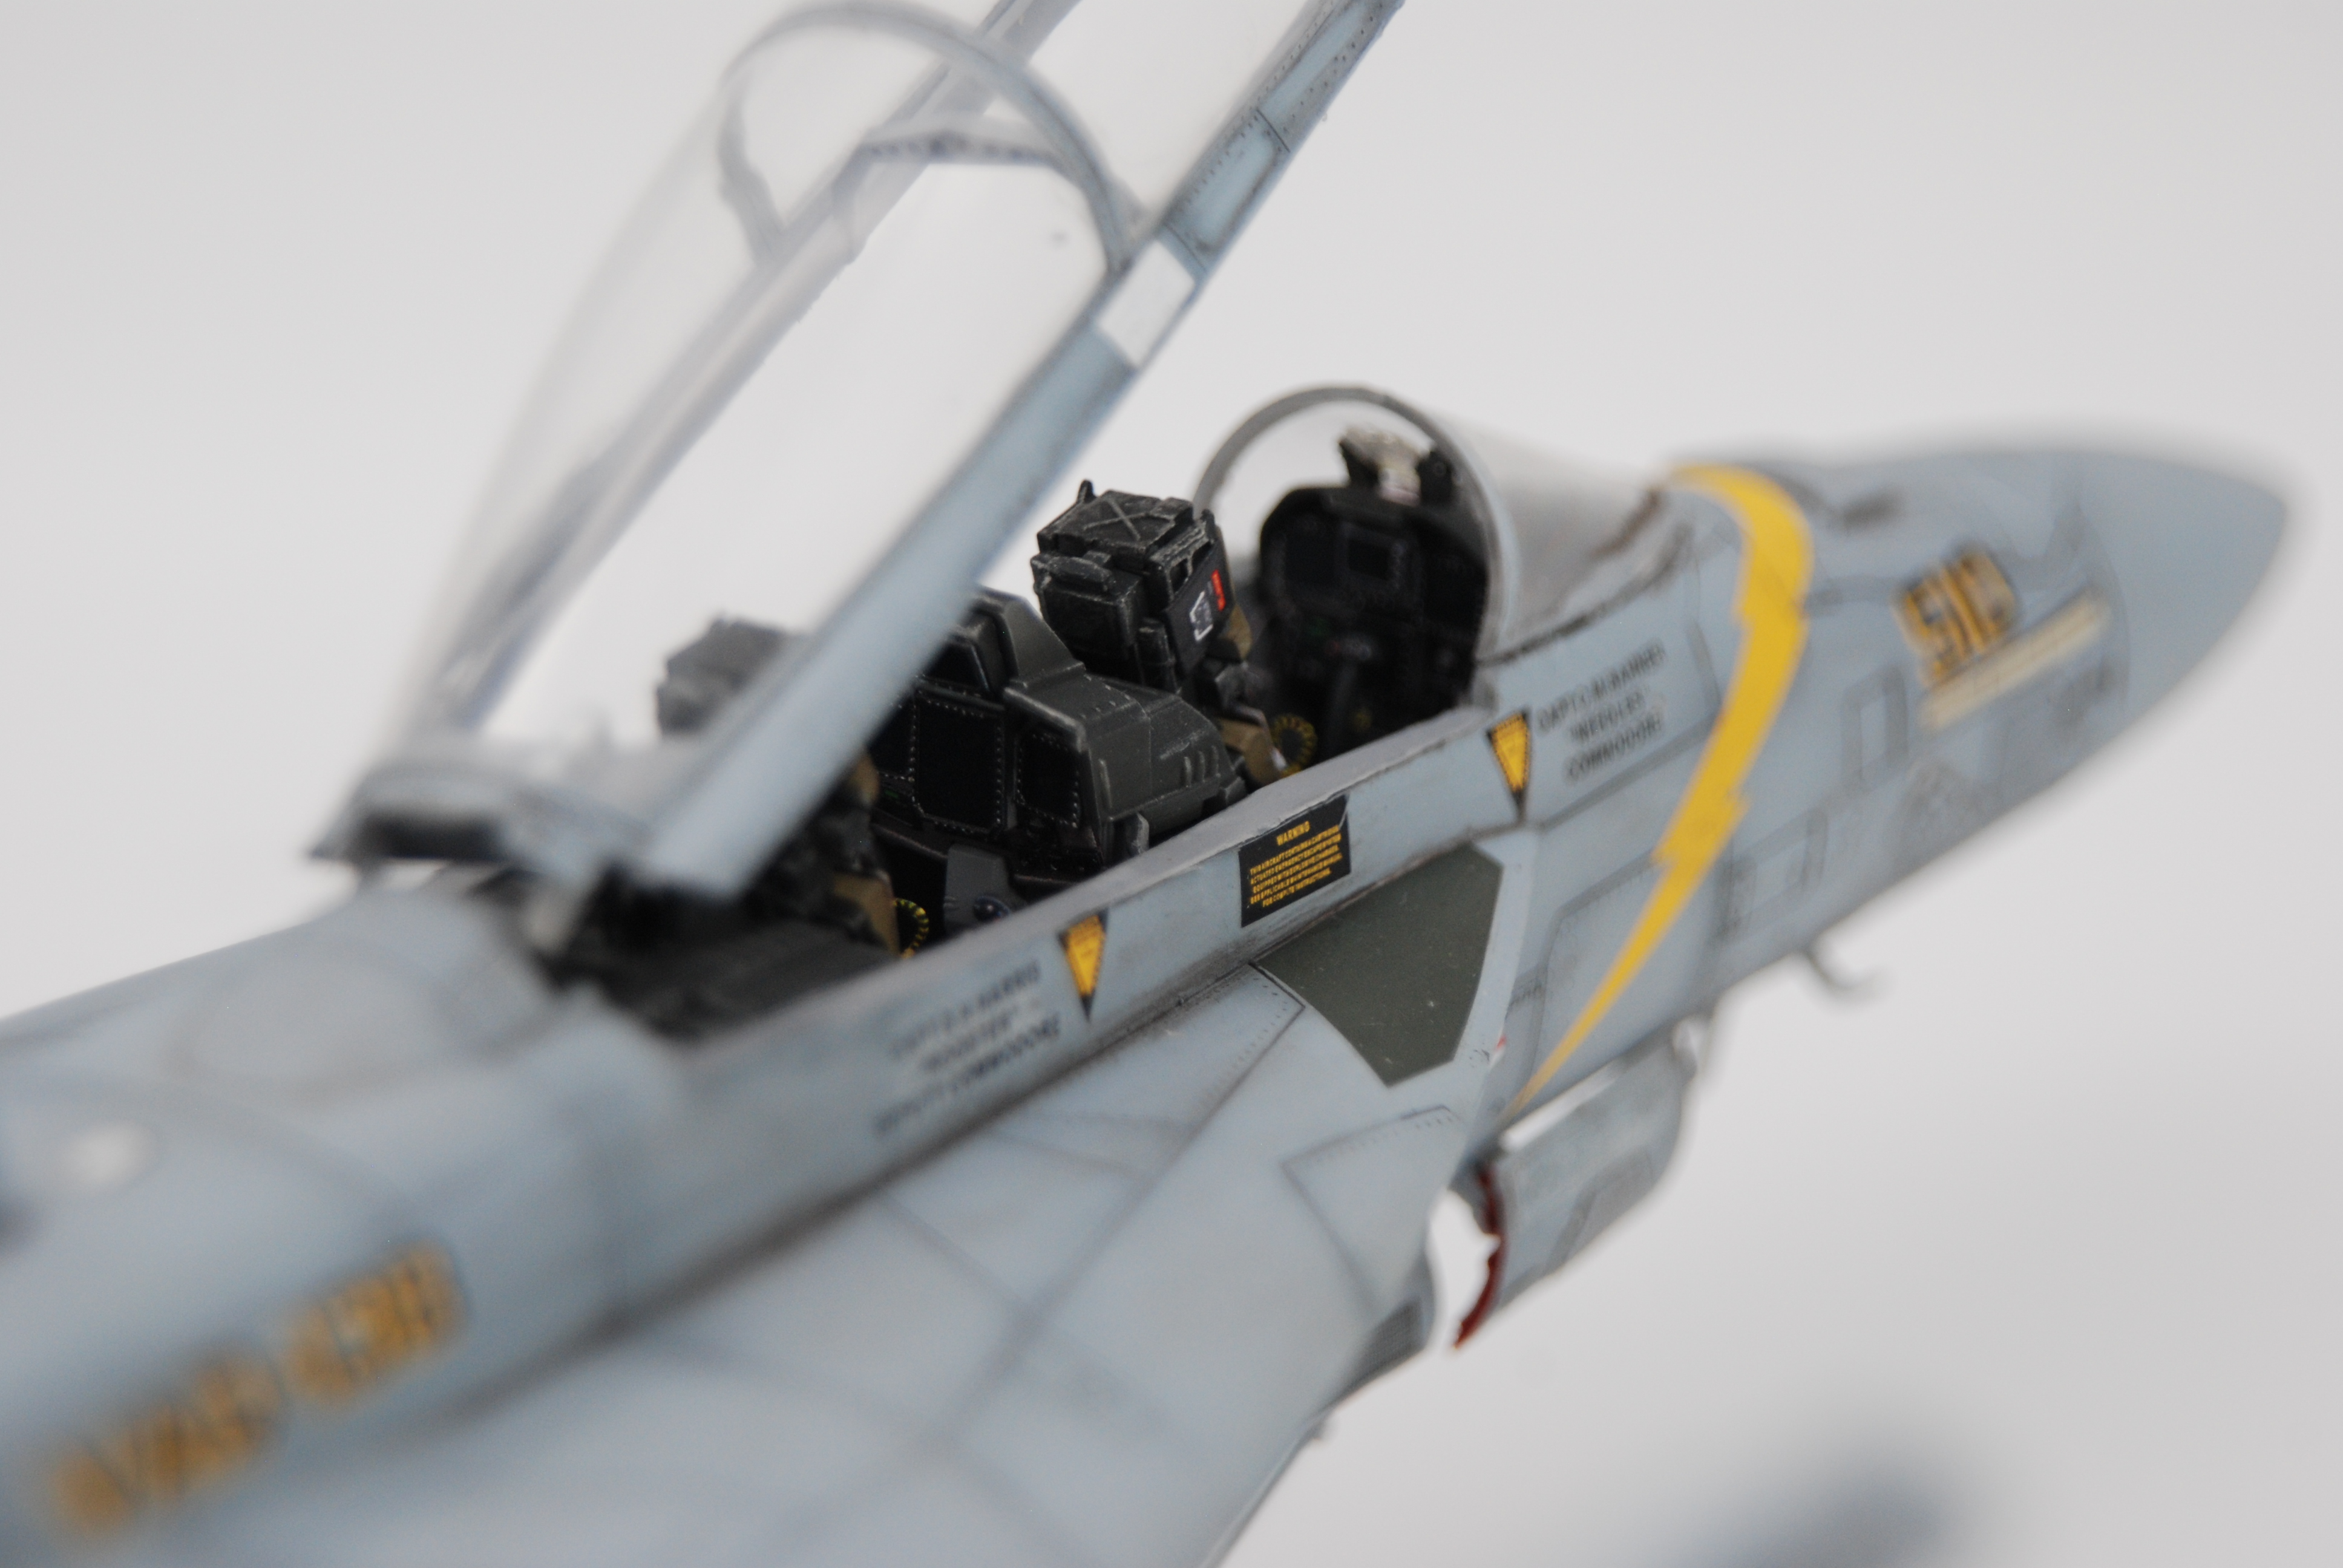
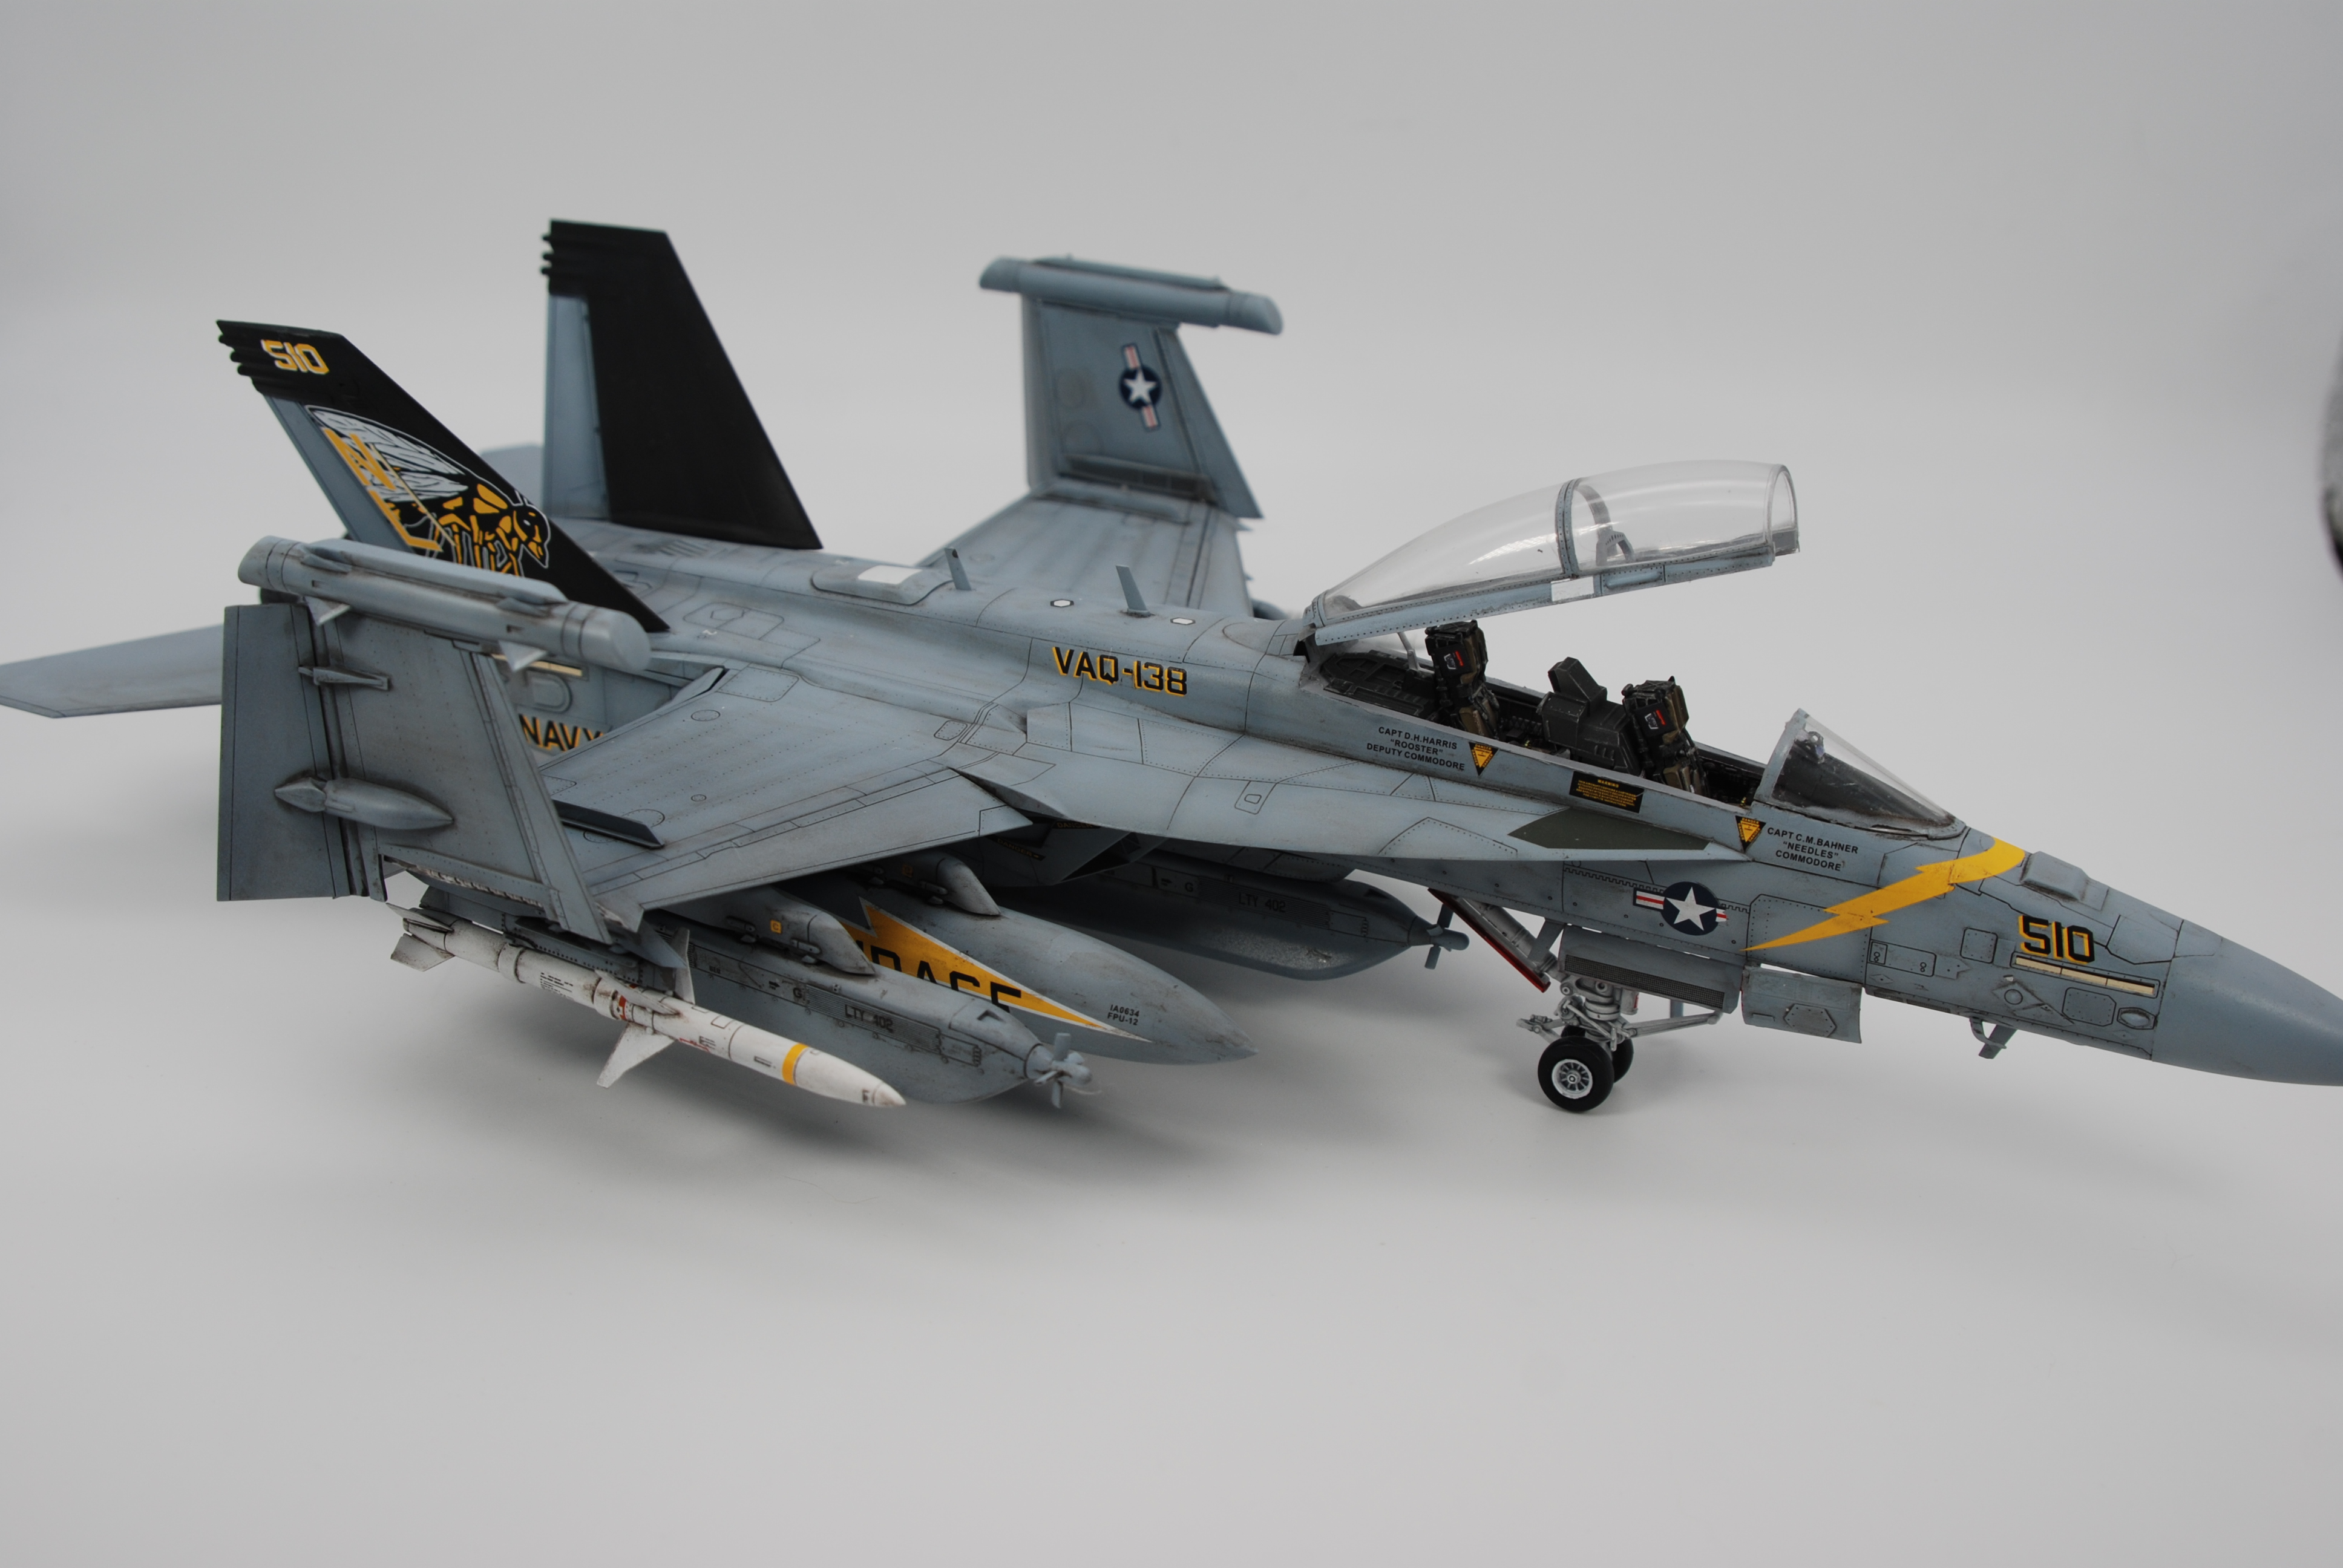
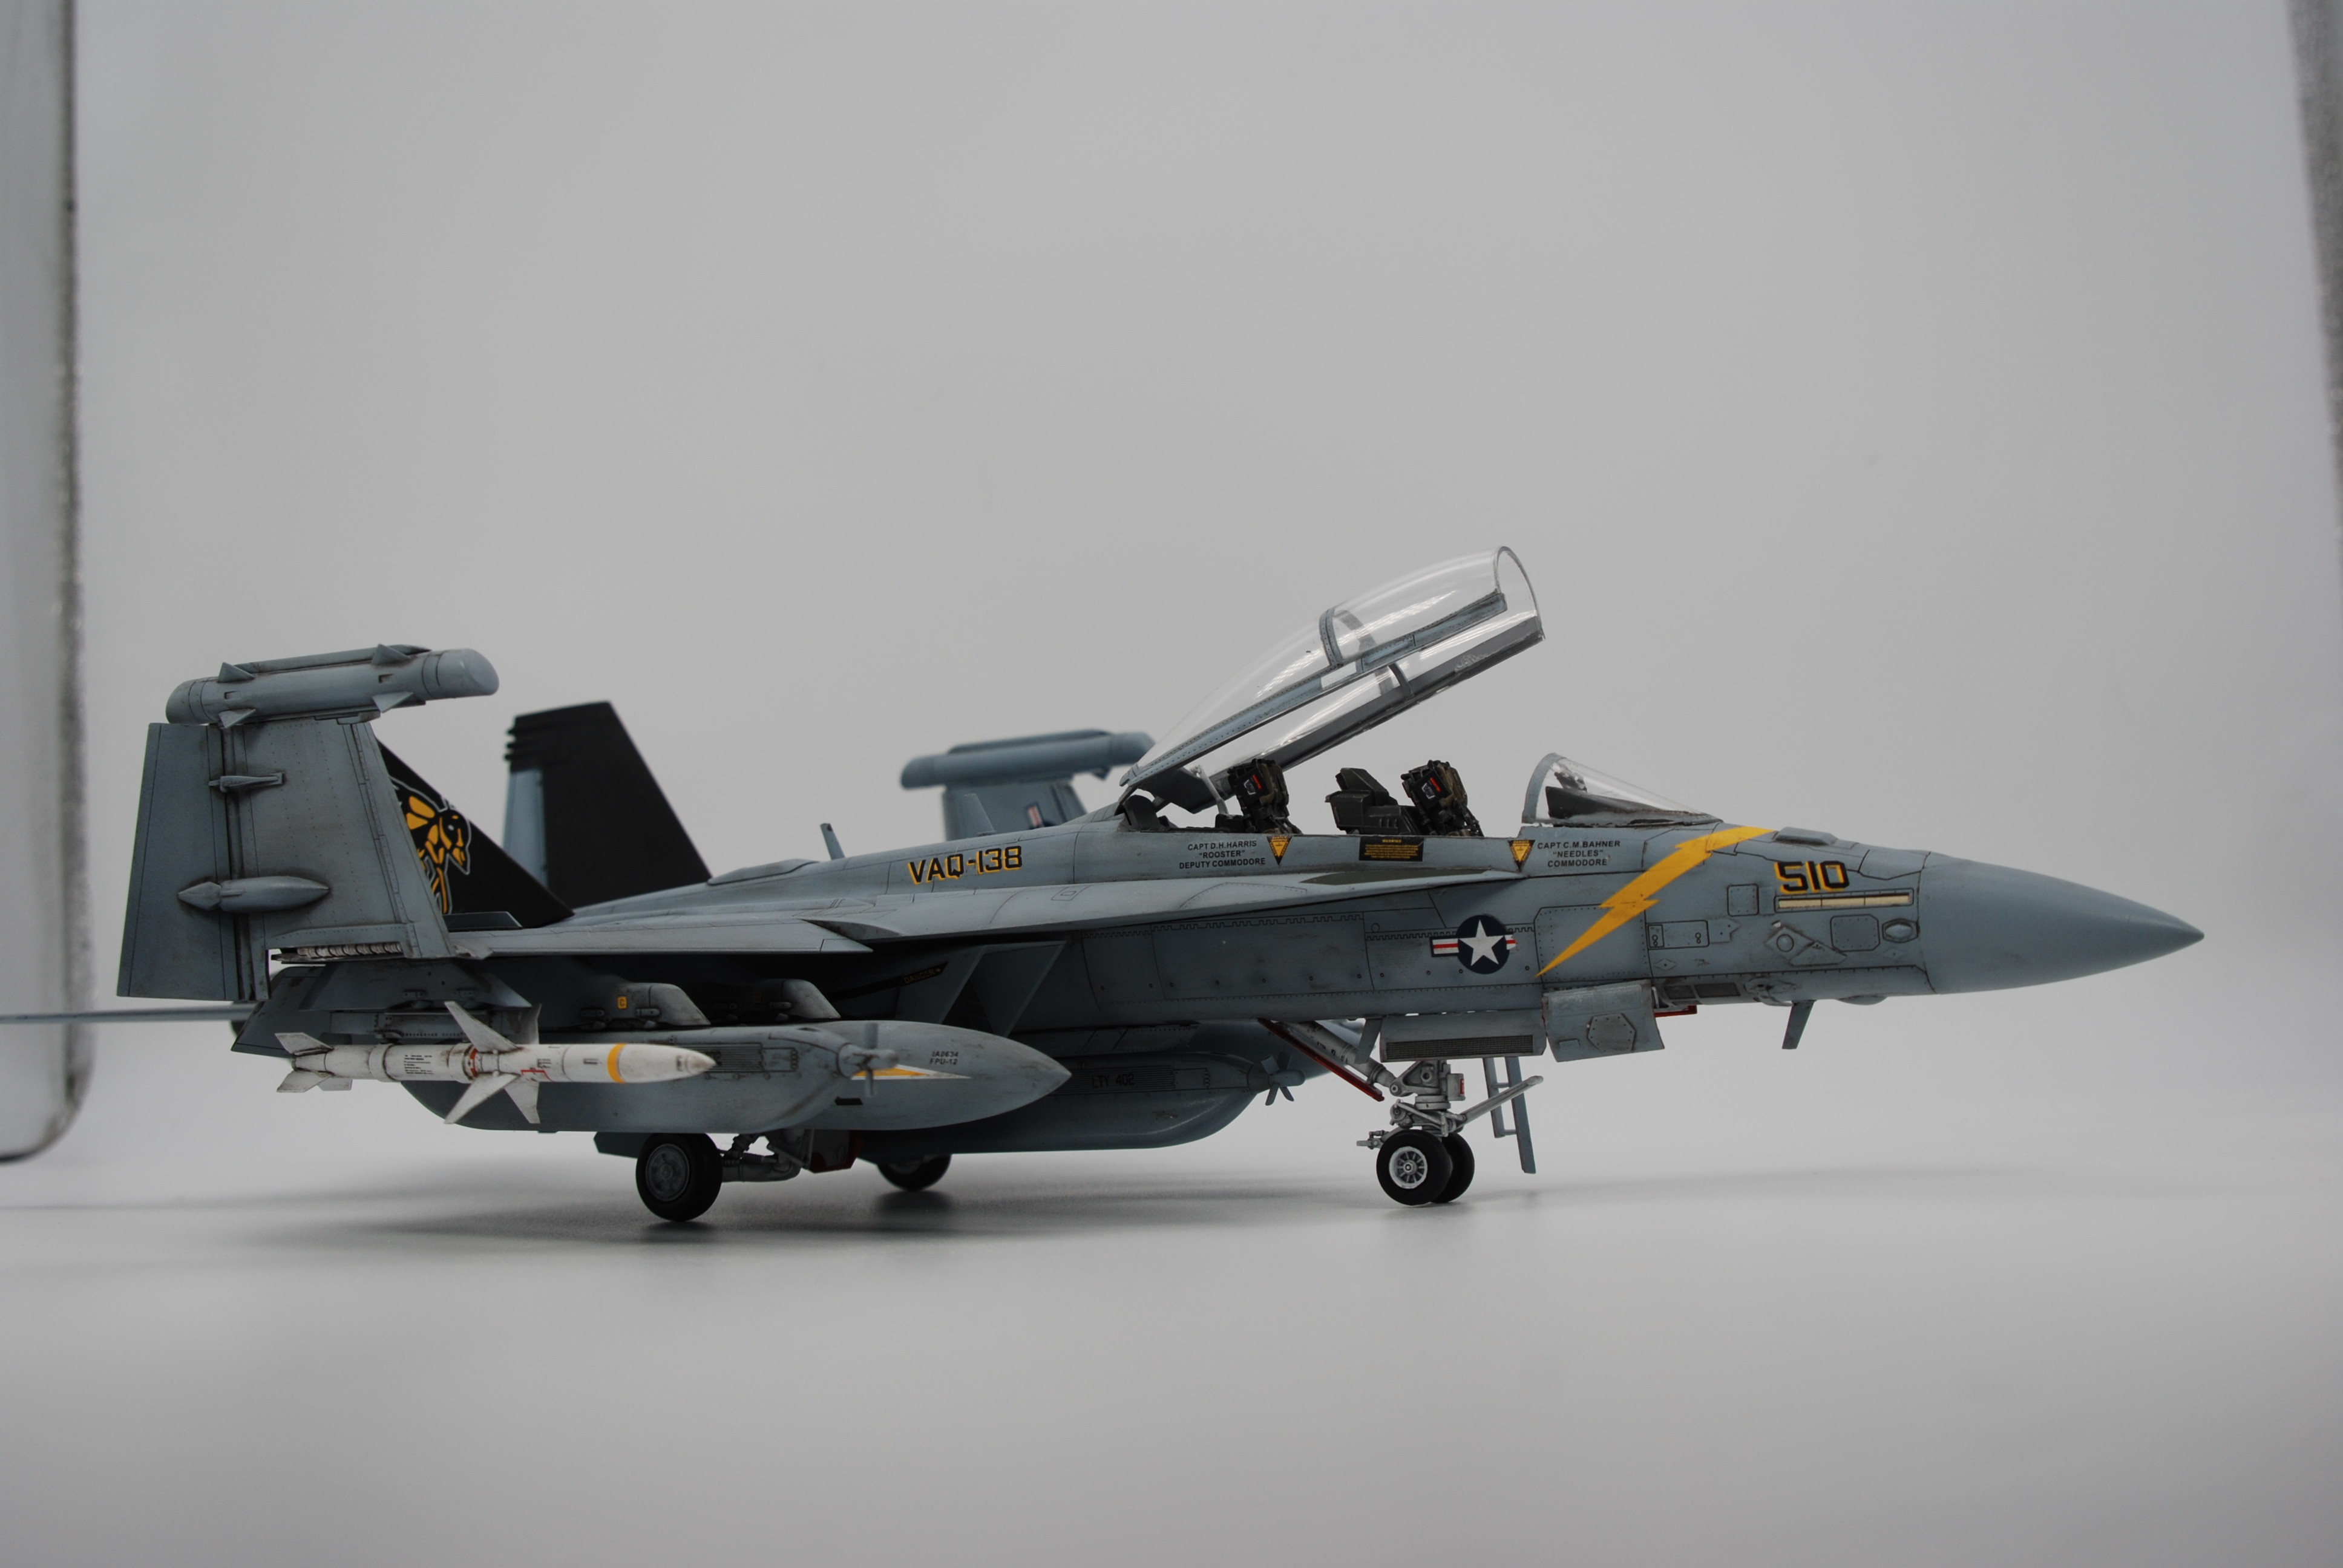
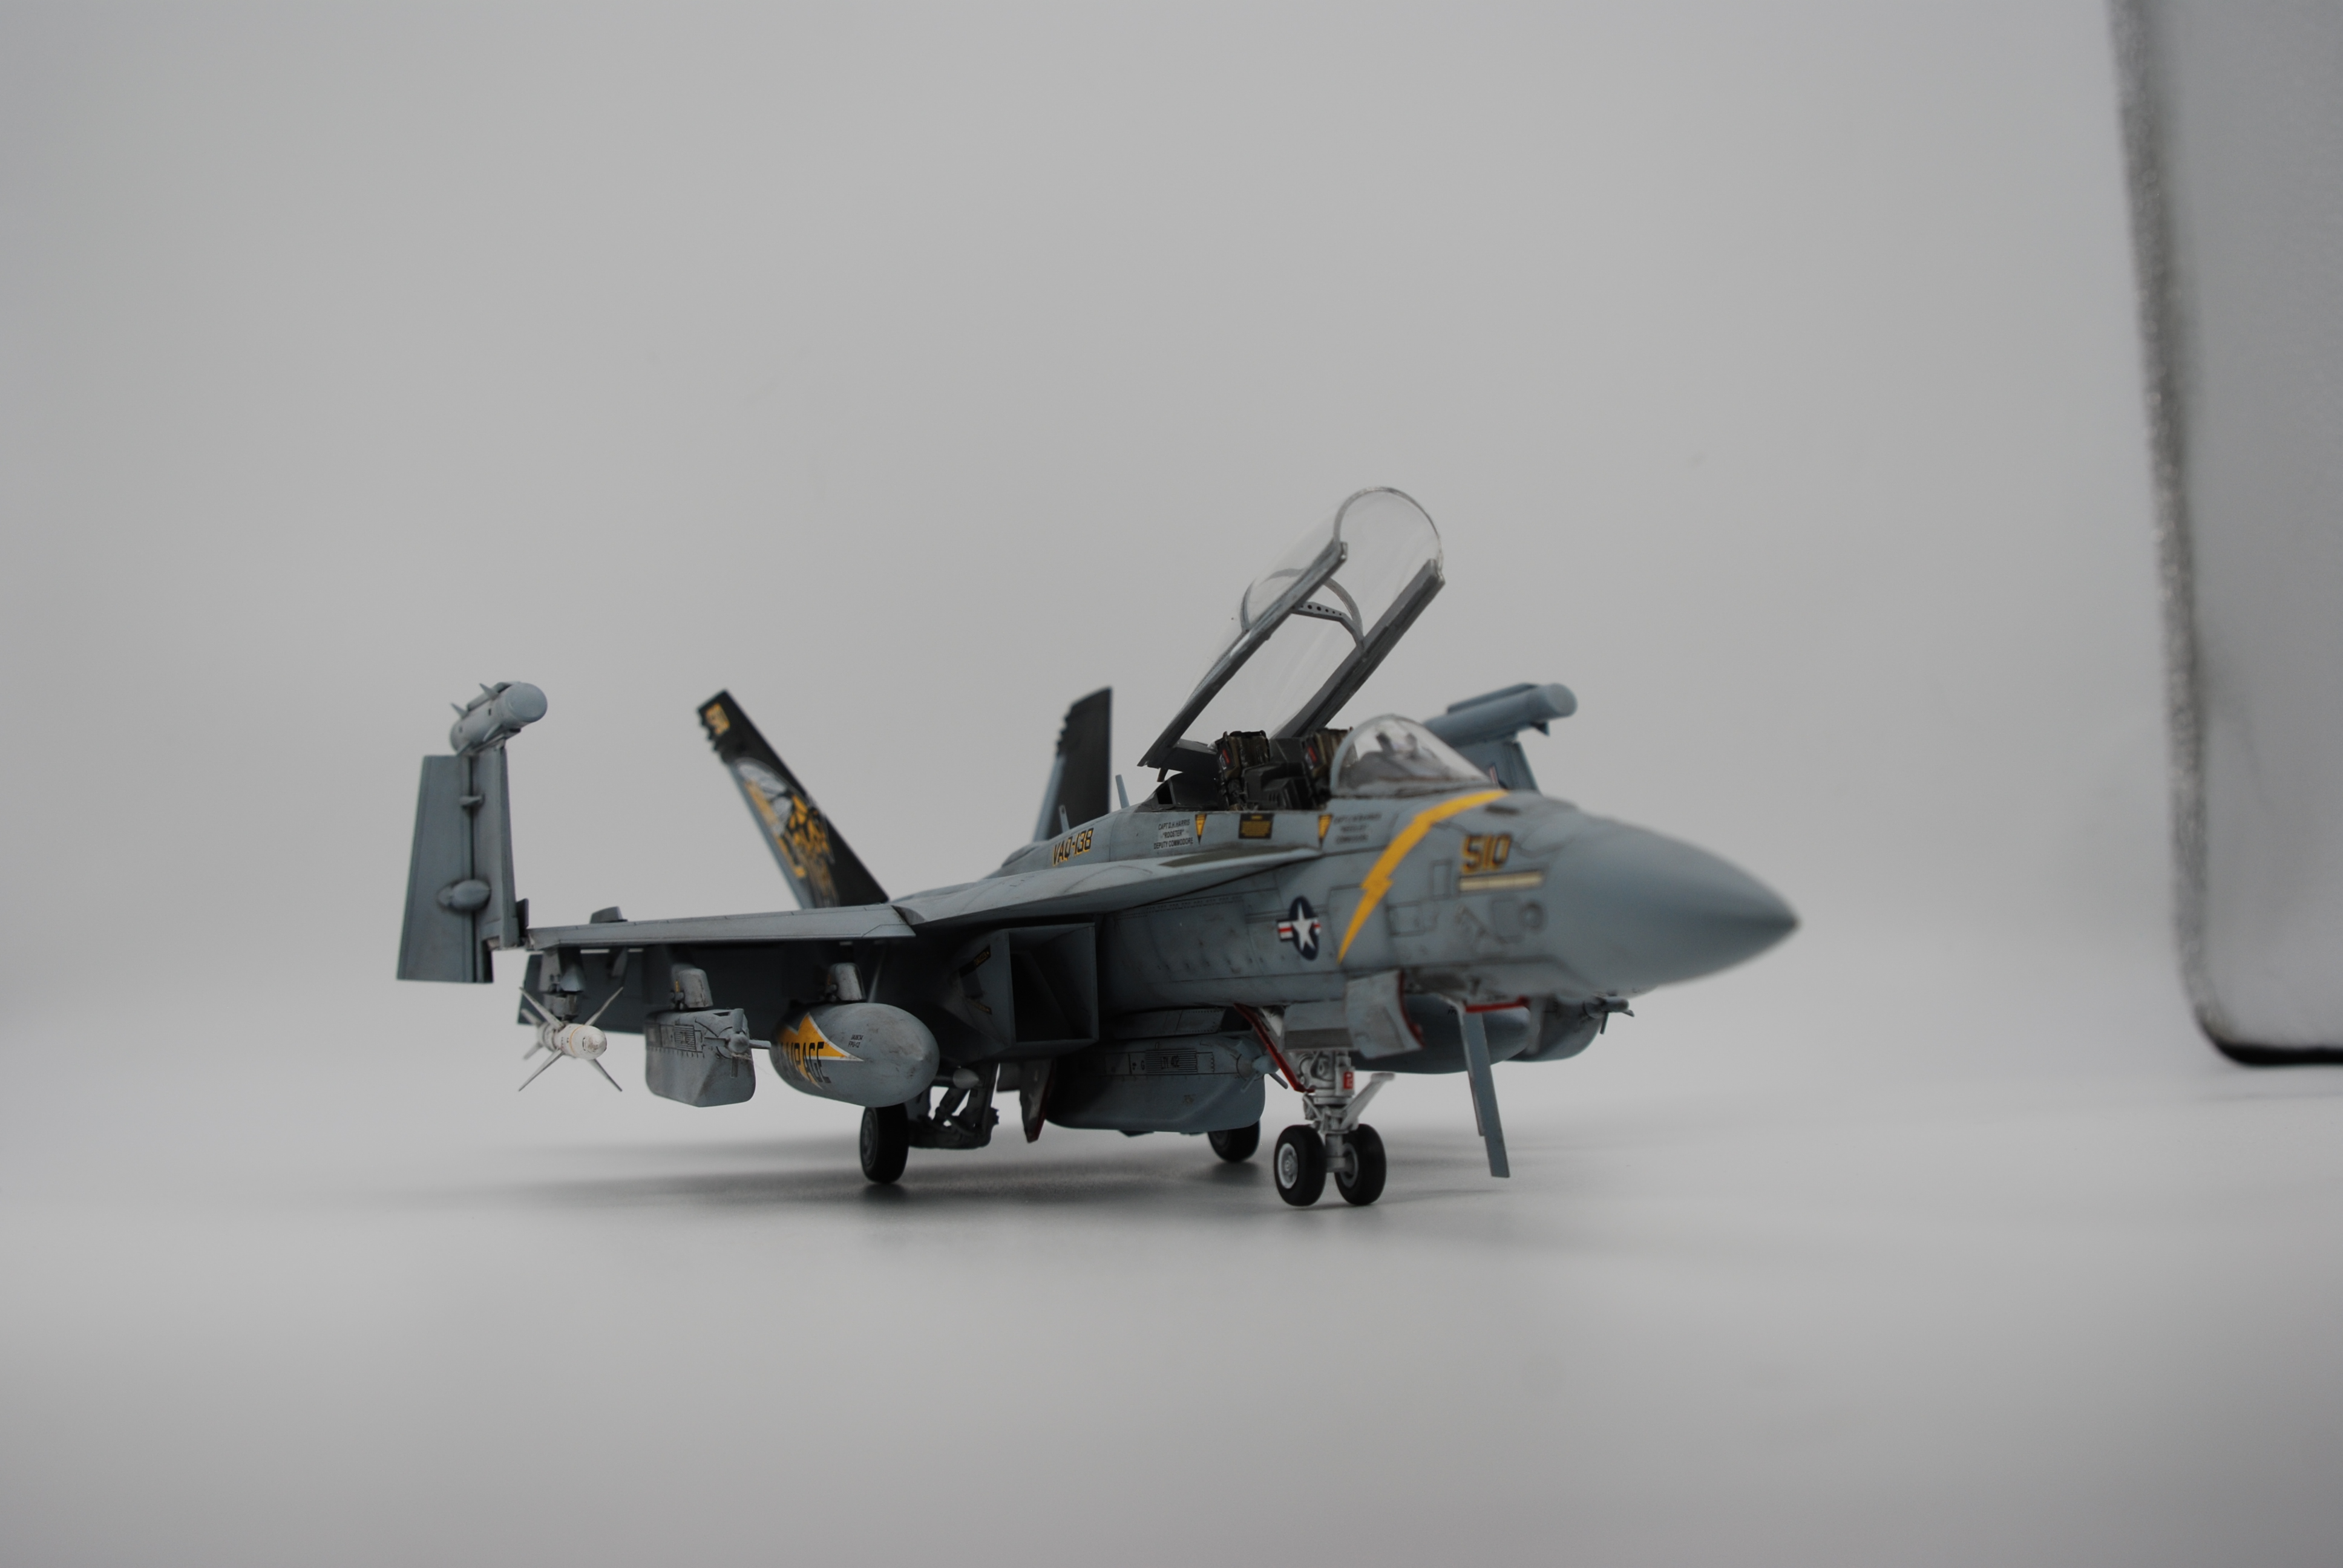
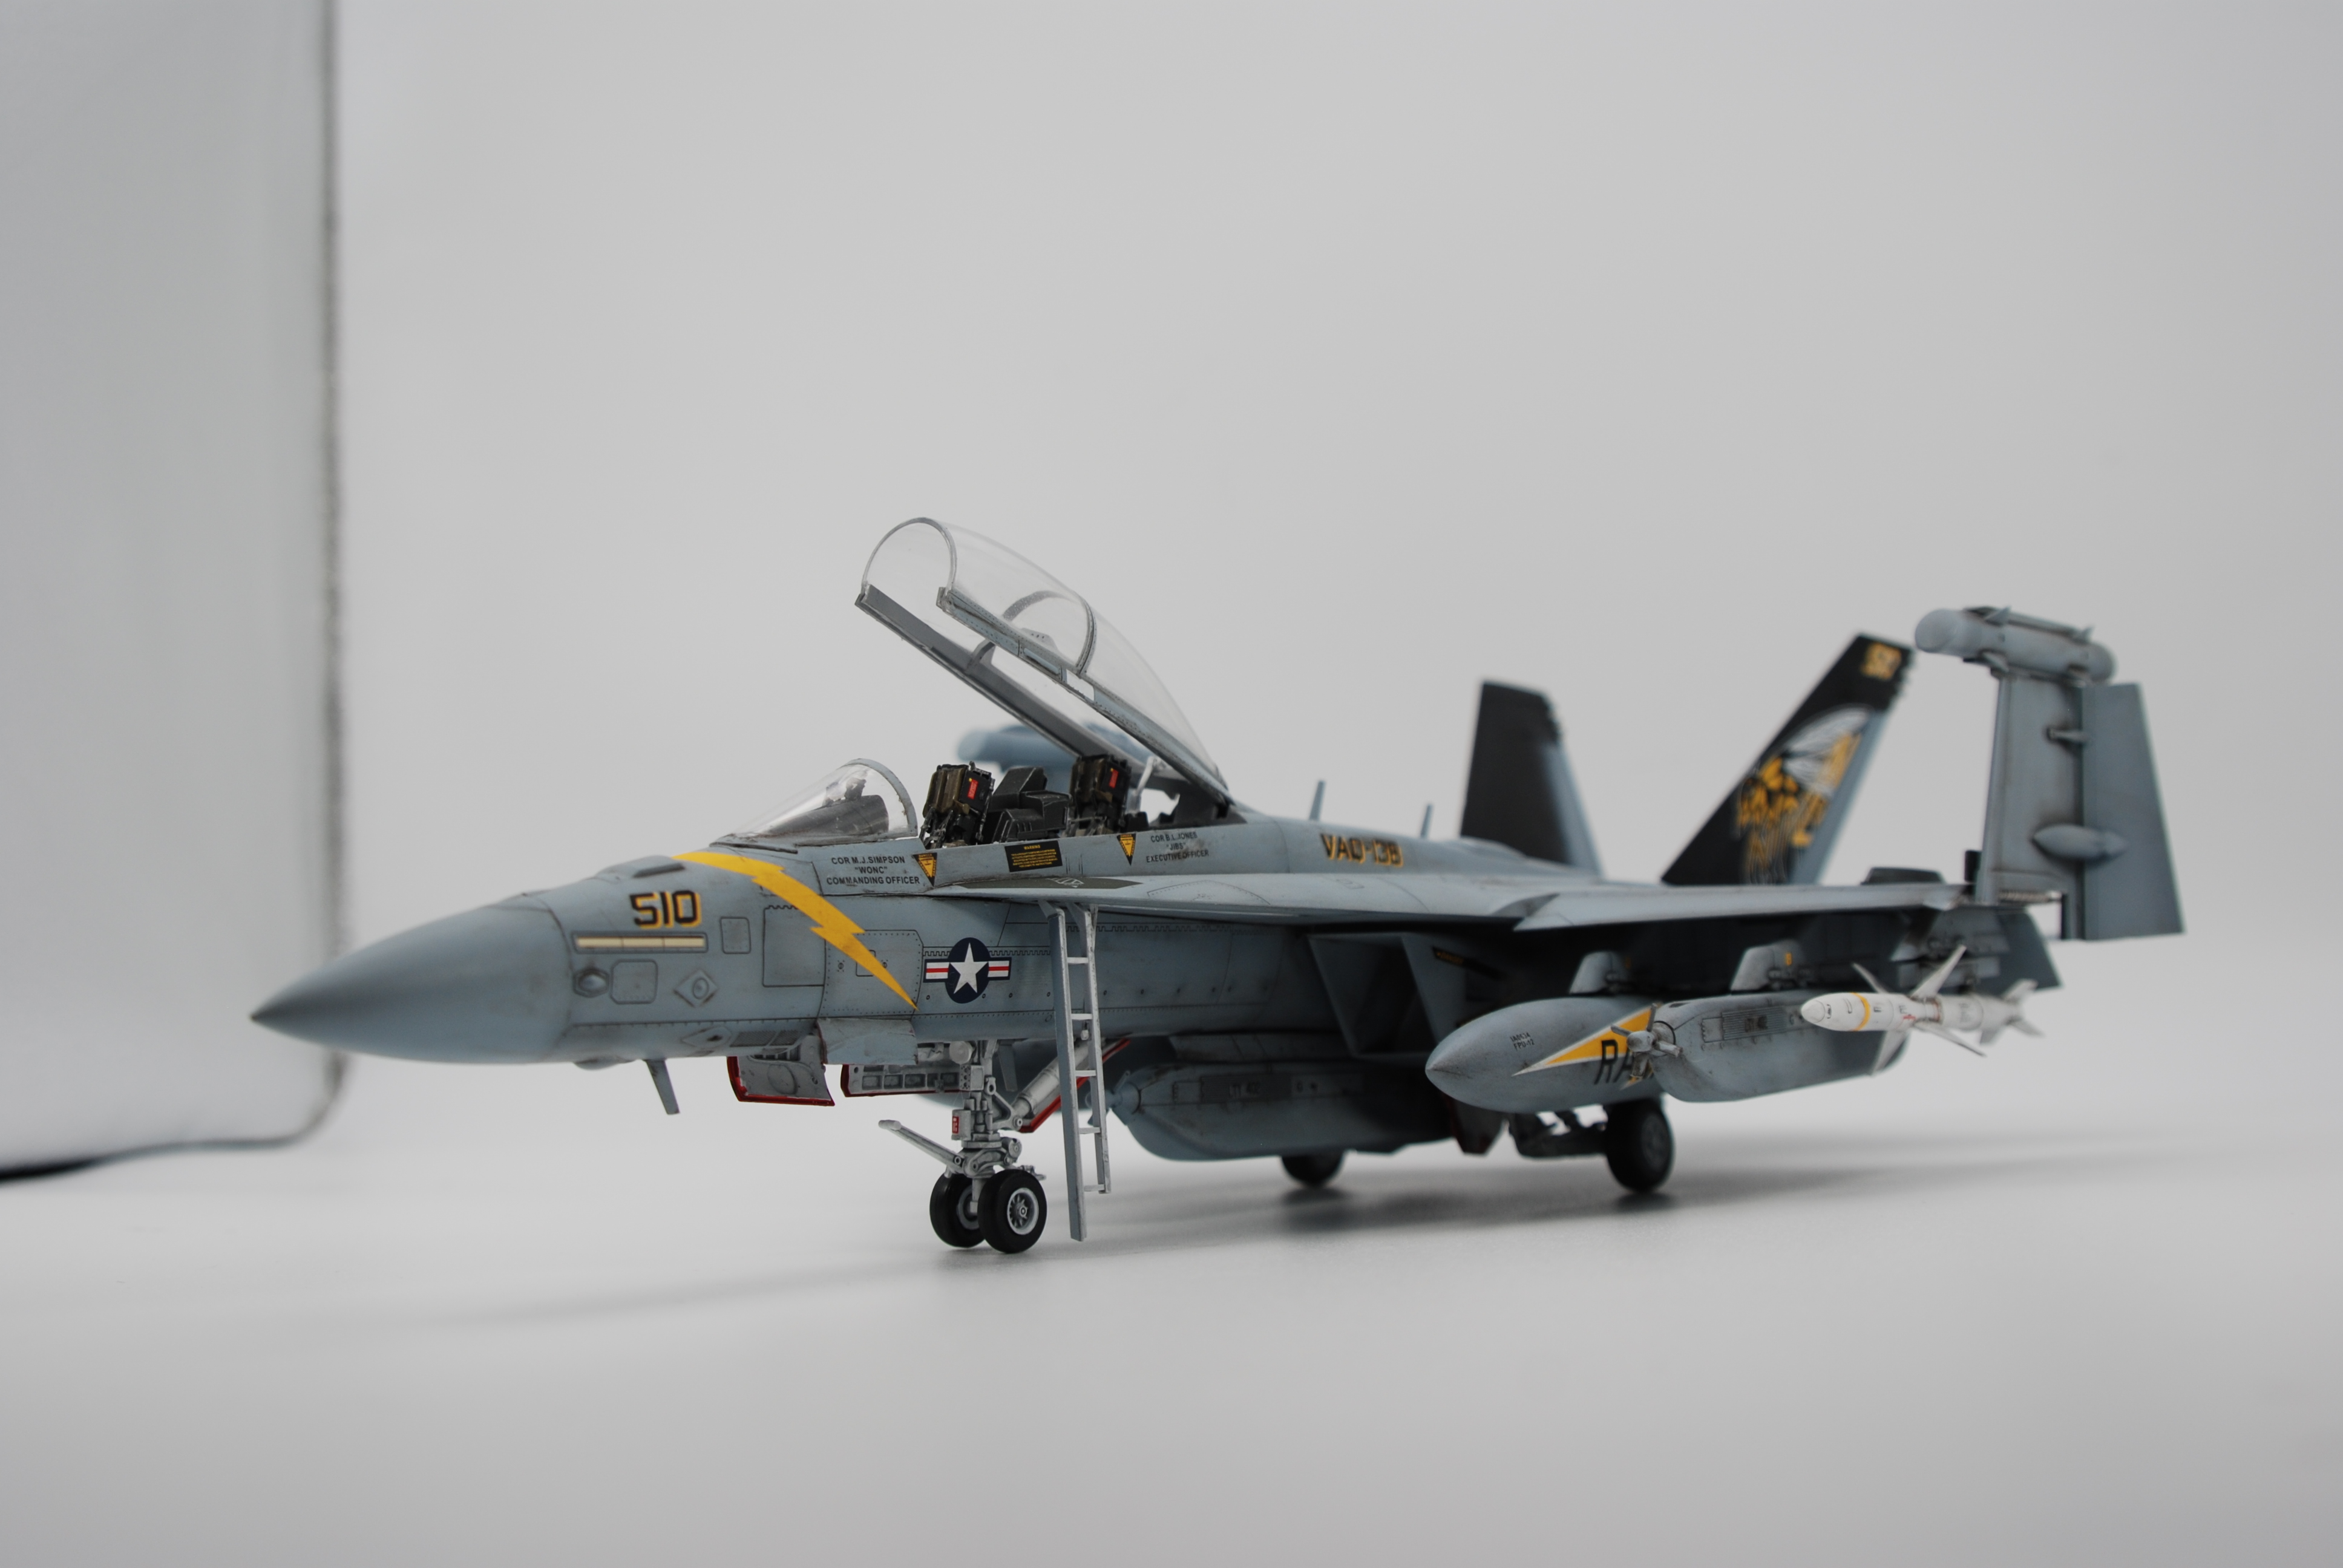
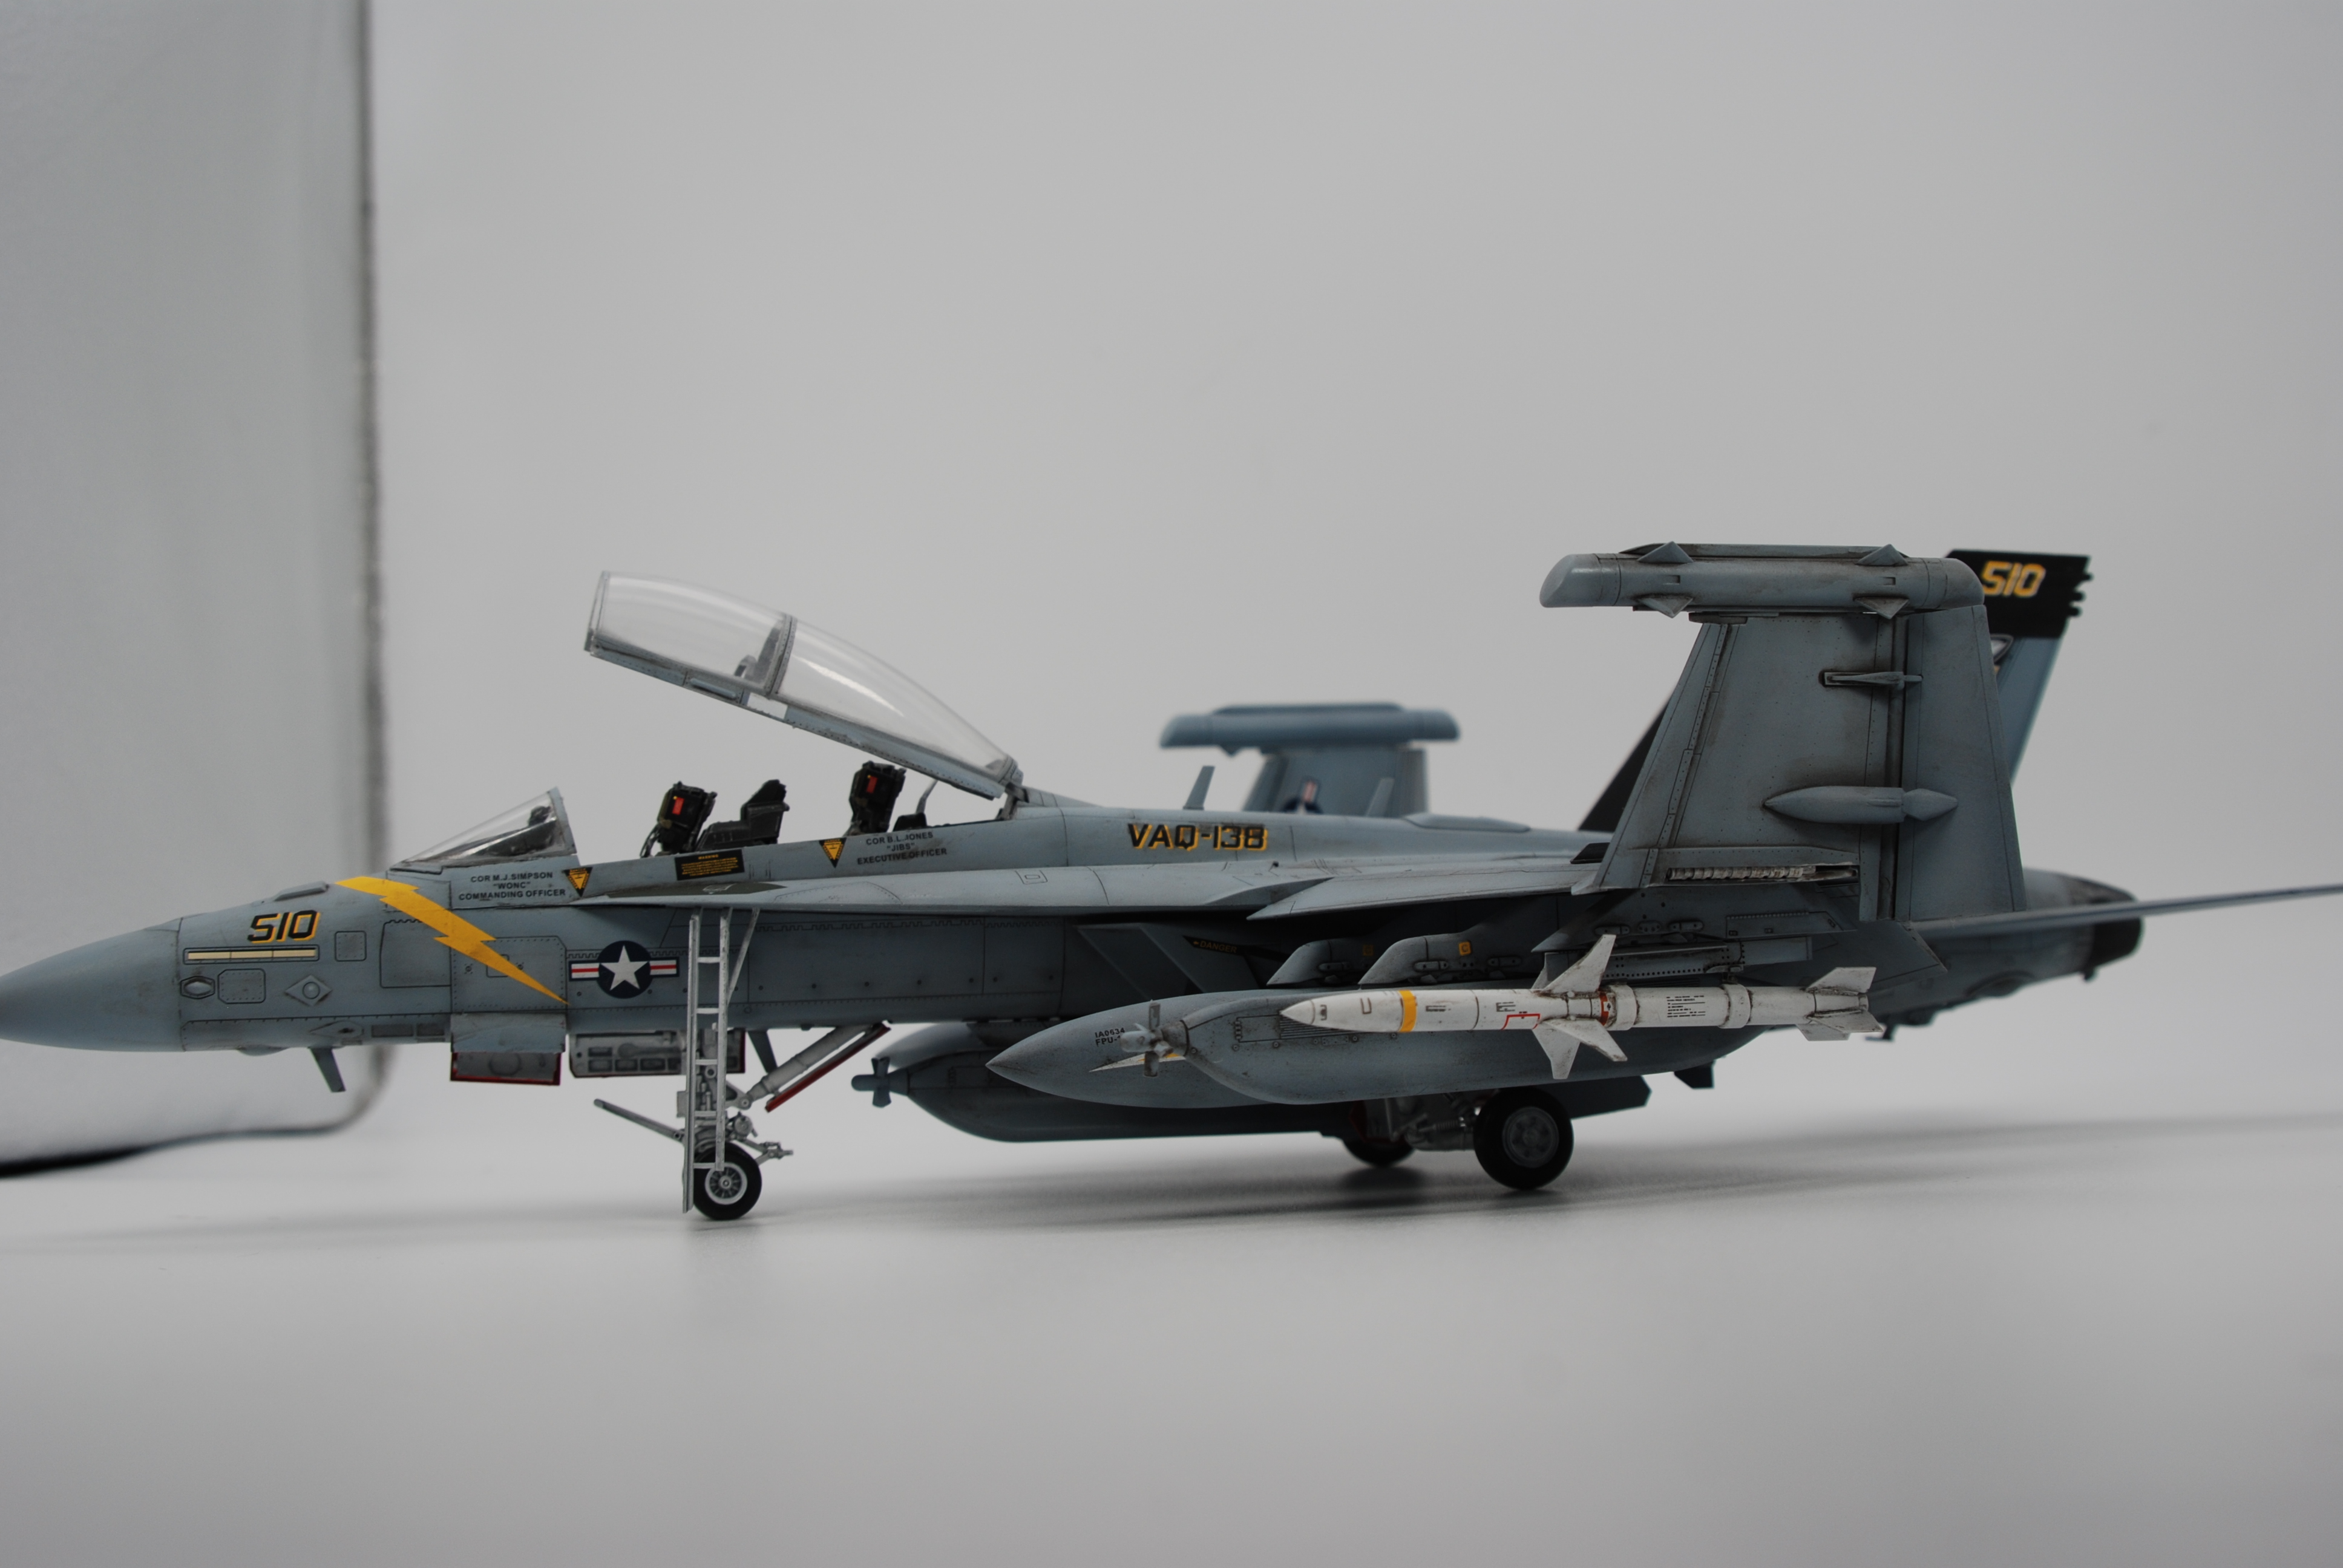
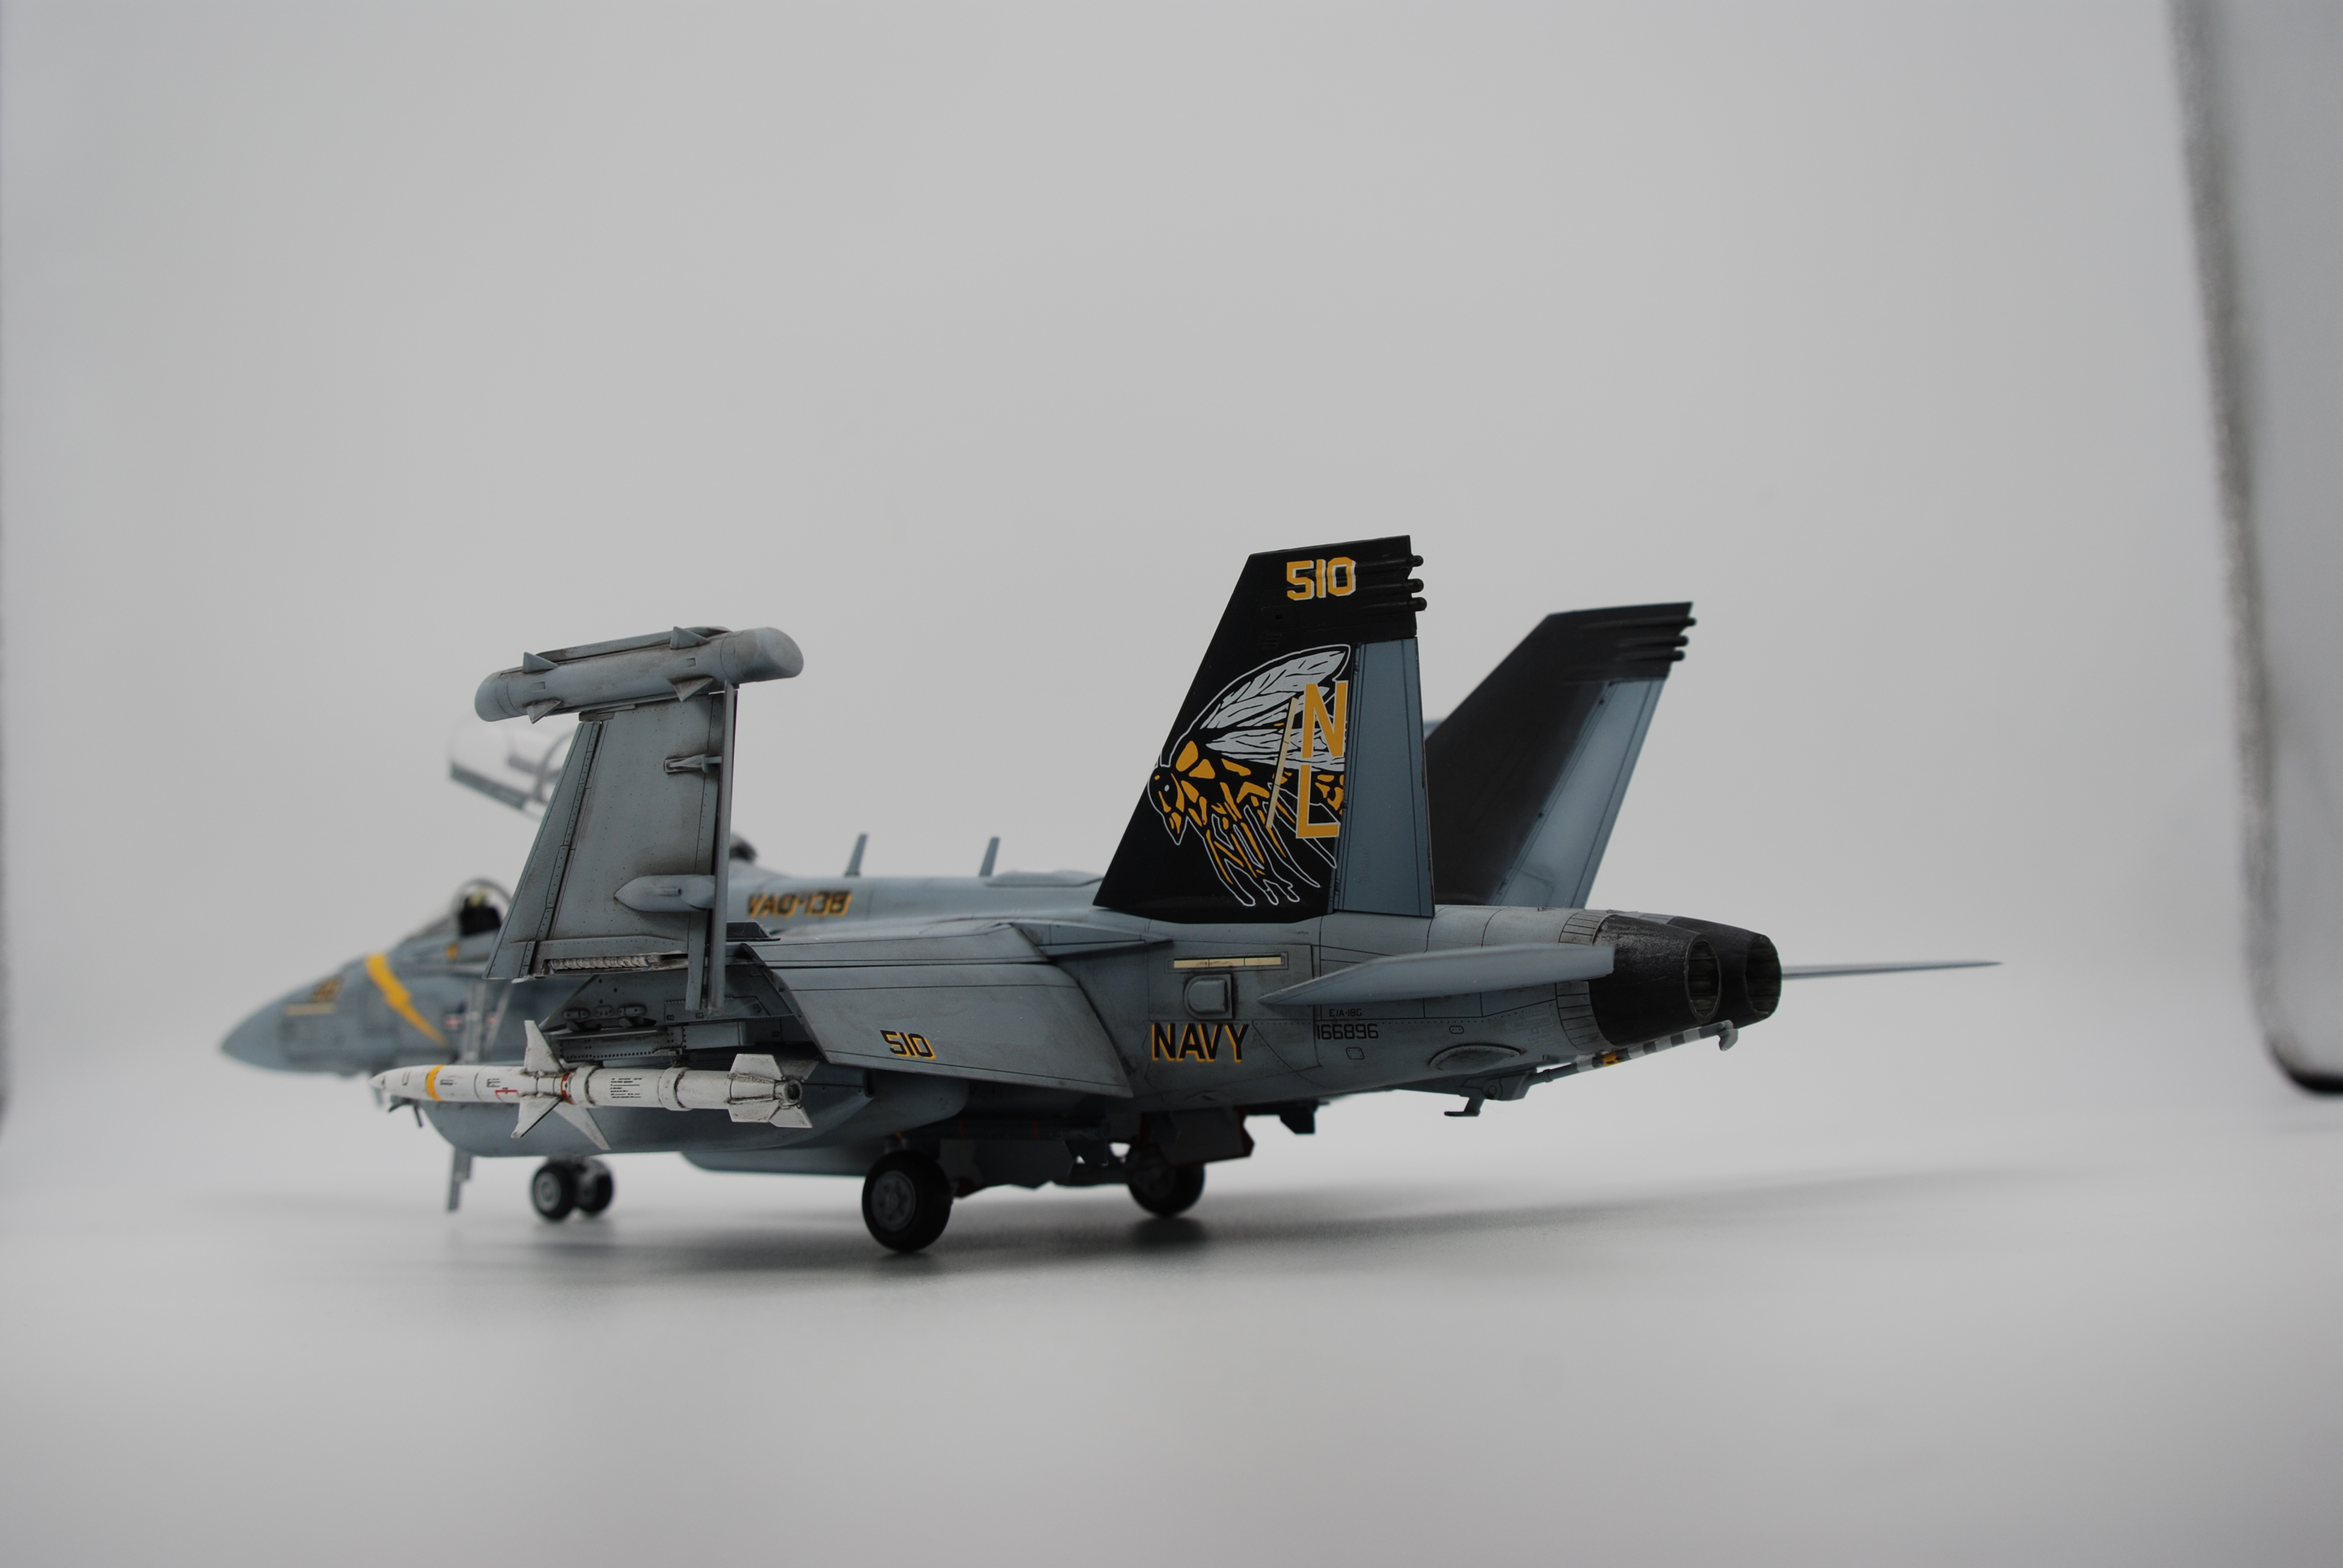
You know you're on to something when bits of plastic have presence.my submission
I especially like your panel line and decal work.my contributions
Very nice weathering!NEVER too late!
I took a few shots of my submission today, it is a very old DSLR, so you take what you get.
View attachment 195081View attachment 195082View attachment 195083View attachment 195084View attachment 195085View attachment 195086View attachment 195087View attachment 195088View attachment 195089
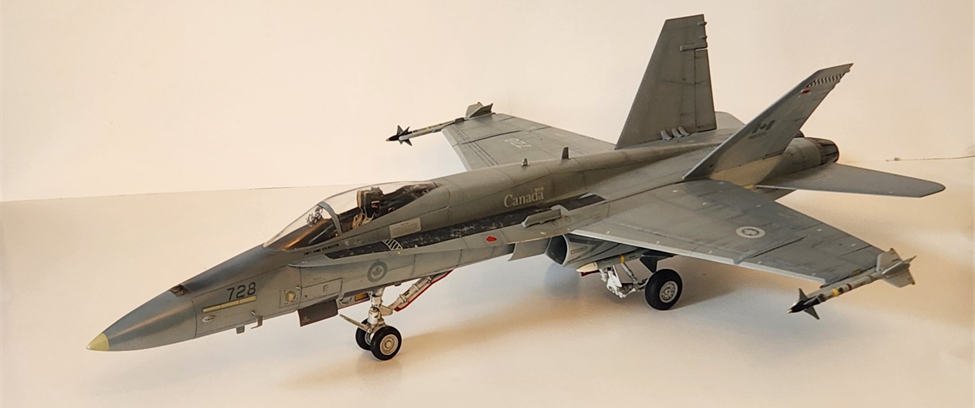
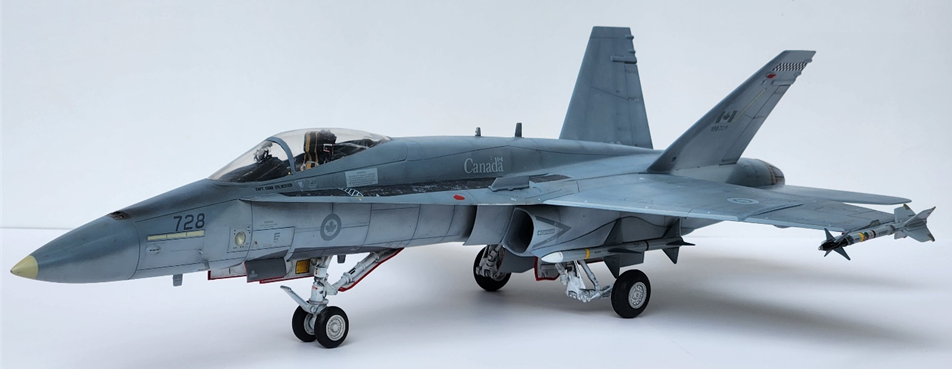
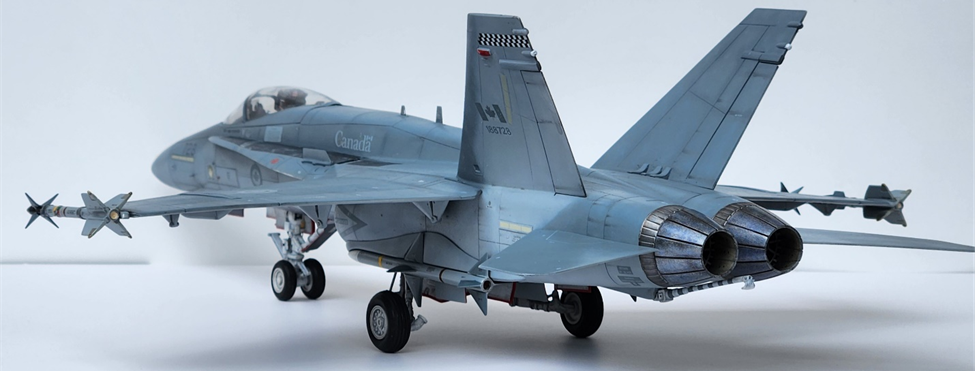
Your scratch building is phenomenal.While not exactly a Growler, this model does fit into the F-18 category.
View attachment 196404
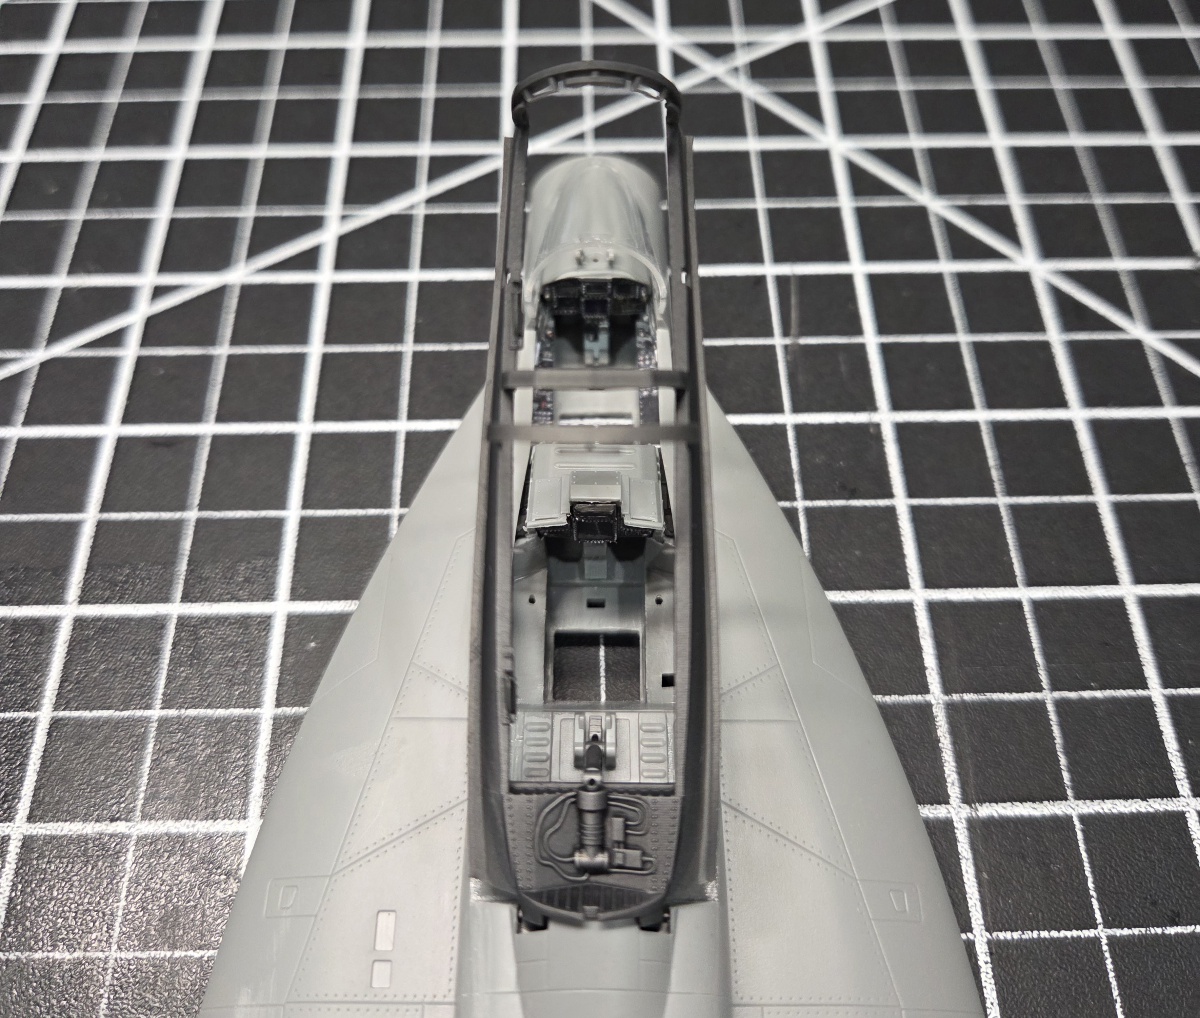
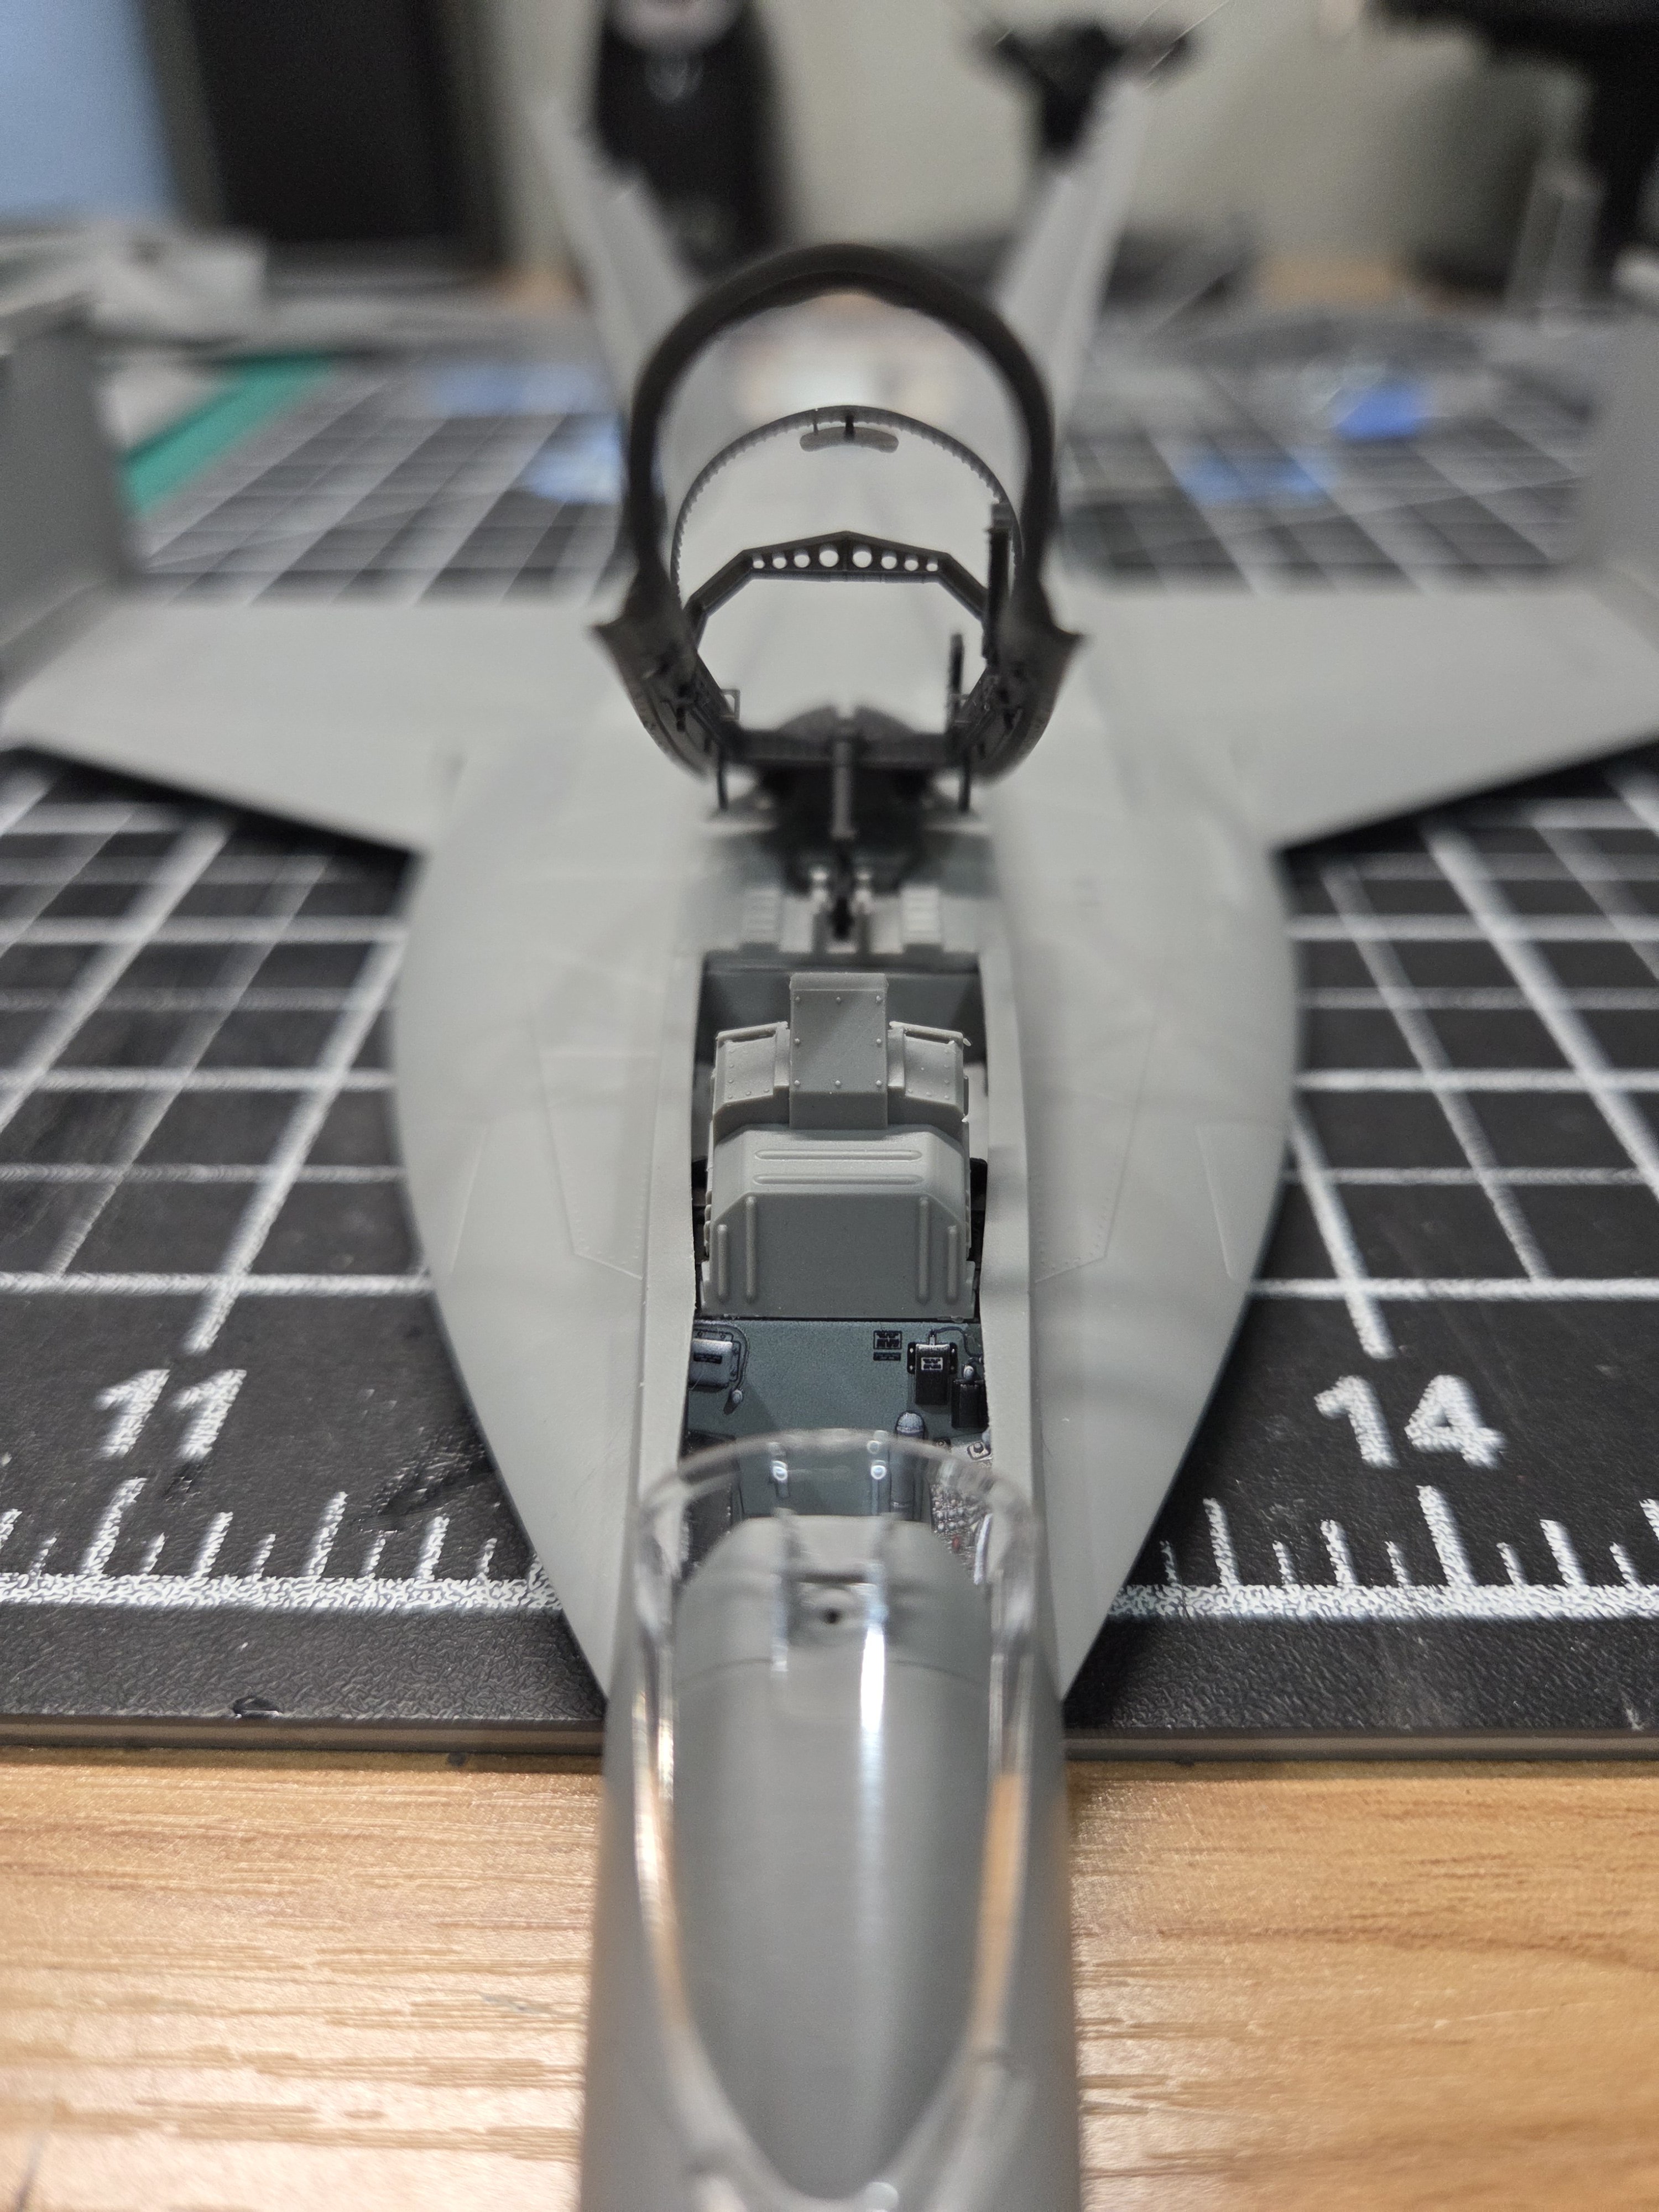
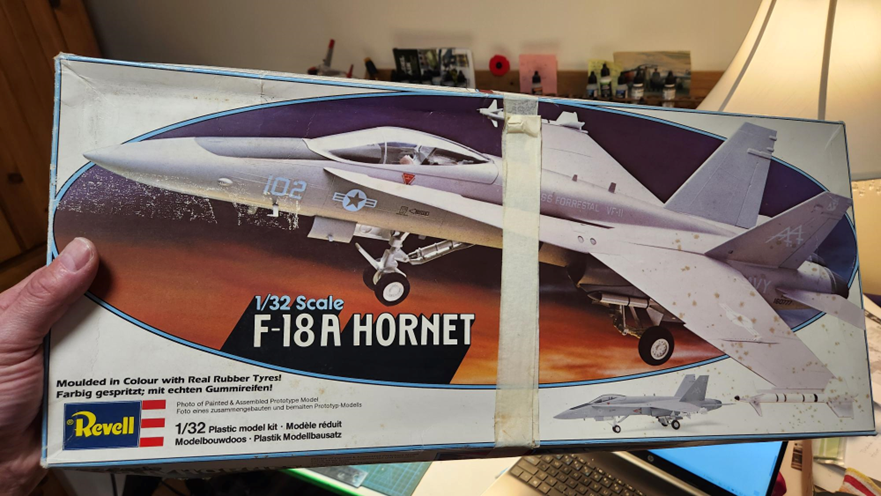
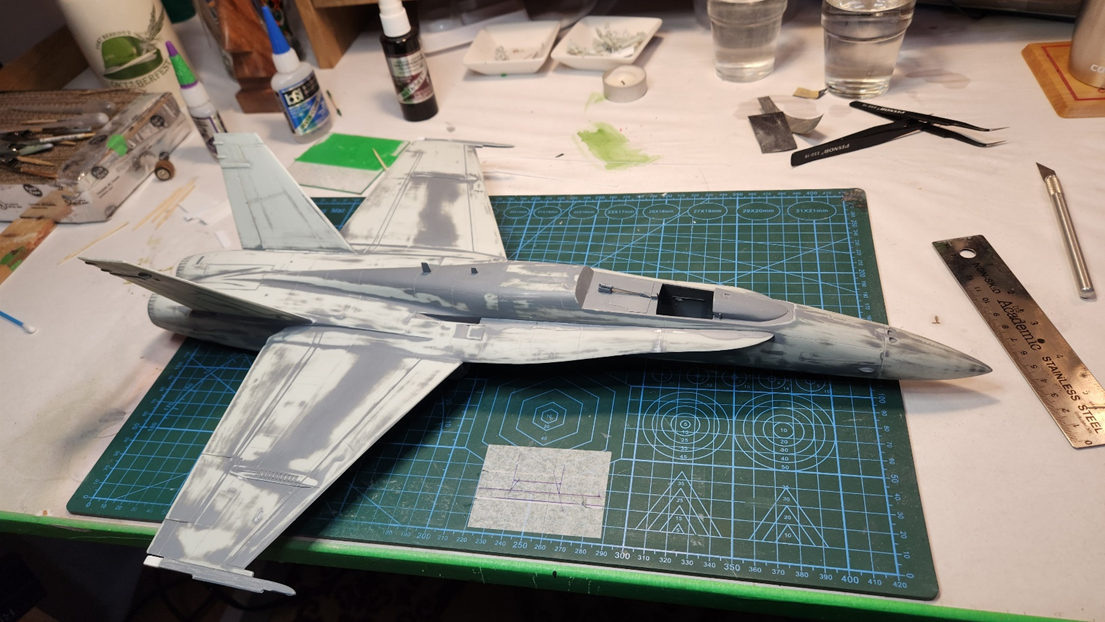
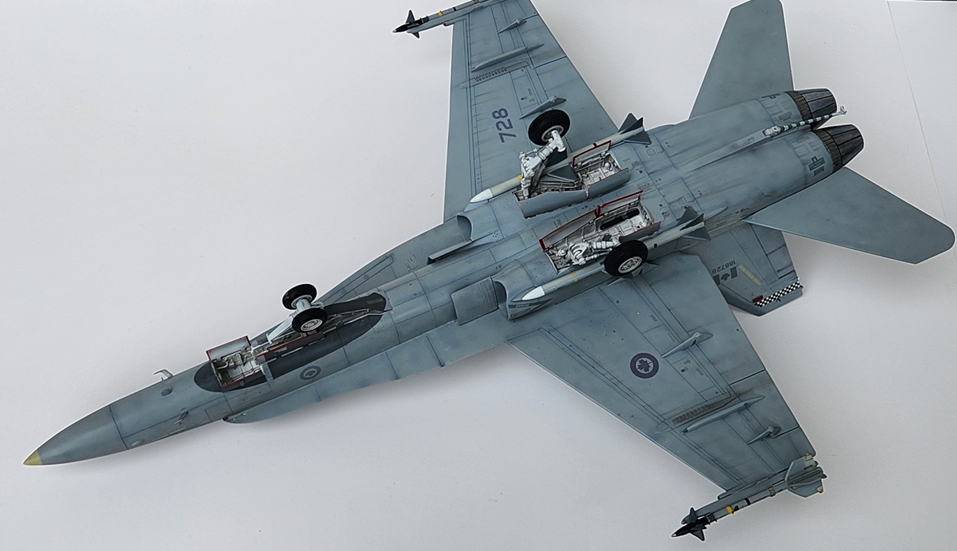
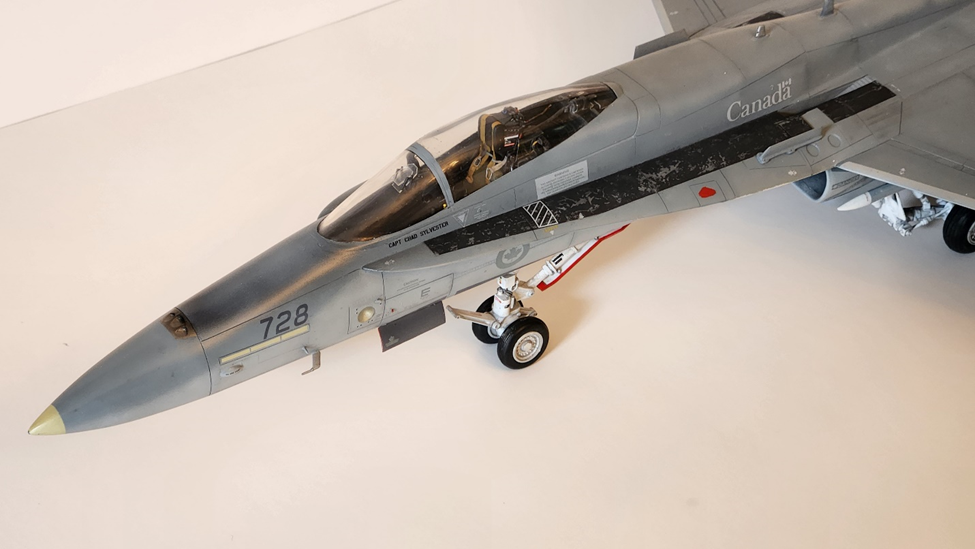
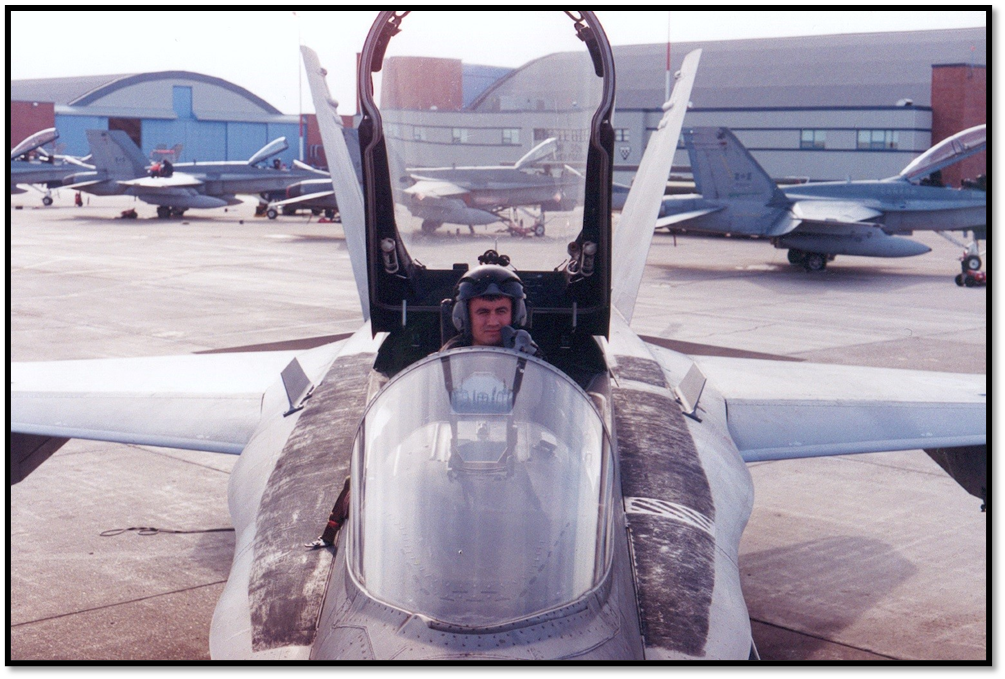
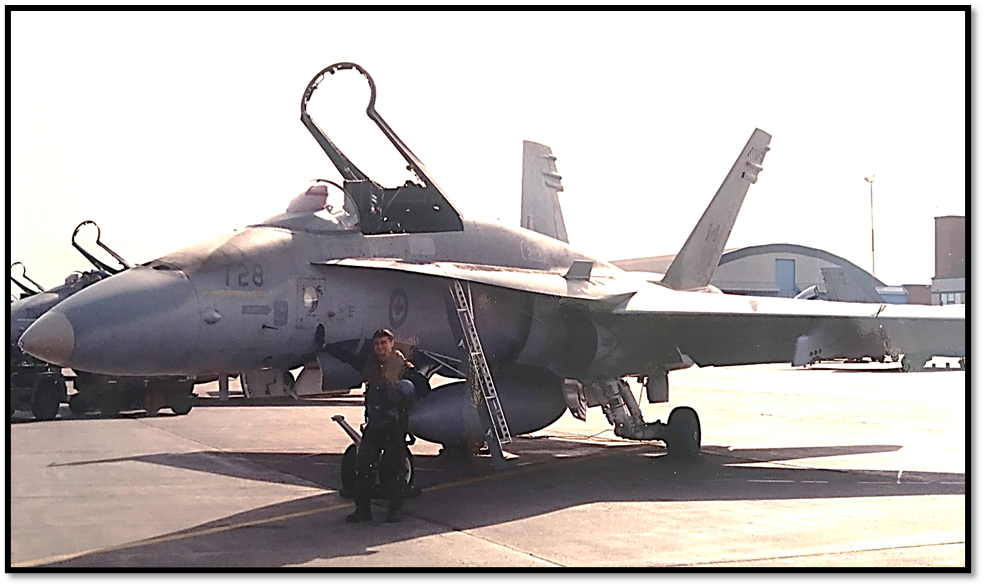
I have a vague recollection of buying this model while living in West Germany. I rediscovering this kit when we moved into our current house three years ago. The model, and most of its parts were discovered in four separate moving boxes. Not all the parts were found, so a certain amount of scratch building was eventually required. I started building the kit over 30 years ago, and then life took over. This past November I thought it wouldn't take much time to finish it as one of the CF-18s that my brother flew early in his career
The large parts of the model were previously assembled and primed. Not being able to control the impulse to "just leave the kit as it is," I thought I would give scribing new panel lines a try. Before I knew it, I had sanded off all the panel lines and then spent a few nights scribing in new panel lines. A very useful learning experience.
View attachment 196405
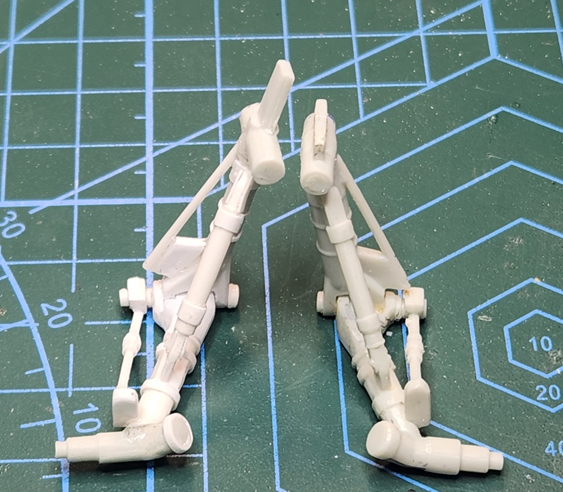
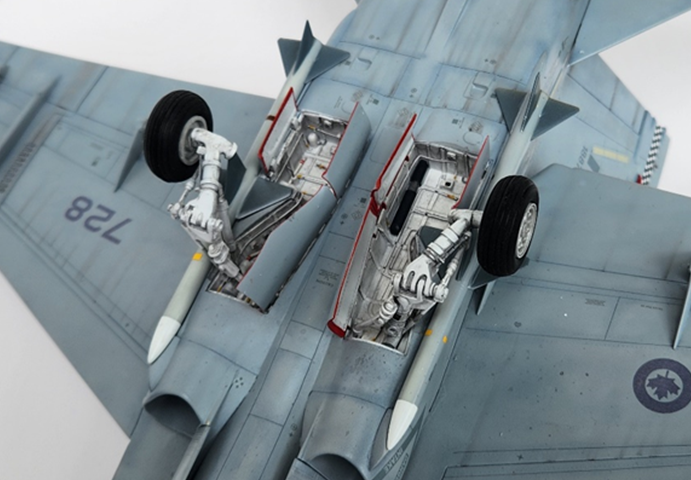
It was about this time that I also noticed the entire port side main landing hear assembly was missing. So, I scratch built a new one. It turned out not to be as difficult as I thought it would be.
View attachment 196406
(My scratch built version is on the left)
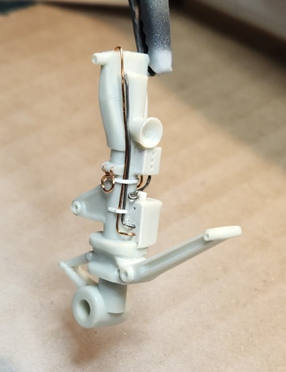
The landing gear issue then led to a bunch of scratch building detail into the nose gear and the starboard side main landing gear. Which then led to the scratch building upgrades of the all the landing gear wheel-wells and doors.
View attachment 196407
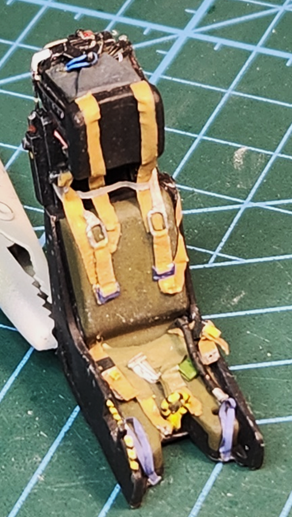
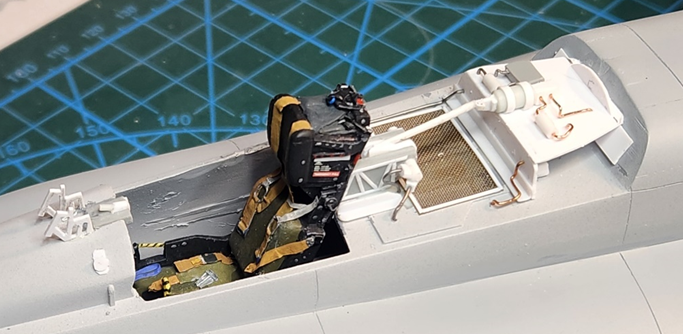
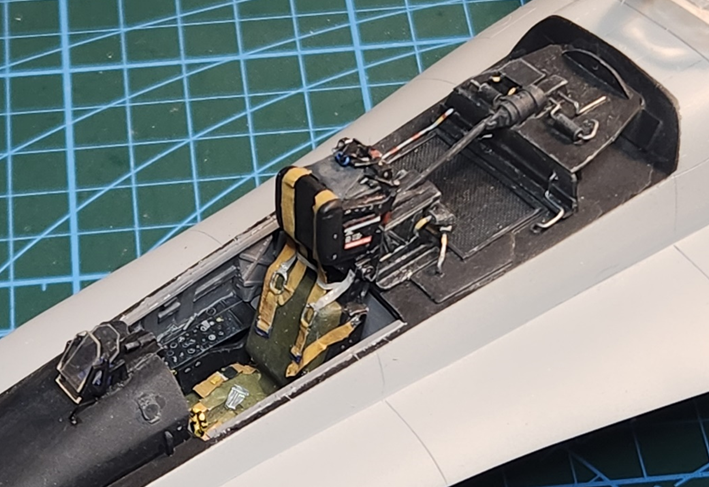
Eventually I found the cockpit tub and stock ejection seat. The cockpit tub had broken loose from the fuselage, so I took advantage of the opportunity and scratch built a new cockpit, the area behind the ejection seat, and, using the very basic seat that came with the kit, created a new ejection seat. I then sent some photos of the ejection seat to my brother and he informed me that the ejection seat that was in the F-18 I was building was different than the one I had constructed. The seat, for the plane that I was building, had initially came with a different retention harness that was replaced during a later ejection seat upgrade. So, I changed the retention harness to be accurate as of 1994.
View attachment 196408
(The corrected version of the seat)
View attachment 196409
View attachment 196410
(Completed cockpit area; with the correct seat belt system!)
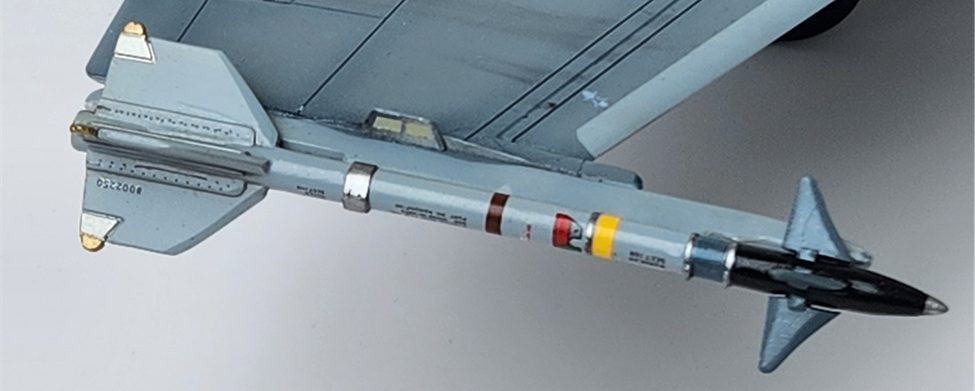
The kit came with only a very basic missile load. So, while on a scratch building roll, I fixed up the missiles so that they didn't look like chunks of sprue with clunky fins. Lots of sanding, razor saw work and the adding of bands, rivets, etc)
View attachment 196411
(Completed Sidewinder. The home-made riveting on the rear fins could use a bit of work…)
Decals proved to be a challenge which took months to sort out. I eventually put out a call for help to my buddies in our local IPMS chapter. One of the guys reached out to a friend who used to fly the CF-18. It turns out the guy had flown with my brother in a couple of different squadrons. He very graciously donated his unused 1/32 scale Canadian CF-18 decals from his Academy F-18 kit (Which he did an amazing job of building!).
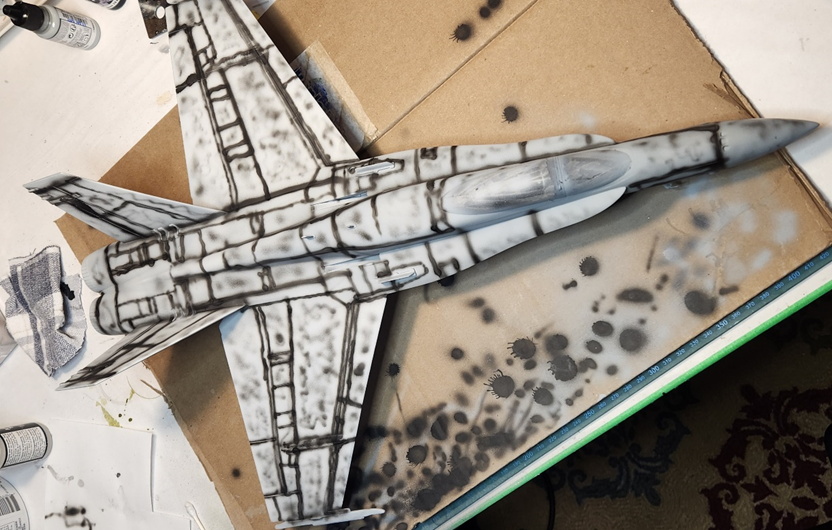
I decided to experiment and use a mix of pre and post shading on this kit.
View attachment 196412
The next hurdle to overcome was the anti-skid surface on the leading-edge extensions. This was new territory for me. Thankfully I saw a 1/48 scale CF-18 on-line that had served as an excellent example of how to achieve this effect. Ryan, from Nomad Models (https://nomad-models.com/2023/12/22/cf-18a-hornet-completed-build/) coached me through how he achieved this effect on his CF-18.
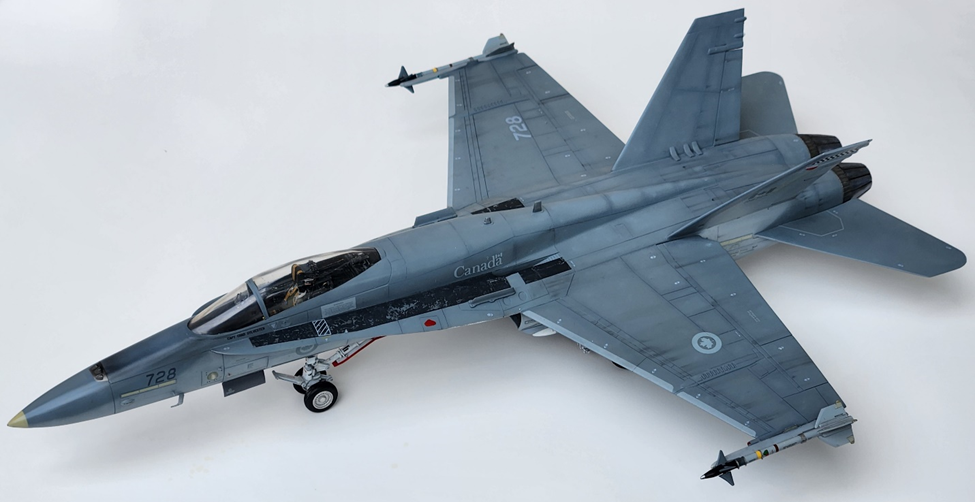
I had some excellent photos of the real plane I was modelling. The real plane was filthy. I chose to tone the weathering down after I weathered parts of the model to look like the real plane. Unfortunately, it made the model look like a toy. Fortunately, with a bit of mineral spirits, most of the weathering could be removed. A friend in our local IPMS chapter that used to work on the CF-18s told me that the weathering look I have achieved is what a filthy plane would look like after it had gone through a wash cycle, and then been flown a few hours.
Because this was initially a two-week build (in my mind), I had decided to go with a closed canopy. This build was a constant evolution that took on a life of its own. In hind sight, I should have left the canopy open. That's one thing I would change on this build if I was to do it again.
Eventually I shoved the good-idea-fairy into a box and declared the kit finished.
View attachment 196413
More photos to follow...
Eventually, after having recreated an entire kit worth of details from scratch!Eventually I shoved the good-idea-fairy into a box
Chris, I believe you have a valid point there!Eventually, after having recreated an entire kit worth of details from scratch!
Amazing job!
Oops. I thought I was replying to Boatman.Chris, I believe you have a valid point there!