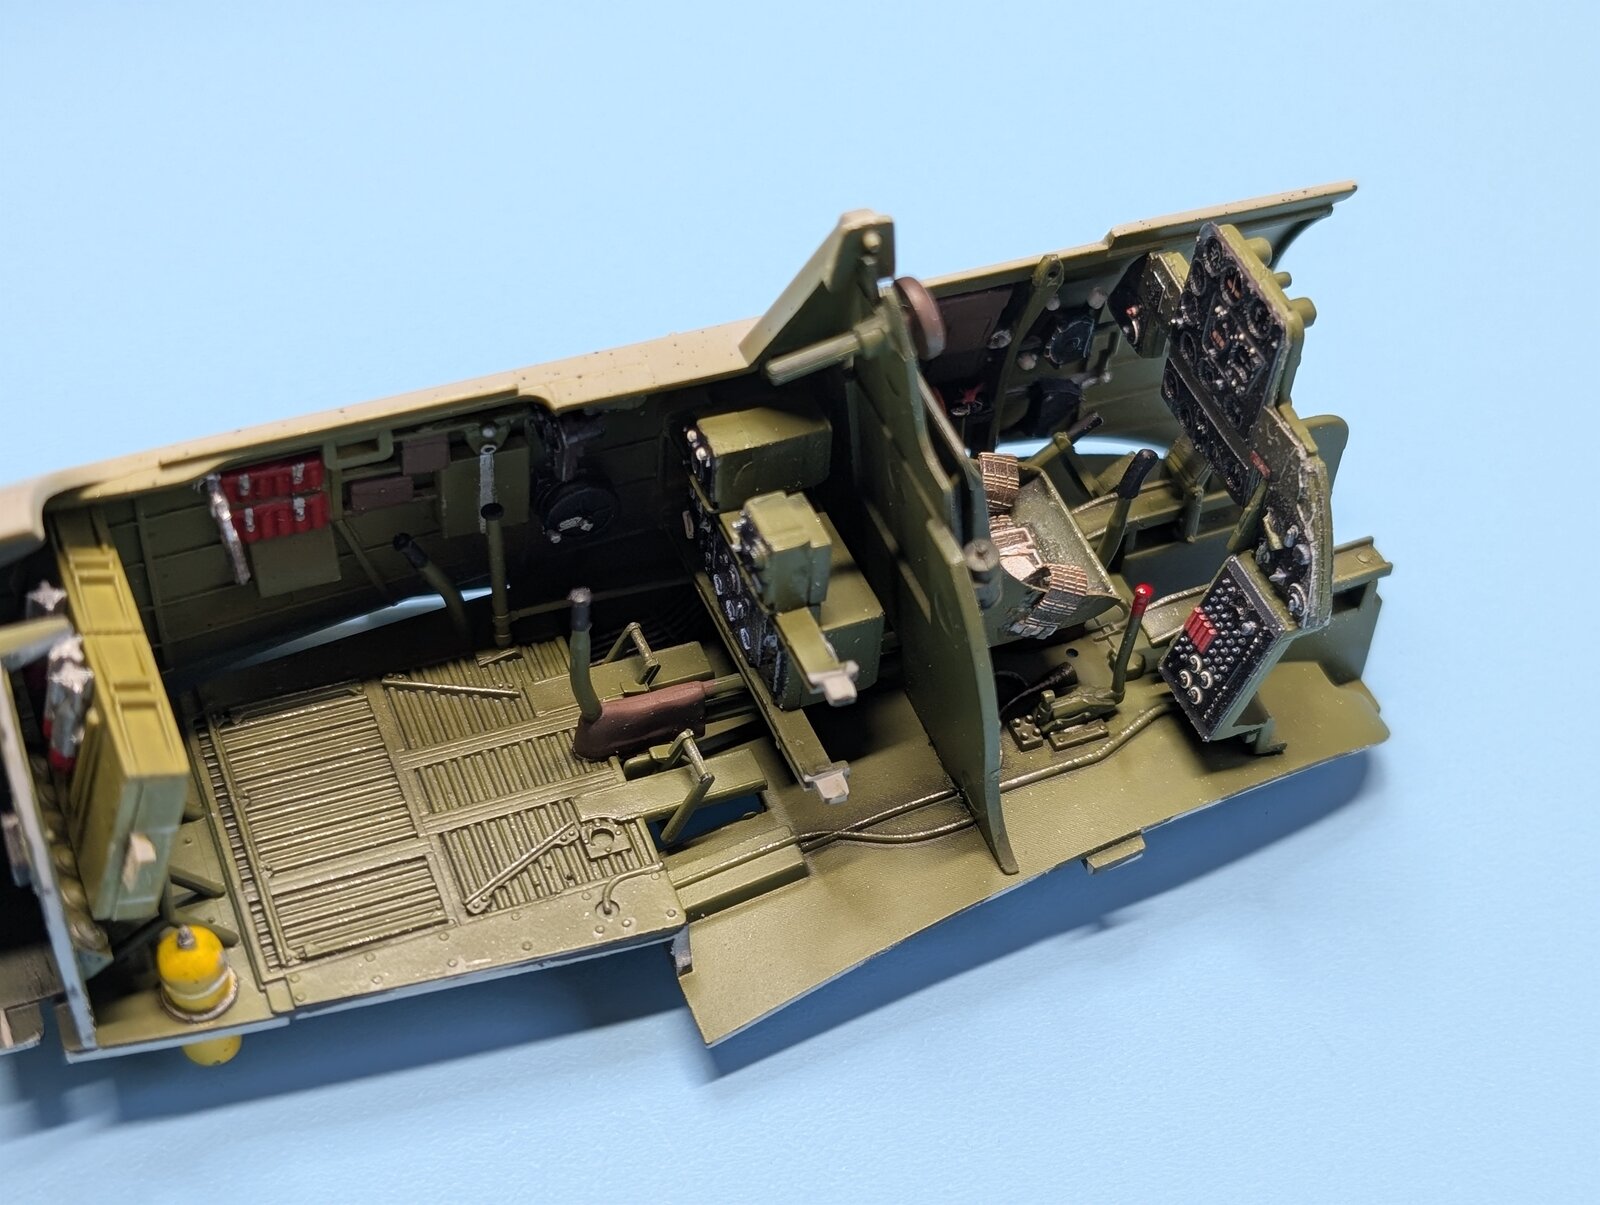
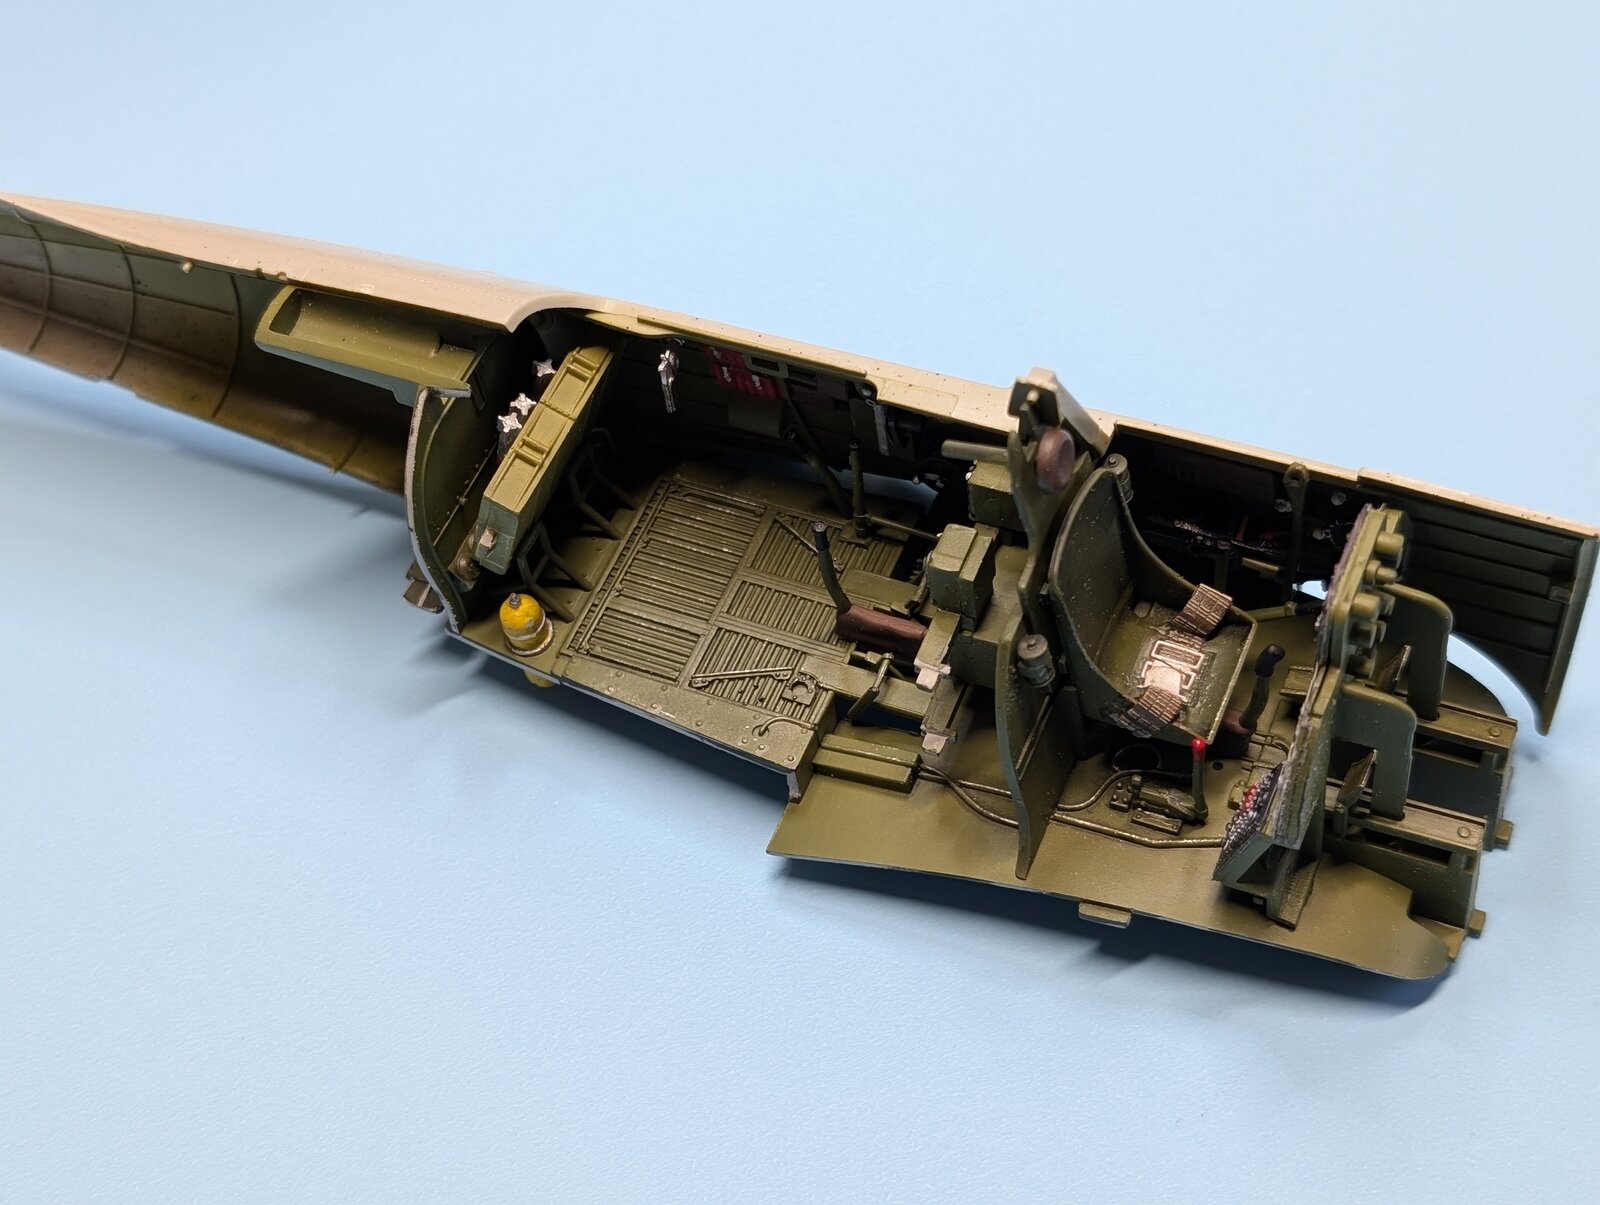
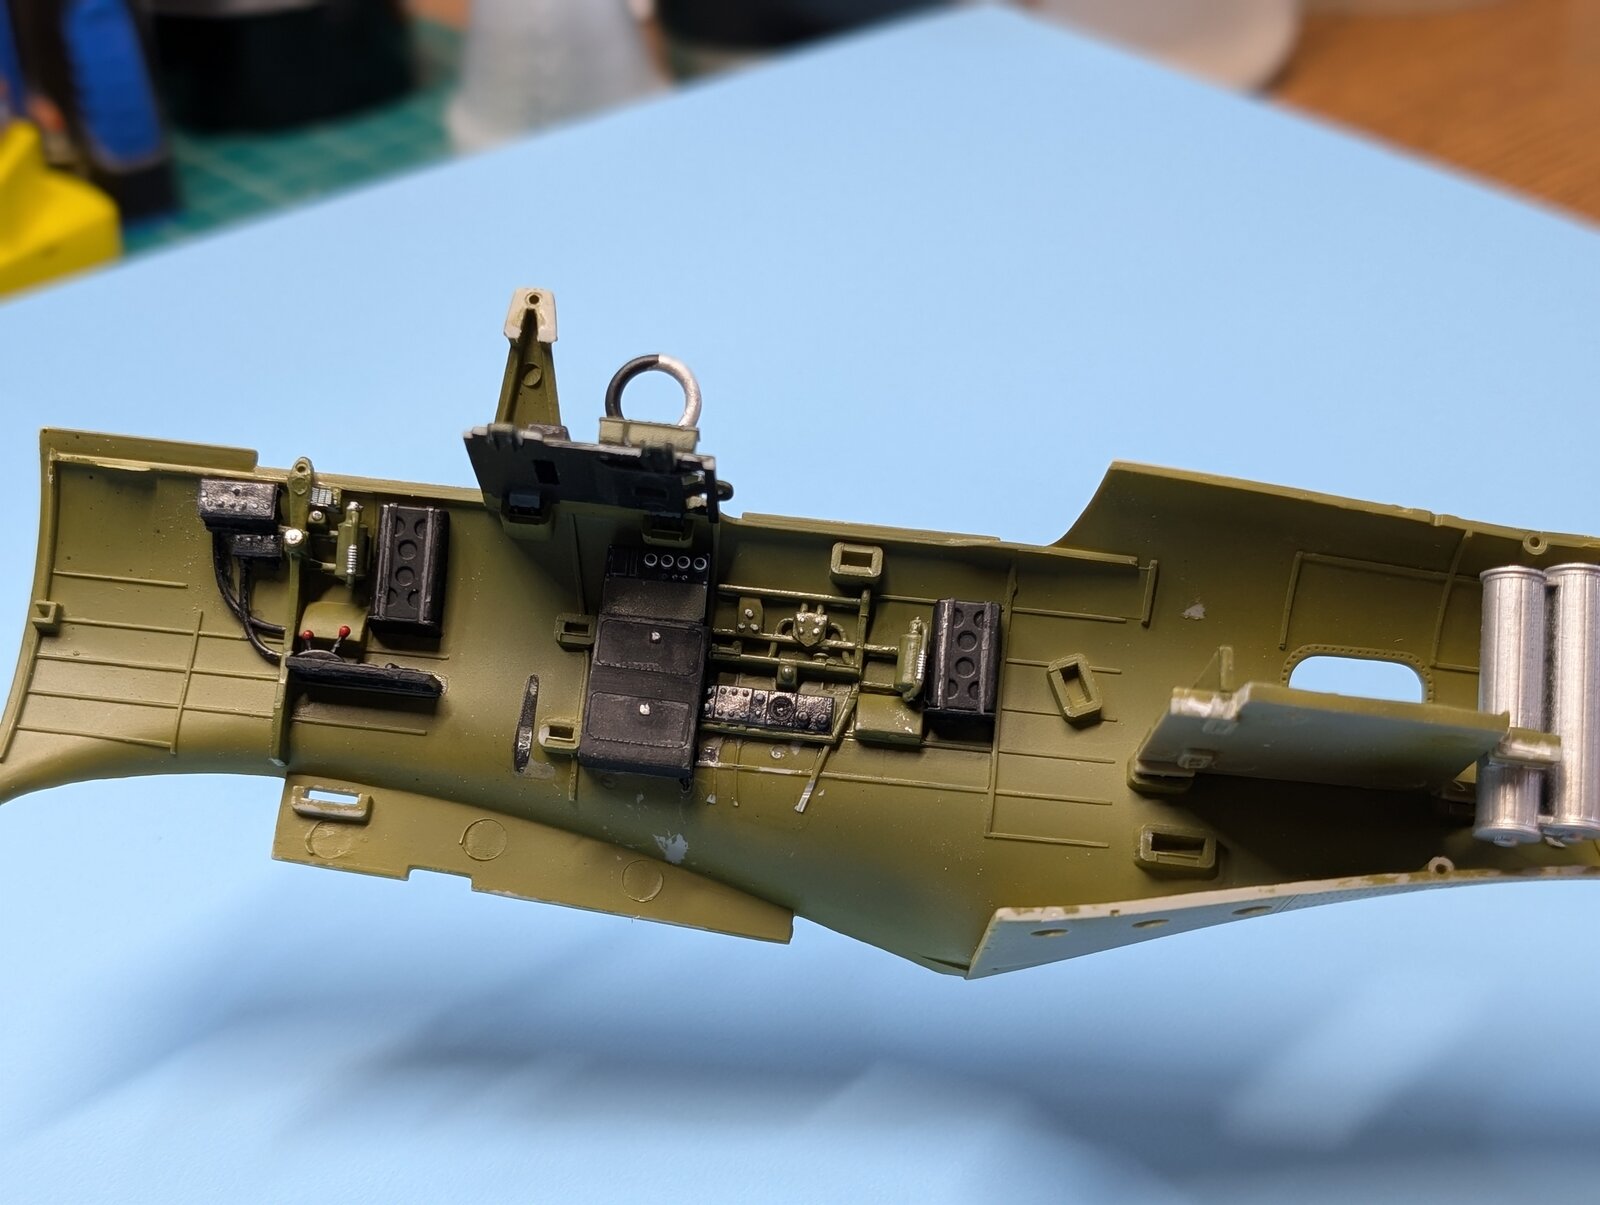
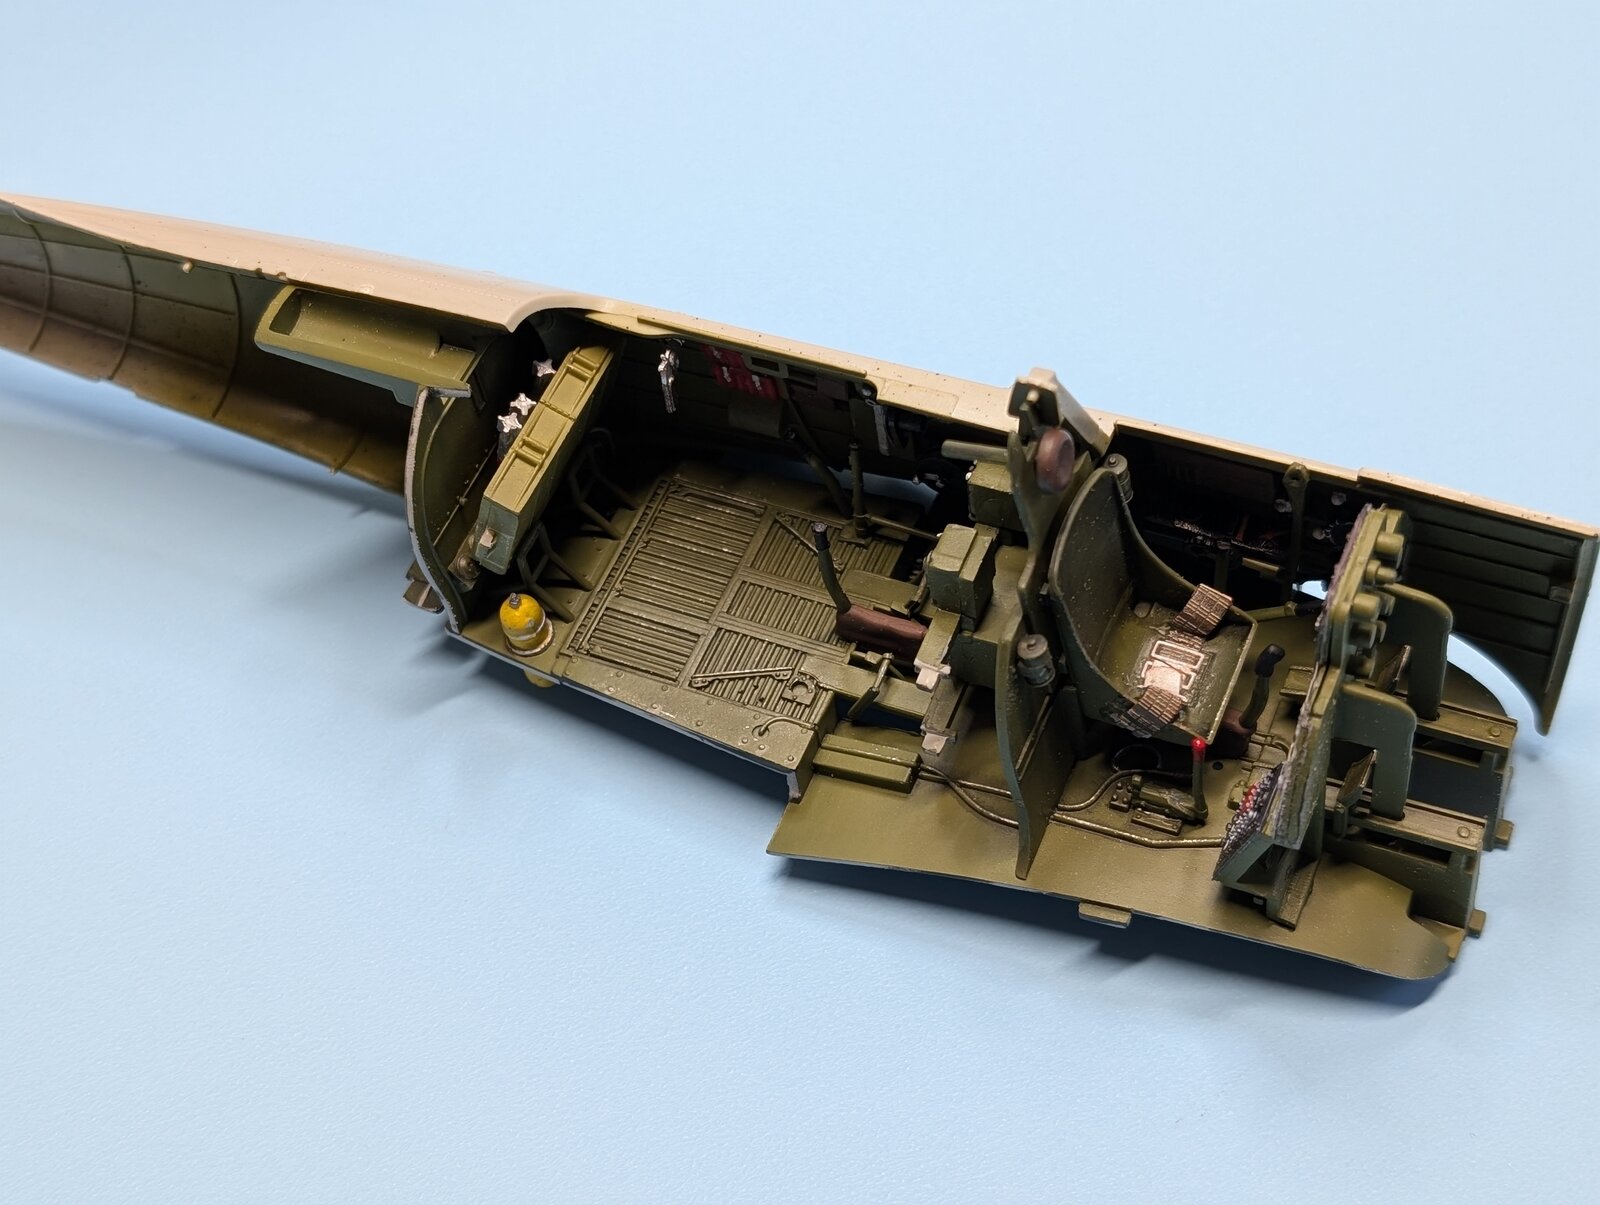
Trumpeter's SBD 3- Dauntless (as flown by Lt. Cm Richard H Best)-finally completed!

Scale Model Addict - Model Tips, Guides, Tools & Tech, Tutorials, and Community

Help Support Scale Model Addict:

docsudy

Well-Known Member
Joined
Feb 4, 2024
Messages
165
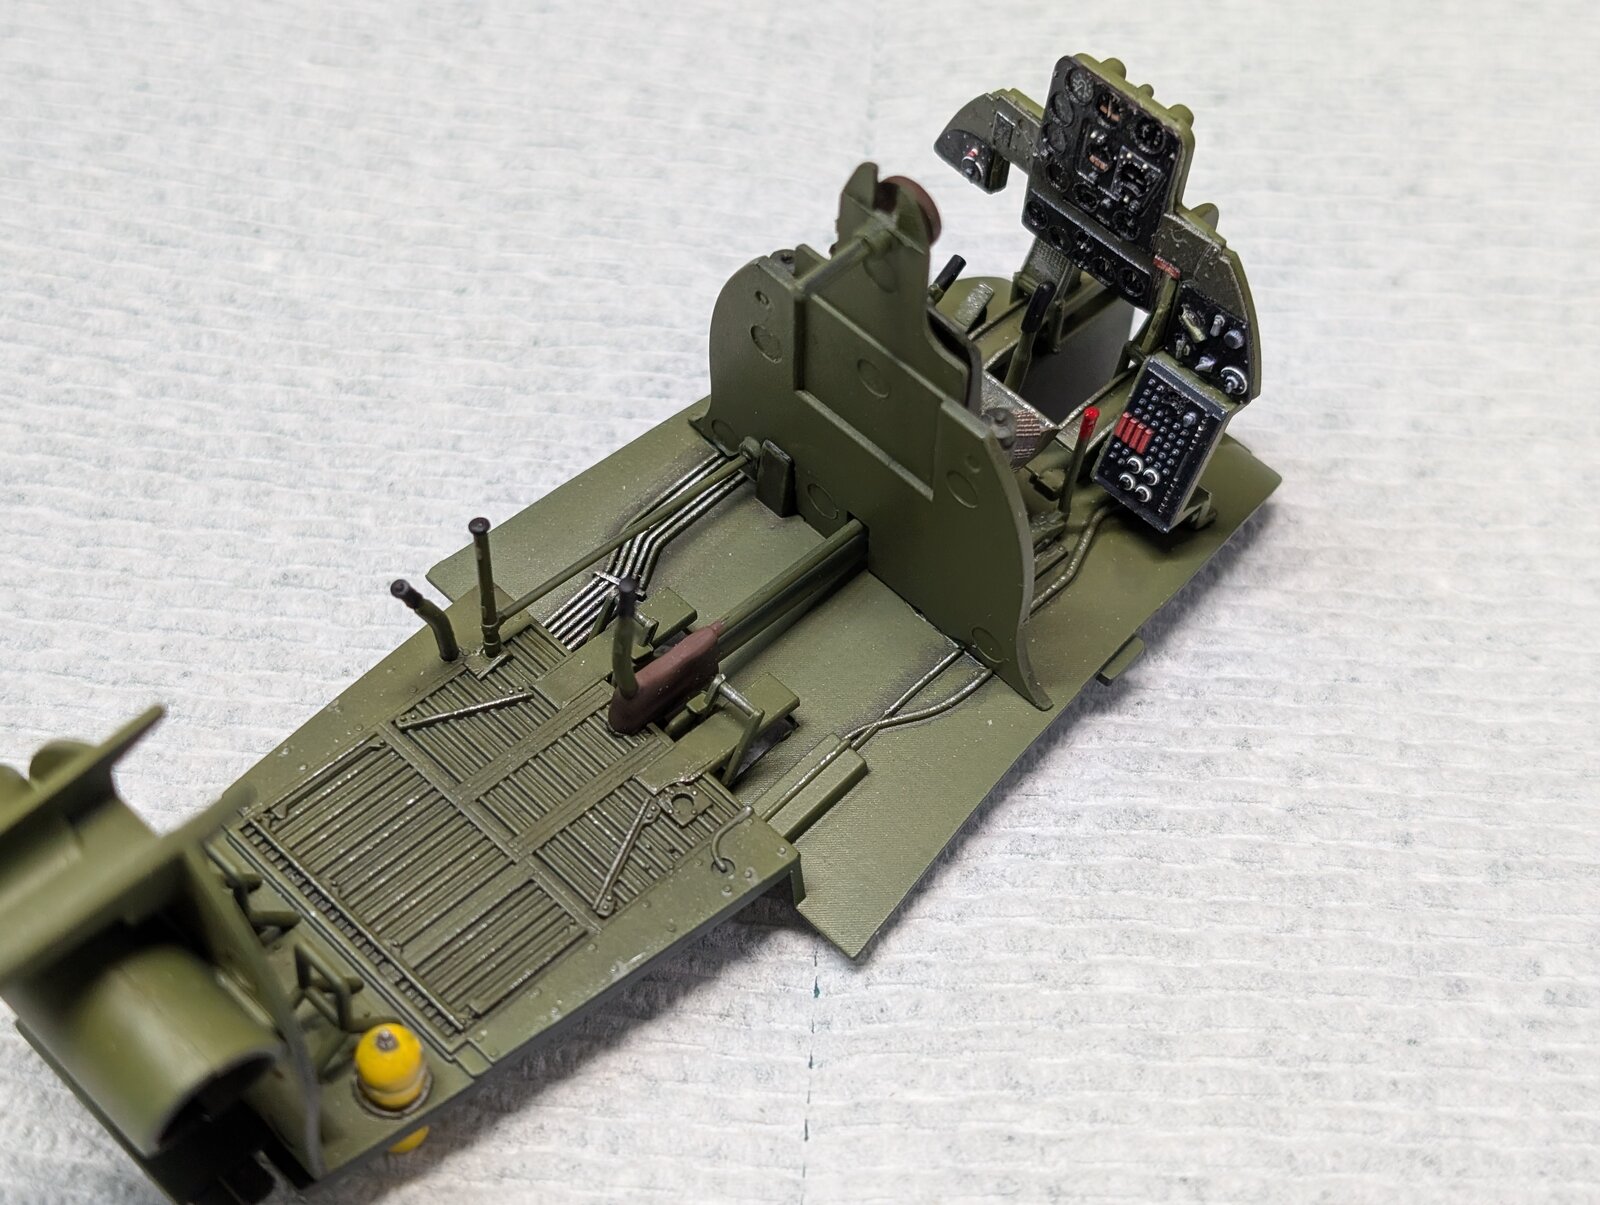
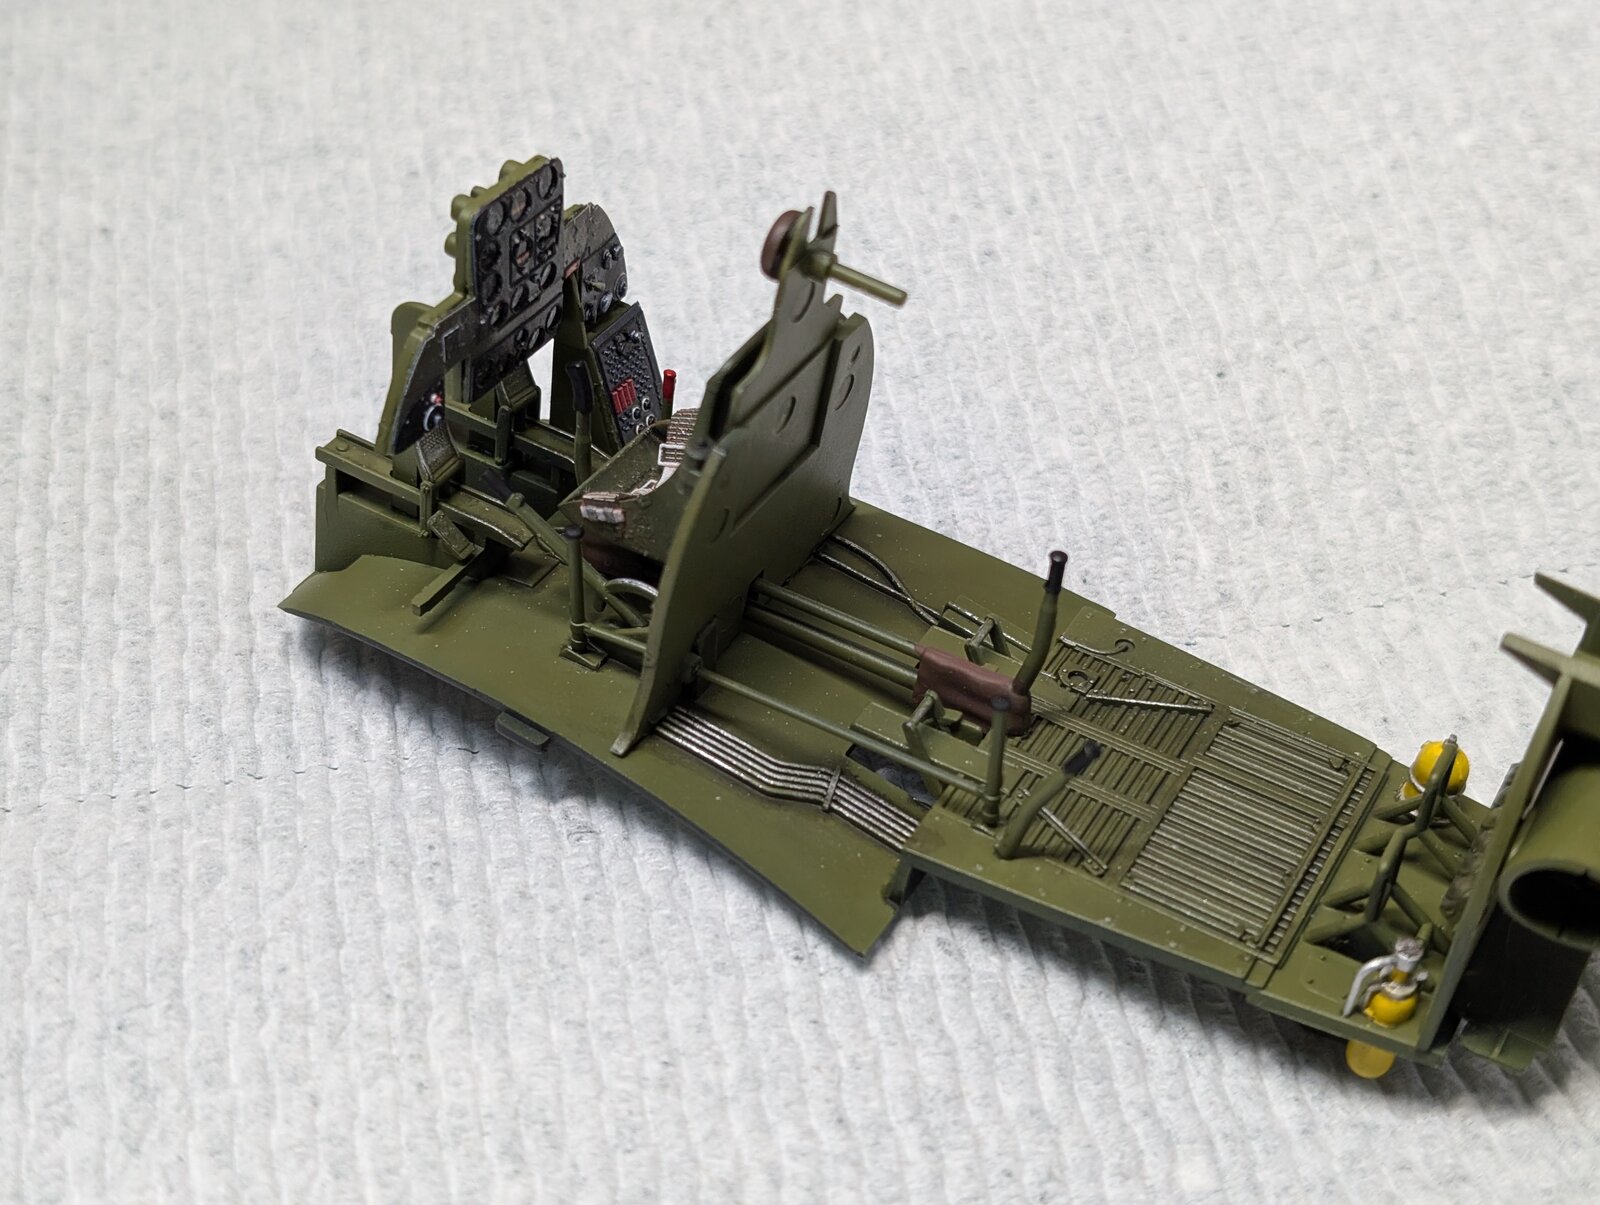
Hello to all. It been a while since I have posted a work in progress at SMA. I have been away for some time with family issues as well as leaving the cold north for the south. Its summertime and I have returned from Florida back to Wisconsin where my workbench and supplies are and have started a build which I hope will be both challenging and fun! I have been building exclusively Tamiya models which are gorgeous but have wanted to try some other companies . I have always been interested in the SBD Dauntless bomber and in particular the role they played in turning the tide in the battle of Midway. After reading about the battle and these brave pilots I selected to build the Trumpeter version of the SBD-3 Dauntless bomber and try to recreate the plane flown by navy pilot Lt. Commander Richard H Best.
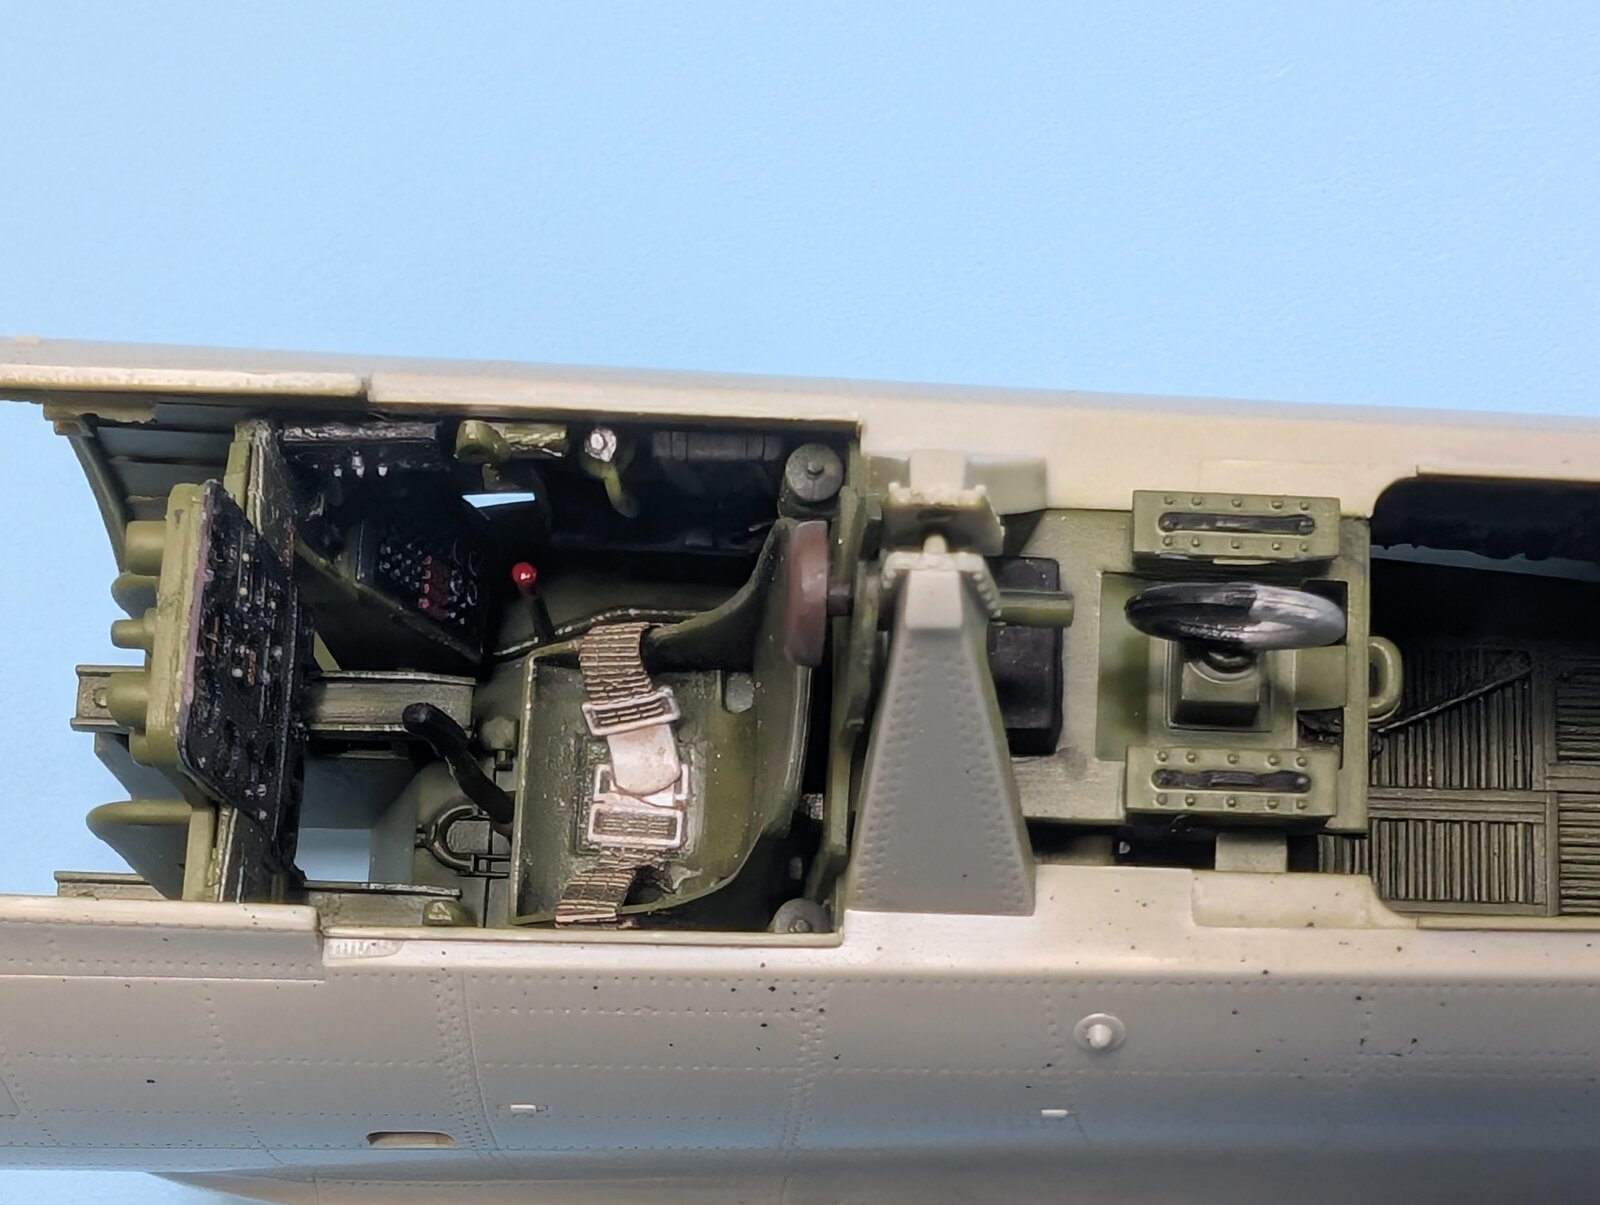
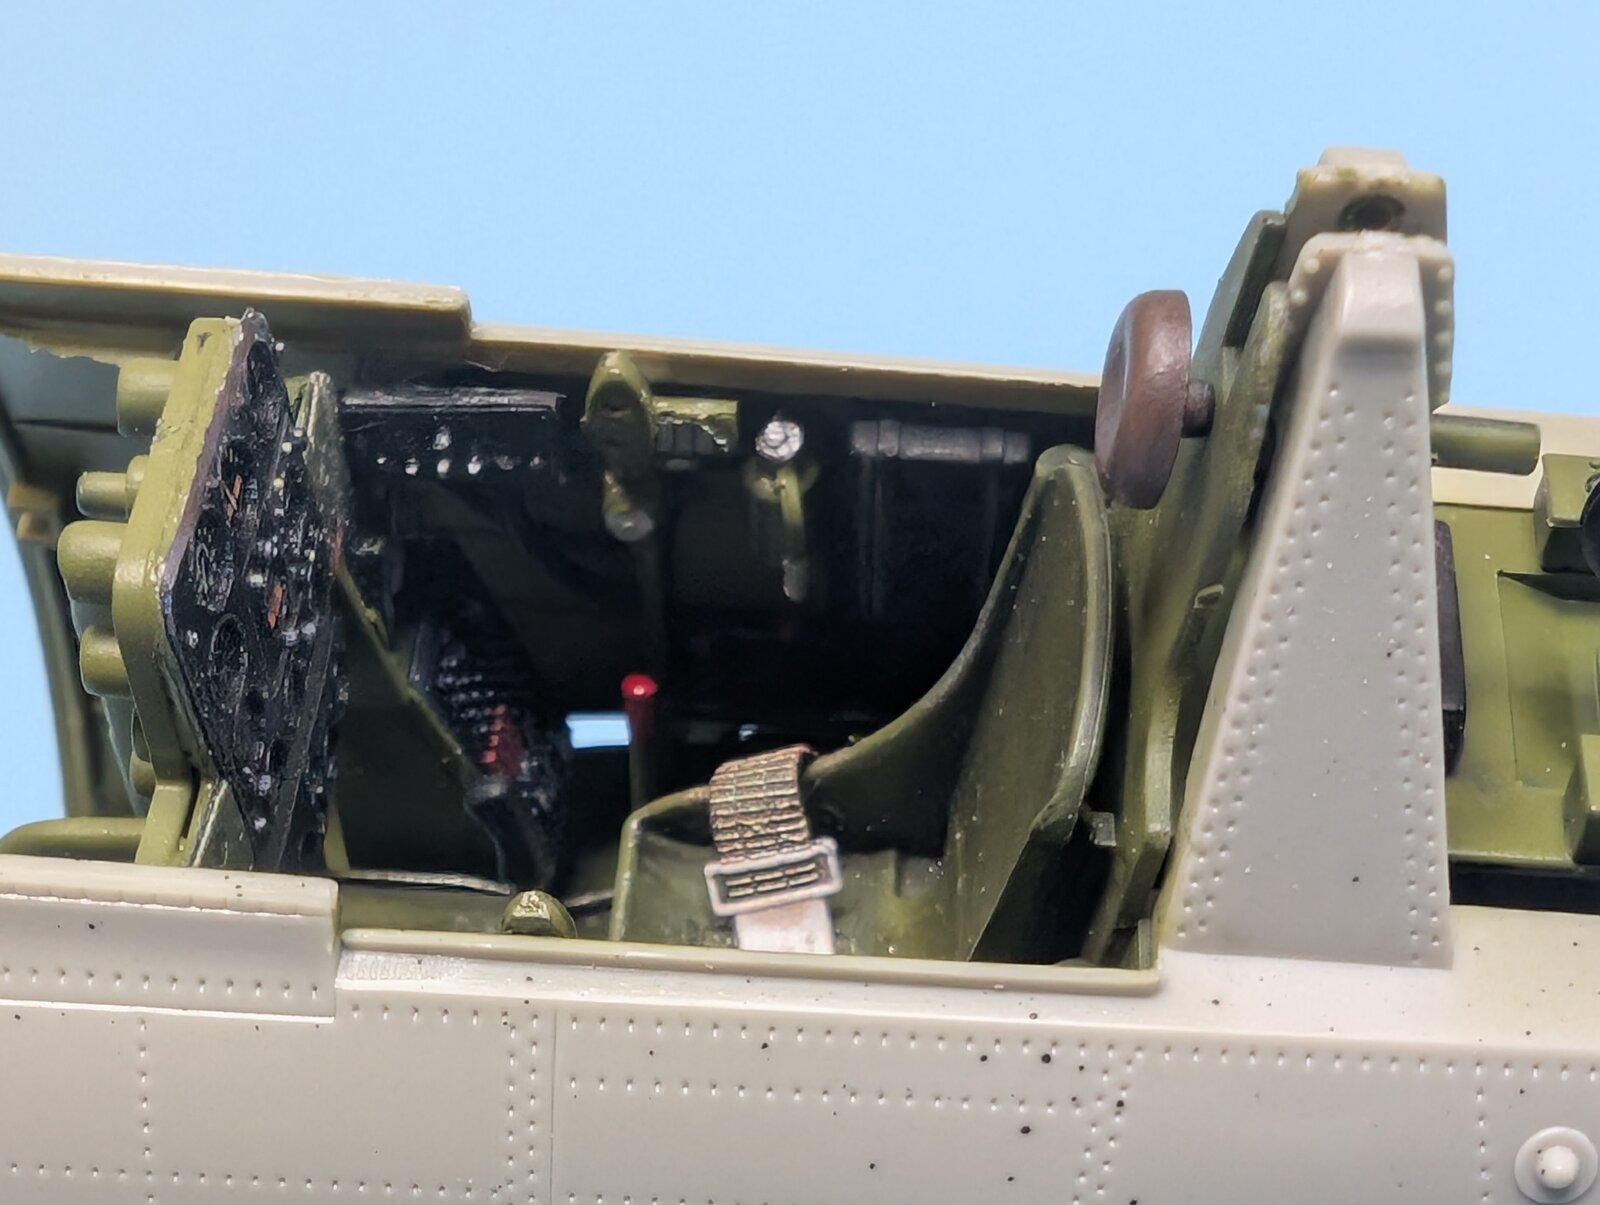
So I will start with the front office- the cockpit. I will be weathering the plane very lightly as this plane was essentially brand new. This fleet of planes was shipped from the mainland to Pearl Harbor and loaded on to carriers to eventually take part in the battle of Midway, June 4 1942. AS always comments and suggestions always welcomed

All the best
Docsudy
PXL_20241216_160527492.jpg
PXL_20241216_160534034.jpg
PXL_20241216_160541355.jpg
PXL_20241221_183910507.PORTRAIT.ORIGINAL.jpg
PXL_20241221_183914642.PORTRAIT.jpg
PXL_20241221_183929808.PORTRAIT.ORIGINAL.jpg
PXL_20241221_183942091.PORTRAIT.ORIGINAL.jpg


PXL_20241221_184034726.PORTRAIT.jpg
 
Last edited:
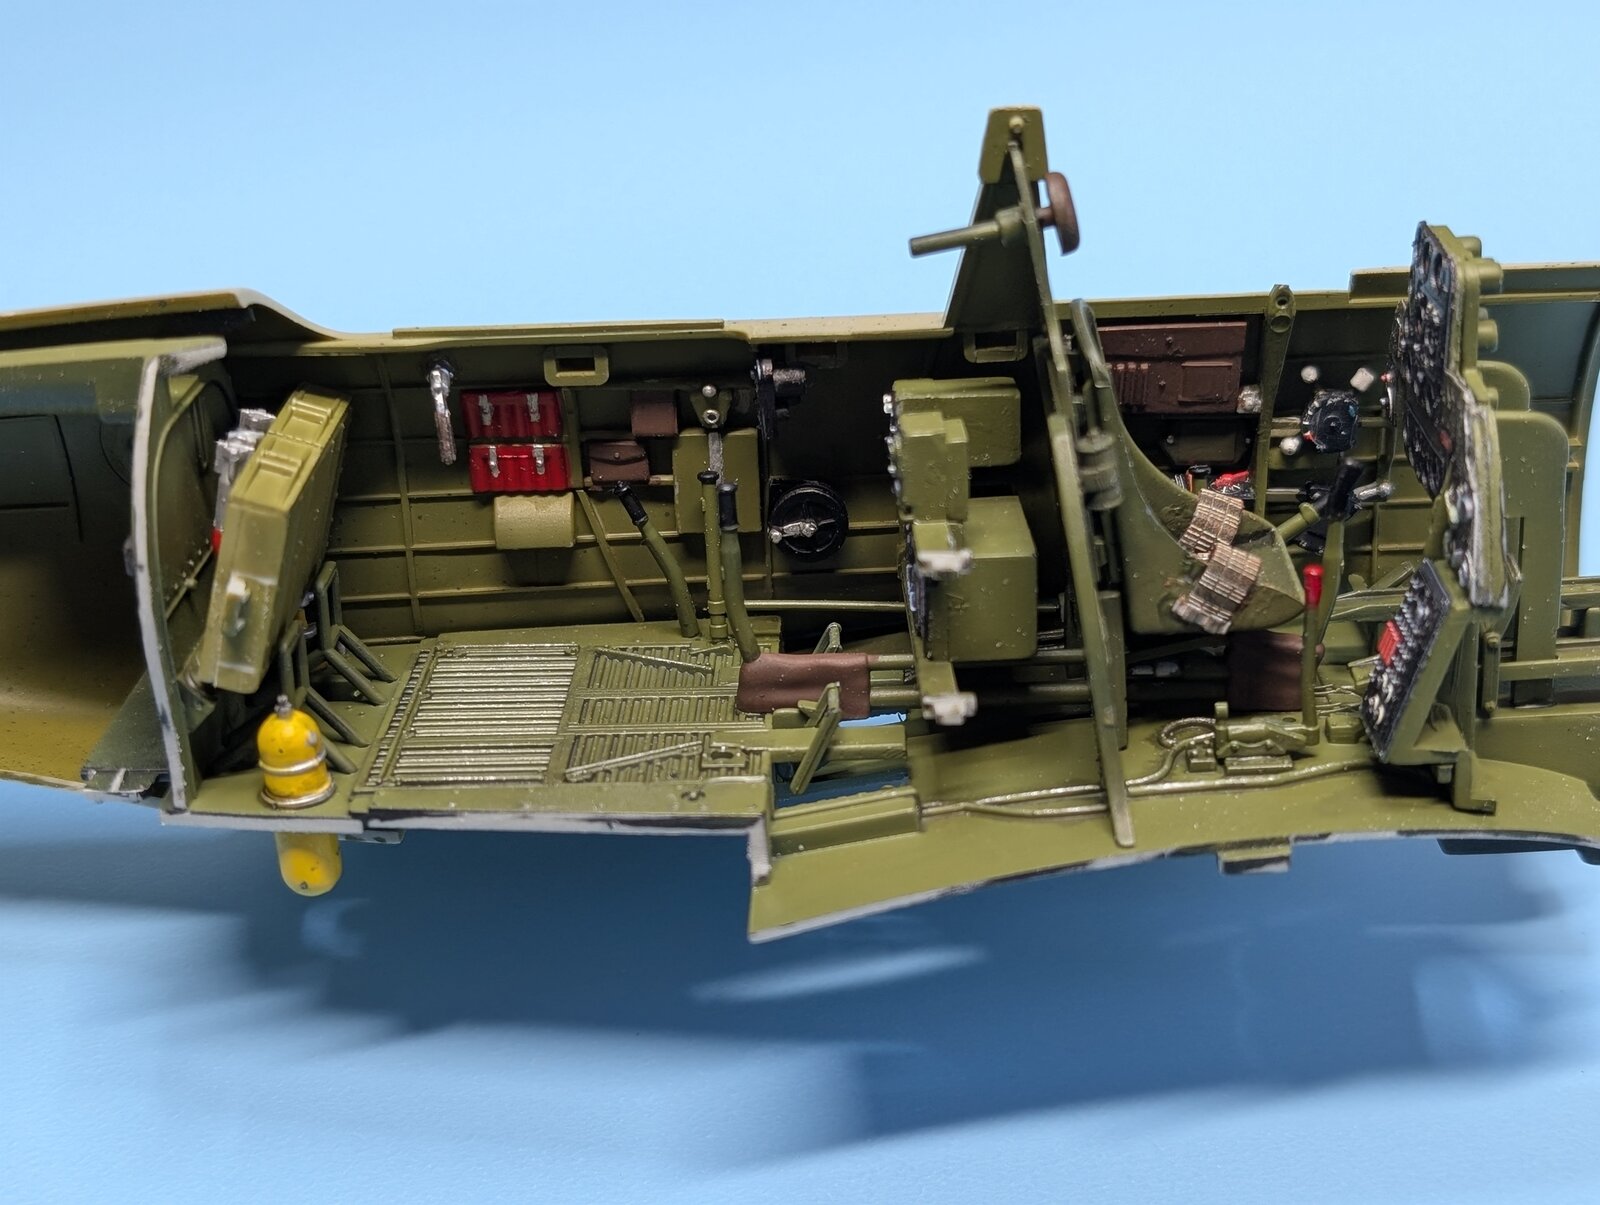
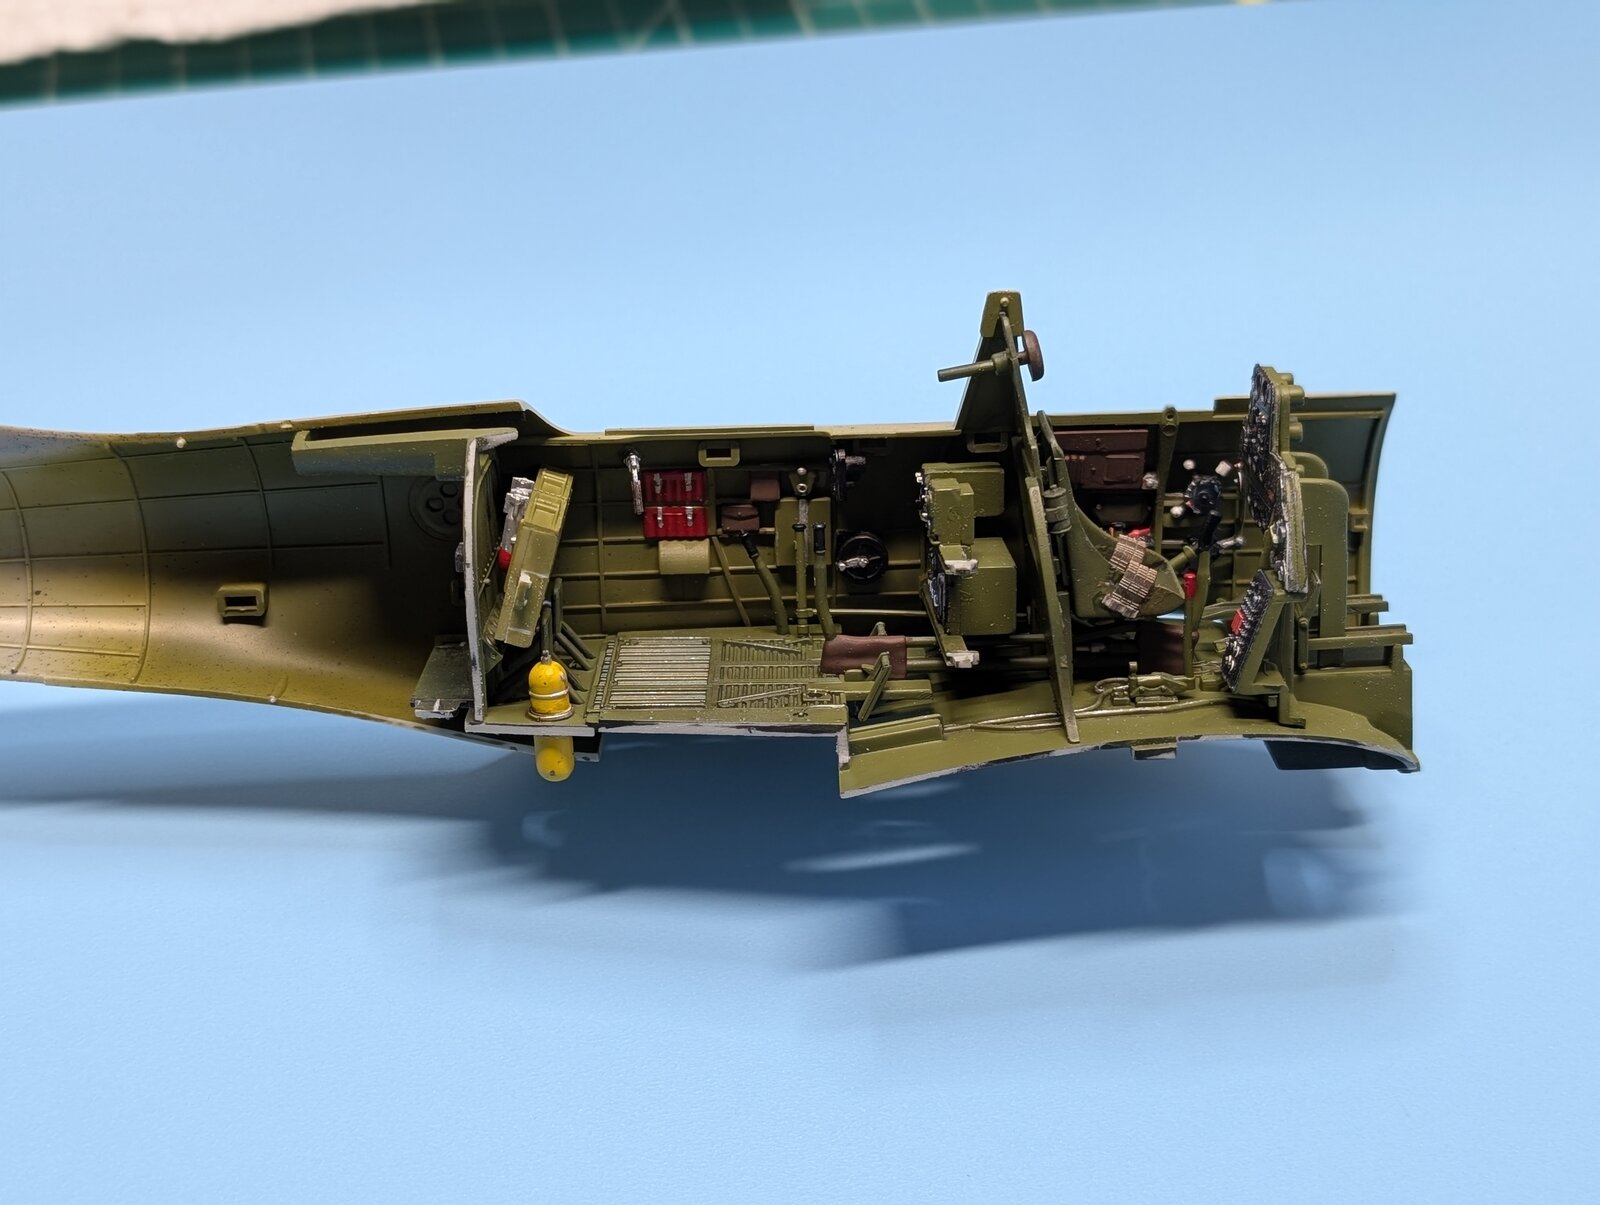
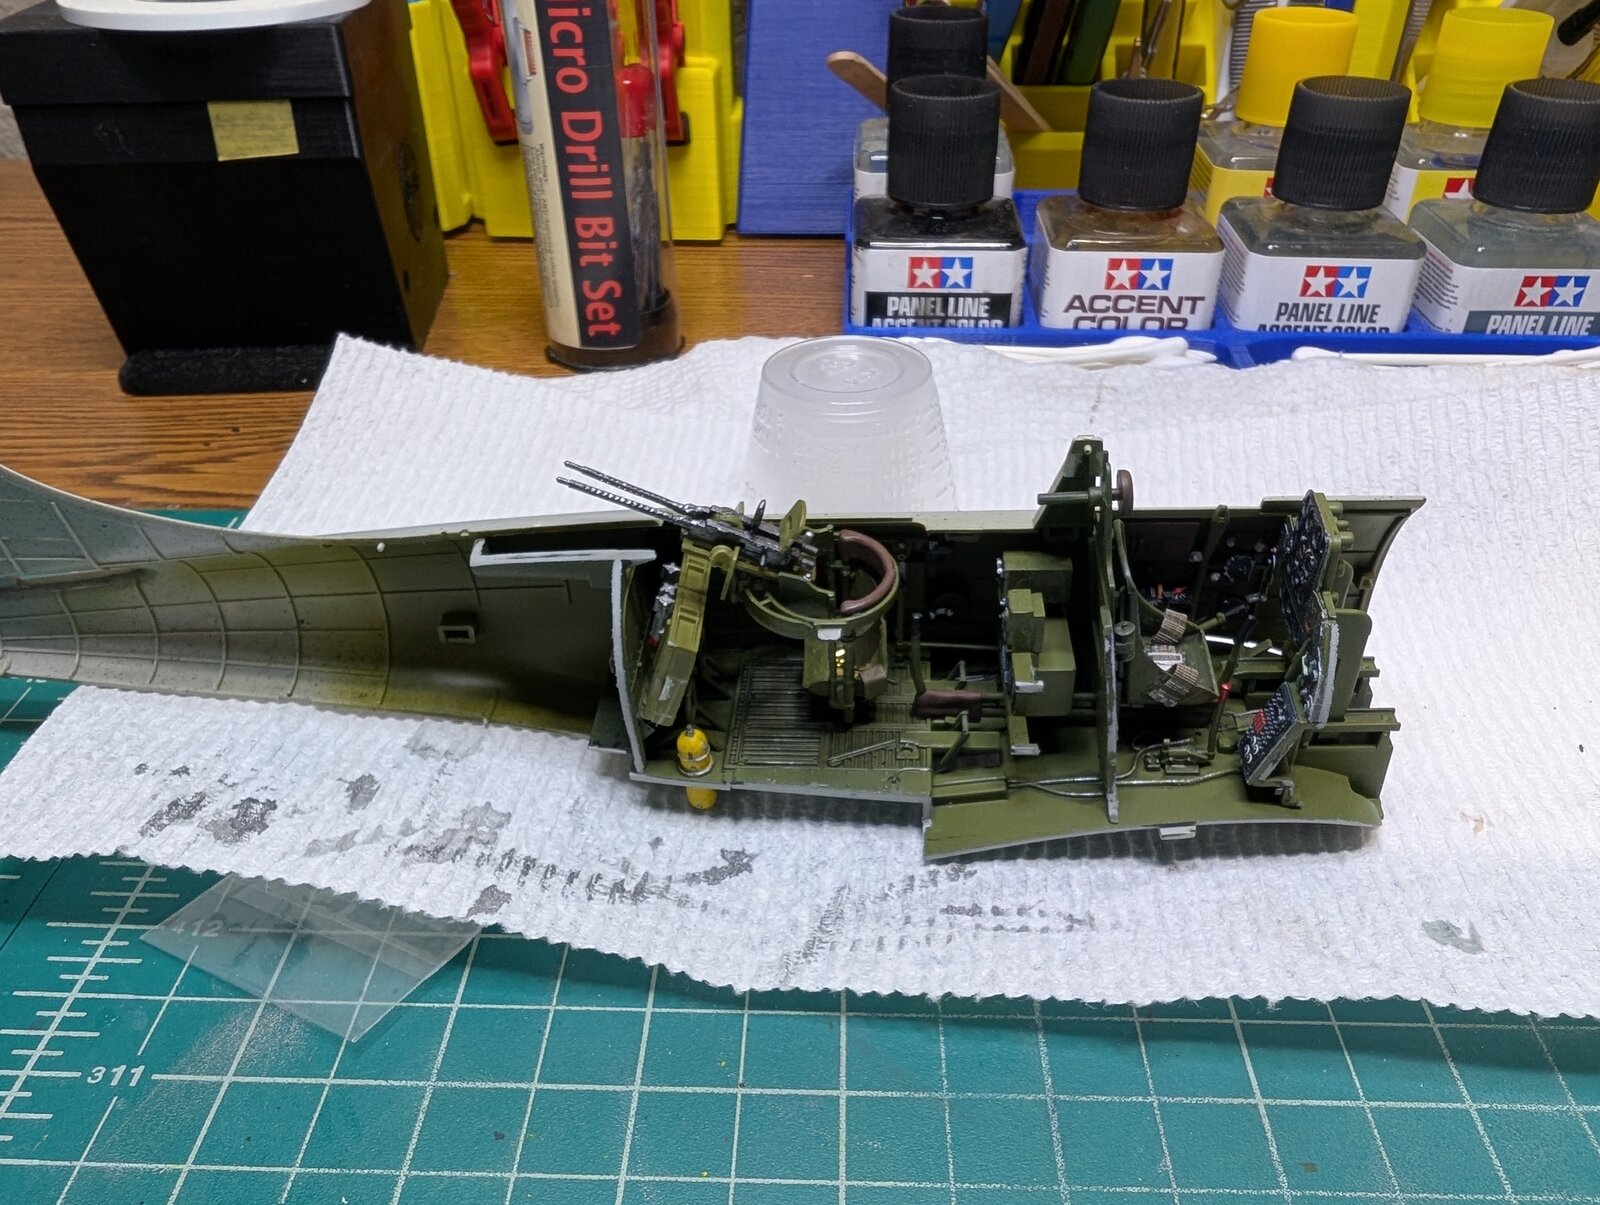
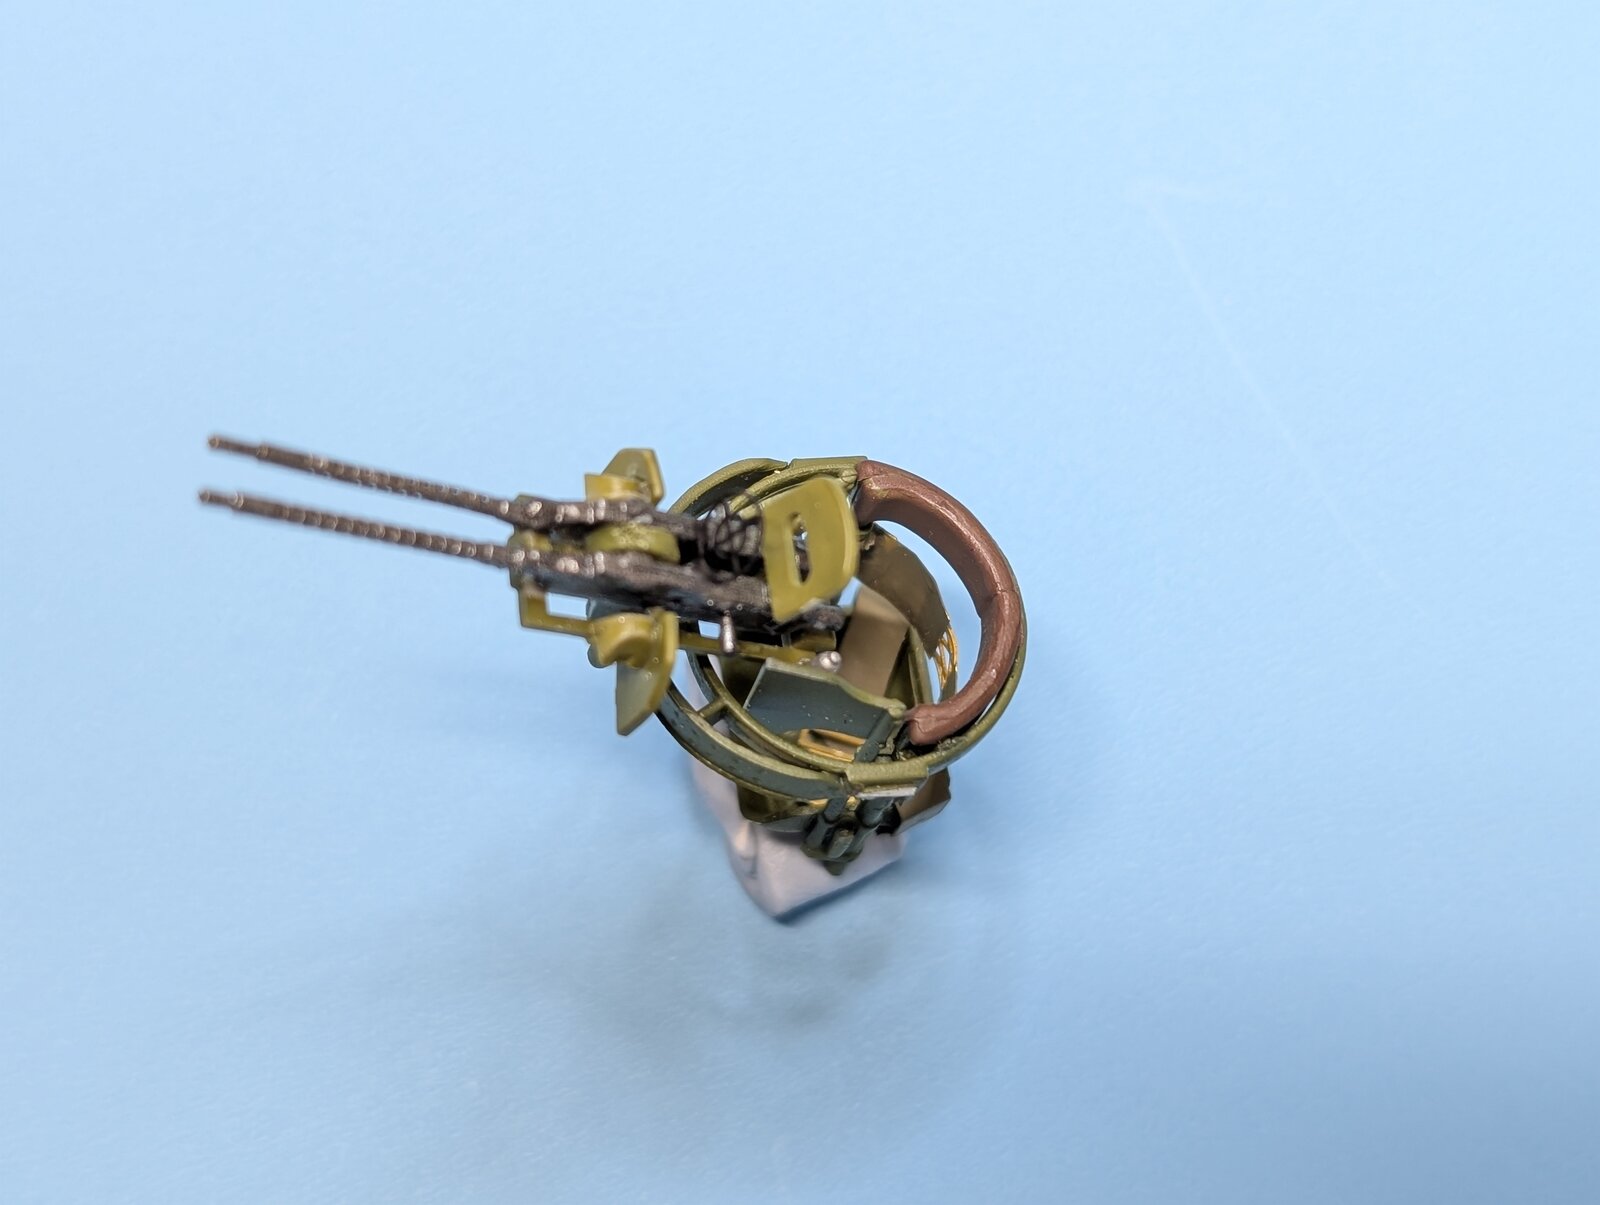
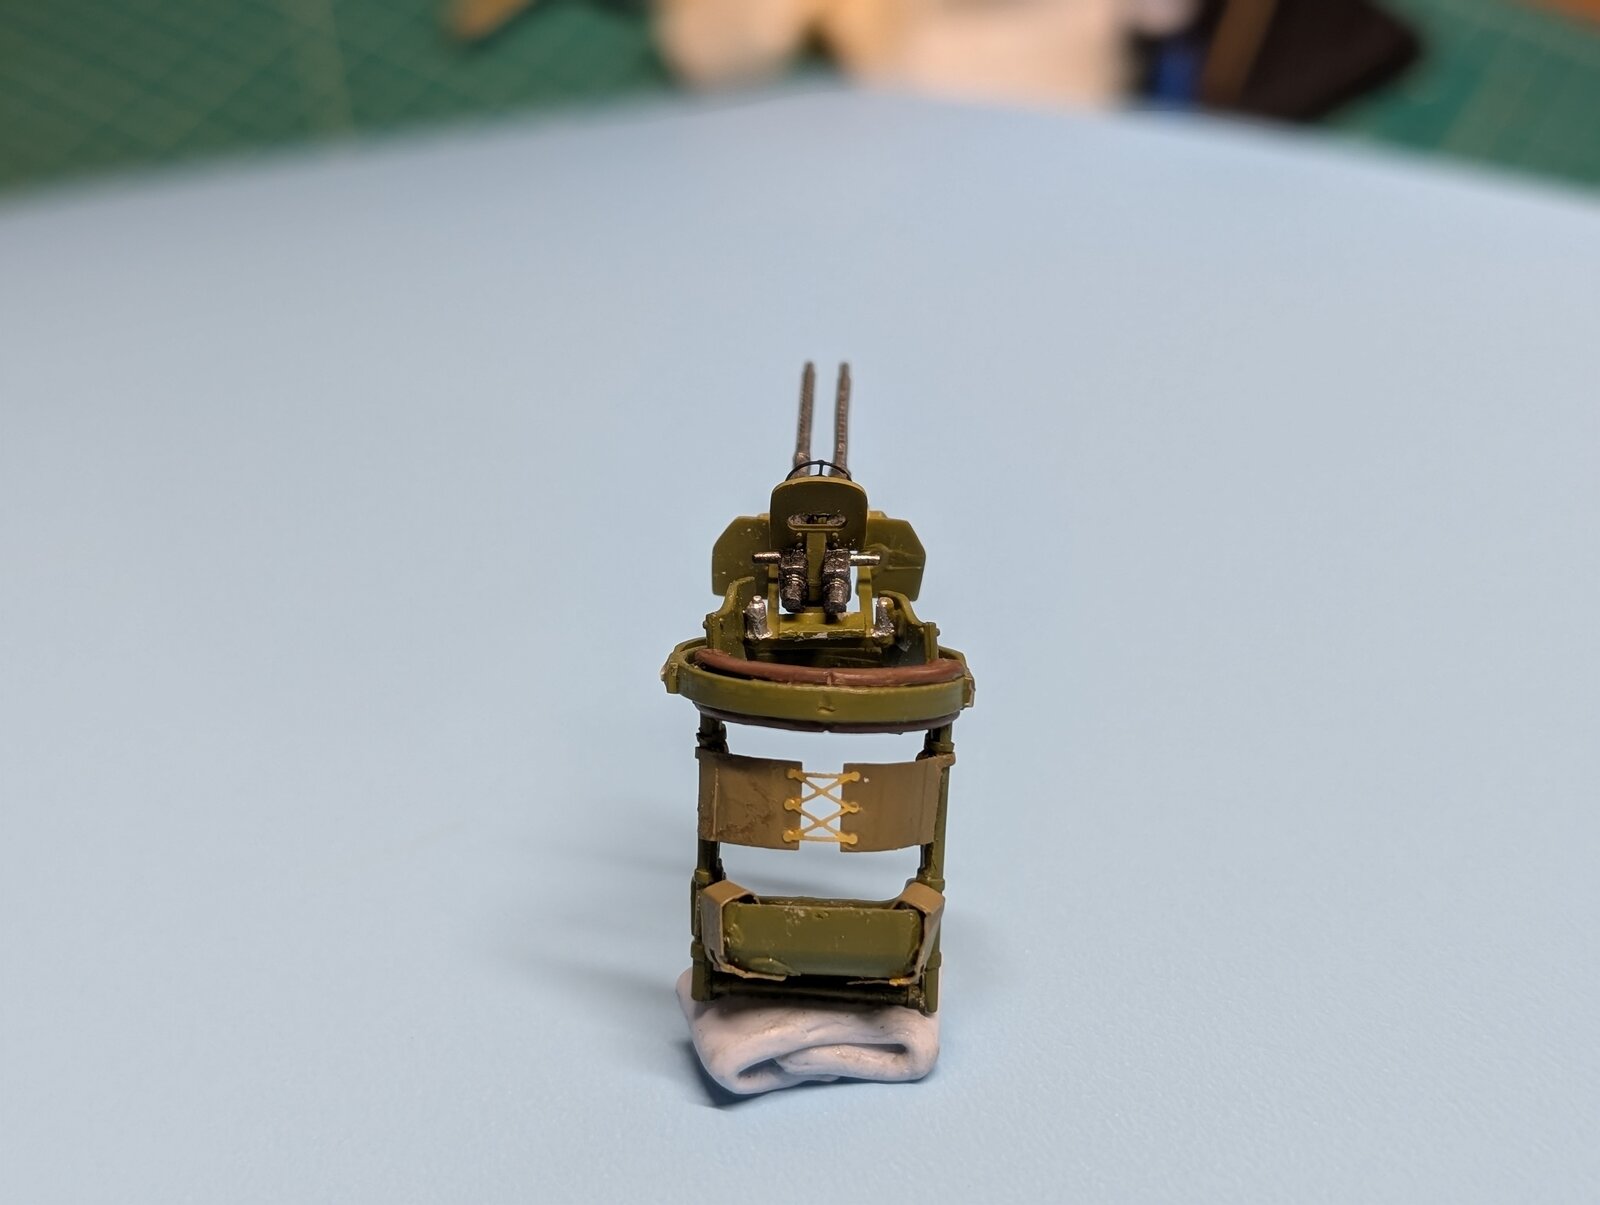
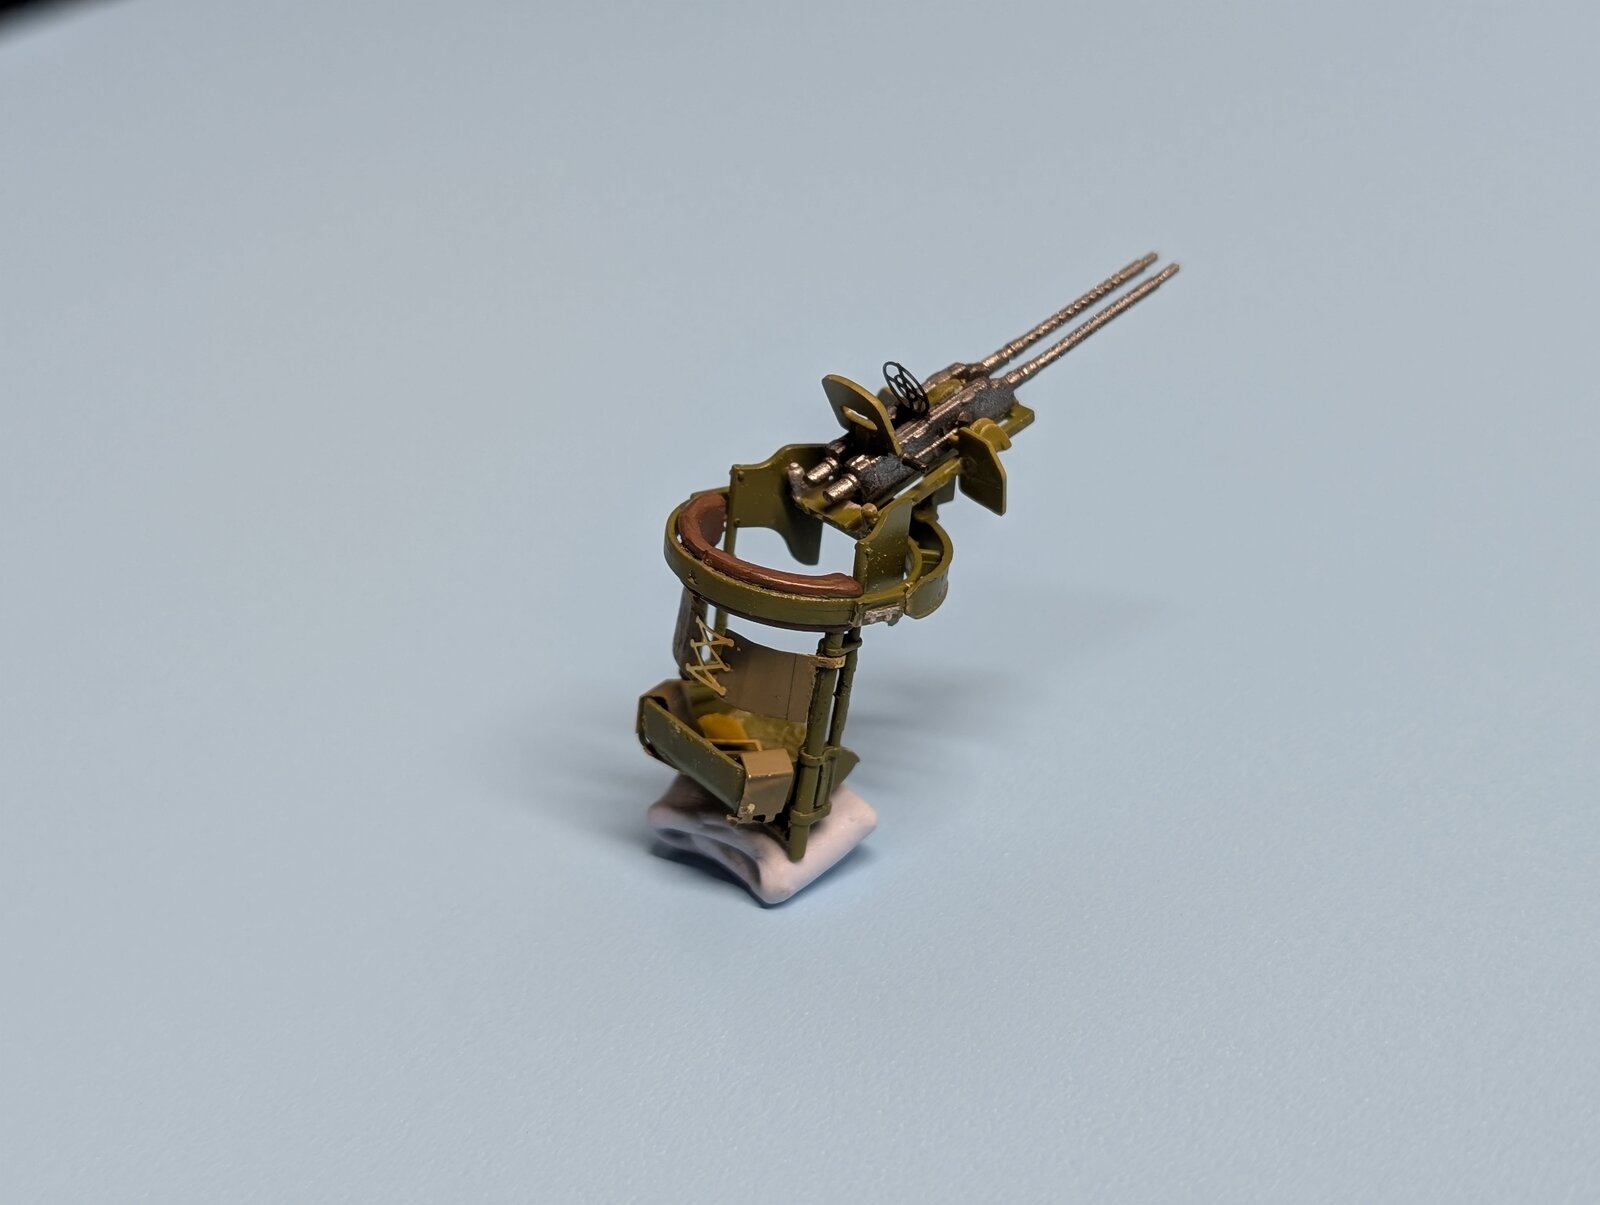
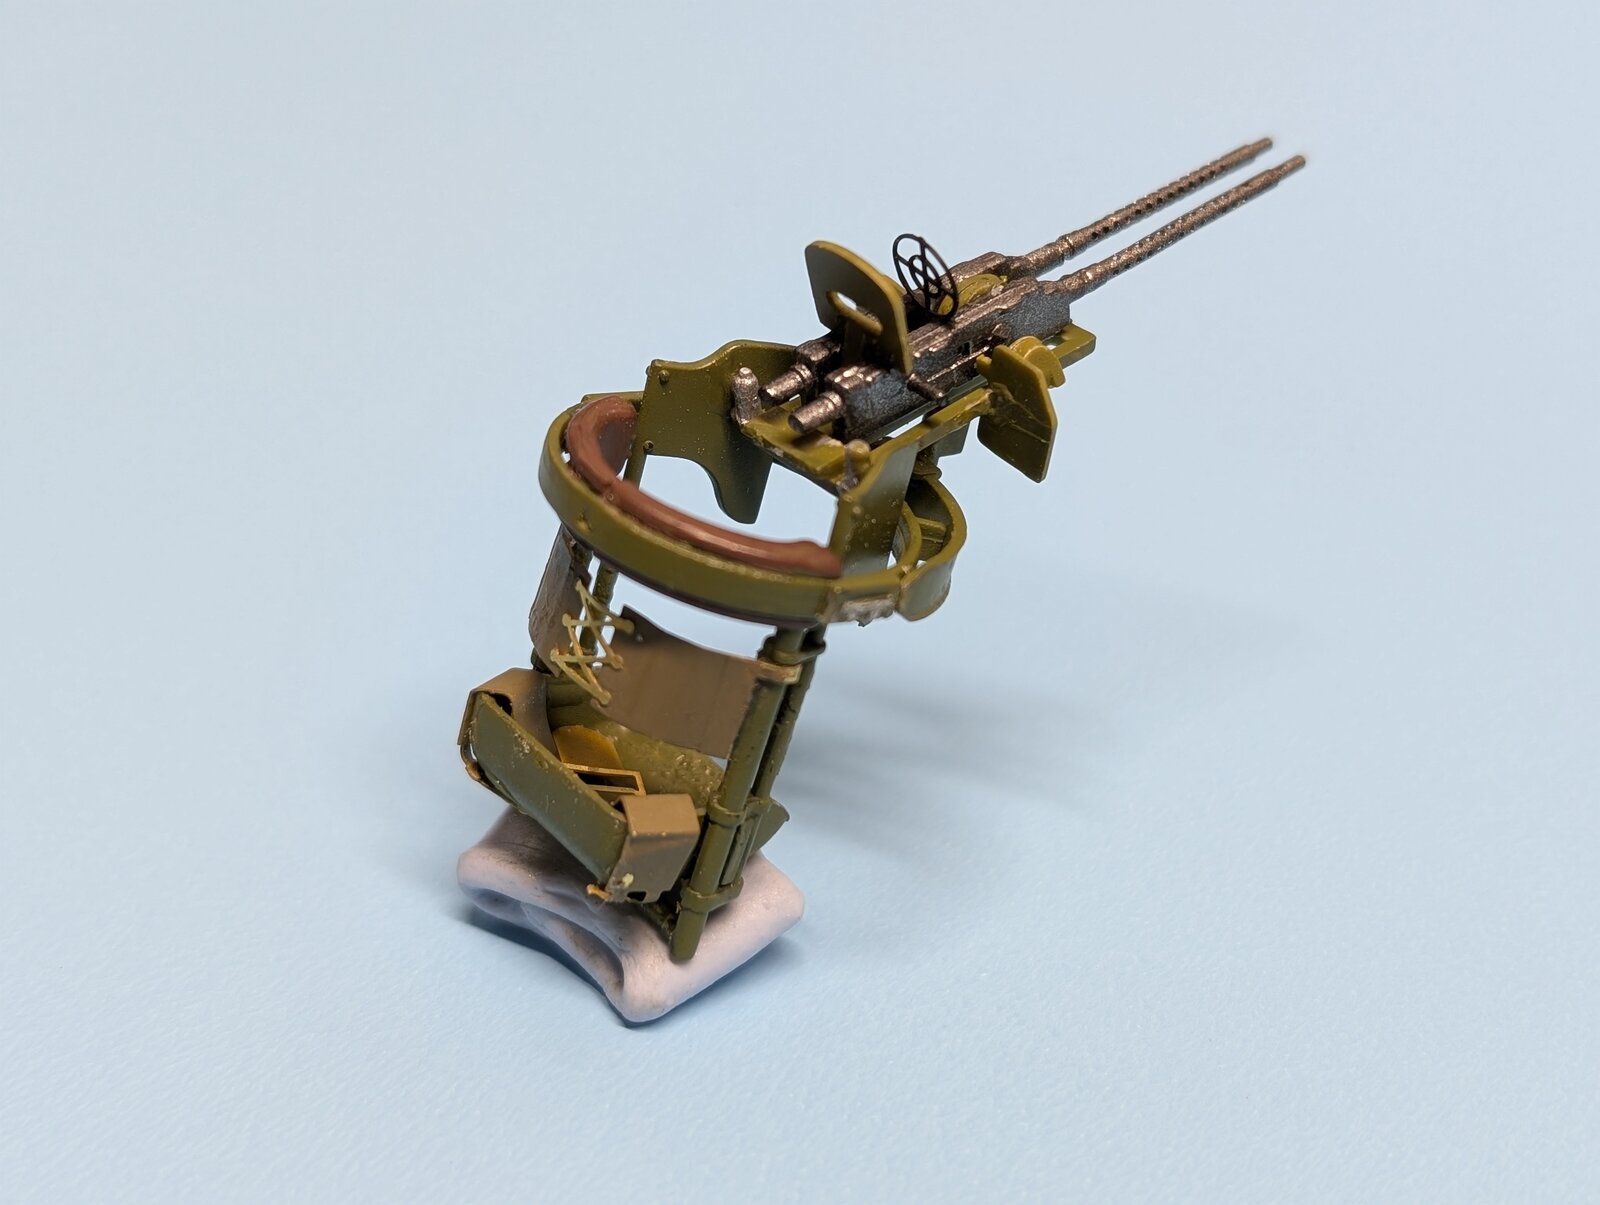
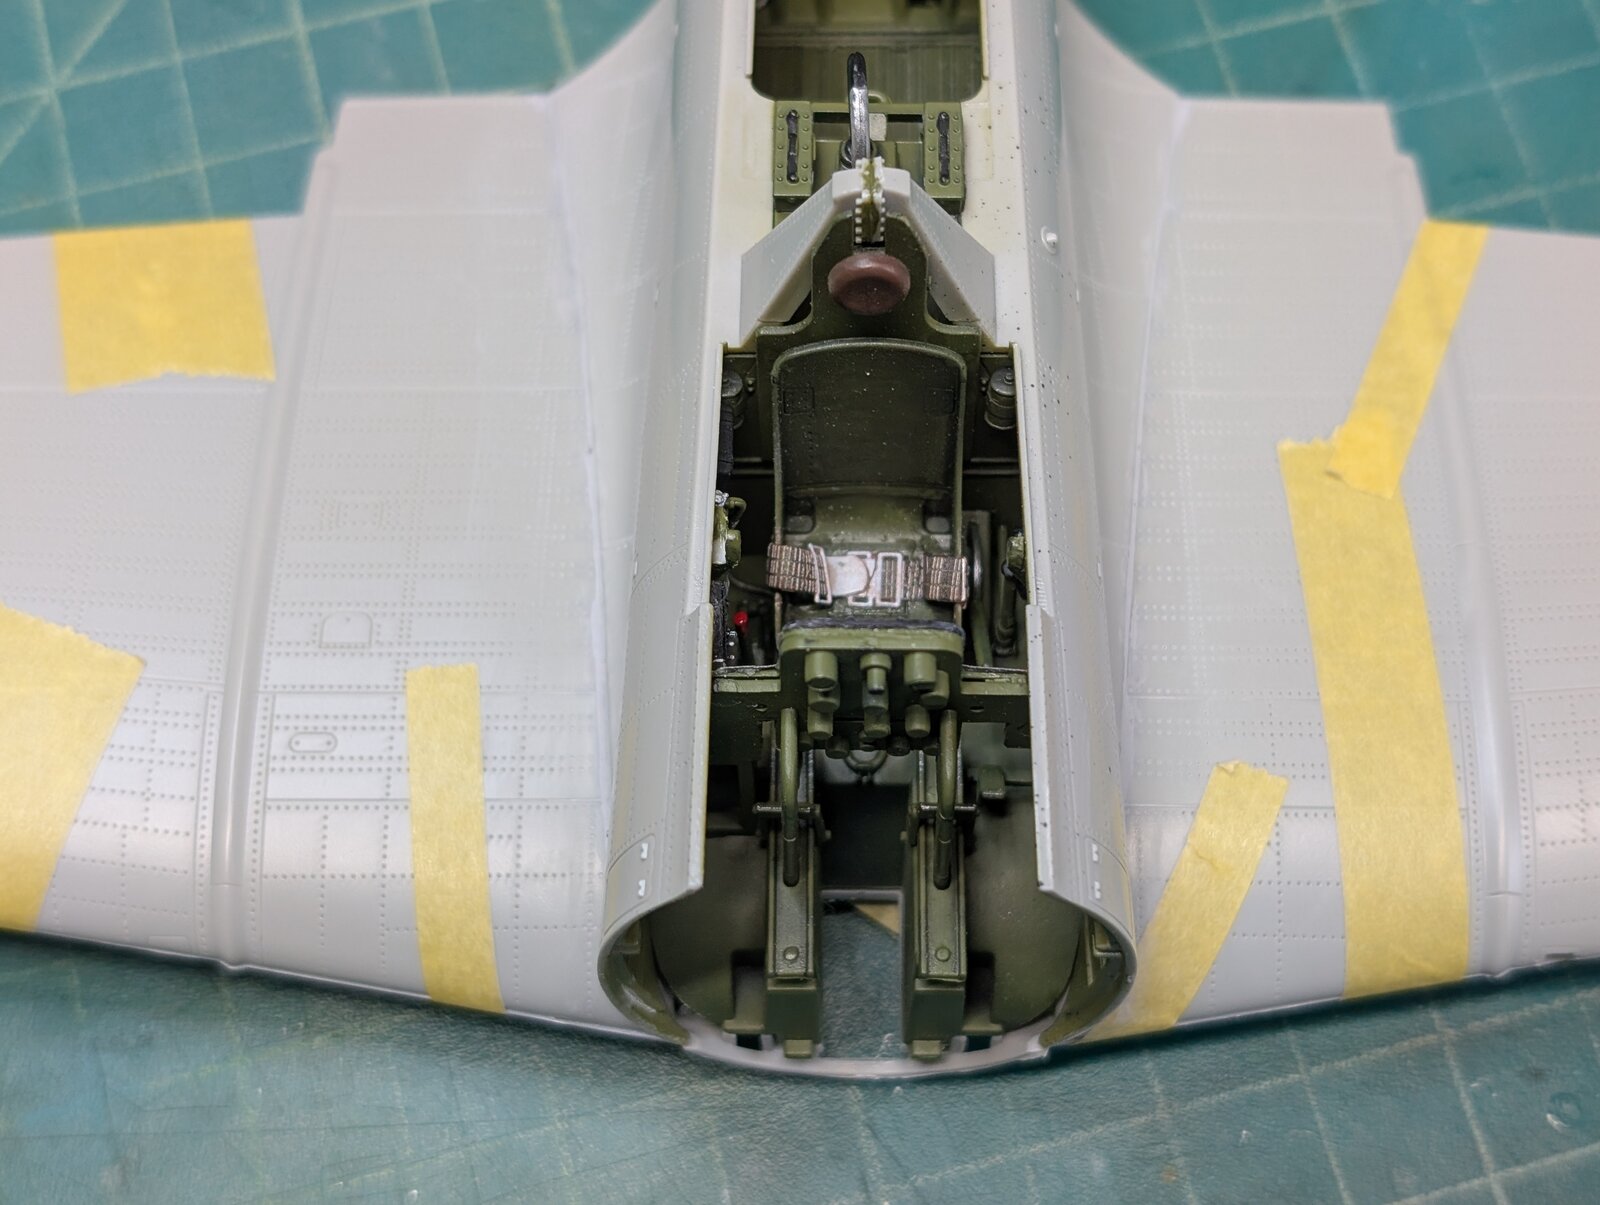
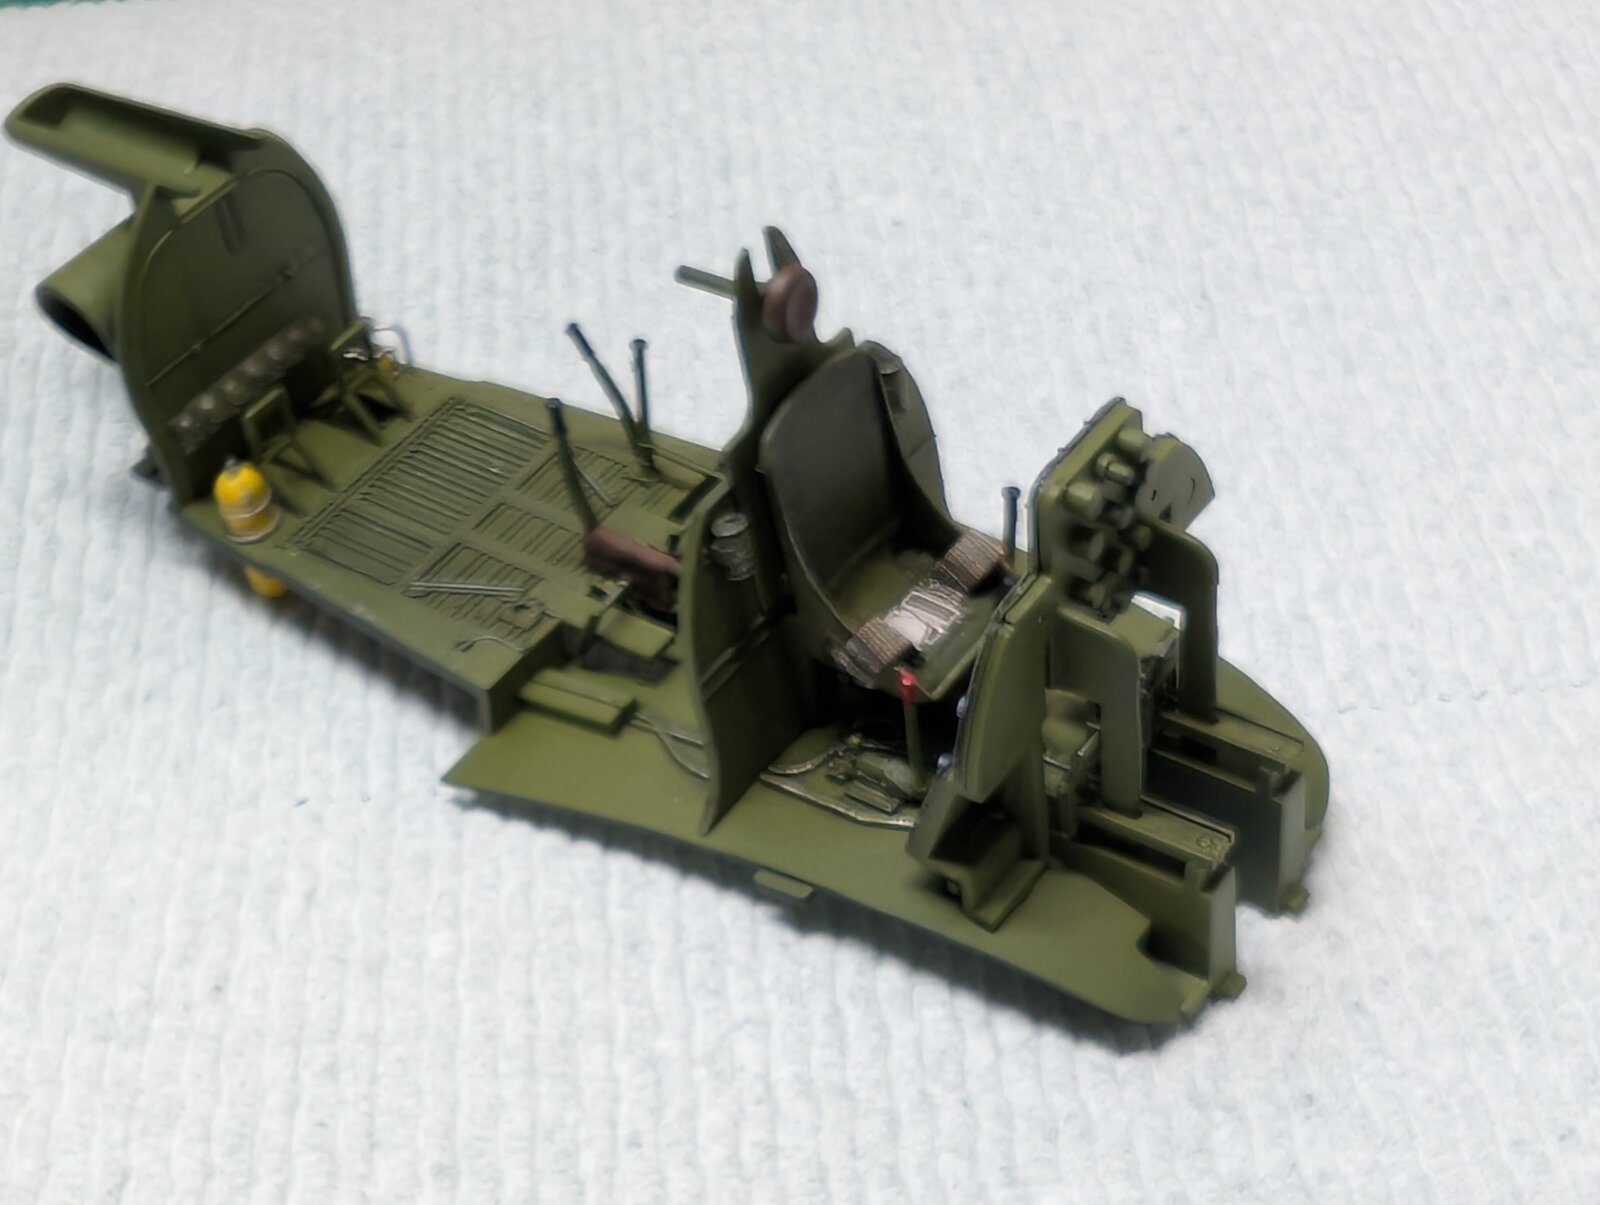
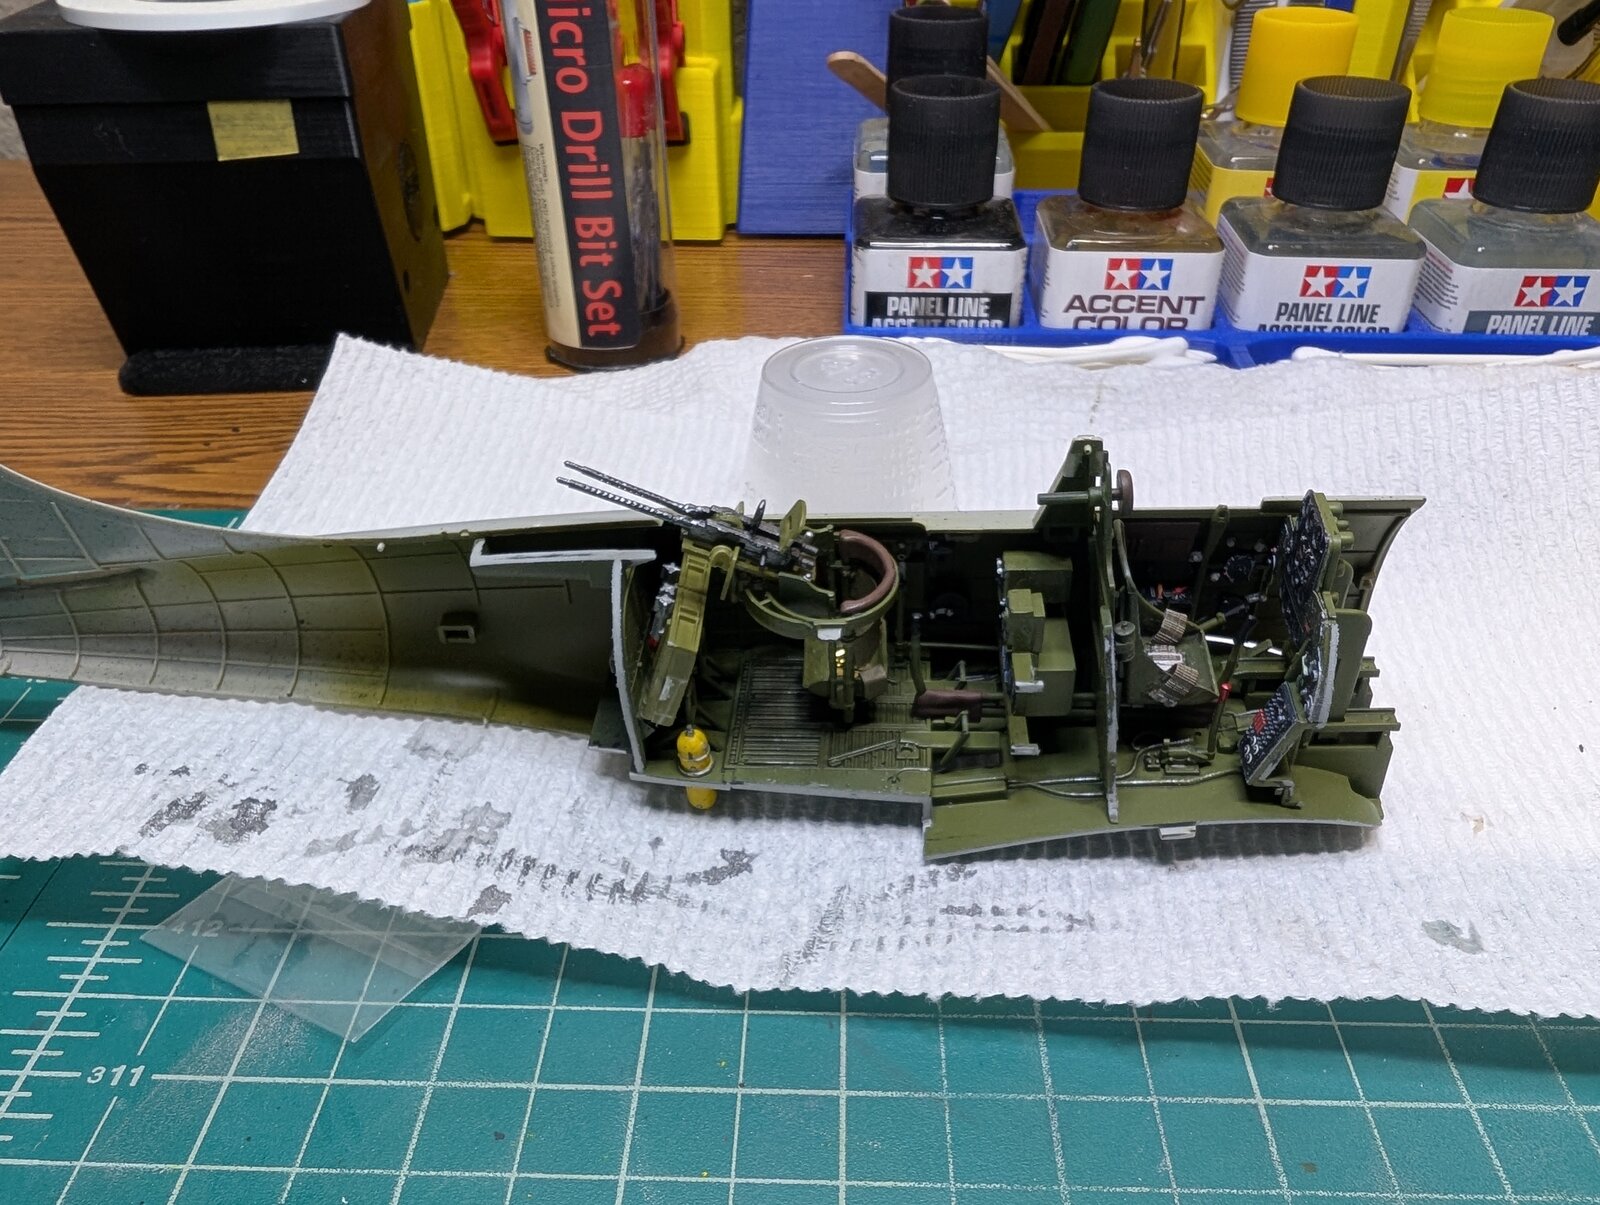
Once the cockpit was essentially put togather and painted attention was directed to the pilot seats and harnesses. The seat belts are single type which was appropriate for the time. They were a bit tricky as they were PE. I painted them and weathered them gently. The rear gunners machine gun will be placed later into the cockpit as I did not want to damage it the cockpit was masked off to paint the fuselage.
PXL_20241221_183942091.PORTRAIT.ORIGINAL.jpg
PXL_20241221_184521420.jpg
PXL_20241221_184528787.jpg
PXL_20241226_004854471.jpg
 
Ooooh!

I've wanted a slow but deadly for years, want to build a Midway trio in 1/48 with SBD, TBD, and F4F. I have a single box with a similar trio from the IJN from Pearl Harbor. The two combos would deserve their own shelf in the cabinet.

Your work is outstanding, please keep updates coming!
 
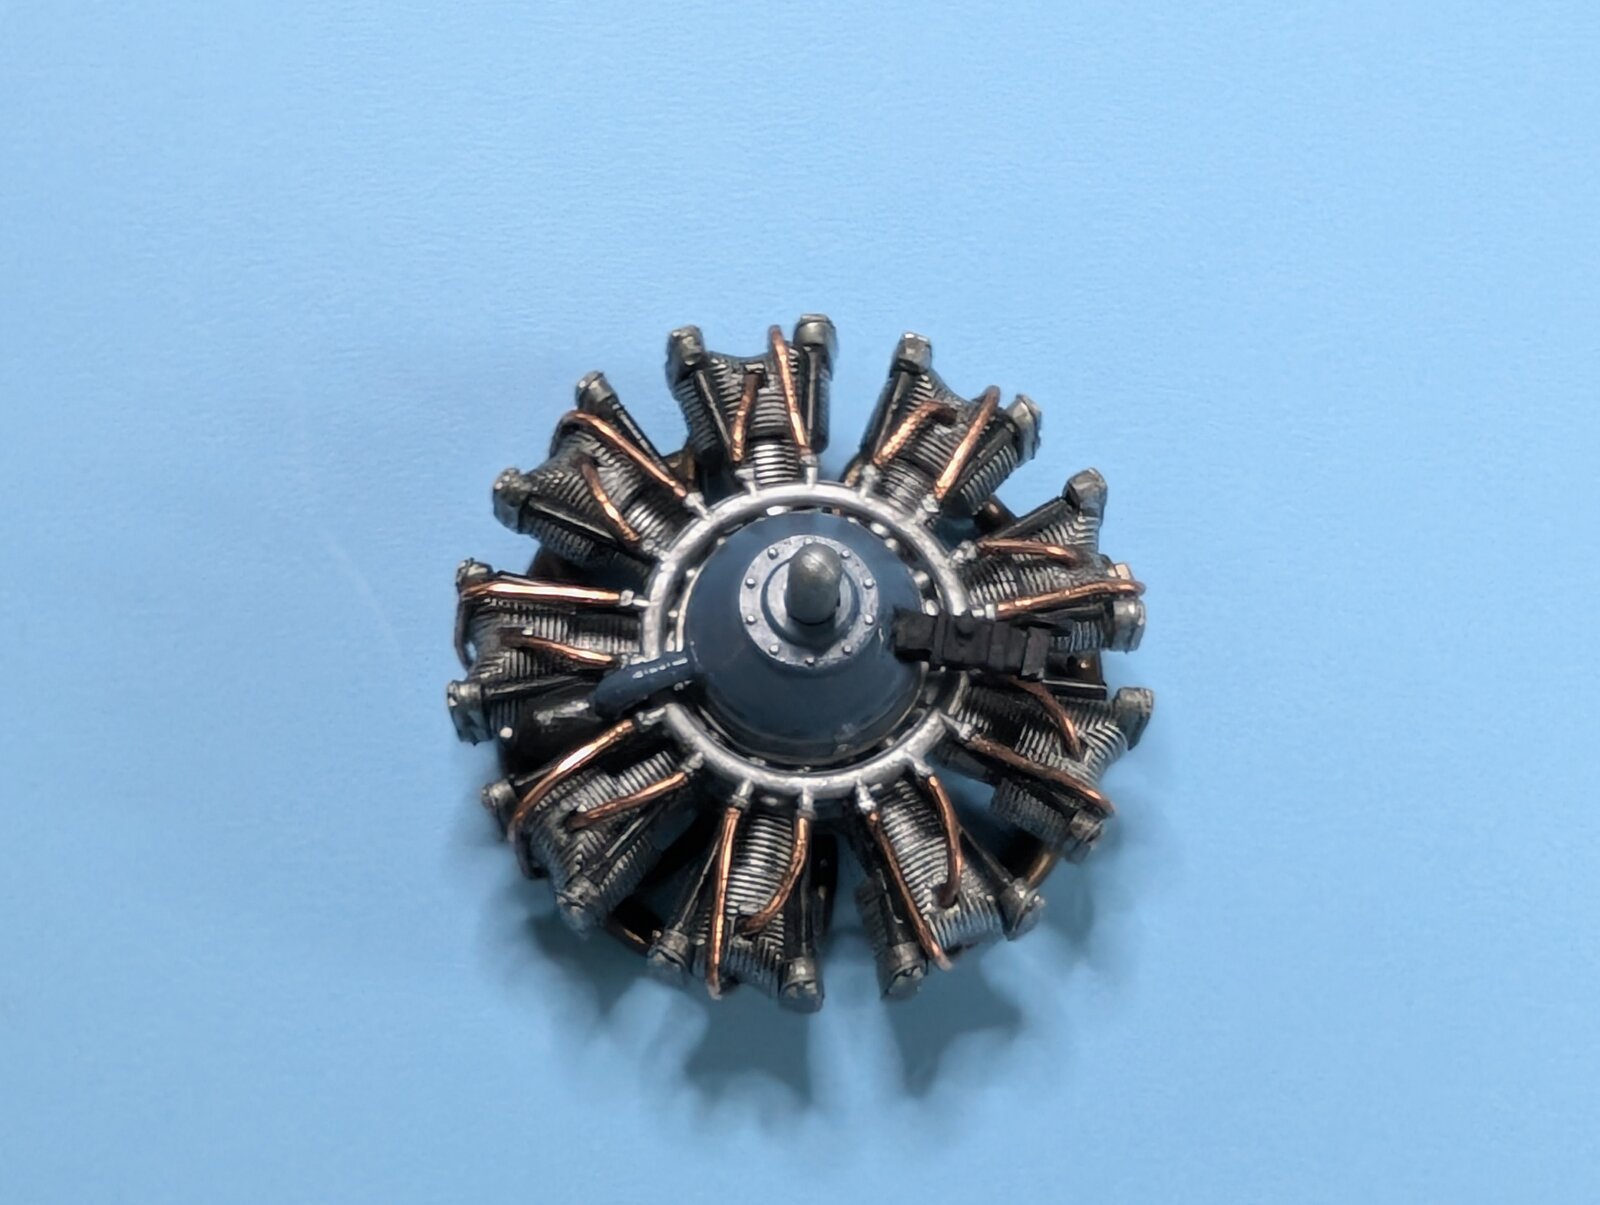
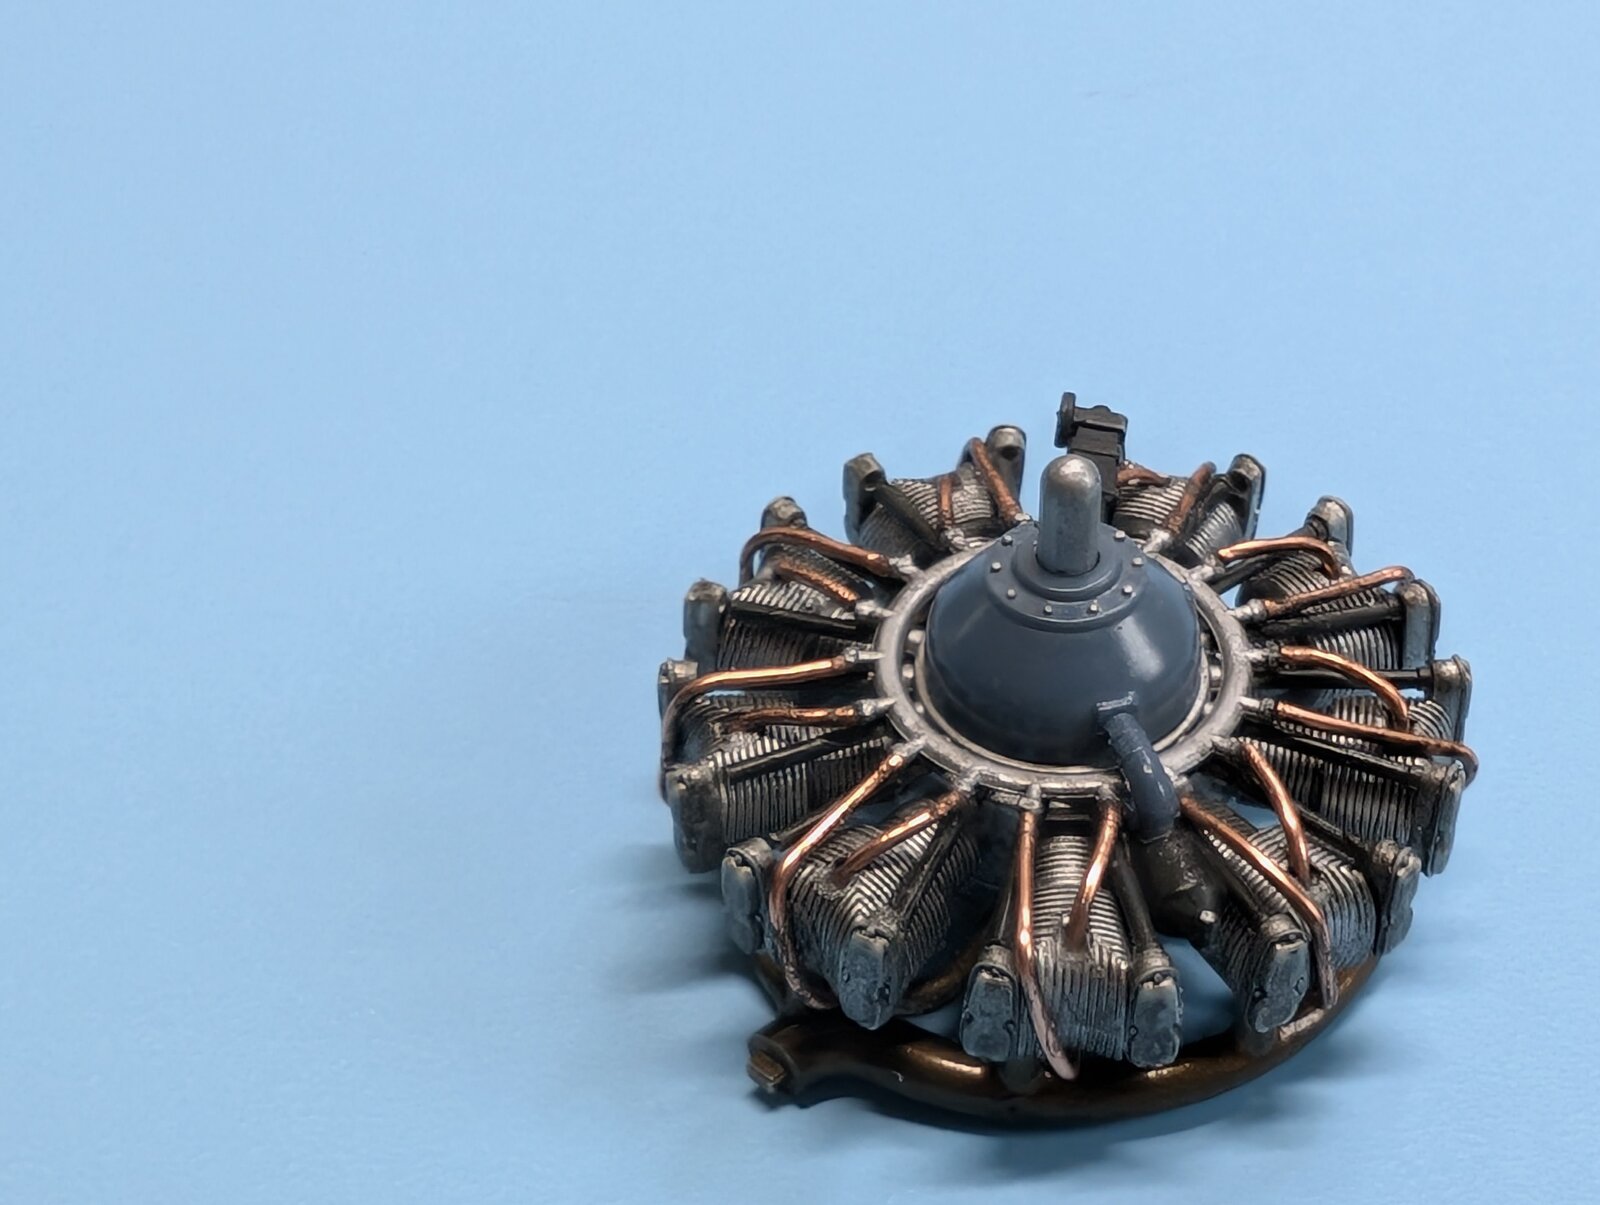
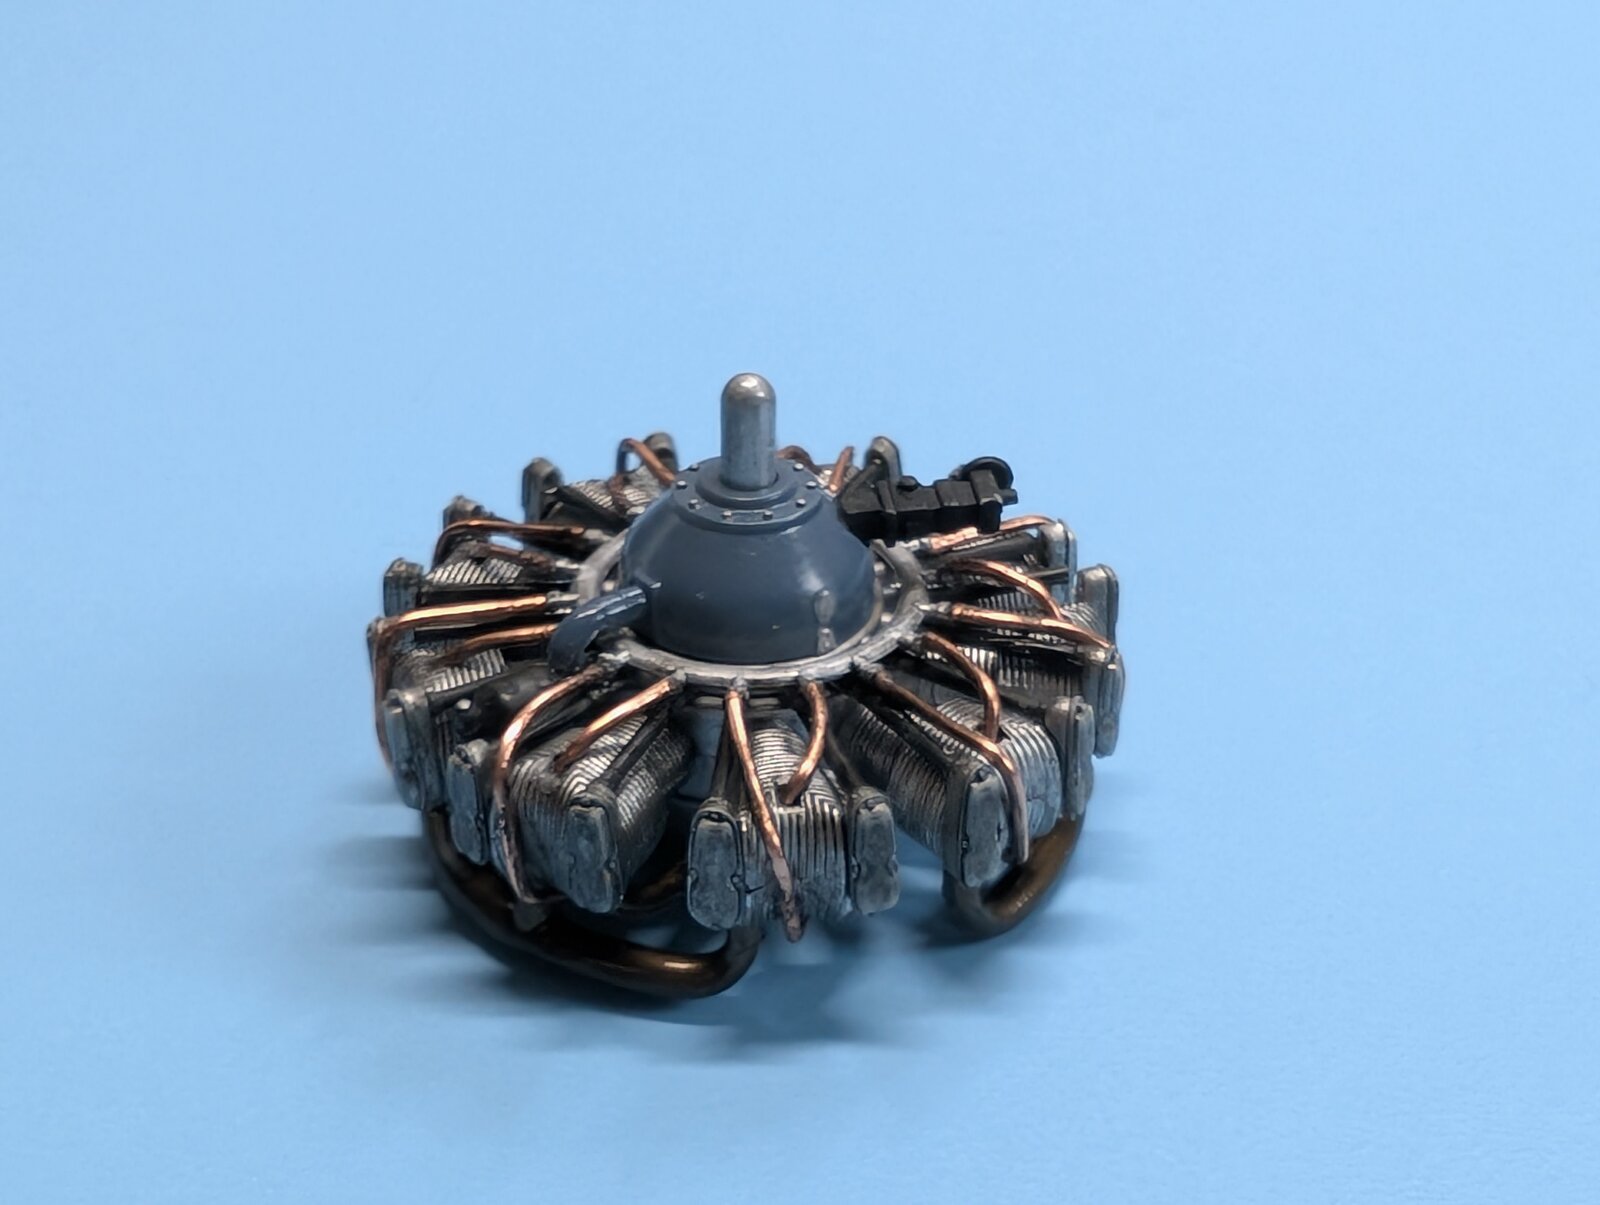
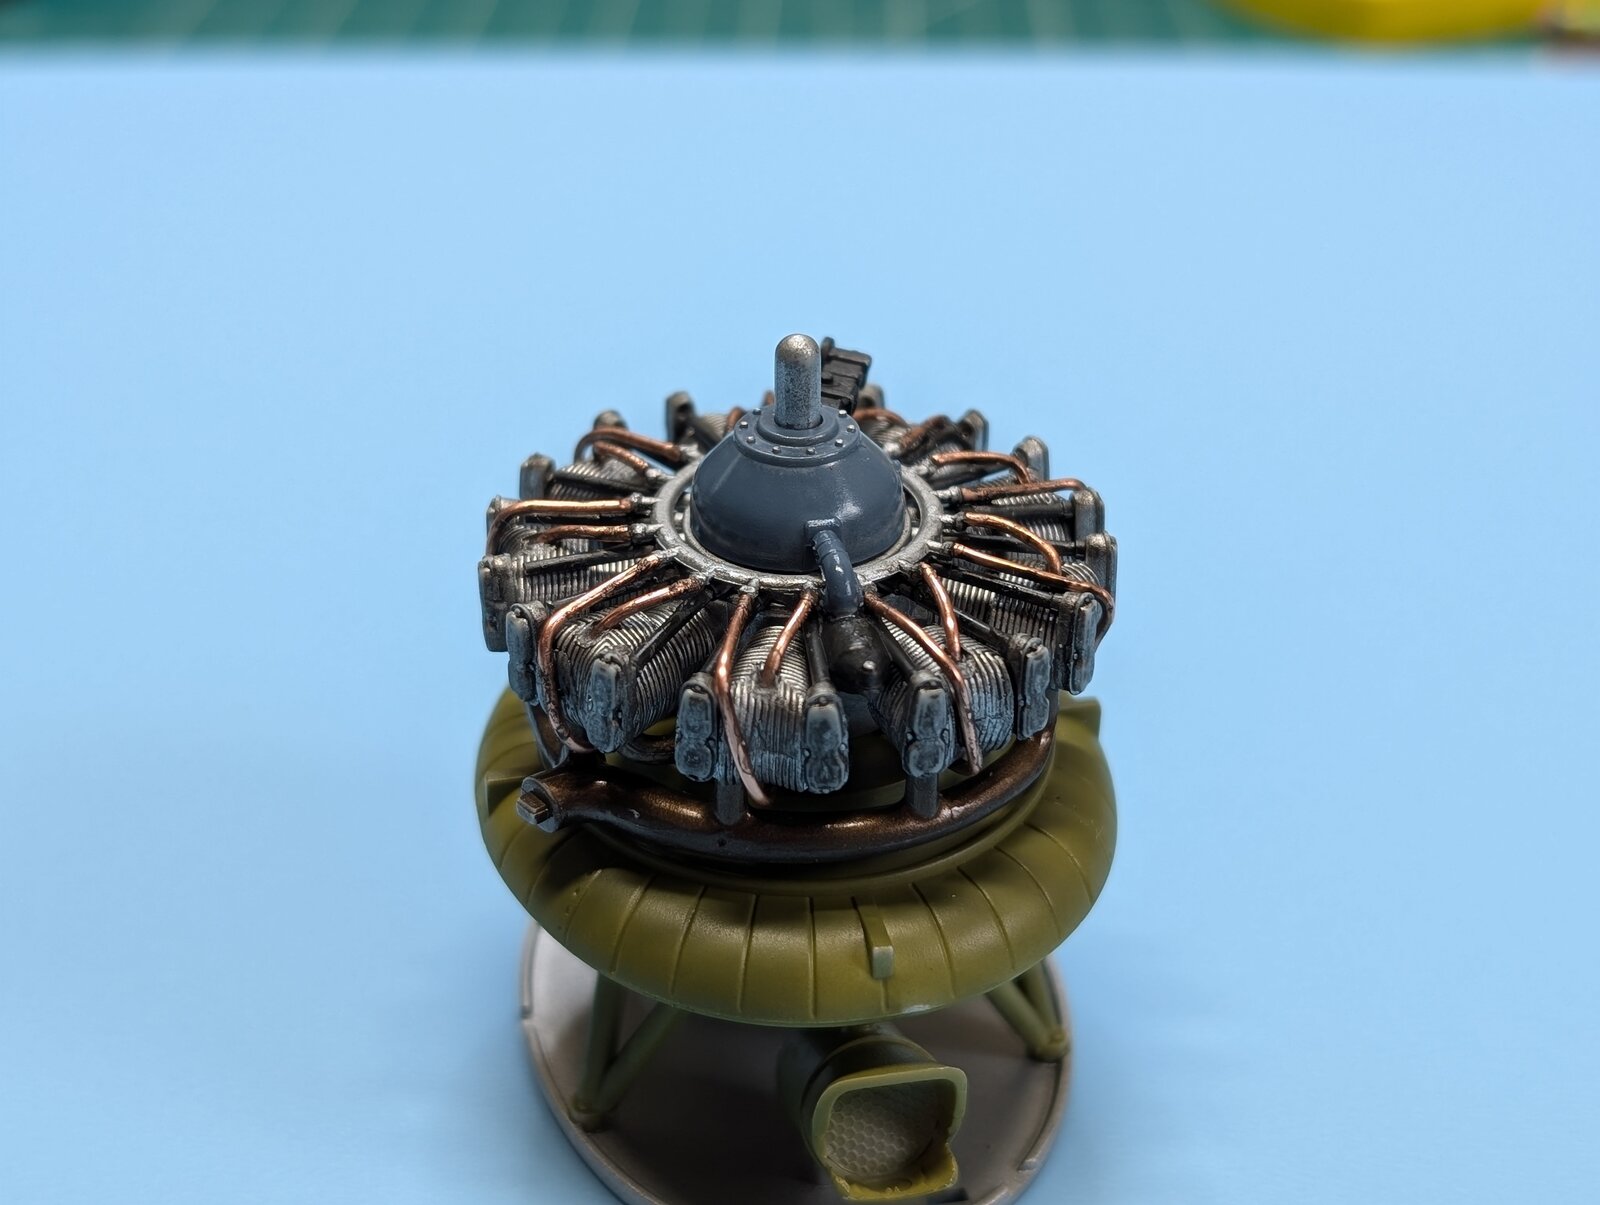
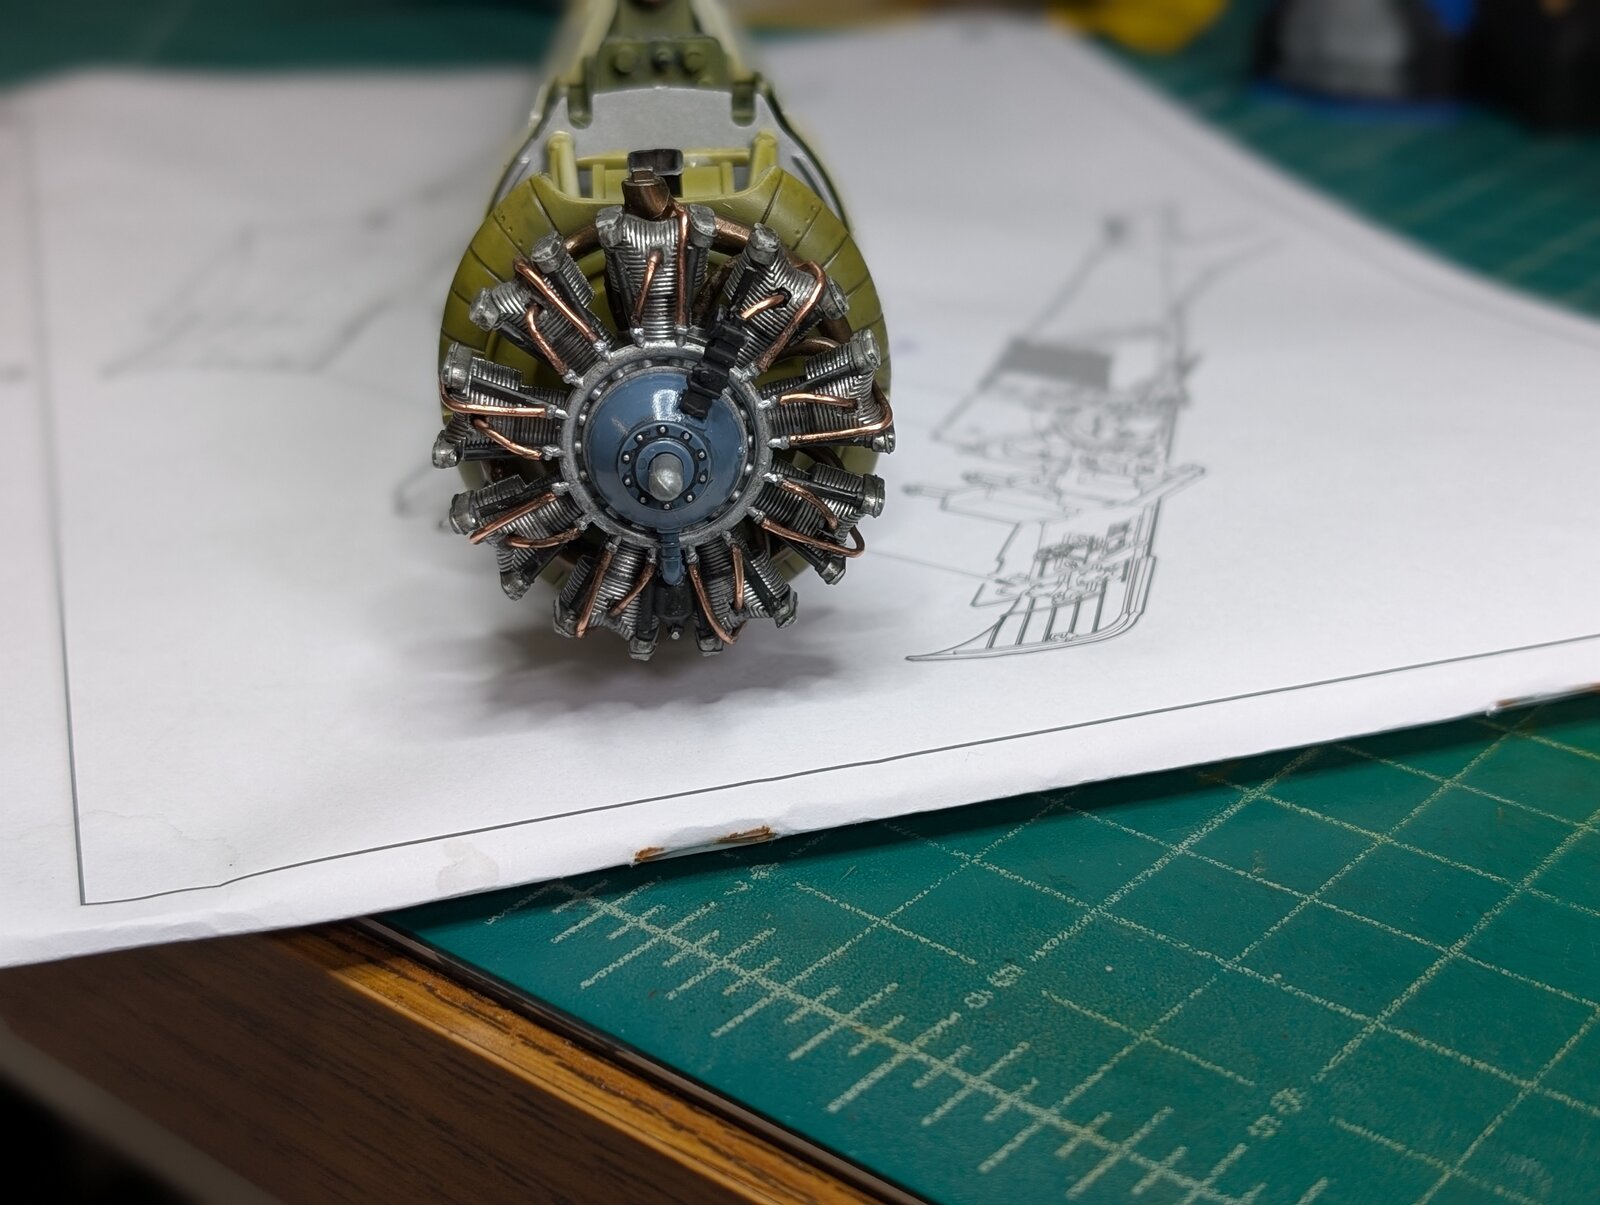
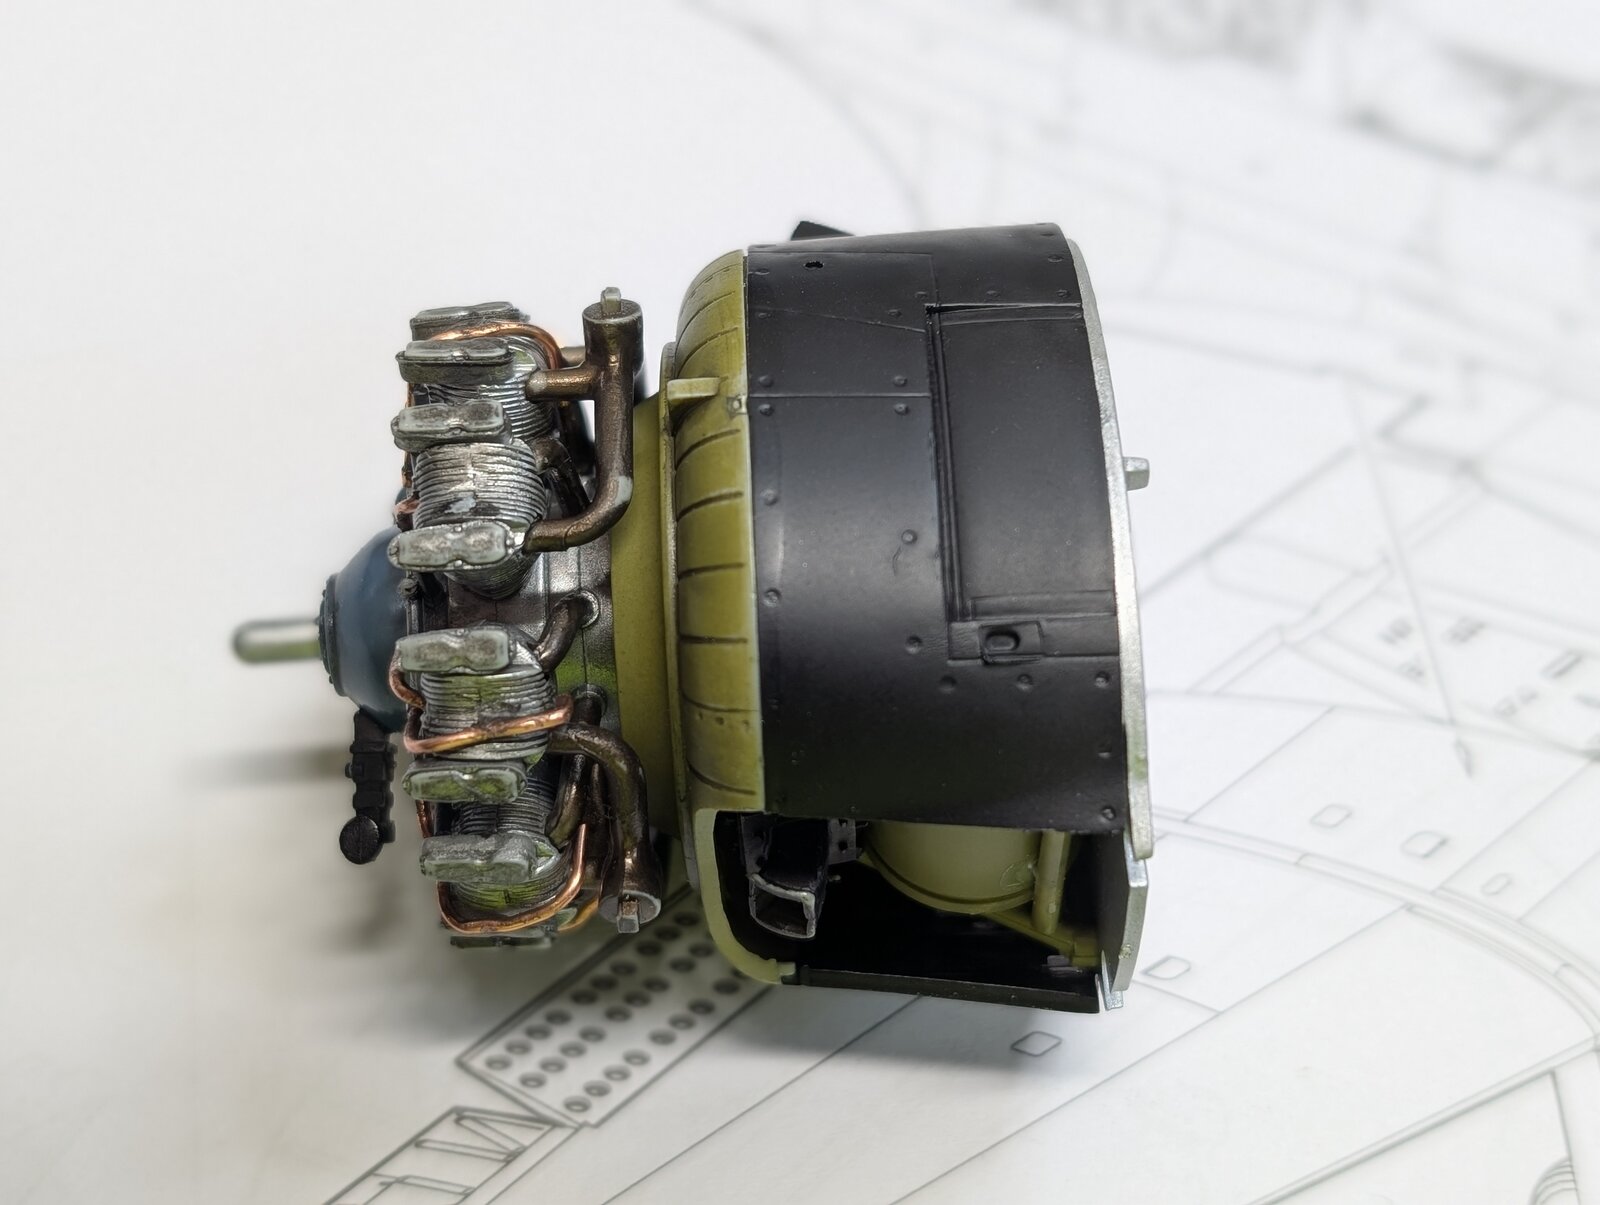
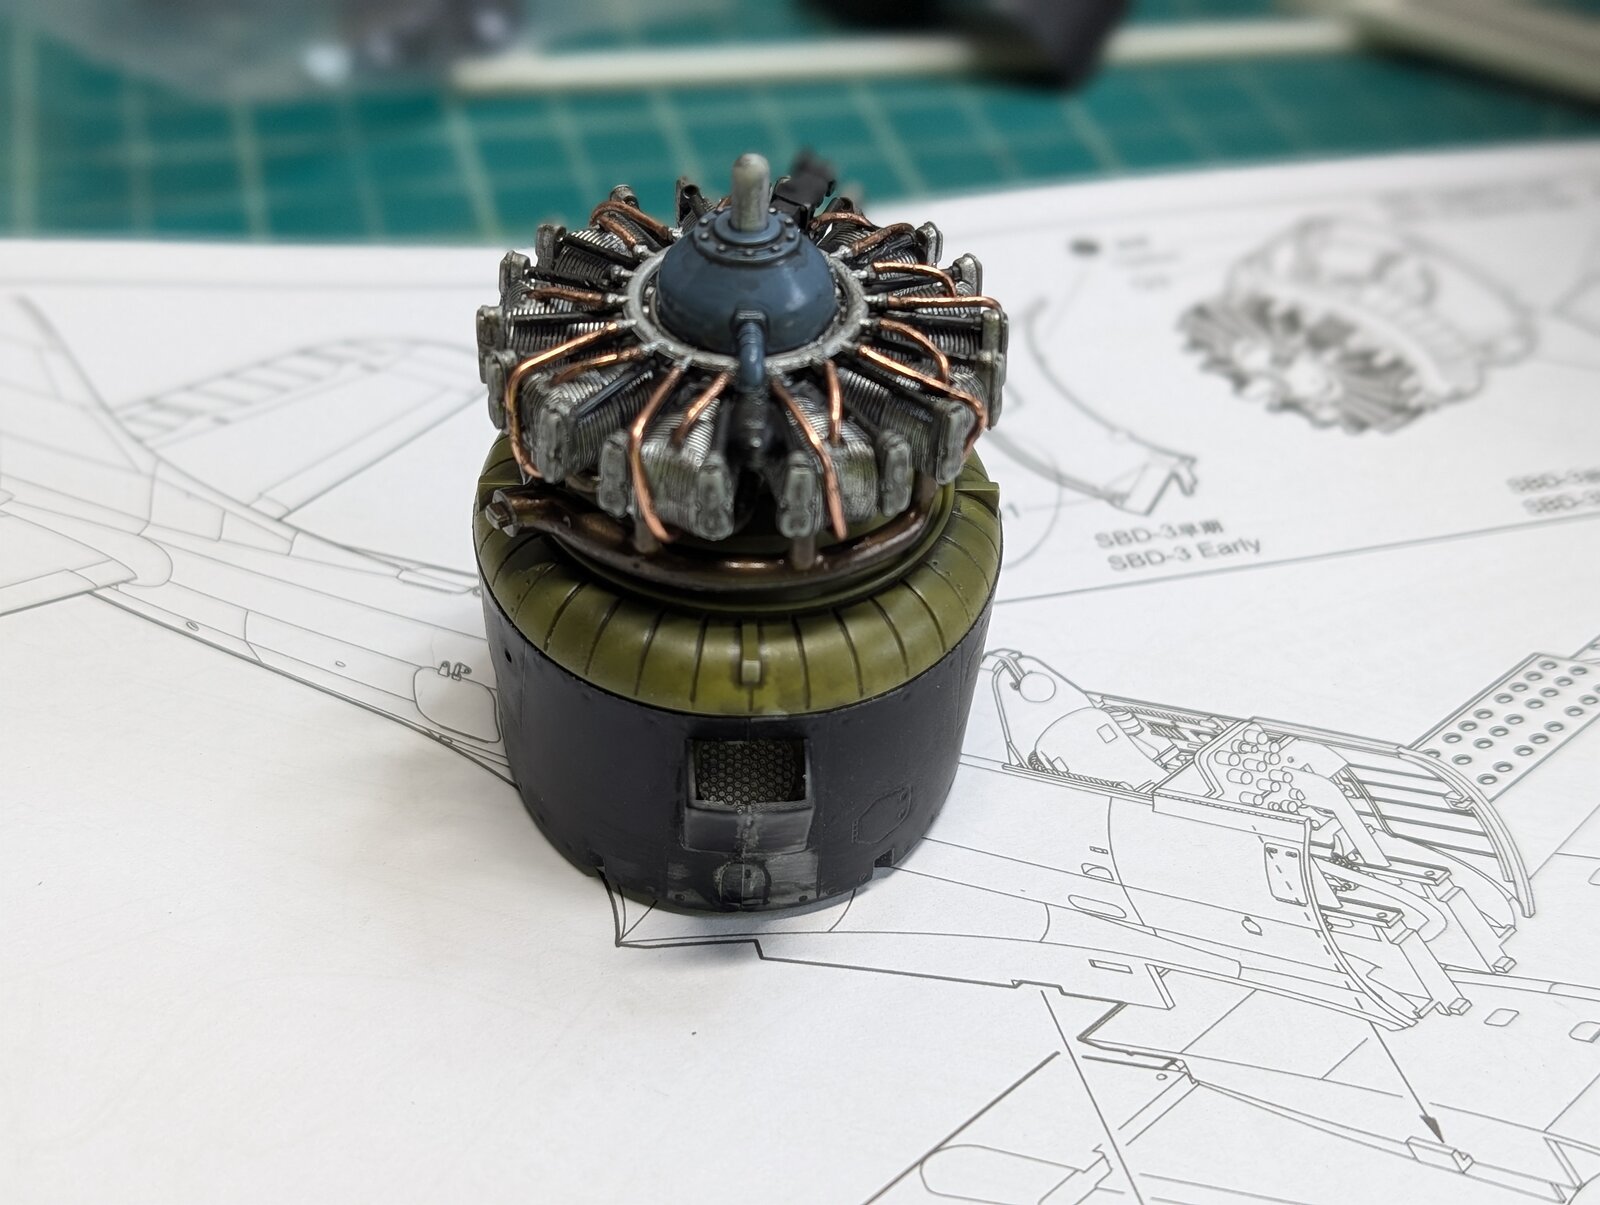
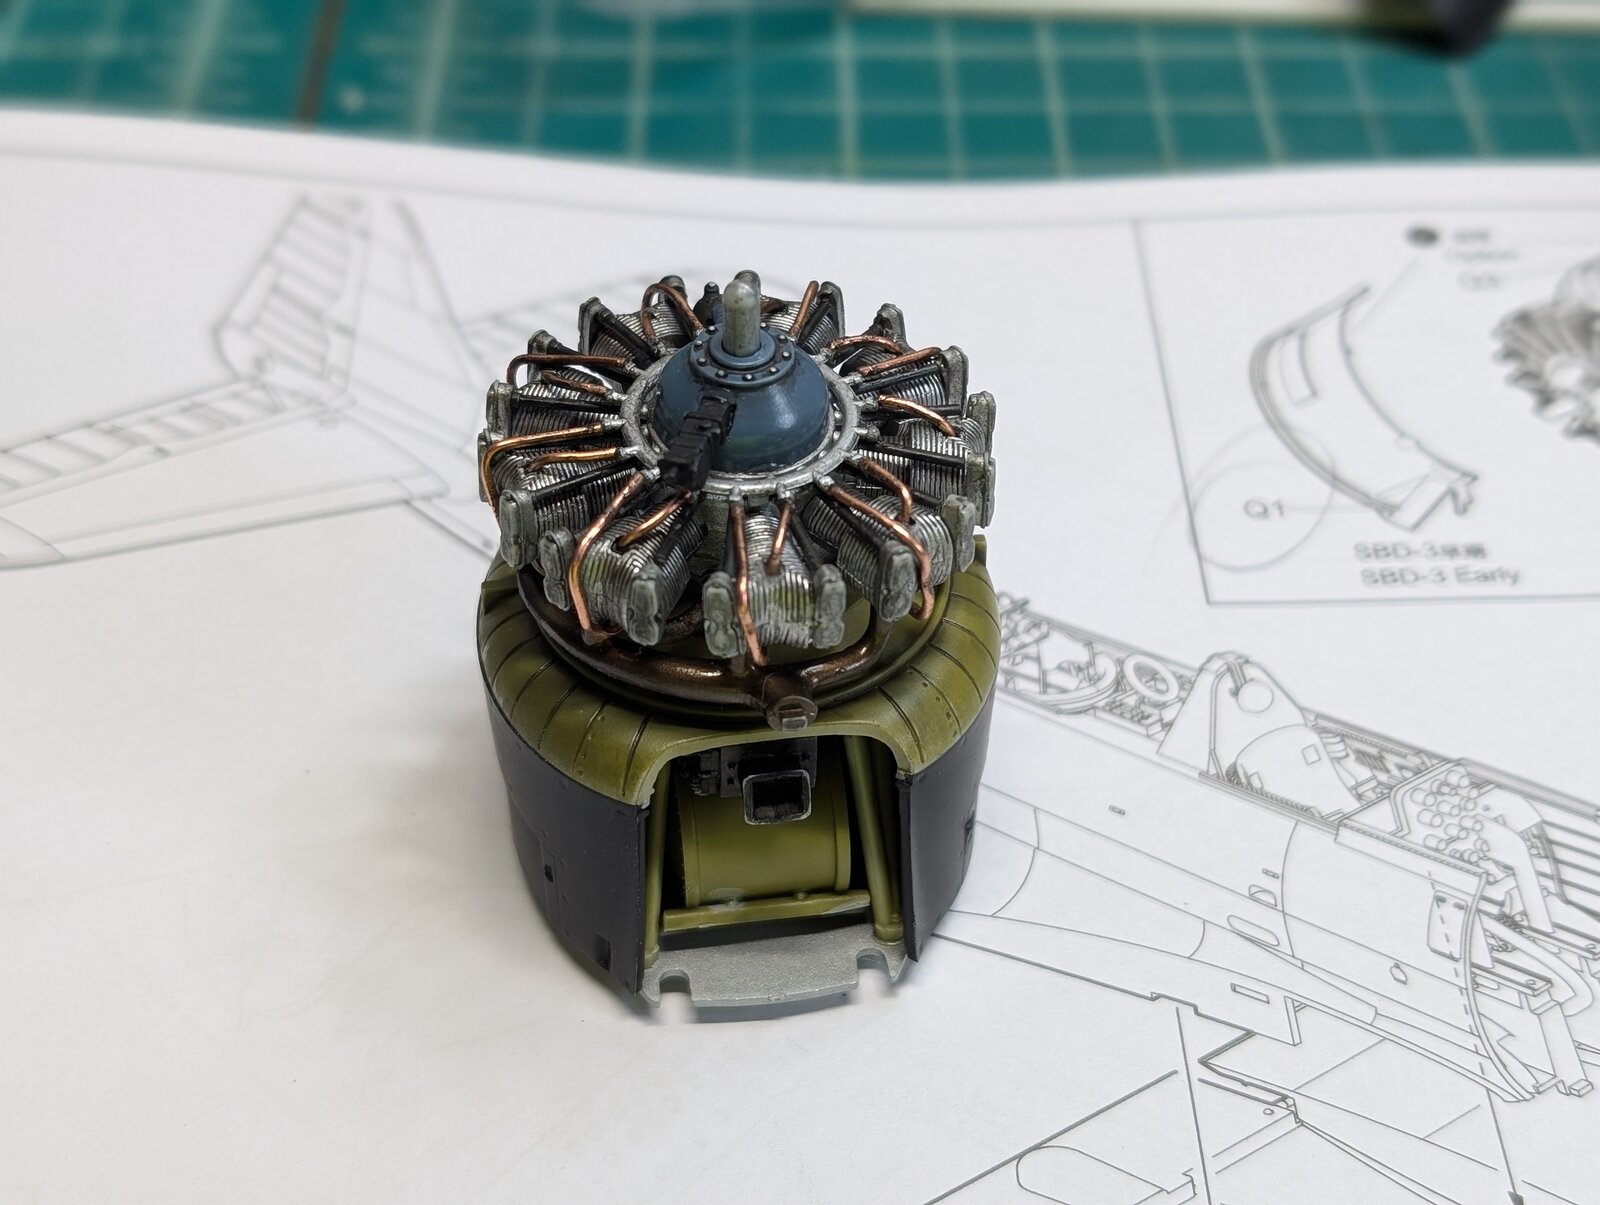
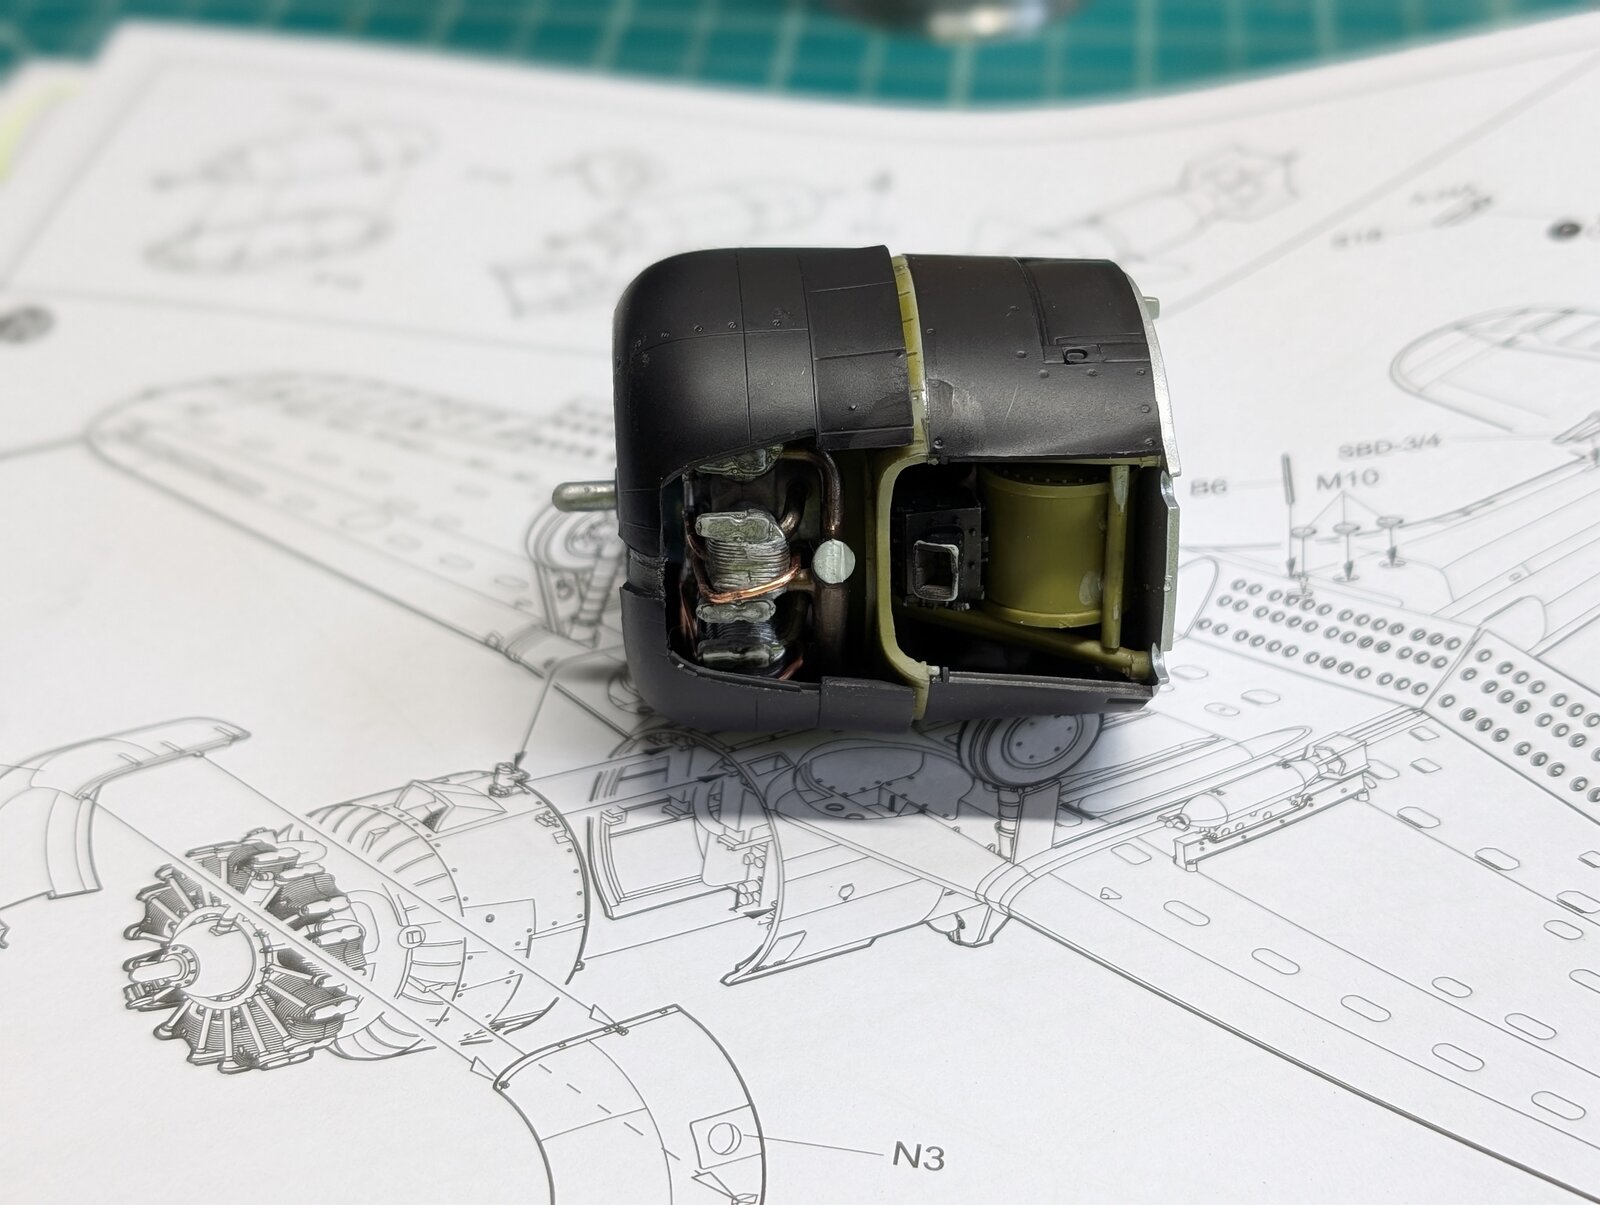
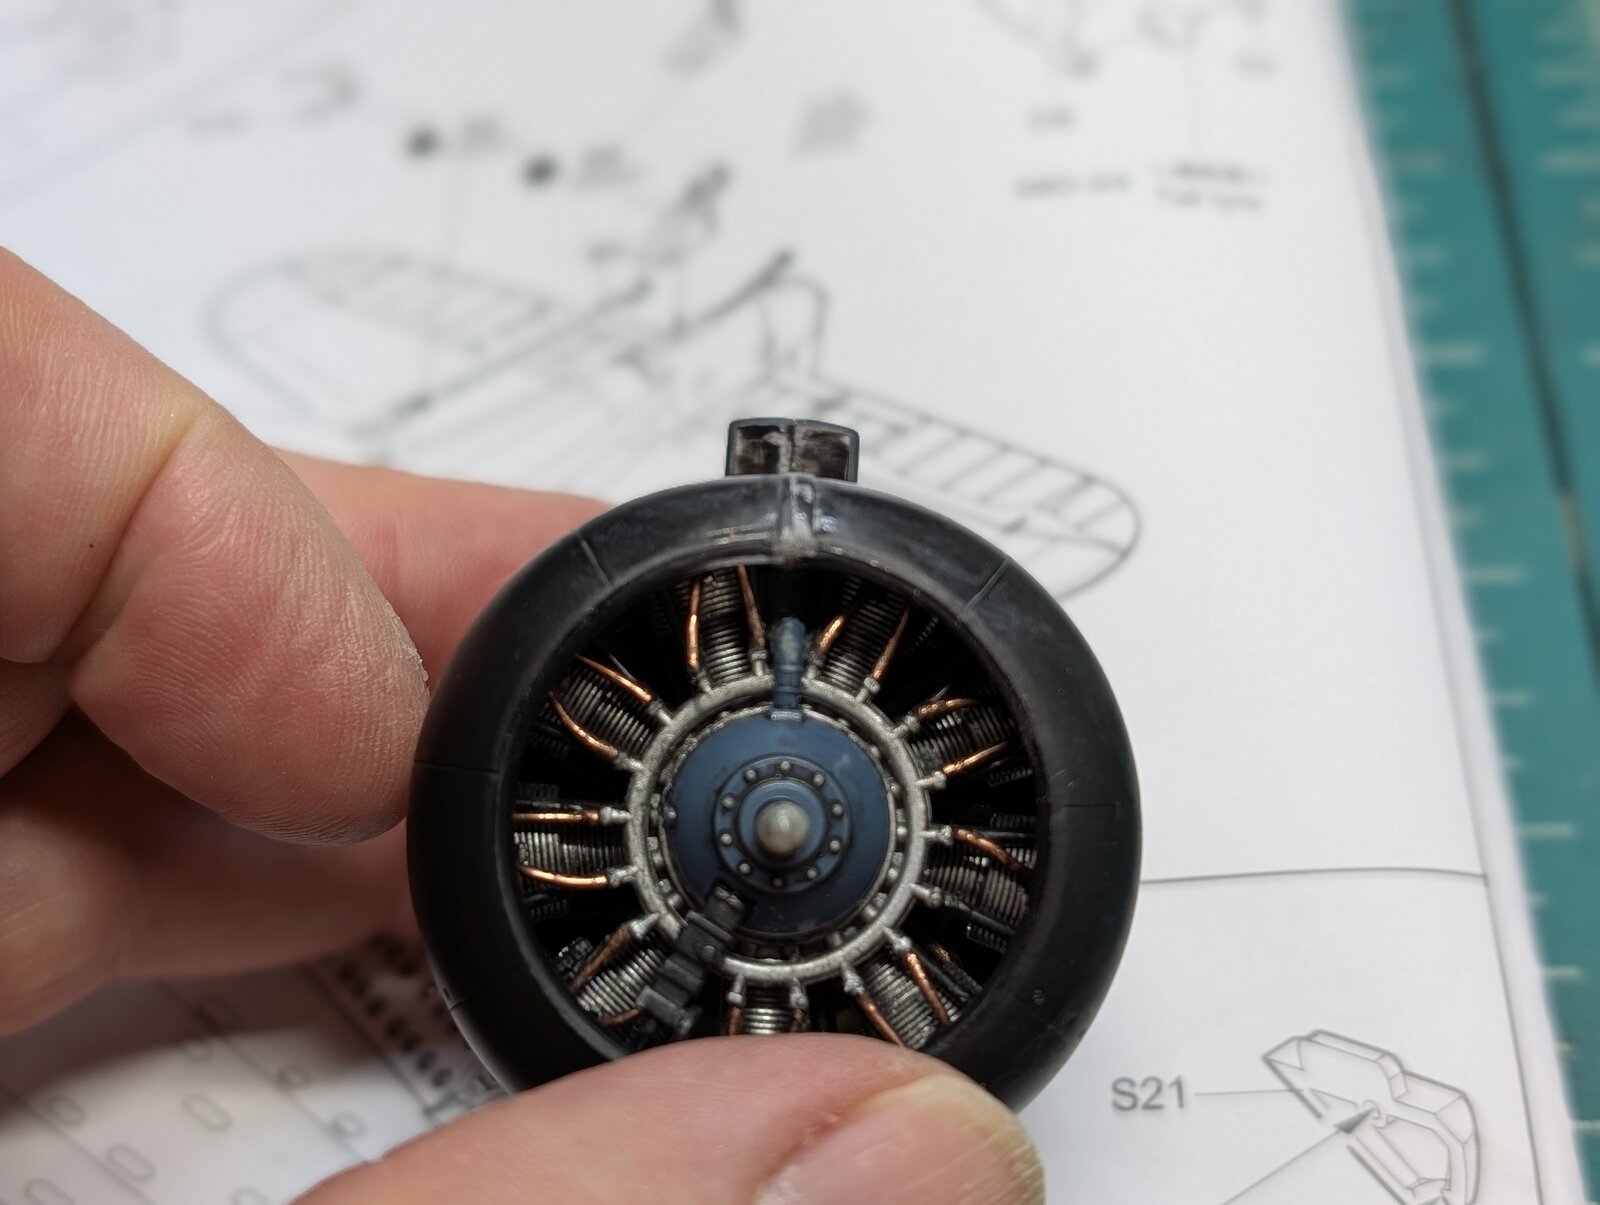
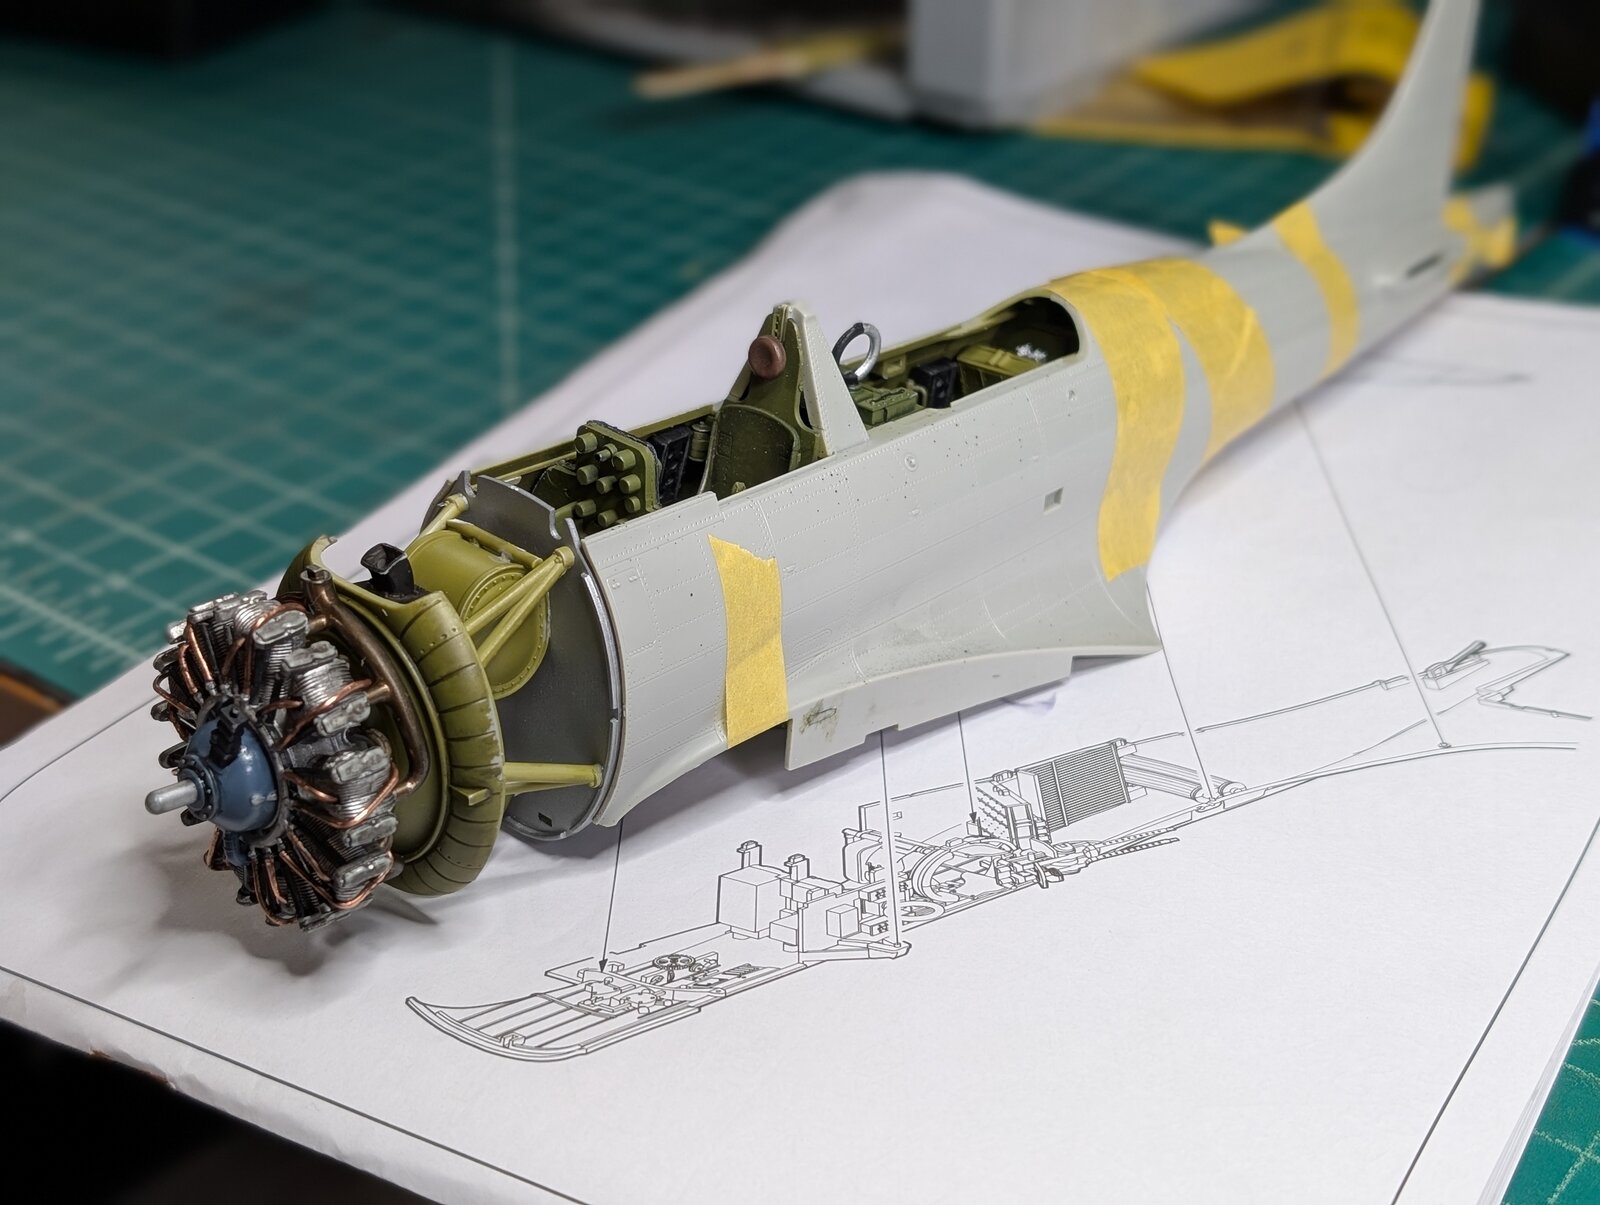
Attention was next directed to building the engine. I took the time to wire the radial engine with 20 gauge dead soft copper wire, which I found to be harder to manipulate then lead wire. It was what I had so I went with it. I think it came off nicely. Afterwards the engine and housing where assembled and gently weathered with Tamiya black panel wash and dilute black plus burnt umber oil paint mixed with mineral spirits. What do you think ?
All the best
Docsudy
PXL_20250611_165857412.jpg
PXL_20250611_165918771.jpg
PXL_20250611_165926836.jpg
PXL_20250611_165945935.jpg
PXL_20250611_165952428.jpg
PXL_20250611_165957190.jpg
PXL_20250611_170749470.PORTRAIT.ORIGINAL.jpg
PXL_20250611_181444344.PORTRAIT.jpg
 
Like so many of the people of the "Greatest generation Richard Best was truly remarkable- but never boasted about himself or his actions during the war, even after being sidelined after his remarkable flight at the battle of Midway. I hope I can try to make a version of his plane that will make his memories proud.

Docsudy
 
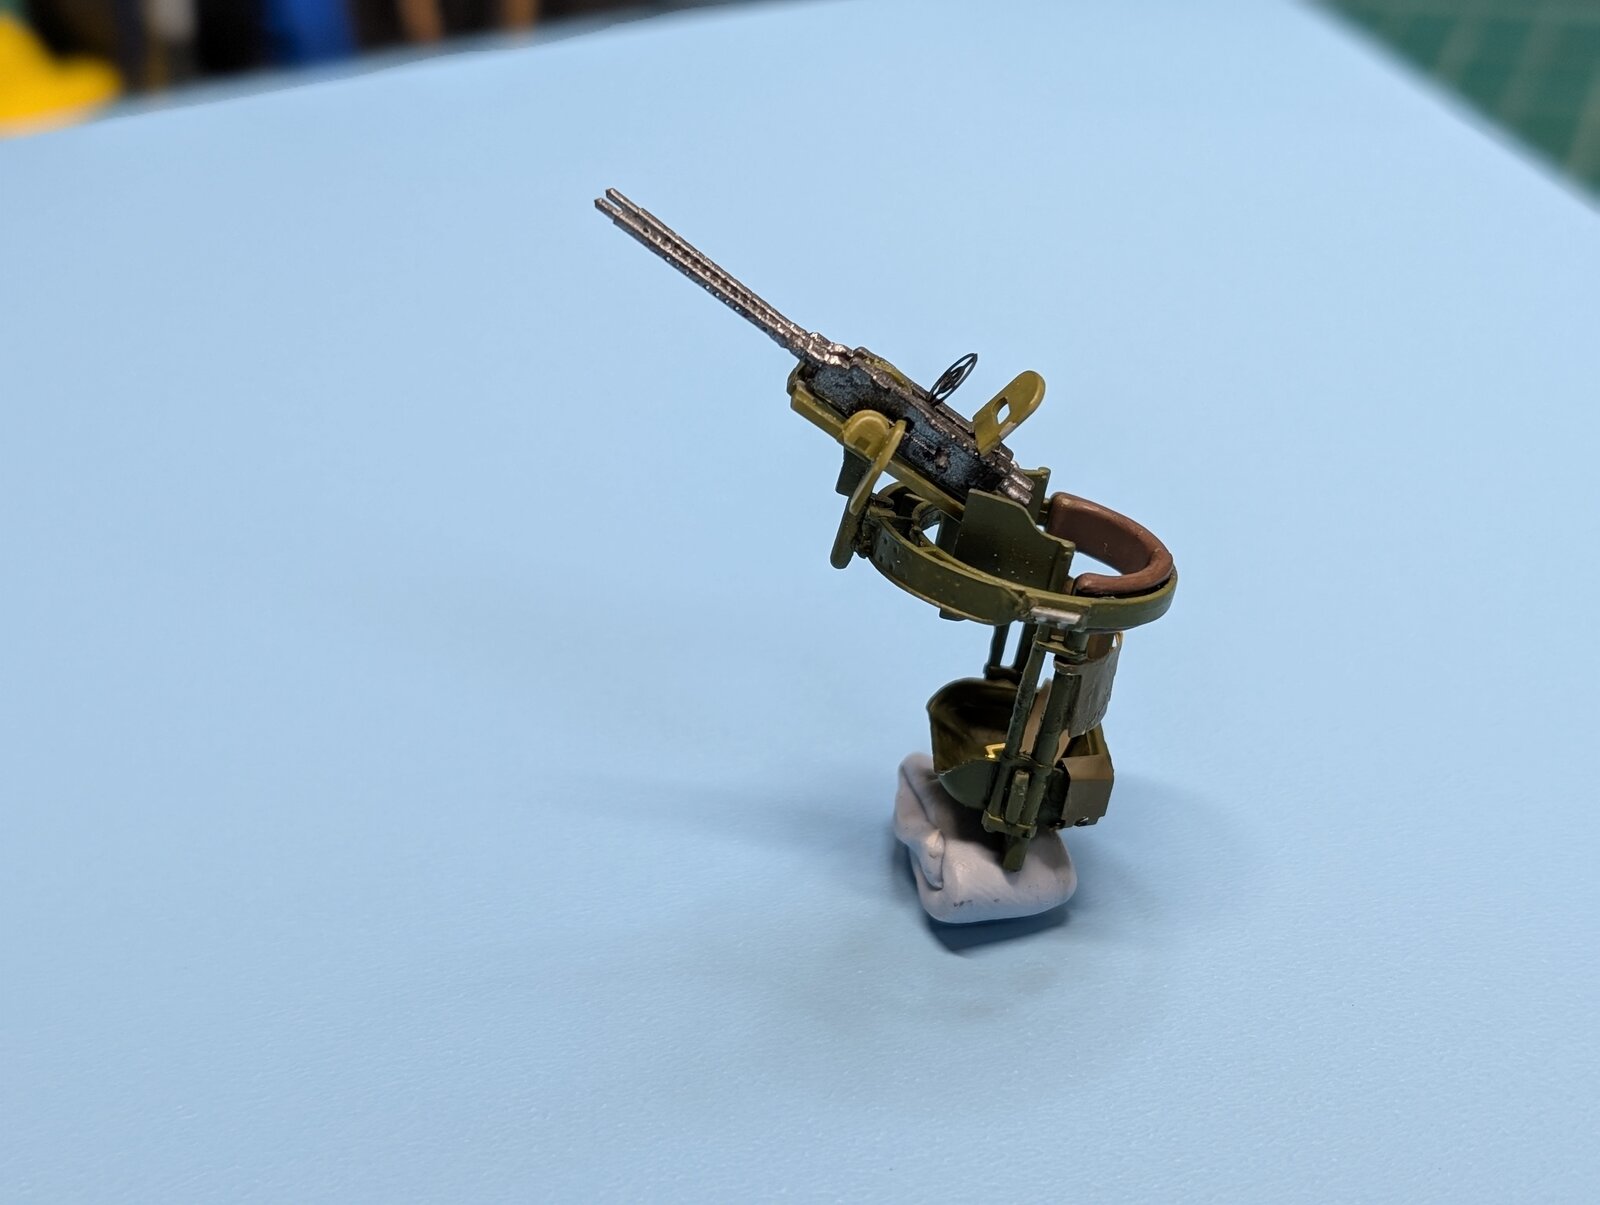
There are a few things that come to my mind about this build and Trumpeter models compared to Tamiya. The instructions on this model falls way short when compared to Tamiya's. The lack of detail and often very weak diagrams makes this build at times quite difficult. Secondly trying to get all the wonderful detailed parts of the front office together and then close the fuselage halves is very daunting!. Trumpeter uses these cross bars or struts to lock in and support the two halves of the fuselage. After about a good hour or so of frustration the answer came to me with the use of a delicate and measured use of my plastic snippers. Off went a strut or two and problem solved. ! The other challenge was in building the rear gunners' seat, harness and gun itself was again the lack of clarity in the instructions. Its a very fragile piece. I realized that if I glue it into to place now, it will certainly break off then masking off the cockpit prior to painting the bird
all the best
Docsudy
PXL_20250611_171037295.PORTRAIT.jpg
PXL_20250611_171046965.PORTRAIT.ORIGINAL.jpg
PXL_20250611_171058289.PORTRAIT.jpg
PXL_20250611_171109969.PORTRAIT.ORIGINAL.jpg
PXL_20250611_171126499.PORTRAIT.ORIGINAL.jpg
PXL_20250611_181502722.PORTRAIT.jpg
PXL_20241226_004854471.jpg
 
As an Amazon Associate we earn from qualifying purchases. Product prices and availability are accurate as of the date/time indicated and are subject to change.
PXL_20250617_143243948.jpg
PXL_20250617_143304299.jpg
PXL_20250617_143311578.jpg
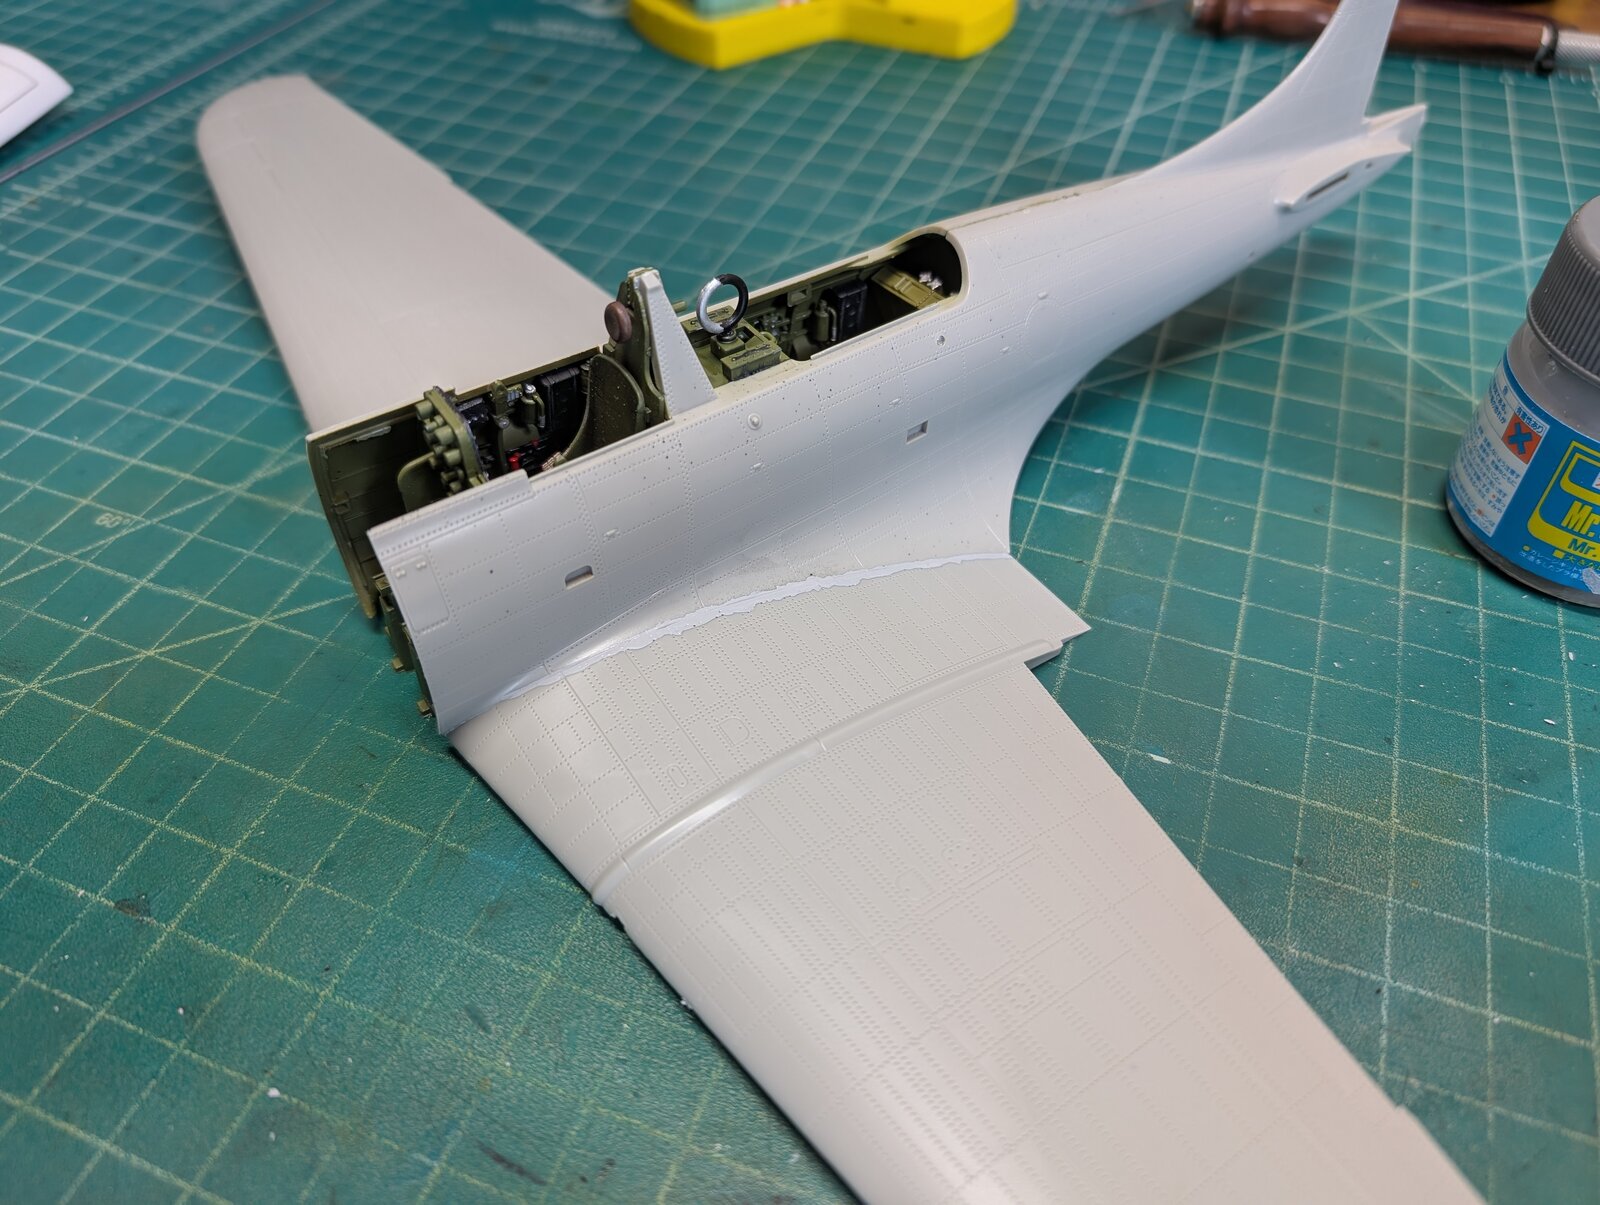
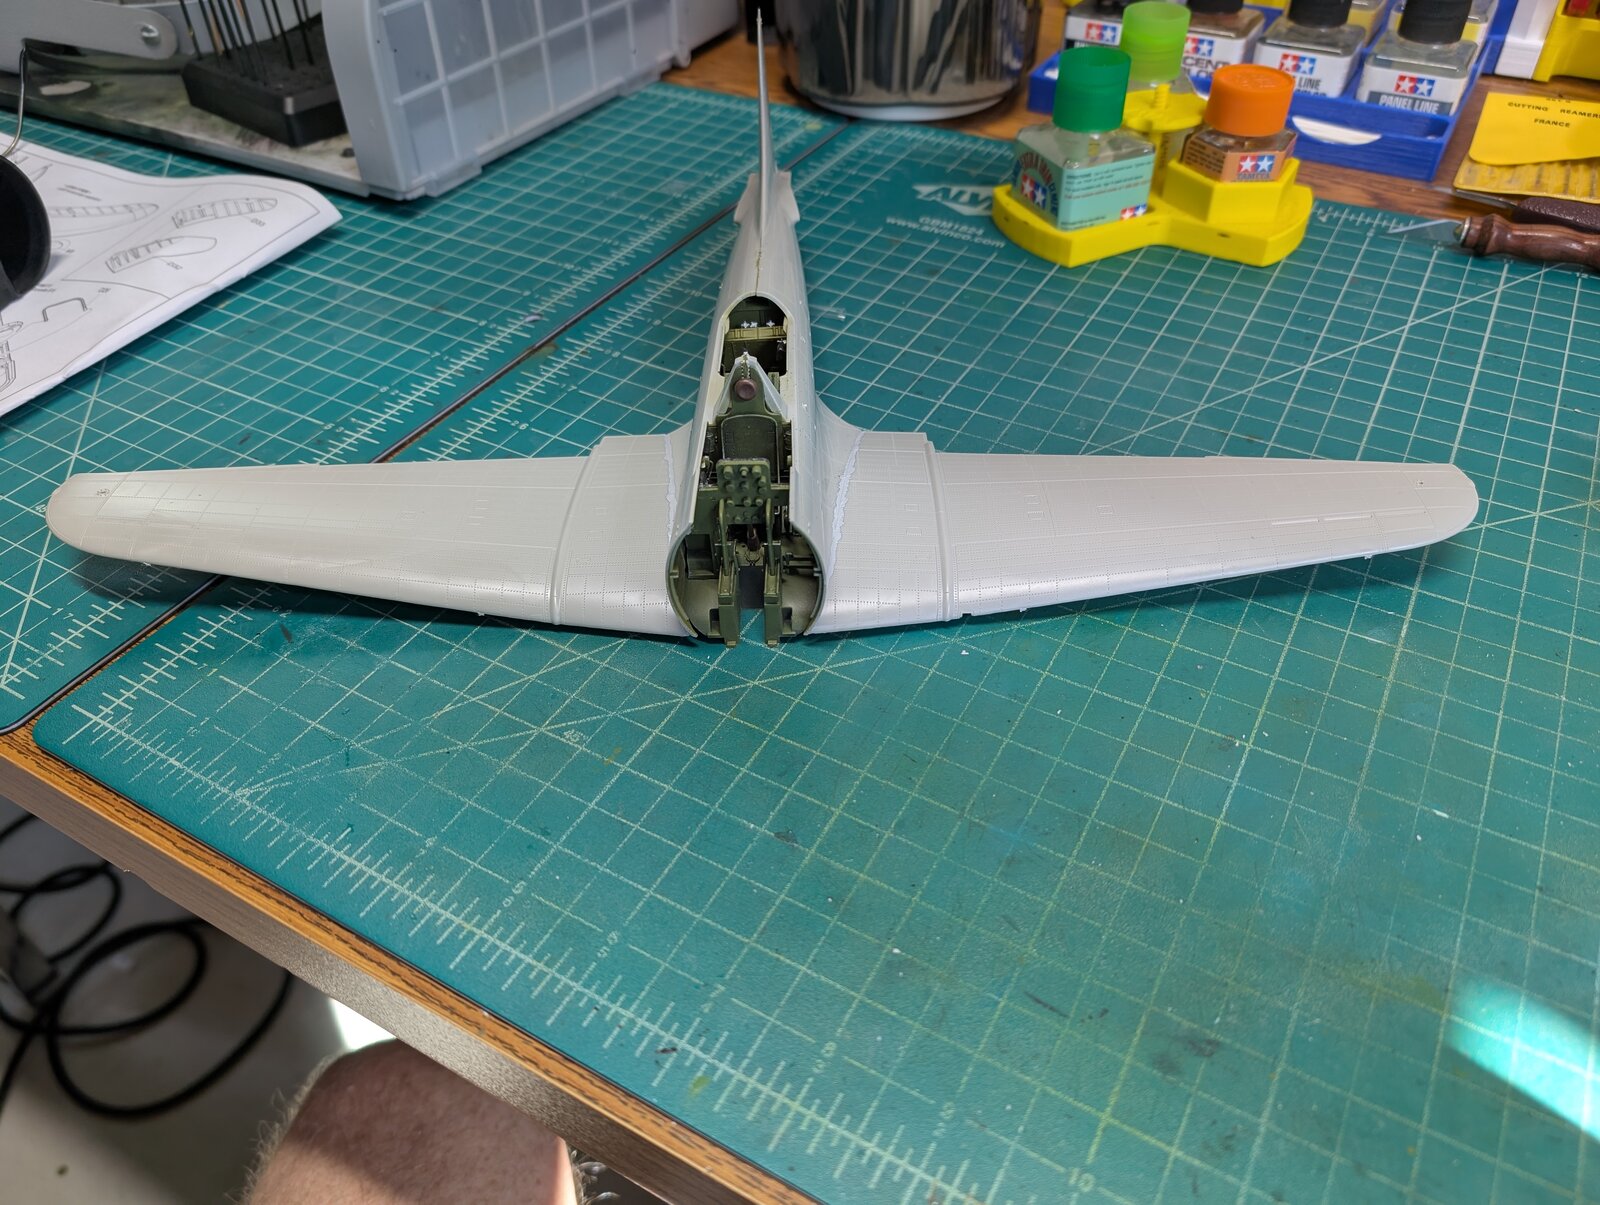
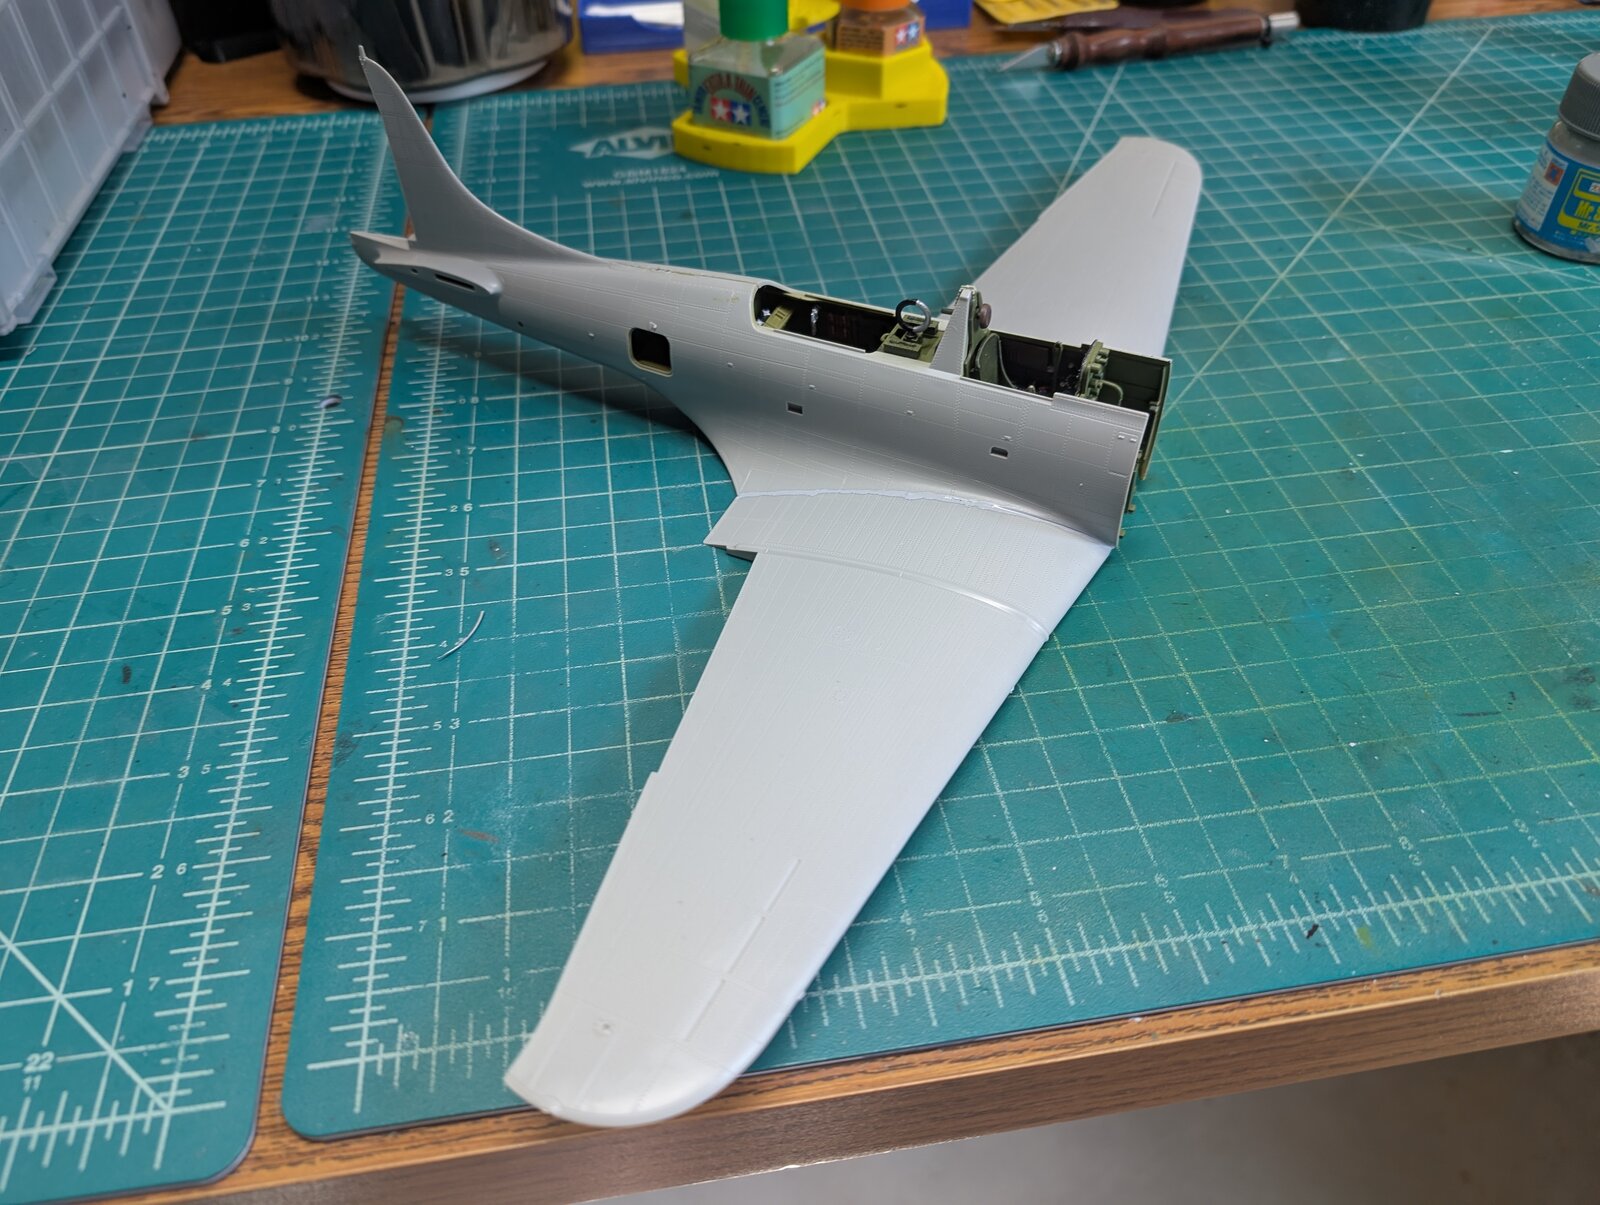
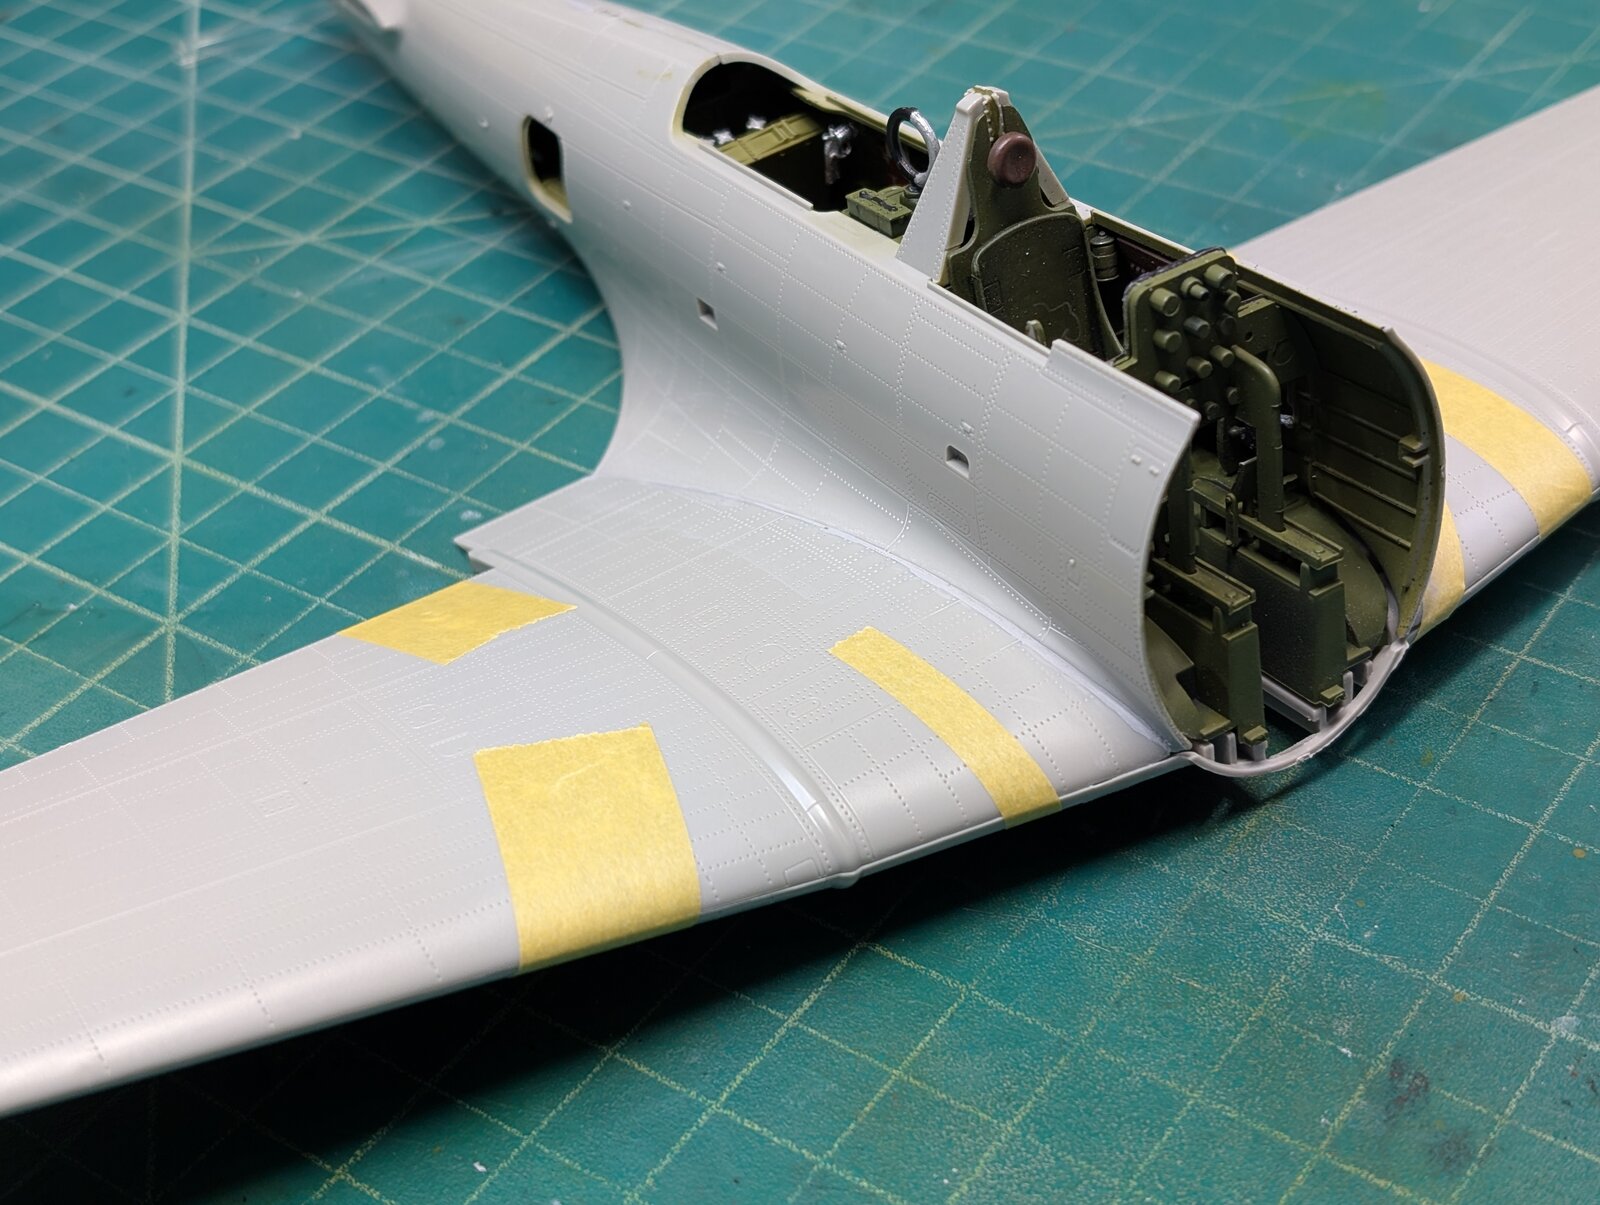
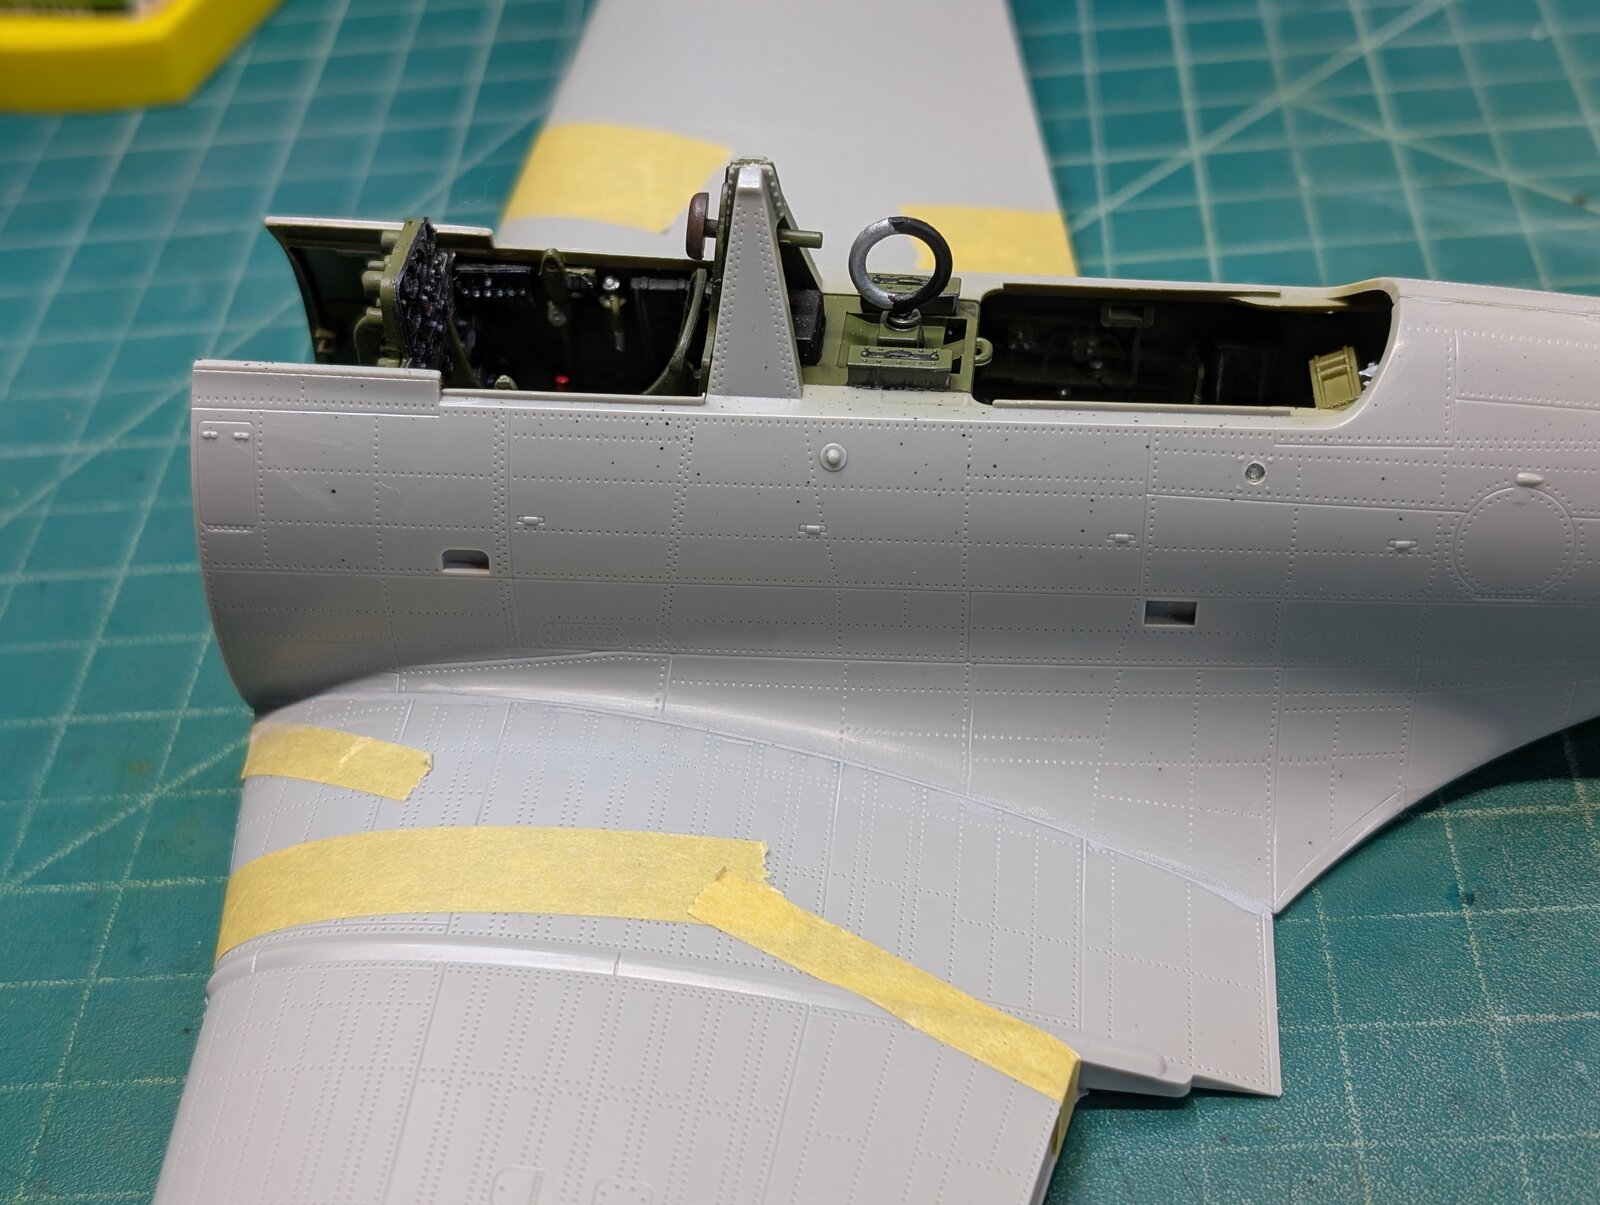
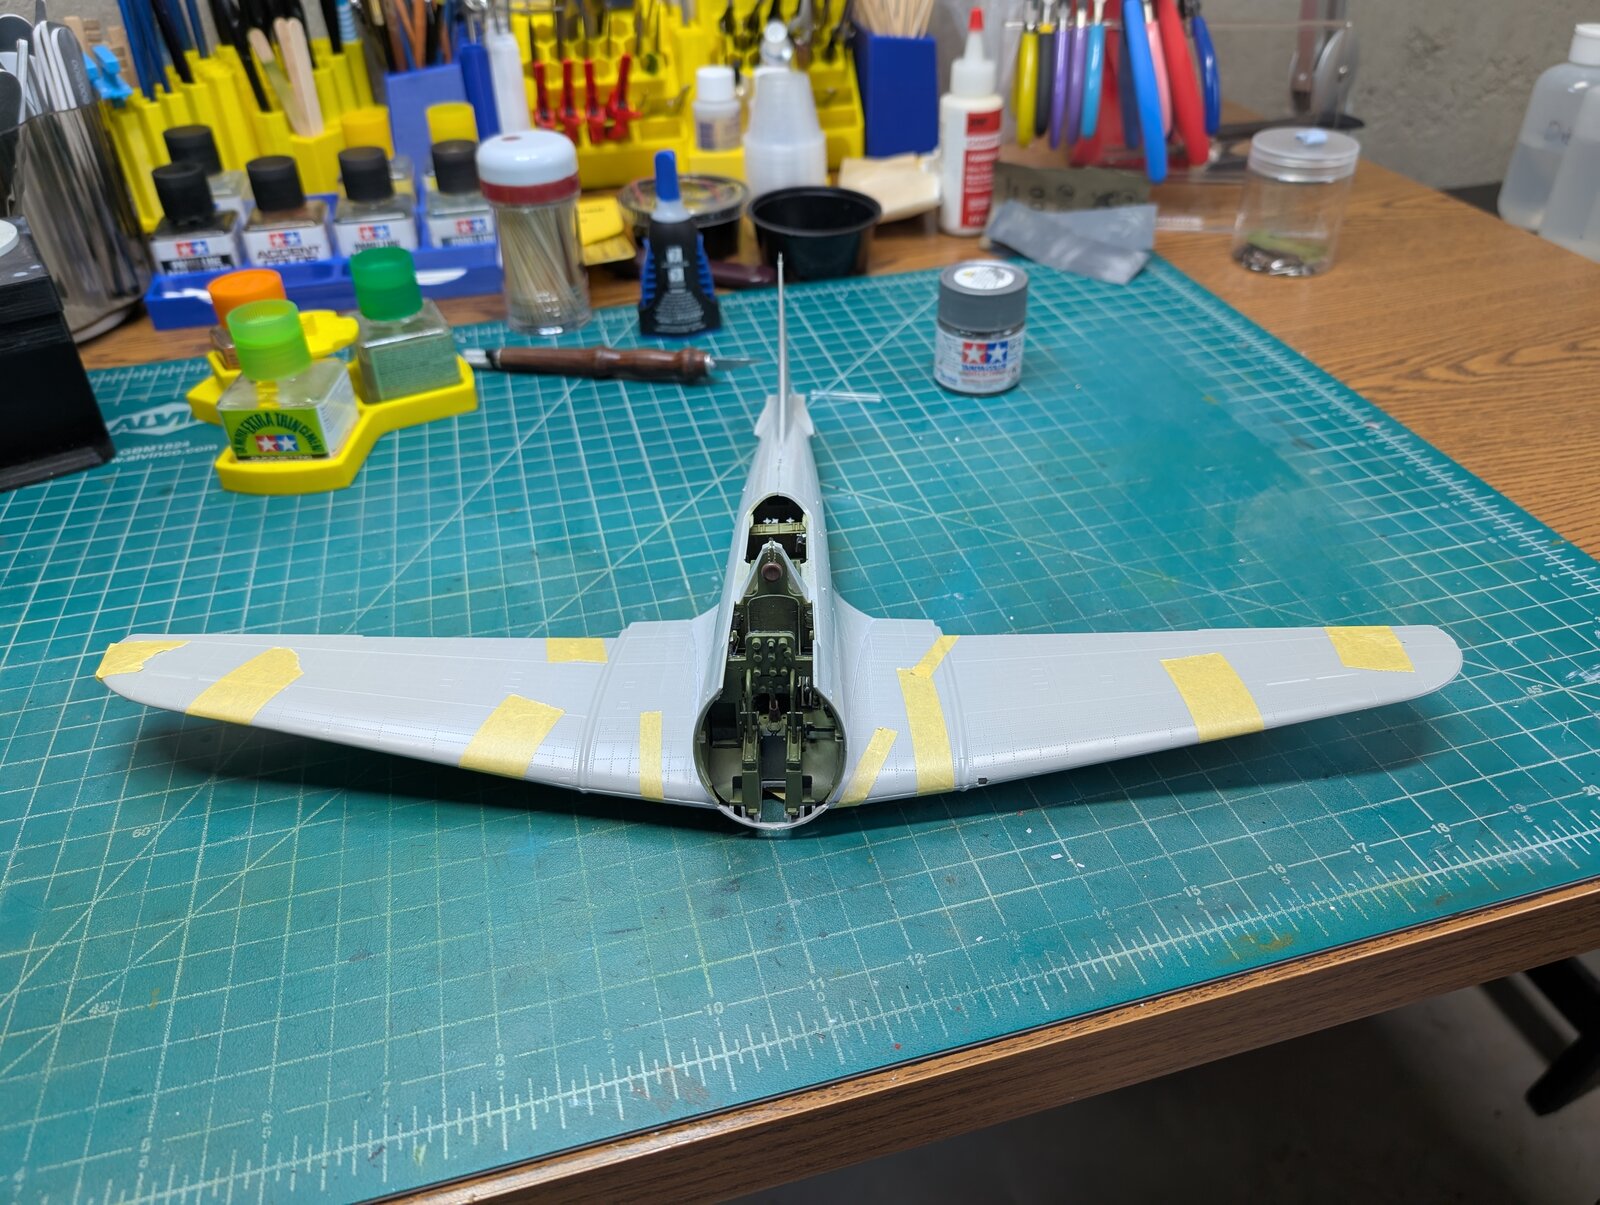
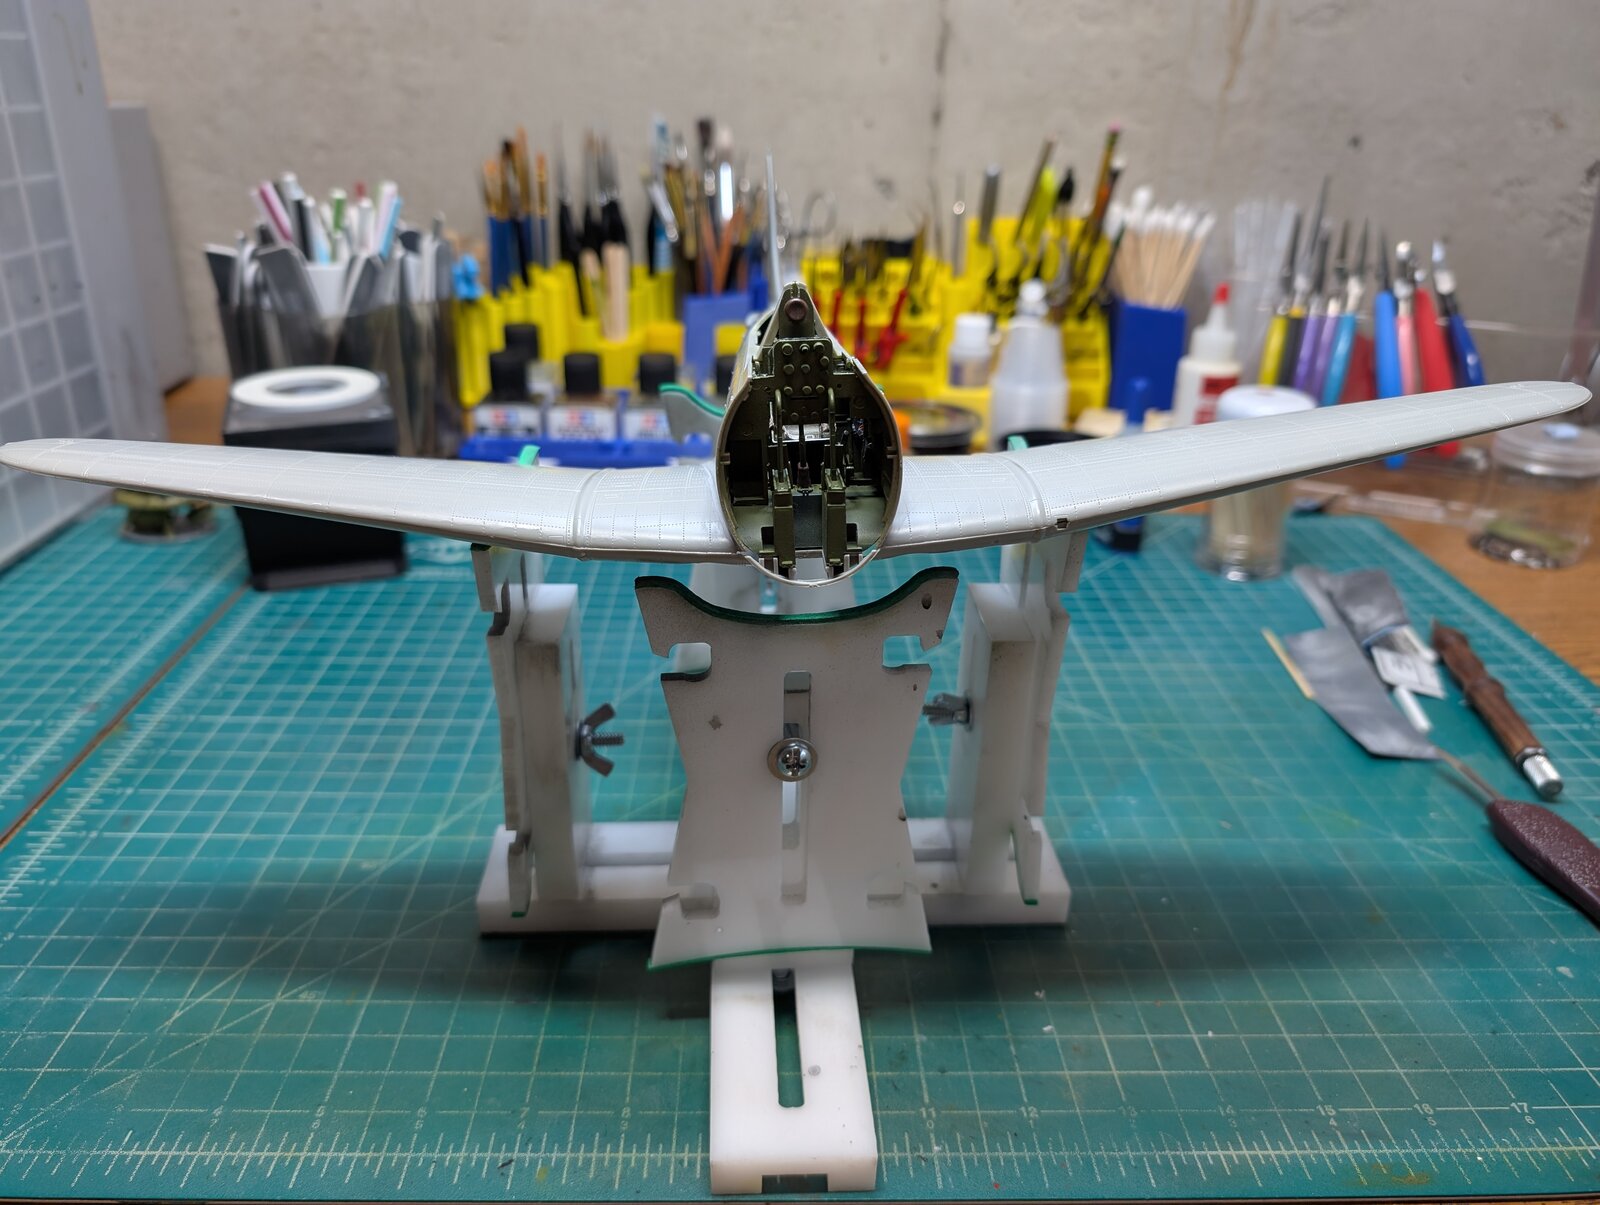
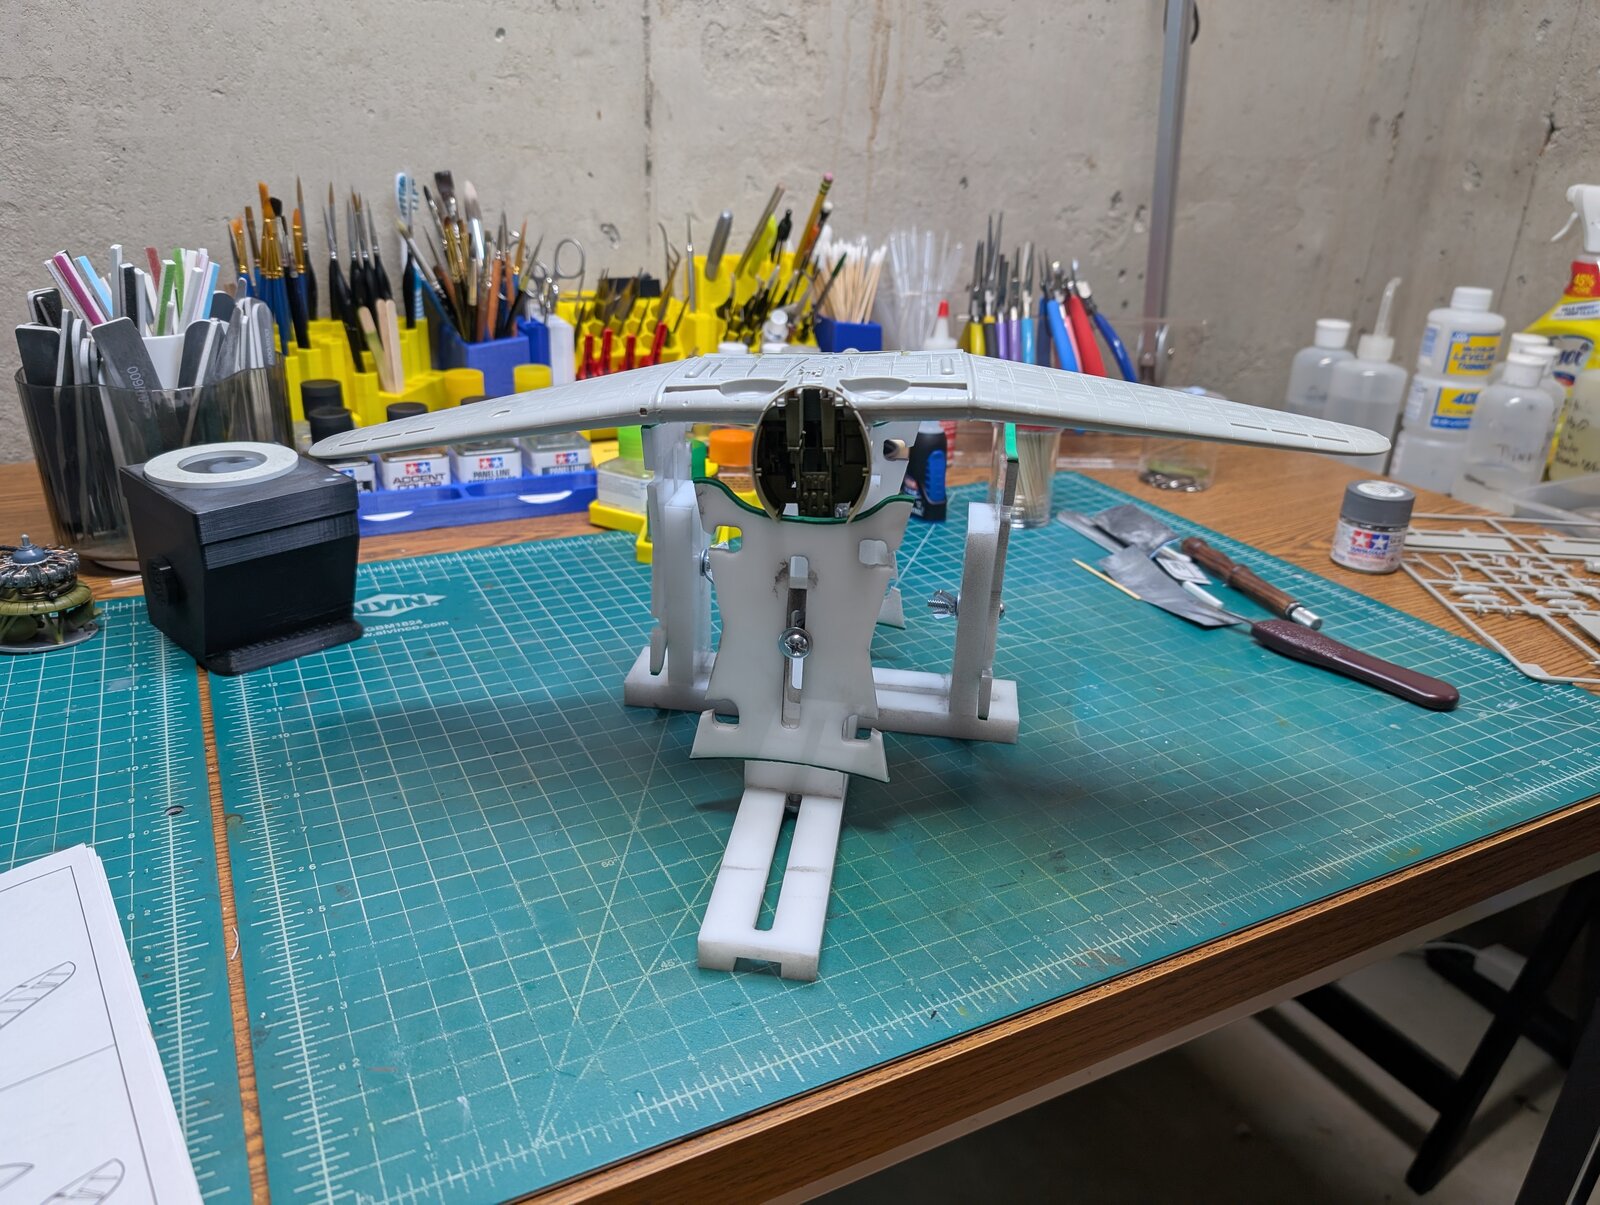
After reading several reviews of prior builds, I saw several from 8-10 yrs ago by a well known modeler by the name of Tom Cleaver. He pointed out that Trumpeter in their instructions, would have you assemble the wings as a fixed unit which eventually attach to the fuselage. This can create a large seam at the wing root/ fuselage junction from his experience. In order to avoid this he recommended attaching the upper wing part on first, then attach the lower wing part to the upper wing part. Well for better of worse I followed his experienced lead. I was able to get the upper wing part attached to the fuselage with a minimal seams. I am filling the seams with Mr Surfacer 500 in several thin to avoid cracking. When fully cured I will remove excess ( hopefully with Mr Color thinner 400 and attach the lower wing parts to the upper. I am attaching a few images of my progress. Slow and steady !! Let me know what you think, comments or suggestions always accepted!
Thanks for your interest!
Gary
Docsudy
 
I made some progress
PXL_20250618_162114979.jpg
PXL_20250618_162124497.jpg
PXL_20250618_162132020.jpg
PXL_20250618_162142871.jpg
PXL_20250618_234050043.jpg
PXL_20250618_234111112.jpg
PXL_20250618_162114979.jpg
PXL_20250618_162124497.jpg
PXL_20250618_162132020.jpg
PXL_20250618_162142871.jpg
PXL_20250618_234050043.jpg
PXL_20250618_234111112.jpg
by attaching the lower Wing parts to the upper Wing parts. They did fit but it was a little bit of a struggle. Once they were together, I taped them in place in preparation for gluing. After gluing the upper and lower halves of the wings togather I finished filling in the seam at the wing root along the upper surface with Mr Surfacer 500. I did learn one thing in this process. Once you put Mr. Surfacer 500, you should remove the excess within 30 minutes of application. If you let it cure overnight (like I did) it makes the process much more difficult to remove. I did find that that Mr. Hobby 400 thinner worked nicely followed by applications of isopropyl alcohol on a q-tip to remove the excess and create a nice thin panel line. I have a few pictures to show the finished product before gluing the two Wing halves together.
 
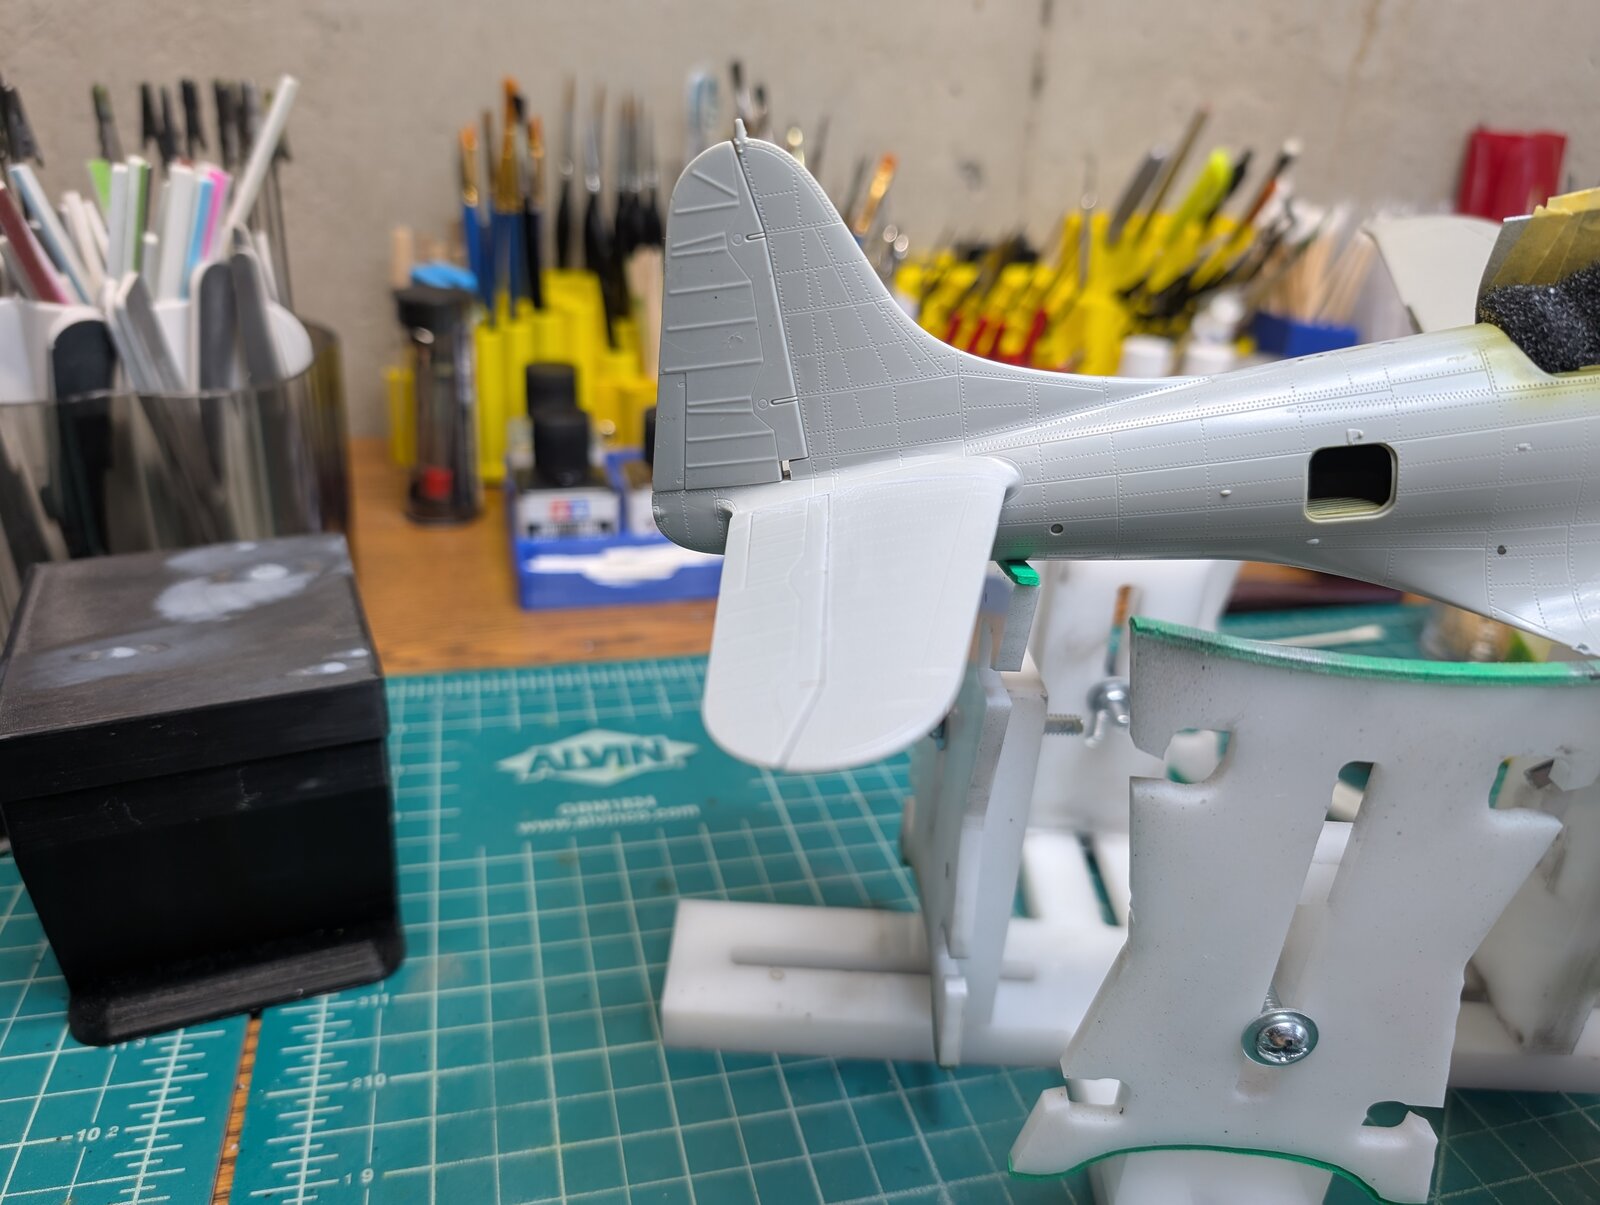
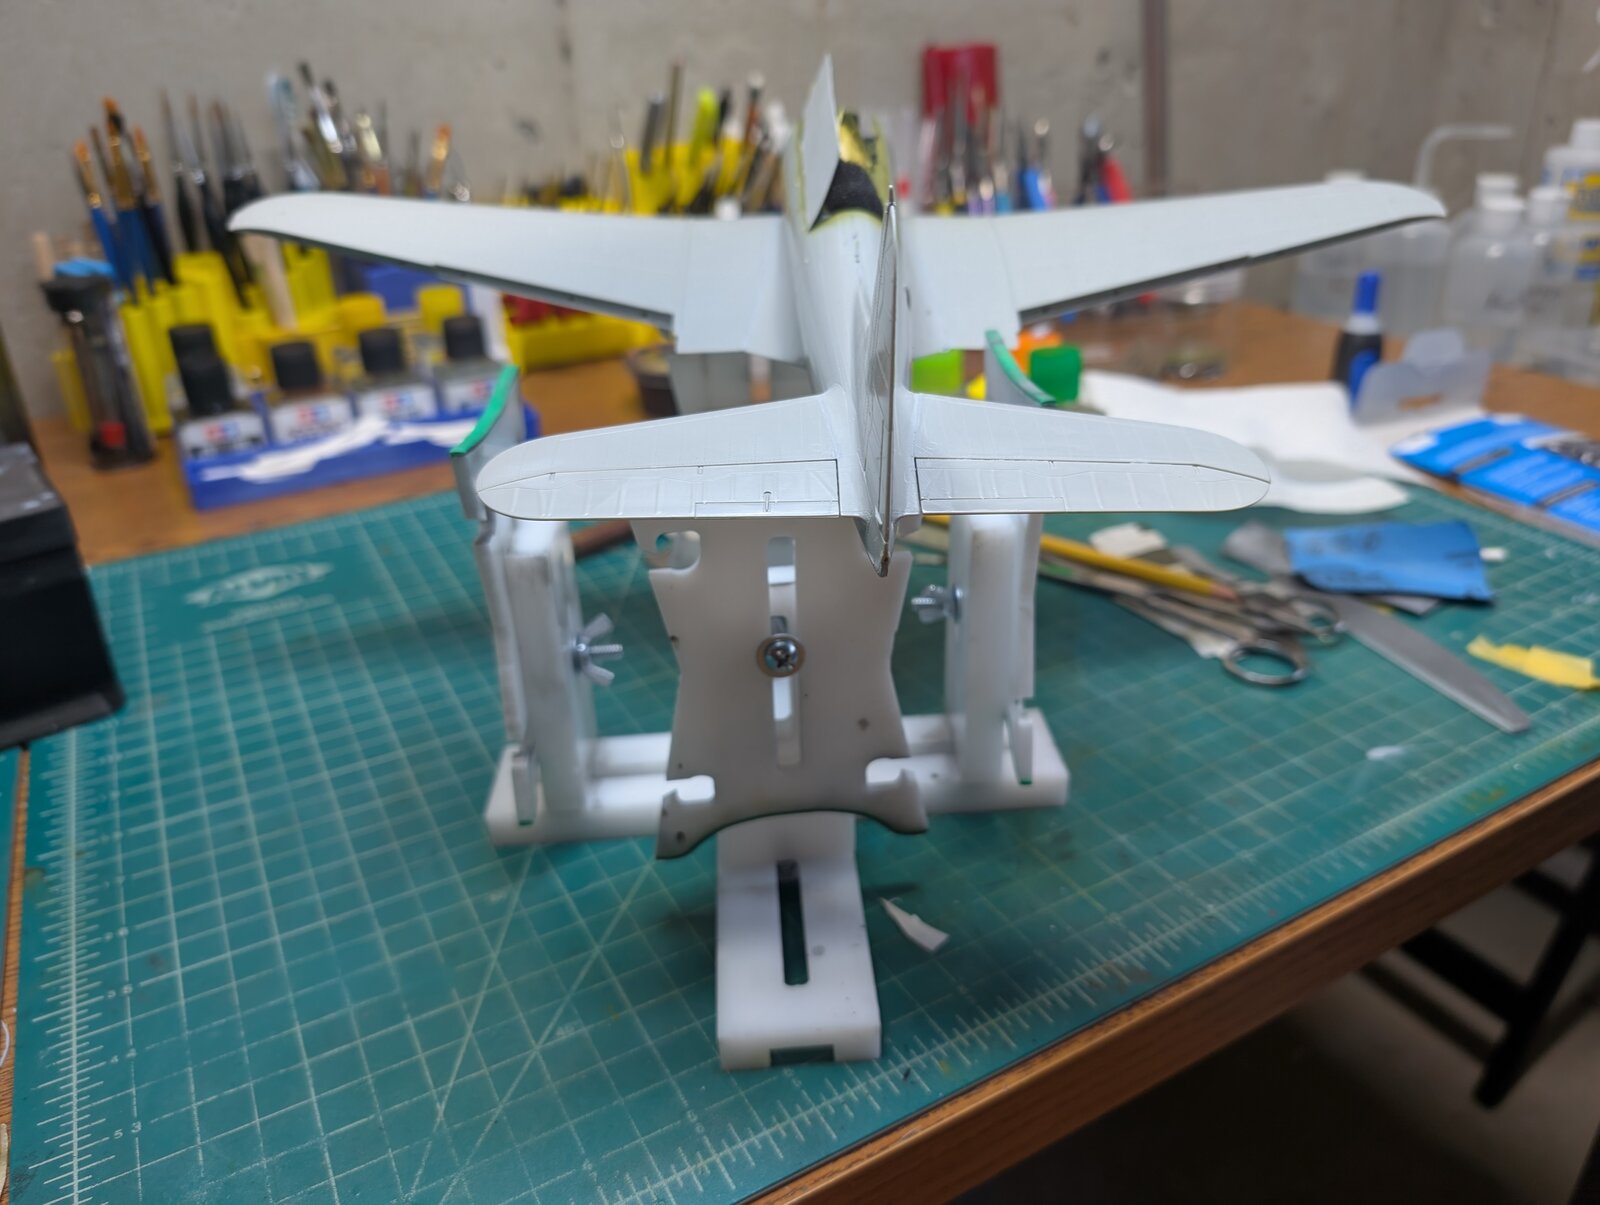
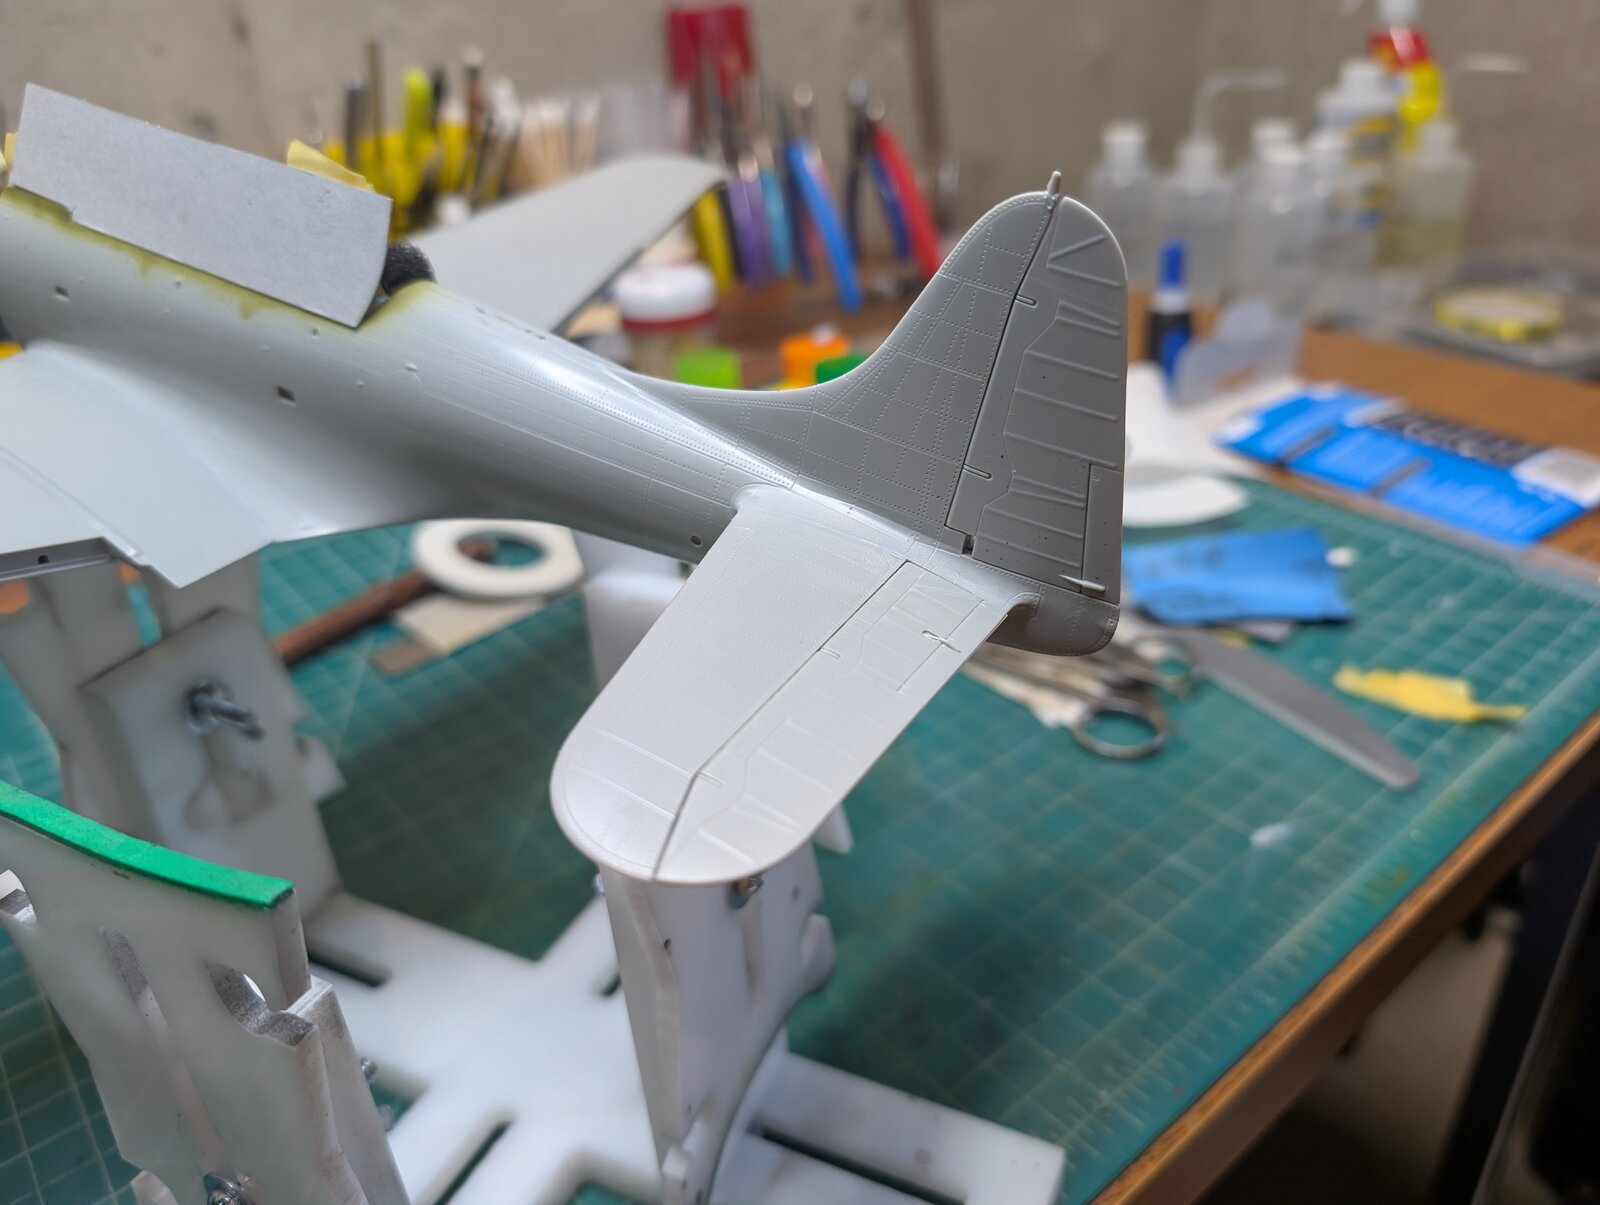
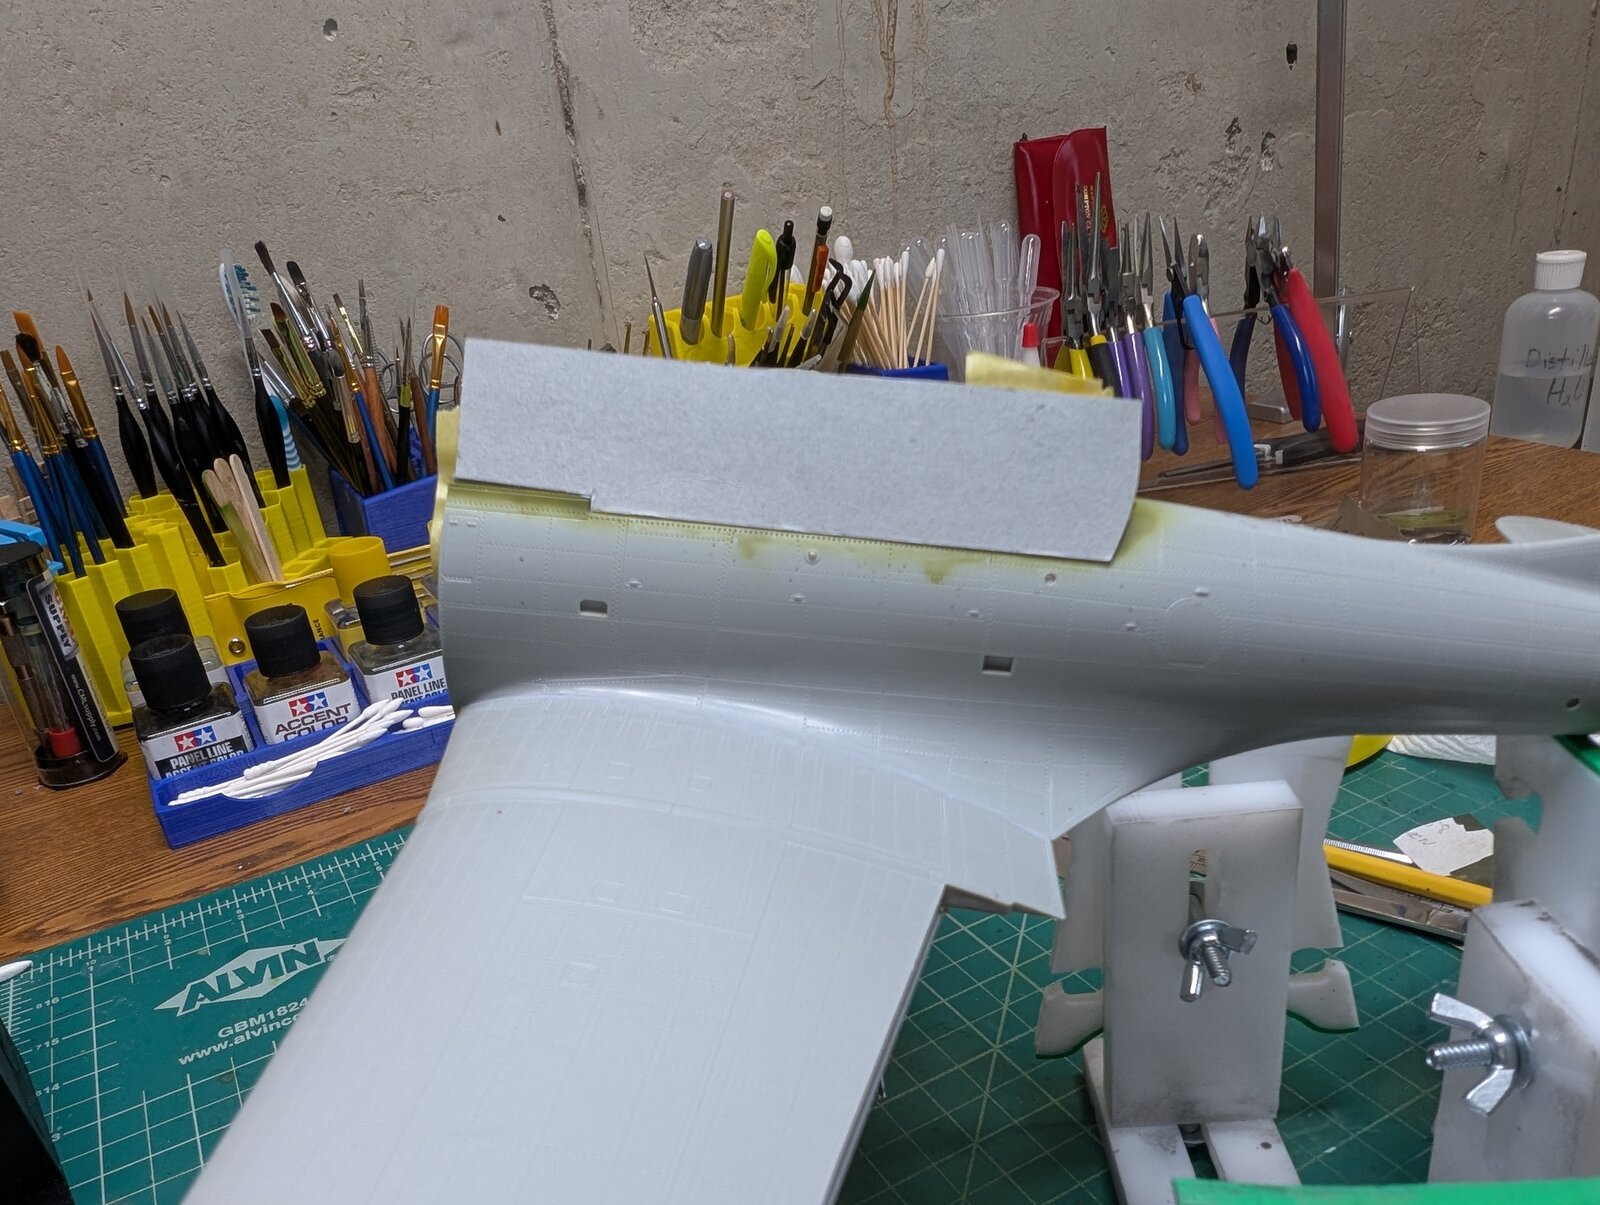
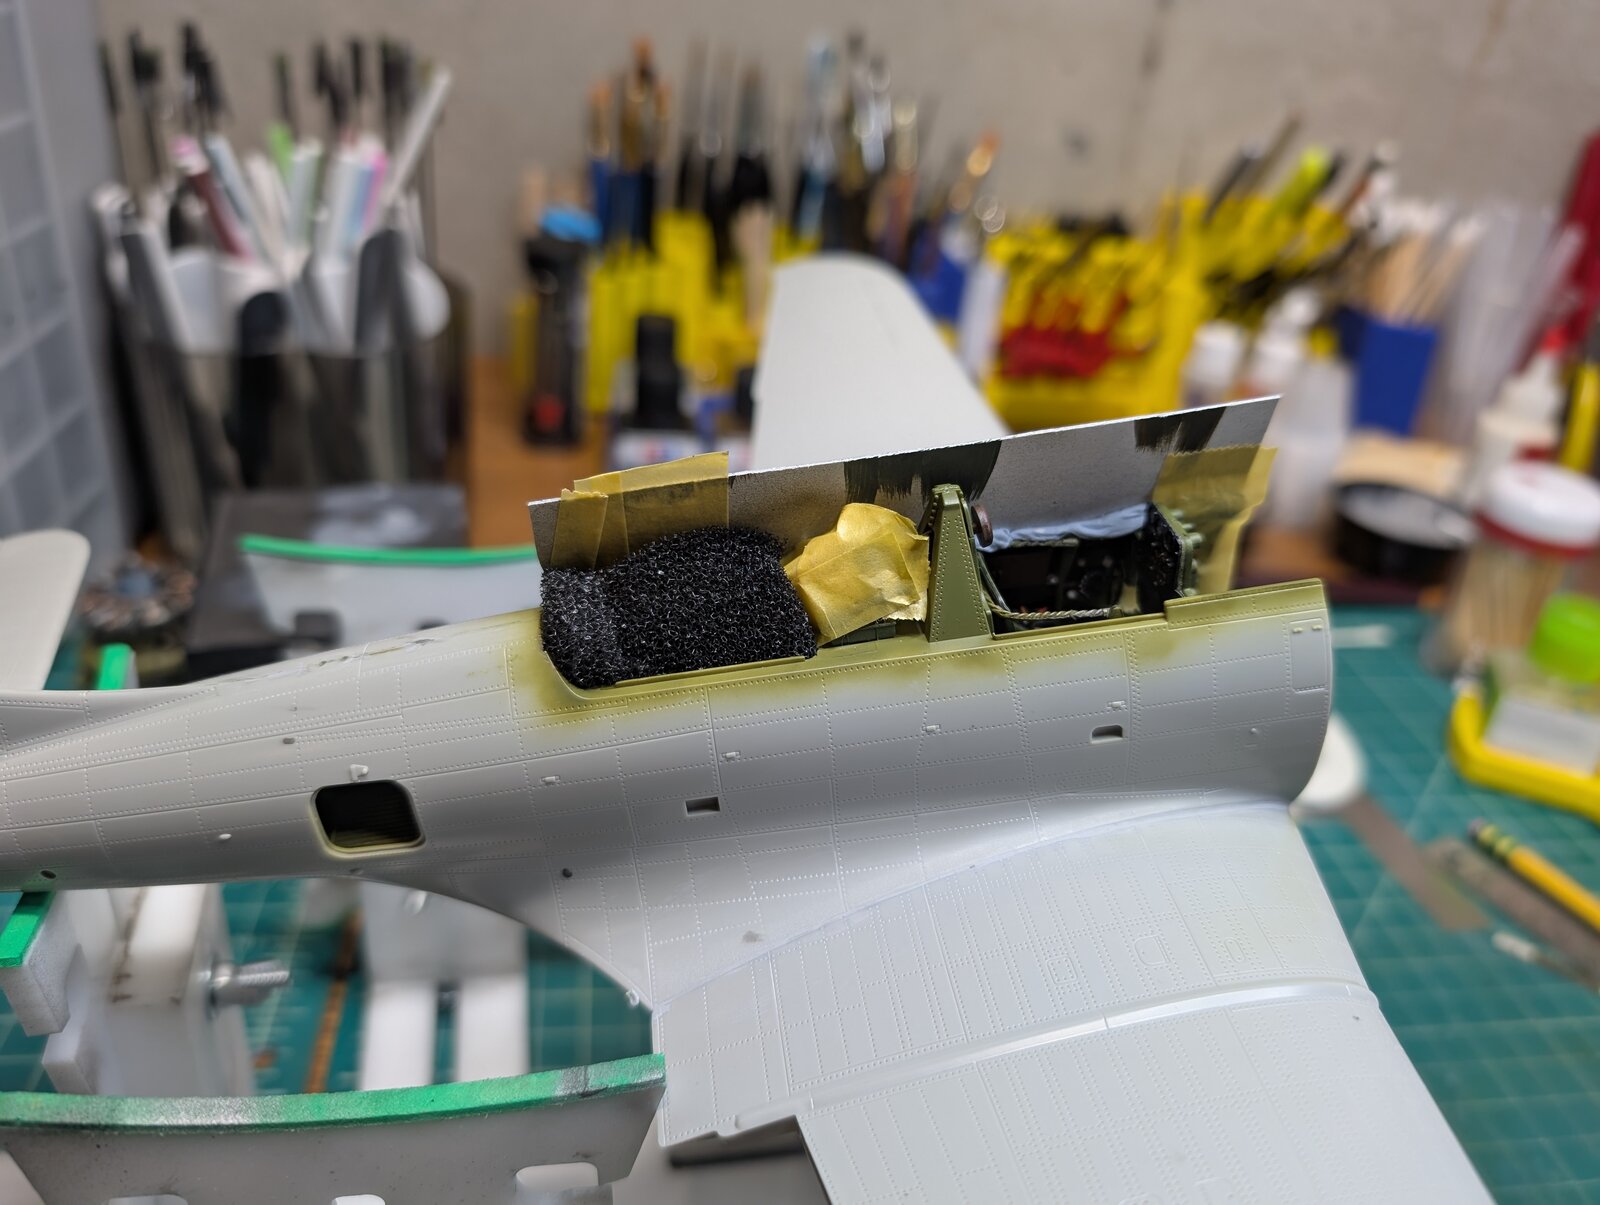
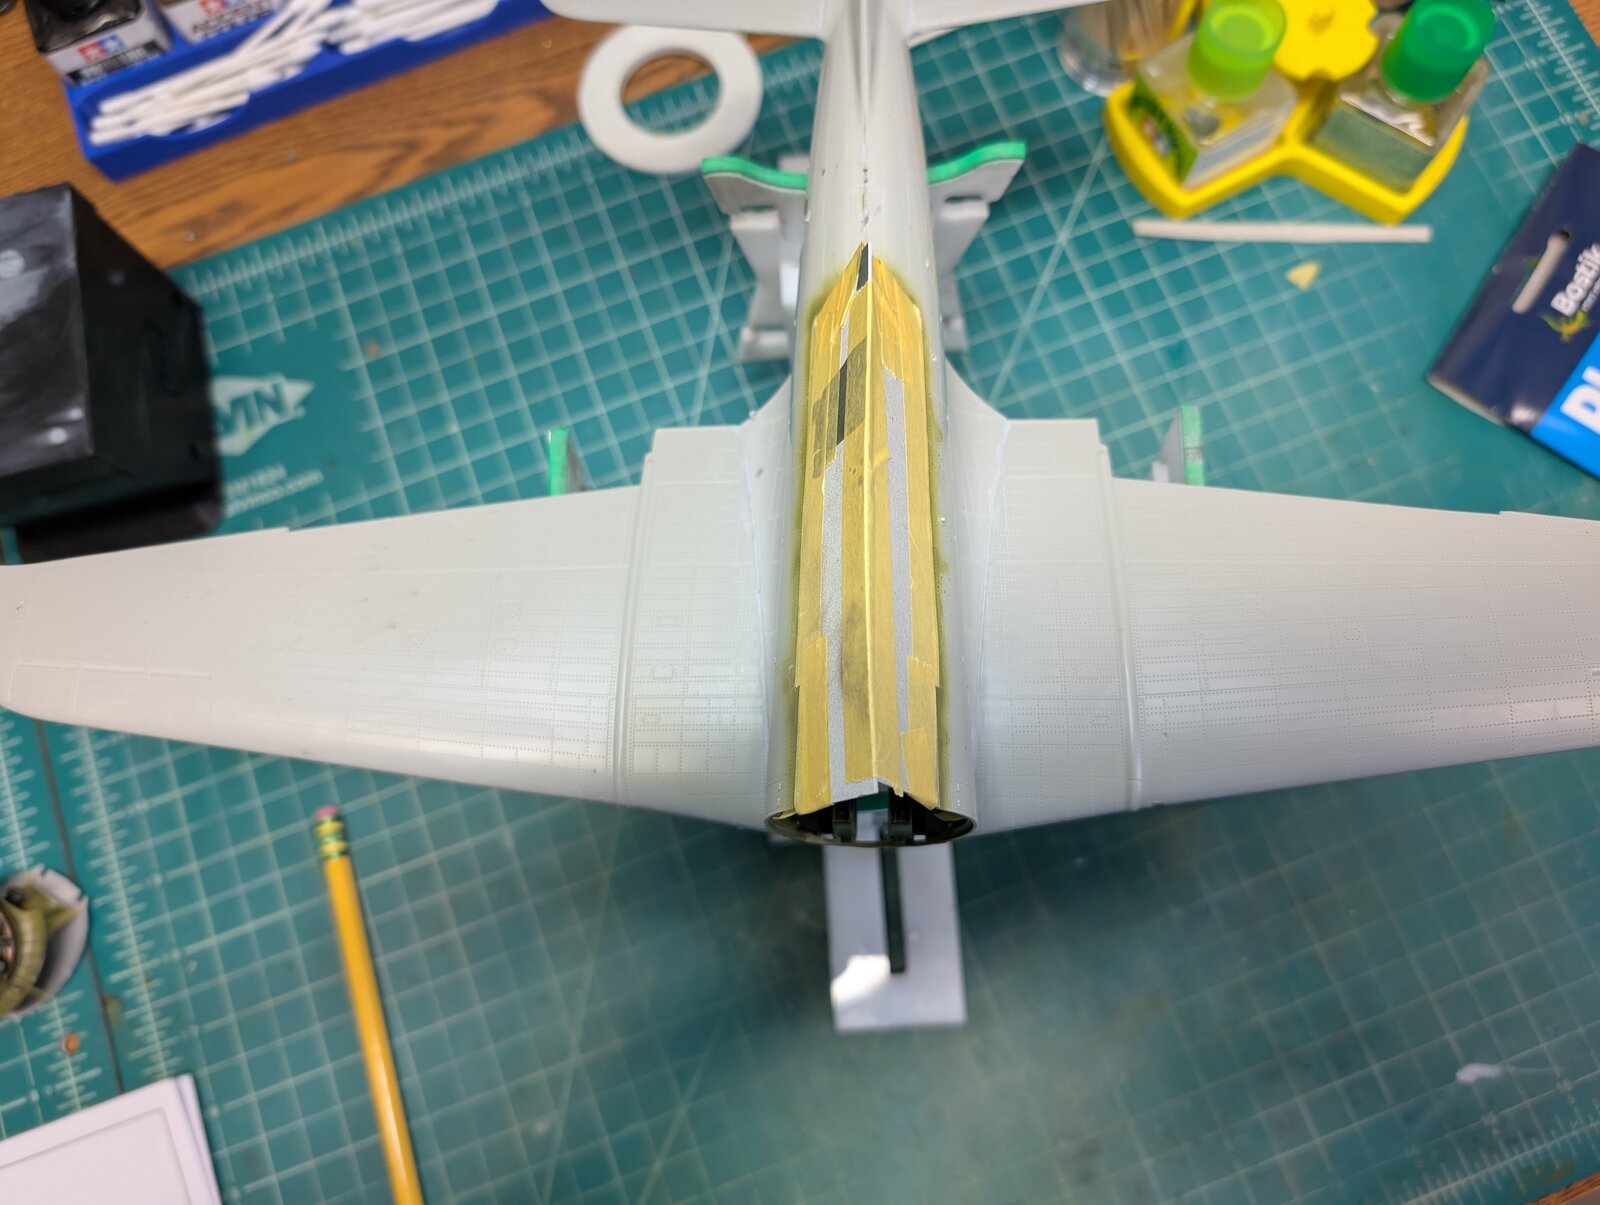
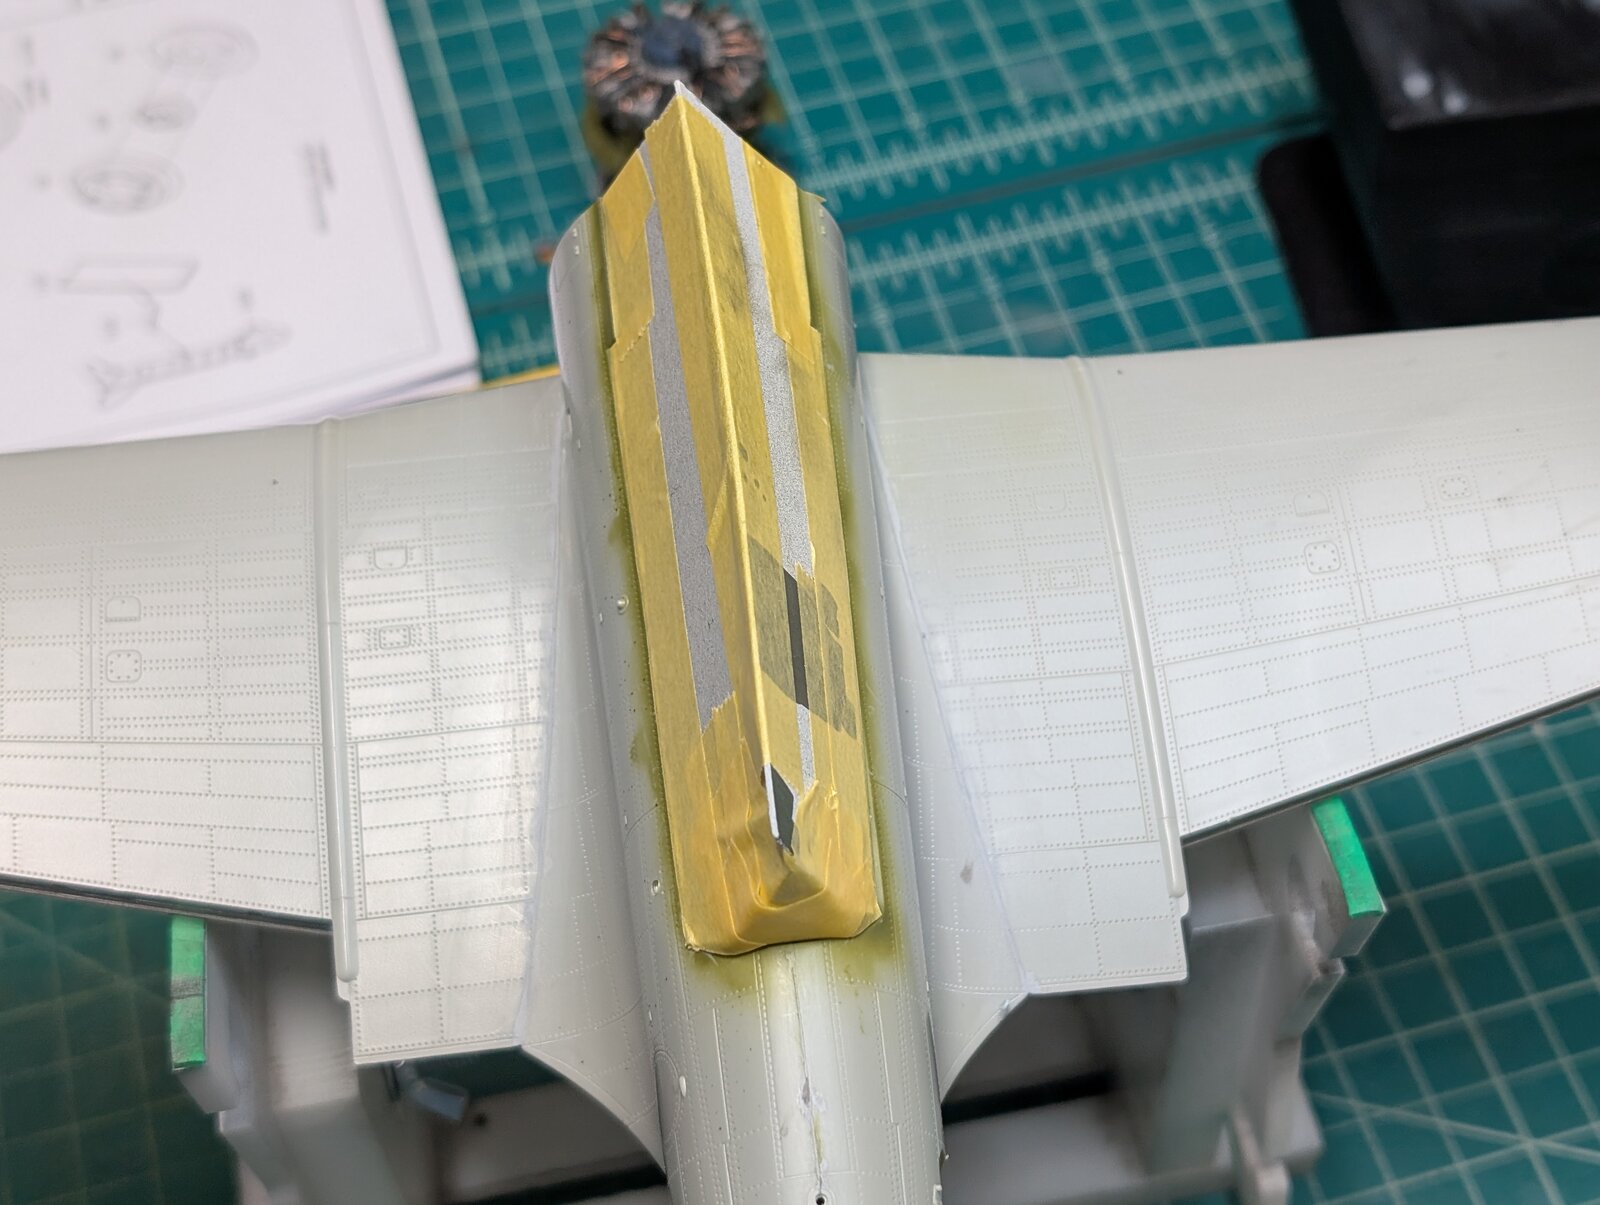
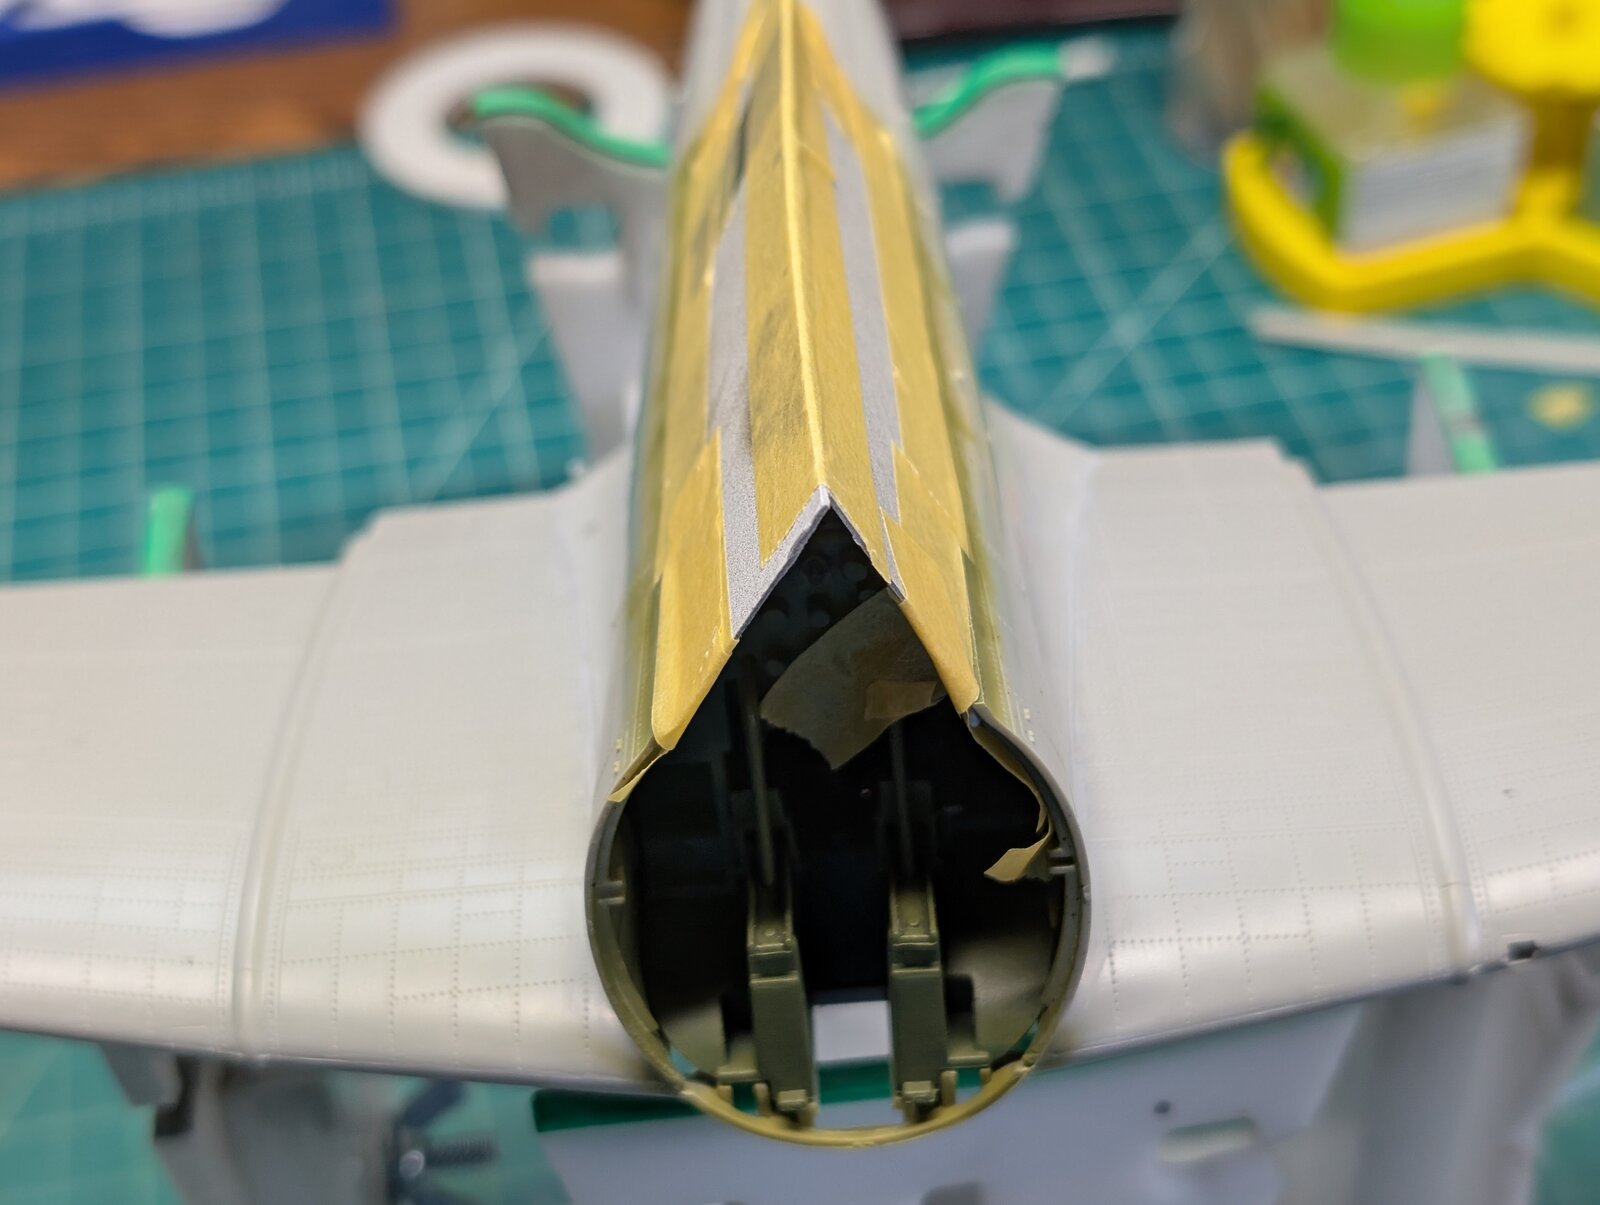
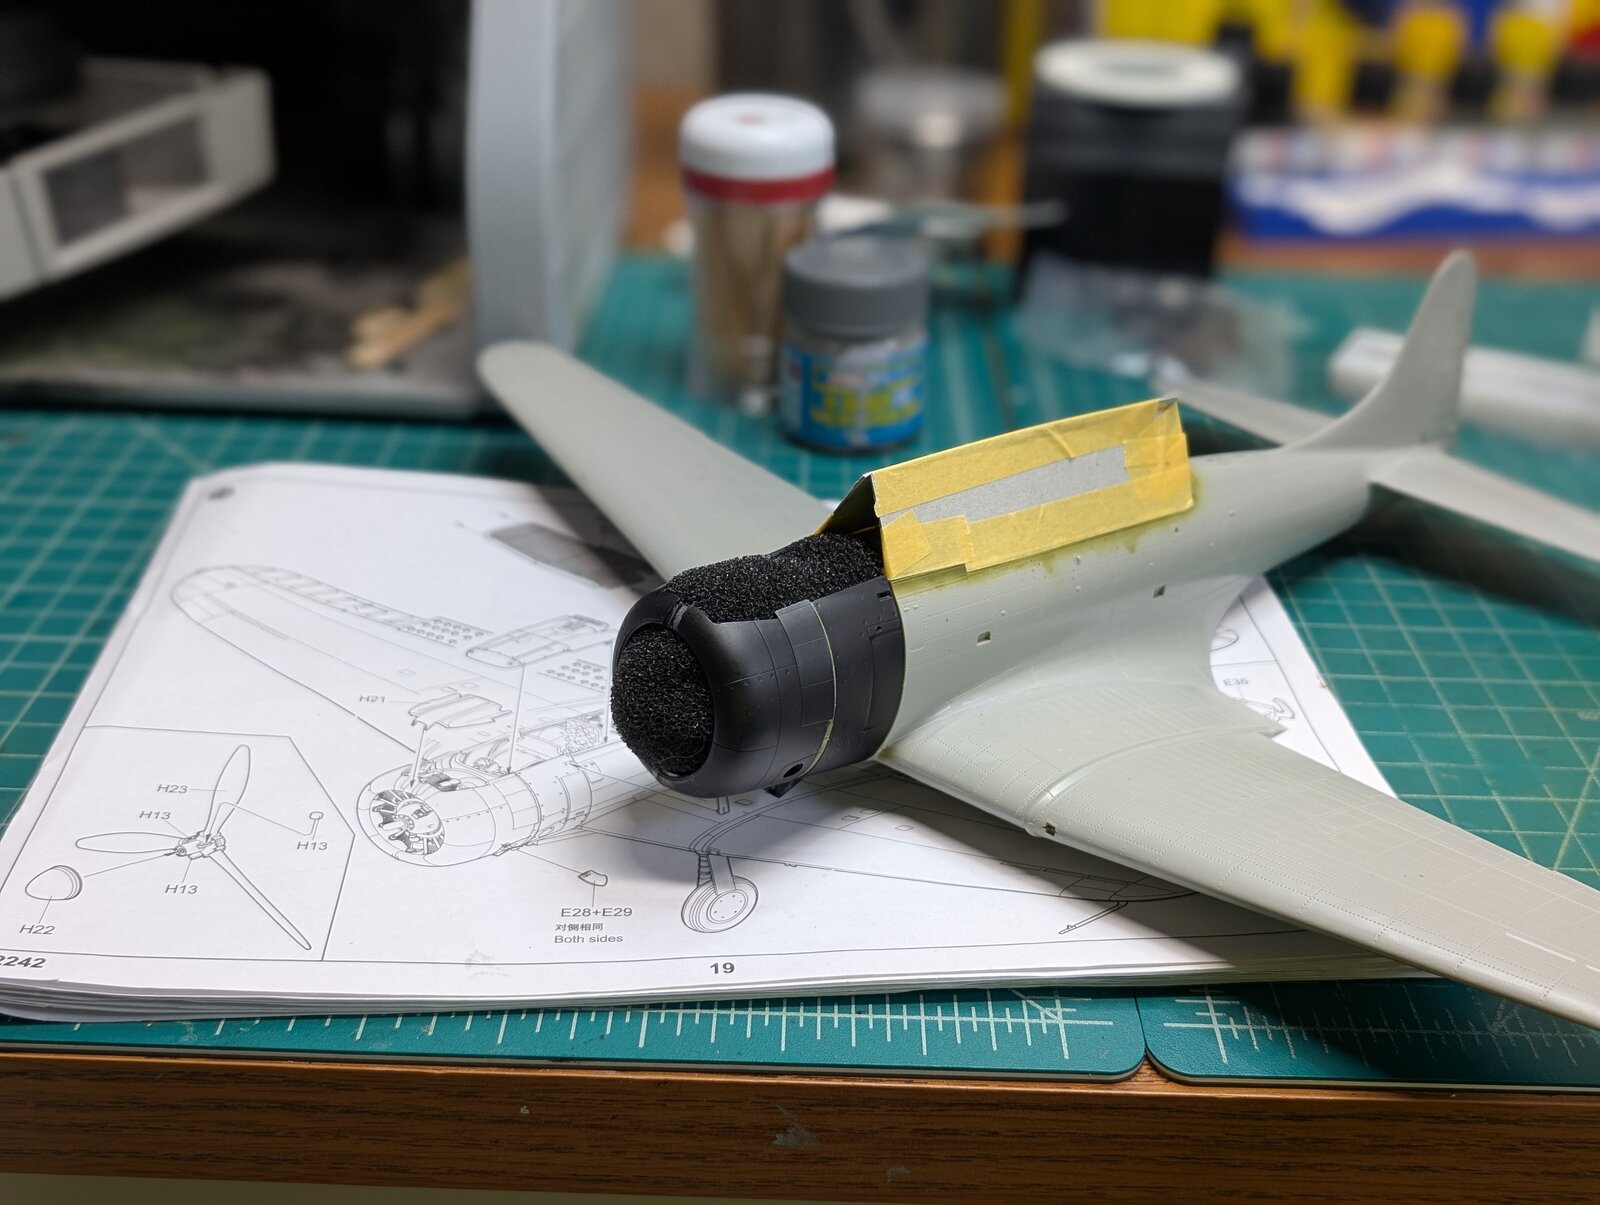
I am checking back in with a small bit of progress on the SBD Dauntless 3 . I finished the attachment of the horizontal stabilizers and the mild seam gap at their junction with the fuselage. Once filled with Mr Surfacer 500 and 1200, removing the excess with rubbing alcohol and finished with some fine grit sanding. Once the rudder and horizontal stabilizers were attached and seams filled with excess removed with rubbing alcohol attention was directed at fine spraying of the cockpit edge and pilot seat support wall with Mr Color C351 zinc chromate. Once dried my attention was next directed to cover up the cockpit for future painting. I spent a lot of time trying to figure out how to do this. No room for any purchase for masking tape on the inside of the cockpit walls. So I came up with a idea. I measured and carefully cut out two pieces of thin cardboard to match the outer surface of the cockpit margin. I held the first piece in position with blue tack adhesive puddy followed by small pieces of Tamiya masking tape on the interior surfaces of the cockpit and cardboard. The rear of the cockpit was filled or gently stuffed with thin pieces of foam to abut to the curved rear margin of the bombers cockpit. Then a second piece of cardboard was attached to the other side like the previous one. All in all after about 90 minutes of fiddling I git pretty good margins all around. Further masking tape on the outside of the cardboard seemed to add the needed structure. Hope it works, if so it could be a good plan for future builds when needed.

Well that's all for now. Much work to do will keep you posted as the steps unveil themselves.

Let me know your thoughts
All the best Gary
Docsudy
PXL_20250622_184926627.jpg
PXL_20250622_184937152.jpg
PXL_20250622_184943895.jpg
PXL_20250622_184948638.jpg
PXL_20250622_184958545.jpg
PXL_20250622_230228057.jpg
PXL_20250622_230243004.jpg
PXL_20250622_230304822.jpg
 
Ooooh!

I've wanted a slow but deadly for years, want to build a Midway trio in 1/48 with SBD, TBD, and F4F. I have a single box with a similar trio from the IJN from Pearl Harbor. The two combos would deserve their own shelf in the cabinet.

Your work is outstanding, please keep updates coming!
Thank so much ,coming from such an experienced modeler such as yourself means a lot !!
Docsudy
 
your thoughts
Wow Gary, very much enjoying following along.
Amazing attention to detail and I really like your paint work.
I haven't built planes, or used an airbrush, but watching you guys is a blast. Hopefully some of your fine work will register if and when I ever move into airframes!
Keep it coming!
 
Wow Gary, very much enjoying following along.
Amazing attention to detail and I really like your paint work.
I haven't built planes, or used an airbrush, but watching you guys is a blast. Hopefully some of your fine work will register if and when I ever move into airframes!
Keep it coming!
Barleybop
Thank you so much. Your kind words mean a lot to me. Please keep following,it is indeed an honor
Gary
Docsudy
 
Really beautiful work! Painting is incredible, and I was especially impressed with the seat stiching on the gunners seat back... that really jumped off the page at me. Your work is inspirational. Thank you for sharing!
 
Really beautiful work! Painting is incredible, and I was especially impressed with the seat stiching on the gunners seat back... that really jumped off the page at me. Your work is inspirational. Thank you for sharing!
Thank you so much for noticing. Your comments really mean a lot to me.!! I am trying to encompass all the terrific work and techniques done by others into this build. So slow and steady is my key for now. Please keep watching and your comments and suggestions are always welcomed.
All the best
Gary
Docsudy
 
Phenomenal work!, especially the cockpit painting! And your insights on the build method will be very helpful to others.
Thank you so very much. I have learned so much from others on this and other forums and now trying to bring them into to my own with this build. Please keep watching. Means a lot to me !!!
Gary
Docsudy
 
Hello again.
I had a little time to return to the bench and work on the dauntless. I thought I would show a little of my progress.
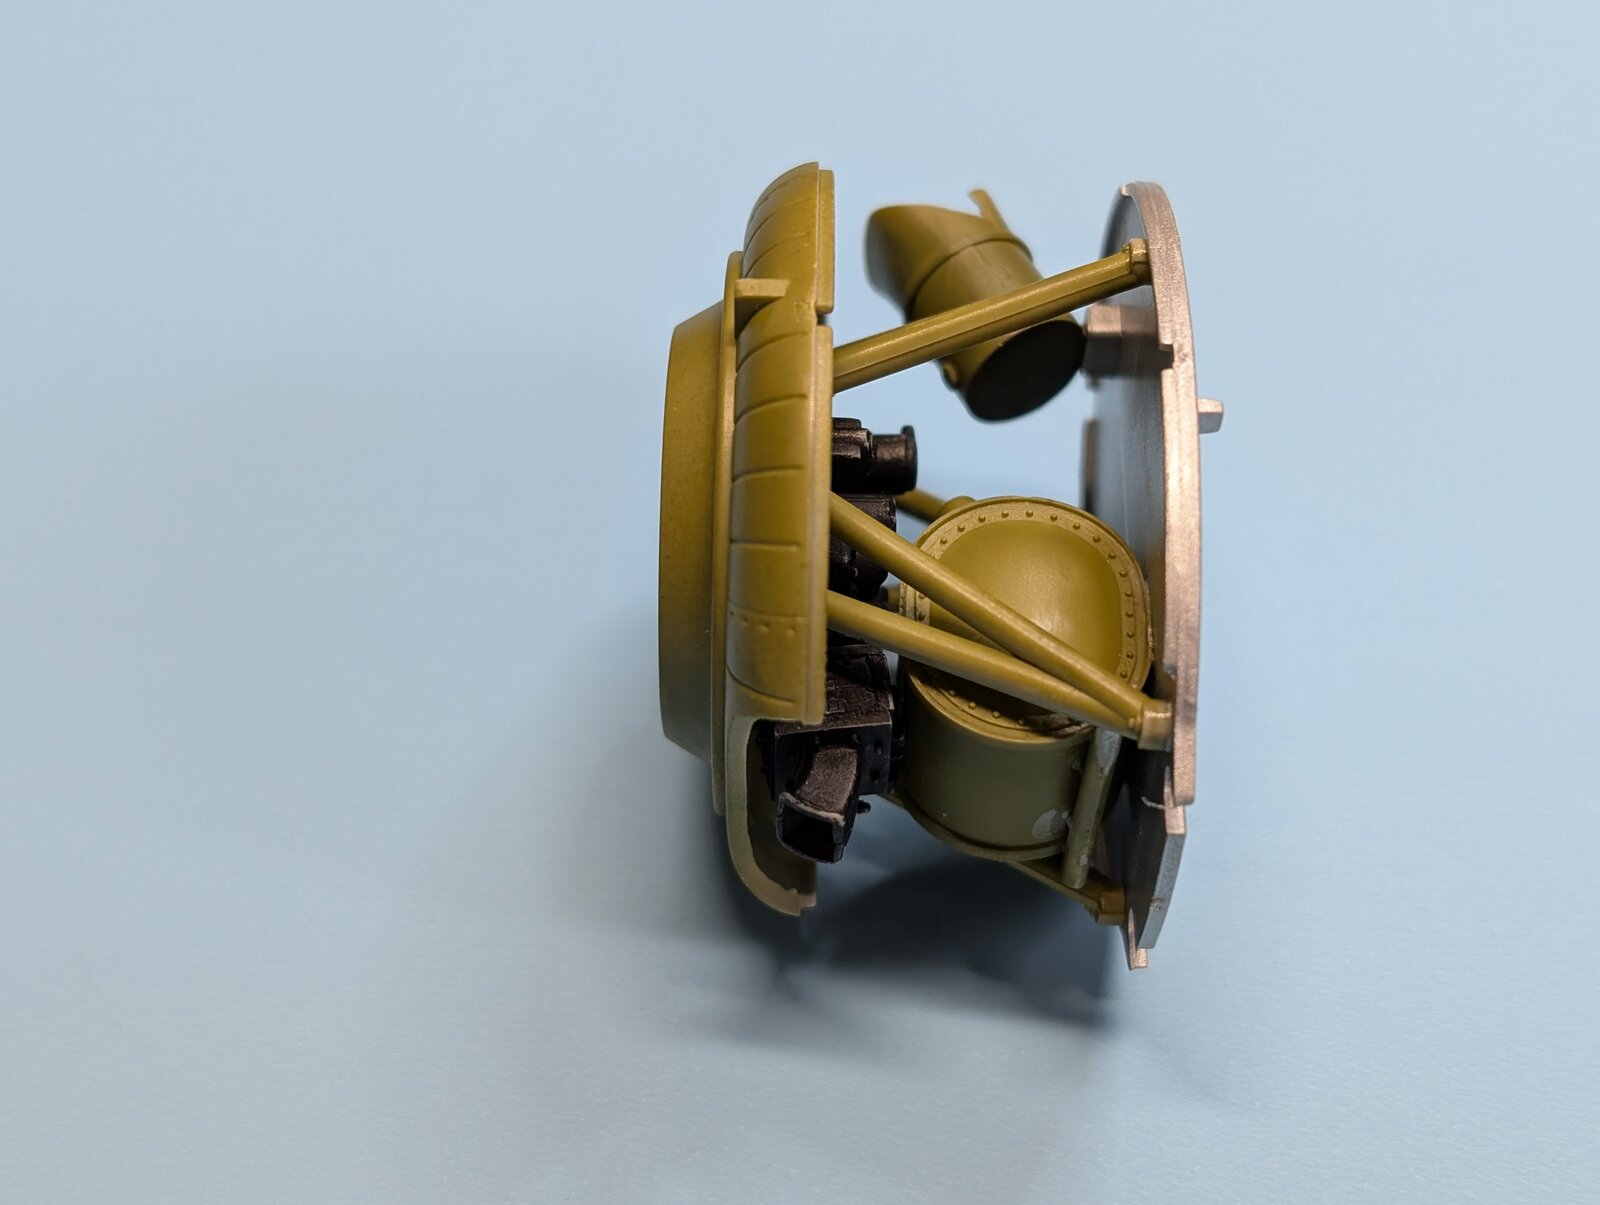
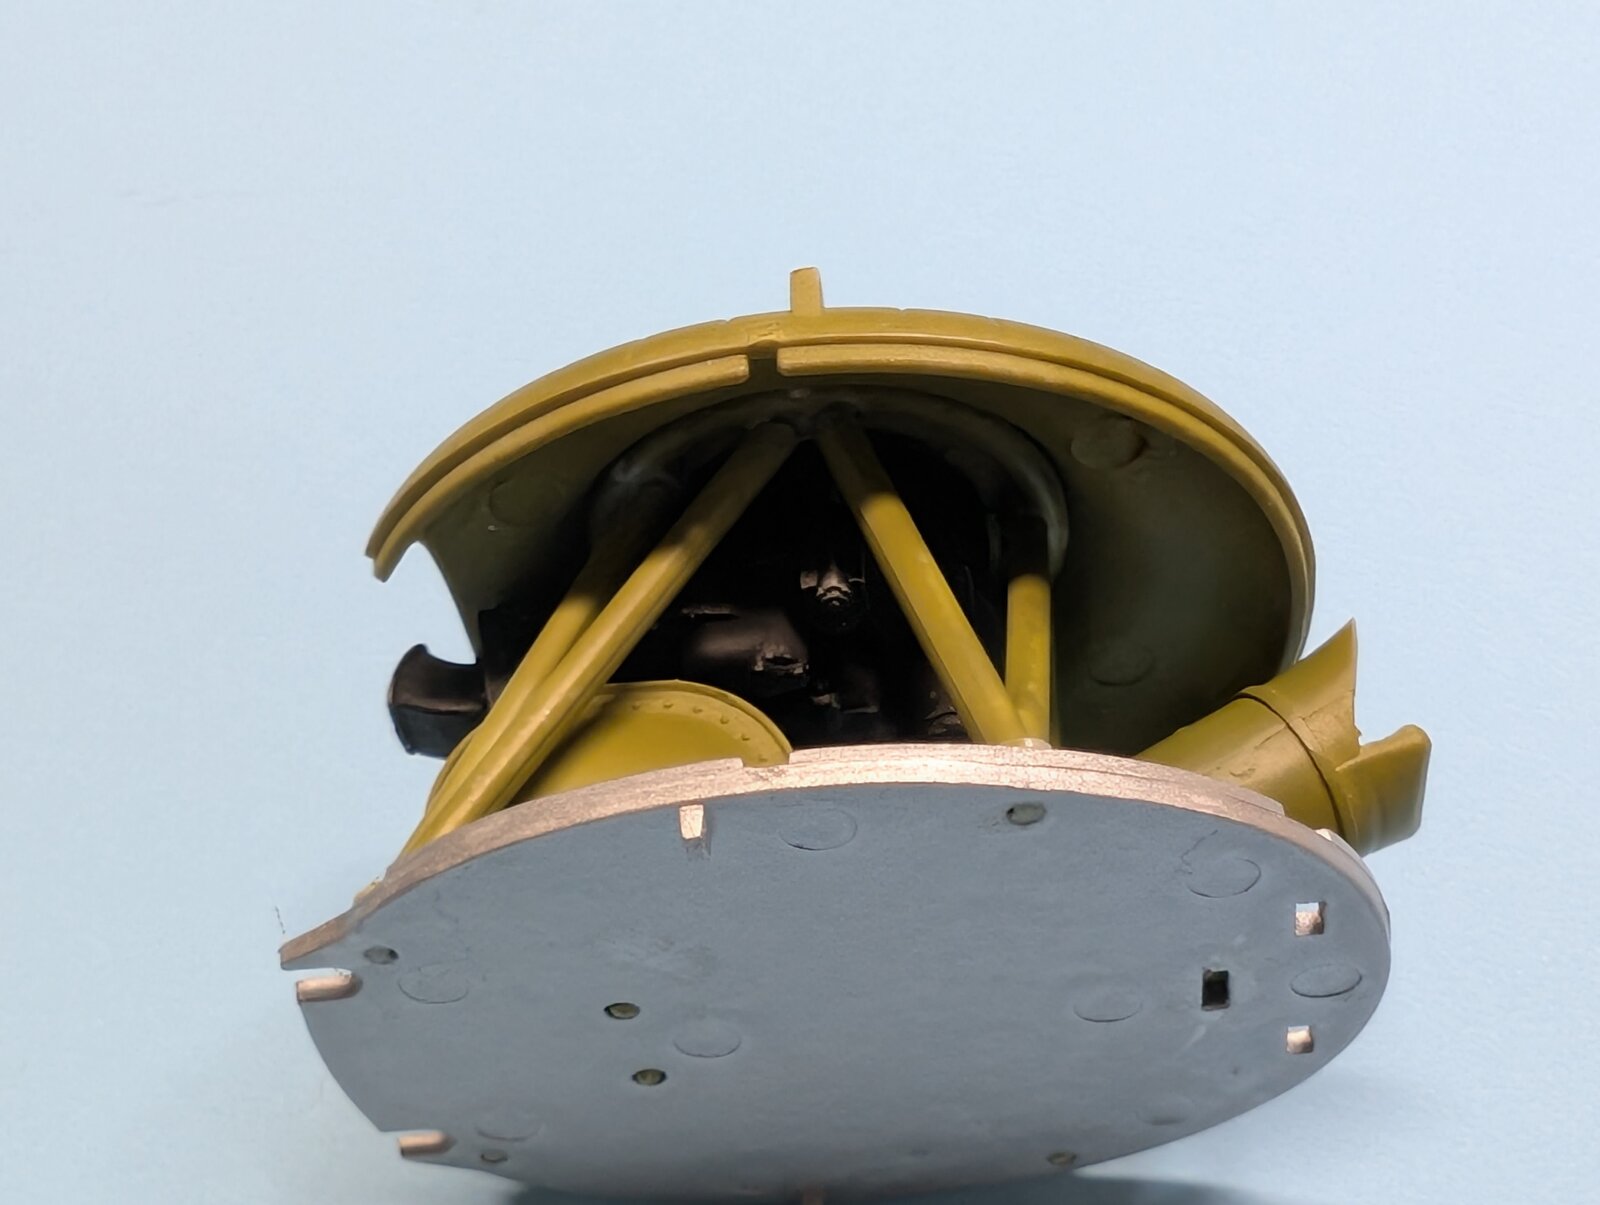
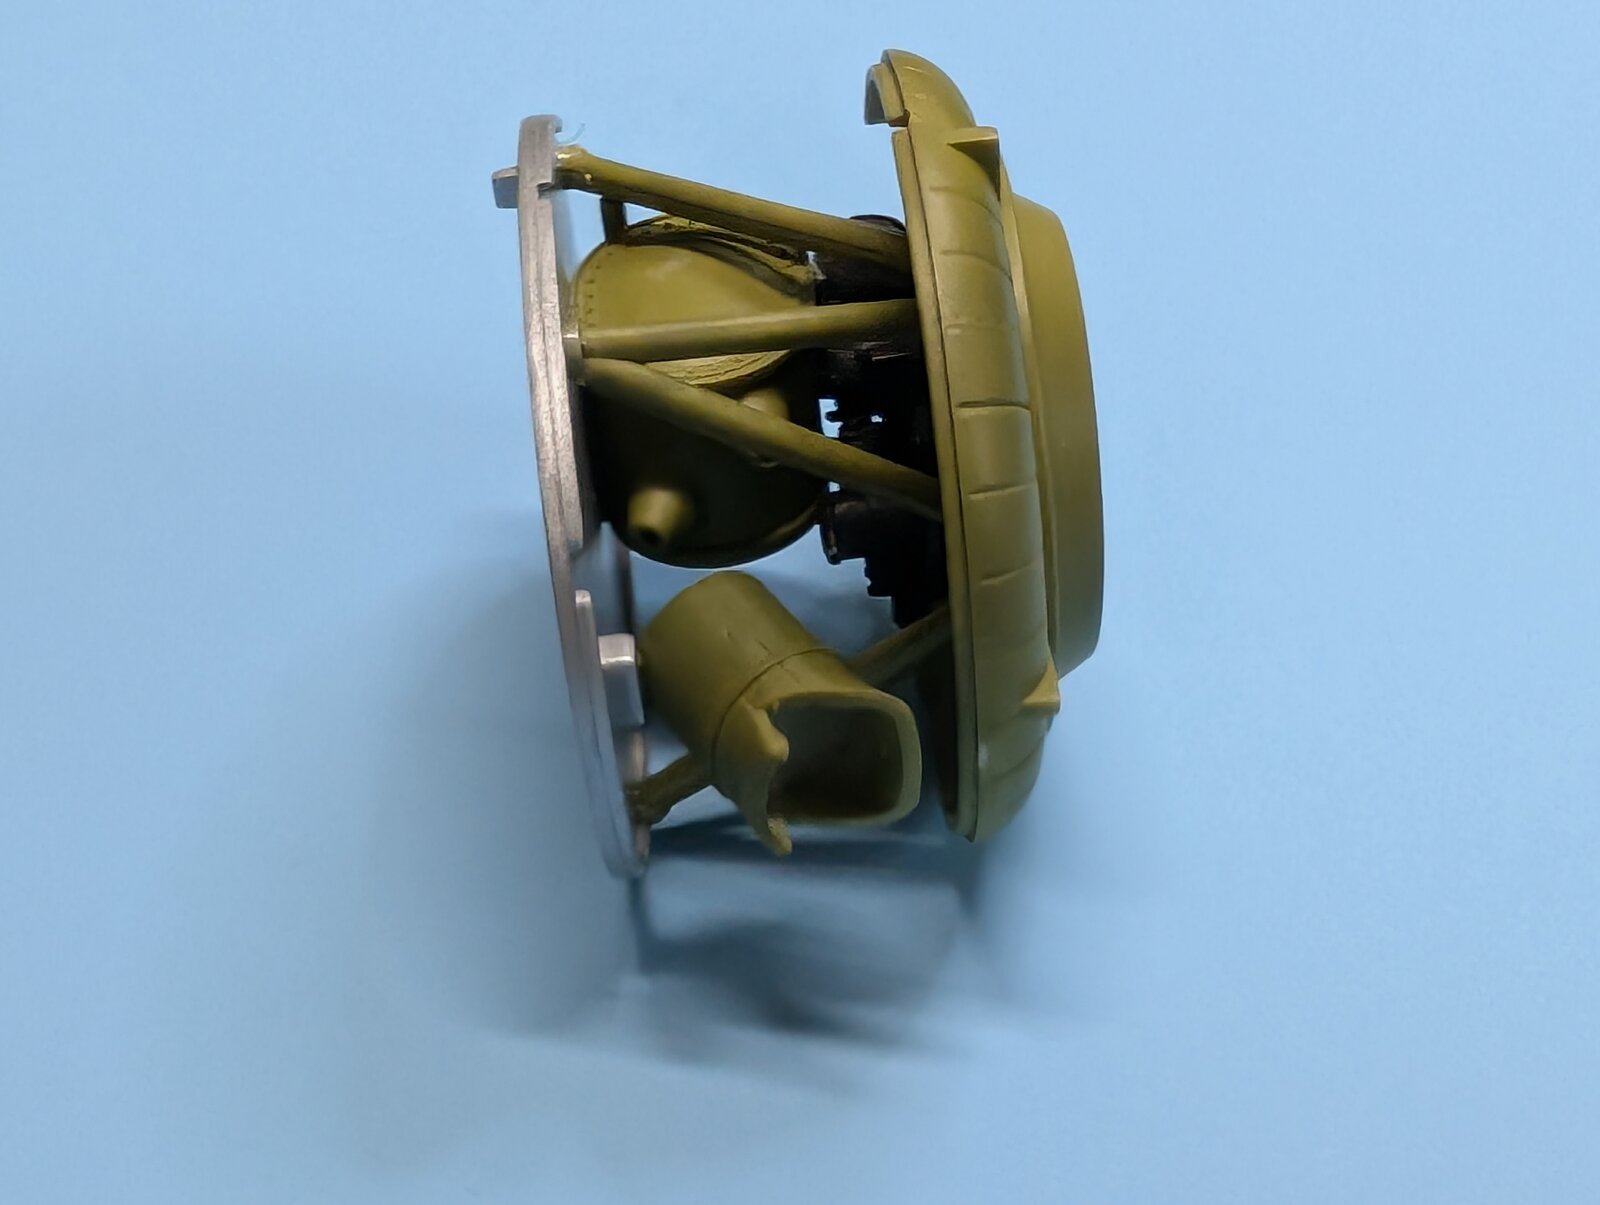
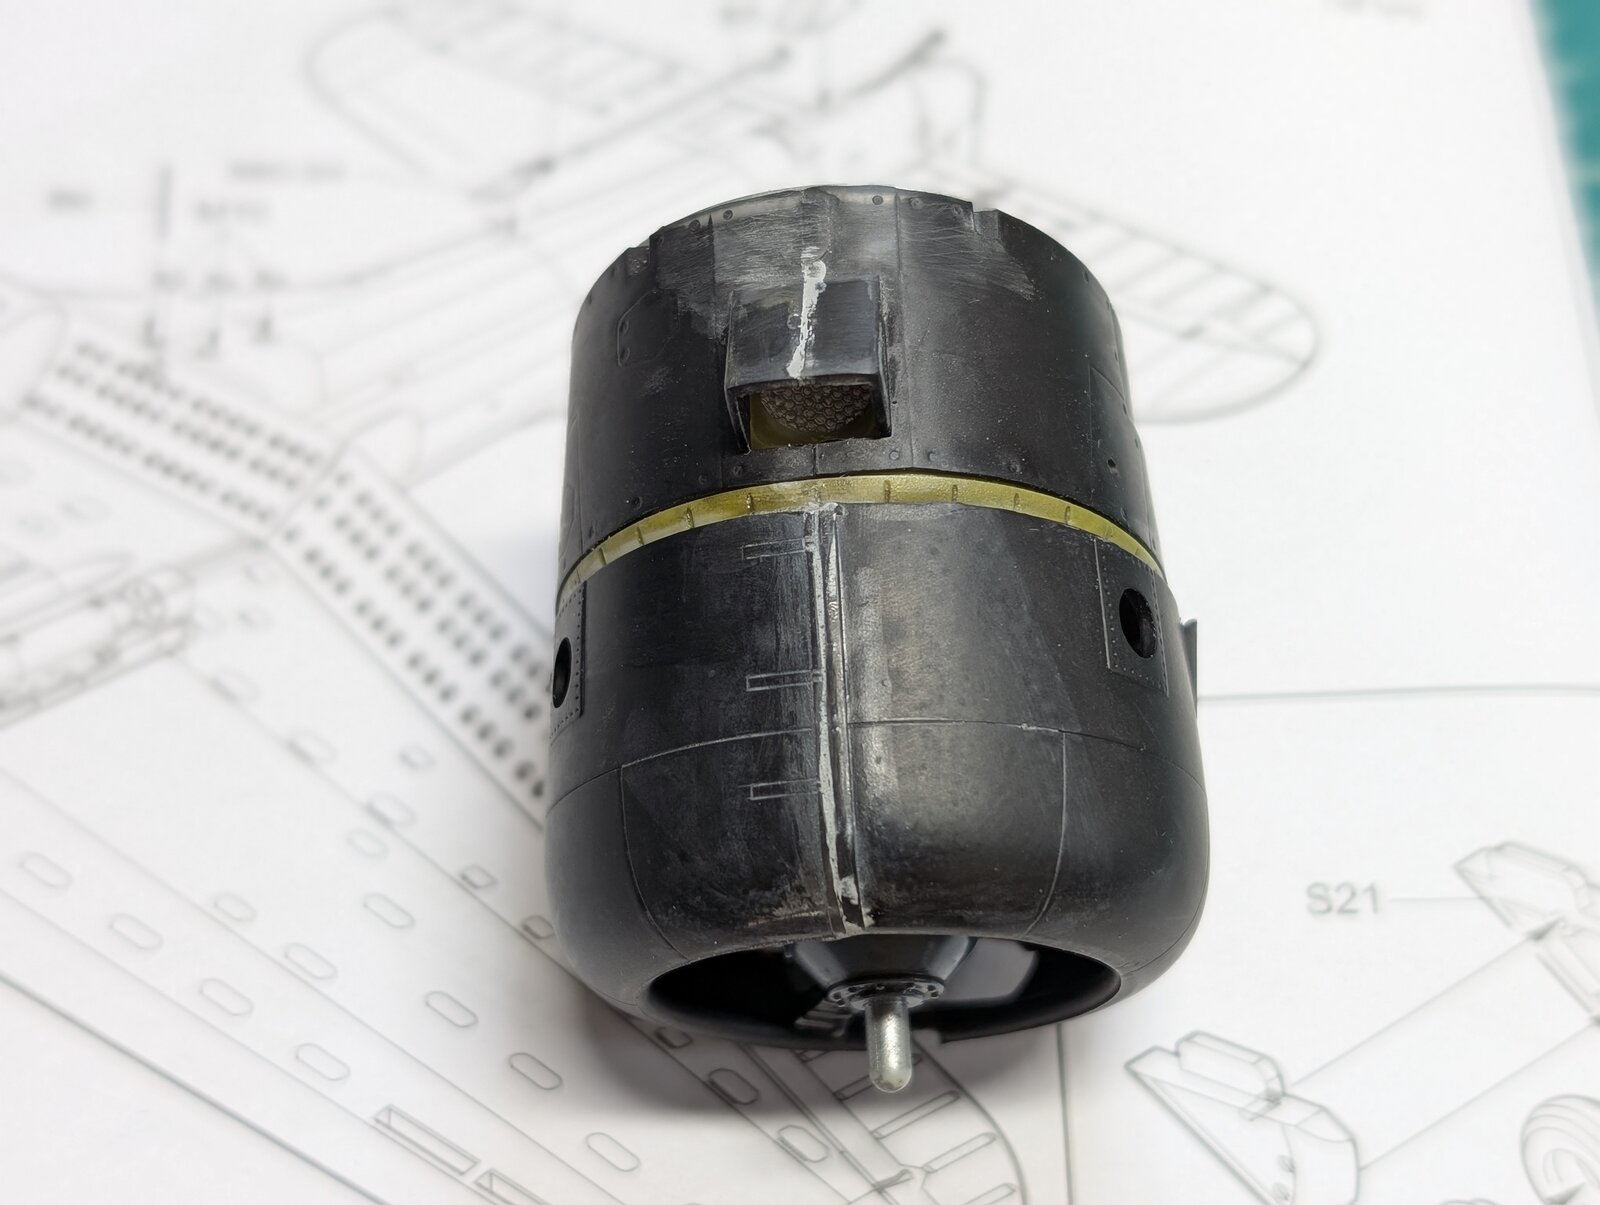
I directed myself to installing the cowling onto the radial engine and its support structures. Once again Trumpeter is a far cry away from the accuracy of its instructions, diagrams and general fit when compared to Tamiya kits. After spending time trying how to correctly mount the radial engine on to its support plate I thought I had it correct. Once I glued the engine on to the backing plate, fitted the side cowling plates together and looked at the whole engine structure I seemed rather please with myself. However, It wasn't until I put together the front cowling pieces together and tried to attach them to the engine I realized I mounted the engine 45 degree the wrong way so the main exhausts would not line up with the holes in the cowling ( LOL!!!!). I blame once again my inexperience and Trumpeter's poor drawings in this matter.
PXL_20250624_200601519.PORTRAIT.jpg
PXL_20250624_200617893.PORTRAIT.jpg
PXL_20250624_200624092.PORTRAIT.jpg
PXL_20250625_162318793.PORTRAIT.jpg


However all in all the engine structure looked really good to me and was not worth destroying all that detail just to make it structurally correct. In addition once the the front cowling pieces were assembled and glued to the rest of the housing I realized no one could see the exhausts and I would glue external exhaust pipes coming from the engine and no one would notice the difference. Only you guys will know !!
all the best
Gary
Docsudy
 
Last edited:
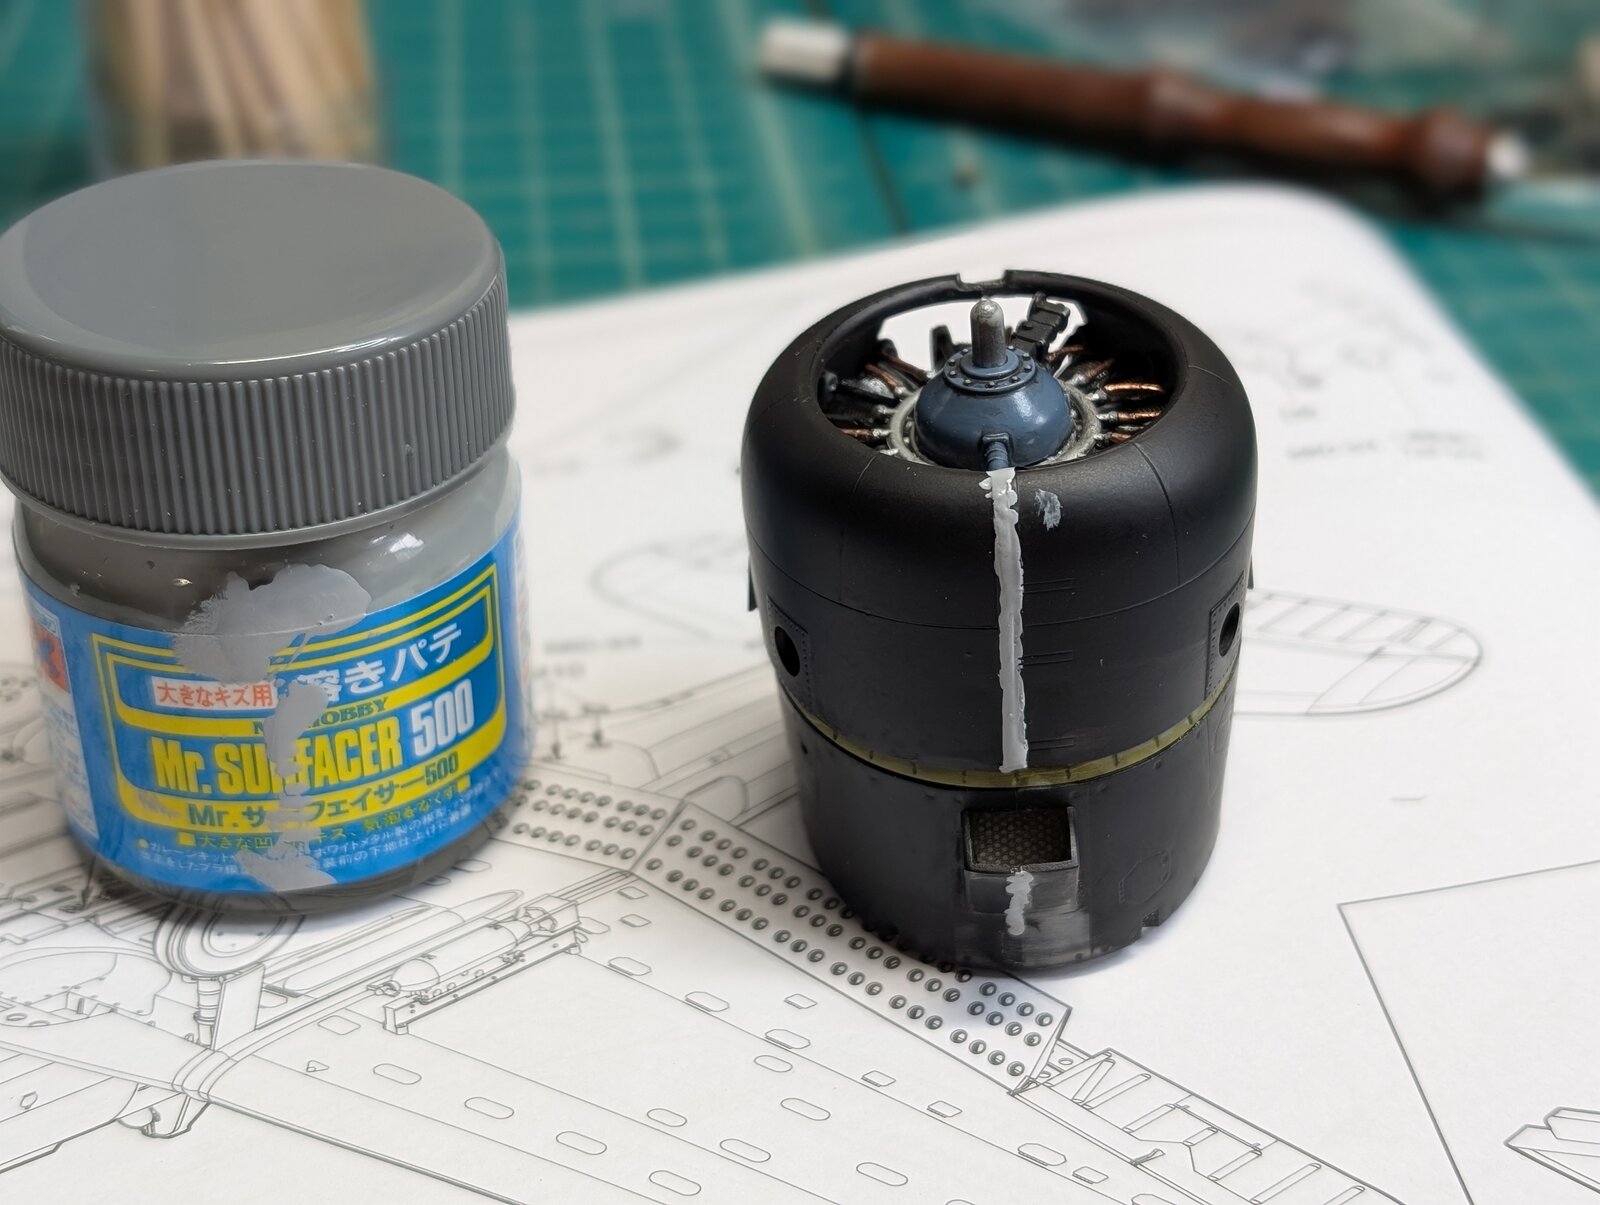
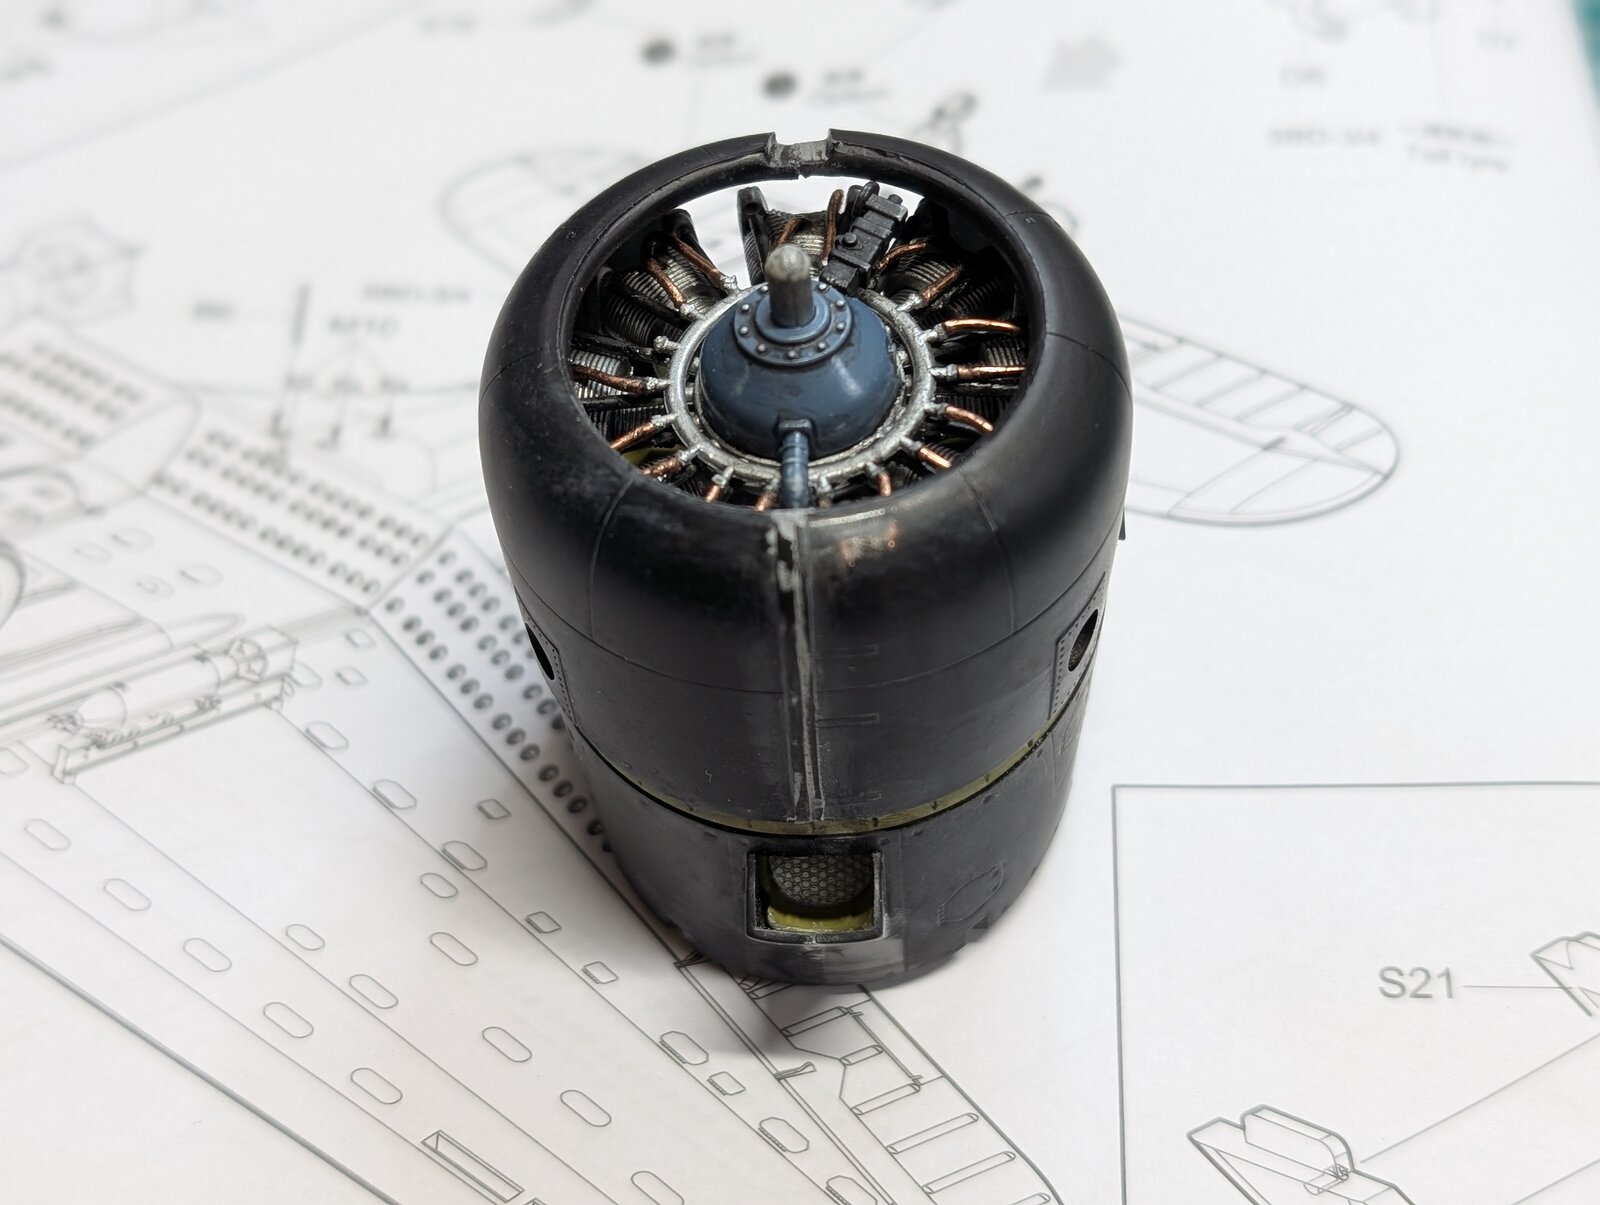
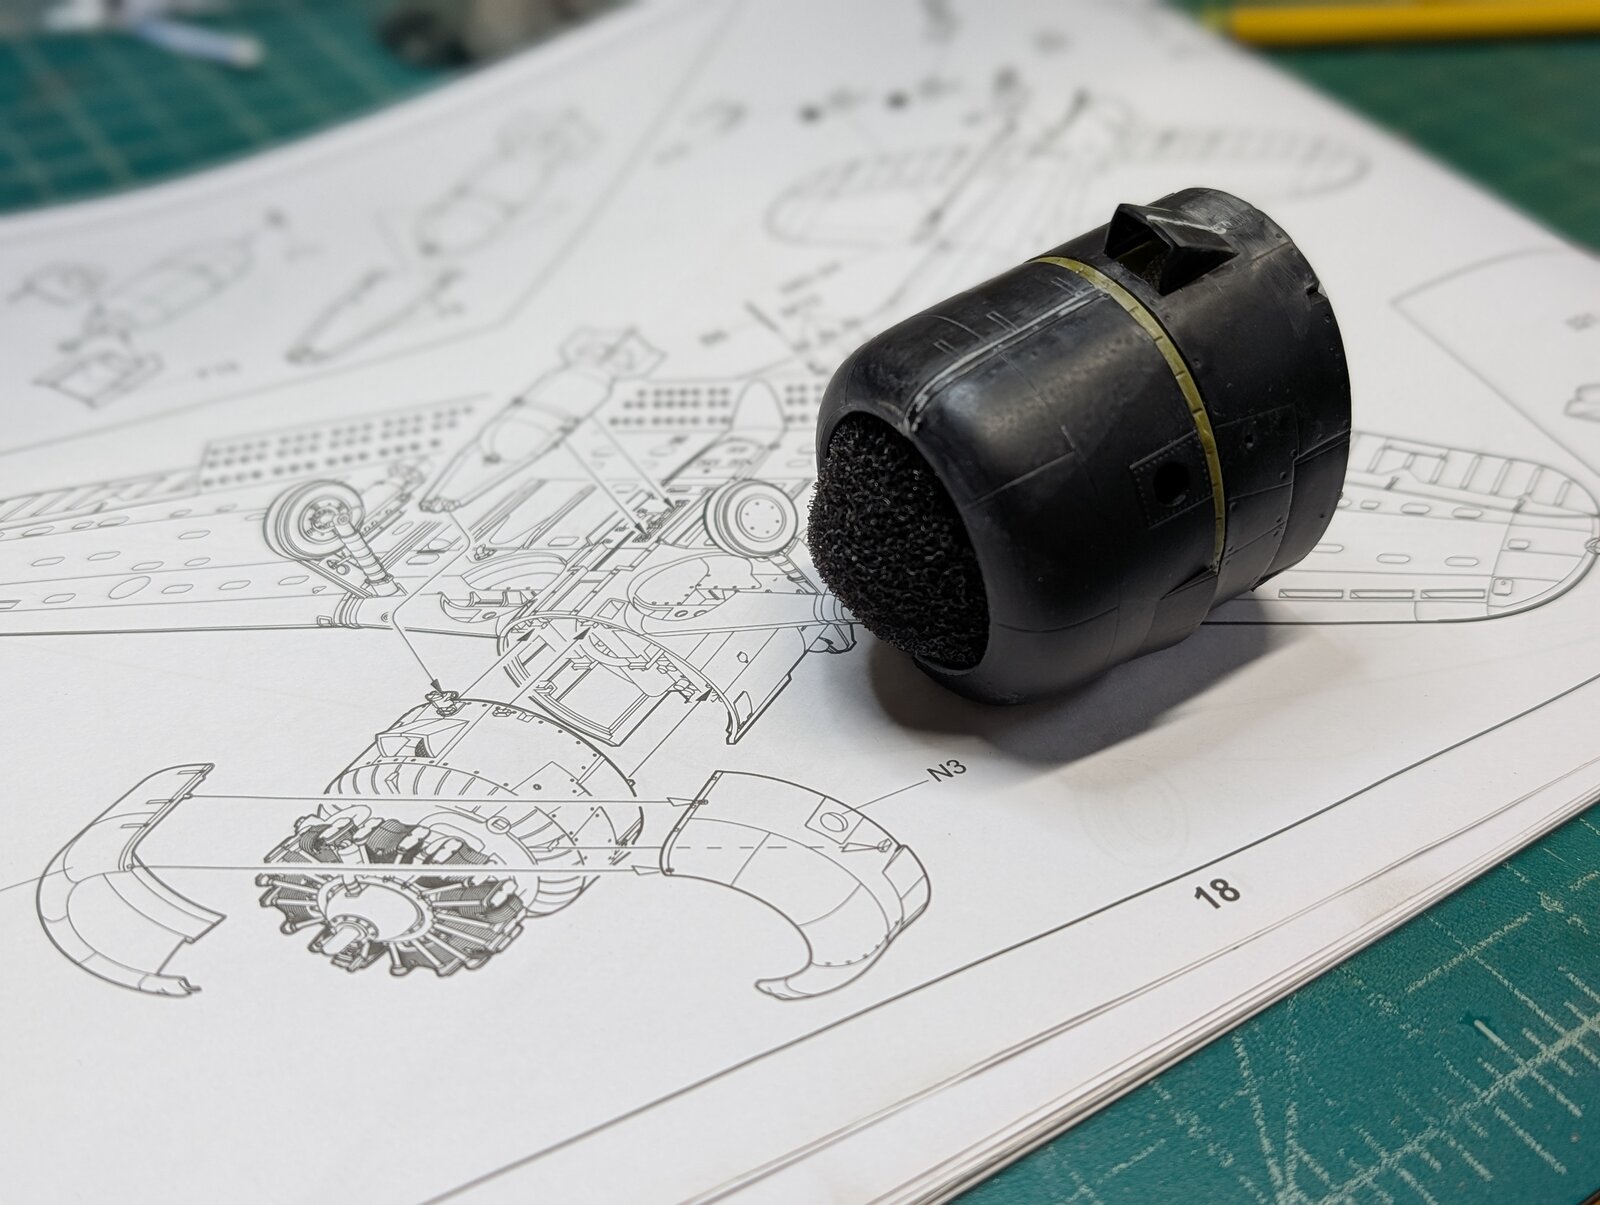
So after a short break I returned to the bench and looked at the engine structure and notice I need to fill the cowling seam. So out came Mr. Surfacer 500 , fine brush and filled the seamed.@0 minutes later out came Mr. Hobby thinner /leveler and isopropyl alcohol and took off the excess. A little fine grit sanding and I think I was done and ready to prepare for priming .
PXL_20250625_162858057.PORTRAIT.jpg
PXL_20250625_164853176.PORTRAIT.jpg
PXL_20250625_164904403.PORTRAIT.jpg
PXL_20250625_164910765.PORTRAIT.jpg


All the best
Gary
Docsudy
 
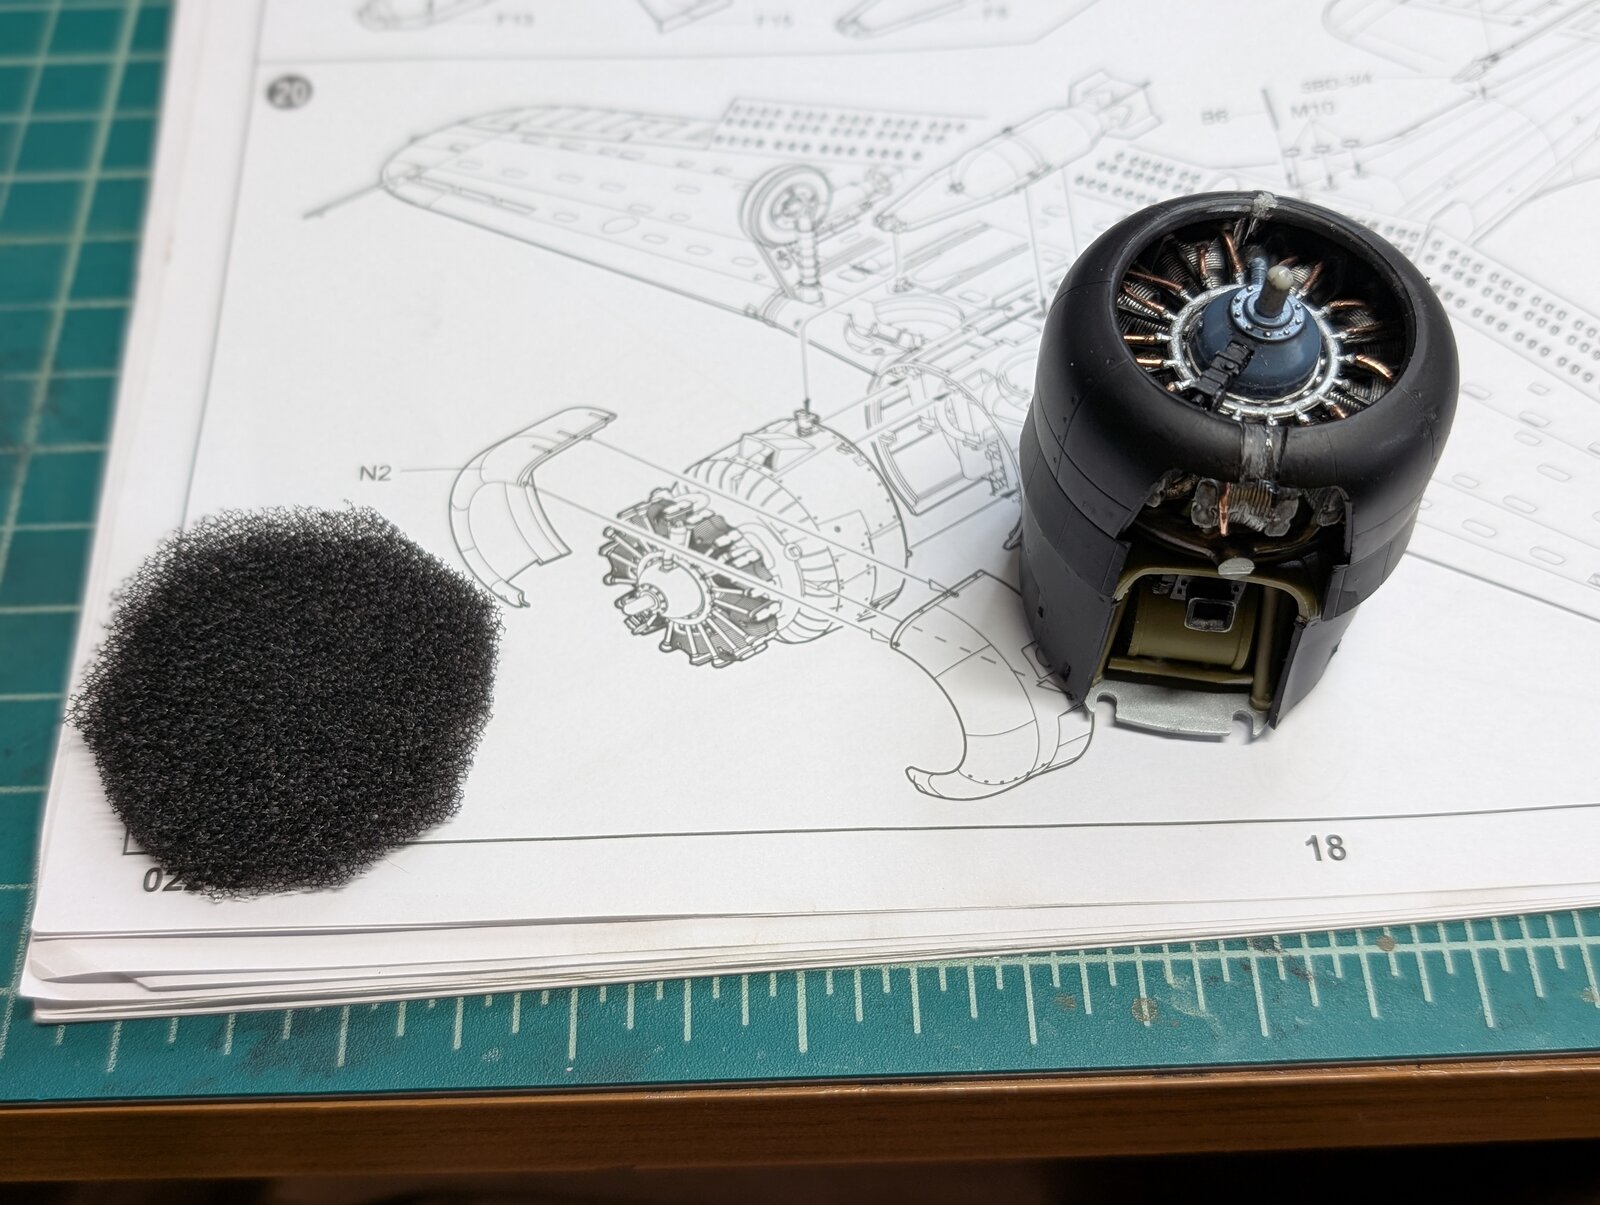
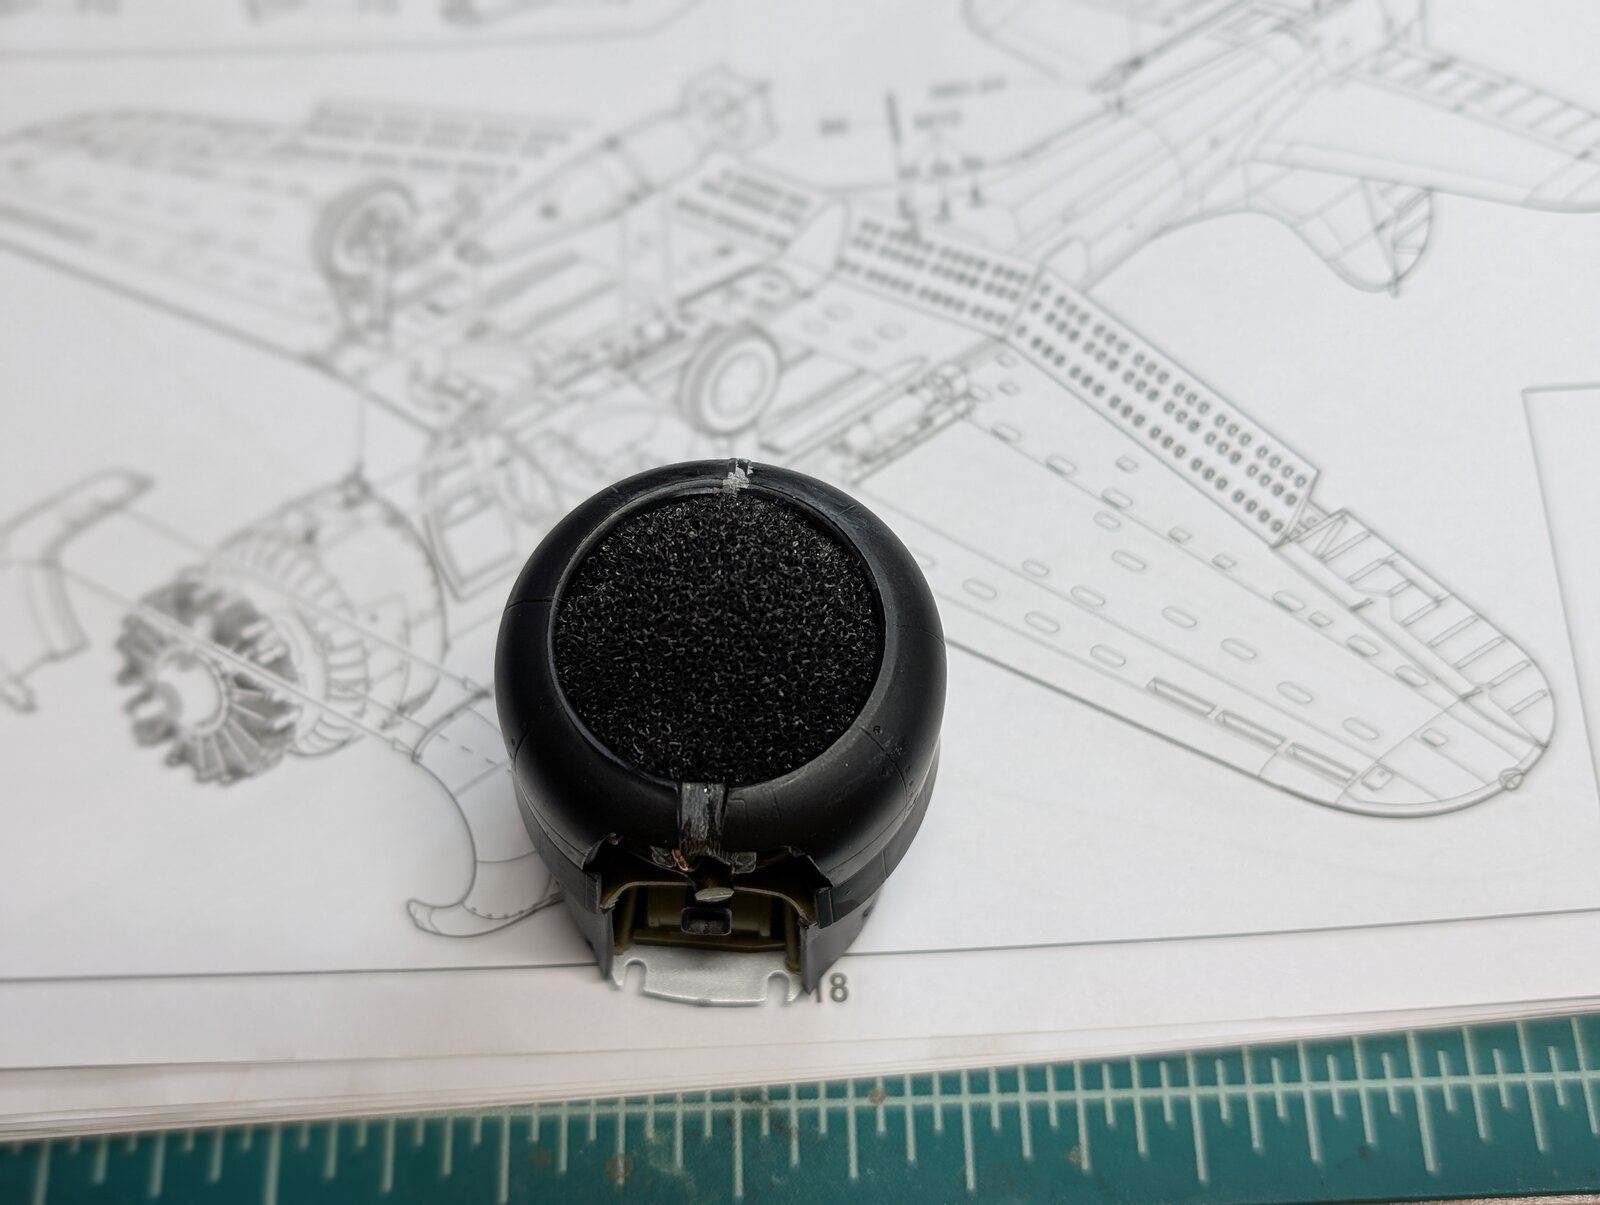
I realized I wasn't quite finished with the engine. I now needed to protect all that nice detail I did from wiring the engine. I have seen many people attack this problem in several different ways. Tamiya masking tape always seems the simplest and some times is. I have found after 40 years of being a physician , the simplest route isn't always the best route. Some time there is no room for tape to have a purchase, other times it pulls off over time or it can have an incomplete seal often at rounded margins. Now many of you who are far more experienced than I have techniques which you employ with varying degrees of success. I once saw a experienced modeler post in a forum the use of thin foam sheets cut to specific shapes then literally stuffed into position making a nice seal with the margin of the cockpit or opening ( in this case the front opening of the engine) and does a nice job in protecting the part which is covered by the foam from future spray painting with the airbrush.
I show a few pictures
PXL_20250625_165156051.PORTRAIT.jpg


PXL_20250625_165303185.PORTRAIT.jpg
PXL_20250625_165317548.PORTRAIT.jpg
PXL_20250625_171258626.PORTRAIT.jpg
of what I did for those not familiar with this little technique.

Well that was all for today. Now on the small bits like wheels, landing gear, bombs etc.in preparation for lots of airbrushing to follow. I do plan on black basing this beast first, then giving it a two tone paint job with little post shading techniques. My hope is to give this bird some subtle tonal qualities to the paint scheme (remembering when Richard Best flew this plane the planes were essentially brand new!
All the best,
Gary
Docsudy
 
Last edited:
after 40 years of being a physician , the simplest route isn't always the best route. Some time there is no room for tape to have a purchase, other times it pulls off over time or it can have an incomplete seal often at rounded margins.
...some serious physician/modeler crosstalk going on there! ;) hope you were referring to the model and not a patient!
Seriously though, Doc, build looking great.
 
There are a few things that come to my mind about this build and Trumpeter models compared to Tamiya. The instructions on this model falls way short when compared to Tamiya's. The lack of detail and often very weak diagrams makes this build at times quite difficult. Secondly trying to get all the wonderful detailed parts of the front office together and then close the fuselage halves is very daunting!. Trumpeter uses these cross bars or struts to lock in and support the two halves of the fuselage. After about a good hour or so of frustration the answer came to me with the use of a delicate and measured use of my plastic snippers. Off went a strut or two and problem solved. ! The other challenge was in building the rear gunners' seat, harness and gun itself was again the lack of clarity in the instructions. Its a very fragile piece. I realized that if I glue it into to place now, it will certainly break off then masking off the cockpit prior to painting the bird
all the best
DocsudyView attachment 151330View attachment 151331View attachment 151332View attachment 151333View attachment 151334View attachment 151335View attachment 151336
You asked what we thought - I think I love it!
Steve
 
I realized no one could see the exhausts and I would glue external exhaust pipes coming from the engine and no one would notice the difference.
I would have done the same. This is one of the joys and frustrations of radial engines IMO. I had one where multiple exhaust ports had to come out within multiple openings in the cowl flaps, they fit, but they were not centered in those openings. I had to remove the end that connected to the cylinder heads completely and glue them into place where they'd fit those openings. No way to see the internal end was just floating in open space, you could only see the end that stuck out.

Thanks for the updates, it is looking great!
 
I once saw a experienced modeler post in a forum the use of thin foam sheets when cut to specific shapes then literally stuffed into position making a nice seal with the margin of the cockpit or opening
Dampened paper towels also work. Any of these "stuffing" methods do need to be removed as soon as you are done painting, or the paint can bond them to the model. They can always be replaced as necessary, later. (Learned that the hard way.)
 
Littlemarten:
Thanks for checking back in. Your support and encouragement are truly appreciated!! Your experience with dampened paper towel is a good one. While I am now expert in the matter I can tell you when using this foam technique in my experience of three builds ( assuming the foam is not too dense ) that the foam does not usually adhere to the model unless completely saturated or soaked in paint. I have left the foam in right up till then end when I am installing the cockpit glass with out any problem. I did have a problem in finding foam. Went to hobby lobby they had some and also found some foam on Amazon which is what I am using now!.

So now on to little bits and preparation for black basing then painting.
All the best
Gary
Docsudy
 
Last edited:
I would have done the same. This is one of the joys and frustrations of radial engines IMO. I had one where multiple exhaust ports had to come out within multiple openings in the cowl flaps, they fit, but they were not centered in those openings. I had to remove the end that connected to the cylinder heads completely and glue them into place where they'd fit those openings. No way to see the internal end was just floating in open space, you could only see the end that stuck out.

Thanks for the updates, it is looking great!
Hello Edbert:
Thanks so much for following my build. Your comments and encouragement mean a lot to me. Thanks so much!!
Glad you approve of my solution for the exhausts with the cowling openings.
Will keep posting, please keep following.
As always your comments and suggestions are always welcomed.
best
Gary
Docsudy
 
Really beautiful work! Painting is incredible, and I was especially impressed with the seat stiching on the gunners seat back... that really jumped off the page at me. Your work is inspirational. Thank you for sharing!
Thank you so much for your wonderful comments. I really appreciate them. Your encouragement is inspiring to me to keep going and to do the best that I can. Please keep watching. I really appreciate your interest. All the best.
Gary
Docsudy
 
Excellent work on this

my favorite WWII plane

I built the Flyhawk 1/72 and that was one of the most detailed 1/72 kits I had built, but of course only so much can be done at that scale

this one has some impressive details
Thank you so much. Coming from an experienced modeler such as yourself, your comments a lot to me. Thank you so much for watching and keep checking in. Really appreciate.
Best
Gary
Docsudy
 
Back
Top