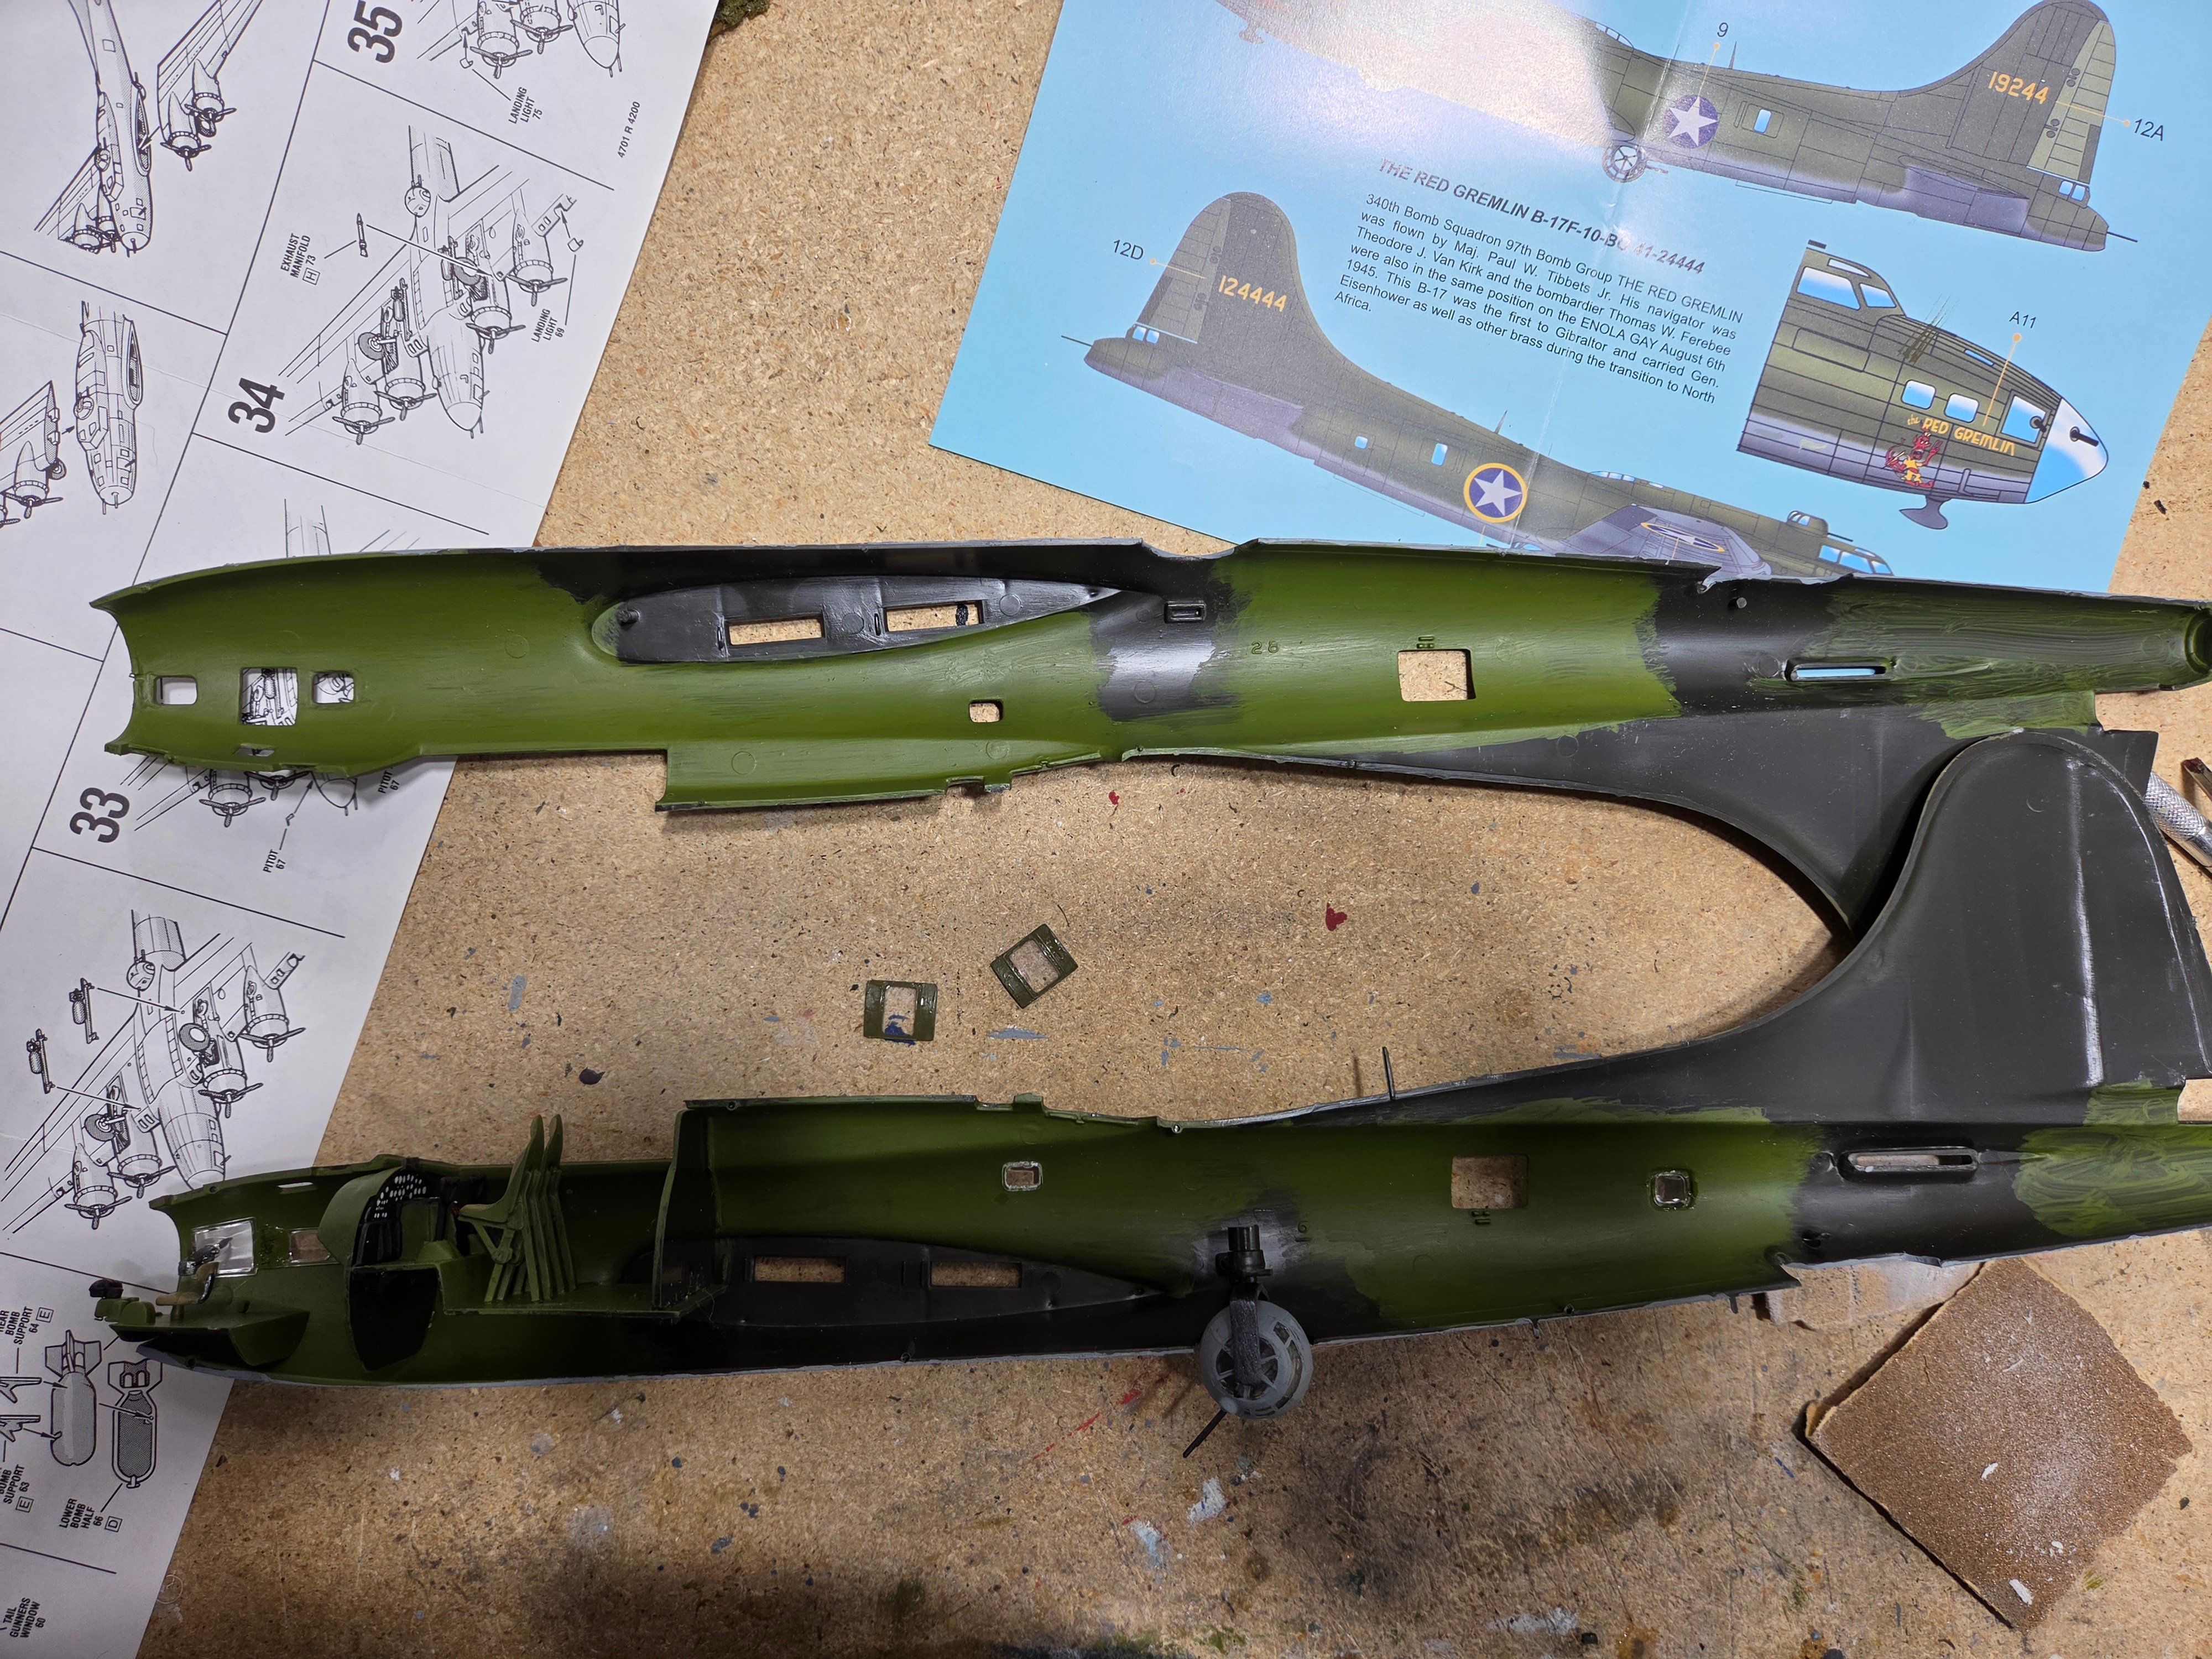
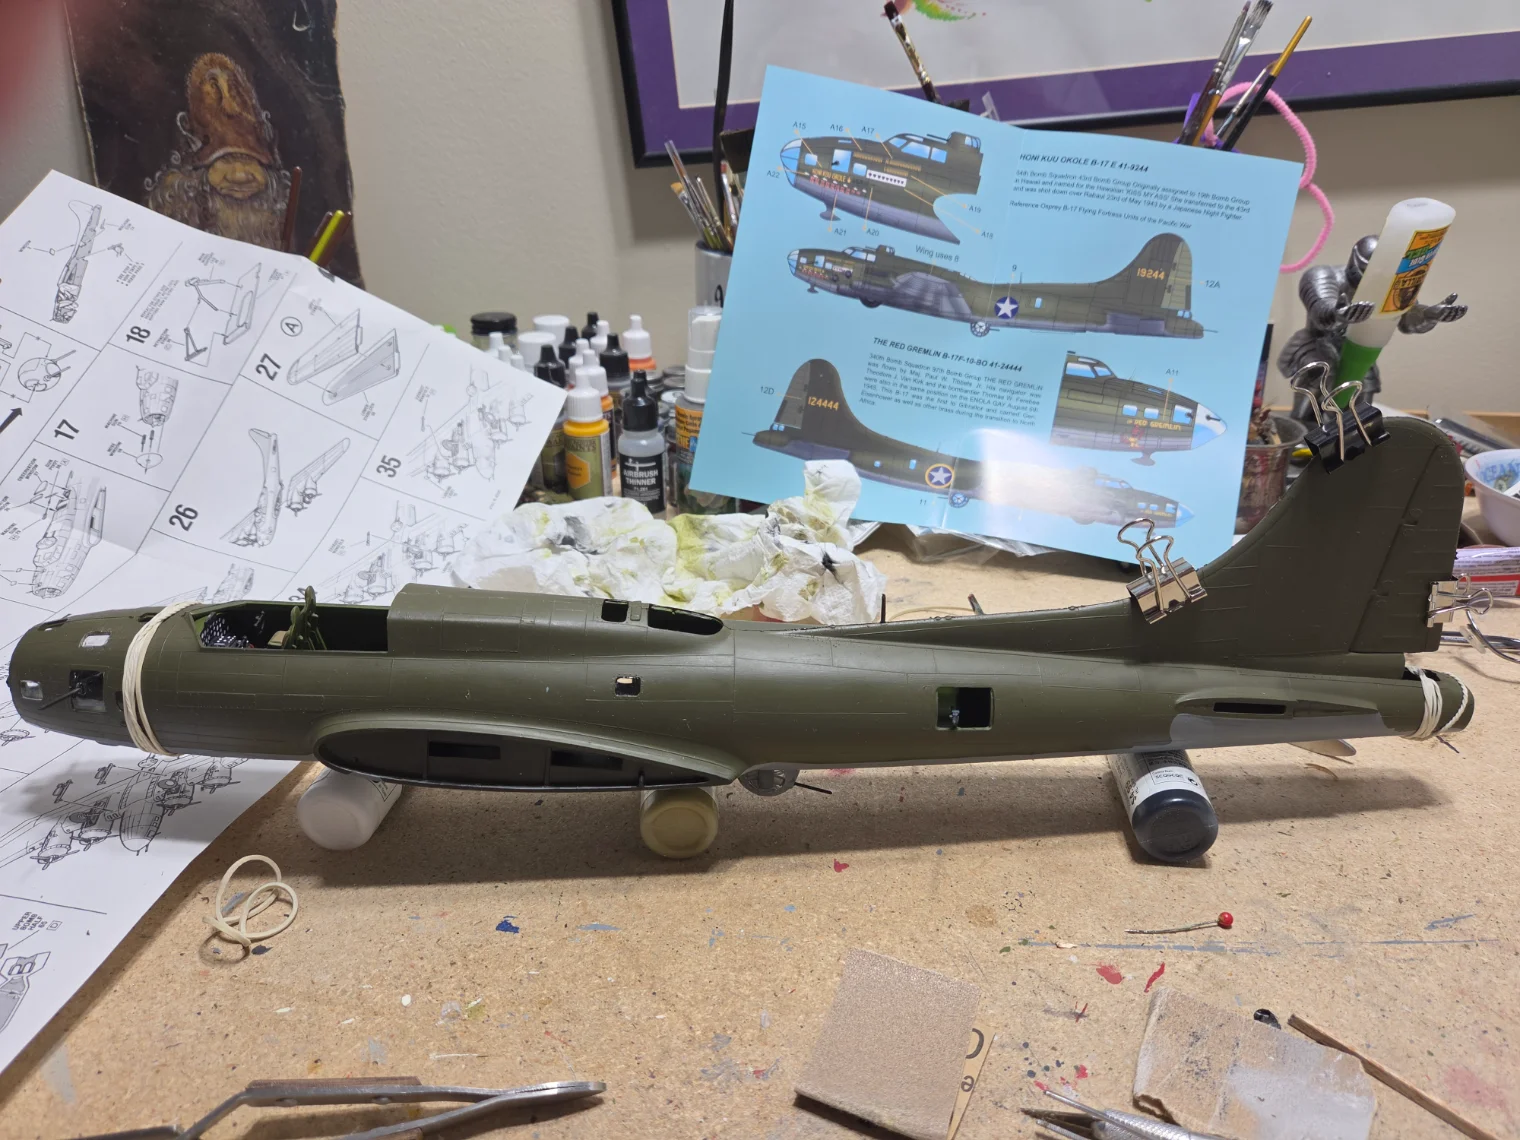
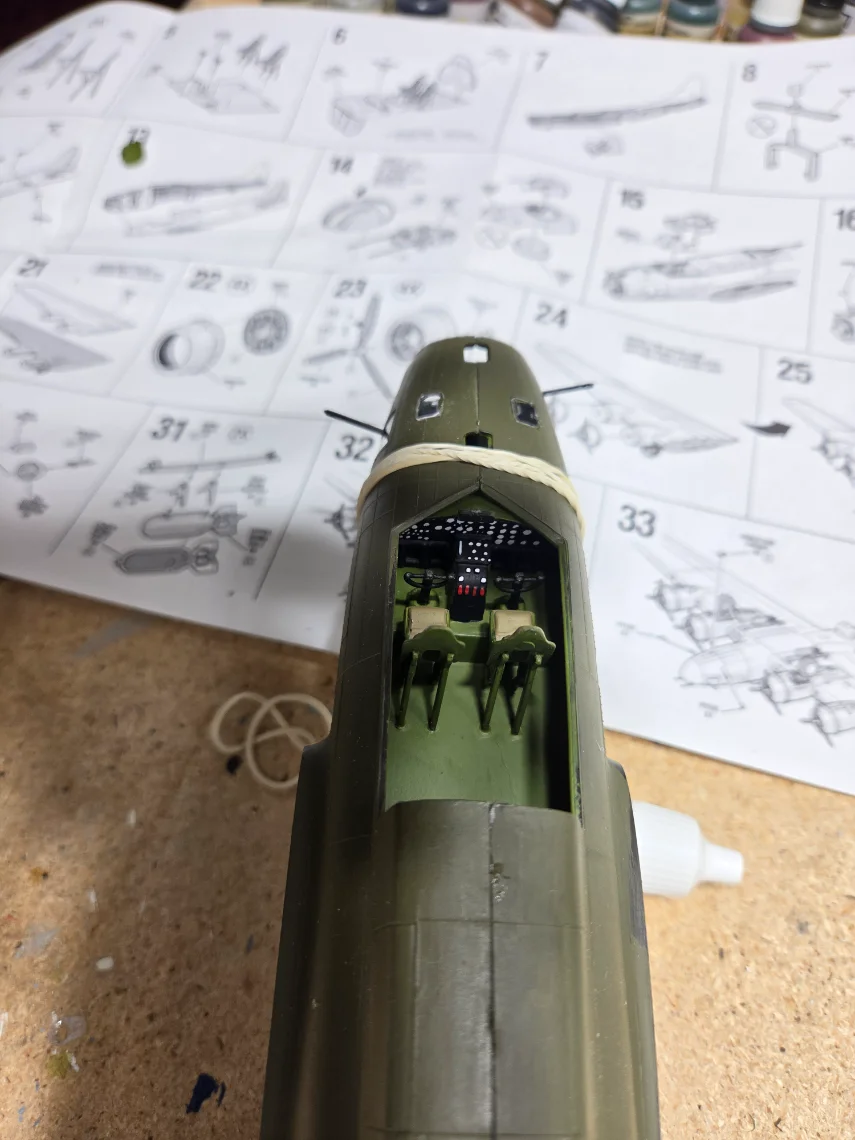
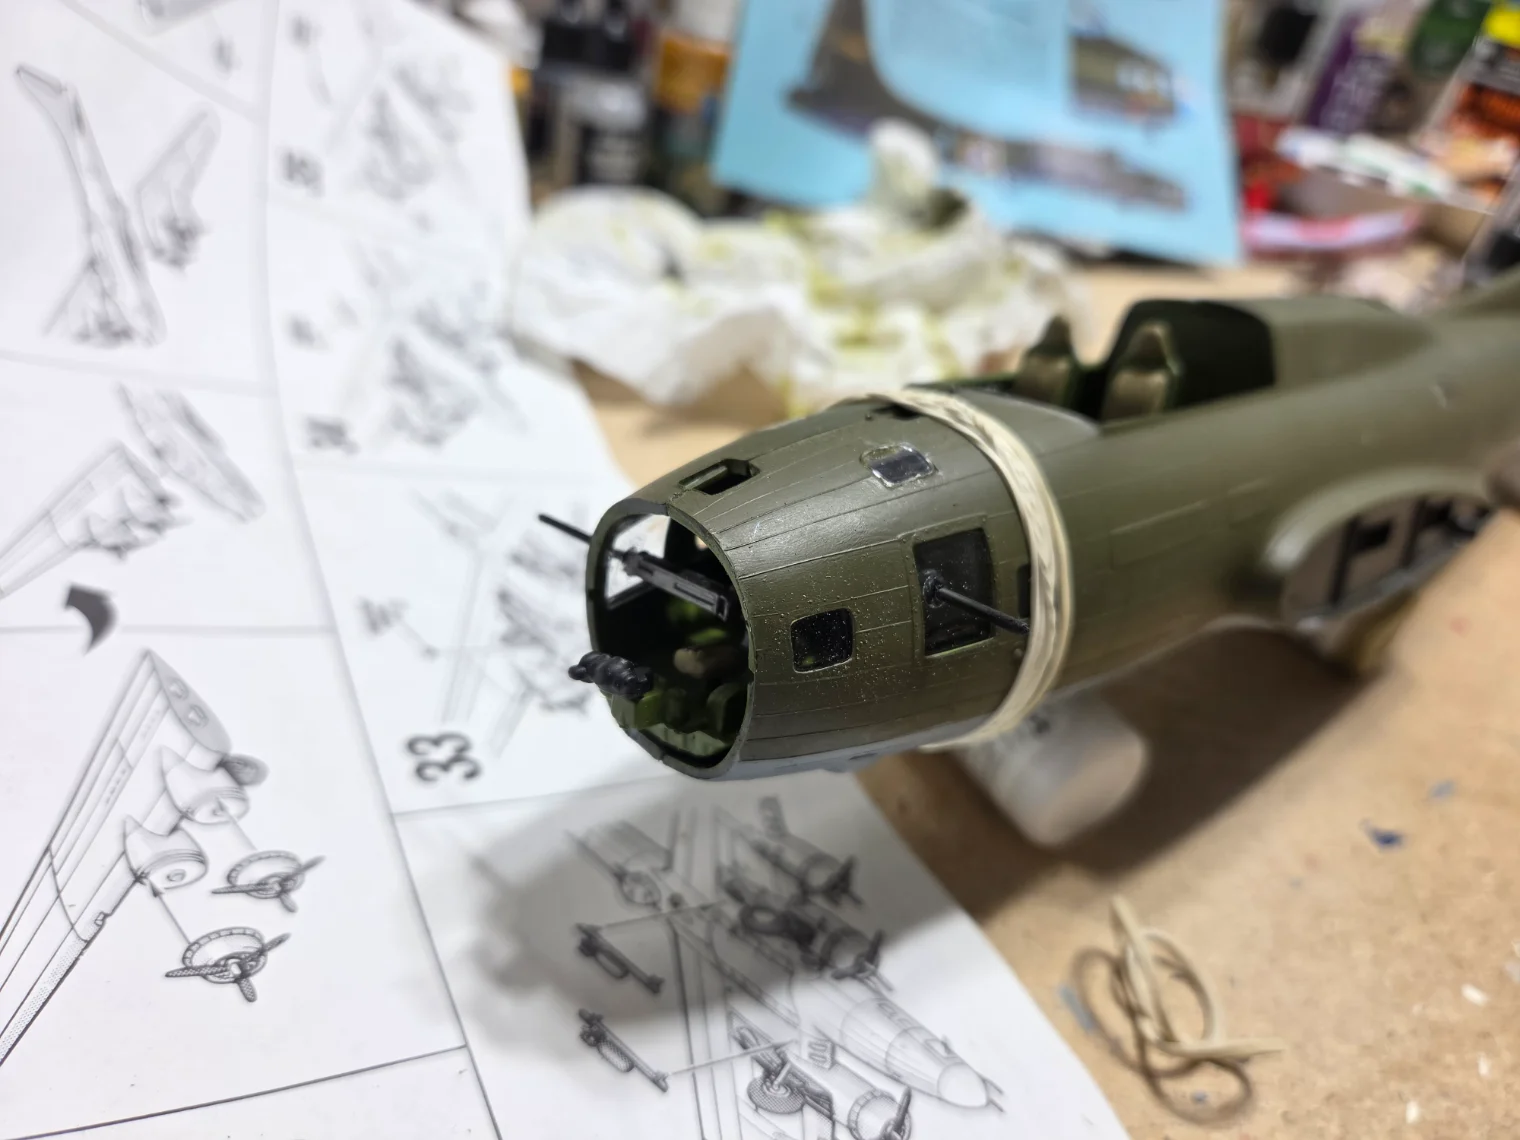
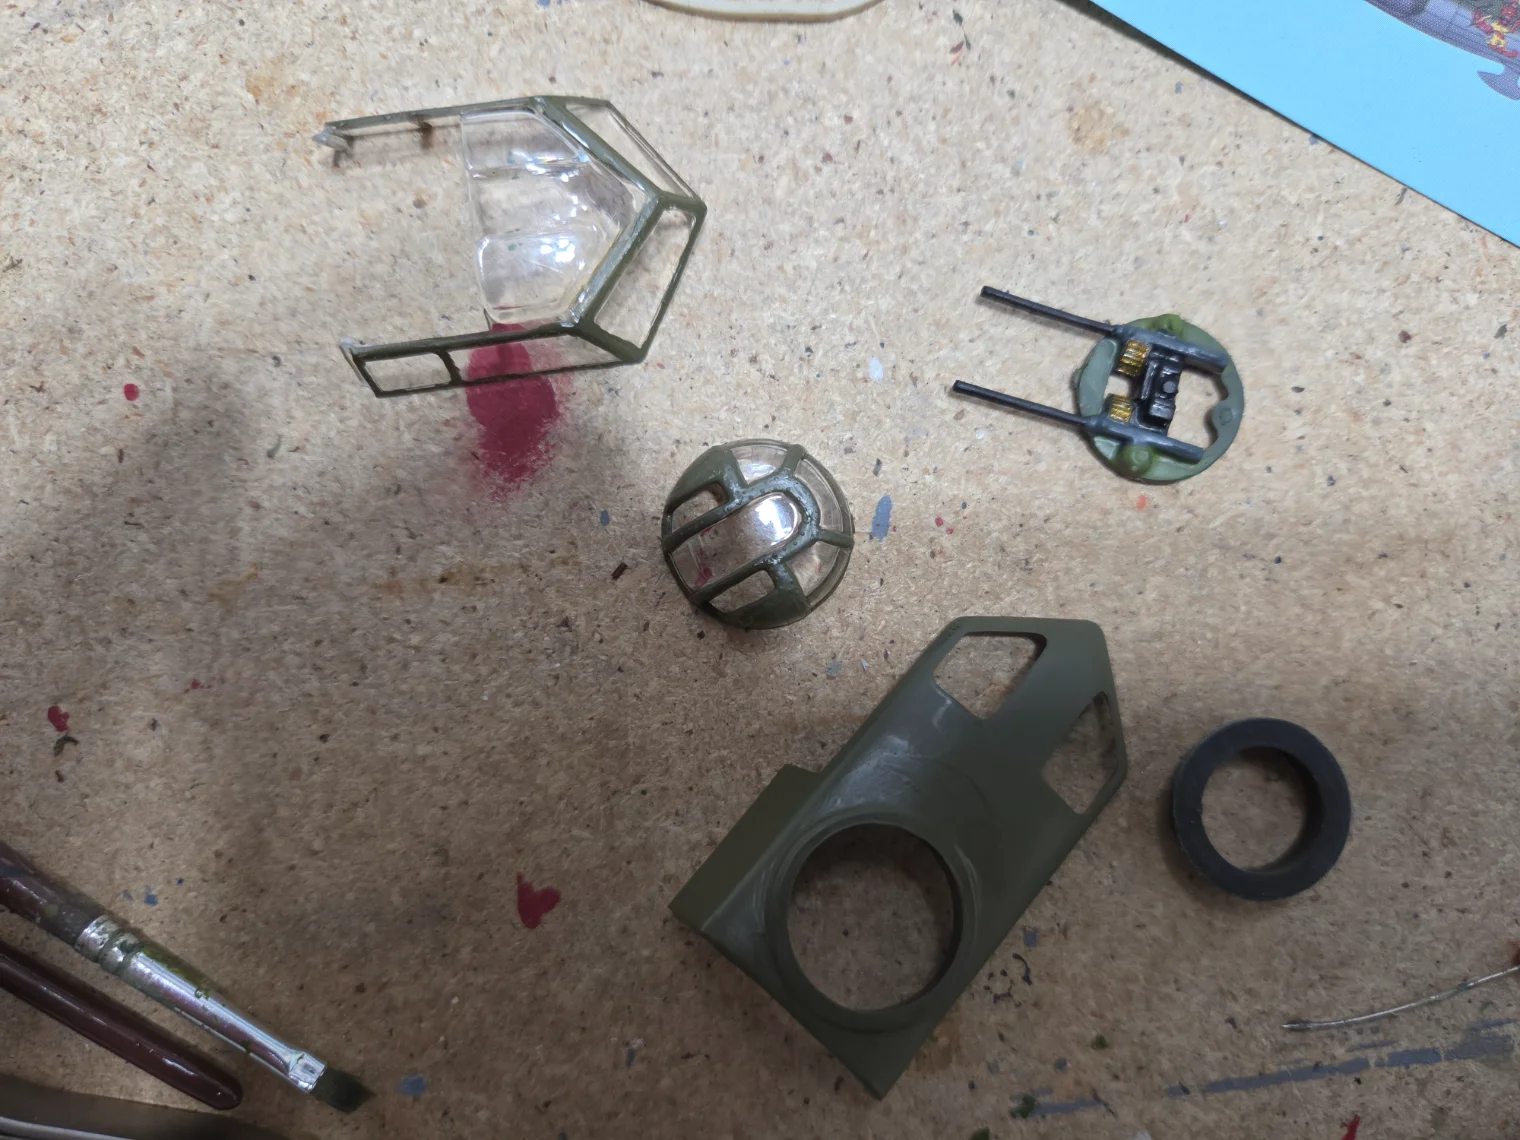
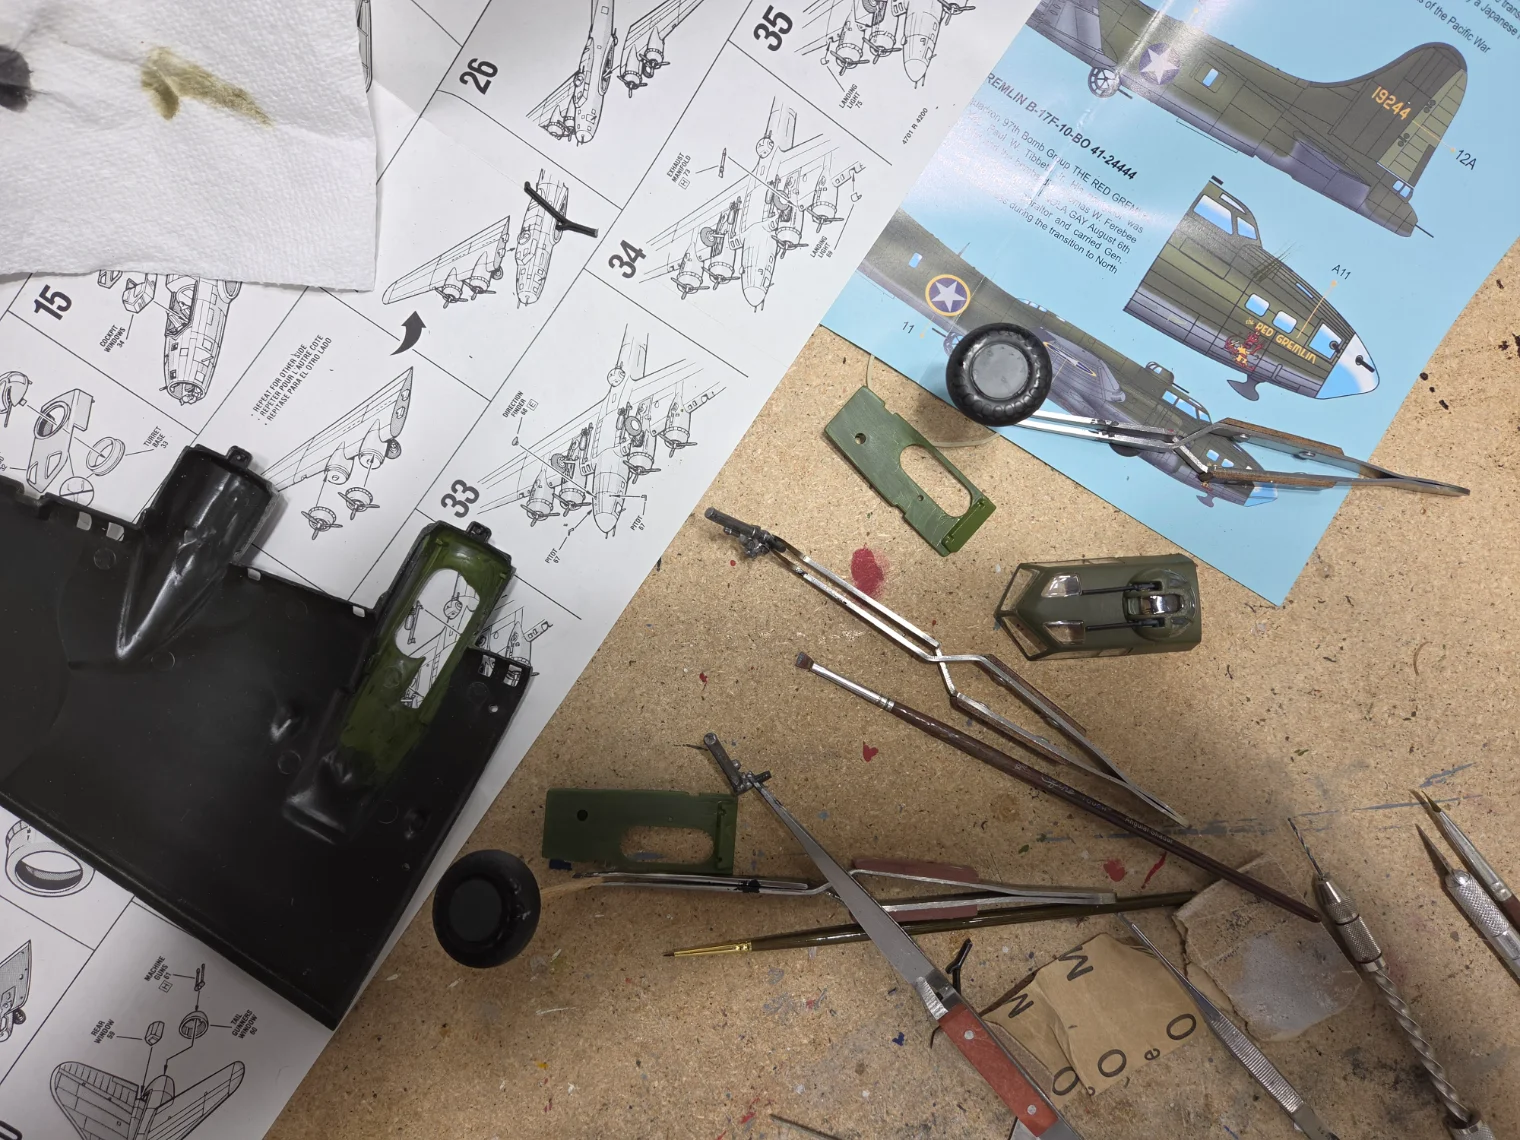
Nice! And reading the blurb on the instructions, I learned that technically, flying the American brass to Gibraltar at start of Operation Torch in North Africa puts the B17 into my wheelhouse!Things are coming together.


Nice! And reading the blurb on the instructions, I learned that technically, flying the American brass to Gibraltar at start of Operation Torch in North Africa puts the B17 into my wheelhouse!Things are coming together.
Great progress.coming together
You are rolling right along!The Warbird is coming together, fit is actually pretty good. There will be putty and sanding but not much.

So far it's been easy, not much on the interior detail. Hopefully it will finish out nice. Going with wheels up hanging from the ceiling.You are rolling right along!
Makes me want to work on mine. I need to figure out how I want to display it.So far it's been easy, not much on the interior detail. Hopefully it will finish out nice. Going with wheels up hanging from the ceiling.
I have something in mind that I'd like to do but I'm going to need some space.I'm going to hang it in front of the print, in the same aspect.
Curious, clue?I have something in mind that I'd like to do but I'm going to need some space.
Oh I'll just tell you! I've got the Eduard bloody hundredth 1/48 kit. I'm going to build that as normal but buy a second 1/48th kit, cheap one, for the second kit I'll go all out aftermarket for interior. I'm only going to finish the interior for the second kit and leave it open, won't attach the wings or anything and then I'll display them side-by-side so you can have an interior view and a complete plane next to it.Curious, clue?
Sounds like a very cool display.Oh I'll just tell you! I've got the Eduard bloody hundredth 1/48 kit. I'm going to build that as normal but buy a second 1/48th kit, cheap one, for the second kit I'll go all out aftermarket for interior. I'm only going to finish the interior for the second kit and leave it open, won't attach the wings or anything and then I'll display them side-by-side so you can have an interior view and a complete plane next to it.

Do not buy the HKM 1/48 B-17, very much disappointed considering how good their 2-engined bombers are.buy a second 1/48th kit
I'm just wanting the shell. Aftermarket will complete the interiorDo not buy the HKM 1/48 B-17, very much disappointed considering how good their 2-engined bombers are.

What are the issues with it? I'd been considering getting that for my future 1/48 B-17 build. The Hammerhead modeling channel did a great build with it. Though he also did extensive modifications.Do not buy the HKM 1/48 B-17, very much disappointed considering how good their 2-engined bombers are.
Some are a bigger deal than the others IMO.What are the issues with it?
Some are a bigger deal than the others IMO.
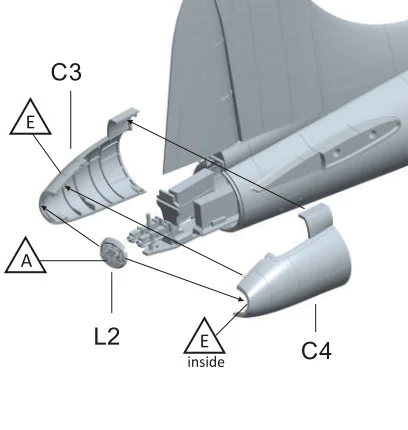
There's a reasonable amount of "stuff" on the interior, but you'll never really see it. So complaining about it being incomplete is a pretty weak argument, but that is one complaint I have. I'm just thinking if you want to do a full interior at least give use the parts to do one and not have stuff floating around in there. Note in this instruction-excerpt below, the rear gunners position has no place for a gunner, not that the kit has one but he'd not fit in there.
View attachment 198461
Another issue, the cheek-guns and waist guns stick thorough the plexiglass, but they provide no mechanism for that at all. You either glue part of the MG to the hull and have a big open area, or you will have to fabricate something.
Overall the issue I had, and what made me put it away for a while is the overall fit of exterior bits. One exception is the way the wings lock into place, that is pretty cool, but one fit really tight and the other had gaps.
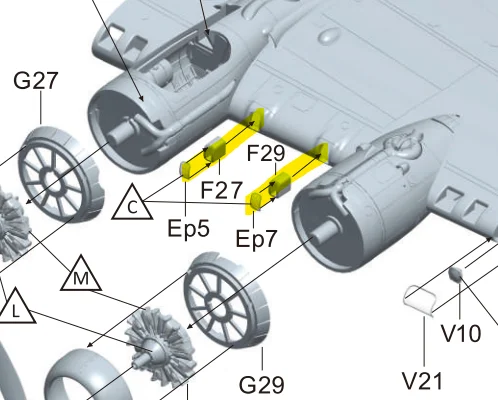
The wings top-half with the bottom-half did not line up on either side. You get to choose do you want the wings to line up or the nacelles, and to some degree you get one nacelle but noth both. Sticking with the wings, the way they did the intakes was very frustrating, see this...
View attachment 198462
Parts 27 and 29 are plastic, and while they fit the opening pretty well, they also could fall inside the wings. No pins or tabs or way to align them other than lots of time/patience and re-do do-overs. Parts 5 and 7 are PE and they need to be bent/curved to fit onto 27 & 29, but any glue you use will be impossible to keep the openings from getting plugged or you can also have gaps where the PE meets the plastic.
But what broke my will was the superstructure on the main fuselage. I had intended to leave it loose, so one could lift it off and show off the work done on the interior. But I realized early, doing dry-fits that without glue it would not fit down where it belonged, so I gave up on that and planned to glue it. However when I tried doing that I had big gaps still, so I taped and clamped the heck out of it and when I cam back after an overnight dry part of it had popped loose and I got pretty frustrated it and put it in the closet.
Dunno if you watch Doog's videos or not, he did a pretty good multi-part collection of his work on this kits. And he did a really nice job on much of it. But if you want to skip to the end, check out part 12 where he kinda gave up too. (I have not thrown mine away, just waiting for the mojo to want to keep going)