Kubuś

Scale Model Addict - Model Tips, Guides, Tools & Tech, Tutorials, and Community

Help Support Scale Model Addict:

Jakko

Well-Known Member
Joined
Oct 9, 2024
Messages
2,381
City & State/Province
Netherlands
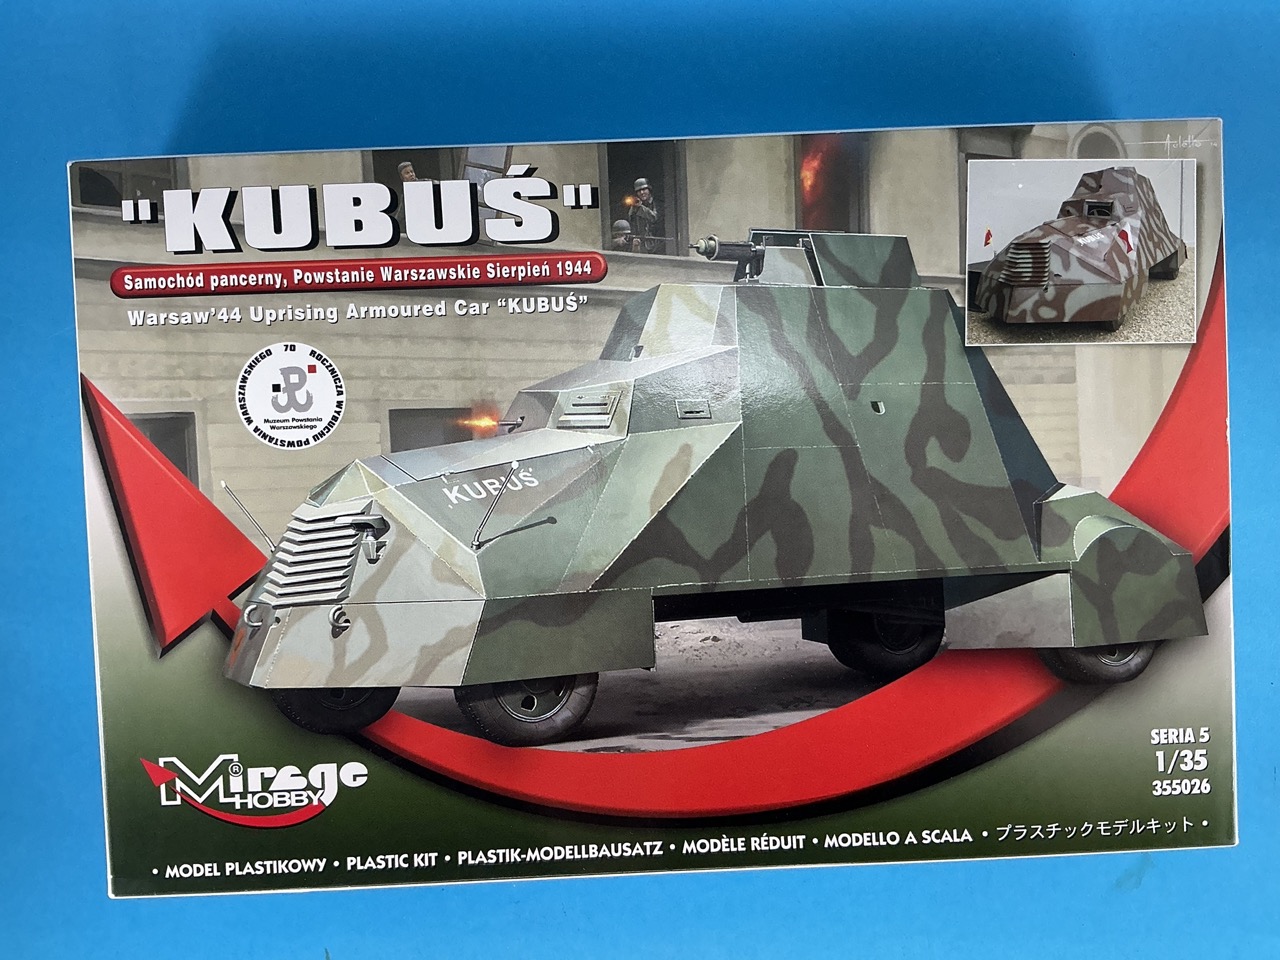
Three weeks ago, at the TWENOT 50th anniversary event, I came across this kit:
IMG_4727.jpeg


I have had my eye on this for a number of years, largely because of the interesting story behind this vehicle, and for ten euros I could hardly not buy it :)


On 1 August 1944, an uprising that had long been planned broke out in Warsaw, against the German occupying forces. It was lead by the Armia Krajowa ([ˈarmja kraˈjɔva], ARM-ya kra-YOH-va; this is usually translated into English as "Home Army") because this expected the Red Army to reach Warsaw soon. The uprising was therefore intended to hasten the city's liberation as well as to try and prevent the Soviet Union from gaining too much influence after the war, by ensuring that the city would fall into Polish rather than Soviet hands. Stalin, however, stopped his armies' advance, which gave the Germans the opportunity to suppress the uprising, though this would take them two months despite the extreme violence they used. Not only was the city systematically shot to rubble with artillery, but when German forces encountered Poles, whether they were fighters or not, young or old, men, women or children, on Himmler's orders they were shot dead on the spot or killed in much more horrific ways. This soon turned out to be counterproductive: exactly because of the grim fate that they could expect if they were captured by the Germans, the Poles fought harder and longer instead. By mid-September, the Germans therefore began to capture Polish fighters and treat them as prisoners of war rather than as insurrectionists. Meanwhile, negotiations had been opened between the two sides, that eventually lead to a Polish surrender on 2 October.

Very little help from outside came in during all of this. The British wanted to, and tried, but Poland was very difficult for them to reach with aircraft that could drop supplies. Staling refused to allow Soviet-held airfields to be used for this, but eventually made a token effort by having the Soviet air force drop supplies, of which much ended up in German hands at that. The Americans didn't want to antagonise Stalin so initially did little or nothing, and when they did get Soviet permission, their help also had little effect.

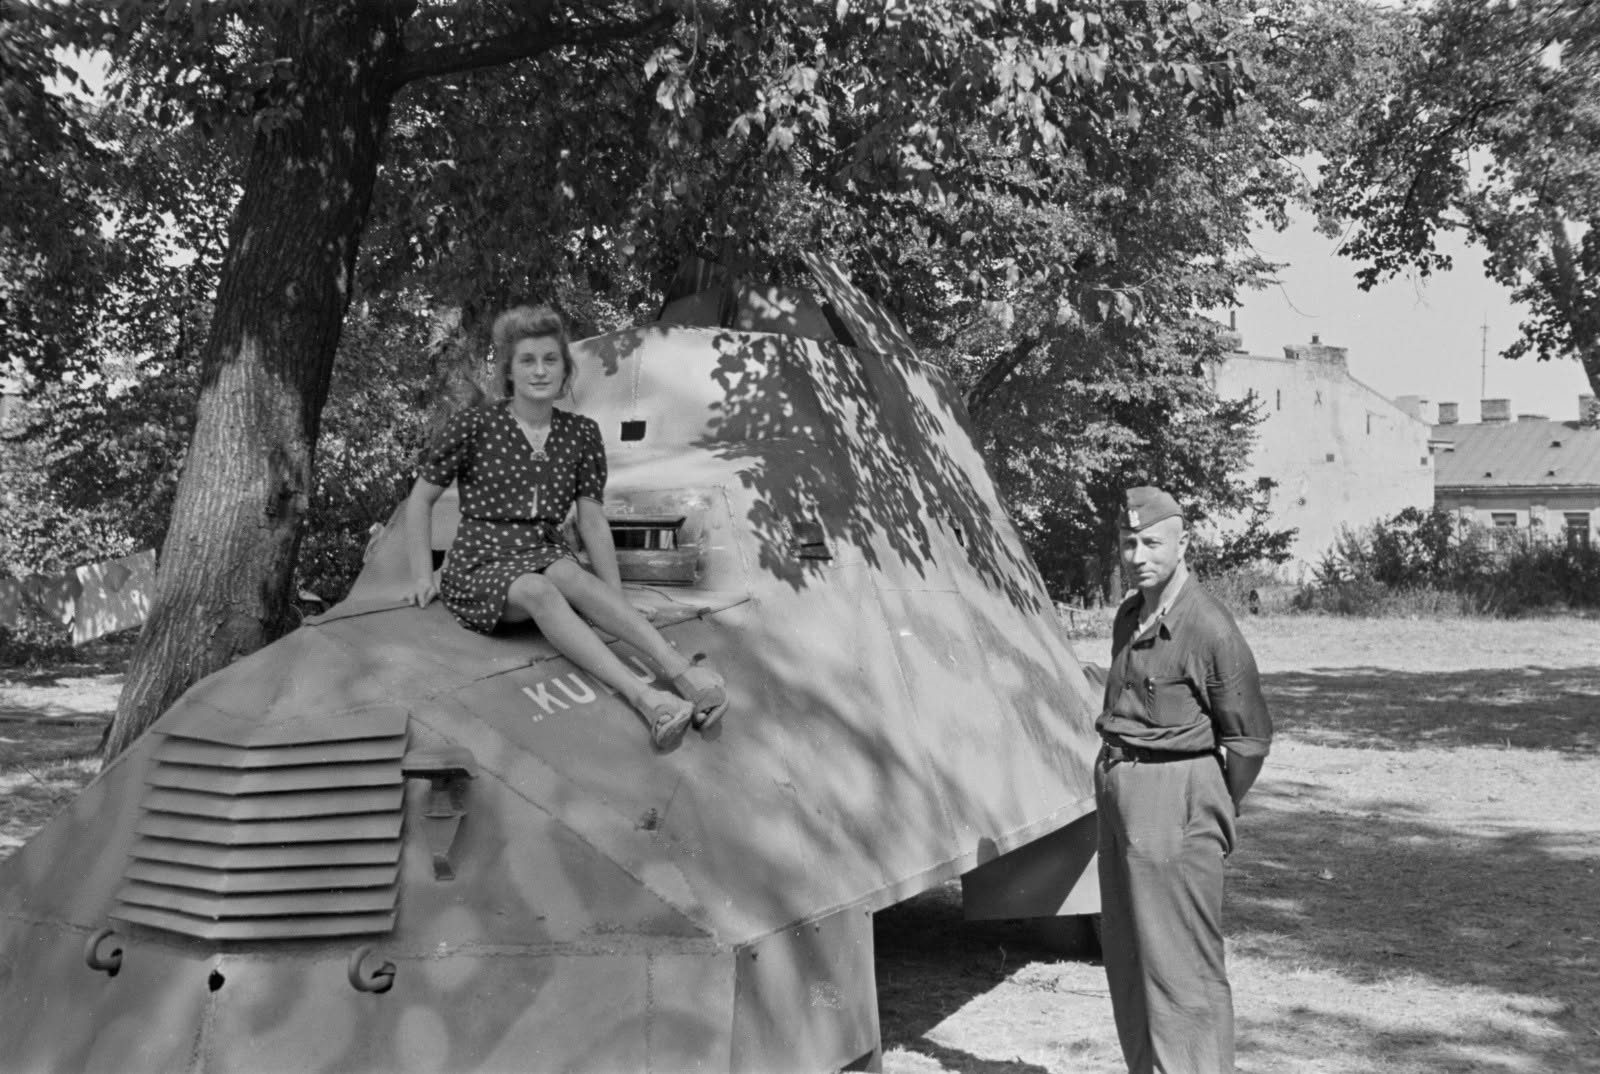
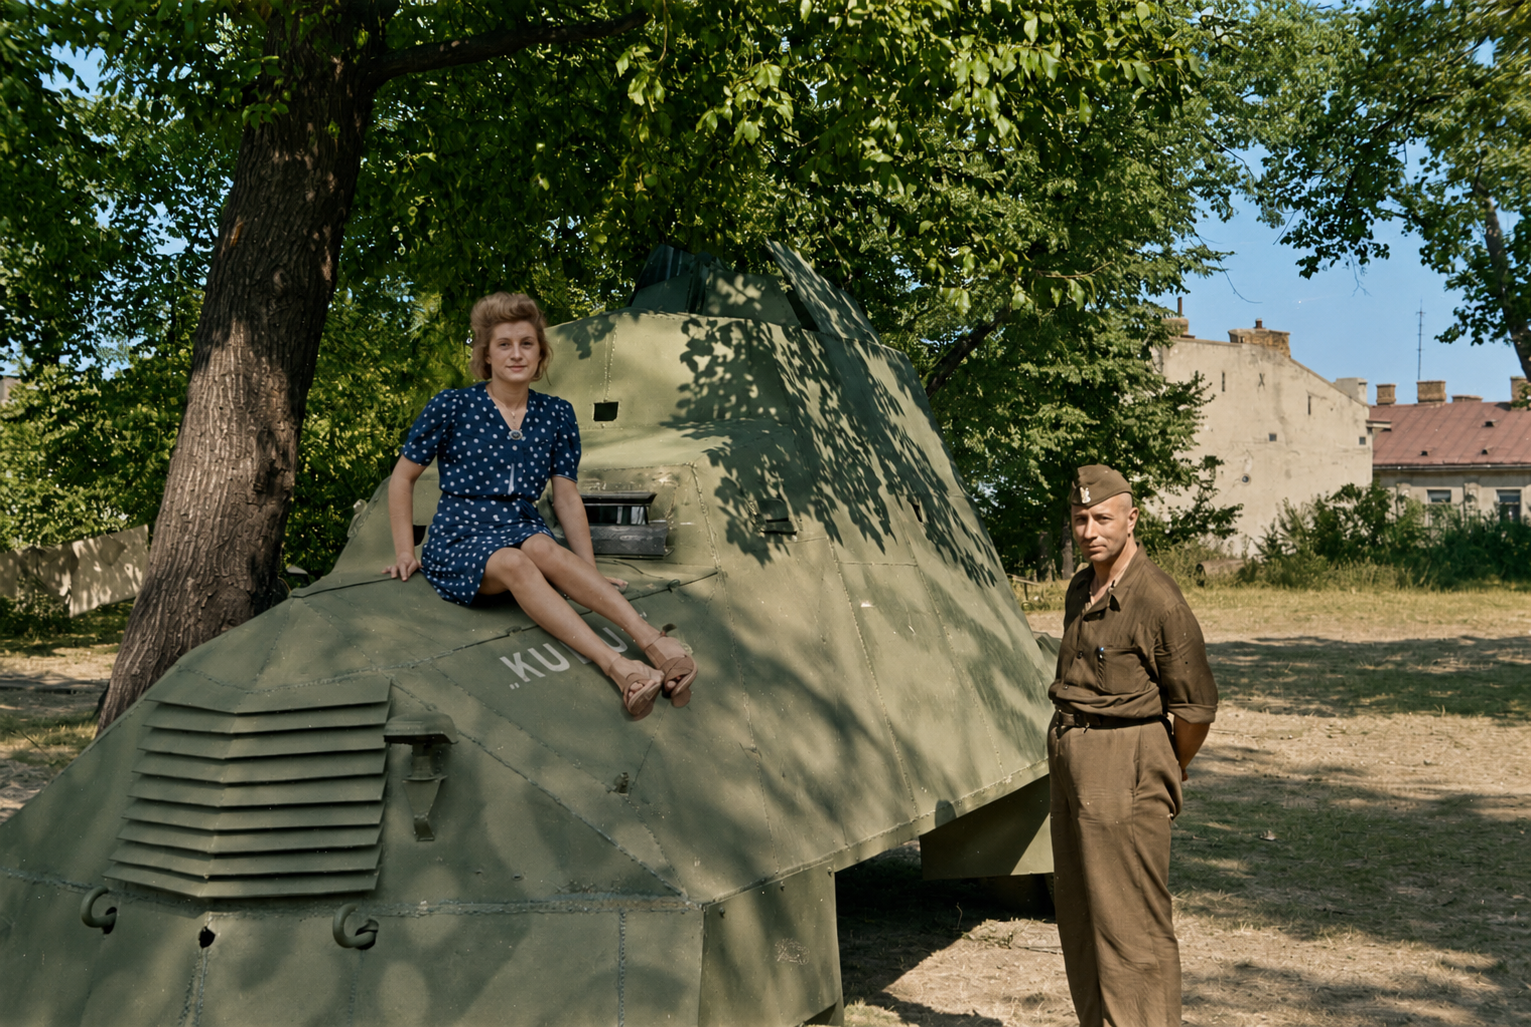
Kubuś is an improvised armoured car that the AK built on the chassis of a Chevrolet 157 truck (built under licence in Poland before the war), in a garage owned by one Stanisław Kwiatkowski. Construction began on 8 August, and it was finished two weeks later. It was armed with a Russian DP machine gun, a British PIAT anti-tank launcher, a Polish K-pattern flame thrower (also an AK product, made in occupied Warsaw) and hand grenades. Armour was only 5 to 6 mm thick, but because the builders couldn't get their hands on armour-quality steel, the used plates from a factory and bank vans, which they installed as spaced armour with a gap of between 2.5 and 9 cm between the plates to make it proof against rifle bullets. The vehicle was used until 6 September, when it was abandoned in the city, where it stood until after the war, burned out and covered in graffiti. After the war it was moved to the Polish army's museum and fixed up, and in 1967 it was restored using parts from a GAZ 51 truck. In 1990, the engine was replaced by one of the same type that was fitted originally, and in 2004 a replica was built for the museum that commemorates the uprising.

The name means "little Jacob", which was both the resistance name of the recently killed wife of one of the builders, and the name of Winnie-the-Pooh in Polish.


OK, the model … You get this in the box:
IMG_4729.jpeg
IMG_4730.jpeg


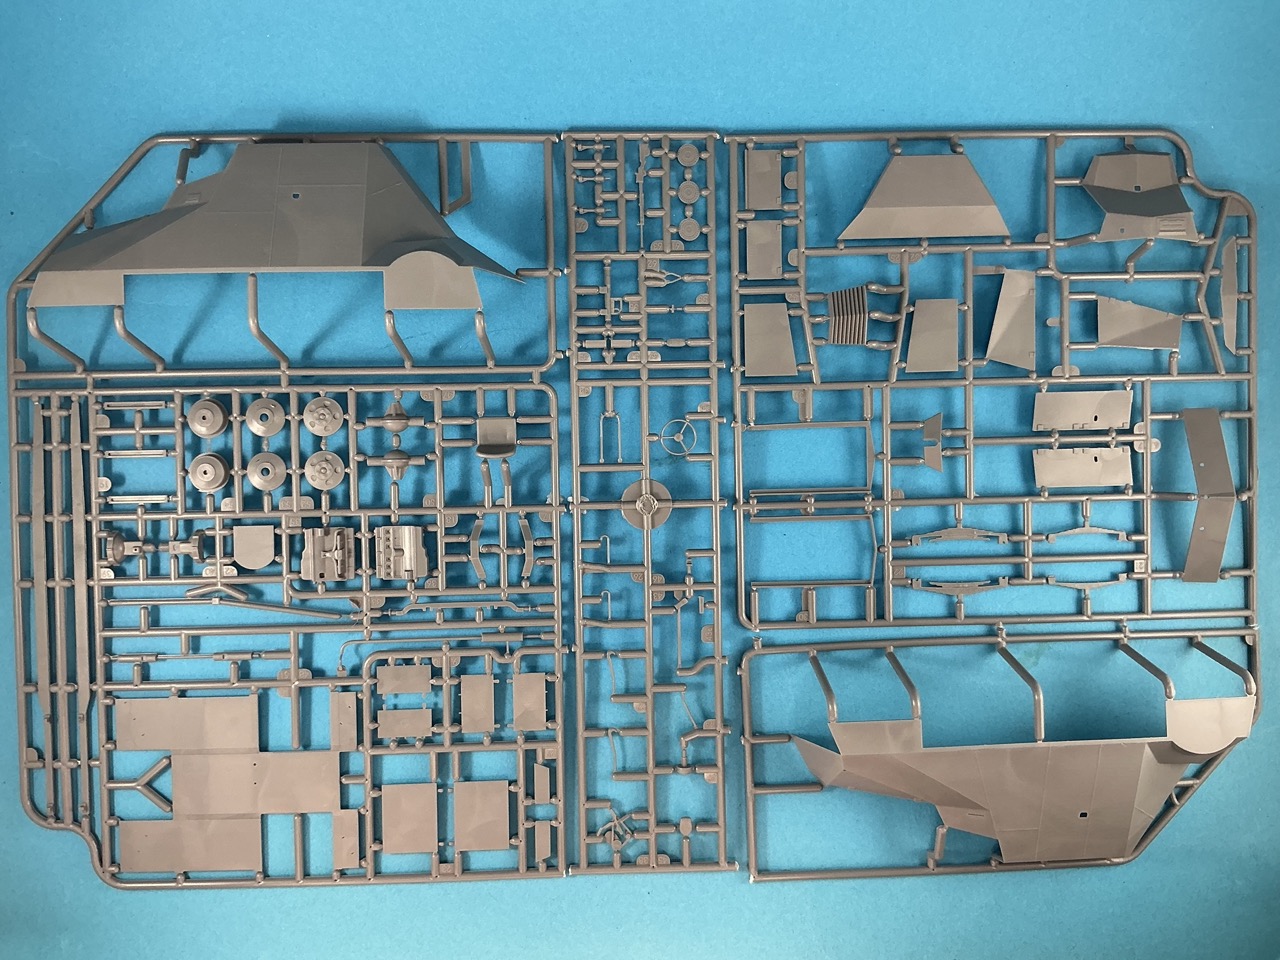
Everything is on one sprue, which has been cut into four pieces to fit it into the box. The model has a full interior, in as far as there is any, because it mainly consists of a chair, a steering wheel and some levers. The tyres are of soft, black plastic, and you can also buy a set of replacement wheels that have different tread. However, even without postage from Canada, where they're made, these cost more than the kit they're for. I don't think they're worth it for what you can actually see of the wheels.

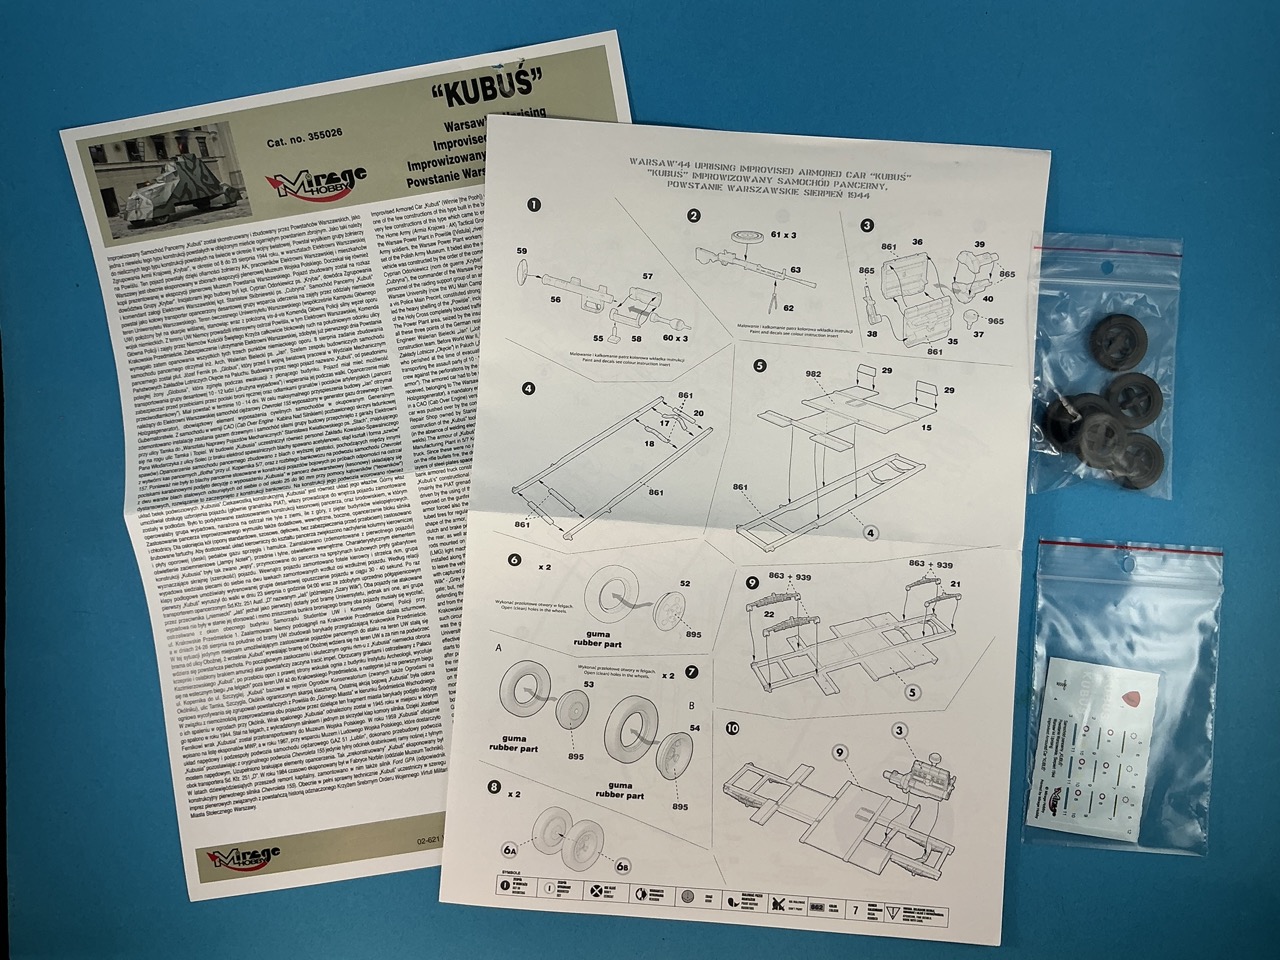
The instructions can be viewed on Scalemates. Four pages altogether! Well, plus two for the historical background and the colour scheme :) The paint references are for Vallejo, so I spent a while figuring out what colours are meant with those.
 
When you start building, you soon find that it is indeed a Mirage kit ;)

IMG_4731.jpeg


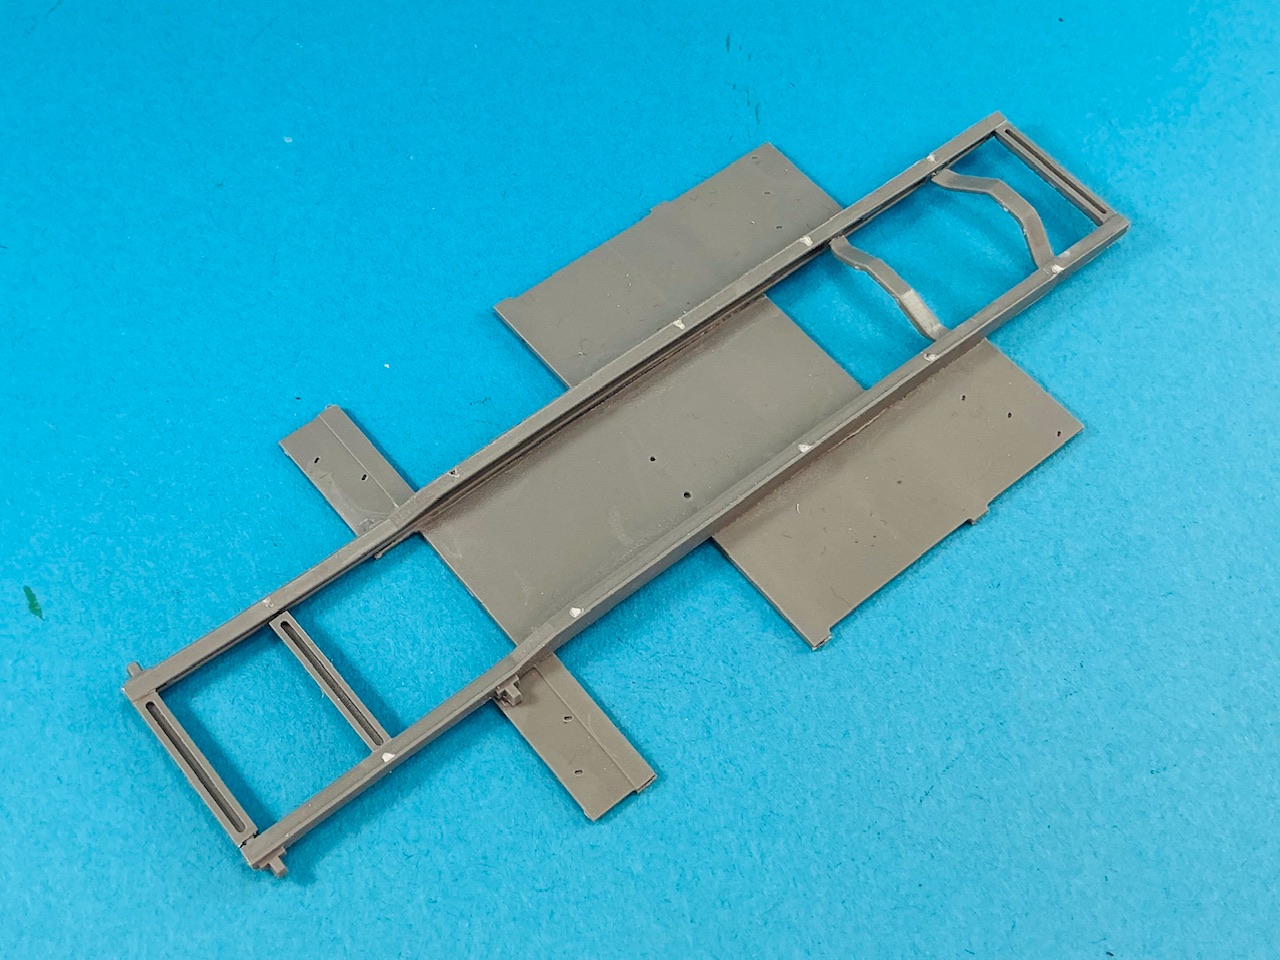
The chassis is made up of seven parts, but the transverse ones have barely any locating pins (only the bent ones do, really), two of them seem to be half a millimetre or so too long — despite the two at the rear (bottom left in the photo) having the same part number, one is longer than the other — and which way round the bent ones should go is also unclear.

I thought to be clever by glueing the long parts to the floor first, and only then adding the transverse ones. Nope, if you stick the long beams where they look like they should go, the transverse beams don't fit between them. You also need to ensure both of the long ones stick out beyond the floor equally far, because they don't have locating pins either.

After a bit, I pulled them off the floor again, glued the rear transverse beam and the two bent ones between them, then stuck the lot to the floor, and only after that I added in the other two transverse beams. Make sure everything is centred and properly aligned, and then leave to dry.

On to the body:

IMG_4732.jpeg


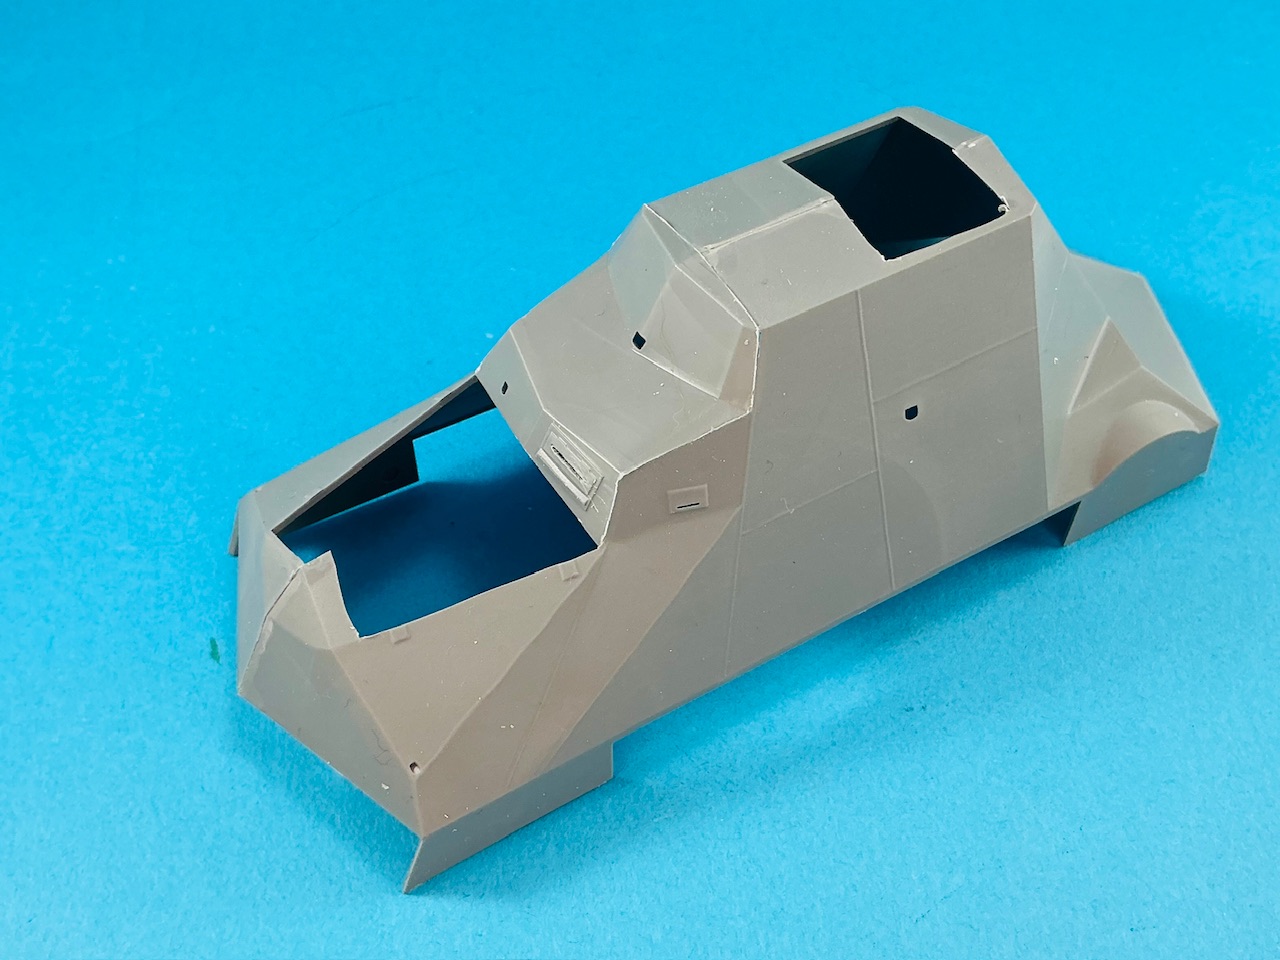
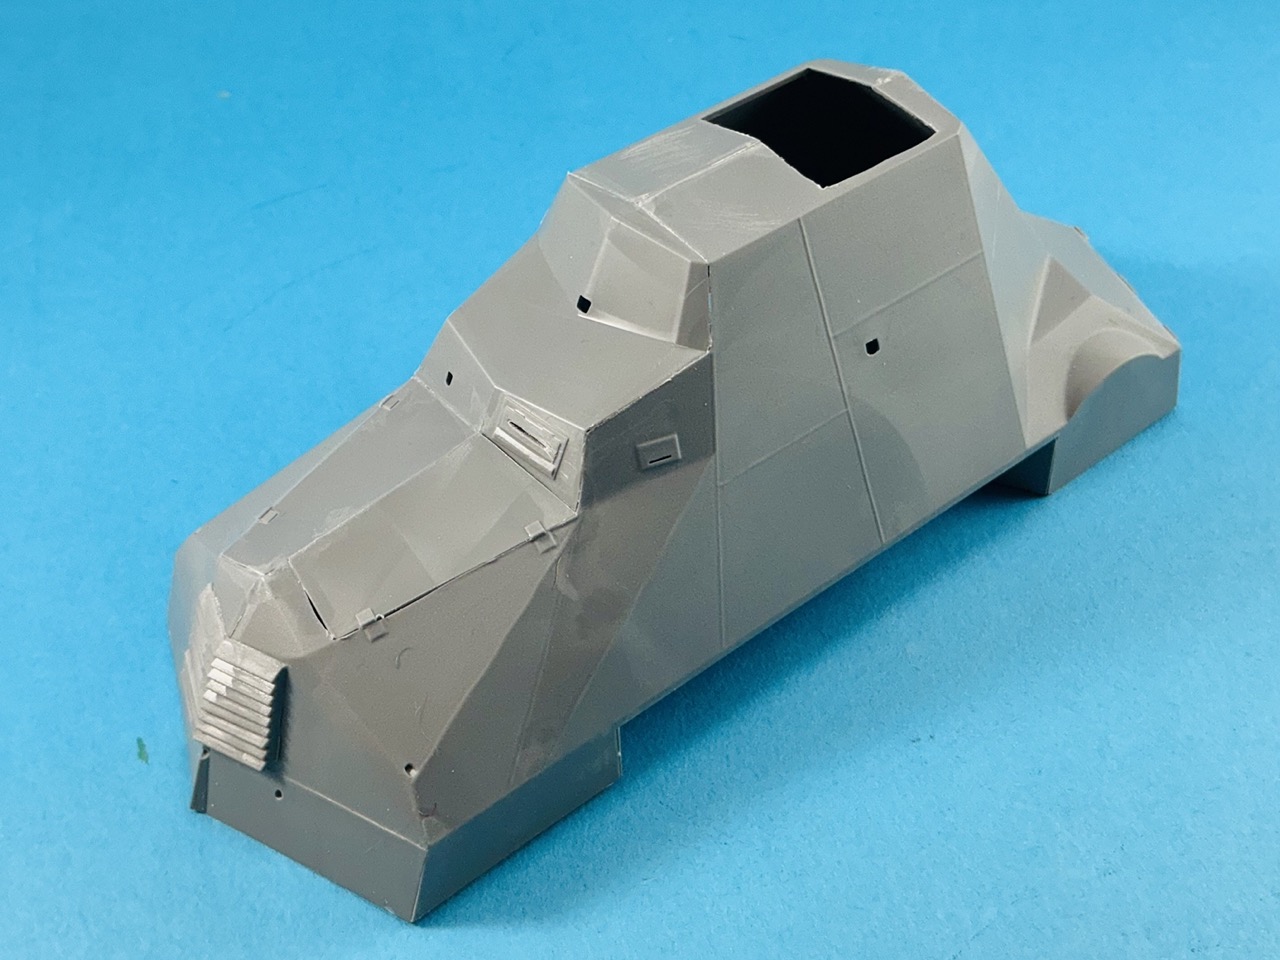
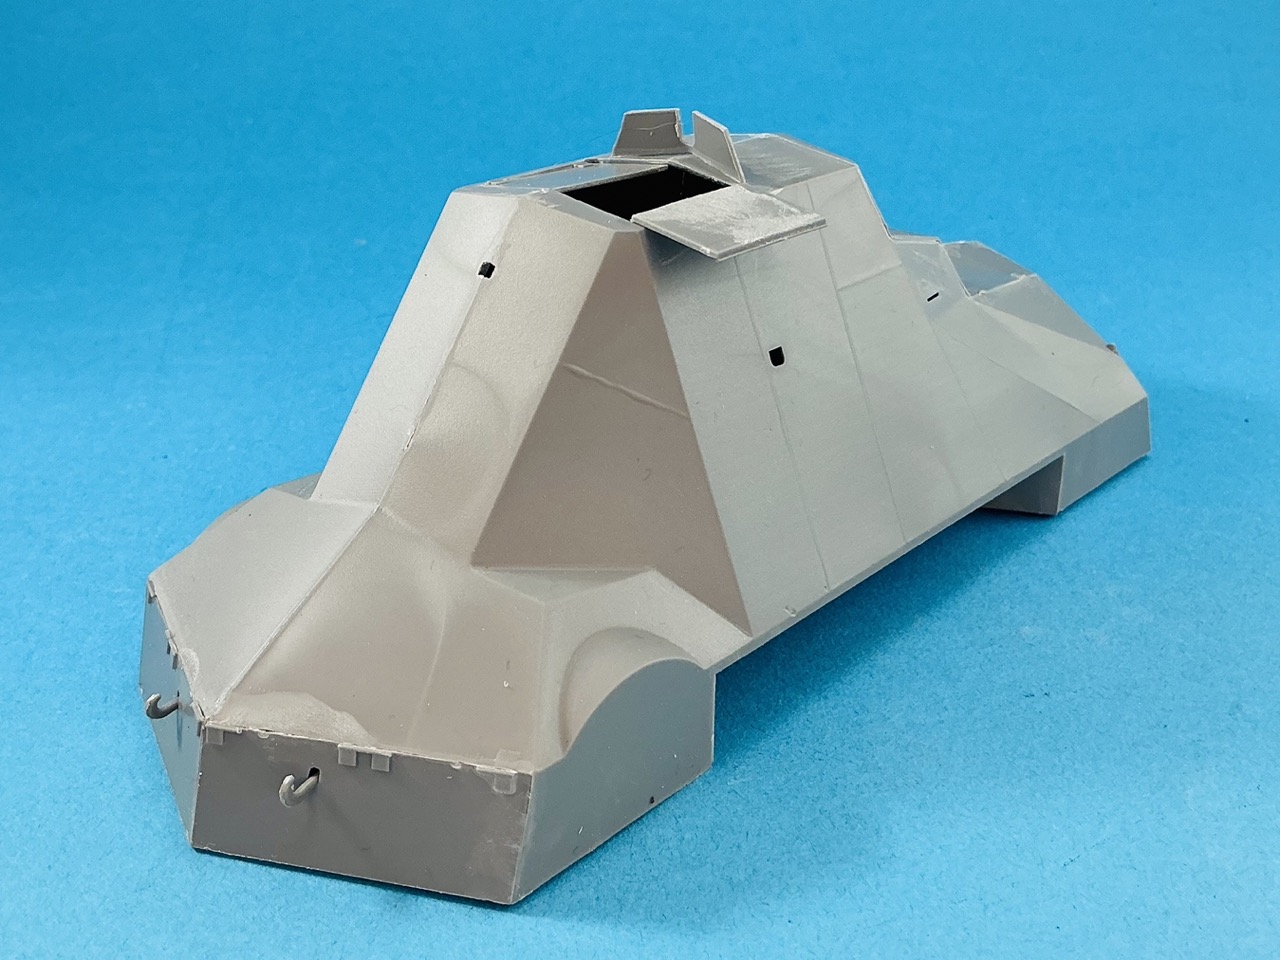
This is three parts: two sides and the plate in front of/above the driver's head. The sides fit much better than it looks at first, even though they don't have any locating pins either. I held them together, flowed quick-evaporating glue into the join at the front and held that until they were stuck together. Then I went on to do this with the join in the roof and finally the rear plate. The driver's plate doesn't fit as well and needed a good deal of fettling, while thr vision slit in it was difficult to open up. Why Mirage couldn't just mould a hole for the flap there and supply the flap with a vision slit as a separate part, I don't know …
 
On the body, I scraped and filed the seams a bit to make them less proud of the surface, and fitted the engine hatches and the grille. The hatches don't fit well at all, and you have to work on them a good deal to get them in place.

IMG_4739.jpeg


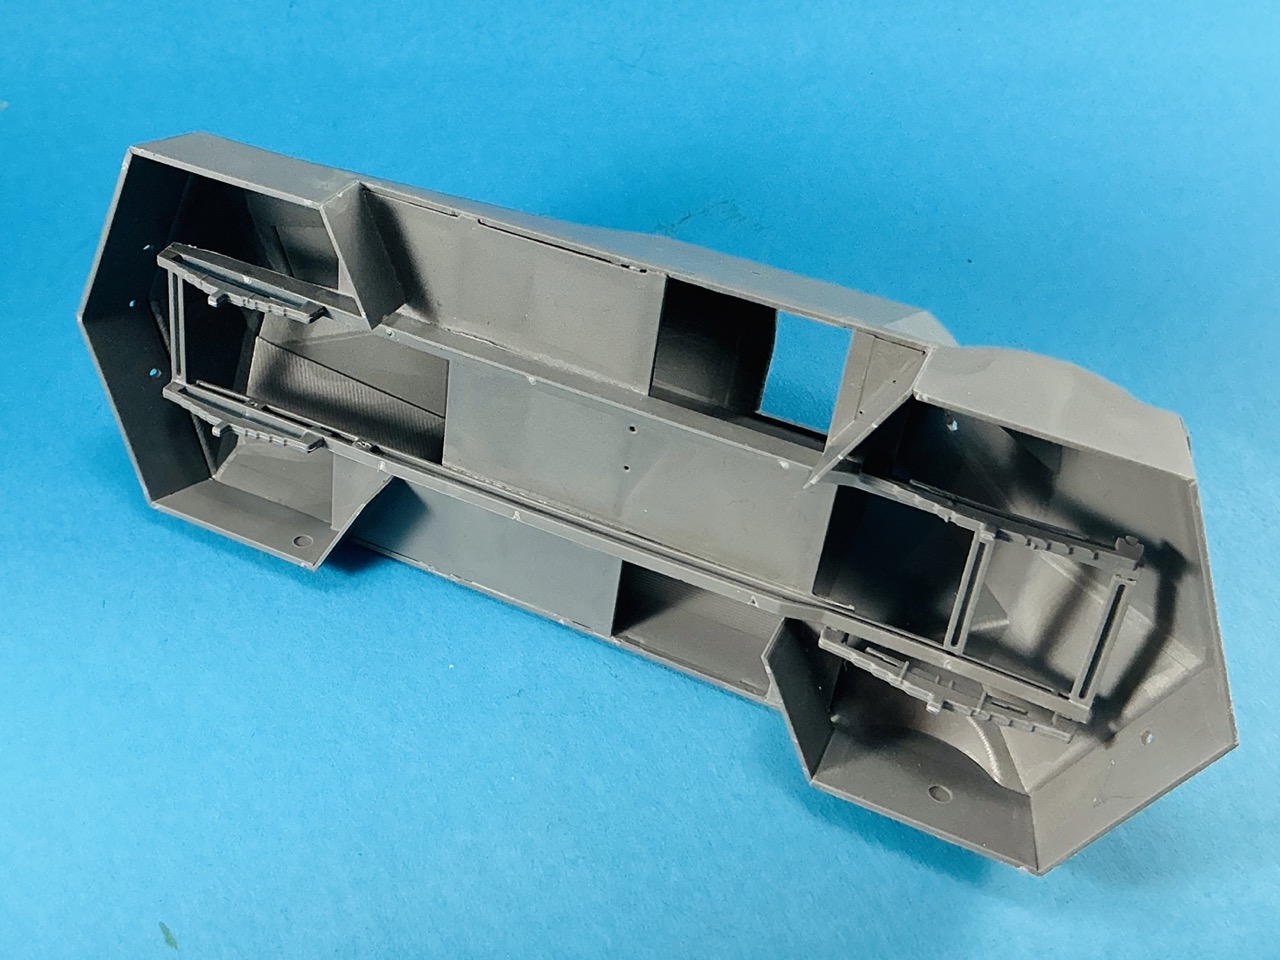
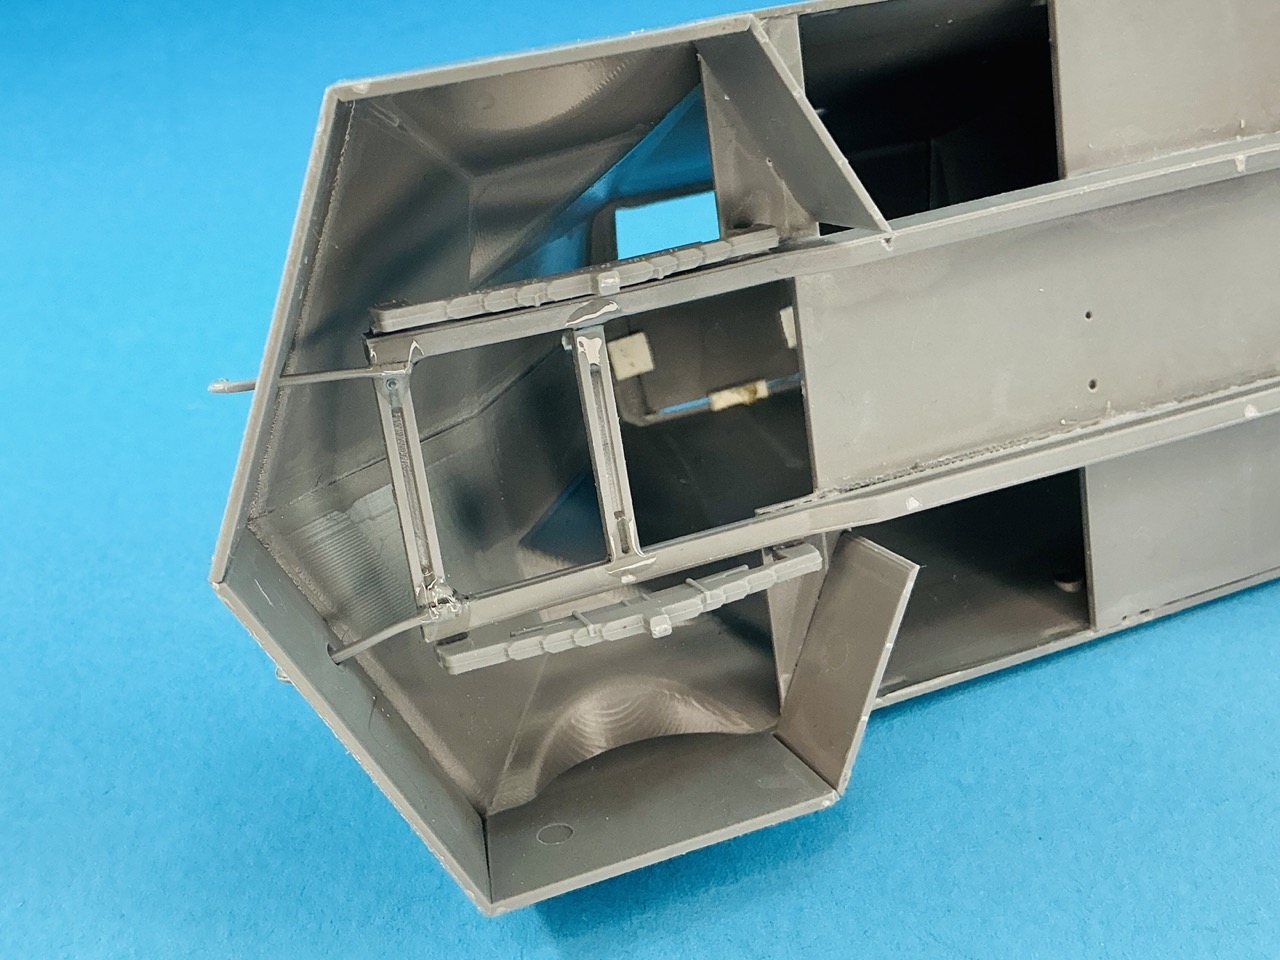
On the bottom, I added more armour plates, at the front and rear and around the wheels. Also, the leaf springs are now on:

IMG_4740.jpeg


Oddly, those little armour plates that enclose the wheel wells towards the middle of the vehicle, do have locating pins, but the holes they are to go in are so shallow that at best, they're a guide for where to drill the holes. Instead of doing that, I took the easier option and just cut off the pins :) The springs are even stranger: the front ones have large, rectangular pins at the front which look like they would positively locate the parts on the chassis — except for the fact that there are no slots for them to go into … and to make it even stranger, the instructions do show those slots! So I also cut those off and just glued the springs directly to the chassis.

The large, rectangular holes in the floor plate are the hatches for the passengers, which opened inward. The builders chose this because the double-walled construction of the body made it difficult to make proper doors in it. The kit provides parts for the hatches, but I think I'll leave them off because they won't be visible anyway if the top hatches are closed or there's a figure in those. There is nothing else of the interior in my model either, because again, you can't see any of it anyway.
 
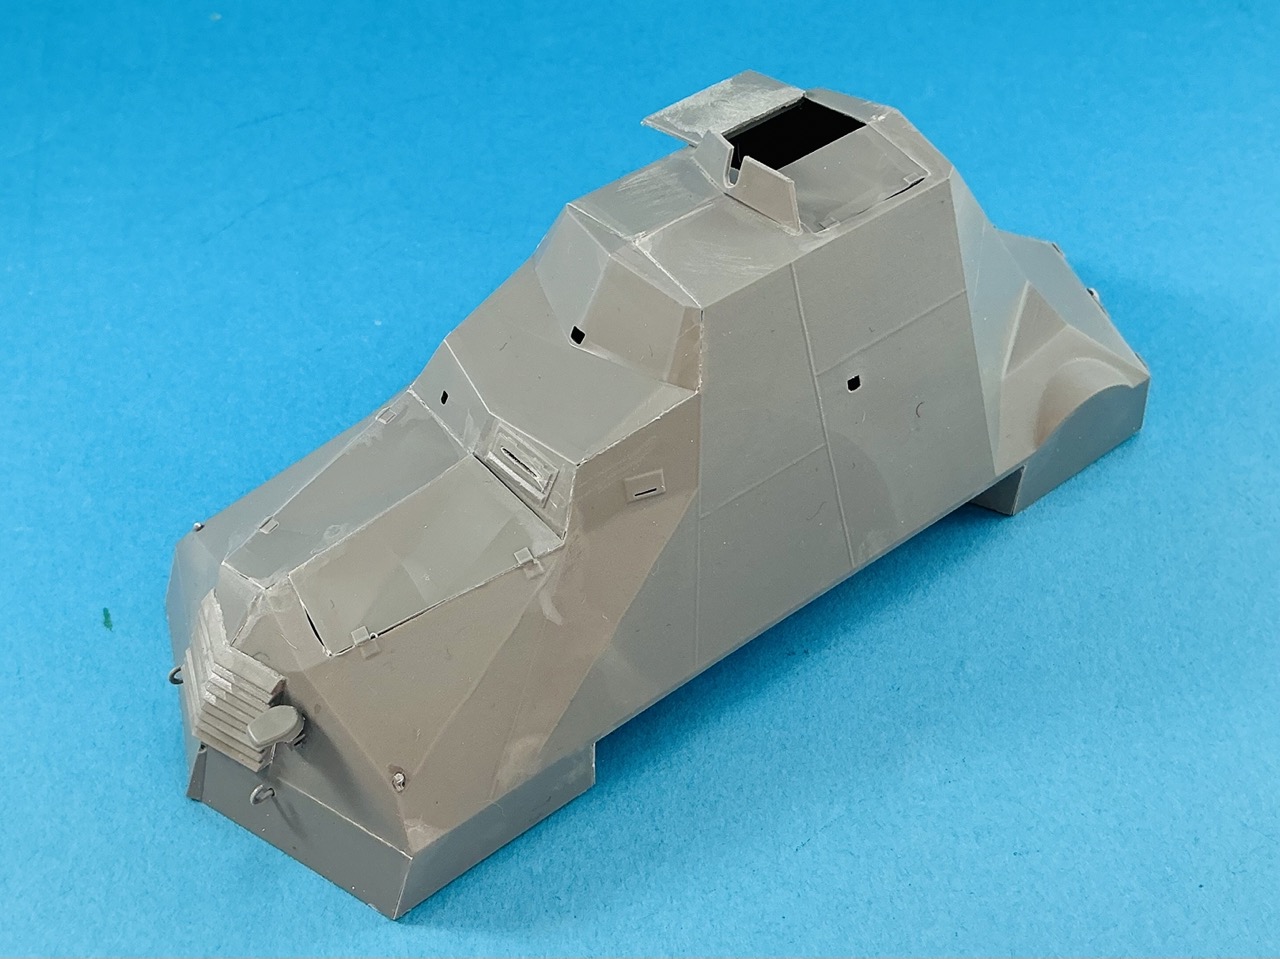
Construction is basically done:

IMG_4744.jpeg
IMG_4745.jpeg
IMG_4750.jpeg


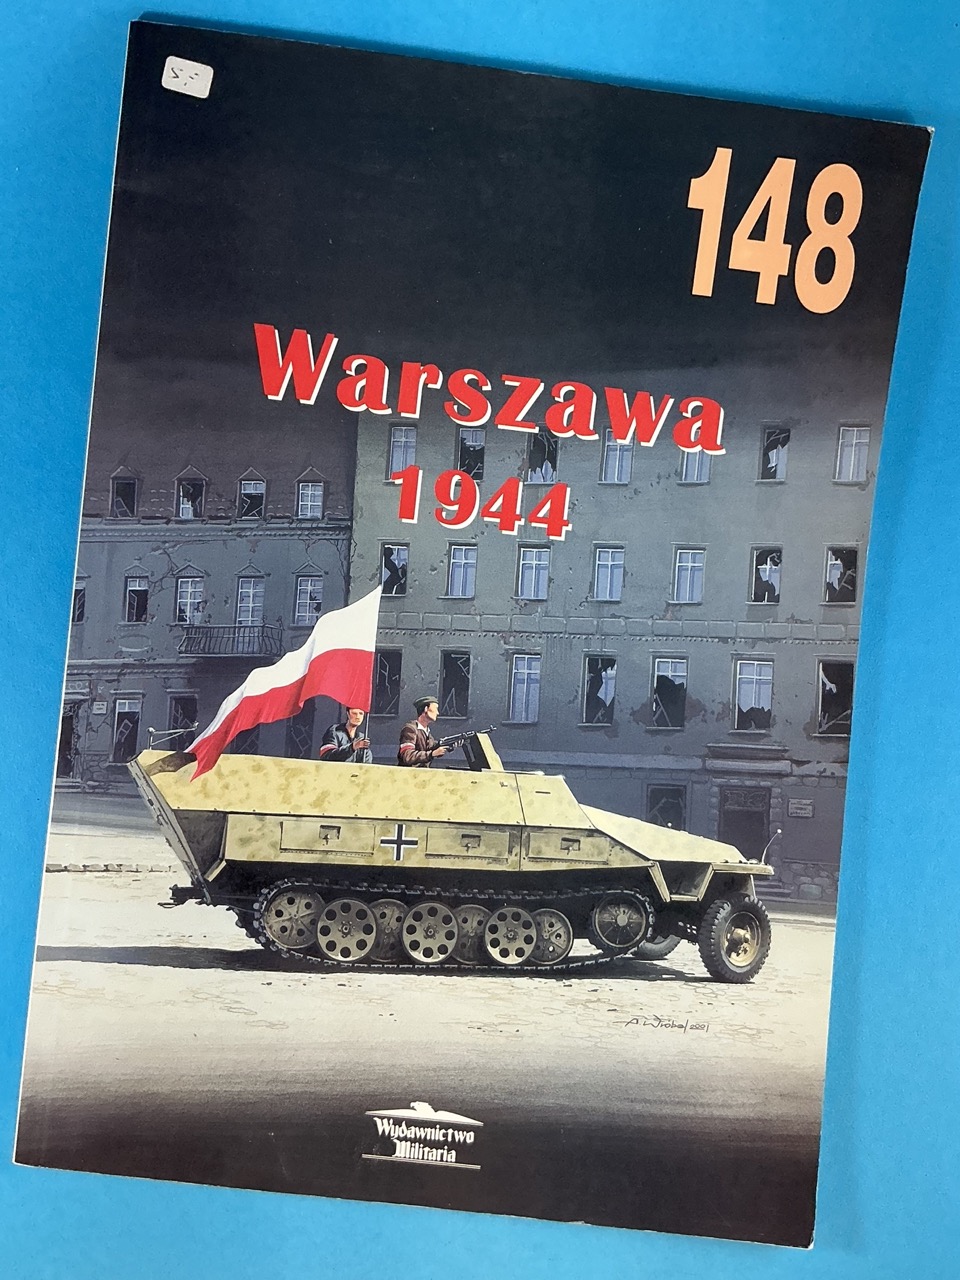
One of the hatches is closed, with a few bits of plastic card underneath to prevent it falling through the opening, the other is open so I can have a figure sit in it without showing the totally empty interior too much. Mirage also gives two German-style width stanchions for the front corners, but photos in this book:

IMG_4747.jpeg


… clearly show that those may not have been on it for long. One picture from the front shows the mountings for them, but not the stanchions themselves. On the model, I did the same: cut off the undersides and only glued those to the armour.

The tow hooks are also fun. You have to stick them through the holes in the front and rear armour, and glue them to the chassis, but once more without any indicator of where or how. This is not really helped much by the chassis flexing when you push against it. In the end, I just stuck the hooks to the undersides of the chassis beams:

IMG_4746.jpeg


Because in doing this, one of the crossbeams broke off on one side, I dug out an old tube of model cement and put a big drop over all four hooks and the ends of all the crossbeams :) It can but help.

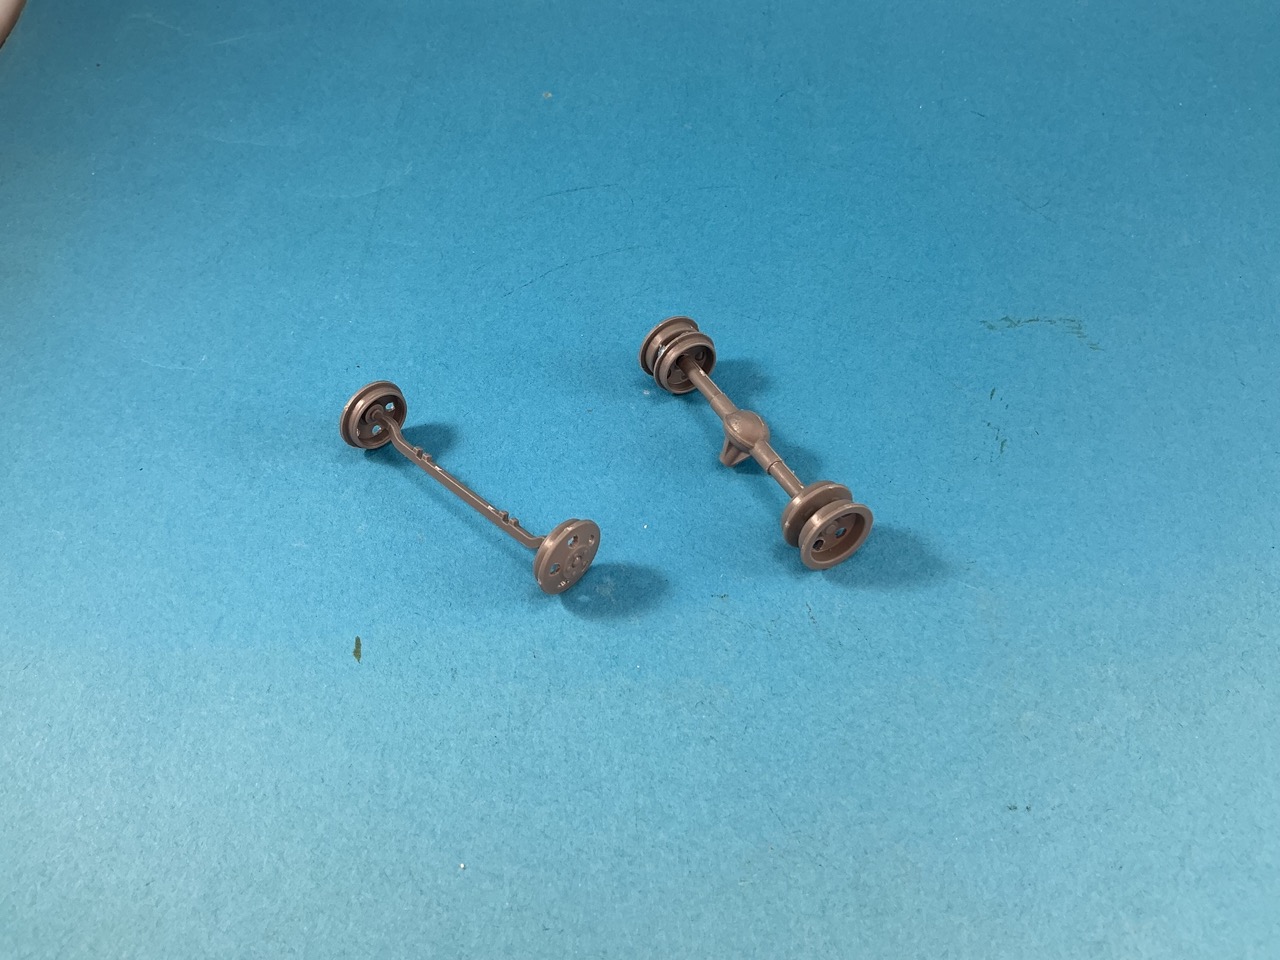
The wheels are also great fun: the holes have not been moulded all the way through, but just as dimples, with a note in the instructions that you have to cut them open yourself. That's doable, but it's not easy as such, not to mention hard to do neatly. Luckily, three quarters of them will be hidden behind the wheel armour :) The strangest thing is that one pair of wheels has the holes moulded with little more than a translucent web of plastic in them, but those are the inside rear wheels, where the holes will be completely out of sight … Why couldn't they mould all six like that?

And then I had had enough for last night, because:

IMG_4751.jpeg
 
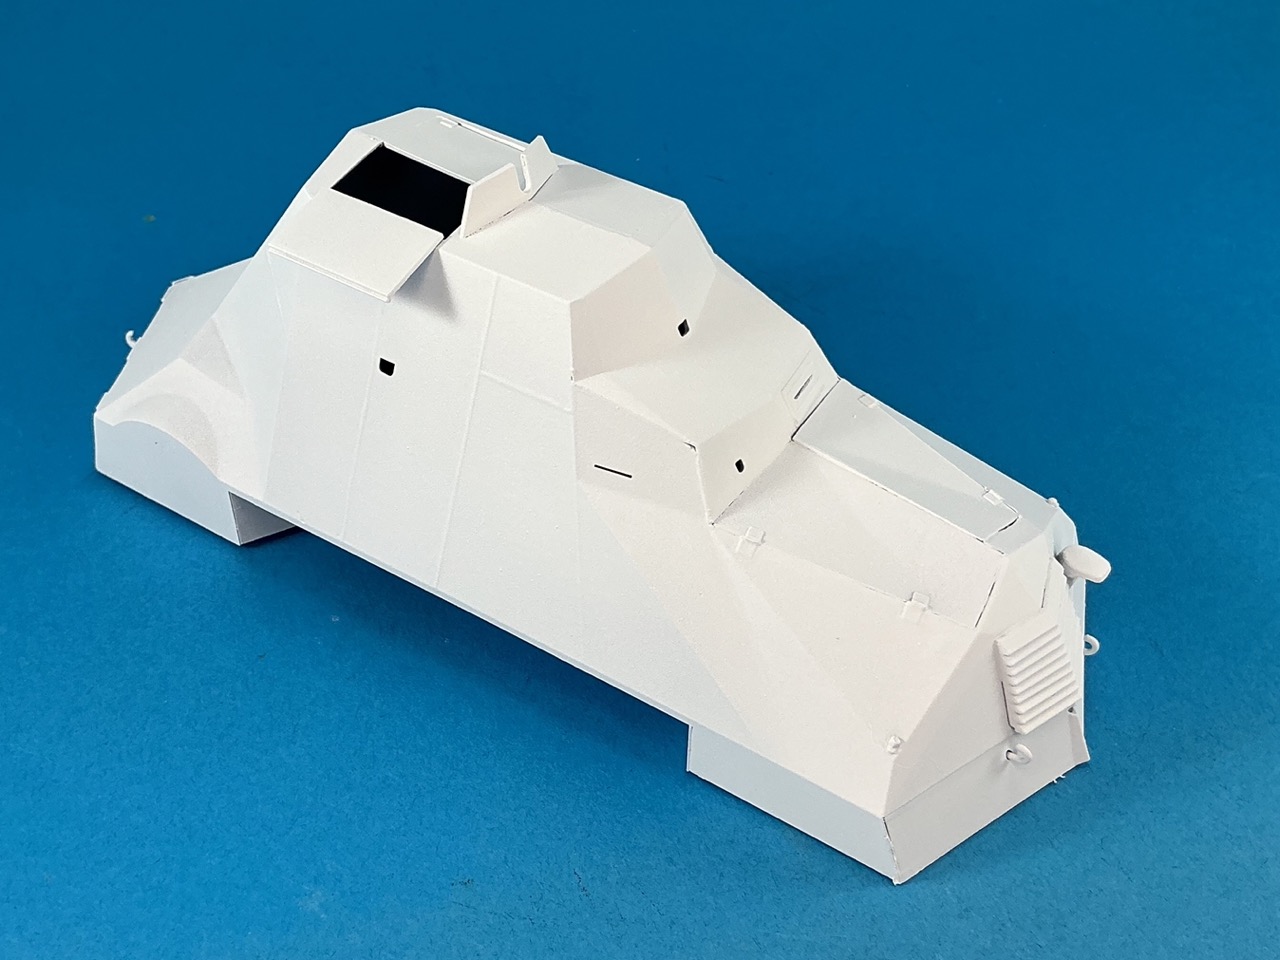
The very last dregs from an aerosol of Vallejo white primer was just enough for this model:

IMG_4754.jpeg


Normally, I wouldn't put any primer on, but the plastic is grey and the model needs to be painted grey too, so this way I can at least tell where I already put paint and where not :) A second reason is that I did some research to find out which paint I can use:

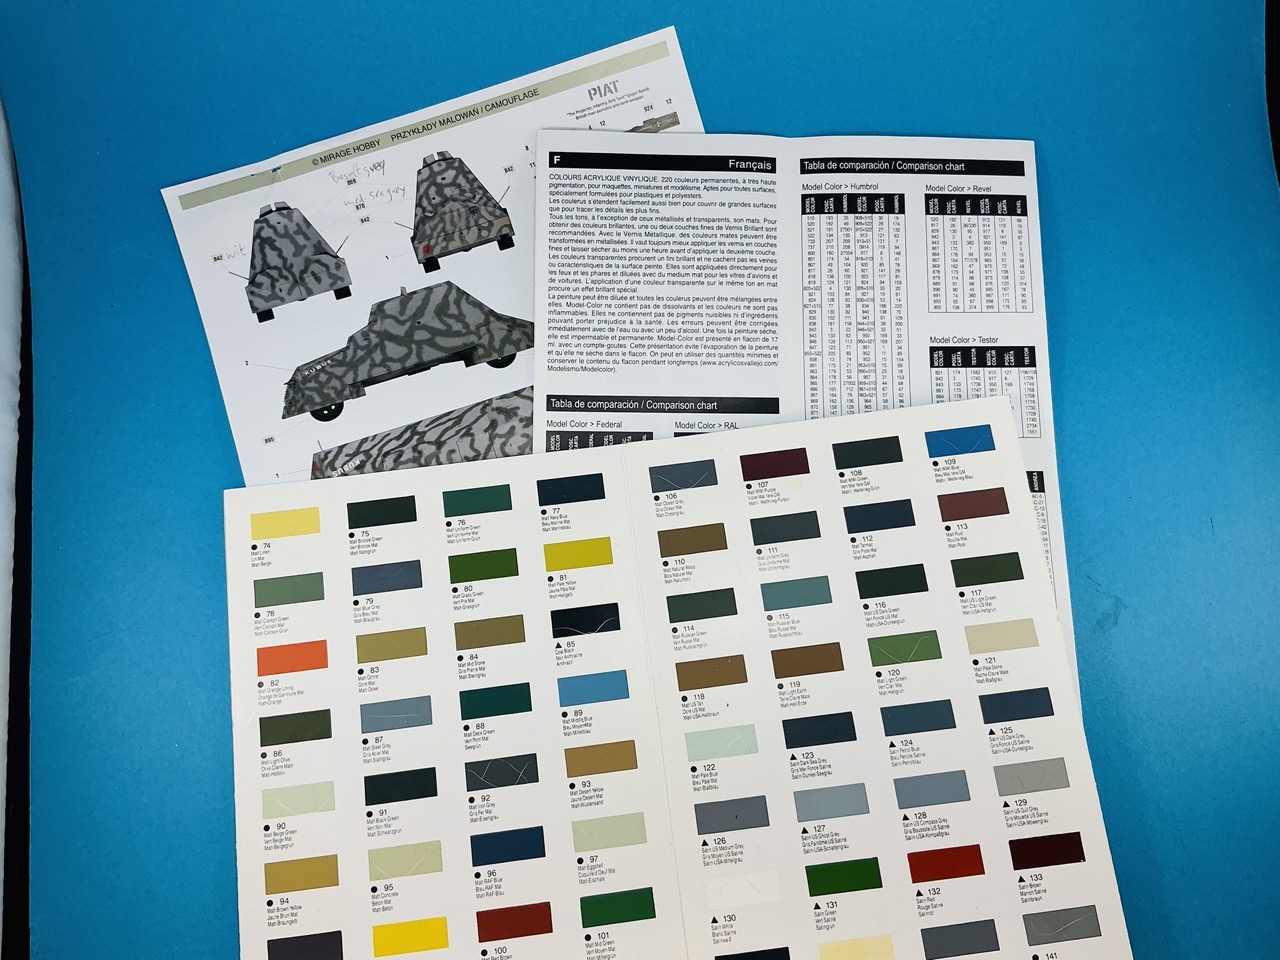
IMG_4753.jpeg


Top left the kit's painting instructions, top right a Vallejo colour table showing the section with colour conversion tables, bottom an ancient Humbrol colour chart (real paint chips, not printed) which lead me to learn that Humbrol 126 is suitable for the light grey and 106 for the dark. Except I don't have either of those, so I had to find alternatives — which the paint chip chart was very useful for. Tamiya XF-24 Dark Grey comes close enough to 106 and Hataka A082 Gris Bleu Foncé to 126. Only thing is that I don't want to spray that last one over bare plastic, which is the other reason for applying primer :)
 
Last edited:
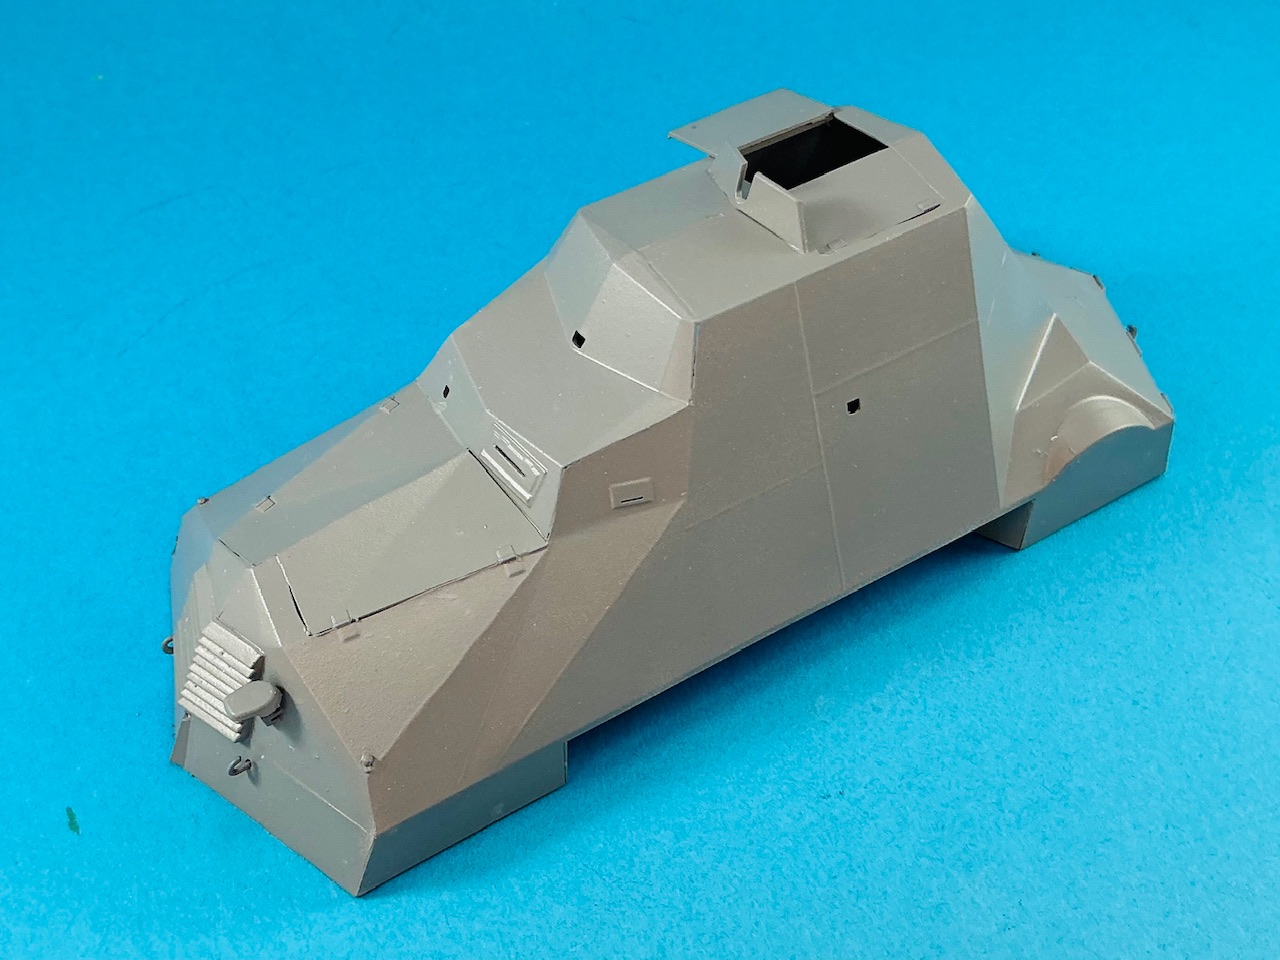
And then it was grey again :)

IMG_4755.jpeg


About the same colour as the plastic, in fact …

The Hataka-paint was a non-starter. After shaking it well I put it into my airbrush and immediately saw it was far too dark. That turned out to be because the pigment had congealed into a big lump in the bottle, and even stirring with a wooden stick didn't get it to mix properly again. I'm not a Hataka fan in any case, as I find it covers very poorly, but if a bottle turns unusable after being used once and then remaining closed for several years means I'm very unlikely to buy any more, I think.

But I don't have another bottle of grey of this kind of shade … Now what? Well, the old-fashioned way, then: Vallejo Signal White plus Ammo Matt Black in a ratio of 7:3, and I had a colour close enough to Humbrol 126.
 
As an Amazon Associate we earn from qualifying purchases. Product prices and availability are accurate as of the date/time indicated and are subject to change.
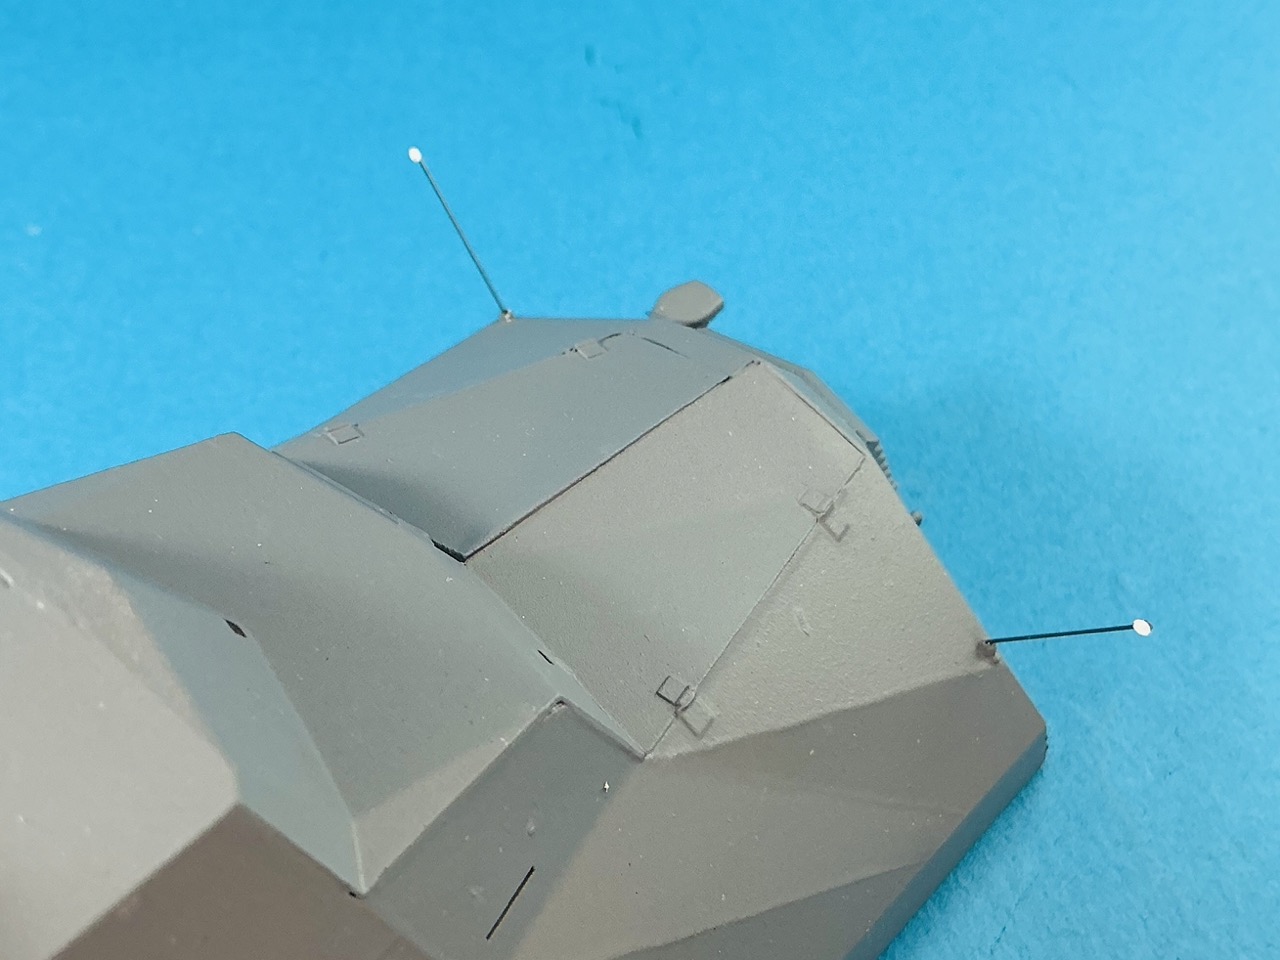
Over on Missing-Lynx, it was pointed out that Kubuś did have the width marker stanchions, but that the one on the left had broken off in a minor accident. Therefore, I drilled through both mounting points and made stanchions from 0.3 mm spring steel wire with a plastic disc on the end:

IMG_4756.jpeg


Now I need to find a suitable paint that matches the rest of the vehicle.

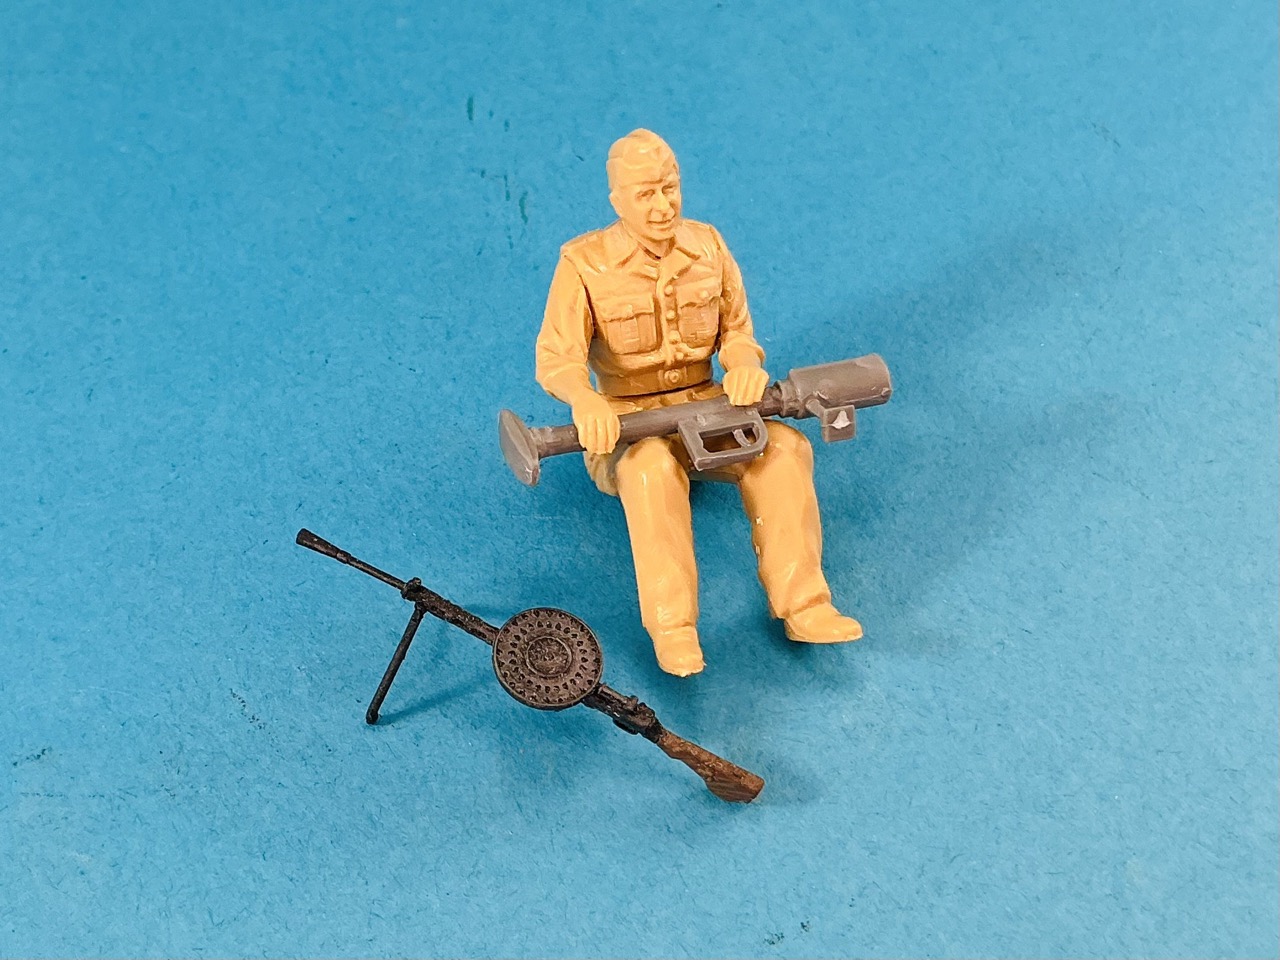
I also built a crew figure:

IMG_4757.jpeg


He's from Tamiya's FAMO. That's a kit I never built, or even purchased, but when it was fairly new someone gave me all of the figures that come with it, and every couple of years I use one of them for something :) By scraping off the badges and the pleats in his jacket pockets he can pass for a Polish fighter well enough, I'd say. The PIAT he's holding comes with the Kubuś kit while the DP is from Tamiya, that I painted fifteen years ago, if not more, for something I didn't end up using it for. Mirage's DP isn't very good, so it's easier to replace it with one I had already anyway.
 
Three weeks ago, at the TWENOT 50th anniversary event, I came across this kit:

View attachment 195303

I have had my eye on this for a number of years, largely because of the interesting story behind this vehicle, and for ten euros I could hardly not buy it :)


On 1 August 1944, an uprising that had long been planned broke out in Warsaw, against the German occupying forces. It was lead by the Armia Krajowa ([ˈarmja kraˈjɔva], ARM-ya kra-YOH-va; this is usually translated into English as "Home Army") because this expected the Red Army to reach Warsaw soon. The uprising was therefore intended to hasten the city's liberation as well as to try and prevent the Soviet Union from gaining too much influence after the war, by ensuring that the city would fall into Polish rather than Soviet hands. Stalin, however, stopped his armies' advance, which gave the Germans the opportunity to suppress the uprising, though this would take them two months despite the extreme violence they used. Not only was the city systematically shot to rubble with artillery, but when German forces encountered Poles, whether they were fighters or not, young or old, men, women or children, on Himmler's orders they were shot dead on the spot or killed in much more horrific ways. This soon turned out to be counterproductive: exactly because of the grim fate that they could expect if they were captured by the Germans, the Poles fought harder and longer instead. By mid-September, the Germans therefore began to capture Polish fighters and treat them as prisoners of war rather than as insurrectionists. Meanwhile, negotiations had been opened between the two sides, that eventually lead to a Polish surrender on 2 October.

Very little help from outside came in during all of this. The British wanted to, and tried, but Poland was very difficult for them to reach with aircraft that could drop supplies. Staling refused to allow Soviet-held airfields to be used for this, but eventually made a token effort by having the Soviet air force drop supplies, of which much ended up in German hands at that. The Americans didn't want to antagonise Stalin so initially did little or nothing, and when they did get Soviet permission, their help also had little effect.

Kubuś is an improvised armoured car that the AK built on the chassis of a Chevrolet 157 truck (built under licence in Poland before the war), in a garage owned by one Stanisław Kwiatkowski. Construction began on 8 August, and it was finished two weeks later. It was armed with a Russian DP machine gun, a British PIAT anti-tank launcher, a Polish K-pattern flame thrower (also an AK product, made in occupied Warsaw) and hand grenades. Armour was only 5 to 6 mm thick, but because the builders couldn't get their hands on armour-quality steel, the used plates from a factory and bank vans, which they installed as spaced armour with a gap of between 2.5 and 9 cm between the plates to make it proof against rifle bullets. The vehicle was used until 6 September, when it was abandoned in the city, where it stood until after the war, burned out and covered in graffiti. After the war it was moved to the Polish army's museum and fixed up, and in 1967 it was restored using parts from a GAZ 51 truck. In 1990, the engine was replaced by one of the same type that was fitted originally, and in 2004 a replica was built for the museum that commemorates the uprising.

The name means "little Jacob", which was both the resistance name of the recently killed wife of one of the builders, and the name of Winnie-the-Pooh in Polish.


OK, the model … You get this in the box:
View attachment 195304View attachment 195305

Everything is on one sprue, which has been cut into four pieces to fit it into the box. The model has a full interior, in as far as there is any, because it mainly consists of a chair, a steering wheel and some levers. The tyres are of soft, black plastic, and you can also buy a set of replacement wheels that have different tread. However, even without postage from Canada, where they're made, these cost more than the kit they're for. I don't think they're worth it for what you can actually see of the wheels.

The instructions can be viewed on Scalemates. Four pages altogether! Well, plus two for the historical background and the colour scheme :) The paint references are for Vallejo, so I spent a while figuring out what colours are meant with those.
Interesting back drop . Poland has often been left to fend for itself. I've picked up a few IBG models of Polish aircraft but unfortunately they are so small I keep
Putting the builds off.
 
The very last dregs from an aerosol of Vallejo white primer was just enough for this model:

View attachment 196049

Normally, I wouldn't put any primer on, but the plastic is grey and the model needs to be painted grey too, so this way I can at least tell where I already put paint and where not :) A second reason is that I did some research to find out which paint I can use:

View attachment 196048

Top left the kit's painting instructions, top right a Vallejo colour table showing the section with colour conversion tables, bottom an ancient Humbrol colour chart (real paint chips, not printed) which lead me to learn that Humbrol 126 is suitable for the light grey and 106 for the dark. Except I don't have either of those, so I had to find alternatives — which the paint chip chart was very useful for. Tamiya XF-24 Dark Grey comes close enough to 106 and Hataka A082 Gris Bleu Foncé to 126. Only thing is that I don't want to spray that last one over bare plastic, which is the other reason for applying primer :)
I had an interesting conversation about paints and accuracy with a shop owner last week. He was stating it's all basically pointless because many of the colors we cannot know for certainty. He also brought up that years ago someone sampled various paint manufacturers and found differences between manufacturers and also differences in batches form the same manufacturer.
 
Interesting back drop . Poland has often been left to fend for itself.
And you can see quite well these last couple of years that they're intent on not being ruled from abroad against their will again.

I've picked up a few IBG models of Polish aircraft but unfortunately they are so small I keep
Putting the builds off.
I've never built any of those, but I expect they'll be about the size of other early-war aircraft, right? Not too bad — in fact, for aircraft I'd say that's a good size because they won't take up as much room with their awkward shapes :)

it's all basically pointless because many of the colors we cannot know for certainty.
He has a point, but where people usually go with this line of reasoning is IMHO false. Most will end up claiming that any colour close to the supposed real shade will do — but then justify using colours that are demonstrably nowhere near it.

Yes, the actual, real colours are frequently no longer known despite much research. And even when things are painted in what should be the same colour, there are frequently differences even when the paint is new. This can have all kinds of reasons, for variance in manufacture to (for a British example) the last tank in the troop being painted with "tinted petrol" (gasoline) — since crews were issued a certain number of tins of paint which was to be thinned with petrol as needed, so the first tank got mostly paint with a little petrol in it, the second tank was probably 50/50 and for the third tank they had to stretch the little paint they had remaining as far as it would go.

But IMHO it's a fallacy to use this variation to claim the paint you use doesn't matter. Instead, I say that if you're looking for accuracy, you should try to form an idea of what the paint was supposed to look like, and then vary reasonably from that. American olive drab is my favourite example: from the factory it was (is) medium/dark brown with a green hue, and when it aged it became more brown. With this knowledge, you can select a paint that's a greenish brown colour, and it doesn't really matter what the exact shade of it is. American OD is not green, however, so any paint that is clearly green is incorrect.
 
And you can see quite well these last couple of years that they're intent on not being ruled from abroad against their will again.


I've never built any of those, but I expect they'll be about the size of other early-war aircraft, right? Not too bad — in fact, for aircraft I'd say that's a good size because they won't take up as much room with their awkward shapes :)


He has a point, but where people usually go with this line of reasoning is IMHO false. Most will end up claiming that any colour close to the supposed real shade will do — but then justify using colours that are demonstrably nowhere near it.

Yes, the actual, real colours are frequently no longer known despite much research. And even when things are painted in what should be the same colour, there are frequently differences even when the paint is new. This can have all kinds of reasons, for variance in manufacture to (for a British example) the last tank in the troop being painted with "tinted petrol" (gasoline) — since crews were issued a certain number of tins of paint which was to be thinned with petrol as needed, so the first tank got mostly paint with a little petrol in it, the second tank was probably 50/50 and for the third tank they had to stretch the little paint they had remaining as far as it would go.

But IMHO it's a fallacy to use this variation to claim the paint you use doesn't matter. Instead, I say that if you're looking for accuracy, you should try to form an idea of what the paint was supposed to look like, and then vary reasonably from that. American olive drab is my favourite example: from the factory it was (is) medium/dark brown with a green hue, and when it aged it became more brown. With this knowledge, you can select a paint that's a greenish brown colour, and it doesn't really matter what the exact shade of it is. American OD is not green, however, so any paint that is clearly green is incorrect.
Regarding the IBG kits they are very detailed but it seems they mostly produce 1/72. If you do not mind tiny parts they appear to be quality kits.
I agree completely on the paint. I find it amusing when someone argues against a shade someone used when the shade is, as far as one knows, close to what was used historically. It's also amusing to me because there are factors, such as you presented, where a group of tanks may very well all have different shades of the same color as a result of dilution. Add in weathering effects and it seems silly to be adamant about using a particular variance of paint color. I'll post pictures of an IBG kit I bought but have not yet completed later today. I have a meeting in five minutes.
 
Interesting build, both historically and from the kit quality (or lack thereof) point of view.

As you know, many of my builds end up being from 'less mainstream' kit makers, mostly because I look at the subject first, and often don't have much choice.
In retrospect, it can be annoying at times, but all in all, the challenges add some spice and a lot of learning.

It's fun, and informative, to follow along your design/build process!

Cheers
 
If you do not mind tiny parts
That has never been a problem for me, unless they get ridiculously small (like some of Takom's photoetched rests on the M29 Weasel: something like 0.75 × 0.5 mm, which they expect you to fold in half and don't make clear at all where they're supposed to go).

I find it amusing when someone argues against a shade someone used when the shade is, as far as one knows, close to what was used historically.
That's the other side of it, and it happens a lot as well, yes. If you use the exact colour that was on the real thing, some people will deride you for going to the trouble when "it doesn't really matter anyway" while if you use something close enough to be realistic, others will deride you for not having "the real shade" correct. The reply to both, of course, is that it's your model and not theirs. However, that also gets misused IMHO by people to justify unrealistic colours on models they claim to be accurate.

My take on it is that if you don't care about accuracy, then it doesn't really matter: paint it in what you think is a good colour for it. If that's lemon yellow instead of panzer grey, be my guest, it's your model. But: If you claim your model to be accurate, then you will need to be able to justify your choice of colour historically. (Which leads to an aside about restorers of real military vehicles: many of them are so focussed on getting details right that they, for example, only want to use bolts that have the correct letters and numbers on them. And then they paint their Jeep or GMC truck or Sherman in whatever shade of military green they like and put markings on in Arial cut from vinyl stickers …)

many of my builds end up being from 'less mainstream' kit makers
Mirage is definitely one of those :) They're been around for thirty-plus years, IIRC, and I would think their current kits are better than their old ones, but they never seem to have learned how to make their kits easier to build …

What coloring scheme will be that strange armour?
Dark grey over medium grey :) The box art is not accurate, though:

492729996_613896601700803_2840243085083905442_n.jpg


This is a photo from late August 1944 (it doesn't appear to be dateable more accurately than that) but shows the scheme fairly well — at least on this side, anyway. The kit instructions have five-view drawings of the scheme, and they look like they match the available photos much better than the box art does.

It's a lot of work transferring the scheme to the model, though. I started on that last night, and had had enough for the moment after doing the right front side, maybe 10% of the whole area of the model …
 
That has never been a problem for me, unless they get ridiculously small (like some of Takom's photoetched rests on the M29 Weasel: something like 0.75 × 0.5 mm, which they expect you to fold in half and don't make clear at all where they're supposed to go).


That's the other side of it, and it happens a lot as well, yes. If you use the exact colour that was on the real thing, some people will deride you for going to the trouble when "it doesn't really matter anyway" while if you use something close enough to be realistic, others will deride you for not having "the real shade" correct. The reply to both, of course, is that it's your model and not theirs. However, that also gets misused IMHO by people to justify unrealistic colours on models they claim to be accurate.

My take on it is that if you don't care about accuracy, then it doesn't really matter: paint it in what you think is a good colour for it. If that's lemon yellow instead of panzer grey, be my guest, it's your model. But: If you claim your model to be accurate, then you will need to be able to justify your choice of colour historically. (Which leads to an aside about restorers of real military vehicles: many of them are so focussed on getting details right that they, for example, only want to use bolts that have the correct letters and numbers on them. And then they paint their Jeep or GMC truck or Sherman in whatever shade of military green they like and put markings on in Arial cut from vinyl stickers …)


Mirage is definitely one of those :) They're been around for thirty-plus years, IIRC, and I would think their current kits are better than their old ones, but they never seem to have learned how to make their kits easier to build …


Dark grey over medium grey :) The box art is not accurate, though:

View attachment 196485

This is a photo from late August 1944 (it doesn't appear to be dateable more accurately than that) but shows the scheme fairly well — at least on this side, anyway. The kit instructions have five-view drawings of the scheme, and they look like they match the available photos much better than the box art does.

It's a lot of work transferring the scheme to the model, though. I started on that last night, and had had enough for the moment after doing the right front side, maybe 10% of the whole area of the model …
Yes, agreed. I always post that I chose to do my own color scheme or "this is based on …" when I veer from history and do what I fancy. My point is you can't let accuracy bog you down when it's so difficult to be accurate in many instances.
 
With accuracy, there's a point at which you have to say, "This is what I know, I don't know how to find out more details, so this is what I'll go with." Sometimes, it then turns out you were wrong. Oh well, too bad. Better next time.

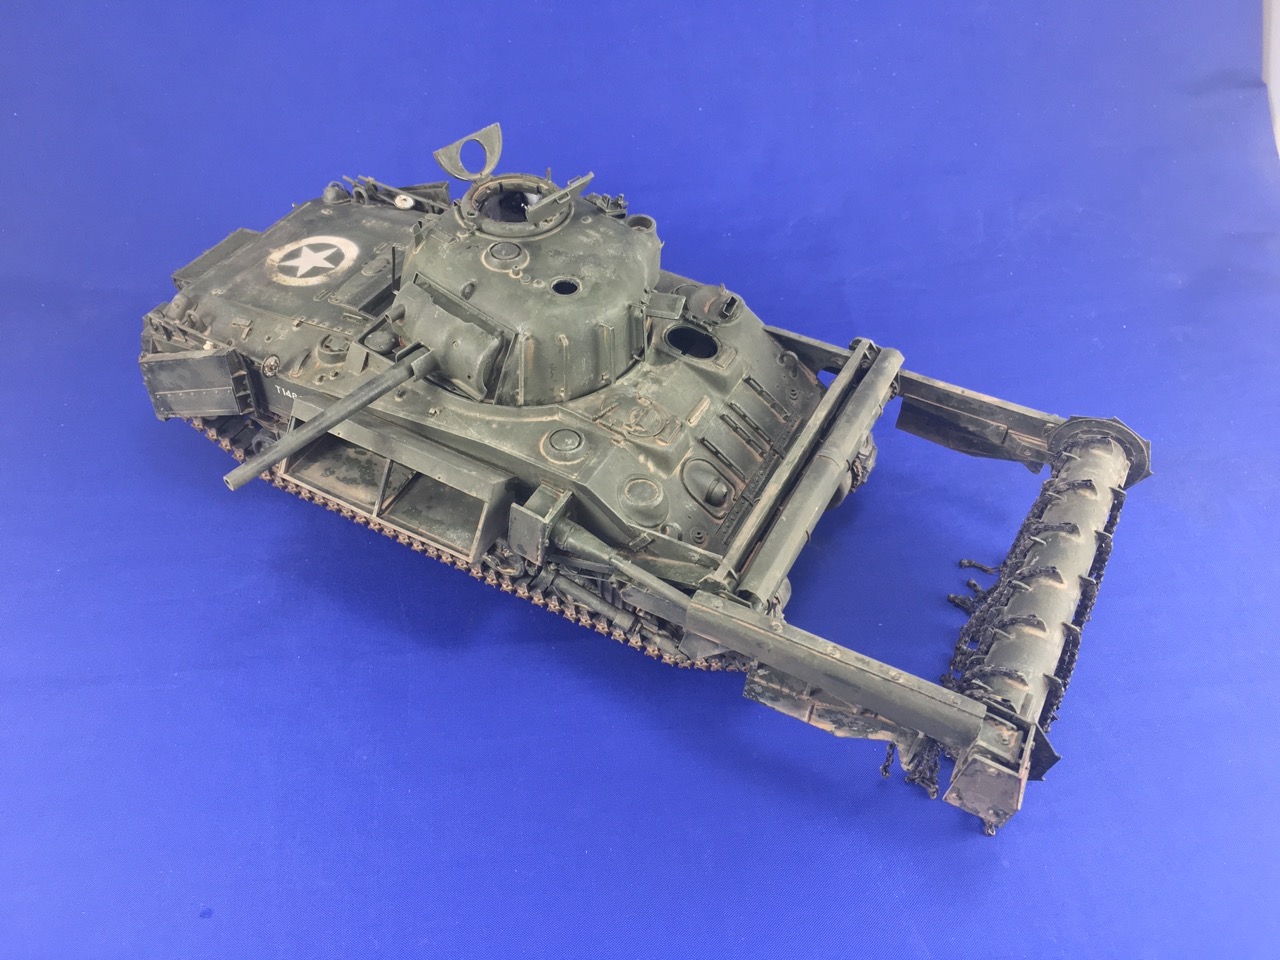
Case in point:

IMG_8109.jpeg


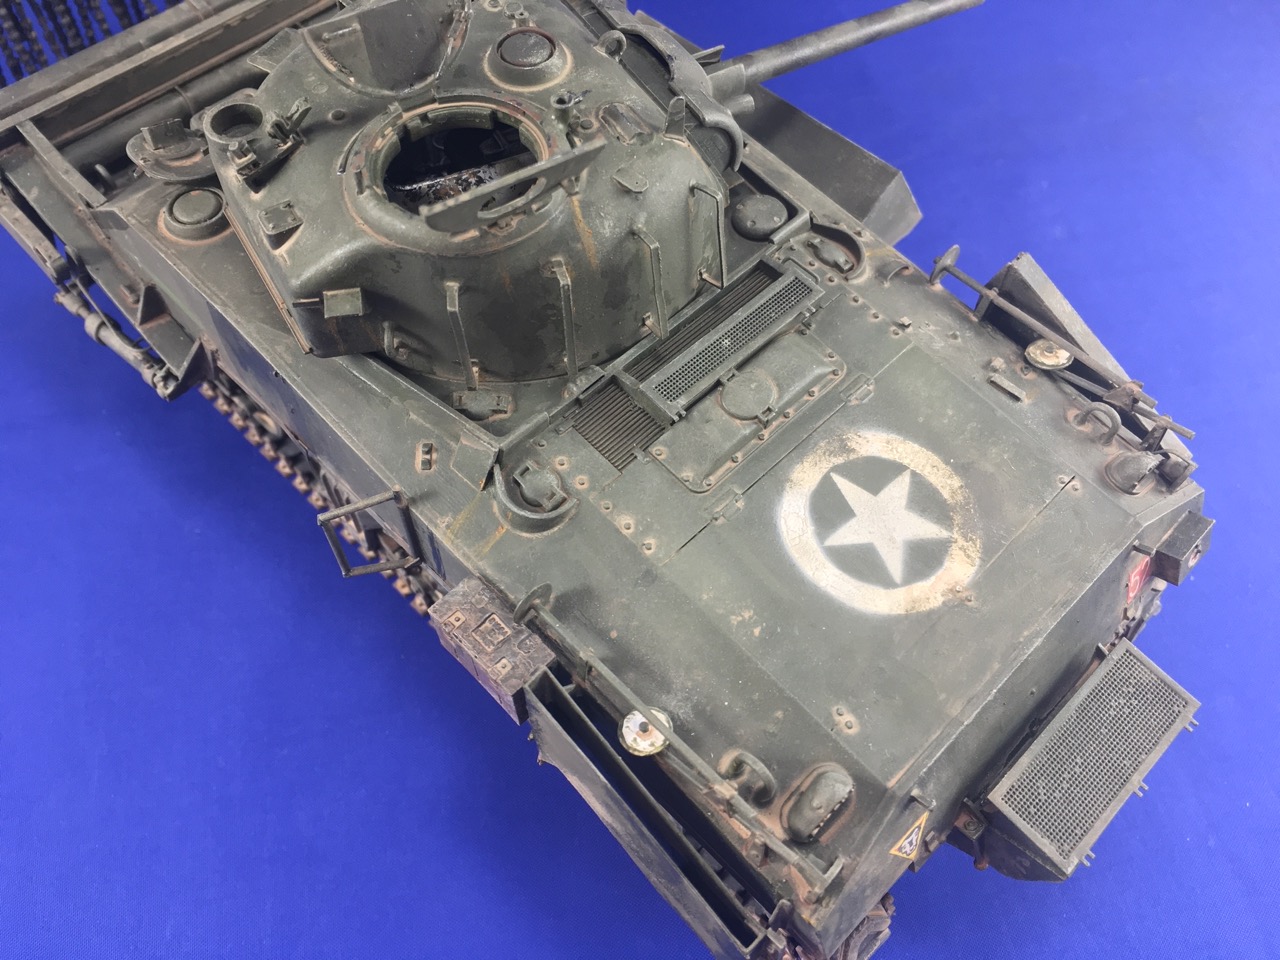
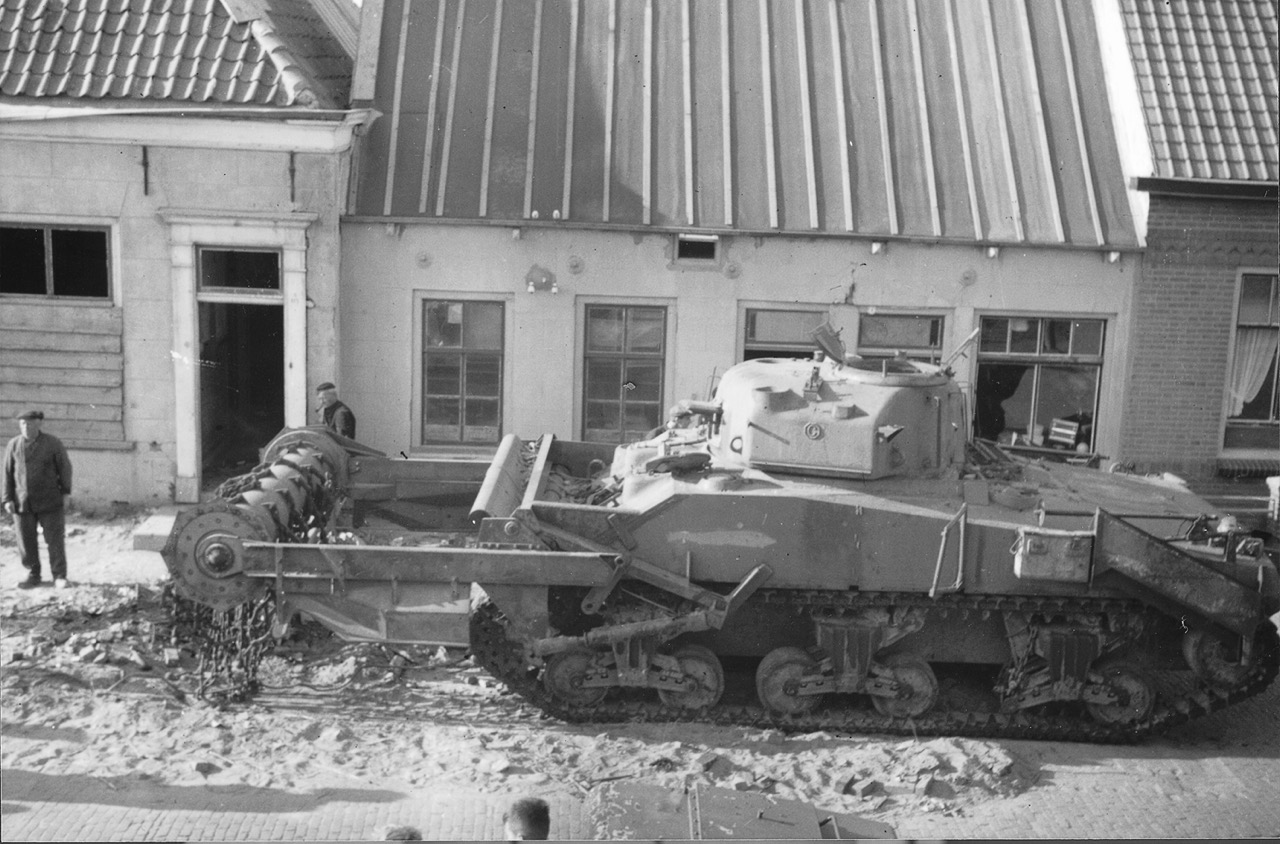
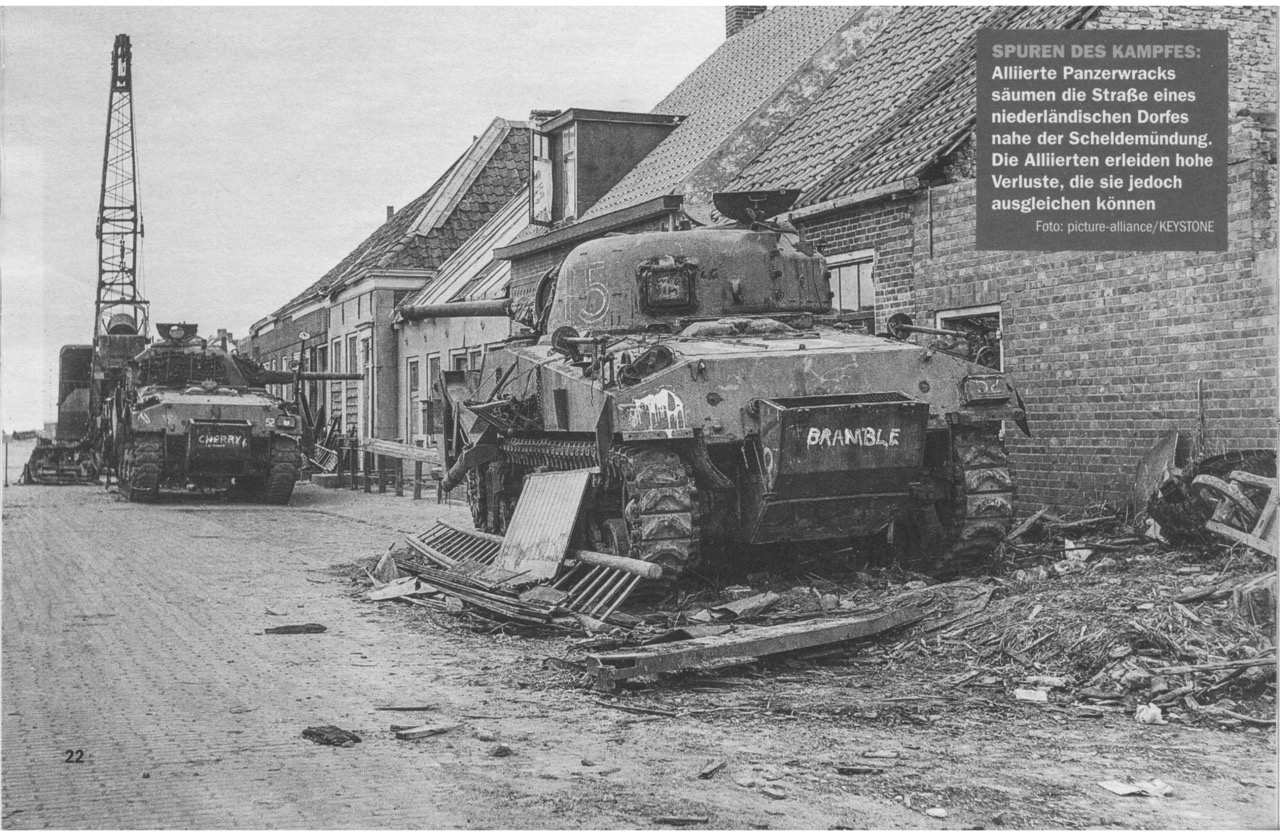
The model I'm probably most proud of, of Sherman Crab T148656. But look at the angled bins on the back:

IMG_8125.jpeg


I had to scratchbuild the open one on the left, as photos of the real tank show it like that:

Crab T148656 in front of A174.jpeg


But as I didn't have any photos of the bin on the right, I just used the (closed) part from the conversion set for it. And then a military history magazine published this:

Crabs T148656 & Dandy Dinmont.jpeg


The tank in the background is my subject. Clearly, it was missing the lids on both bins, and that photo was taken long before the other one I posted (which is from 1947) — you can tell because it still has spare flail chains in the rack on the turret.
 
do you know what was the rationale for the steep angles, and what were they meant to carry?
The steep angle follows from what they were meant to carry :) That is, marker lights, to indicate the path that had been flailed. The bins held a number of lights, with a mechanism at the bottom that released one at intervals — but off the top of my head, I don't know how big that was, and if it was timed, distance-based, or what (I have scans of the Crab user's manual and parts list, but not on the iPad I'm using at the moment). Nobody appears to know what the marker lights looked like, though, or even how they functioned (electrical or chemical? My guess is electrical).

And to impart further knowledge: many sources (including my own, as I didn't know better at the time) say these bins were for powdered chalk, with the same purpose: marking the lanes that had been flailed. But this is incorrect: they were for lights.
 

Latest posts

Back
Top