What are you working on right now?

Scale Model Addict - Model Tips, Guides, Tools & Tech, Tutorials, and Community

Help Support Scale Model Addict:

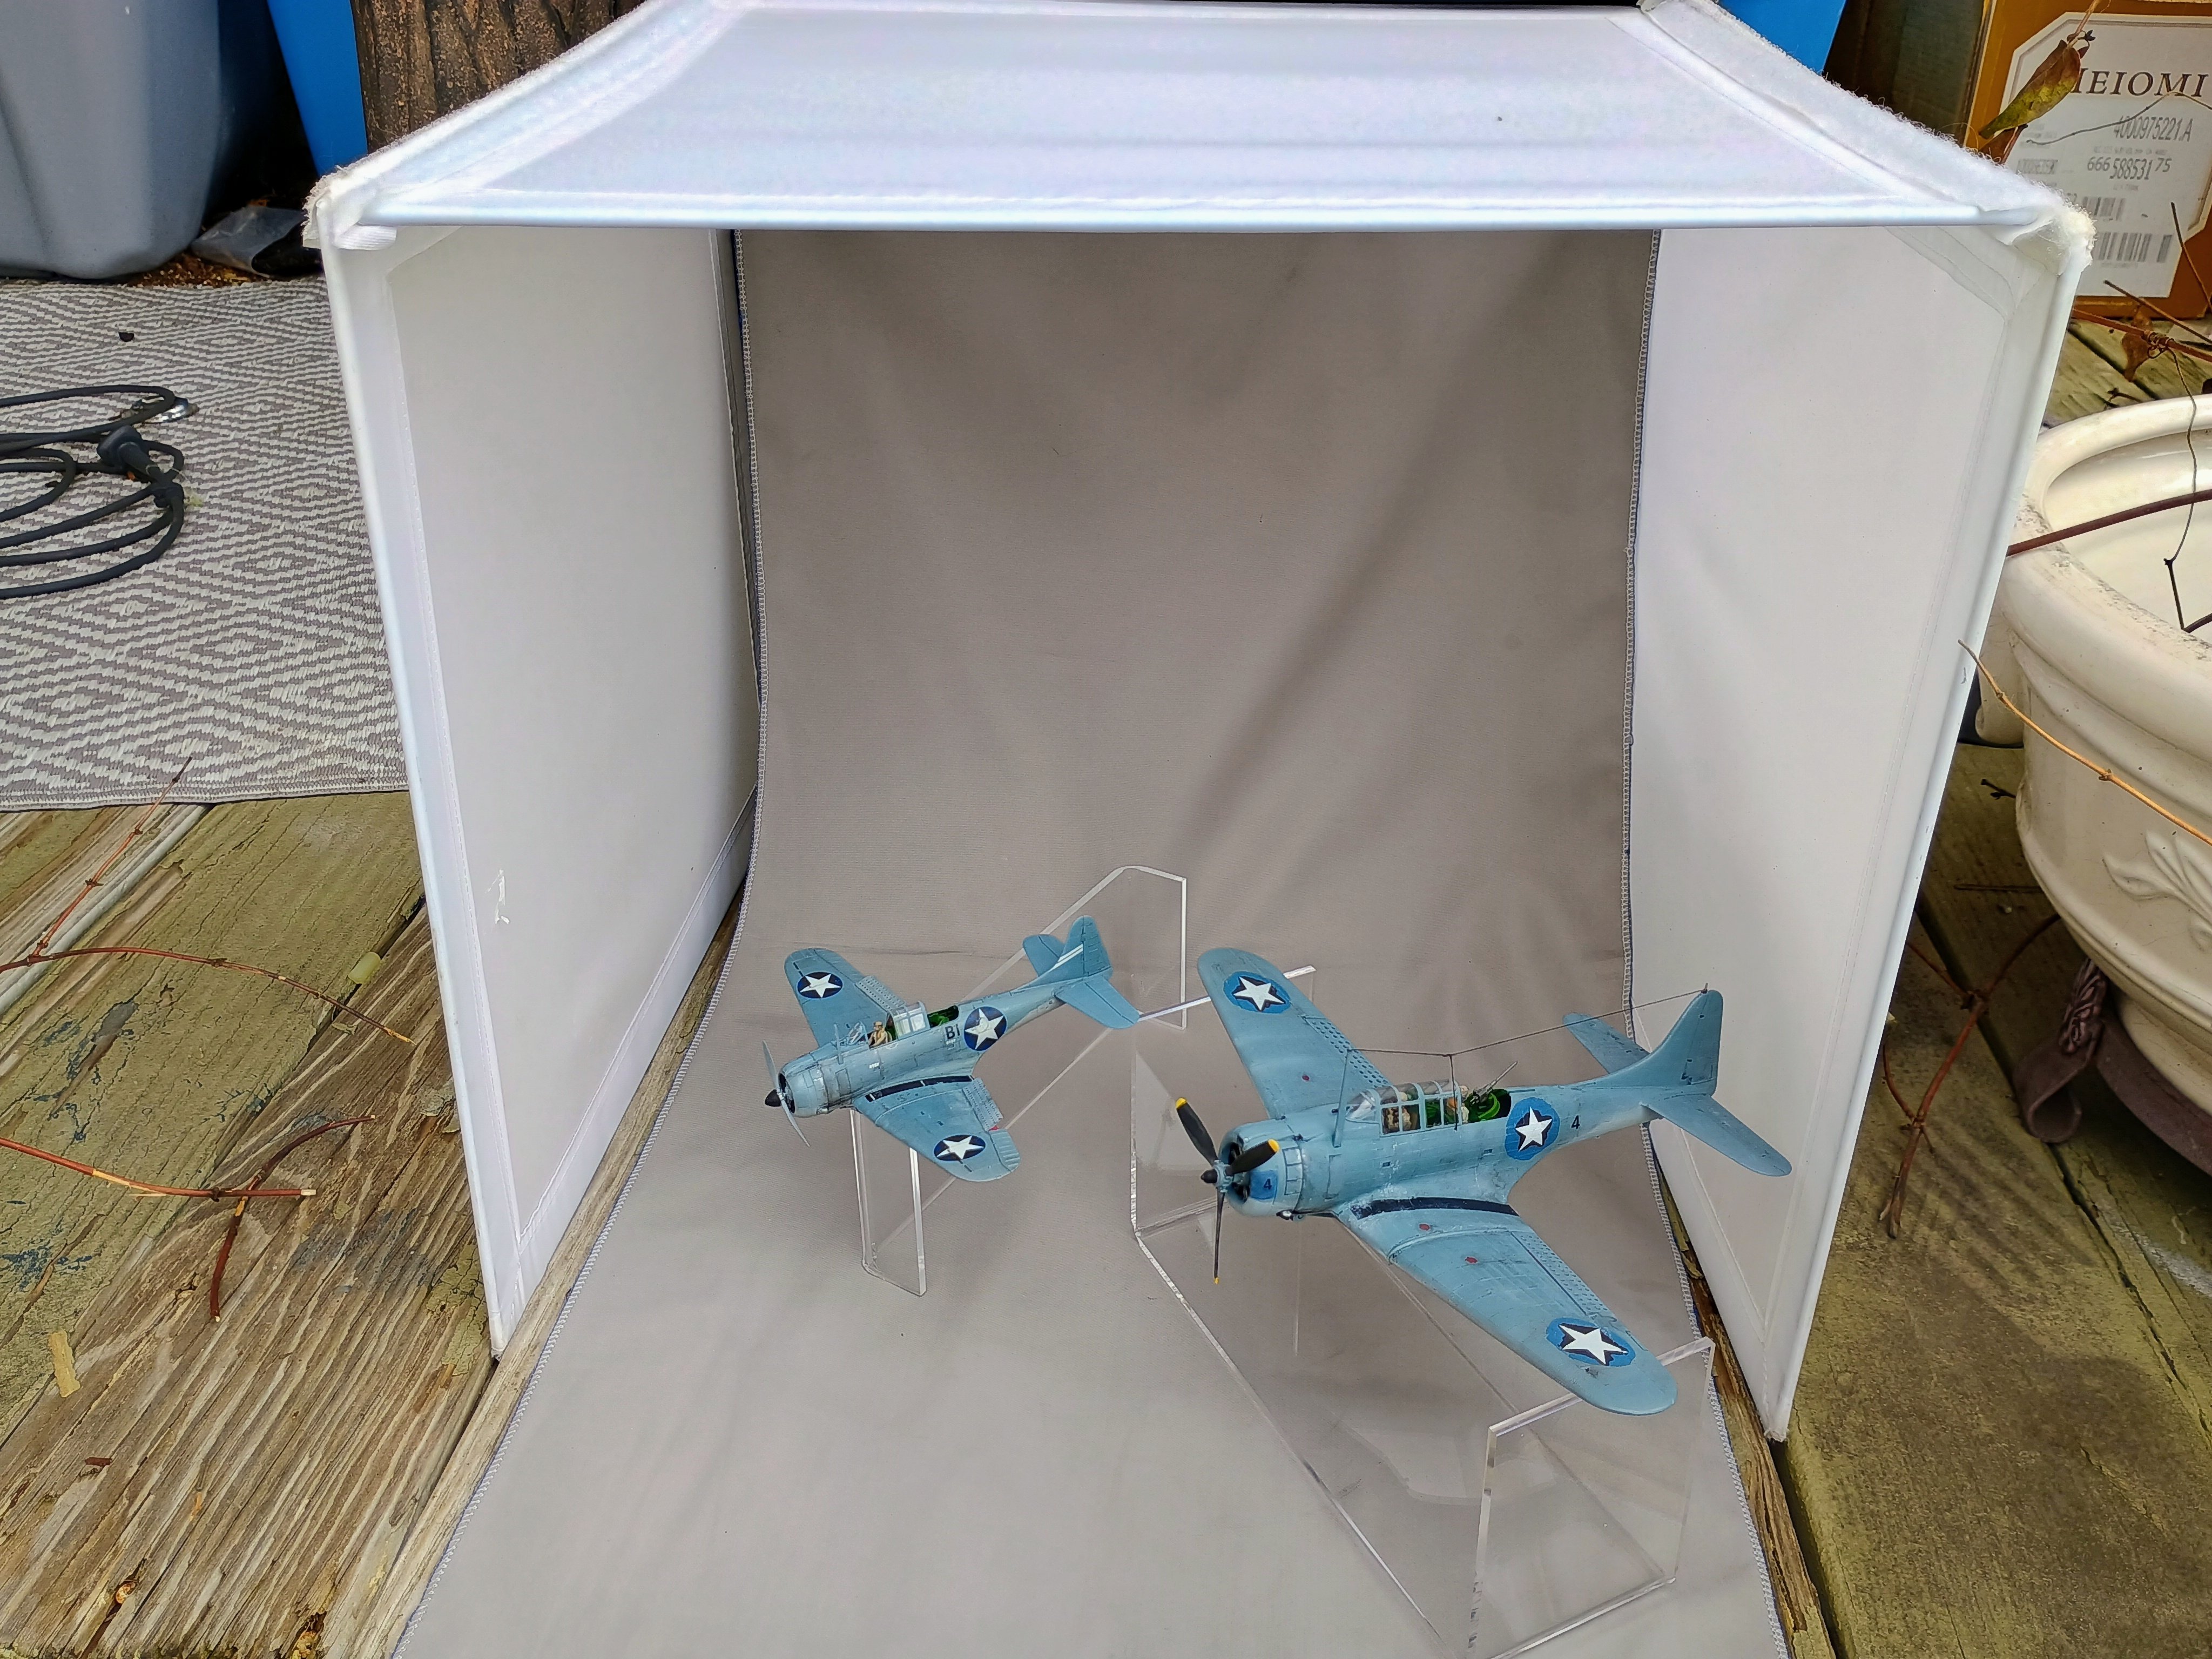
For that, you need lights from the sides as well as from above. A ring light at the front is also a good addition, but not as necessary.

My setup is like this:

View attachment 169732

This is a folding photo studio (but set up permanently in my modelling room), with lights above and on each side, shining through the white fabric so the shadows aren't as harsh. The lights on both sides point up somewhat, which also helps reduce the harshness of the shadows. Also, these are white lights, not blueish like your fluorescent tube probably is.

I take photos through the ring light at the front, which I added because Aldi had them cheap a few years ago — the flexible mount I bought for it cost more than the light did :)
Hah, I've got that same photo booth/light set, or at least a knockoff of it. Mine only has a grey or reverse side of blue for the backdrop, but yes it helps immensely with photos. I actually use it outside all the time as well since it is readily portable
IMG_20260327_132656254_HDR_AE.jpg
 
Hah, I've got that same photo booth/light set, or at least a knockoff of it.
That looks very similar, but without the black nylon case that it folds into? Mine came with a reversible backdrop, white on one side and medium blue on the other, but the white side stained easily and I find the blue is a bit dark and over-saturated for photographing models against, so now I use a sheet of thin card instead.
 
Need a lot of persuasion to sit in the folds.
Do you use a decal softener like Micro Sol? A liberal application of that, and then firmly pressing down (not sideways in any way!) on the decal with a soft cloth often helps. Repeat if necessary after it has dried.
 
As an Amazon Associate we earn from qualifying purchases. Product prices and availability are accurate as of the date/time indicated and are subject to change.
So when ever a kit calls for burnt iron, I've always mixed some metallic grey and red and have gotten good results. With my F18 I decided to try the Vallejo metal color burnt iron. Now the results were good after I stripped my first try. First it is very thin and dries very fast so no thinning is needed. I learned that after depositing a pool on my first go through. So I lowered the psi to 10 and straight from the bottle. Came out looking pretty good although not much different than Tamiya gun metal which is the internal exhaust tubes on the right. I thought there might be a little more patina or slightly more reddish but I'm happy with the results. View attachment 185266
I just noticed that you may have accidentally used red wine. Based on your paint mixing container in the background...
 
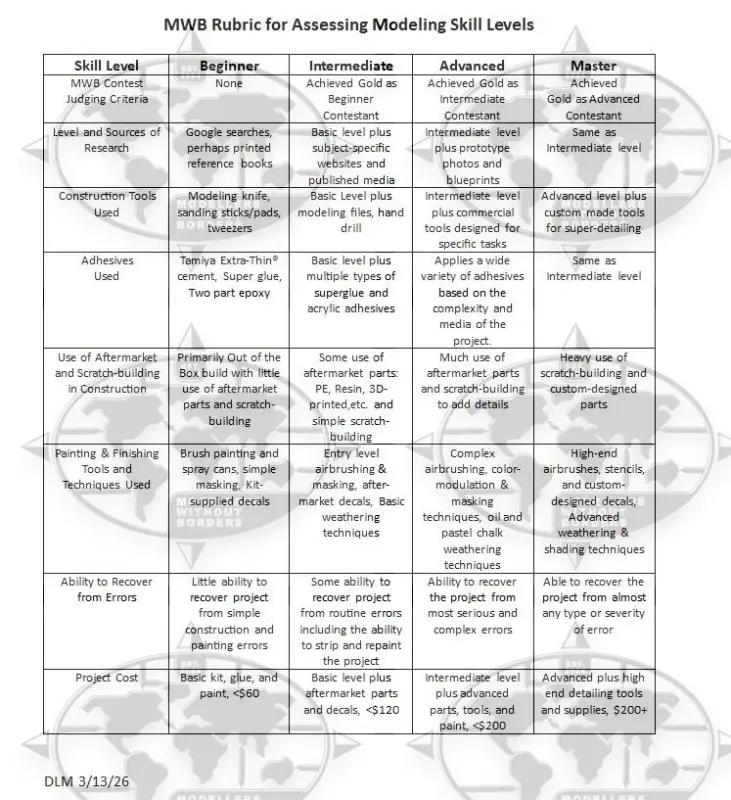
Got this matrix from modellers without borders, trying to decipher it :-]

View attachment 185920
Interesting that nowhere in here do I see anything about the quality or realism of the build. The last row is horse…feathers as far as I'm concerned. And the second most important criteria, IMHO, is the ability to recover from errors—though how the judge can determine that is a mystery. And rows 3, 4, and 5 are not necessarily universally applicable.

From Wikipedia et al: A rubric is an explicit set of criteria used for assessing a particular type of work or performance and provides more details than a single grade or mark. Rubrics, therefore, help teachers grade more objectively and "they improve students' ability to include required elements of an assignment."Like all rubrics, this is intended to reduce judgement to a formula, in which case it is no longer judgement.

As for contests, I've always found this as the best criteria. It is derived from a section of dialog in a famous movie:

If he/she/whatever is the best with (fill in the blank) with whom do they compete?

Themselves.
 
About the only thing on that you can't argue with is the first row: having had to have won a gold medal in the previous category (of course, actually doing so is based on subjective judging …).

Based on glues used, I'm a beginner — well, except that I sometimes use PVA in addition to liquid cement, superglue and the very occasional use of two-part epoxy glue. But in the next row, I'm suddenly in the advanced or master category.
 
I agree with all three of you, found it a very strange rubric myself. Some seems totally arbitrary and somewhat, a little bit, self contradicting.
 
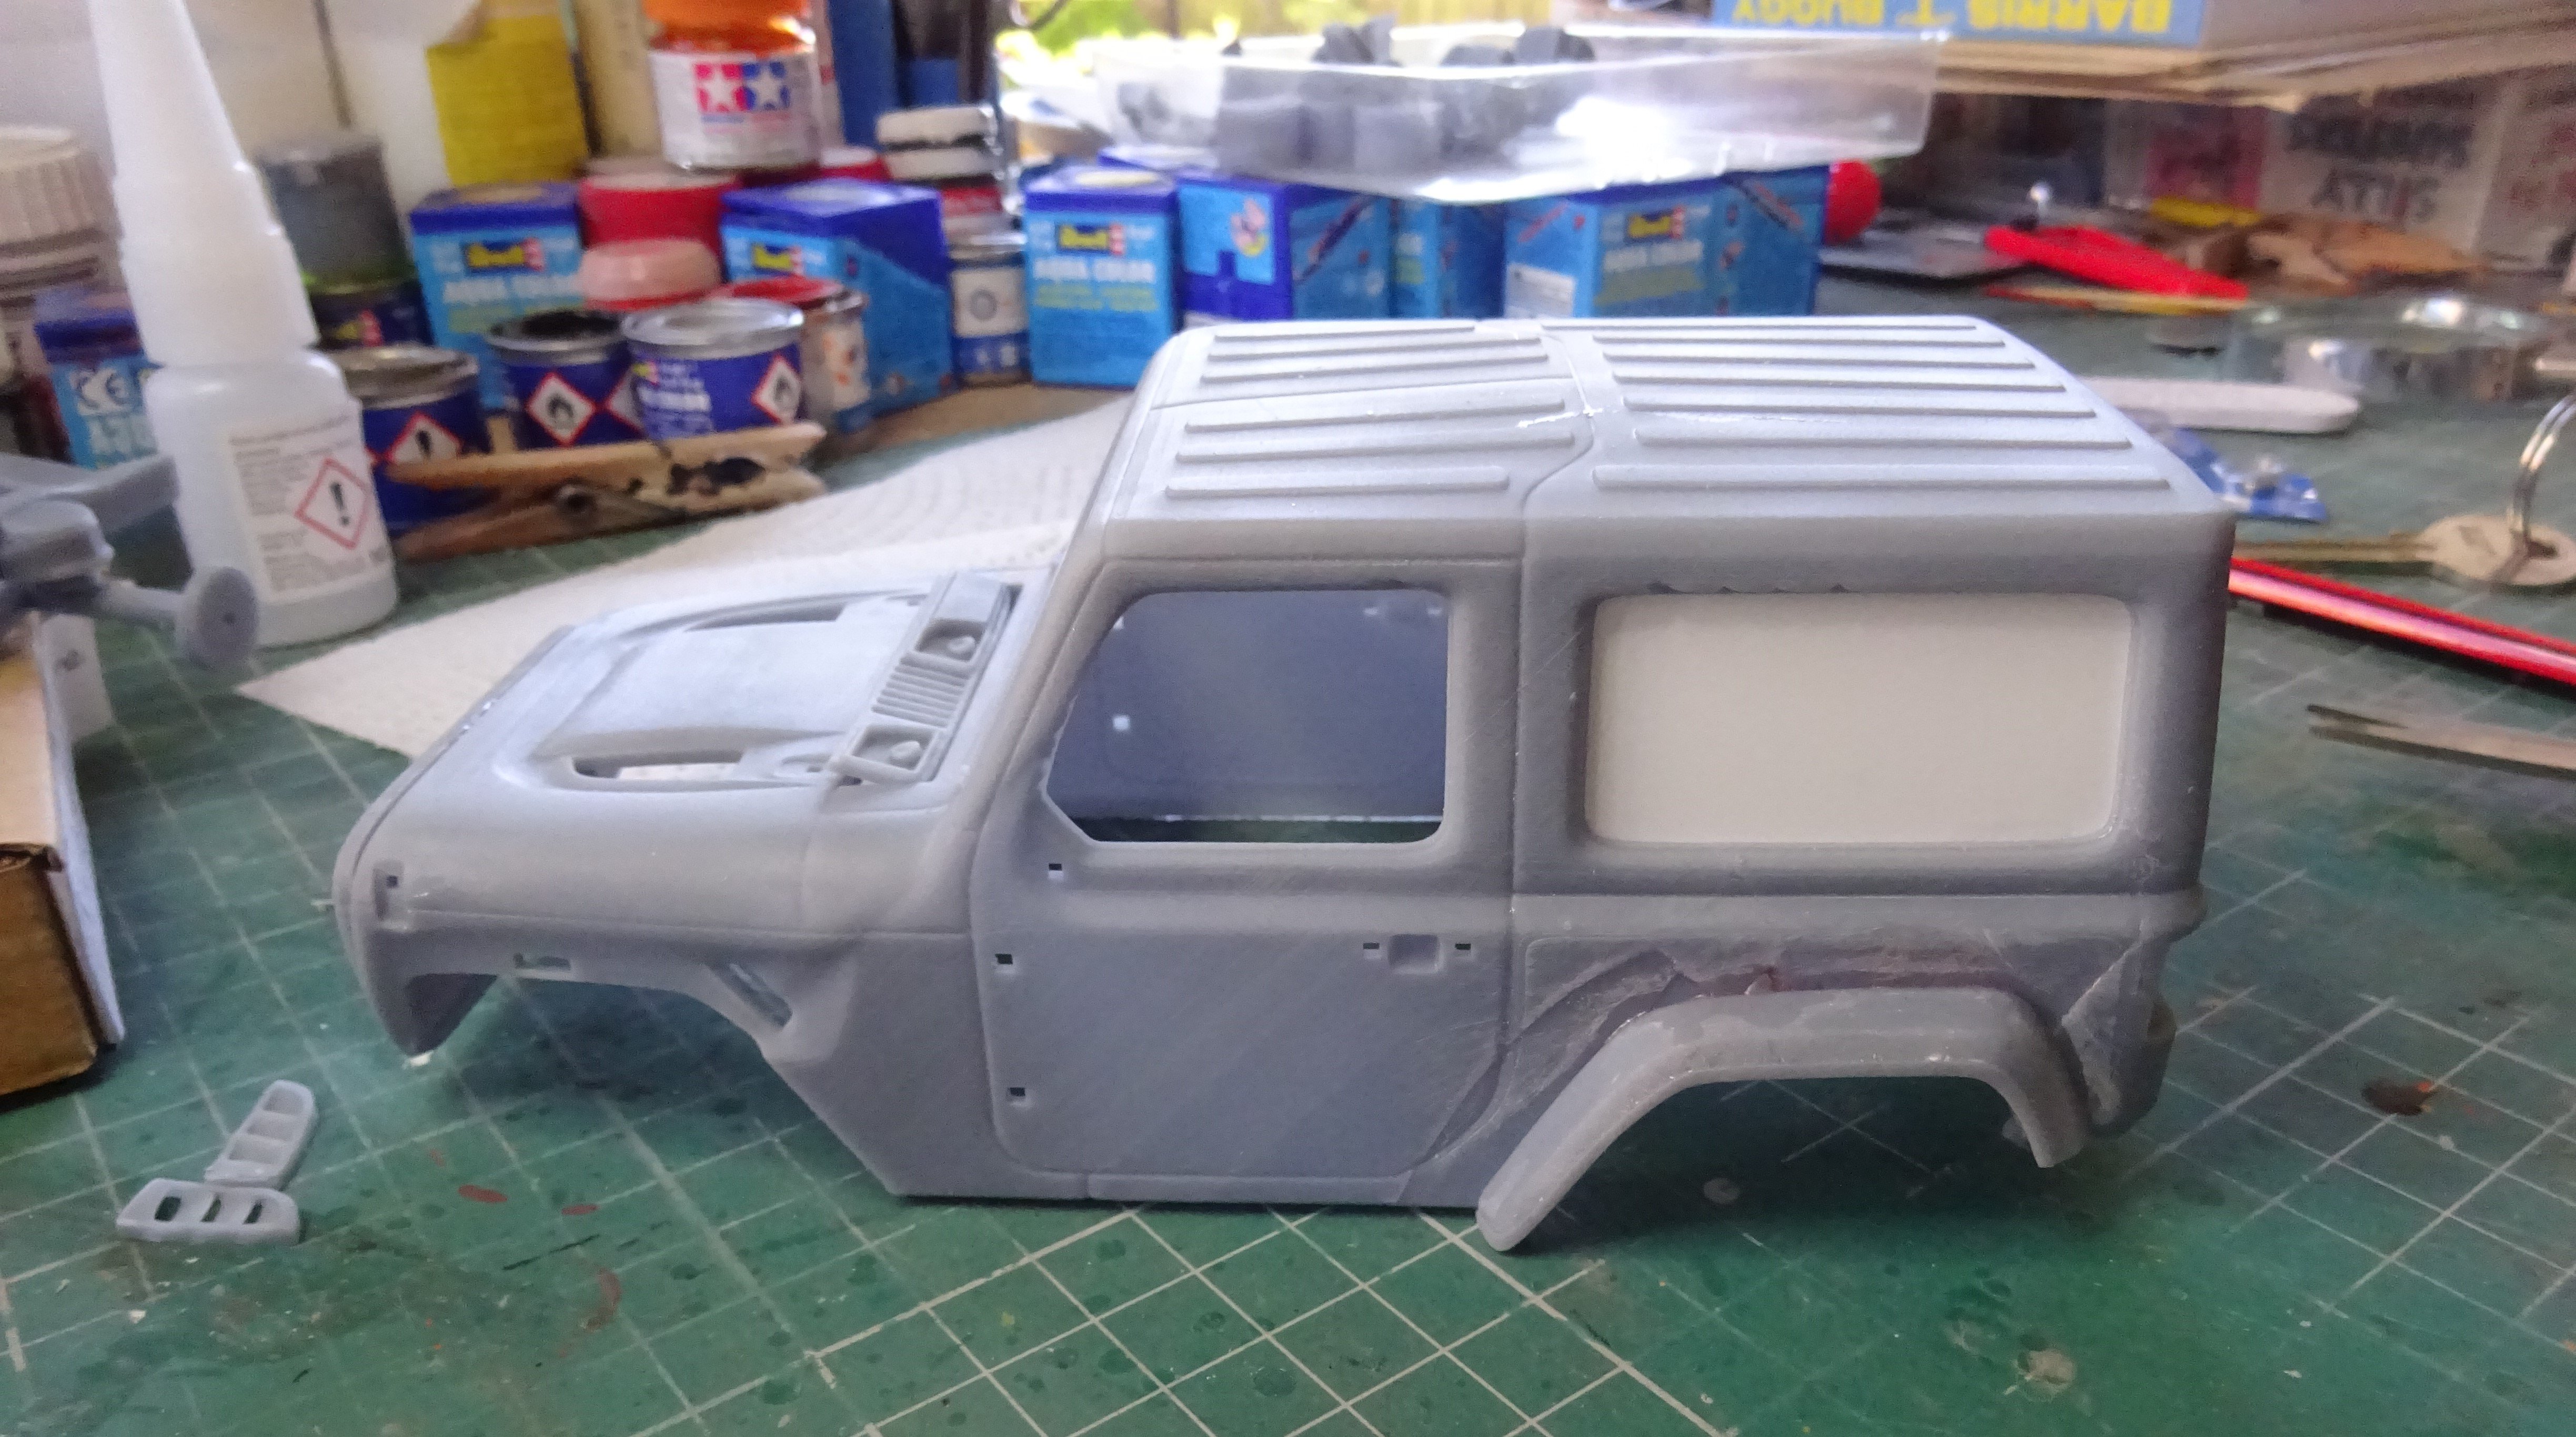
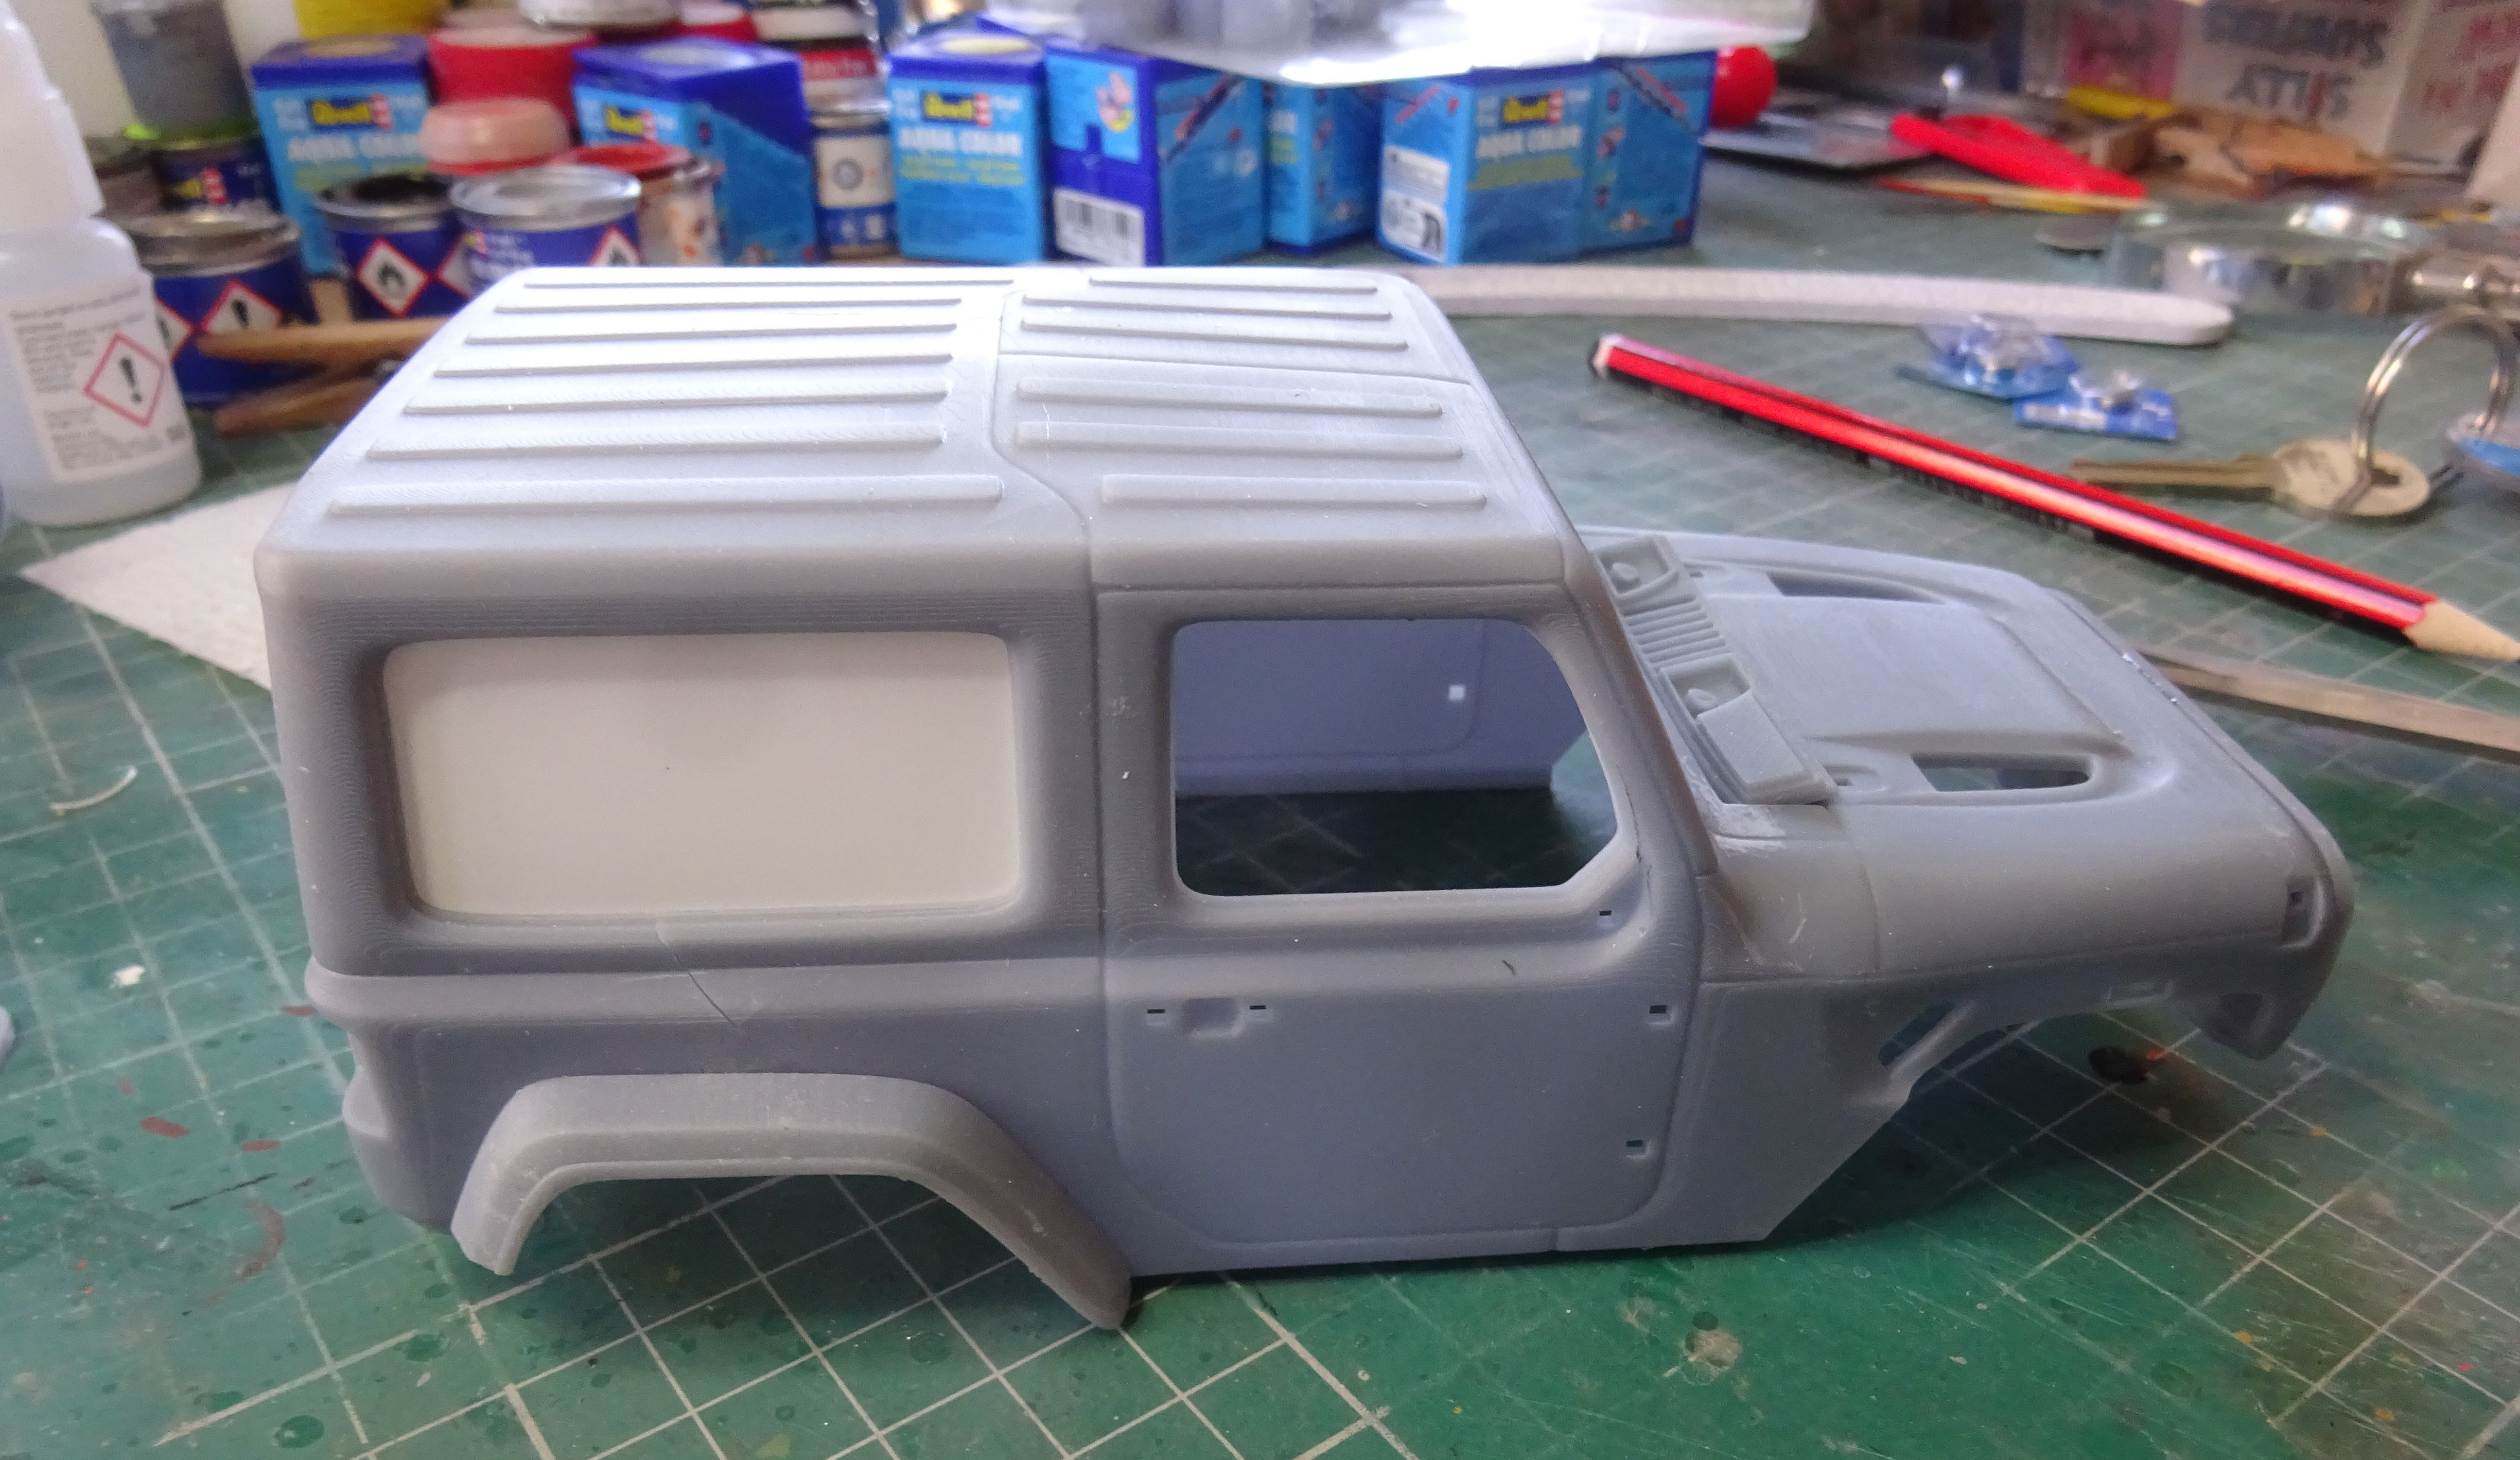
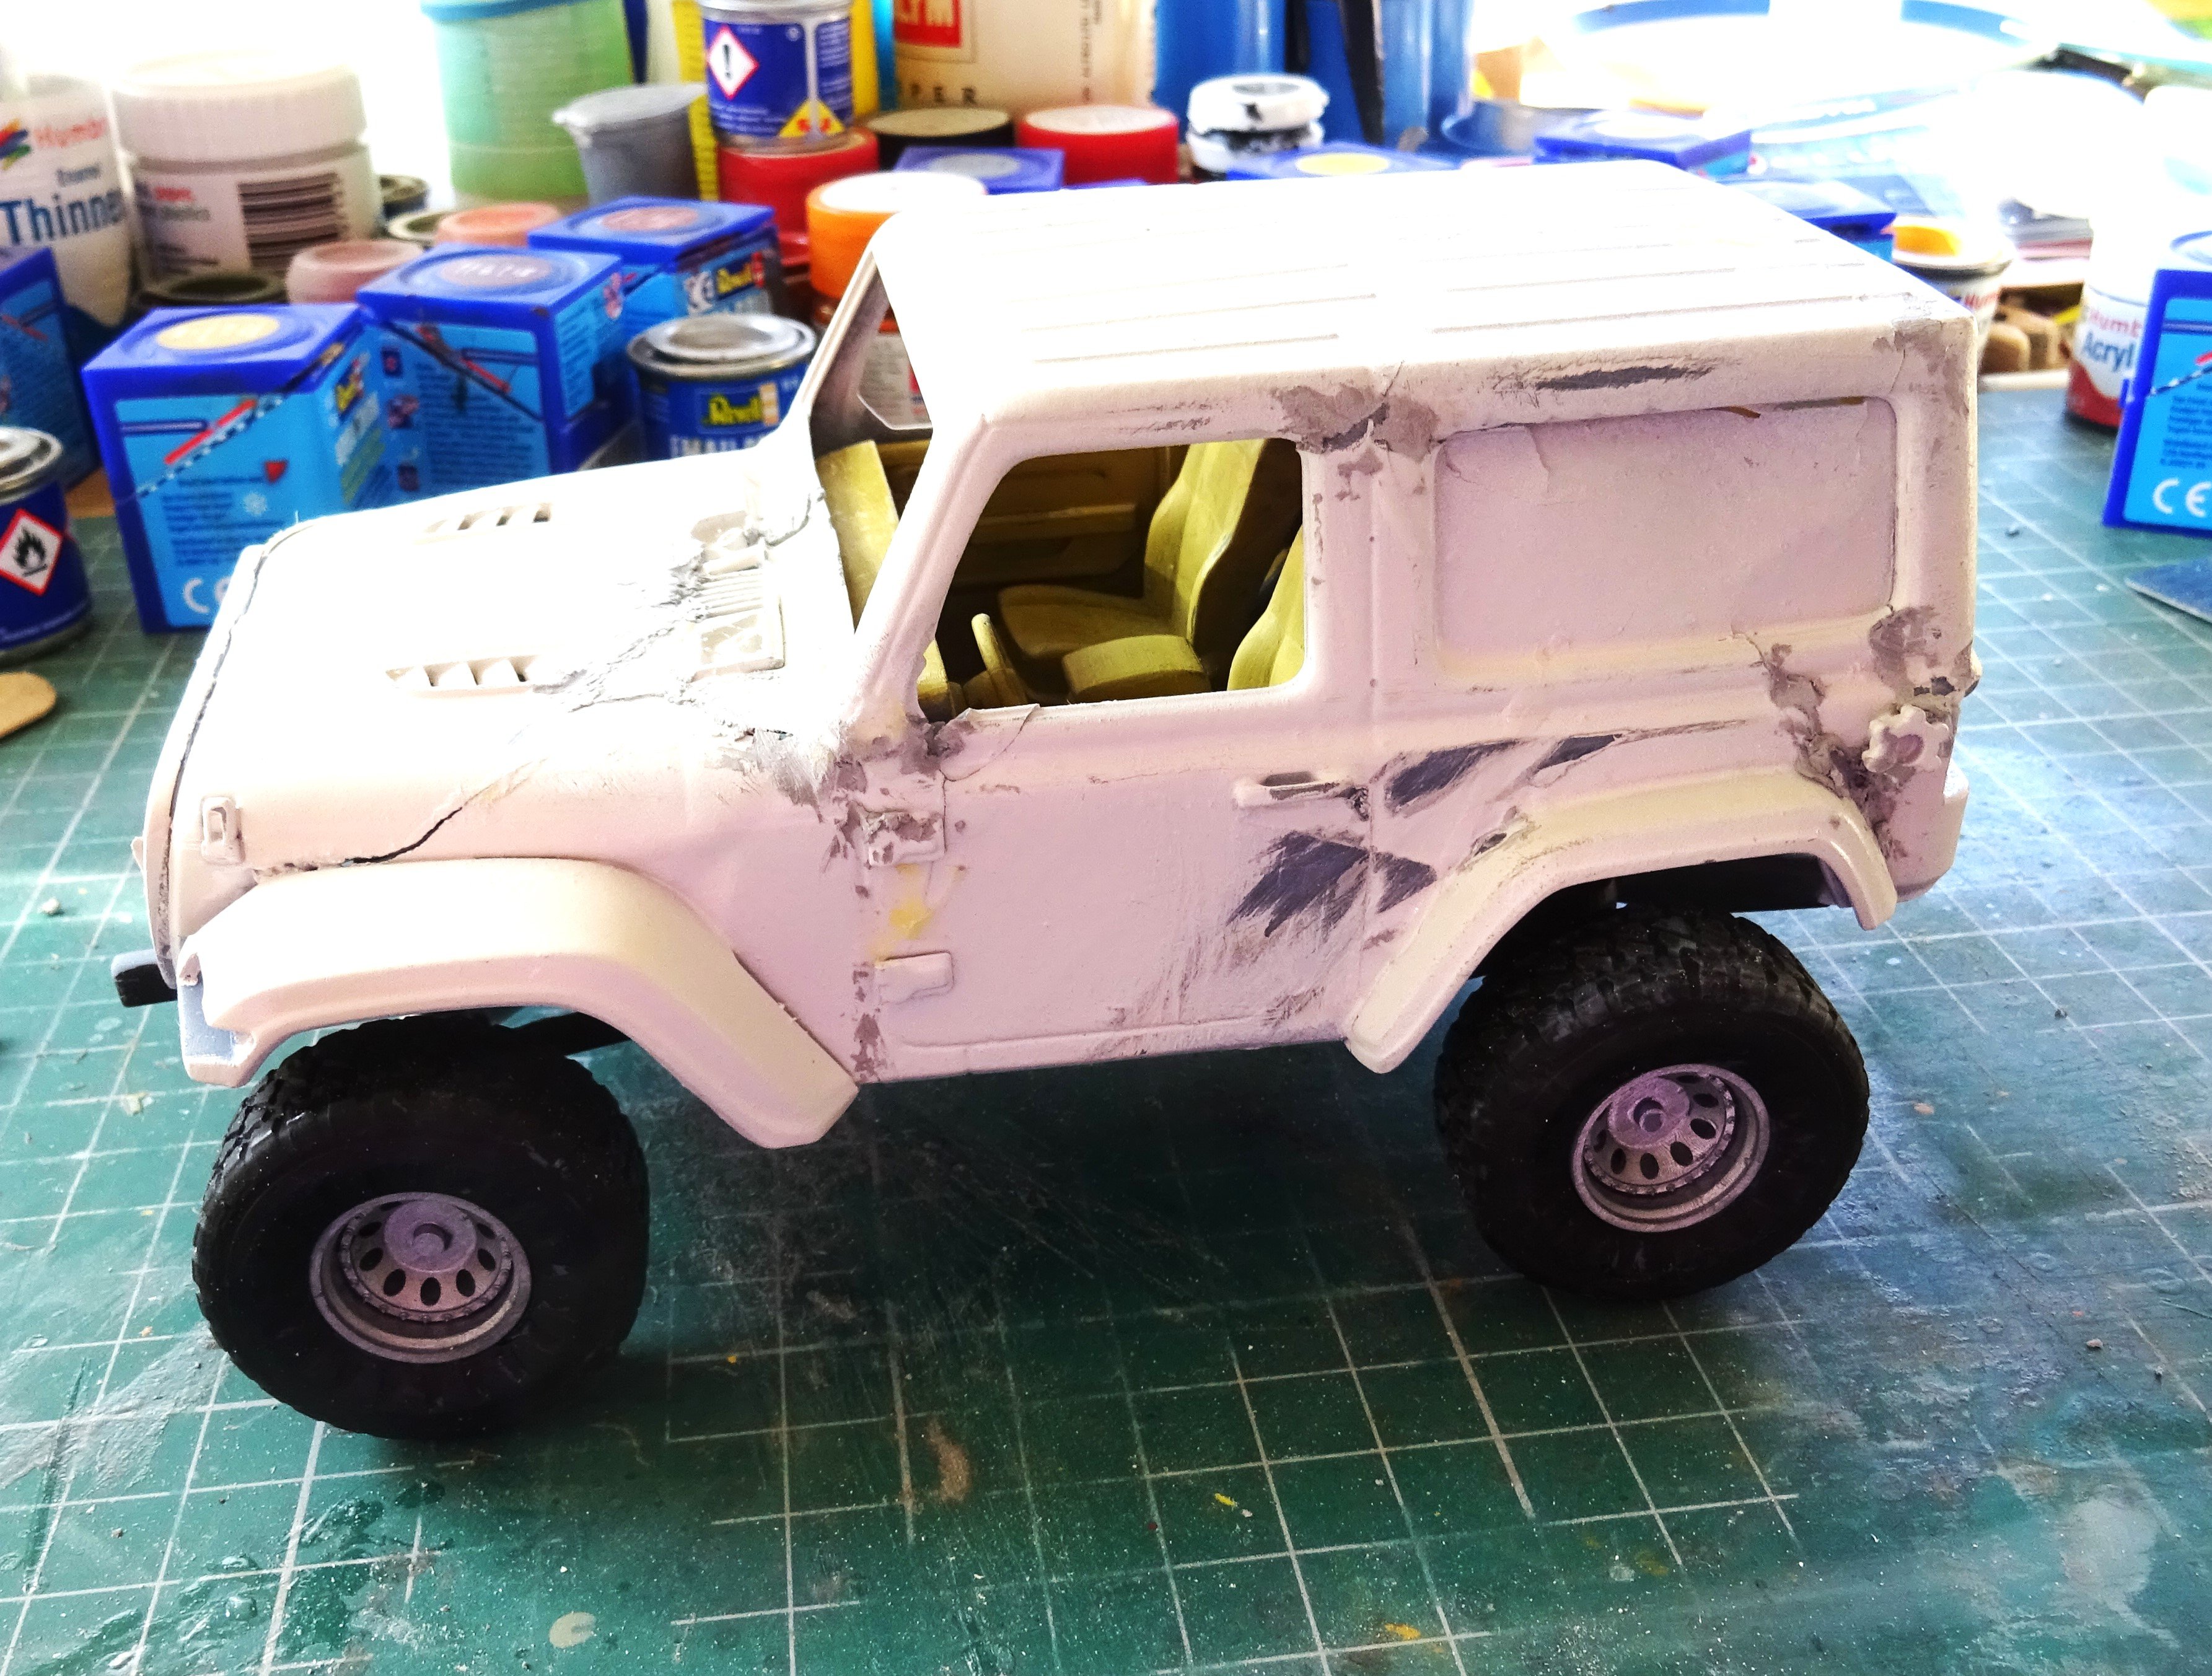
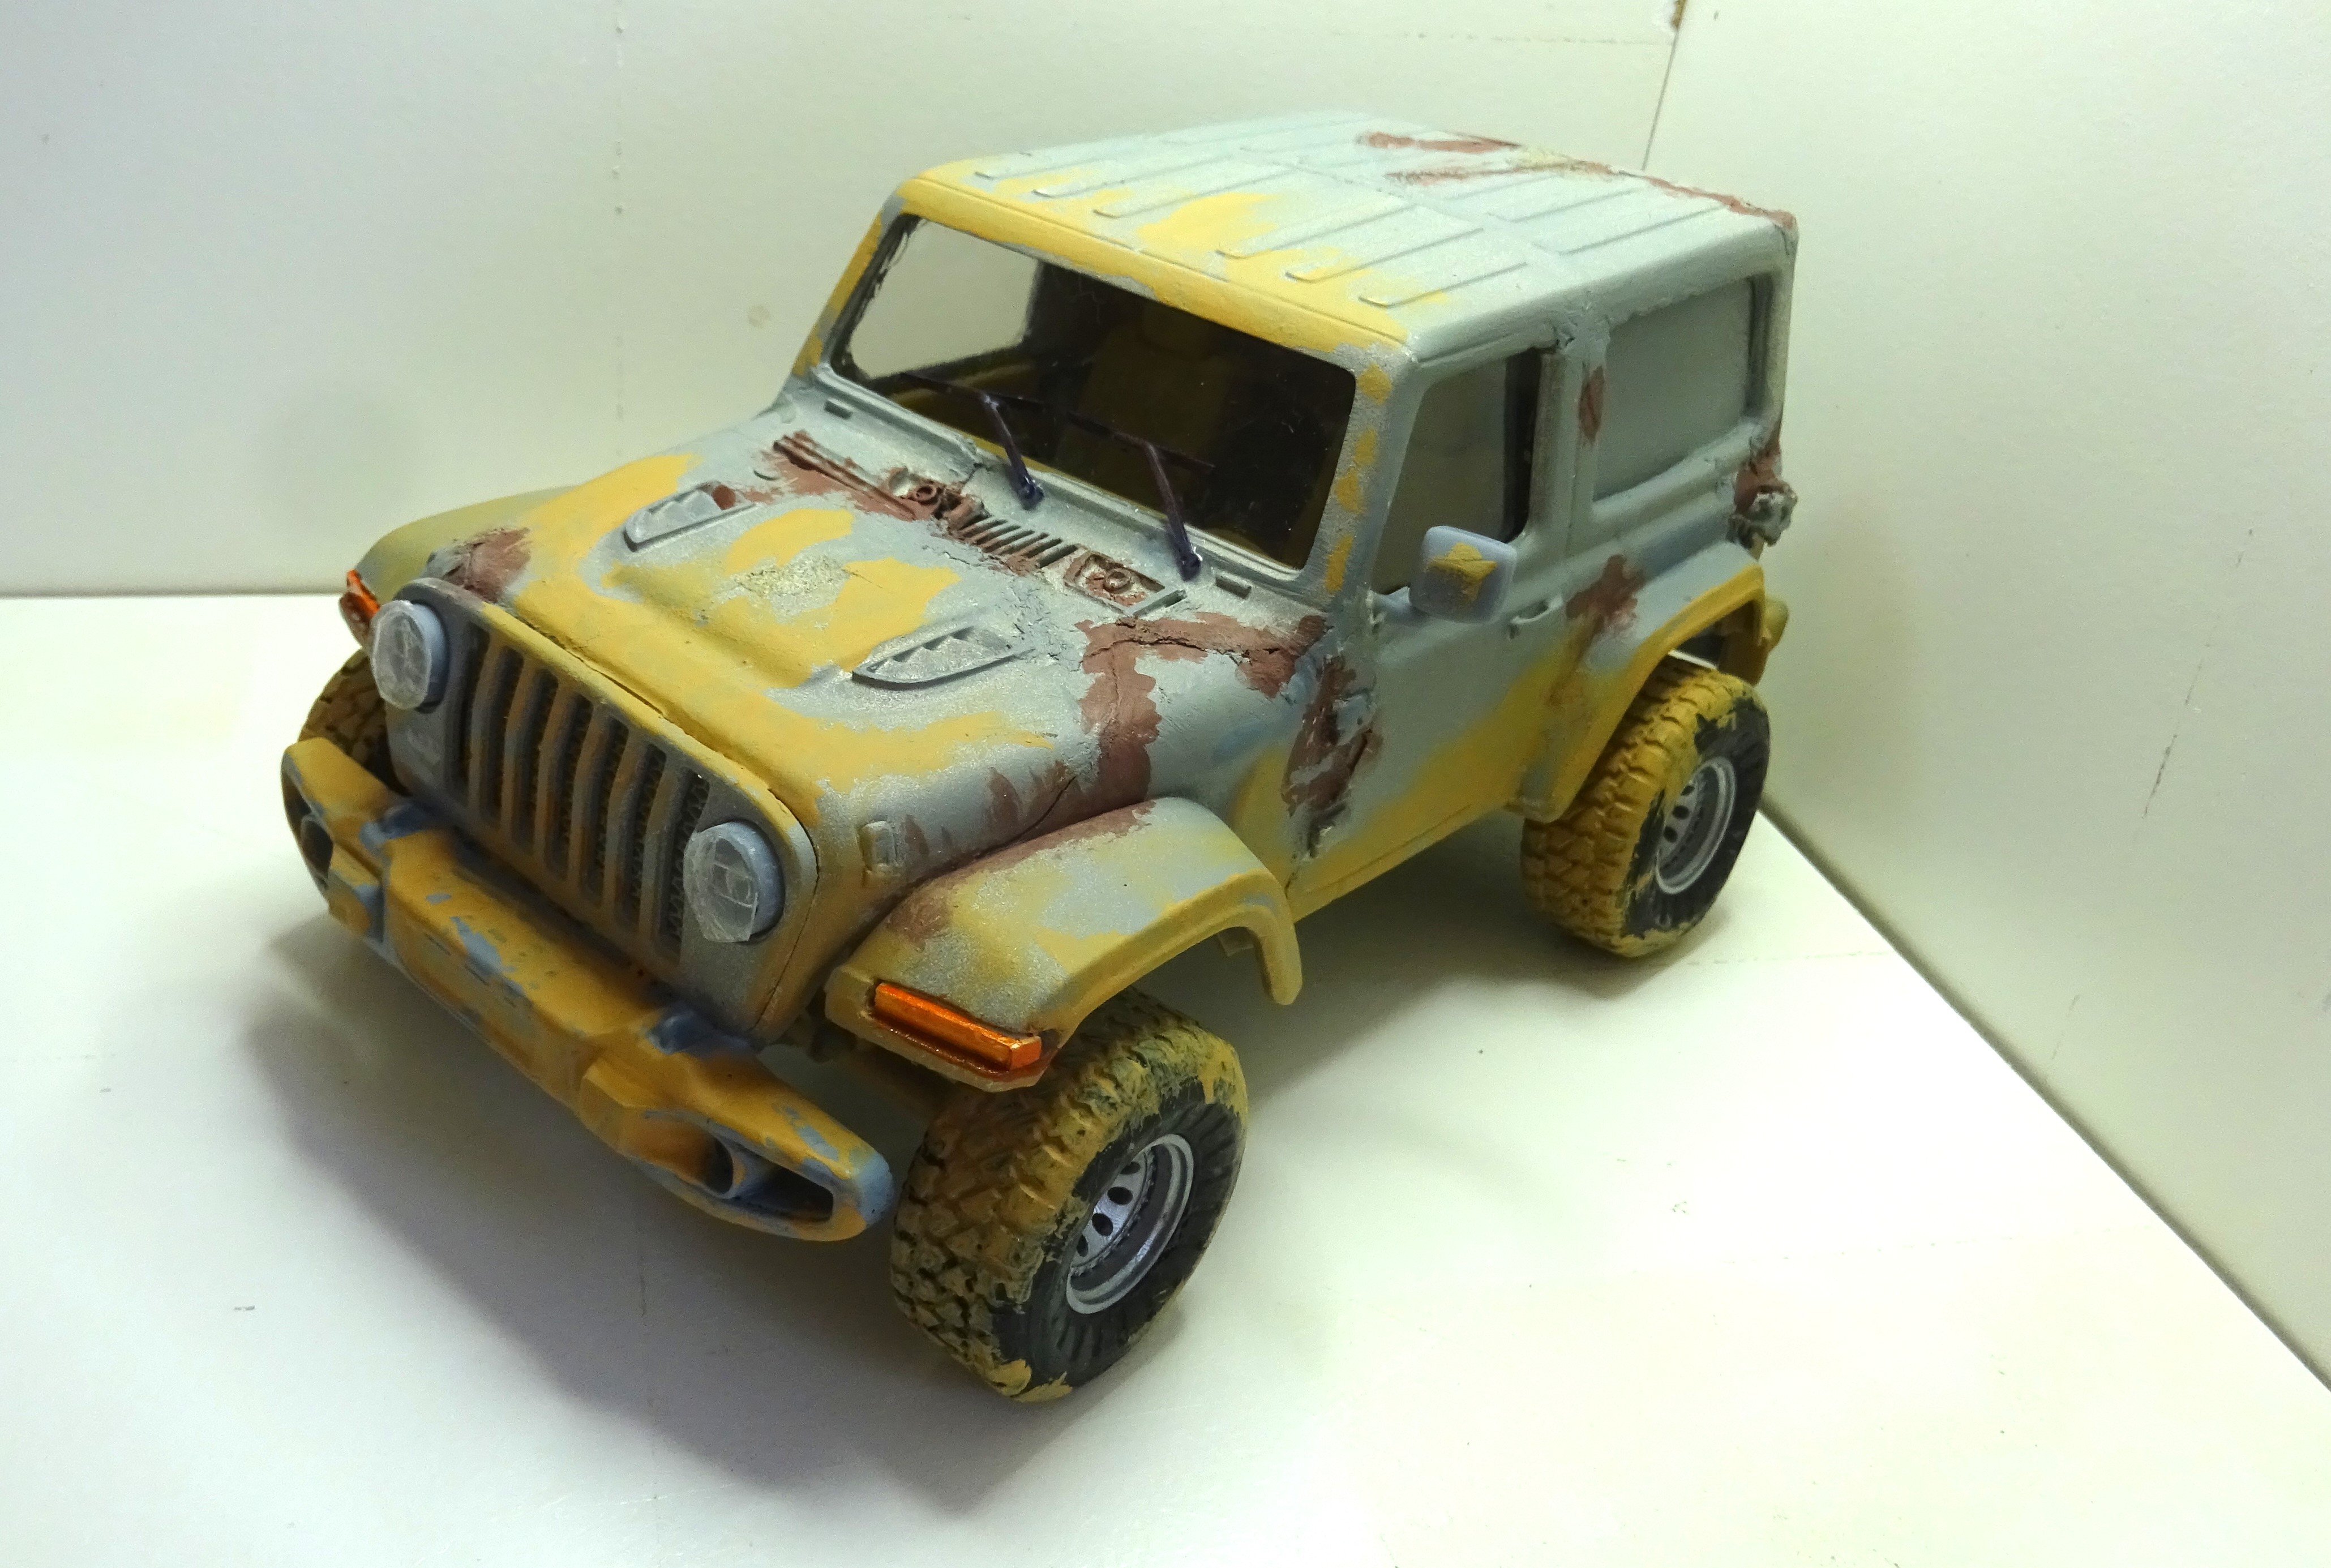
Crashed 3D Jeep! Originally printed and purchased last year, while cleaning up the components, dropped the body, that broke into a number of pieces.
Now trying again to refurb. Here are early photo's!
 

Attachments

  • 6.JPG
    6.JPG
    1.9 MB
  • 8.JPG
    8.JPG
    1.8 MB
  • 12.JPG
    12.JPG
    1.5 MB
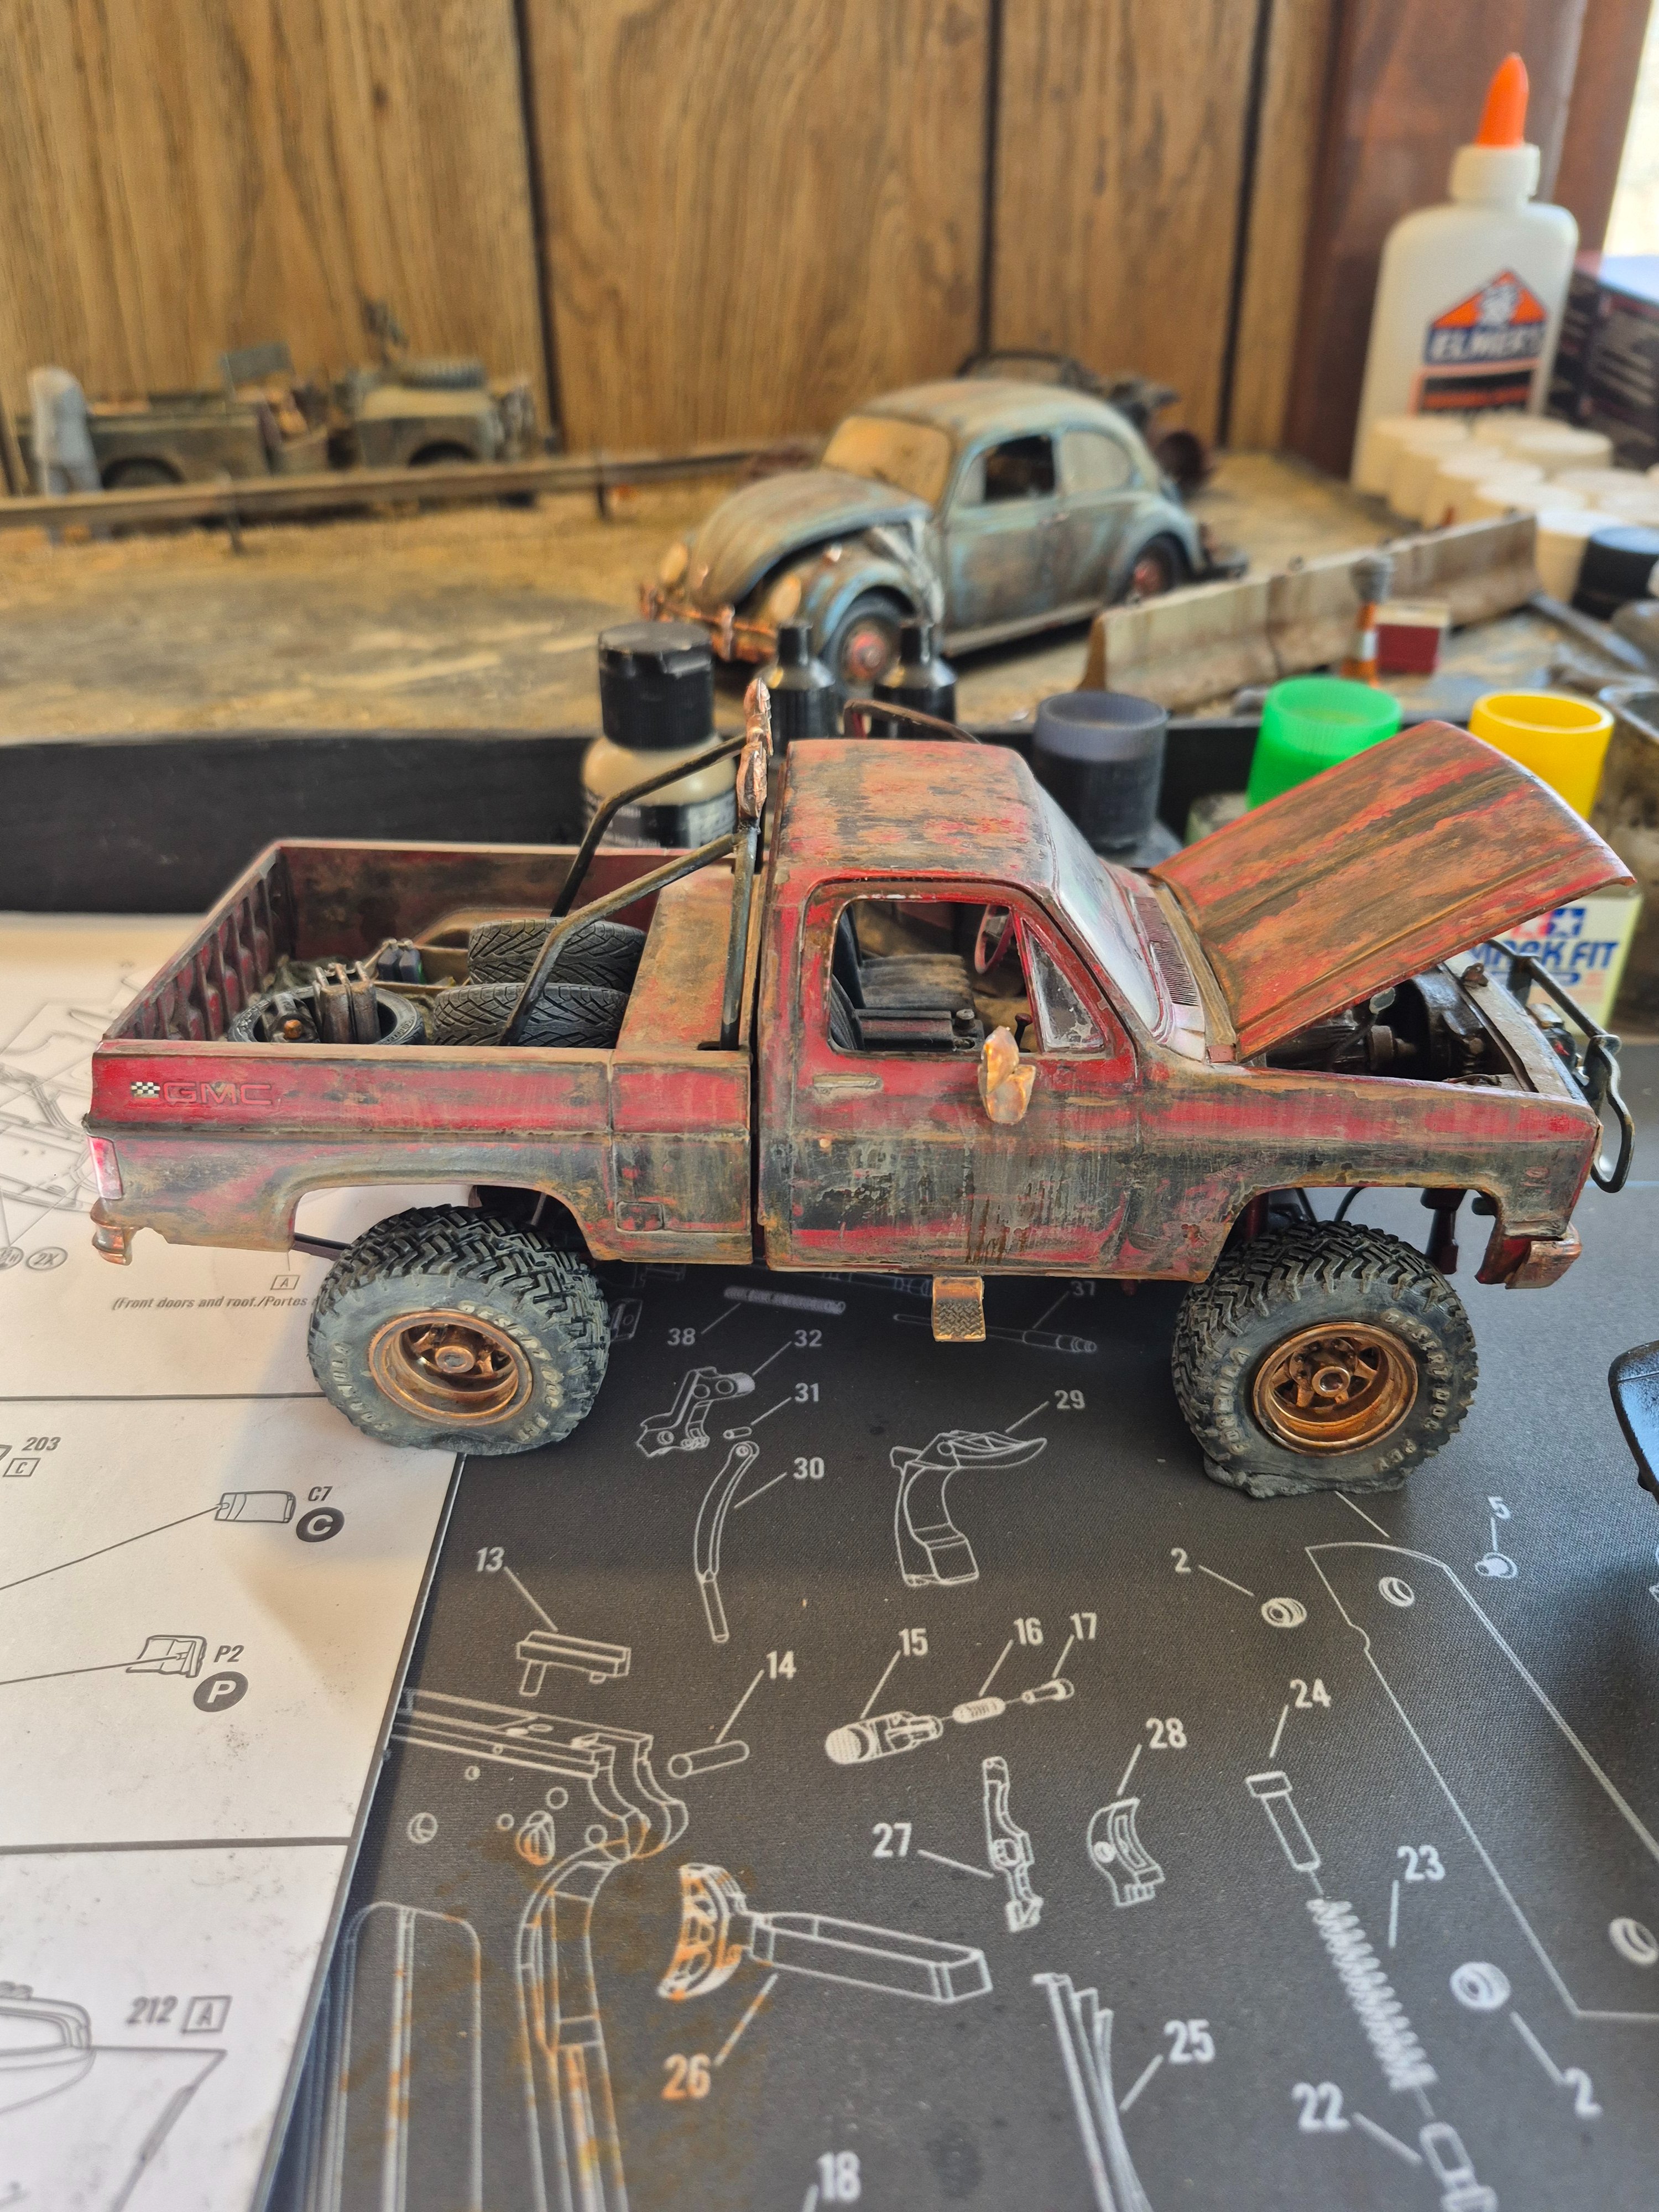
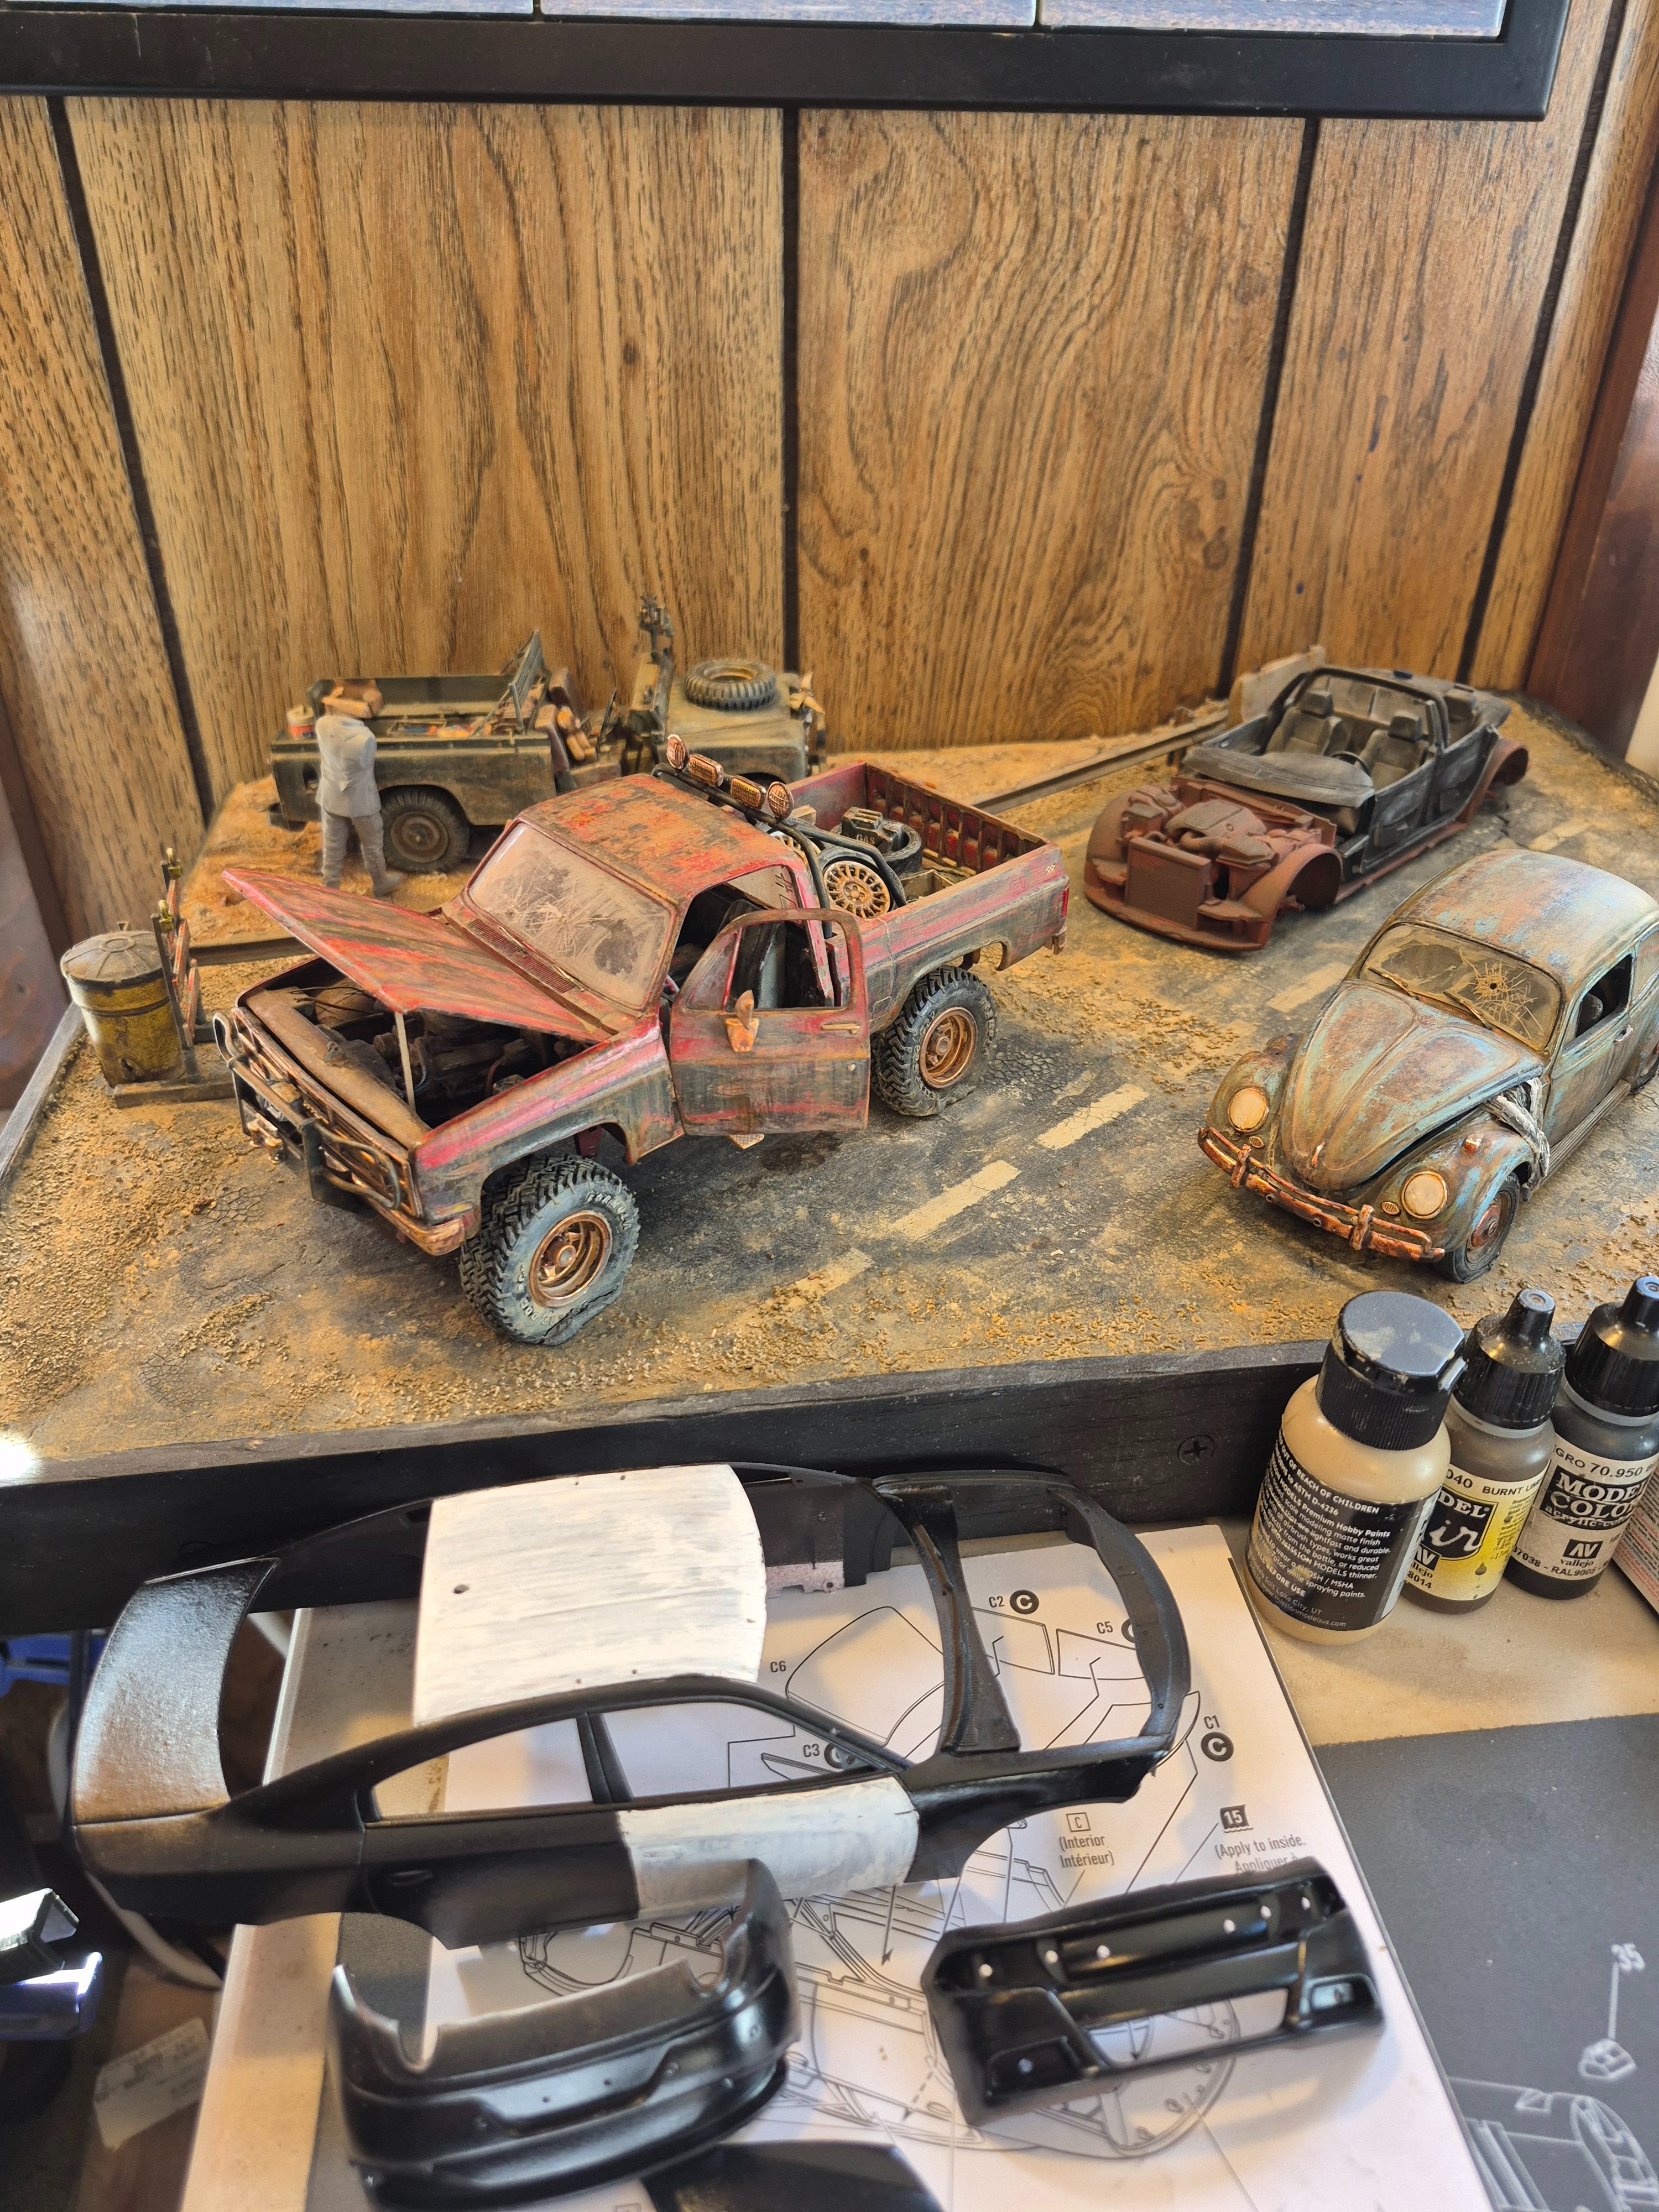
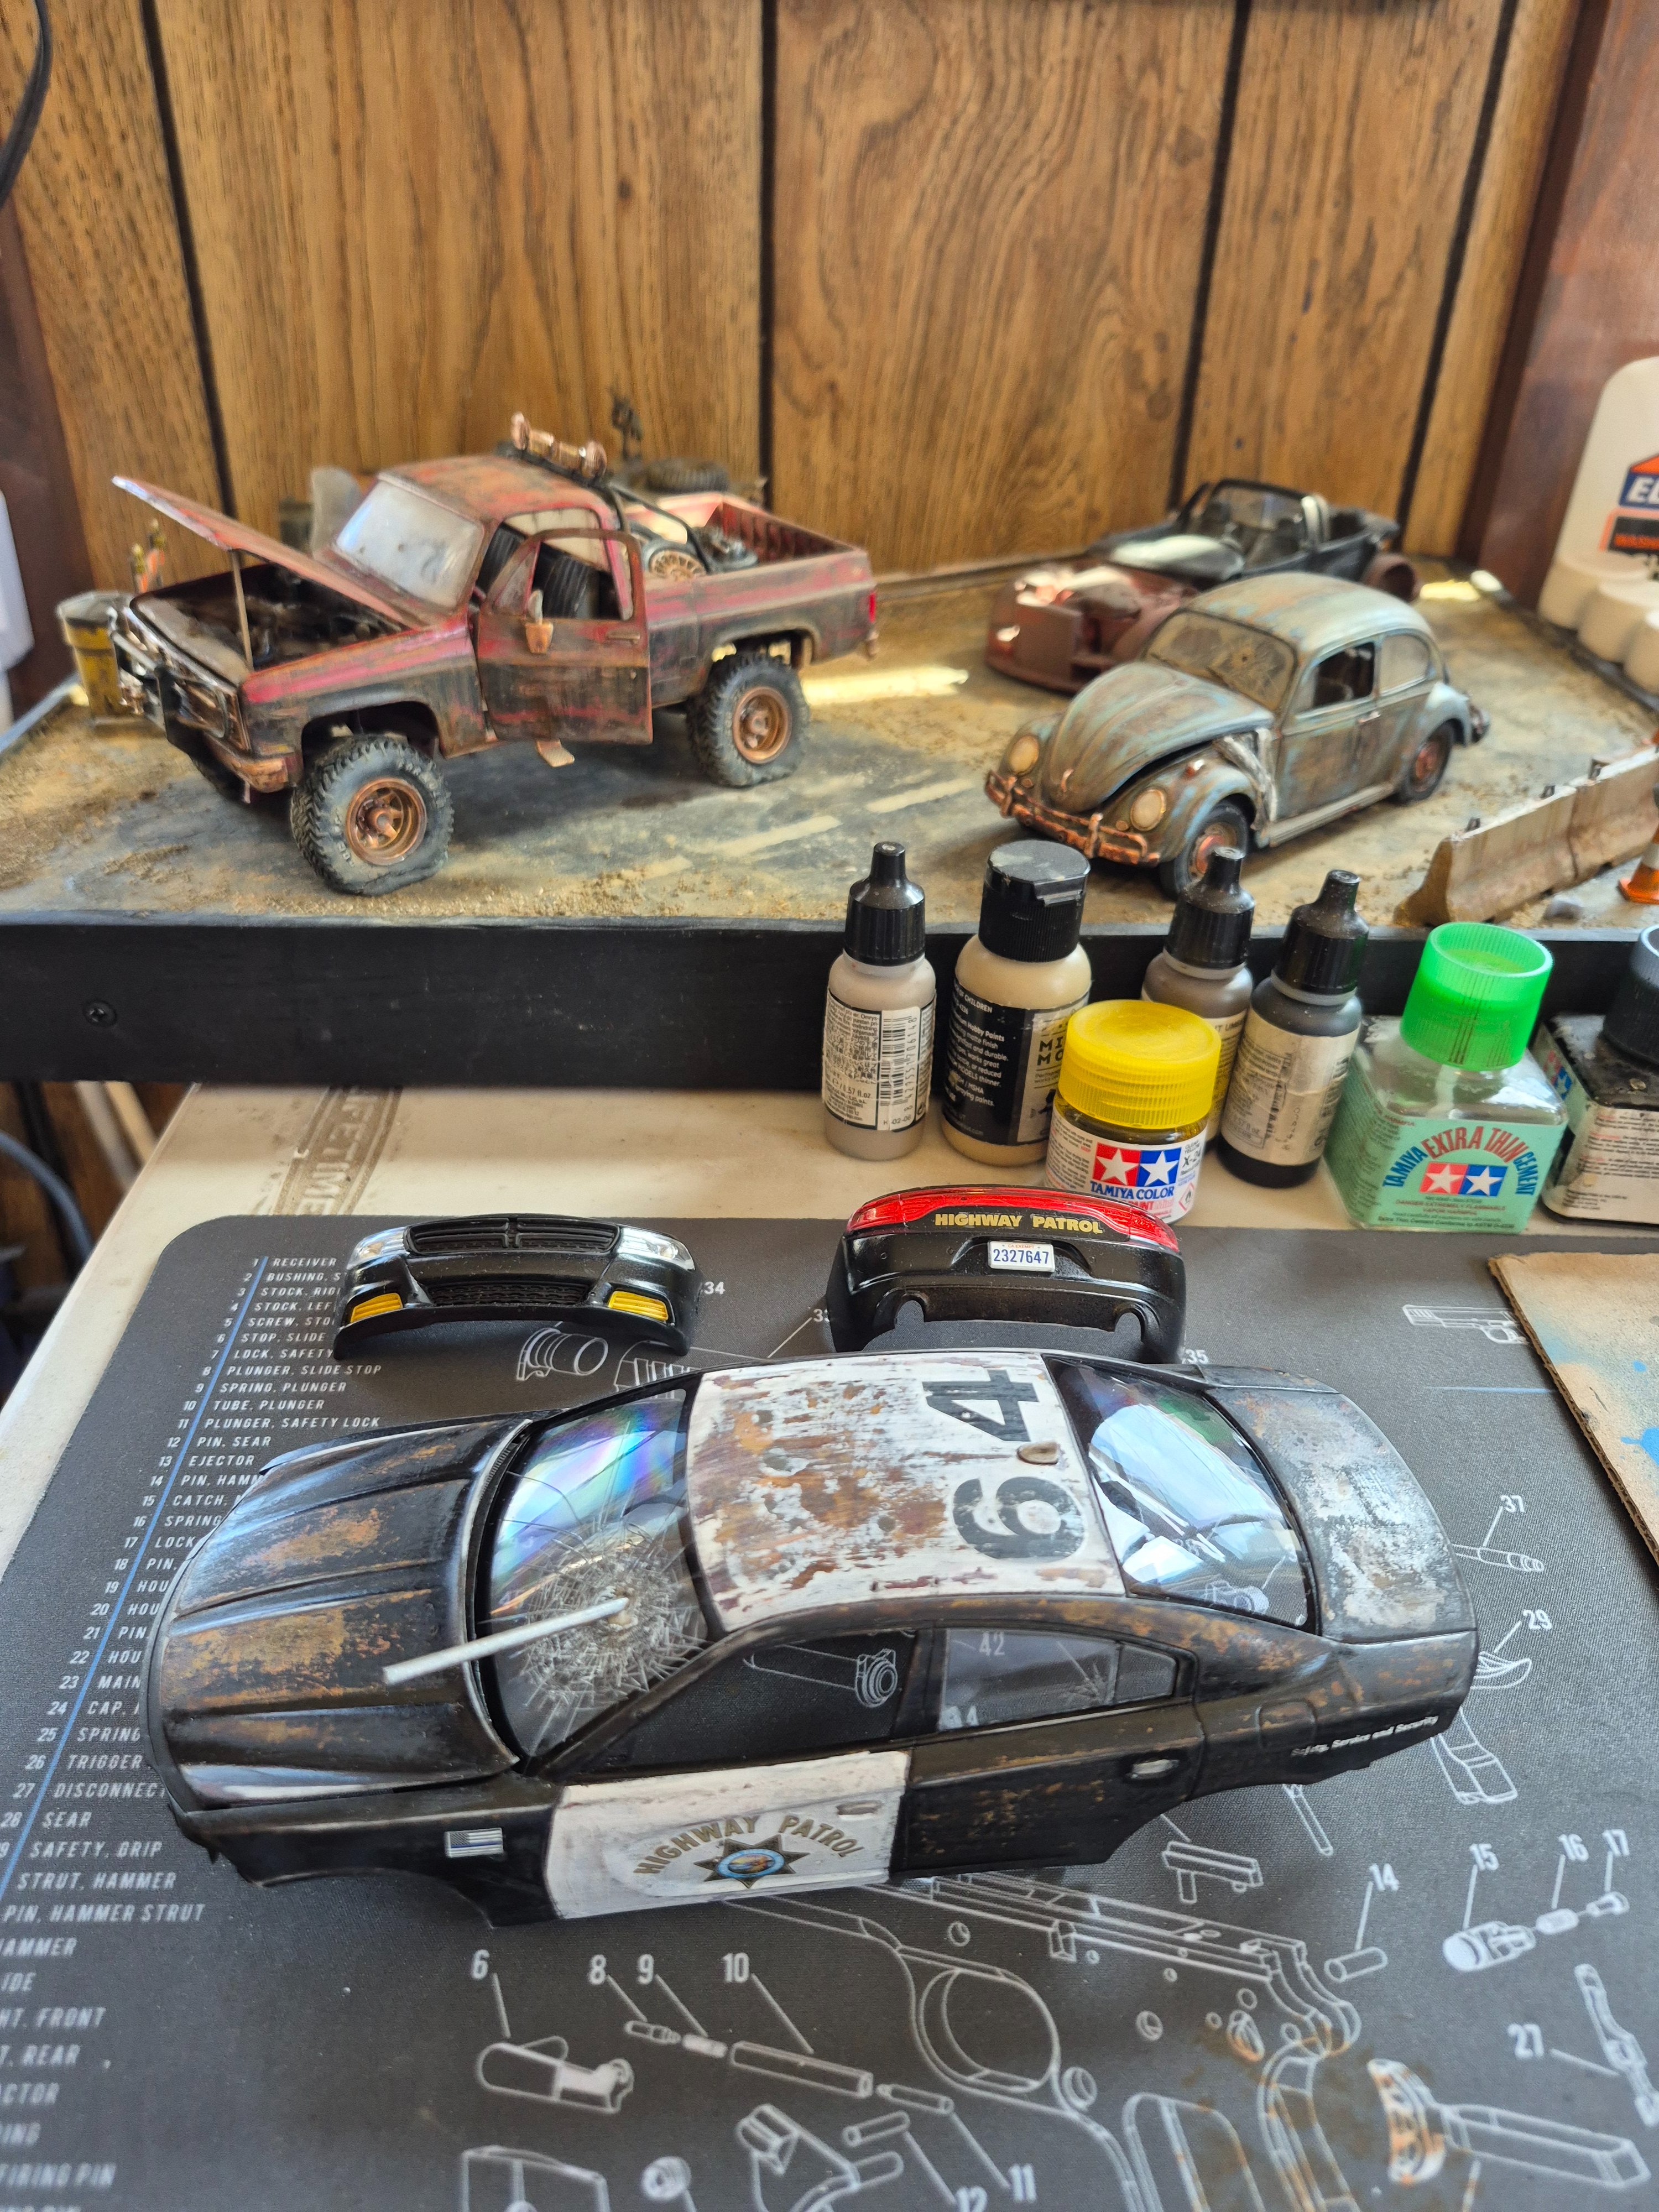
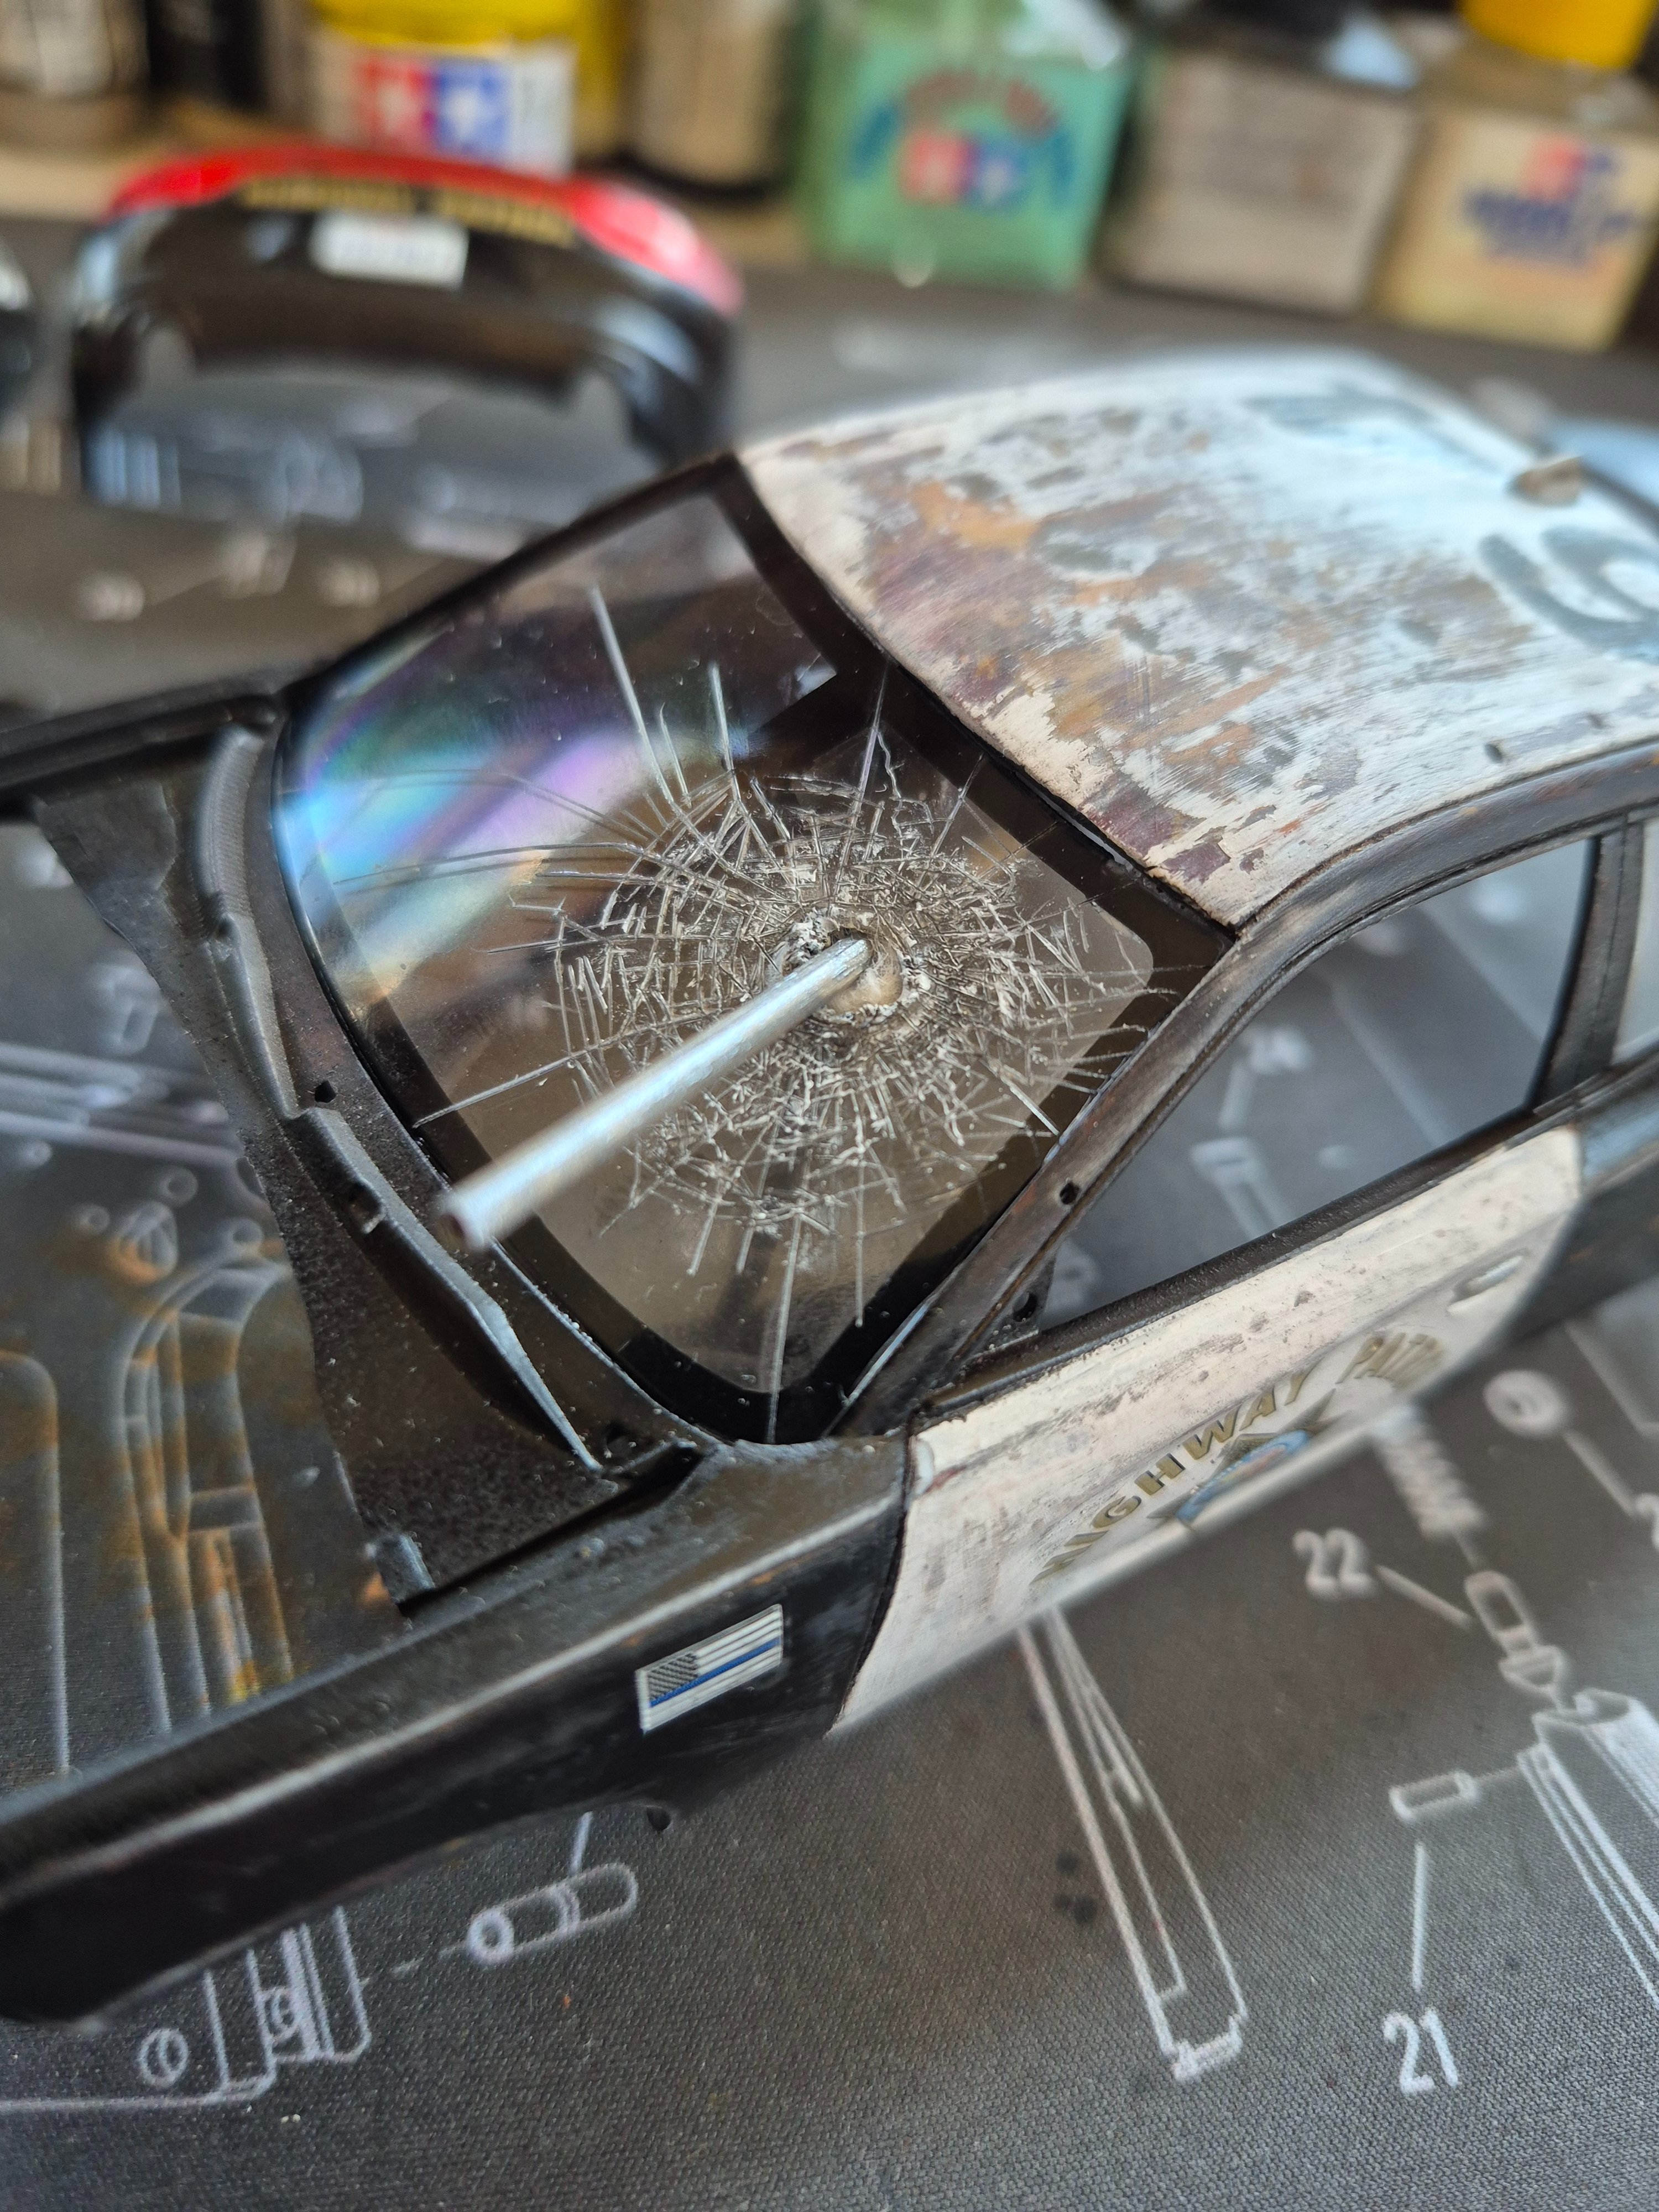
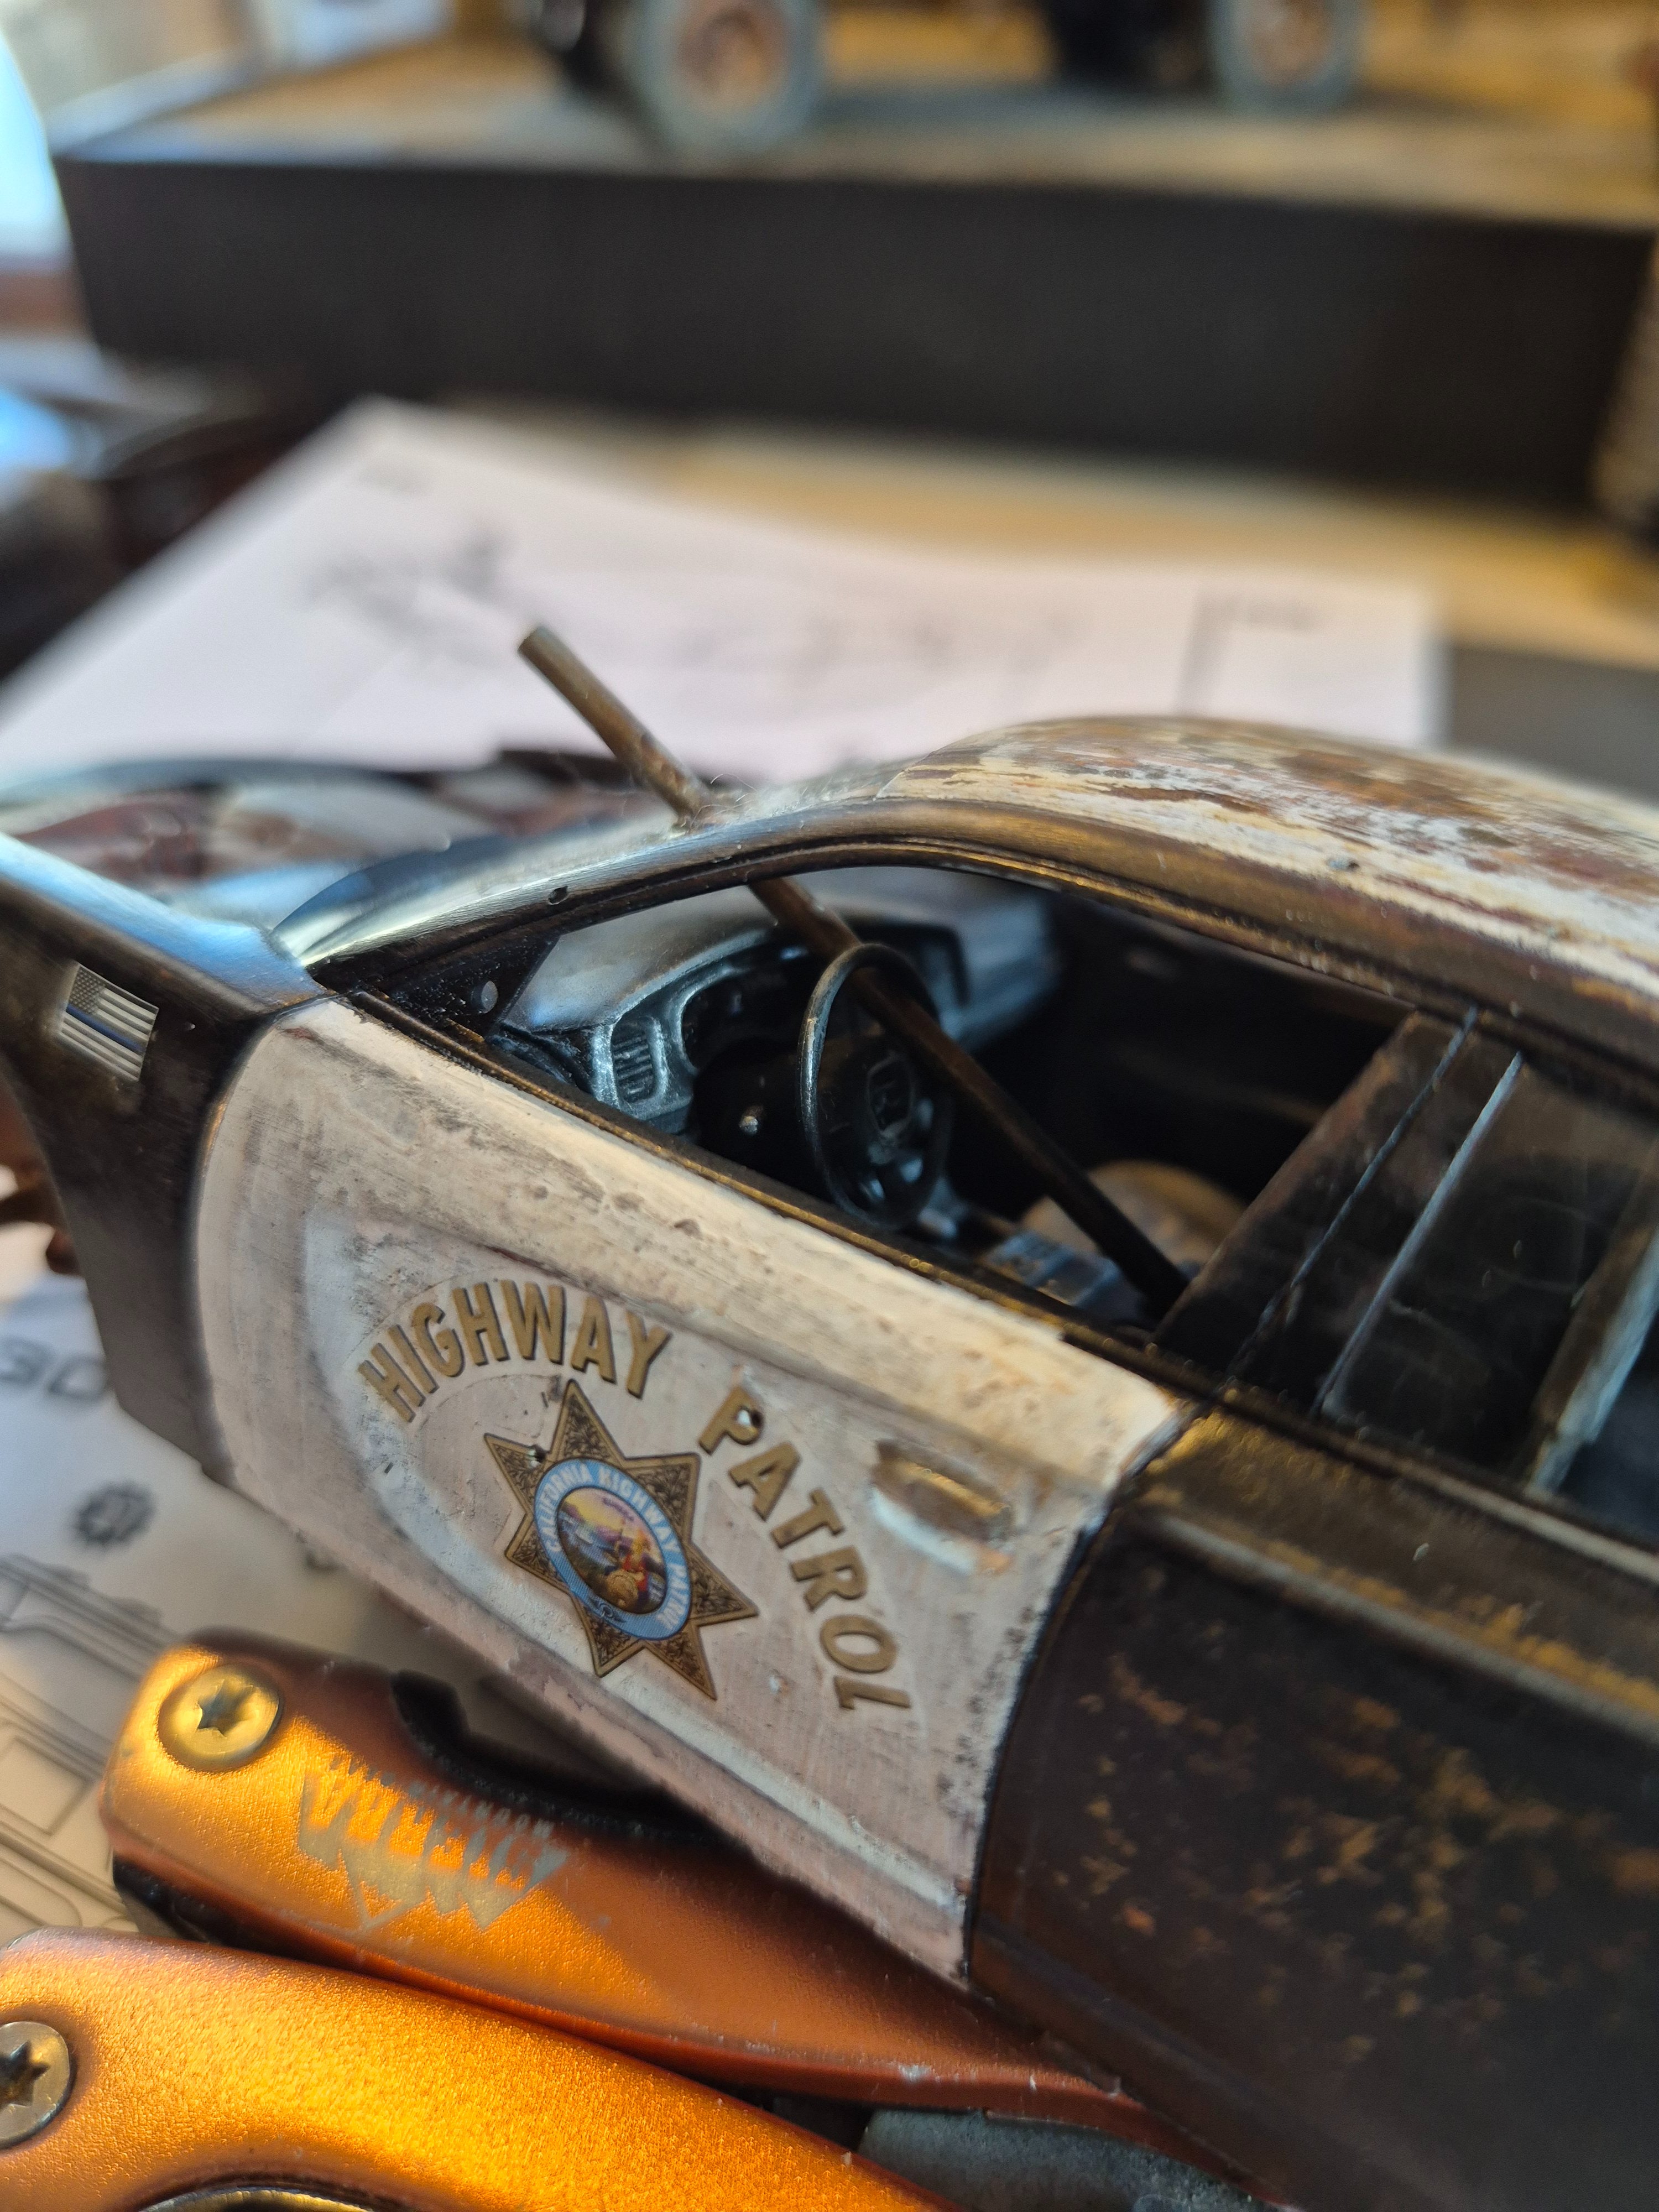
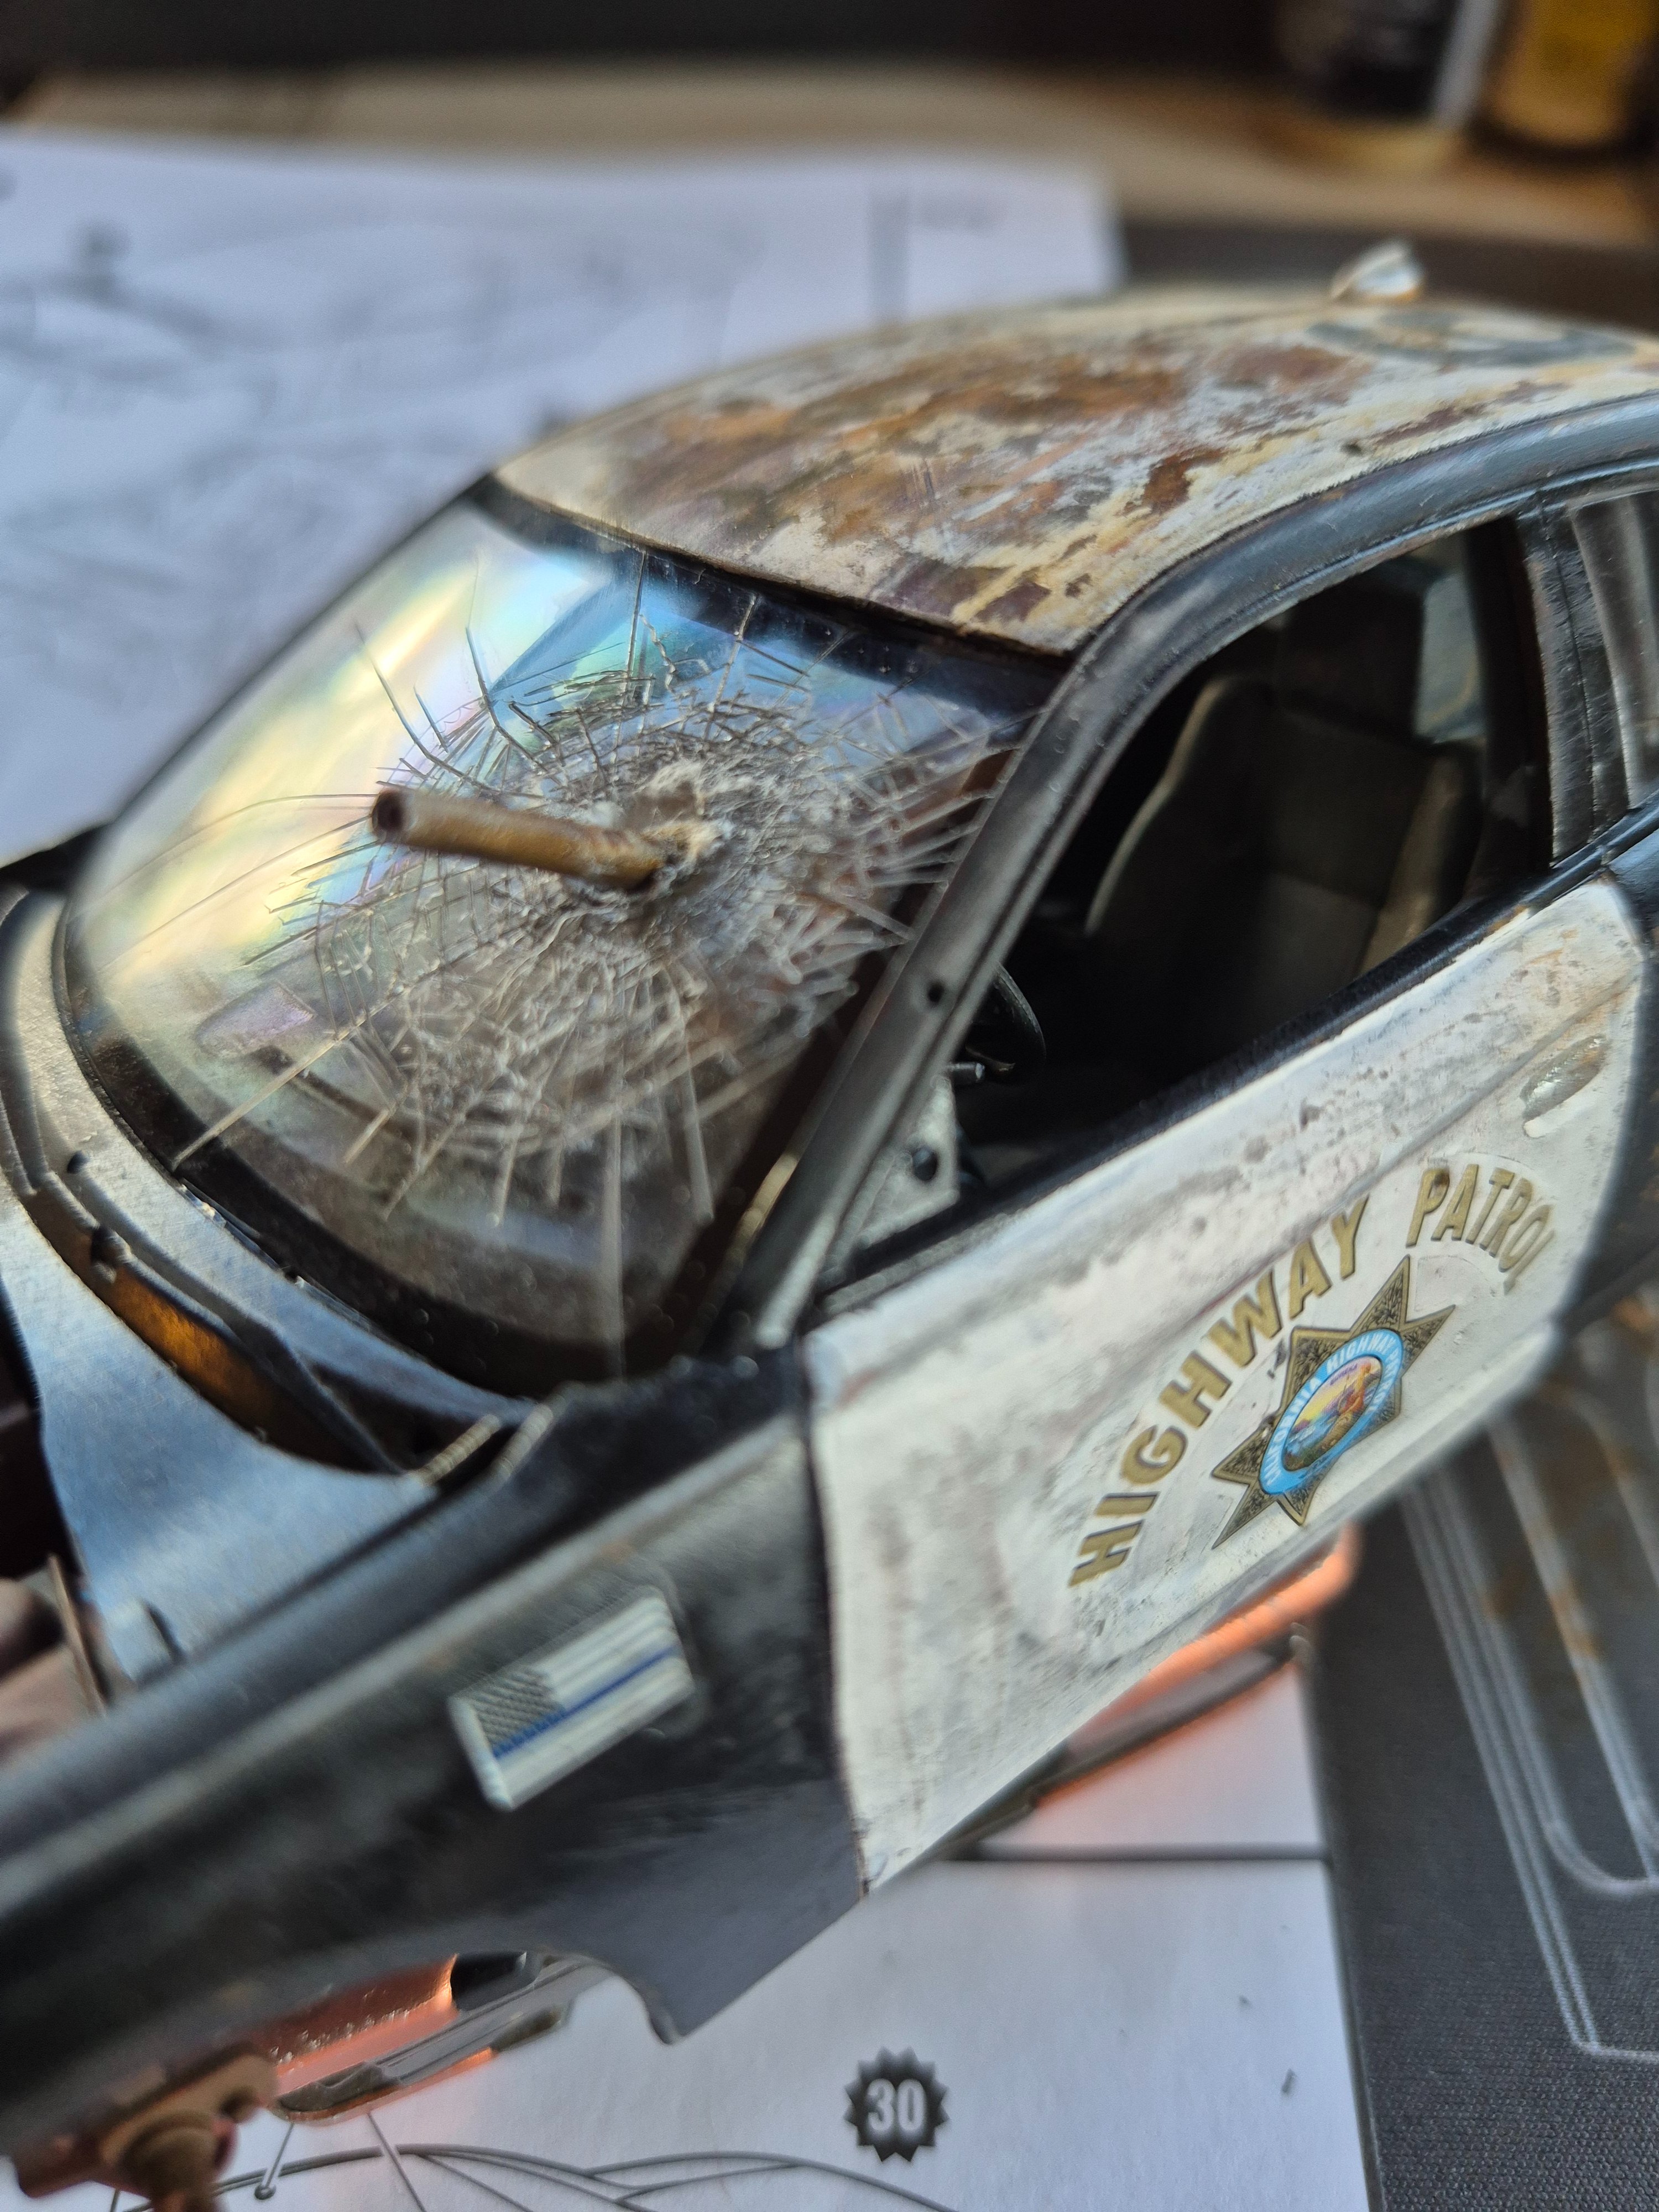
I've been working on trying to model a piece of pipe through the windshield. I drilled a hole first, then used a heated screwdriver to enlarge it, and hopefully push it inwards alittle. It turned out to be to large so I glued some strands from a cotton ball to the interior. I then scribed some lines. I think I like it enough to go with it as is.
17757611199445323720393888231192.jpg

1775761153957906799662301968634.jpg

It still needs the dirt / dust layer added.
 
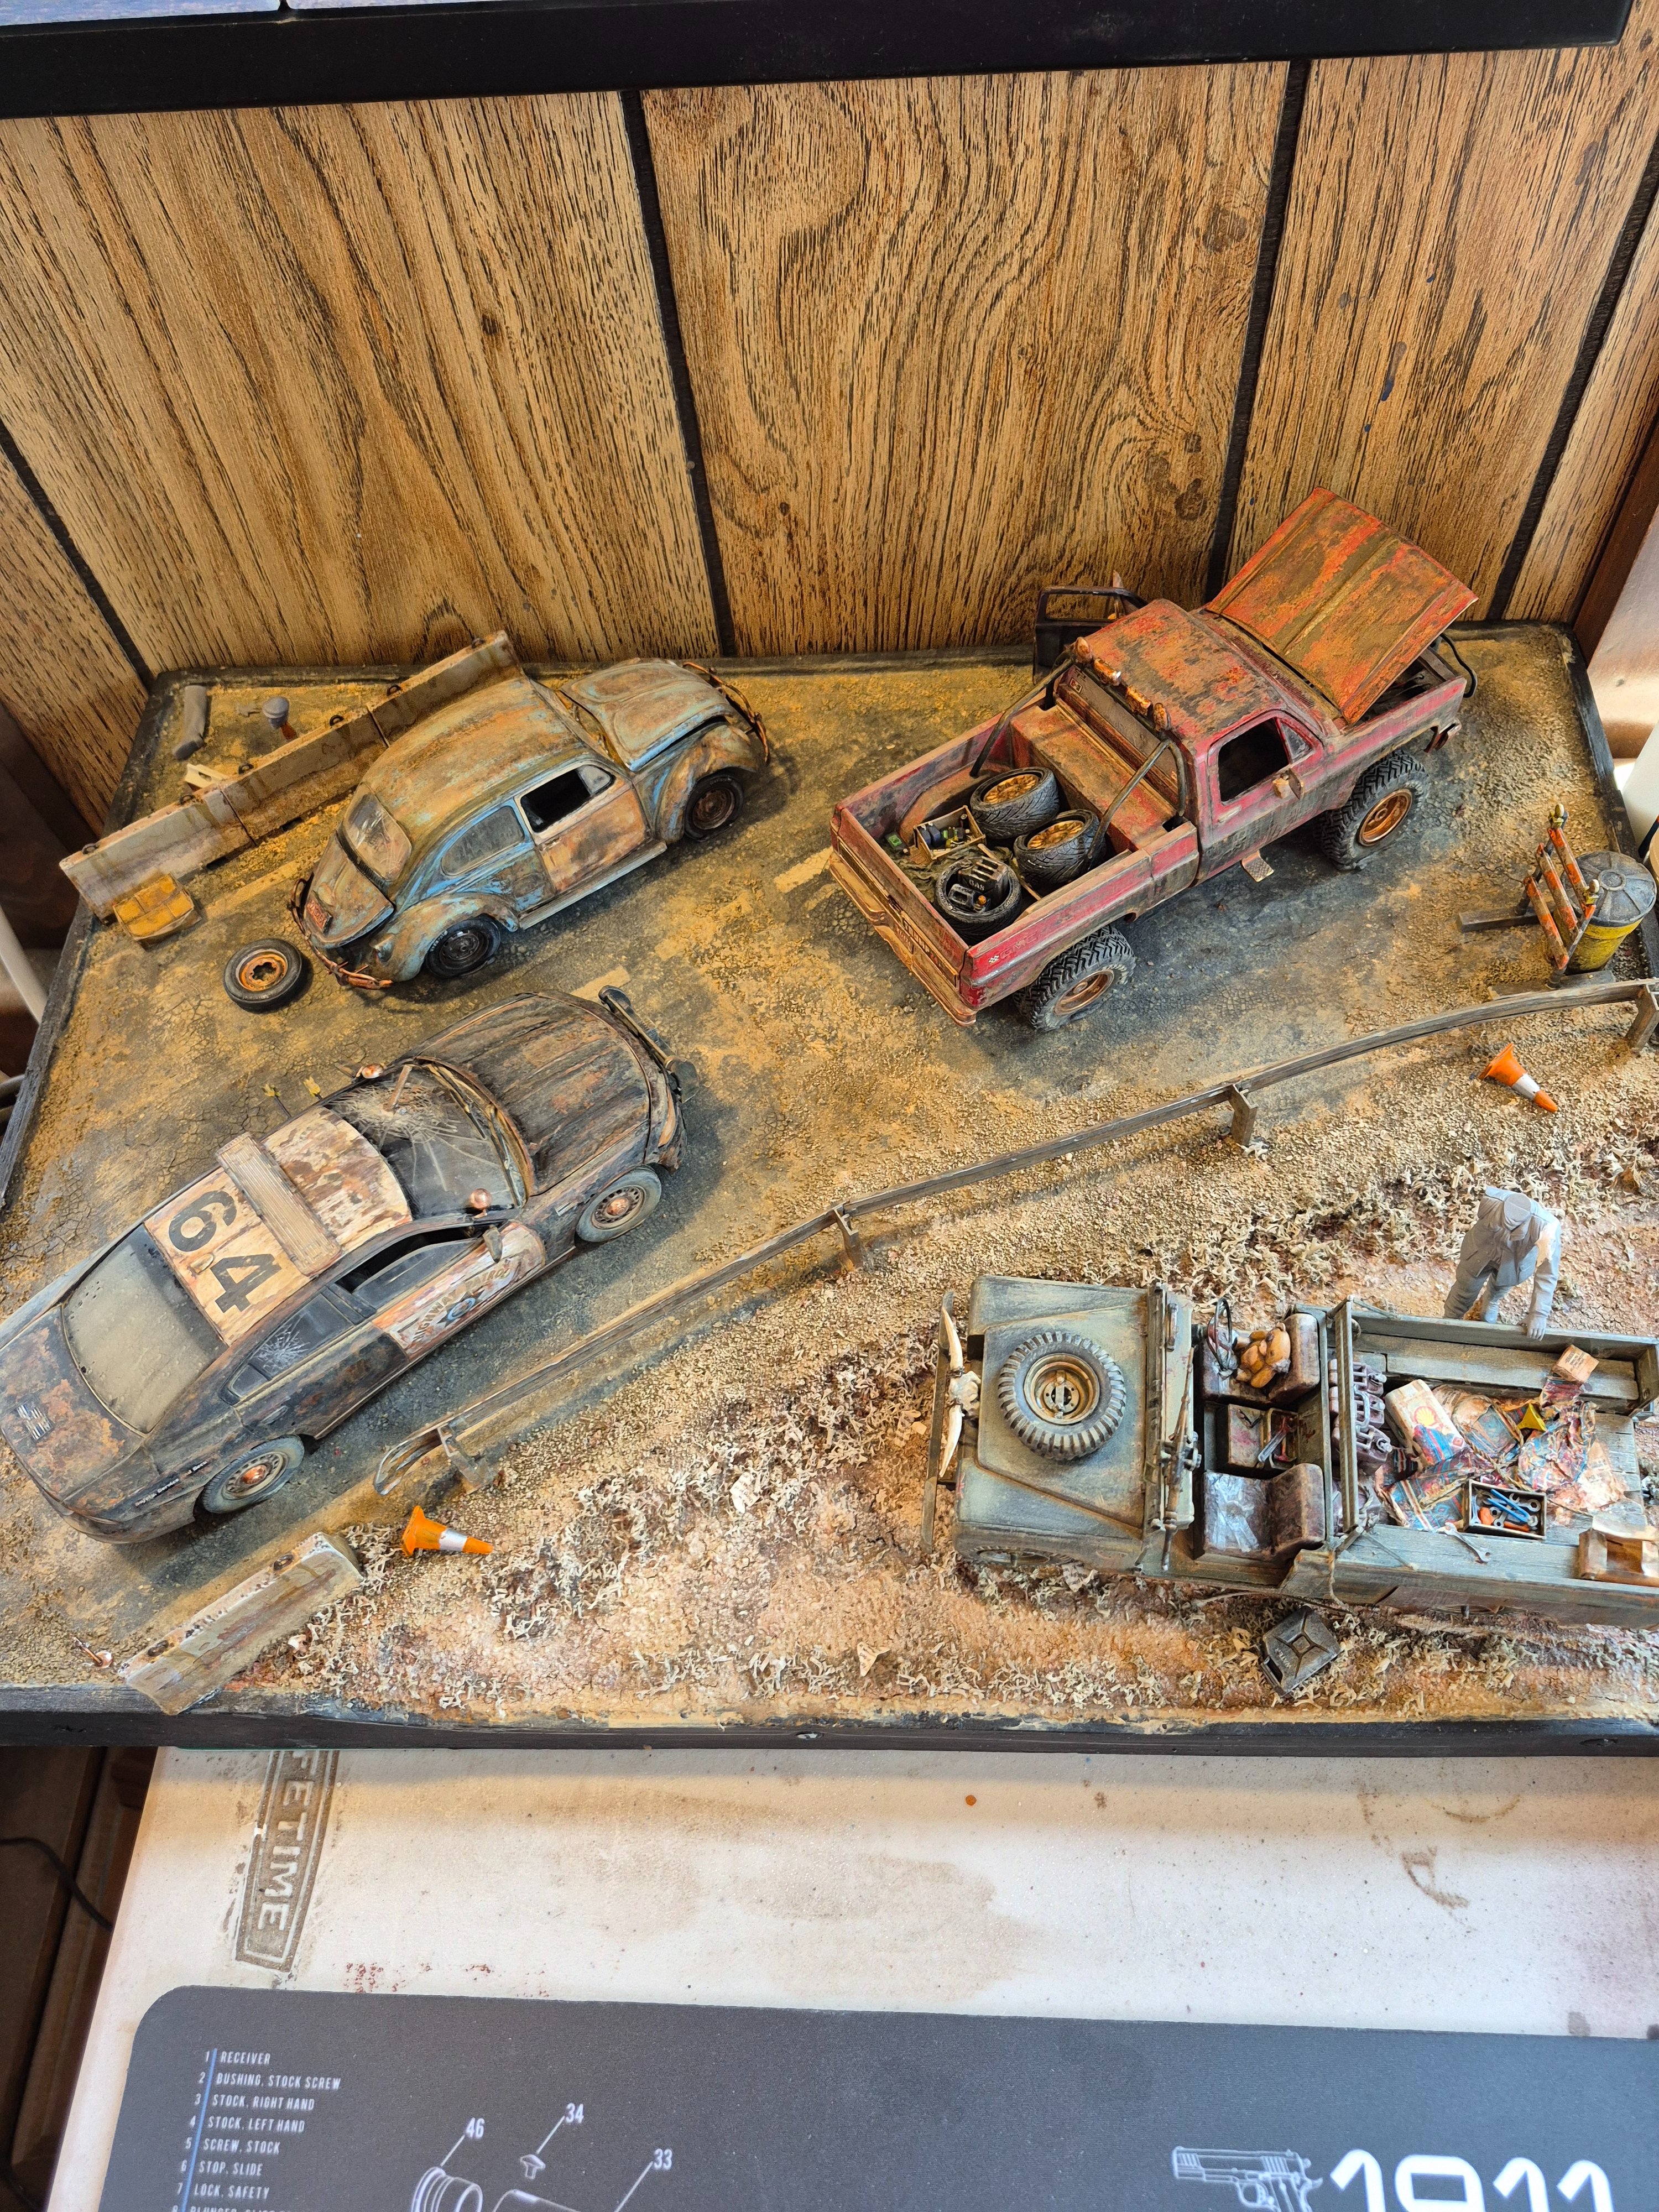
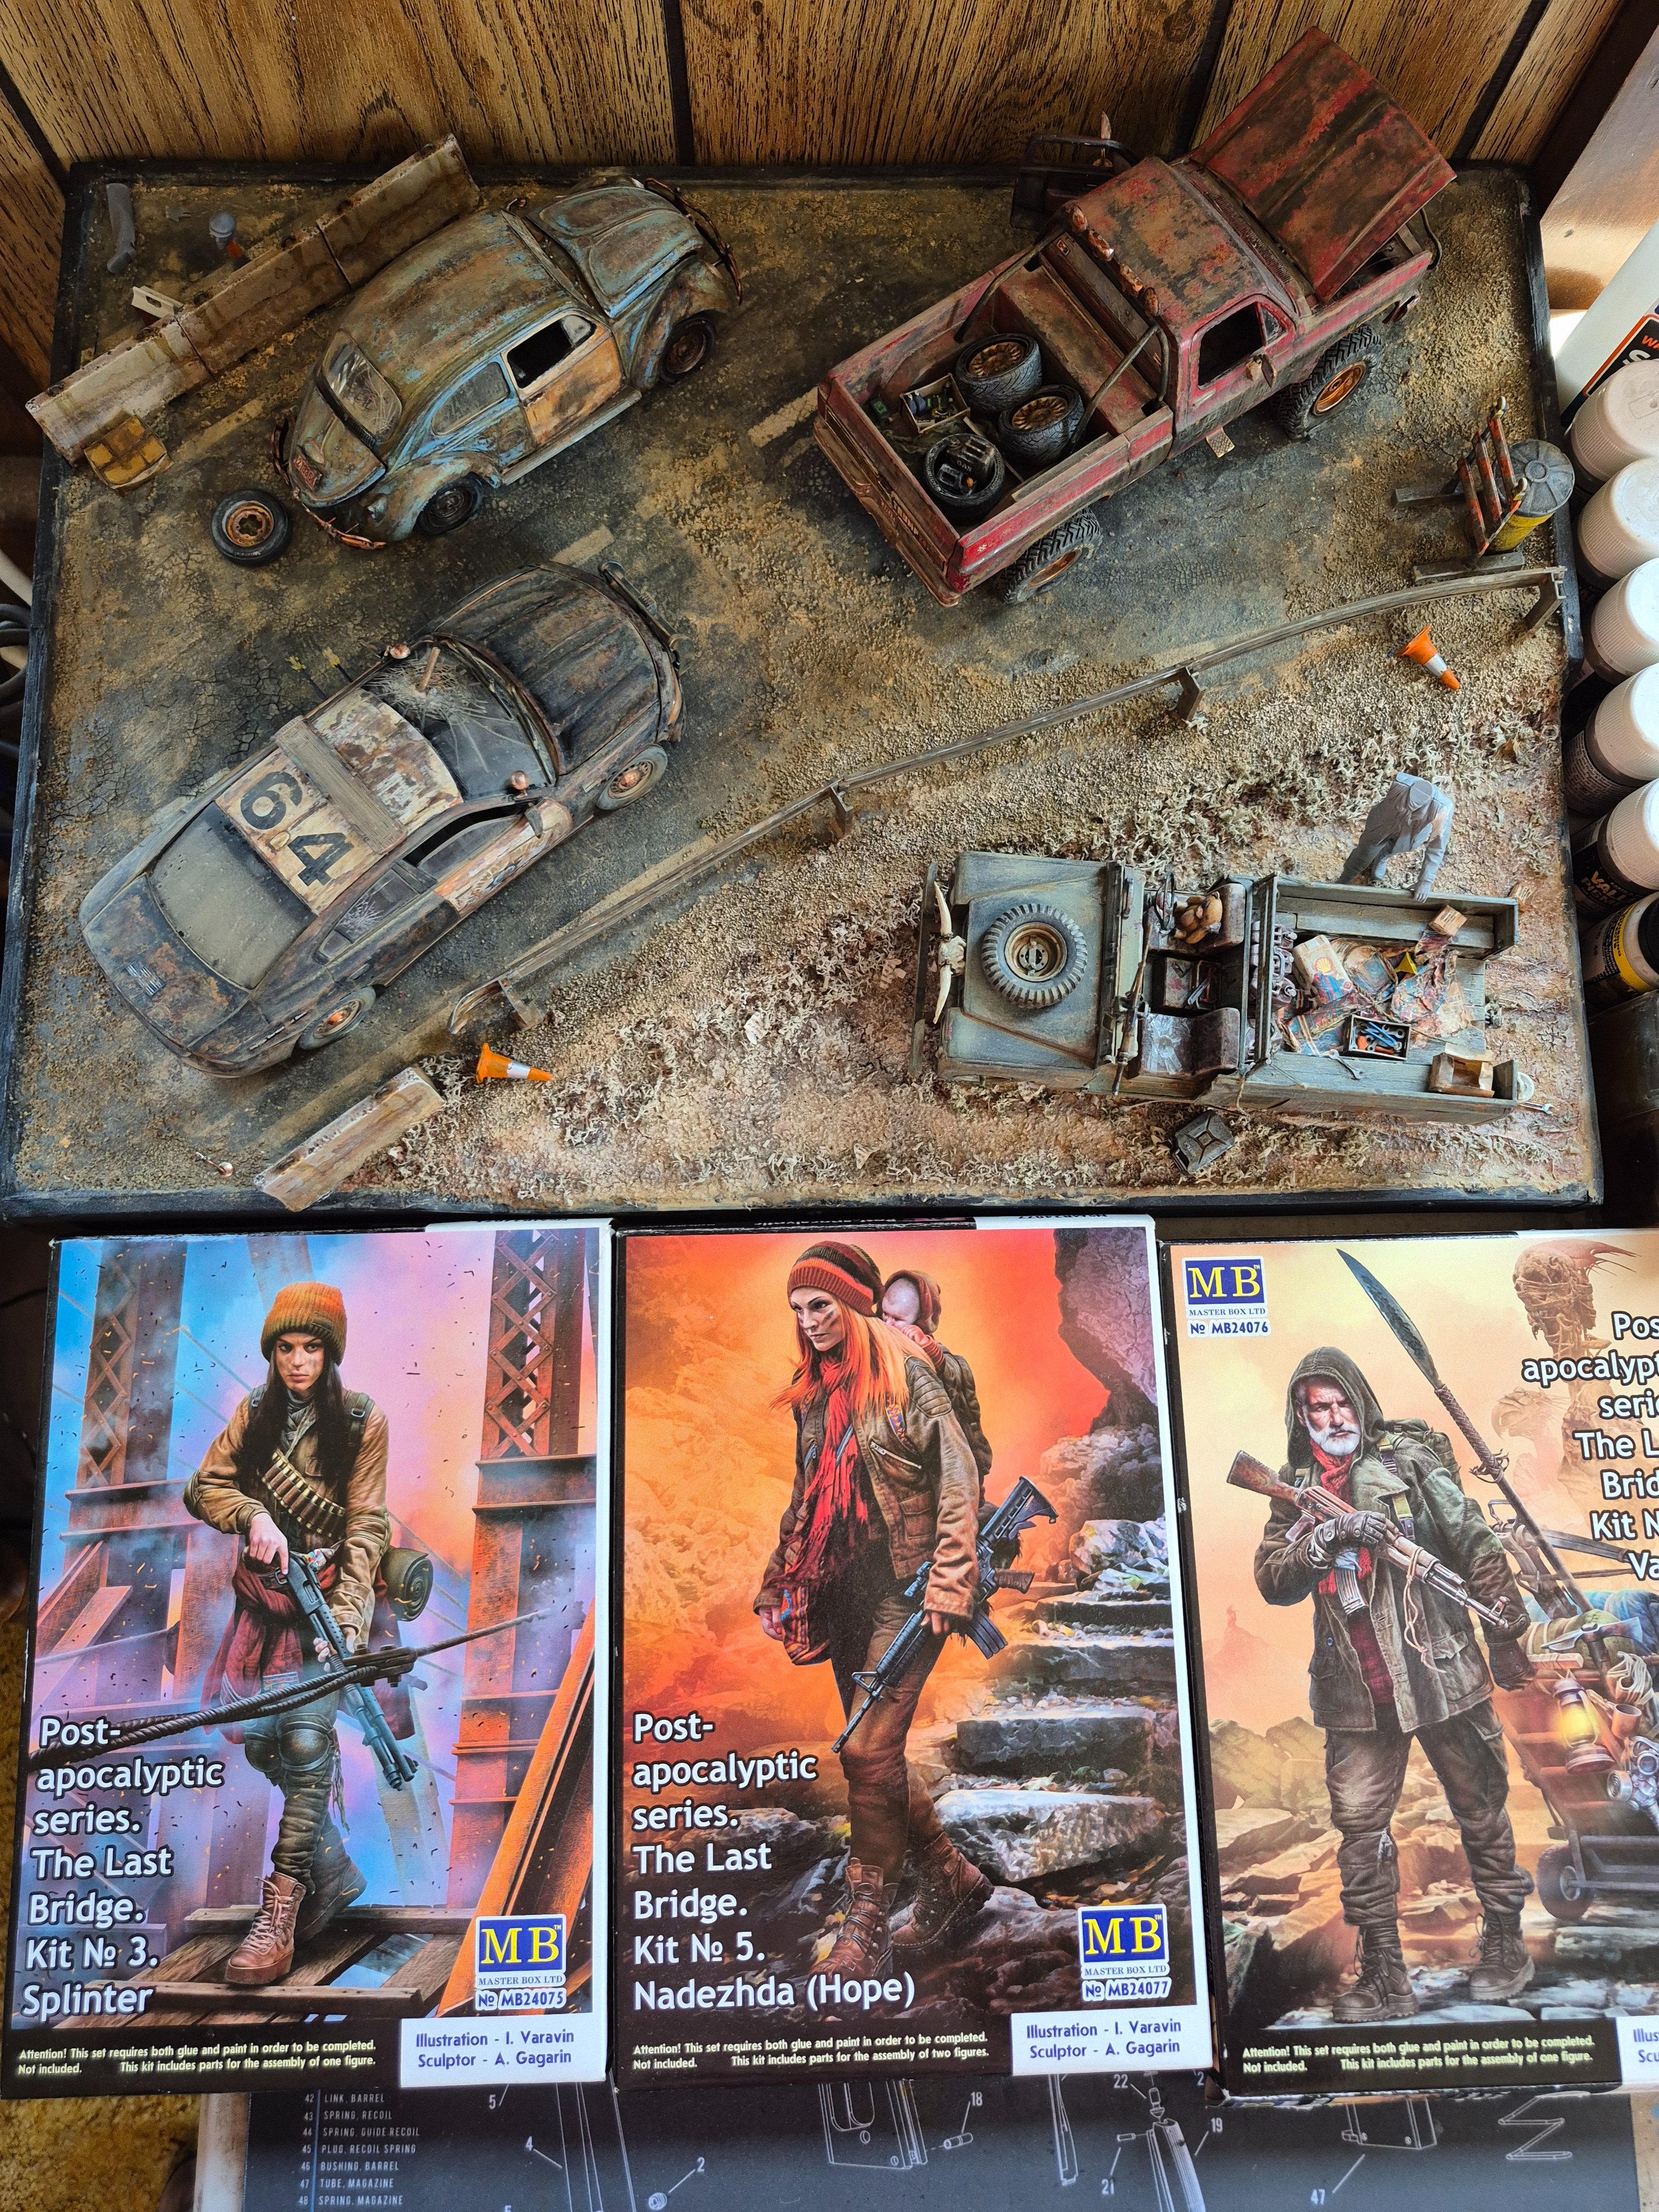
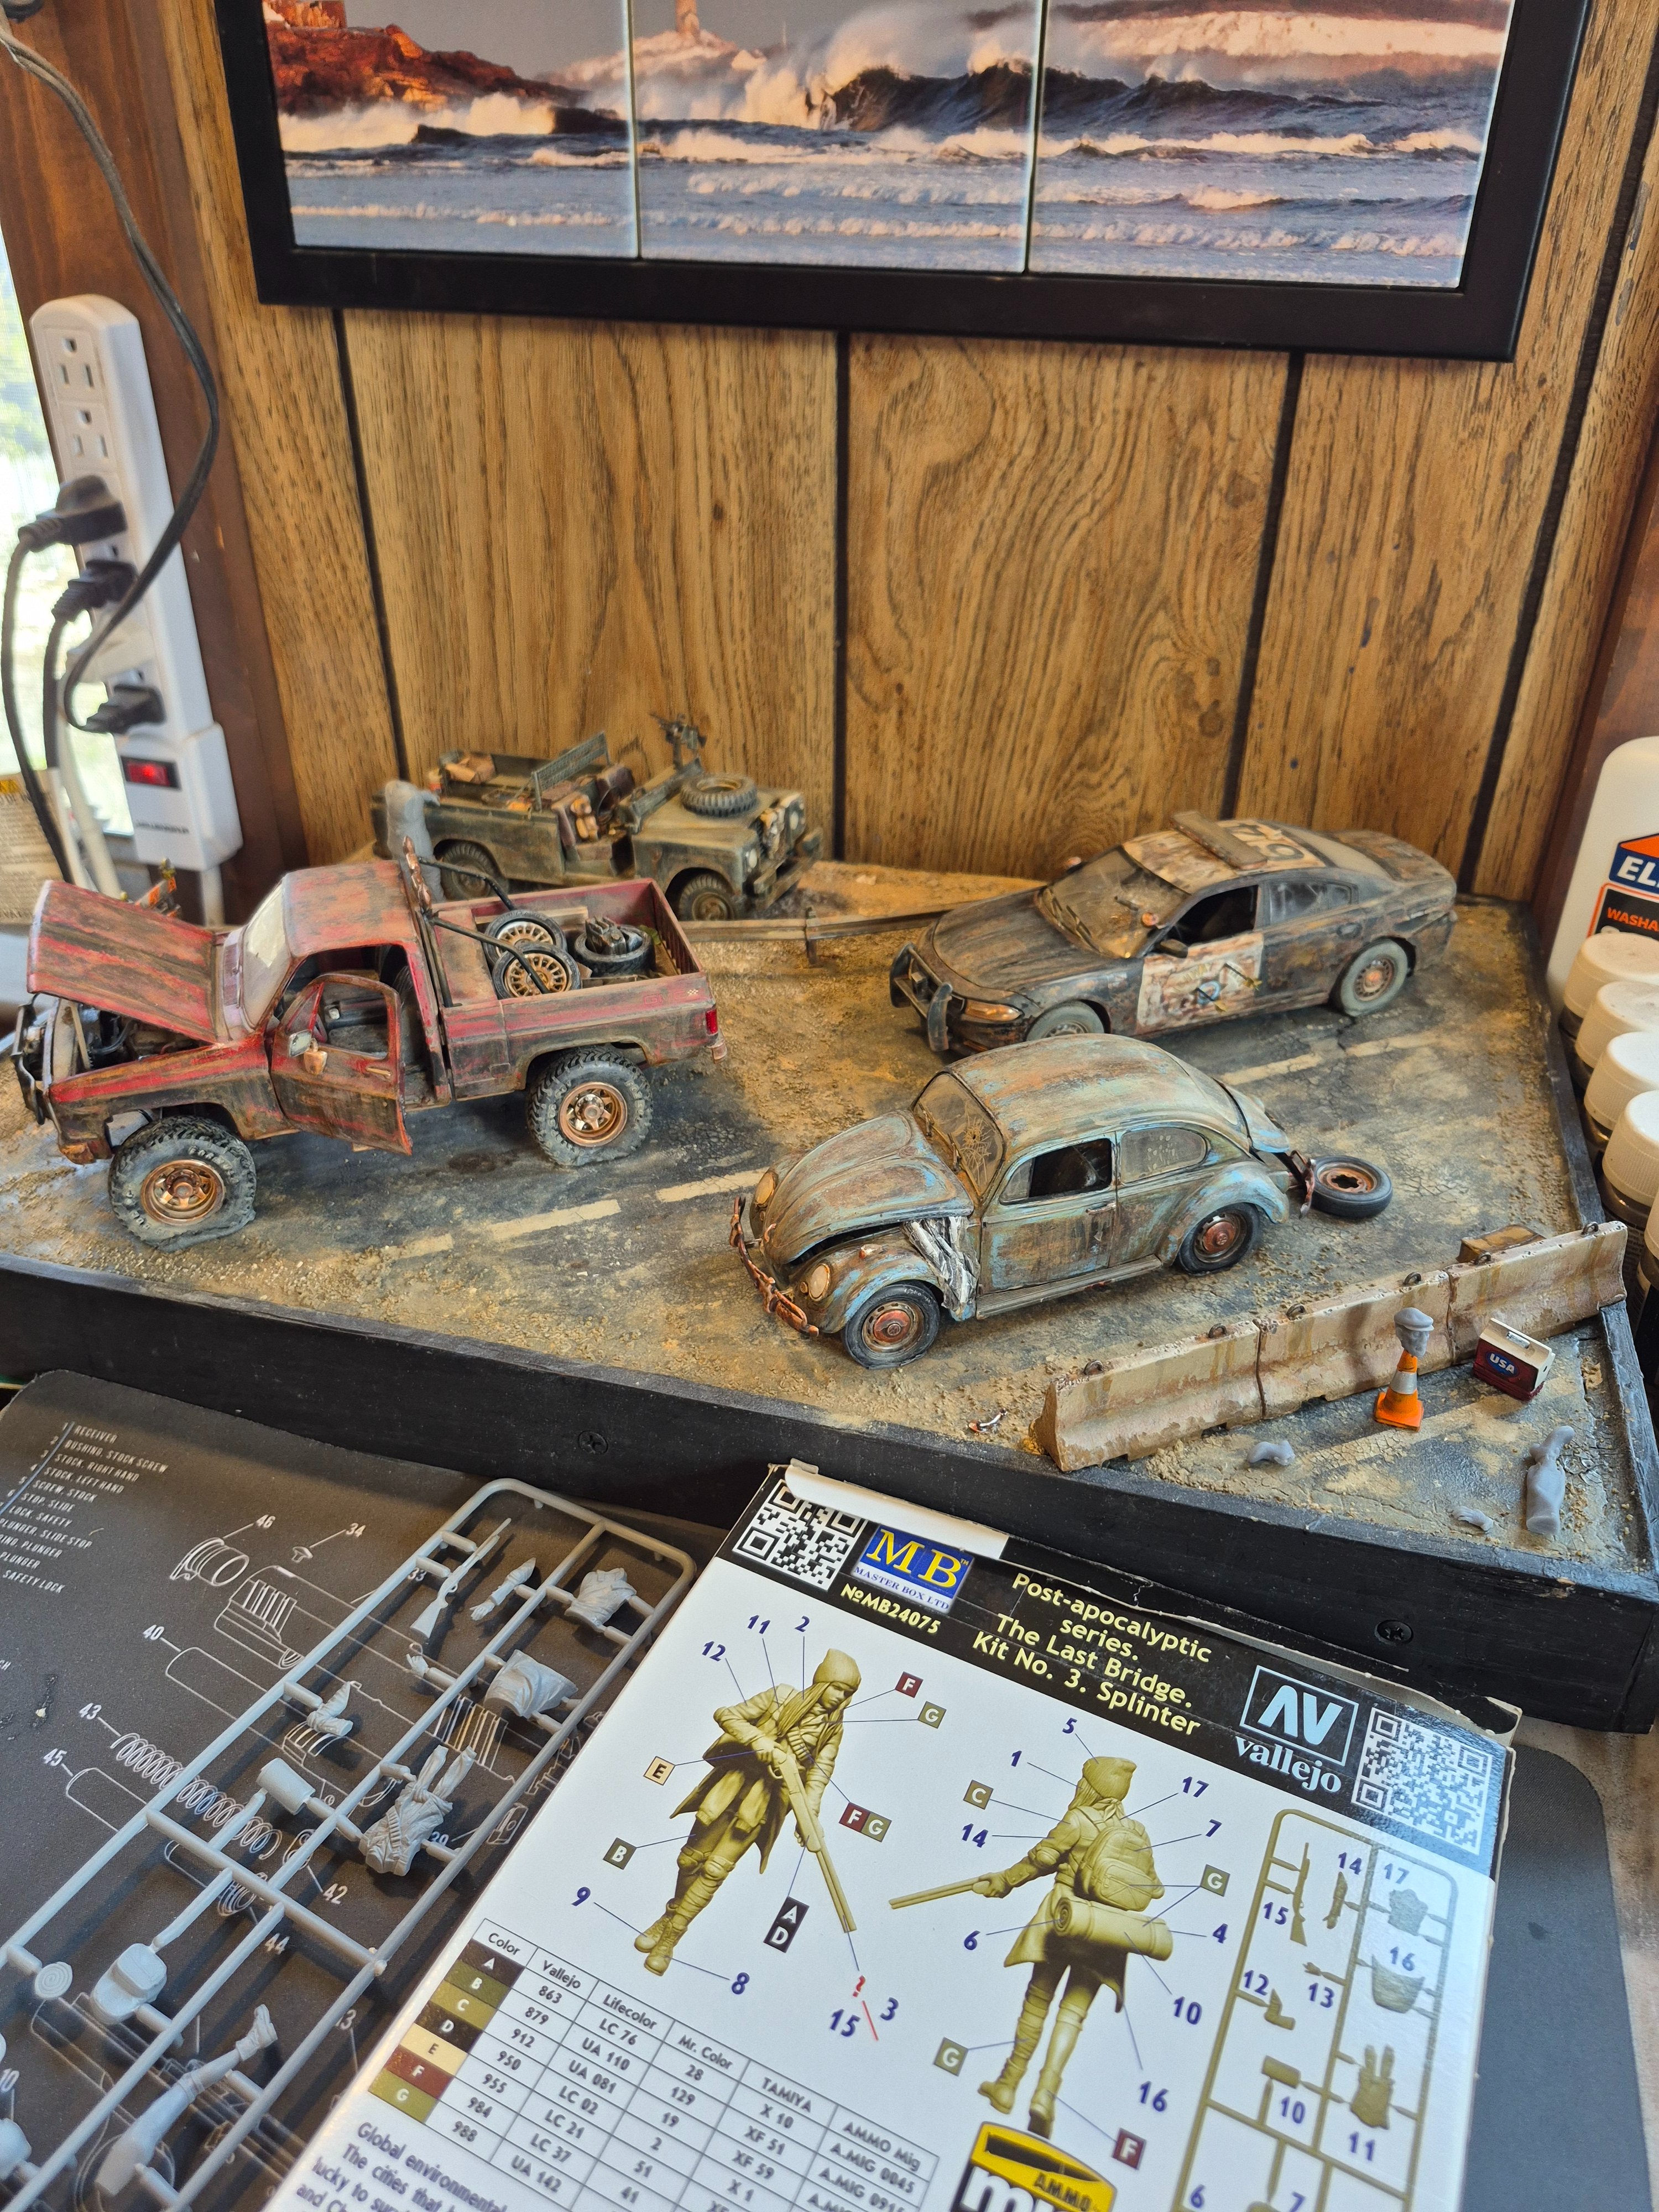
Now you're doing figures?? These vehicles look great!
The girl with the shotgun was the genesis of this project.
I bought her alone just to have something to paint while I was working on my year long 1/200 USS IOWA build, a nice distraction.
On a trip to the hobby store I saw the other figures, well, one thing led to another and here I am. :)
 

Latest posts

Back
Top